Samsung Galaxy S23 Plus Earpiece Speaker Replacement
Duration: 45 minutes
Steps: 24 Steps
Ready to swap out the earpiece speaker in your Samsung Galaxy S23+? This guide walks you through the steps. Heads up: how well you stick the back cover back on will make a difference for water resistance, but your phone won’t have its official IP rating after this repair.
Step 1


Let your phone battery dip below 25% before you start—lithium-ion batteries can get a little feisty when charged. If your battery looks puffy, handle with care!
- Disconnect all cables from your phone to keep things safe and tidy.
- Press and hold the side button along with the volume down button, then tap 'Power off' to shut down your device smoothly.
Step 2

- Grab your iOpener and heat it up. Apply it to the right edge of the back cover for two minutes. This will help soften that stubborn adhesive so you can pop the cover off like a pro!
You can also use a hair dryer, heat gun, or hot plate to help, but take it easy—too much heat can be a bad thing! Your phone's display and internal battery are extra sensitive to heat, so keep things under control. If you're feeling unsure or need some extra guidance, don't hesitate to schedule a repair.
Tools Used


Step 3


If you're finding it tricky to create a gap, don't sweat it! Just add a little more heat to make that sticky adhesive nice and pliable. Remember to keep an eye on the iOpener instructions so you don't overdo it!
- Grab a suction handle and stick it to the back cover, aiming to place it as near to the center of the right edge as you can.
- With determination, pull up on that suction handle with a strong, steady force. This will help open up a little space between the cover and the frame.
- Now, slide an opening pick into that gap you've just created.
Tools Used

Step 4


- Gently wiggle the pick along the right edge to loosen the adhesive’s grip. Keep it moving back and forth like you're giving it a little dance. When you get near the bottom right corner, leave the pick there—this keeps the adhesive from sealing itself back up. If you're ever in doubt or need a hand, remember you can always schedule a repair.
Step 5

- Give the bottom edge of the back cover a nice warm-up with a heated iOpener for about two minutes.
Tools Used
Step 6
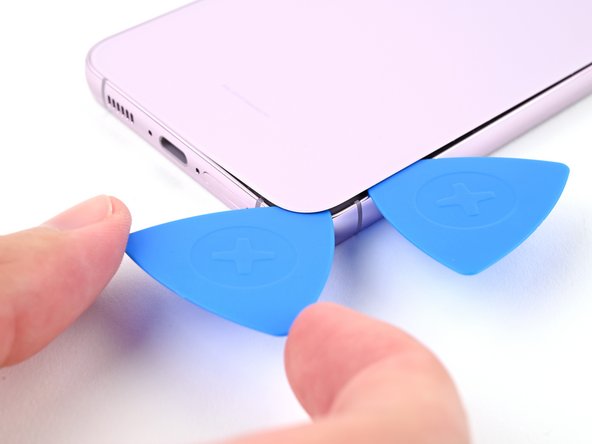

- Pop in a second pick at the bottom right corner – it’s like giving your device a little buddy!
- Twist that opening pick around the bottom right corner to gently loosen up the adhesive. You’ve got this!
Step 7


- Glide the opening pick down to the bottom left corner to loosen up that sticky adhesive.
- Leave the pick hanging out in the bottom left—it's your trusty sidekick, keeping the adhesive from sneaking back together.
Step 8

- Warm up the left edge of the back cover with a heated iOpener for about two minutes. Easy does it—let the heat do the hard work so the glue loosens up nicely.
Tools Used
Step 9


- Swing the opening pick around the bottom left corner to loosen up that sticky adhesive. You're almost there!
Step 10


- Pop in a third opening pick right at the bottom left corner.
- Gently slide your pick up towards the top left corner to break that adhesive seal.
- Keep that pick in place at the top left corner so the adhesive doesn’t decide to stick back together!
Step 11

- Warm up your iOpener and let it chill on the top edge of the back cover for about two minutes.
Tools Used
Step 12


- Place a fourth opening pick at the top left corner to get things started.
- Gently rotate it around that corner to loosen and separate the adhesive layers.
Step 13


- Now it's time to get this repair started! Carefully slide your opening pick to the top right corner to loosen the adhesive and begin the separation process.
- Great job so far! Leave the pick in the top right corner to keep the adhesive from resealing, making the rest of the repair a whole lot easier.
Step 14


Be careful not to touch the rear cameras with your pick, as this can cause damage to the lenses. Let's keep those cameras safe and intact!
There's still a stubborn patch of adhesive hiding out under the flash.
You’ll spot the opening pick peeking through the flash cutout—like it’s playing hide and seek.
- Get your opening pick lined up with the flash cutout—think of it as your backstage pass.
- Gently slide the pick under the top edge of the back cover until you feel the adhesive putting up a bit of a fight.
- Keep sliding the pick down toward the bottom of the phone, and you’ll feel that sticky adhesive finally let go.
Step 15


- Start by carefully removing the back cover to access the internals. During reassembly, it's smart to power on your device temporarily and test all functions before sealing it up tight—just to make sure everything's working smoothly. Make sure to shut it down completely before you continue working. If you encounter stubborn adhesive, gently lift off chunks with tweezers or your fingers. Applying a bit of heat along with isopropyl alcohol (90% or higher) can help loosen really stubborn glue. If you're using custom-cut adhesives, follow the specific guide for those. For double-sided tape, stick to the recommended instructions in this guide. If you need a hand at any point, remember you can always schedule a repair.
If your cover is still sticking to the frame, gently slide an opening pick around the edges until the cover pops free. Keep it steady and patient—no need to force it. If you hit a stubborn spot, just take your time and work around it. And if you need a hand, you can always schedule a repair.
Tools Used


Step 16


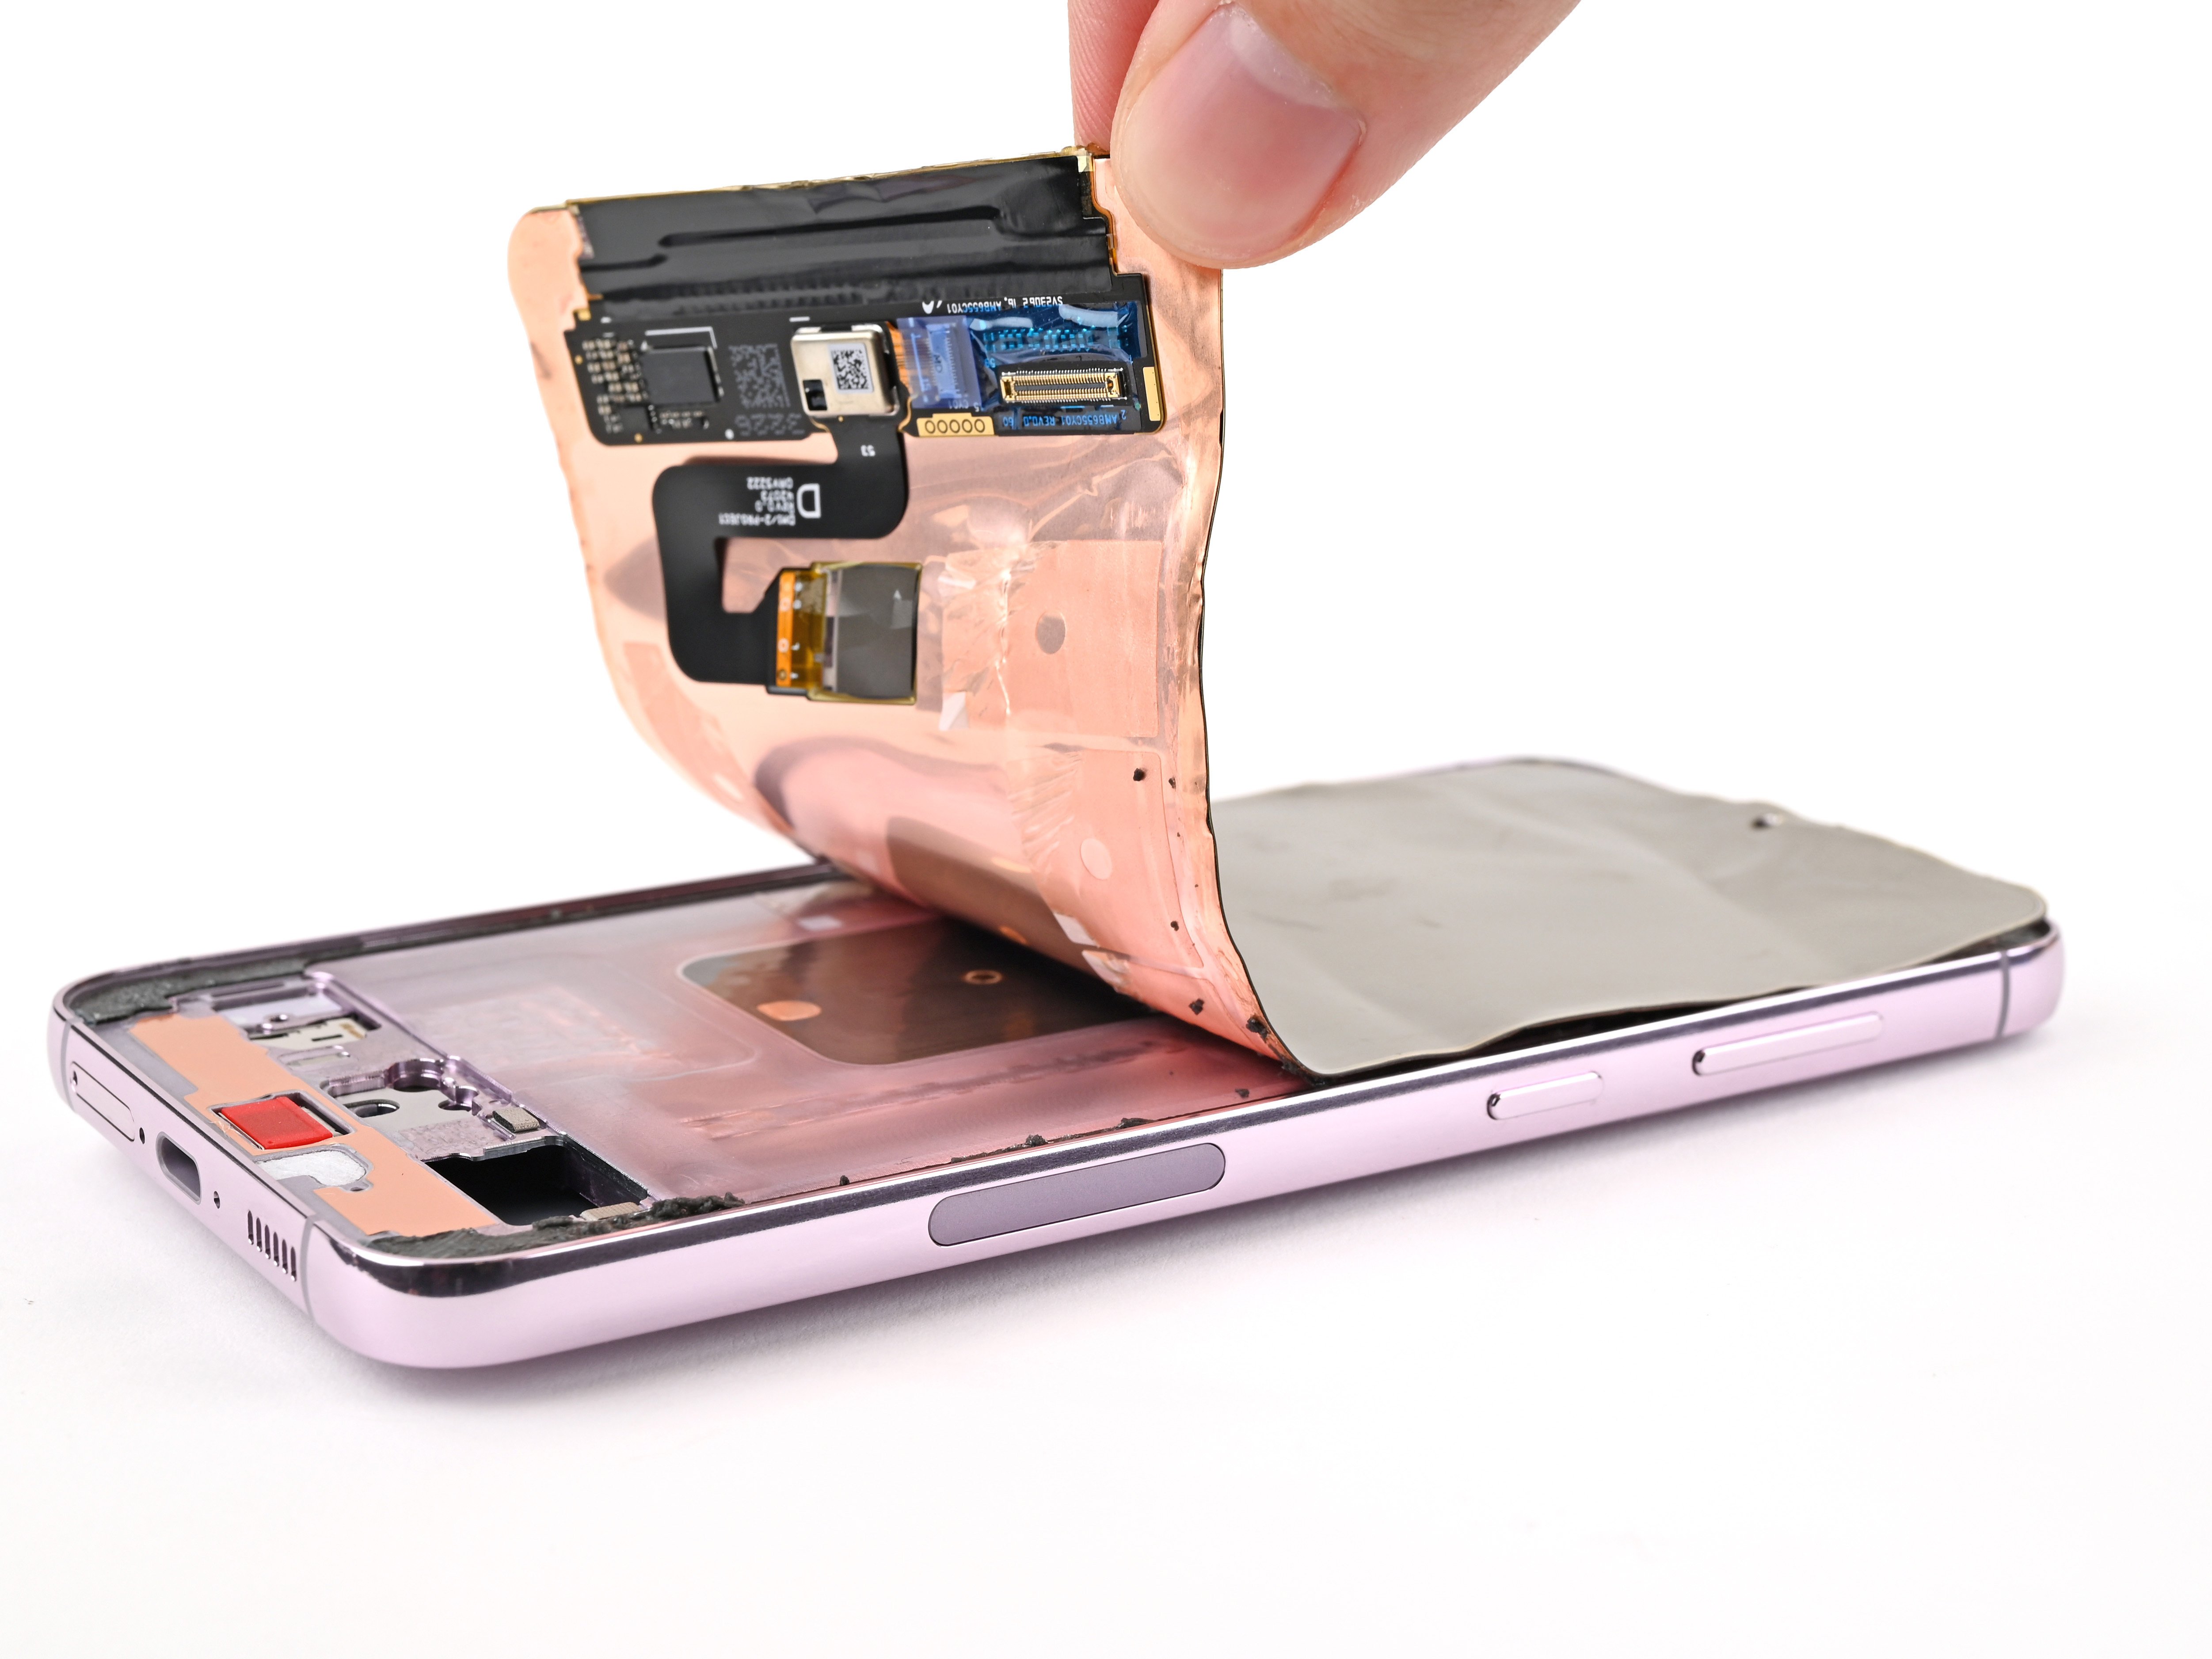
- Gently pop up the wireless charging coil press connector from the motherboard using the pointy end of your spudger—think of it like opening a stubborn pickle jar, but smaller.
- When snapping press connectors back in, line them up so they're sitting pretty, then press one edge until you hear a click. Do the same for the other side. Skip pressing the middle—misaligned pins are a one-way ticket to trouble town!
Tools Used

Step 17


- Grab that spudger’s tip and gently pry up the NFC antenna press connector to disconnect it. Easy does it—just a little lift to free it up.
Tools Used
Step 18


- Grab a Phillips screwdriver and unscrew the thirteen 3.5 mm long screws that hold down the wireless charging coil and the loudspeaker. First, remove the six screws securing the wireless charging coil, then the seven screws holding the loudspeaker. Take your time and keep track of your screws—if you need a hand, you can always schedule a repair.
Step 19


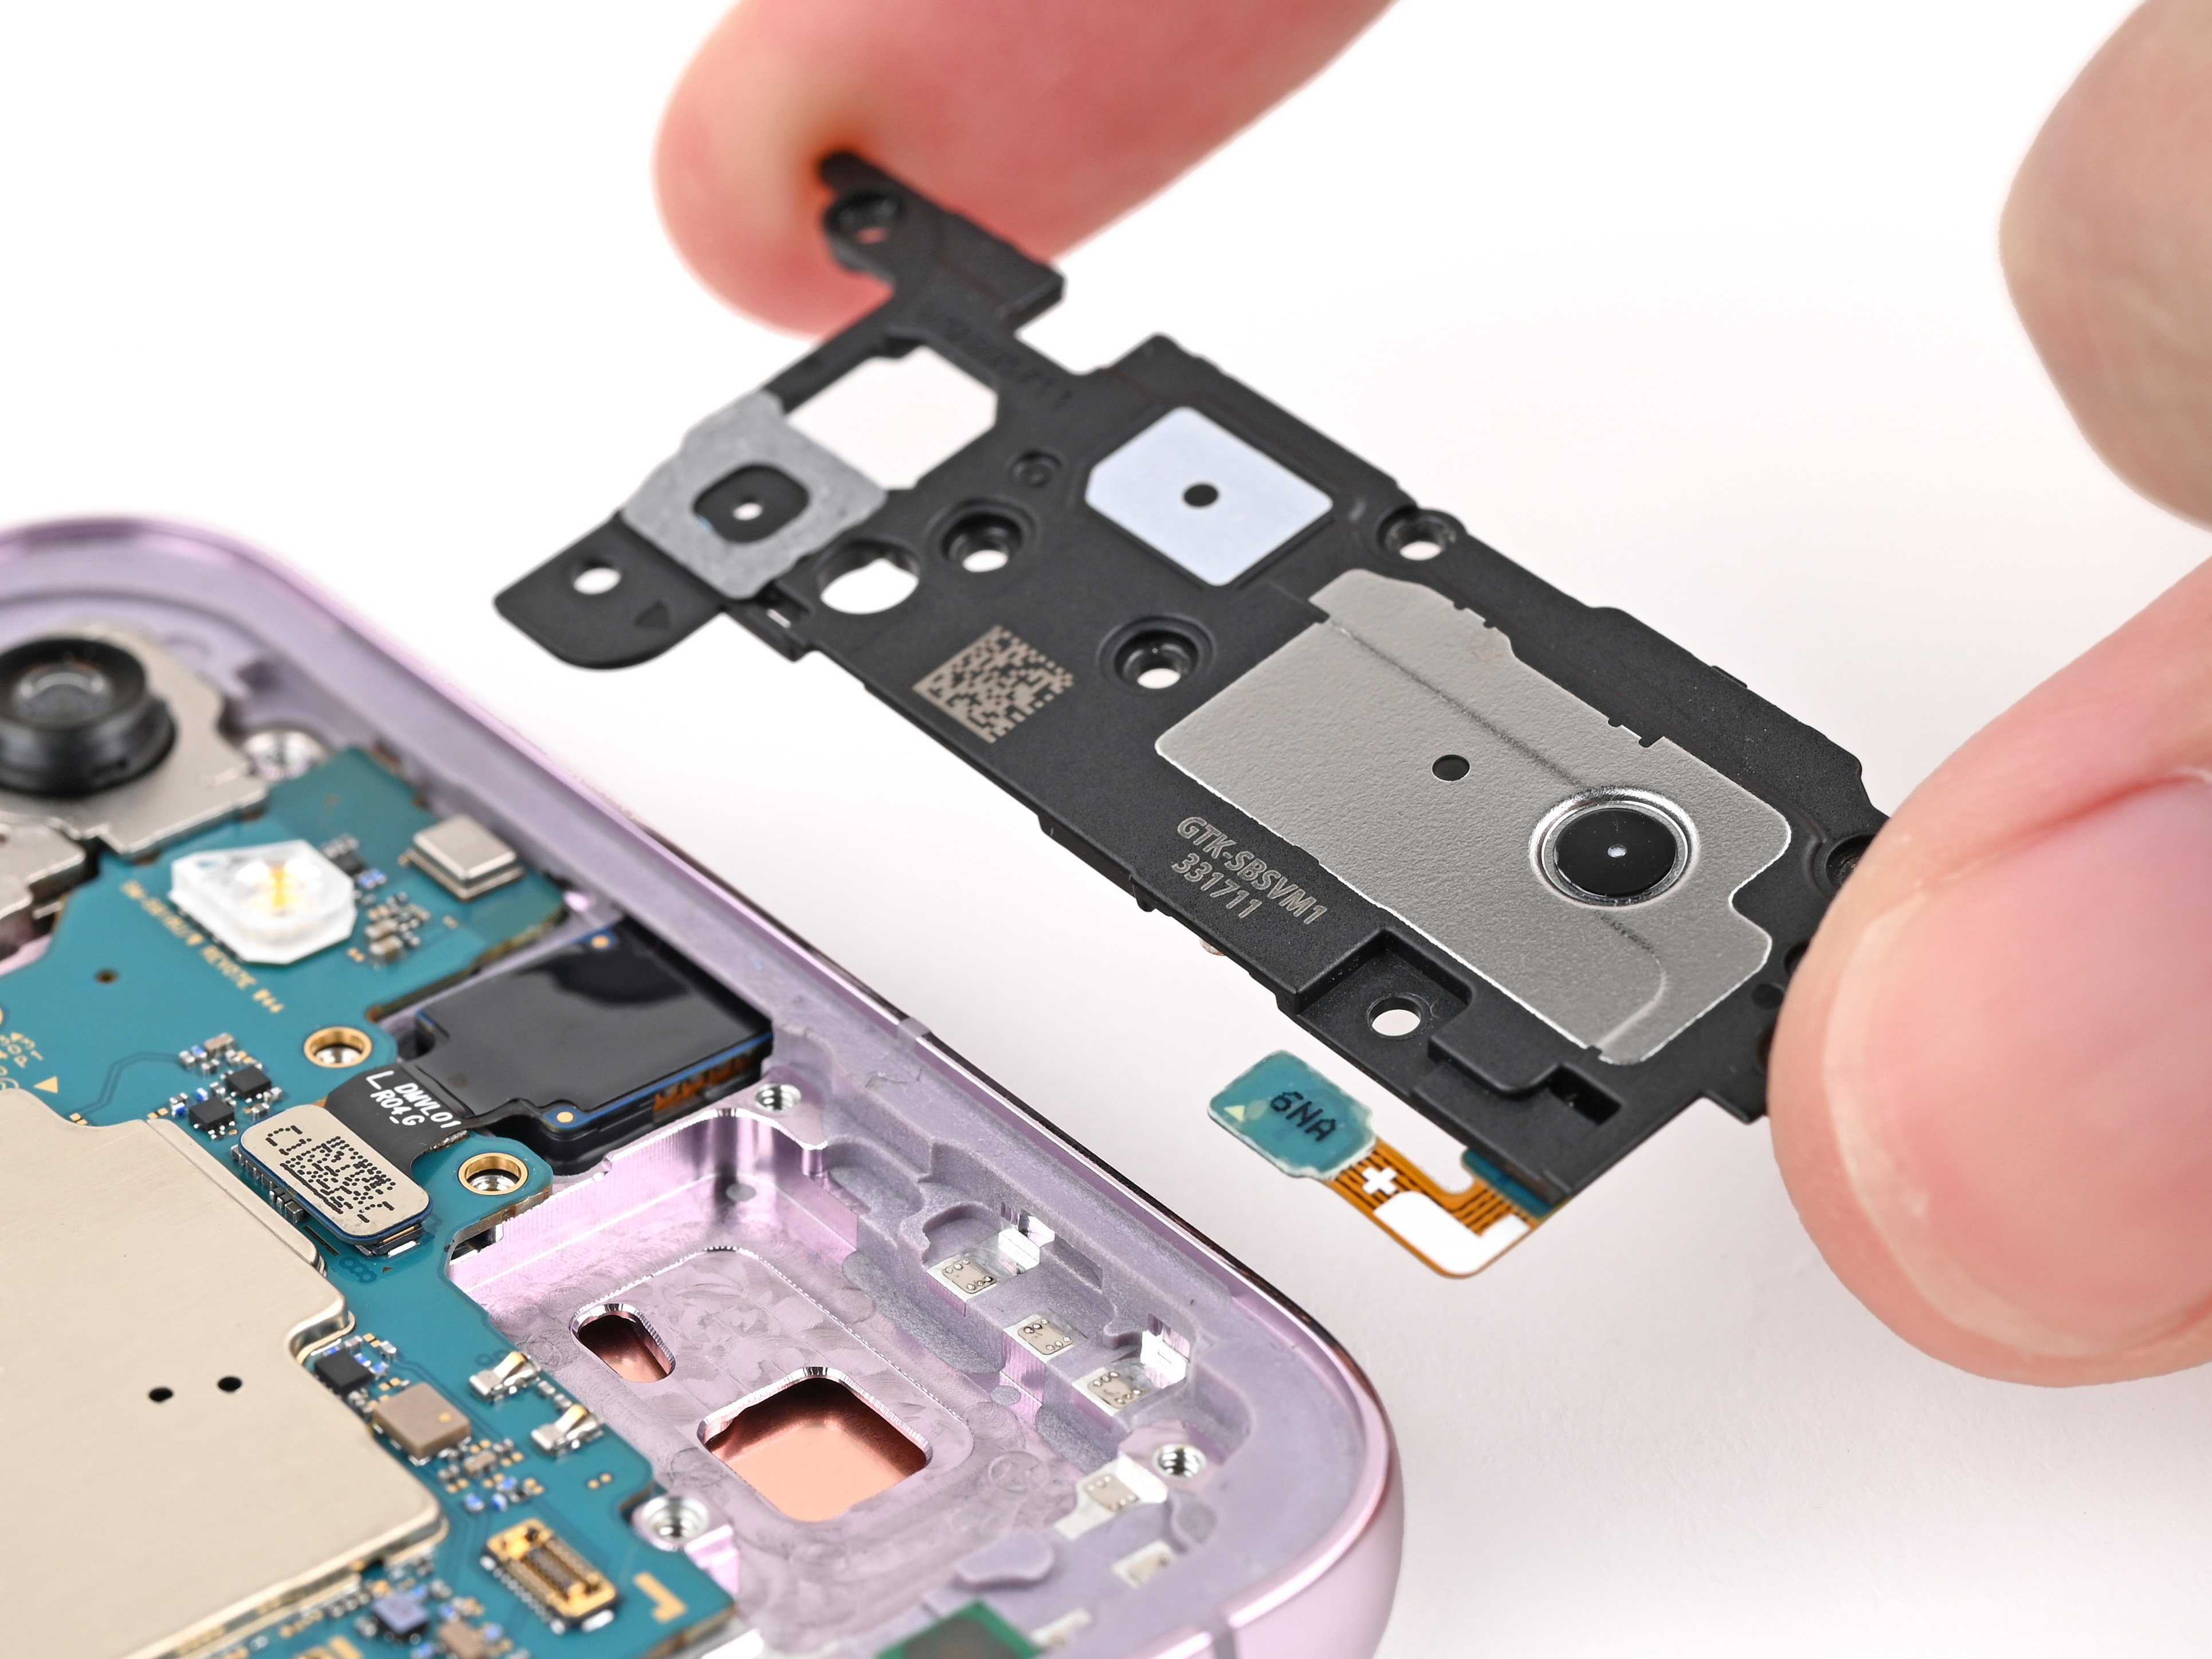
- Gently slide the tip of your spudger into the little notch at the top left corner of the loudspeaker.
- Give it a little pry to pop the loudspeaker free from the frame.
Tools Used
Step 20
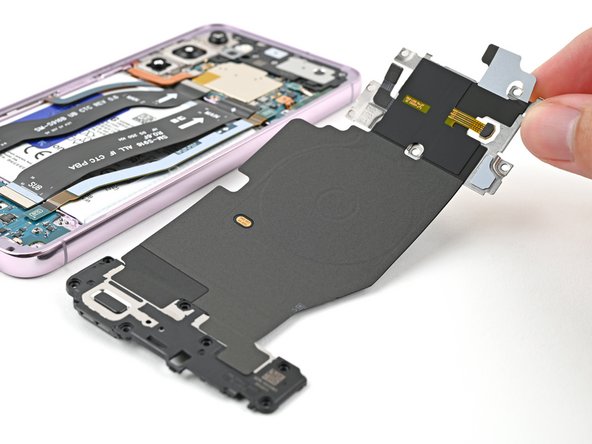

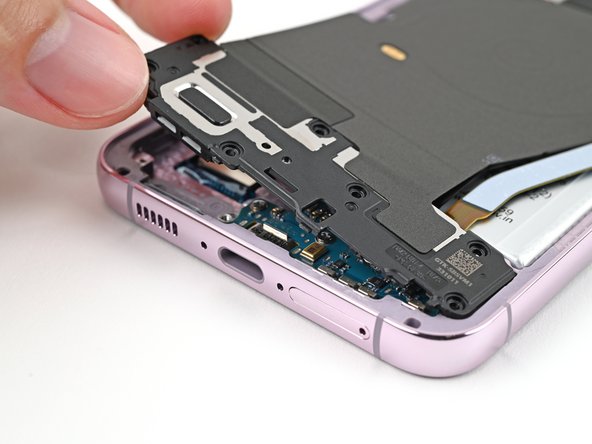
- Gently pop the loudspeaker out of the frame with your fingers—think of it as giving your phone a little nudge to set it free.
- Lift out both the wireless charging coil and loudspeaker from the frame like you’re picking winners at a raffle.
- When putting things back together, press all around the edge of the loudspeaker to snap it securely back into place. Easy does it!
Step 21


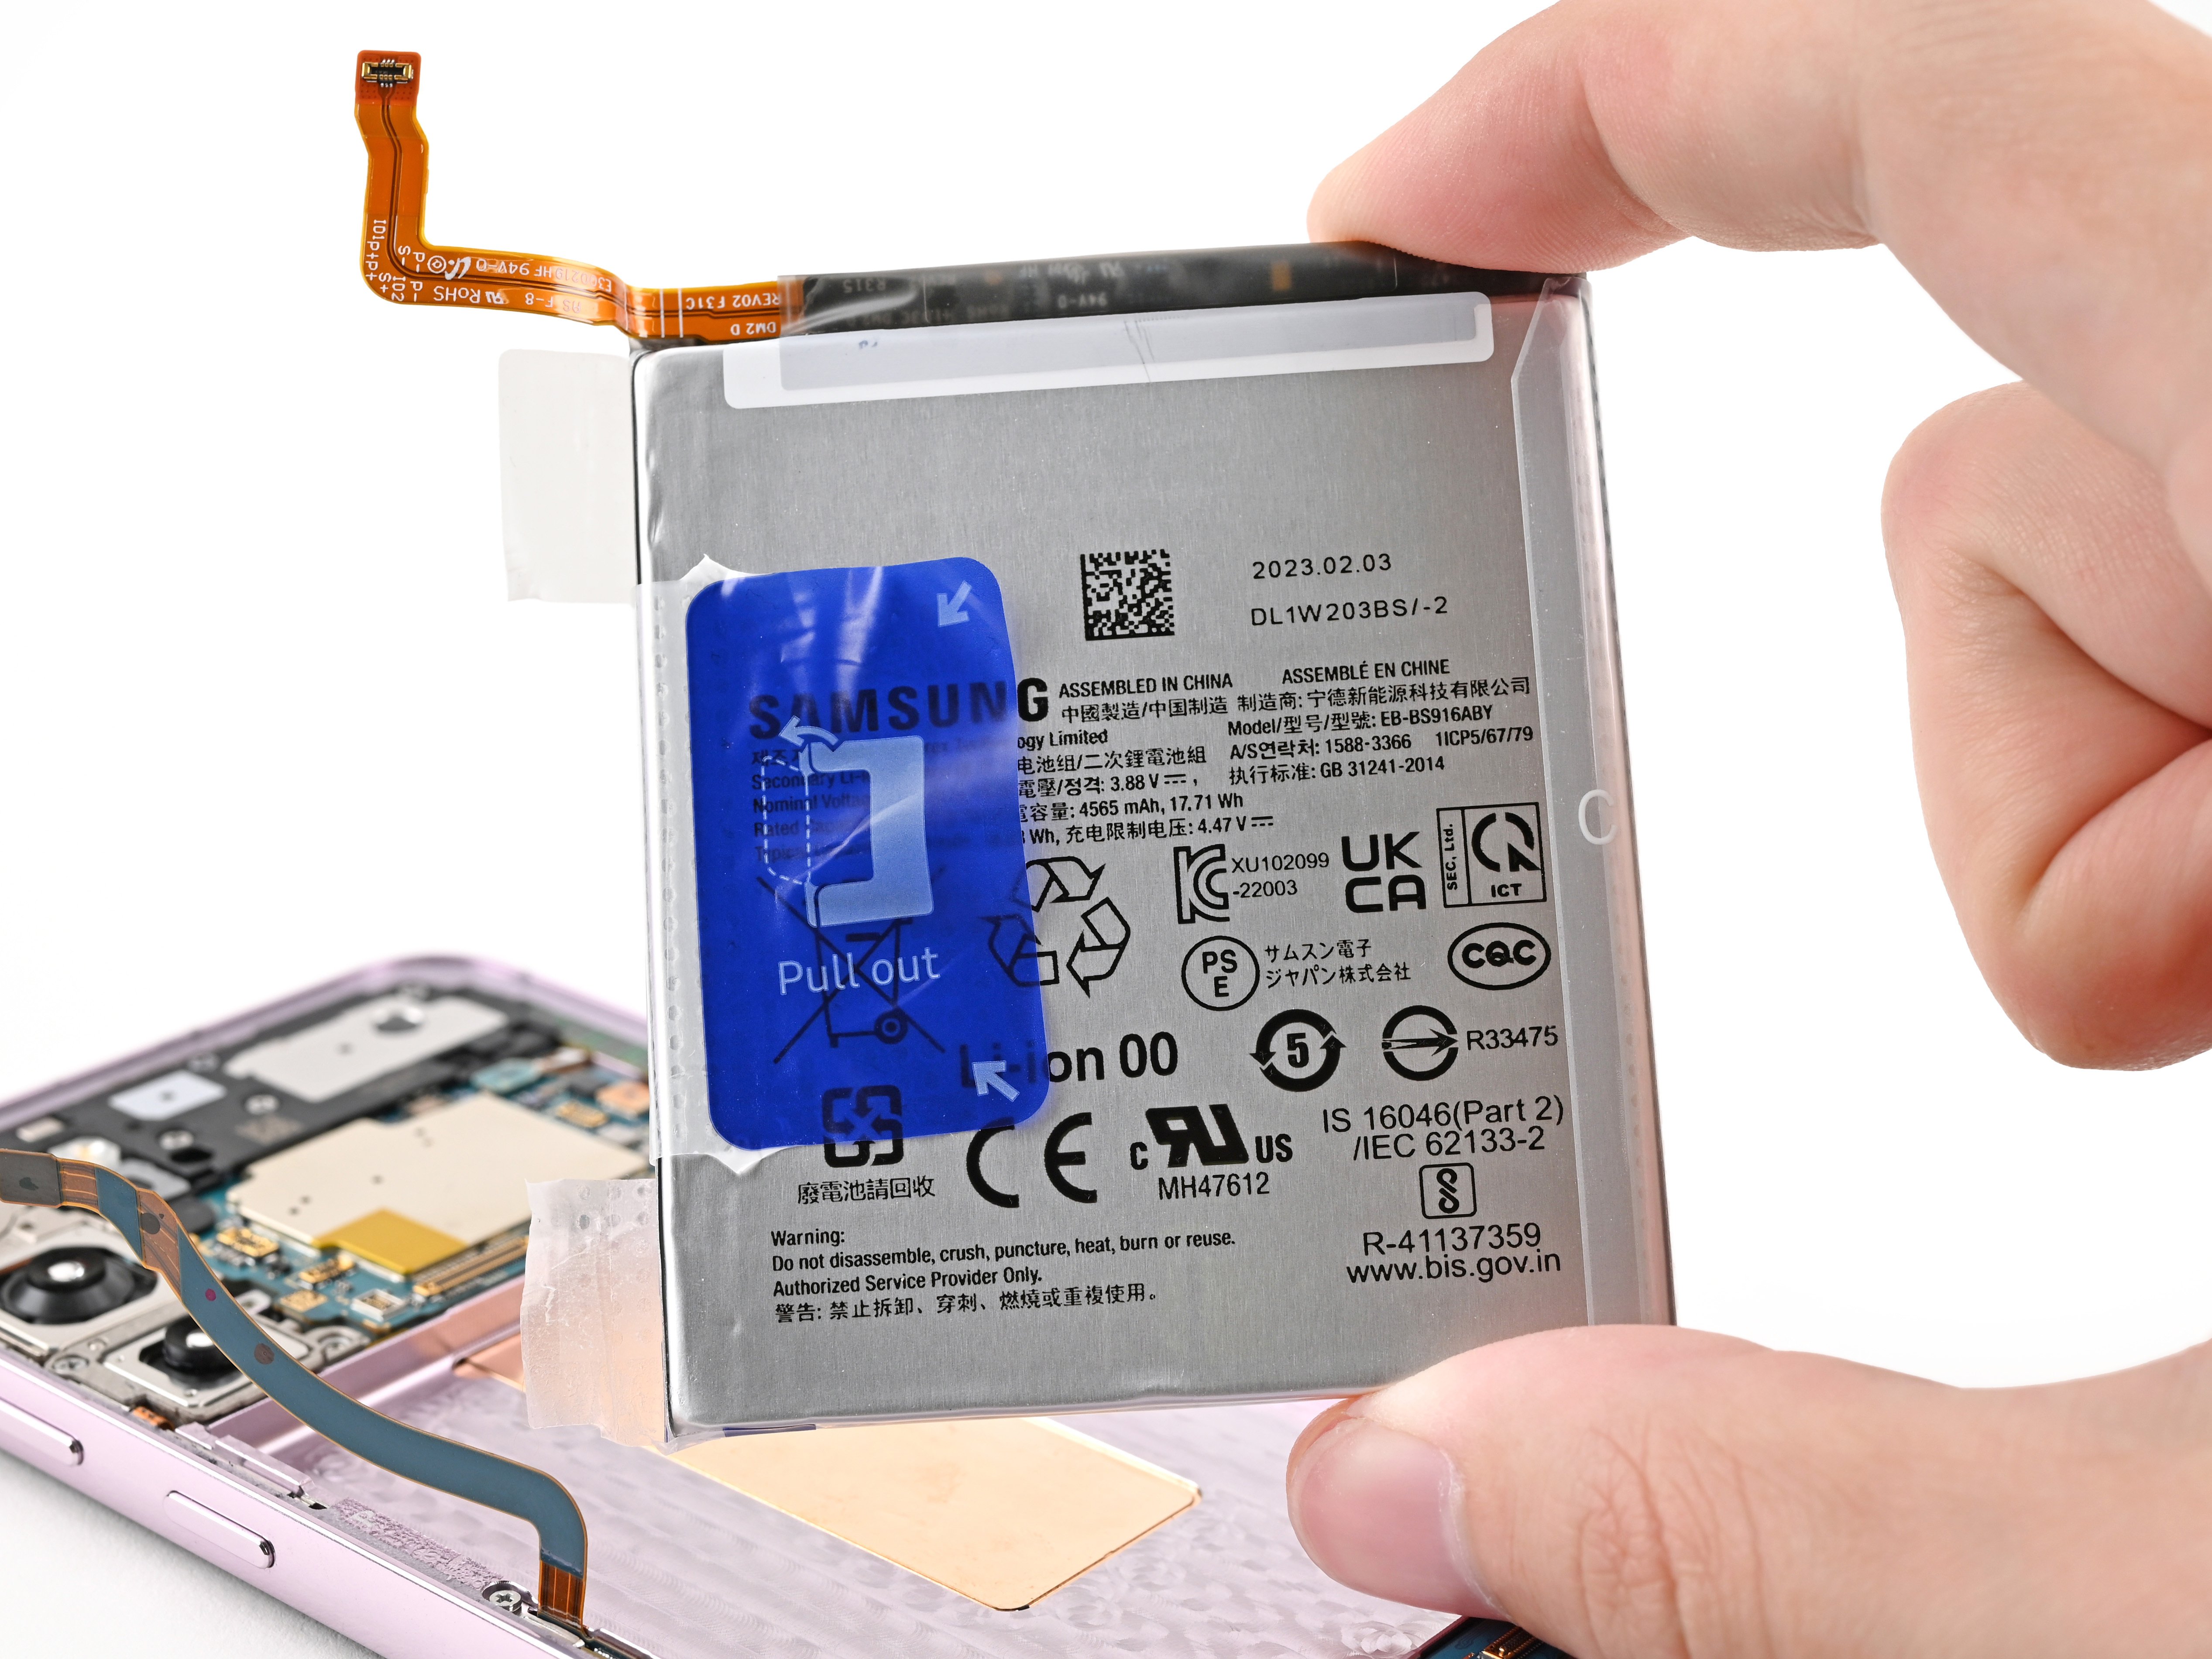
- Grab your spudger and gently pry up to disconnect the battery press connector. Easy does it—think of it as giving your device a friendly high-five to get things started. If you need a hand, you can always schedule a repair.
Tools Used
Step 22


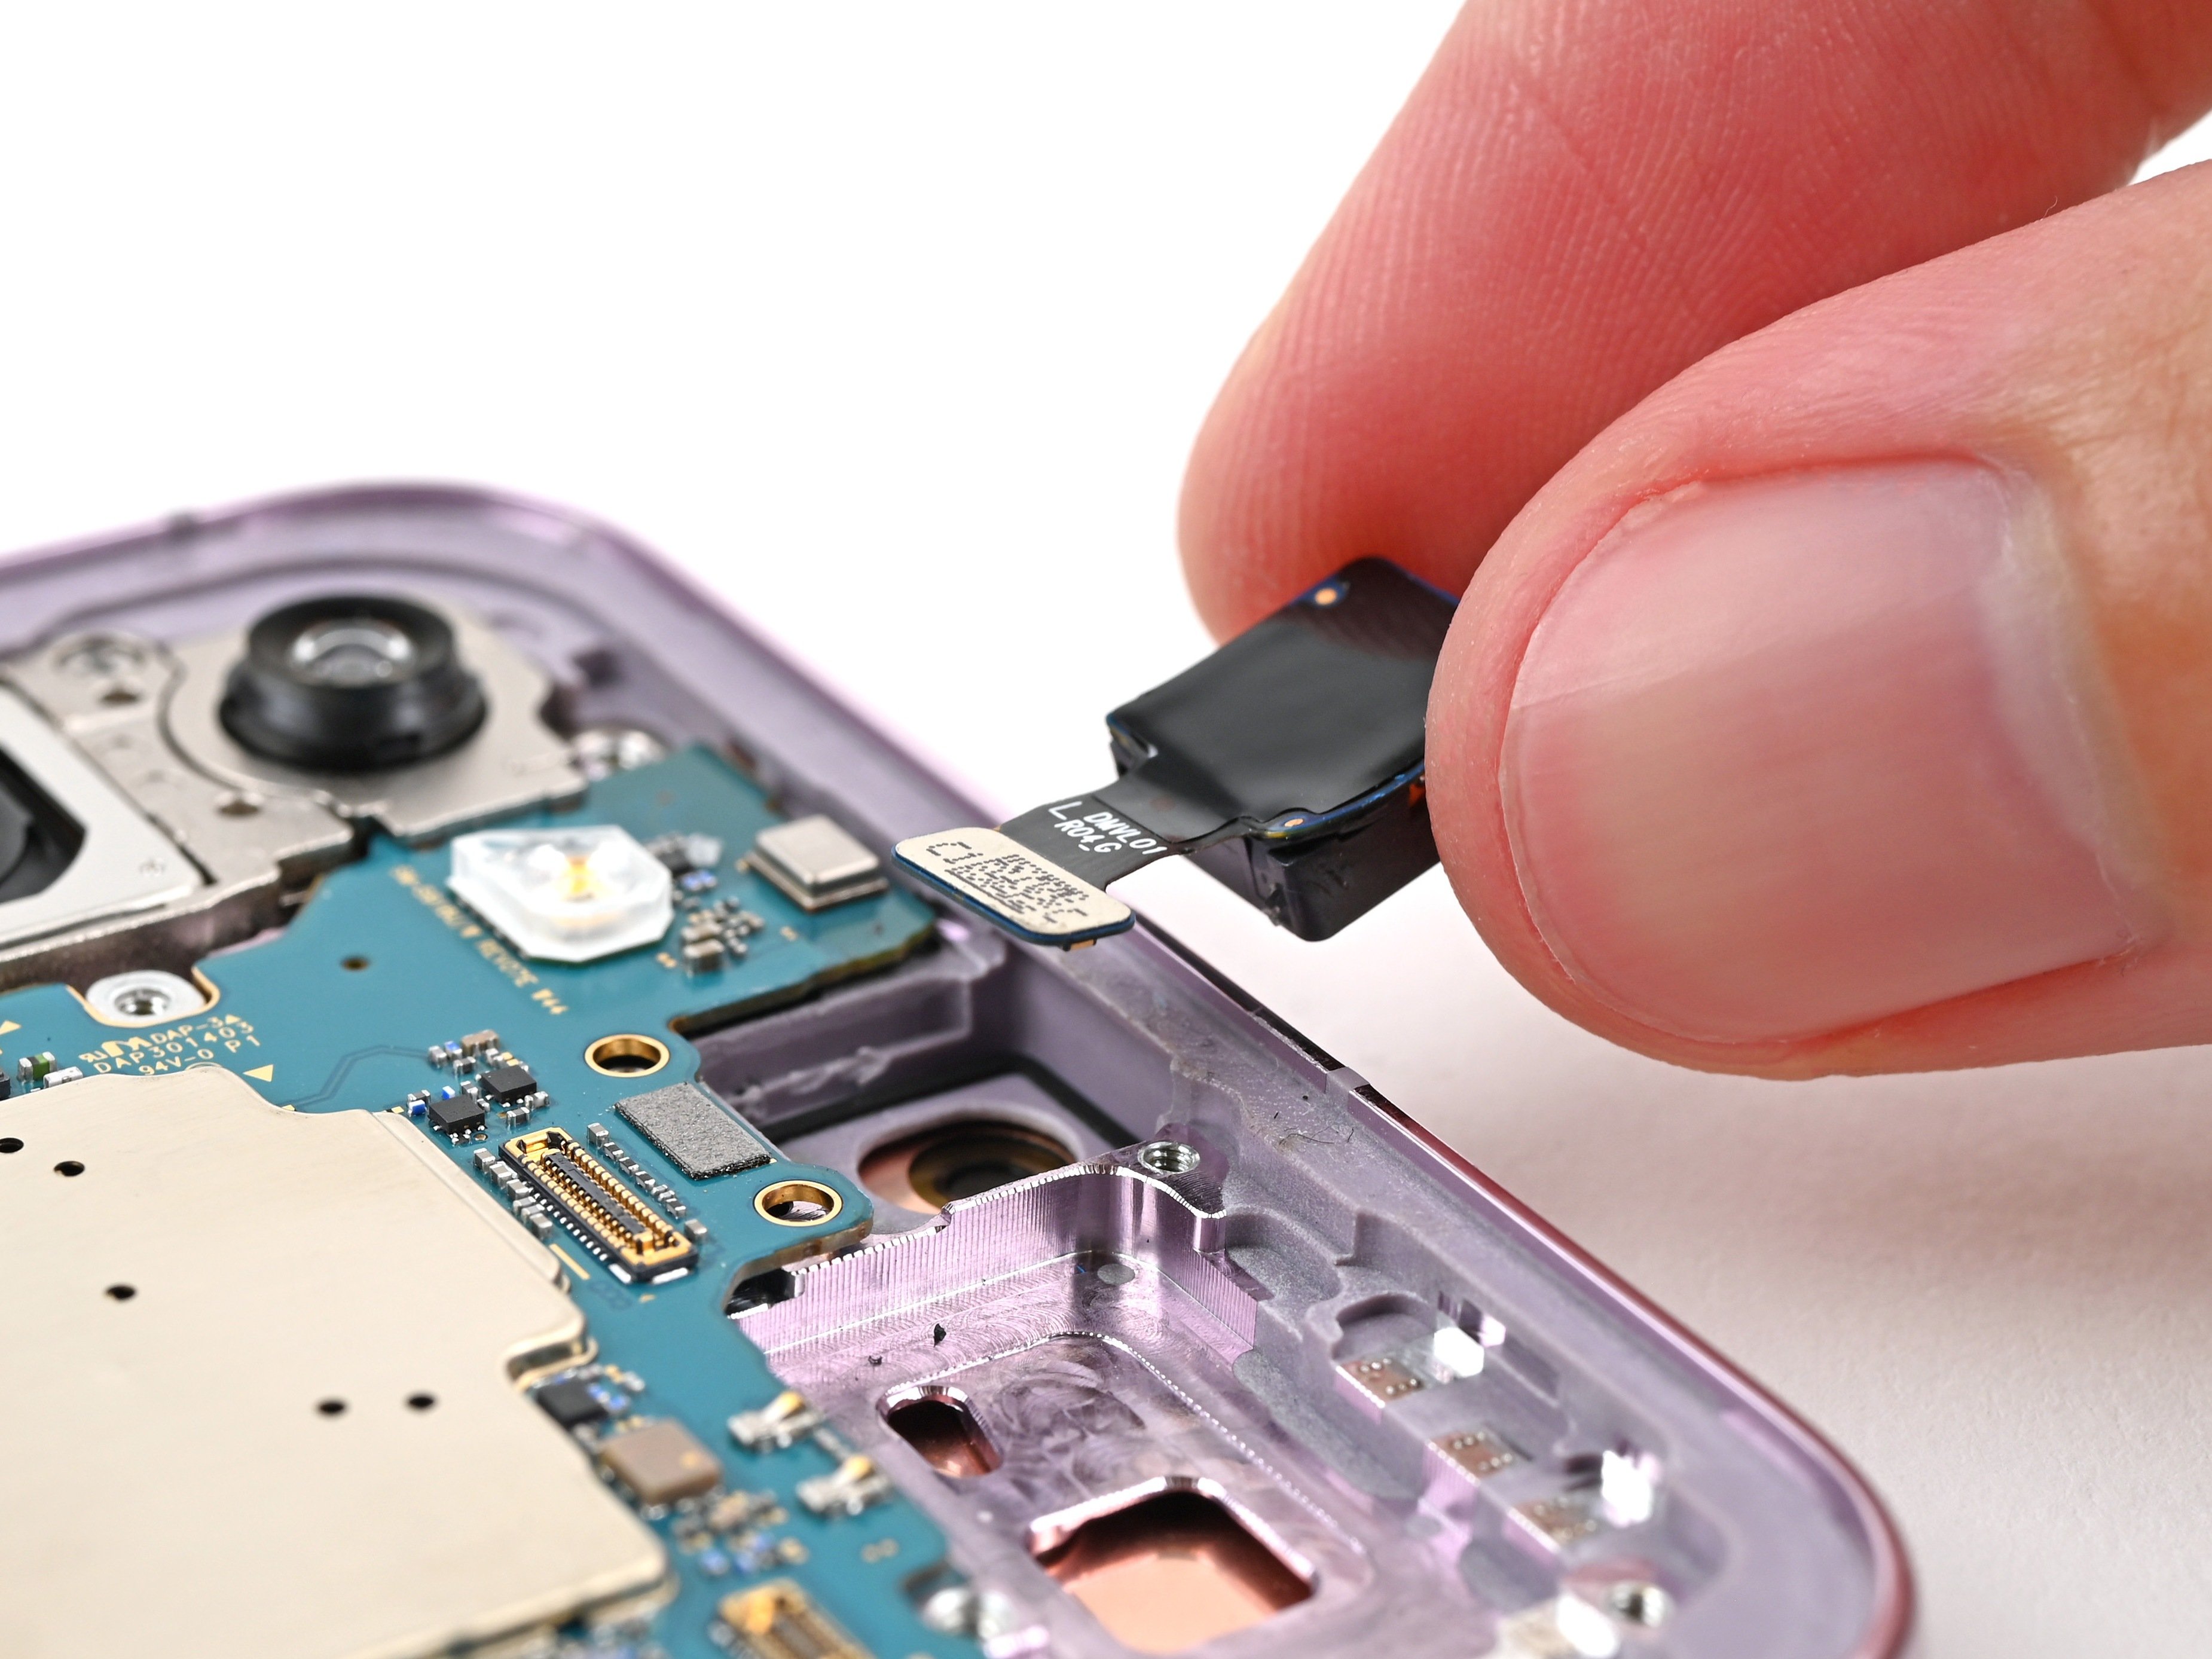
- Gently use the tip of a spudger to lift and disconnect the earpiece speaker press connector. You've got this!
Tools Used
Step 23


- Grab your Phillips screwdriver and take out the five screws (they're 3.5 mm long) that are holding the earpiece speaker in place.
Step 24


Be careful not to insert your spudger in the wrong spot, or you might accidentally dislodge some of the phone's tiny (and fragile) surface-mounted components. If you're not feeling confident, you can always schedule a repair
- You made it! Compare your new replacement part to the original part to ensure everything is in order. Don't forget to transfer any remaining components and remove those adhesive backings from the new part before installing.
- To put everything back together, just follow these steps in reverse. Easy peasy!
- Now that you're done, be sure to responsibly recycle your e-waste with an R2 or e-Stewards certified recycler.
- If things didn't quite go as planned, don't worry! Try some basic troubleshooting or visit our Samsung Galaxy S23+ Answers for some helpful tips. And if you're still stuck, you can always schedule a repair with Salvation Repair.
-