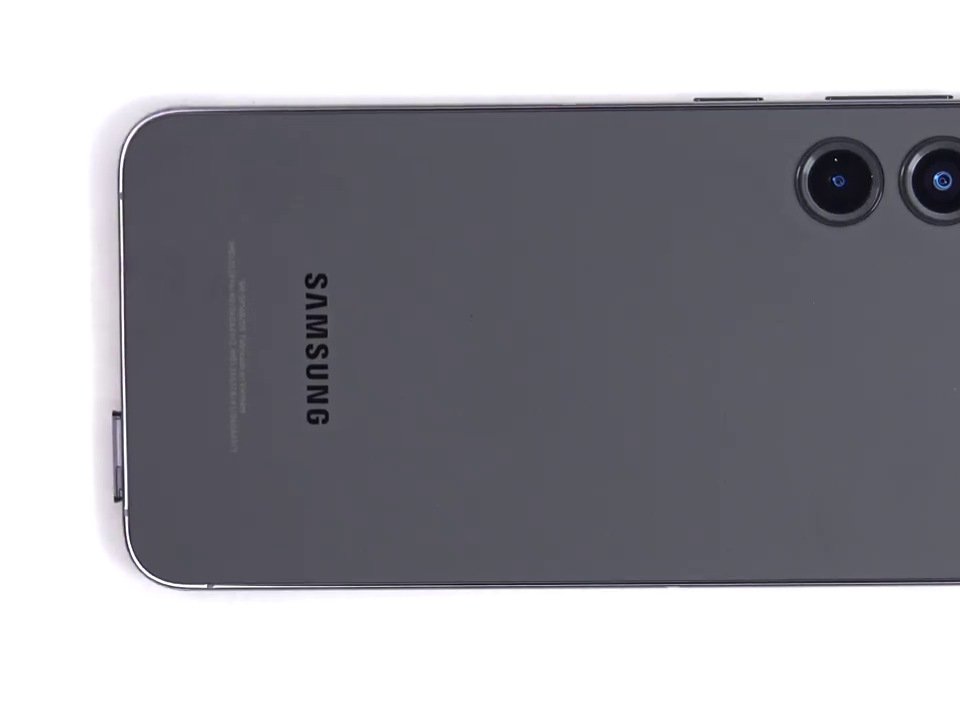
Samsung Galaxy S23 Plus Front Camera Replacement
Duration: 45 minutes
Steps: 27 Steps
Ready to swap out the front 'selfie' camera in your Samsung Galaxy S23+? Here's the deal: While you can totally replace the camera, be aware that keeping your phone's water resistance intact depends on how well you seal that back cover adhesive. Just a heads-up, though—your device will lose its IP (Ingress Protection) rating, so no more taking it for a swim!
Step 1


Let your phone’s battery dip below 25% before getting started—lithium-ion batteries pack a punch when fully charged. If your battery looks puffy, handle it with extra care!
- Disconnect any cables from your phone to get started. Then, press and hold the side button along with the volume down button, and tap 'Power off' when it pops up. Easy does it—your device's powered down and ready for the next step.
Step 2

A hair dryer, heat gun, or hot plate can warm things up, but keep the love gentle—too much heat and your screen or battery might throw a tantrum.
- Warm up an iOpener and place it on the right edge of the back cover for a couple of minutes to loosen that stubborn adhesive.
Tools Used


Step 3


If that gap’s just not happening, try a little more heat to loosen up the adhesive. Stick with the iOpener instructions so you don’t accidentally turn your device into a hot potato.
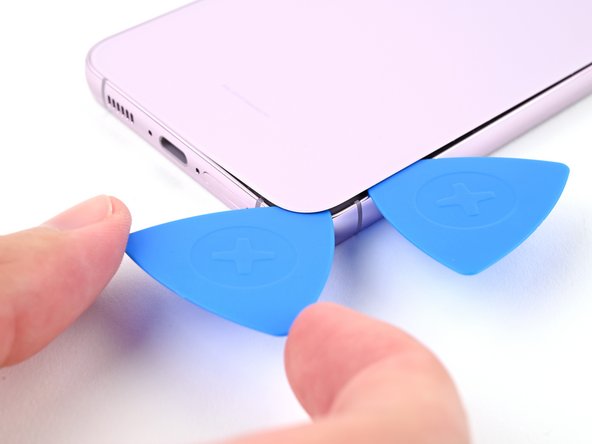
- First, attach a suction handle to the back cover, positioning it as close to the center of the right edge as you can - this will be your trusty sidekick for prying it open.
- Next, pull up on the suction handle with a firm, steady force to create a gap between the cover and the frame. Don't worry, it's designed to come apart!
- Now, take an opening pick and insert it into the gap you just created. You're making great progress!
Tools Used

Step 4


- Gently slide the prying pick along the right edge to loosen the adhesive. Keep the pick inserted near the bottom right corner to stop the adhesive from sealing back up.
Step 5

- Warm up the bottom edge of the back cover with a heated iOpener for about two minutes. Keep the heat steady and gentle to make the adhesive more pliable.
Tools Used
Step 6

- Slip another pick into the bottom right corner—like it's squeezing onto a dance floor.
- Spin that pick around the corner to break up the sticky stuff holding things together.
Step 7


- Slide your trusty opening pick down to the bottom left corner and let it work its magic on the adhesive.
- Keep the pick chillin' in the corner so that sticky stuff doesn’t sneak back together.
Step 8

- Warm up the left edge of the back cover by applying a heated iOpener for about two minutes. Keep it there until the adhesive softens and the cover loosens up a bit.
Tools Used
Step 9


- Now it's time to get this device opened up. Rotate the opening pick around the bottom left corner to gently pry the adhesive loose and start separating the parts. Take your time and be patient, it's a delicate process.
Step 10


- Time to get this repair started! Insert a third opening pick at the bottom left corner to help loosen things up.
- Now, gently slide your pick toward the top left corner to separate the adhesive - you're making great progress!
- Leave the pick in the top left corner to prevent the adhesive from resealing, and get ready for the next step in this step-by-step repair guide from Salvation Repair.
Step 11

- Warm up an iOpener and place it on the top edge of the back cover for a cozy two minutes.
Tools Used
Step 12


- Slide a fourth opening pick into the top left corner.
- Twist it gently around that corner to break free the adhesive.
Step 13


- Glide your opening pick up to the top right corner to loosen that sticky adhesive.
- Keep the pick hanging out in the top right—this stops the glue from sneaking back together.
Step 14


Keep your pick away from the rear cameras—those lenses are precious! Pressing on them can lead to some unwanted selfie drama.
You'll notice a bit of leftover adhesive hiding under the flash - don't worry, it's normal!
Take a peek through the flash cutout and you should be able to spot the opening pick doing its thing.
- Align the tip of your opening pick with the flash cutout area.
- Carefully slide the pick underneath the top edge of the back cover, feeling it start to catch on the adhesive.
- Continue sliding the pick downward toward the bottom of the phone until the adhesive releases completely from the back cover.
Step 15


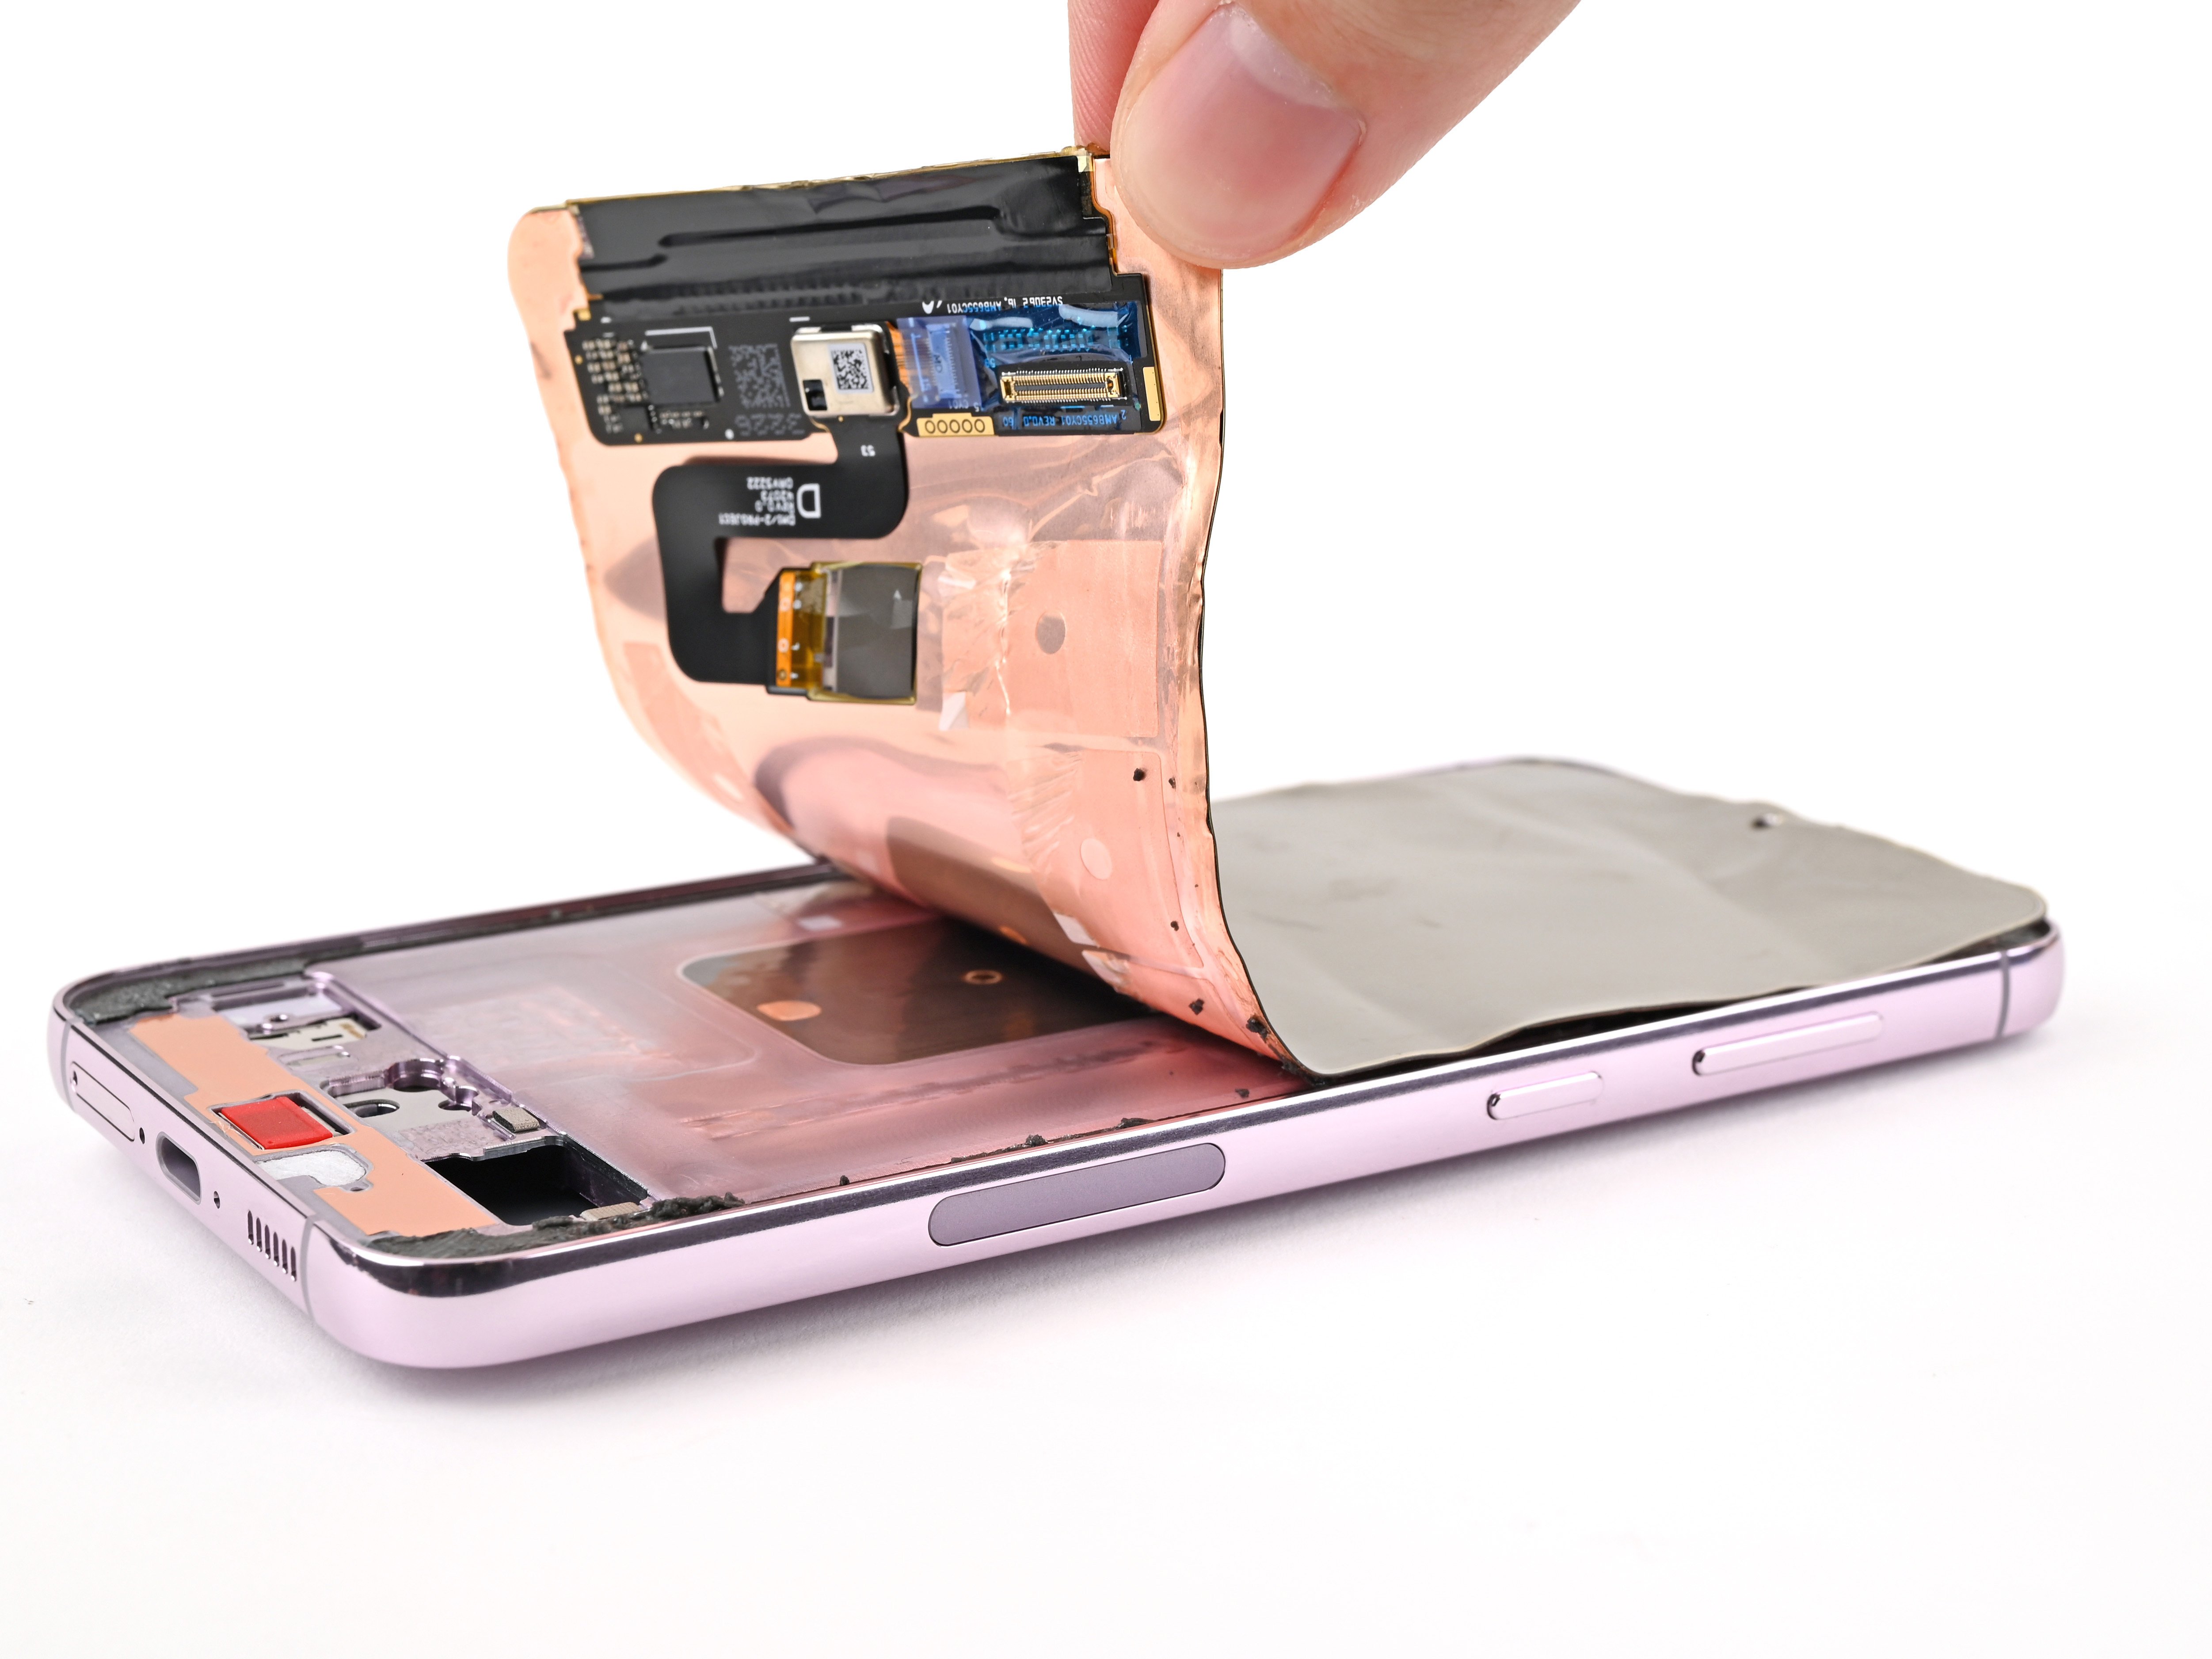
- Let's get started! Remove the back cover to access the inner workings of your device.
- When you're putting everything back together, take a moment to turn on your device and make sure all functions are working properly. Then, power it back down before moving forward.
- Time to tackle that stubborn adhesive! Use a pair of tweezers or your fingers to gently remove any remaining chunks. If it's being particularly stubborn, try applying some heat and isopropyl alcohol (90% or greater) to help loosen things up.
- If you're using custom-cut adhesives, be sure to follow our guide for the best results.
- And if you're working with double-sided tape, we've got a guide for that too - just follow along and you'll be all set.
If your cover is still holding onto the frame like a clingy ex, grab an opening pick and gently wiggle it around the edges until the cover slips free. Keep it steady and patient—soon enough, you'll have that cover detached and ready for the next step. If you need help, you can always schedule a repair.
Tools Used


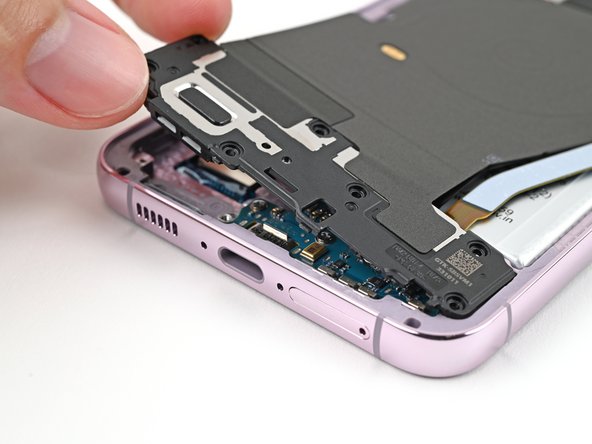
Step 16


- Use the spudger tip to carefully lift and disconnect the wireless charging coil press connector from the motherboard.
- When reattaching press connectors, make sure to align one side first and gently press it down until you hear a click. Then, repeat the process on the other side. Avoid pressing the middle, as misalignment can bend the pins and cause lasting damage.
Tools Used

Step 17


- Grab your spudger and gently pop up the NFC antenna connector—think of it like giving your phone a little nudge to wake it up.
Tools Used
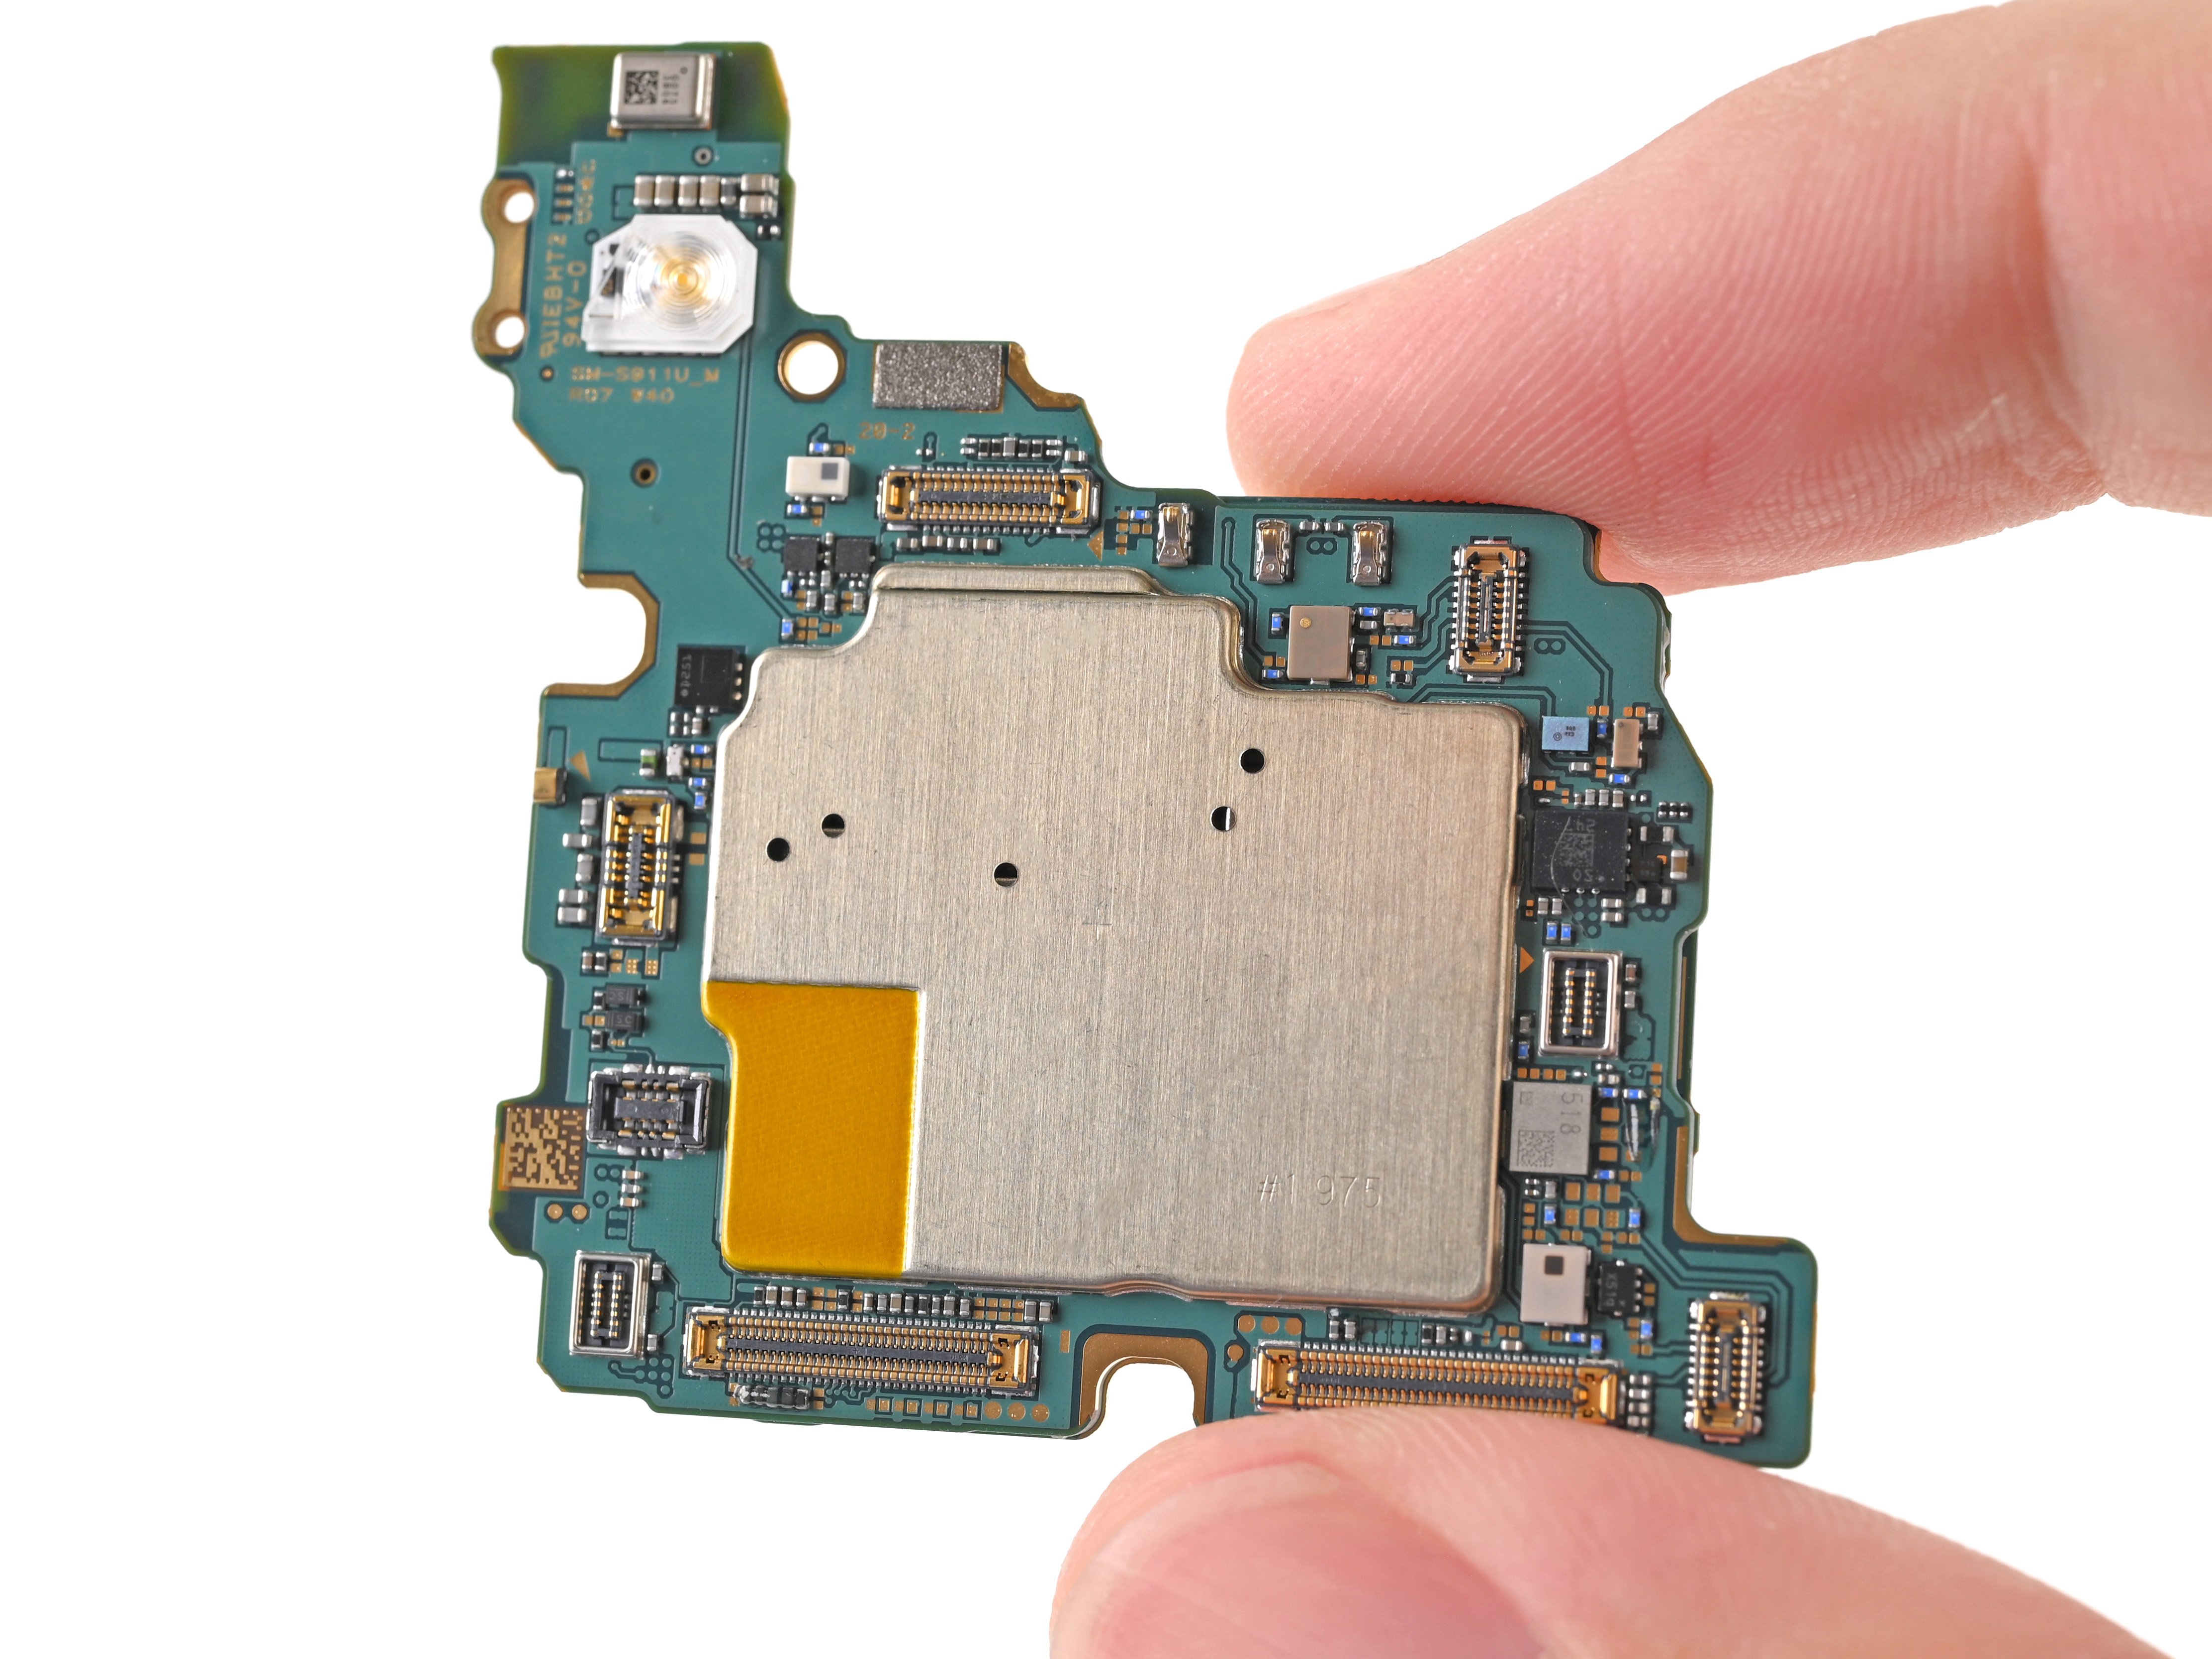
Step 18


- Grab a Phillips screwdriver and get ready to loosen things up. First, remove the thirteen 3.5 mm screws that hold down the wireless charging coil and the loudspeaker. There are six screws securing the wireless charging coil, and seven securing the loudspeaker. Take your time and keep track of all the screws—you’ll need them later. If you need a hand, remember you can always schedule a repair.
Step 19


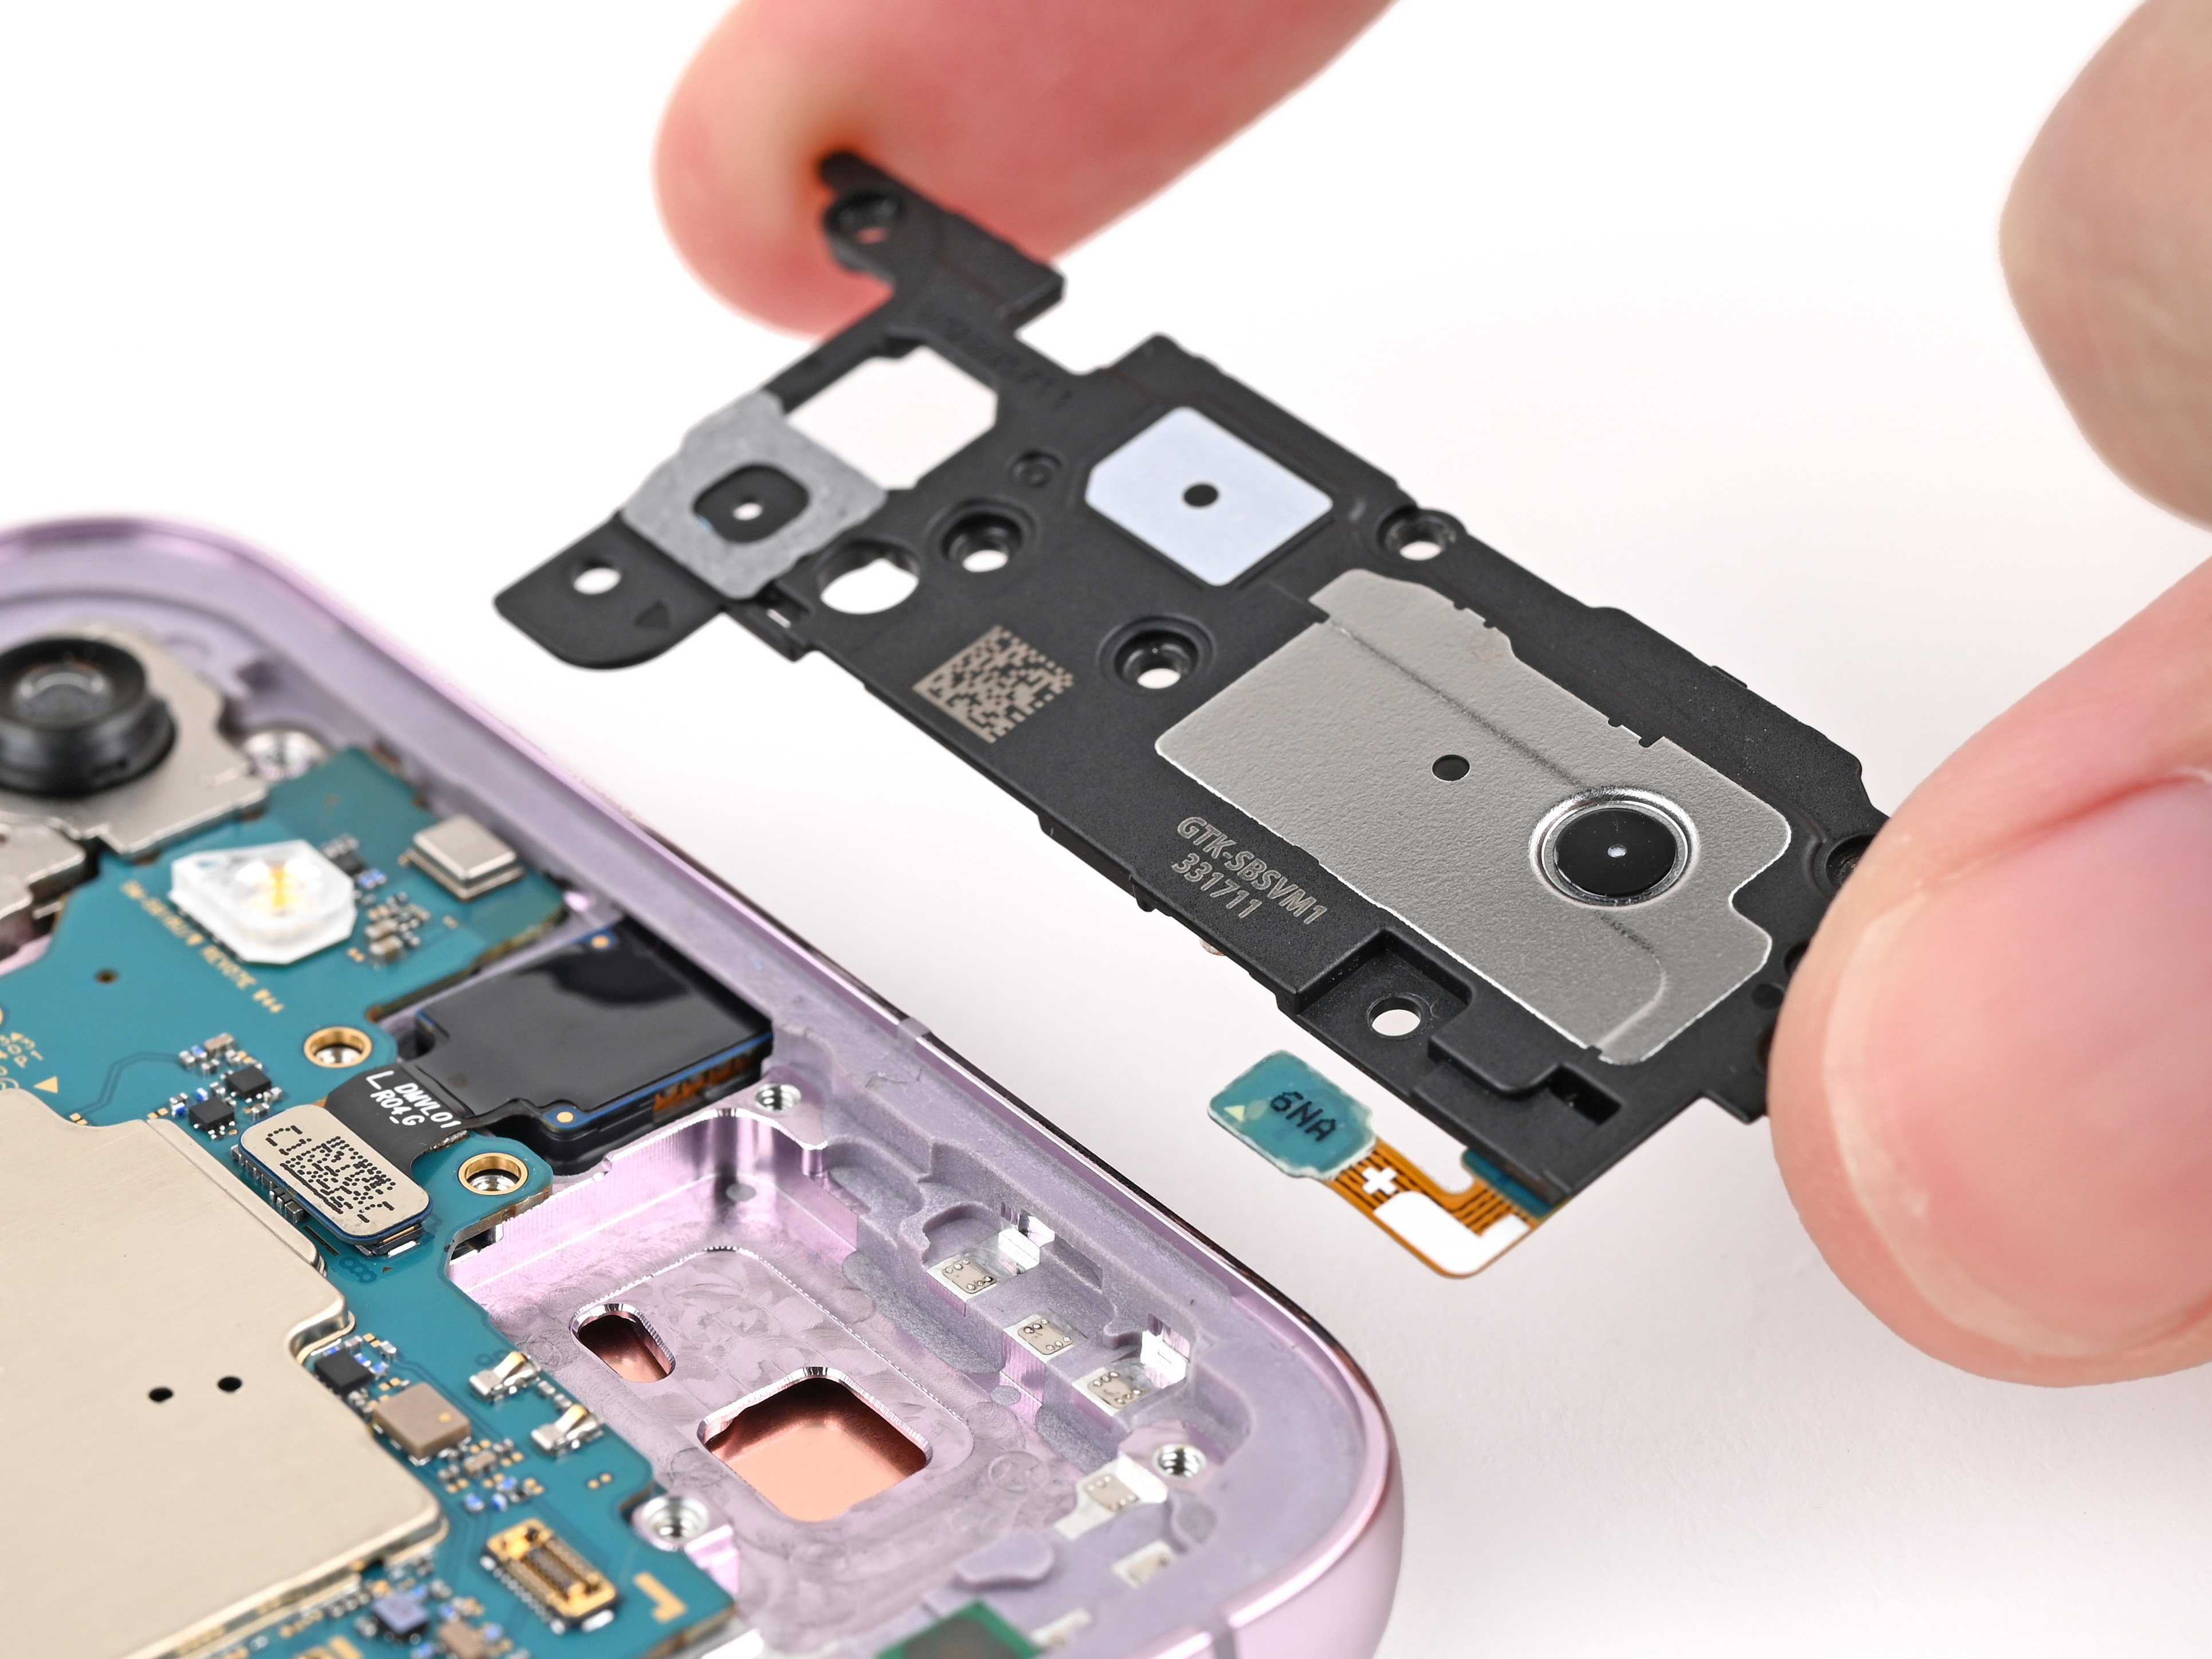
- Slide your spudger into the notch at the top left of the loudspeaker—like you’re sneaking in for a secret mission.
- Gently pop the loudspeaker up and free it from the frame. It should unclip with a satisfying little snap!
Tools Used
Step 20
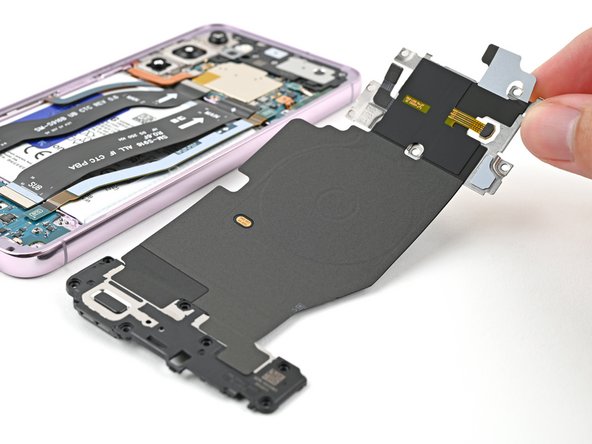

- Gently pry the loudspeaker away from the frame with your fingers, giving it a little nudge to help separate them completely.
- Next up, let's take out the wireless charging coil and loudspeaker from the frame, making it nice and clear.
- When you're putting it all back together, remember to give a little press around the edges of the loudspeaker to snap it back into place.
Step 21


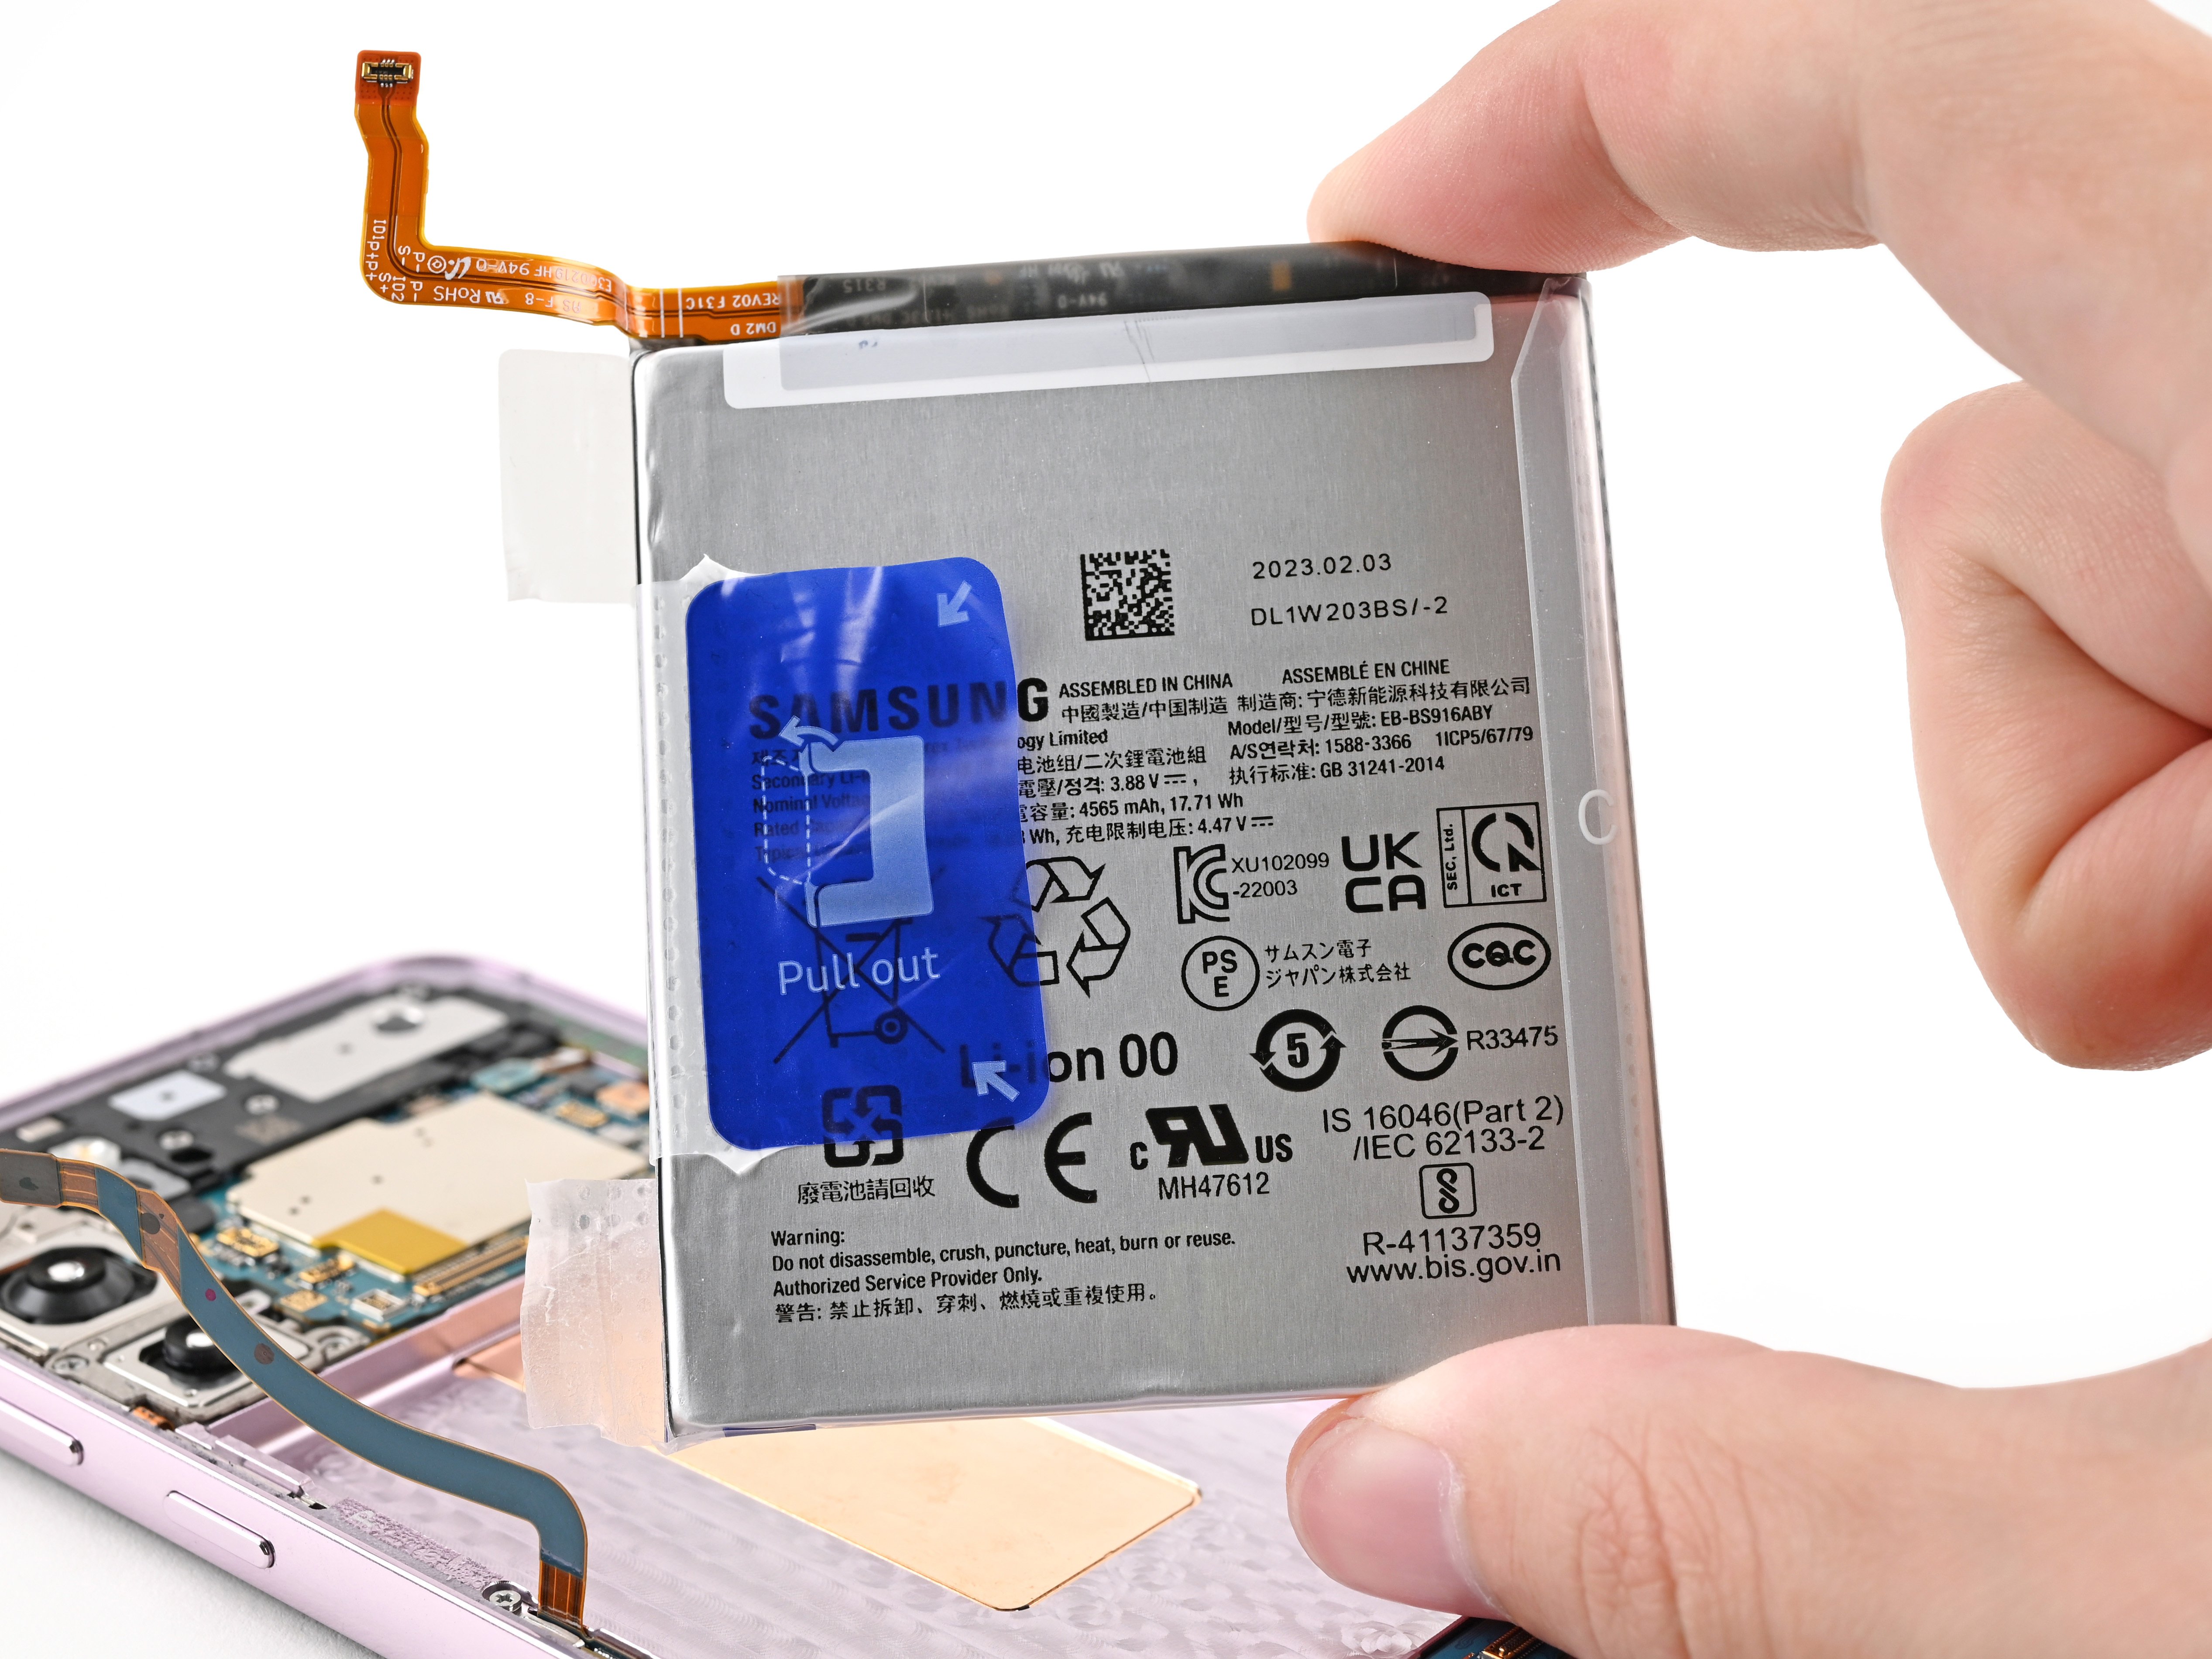
- Gently wiggle the tip of your spudger under the battery press connector and pop it free like a pro!
Tools Used
Step 22


- Gently pop up the earpiece speaker connector with the tip of your spudger—think of it like opening a stubborn bag of chips, but with a lot more precision.
Tools Used
Step 23


- Grab your Phillips screwdriver and twist out the five screws (they’re each 3.5 mm long) holding the earpiece speaker in place. Easy does it!
Step 24


Hey, avoid poking around with your spudger in places where it might wiggle loose delicate surface‑mounted parts. Stay safe and keep those tiny components put away from danger zones.
- Slide the flat tip of your spudger under the lower edge of the earpiece speaker, right where it meets that tiny shield on the board—think of it as a gentle nudge.
- Give the spudger a slight twist to pop the speaker free; it’ll come off like a sticker from a fresh notebook.
- When you’re putting it back together, tuck the top of the speaker in first, then press the rest down until it clicks—easy peasy.
Tools Used
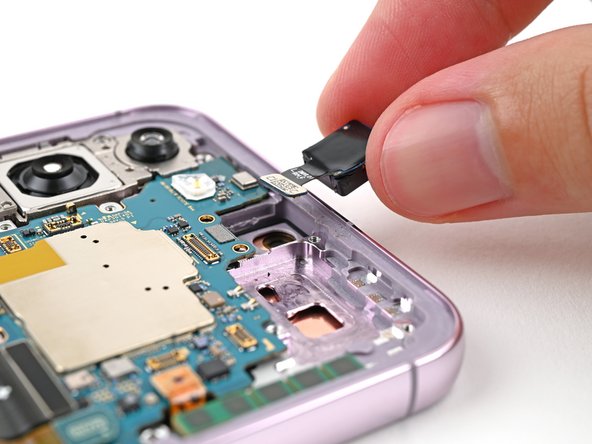
Step 25
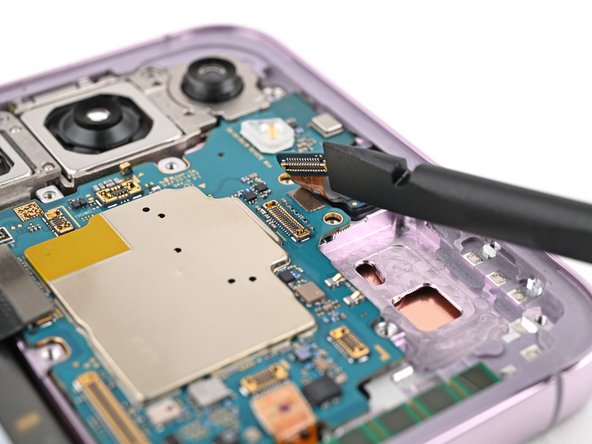

Be careful around this connector! Those delicate surface-mounted components are like little ninjas, ready to jump off the board if you pry at the wrong angle. Keep it cool and stick to the edges to avoid any surprises!
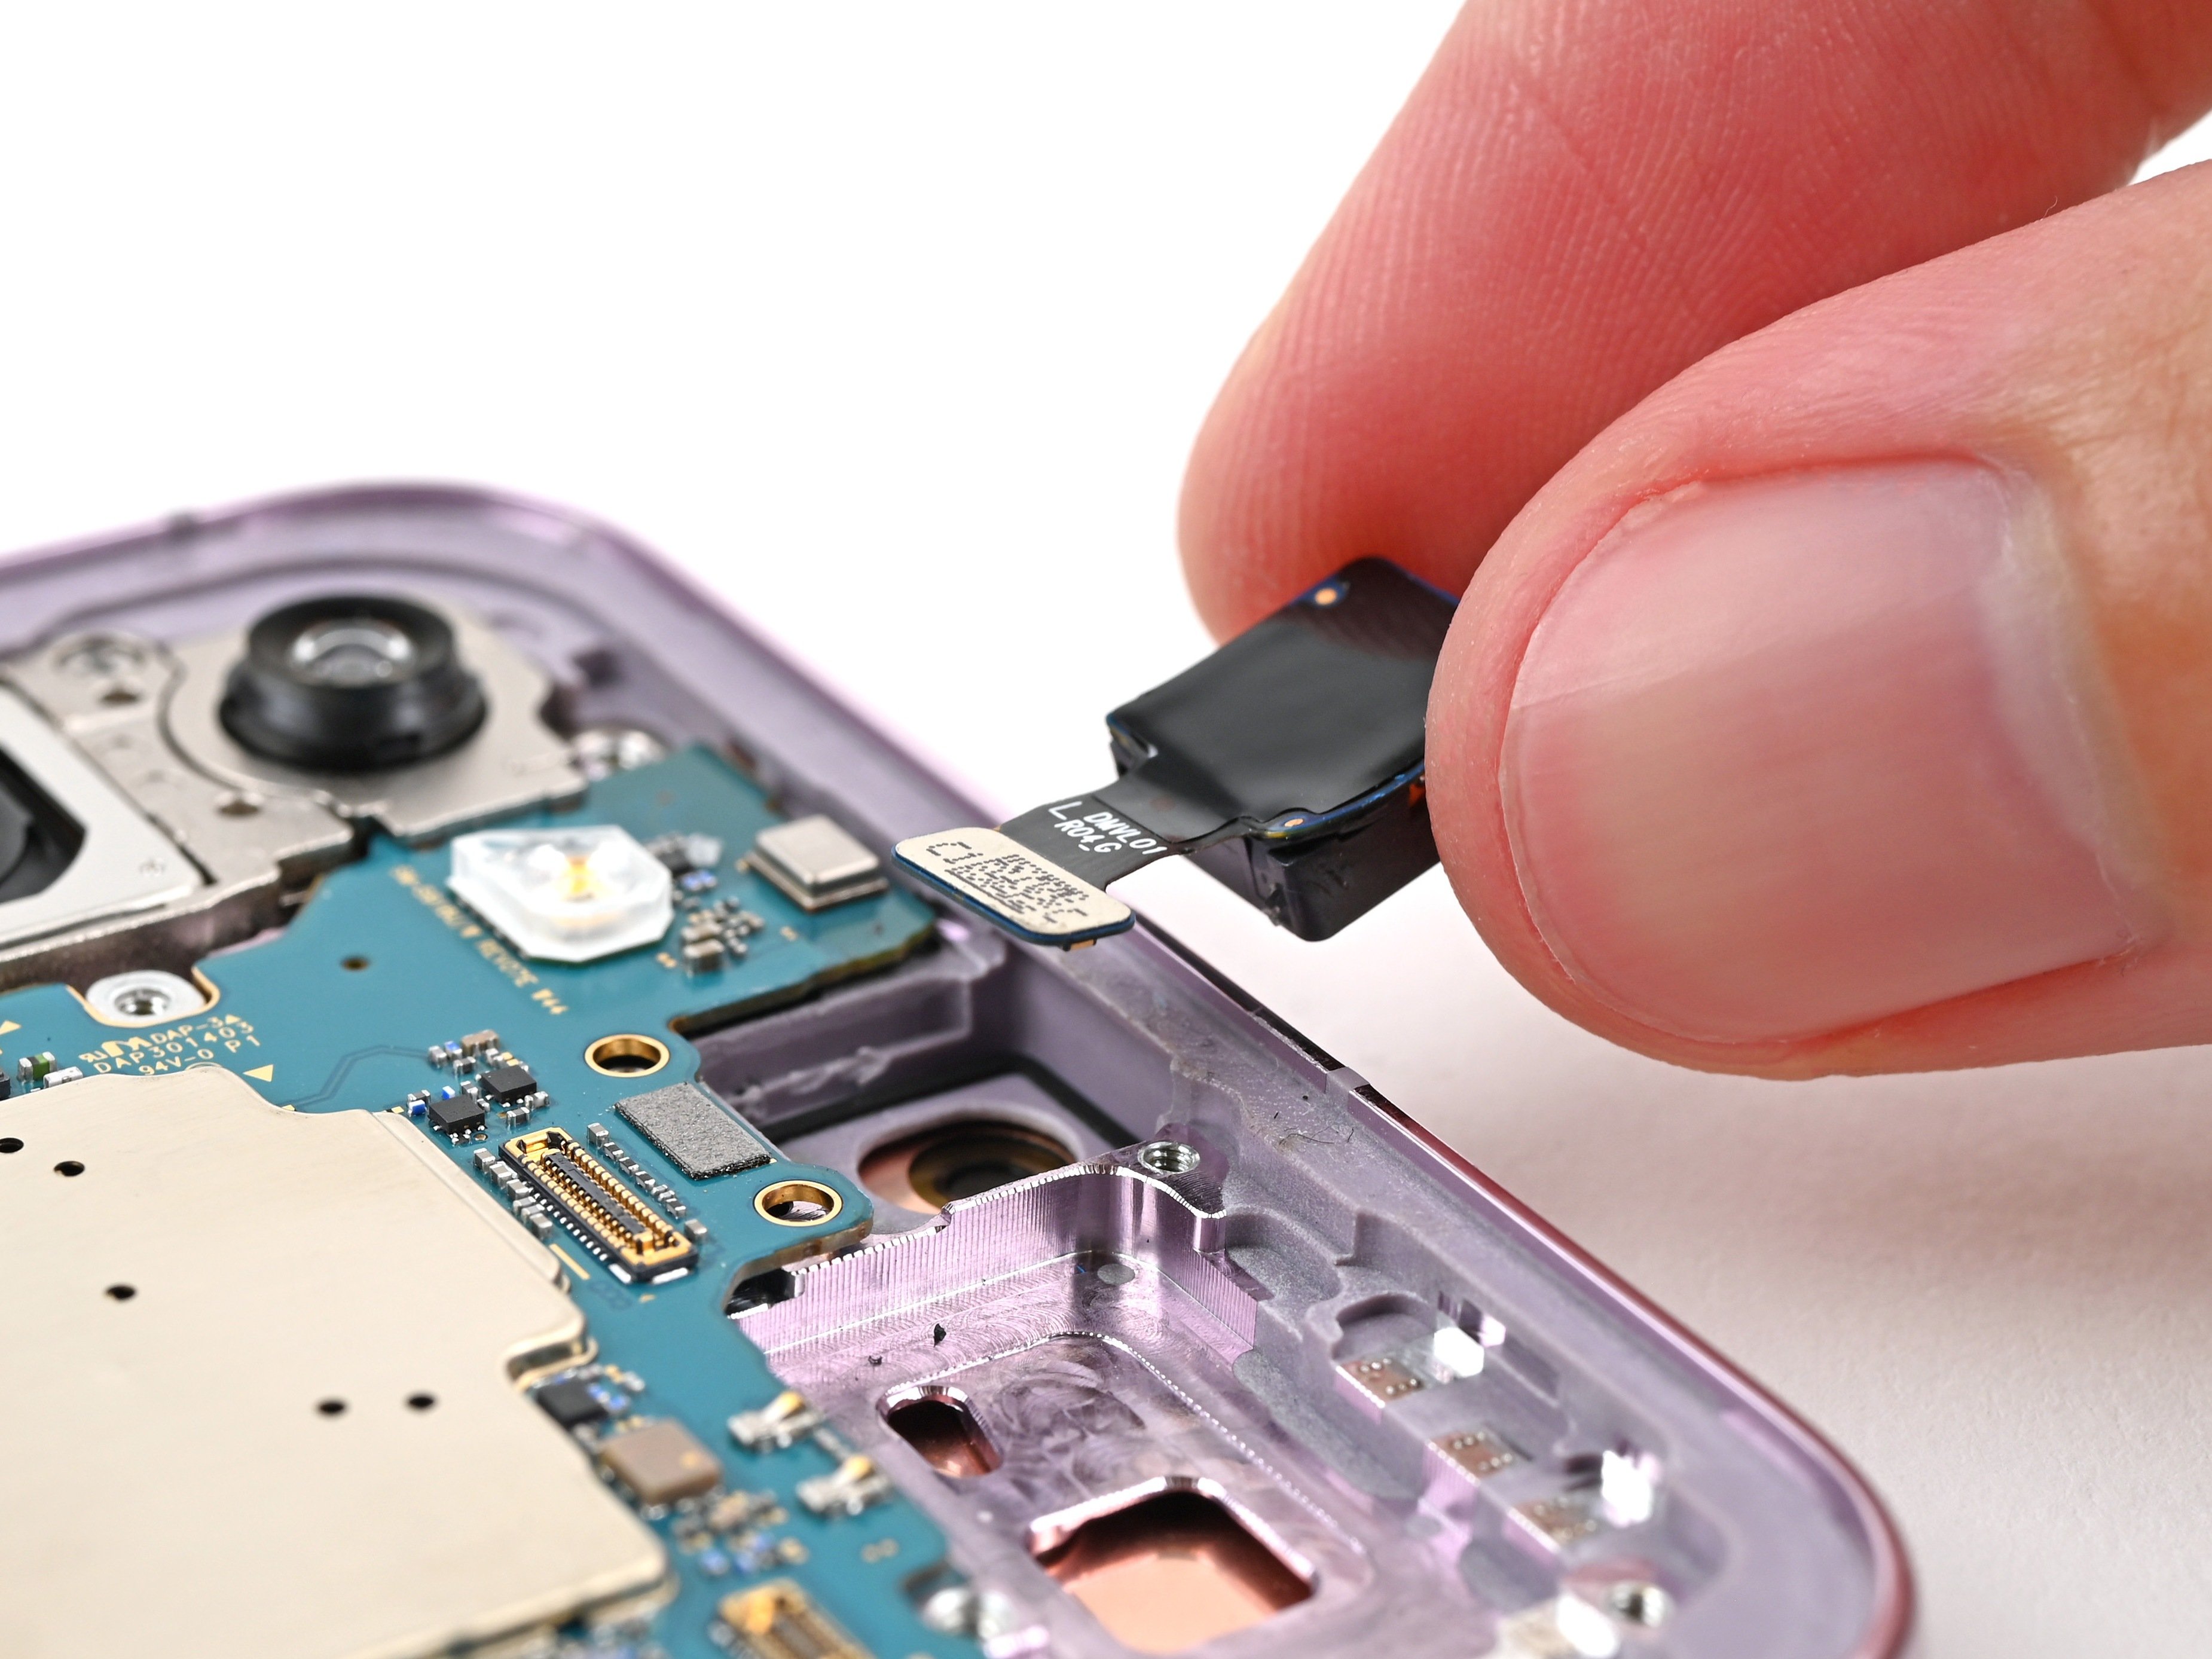
- Take your spudger and slide its flat end between the right edge of the front camera’s connector and the motherboard. Nice and gentle—no need to rush.
- Pop up that antenna connector with a little prying action. It’ll come loose with a bit of encouragement.
Tools Used
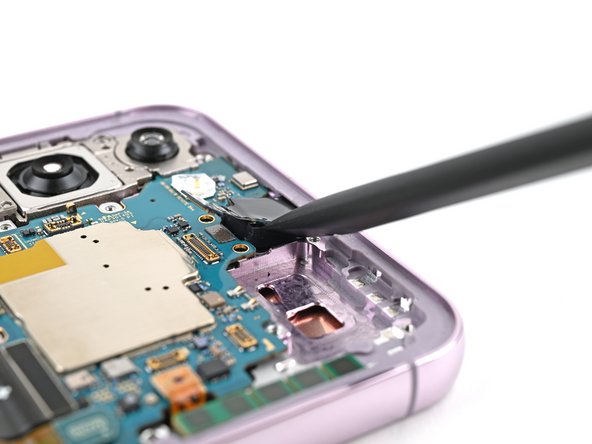
Step 26

The adhesive holding the camera in place is seriously stubborn. Take your time, and give it a little extra heat if it won’t budge. Be gentle with the circuit board—don’t let it break up with its camera housing!
- Time to get cozy with that front camera! Use a hair dryer or a heat gun to give it some love for 90 seconds.
Tools Used
Step 27

If the camera refuses to budge, grab your spudger and gently scrape away the epoxy around the lens. Take your time—patience is key to a smooth detachment. If you need a hand, you can always schedule a repair.
- Check out your shiny new part next to the old one—make sure any leftover bits and sticky stuff are moved over before putting it in.
- Pop everything back together by flipping through the steps backwards.
- Give your old tech a second life with an R2 or e-Stewards certified recycler.
- If your device is being a drama queen, try a few quick troubleshooting moves, or swing by Salvation Repair’s Answers Community for some pro tips.
- Need a hand? You can always schedule a repair.