DIY iPad 2 Wi-Fi EMC 2560 Front Panel Adhesive Replacement
Duration: 45 minutes
Steps: 14 Steps
Ready to give your iPad a fresh adhesive makeover? Let’s get that repair job wrapped up nicely! First things first, you want those surfaces squeaky clean. Grab a spudger and gently scrape away any leftover bits of the old adhesive. Then, with a paper towel and some rubbing alcohol or Goof Off, wipe down both the front panel and rear case to ensure a perfect stick. Pro tip: peel off each adhesive strip as you go, instead of laying them all out at once. Happy repairing!
Step 1
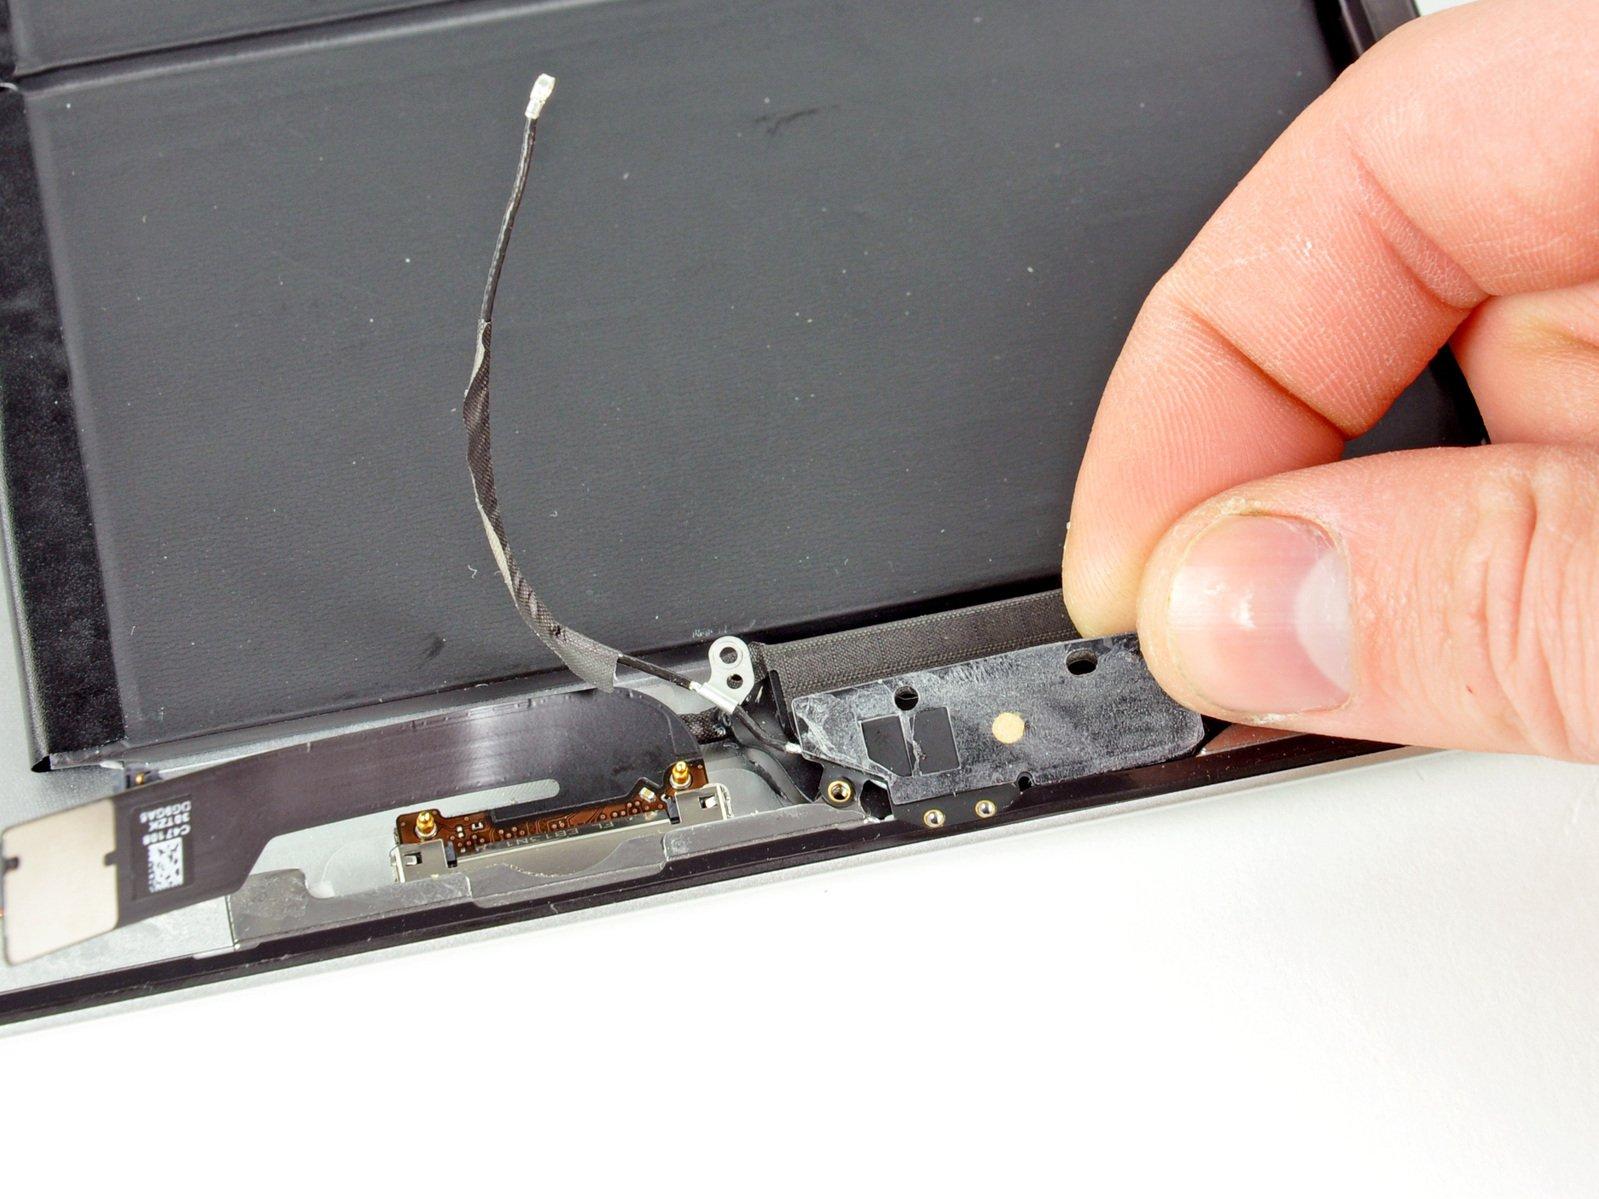
Check out the third picture for the right way to position that home button! Just remember, the back of the home button should be facing up, and the flat part of the inner circle needs to be pointing to the top of the iPad. You’re doing great—keep it up!
– With a steady hand, grab the home button using a pair of tweezers.
– Now, gently lower and position the home button into the cozy round opening at the bottom of the front panel.
Tools Used
Step 2
These two nifty little notched trapezoidal strips are your best pals for securing the home button bracket to the front panel. Let’s get that button back in action!
– Gently remove the first trapezoidal adhesive strip with care.
Step 3
Be sure to align the profile of the strip with the edge of the mounting bracket like a pro!
– Grab your trusty tweezers and carefully position the first trapezoidal adhesive strip on the corresponding side of the home button mounting bracket, making sure it’s aligned just right.
– Now, let’s do it again! Apply the second trapezoidal adhesive strip using the same technique.


