DIY Guide to Replace MacBook Pro 13 Unibody Lower Case
Duration: 45 minutes
Steps: 2 Steps
Hey there, superstar! Before you dive into this repair adventure, just a friendly reminder: always make sure your device is powered down and unplugged. Safety first, right? If you find yourself in a pickle and need a hand, feel free to schedule a repair. You’ve got this!
Swap out that aluminum bottom case on your MacBook Pro 13″ Unibody. It’s easier than you think and you’ll enjoy a great sense of accomplishment! But if you need help, you can always schedule a repair.
Step 1
– Alright, let’s tackle this! Remove these 10 screws that are holding the lower case of your MacBook Pro 13″ Unibody together. If you need help, you can always schedule a repair.
Step 2
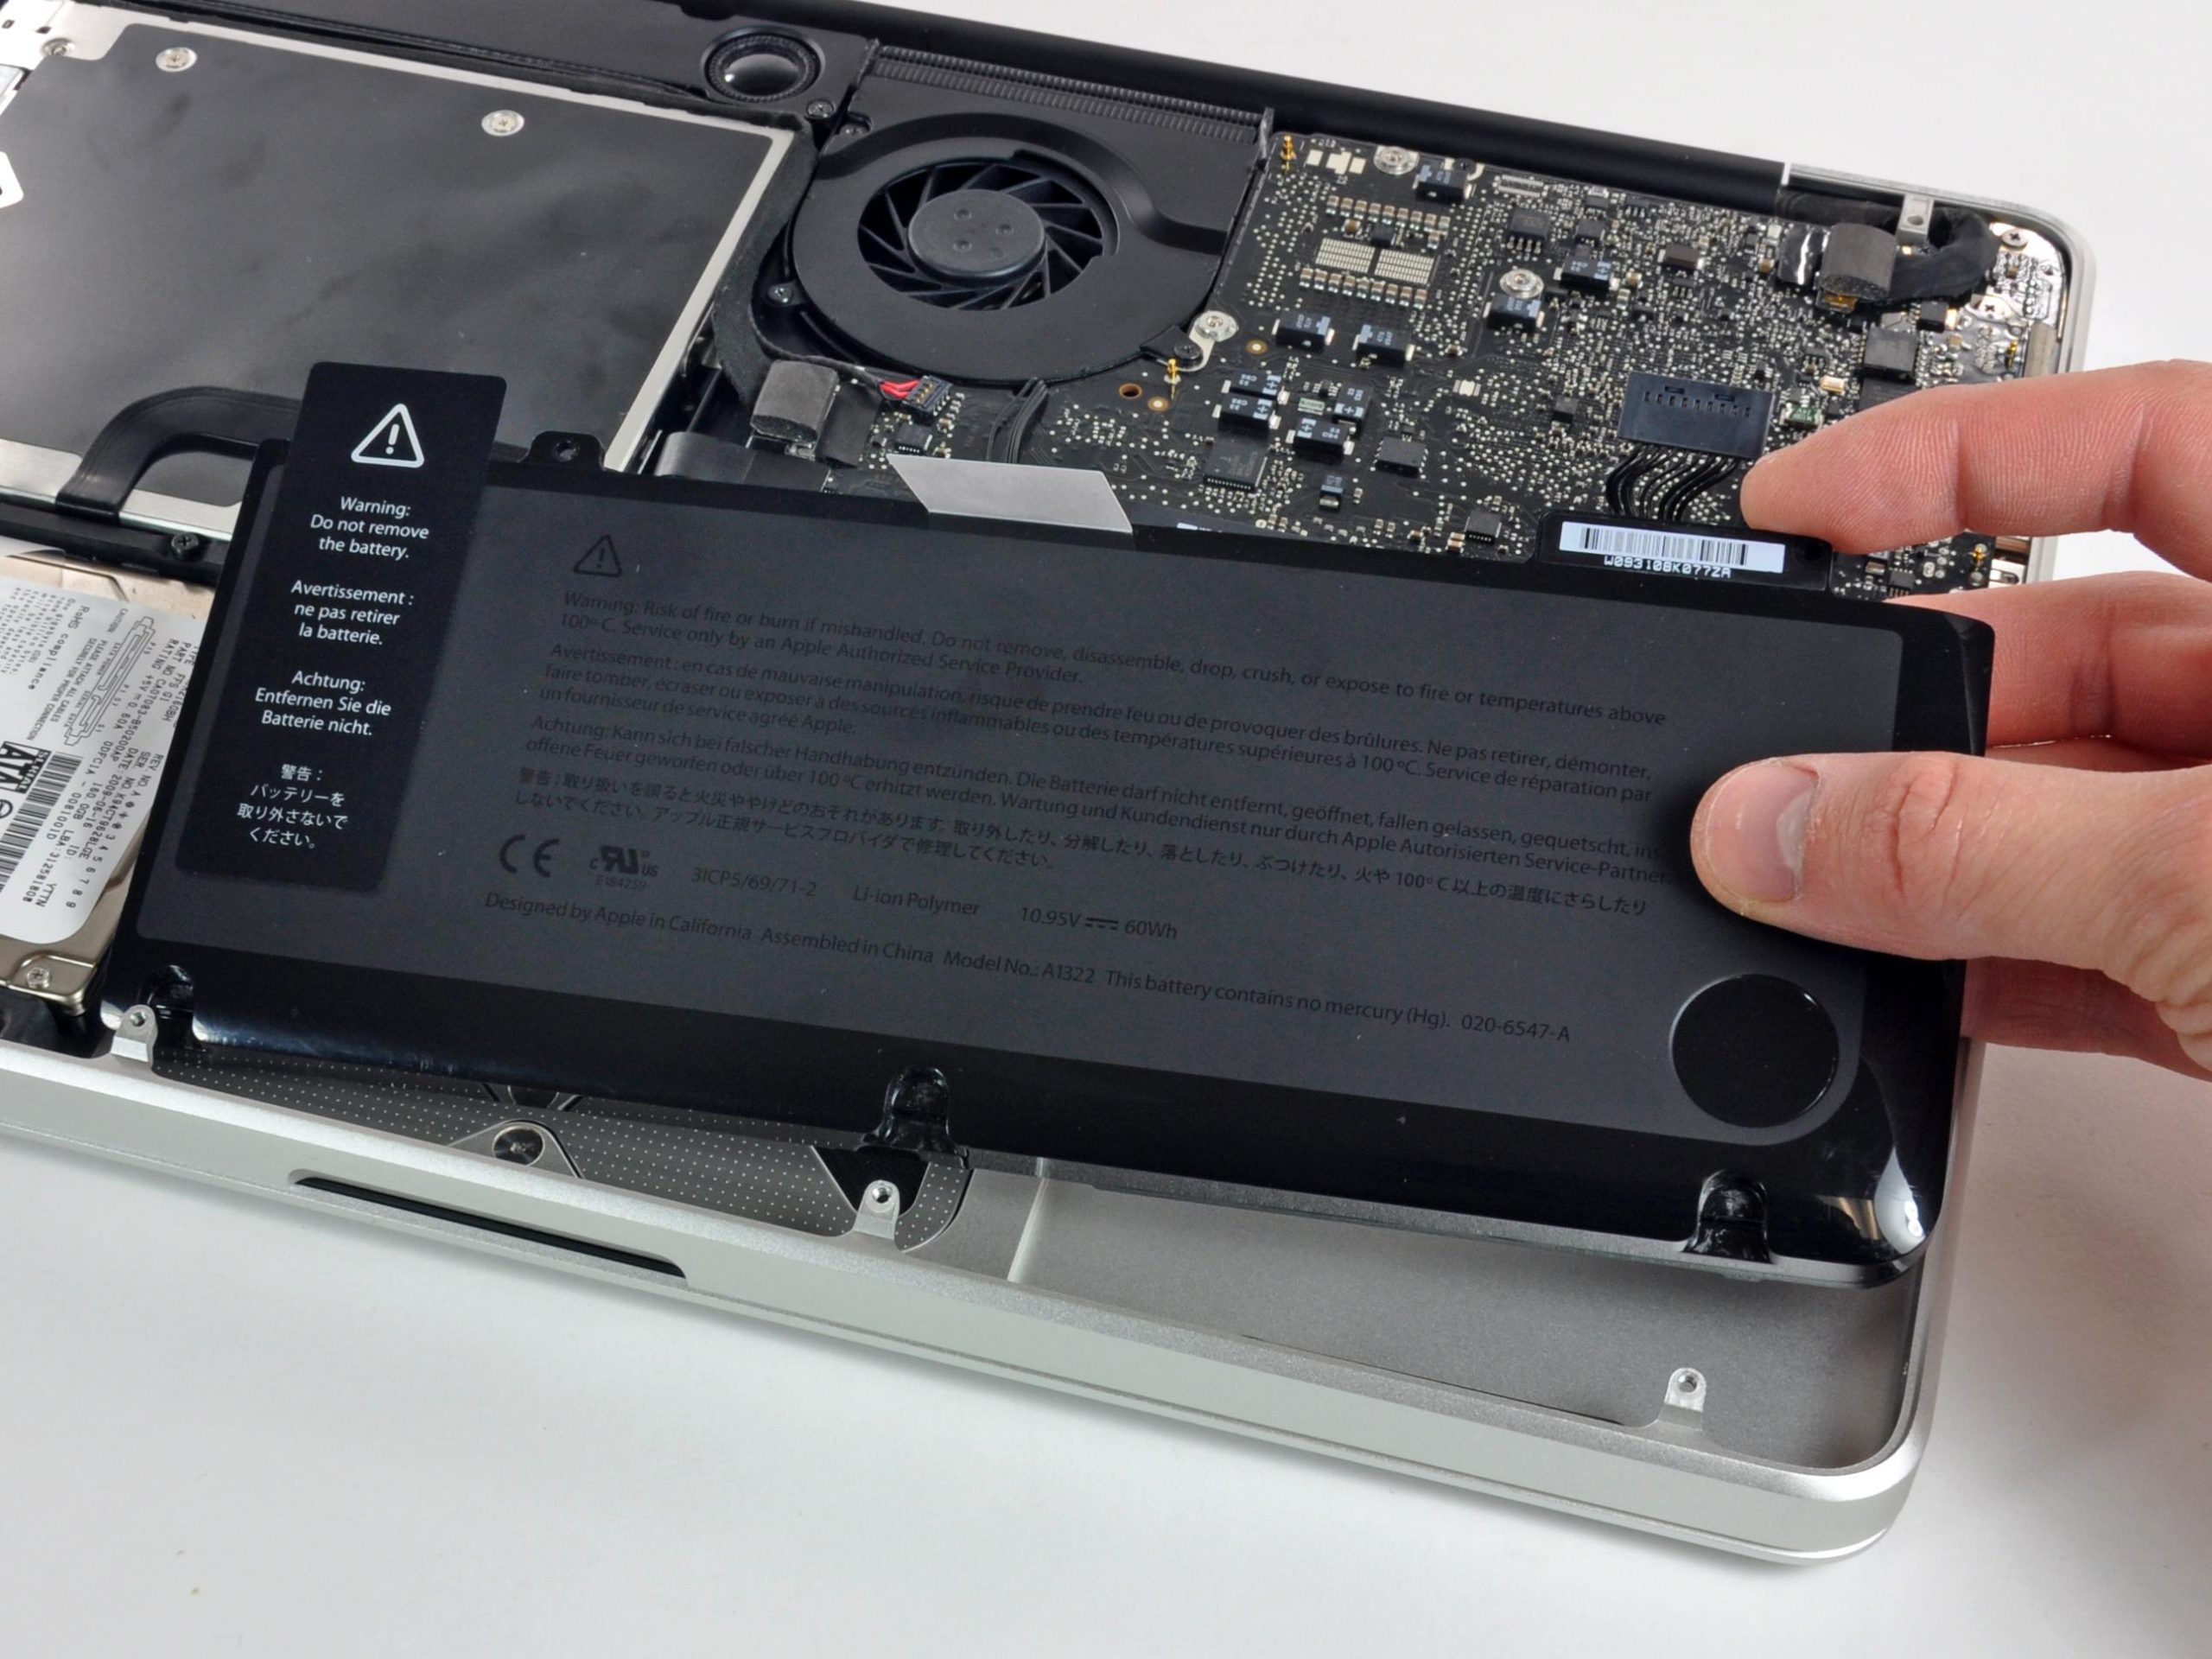
– Gently lift the lower case and nudge it toward the back of your device to release the mounting tabs. A little wiggle goes a long way! If you need help, you can always schedule a repair


