DIY Guide to Replace Samsung Galaxy Battery in 7 Steps
Duration: 45 minutes
Steps: 7 Steps
Heads up:
Common Questions
Smartphones sure love to guzzle power! A standard battery can barely make it through a day with regular use. But don’t worry, we’re here to help you supercharge your battery life—double the juice, double the fun! Just a heads-up: tinkering with Lithium-ion batteries comes with its own set of challenges. If you’re not confident in your skills or knowledge, it might be best to hit the brakes! Also, modifying Lithium batteries could run afoul of local laws, so make sure you’re in the clear! Remember, it’s all on you! Got questions? Here are some quick FAQs: Q: Can I mix a new battery with an old one? A: Short and sweet: YES! Want the long version? Just Google it! Q: Can I do this with a non-Samsung phone or battery? A: Absolutely! The Samsung Galaxy S Duos / S7562 is just one example. If you can cut or reshape the back case, you’re good to go with more batteries than your device was originally designed for. Q: What’s the best way to balance the voltage between batteries? A: Personally, I’d recommend discharging them to below 3.5V or using them until they automatically shut off. A discharged battery has higher resistance and less energy, which is safer. Q: What should I do if things go south? A: (Not likely if you follow this guide) If you have the time and tools, cut the wire. If things get dicey, drop the battery in water and step back—let others know, and don’t touch it until it cools down!
Step 1

Heads up: Soft-shell lithium-ion batteries can be a bit delicate. If they get damaged, they might throw a surprise party with flames. So handle with care!
– Alright, let’s get started! Think of doubling up those batteries to boost your power. It’s all about efficiency, no tricks here!


Step 3

– Grab those two batteries and give them a buddy hug, belly to belly! Use that peeled skin to keep them snug as a bug.
– Time to shed some layers! Carefully take off both black plastic PCB covers.
Step 4


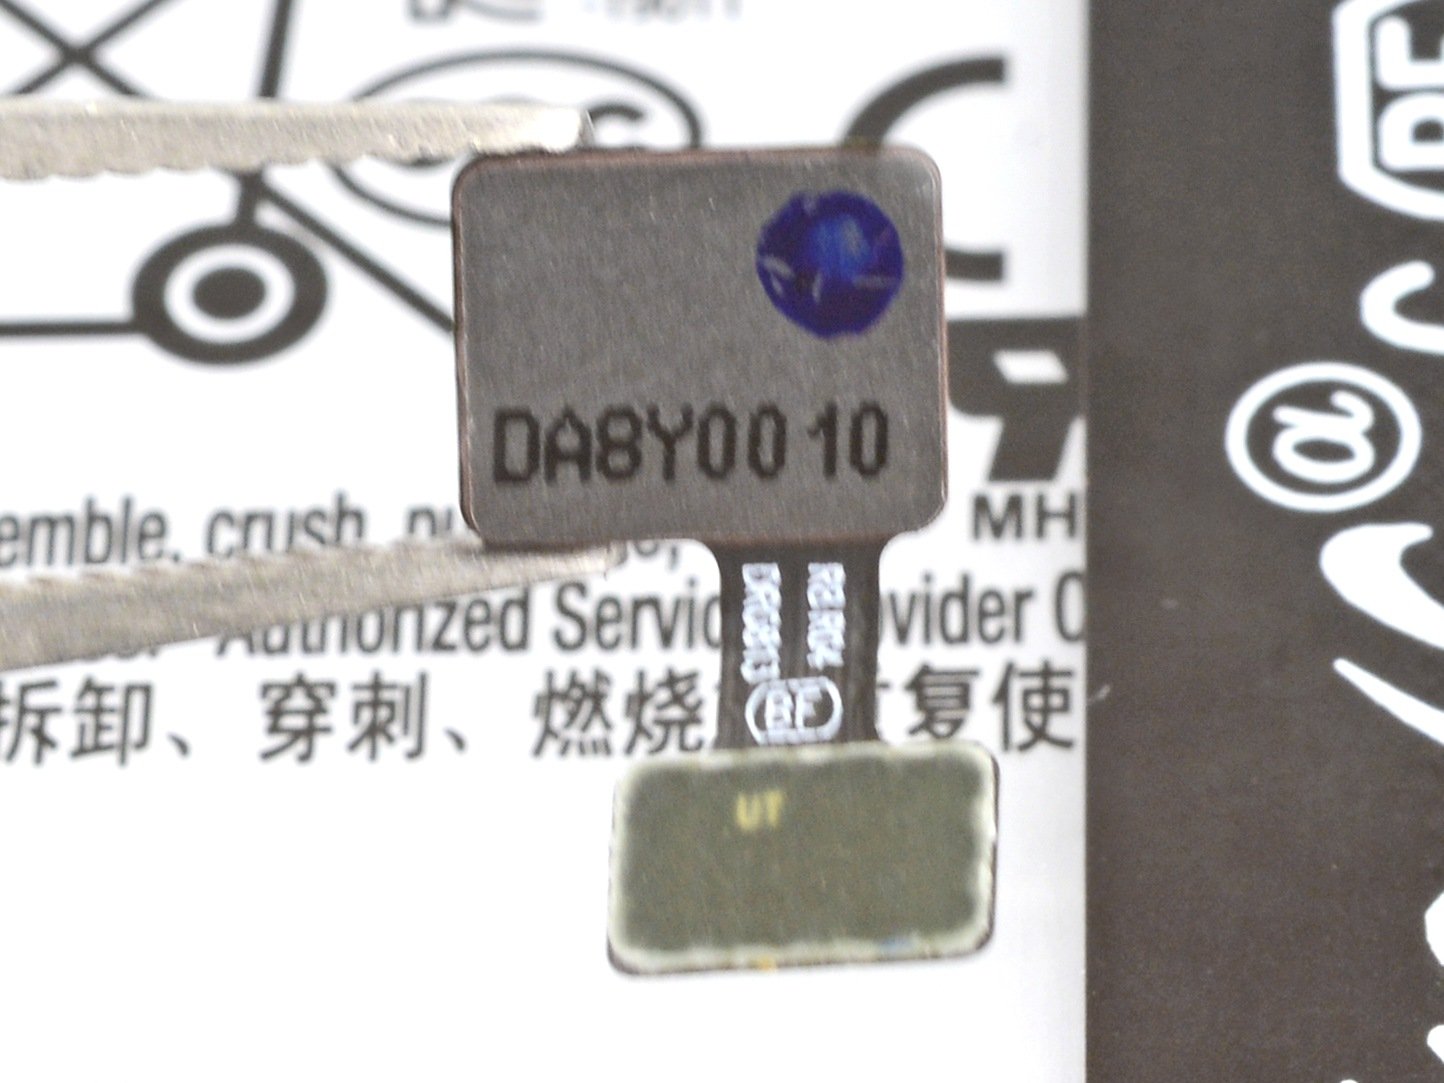
Before you connect those two batteries, make sure the voltage difference is less than 50mV. New batteries usually hang around 3.9V, and they don’t change much!
And hey, here’s a friendly reminder! Be super cautious with the B- test point. Seriously, don’t mess with them! B- doesn’t have any ‘Protection Circuits’ to save the day. Only bridge B- if you really know what you’re doing!
Absolutely! Never, and I mean never, short-circuit any B- to any B+, or P- to B+, or even P- to B-! Keep those circuits happy!
– First things first, connect one B+ to another B+ with your trusty soldering iron and a bit of solder magic.
– Next up, let’s bridge P- to P-.
– And remember, keep both B- nice and open!
Step 5


– Create two little notches on each of those plastic PCB covers, right where the bridging wires meet. Make sure they’re facing each other so those wires can stay snug and not lift the covers.
– Now, carefully place both PCB covers back in their spots. If the batteries feel a bit too snug, don’t worry! Just loosen them up a tad, then give them a gentle tighten later on.
Step 6

– Grab that peeled bat skin and use it to create a solid bond—it’s your secret weapon!
– Make sure to tape down those notches and wires. PI/Kapton tape is a superstar for this job, but anything thin and insulating will do just fine.
– Heads up! The skin might be a tad short for two cells, so don’t forget to cover the exposed metal. Those are the positive terminals, and we definitely don’t want any accidental short-circuits happening here (not yet shown in the pics).
Step 7
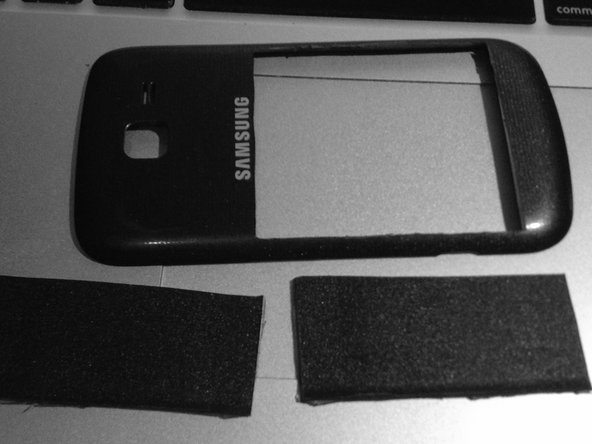


– Double battery or single battery? It’s a fun debate! Just a heads up, the back case won’t accommodate a double battery, so feel free to trim it to your liking.
– Almost there! I was thinking about 3D printing an extra cover to glue on the back case.
– Good news! I actually went ahead and 3D printed a frame, then glued a trimmed RFID card as a back cover. It works like a charm!