DIY Guide to Replacing the Headphone Jack on Lumia 950XL
Duration: 30 min.
Steps: 11 Steps
In this guide, we’ll walk you through the process of swapping out that faulty headphone jack on your Lumia 950XL. If your headphones have gone silent and you’re missing your tunes, this repair is just what you need. Let’s get started and bring the sound back to your life!
Step 1
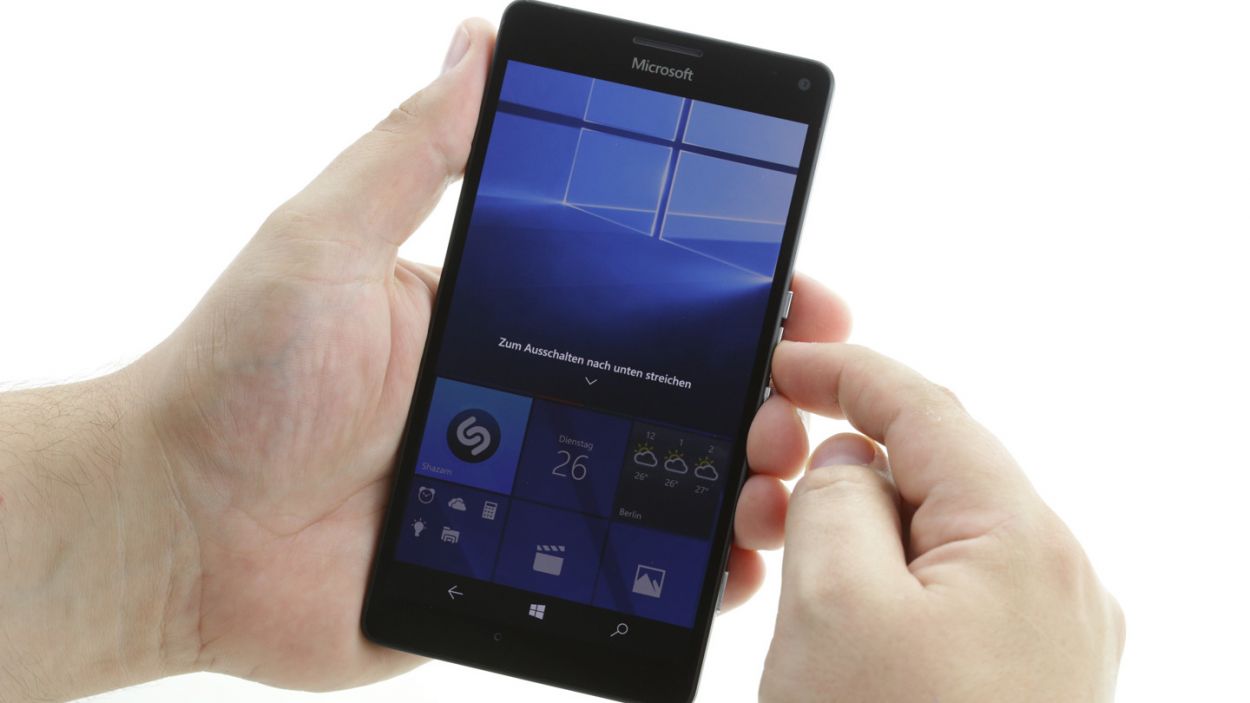
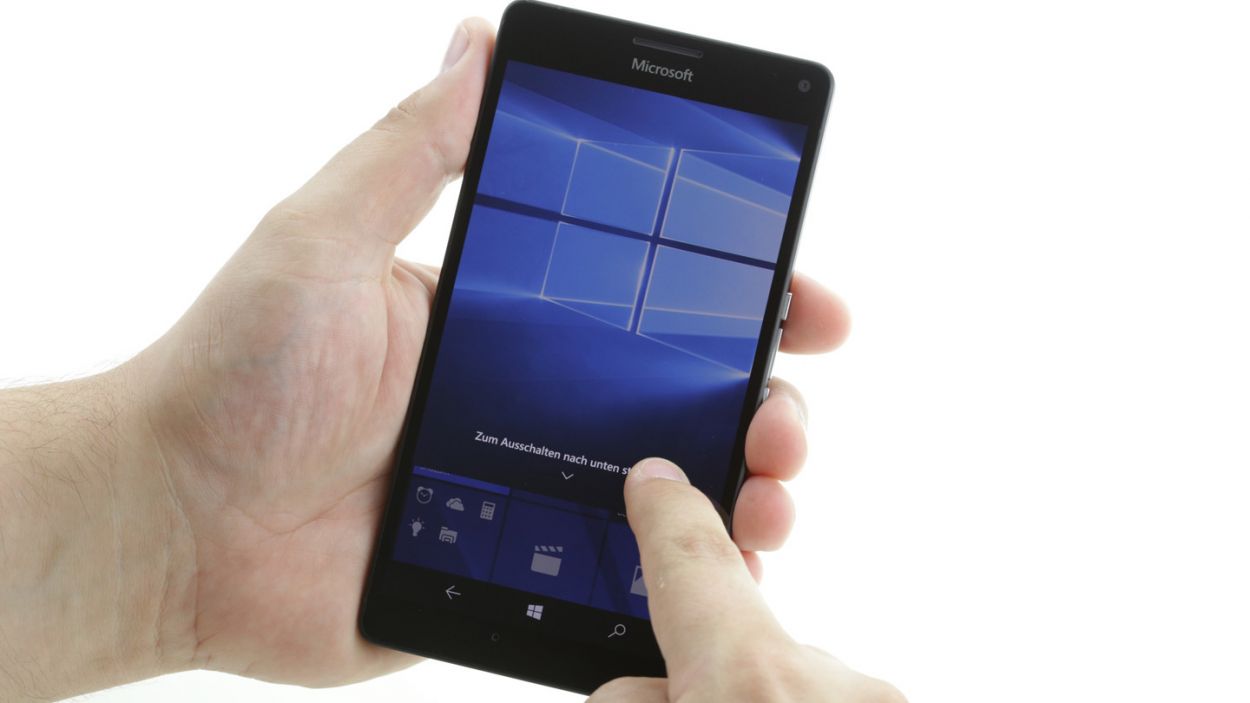

– Turn off your device by holding down the power button until the “slide down to power off” message appears.
– Slide your finger down over the screen until “goodbye” appears and your device is shut down.
Step 2

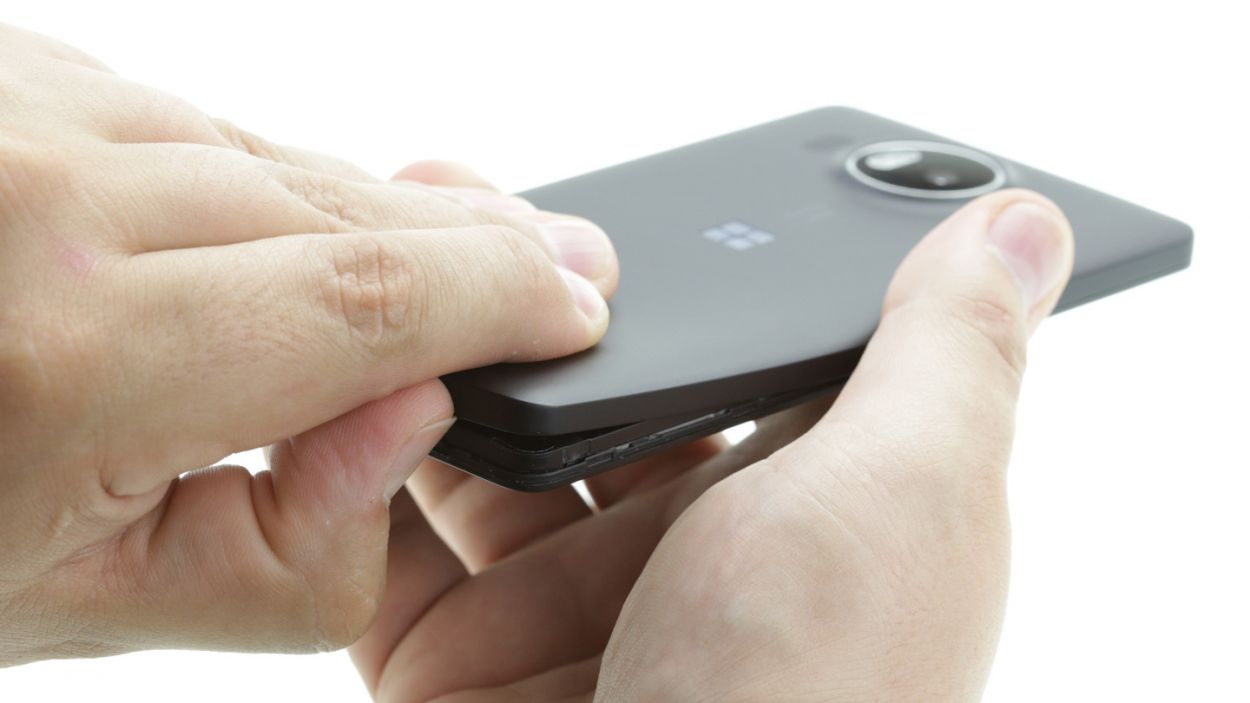
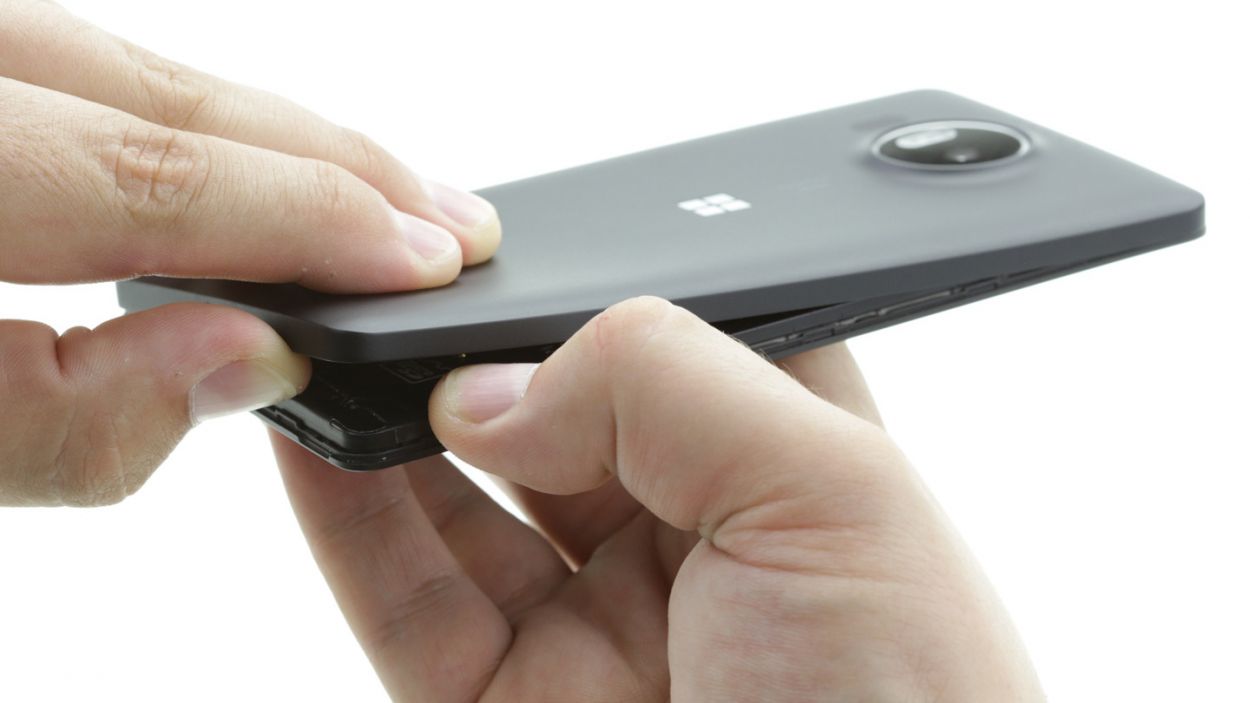

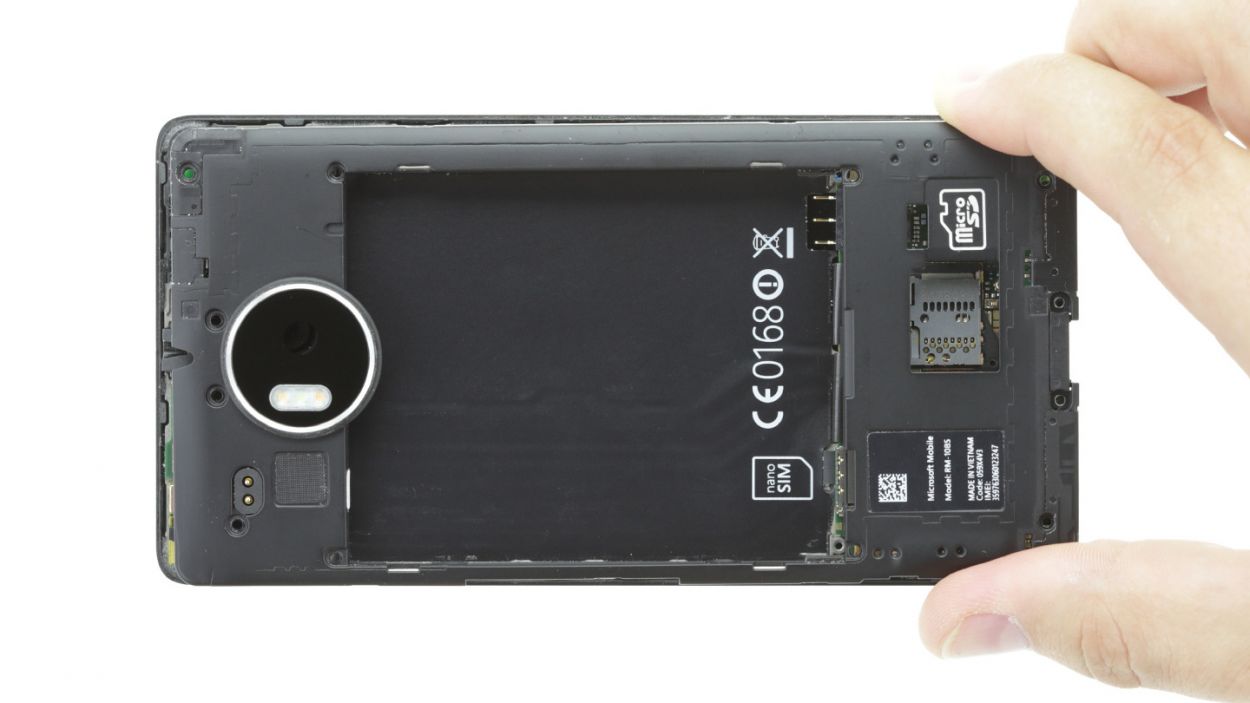
– Gently pry off the back cover from the enclosure frame. There’s a nifty little slot at the bottom where you can slide in your fingernail or a handy tool.
– Slowly work your way around to detach the back cover from your device.
– Now, go ahead and lift the back cover off your device.
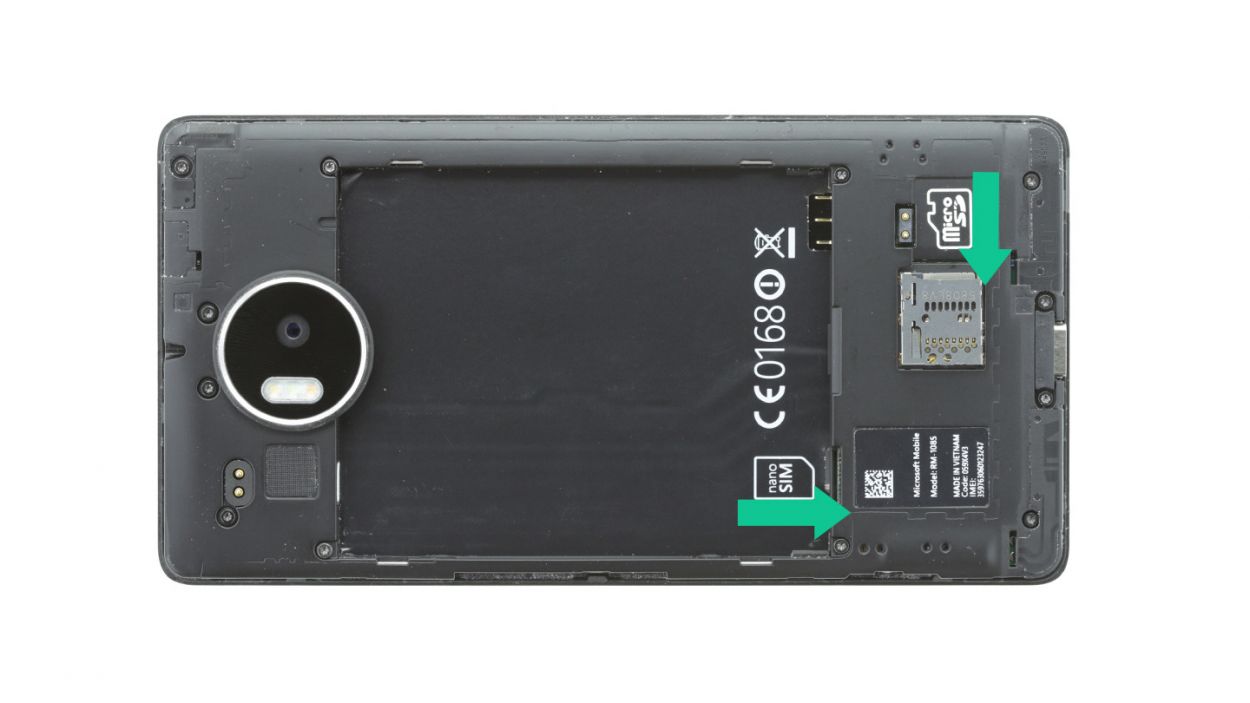
Step 4
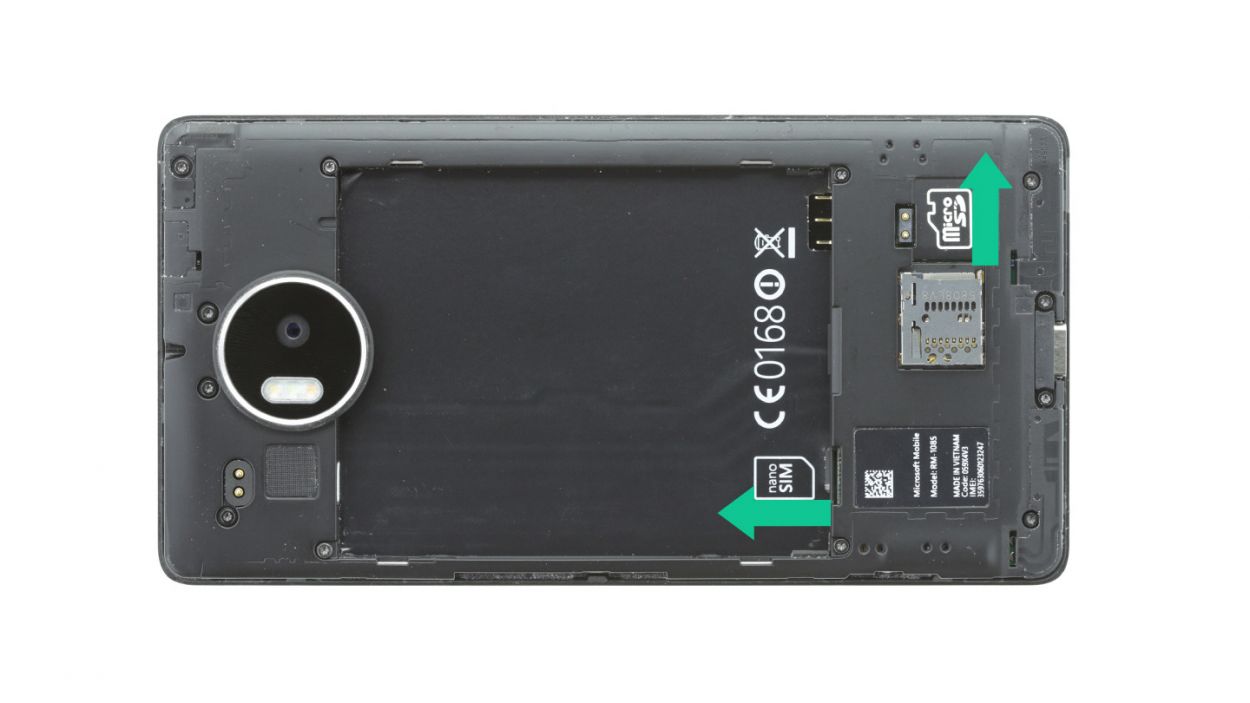
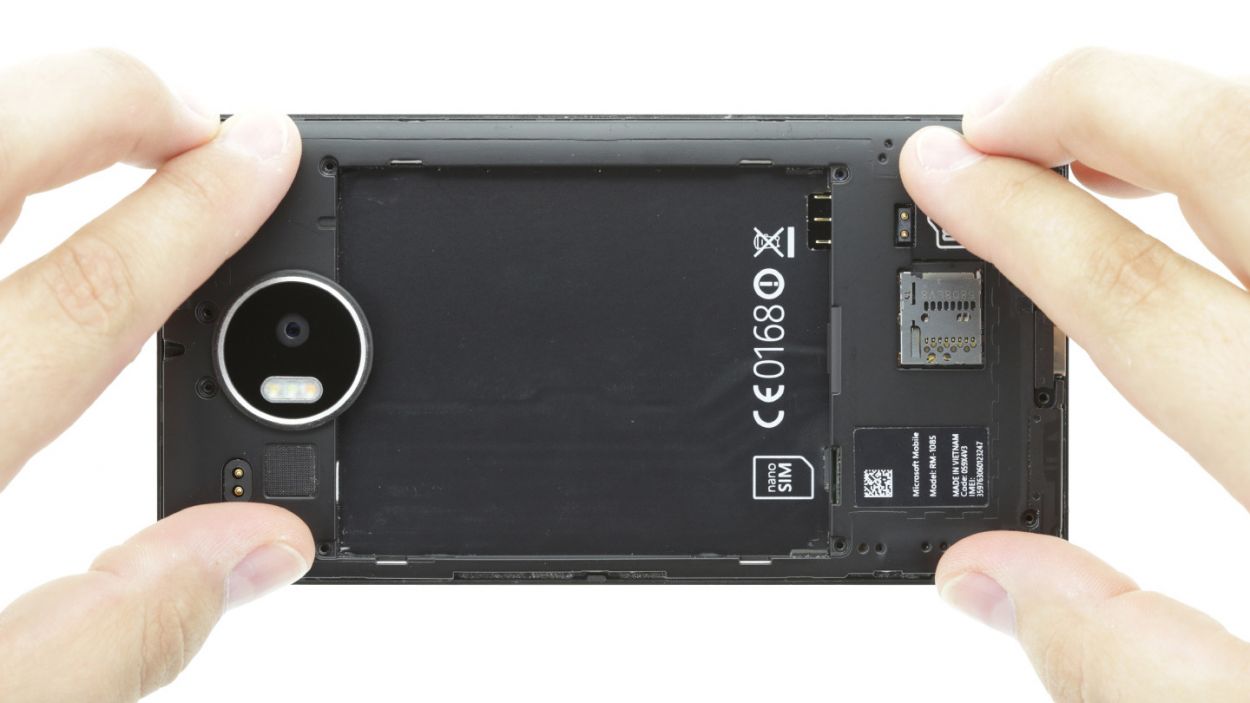
– Remove the SIM and microSD cards from your device.
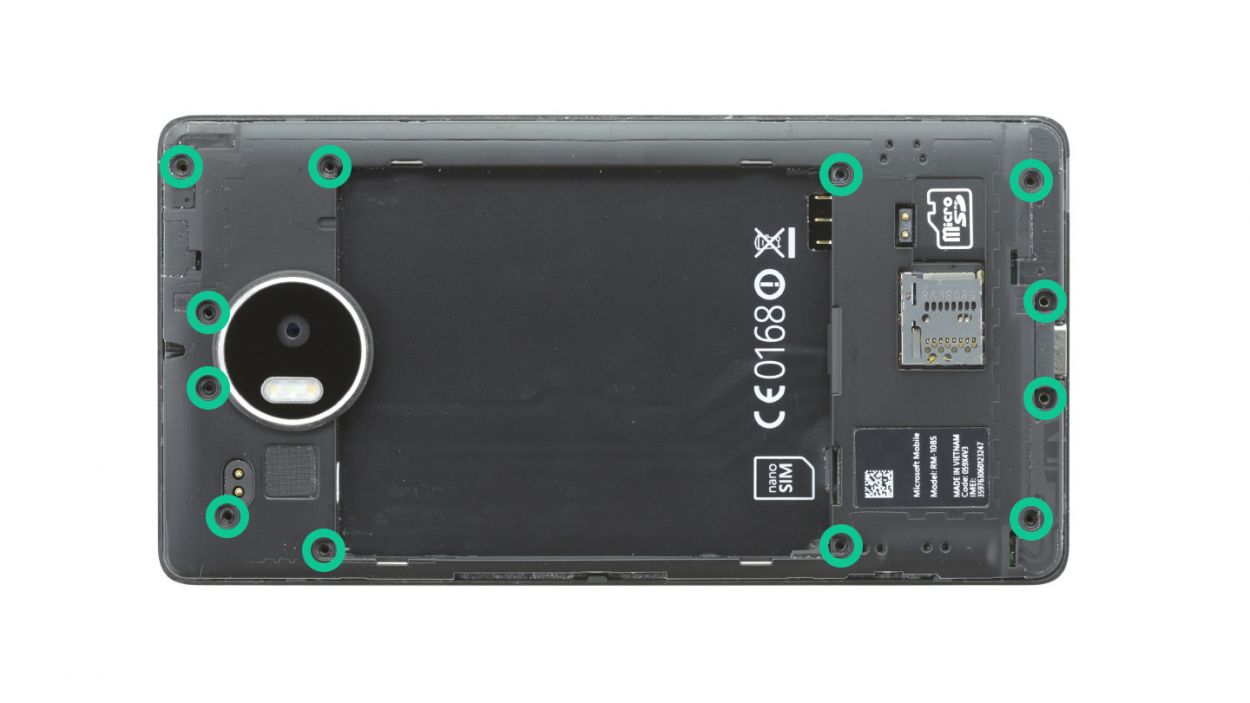
Step 5
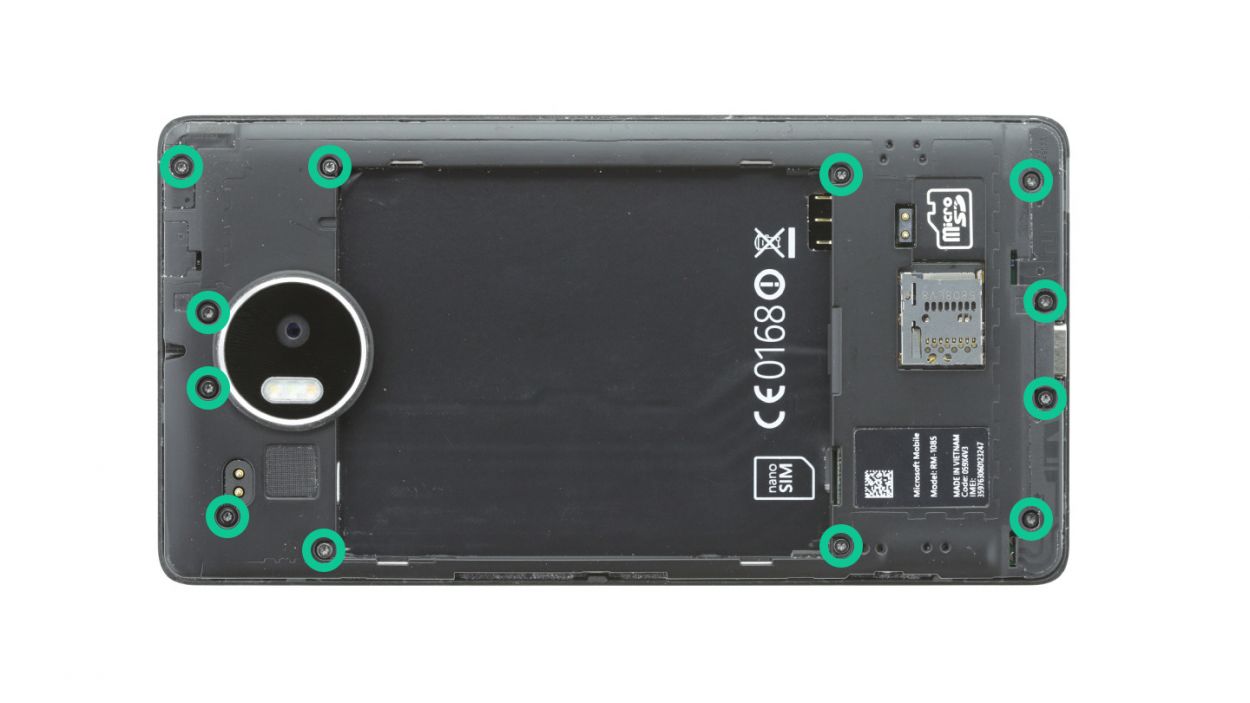

– Remove the twelve screws that attach the chassis to the enclosure.12 x 4.5 mm T4 Torx screw
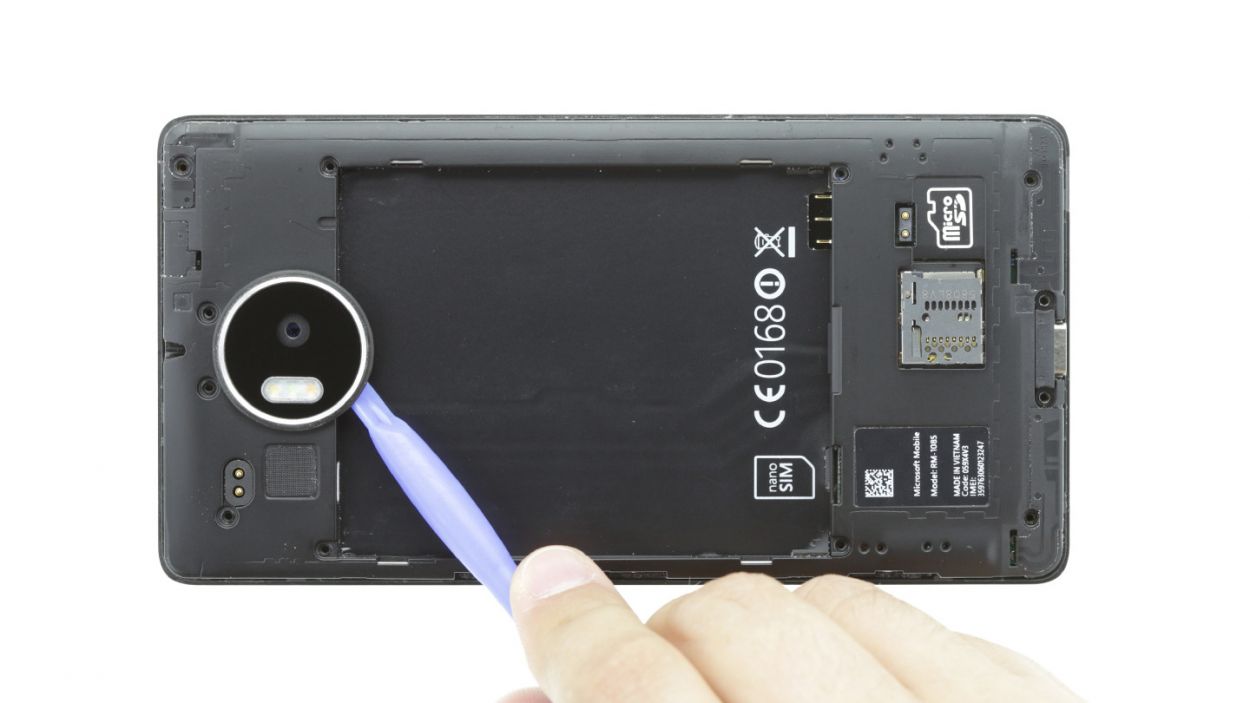
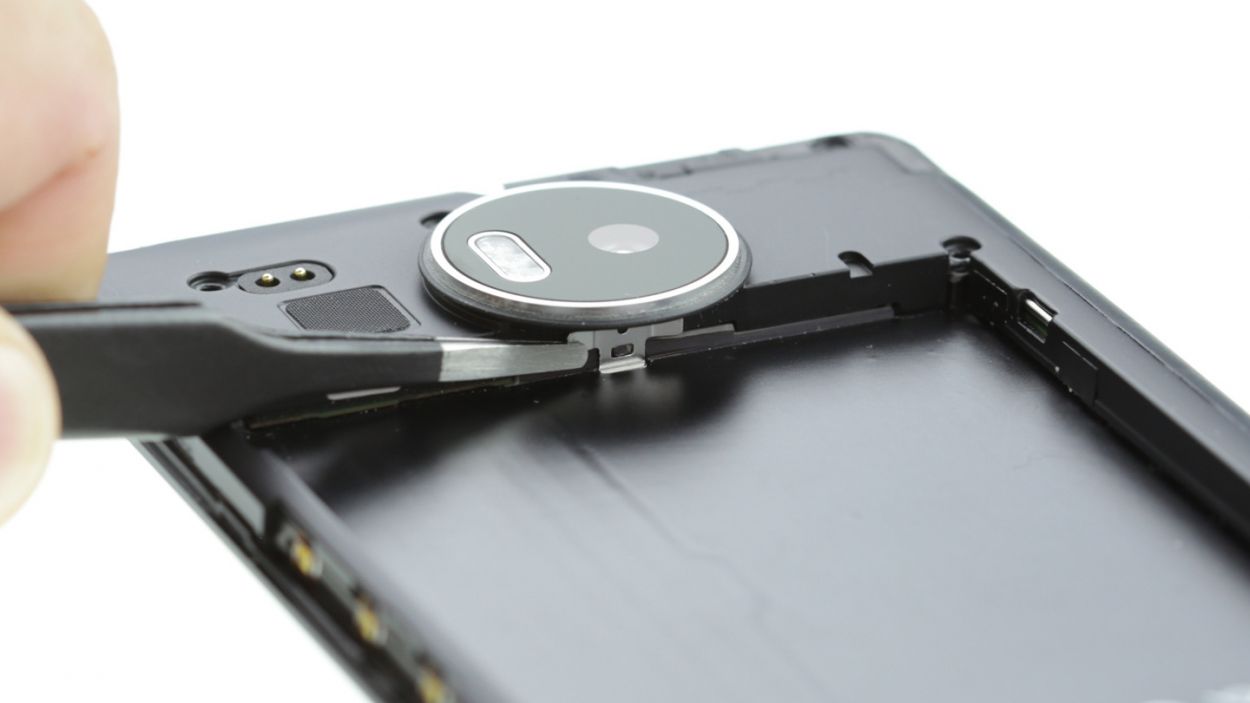
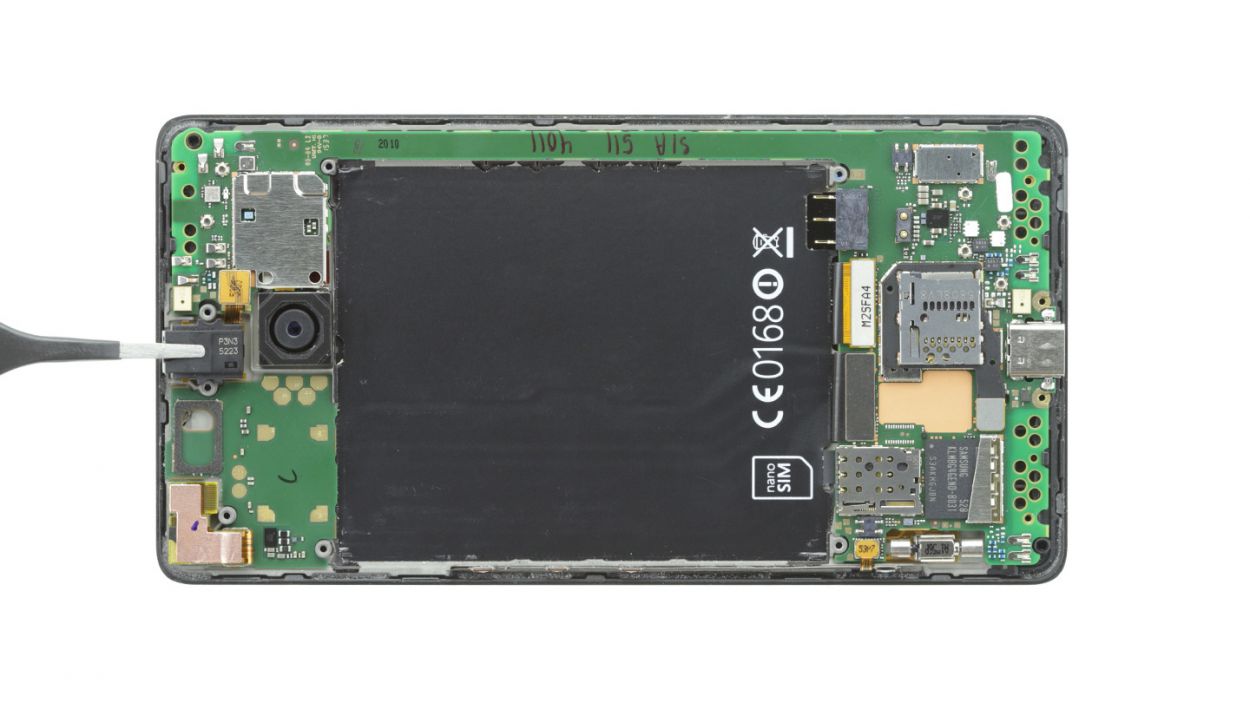
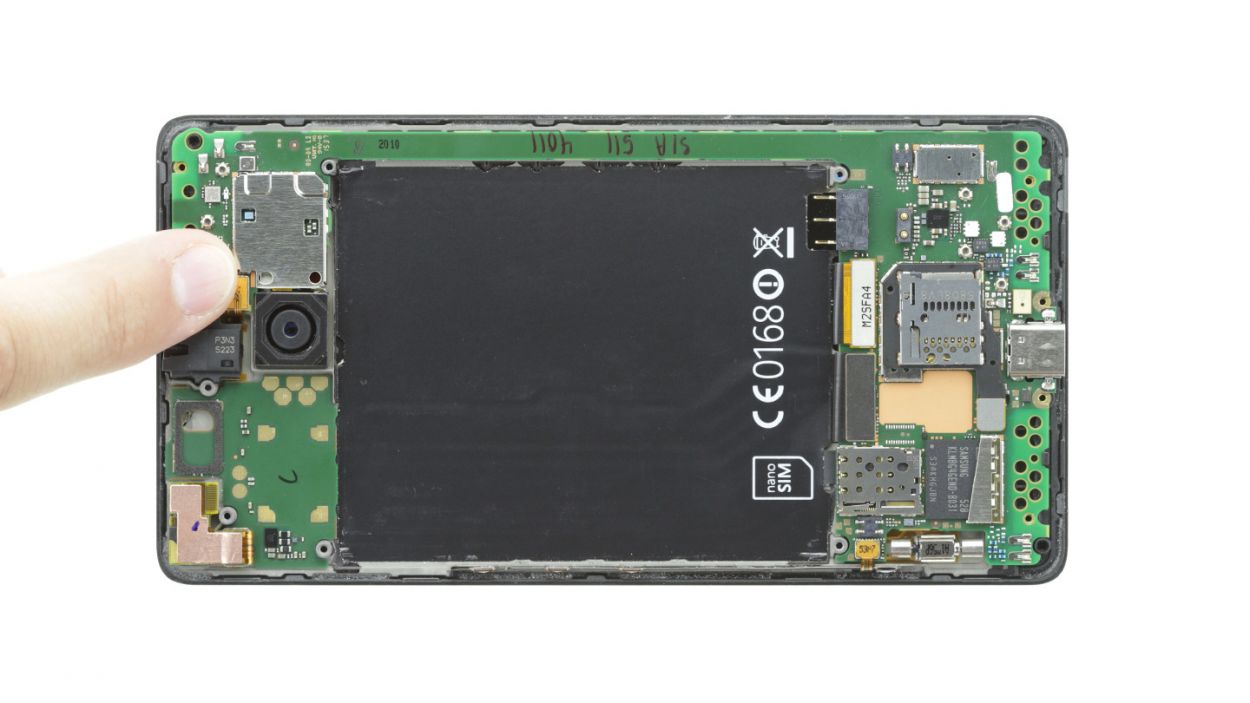
– The chassis is hooked onto the enclosure below the rear camera. Carefully unhook it using the tweezers or spudger.
– Lift the chassis and remove it.
Step 6

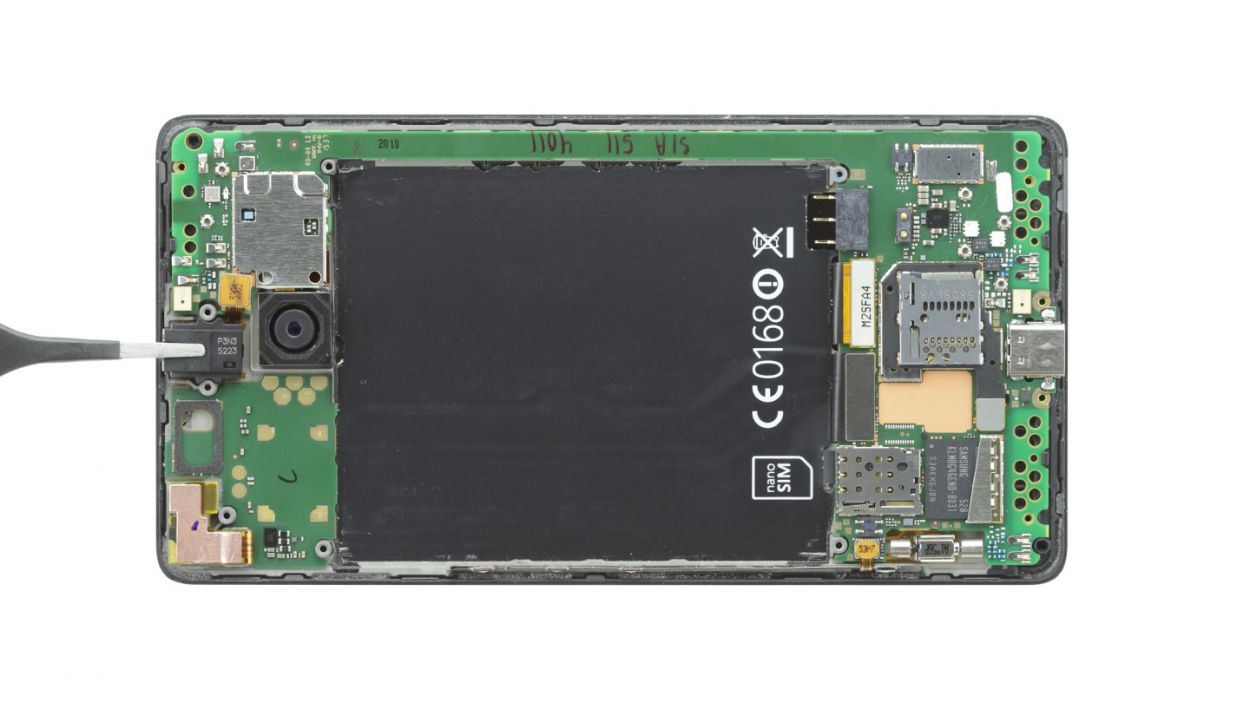
– Gently unplug the headphone jack from the motherboard, taking care not to damage any surrounding components.
– Next, simply lift the jack out of its enclosure.
Step 7
– Carefully tuck the jack back into its cozy spot at the top of the enclosure.
– Next, gently connect the jack’s contact to the motherboard. You’ll know you’ve done it right when you hear that satisfying click!
Step 8
– Put the chassis back on and press it into the enclosure. Make sure it hooks on below the camera again.
– Then use the twelve screws to attach the chassis to your device.12 x 4.5 mm T4 Torx screw
Step 9
– So, here’s the deal, it’s time to put the SIM card back where it belongs. Don’t forget to throw your trusty microSD card into the mix if you’ve got one. If you’re feeling stuck or just need a hand, take a peek at our repair schedule and we’ll get you back up and running in no time.
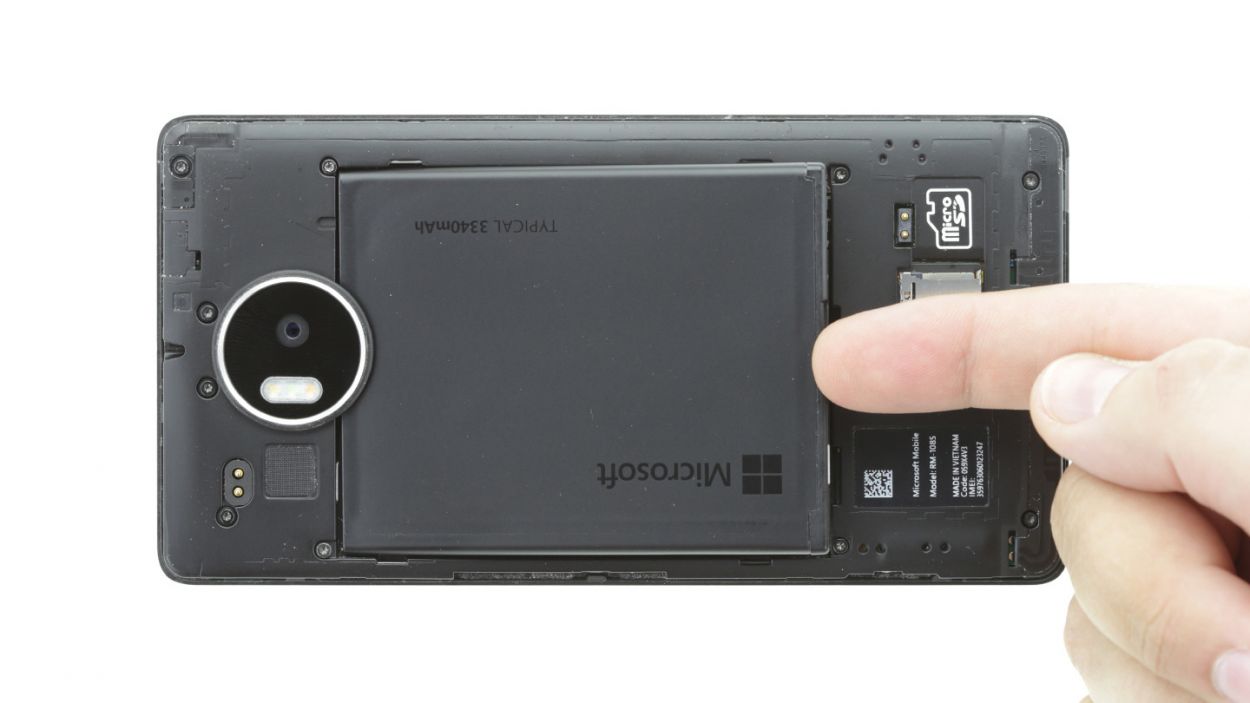
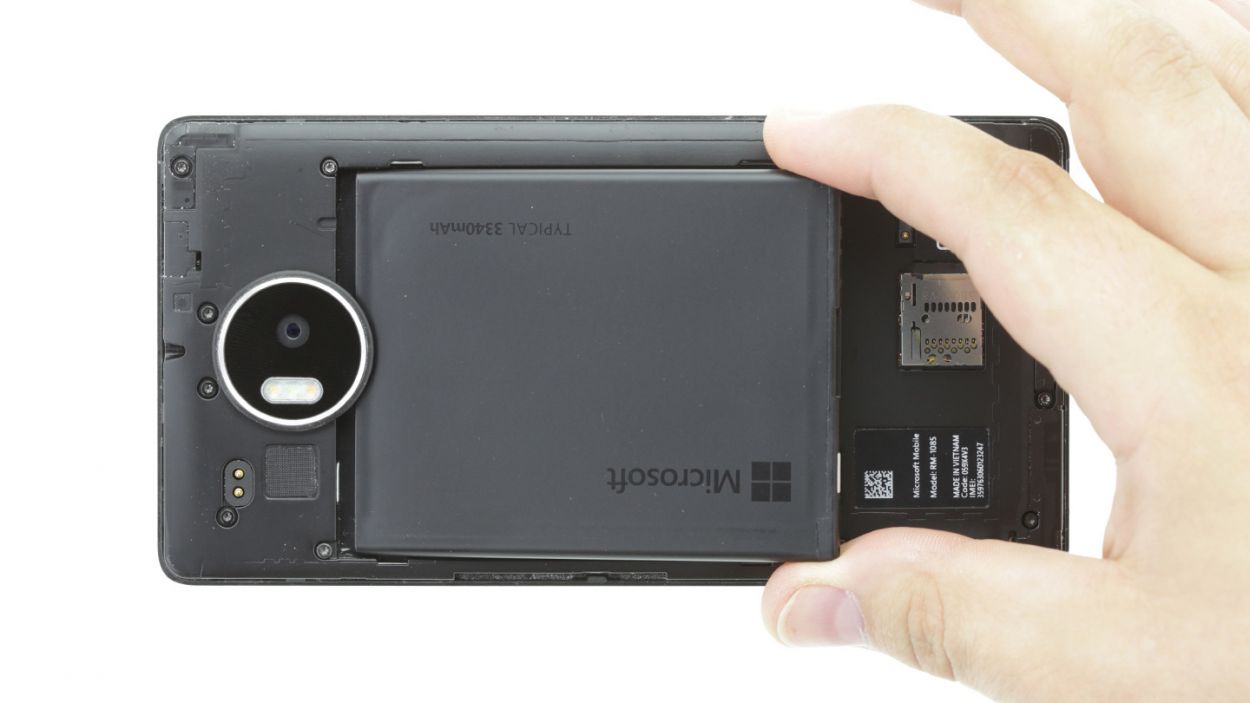
Step 10
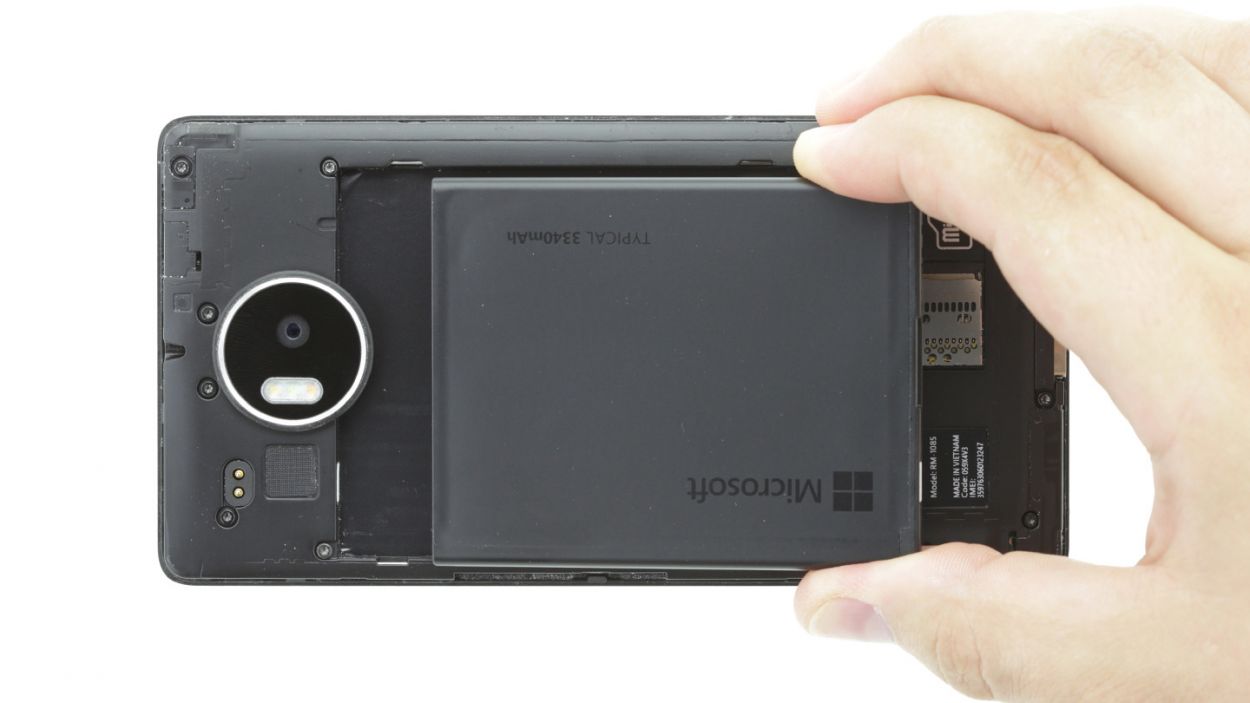
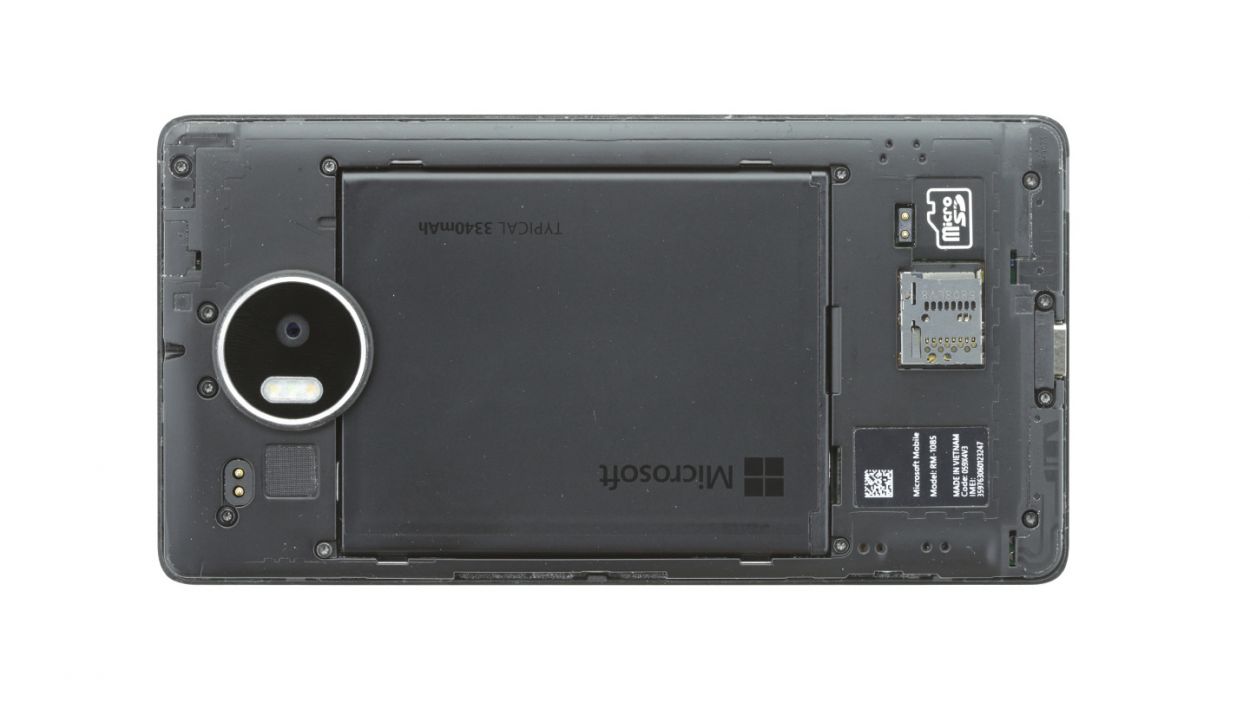
– Time to get that battery back in your device! Look for the three parallel slots at the bottom of the battery. Those are where the magic happens, so make sure they align perfectly with the three shiny gold contacts in your device.
– Once you’ve got the battery in the right spot, it should sit nice and flush with the enclosure. You’re doing great!
Step 11
– Put the back cover back on and press it gently onto the entire frame-so all the clips on the back cover clip securely into place on the enclosure. Make sure it fits snugly!
– Give it a little squeeze to ensure all the clips click into place. You got this!


