How to Replace Rear Camera on Fairphone 1: DIY Guide
Duration: 45 min.
Steps: 18 Steps
Welcome to the repair guide where we’ll walk you through the simple steps to swap out your Fairphone’s faulty rear camera. This handy repair is a must if your rear camera is acting up, making your photos blurry, or struggling to focus. Let’s get your camera back in action!
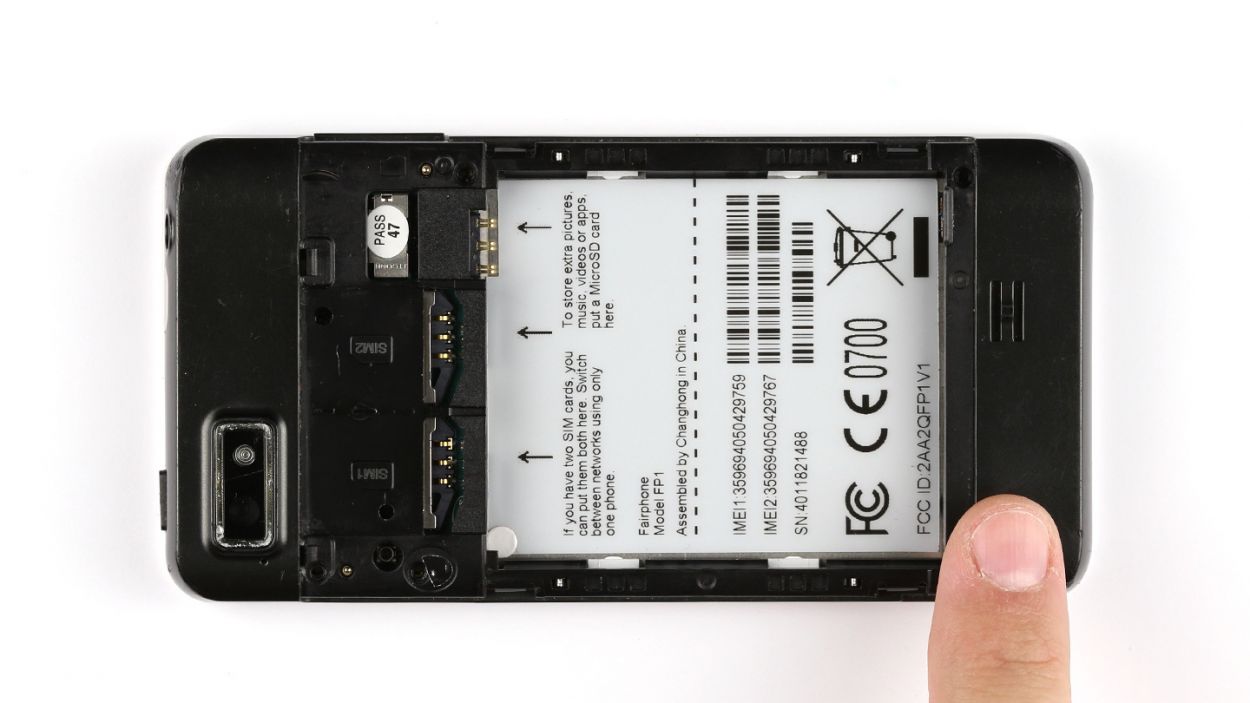
Step 1
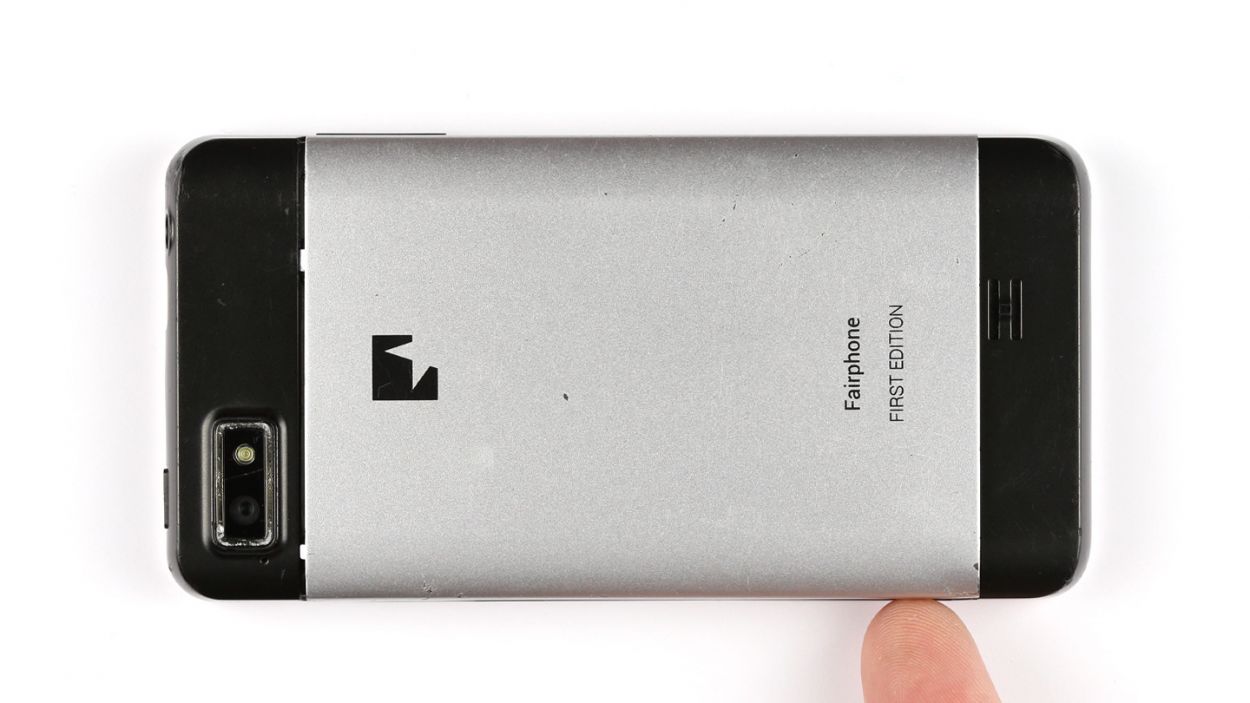

– Lift the back cover with your finger to detach it from the smartphone. There’s an indentation in the side of the Fairphone for this purpose.
– Remove the back cover from the device.
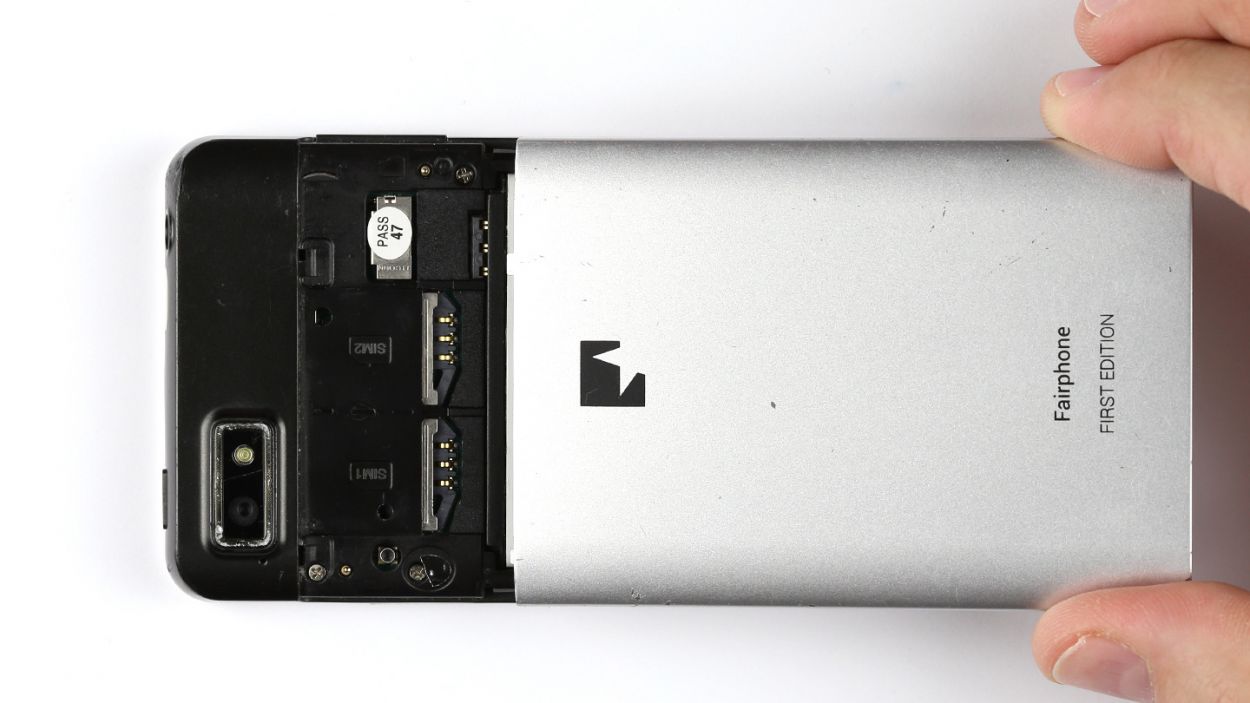
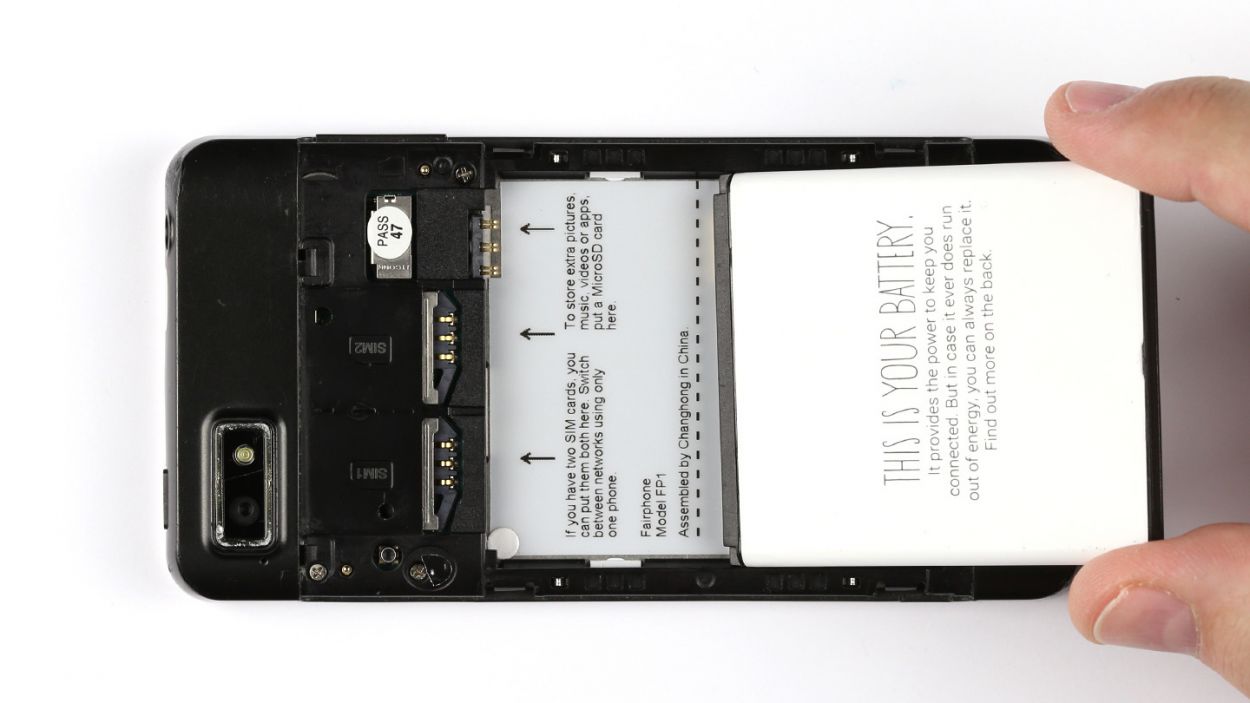
Step 2
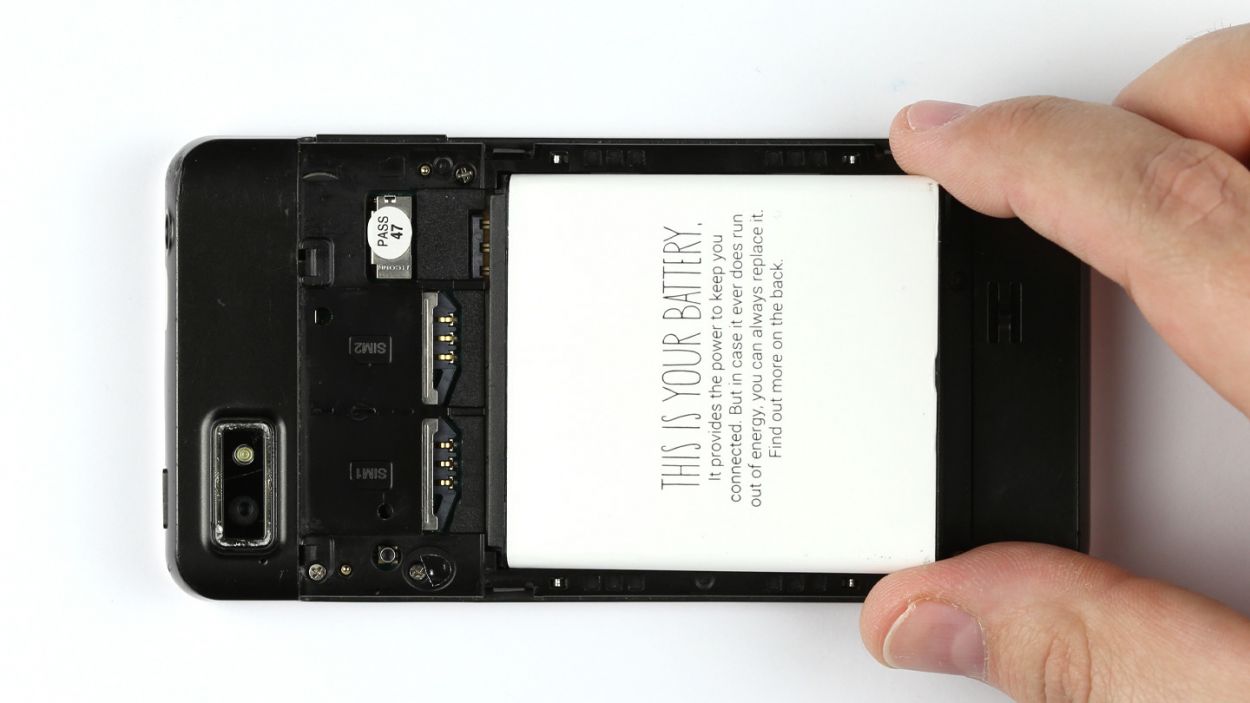

– Remove the battery from your Fairphone by lifting it at the bottom.
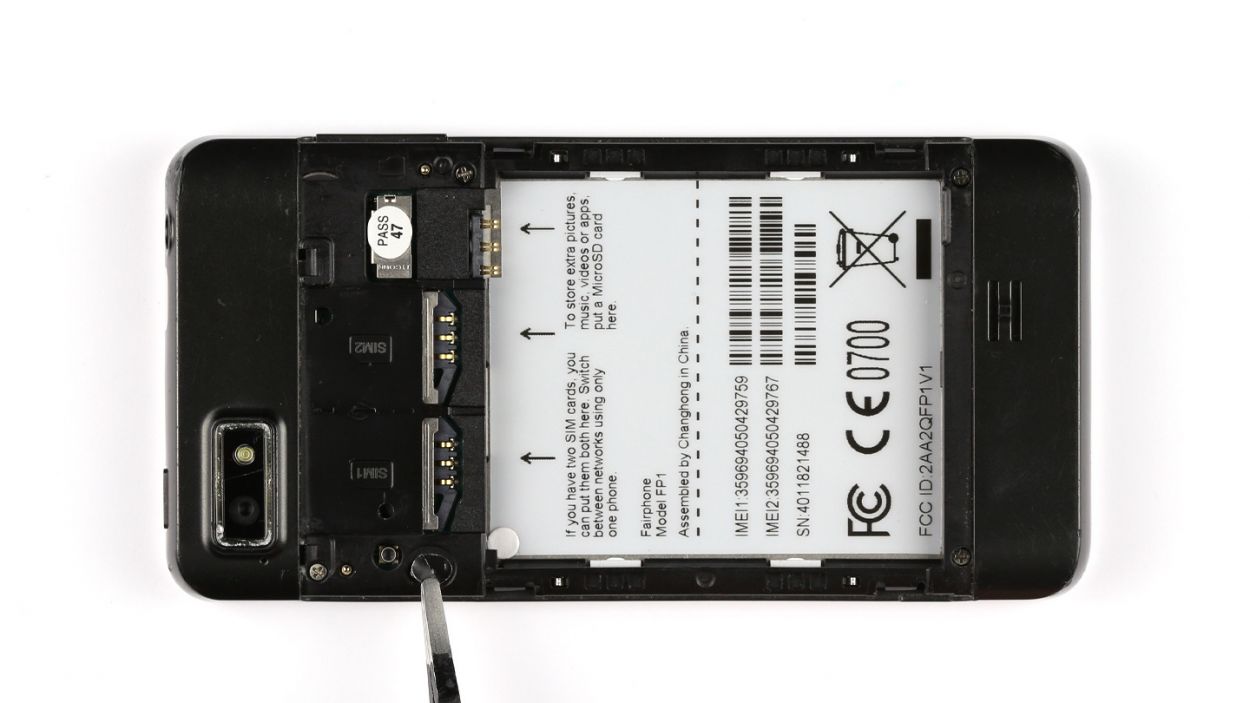
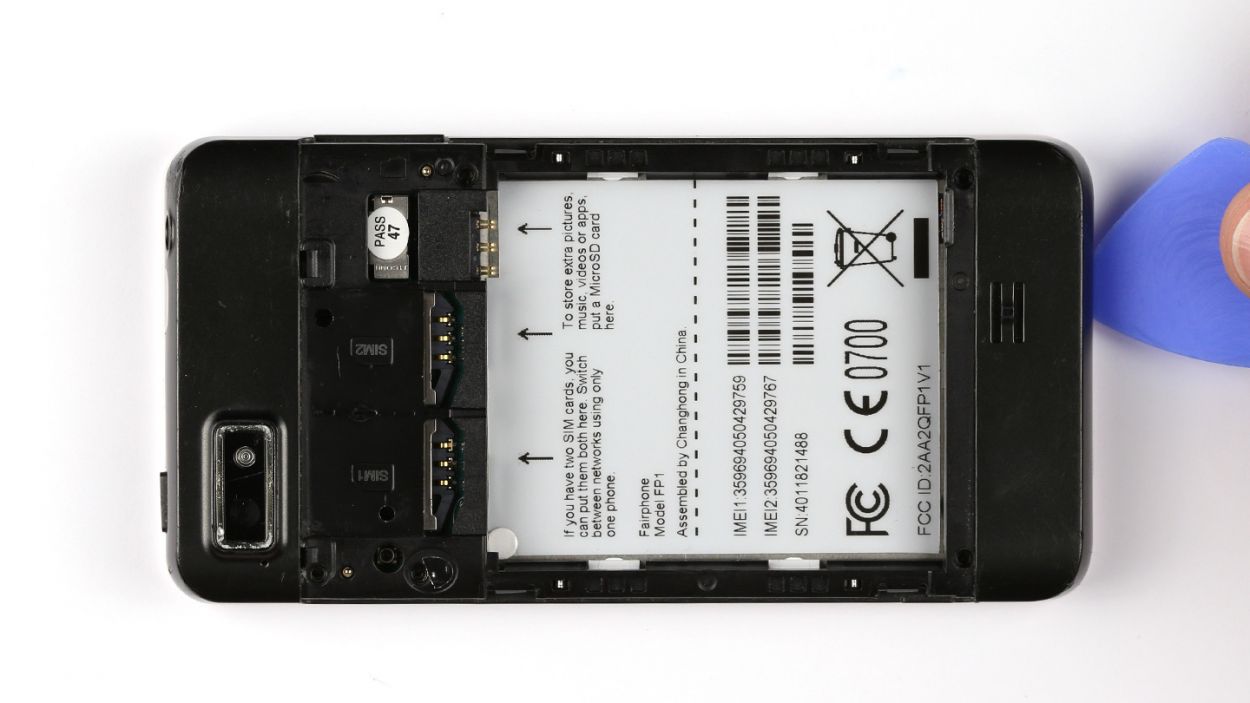
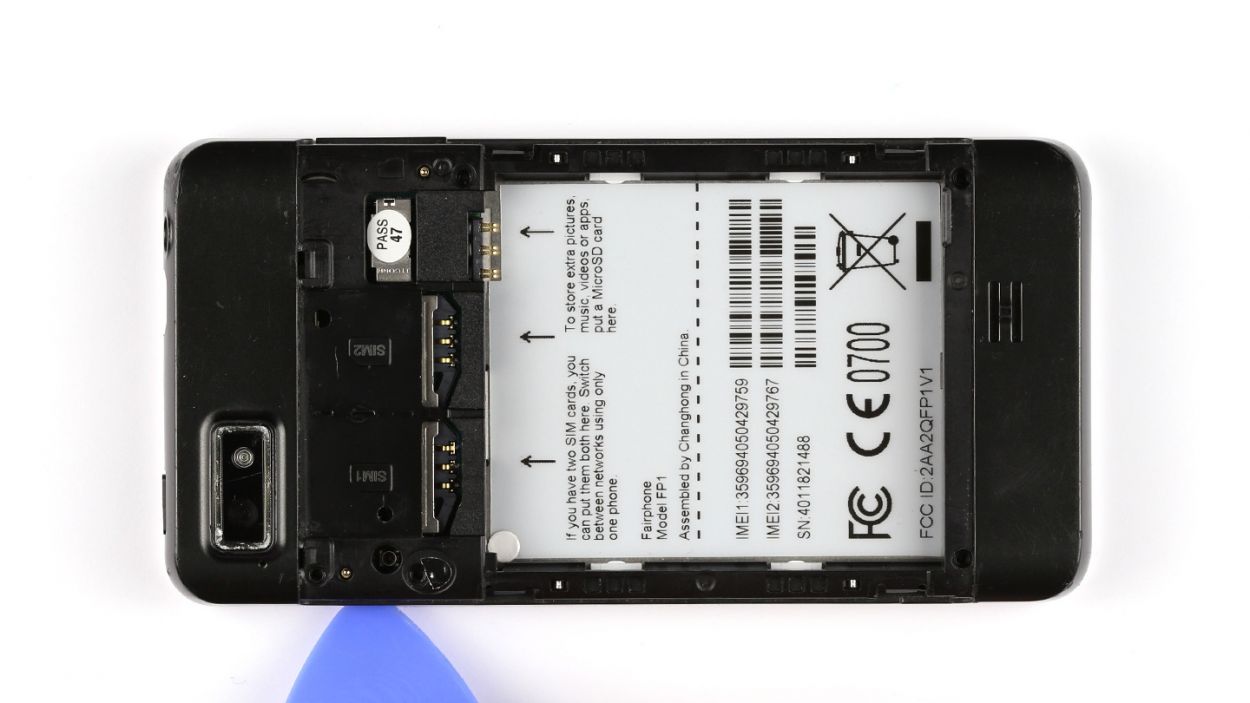
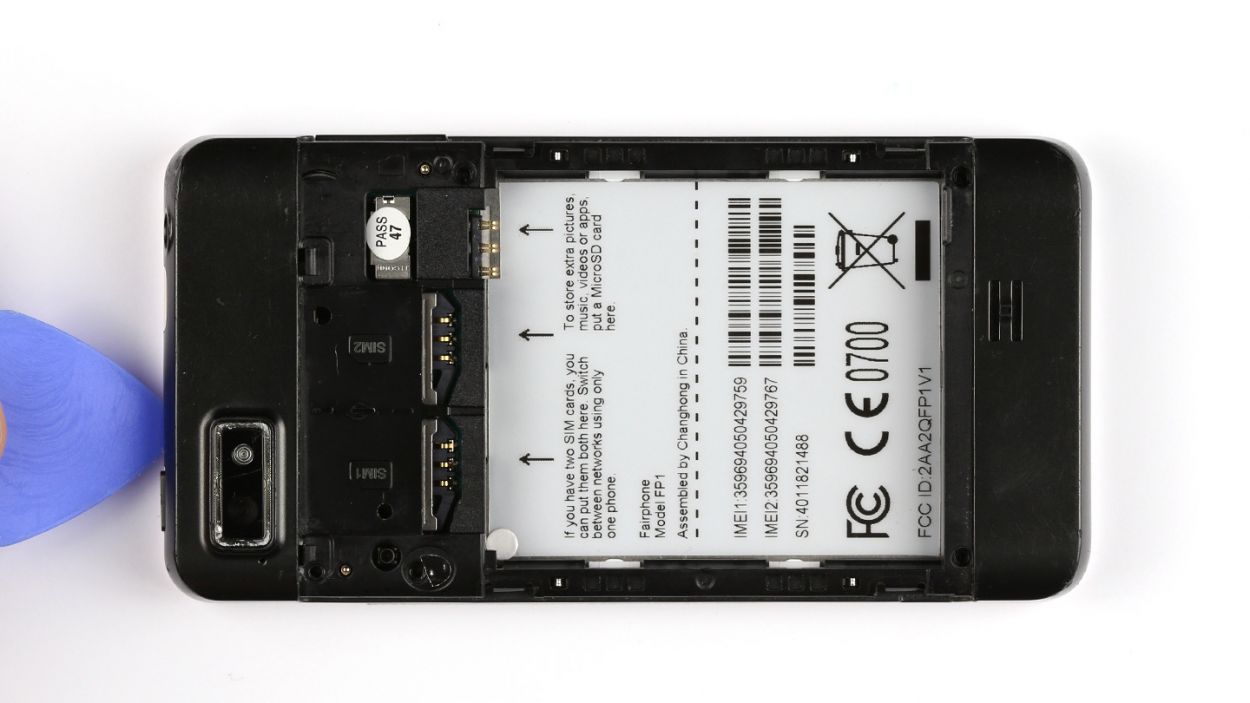
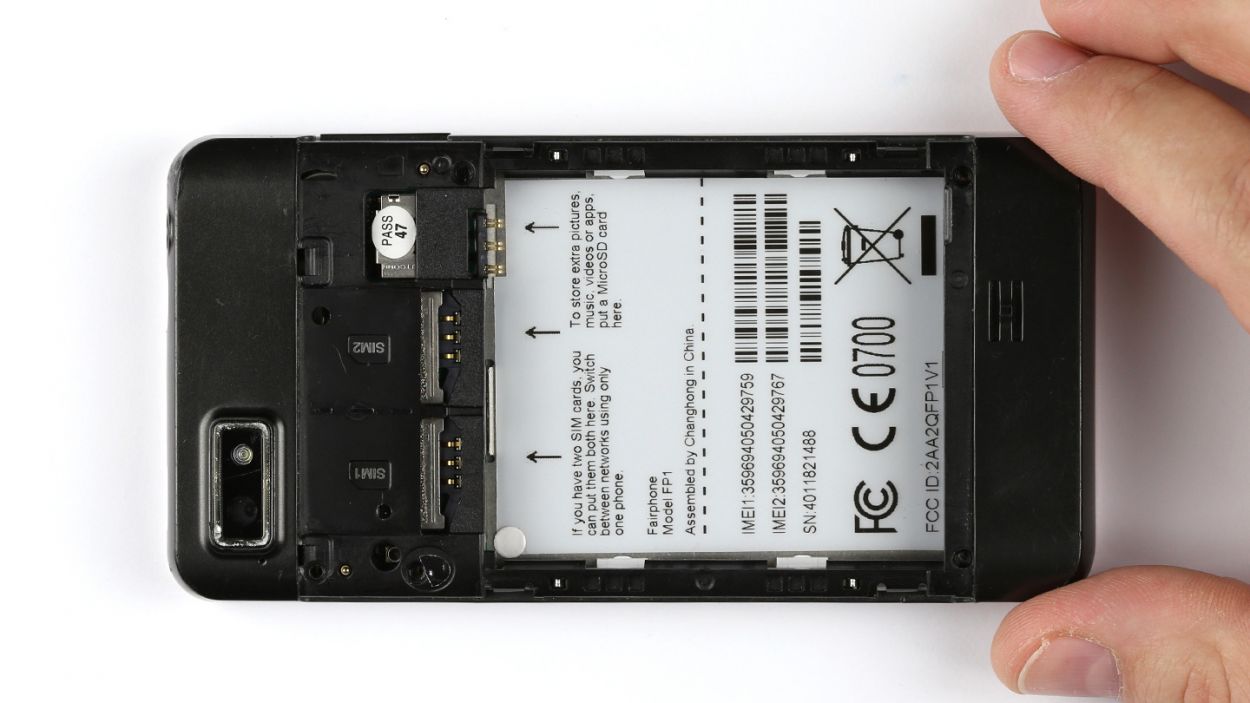
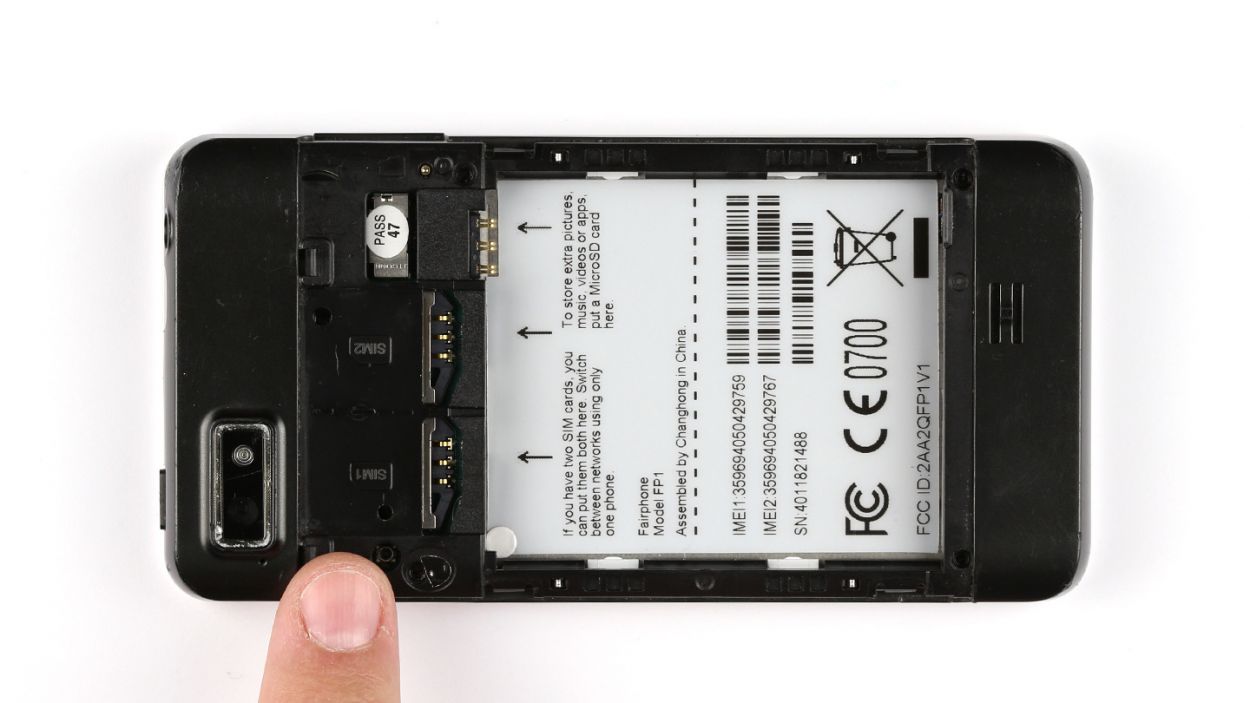
Step 3
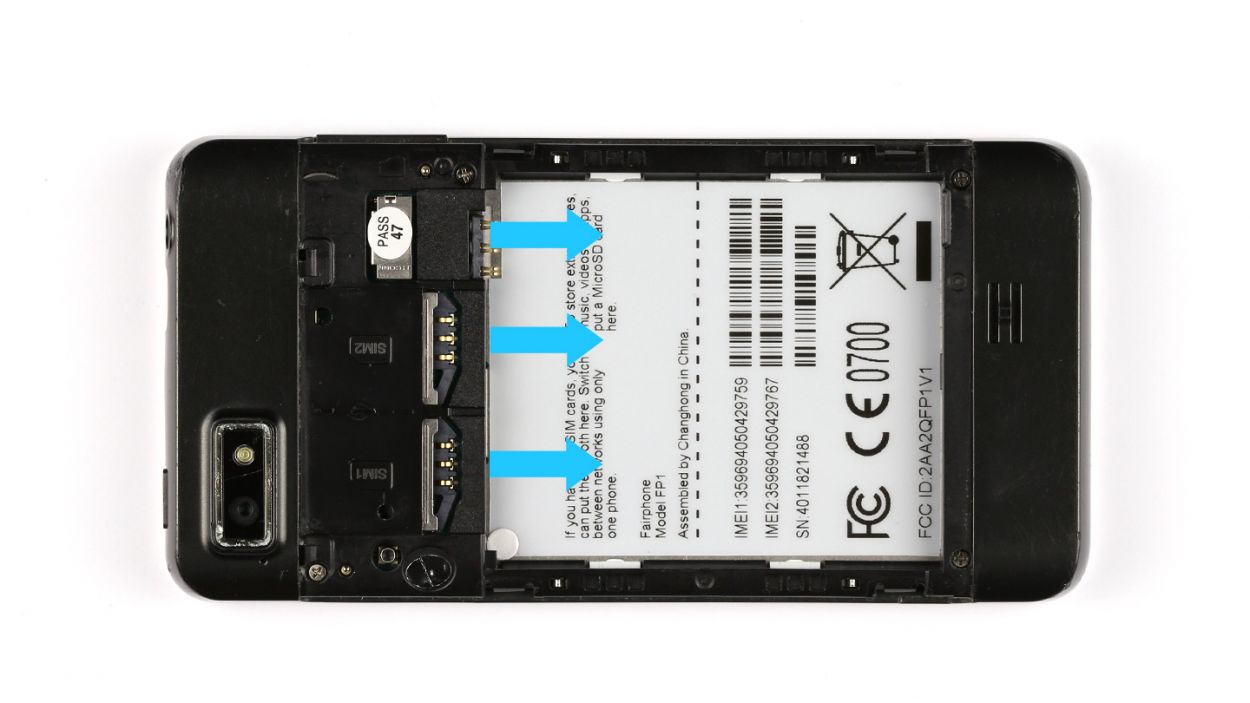
– Pop out the SIM cards and the microSD card like a pro!
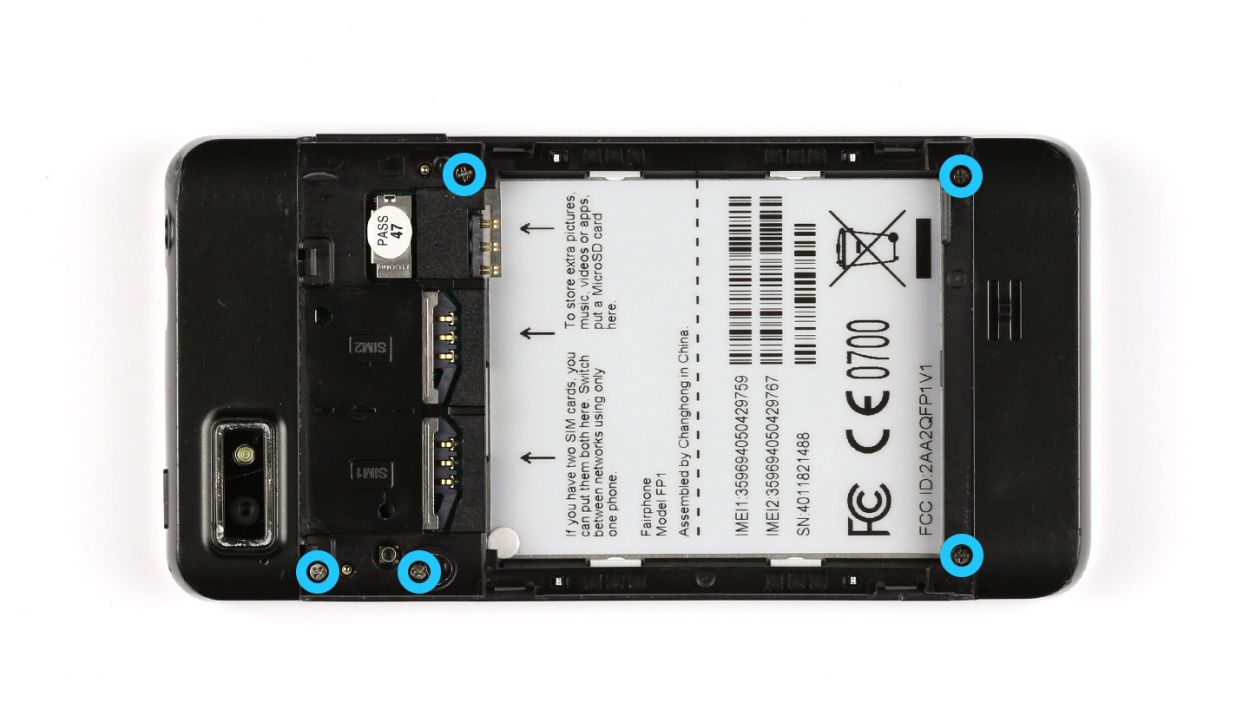
Step 4

– Remove the seal so you can access the screw.
– Remove the five Phillips screws.5 x 3.9 mm Phillips screws
Step 5


– First off, give the display frame a little pep talk because we’re about to liberate it! Grab a pick and gently slide it between the chassis and the display frame. Keep working that pick around the device until everything is nicely separated.
– Now it’s time to say goodbye to the chassis! Carefully remove it with your hands once it’s released.

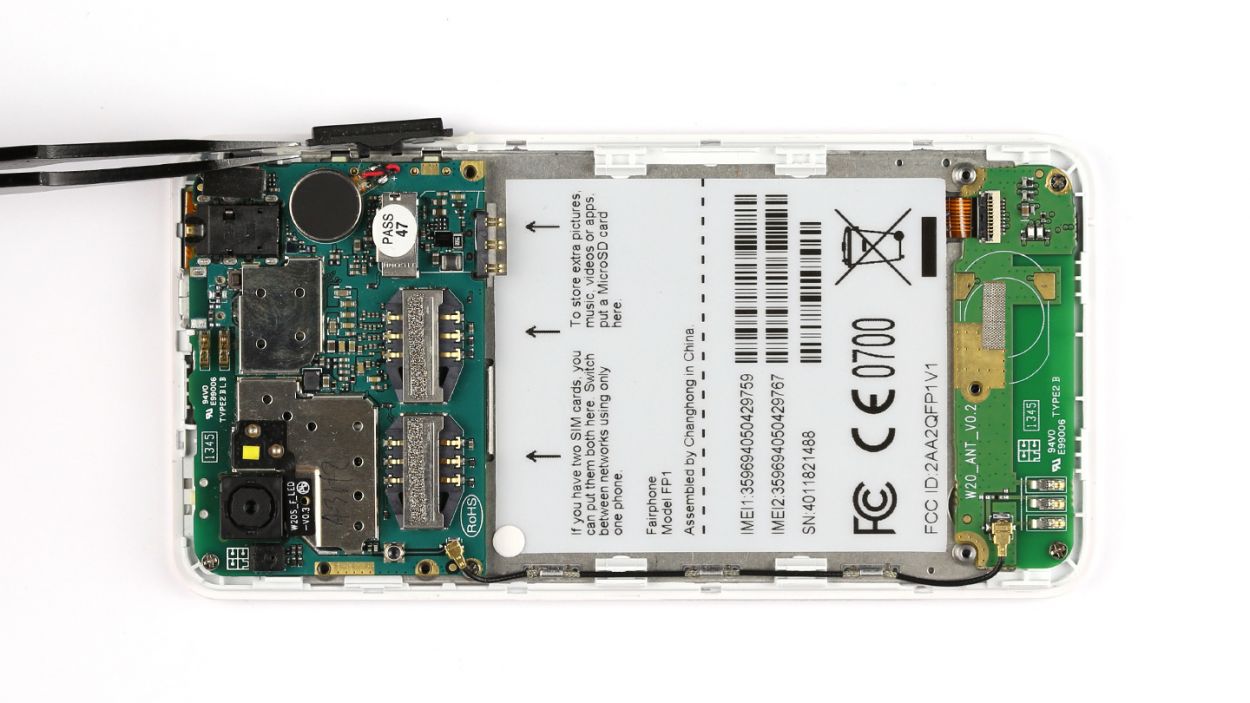
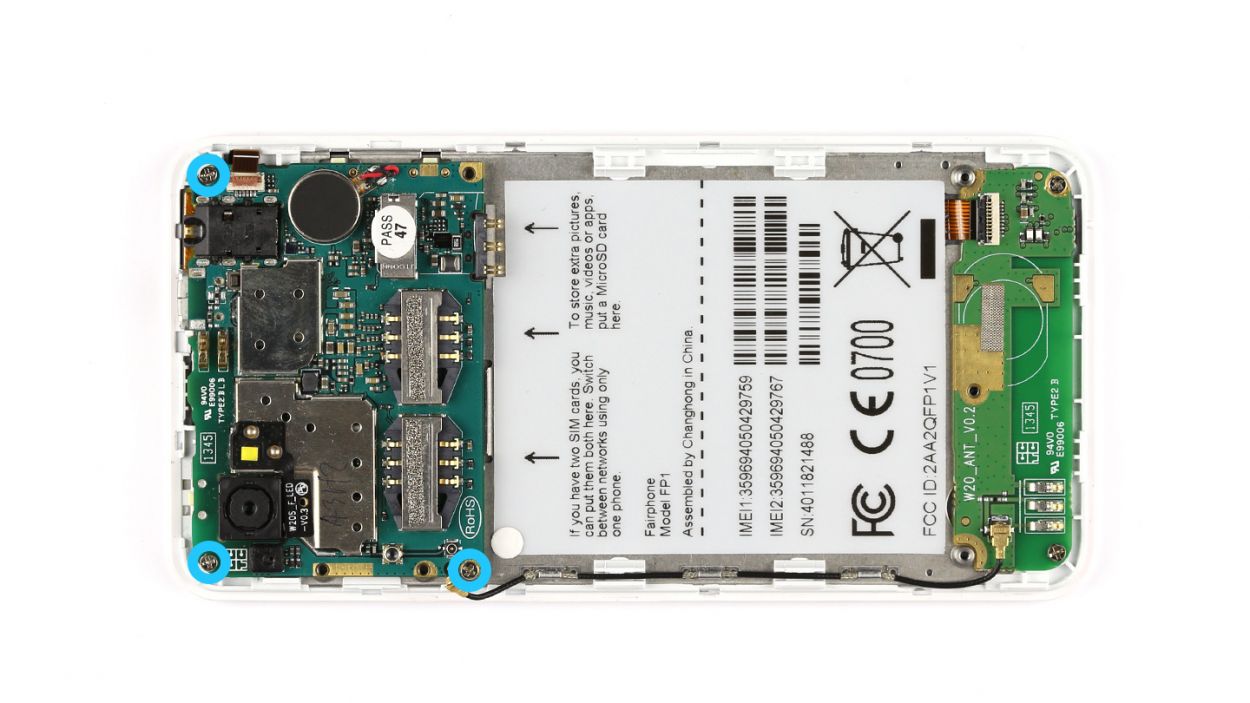
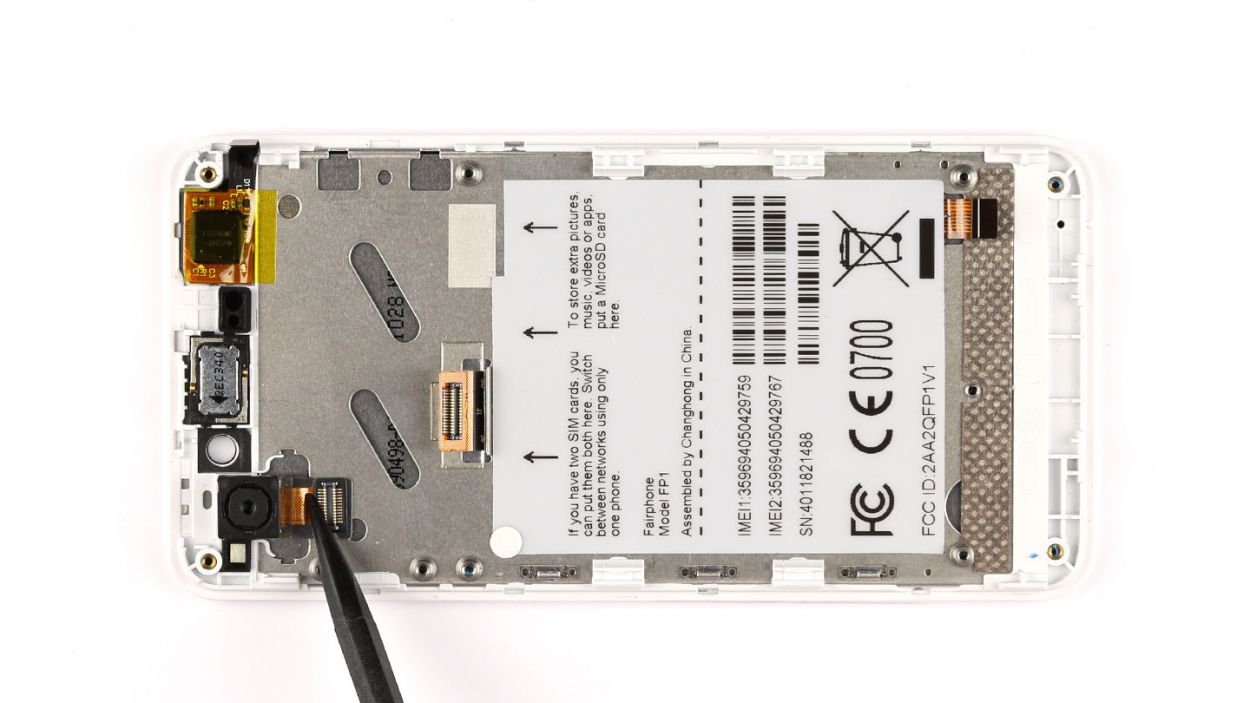
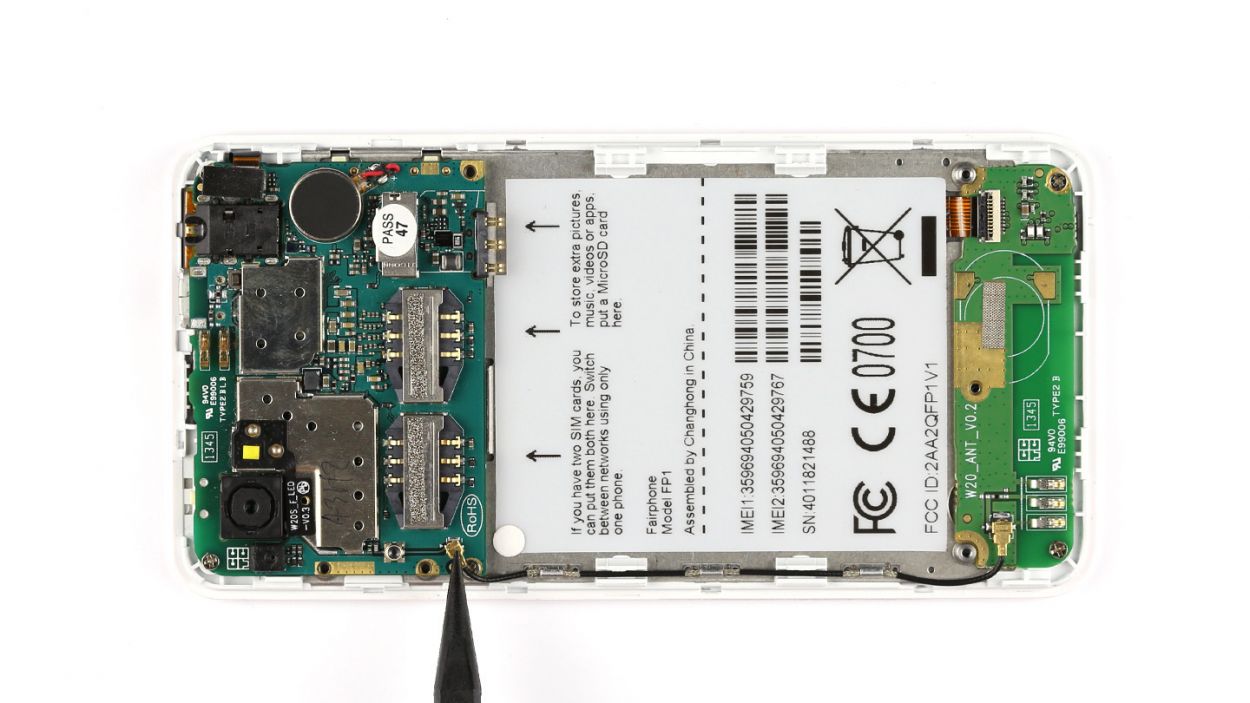
Step 7
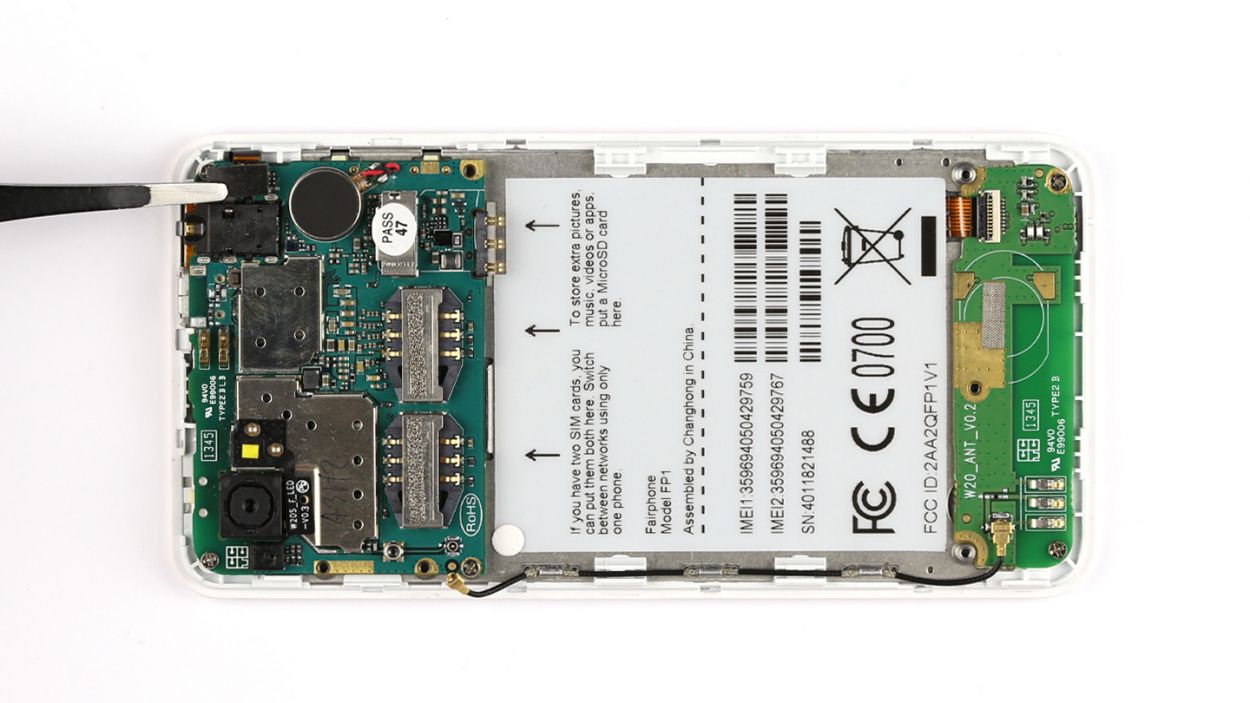
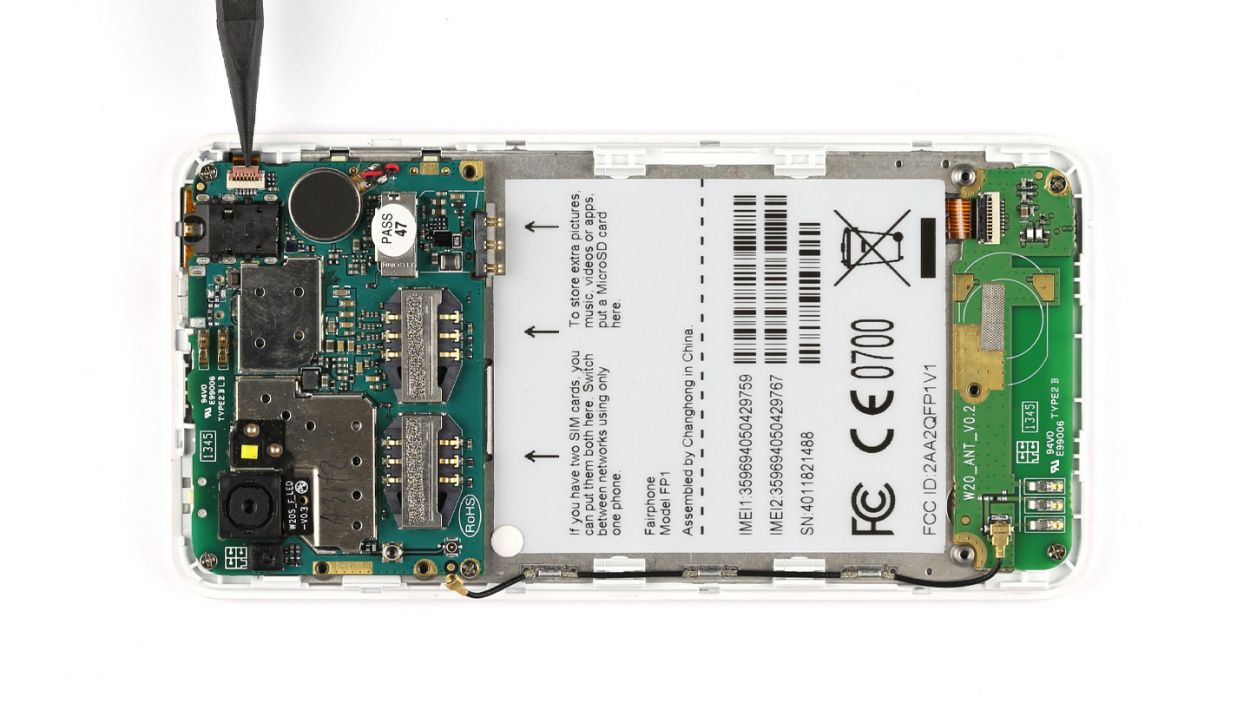

– Use the flat end of the spudger to detach the antenna cable from the logic board.
– Carefully remove the cover from the sensor contact using a pair of tweezers.
– Use the spudger to release the flexible flat cable.
– Carefully disconnect the flexible flat cable from the logic board.
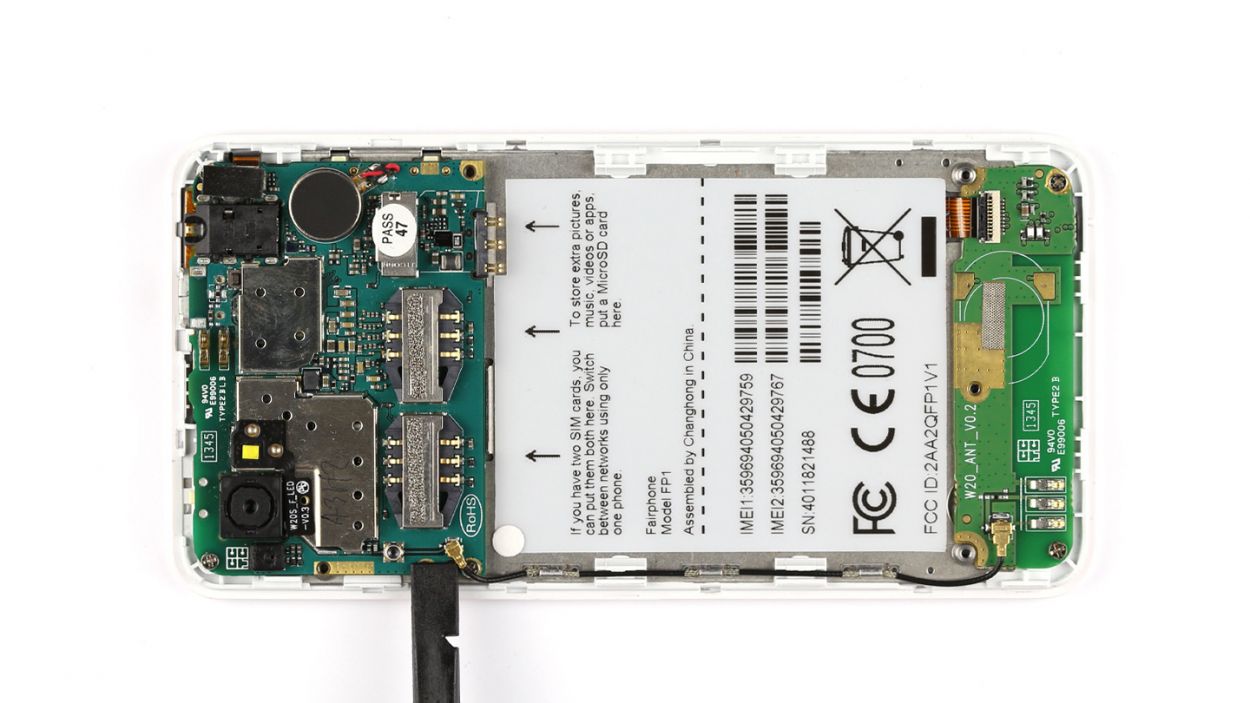
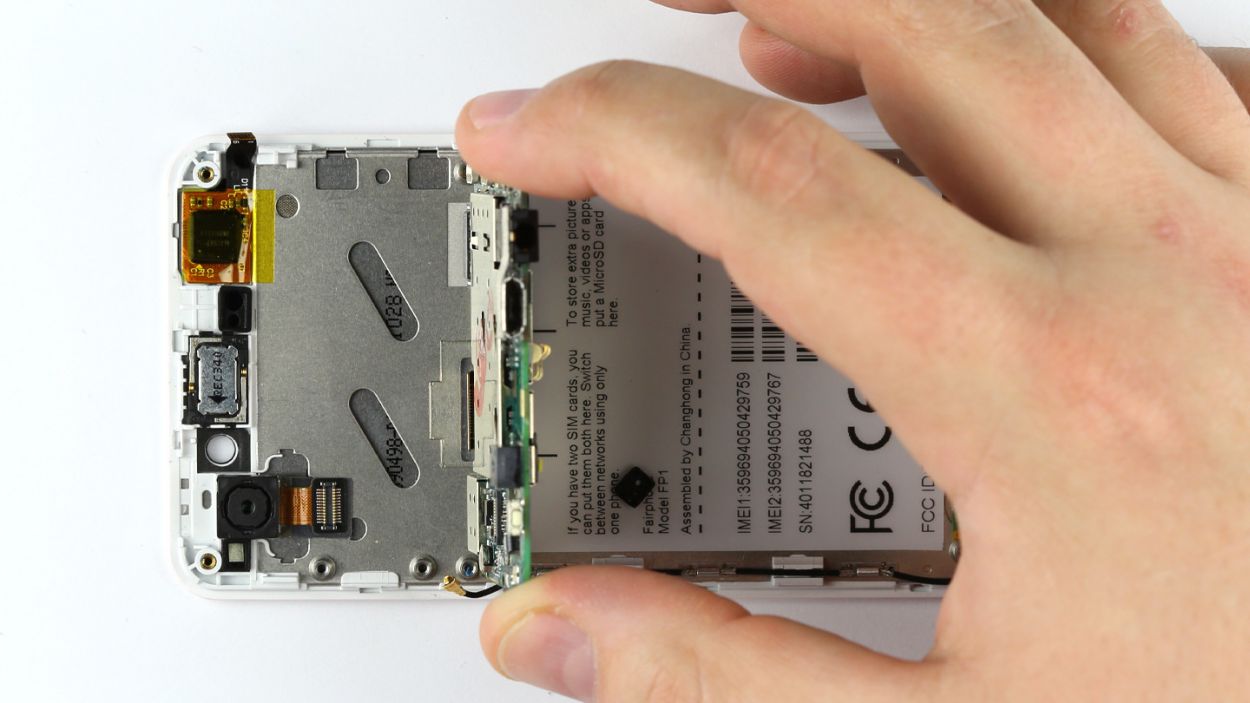
Step 8


– Unscrew those three little Phillips screws. We’re talking 3 x 2.2 mm Phillips screws here!
– Carefully lift the logic board. But hold your horses; don’t take it out just yet since it’s still tethered to the display.
– Now, give that logic board a gentle 90° tilt so you can reach the display connection hiding underneath.
– Grab your trusty spudger and gently disconnect that display contact like a pro.
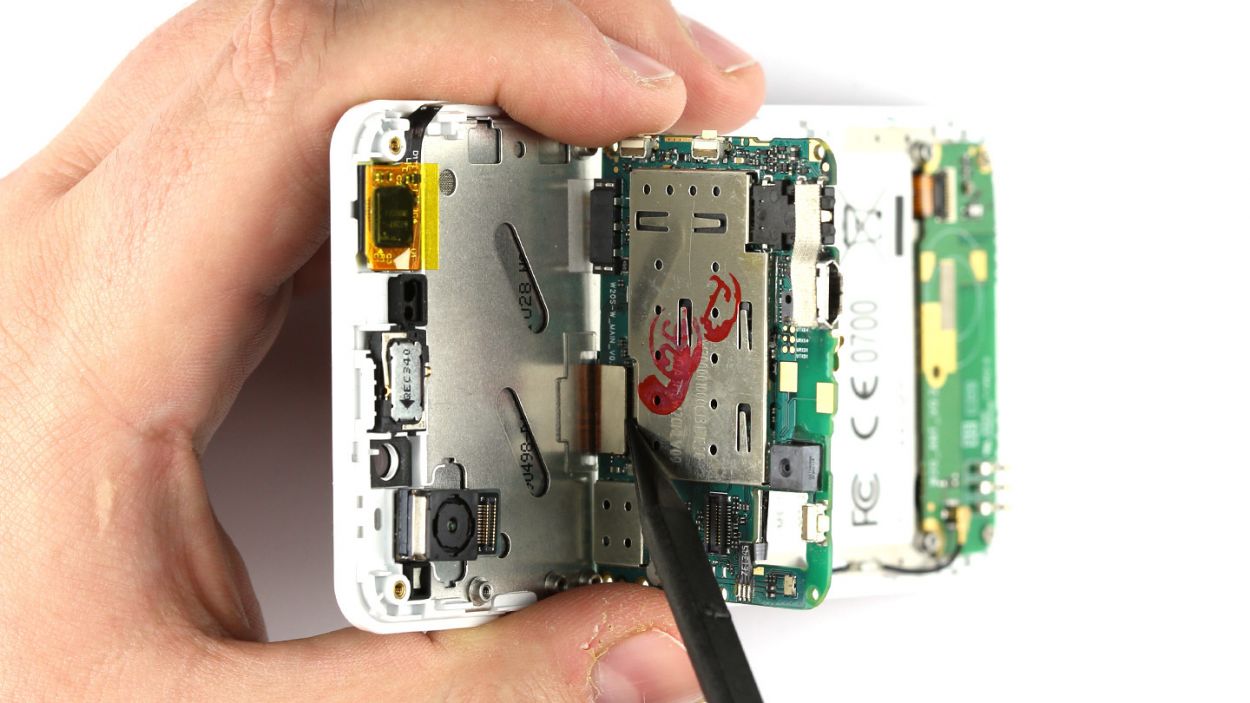
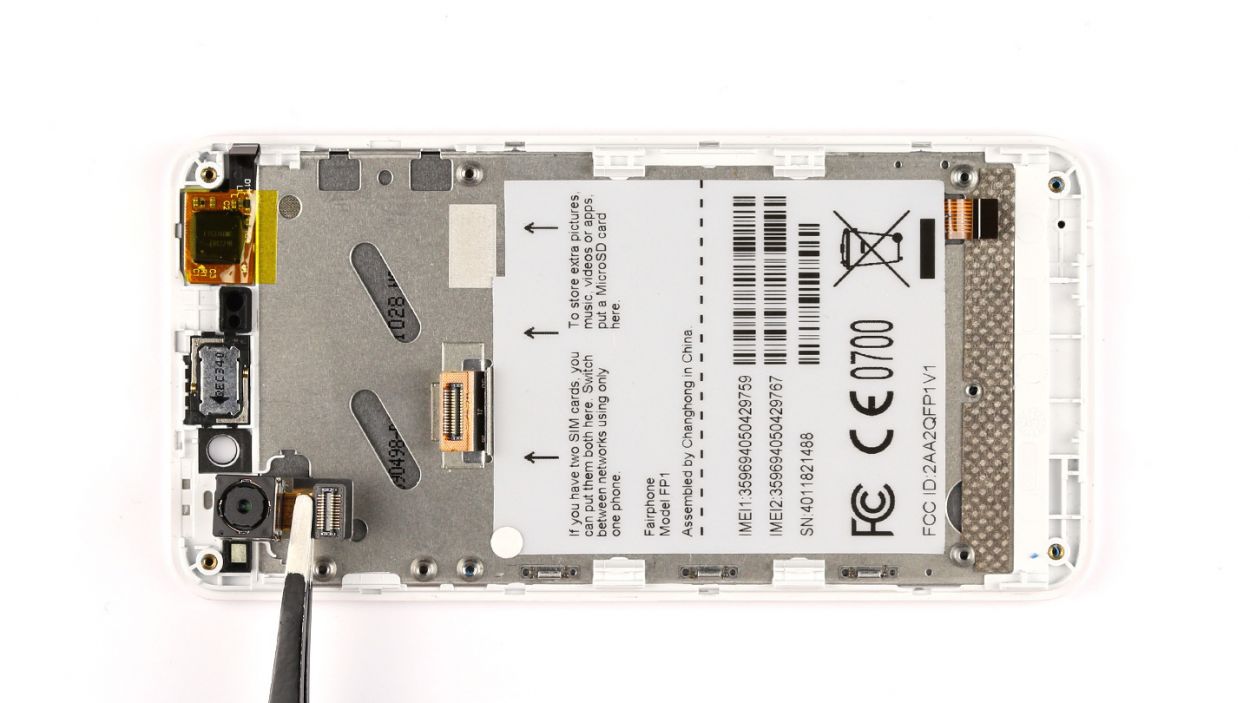
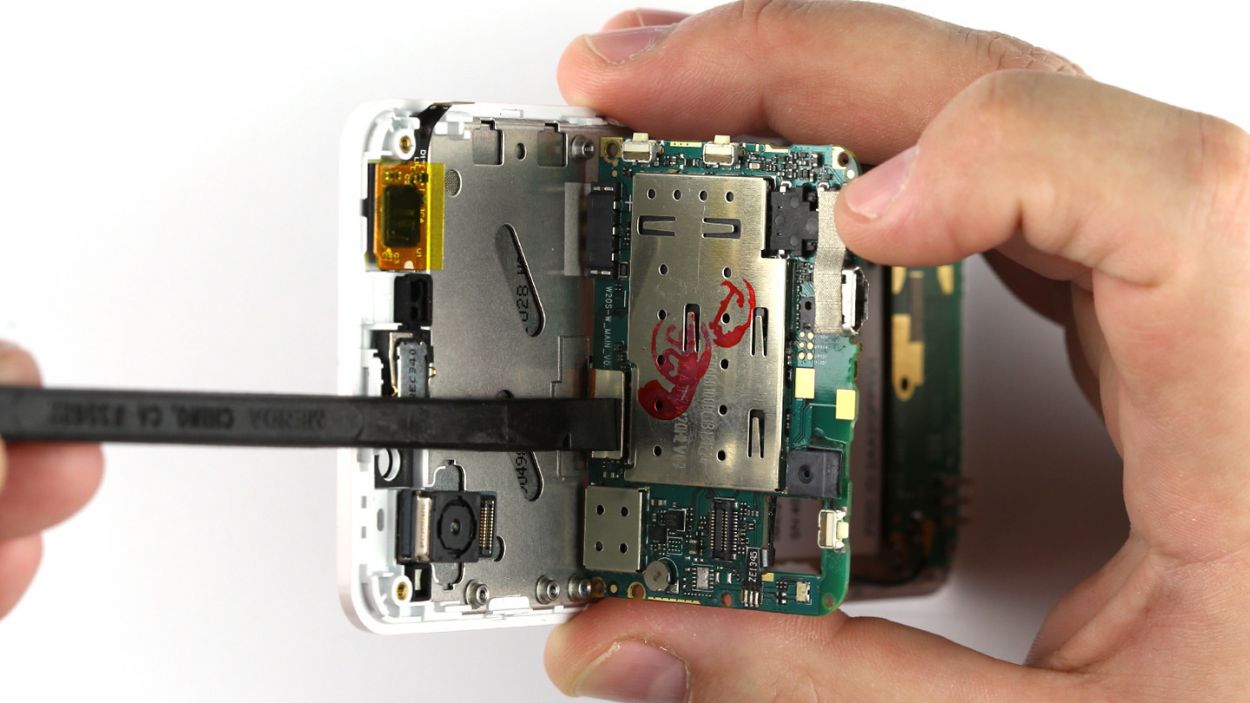
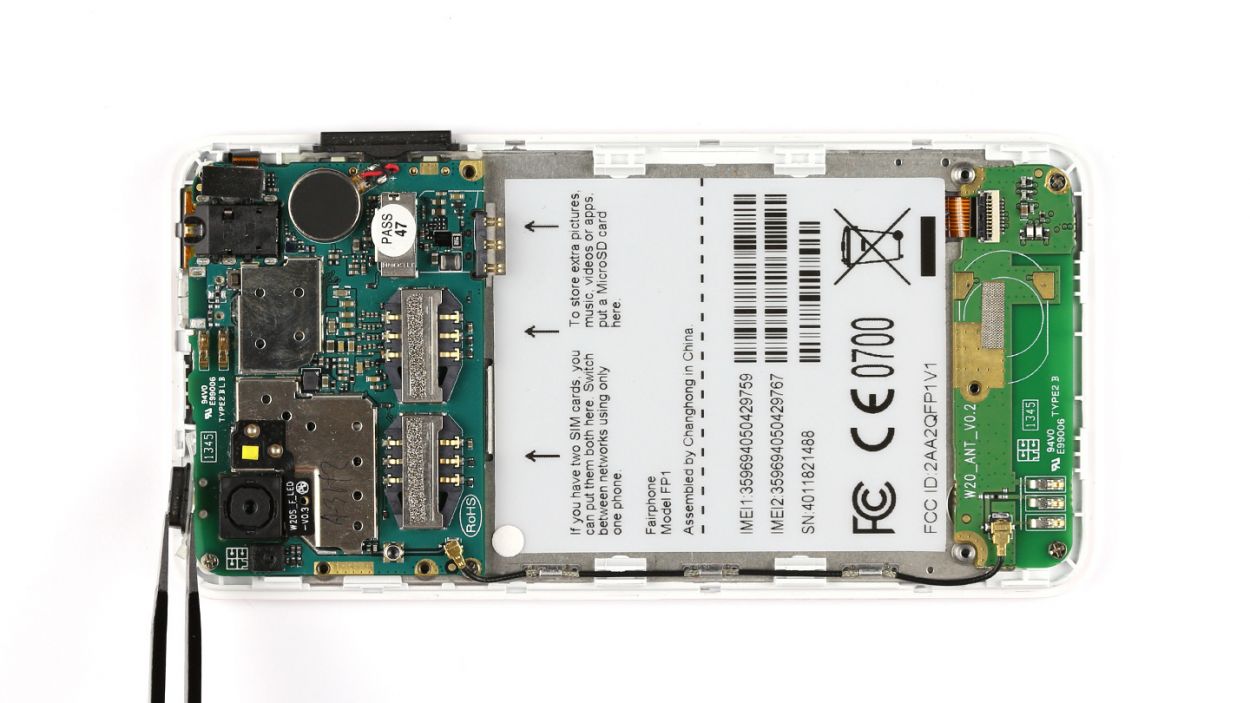
Step 9
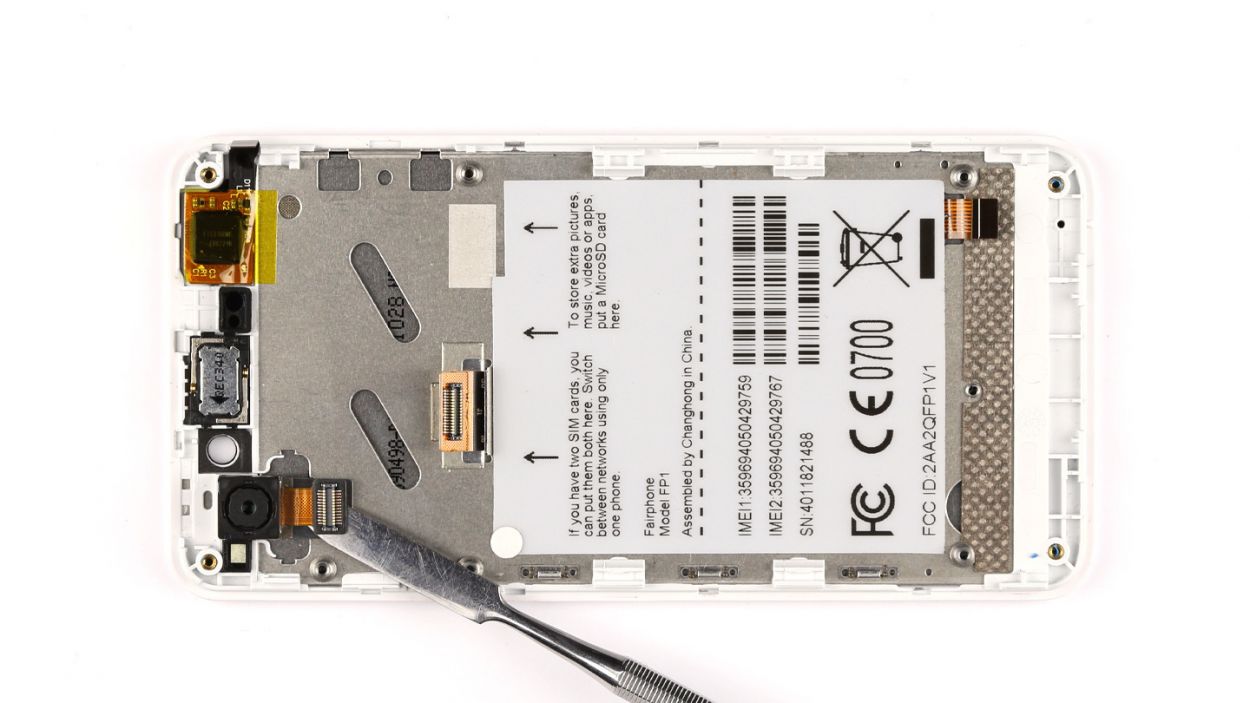

– Alright, friends! Let’s get this done! The rear-facing camera is stuck, but we’ve got this! Gently pry it loose with a steel spatula. Detach the camera from the display frame. Easy peasy!
– Next up, pop that camera out! We’re getting close to a fully functional you again.
Step 11


– Position the logic board at a 90° angle to the display – it’s like a little dance!
– Connect the display to the logic board – they’re ready to party!
– Settle the logic board back into its rightful place on the display frame – comfy!
– Secure it with three 2.2 mm Phillips screws. Easy peasy, lemon squeezy!
Step 12


– First up, let’s connect that flexible flat sensor cable to the logic board. It’s like giving your device a little hug!
– Next, make sure to lock that plug connection in place. We want it to feel secure and happy.
– Now, it’s time to put the cover back on. Think of it as tucking your device in for a cozy night.
– Finally, connect the antenna cable to the logic board. This will help your device stay connected to the world!

Step 14

– Yo, let’s get this repair show on the road! First, carefully place the chassis back on top of the display, making sure it clicks into place. Easy peasy, lemon squeezy.
– Remember, the chassis has to be securely attached to the display frame. Press it gently but firmly until it snaps into place – voila, all fixed!
Step 15

– Grab those five Phillips screws and secure the chassis like a pro! We’re talking about 5 x 3.9 mm Phillips screws here.
– Now, let’s seal the deal by putting the seal back on.
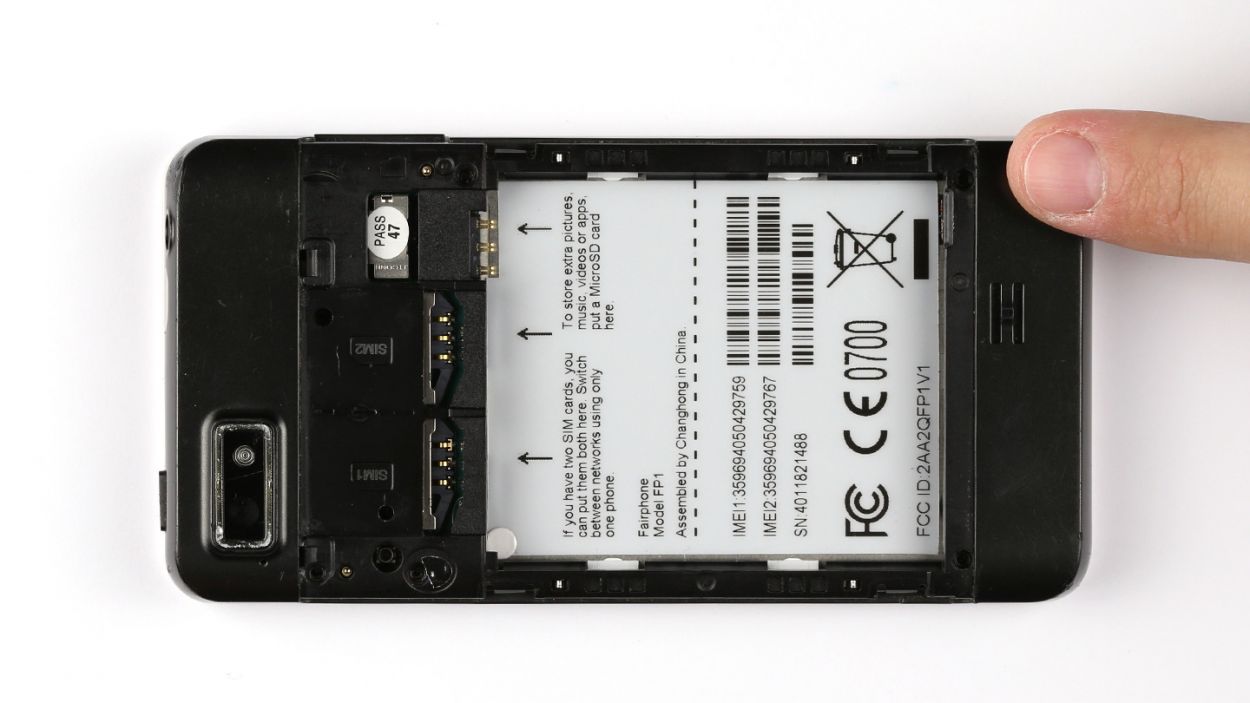
Step 16

– Time to get your SIM cards and microSD card back in their cozy little spots!

Step 18


– Time to get that back cover back on! Just make sure those two little tabs on the back cover snugly hook into the chassis.
– Give the back cover a gentle press until you hear that satisfying click. You’re almost there!


