How to Replace the Sub-Board in Fairphone 1 – DIY Guide
Duration: 30 min.
Steps: 12 Steps
Give your device a refresh by purging the awkward cousin of Maxwell House sidecars that’s just taking up space and not adding any value to your phone. If your signal is spotty or the speaker’s gone MIA, it’s probably because the sub-board is hogging the bandwidth. So let’s kick it to the curb and get your device running smoothly. Follow these easy steps:
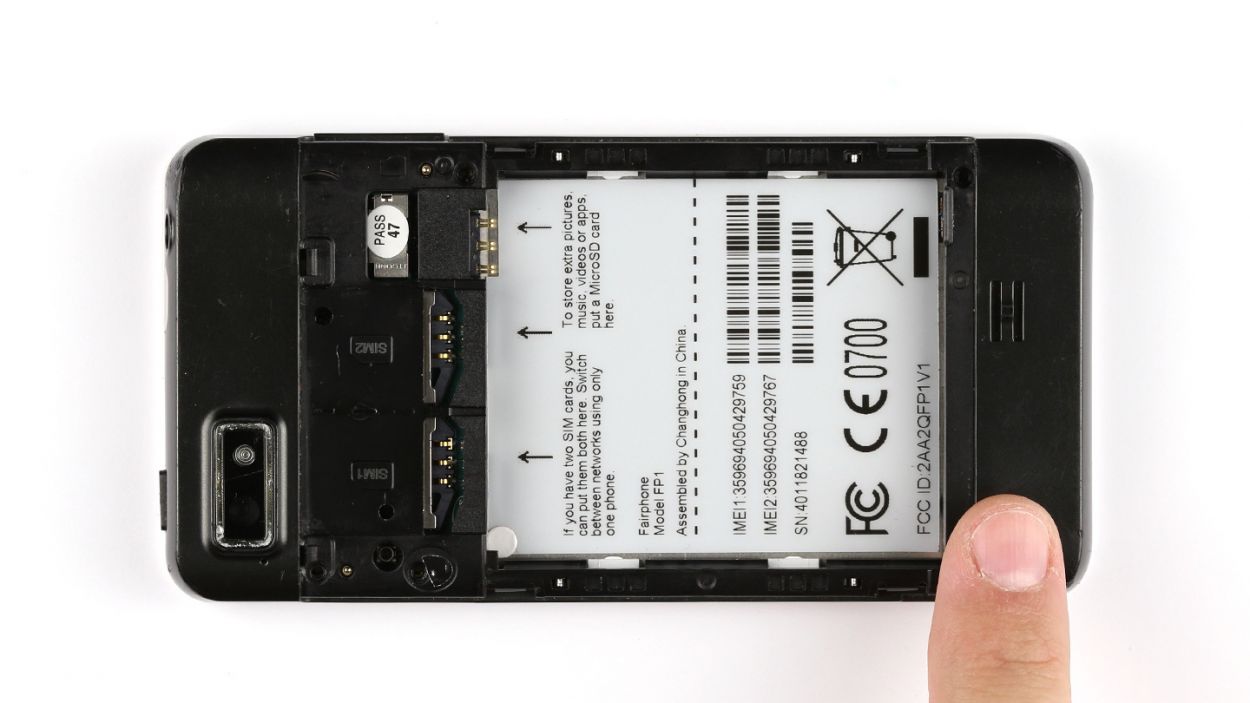
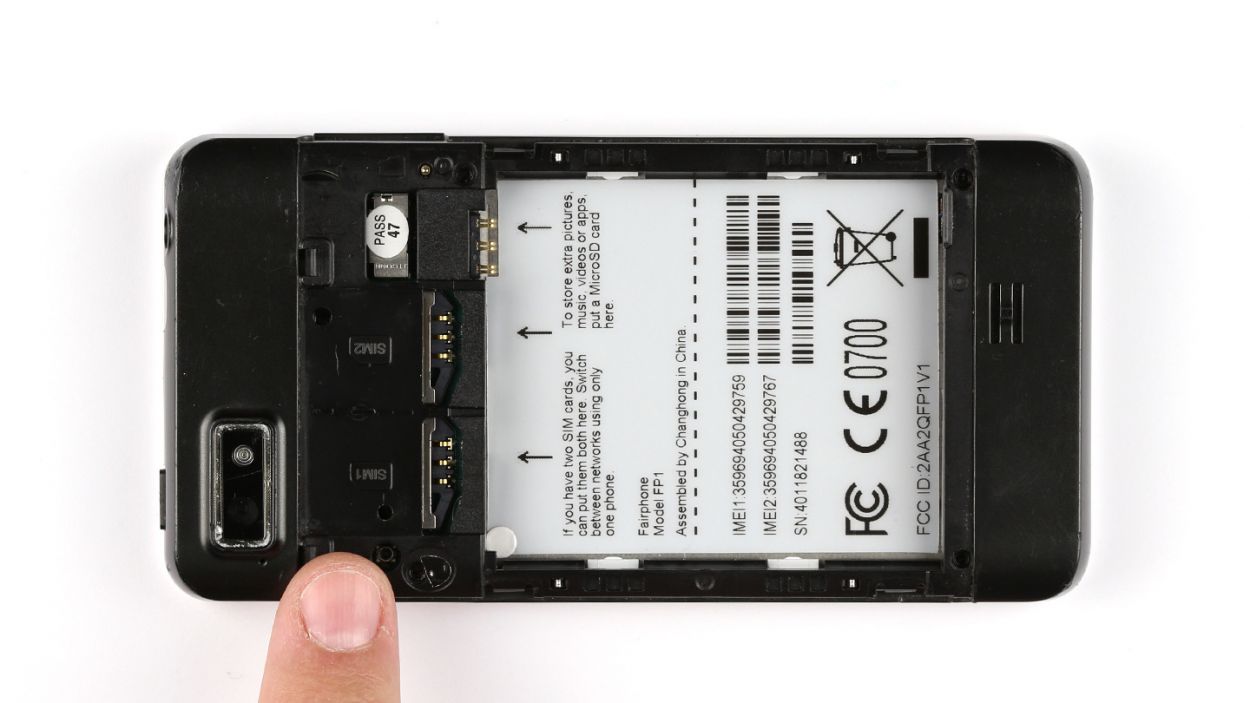
Step 1
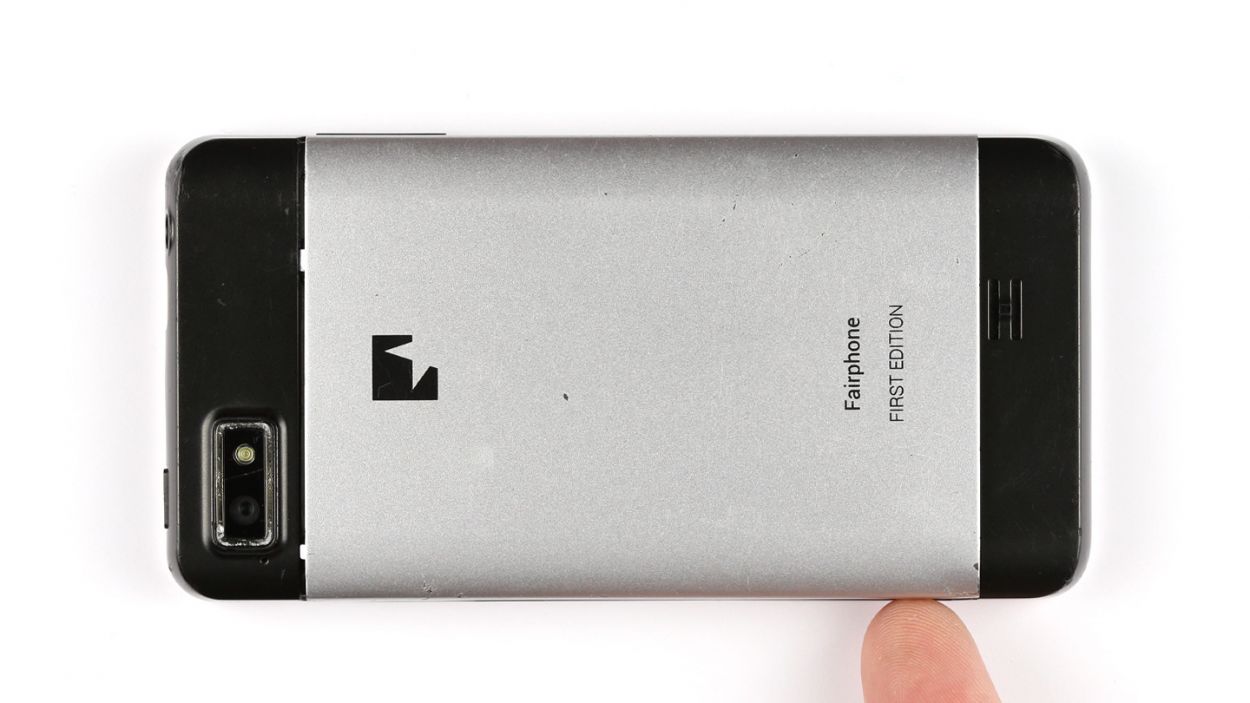

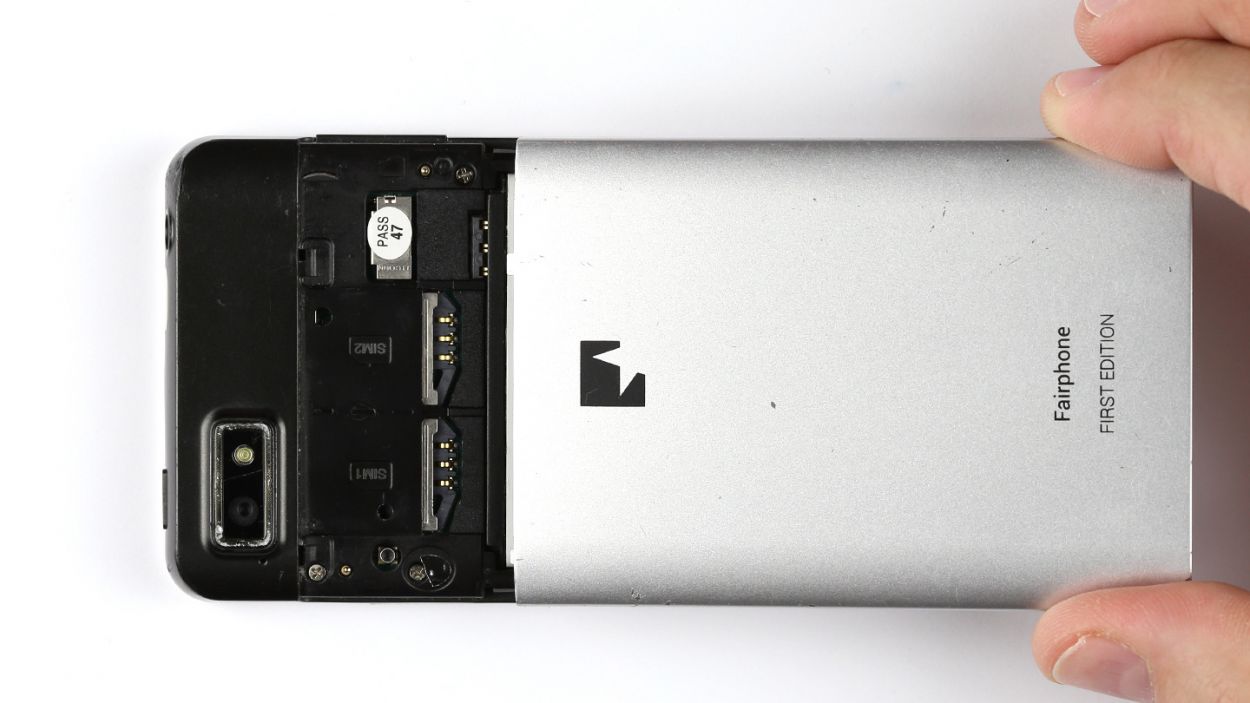
– Lift the back cover with your finger to detach it from the smartphone. There’s an indentation in the side of the Fairphone for this purpose.
– Remove the back cover from the device.
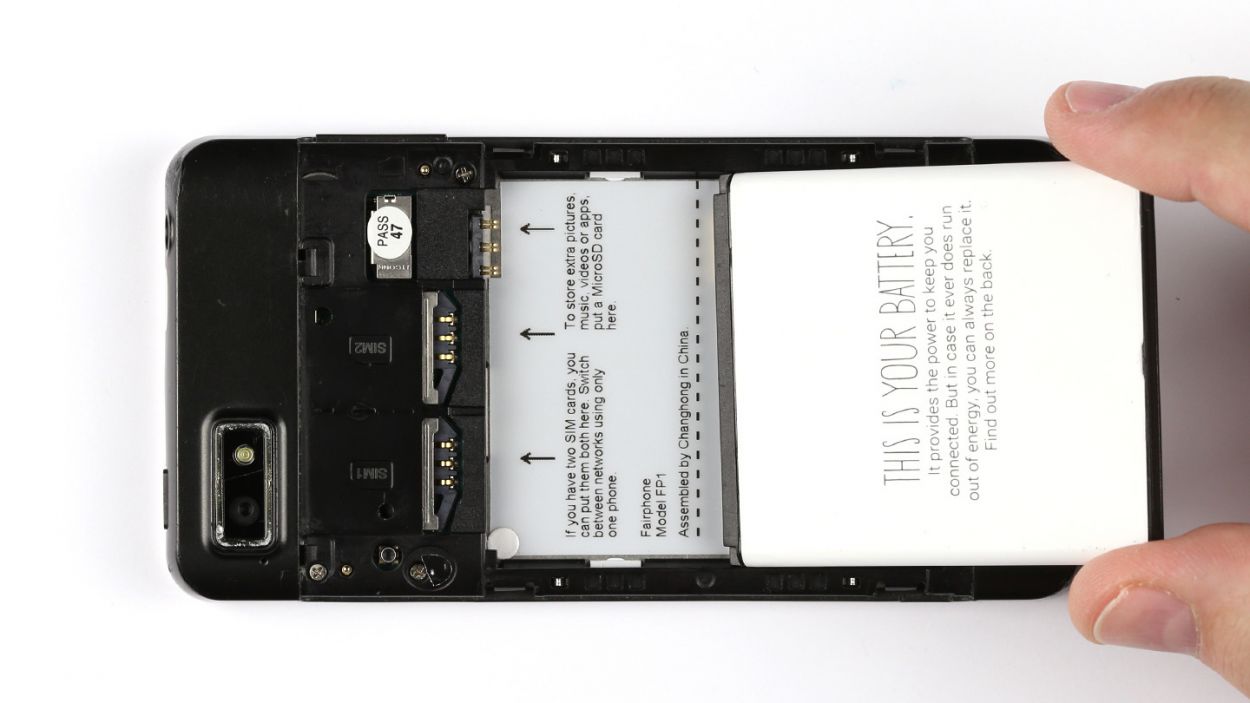
Step 2
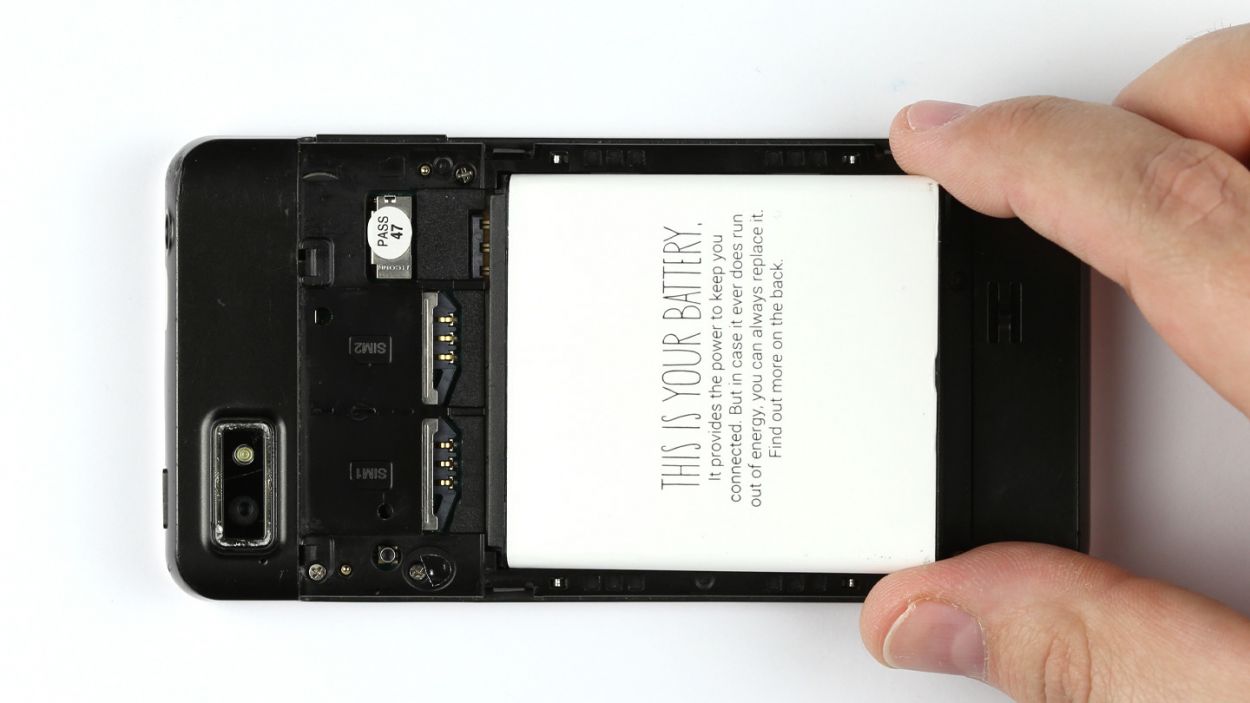

– Remove the battery from your Fairphone by lifting it at the bottom.
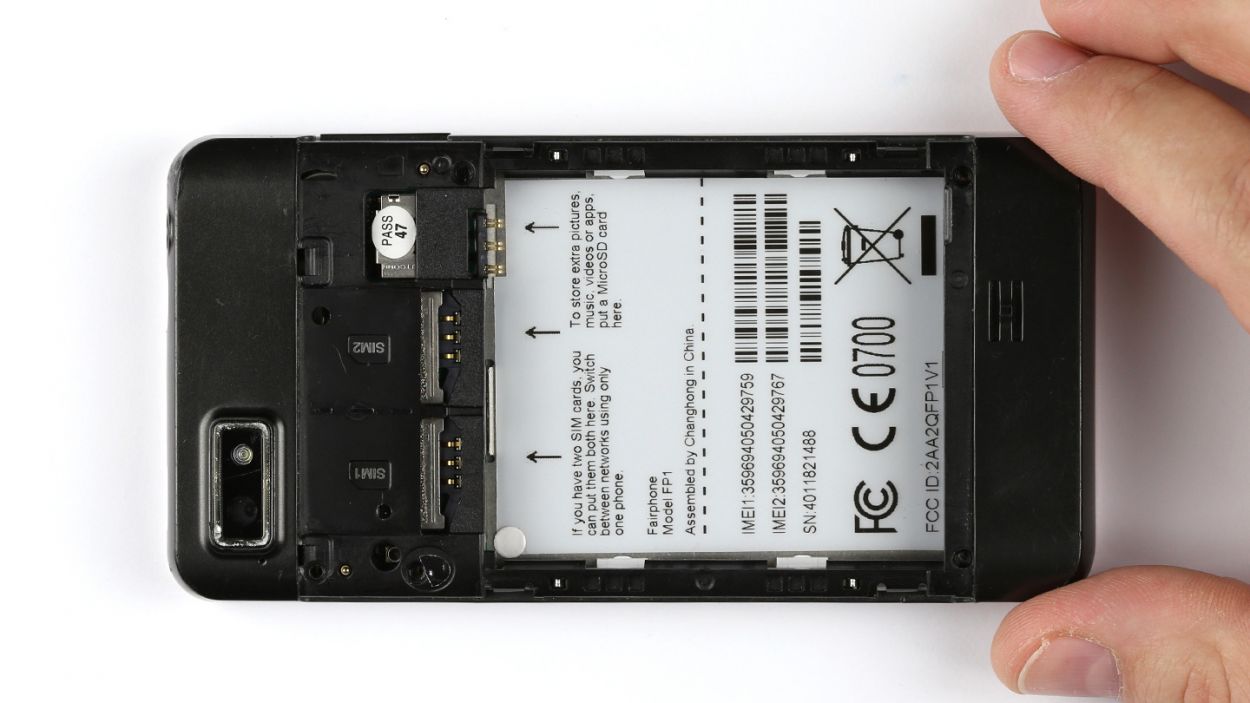
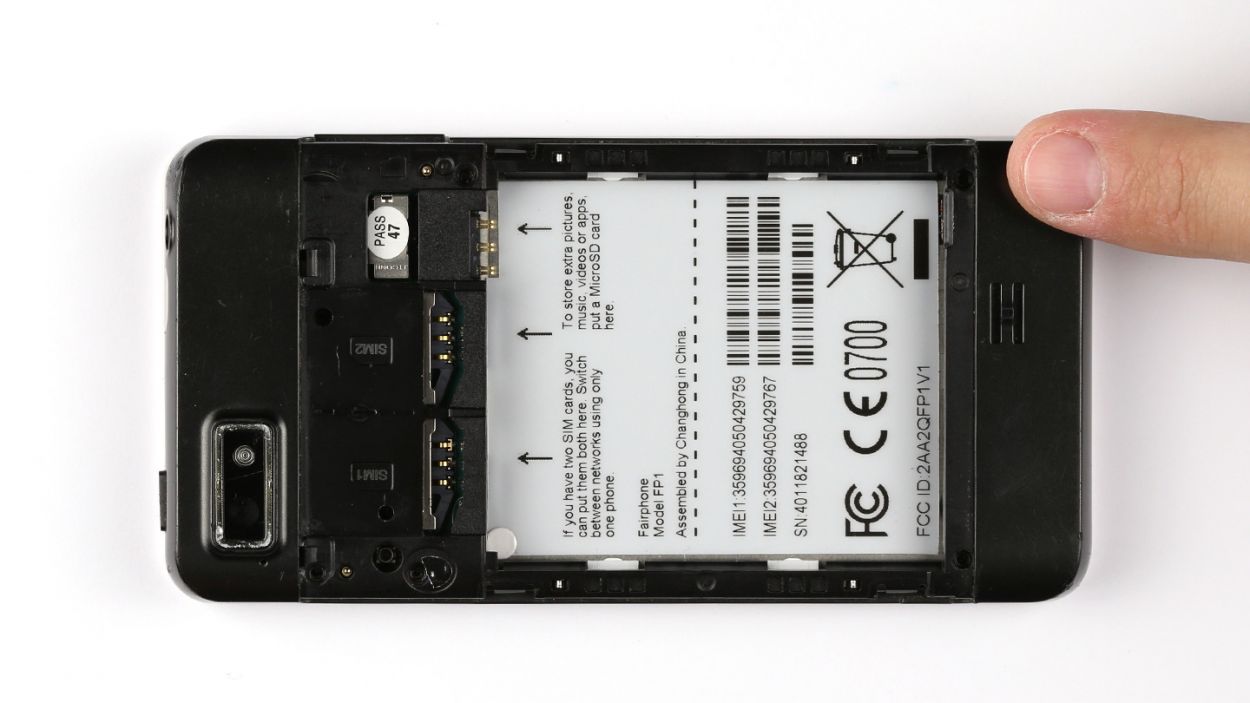
Step 3
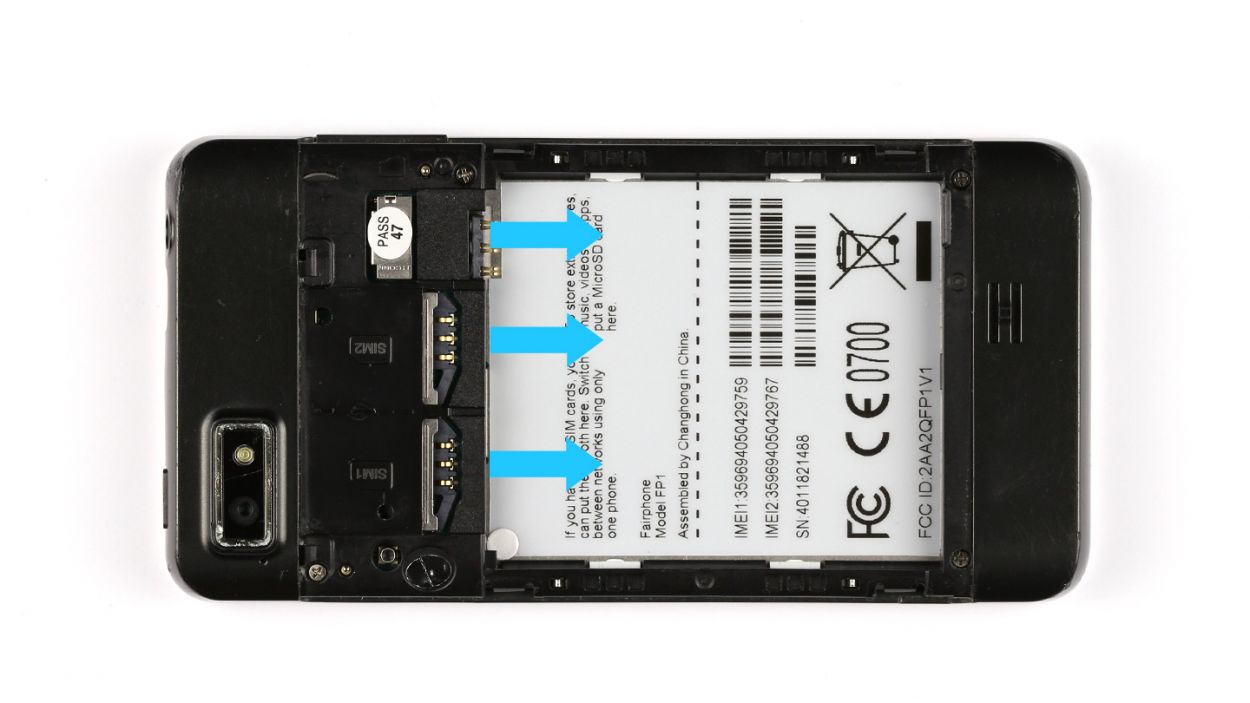
– Pop out the SIM cards and the microSD card like a pro!
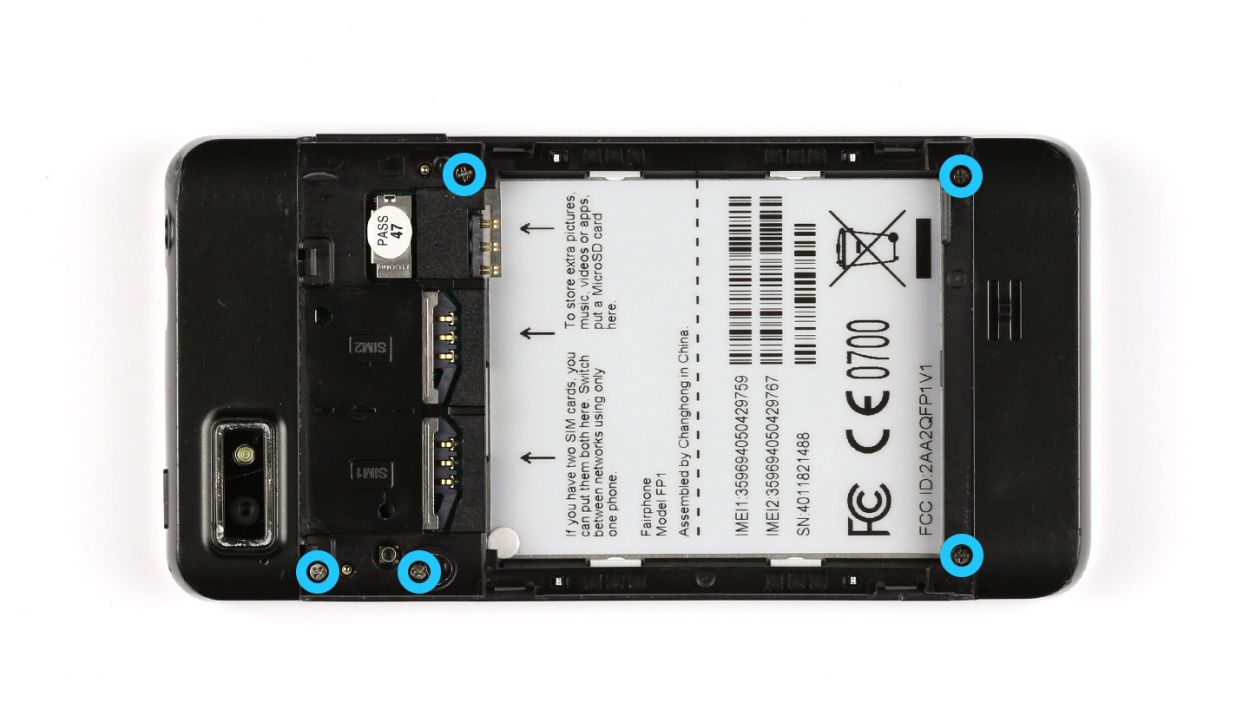
Step 4
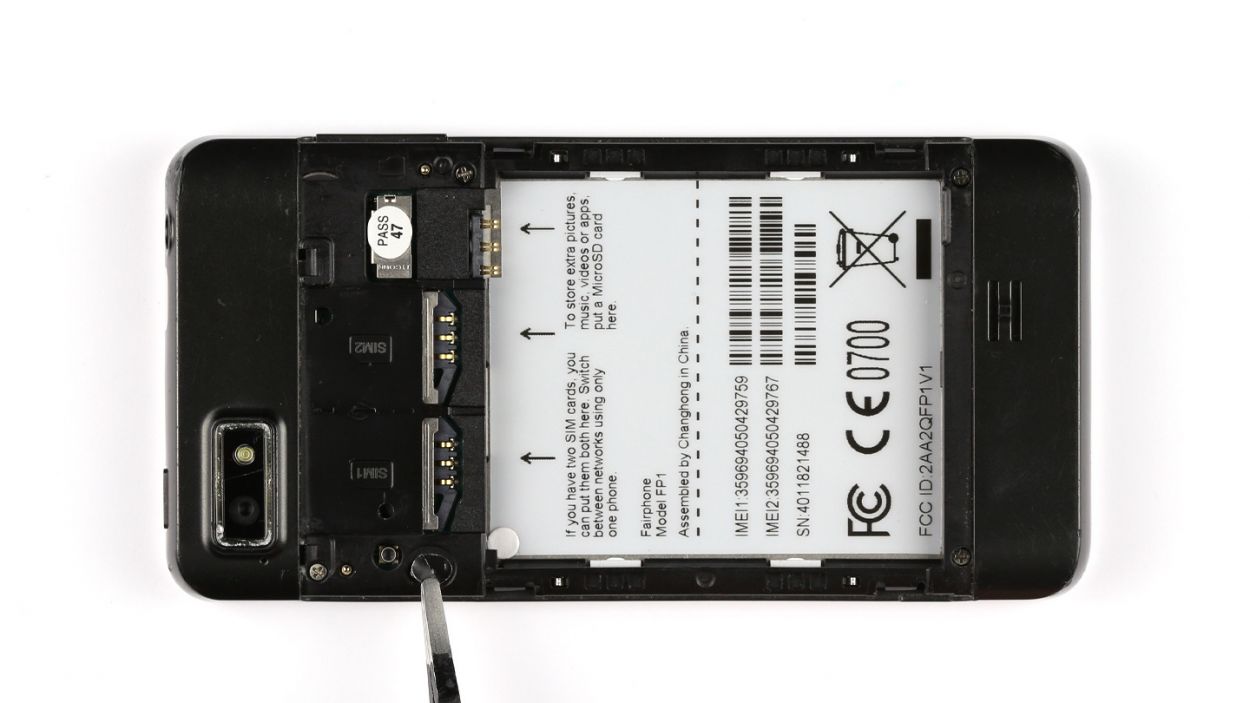

– Peel back the seal to reveal the hidden screw waiting for you.
– Unscrew those five Phillips screws like a pro! We’re talking 5 x 3.9 mm Phillips screws here.
Step 5

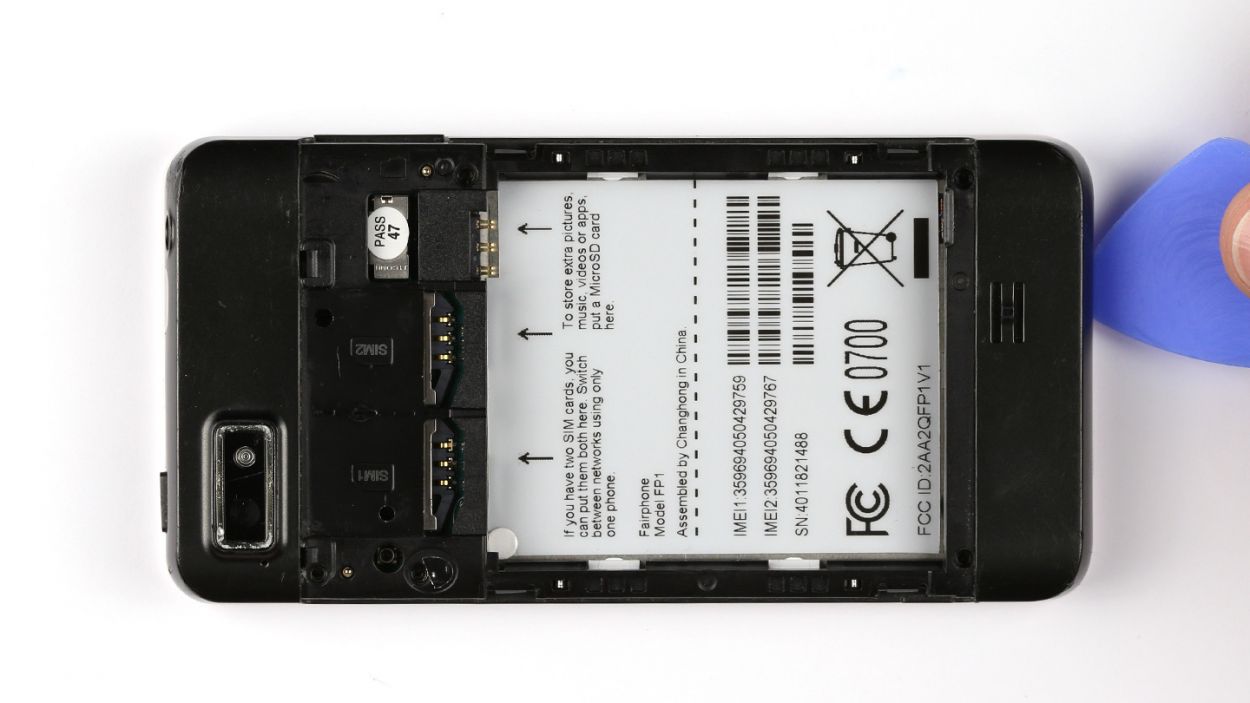
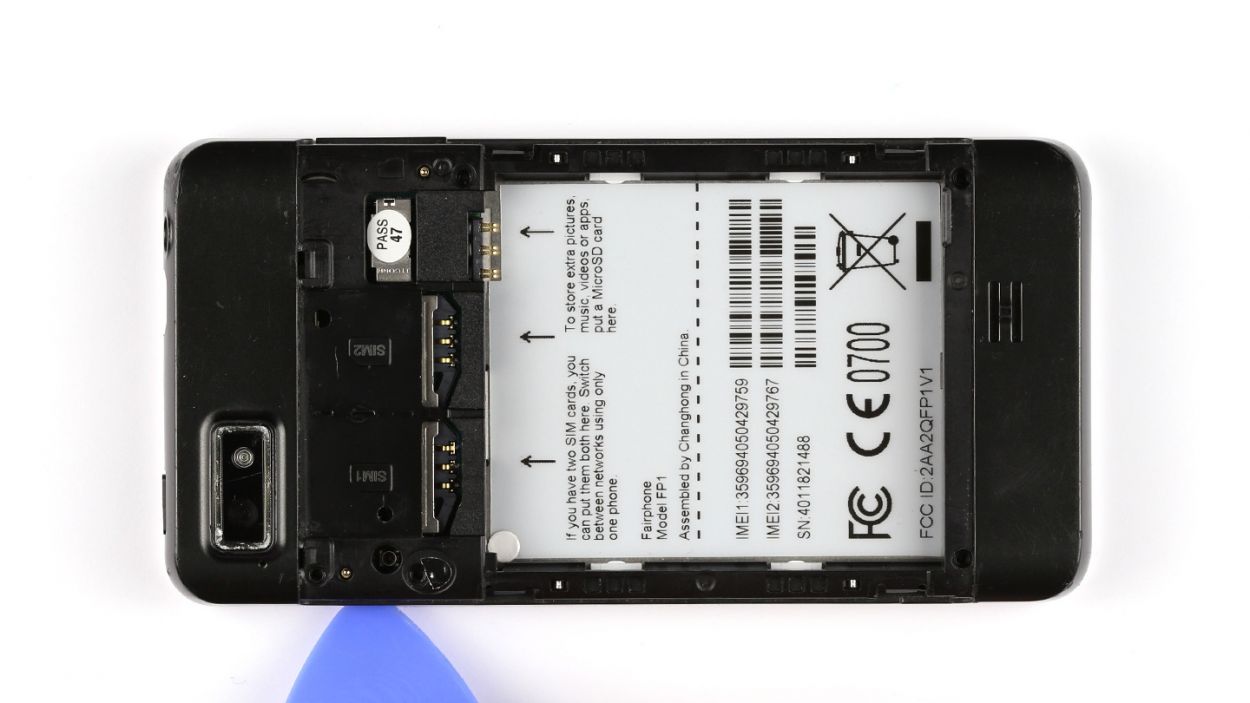
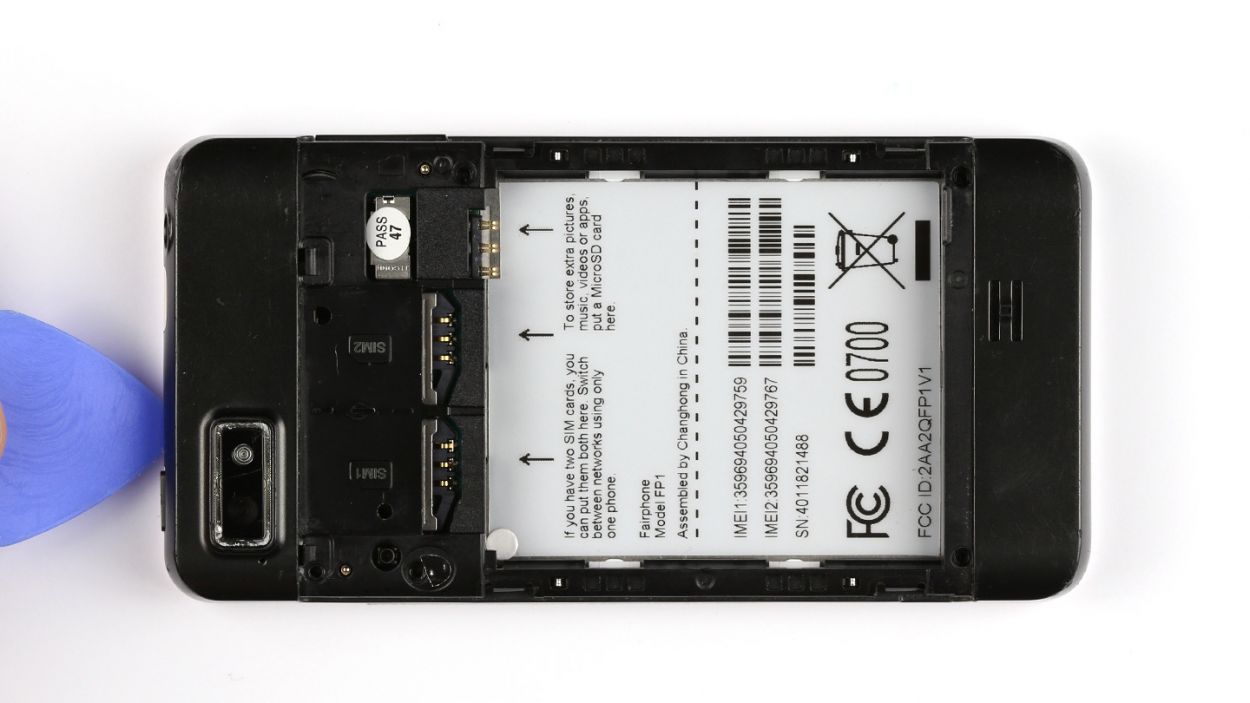

– First up, let’s get that chassis off the display frame! Grab a pick and work it between the chassis and the display. Slide it around like you’re on a gentle joyride! Keep repeating this until you’ve pried it off all around your device.
– Now, carefully remove the chassis and give yourself a well-deserved pat on the back!
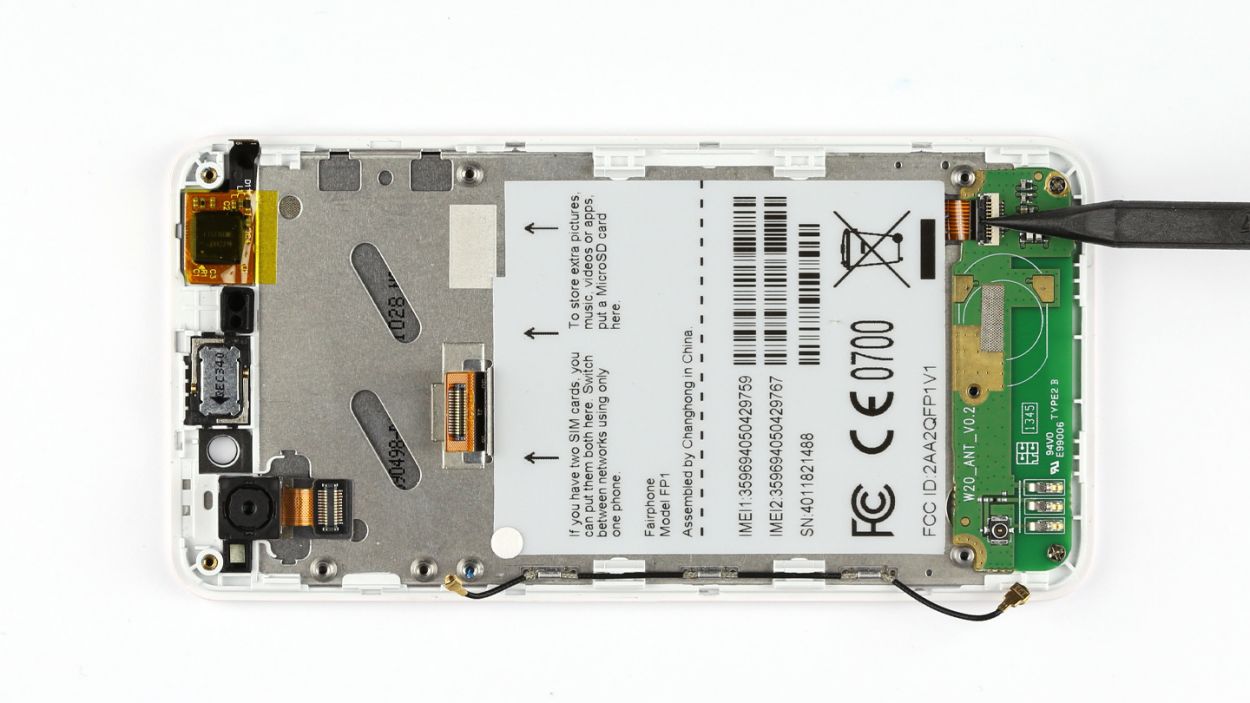
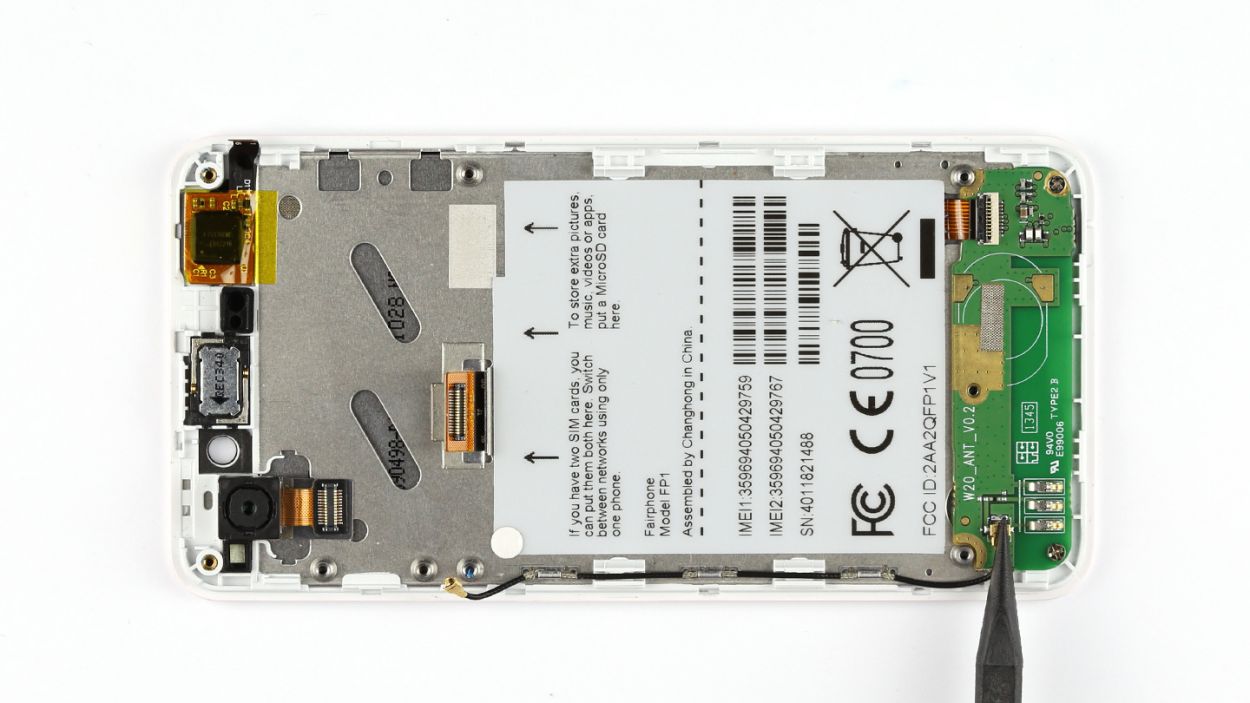
Step 6
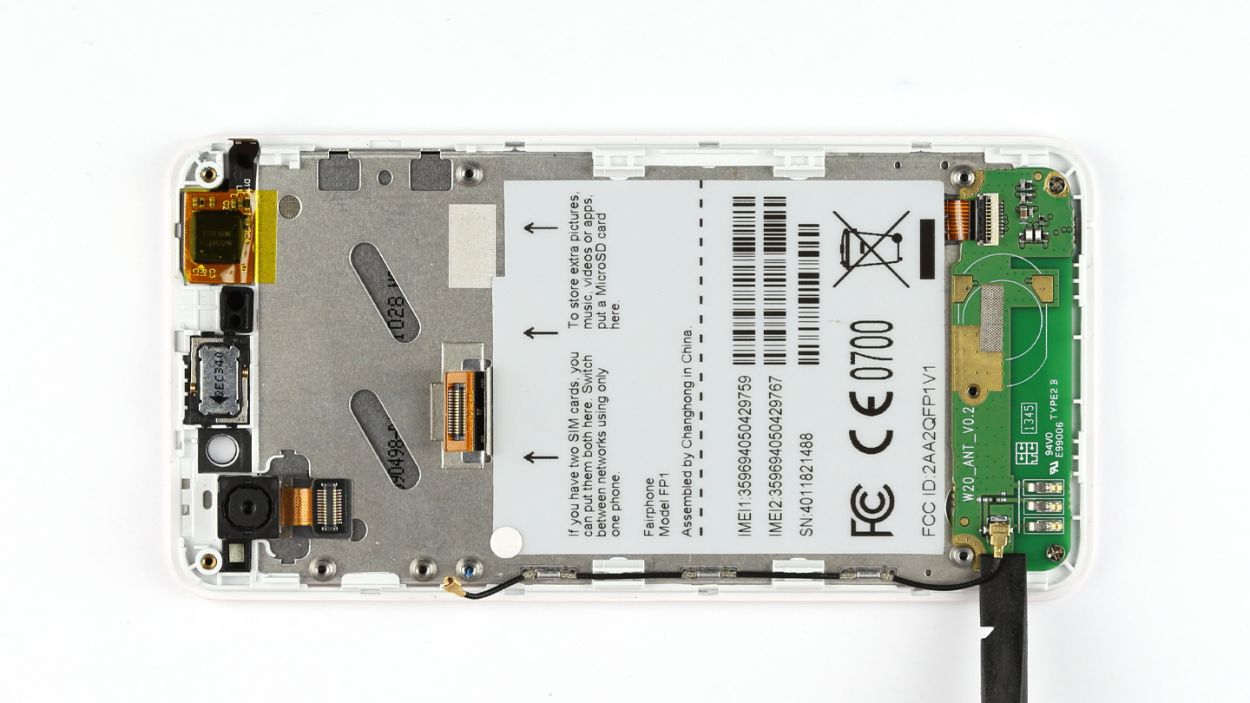


– Carefully unplug the groovy antenna wire from the sneaky sub-board.
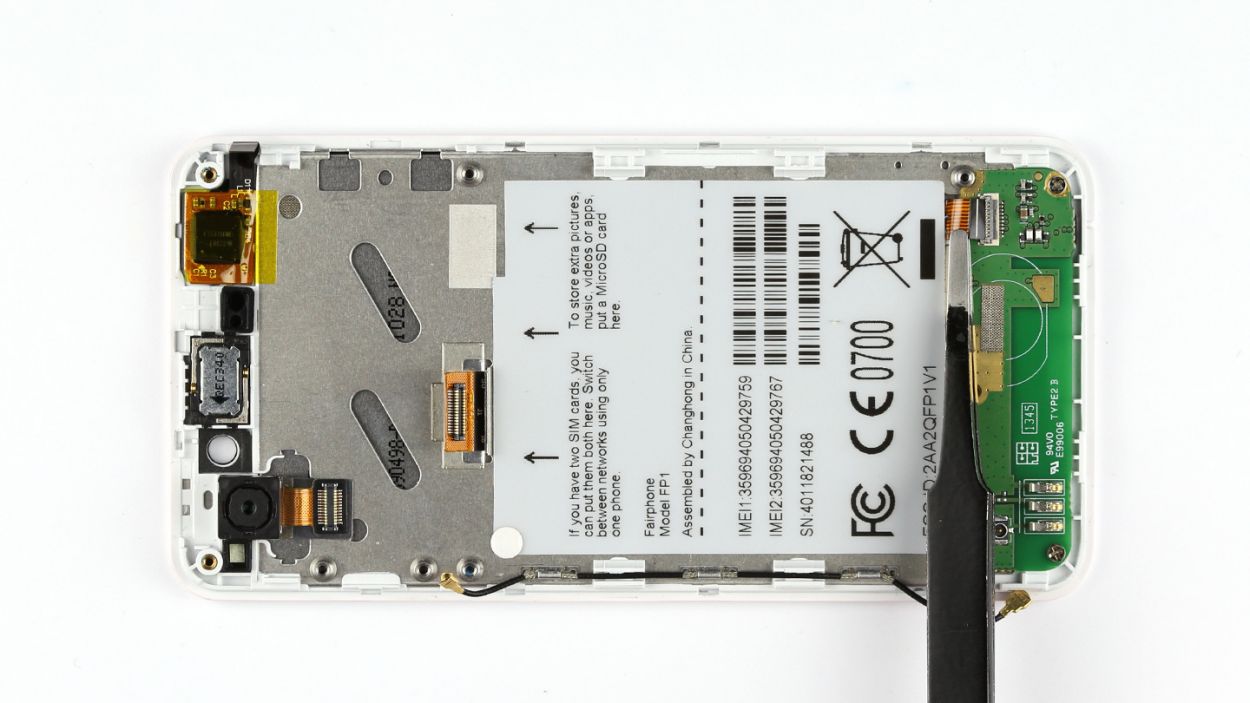
– Grab your trusty spudger and give that stubborn ribbon cable a gentle nudge. Use your nimble tweezers to skillfully detach the cable from its connector.
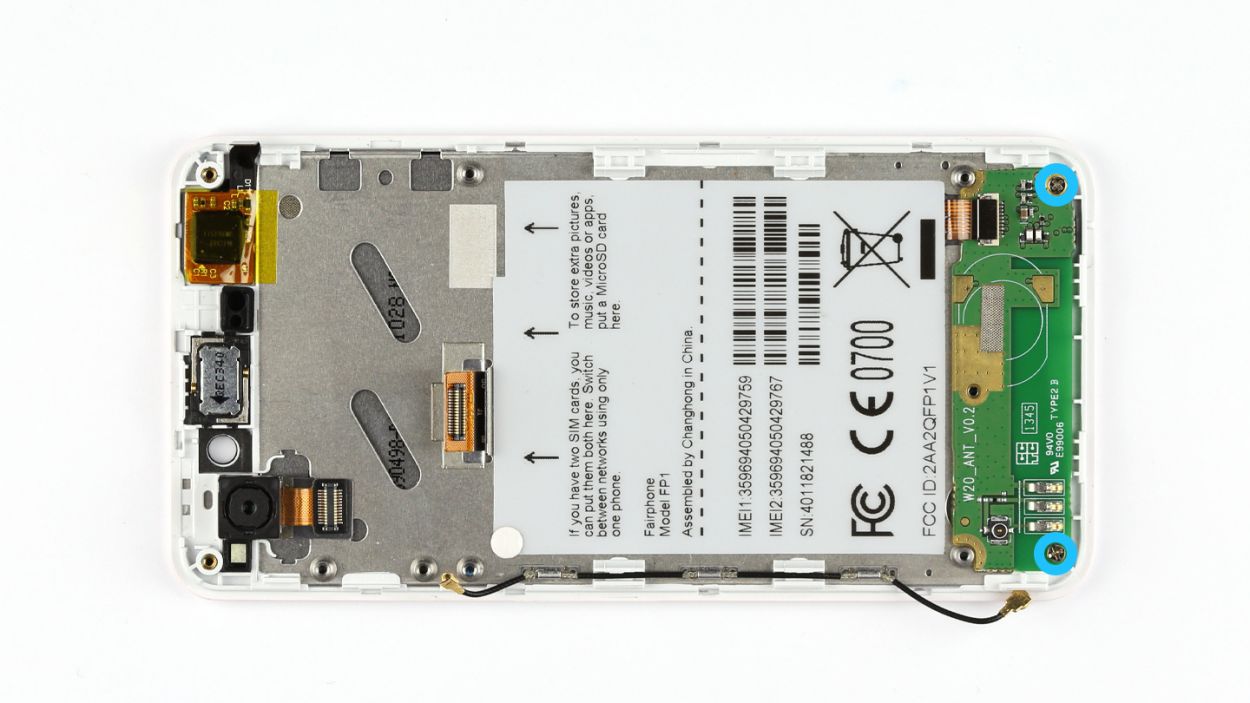
– Let’s say ‘bye-bye’ to these two Phillips screws. They’re tiny, but don’t worry, we’ll handle them like champs.
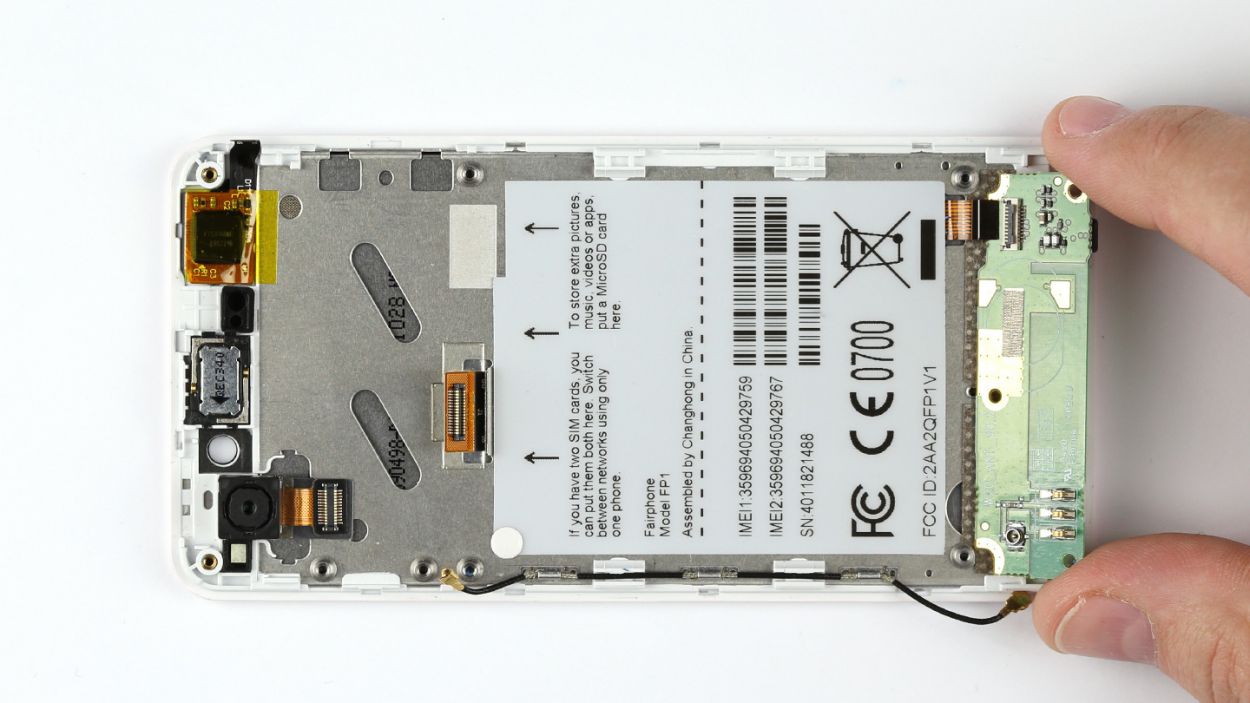
– Alright, time to free the sub-board from its display frame. It’s like, ‘Later, dude!’
Step 7


– Alright, cool cat! Now it’s time to get our sub-board in place. Locate the display frame and find the perfect spot for it to sit.
– Screws are our friends, let’s get to know them! Use your trusty Phillips screwdriver to attach the sub-board to the display frame. You’ll need 2 x 3.9 mm Phillips screws to make it secure.
– Cables are like hugs for electronics – they keep everything connected! Carefully connect the flexible flat cable to the sub-board and give it a little twist to lock it in place.
– Last but not least, let’s connect the antenna cable to the sub-board. Think of it as the final connection to the music – it’s gotta be just right!

Step 9

– Grab those five Phillips screws and secure the chassis like a pro! We’re talking about 5 x 3.9 mm Phillips screws here.
– Now, let’s seal the deal by putting the seal back on.
Step 10

– Alrighty then, pop those SIM cards and microSD card back into their cozy little slots!
Inserting them with care and love is key!
Got it? Super!
If you need help, you can always schedule a repair with us at Salvation Repair.

Step 12


– Alright, let’s get the back cover back on, shall we? Just snap those tabs into place and you’ll be golden! And give it a nice snug press, until you hear that satisfying click – that’s when you know it’s securely attached!
– If you need help, you can always schedule a repair our team is here to assist you. If you have any other questions, no worries – just let us know!


