DIY Guide to Replace Fairphone 2 Microphone USB Module
Duration: 30 min.
Steps: 10 Steps
Hey there! Having some trouble hearing you loud and clear on your Fairphone 2? Or maybe your phone isn’t getting recognized by your computer? We’ve got you covered! In this guide, we’ll walk you through a super easy DIY repair to replace your faulty microphone/USB module. Trust us, it’s a breeze! If you need help, you can always schedule a repair. Let’s get started!
Step 1

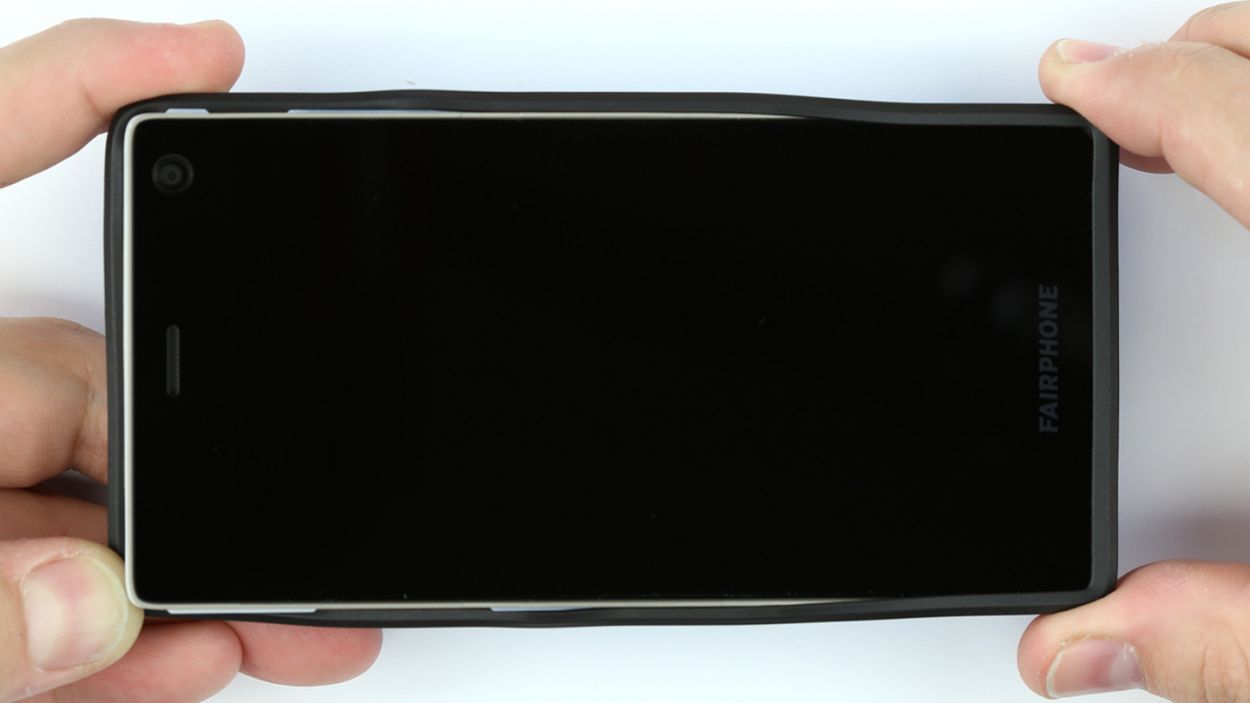
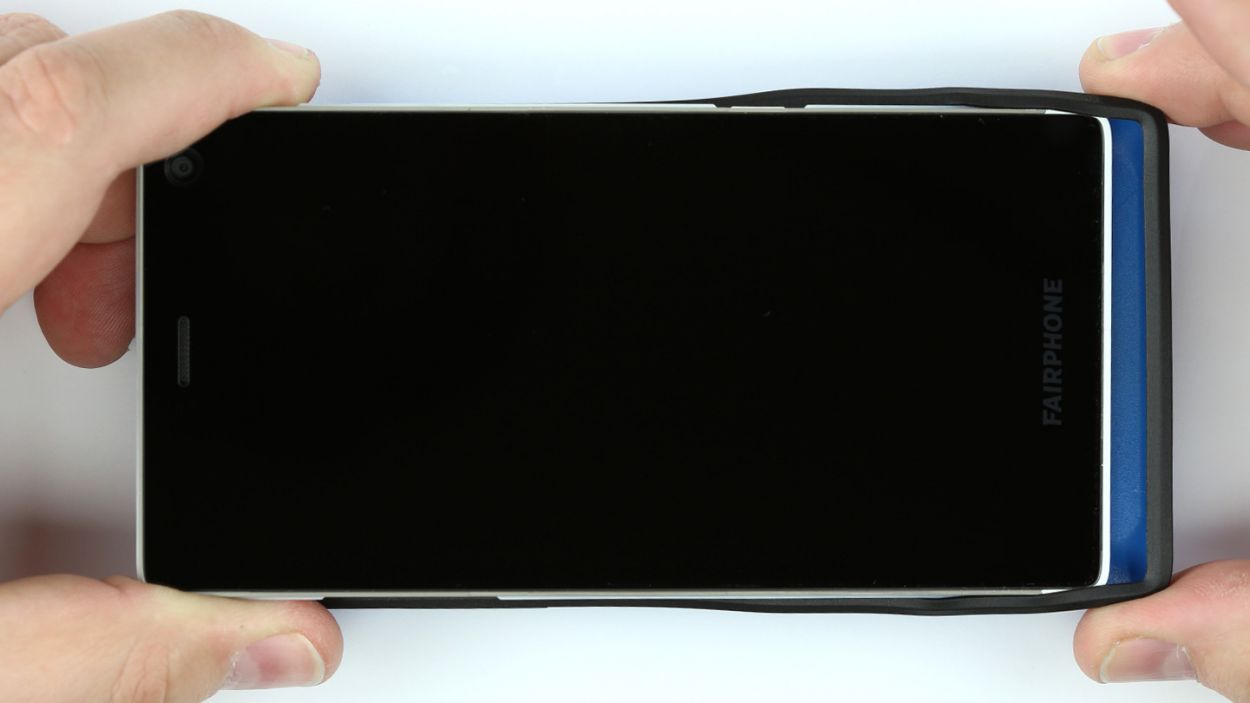
– Grab the rubber rim on one short side of your Fairphone’s back cover and gently pry it loose. Think of it as a friendly tug-of-war – you’re winning!
– Now, let’s conquer the next corner! Ease off the back cover from that side.
– Sweet success! Your Fairphone is free from its shell. If you need a hand with any of this, you can always schedule a repair.
Step 2

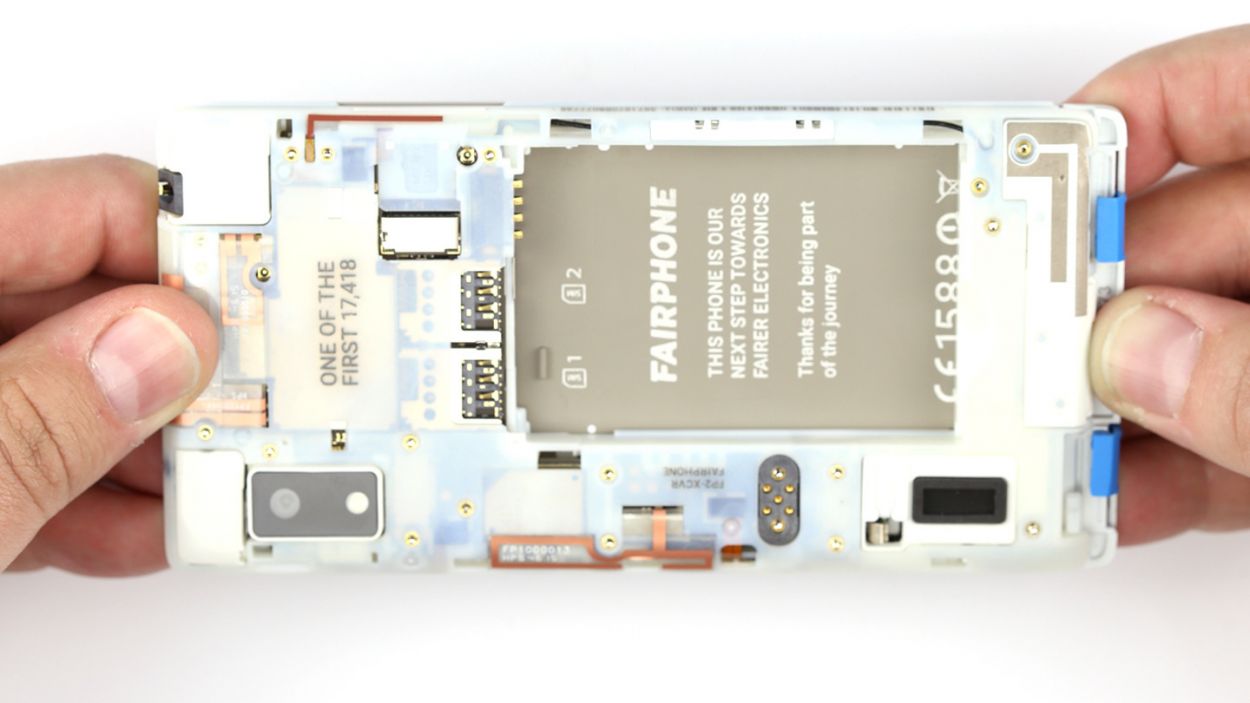
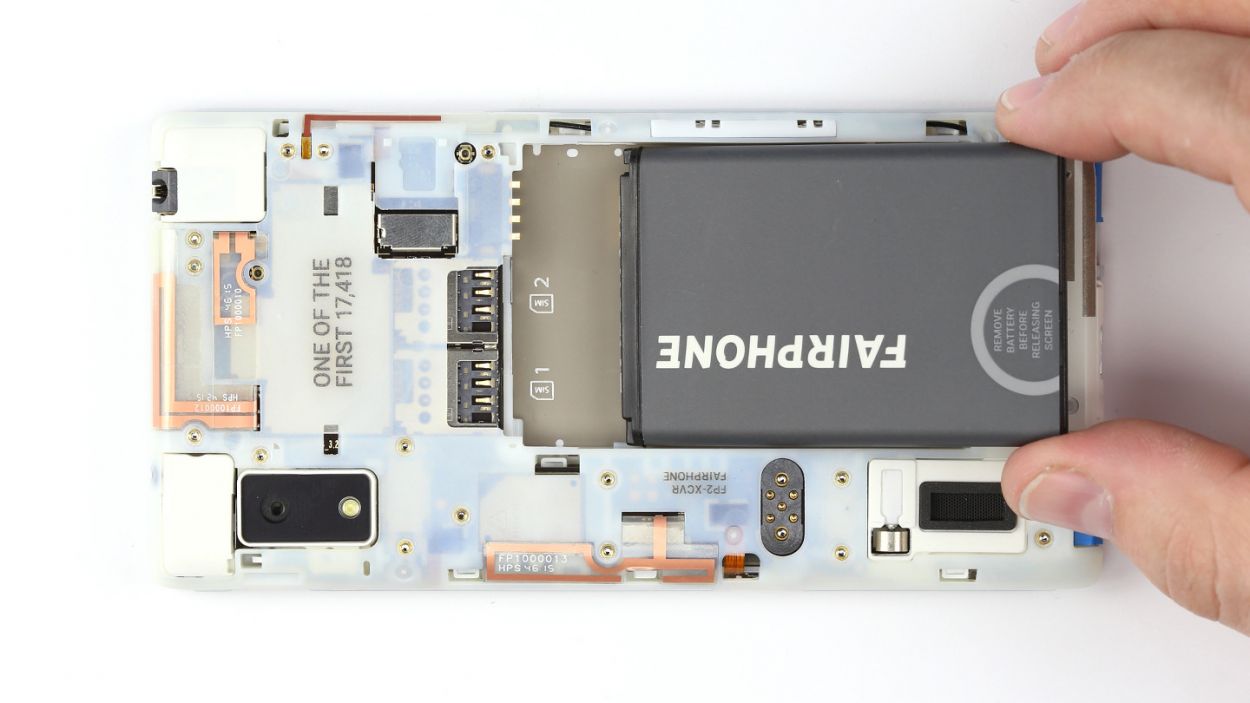
– Time to give that battery a little lift and freedom! Gently remove it from its home in the chassis.
Step 3
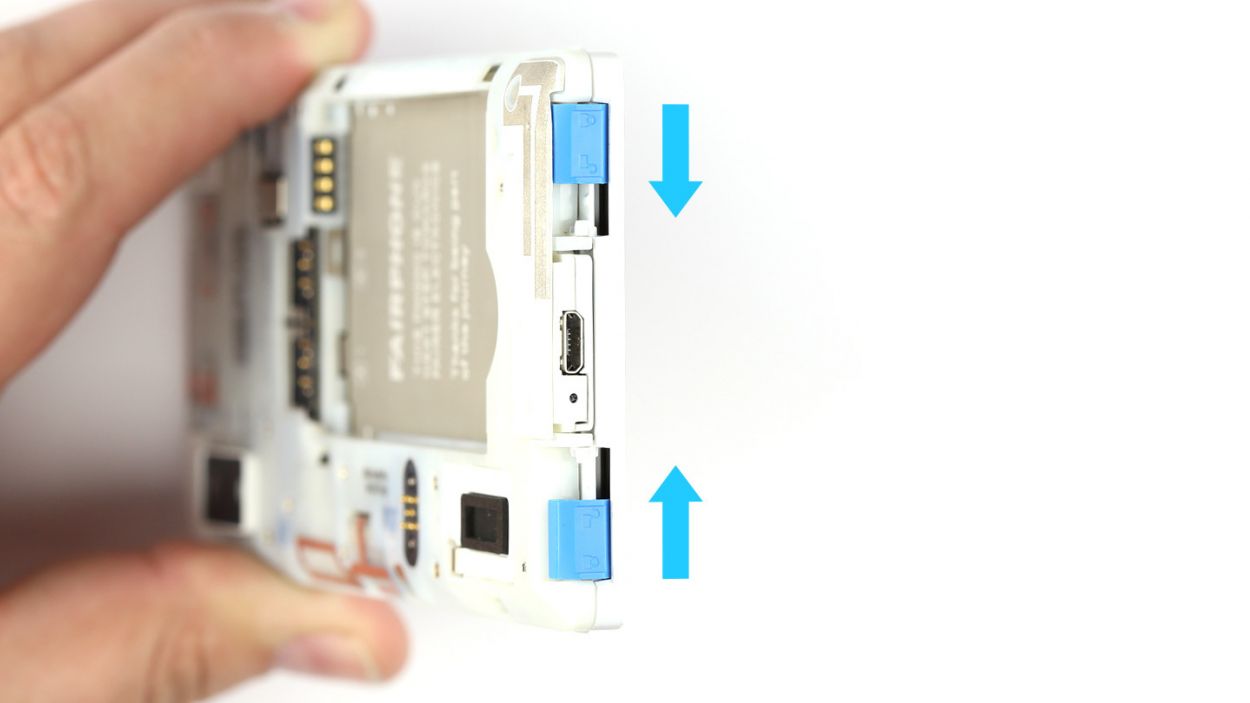
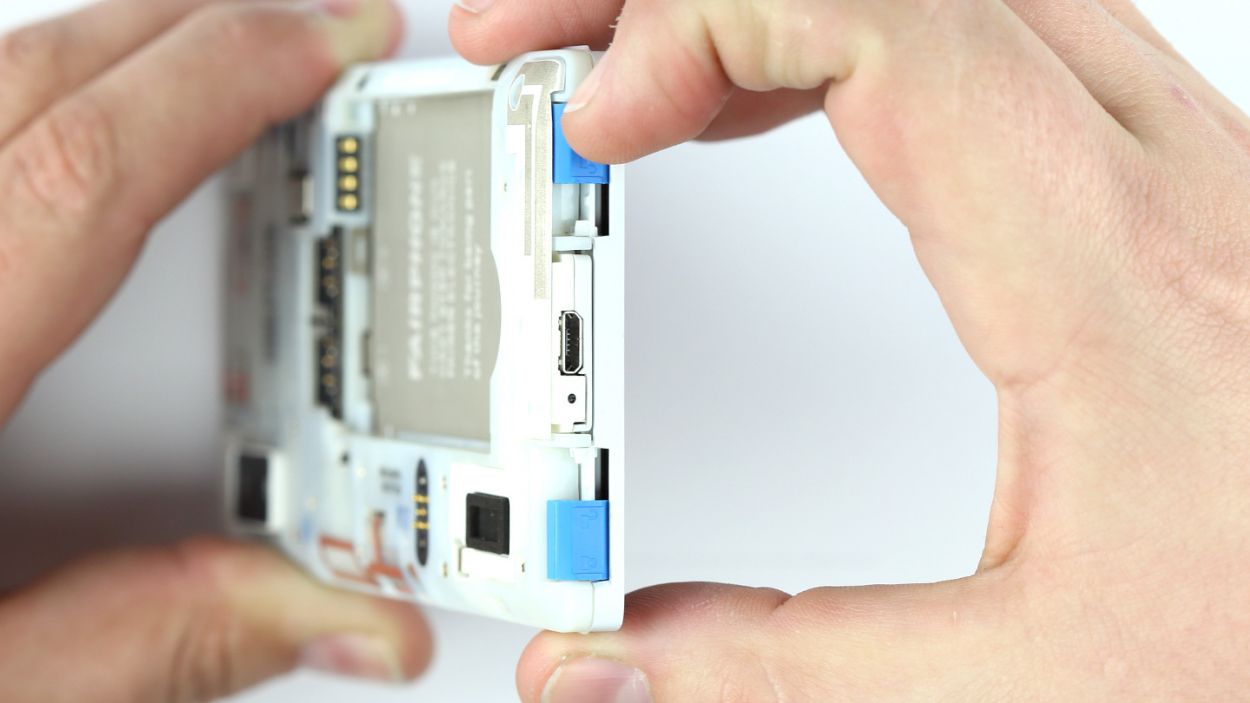
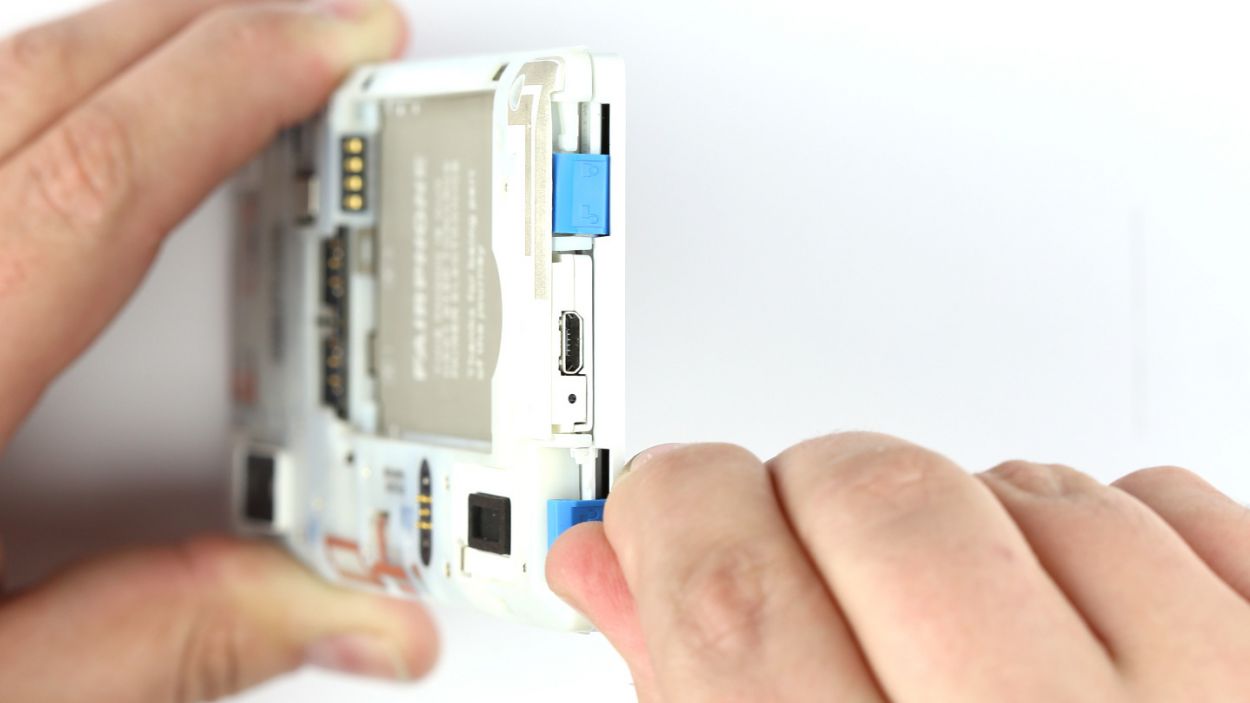
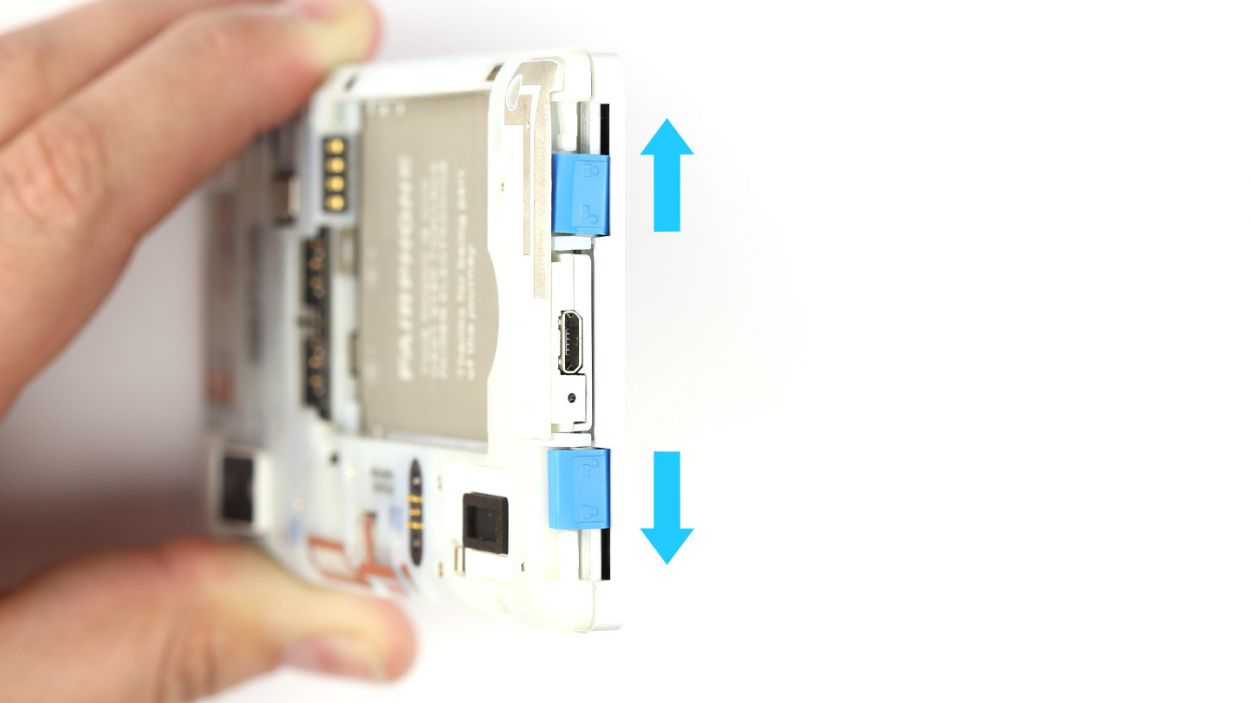
– At the bottom of your Fairphone 2, you’ll find two locks that keep the display module snugly attached to the chassis. To unlock them, simply slide the sliders towards the Micro-USB port.
– Now, go ahead and release those locks one at a time!
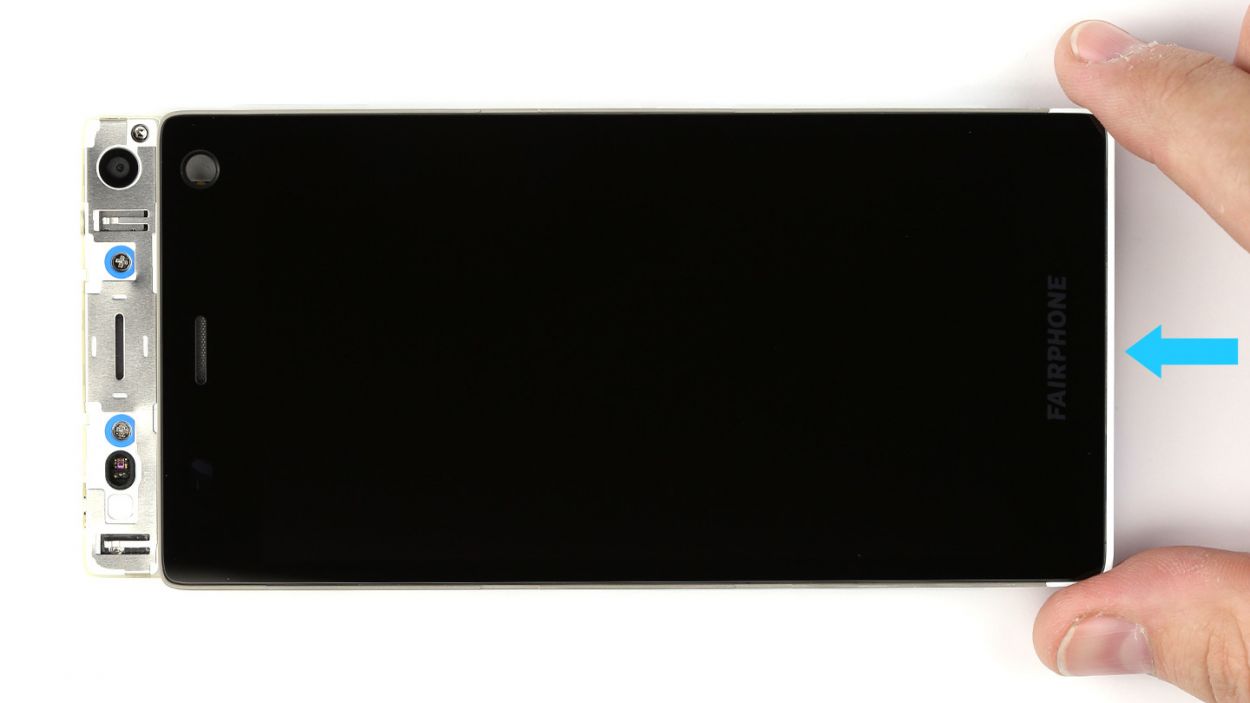
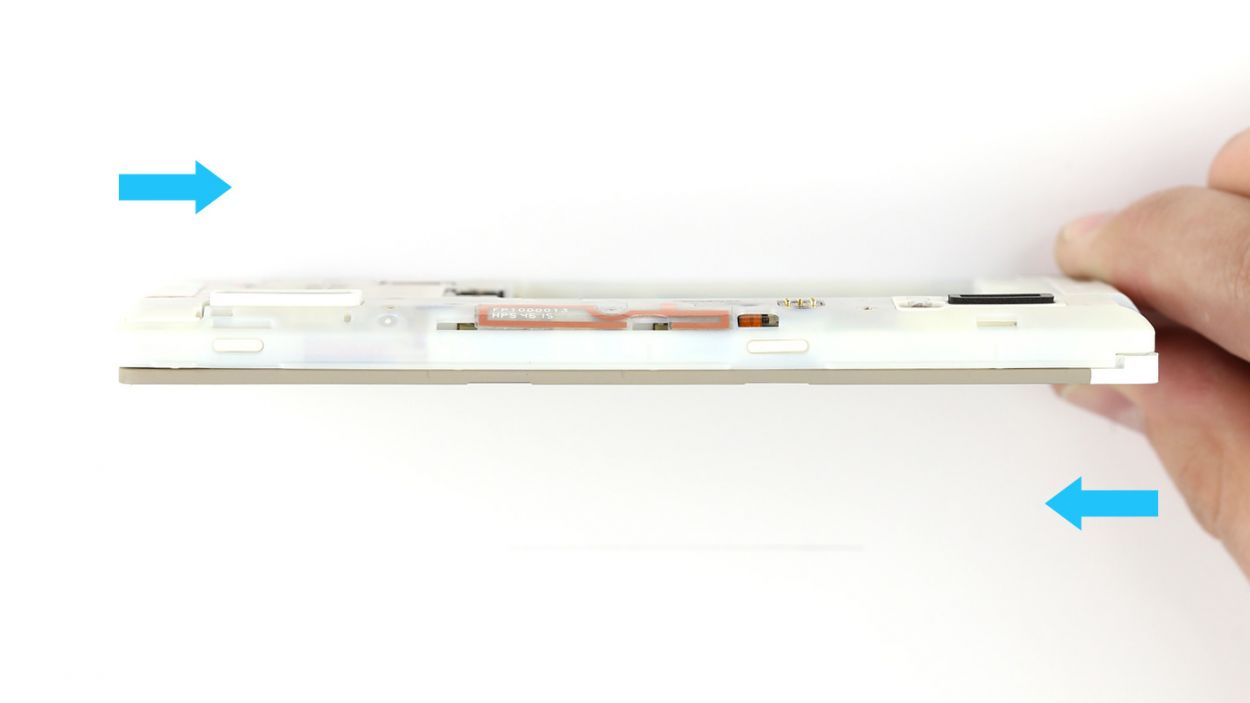
Step 4
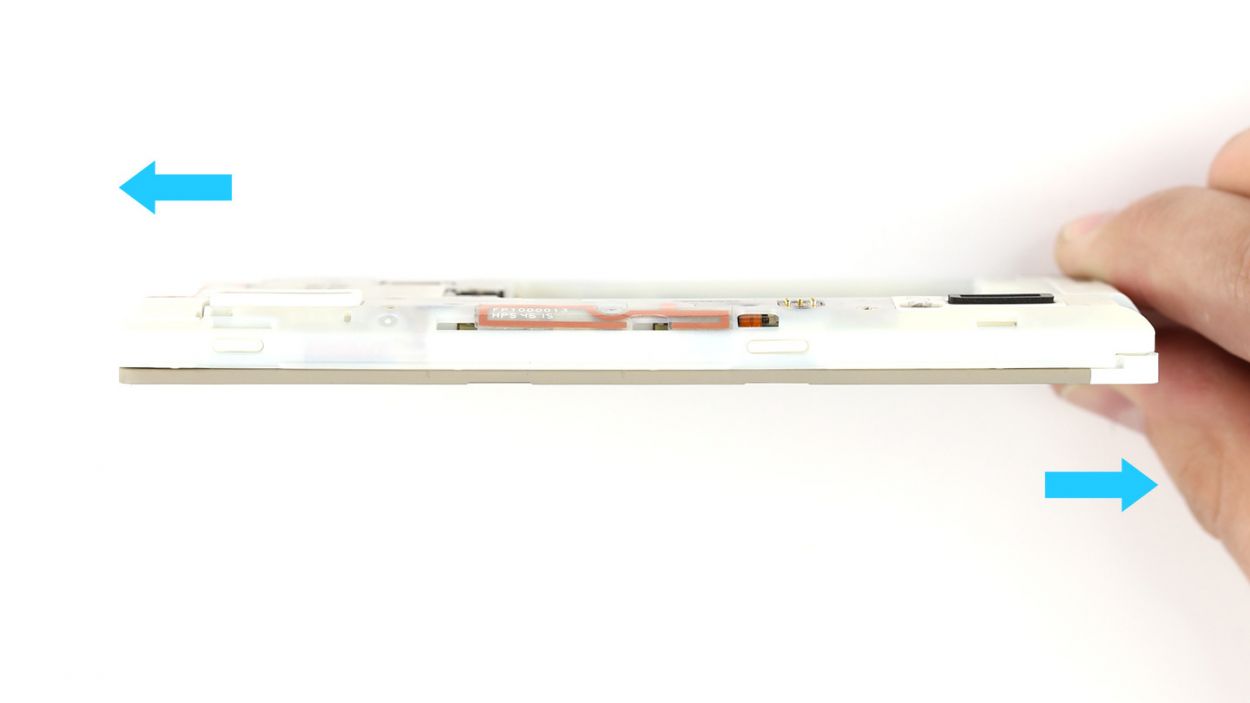

– Now that you’ve got your display module unlocked, it’s time to get this show on the road! Carefully nudge it off the chassis, and give yourself a pat on the back – you’re already crushing it!
– Next up: gently guide the display module toward the Micro-USB port. You got this! Hold that chassis firmly at the USB port to lend some resistance. Easy peasy!
– Final stretch! Carefully extract the module from the chassis. You’re really close to getting this repair done!
Step 5
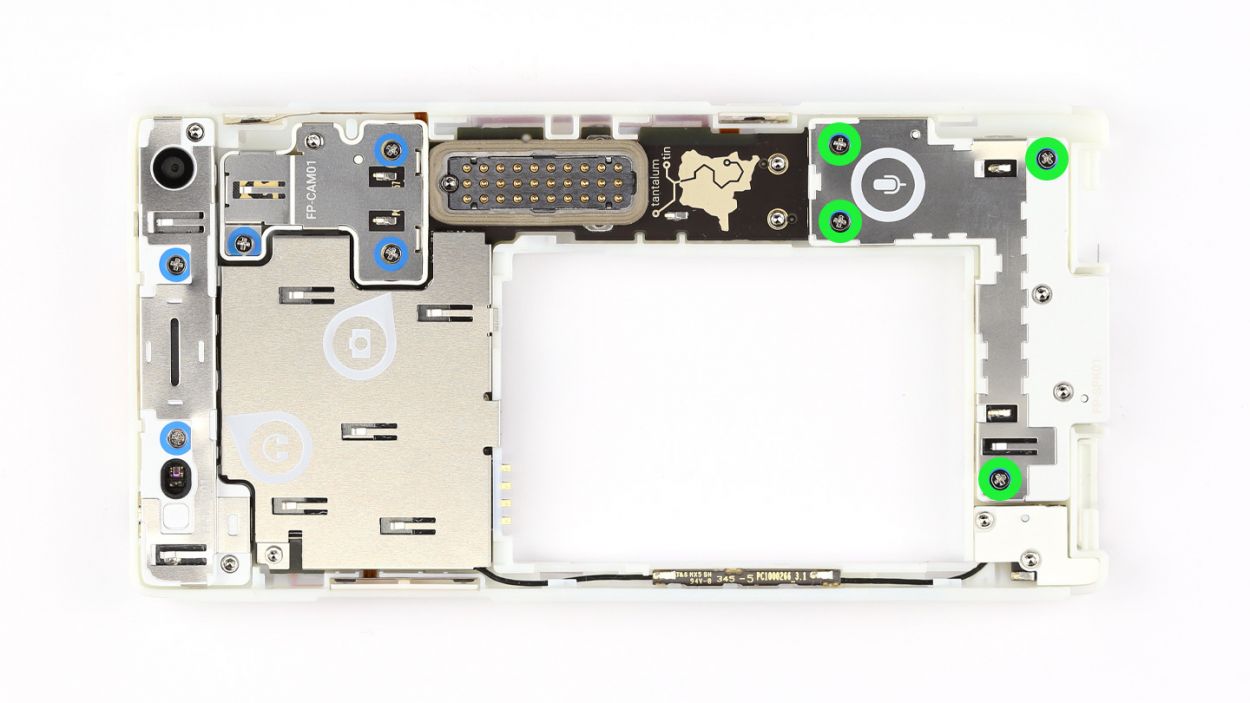

– Get ready to rock this repair! 🚀 First, take out those four super cool Phillips screws, size 5.5 mm. 🛠️🔧 Once removed, come on over and join these screws with the microphone/USB module – don’t be shy! ���장dorf
– Now that the module and screws are hangin’ out together, put them aside for now. 🤳 Let’s continue the fun and exciting repair journey at Salvation Repair. If you need help, you can always schedule a repair with our friendly team!
Step 6
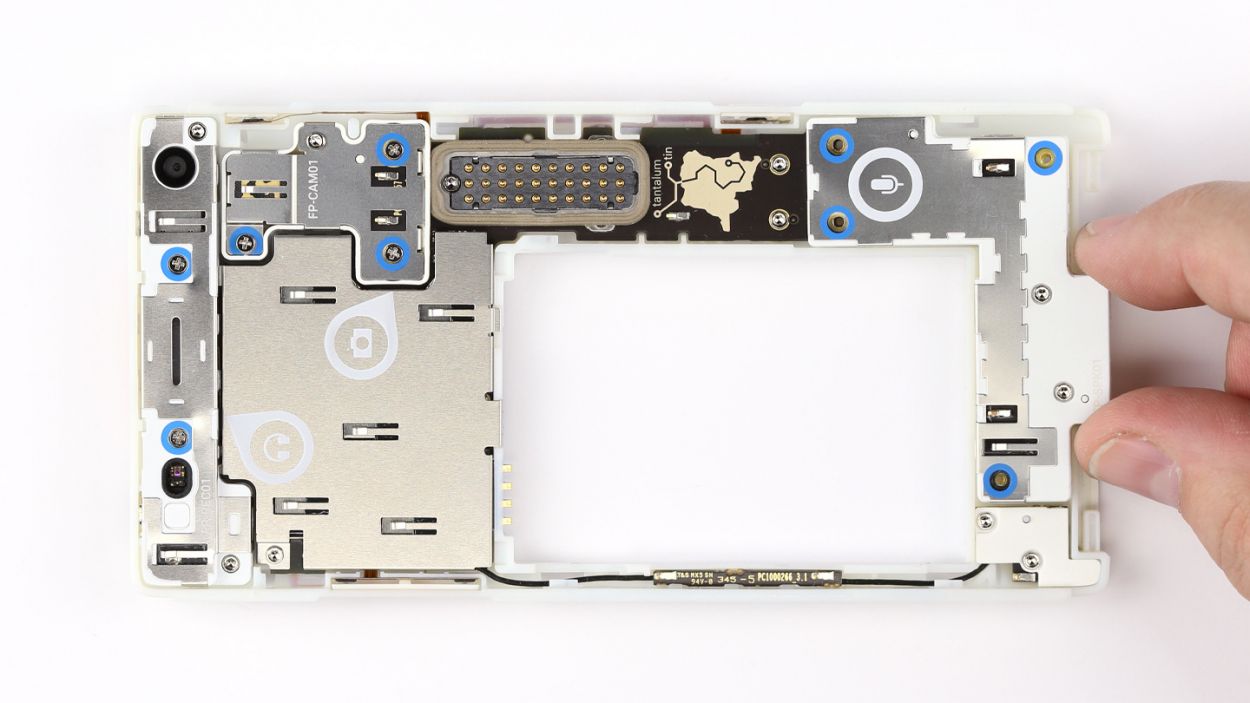

– Time to get your fix on! Position your microphone/USB module in the chassis, and then get ready to secure it with some awesome Phillips screws!
– If you’re feeling secure about your screw-tightening skills, great! Make sure to fasten those four 4 x 5.5 mm Phillips screws like a pro.
Step 7
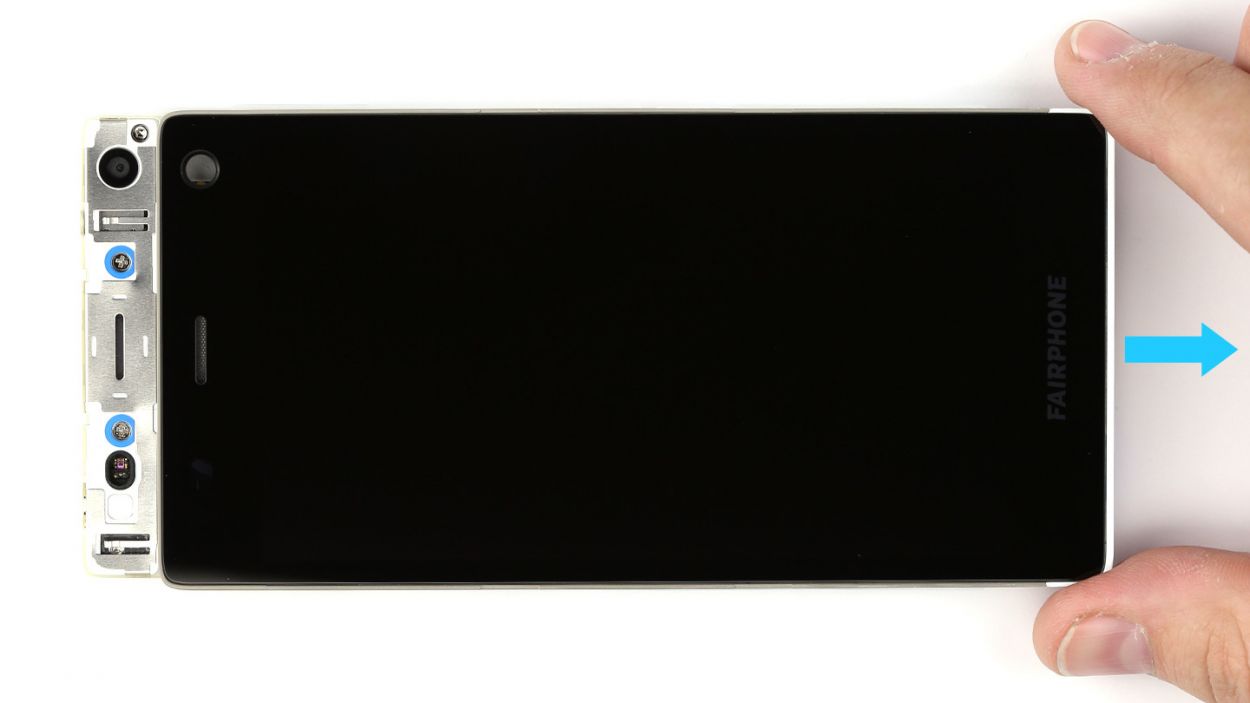
– Get this show on the road! Put the display on the chassis, and we’re cookin’!\n\nLet’s put the display in its rightful place!
– Time to make some friends! Push on that display to connect it to the chassis like they’re long-lost buddies!\n\nDon’t force it, just a gentle nudge will do!
– The final stretch! Push the display module toward the front camera and voilà! You’re doing great!
Step 8

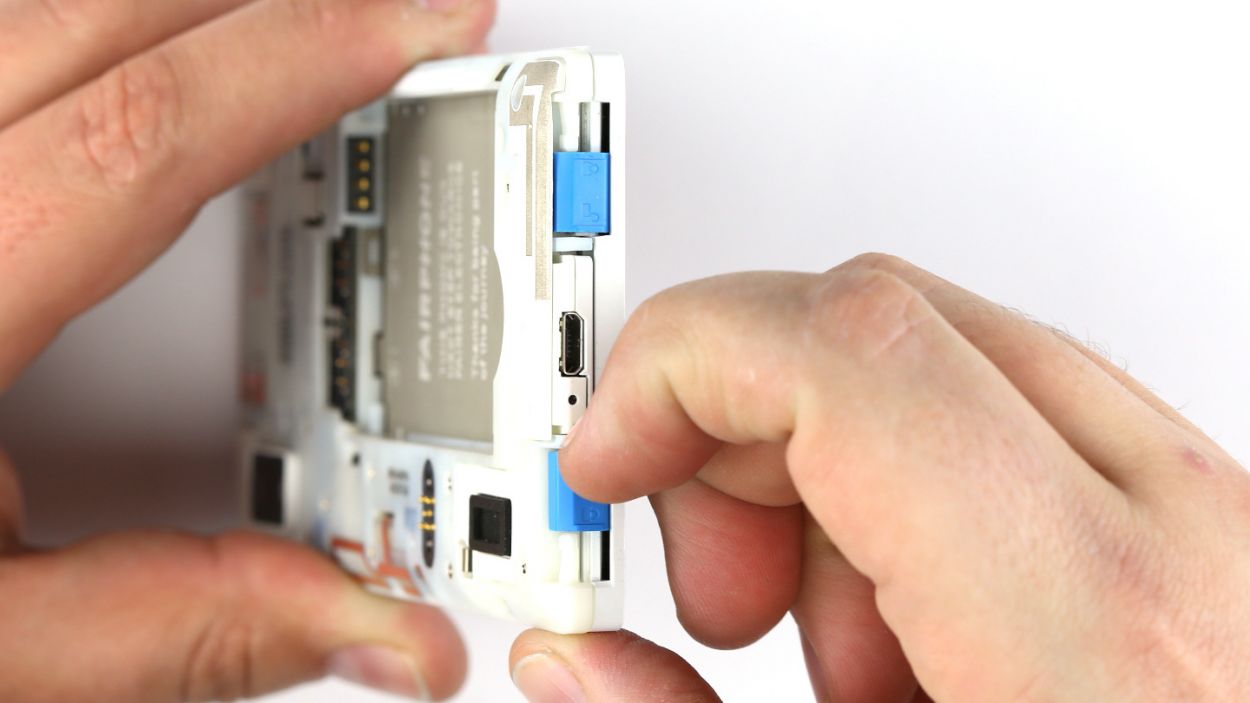
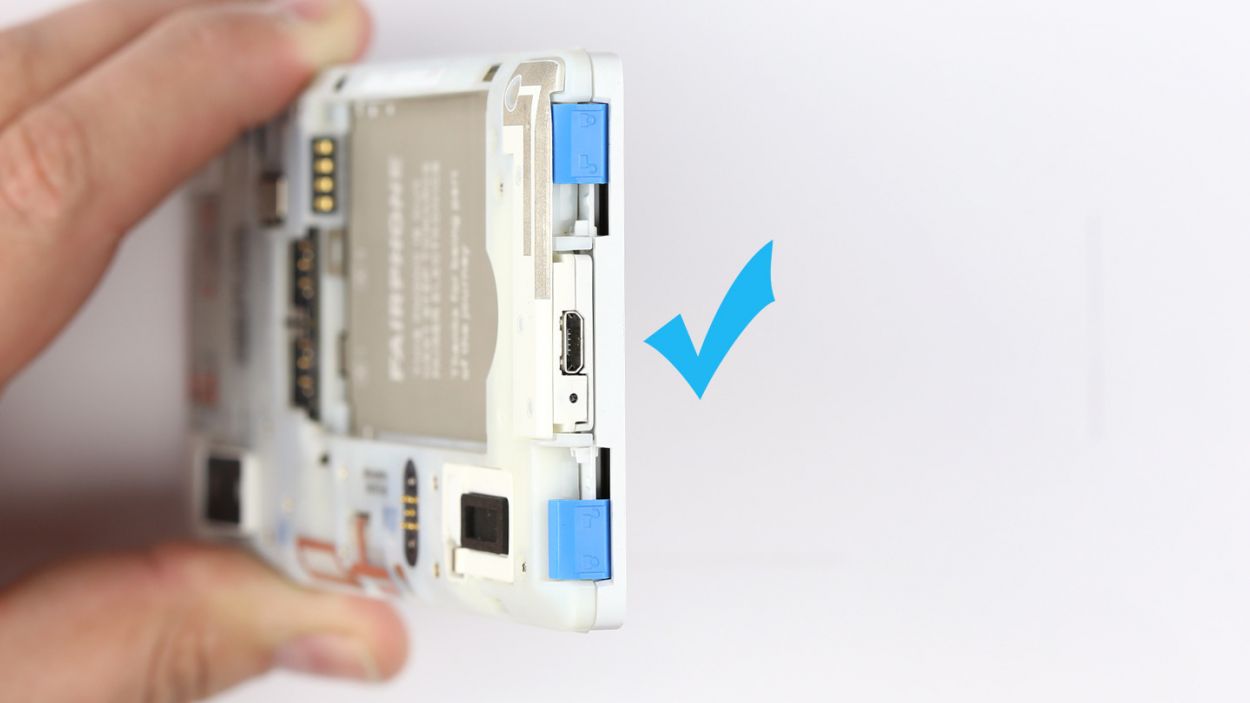
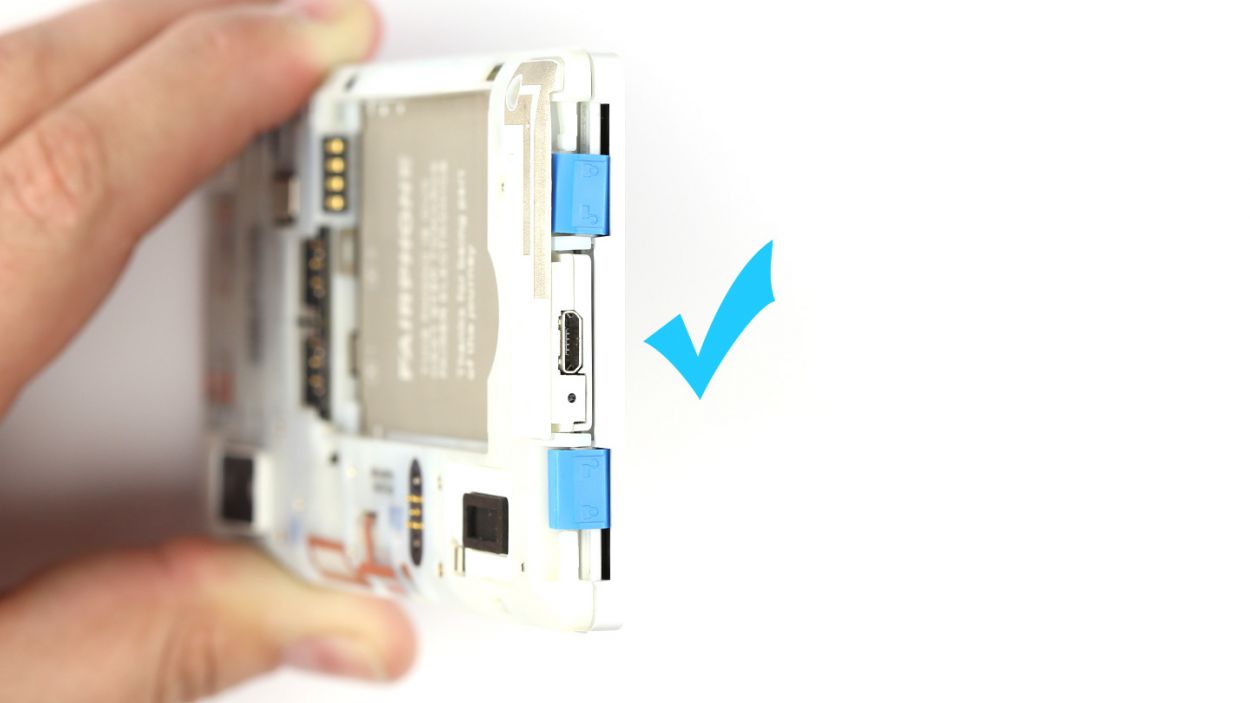
– At the bottom of your Fairphone 2, you’ll find two locks that keep the display module snugly attached to the chassis. To secure the lock, simply slide the sliders away from the Micro-USB port.
– Now, go ahead and fasten those locks one at a time. You’ve got this!
Step 9
– Slide that battery right into the chassis like it belongs there!
– Make sure it fits snugly and straight—no tilting allowed!
Step 10


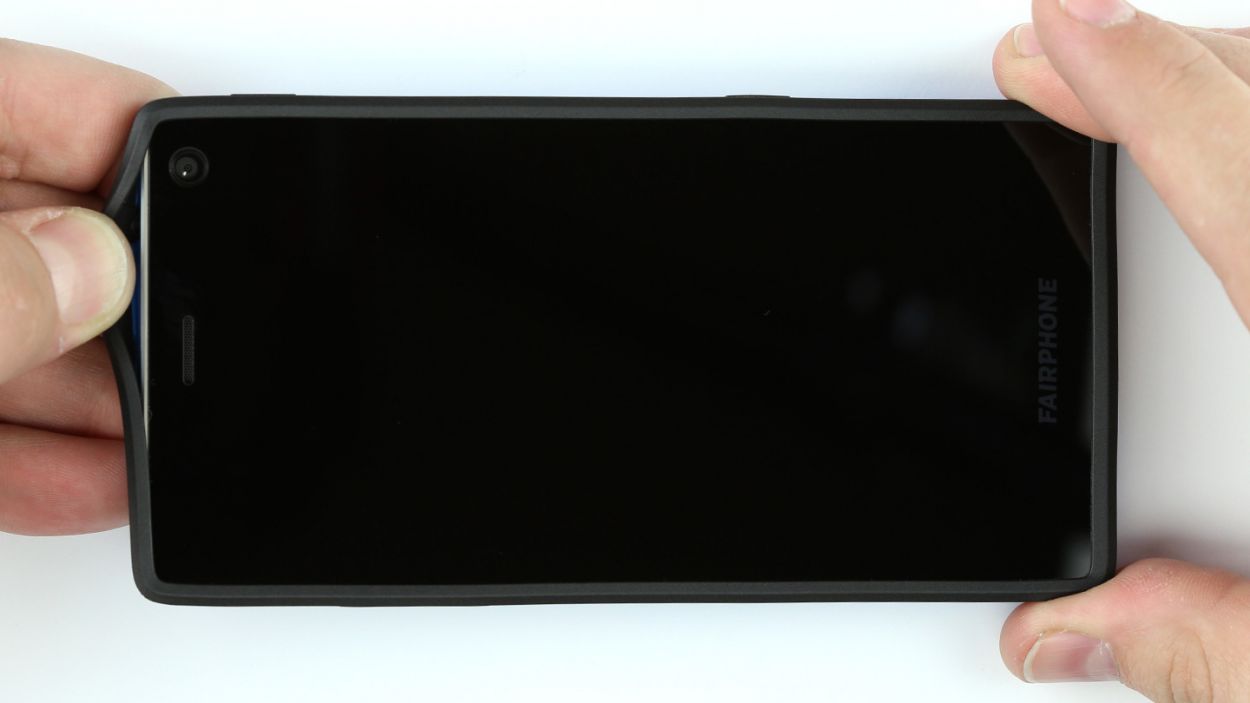
– Slide your Fairphone snugly into the back cover, making sure it clicks into place at two of the corners. It’s like giving it a nice, cozy hug!
– Gently stretch the rubber rim of the back cover over one corner—it’s like tucking in a little blanket for your device.
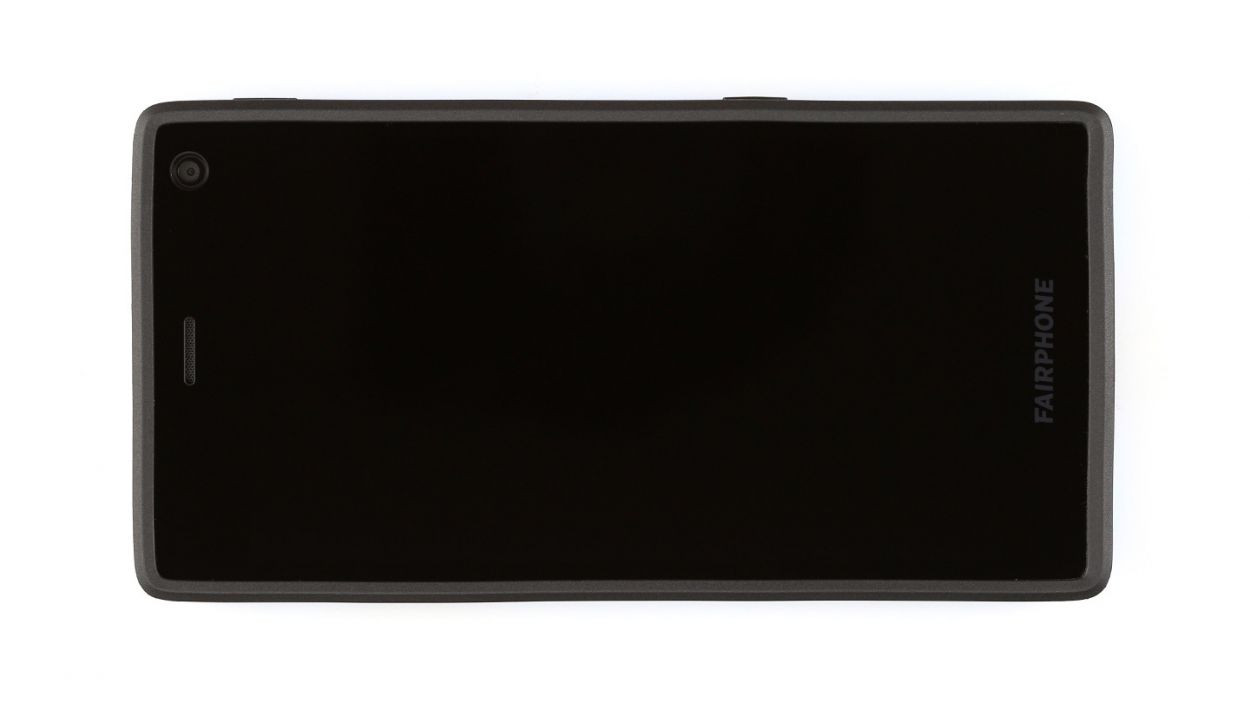
– Finish things off by pulling the rubber rim over the last corner. Take a moment to admire your work and ensure the rim sits evenly all around the display. Nice and tidy!


