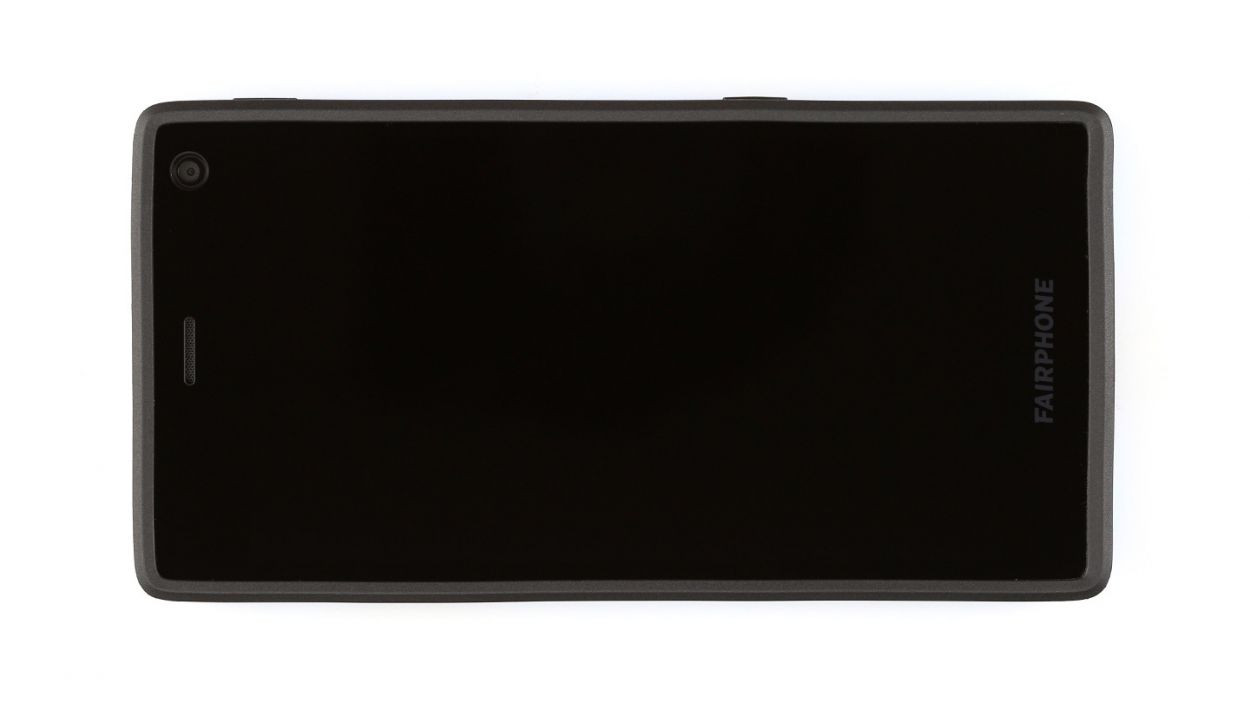
DIY Guide to Replace Display Module on Fairphone 2
Duration: 15 min.
Steps: 8 Steps
Step 1

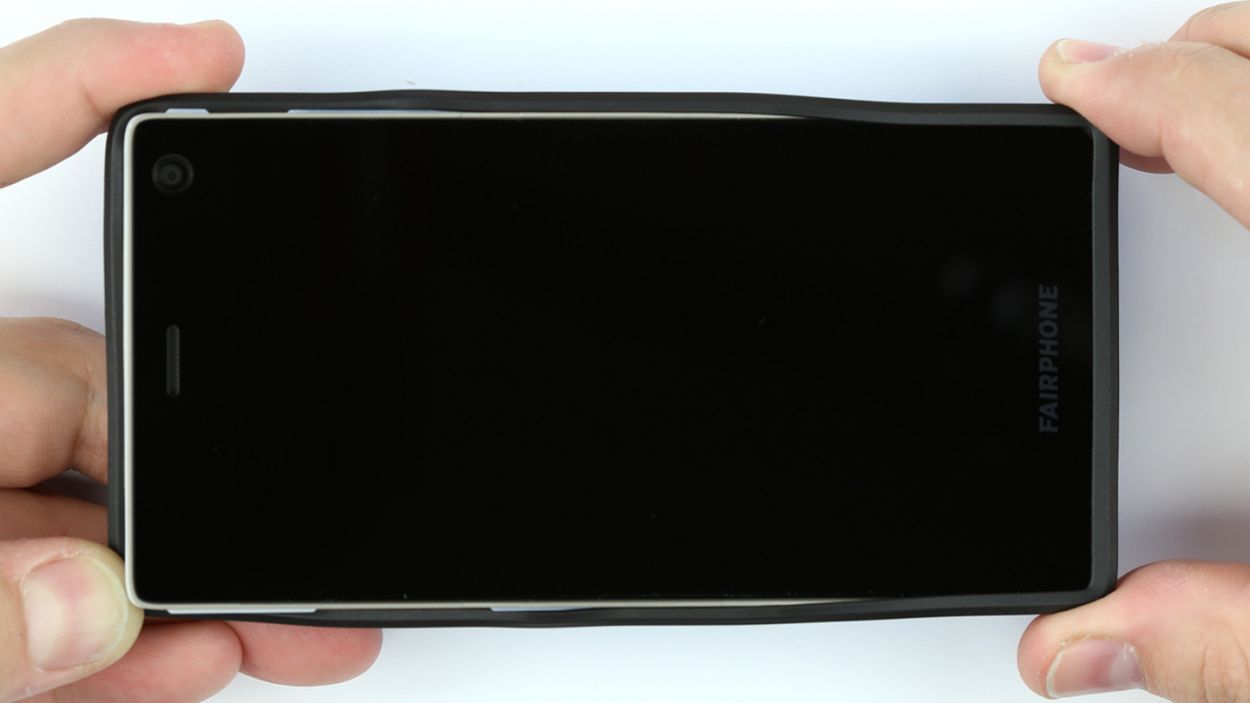
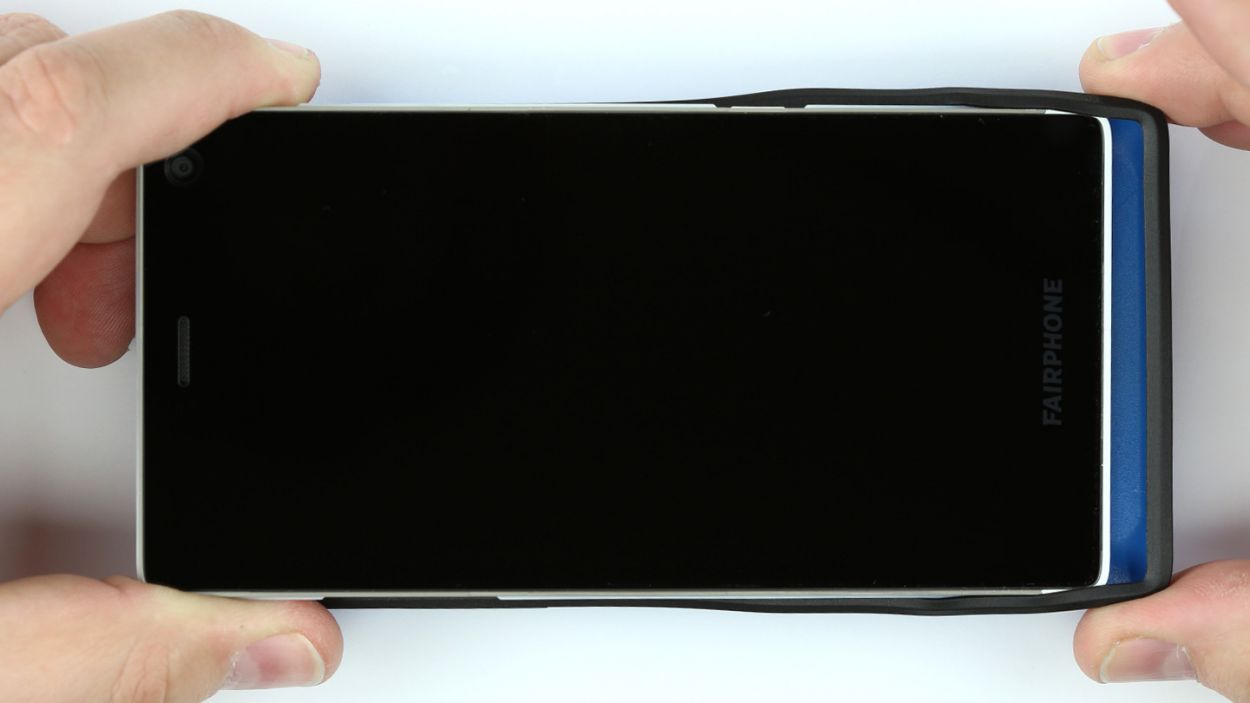
– Give the back cover’s playful rubber rim a friendly tug on one of its short sides, and watch it wave goodbye as it comes off from one corner of your Fairphone! Fingers or nails, it’s a cinch to get a grip underneath. preparation for the next corner’s greeting!
– Welcome the back cover to the next corner, dear friend! With gentle fingers, promote it to an ex-cover as you detach it from this, your beloved device. Or, if you feel like giving it a friendly tap, that works too!
– As you bid farewell to the back cover, your Fairphone is now a solo act. With patience and care, welcome it back into your home without its protective shell.
Step 2

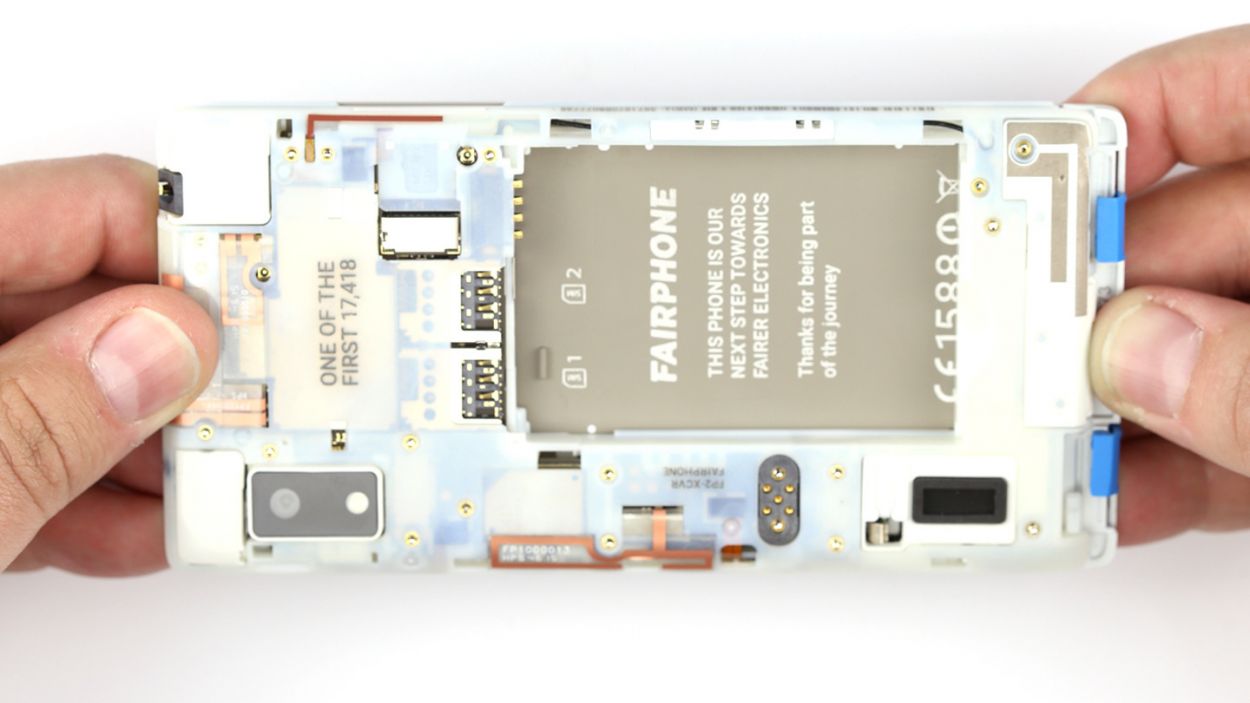
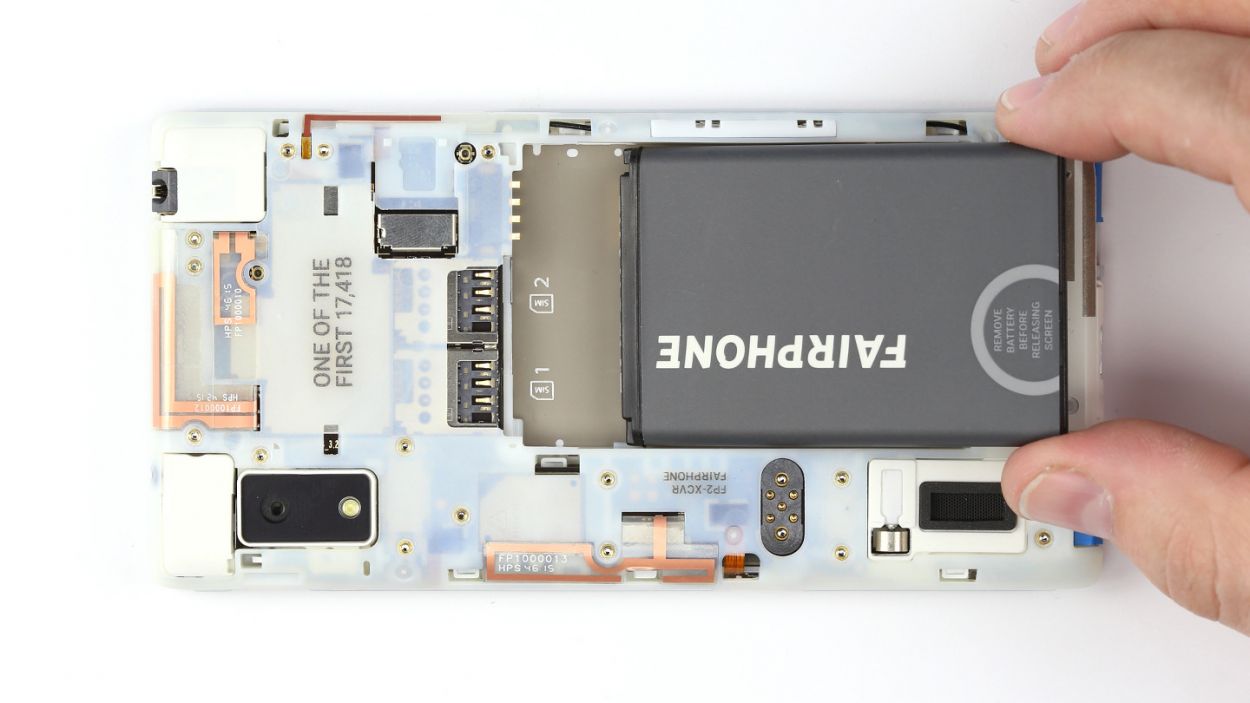
– Gently lift the battery out of the chassis and set it aside with care.
Step 3
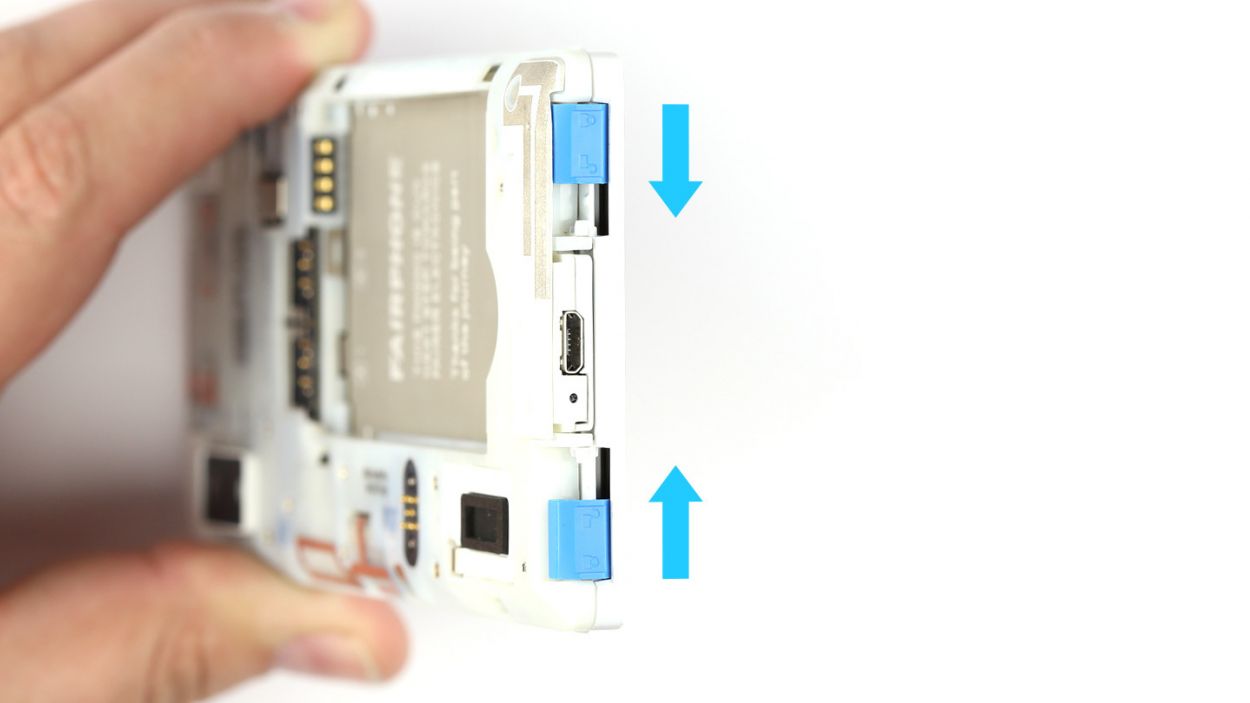
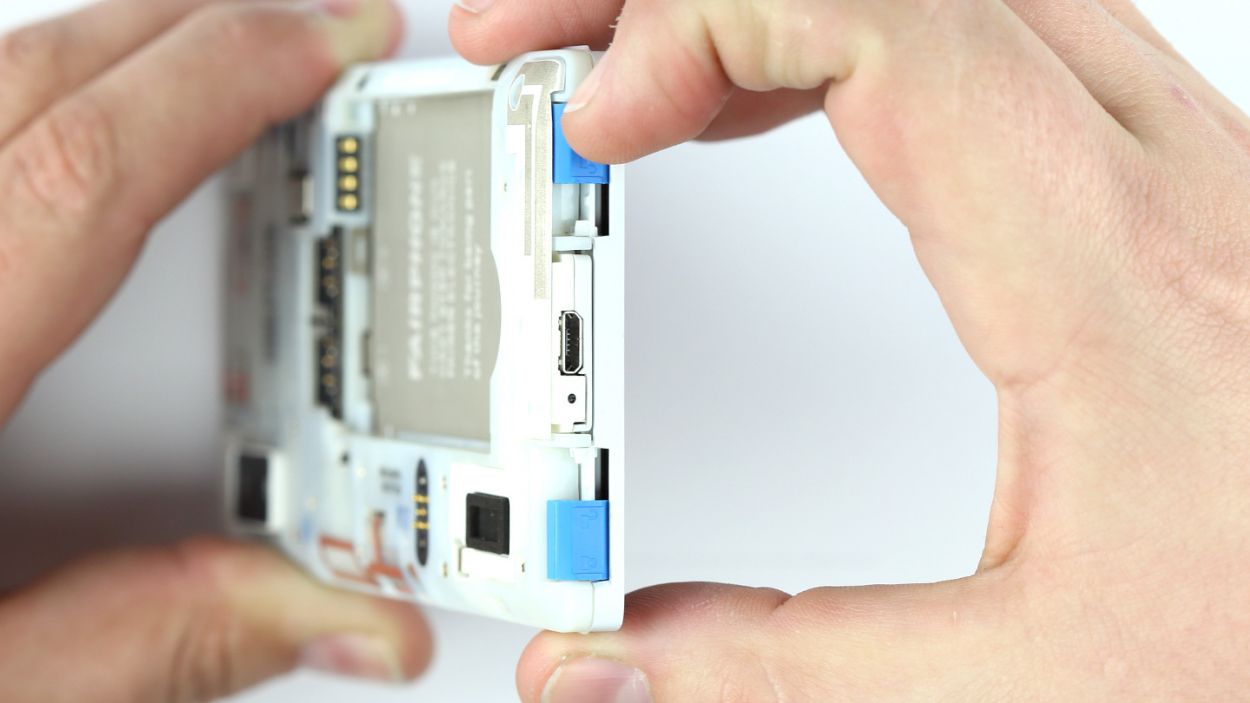
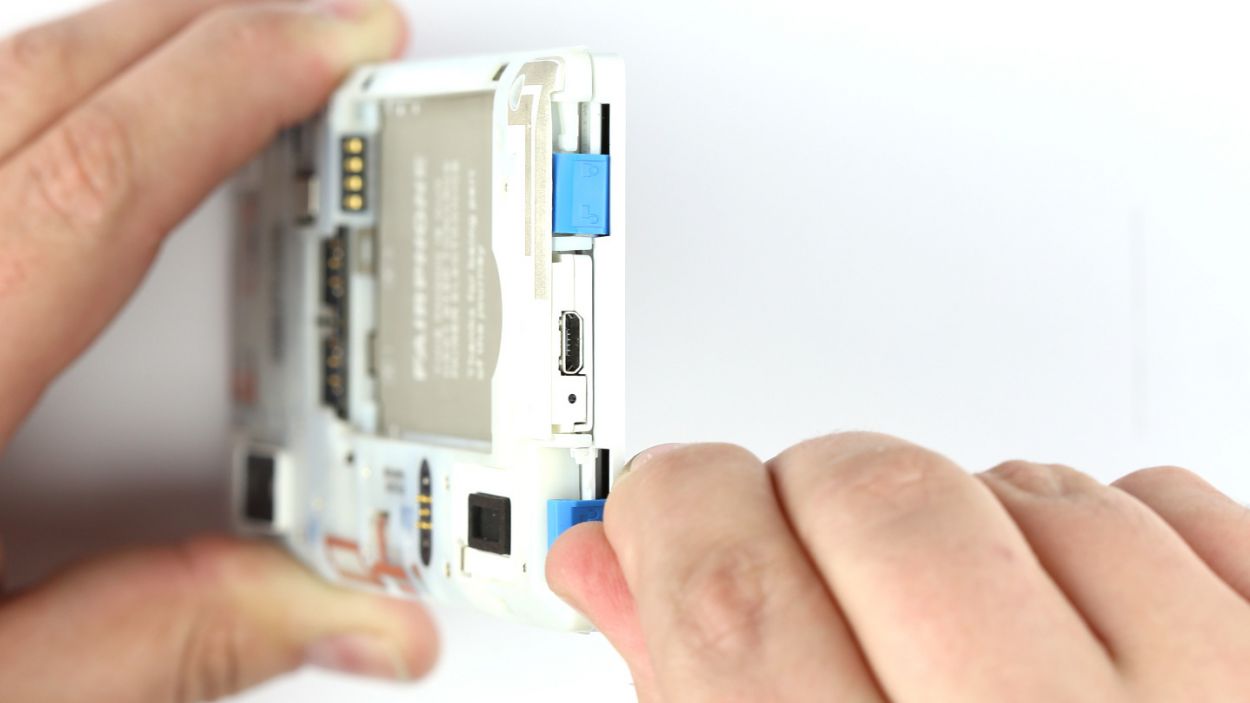
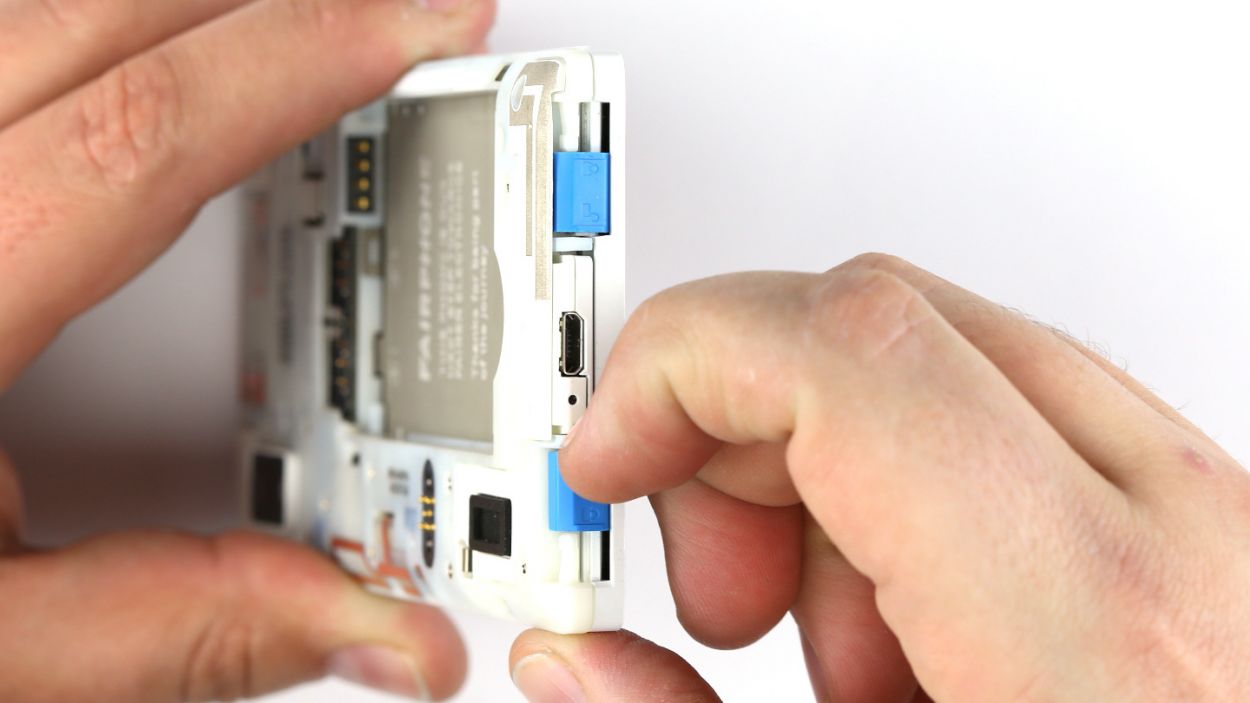
– At the bottom of the Fairphone 2, you’ll find two sneaky locks holding the display module snugly to the chassis. Just give those sliders a gentle nudge towards the Micro-USB port, and watch them unlock!
– Now, go ahead and release those locks one after the other. You’re doing great!
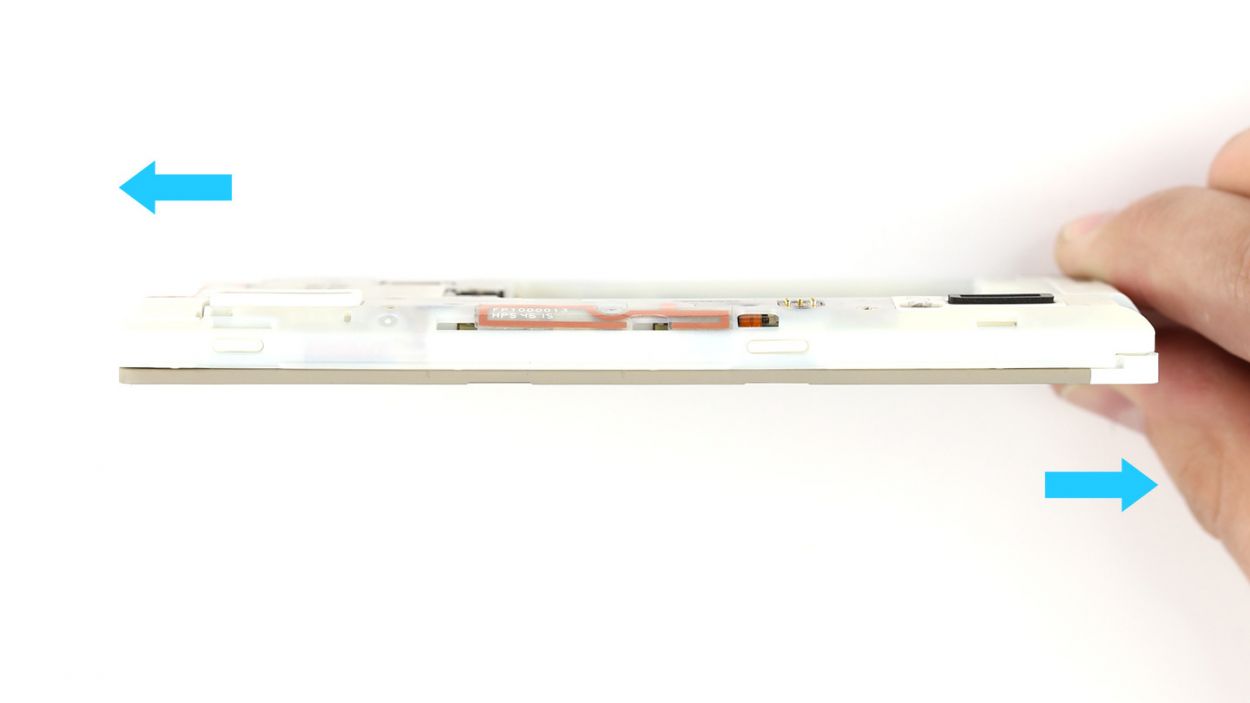

Step 5
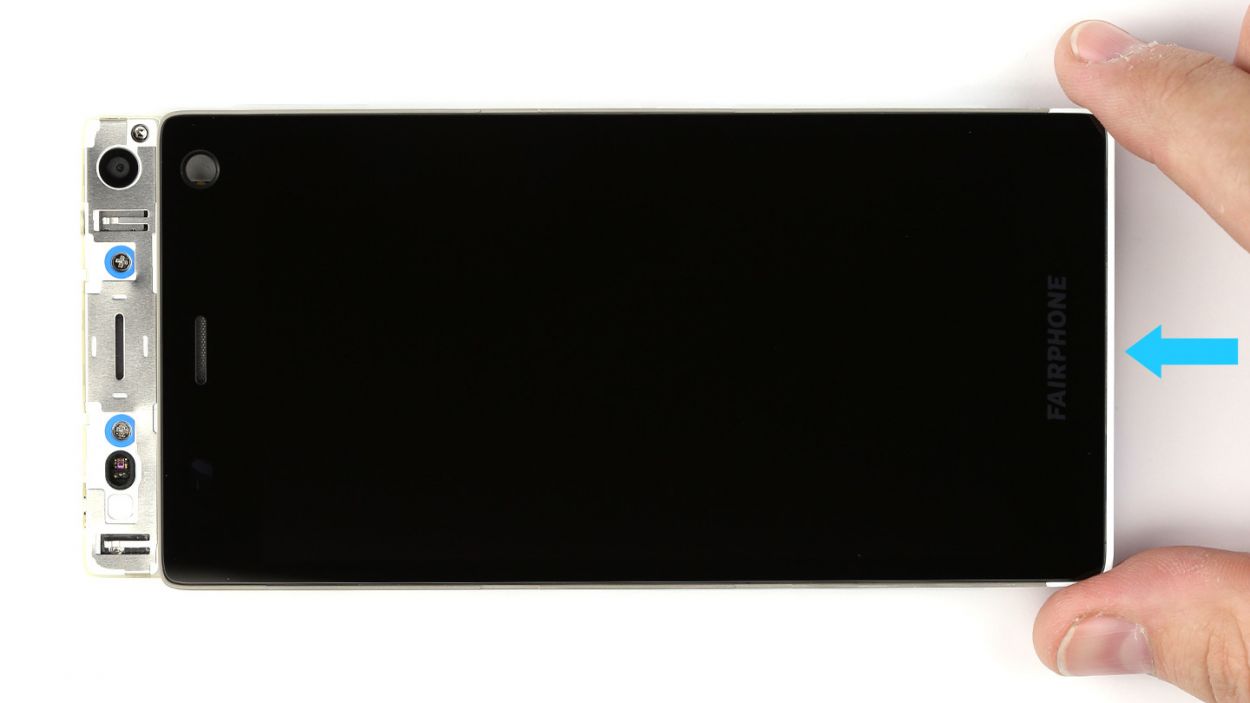
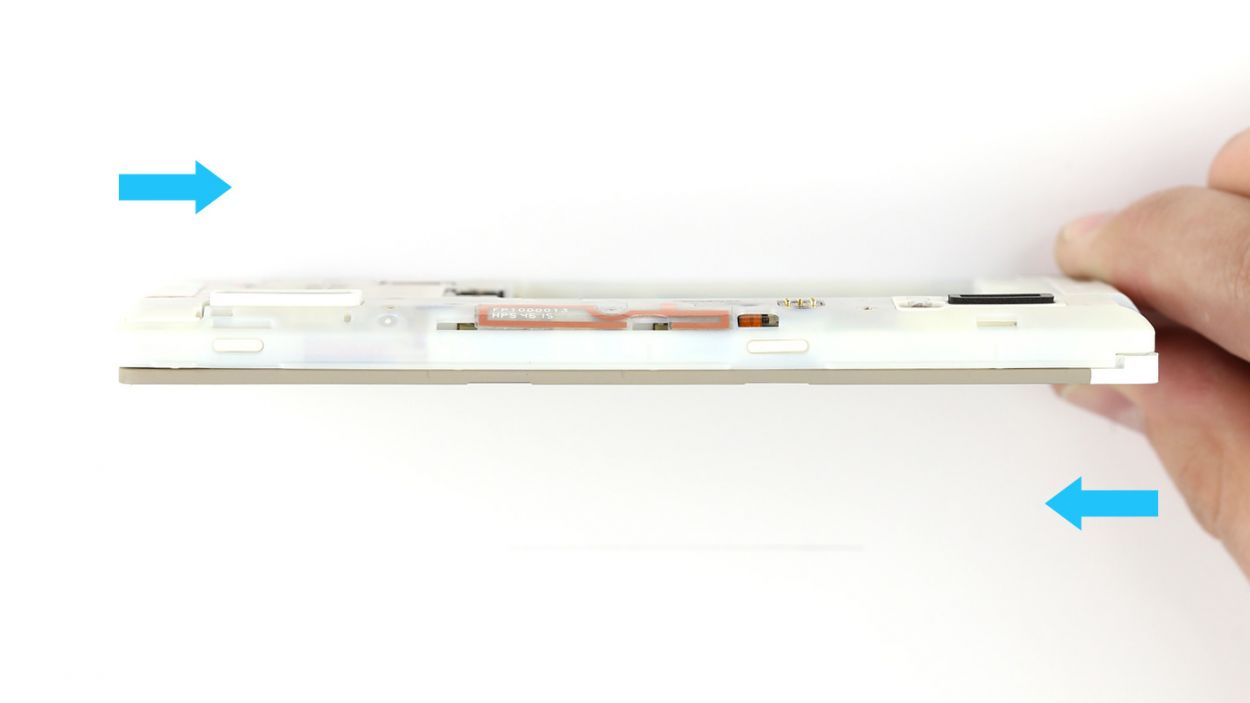
– Alright guys, it’s time to get our hands dirty! Pop the display all the way off, and you’ll see the chassis just chillin’ there, waiting for your loving care. Easy peasy!
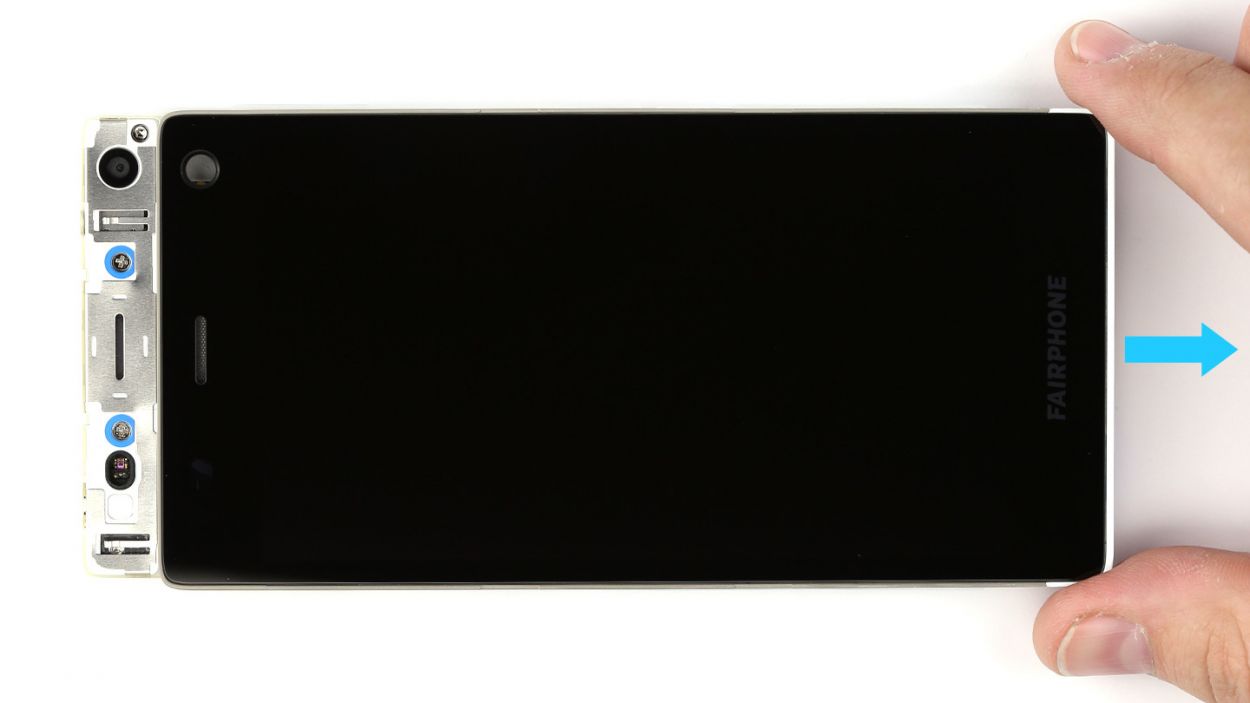
– Now, let’s get that display connected to its new BFF (best friend forever), the chassis. Just give it a little nudge, and it’ll be all good.
– Last but not least, push that display module toward the front camera, and voilà! Your laptop is starting to look like new again
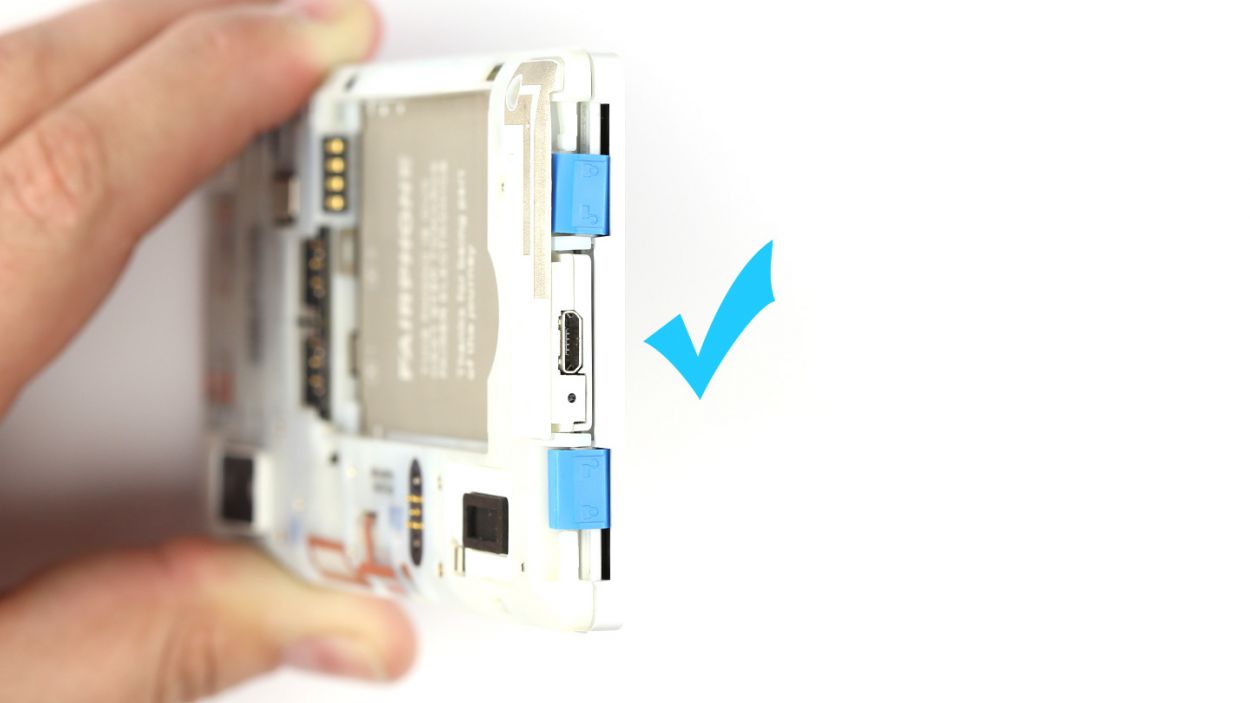
Step 6
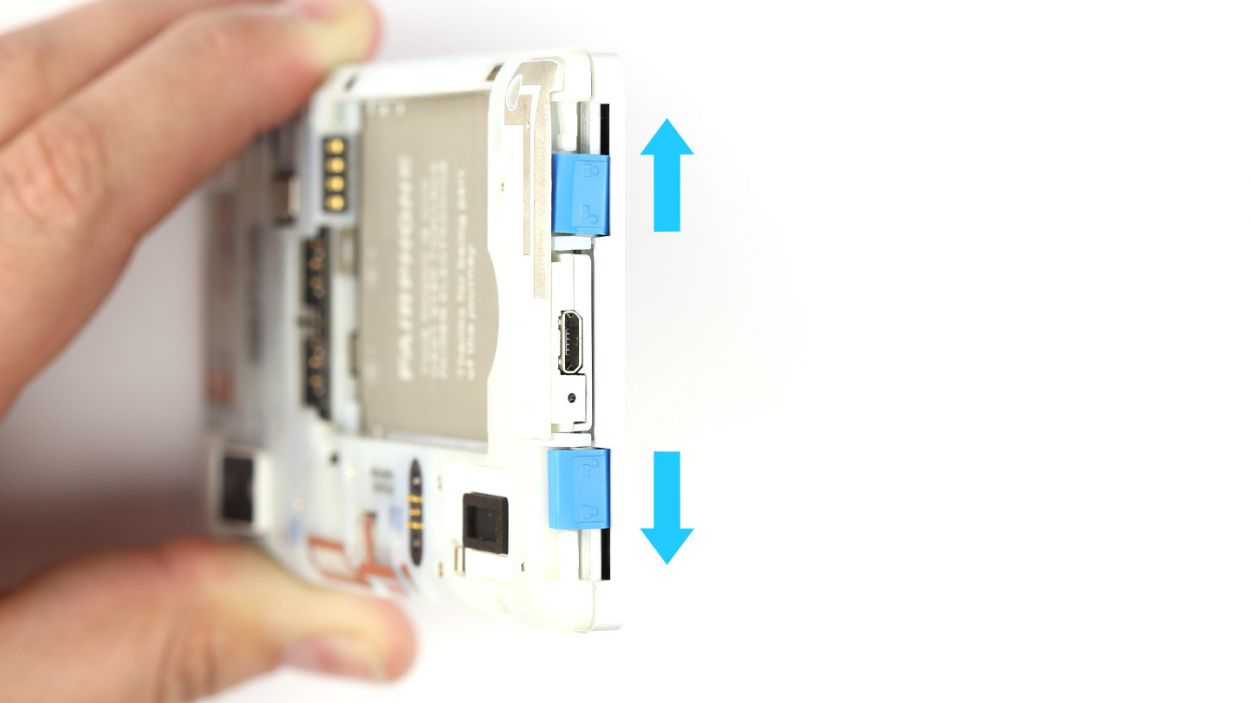

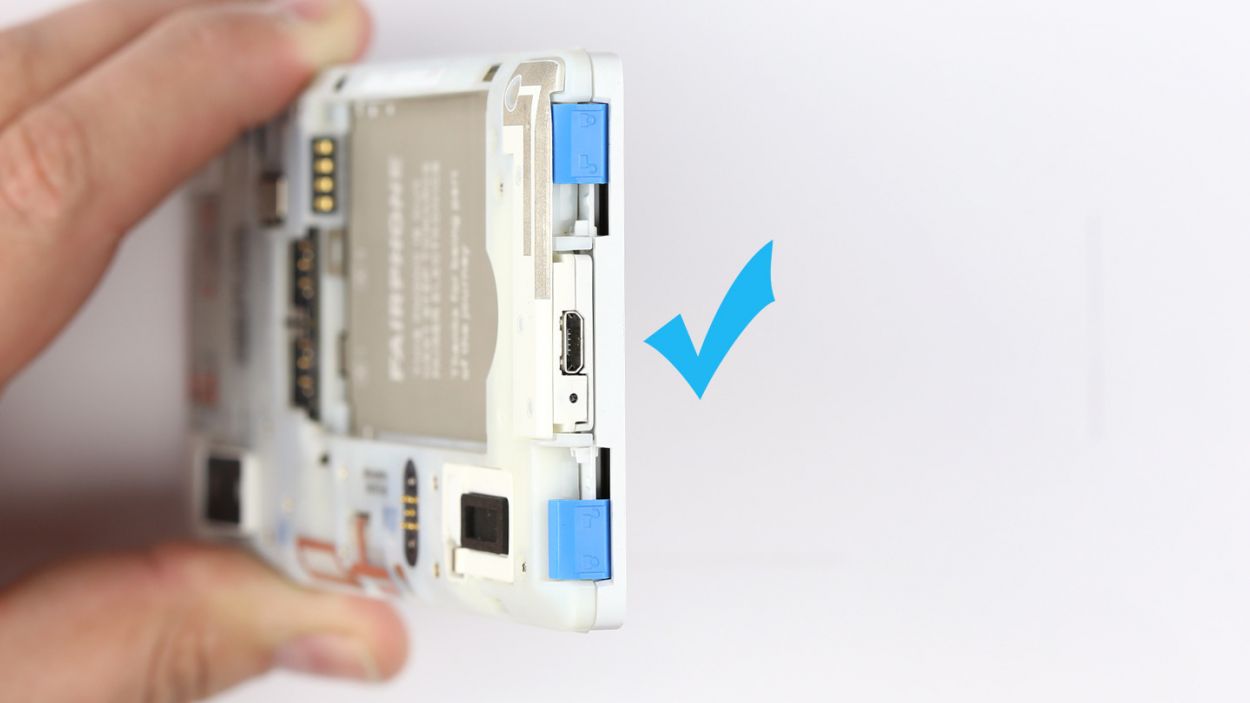
– At the bottom of your Fairphone 2, you’ll find two locks ready to secure the display module to the chassis. Just push those sliders away from the Micro-USB port and watch the magic happen!
– Make sure to fasten those locks one at a time – you’ve got this!
Step 8


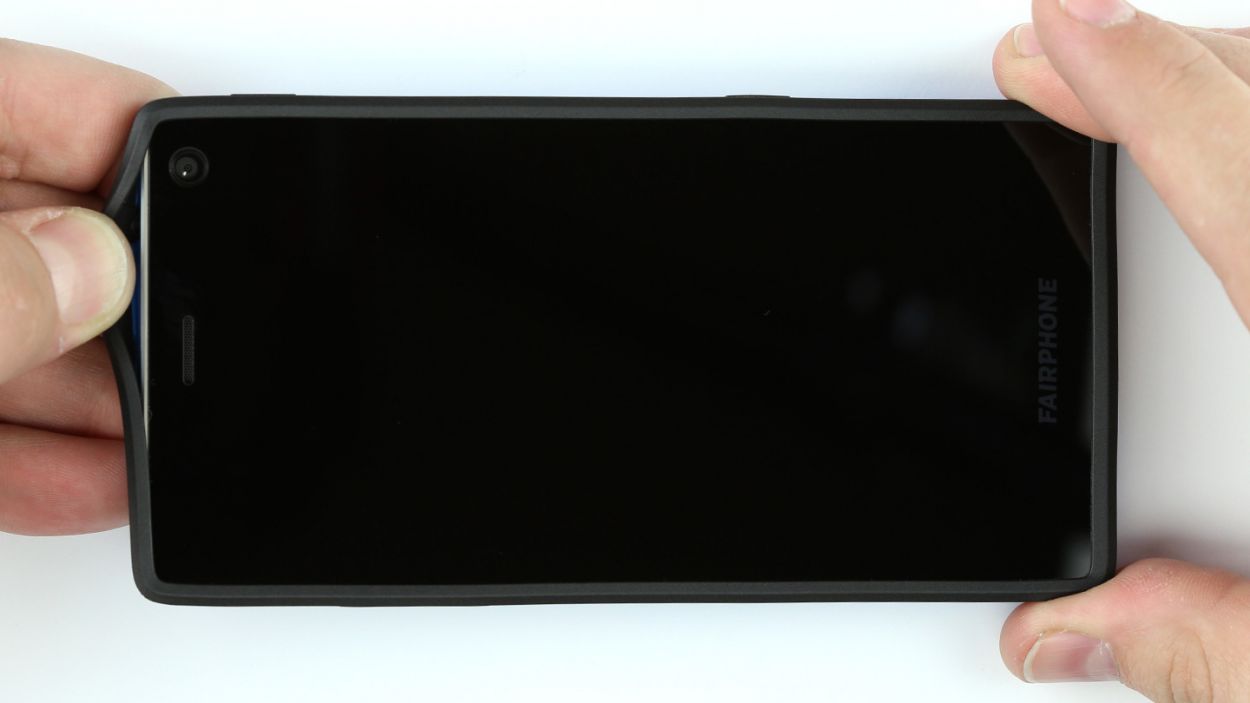
– Slide your Fairphone into the back cover lengthwise. It should click snugly into place at two corners of the back cover.
– Gently stretch the rubber rim of the back cover over one corner.
– Now, pull the rubber rim over the last corner. Take a moment to check that the rubber rim is sitting evenly all around the display.


