DIY Guide to Replace Camera Module on Fairphone 2
Duration: 30 min.
Steps: 10 Steps
Shake things up with a simple swap! Did you notice some dodgy pics or perhaps a busted lens? Don’t stress, mate! Fix it yourself with our easy-to-follow guide. If things go awry, you can always schedule a repair
Step 1
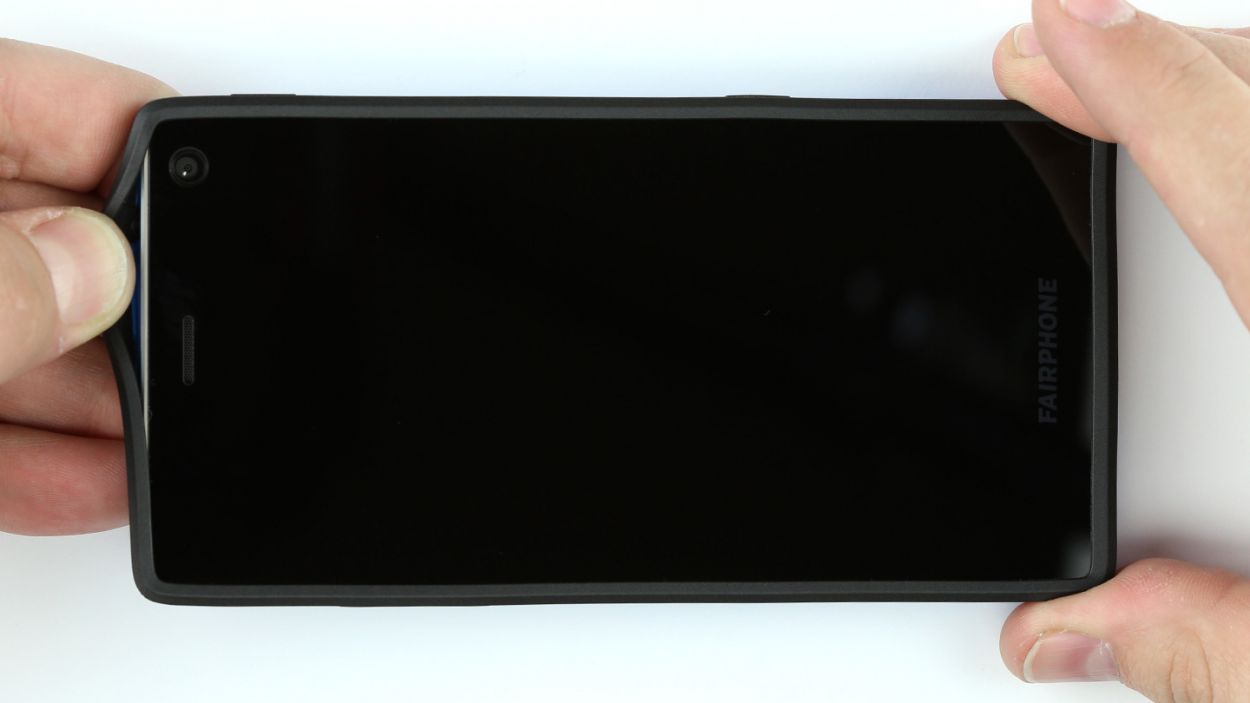
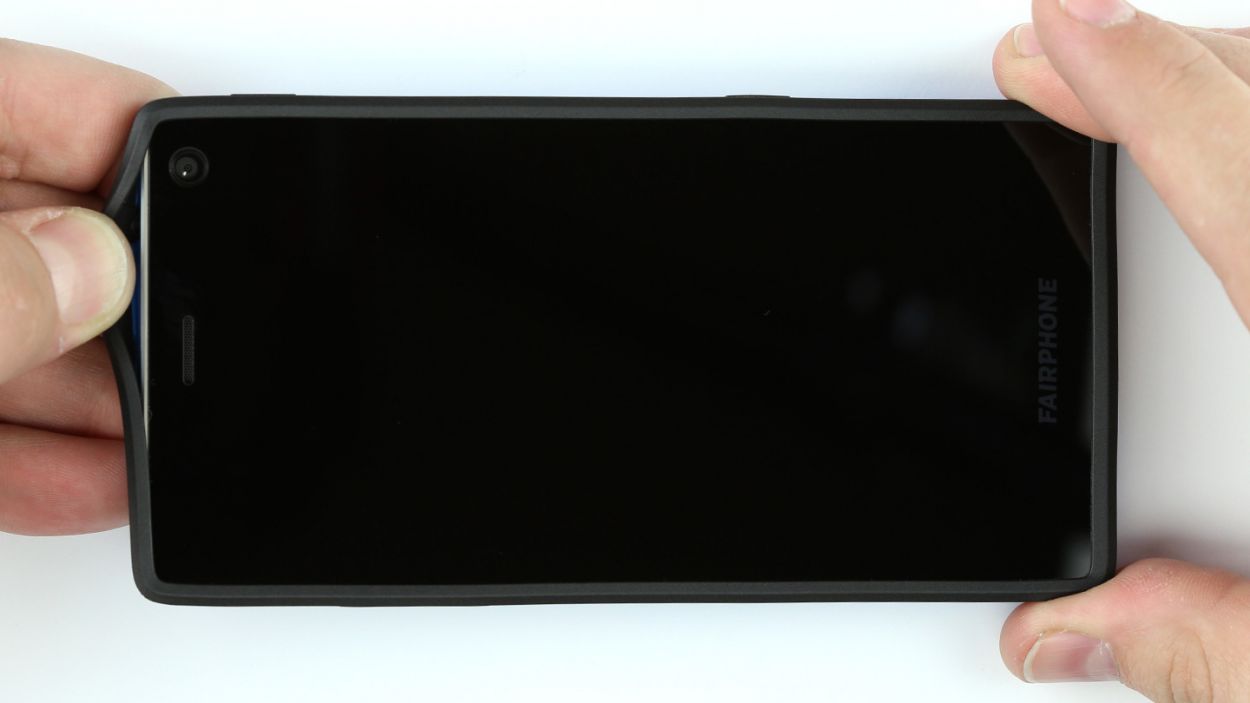
– Get your game face on! Time to tackle that back cover of your device. Start by prying it off on one of the short sides, just where the rubber rim meets the phone. Don’t worry, it’s easier than biting your nails (unless you really need to…).
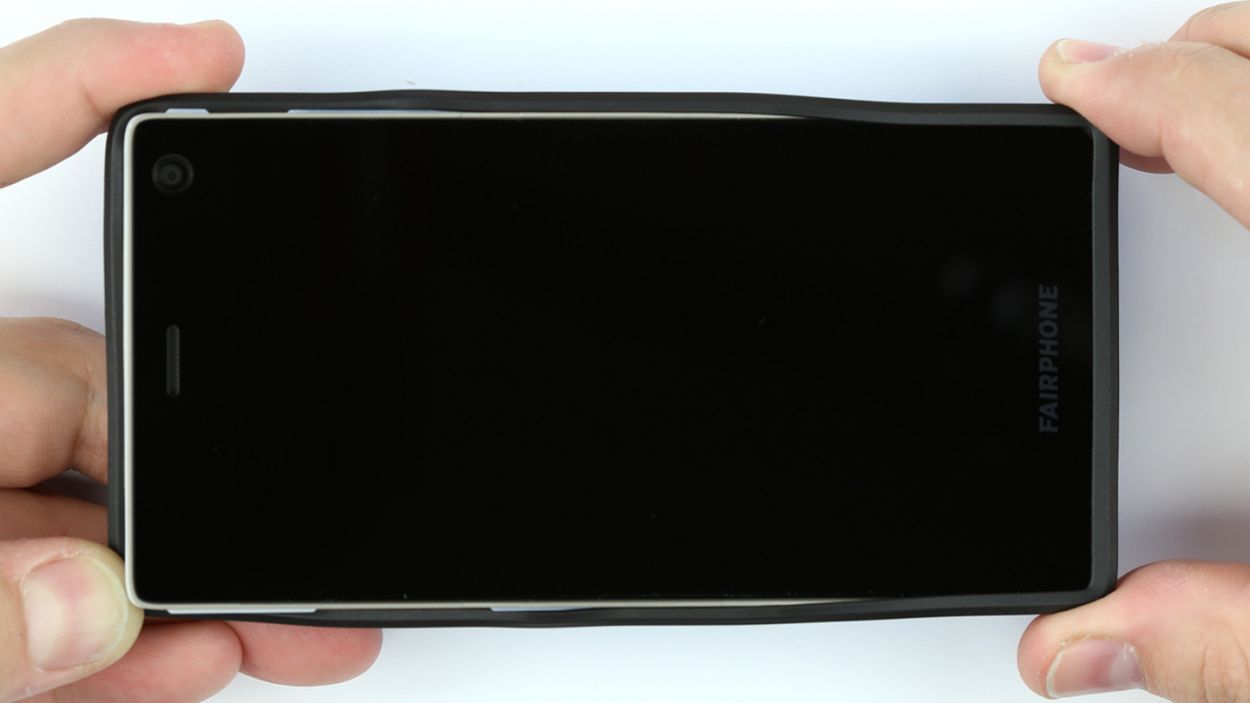
– Next up, take that same enthusiasm and pull the back cover off the other corner. Yep, it’s as simple as that!
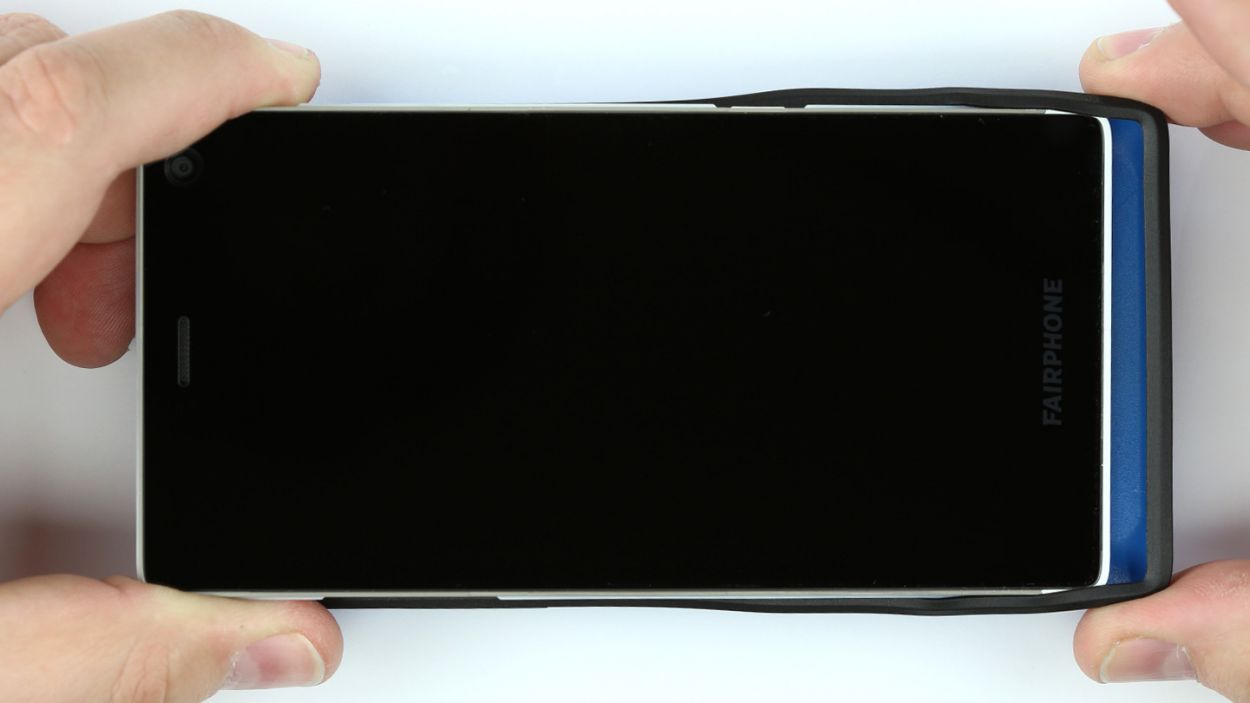
– And… you’re done! Remove your phone from its cozy little home, and voilà! You’re ready to dive into that repair. If you need help, you can always schedule a repair
Step 2
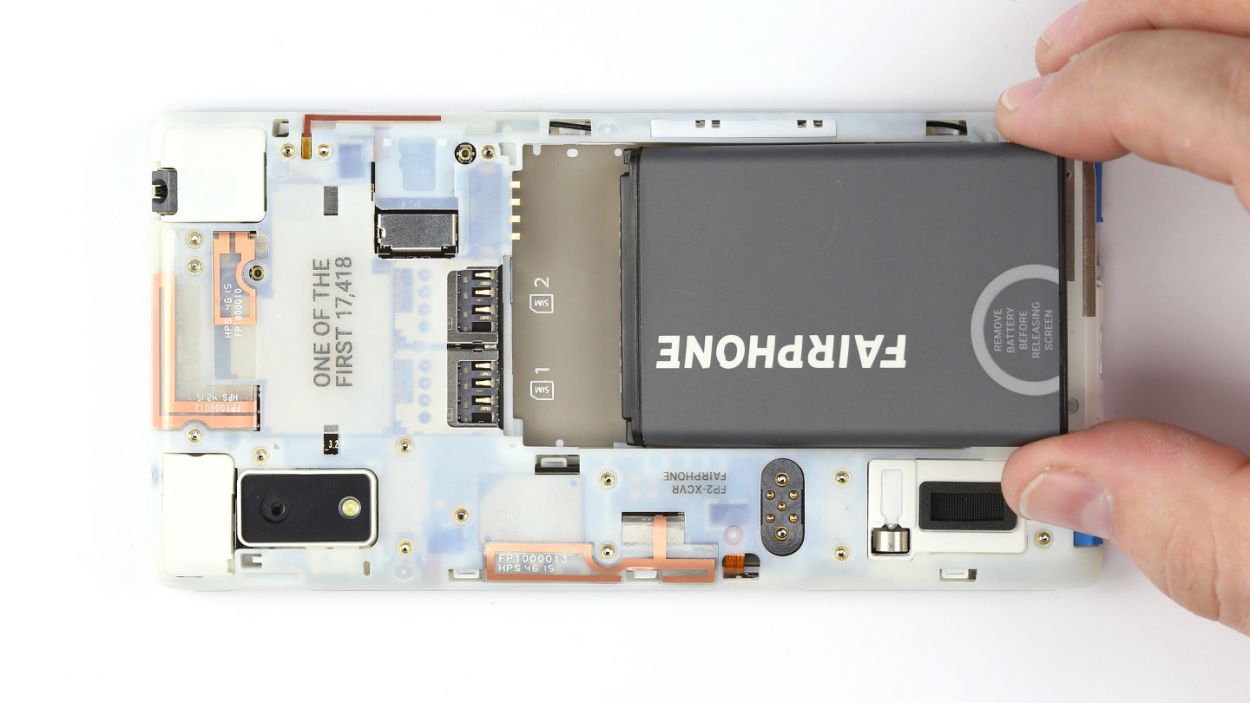
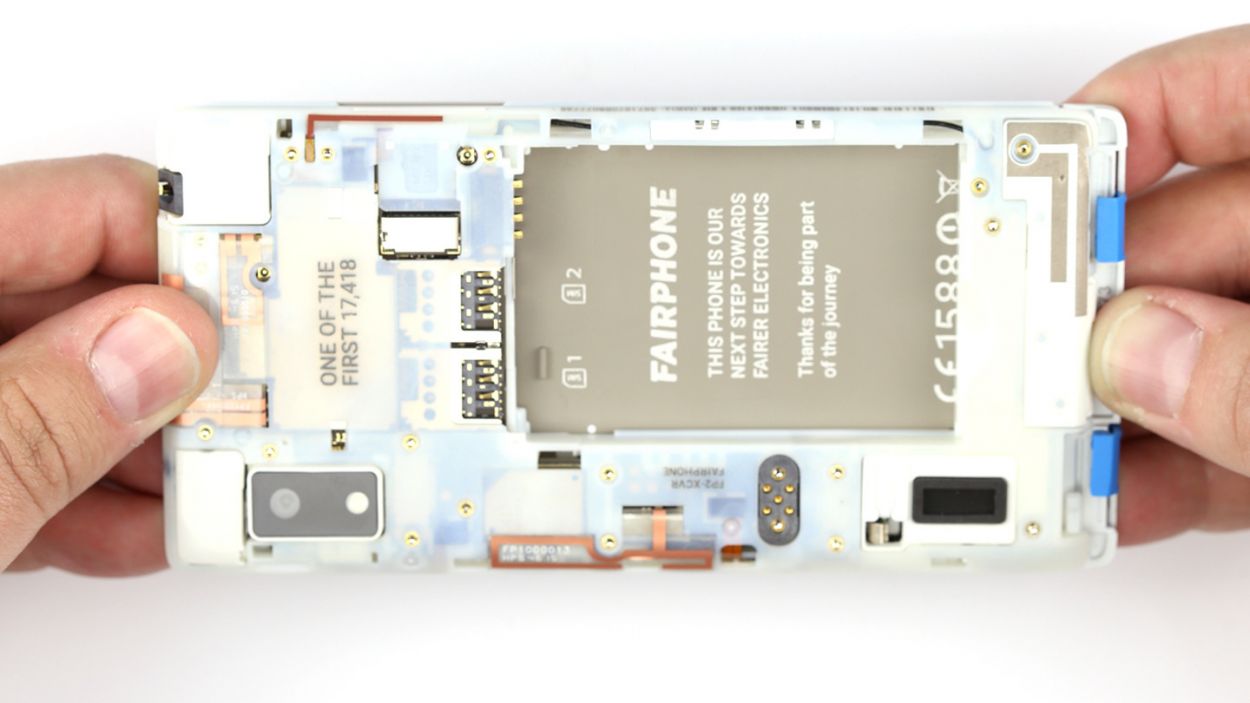
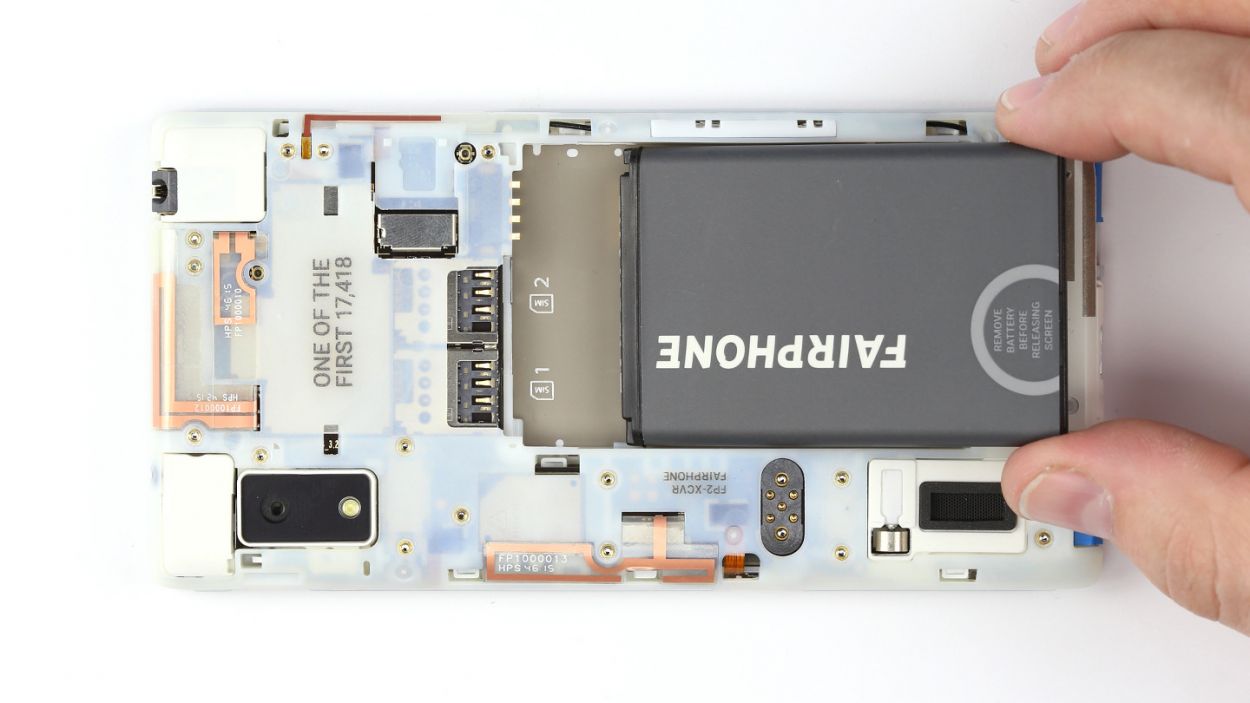
– Gently pop the battery out of its cozy home in the chassis.
Step 3
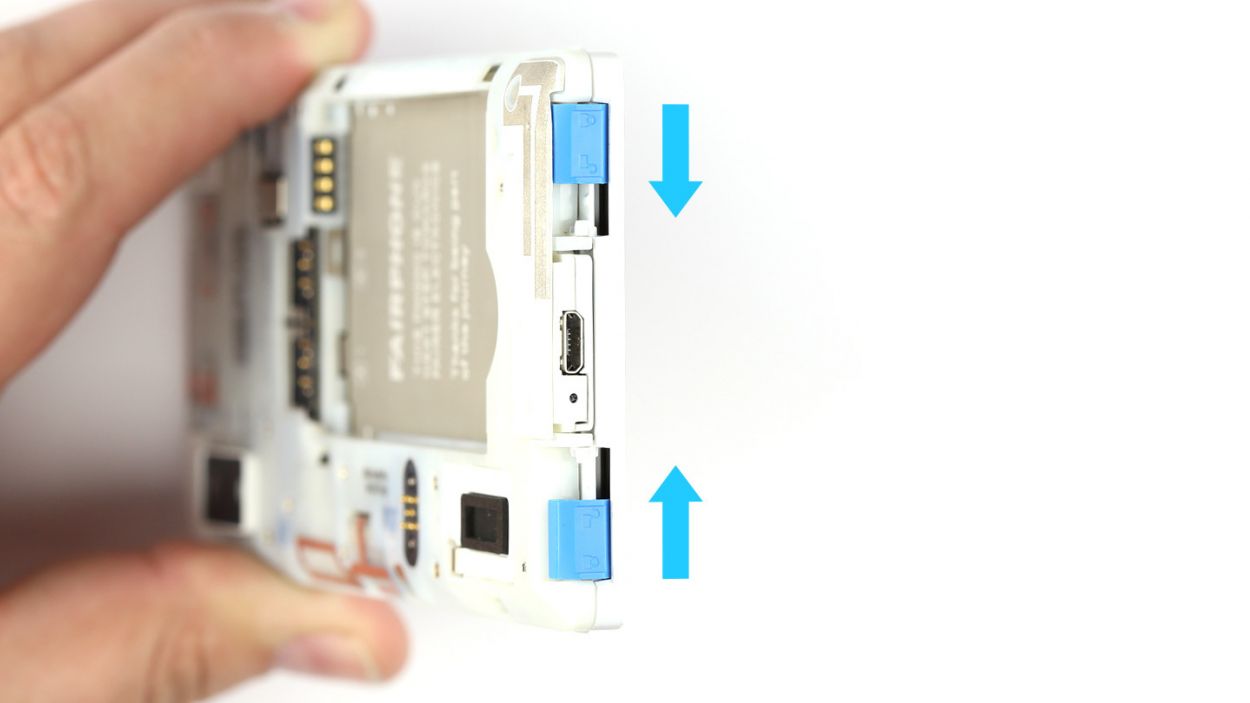
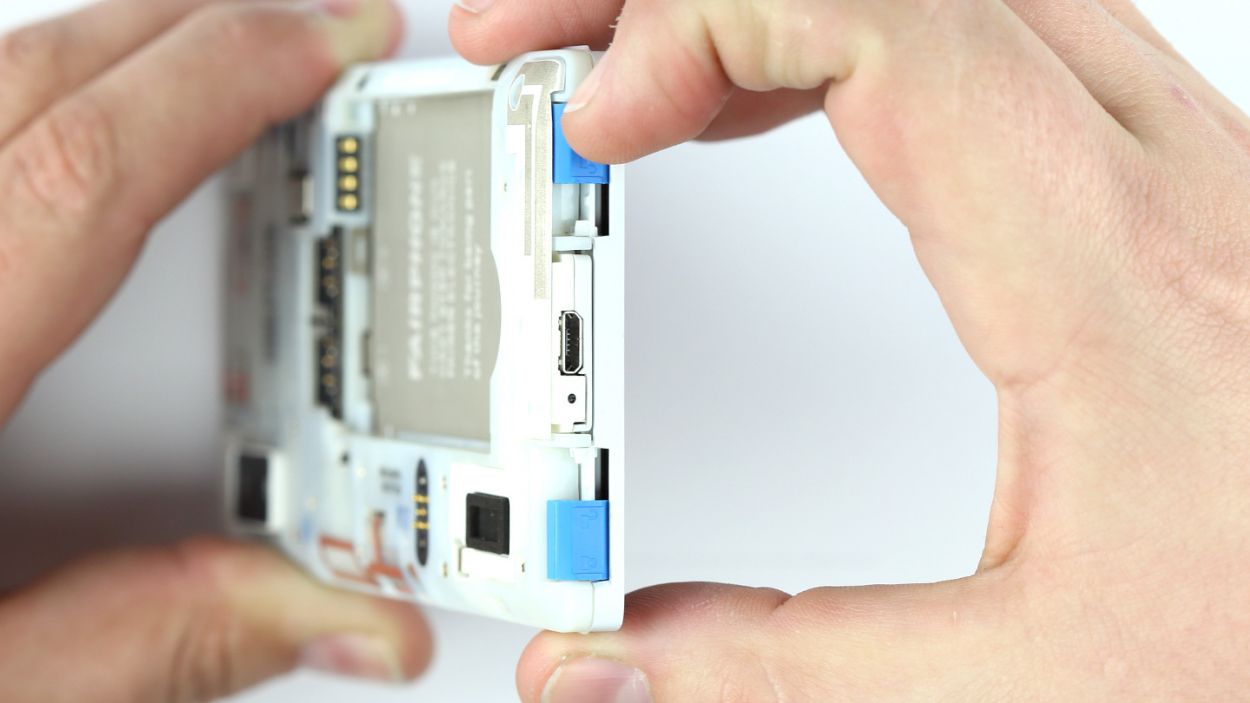
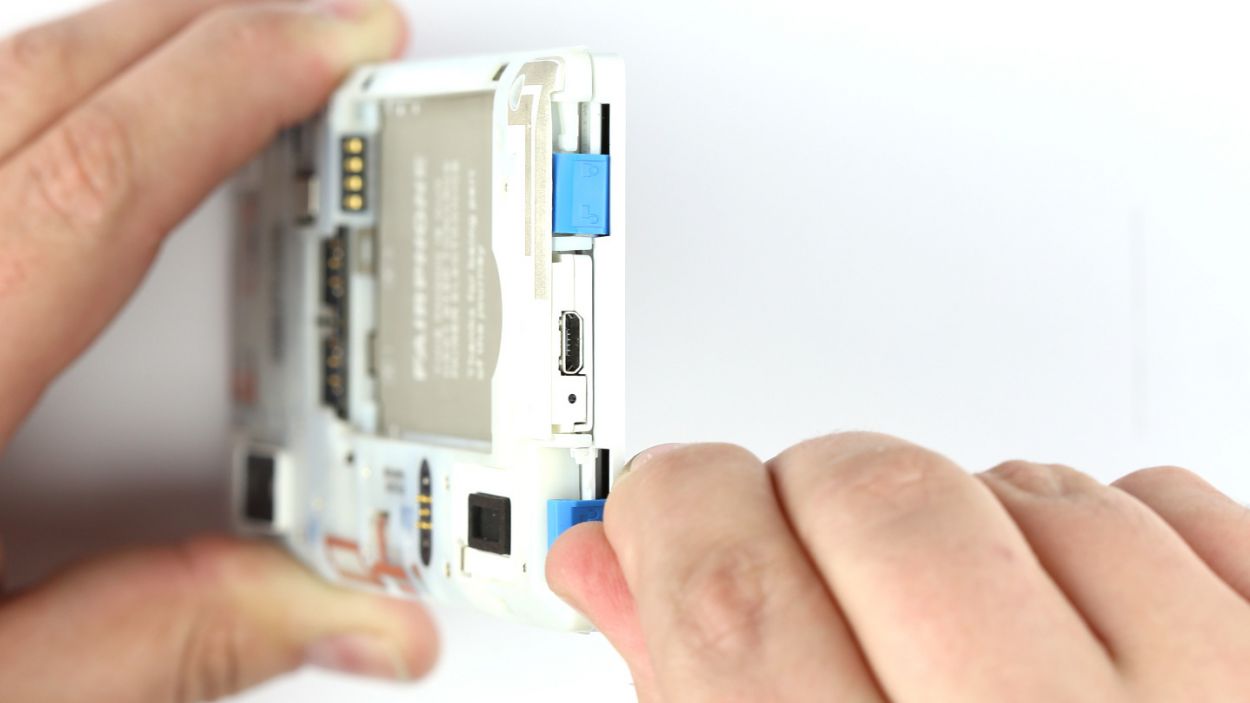
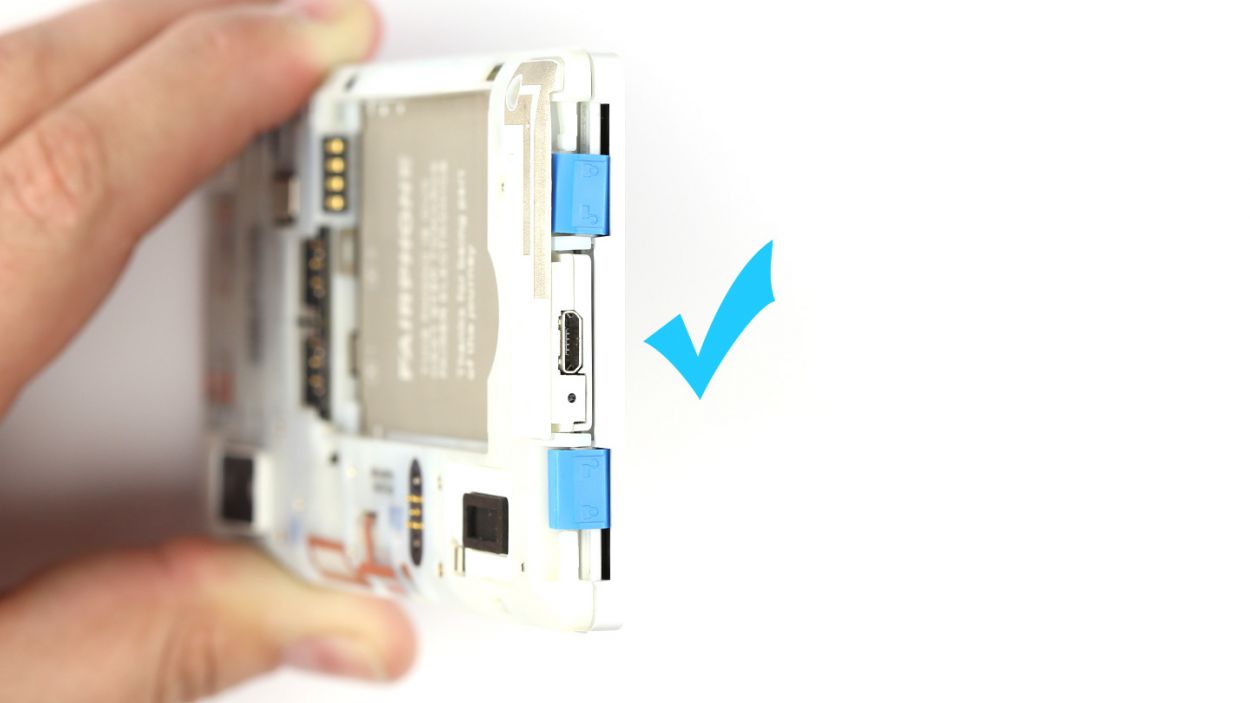
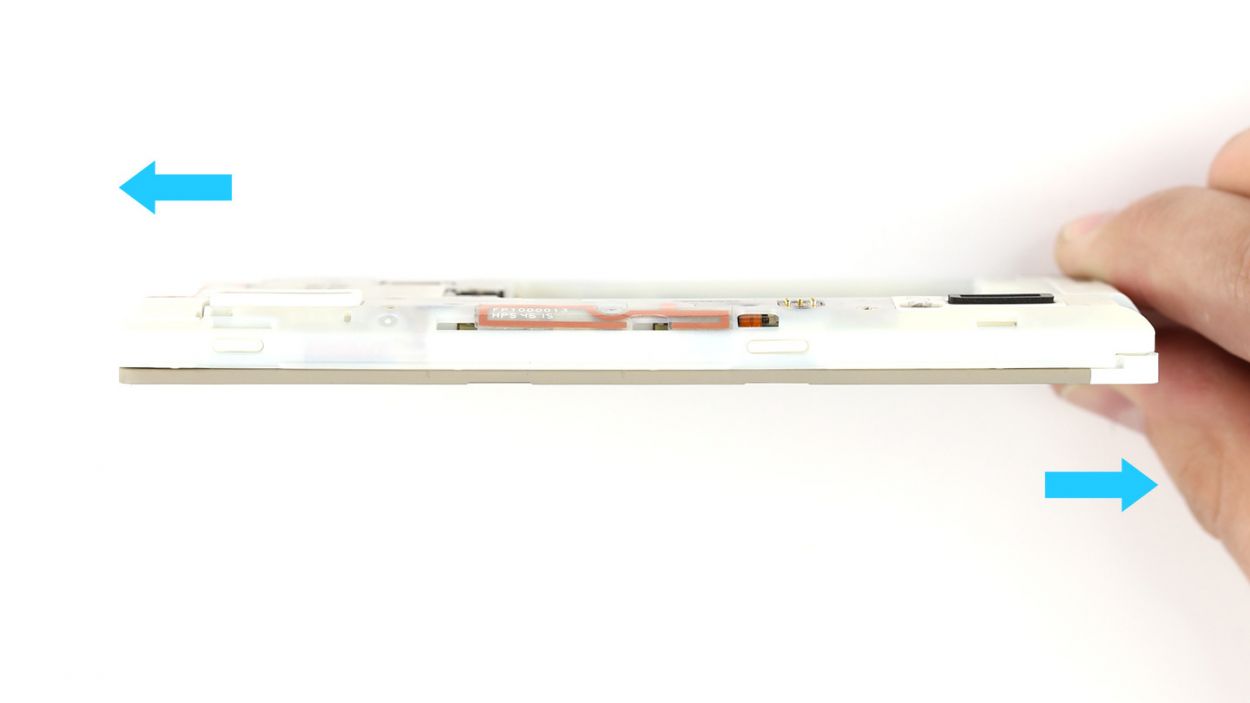
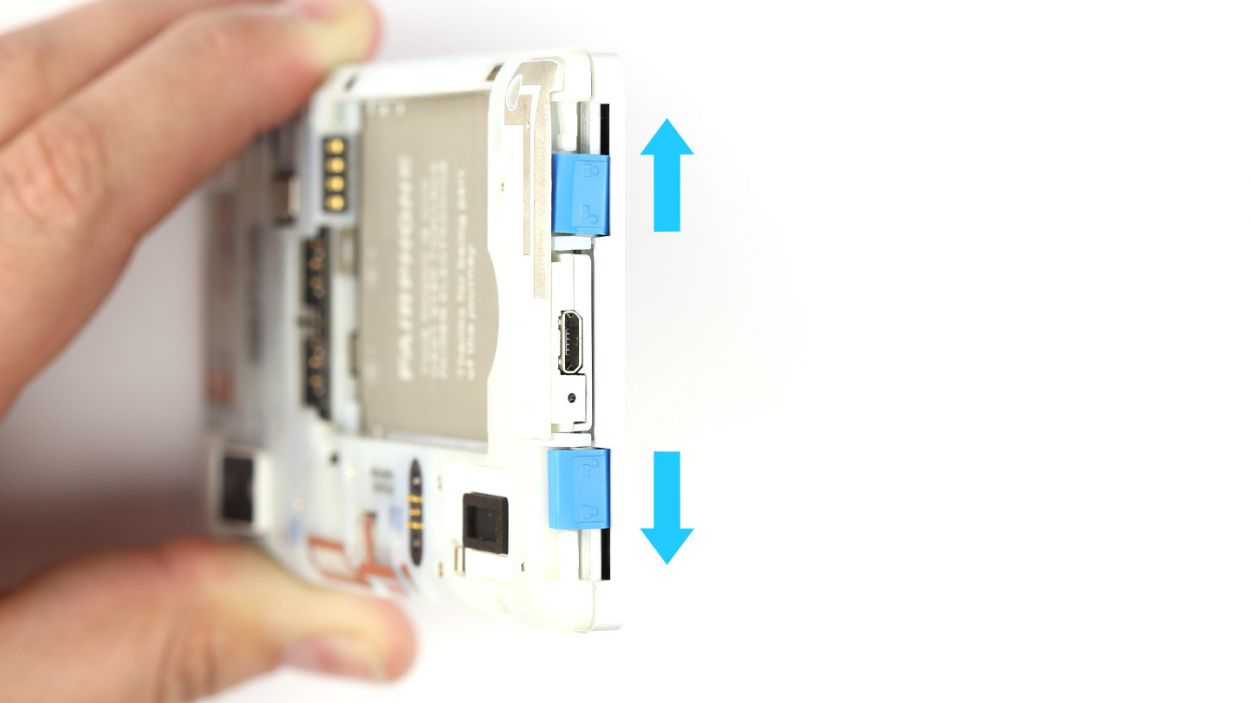
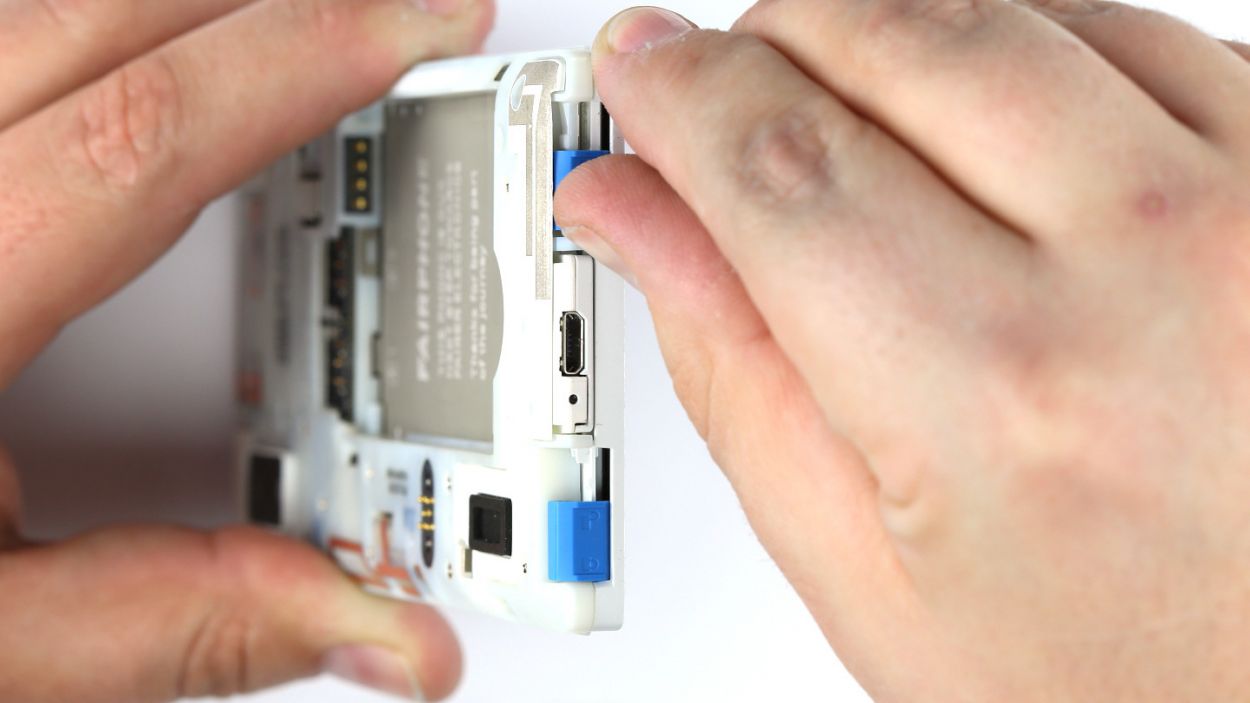
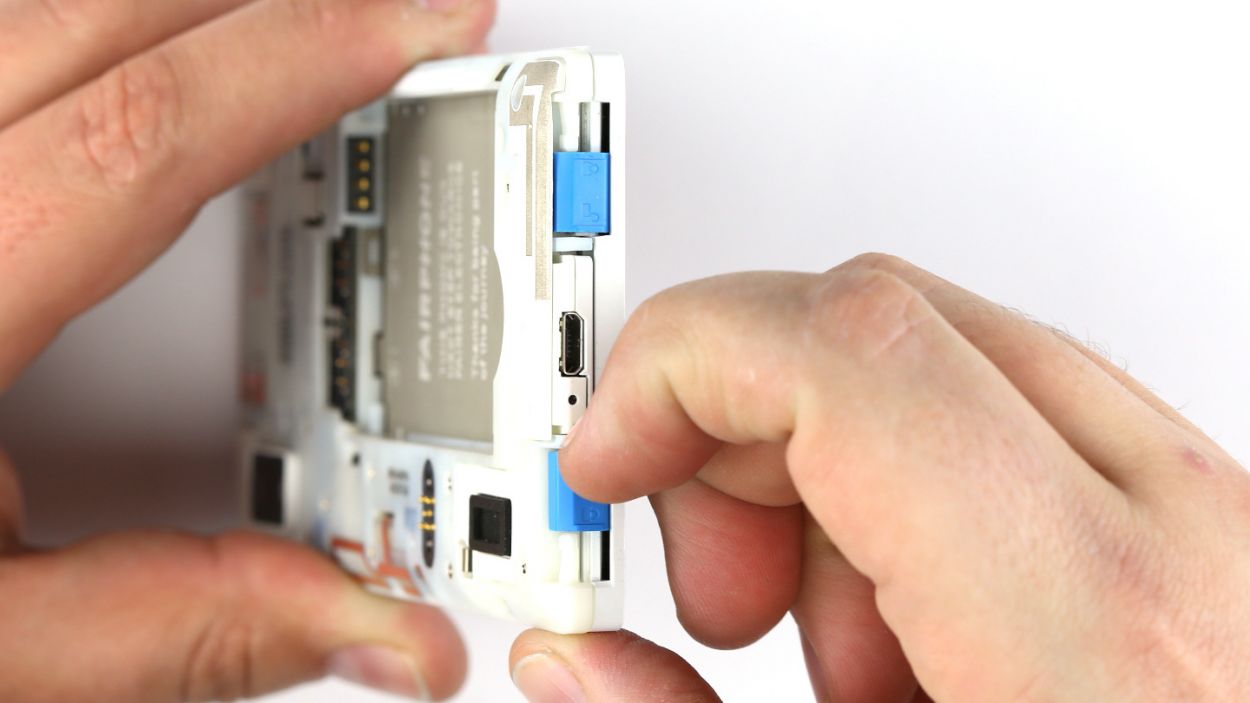
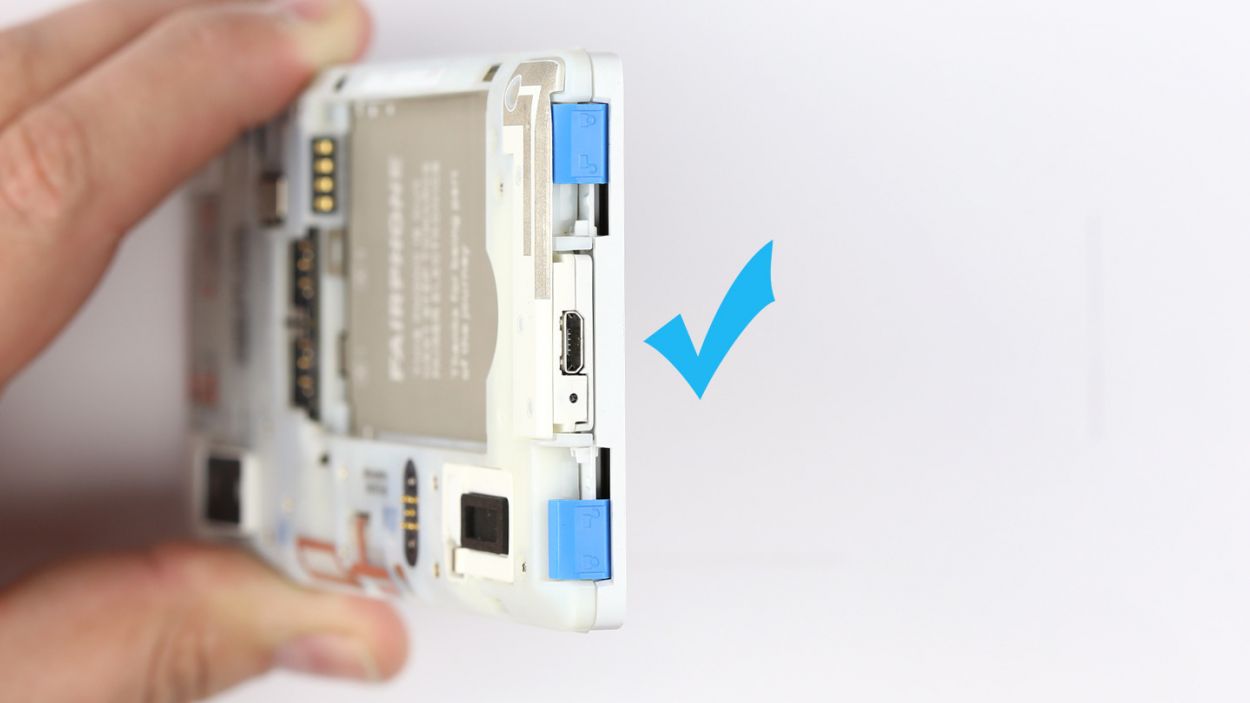
– There are two locks at the bottom of the Fairphone 2 to attach the display module to the chassis. You release the lock by pushing the sliders toward the Micro-USB port.
– Release the locks one after the other.
Step 5
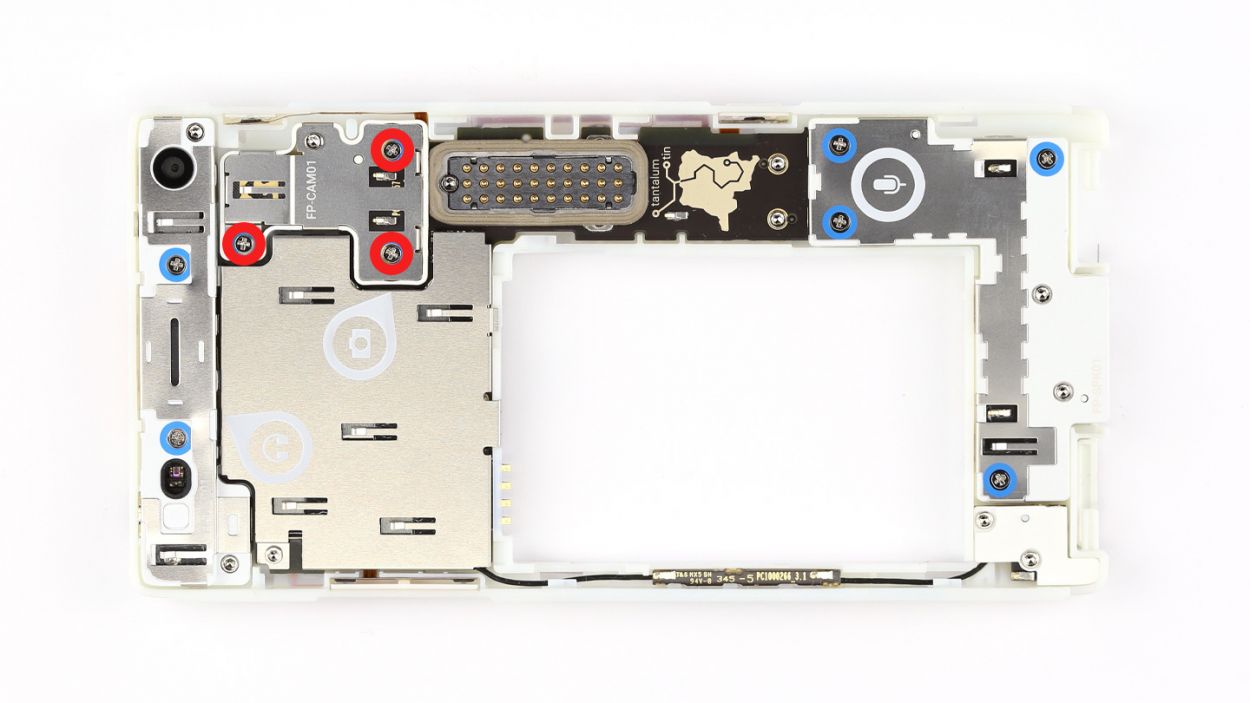
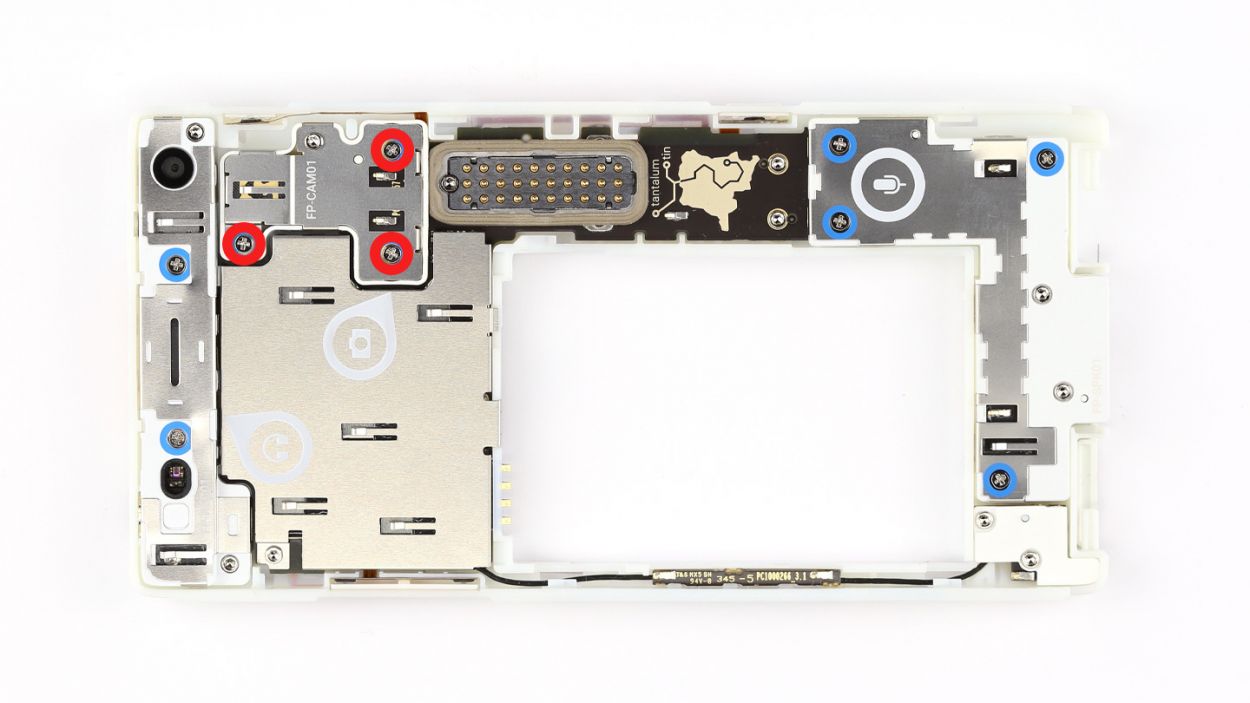
– Remove the three Phillips screws that hold the camera module in place.3 x 5.5 mm Phillips screws
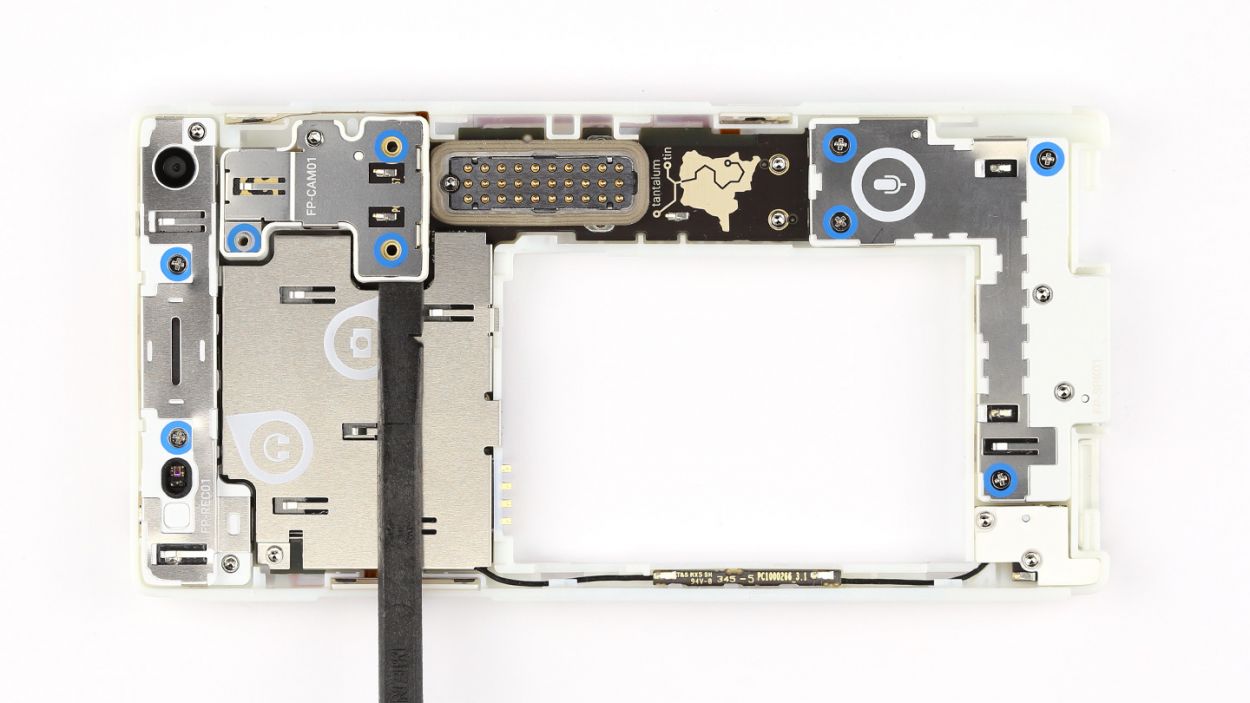
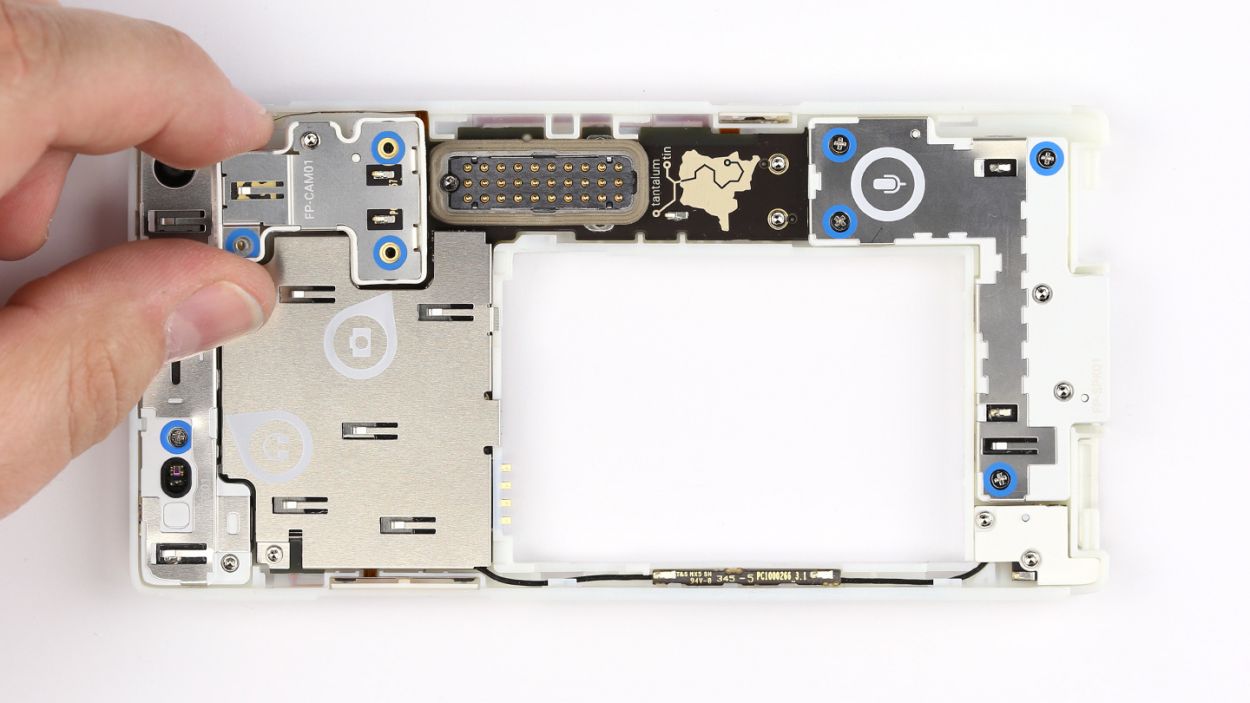
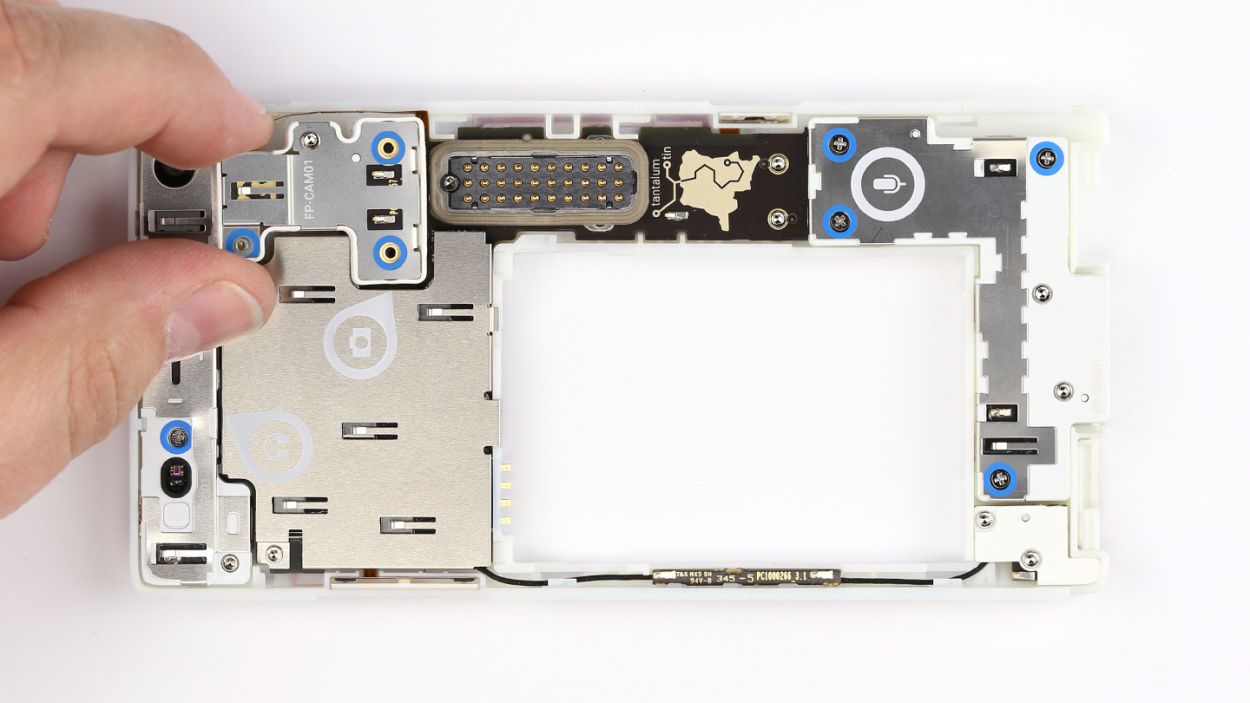
– Detach the module by using the flat end of the spudger to pry it out.
– Remove the camera module and put it with the screws.
Step 6
– Gently place the camera module into the chassis, making sure it fits snugly.
– Secure the module in place with the three Phillips screws (3 x 5.5 mm). You’re almost there!
Step 7
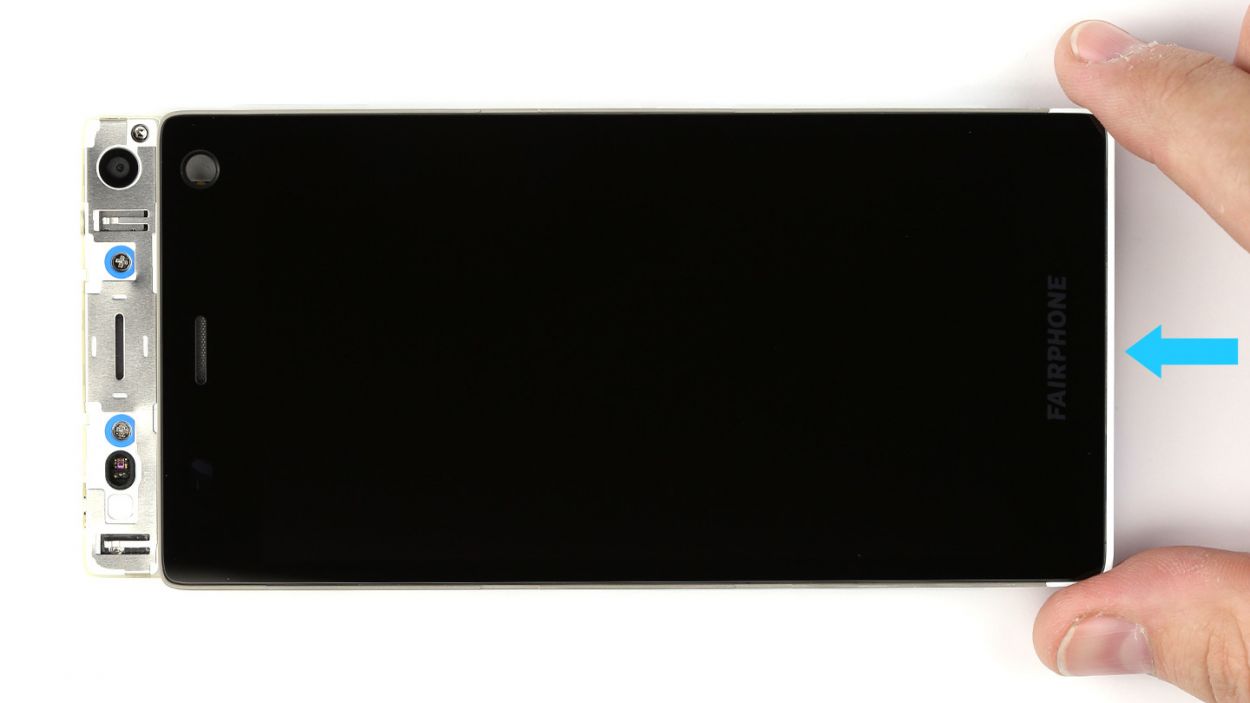
– Place the display onto the chassis like a pro.
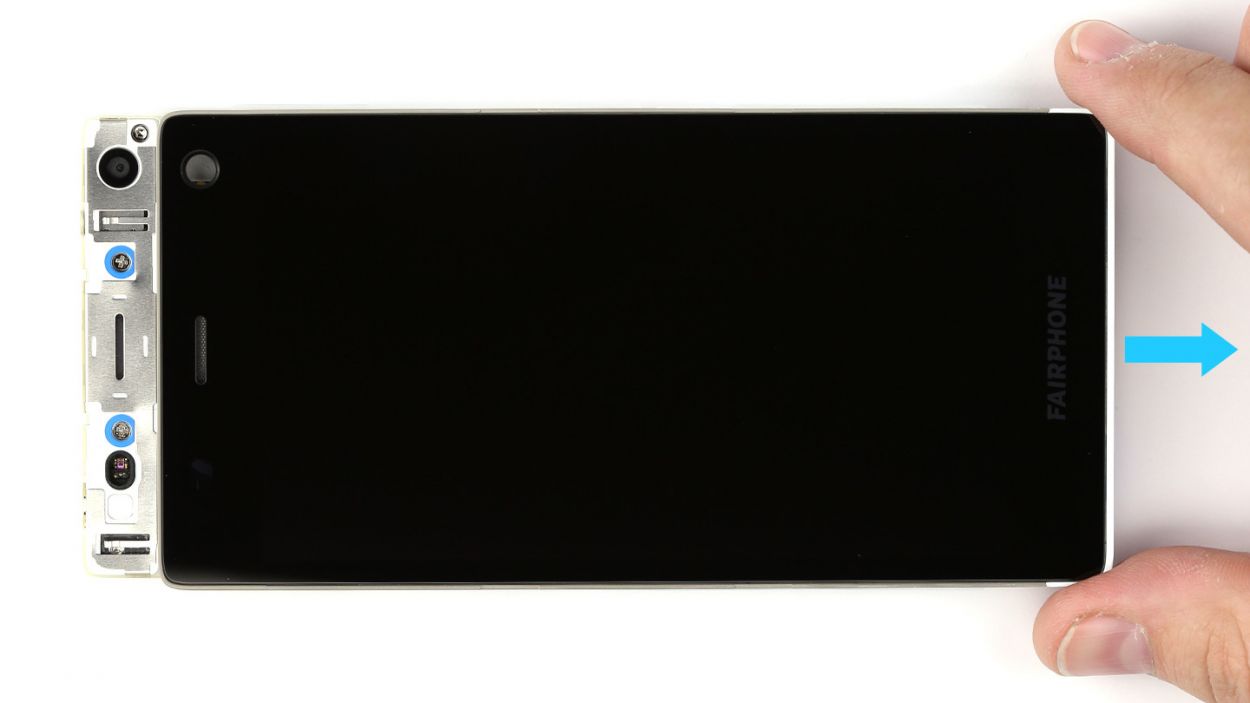
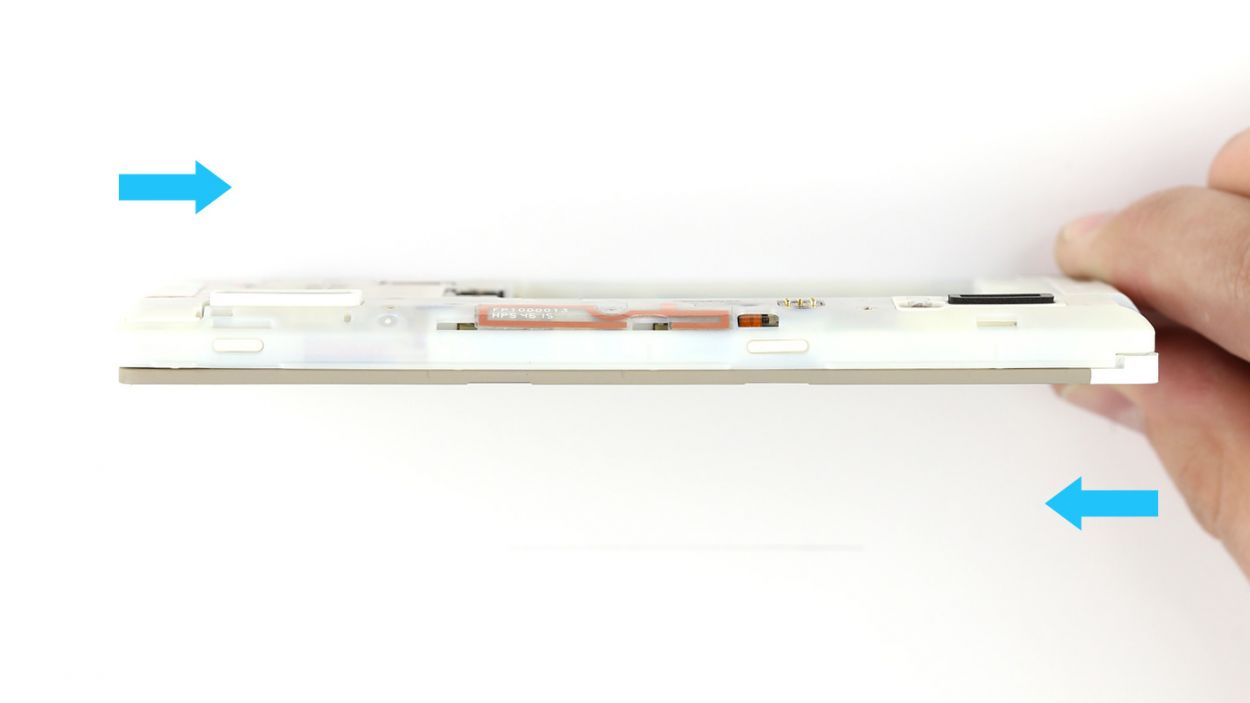
– Give the display a gentle push to snug it up with the chassis.
– Nudge the display module towards the front camera for a perfect fit.
Step 8
– To secure the display module to the chassis of your Fairphone 2, you’ll find two locks at the bottom. Just slide those locks away from the Micro-USB port to fasten them.
– Make sure to fasten each lock one at a time for a snug fit!
Step 9
– Let’s get started! Place the battery carefully into the chassis.
– Double-check that it’s snug in there and not wobbling. Easy peasy, right?
Step 10
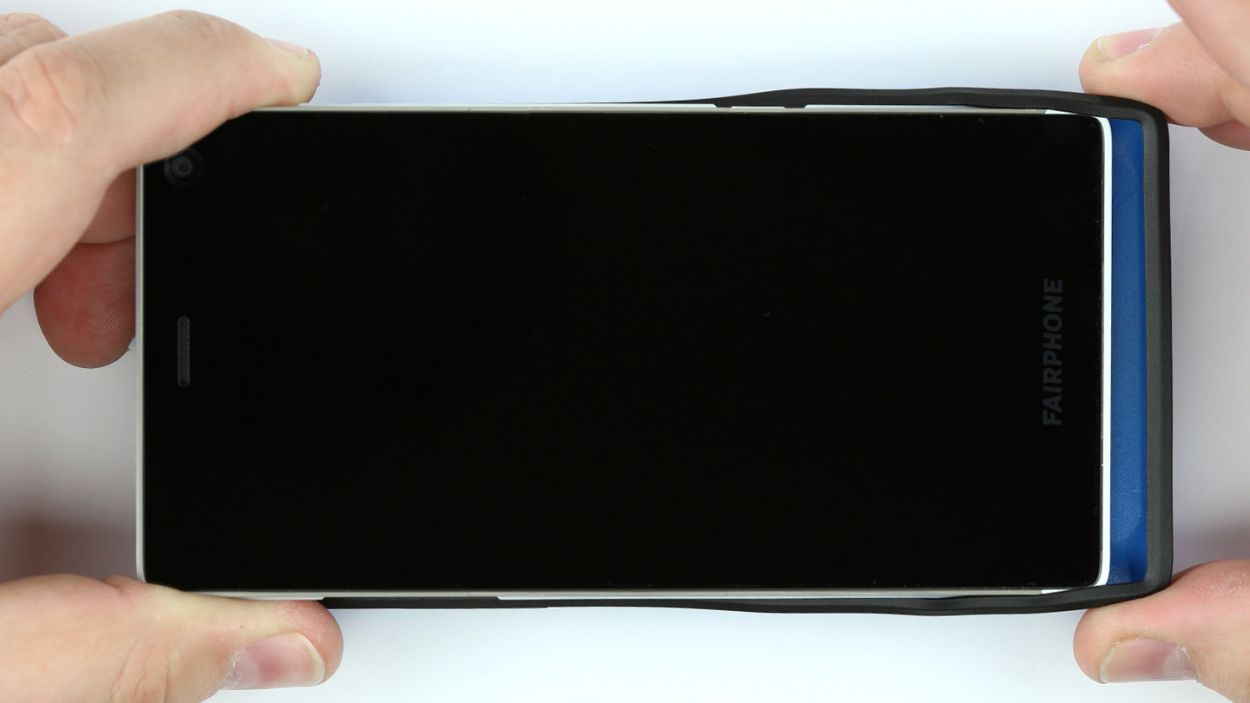
– Let’s get this show on the road! Slide that Fairphone into the back cover lengthwise and watch it click into place in those two cozy corners.
– Get a grip! Pull the back cover’s rubber rim over the first corner – you got this!
– Almost there! Pull that last corner into place and double-check that the rubber rim is evenly distributed around the display. Success!
