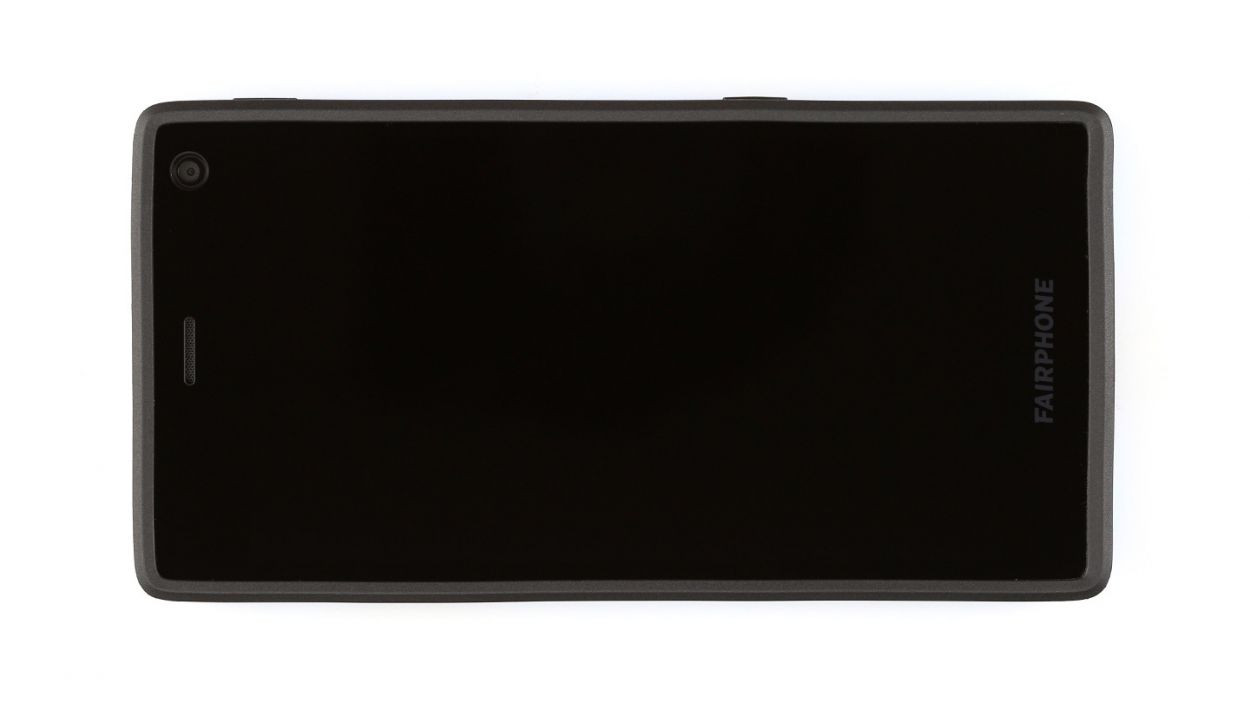
DIY Guide to Replace Audio Module on Fairphone 2
Duration: 30 min.
Steps: 10 Steps
In this guide, we’re excited to walk you through the process of swapping out the audio module on your Fairphone 2 that’s not performing as it should. Are your calls as quiet as a library? Can’t hear your friends? Or maybe your front camera has decided to take a break altogether? No worries! This repair could also sort out any issues with a loose headphone connection or a remote control that’s just not obeying. Let’s get that audio back in action! And remember, if you run into trouble, you can always schedule a repair.
Step 1

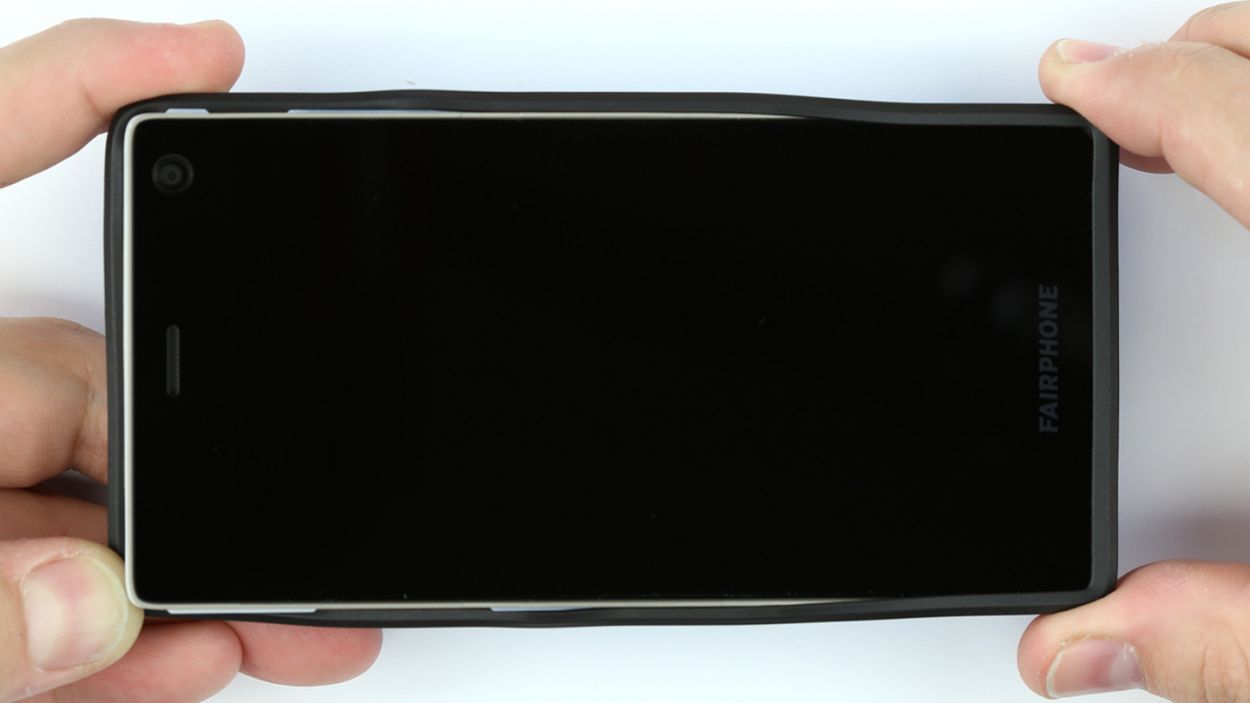
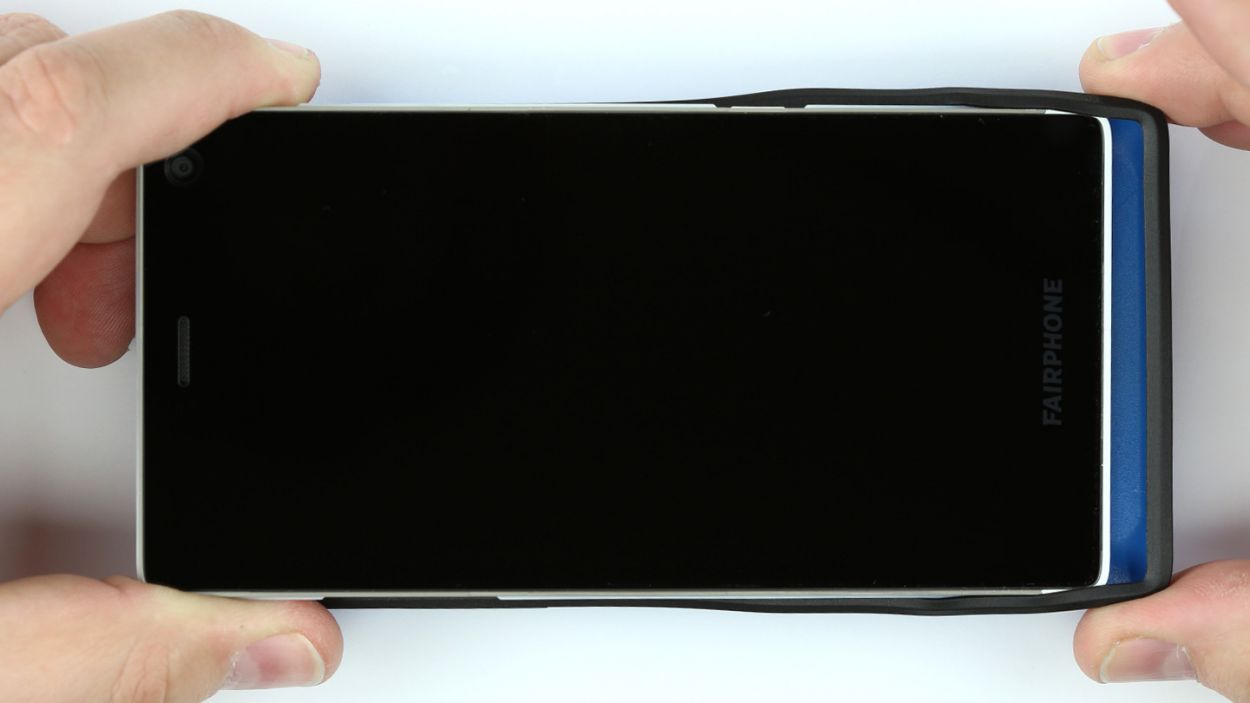
– Gently tug on the rubber edge of the back cover on one of the shorter sides of your Fairphone, and peel it off from one corner. Your nails will fit perfectly under that rubber rim!
– Now, let’s move on to the next corner and pop that back cover off too.
– Carefully lift your Fairphone out of its cozy enclosure.
Step 2

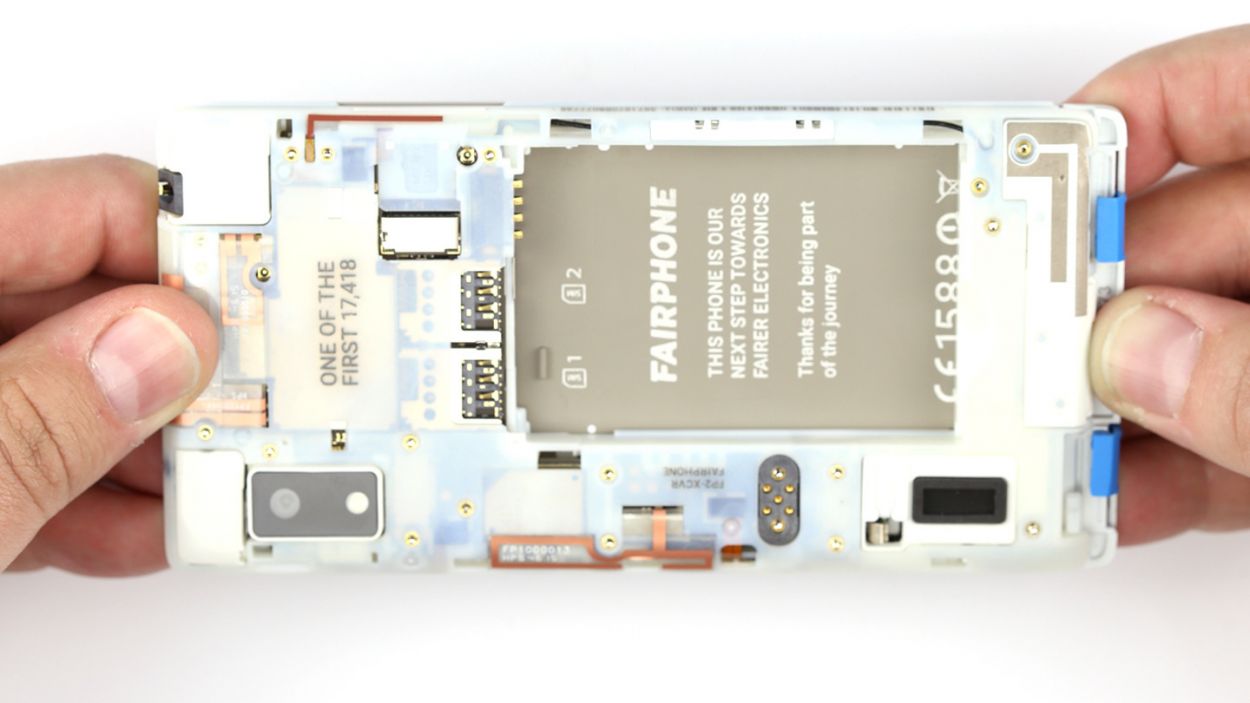
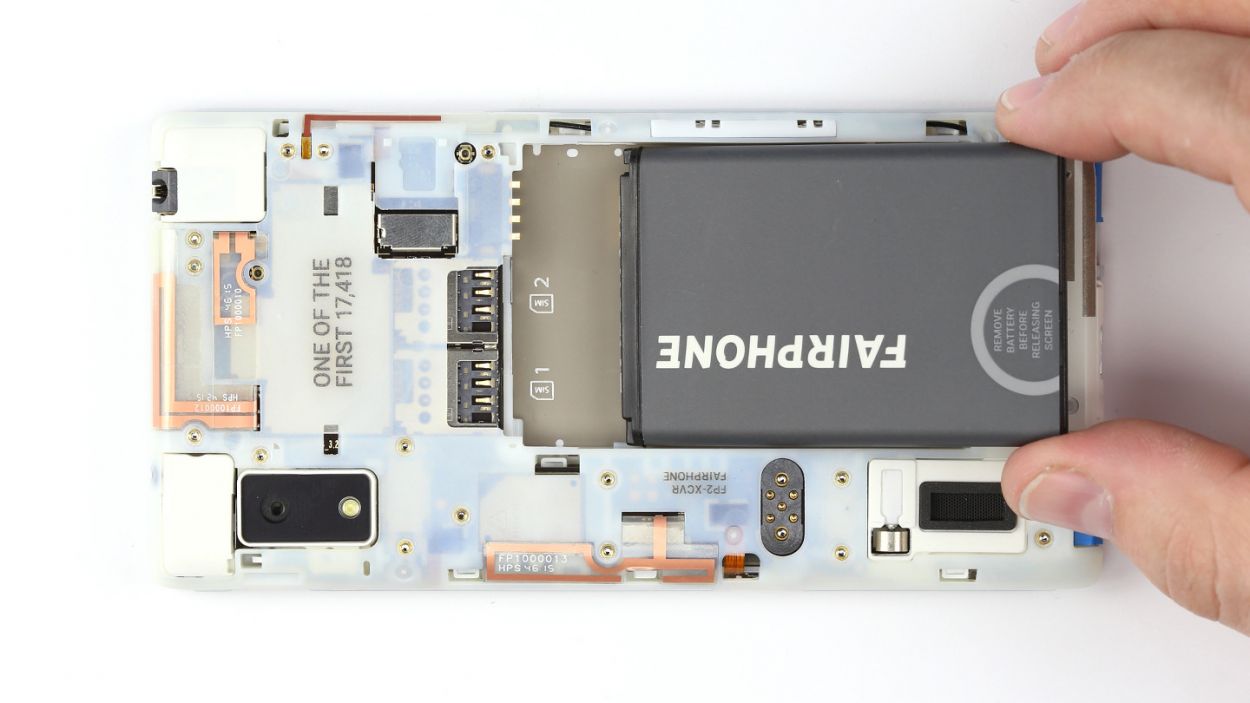
– Gently ease the battery out of its cozy home in the chassis.
Step 3
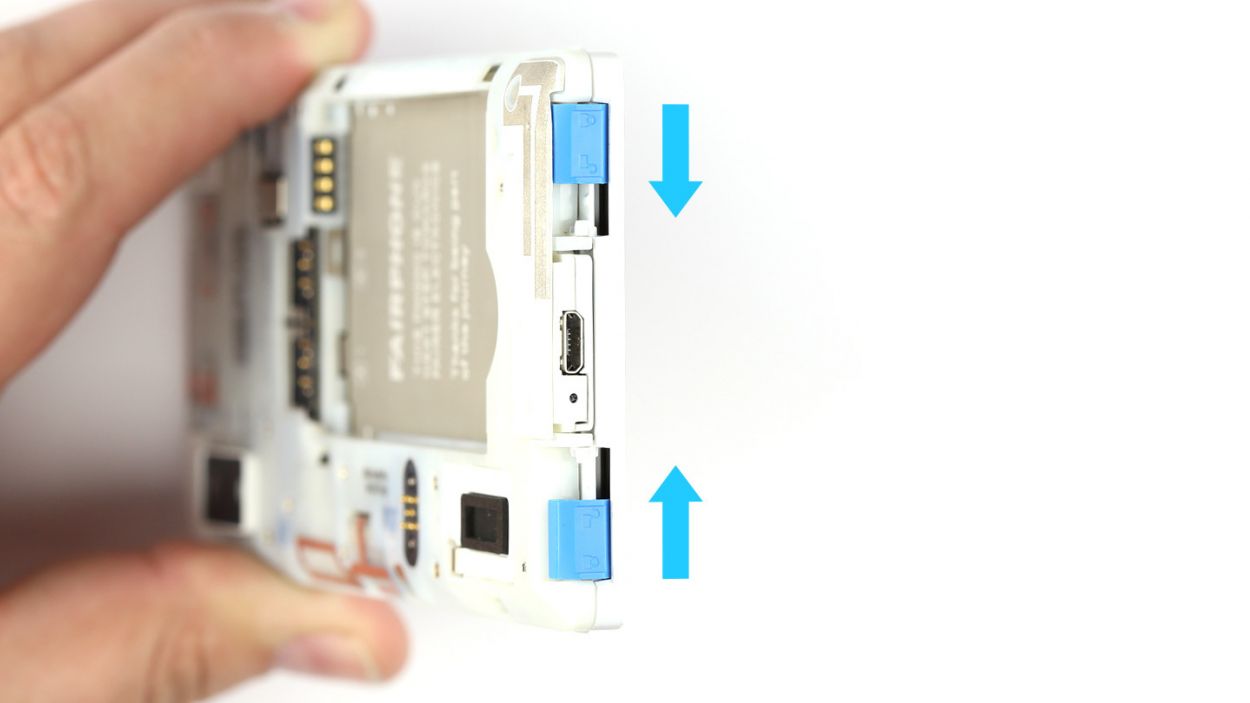
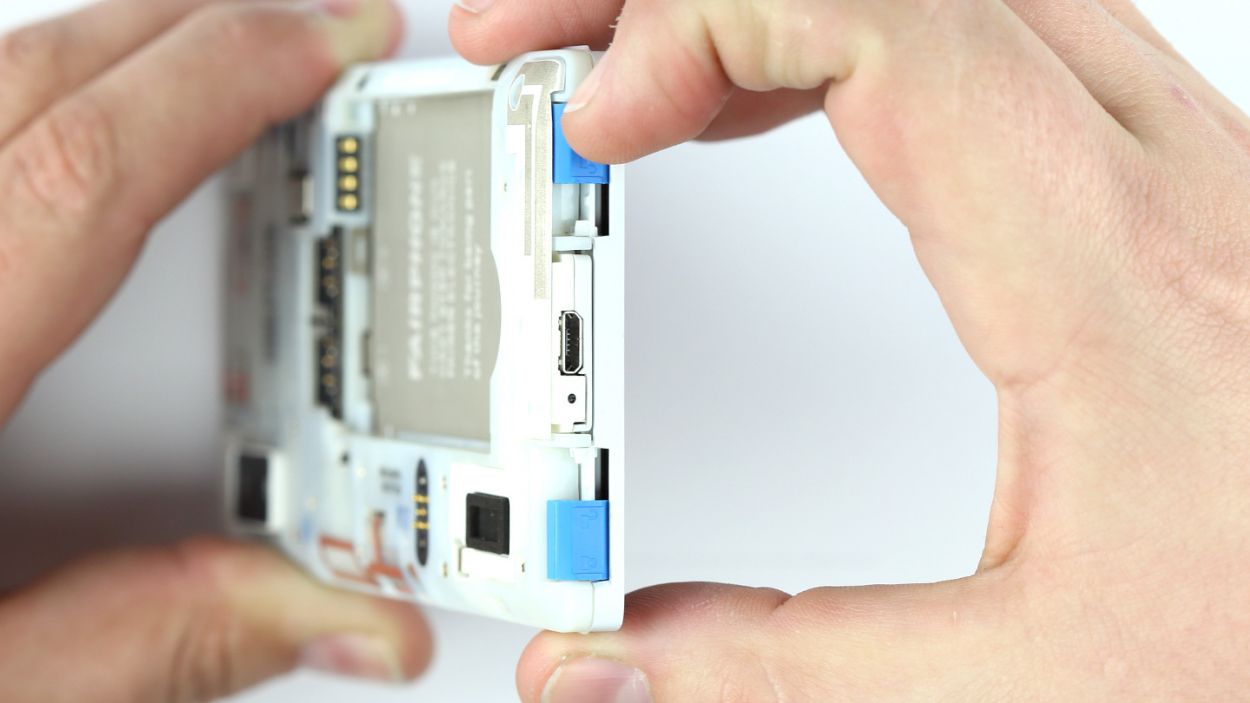
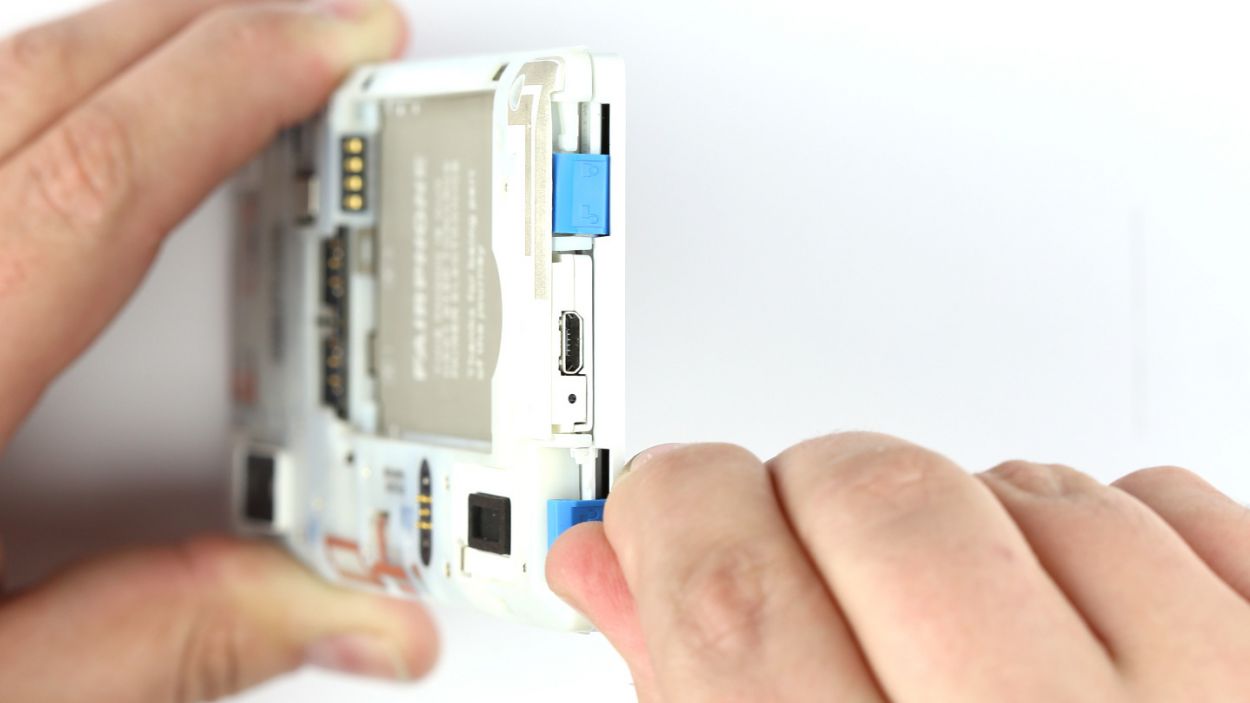
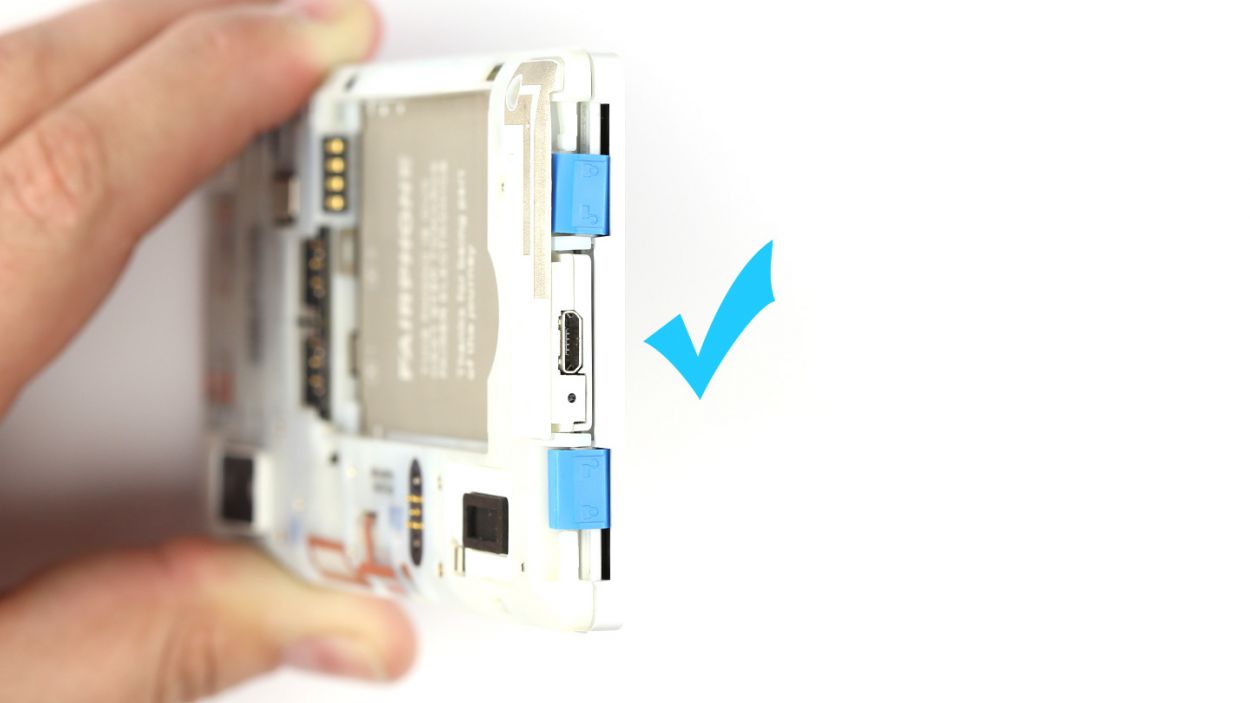
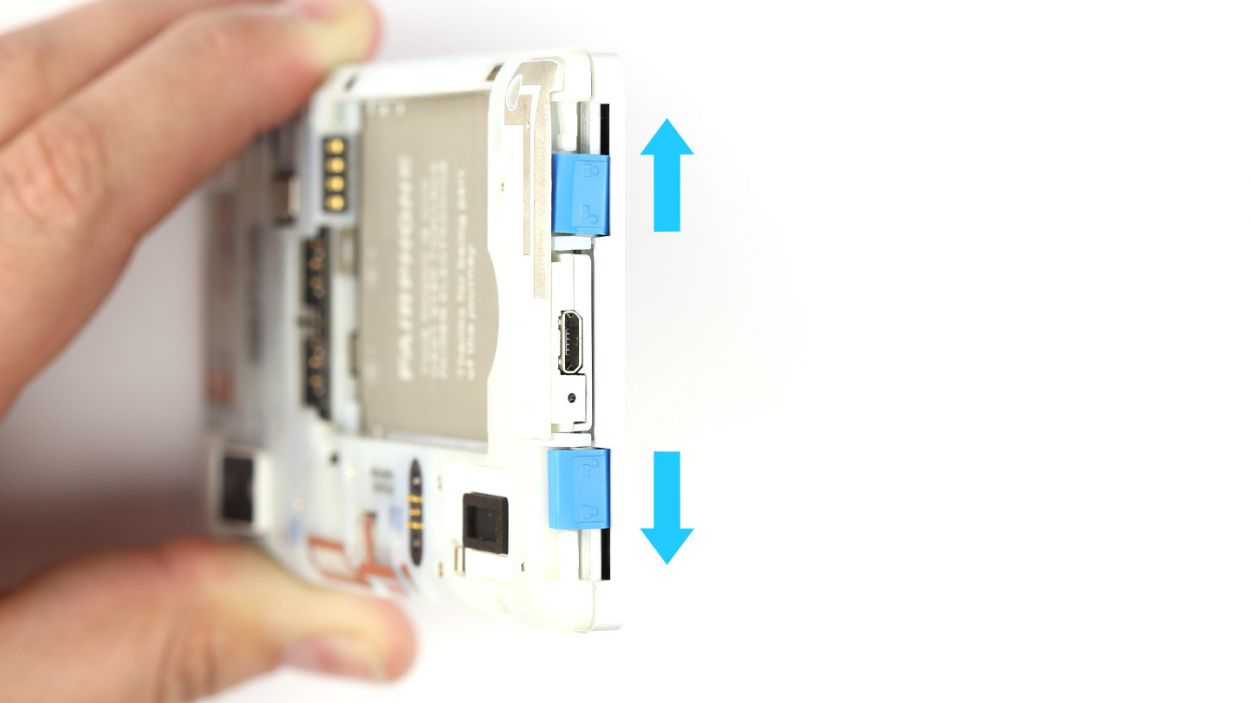
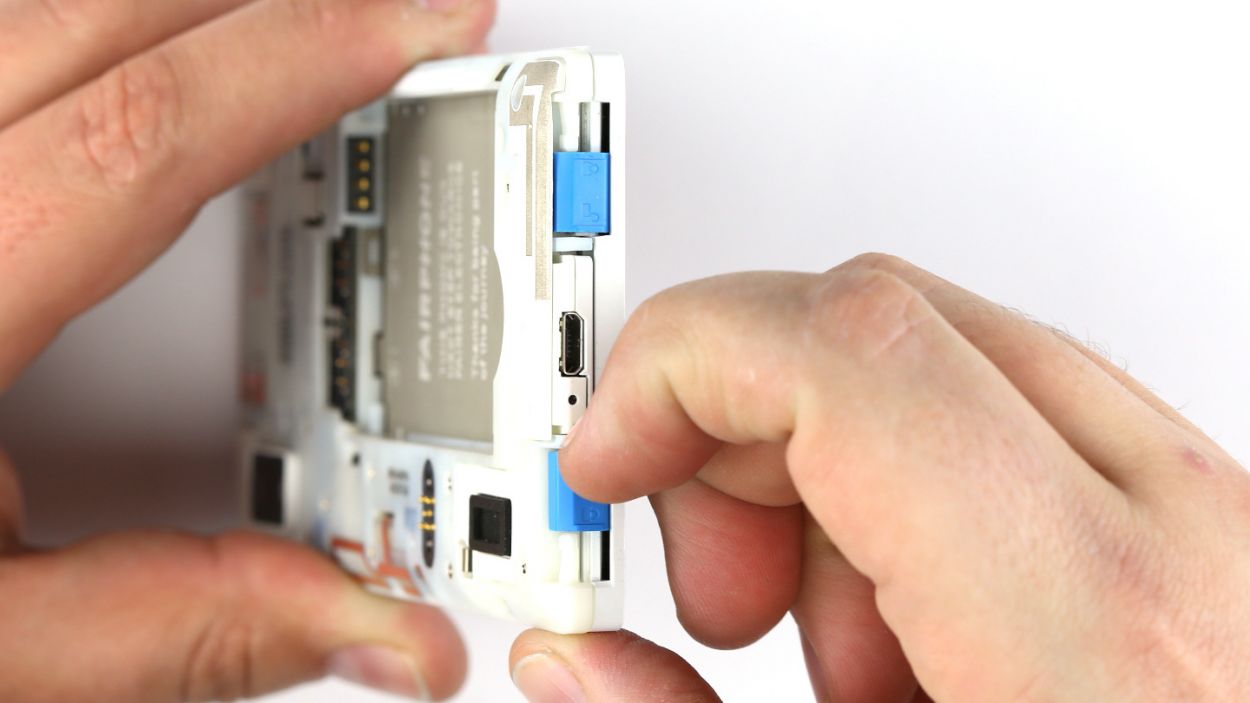
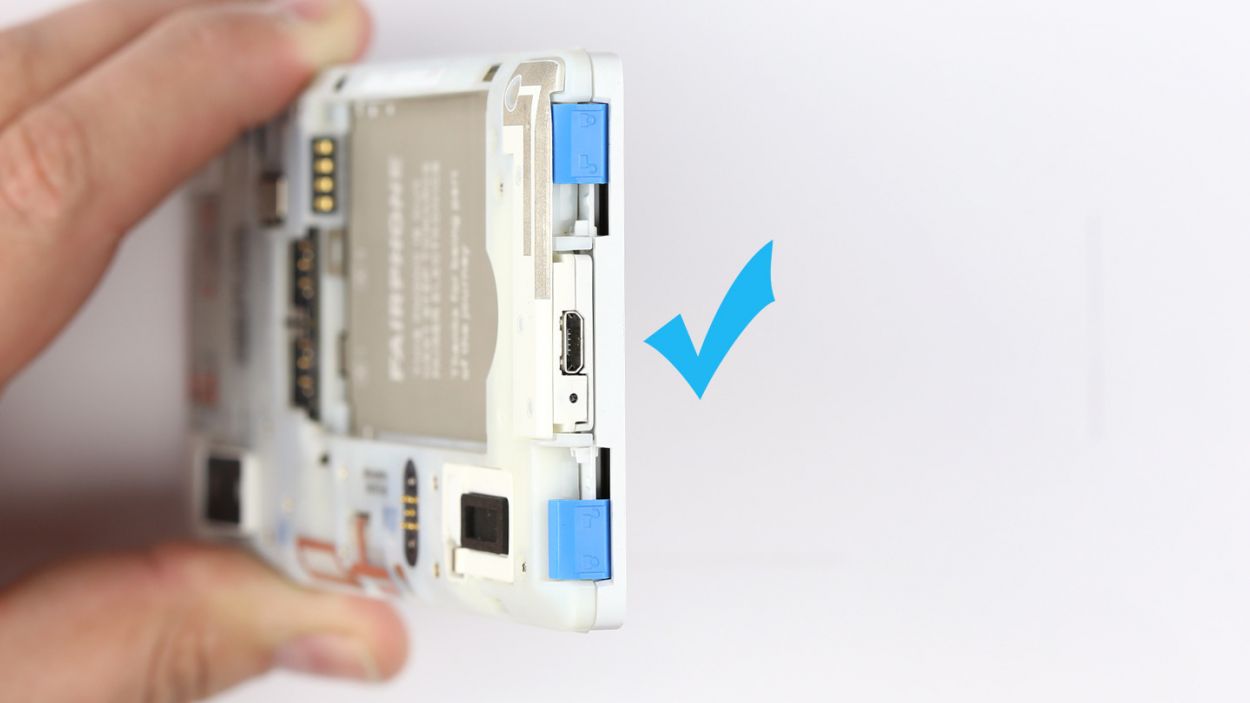
– There are two locks at the bottom of the Fairphone 2 to attach the display module to the chassis. You release the lock by pushing the sliders toward the Micro-USB port.
– Release the locks one after the other.
Step 4
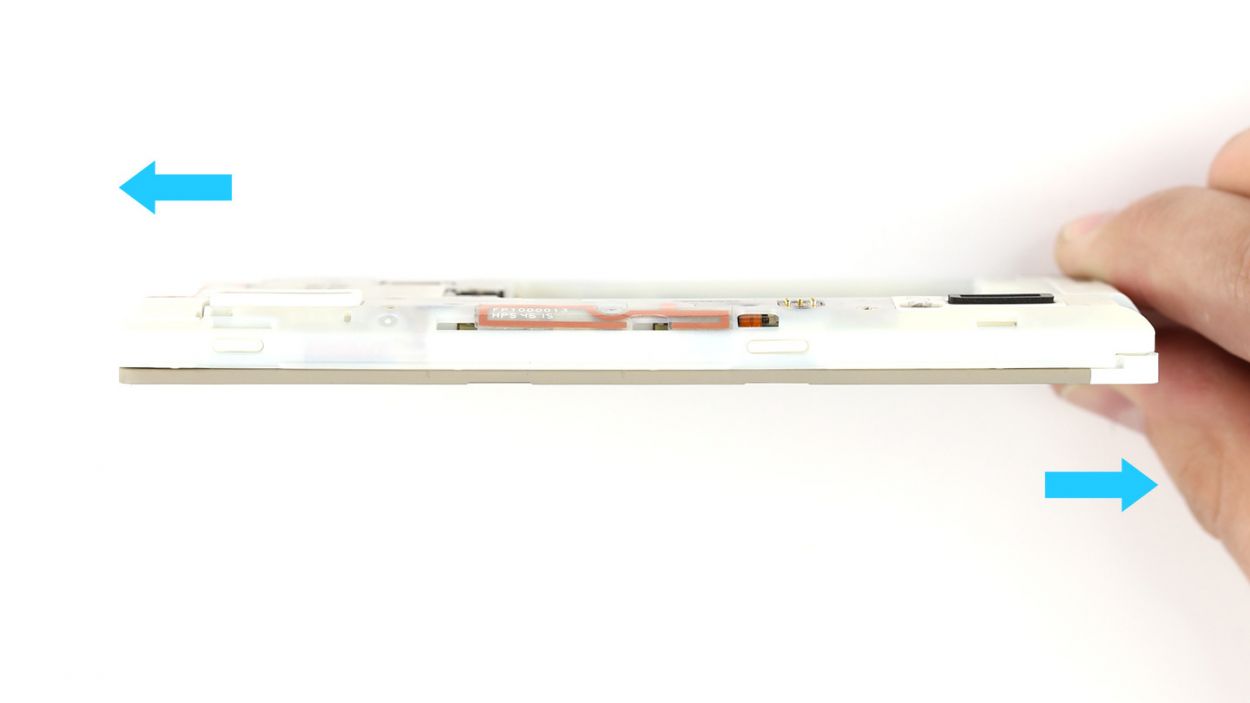

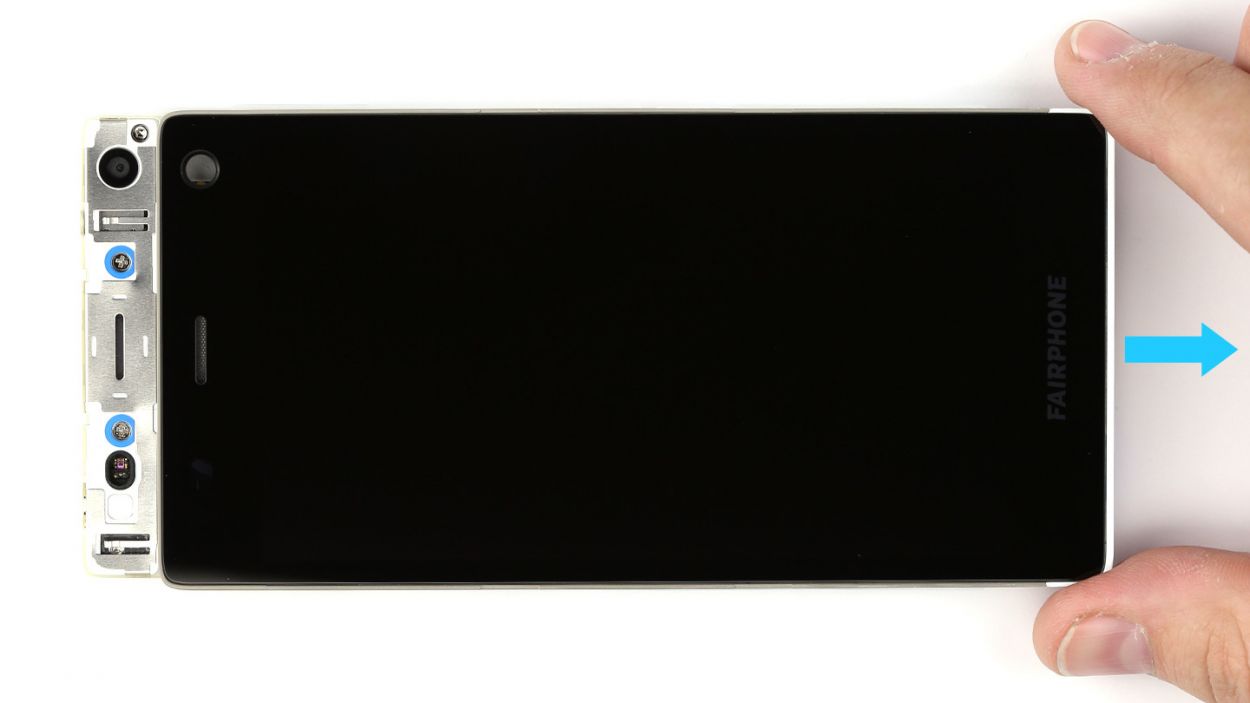
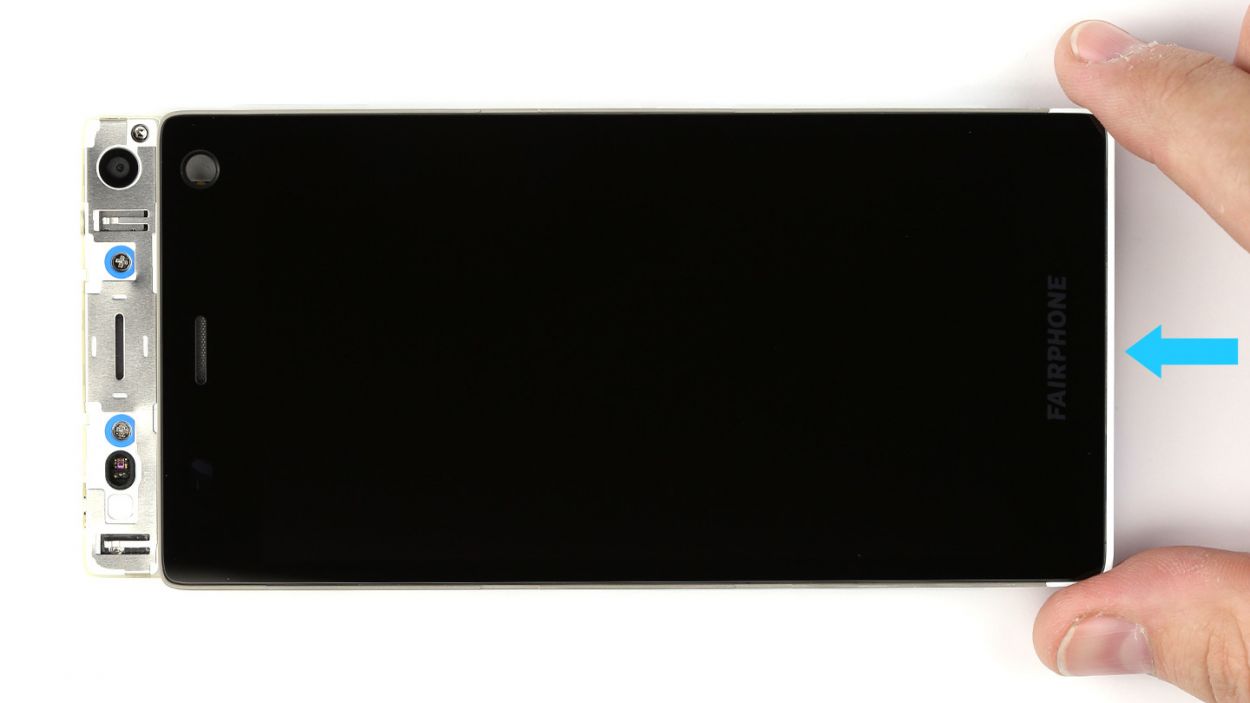
– Now that you have unlocked your display module. Give it a little push and send it off the chassis. You’ve got it!
– Give the display module a little push toward the Micro-USB port and hold the chassis at the USB port for a little resistance.
– Get ready for the grand finale! Remove the module from the chassis.
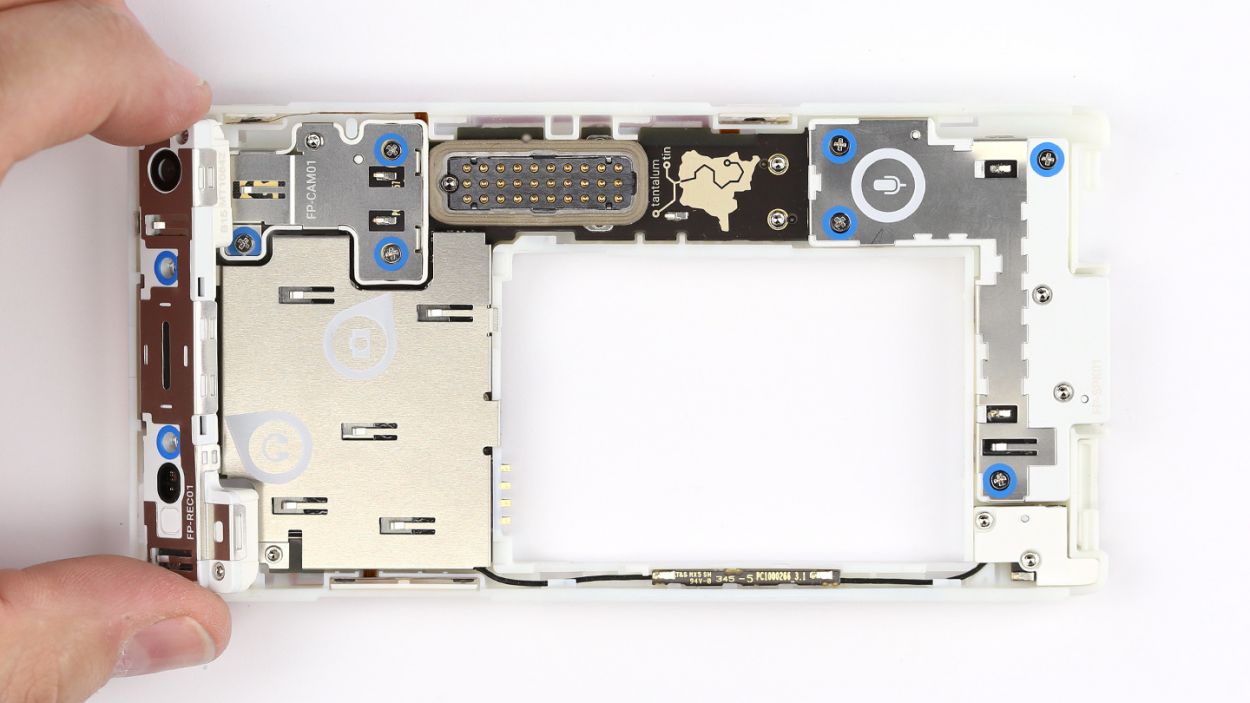
Step 5
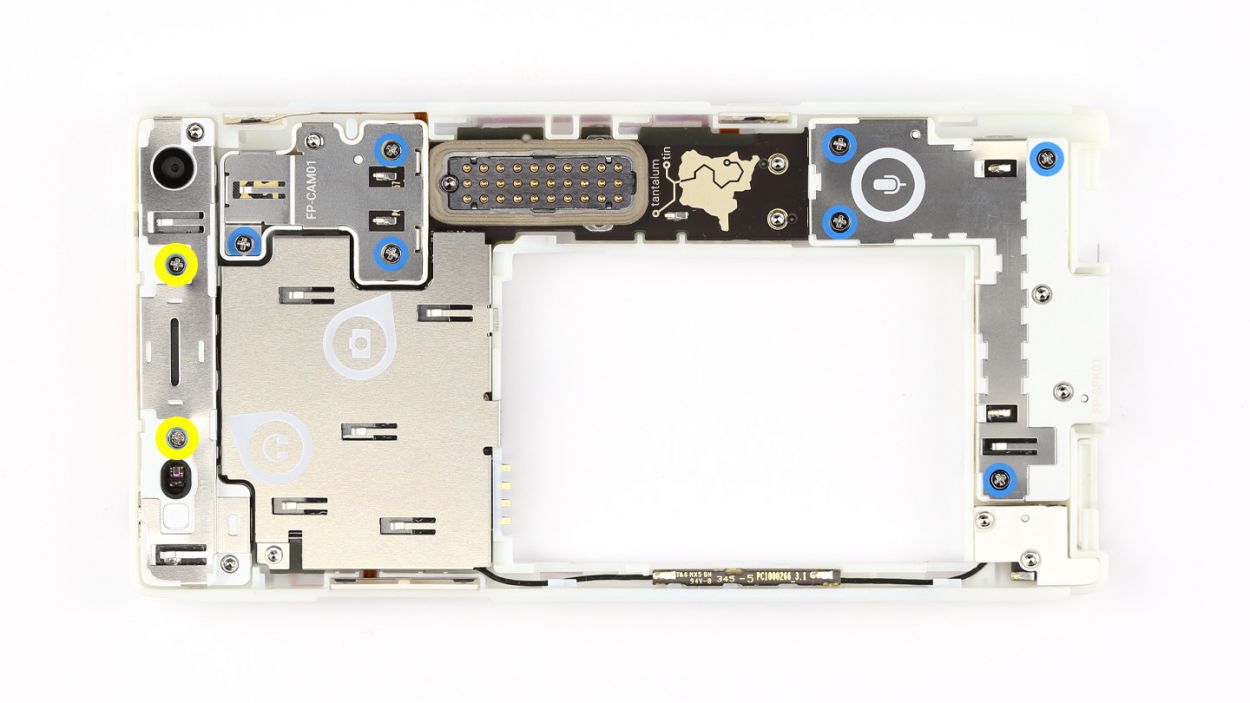

– Start by taking out those two Phillips screws holding the module snugly in place. That’s right, 2 x 5.5 mm Phillips screws!
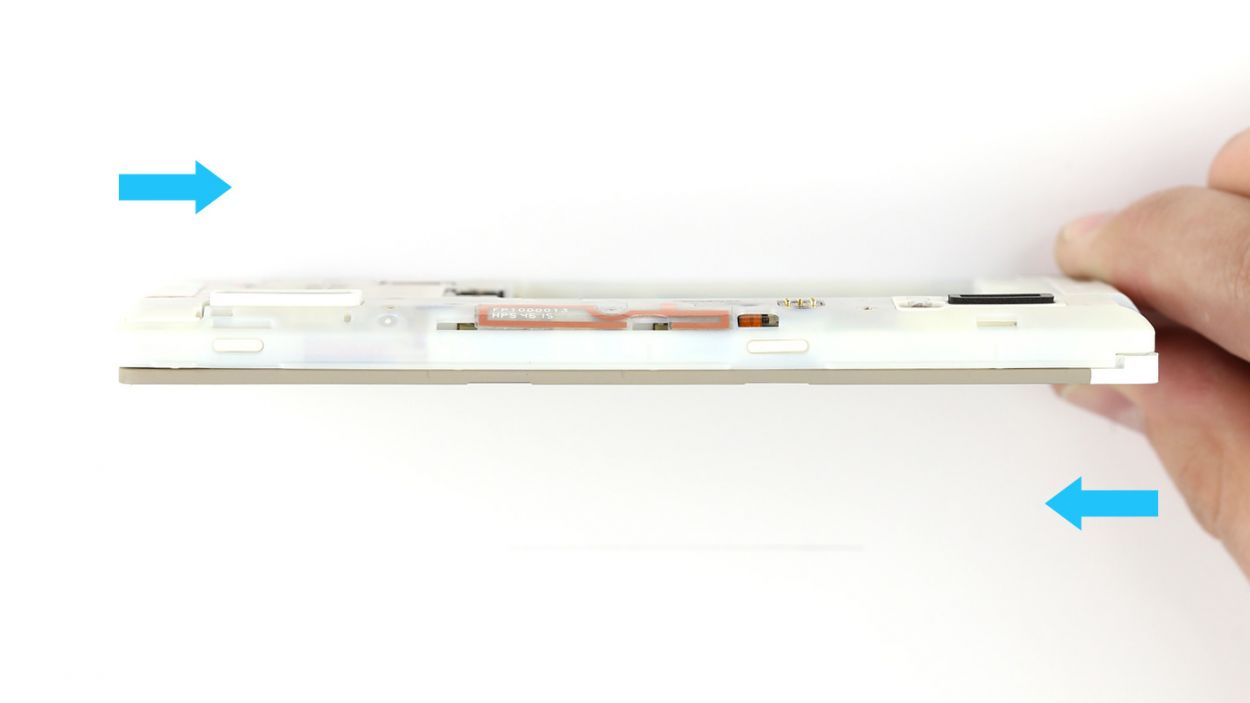
– Now, let’s give that module a little nudge! Gently push it out from the back of the chassis. Begin by pressing down on the area next to the rear camera.
– Next up, show some love to the surface with the headphone jack; give it a light press too.
– With those simple moves, you can now lift out the audio module and set it down with the screws for safekeeping.
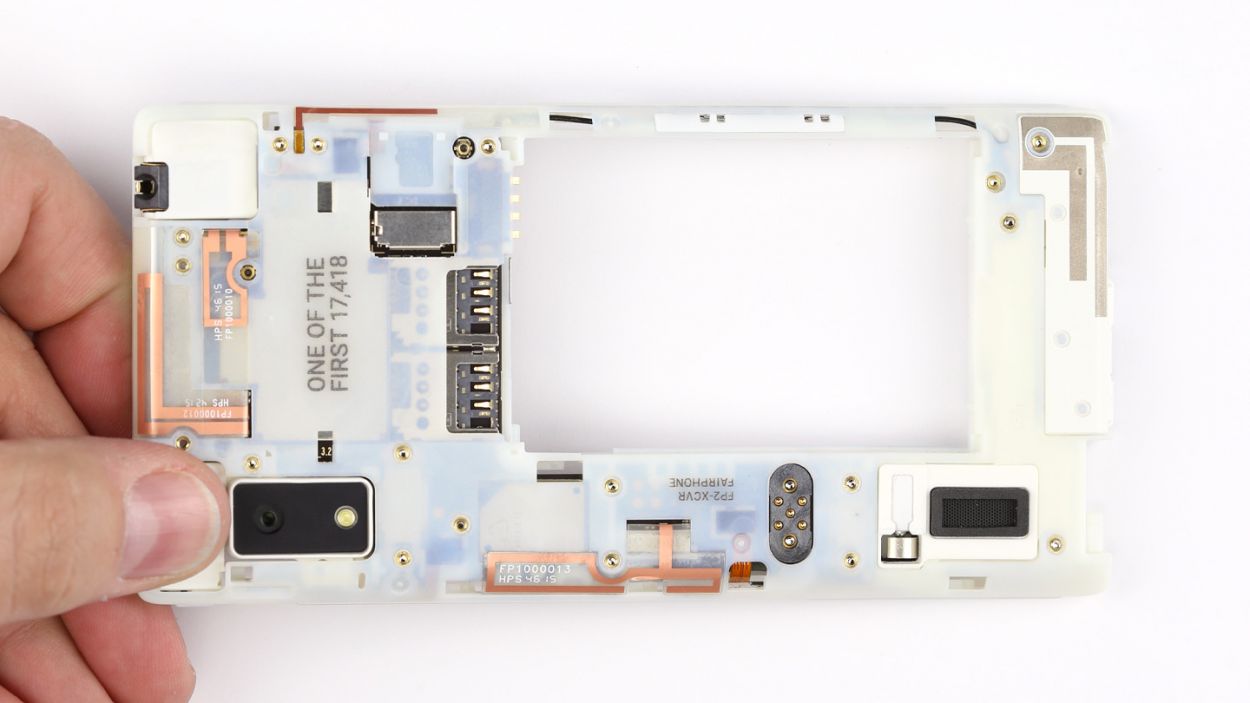
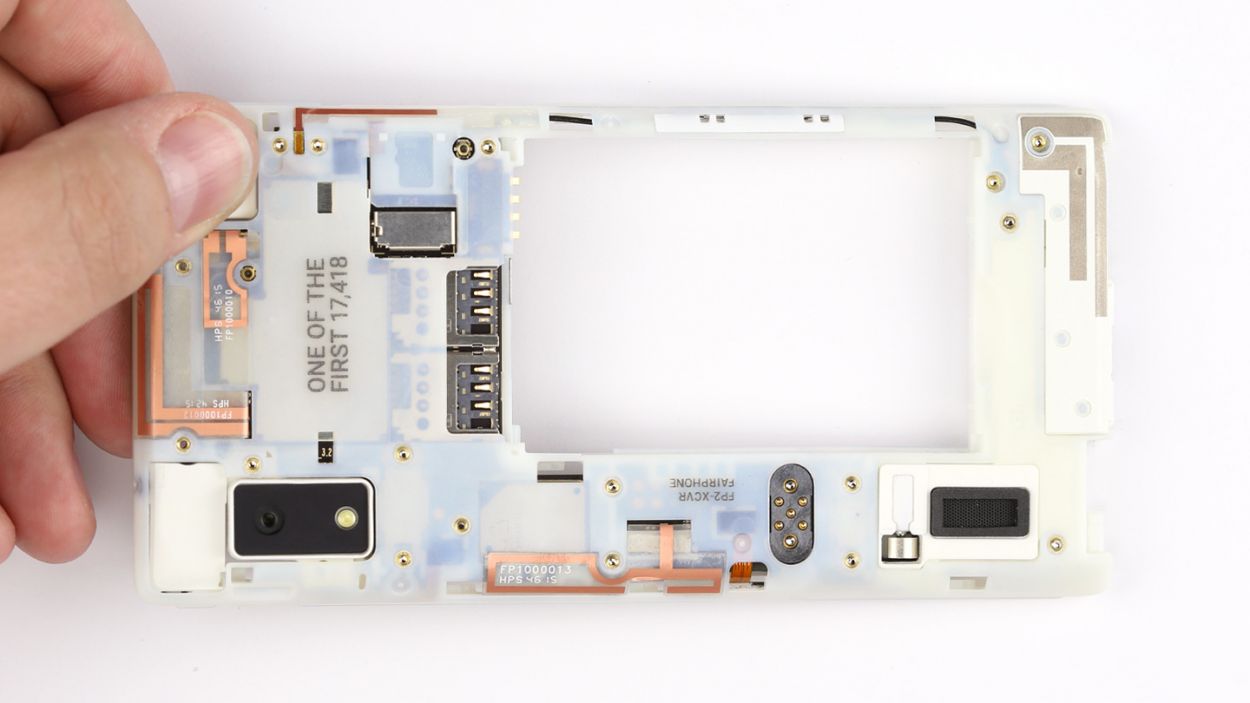
Step 6


– Drop the audio module into its spot in the chassis. Give it a little shimmy to make sure those tabs snap into place.
– Grab your trusty Phillips head and screw in those two 5.5 mm screws nice and tight.
Step 7
– Show that screen who’s boss by popping it back on the chassis gently.
– Give the display a playful little push to connect it to the chassis.
– Now, let’s do a little dance move! Slide the display module towards the front camera, groovy!
Step 8

– Hey-oh, it’s lock time! Let’s get jiggy with it at the bottom of your Fairphone 2. These locks are gonna keep your display module hooked up like a hip-hop duo.
– Slide those sliders away from the Micro-USB port like you’re playing a funky game of air guitar. One lock at a time, fasten ’em up and you’ll be one step closer to repair nirvana!
Step 10


– Slide your Fairphone into the back cover lengthwise. It should click snugly into place at two corners of the back cover.
– Gently stretch the rubber rim of the back cover over one corner.
– Now, pull the rubber rim over the last corner. Take a moment to check that the rubber rim is sitting evenly all around the display.


