DIY Guide to Replace Shift6m Speaker
Duration: 30 min.
Steps: 12 Steps
In this guide, we’ll walk you through the process of swapping out the faulty speaker on your SHIFT6m. If your phone is being shy and refuses to play music or only whispers it, or if your ringtone is playing hide and seek when calls come in, this repair is just what you need. Let’s get started!
Step 1


– First things first, let’s give your device a little break! Press and hold that power button until you see the ‘Power off’ option pop up.
– Now, just tap that option with your finger to confirm you want to shut down your SHIFT6m. Sit tight and wait for the screen to go dark—it’s like a little nap for your device!
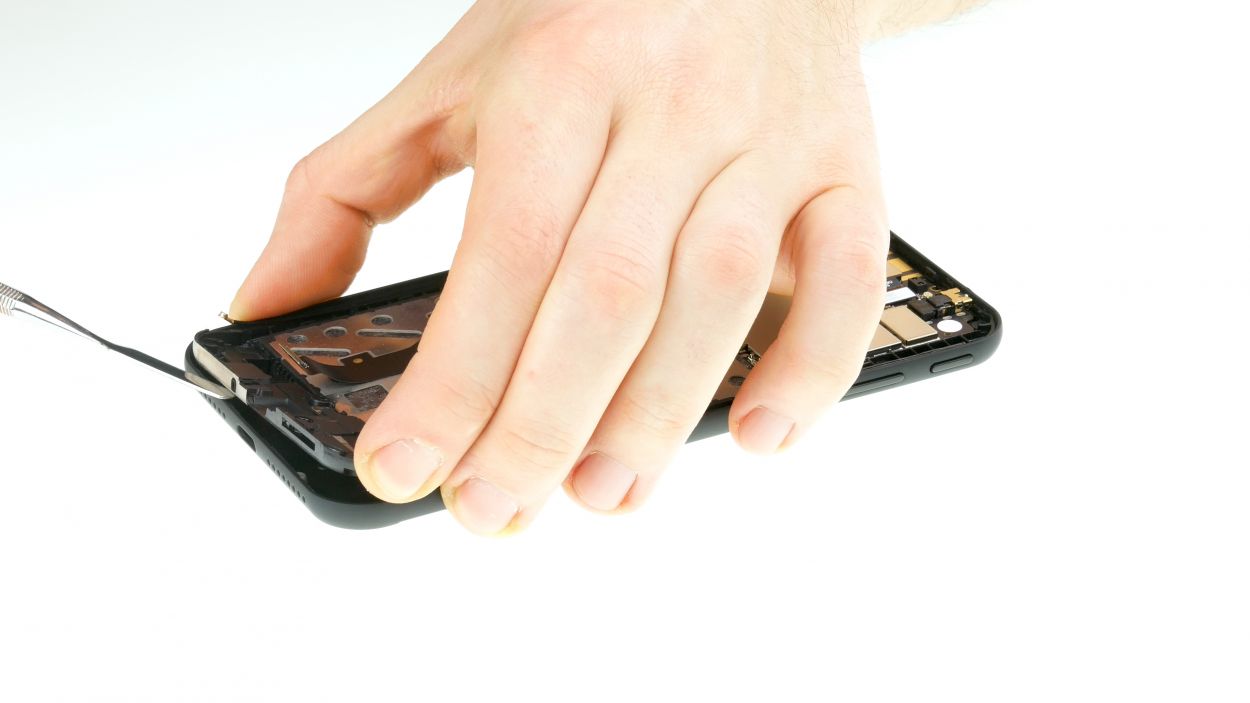
Step 2
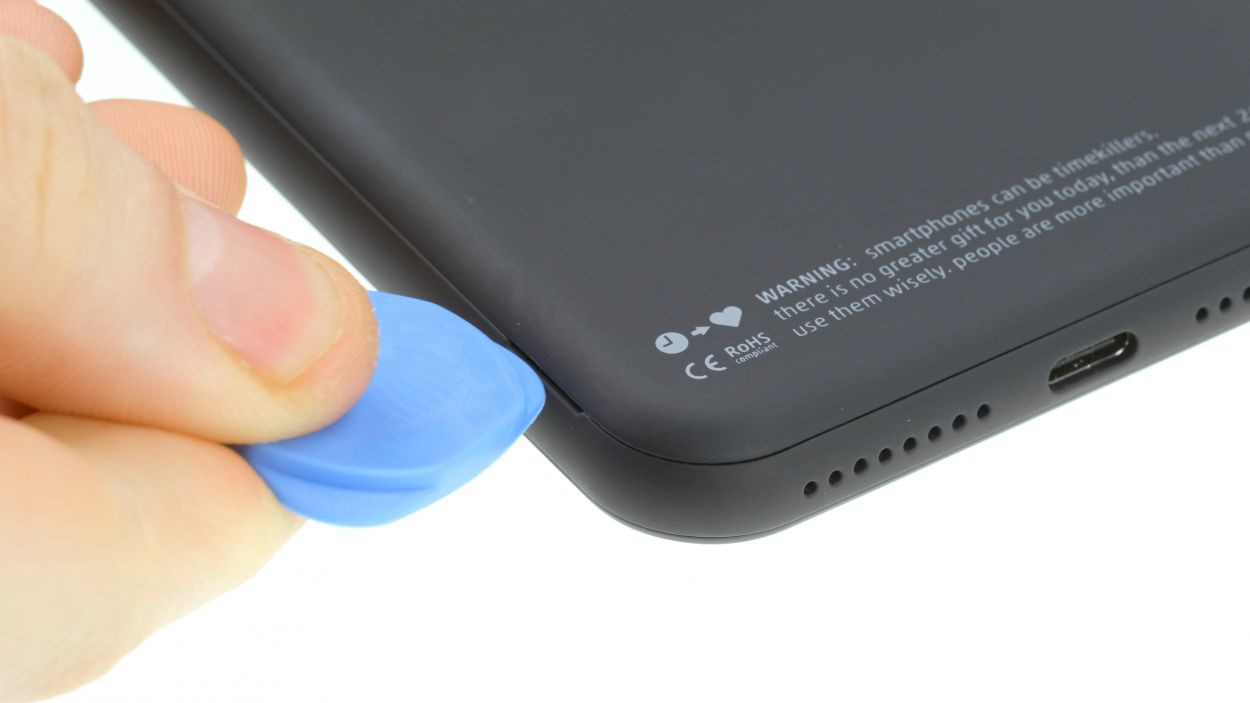
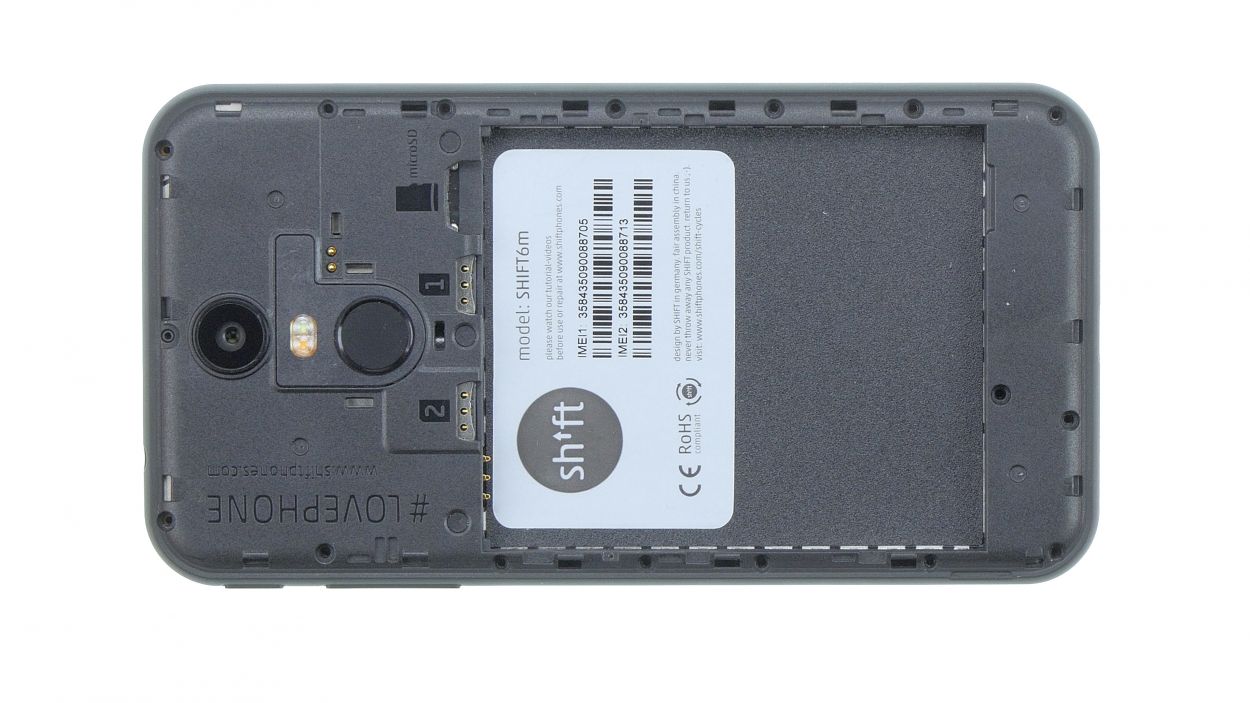
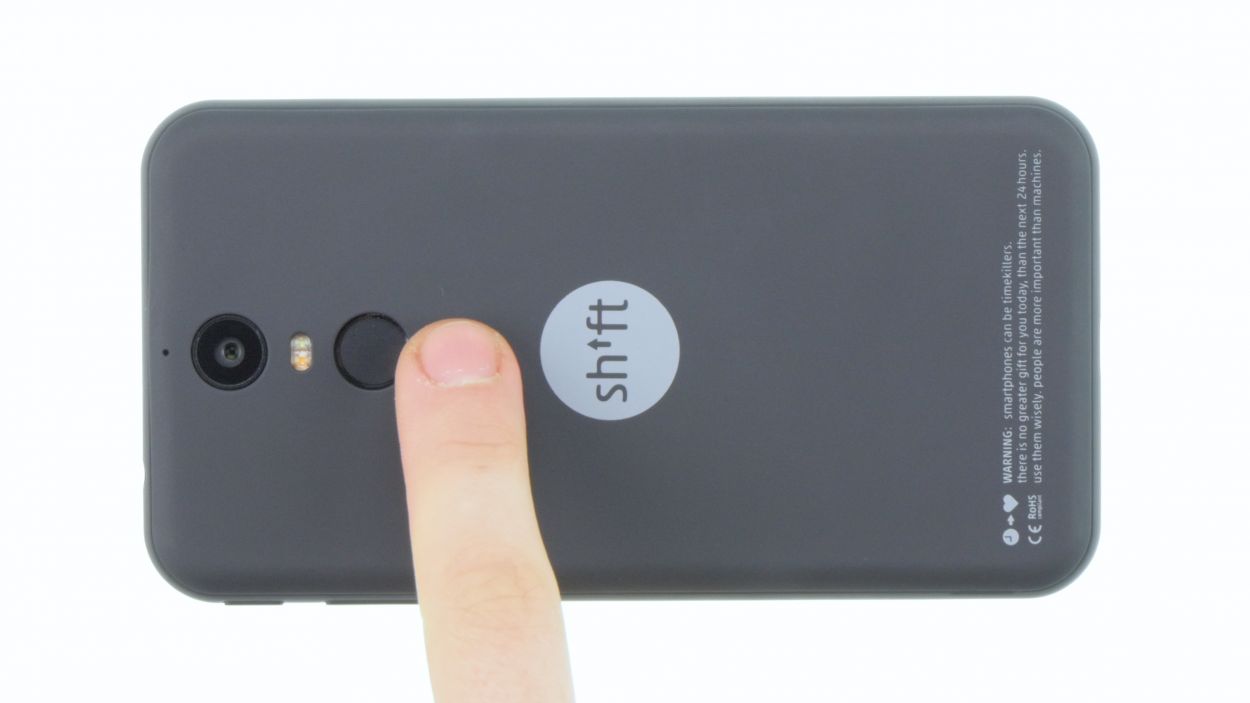
– Use a plectrum or a fingernail to slide it into the small recess in the bottom left corner and pull up the backcover.
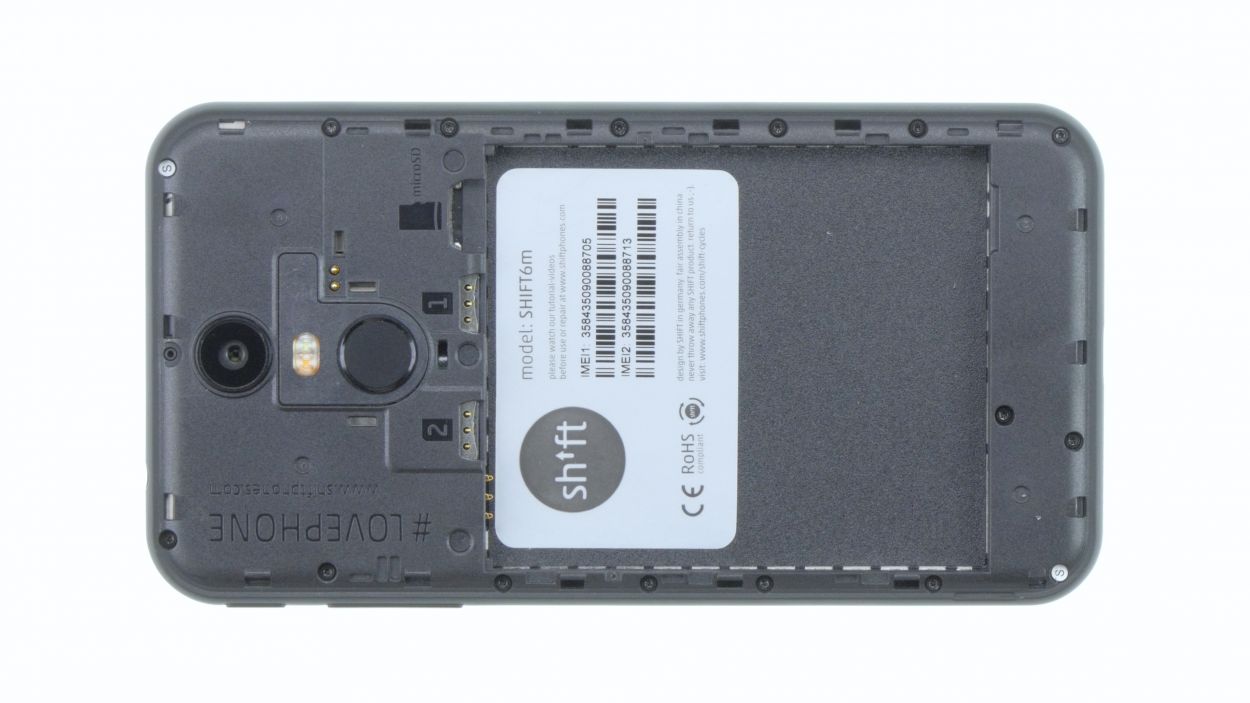
– Then gradually loosen all clips all around. The back cover is hooked again around the fingerprint sensor. There you have to pull a little harder to loosen the backcover.
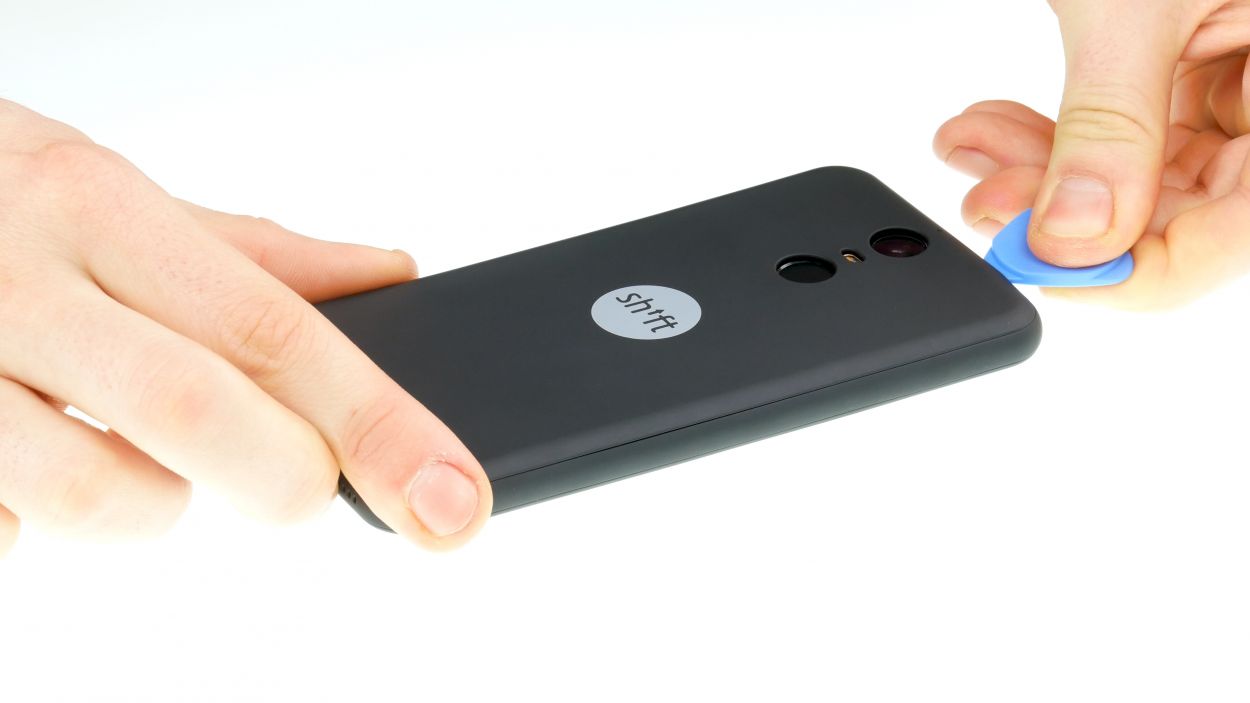
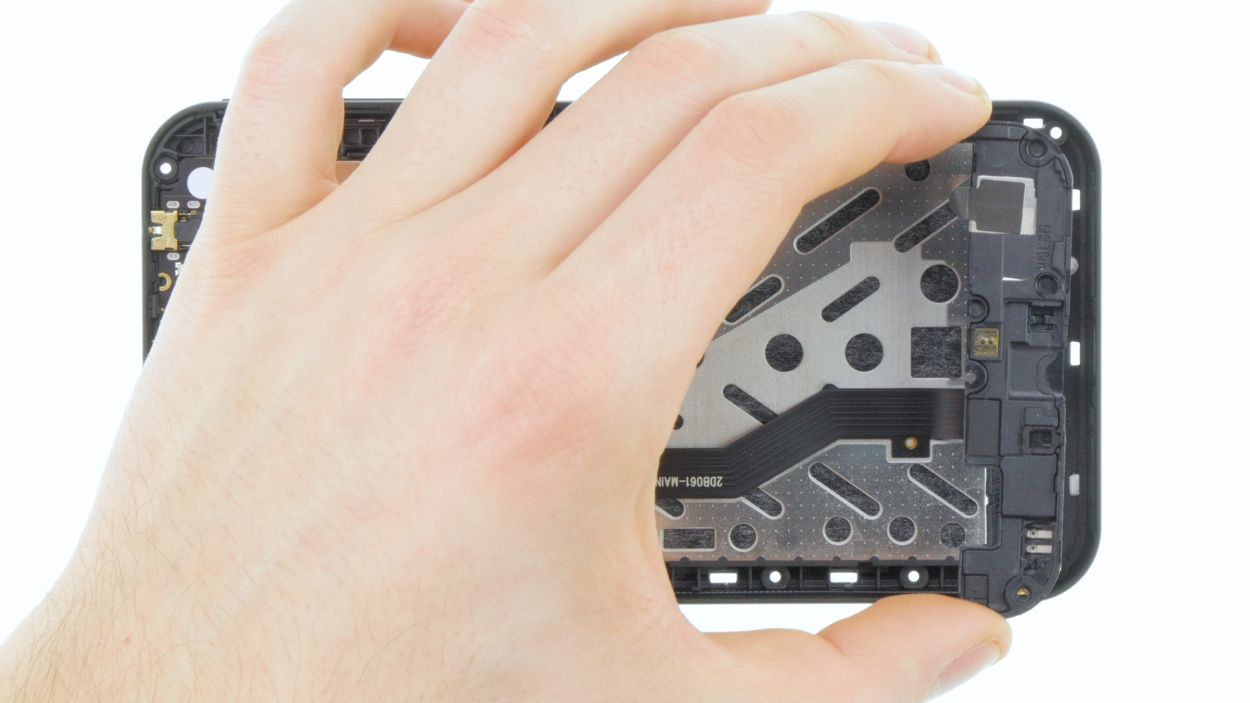
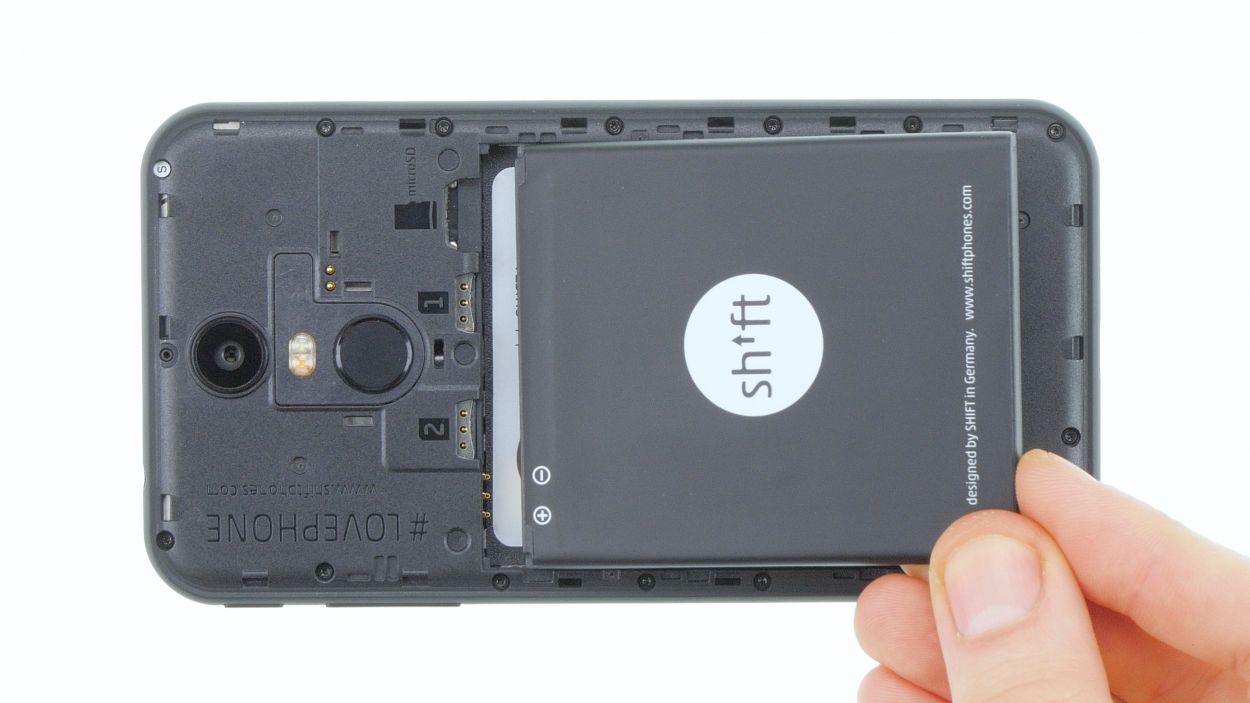
Step 3
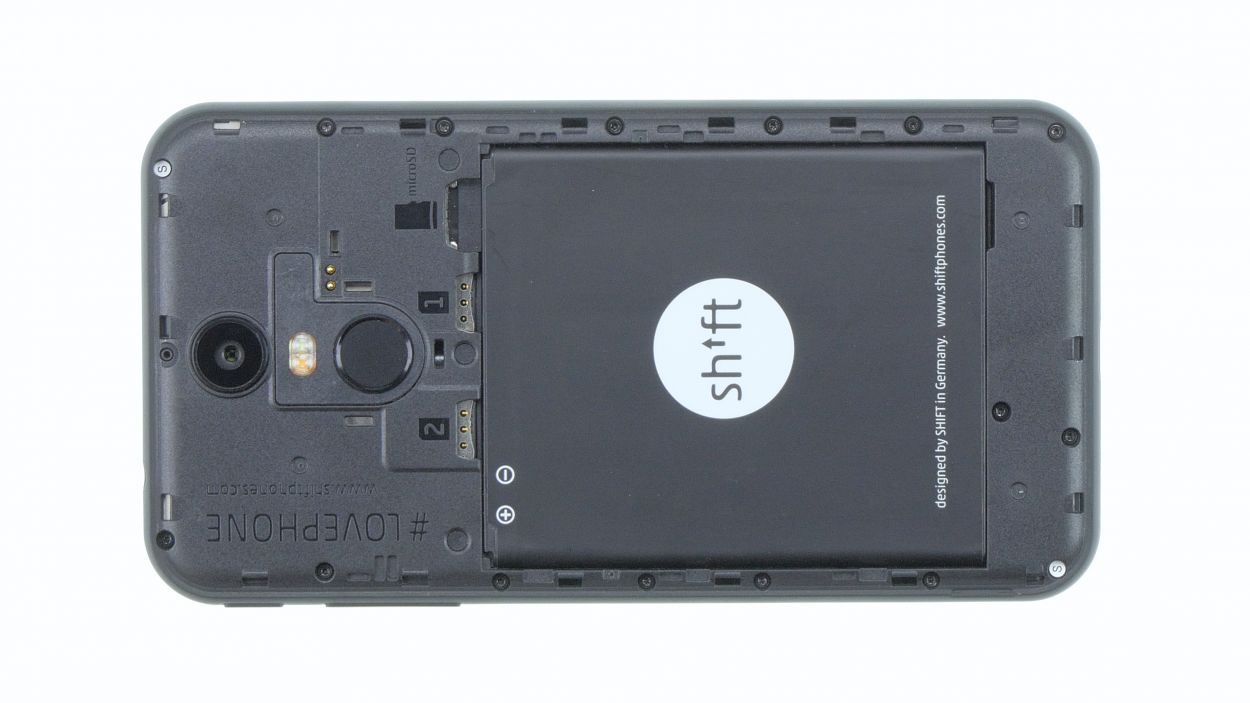
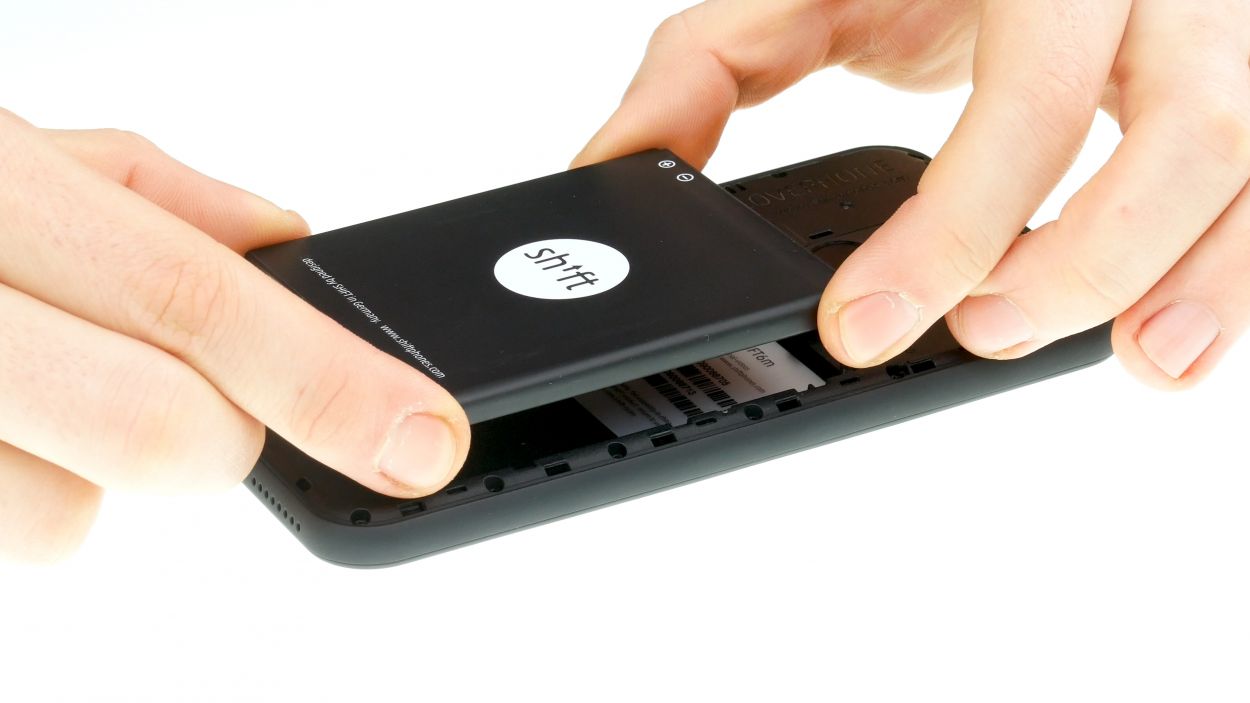
– You can easily remove the battery by lifting it by the notch in the lower right corner and removing it from the device.
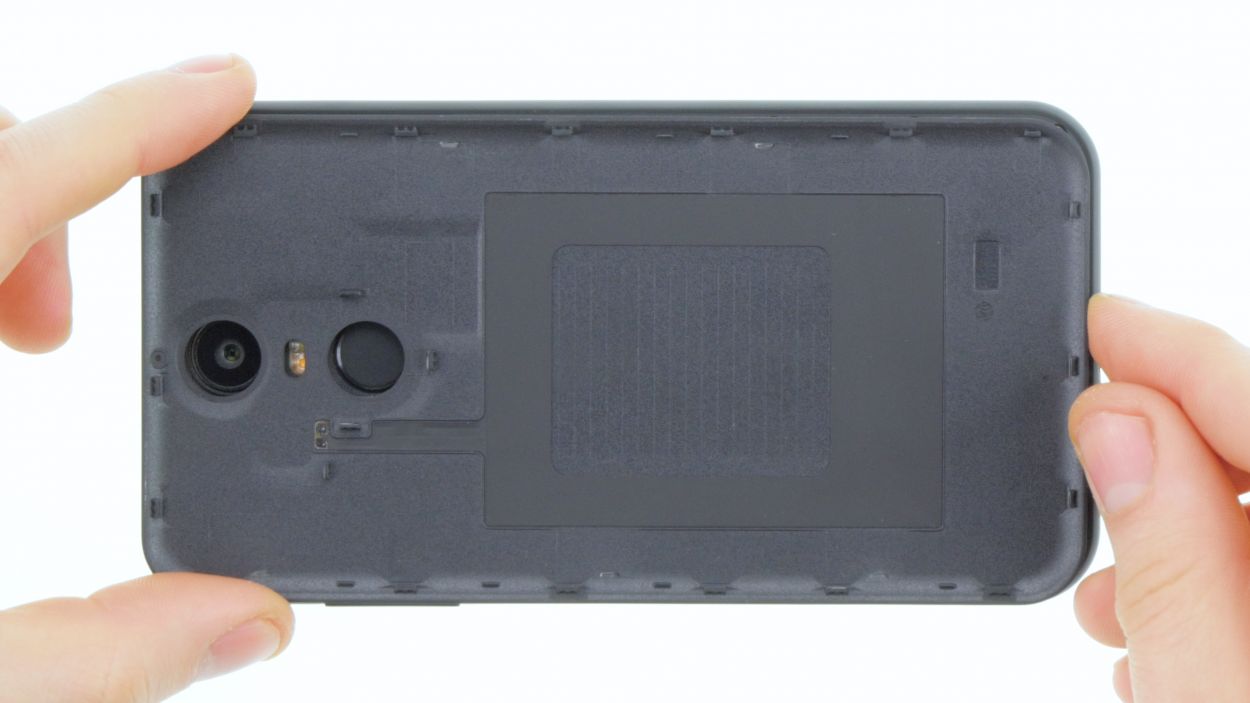
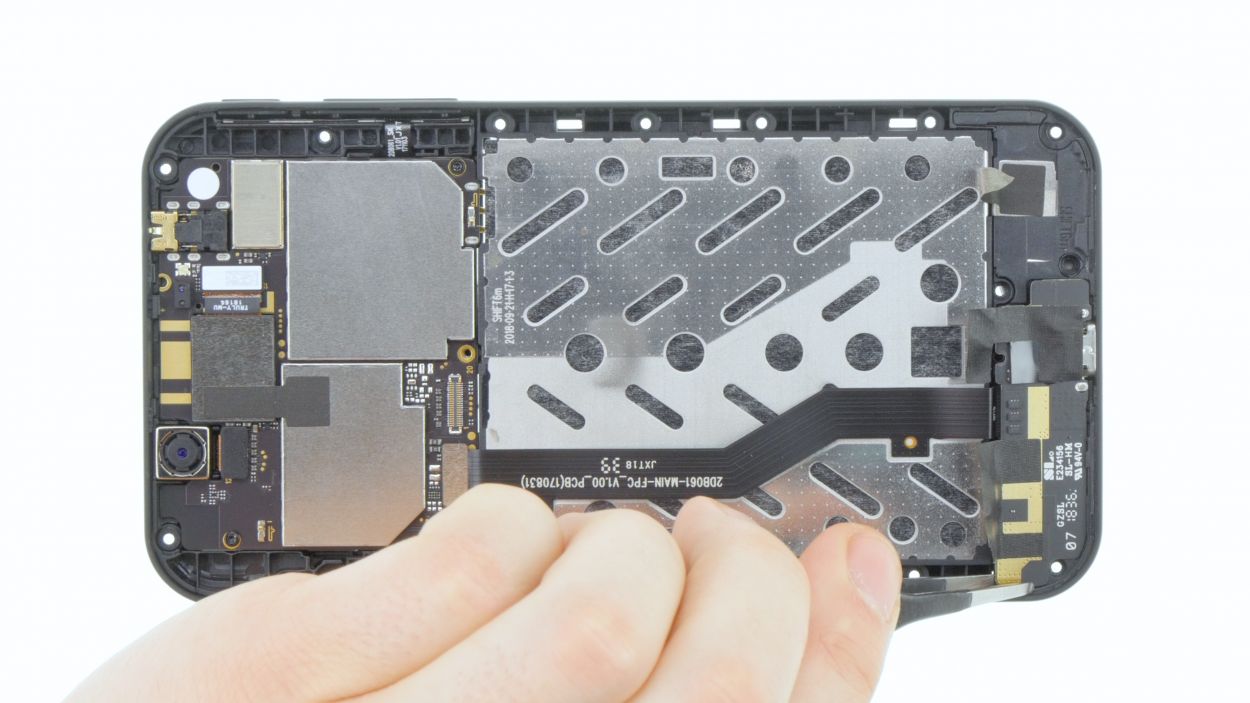
Step 4

16 × 4,0 mm Torx T3
2 × 4,0 mm Torx T3
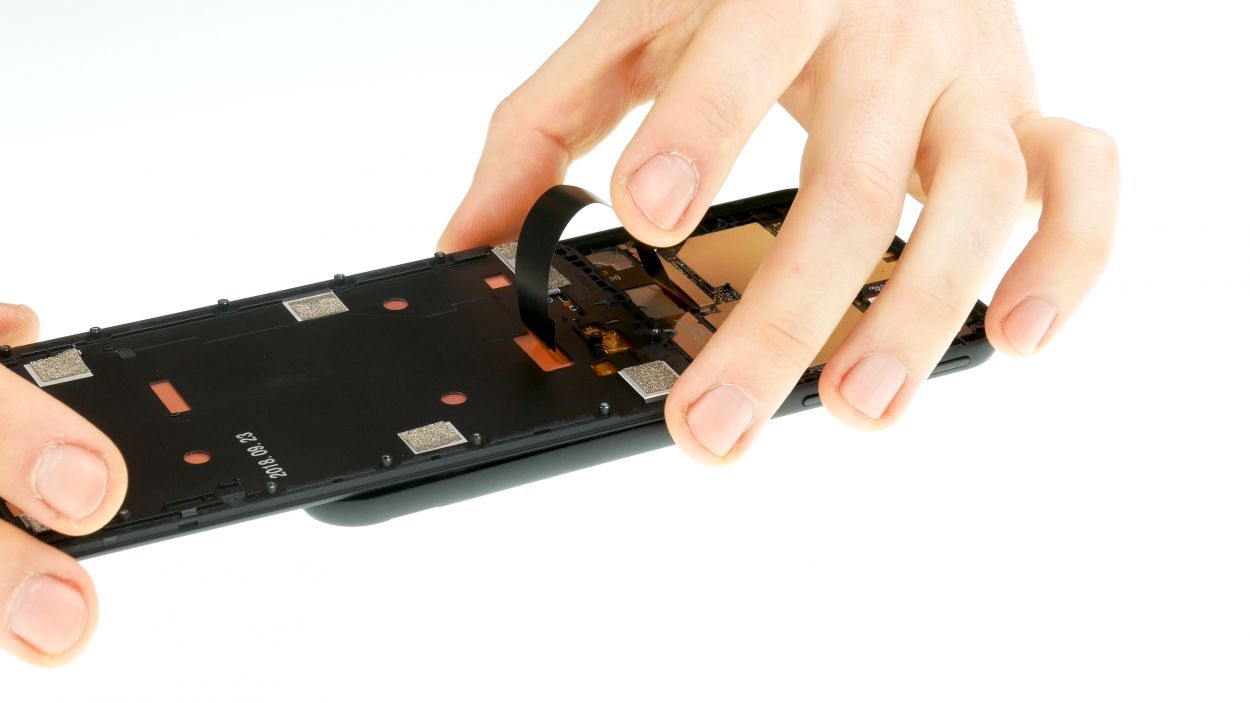
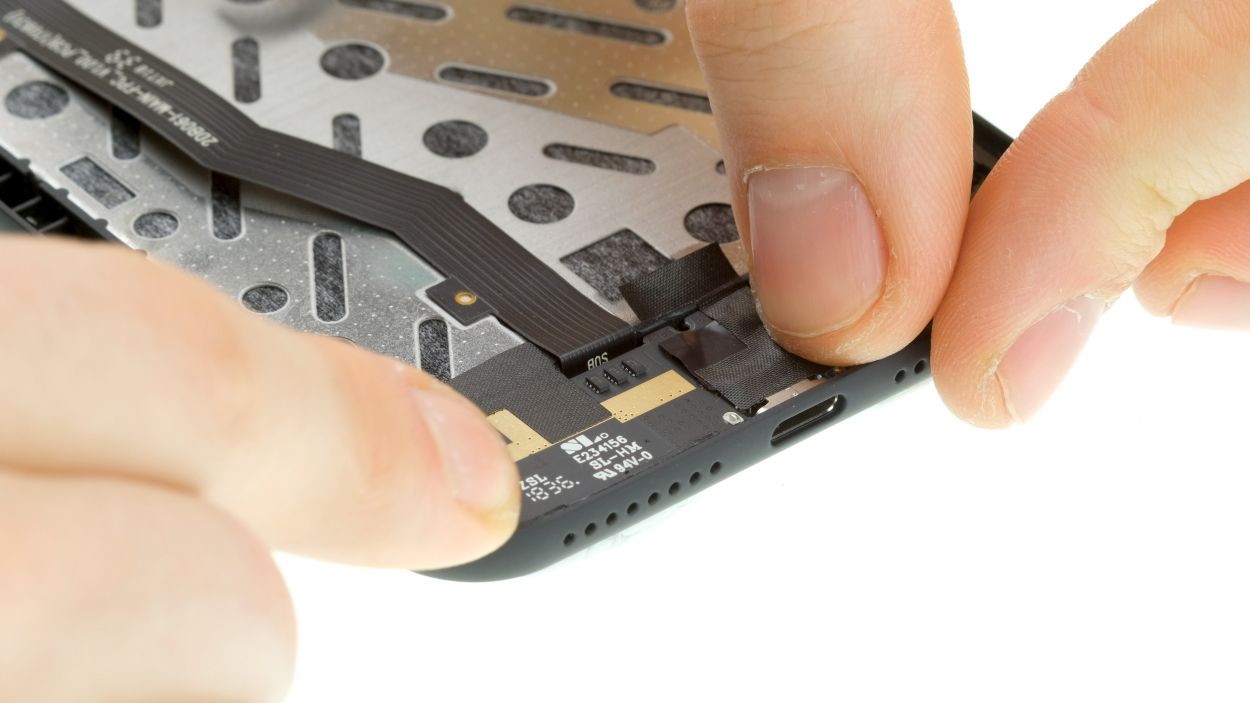
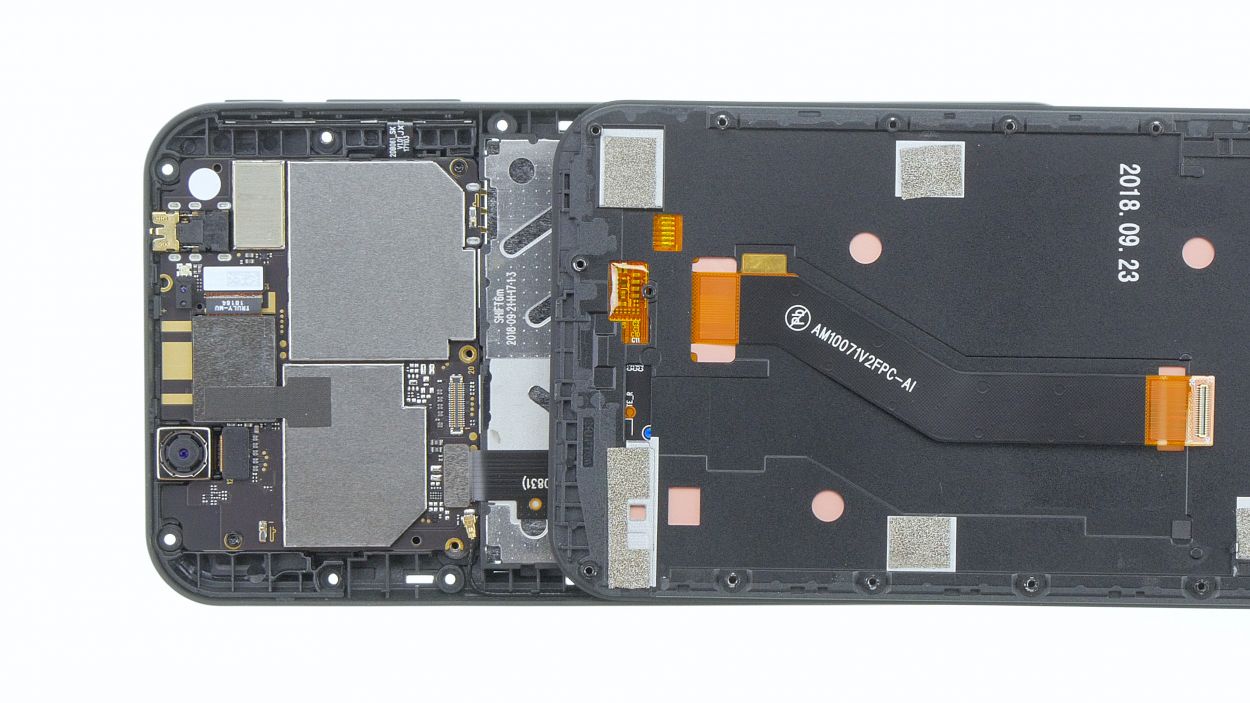
Display connector
You can also keep the display connected for the following steps. In our case, we also disconnect the display connector from our device to prevent accidental damage to the flex cable during the repair process.
– Ready your Torx T3 screwdriver and get those screws loosened up, pronto!
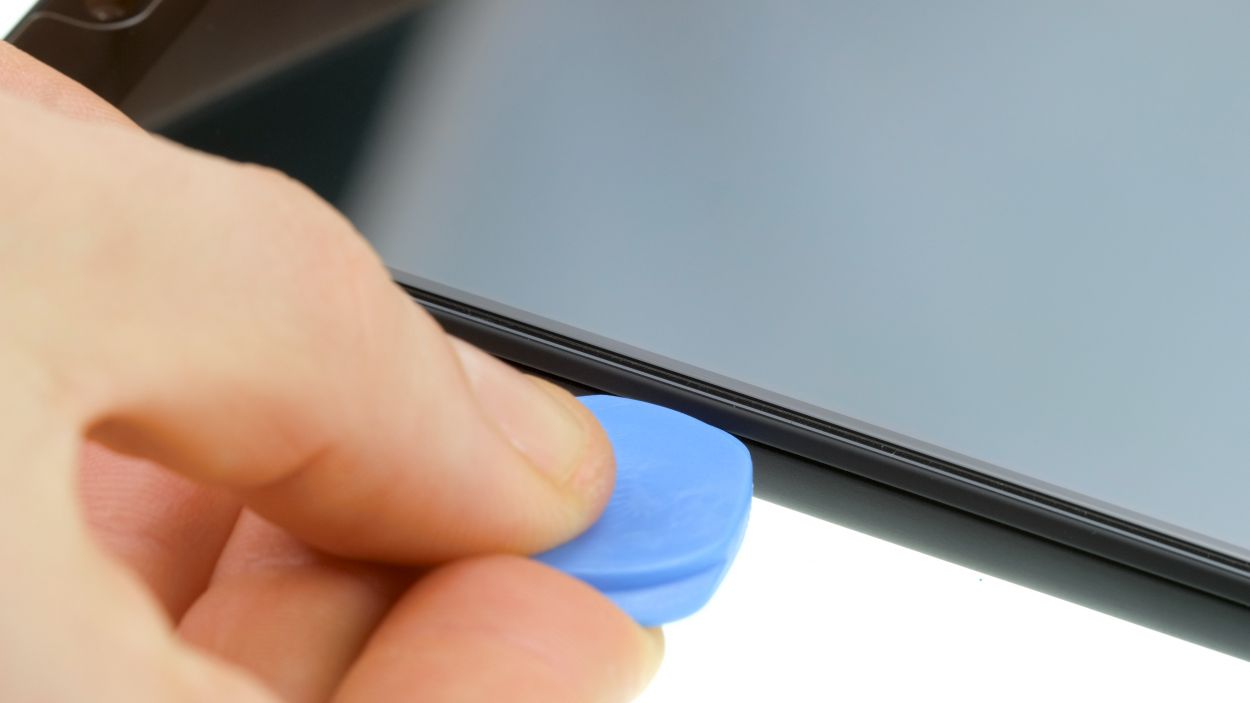
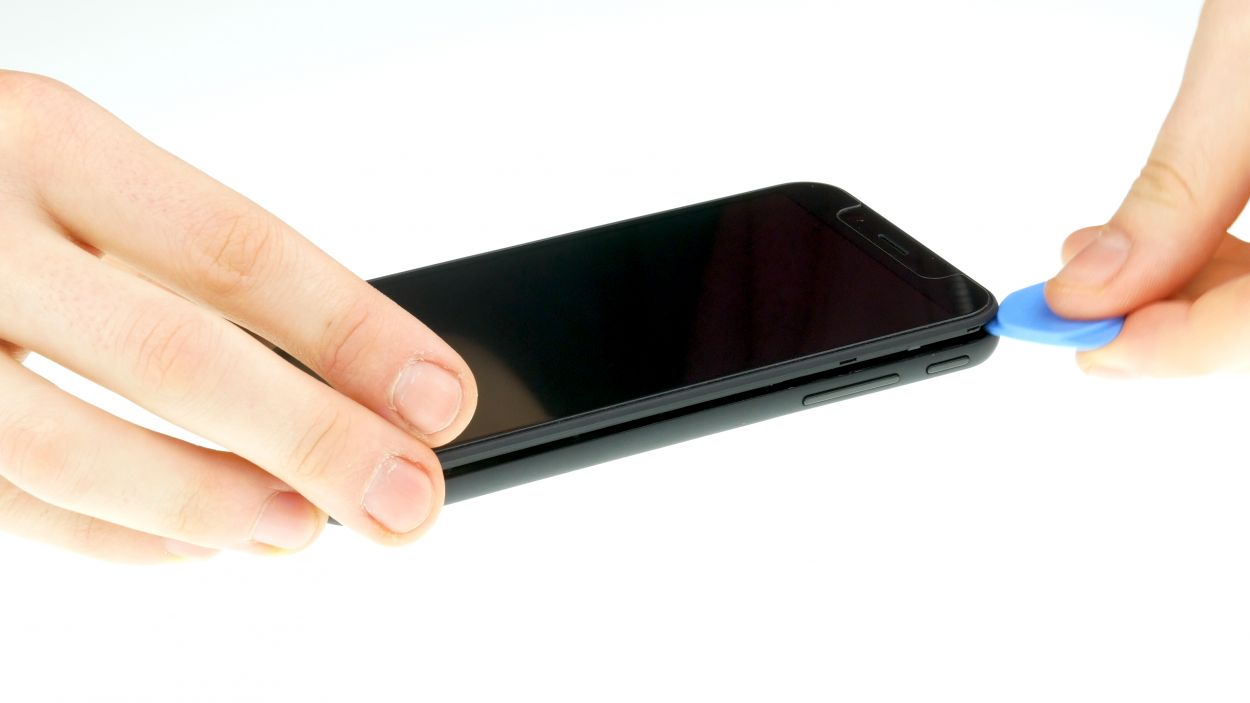
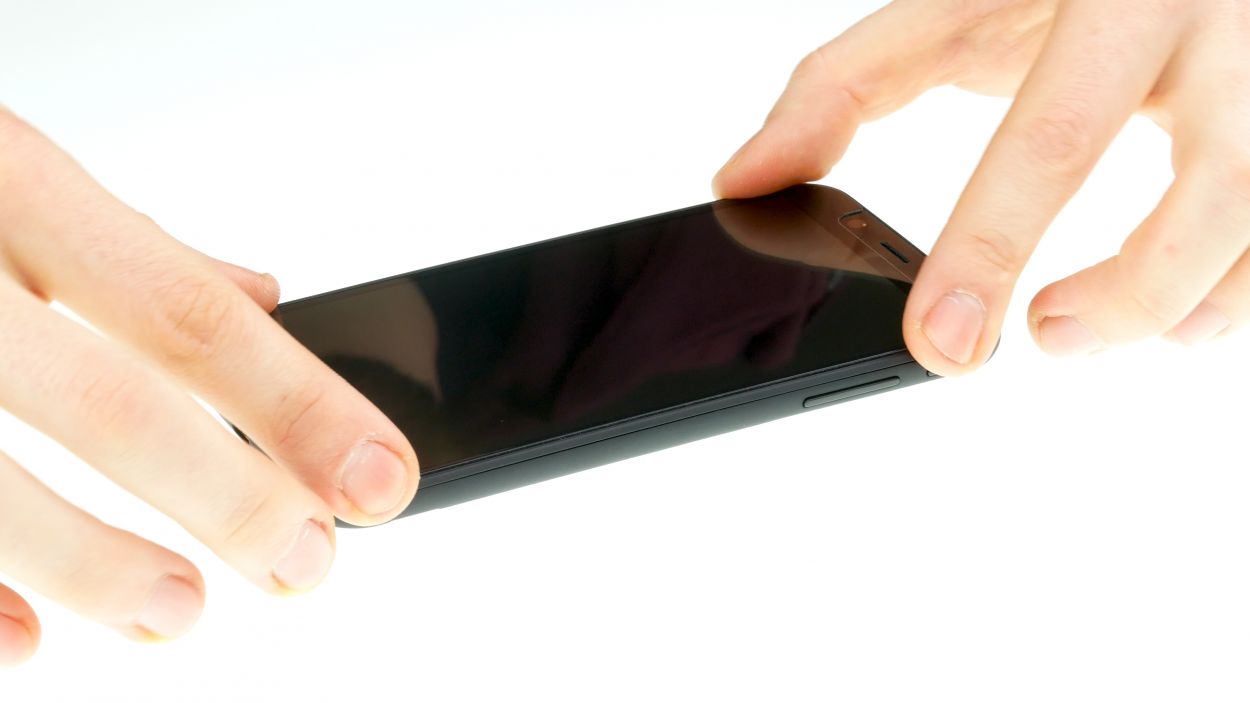
– Flip that SHIFT6m on its back and let’s get friendly with a plectrum or your trusty fingernail. Slide it right in between the plastic frame and the display.
– Time to give that display a little wiggle room! Slide all around the edges, nice and easy, until it pops right off.
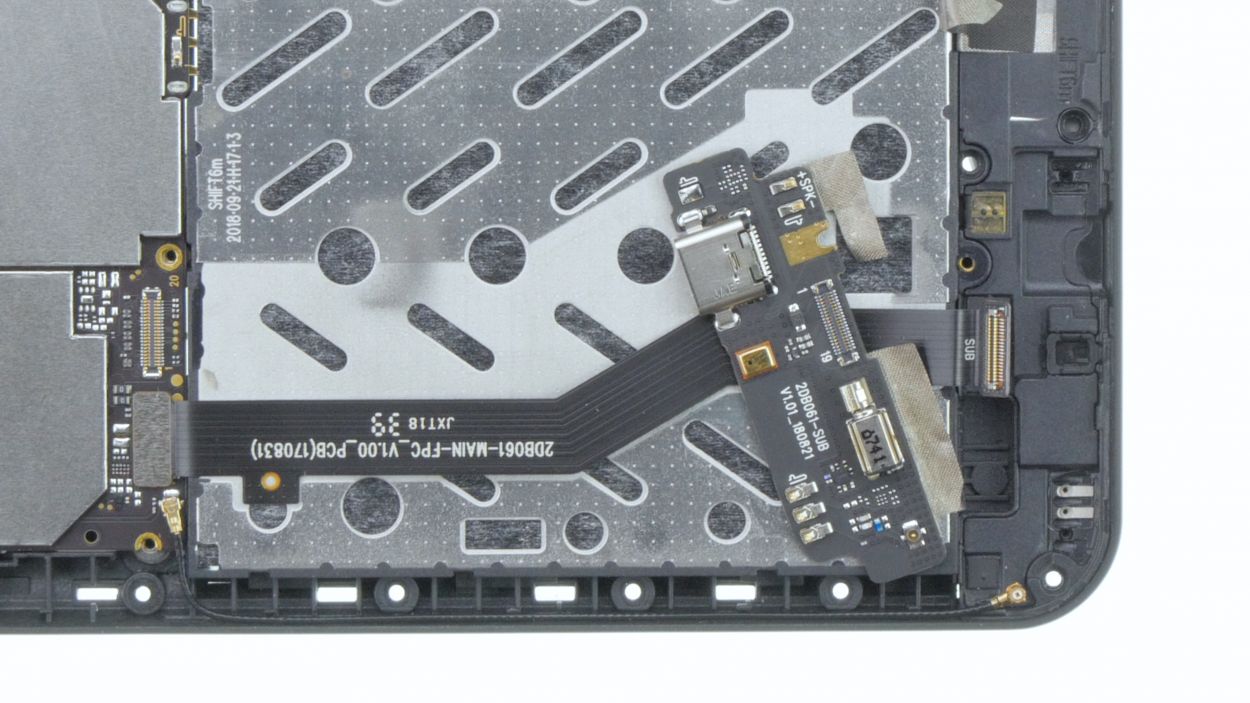
Step 5
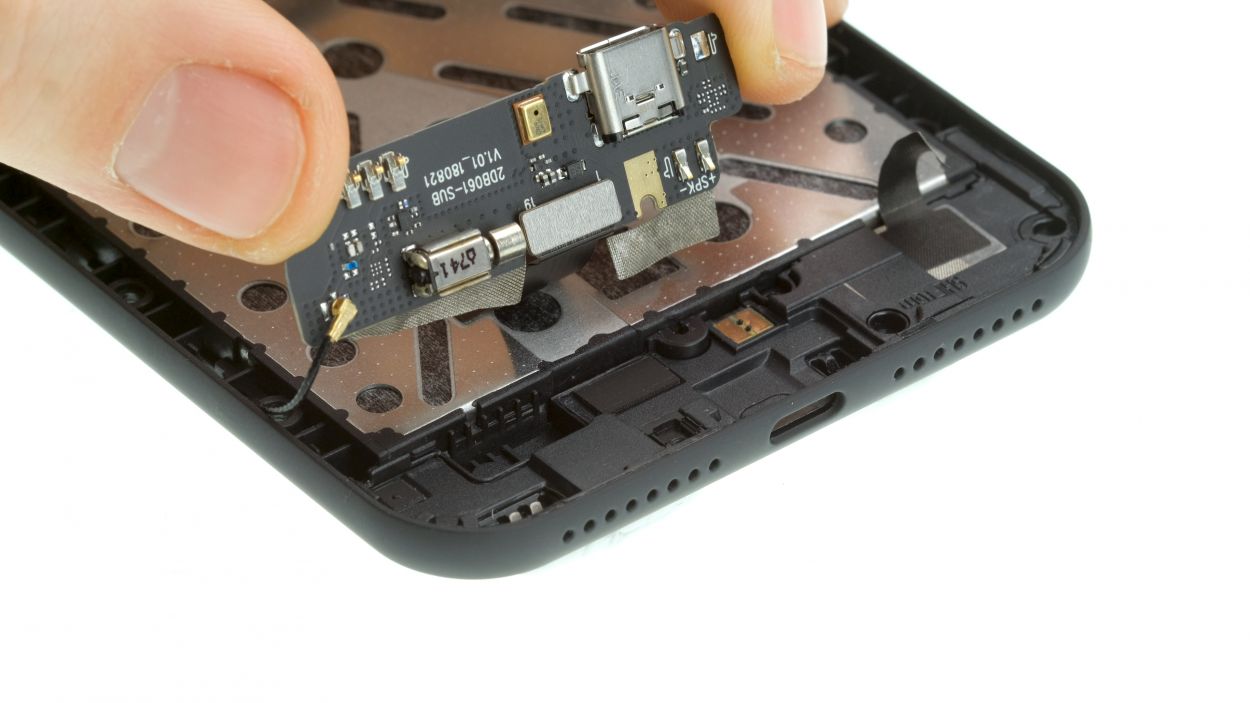
1 × 4,0 mm Torx T3
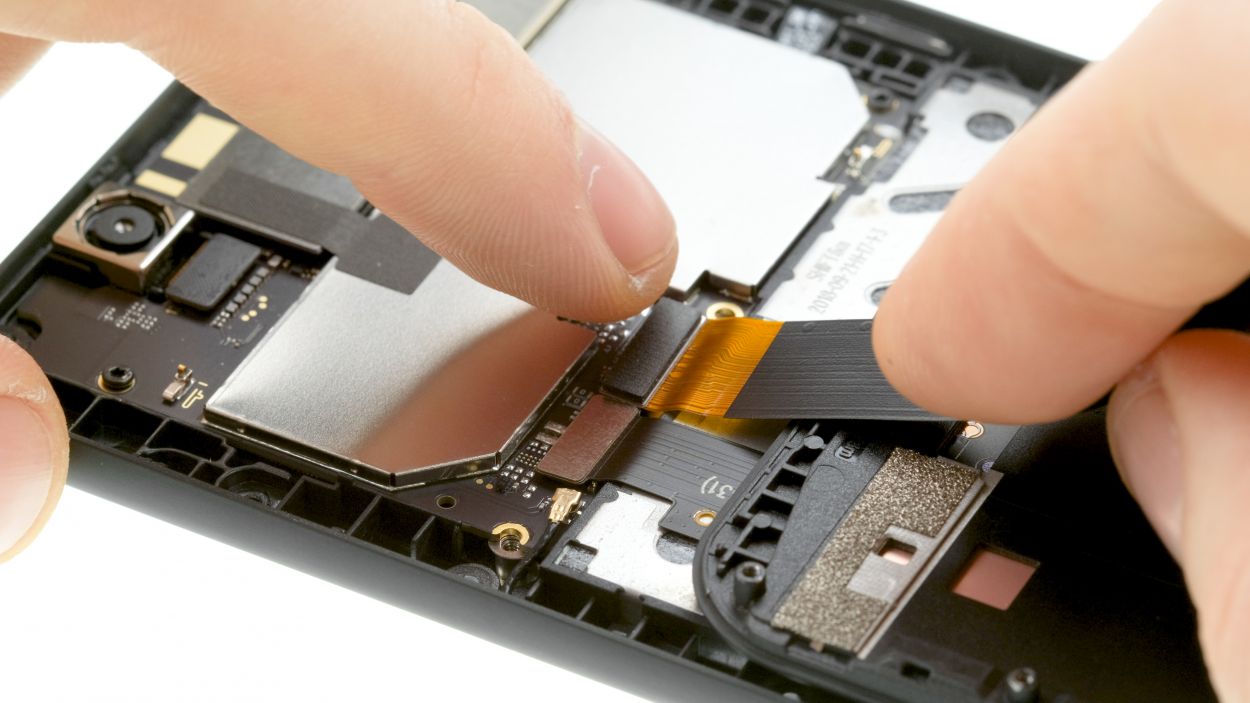
– First up, let’s get that USB-C connector free by removing the screw holding it down.
– Next, gently peel back all those black adhesive strips like you’re unwrapping a present.
– Now, use a lever in various spots to carefully lift the component with the USB-C socket just a bit.
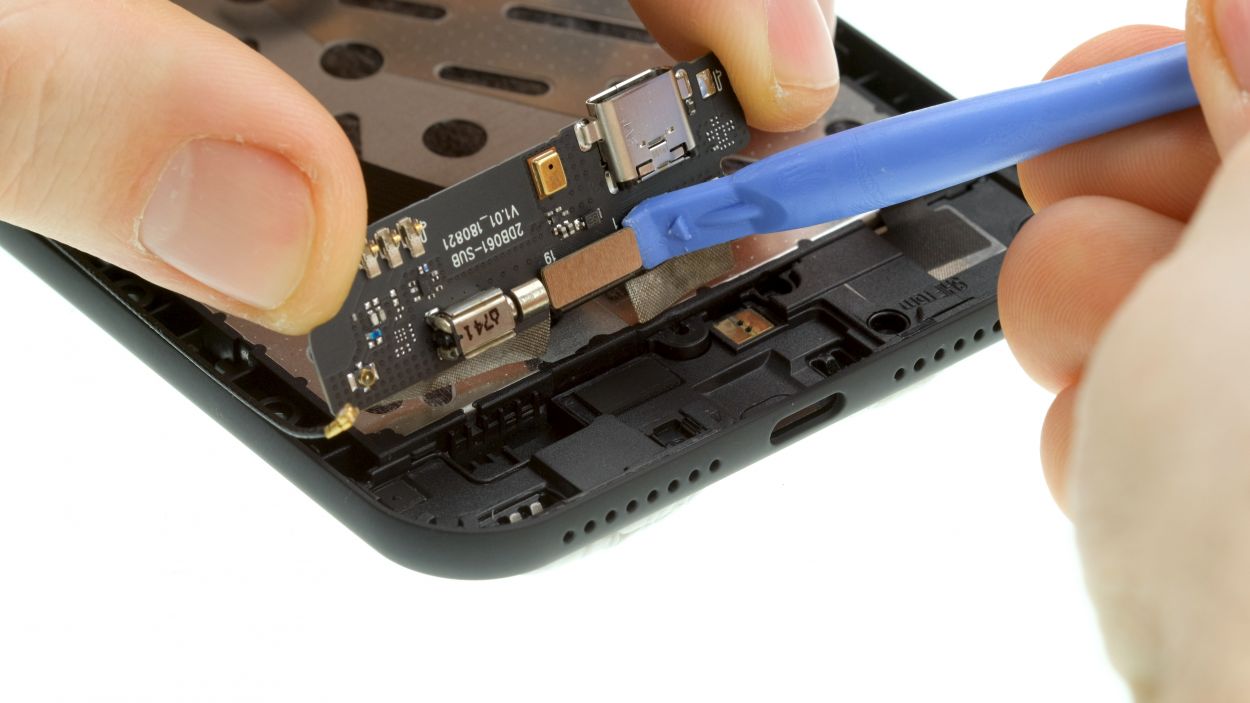
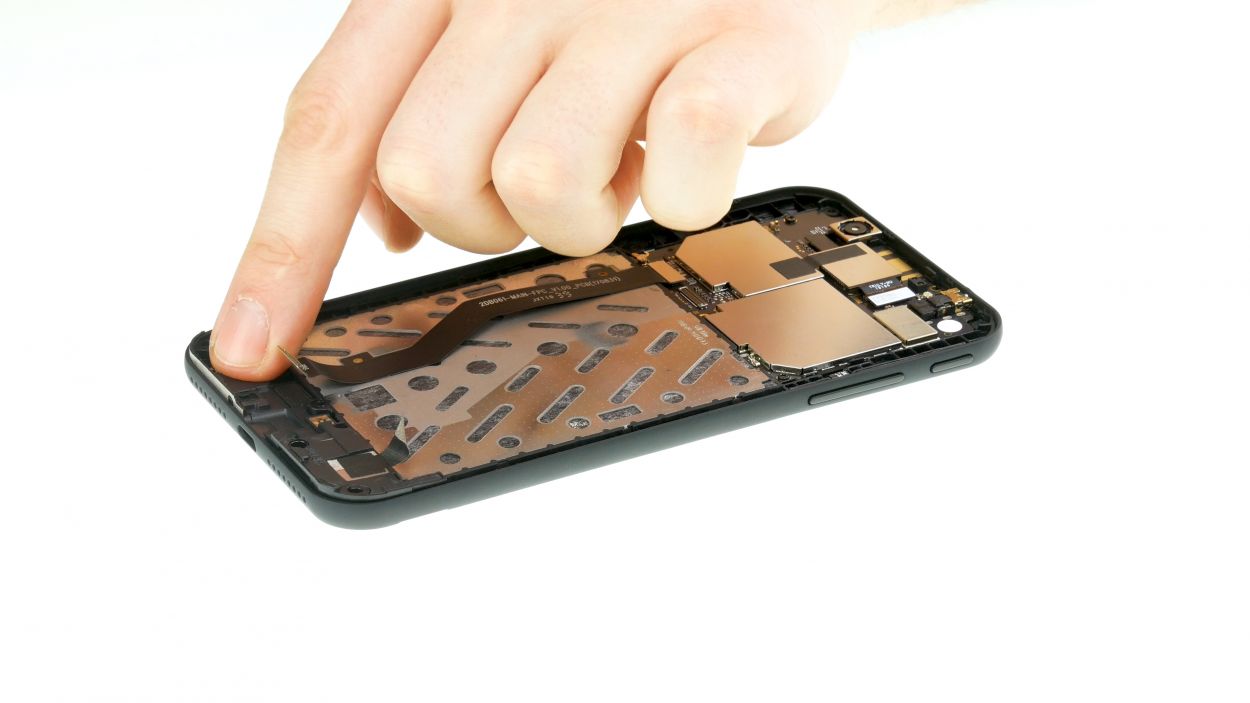
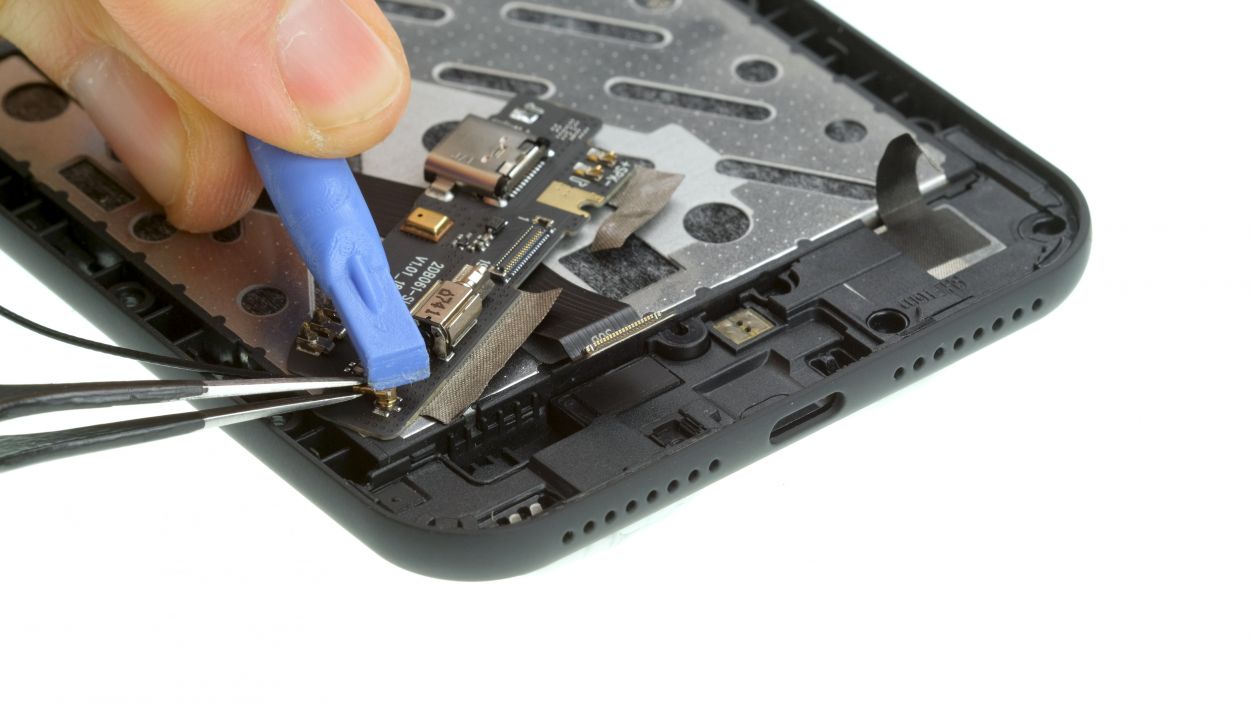
Step 6
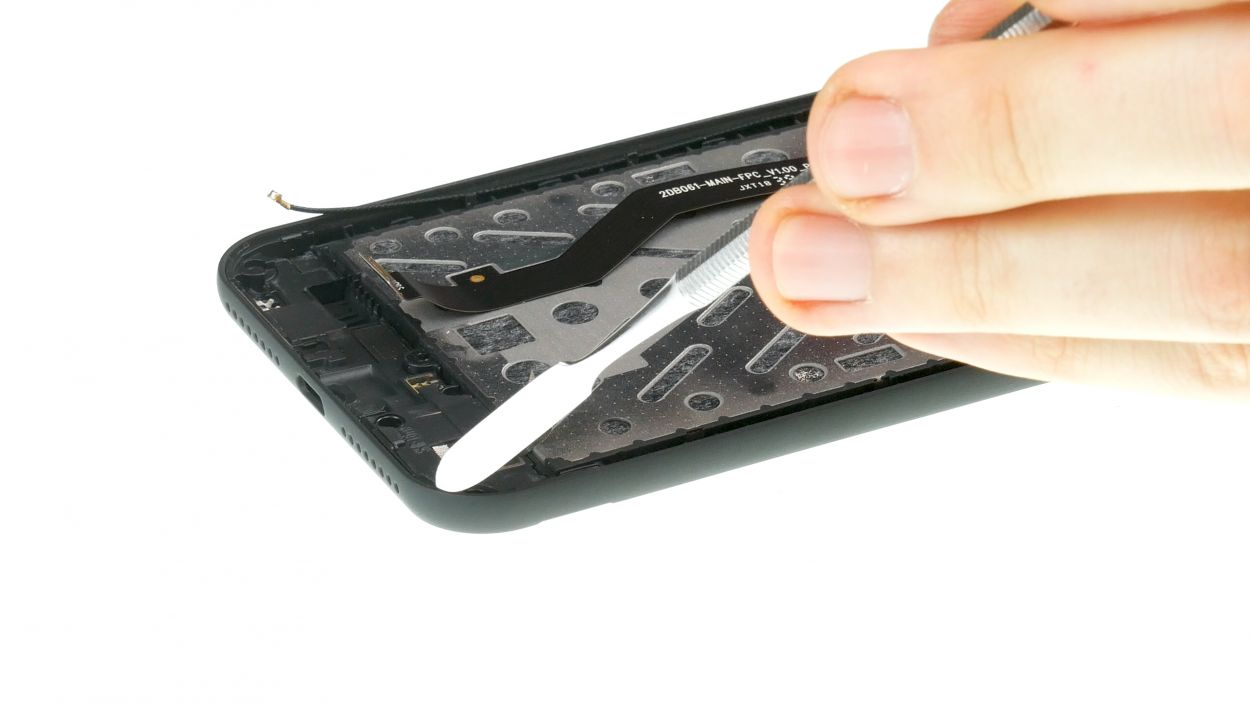
– Grab a slim, sturdy tool like a steel spatula to carefully wedge between the speaker and the frame, giving it a little nudge.
– If the speaker seems to be playing hard to get, go ahead and detach it!
Step 7
– Place the speaker back in its spot and give it a gentle press until it fits snugly.
Step 8
1 × 4,0 mm Torx T3
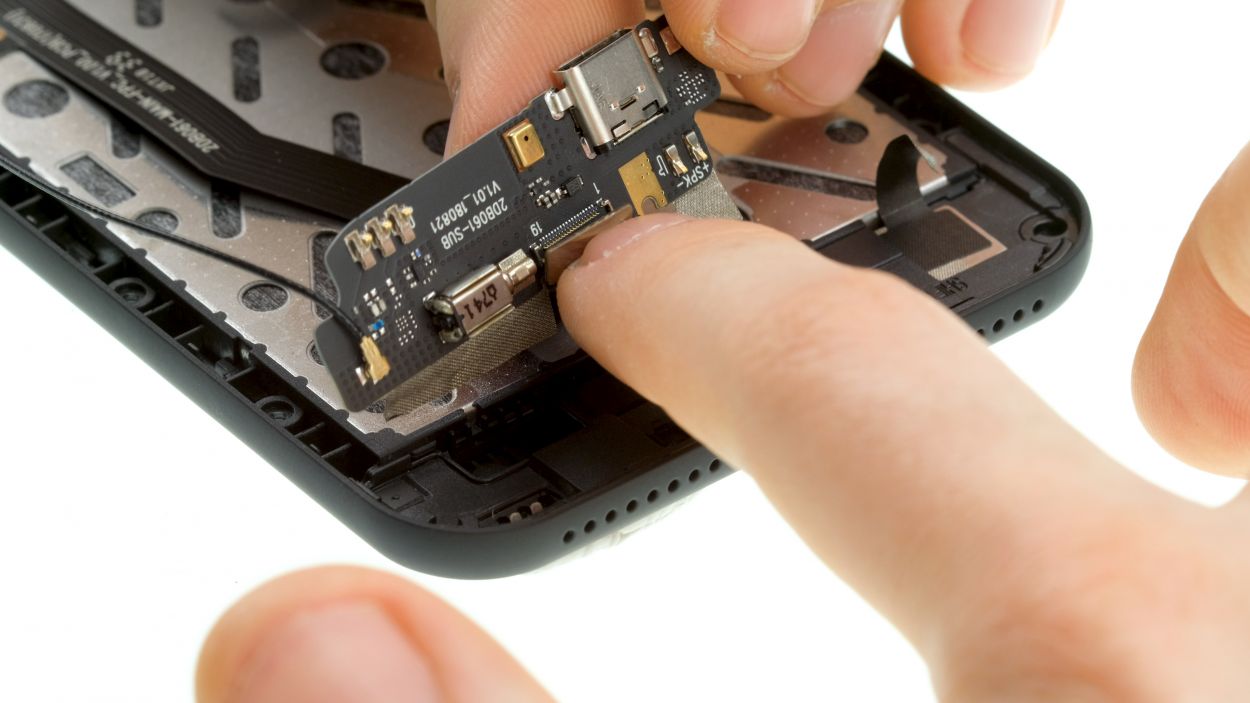
When you’re getting ready to pop in that shiny new USB-C connector, don’t forget to slap on some black tape. It’s a simple step that goes a long way!
– Gently place the component with the USB-C socket facing up.
– Using a pair of tweezers and a spudger, carefully connect the antenna cable contact.
– With one hand holding the component steady, connect the ribbon cable’s connector.
– Now, slide the USB-C connector into its designated spot in the case and press down until everything clicks into place.
Step 9

Display connector
2 × 4,0 mm Torx T3
16 × 4,0 mm Torx T3
Just a gentle nudge should do the trick with the connector – listen for that satisfying click! If it doesn’t click right away, no need to muscle it down. Simply adjust the connector’s position and give it another go. You’re on the right track!
– Gently nestle the display onto the frame, making sure the connector is lined up perfectly with its home on the motherboard.
– Give that connector a little nudge – it’ll click right into place!
Step 10
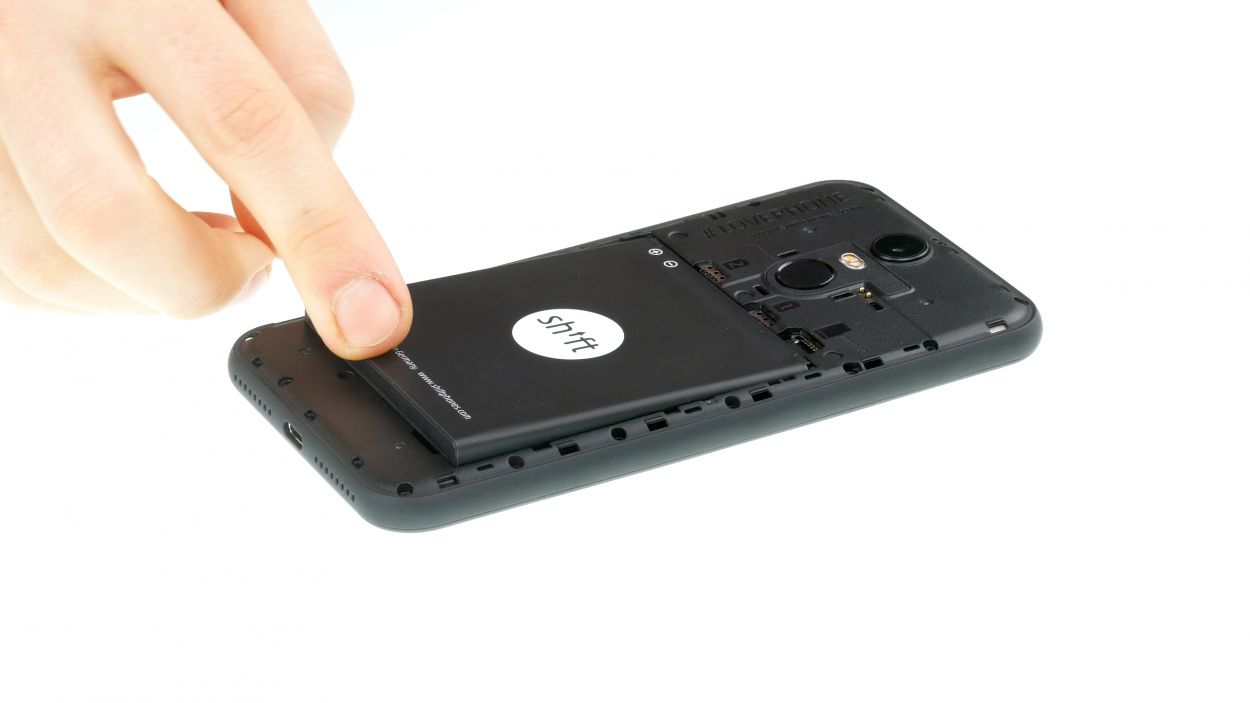
– Put the battery back in its place.
Step 11

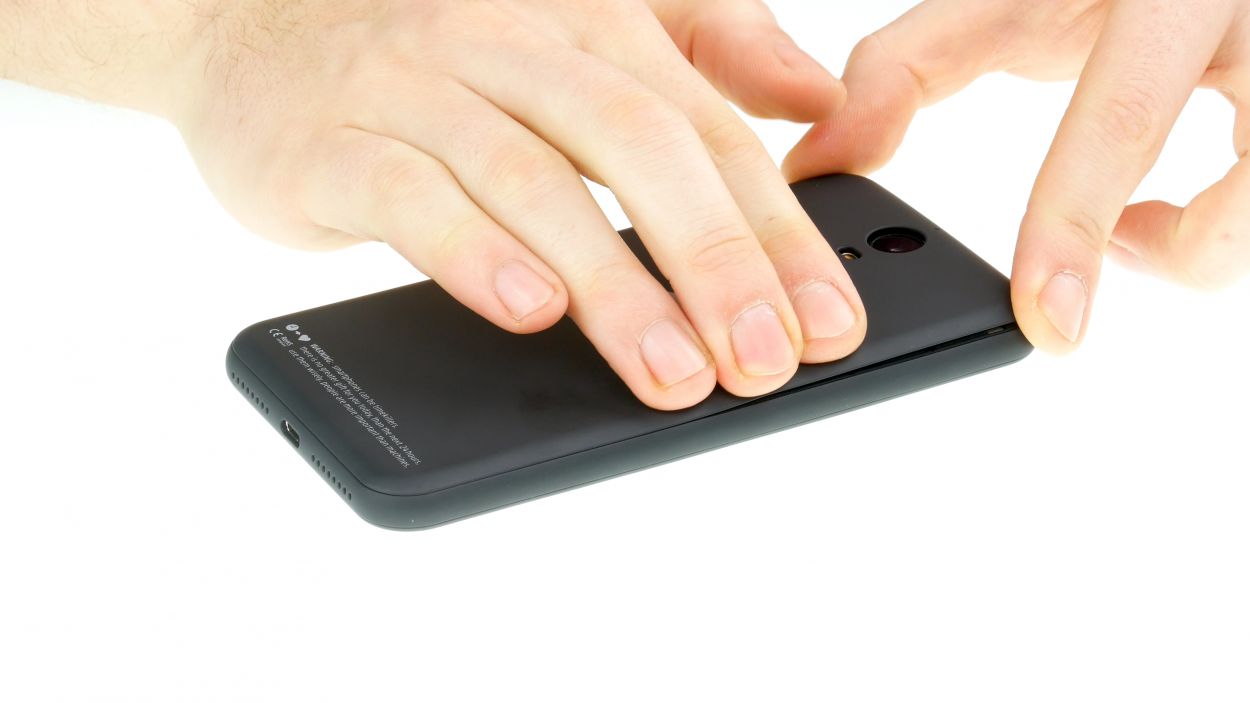
– The back cover features some nifty clips around the edges and near the fingerprint sensor opening.
– Give the back cover a gentle press all around until it snaps into place nicely.
Step 12

– Fire up your device and give that display brightness a whirl! Slide the brightness slider all the way down to the minimum and then crank it up to the max.
– Next, grab any app and swipe it across the screen to check out the touch function. Move the app all around the edges and then zigzag it across the display. It should follow your finger like a loyal sidekick!


