DIY Guide to Replace SIM and SD Card Slot for SHIFT6m
Duration: 30 min.
Steps: 12 Steps
If your SHIFT6m has decided to play hard to get with SIM cards or SD cards, don’t worry! You can totally swap out the component yourself with our handy guide. The SHIFT6m is built for easy repairs, so you can tackle this like a pro! Just remember to back up your data, set up a tidy workspace, and take your time. If you hit a snag, feel free to reach out through our live chat or drop a comment on the step you’re on. You’ve got this!
Step 1


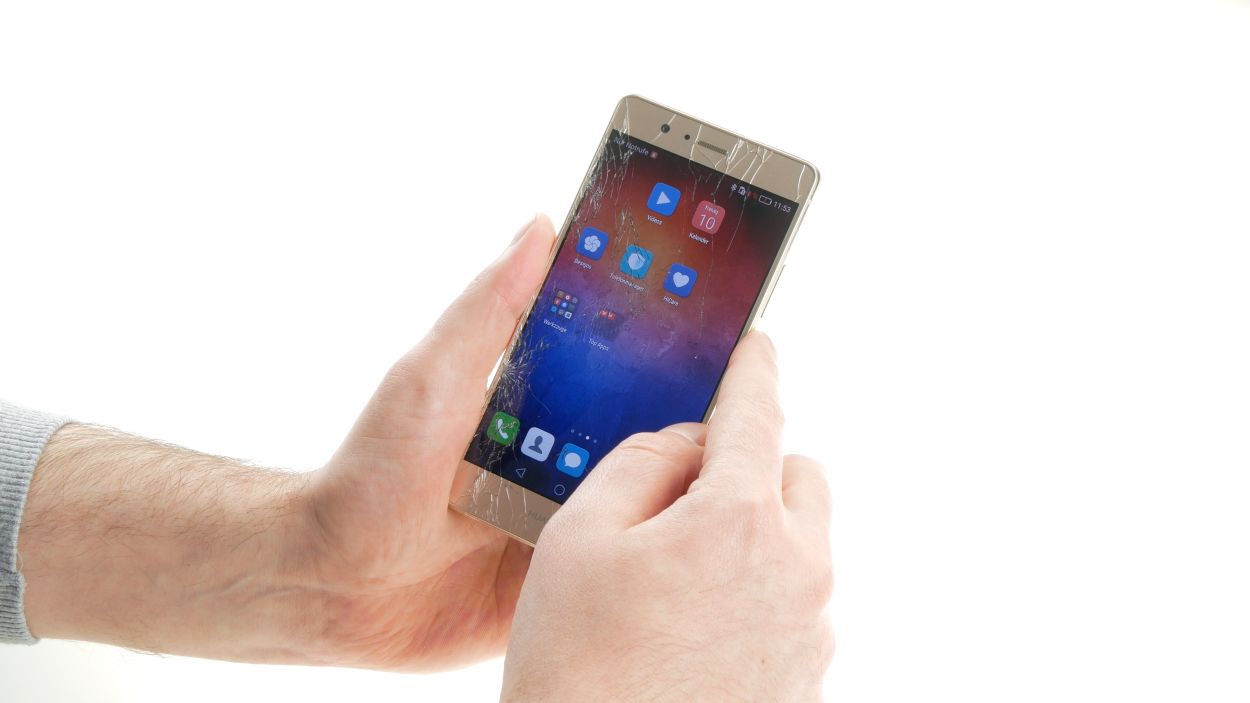
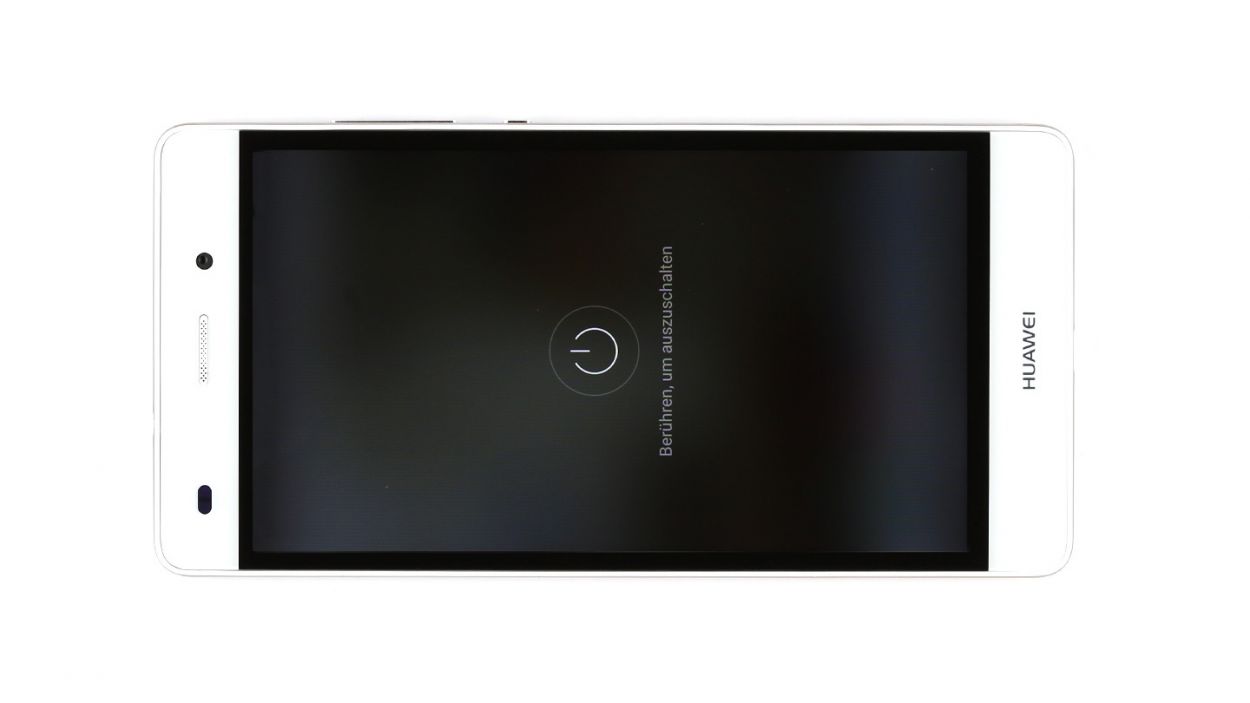
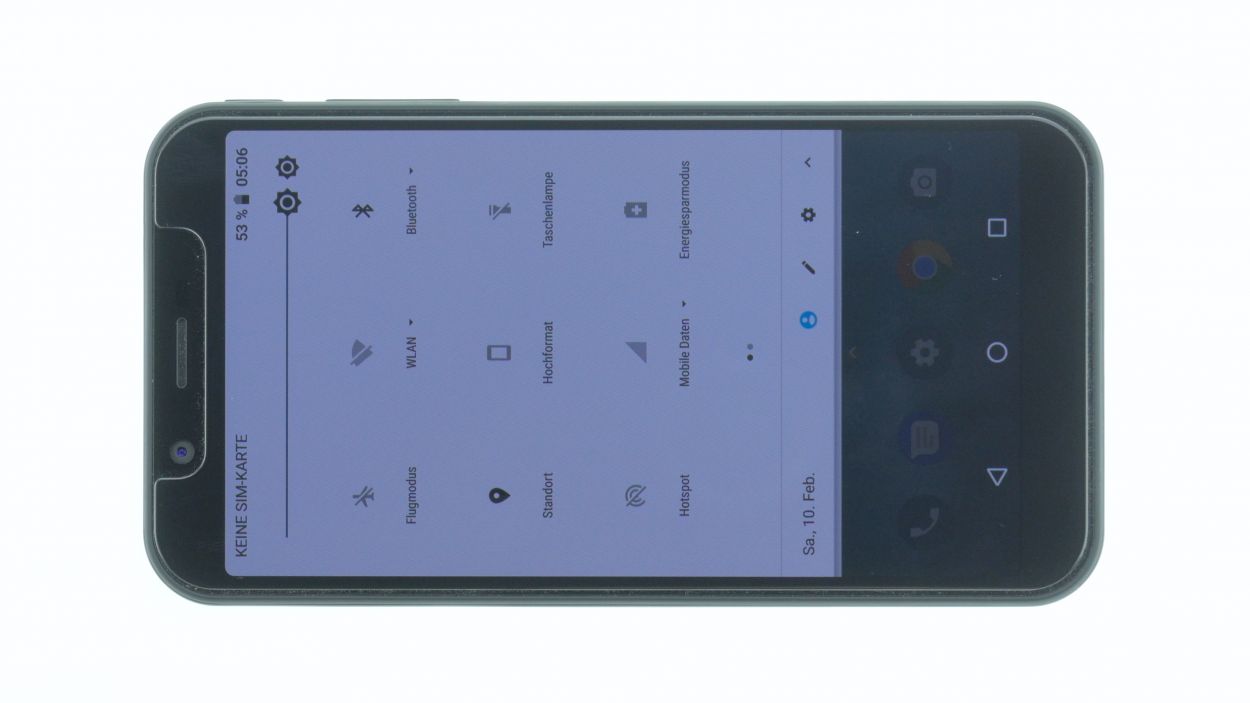
– First things first, let’s give your device a little break! Press and hold that power button until you see the ‘Power off’ option pop up.
– Now, just tap that option with your finger to confirm you want to shut down your SHIFT6m. Sit tight and wait for the screen to go dark—it’s like a little nap for your device!
Step 2
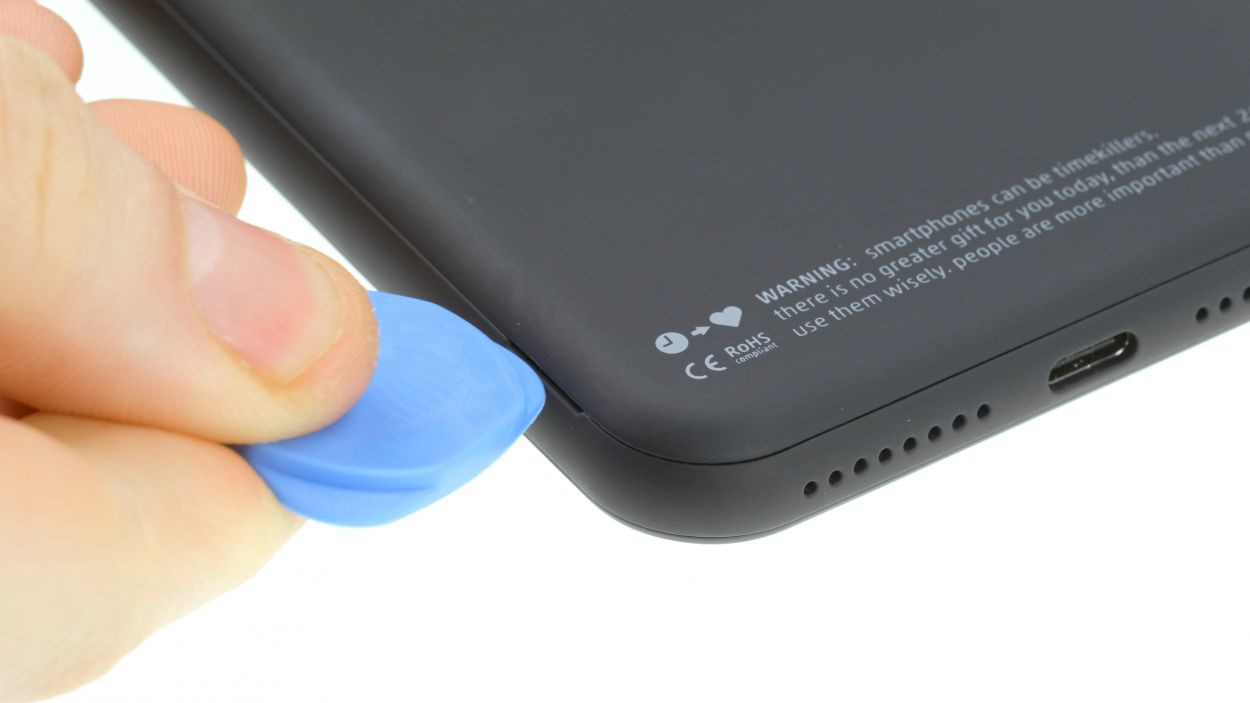
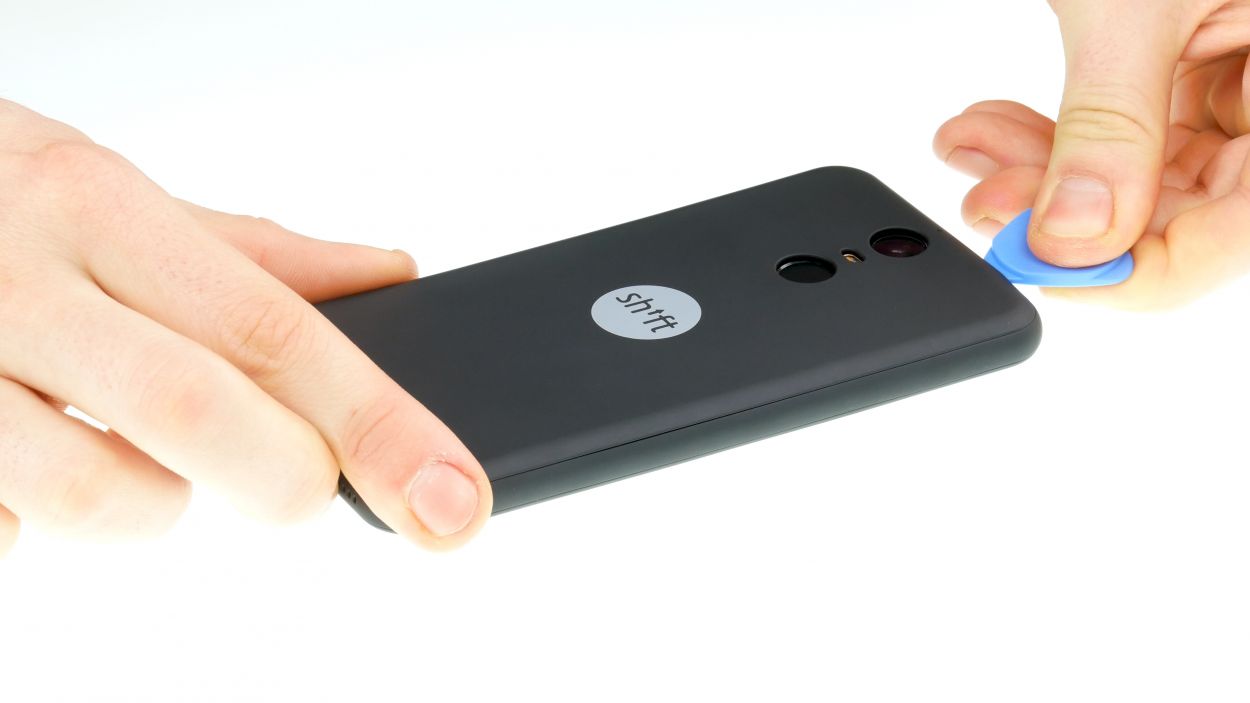
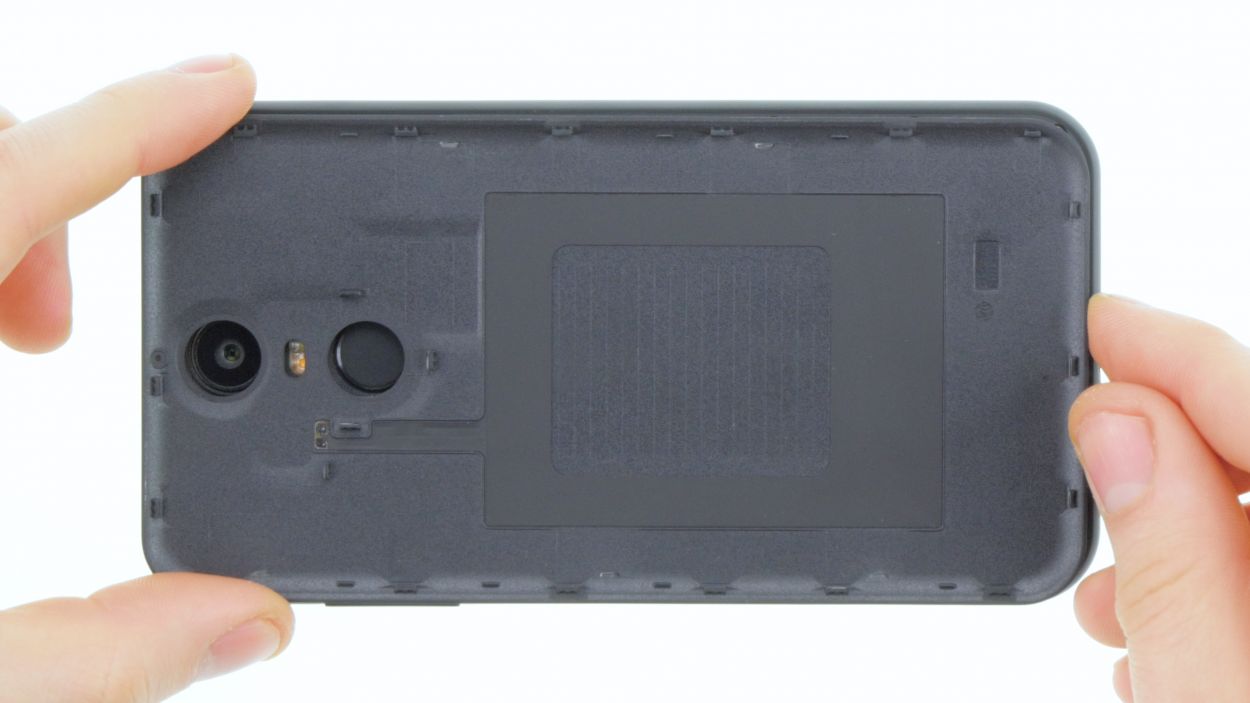
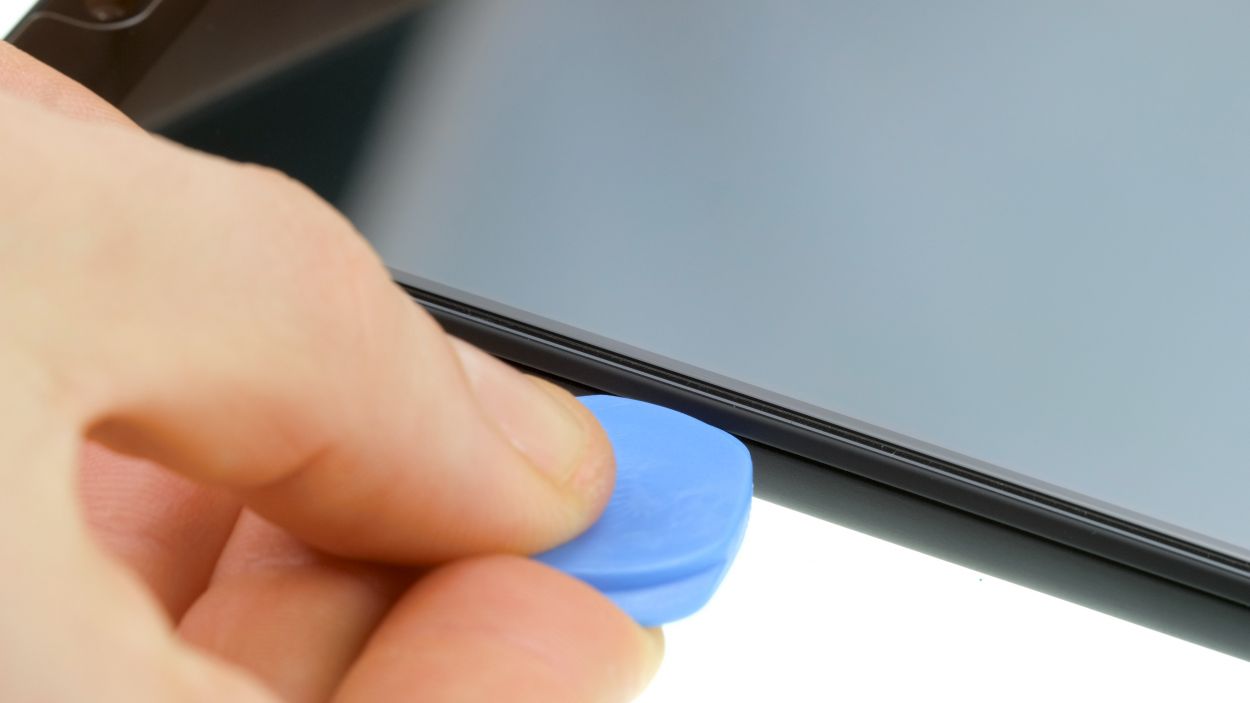
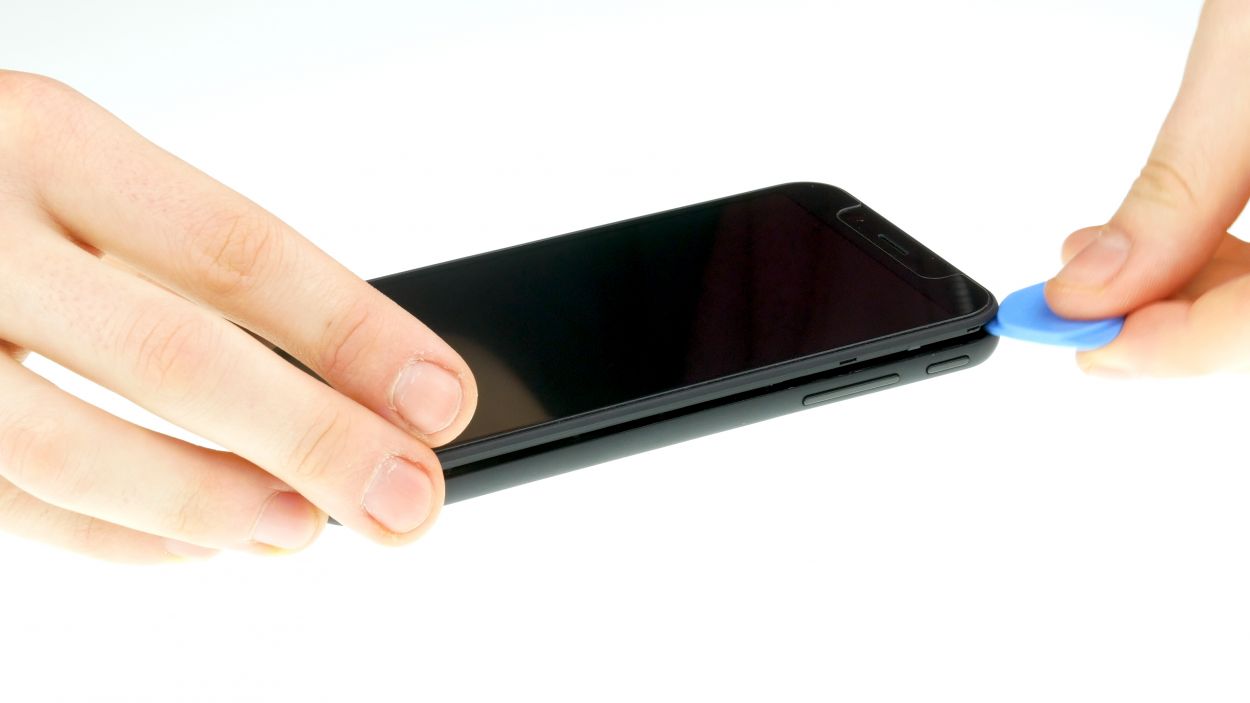
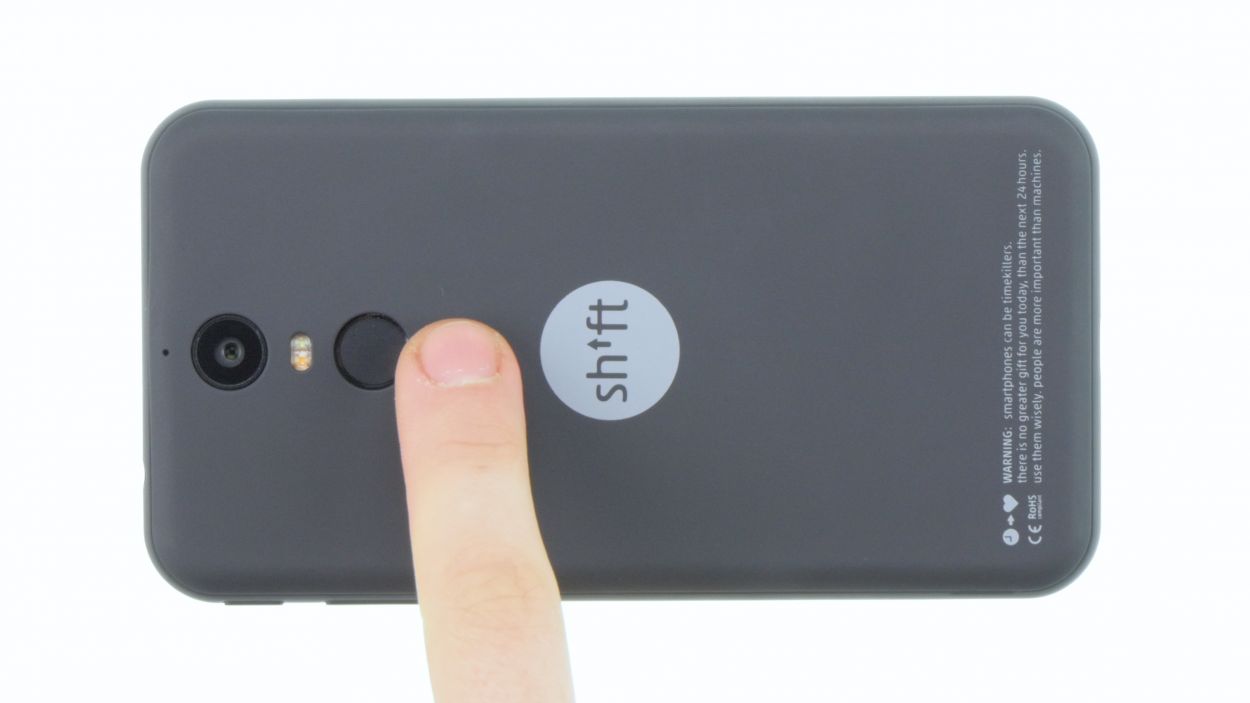
– Grab a plectrum or your trusty fingernail and gently slide it into the tiny gap in the bottom left corner. Give a little pull to lift off the back cover.
– Now, take your time to loosen all the clips around the edges. Just a heads up, the back cover is also secured around the fingerprint sensor, so you might need to give it a bit more oomph to get it loose.
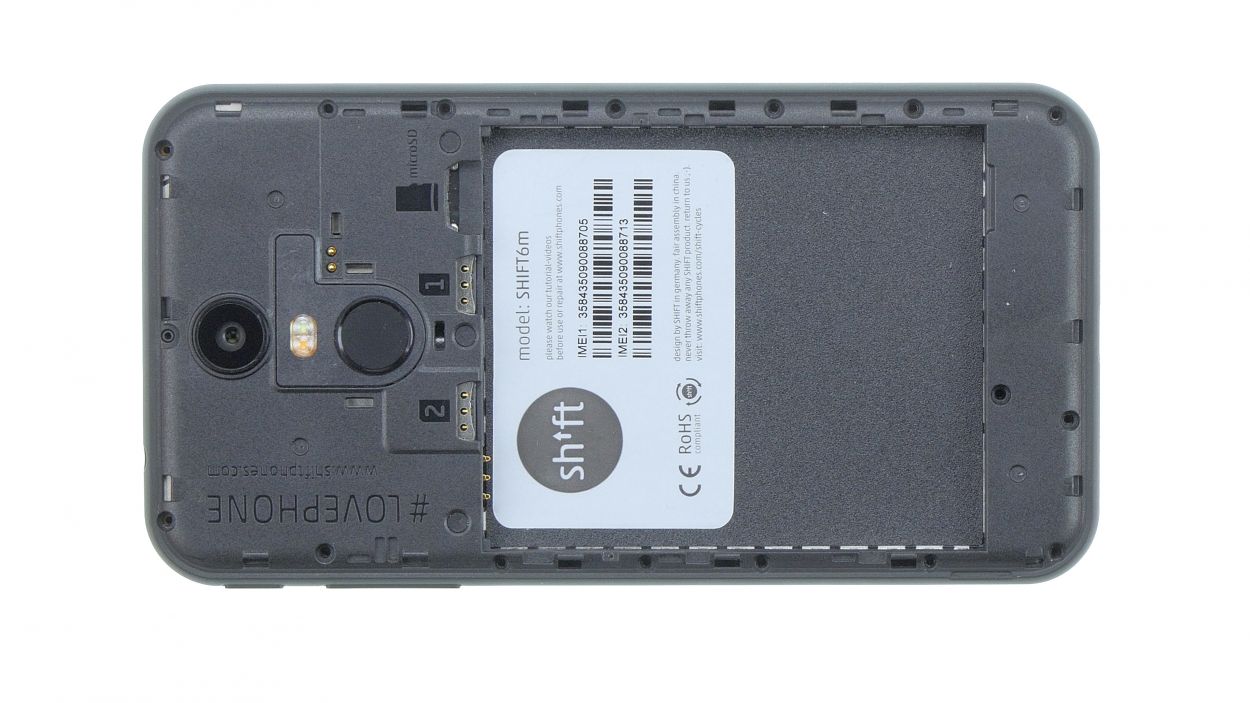
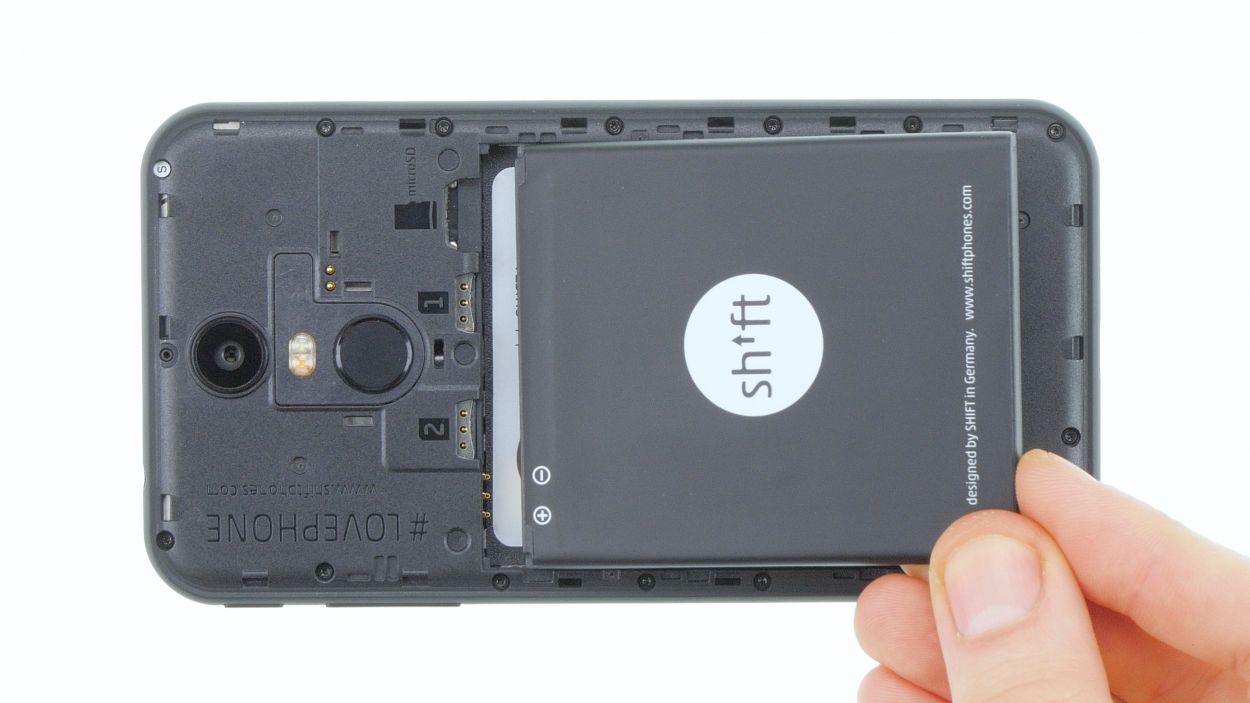
Step 3
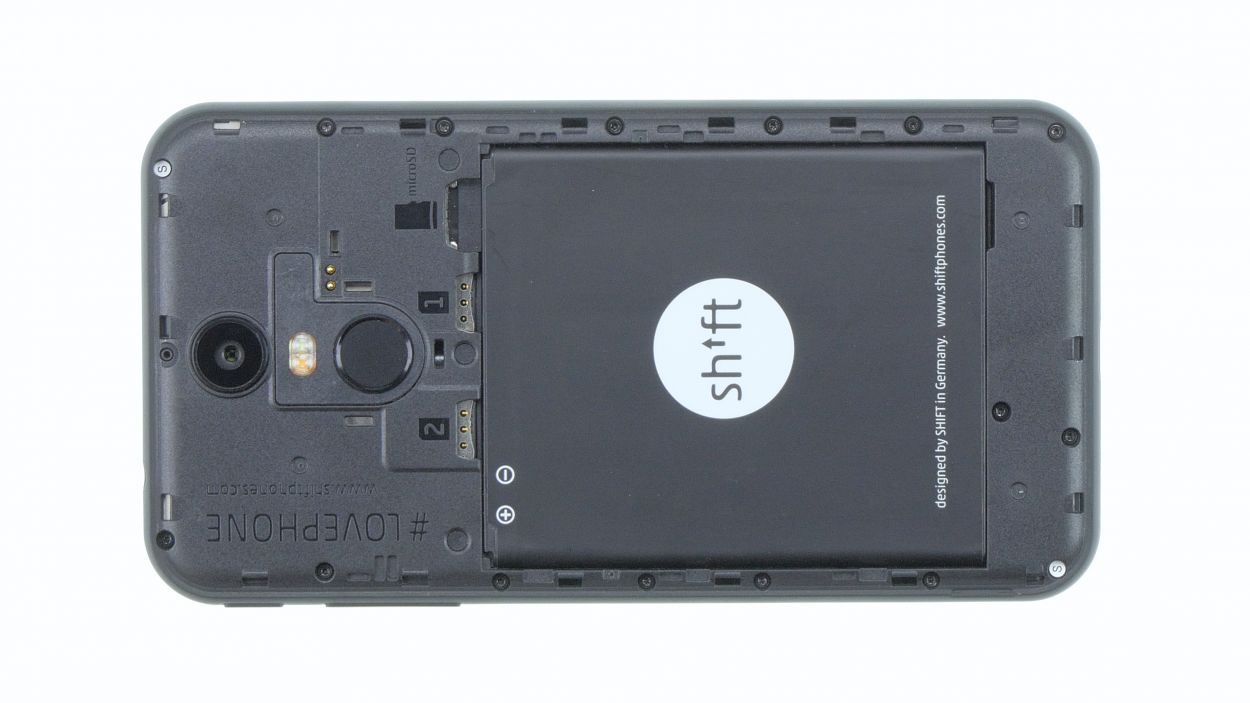
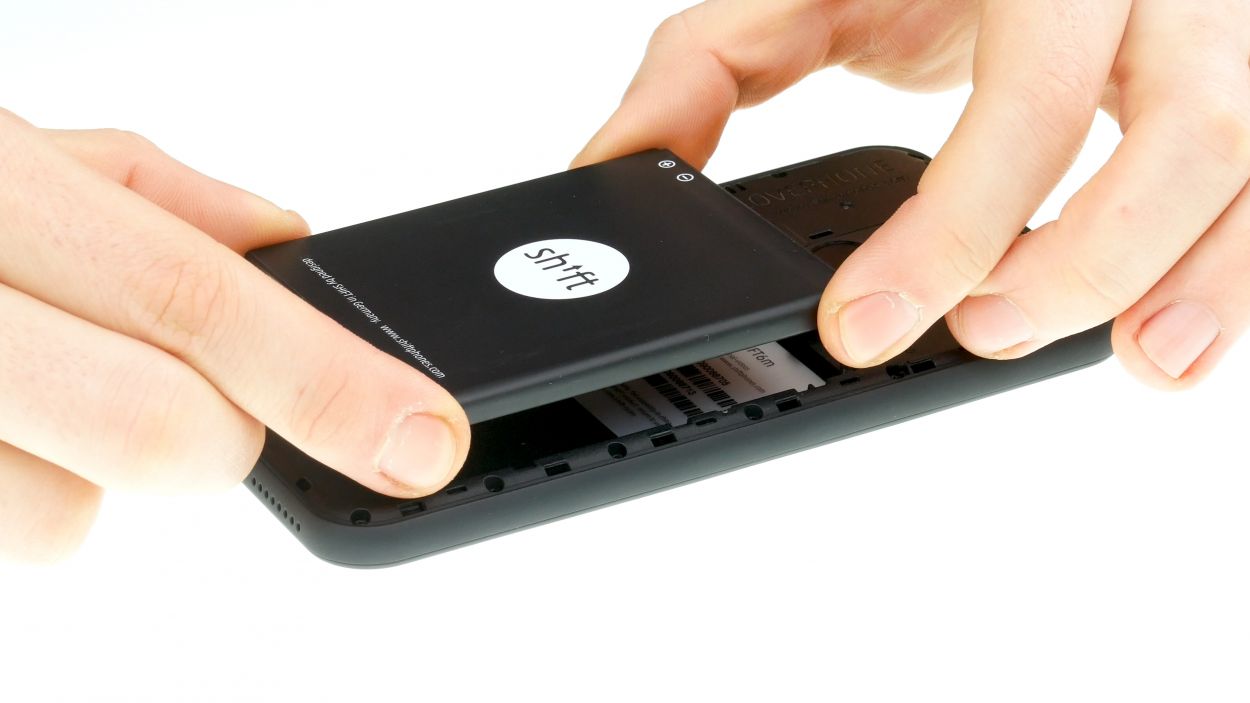
– You can easily remove the battery by lifting it by the notch in the lower right corner and removing it from the device.
Step 4

16 × 4,0 mm Torx T3
2 × 4,0 mm Torx T3
Display connector
– First things first, grab your Torx T3 screwdriver and loosen all those screws with a gentle touch.
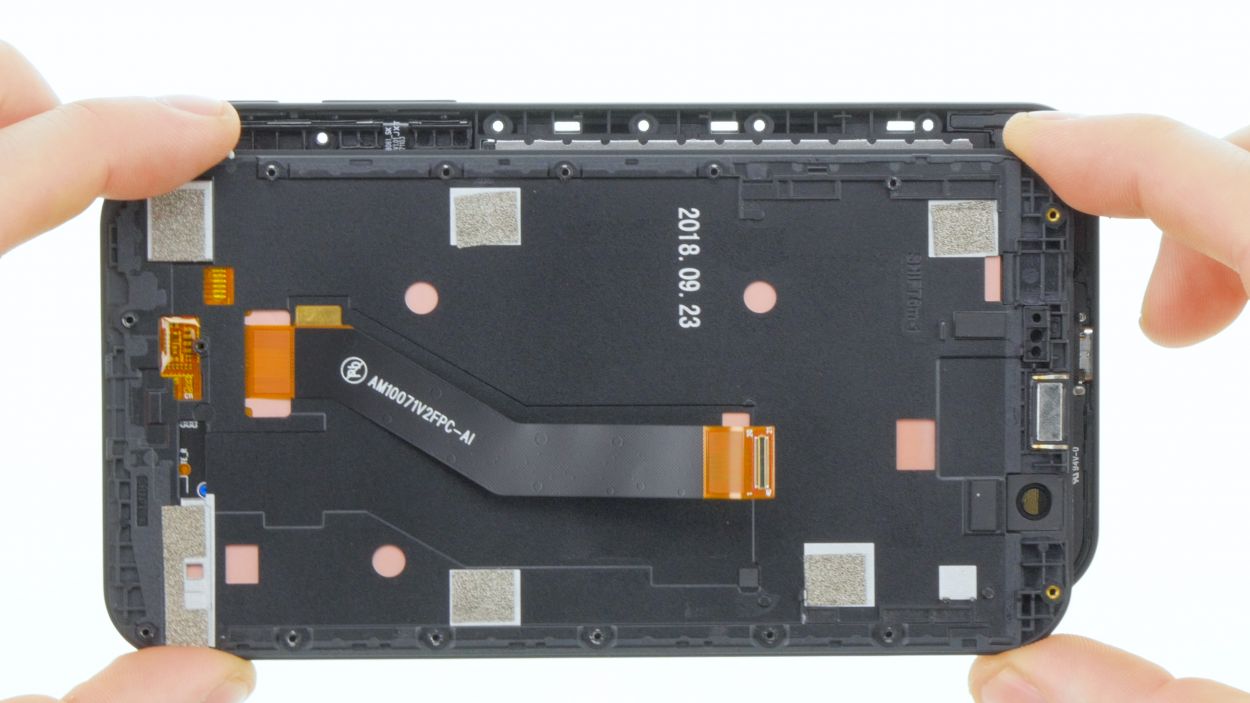
– Next, flip the SHIFT6m over and slide a plectrum or your fingernail between the plastic frame and the display – be nice, we want them to get along!
– Now, slide that tool around the display’s edges in one smooth motion to release it gently. We’re almost there!
Step 5


2 × 4,0 mm Torx T3
Standby/Volume Connector
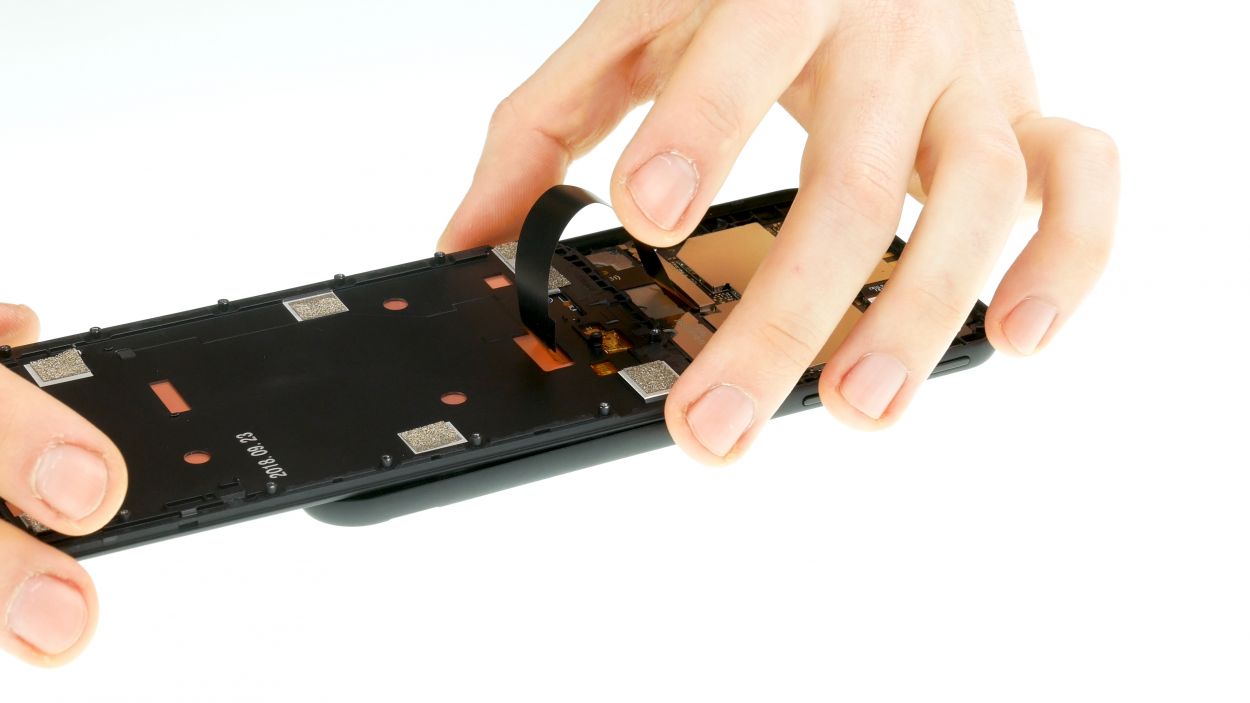
Hey there! Just a heads up—the control buttons on the back are still connected by a little flex cable. Don’t forget to keep that in mind as you work your magic!
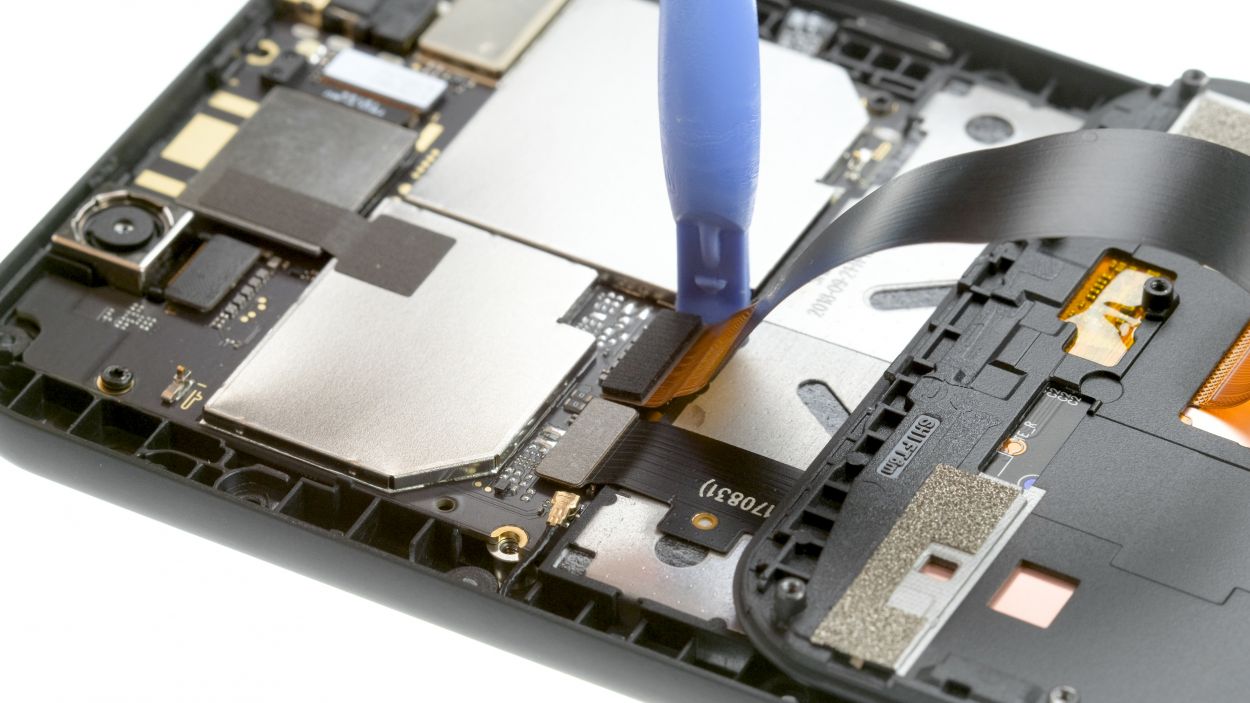
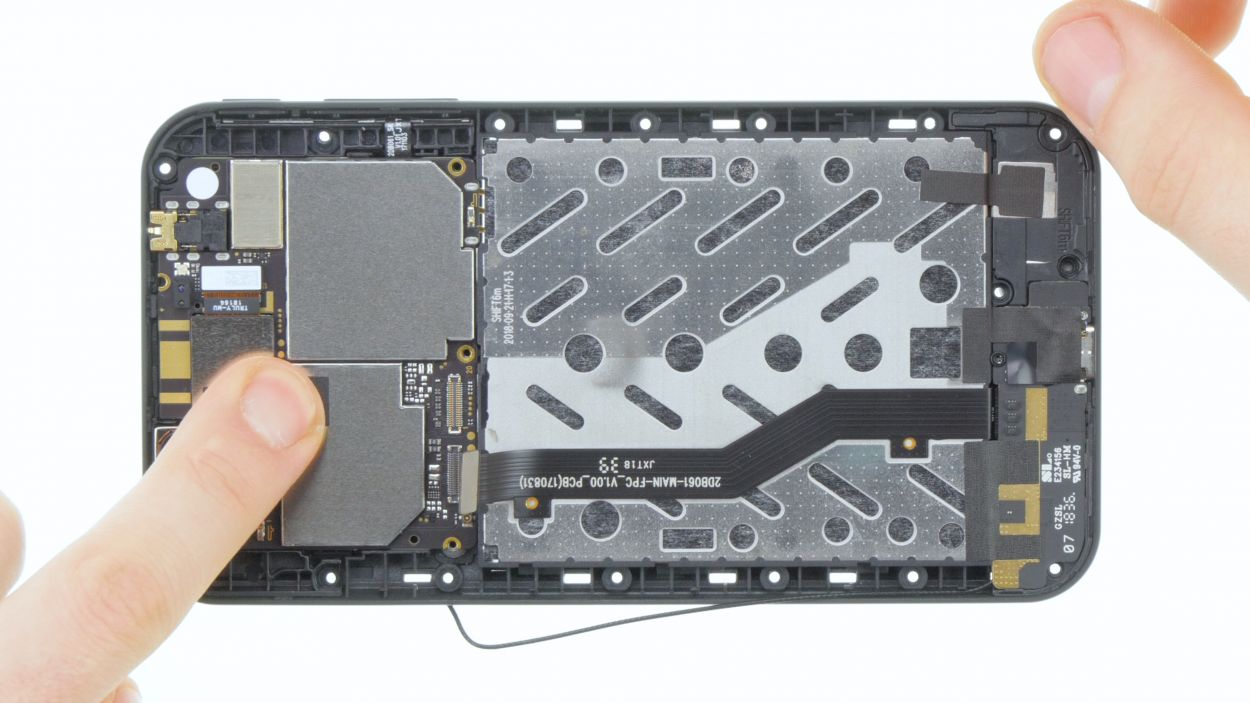
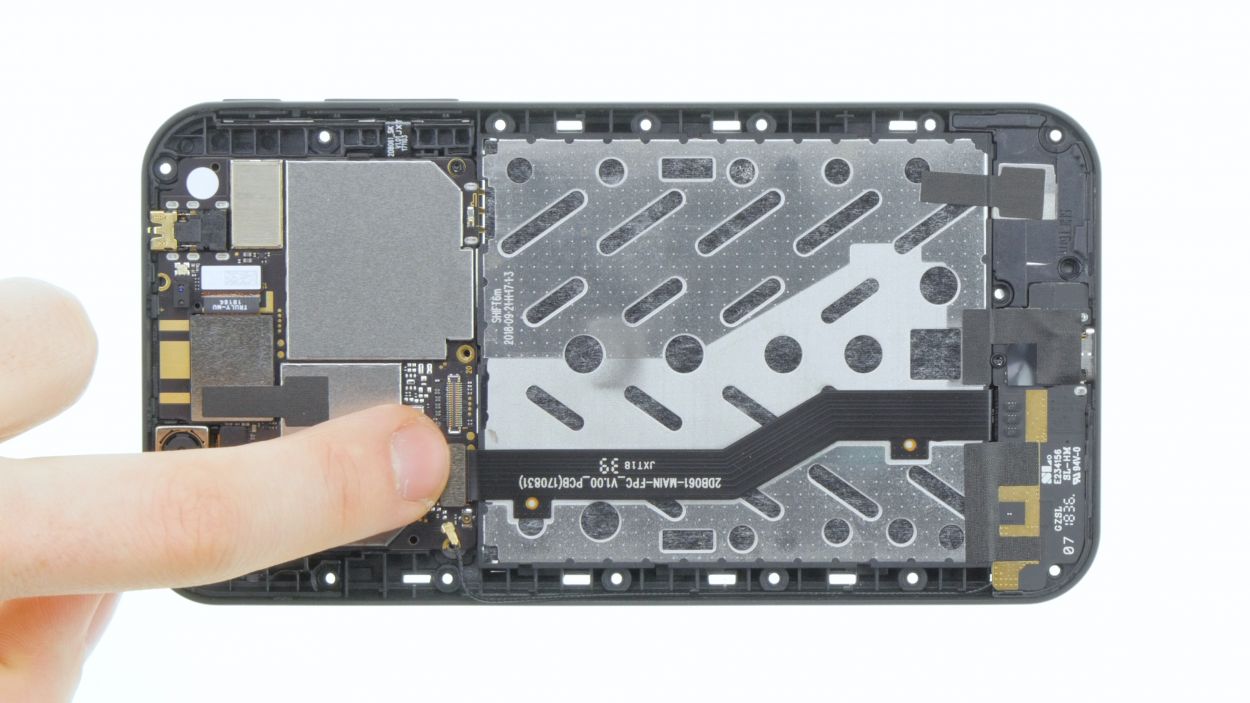
– Gently loosen the black antenna contact using your tweezers. Avoid prying it off with a spudger, as that could cause some socket drama on the board.
– Carefully use a spudger to separate the ribbon cable’s contact that’s running across your device.
– Unscrew those two screws like a pro!
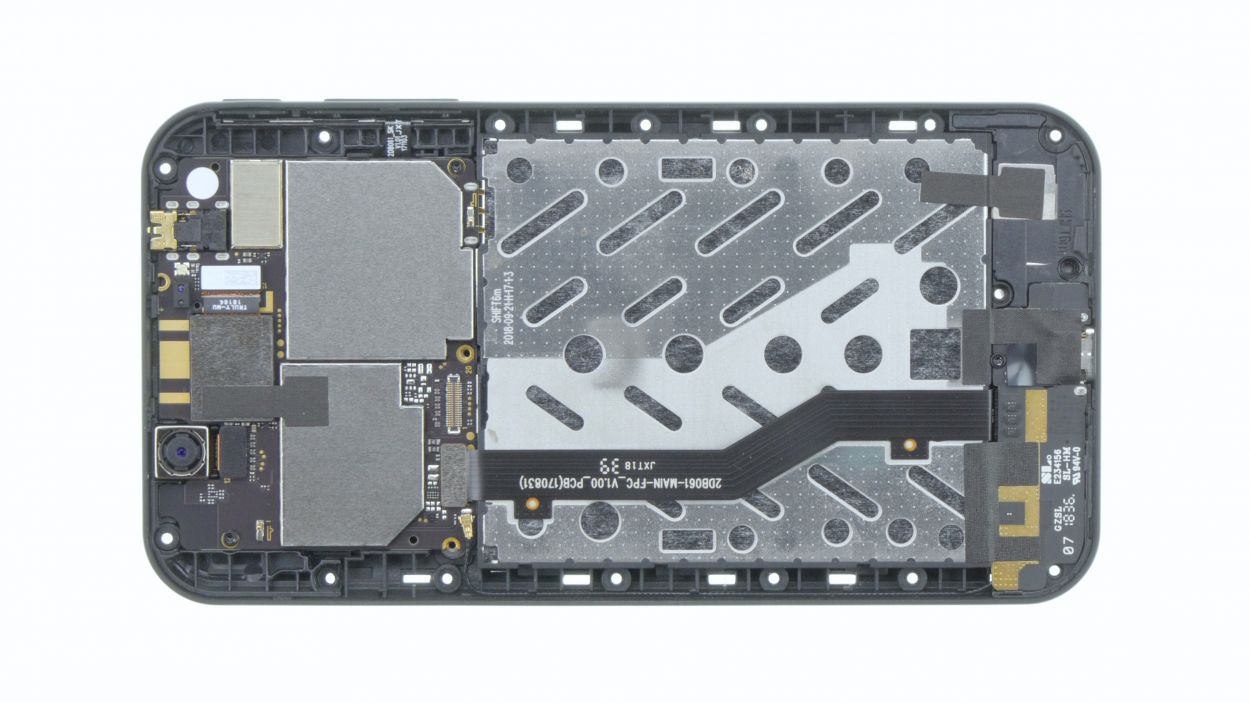
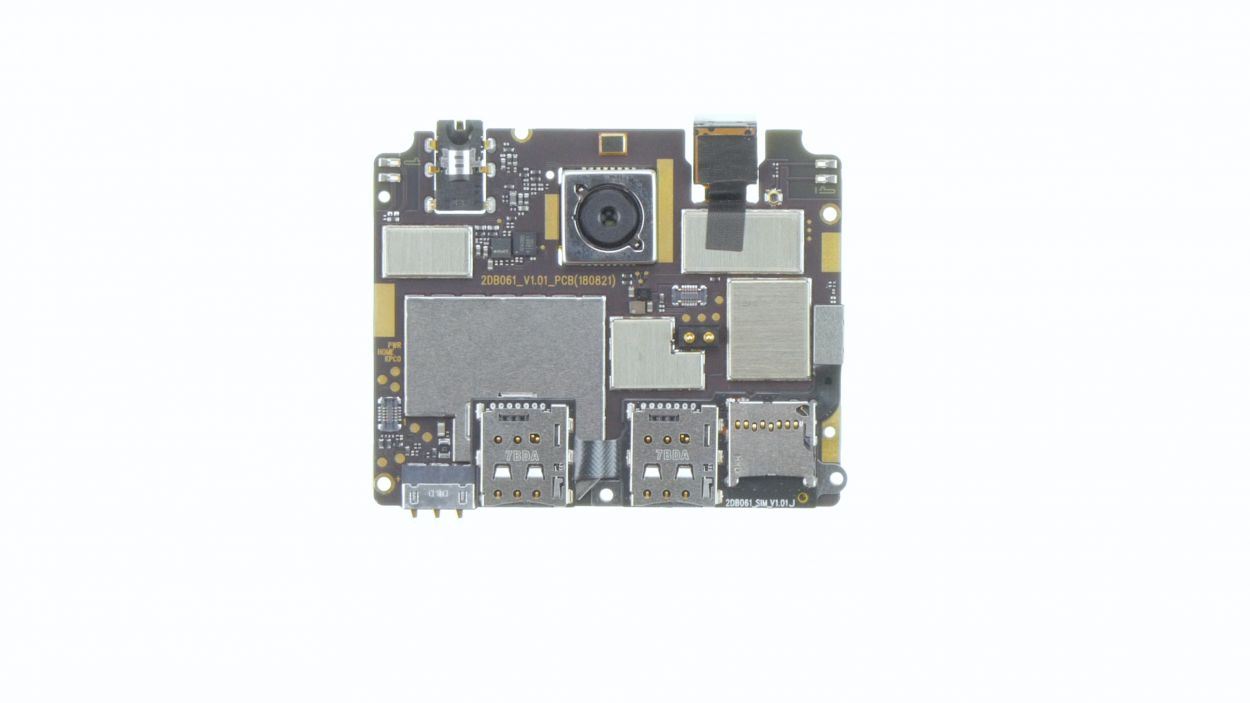
– Slightly lift the main board on the left side and then smoothly fold it over to the other side.
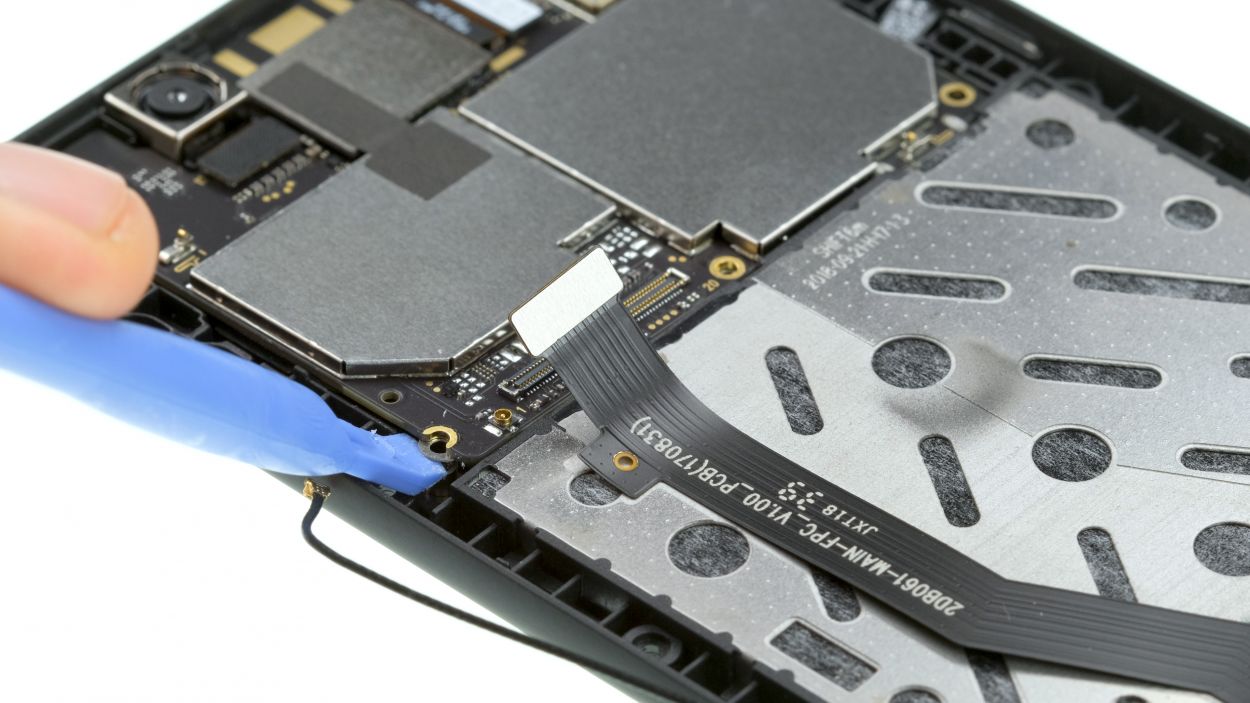
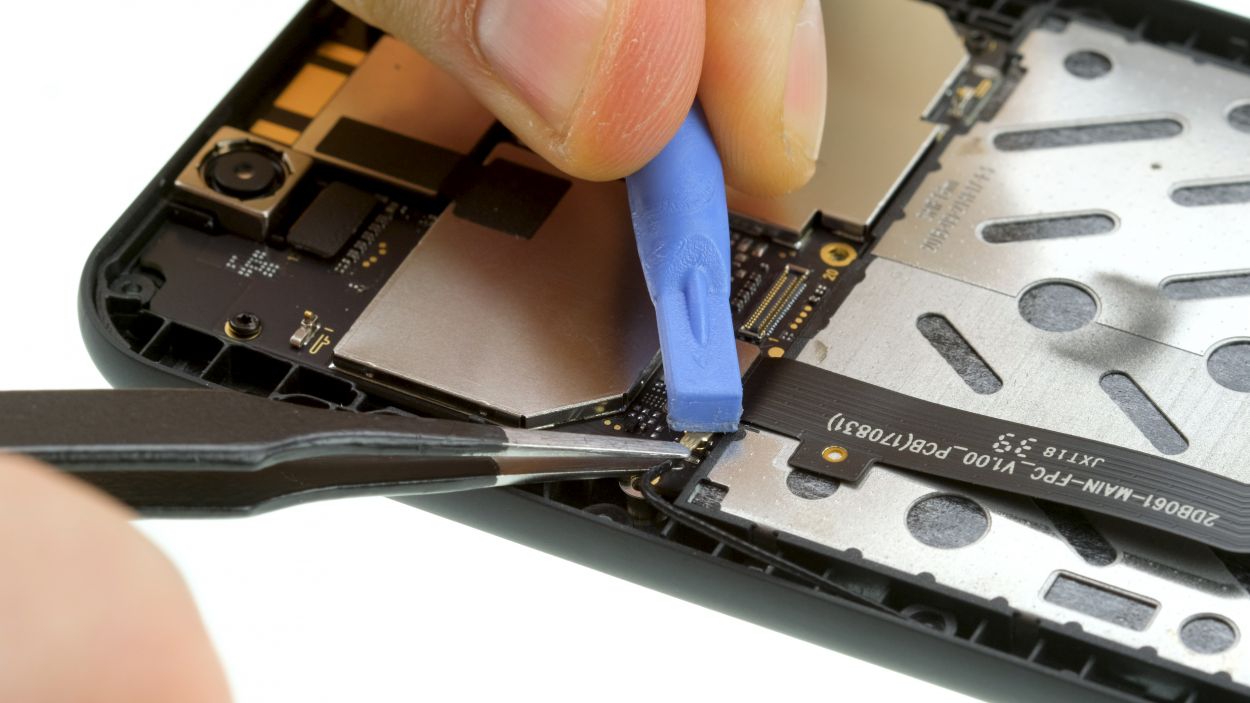
Step 6
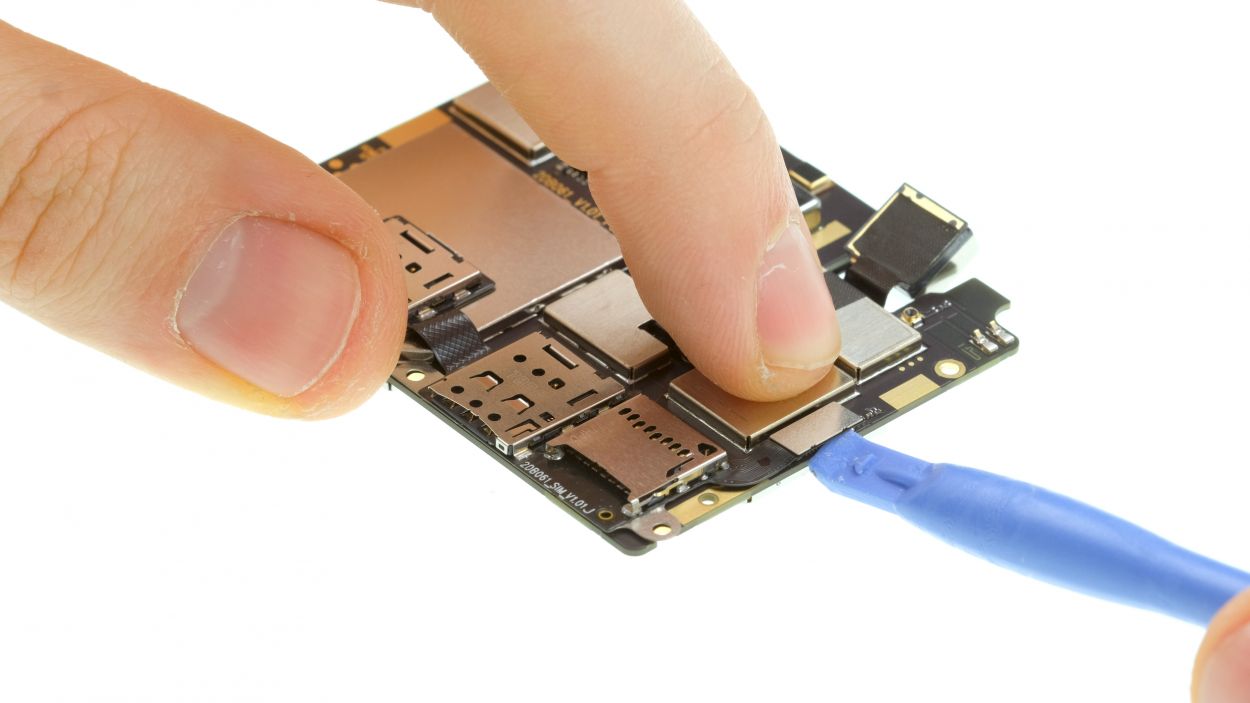
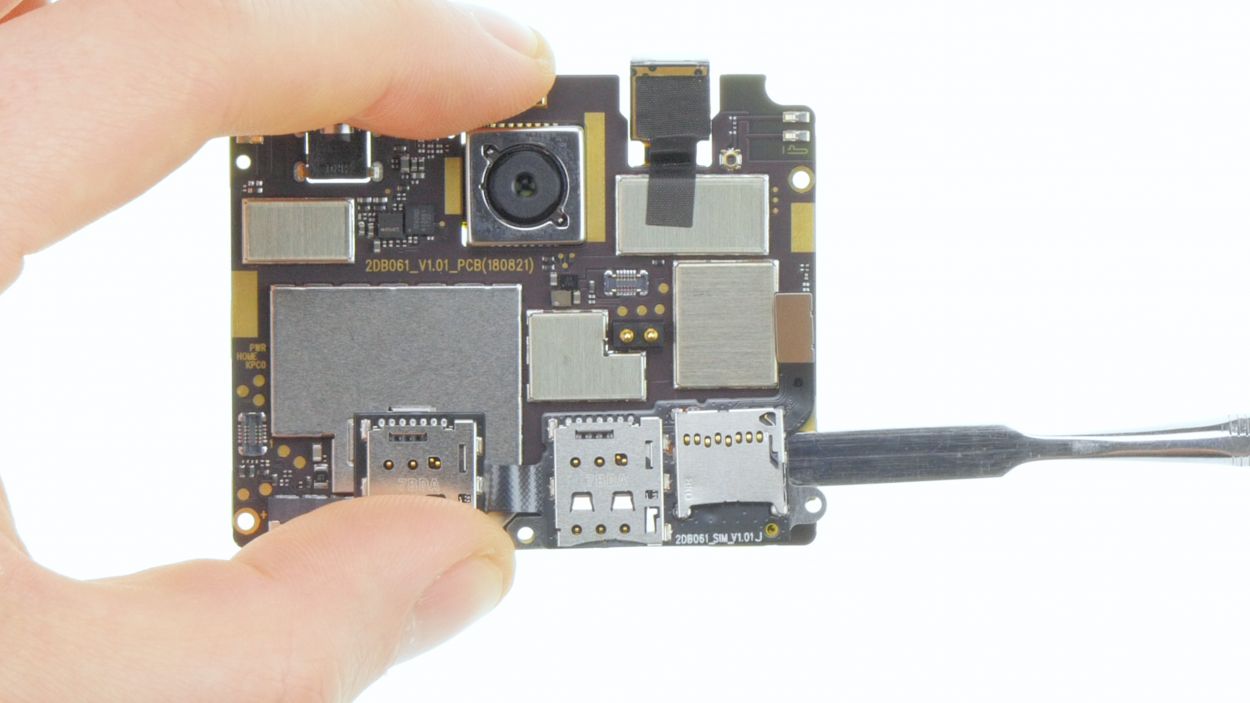
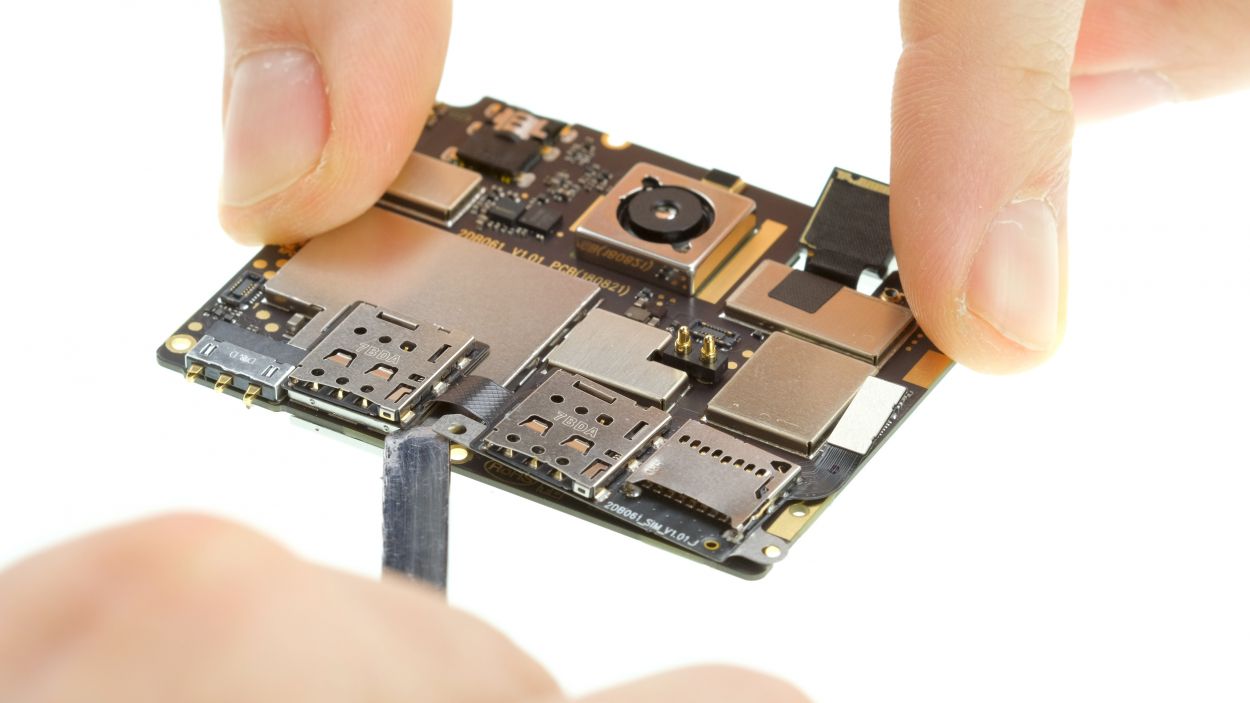
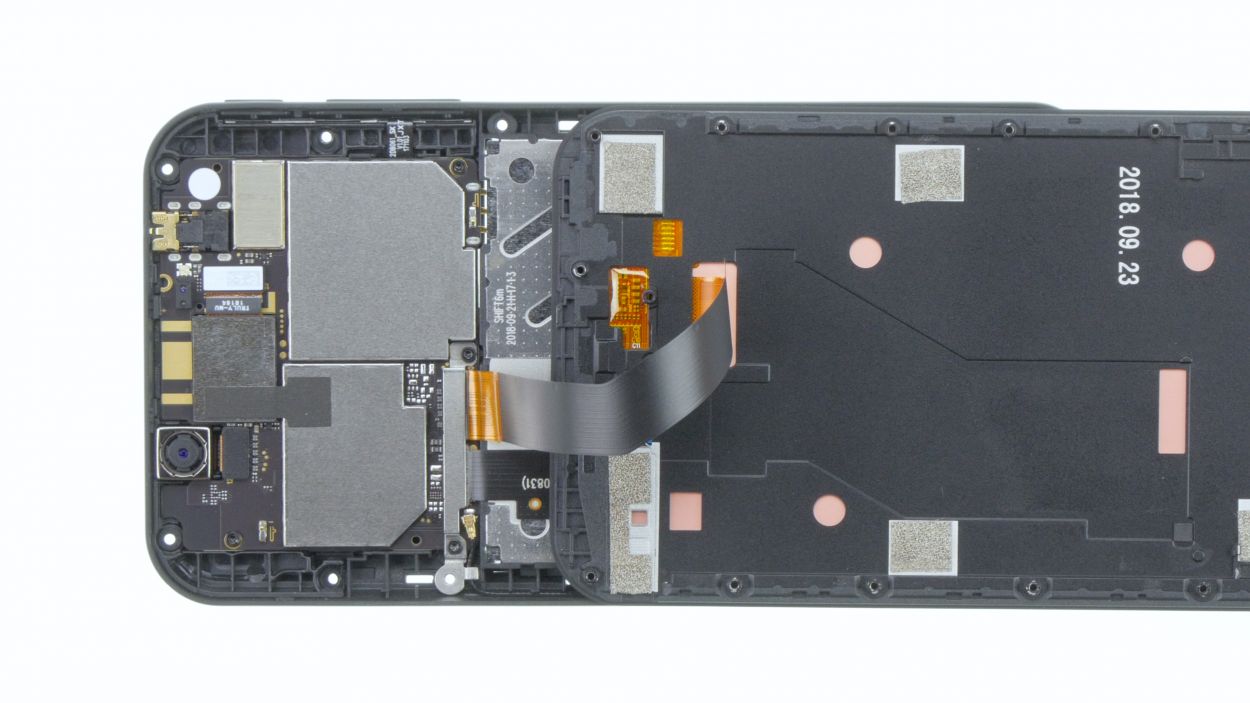
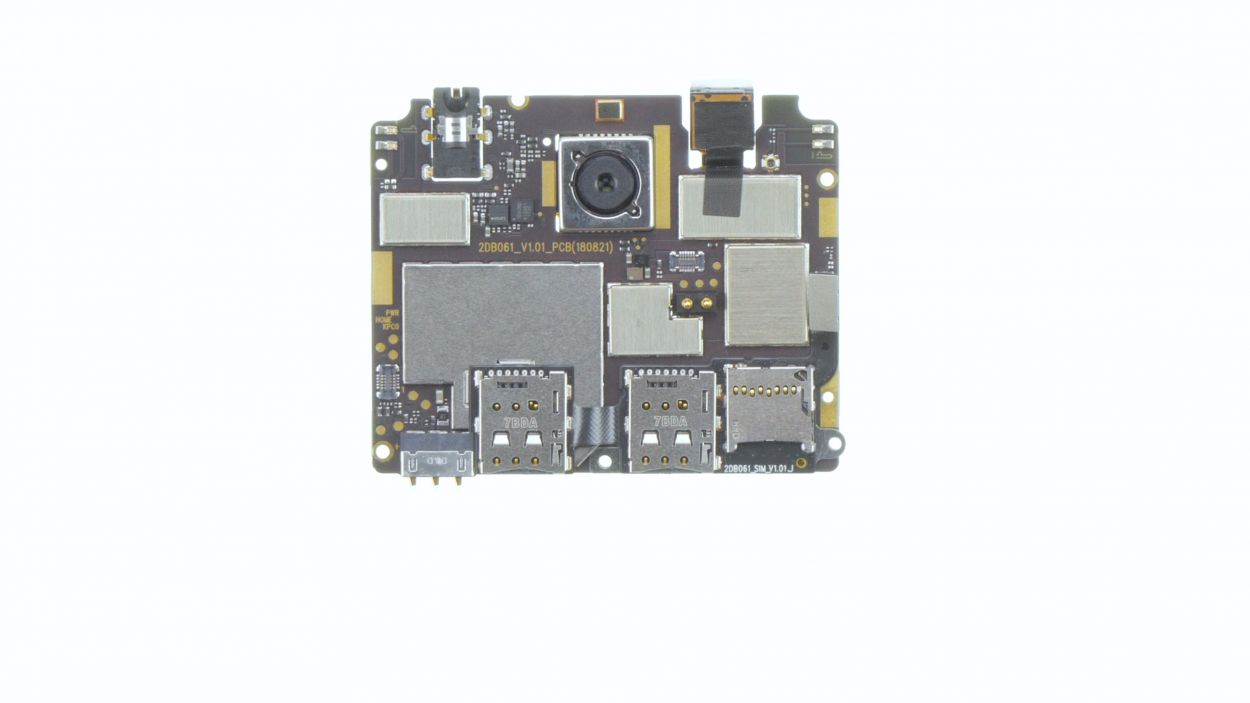
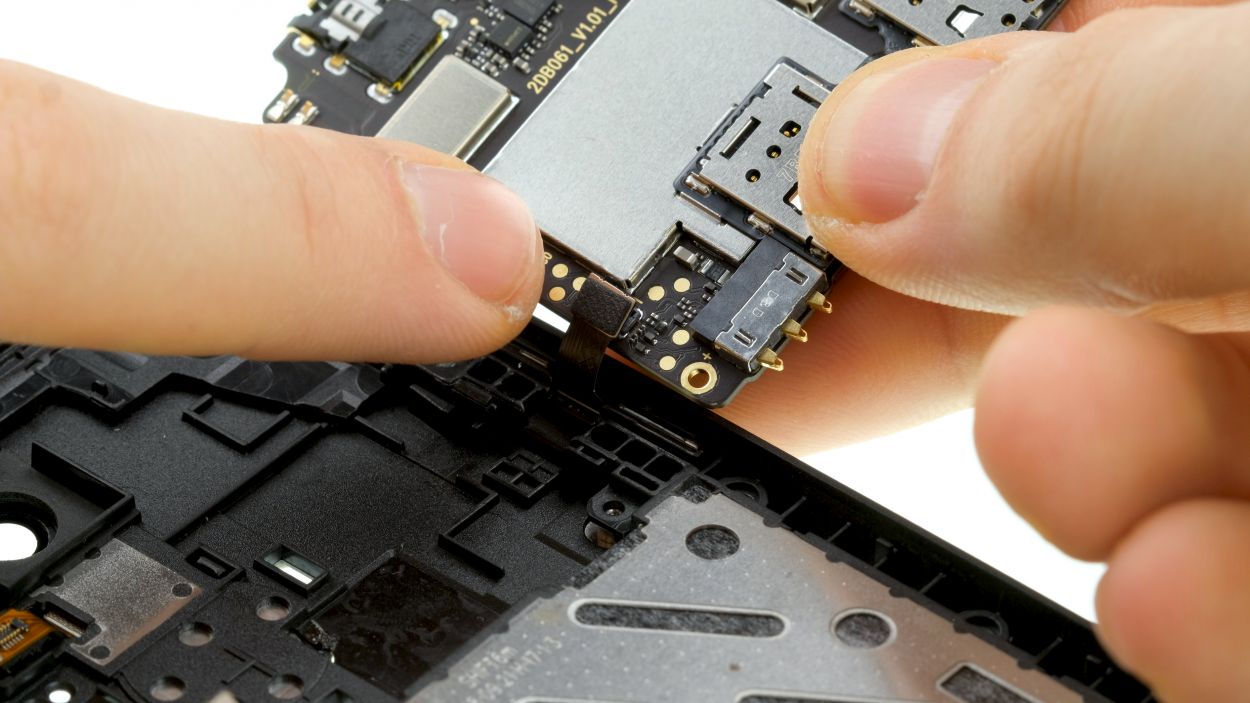
Be super careful not to crinkle or poke the delicate flex cable nestled between those SIM card slots. It’s as thin as a hair and just as easy to tease! If you’re feeling a bit unsure, you can always schedule a repair.
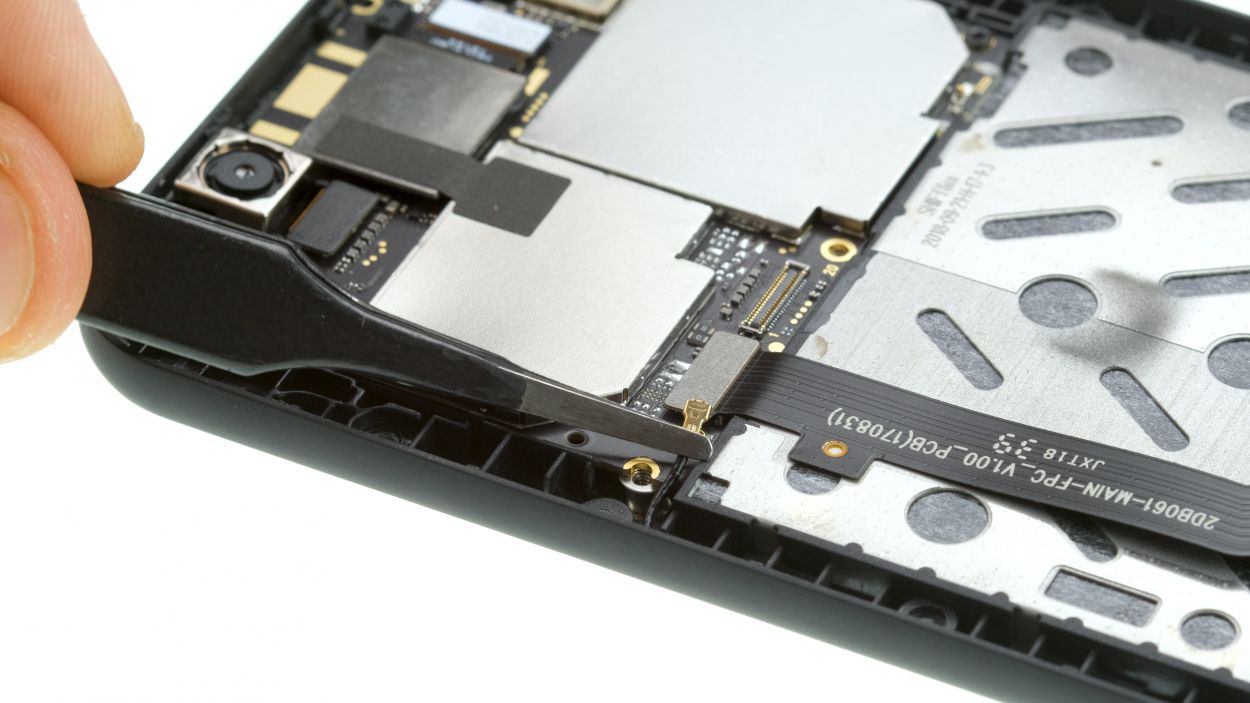
– Hold the motherboard with one hand and disconnect the connector of the SIM and SD card slot.
– The component is glued to the motherboard over a large area.
– Heat the area with hot air to loosen the adhesive more easily.
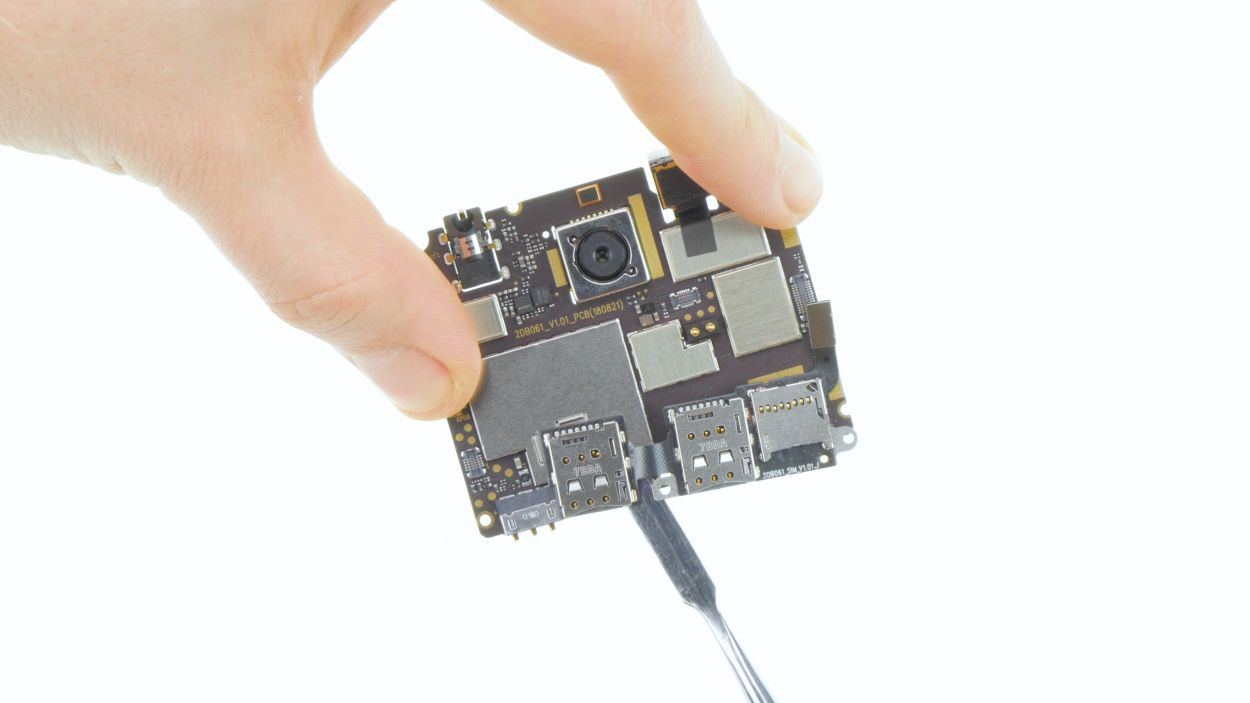
– Then slide a steel spatula under the three card slots and gradually loosen all the adhesive.
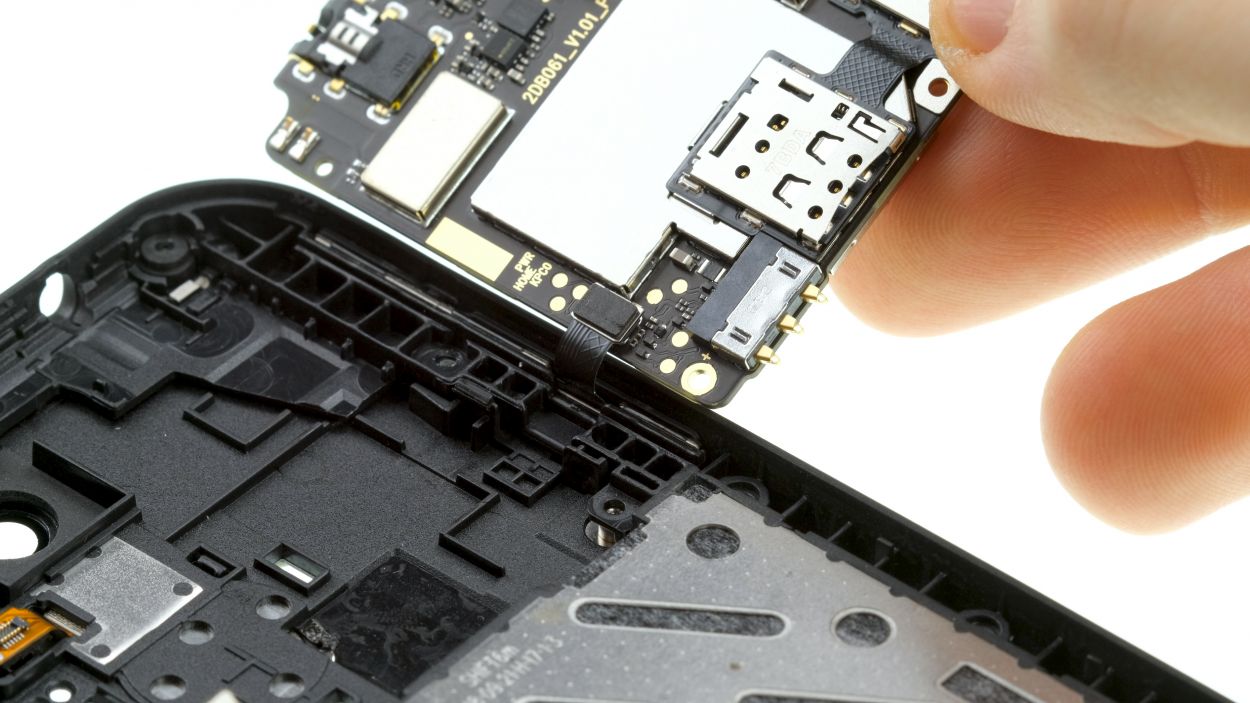
Step 7
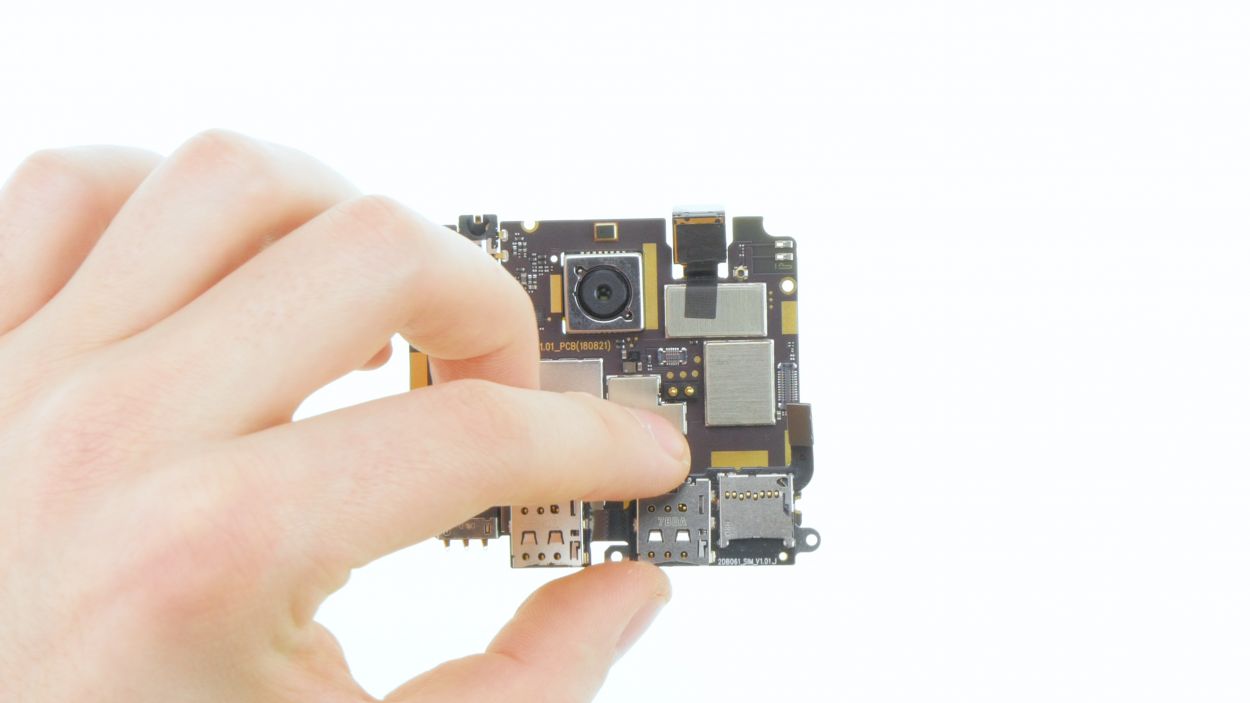

– Place the component on the main board and position the individual card slots correctly. The left SIM card slot is held in place by two bumps on the silver cover.
– Finally reconnect the connector.
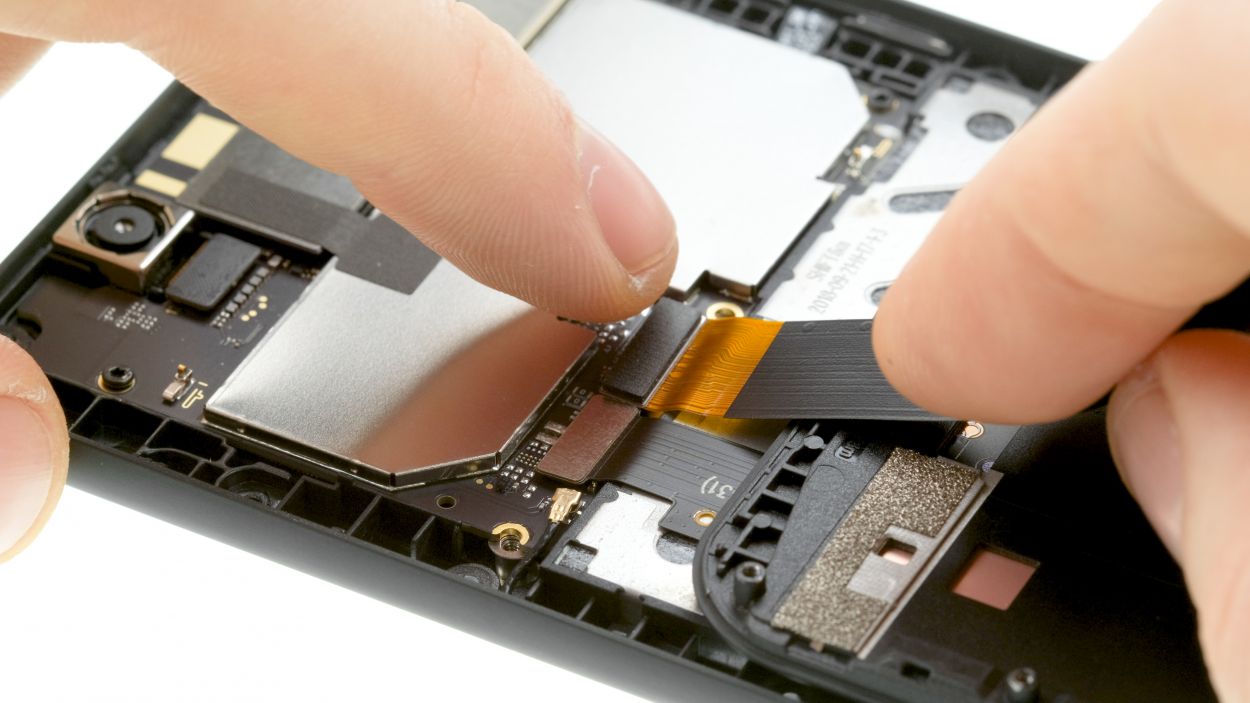
Step 8


Standby/Volume Connector
2 × 4,0 mm Torx T3
Watch those sneaky cables! Make sure they don’t get trapped under the circuit board while you’re working your magic.
– Place the motherboard on the right side upside down.
– Connect the control button contact.
– Then flip the motherboard over and press lightly until it sits properly in the device and the fingerprint sensor contact clicks into place.
Step 9
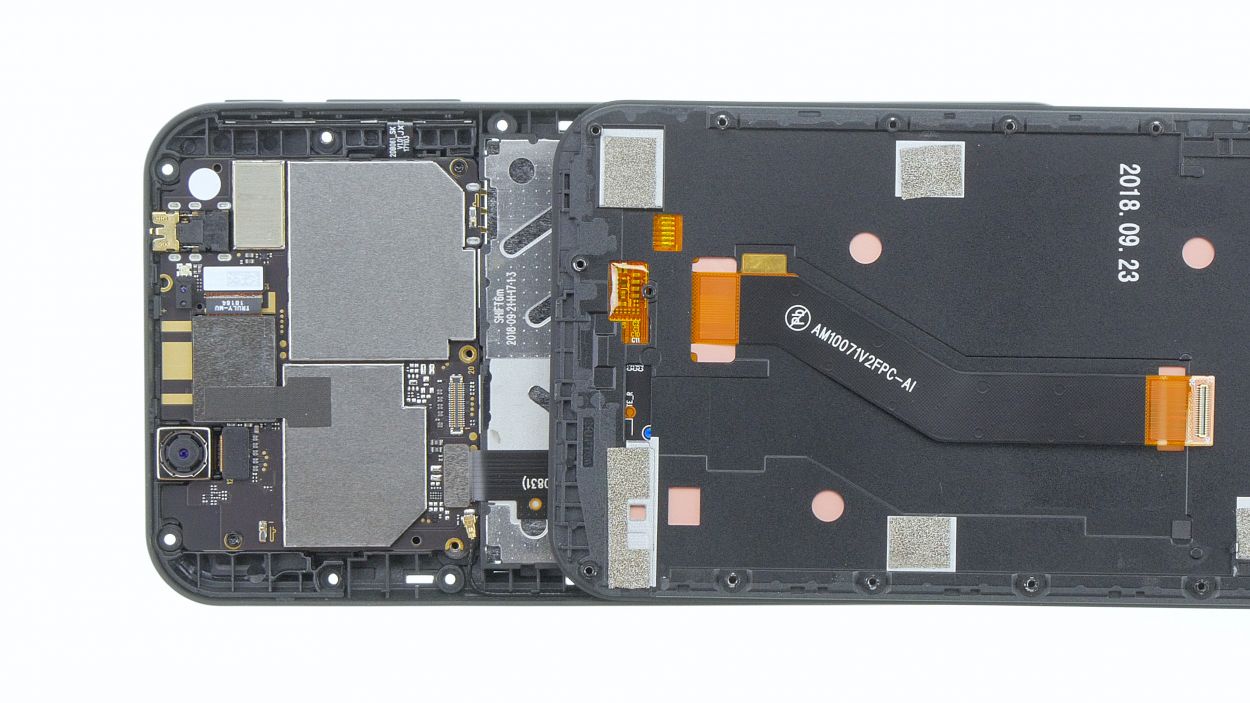

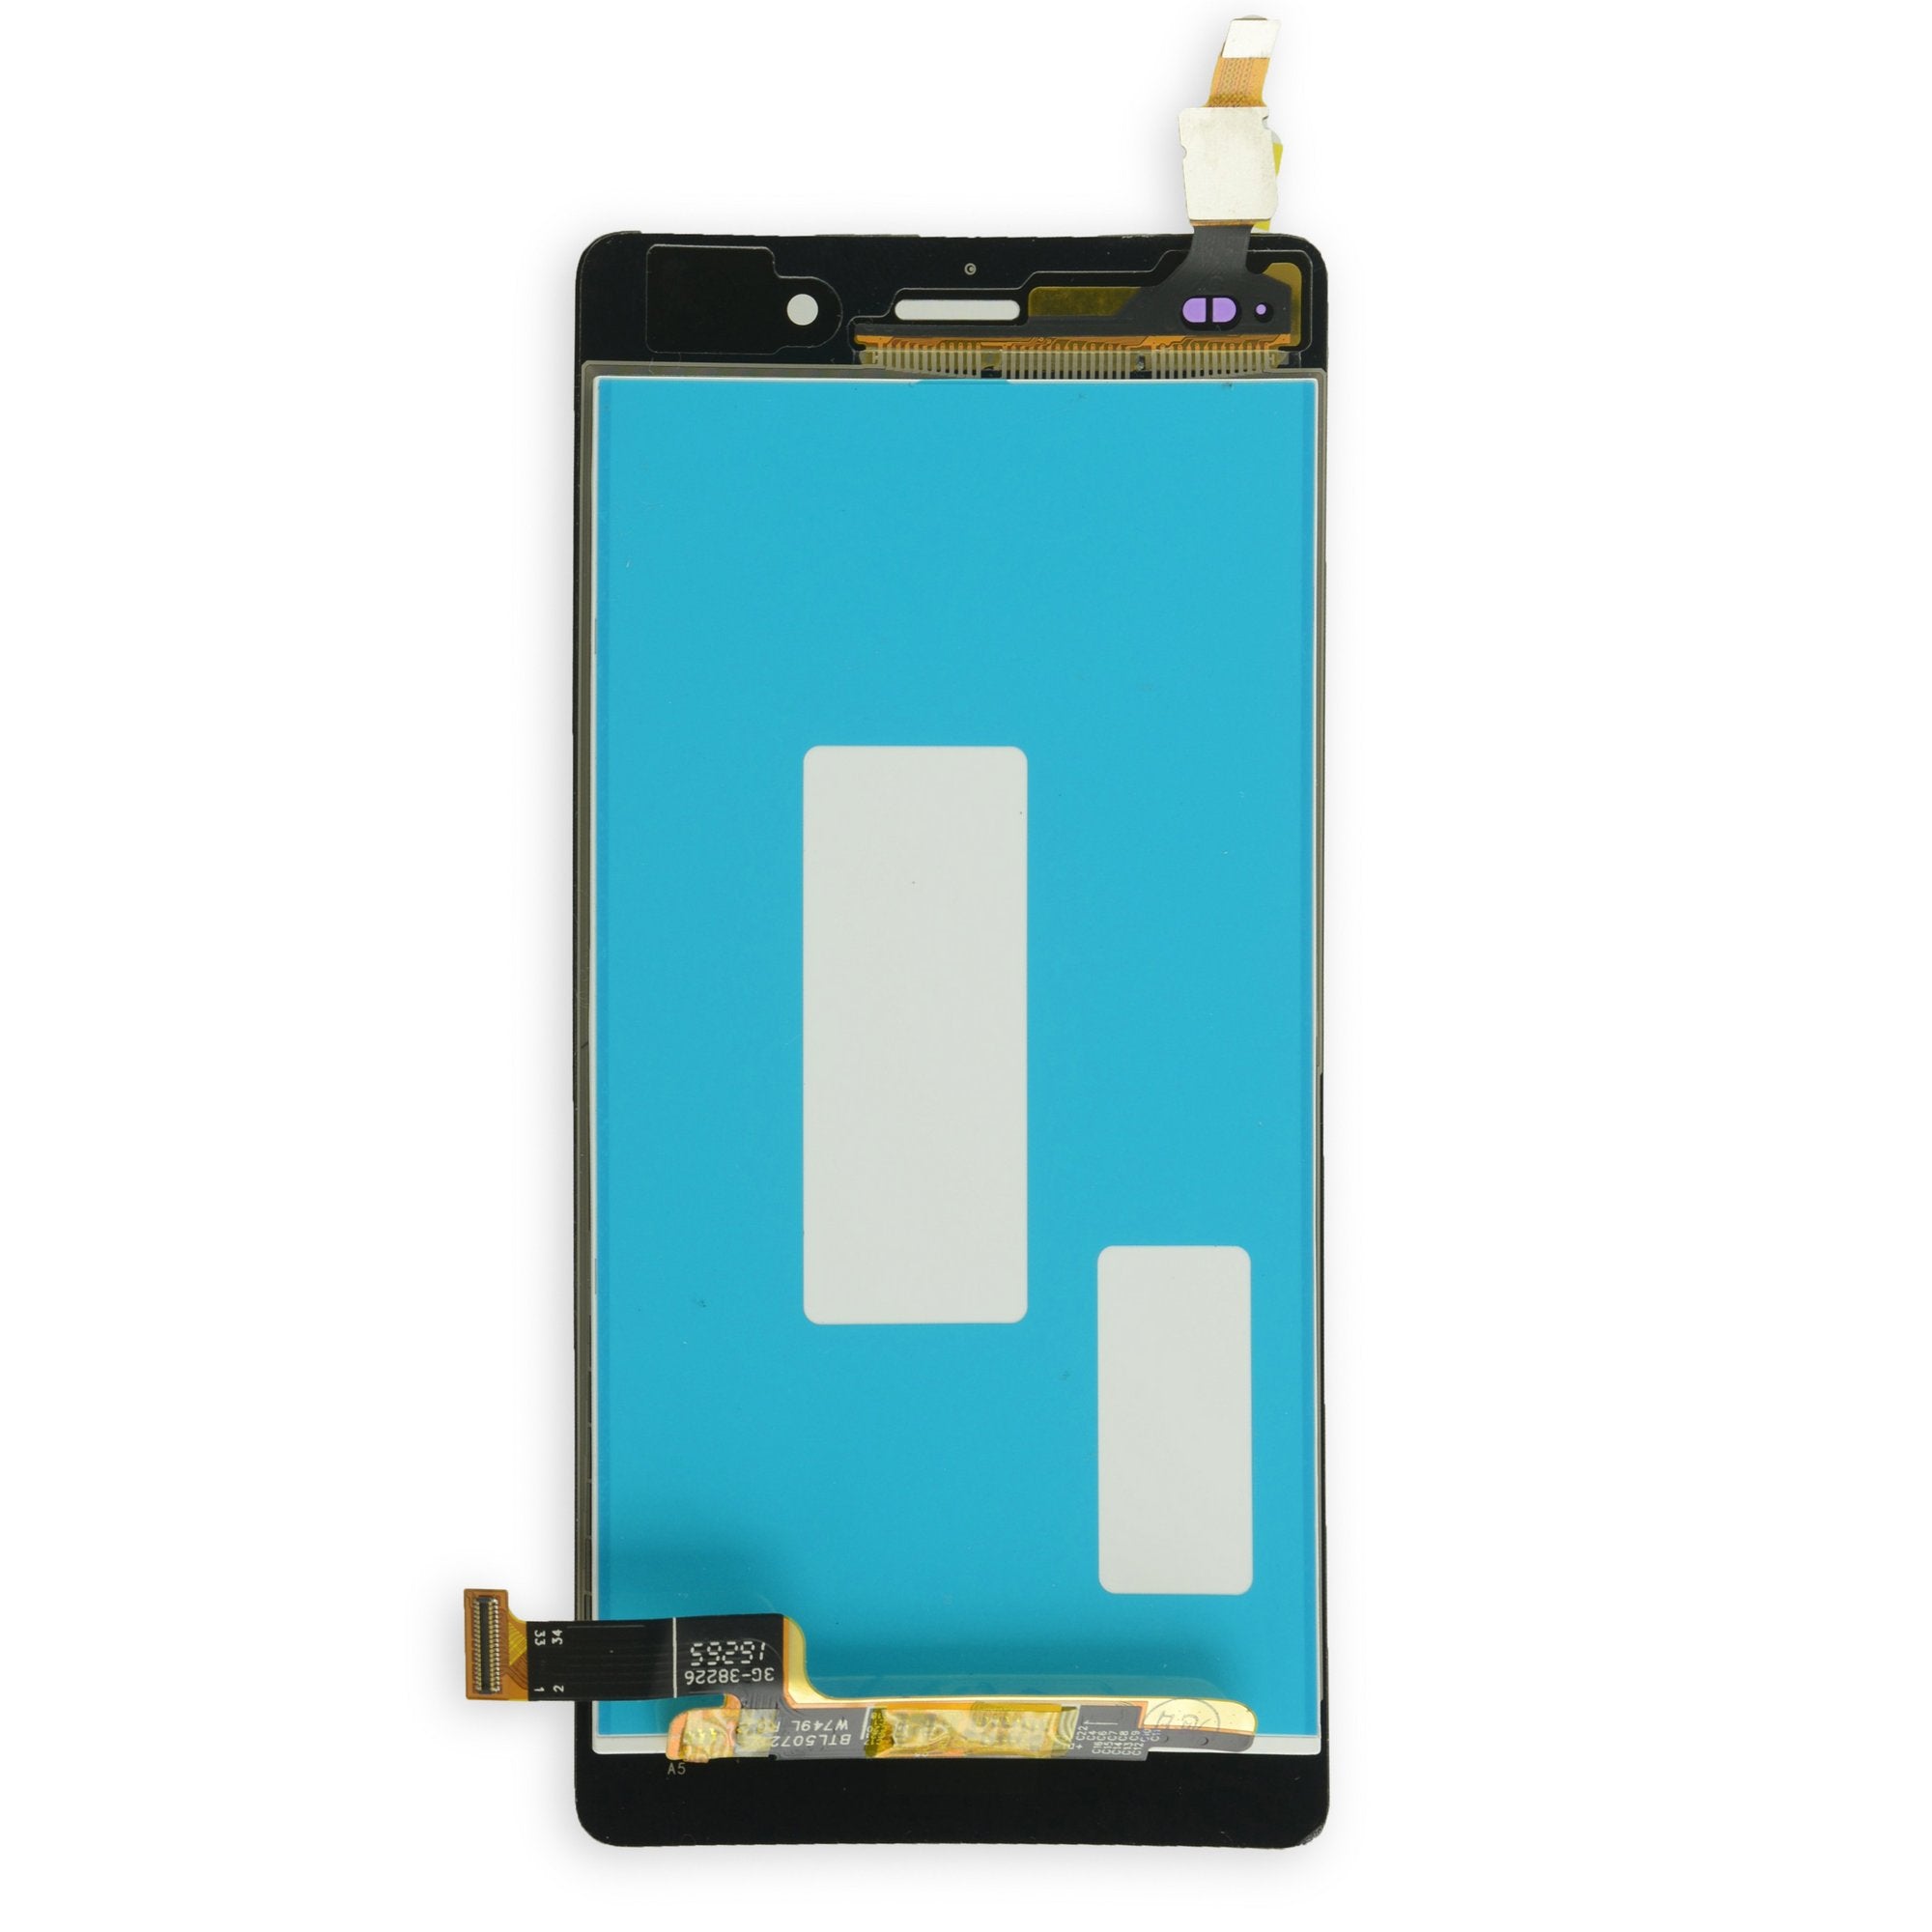
– Place the display on the frame and position the display connector over its contact on the motherboard.
– Carefully push the connector down.
Display connector
2 × 4,0 mm Torx T3
16 × 4,0 mm Torx T3
Make sure the connector clicks into place snugly. If it doesn’t engage right away, no need to go all Hulk on it! Just give it a little readjustment and give it another go. Remember, patience is key! If you need help, you can always schedule a repair.
Step 10
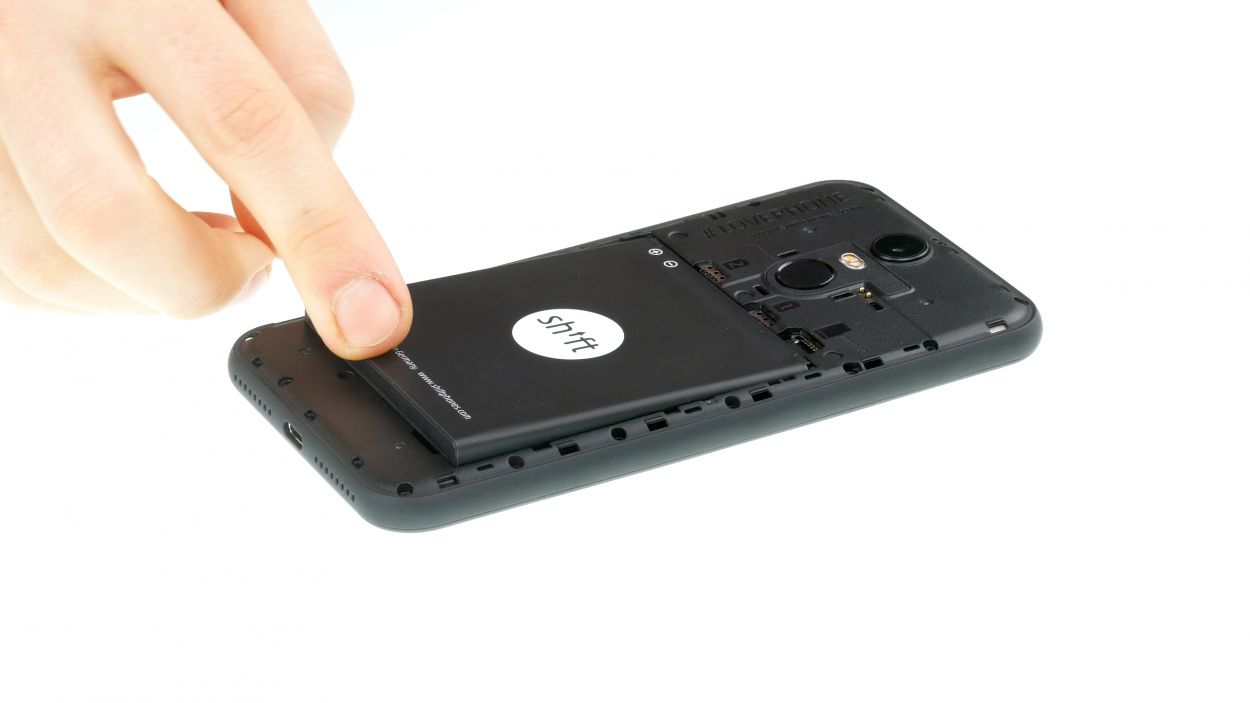
– Give the battery a warm hug and put it back where it belongs.
Step 11

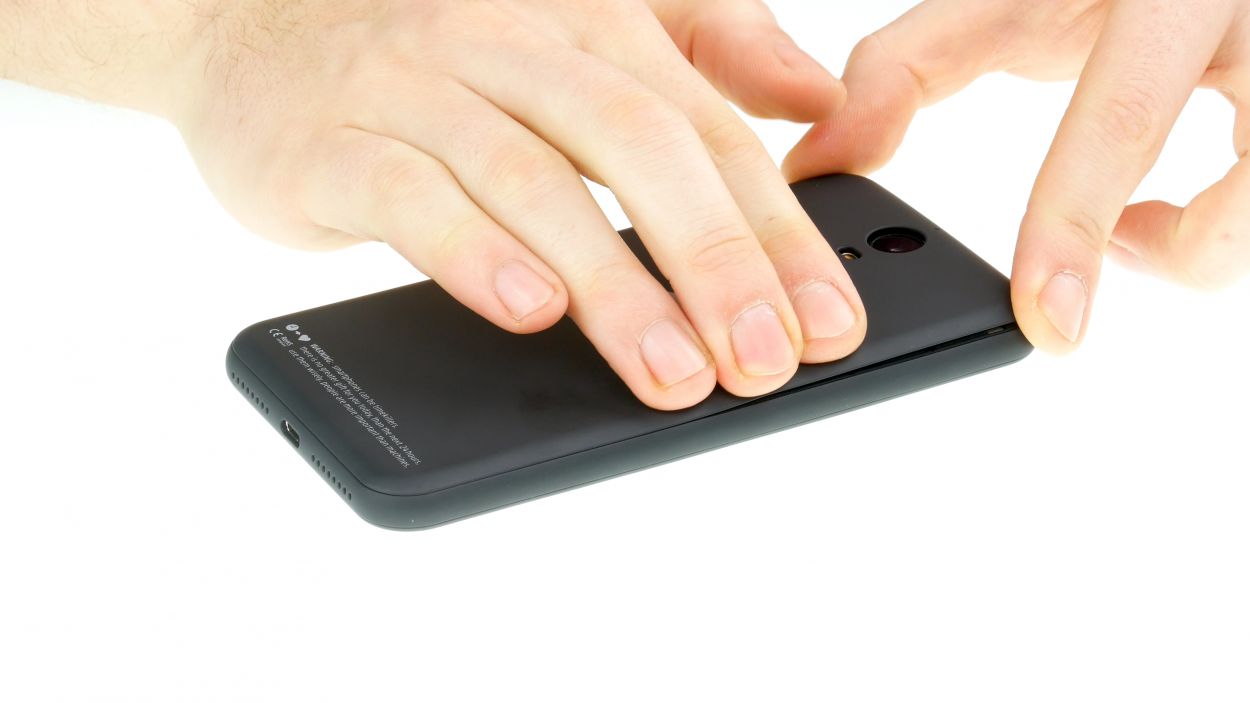
– The back cover is held in place by some sneaky clips along the edges and around the fingerprint sensor opening.
– Give the back cover a gentle press all around until it snugly fits into place.
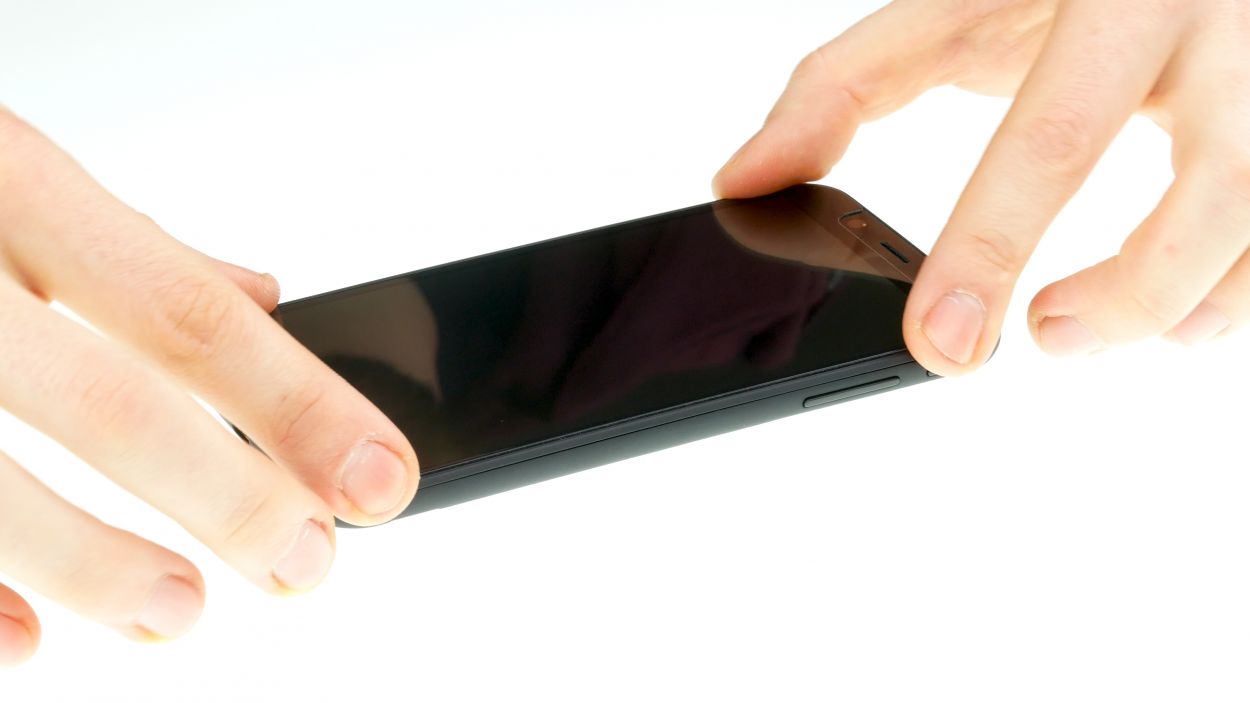
Step 12
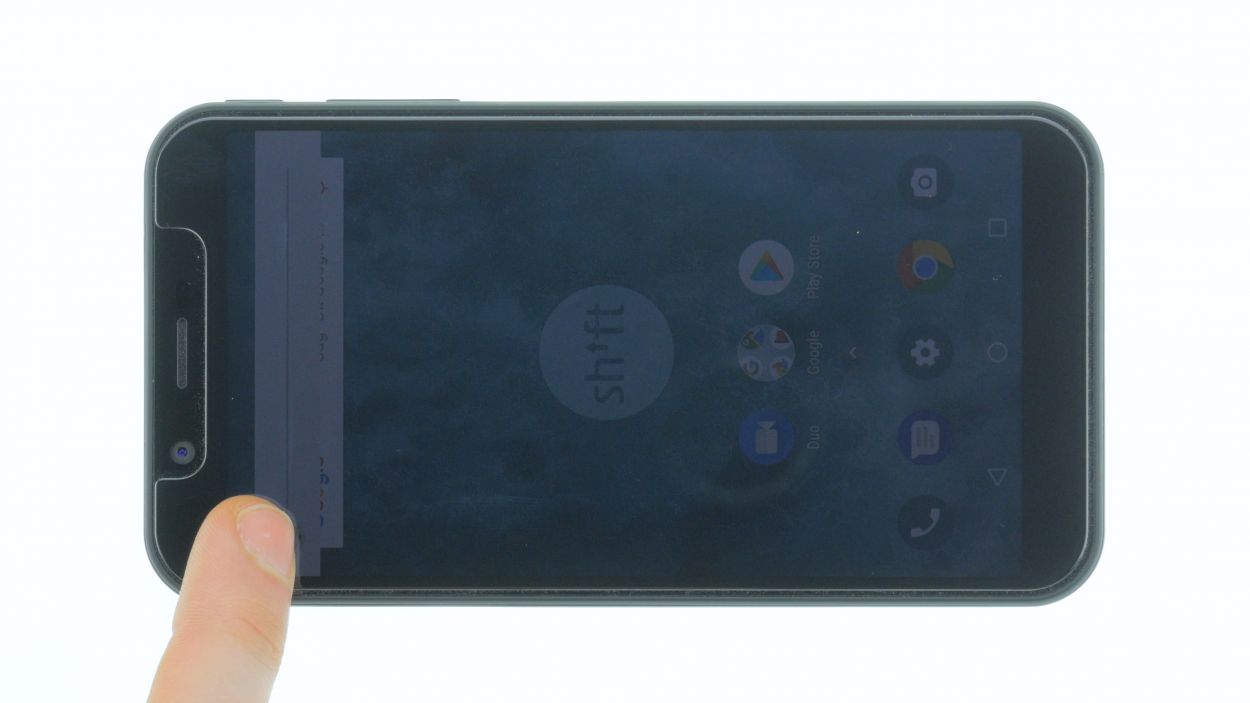

– Fire up your device and give that display brightness a whirl! Slide the brightness slider all the way down to the minimum and then crank it up to the max.
– Next, grab any app and swipe it across the screen to check out the touch function. Move the app all around the edges and then zigzag it across the display. It should always follow your finger like a loyal sidekick!