DIY Shift 6m Screen Replacement Guide: Step-by-Step Tutorial
Duration: 15 min.
Steps: 9 Steps
Is your SHIFT6m screen looking a bit cracked or is the touchscreen playing hard to get? No worries! The SHIFT6m is built for easy repairs, so you can tackle this yourself! Just remember to back up your data, set up a tidy workspace, and take your time. If you hit a snag, feel free to reach out through our live chat or drop a comment on the step you’re on. You’ve got this!
Step 1


– First things first, let’s give your device a little break! Press and hold that power button until you see the ‘Power off’ option pop up.
– Now, just tap that option with your finger to confirm you want to shut down your SHIFT6m. Sit tight and wait for the screen to go dark—it’s like a little nap for your device!
Step 2
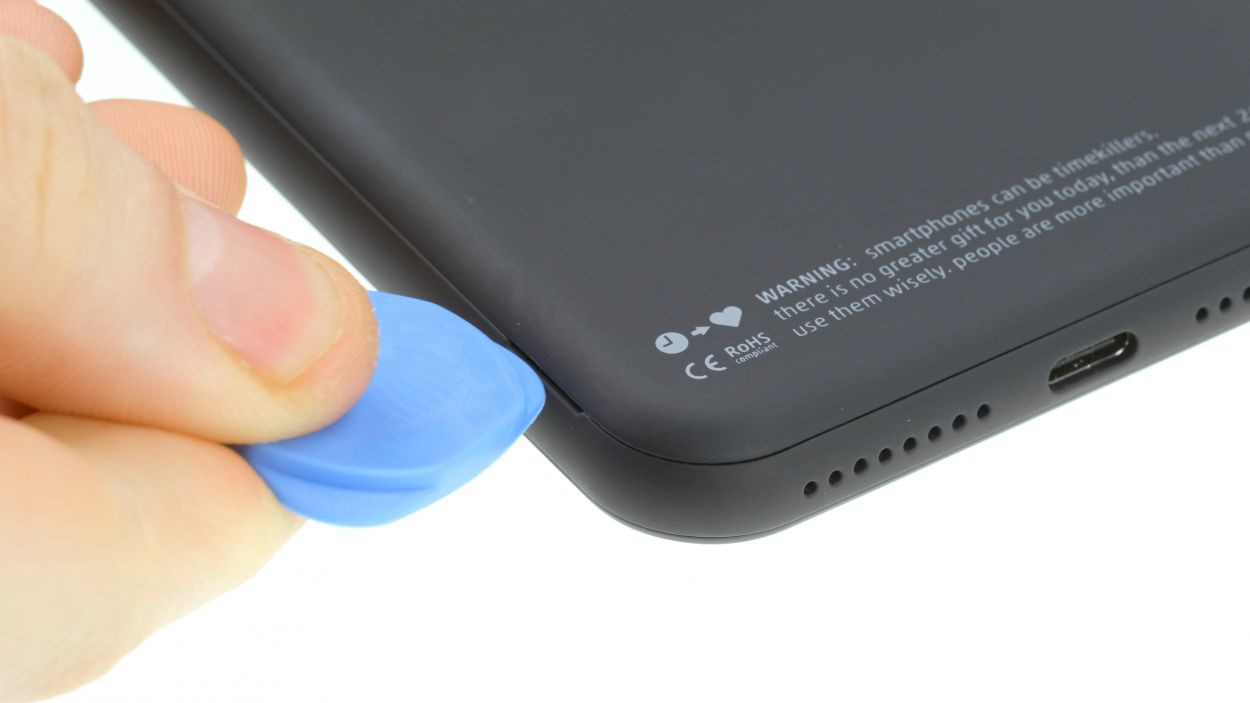
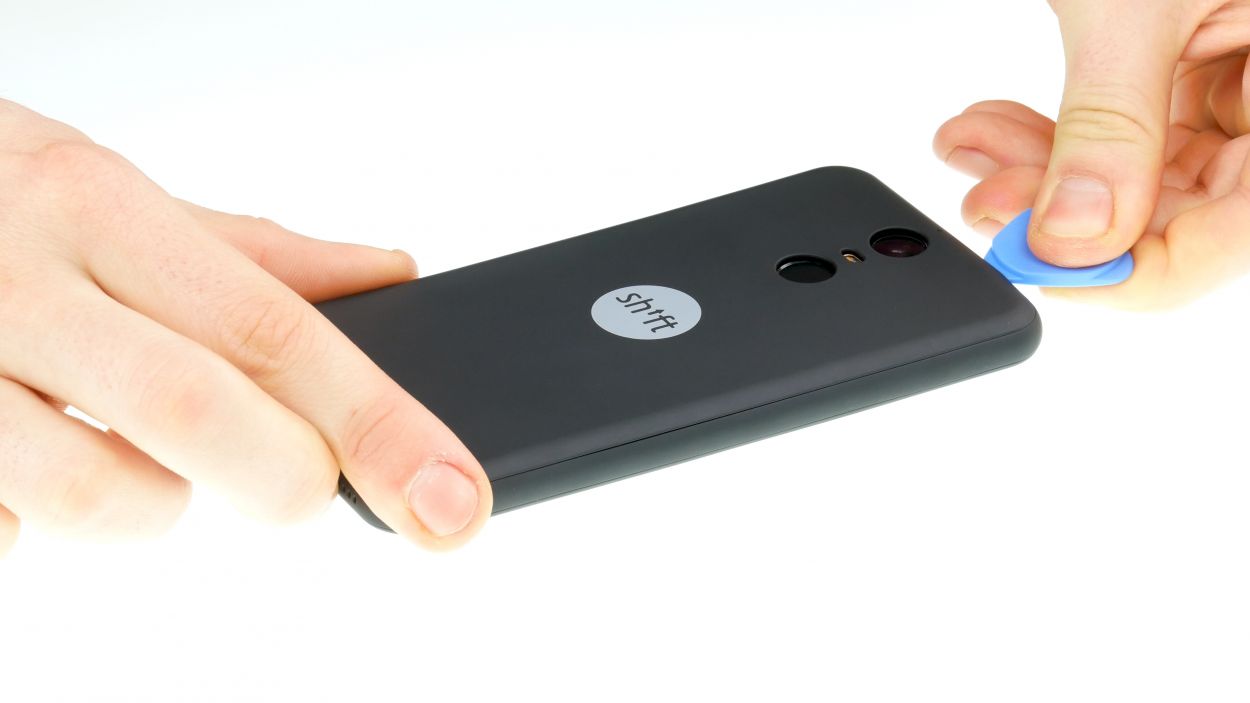
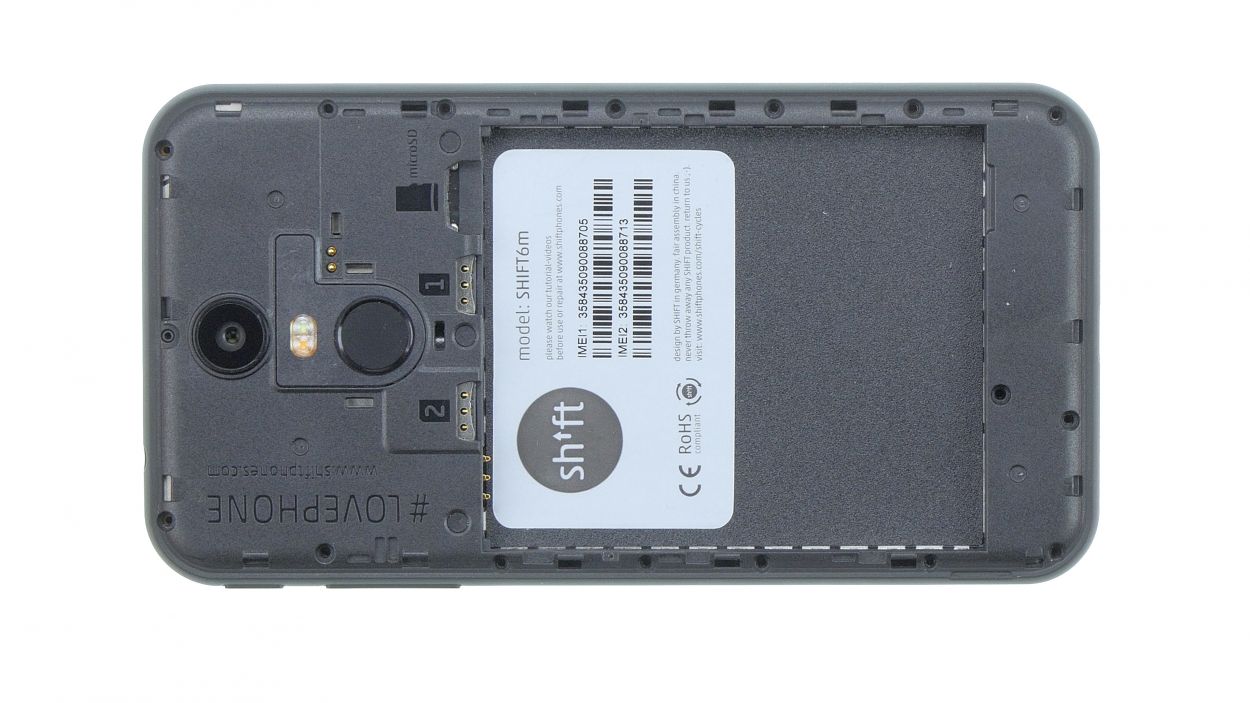
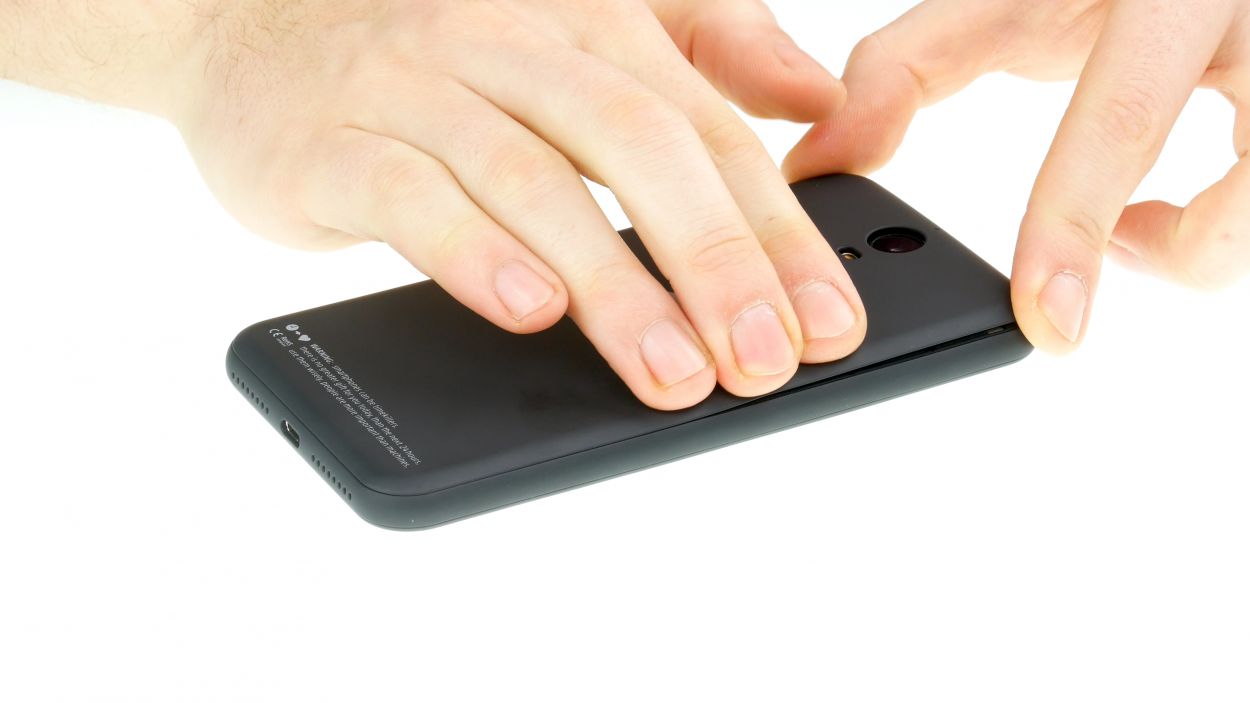
– Grab a plectrum or your trusty fingernail and gently slide it into the little notch in the bottom left corner. Now, give it a gentle tug to pop off that back cover!
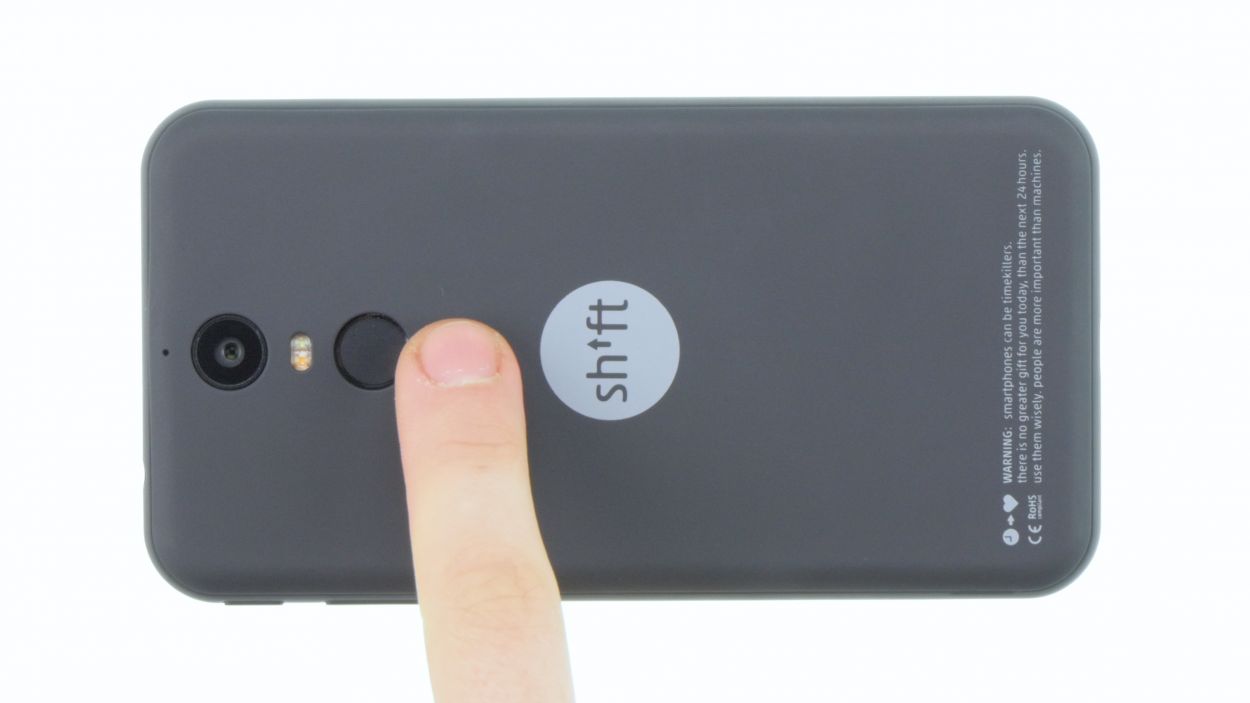
– Next, take your time to work around and loosen all the clips. Just a heads up: the back cover is snugly hooked around the fingerprint sensor. You might need to apply a bit more effort in that spot to free it up.
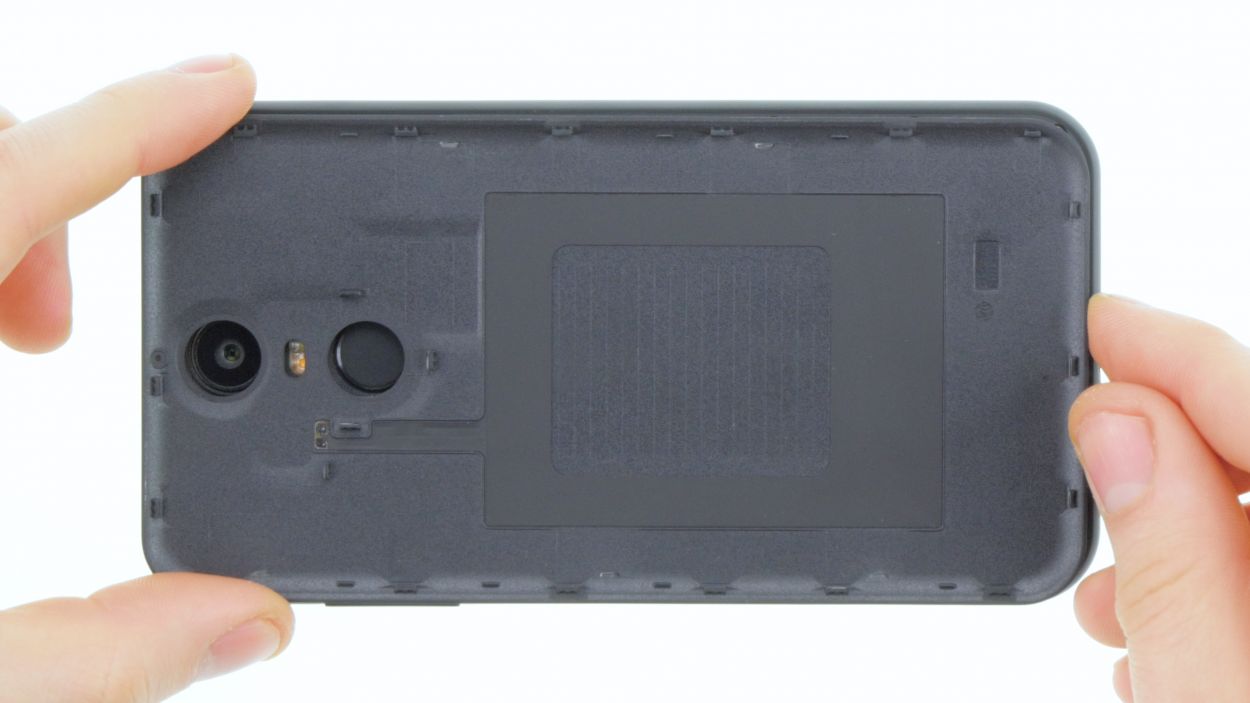
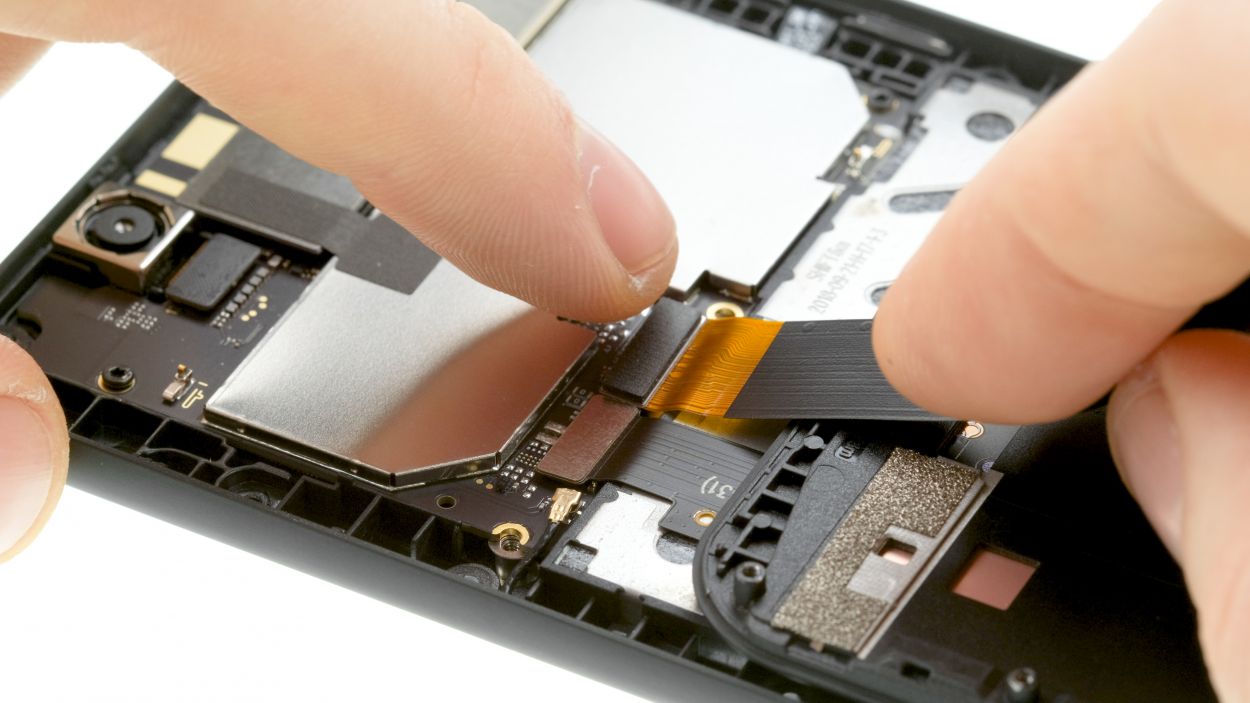
Step 3
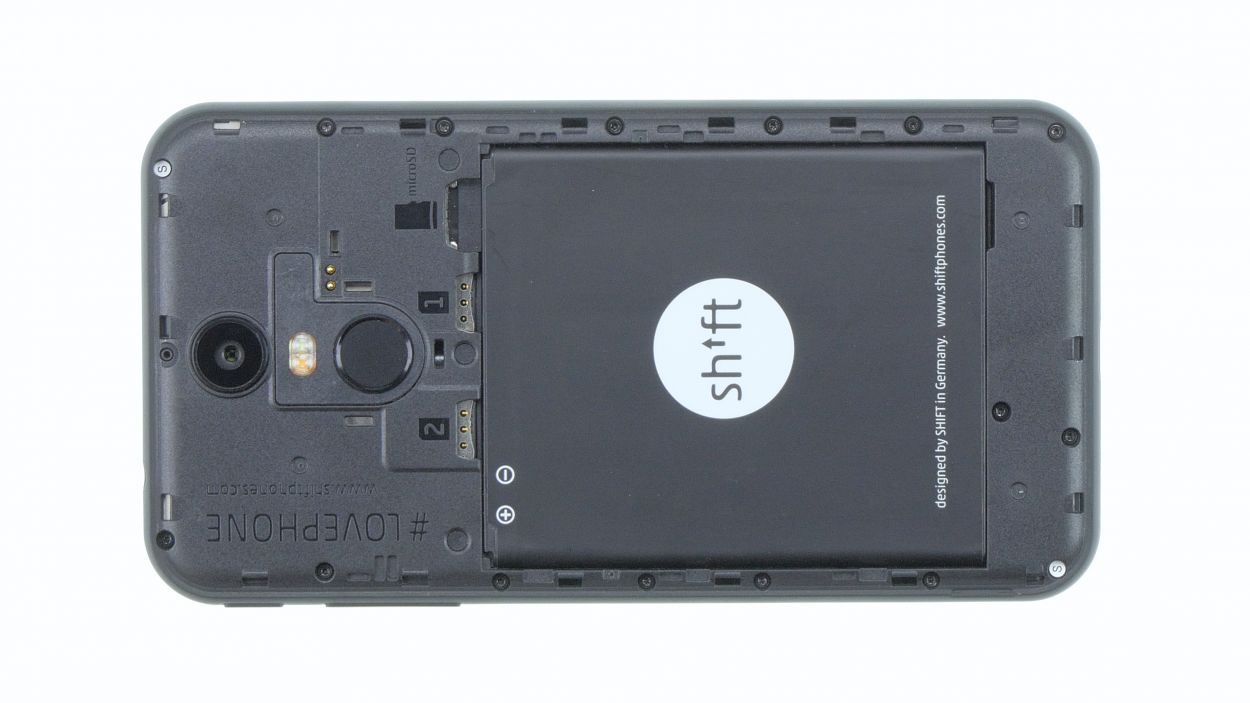
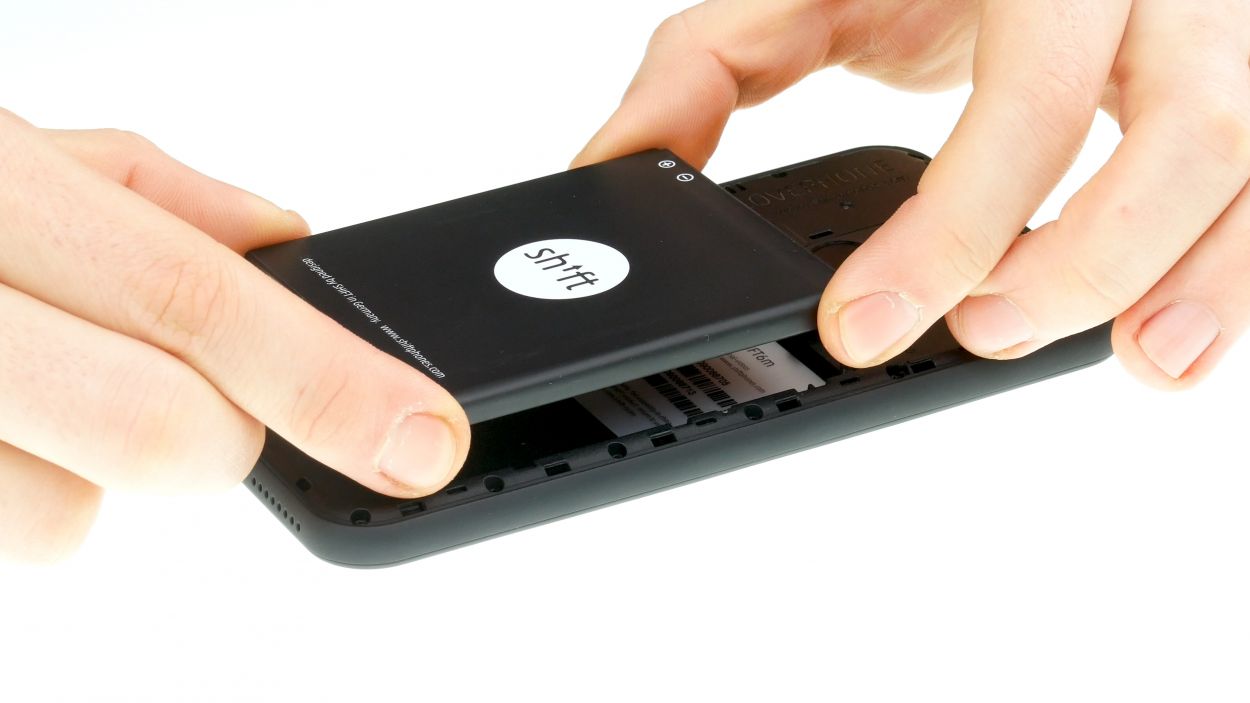
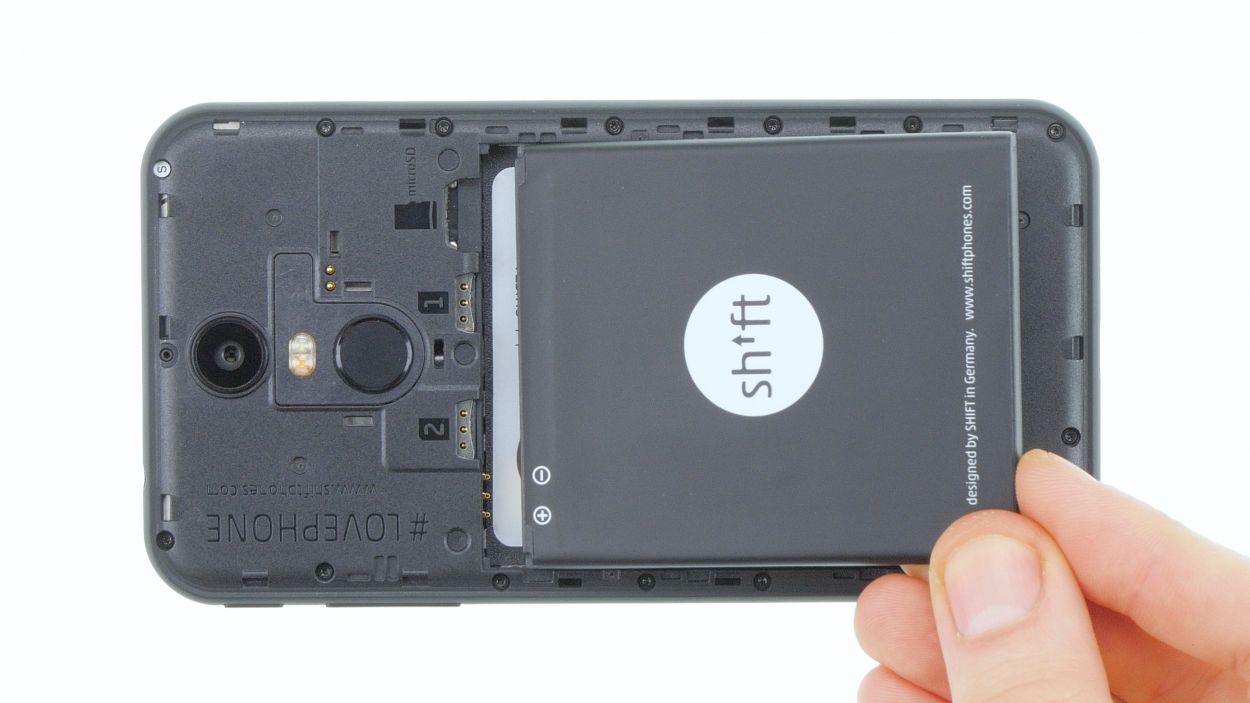
– To free up the battery, just give it a little lift from the notch located in the lower right corner and pull it out gently from the device. You’ve got this!
Step 4

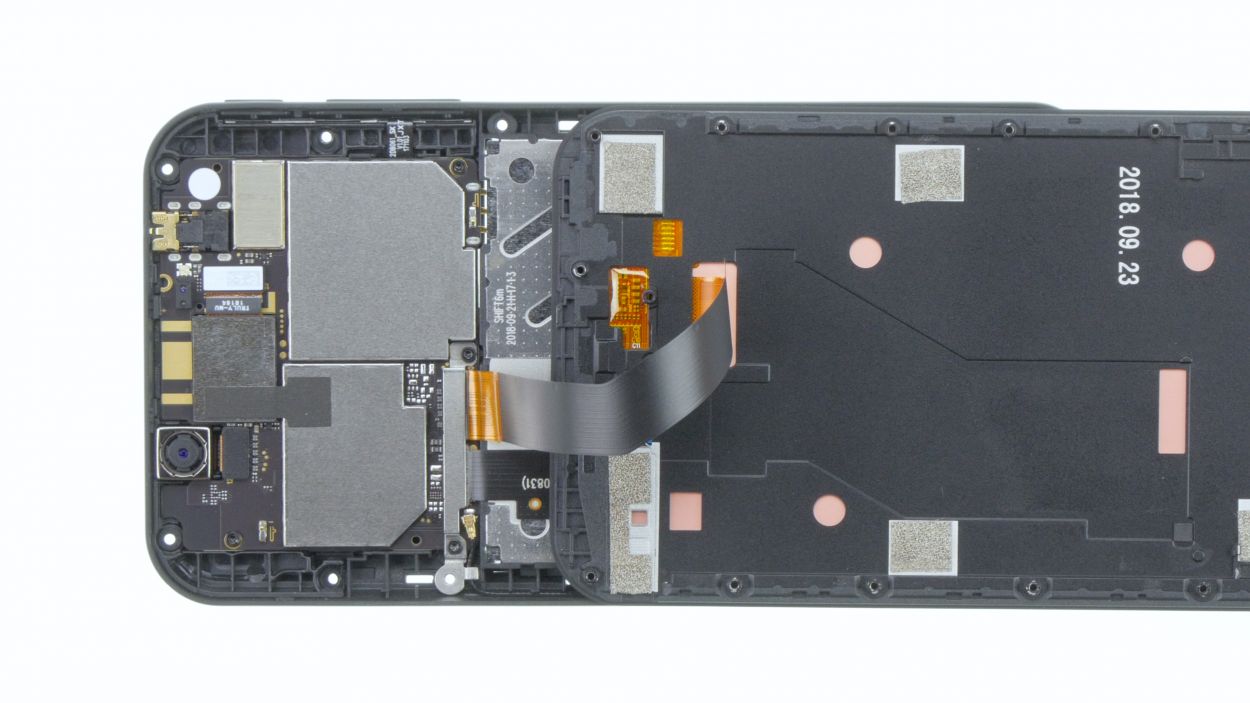
16 × 4,0 mm Torx T3
2 × 4,0 mm Torx T3
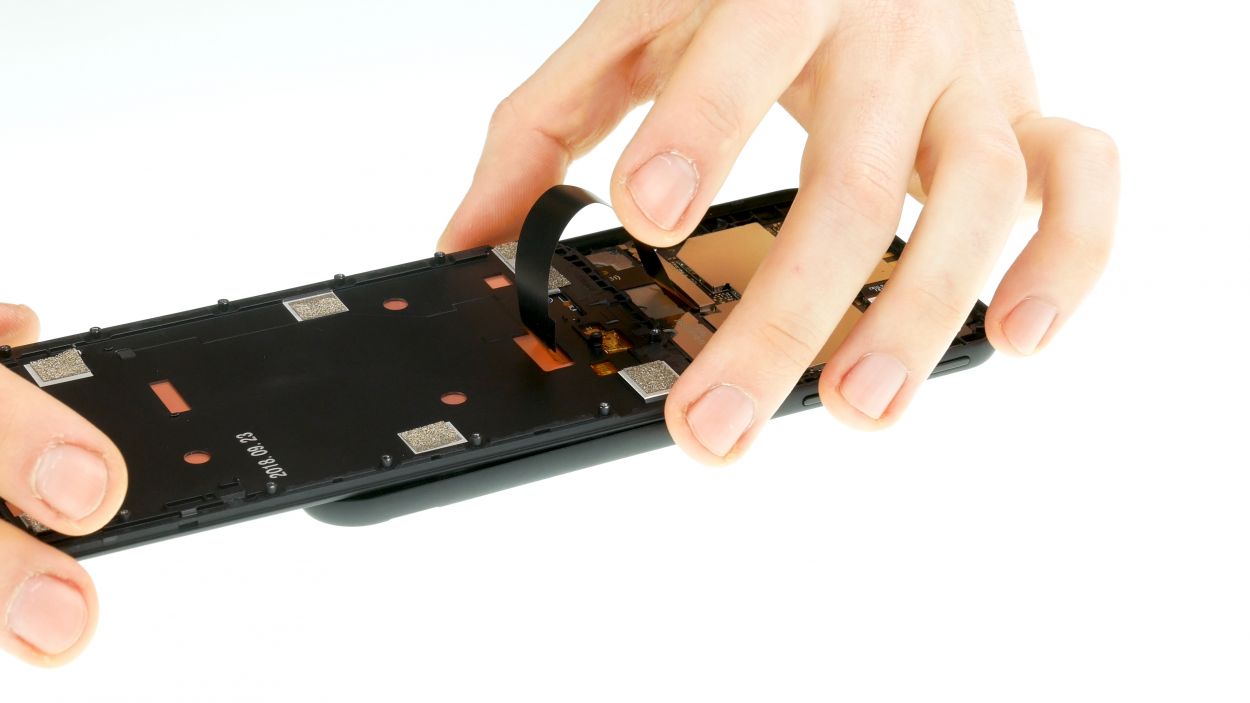
Display connector
– Grab your trusty Torx T3 screwdriver and loosen all those screws. You’ve got this!
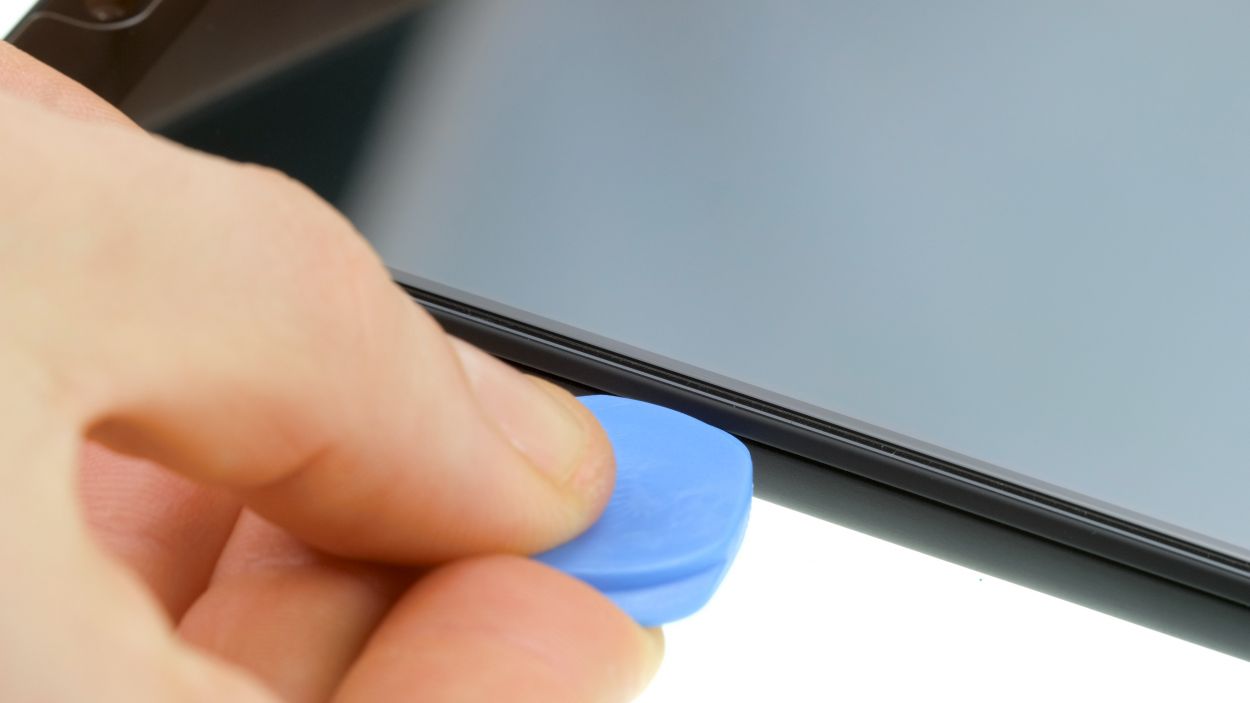
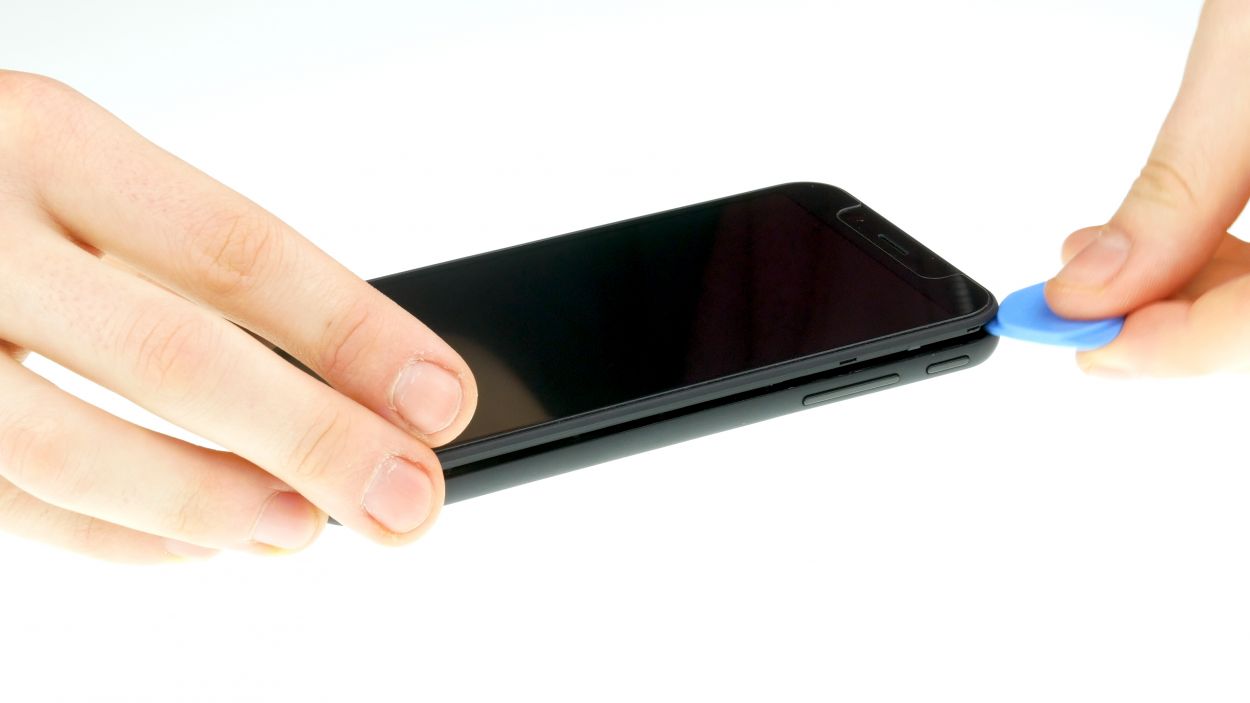
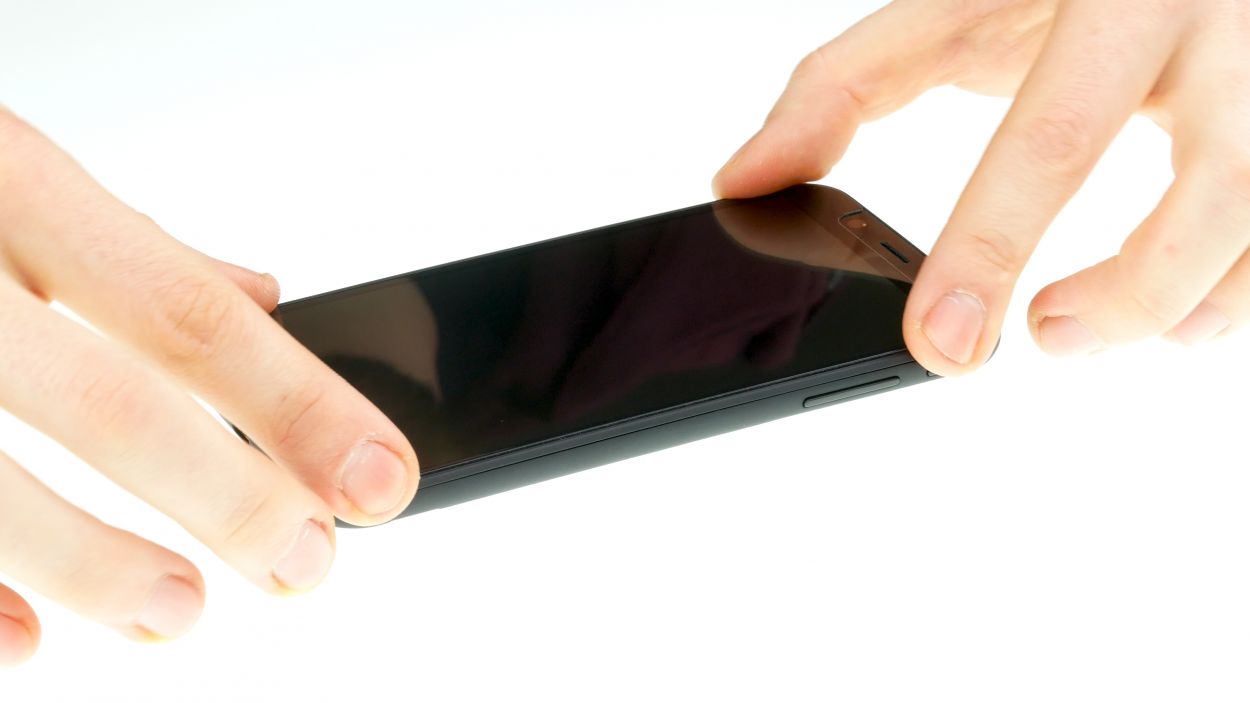
– Next, flip the SHIFT6m over and slide a plectrum or your fingernail in the gap between the plastic frame and the display.
– Go ahead and slide all around the display once to gently release it. You’re doing great!
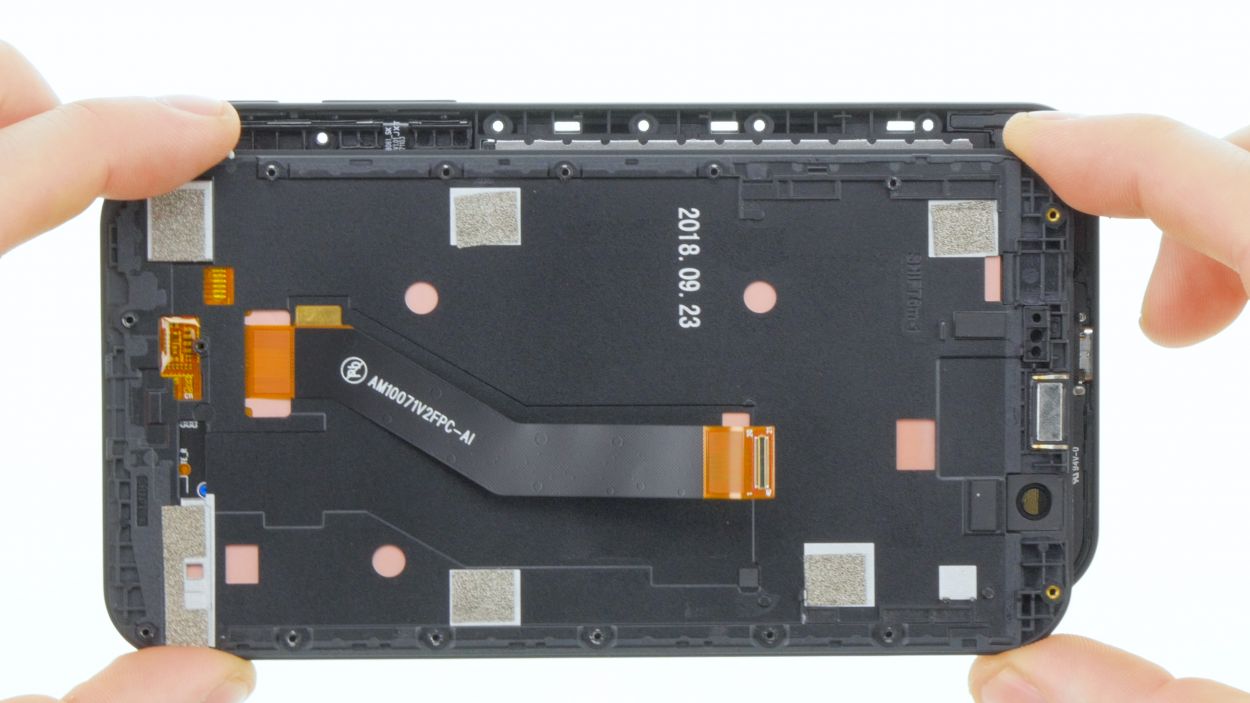
Step 5
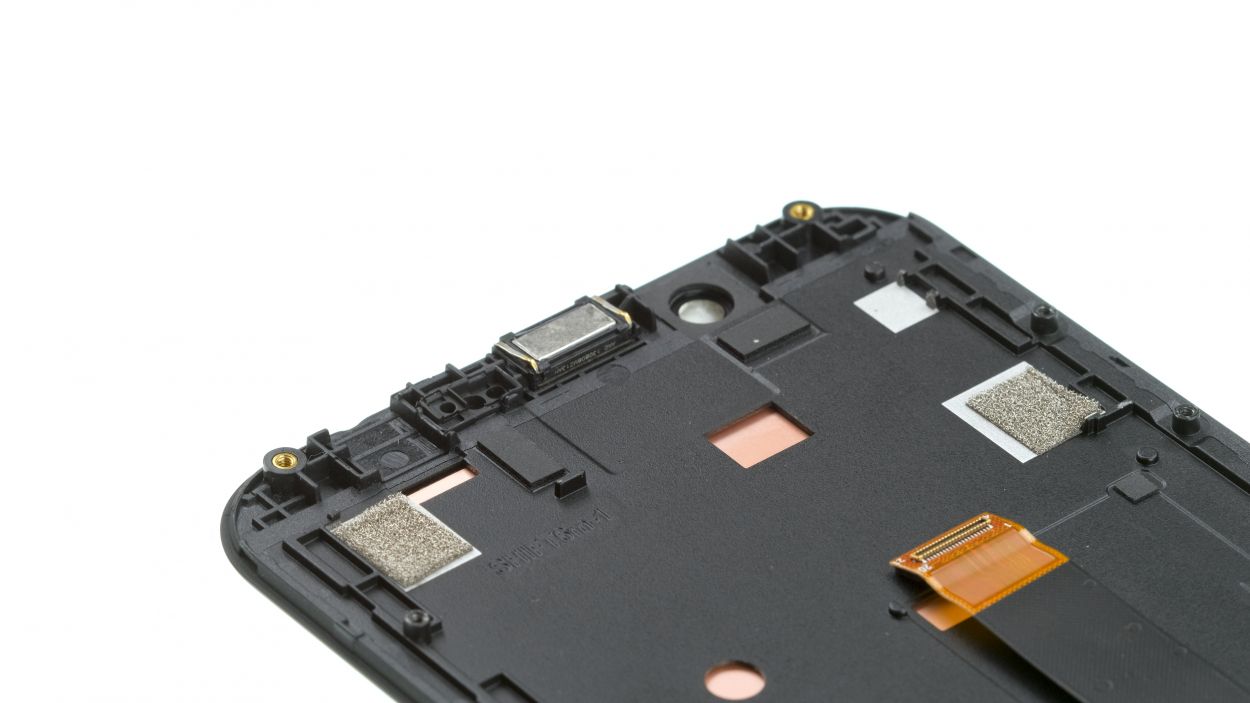
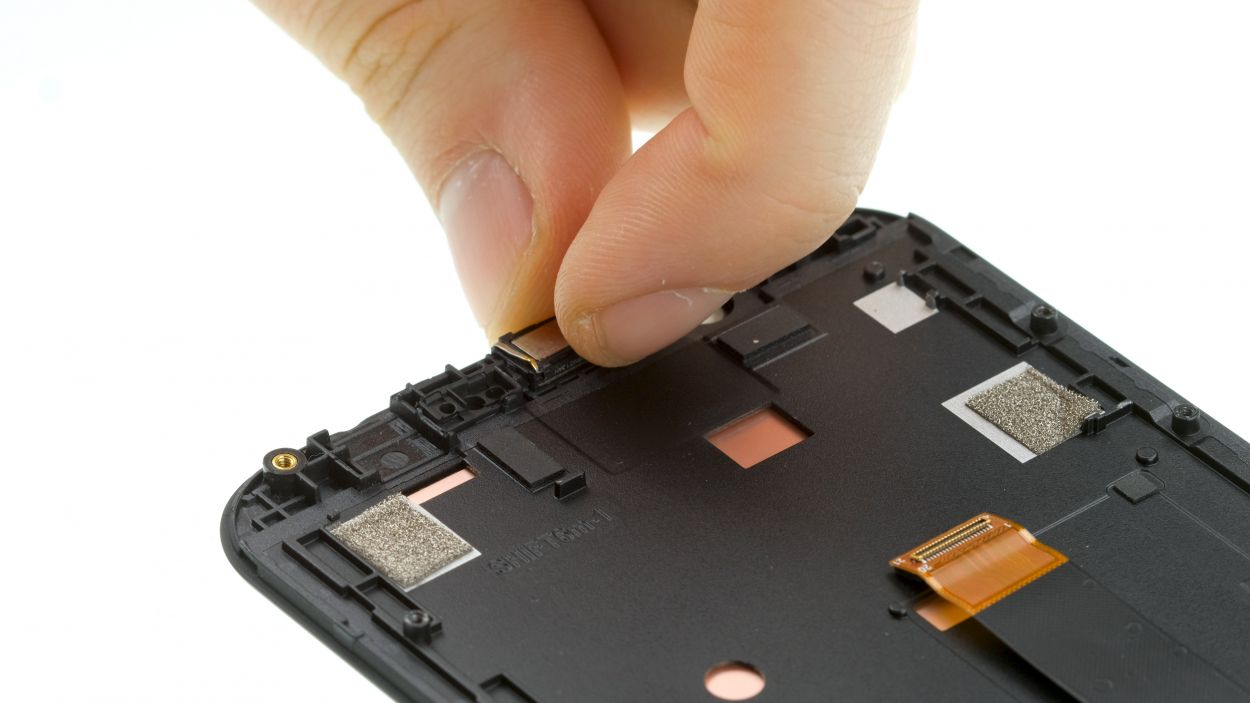
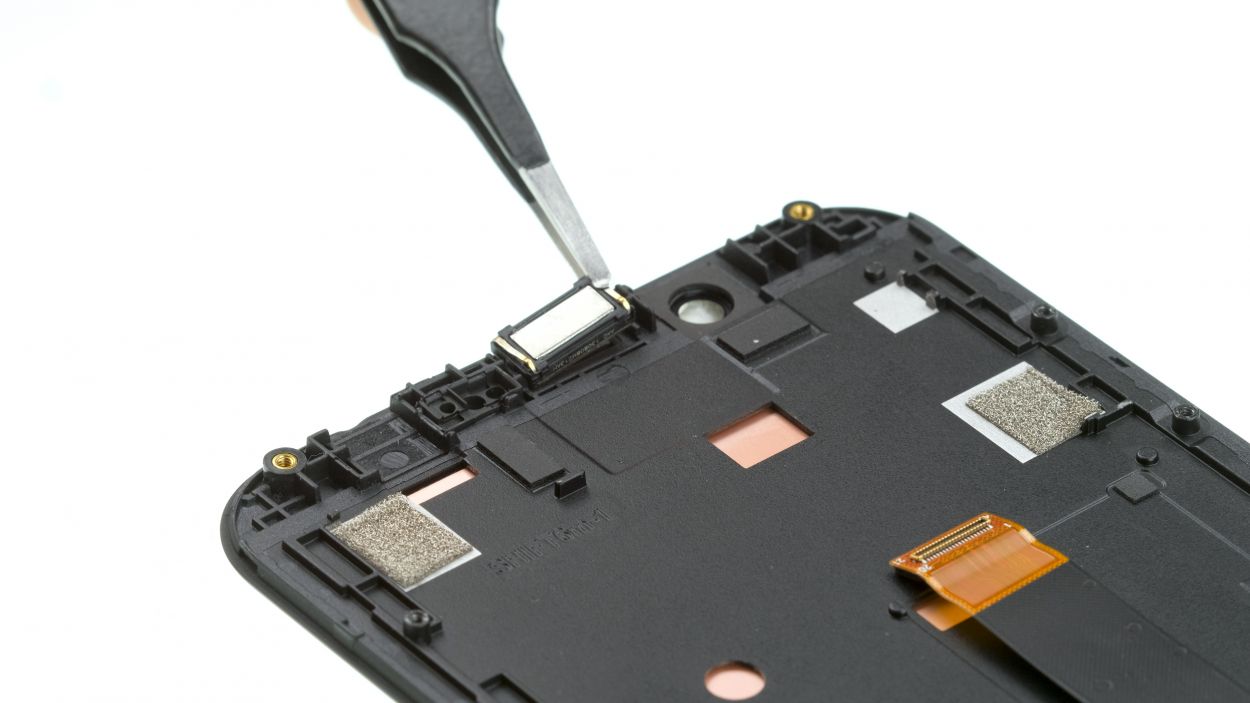
– Let’s get that earpiece swapped! Carefully move it from your old screen to the shiny new one.
– That little earcup’s glued down, but don’t worry, gently peel it off. Keep an eye on those golden spring contacts – they’re important!
– Pop the earpiece onto your new display and give it a gentle press. Double-check those contacts are facing the right way. Easy peasy!
Step 6
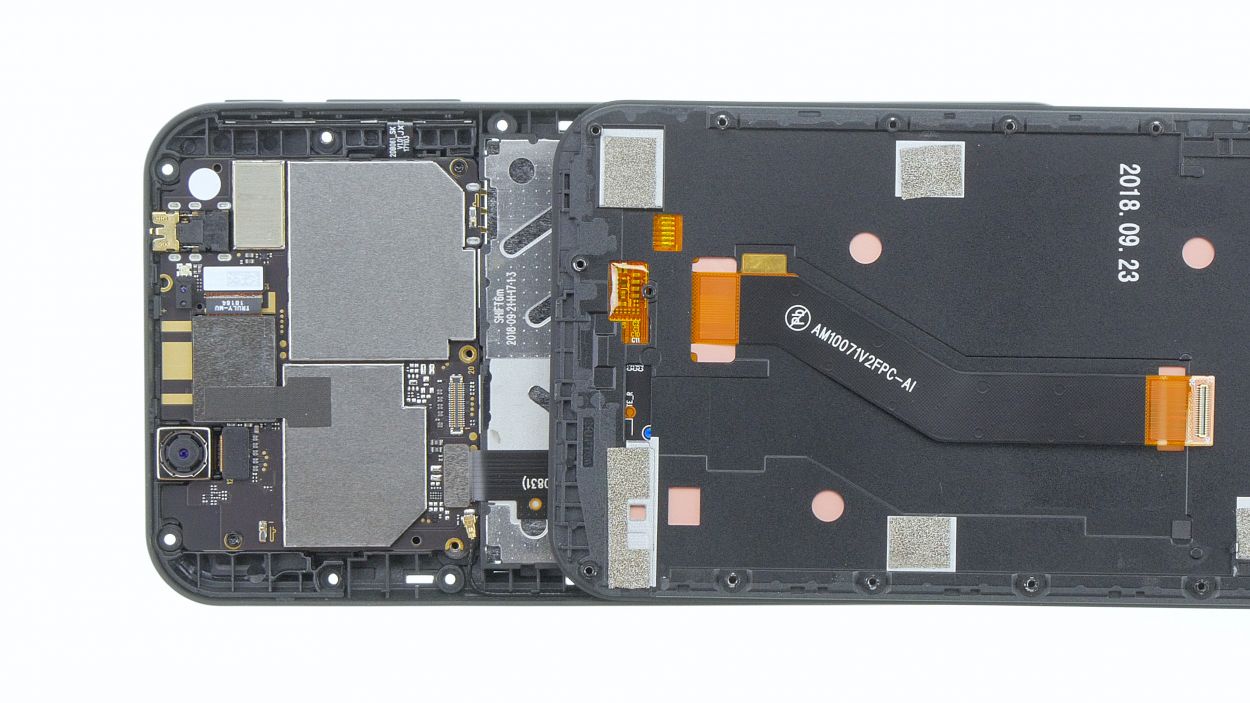

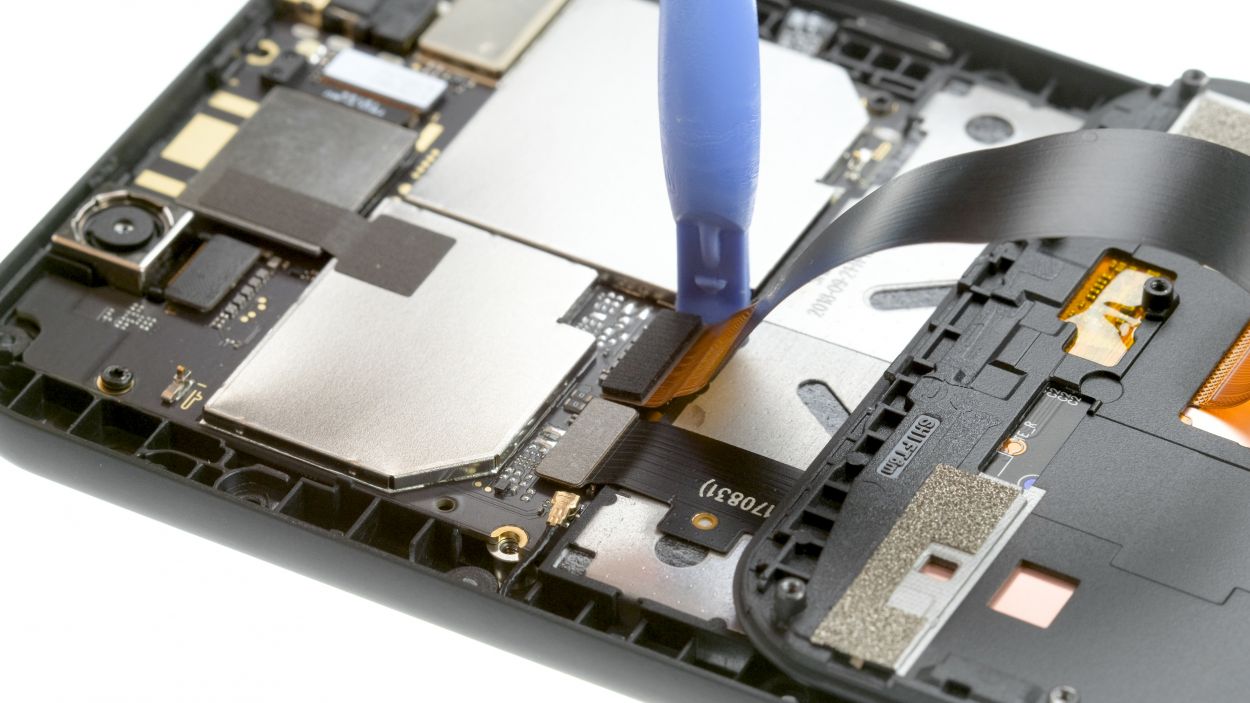
Display connector
2 × 4,0 mm Torx T3
16 × 4,0 mm Torx T3
Make sure the connector clicks into place with a gentle nudge. If it doesn’t snap in right away, no need to muscle it down! Just give it another shot by repositioning the connector and trying again. Remember, patience is key! If you need help, you can always schedule a repair.
– Set the display snugly onto the frame, making sure that the display connector aligns perfectly with its spot on the motherboard.
– Gently press down on the connector to secure it in place.
Step 7
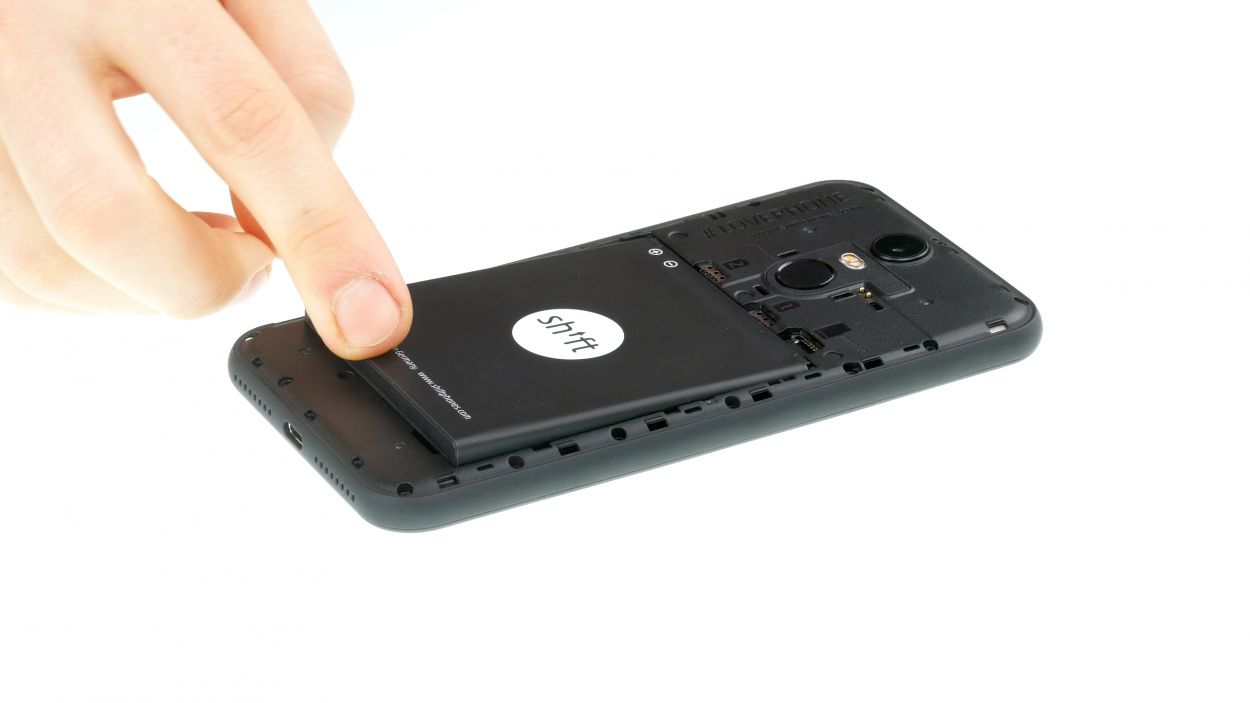
– Get that battery back in its cozy spot!
Step 8

– The back cover is held in place by some sneaky clips along the edges and around the fingerprint sensor opening.
– Give the back cover a gentle press all around until it snugly fits into place.
Step 9
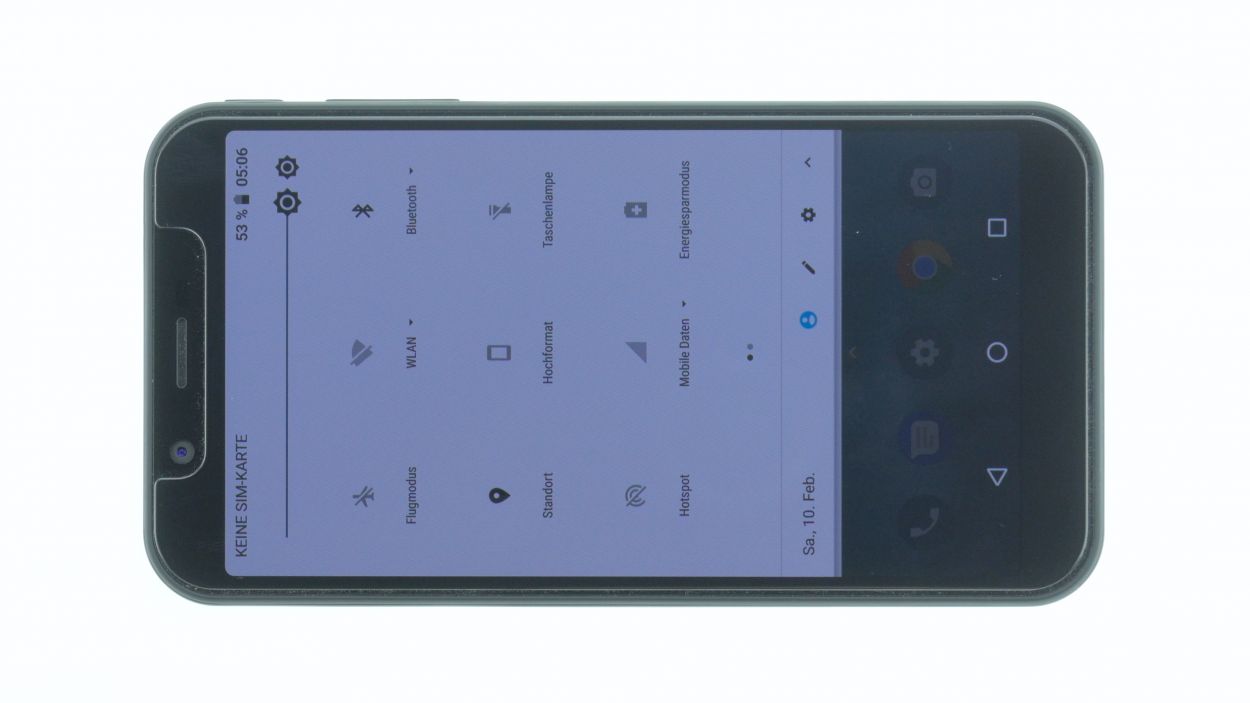

– Power up your device and give that display brightness a whirl by dragging the slider from the dimmest low to the brightest high. Let’s see what it can do!
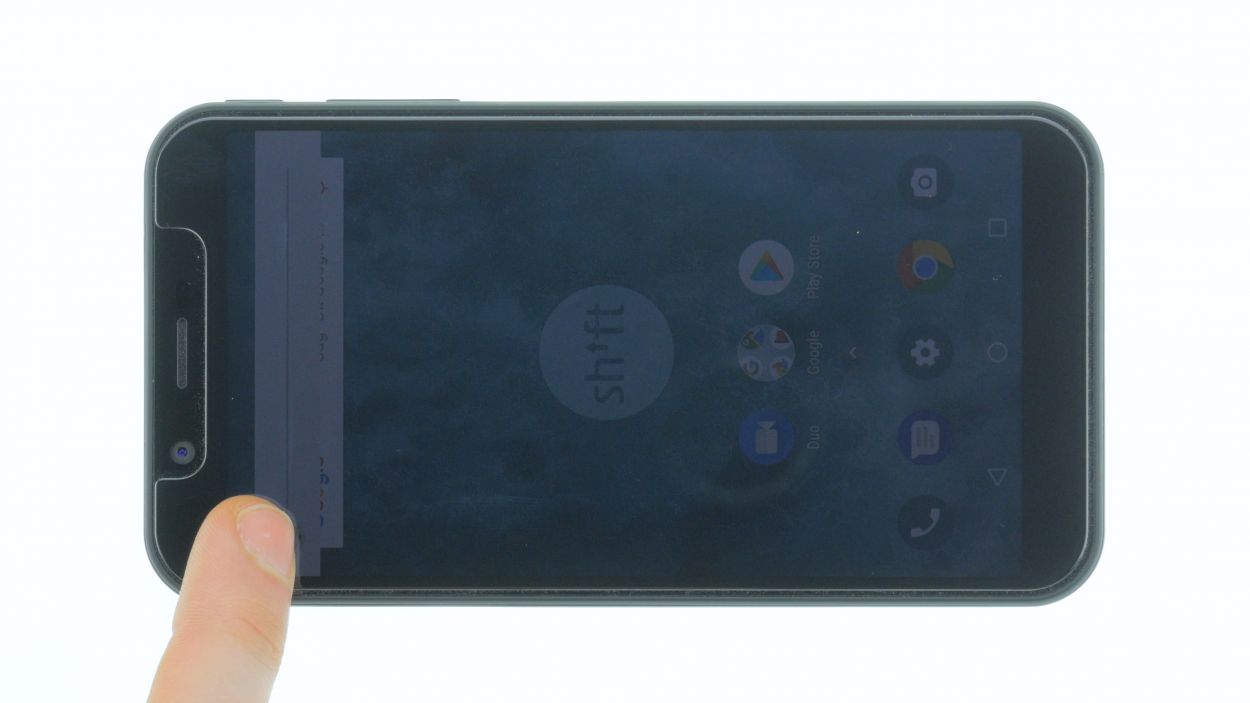
– Next, grab any app and slide it across the screen to check how well the touch feature is working. Feel free to glide it around the edges and make a fun zigzag pattern. Your app should always be right there, keeping up with your finger!


