DIY Guide to Replacing SHIFT6m One Control Button Flex Cable
Duration: 45 min.
Steps: 14 Steps
The SHIFT6m is built with repair in mind, making it super easy for you to tackle the job yourself! Before diving in, remember to back up your data, set up a tidy workspace, and take your time. If you hit a snag, don’t hesitate to reach out through our live chat or drop a comment on the step you’re on. We’re here to help!
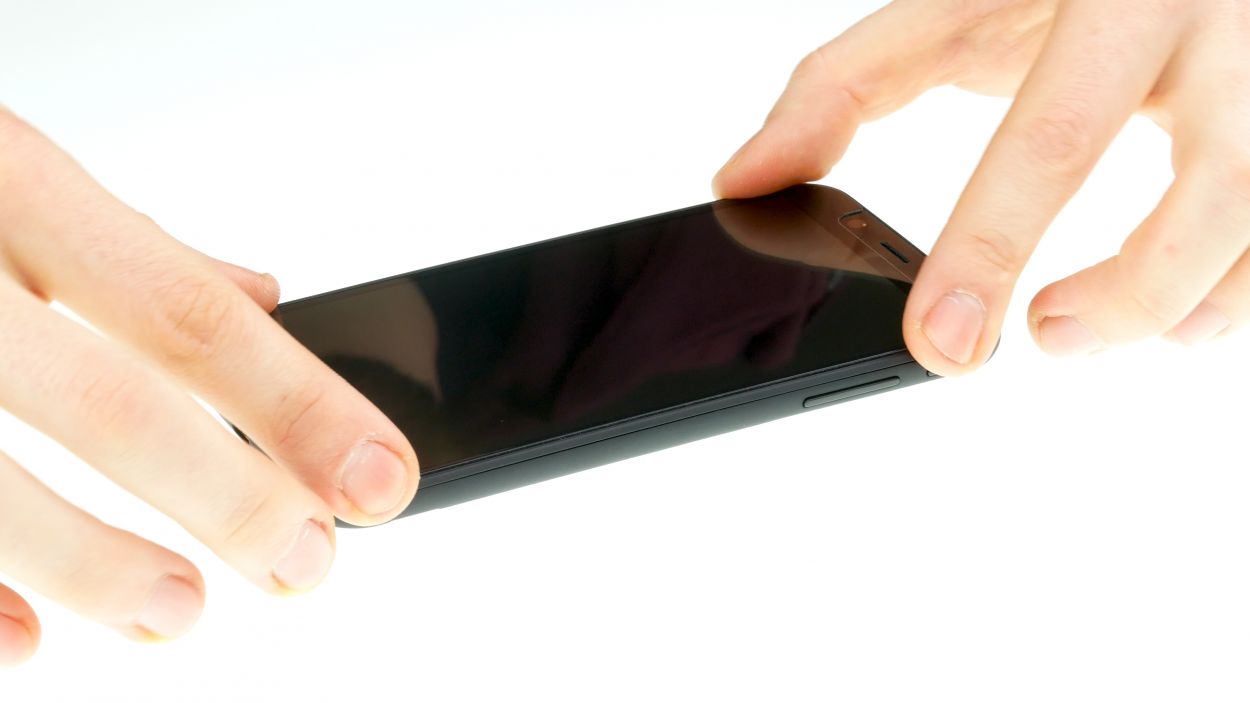
Step 1


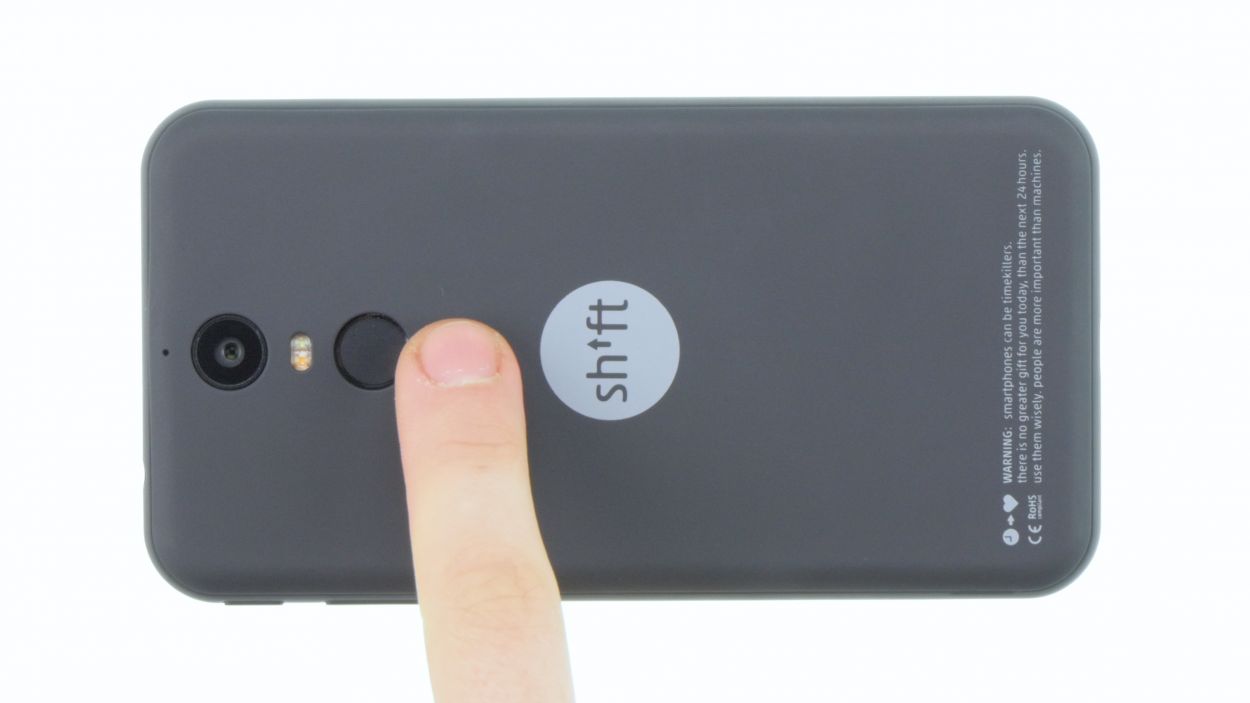
– Turn off your device by holding down the power button until the “Power off” option appears.
– Use your finger to confirm that you want to shut down your SHIFT6m and wait until the screen goes blank.
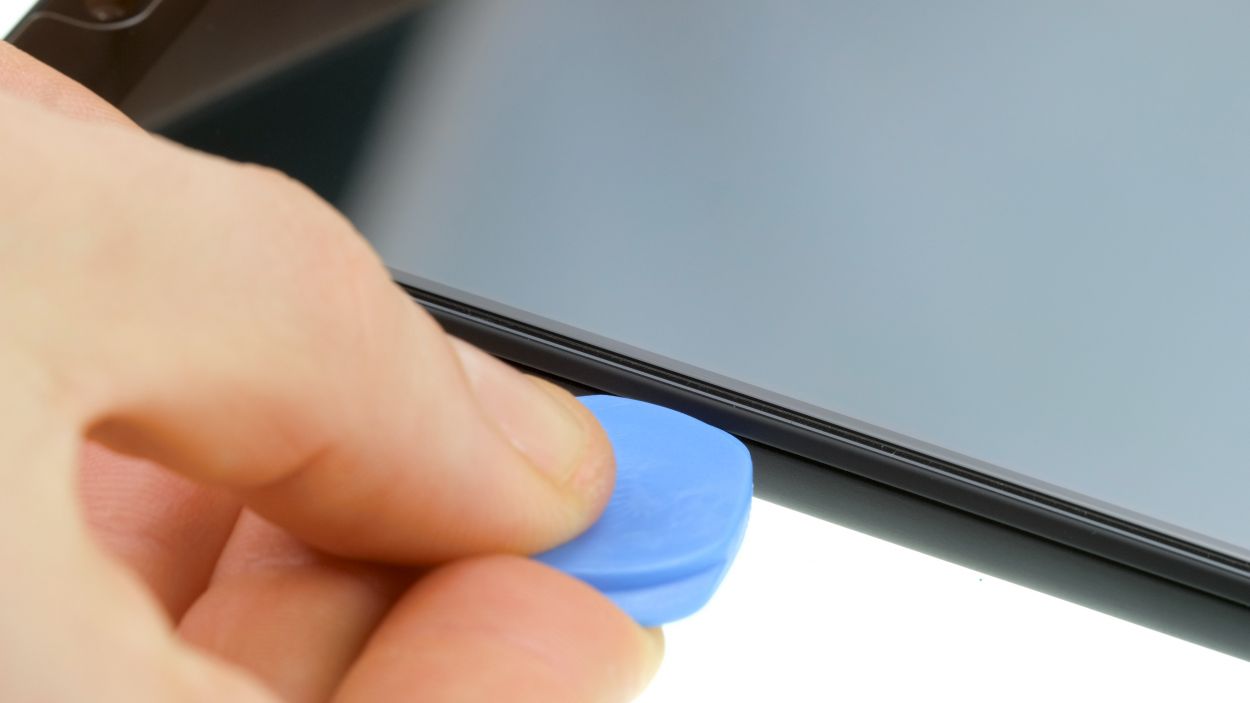
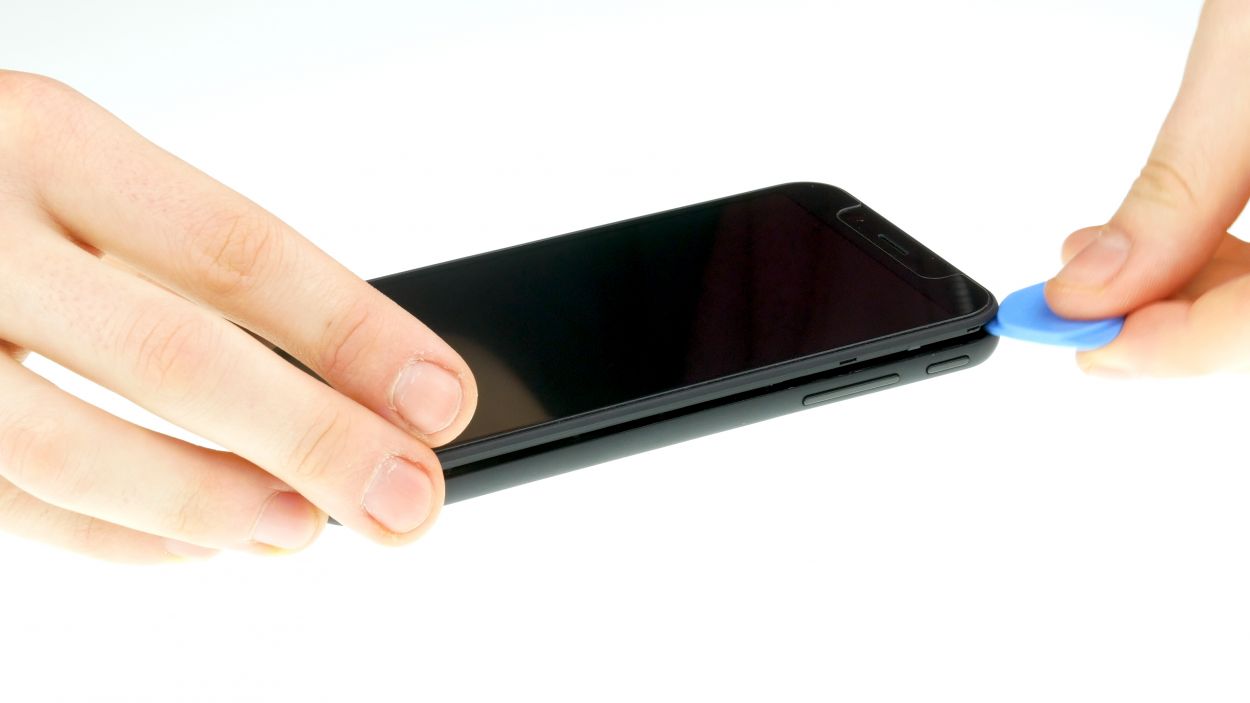
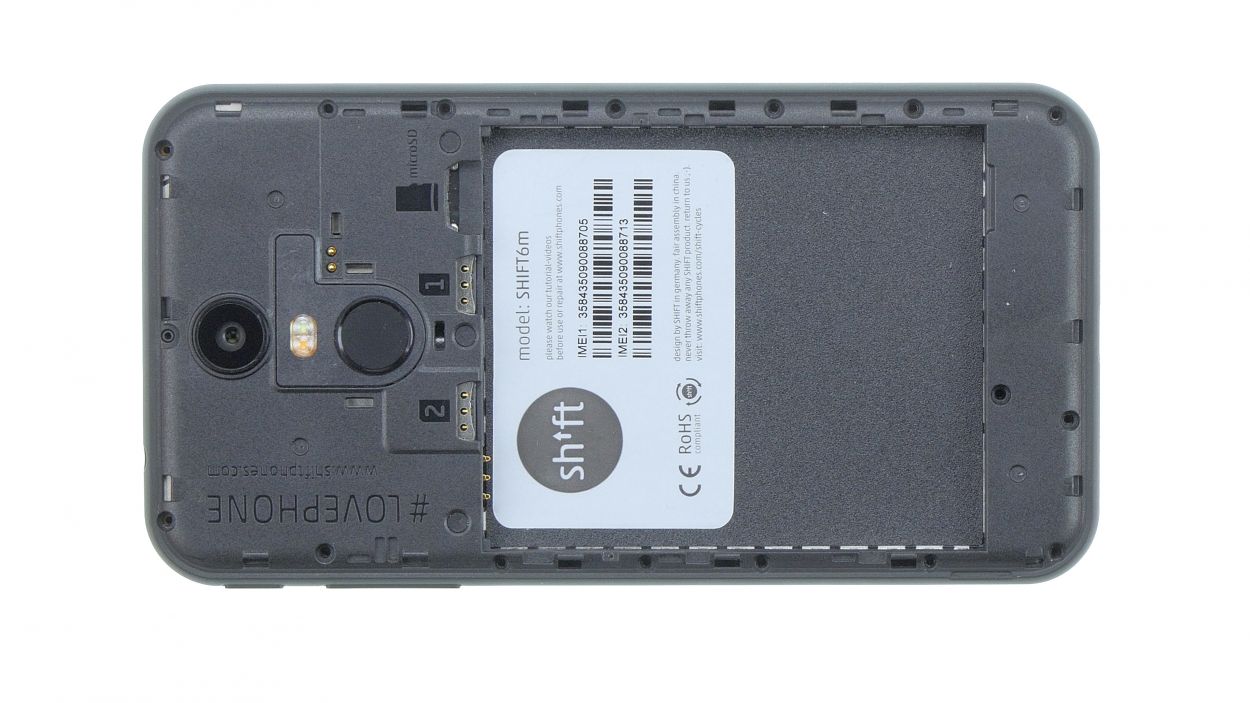
Step 2
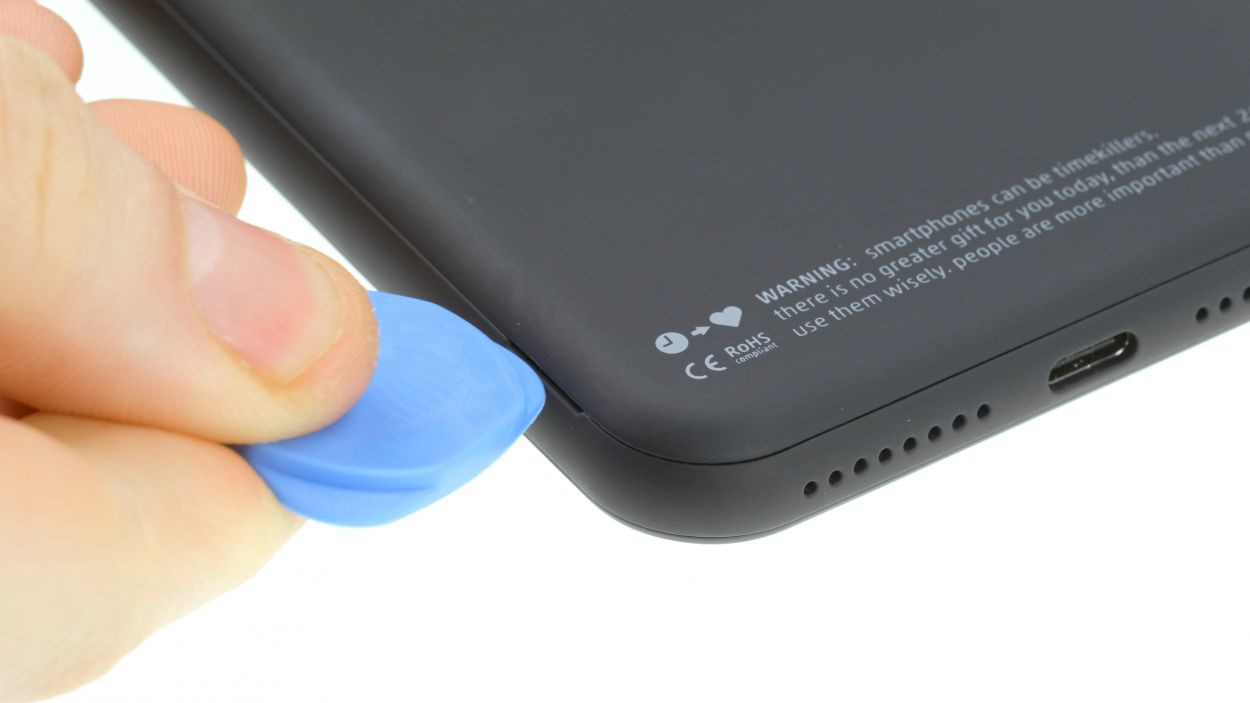
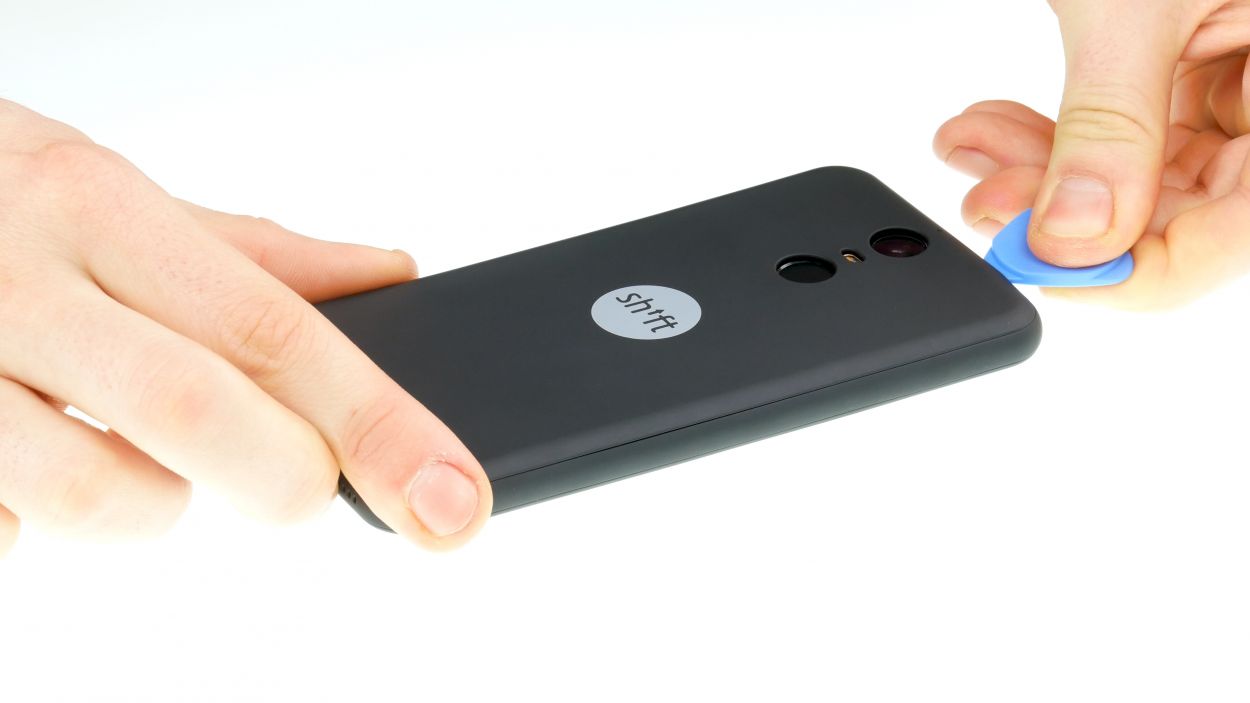
– Grab a plectrum or simply use your trusty fingernail to slide it into the tiny nook in the bottom left corner, then lift that back cover right off! You’ve got this!
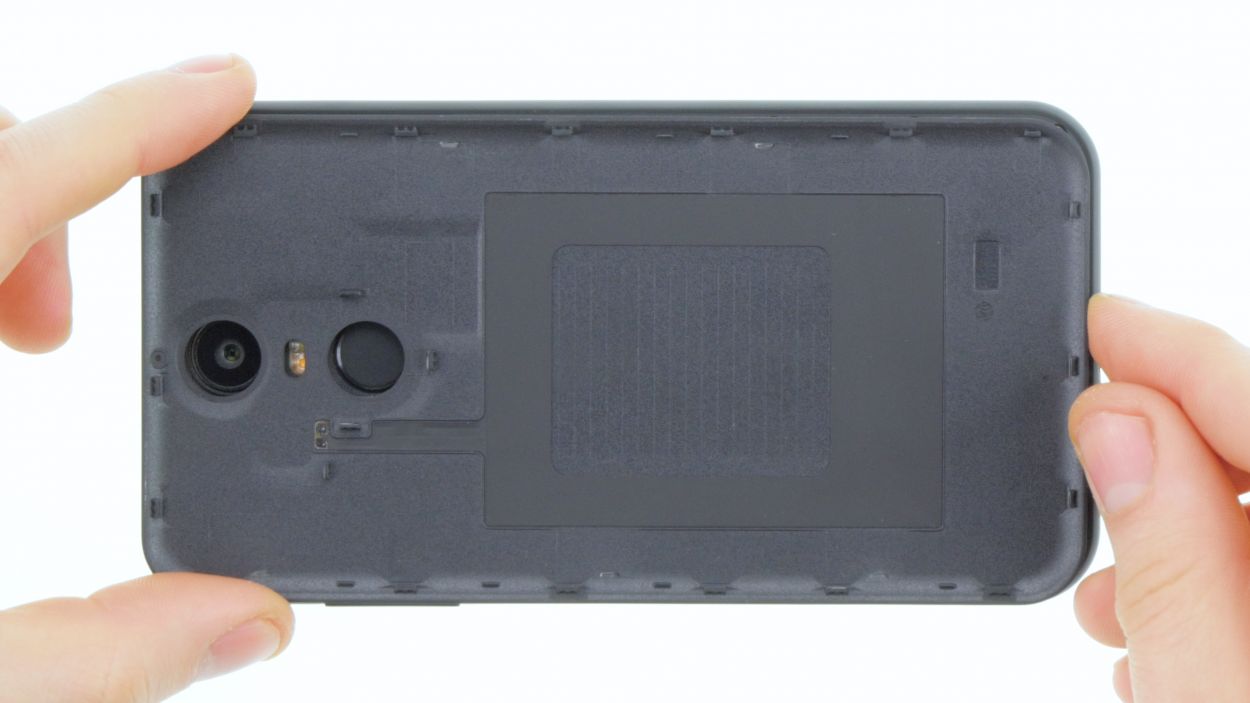
– Next, gently work your way around and pop all those clips loose. Just a heads up—the back cover is also snug around the fingerprint sensor, so you might need to give it a little extra oomph to release it.
Step 3
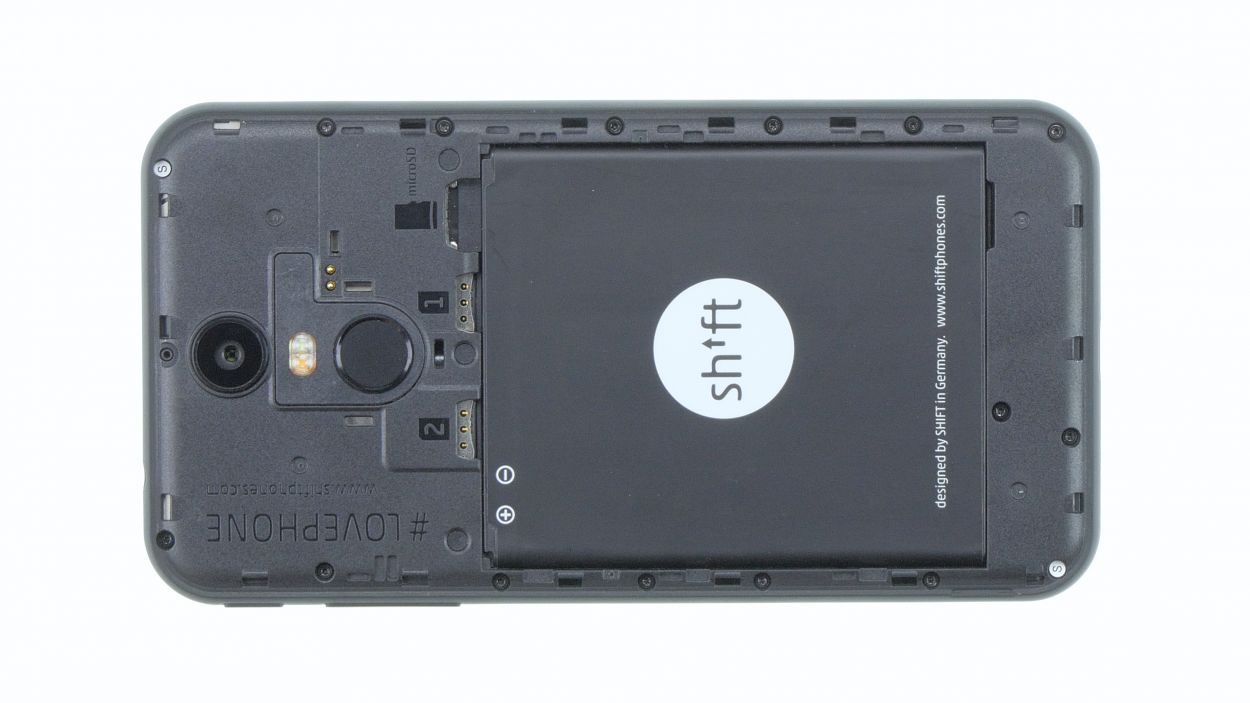
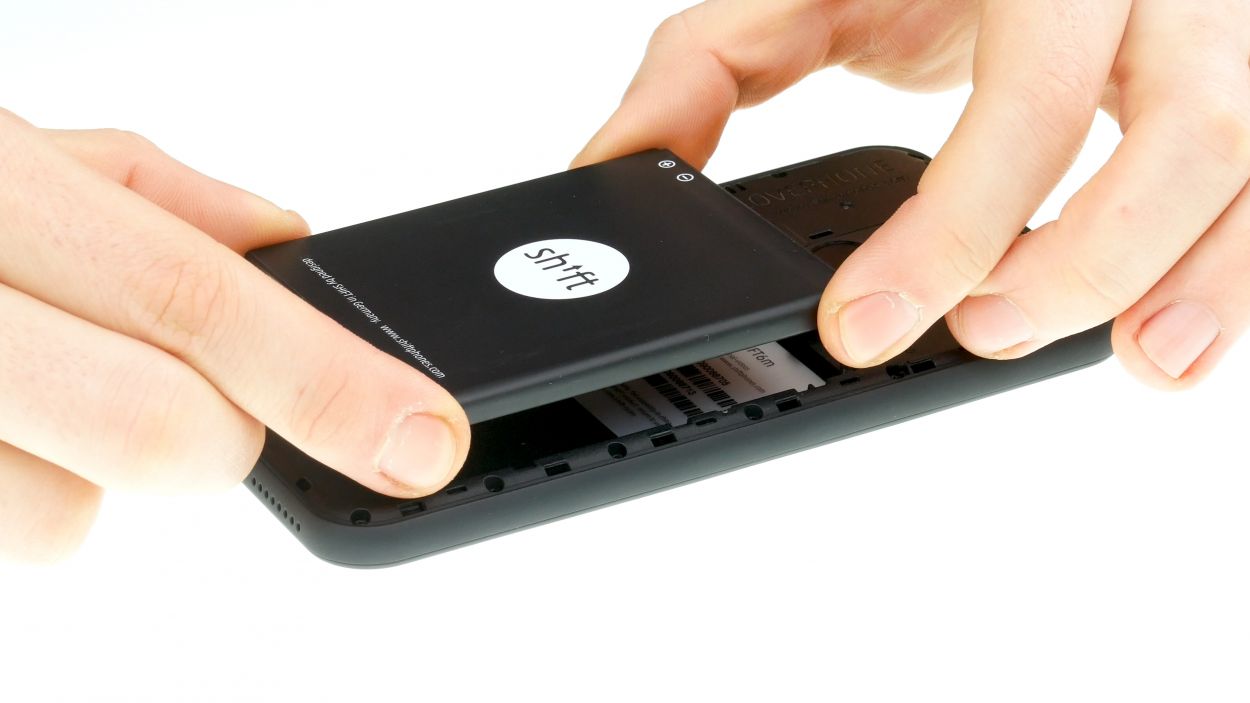
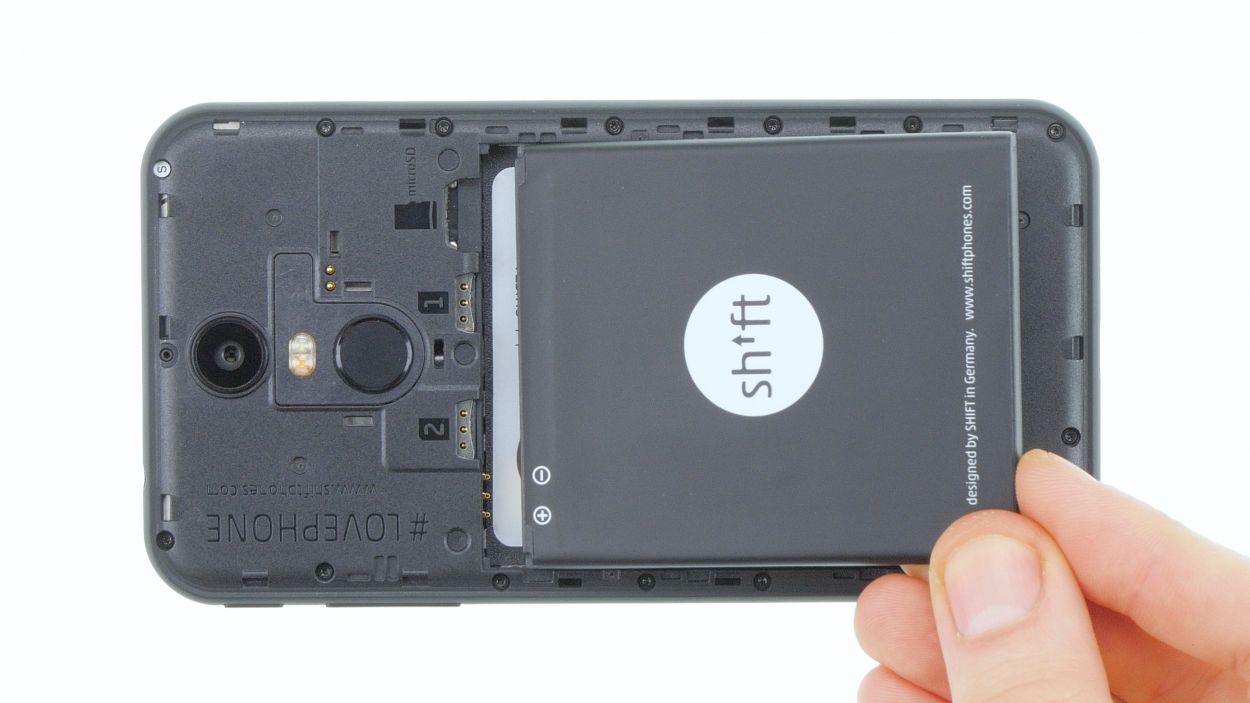
– To take out the battery, simply lift it using the little notch in the lower right corner and gently pop it out of the device. You’ve got this!
Step 4

16 × 4,0 mm Torx T3
2 × 4,0 mm Torx T3
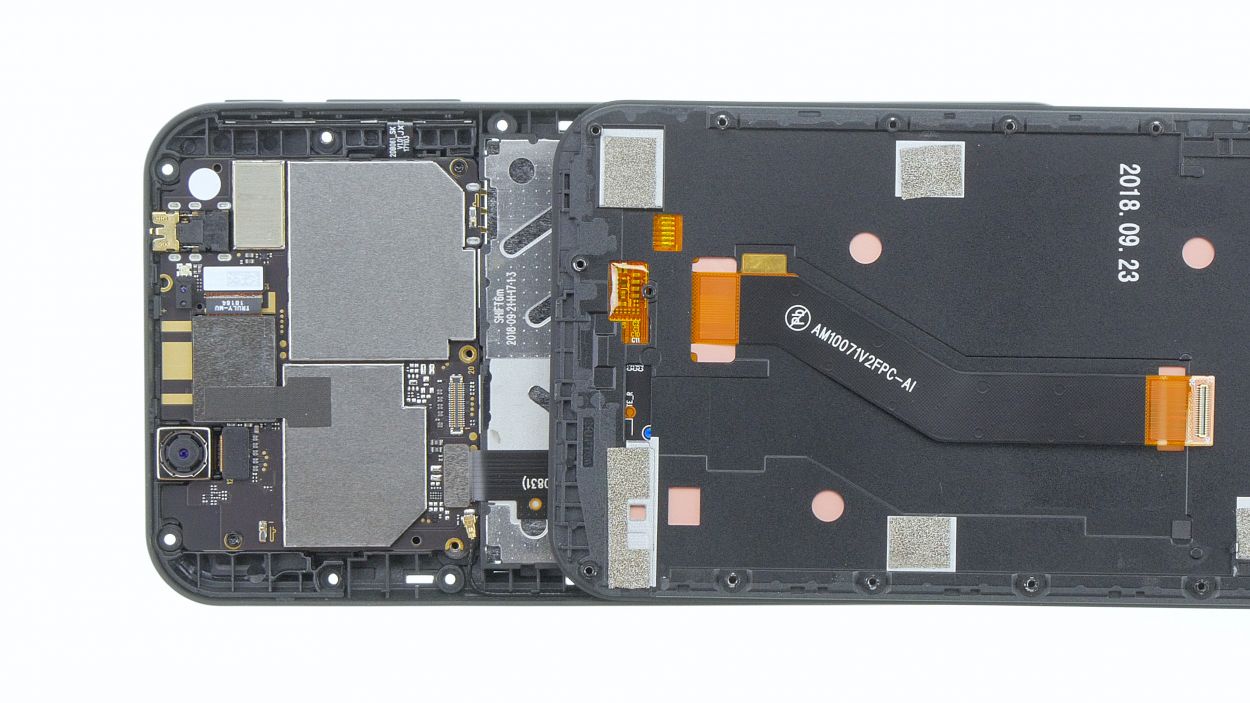
Display connector
– Loosen all screws with a Torx T3 screwdriver.
– Then turn the SHIFT6m over and slide a plectrum or your fingernail between the plastic frame and the display.
– Slide around the entire display once to gradually release it.
Step 5
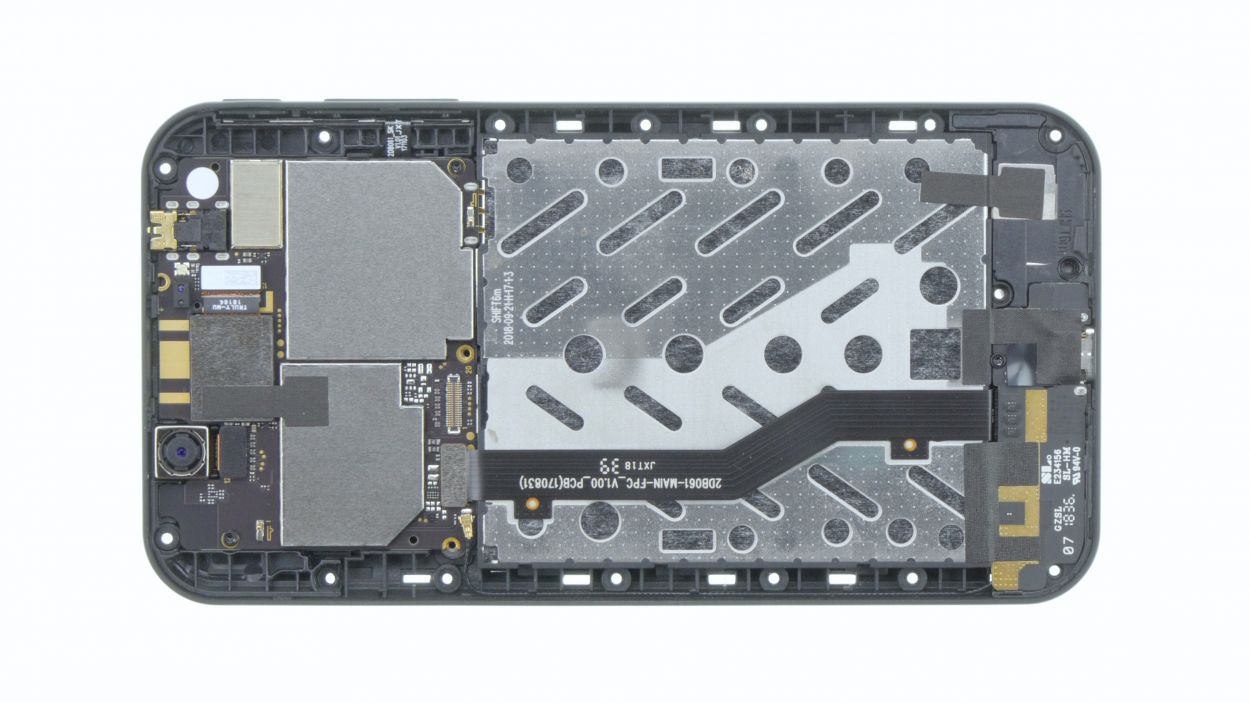


2 × 4,0 mm Torx T3
Standby/Volume Connector
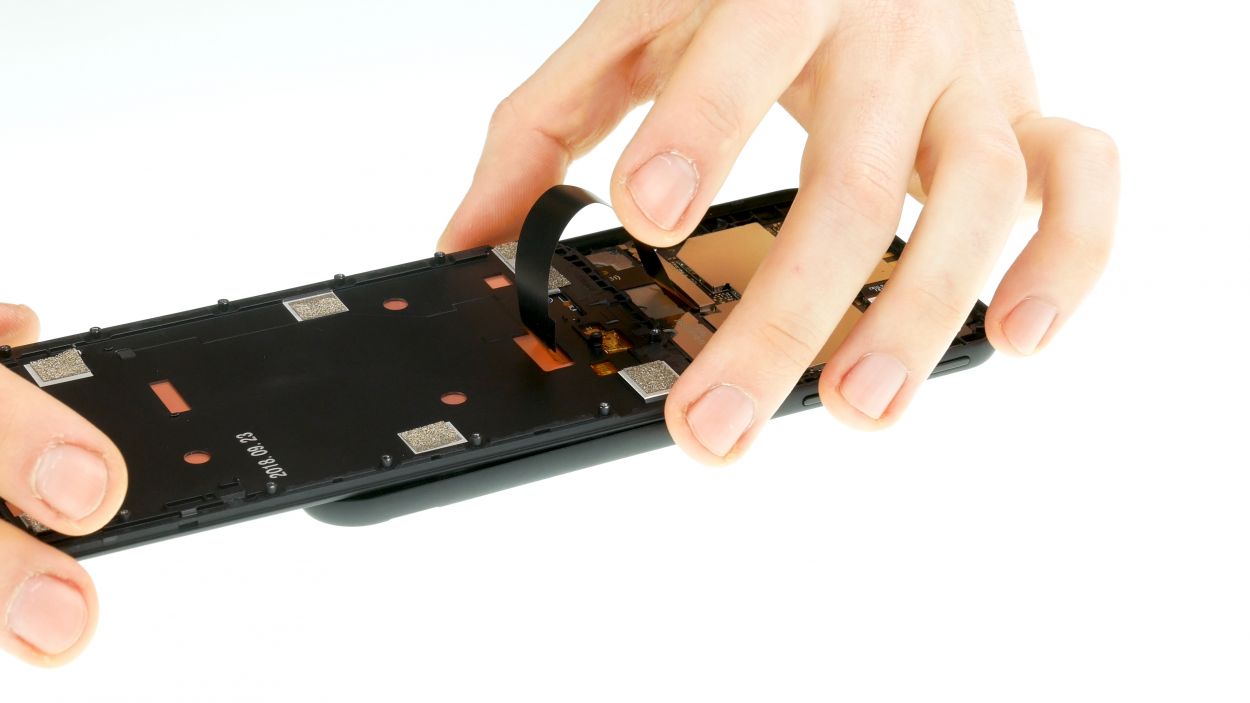
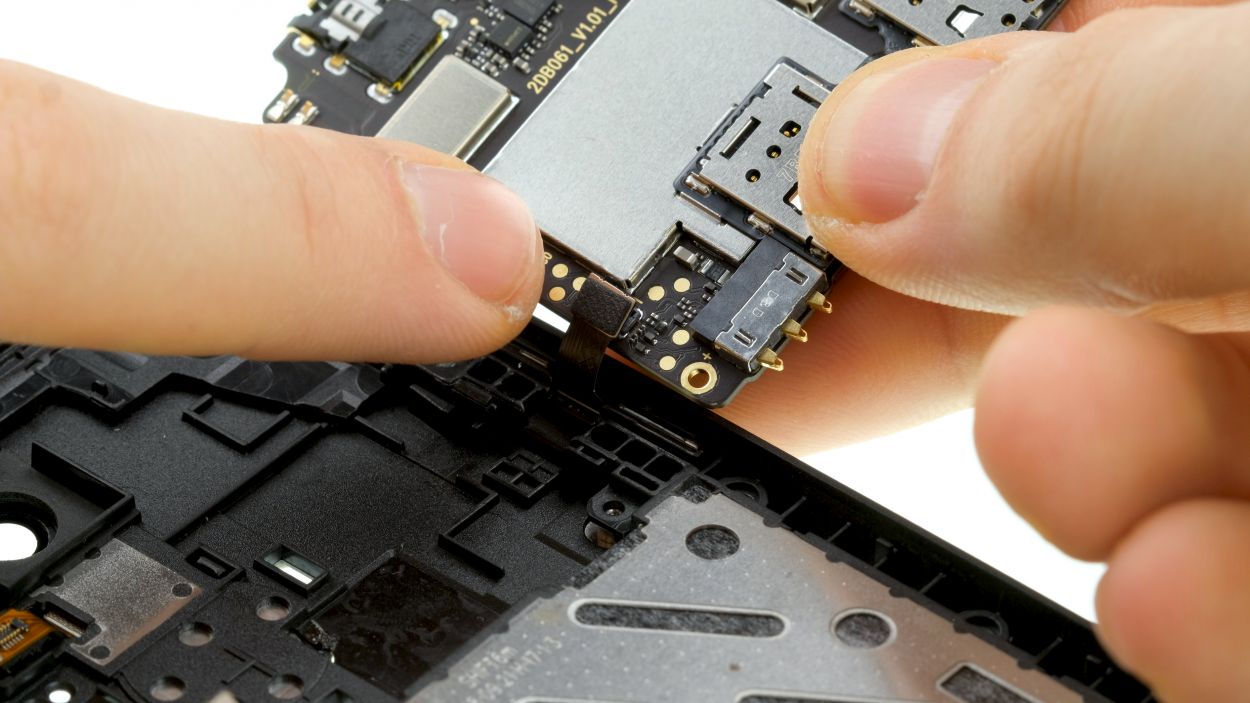
Heads up! The control buttons on the back are still hanging on with a little flex cable. Handle with care!
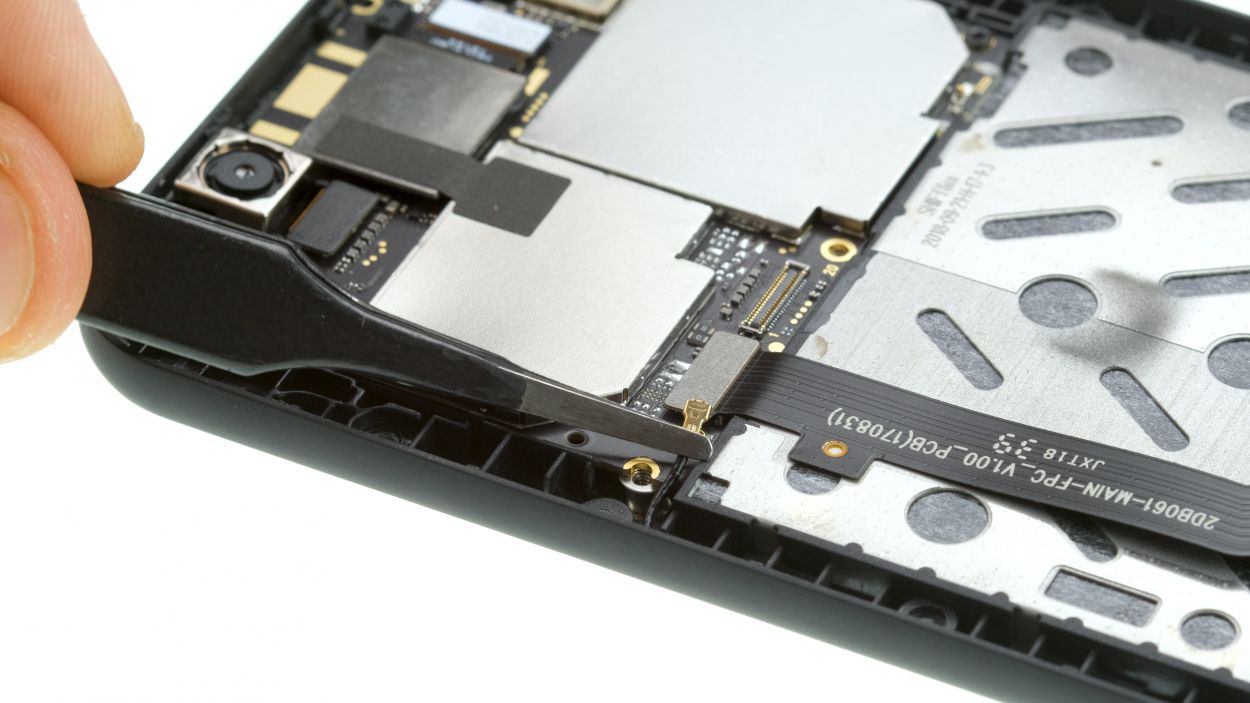
– Gently twist the black antenna contact loose with your tweezers—leave the spudger for later, as prying could harm the socket on the board.
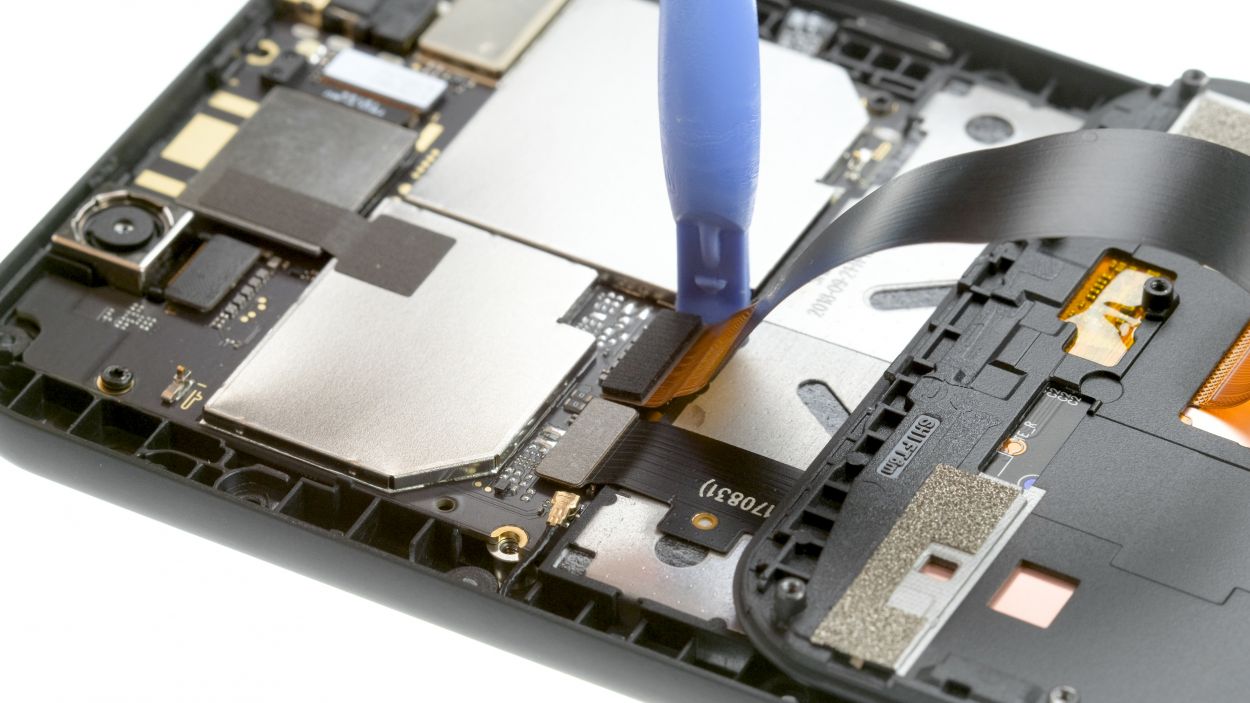
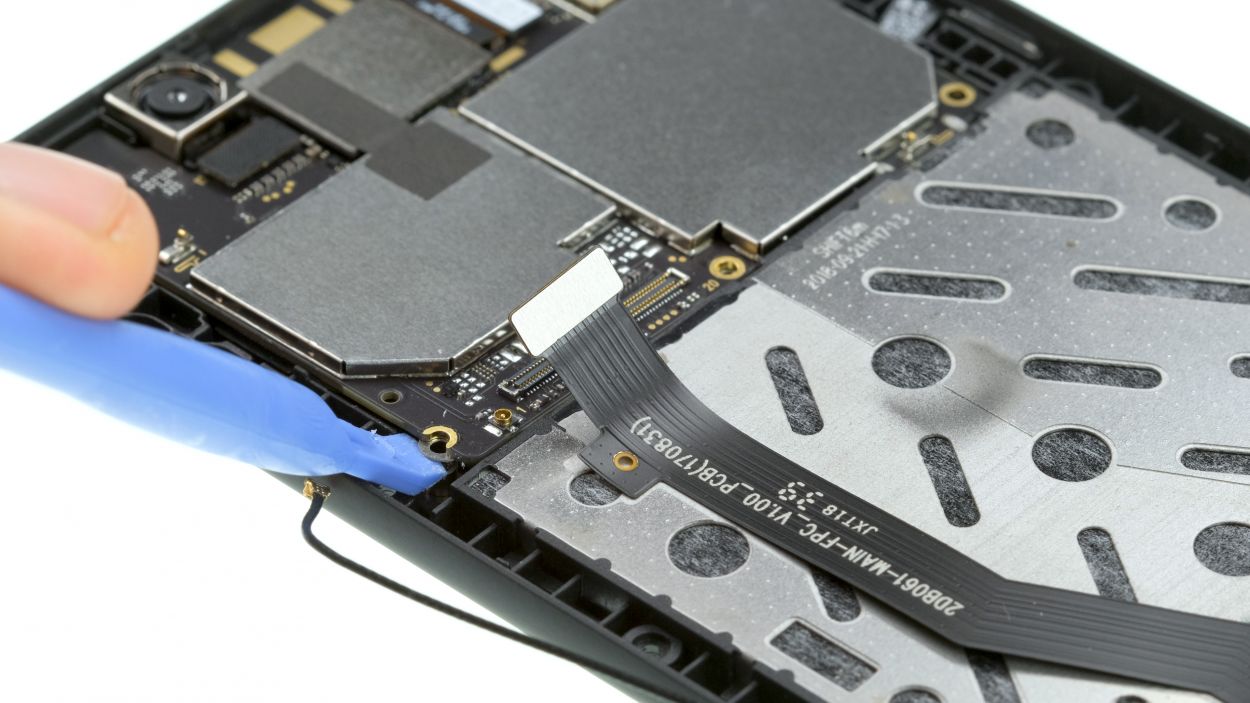
– Using a spudger, slowly and carefully separate the ribbon cable contact that’s making its way across the device.
– Time to loosen both screws—let’s keep it easy!
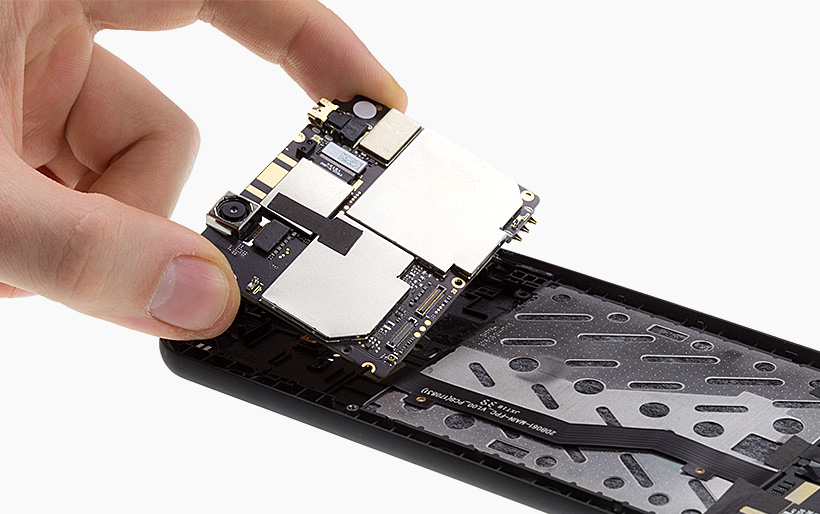
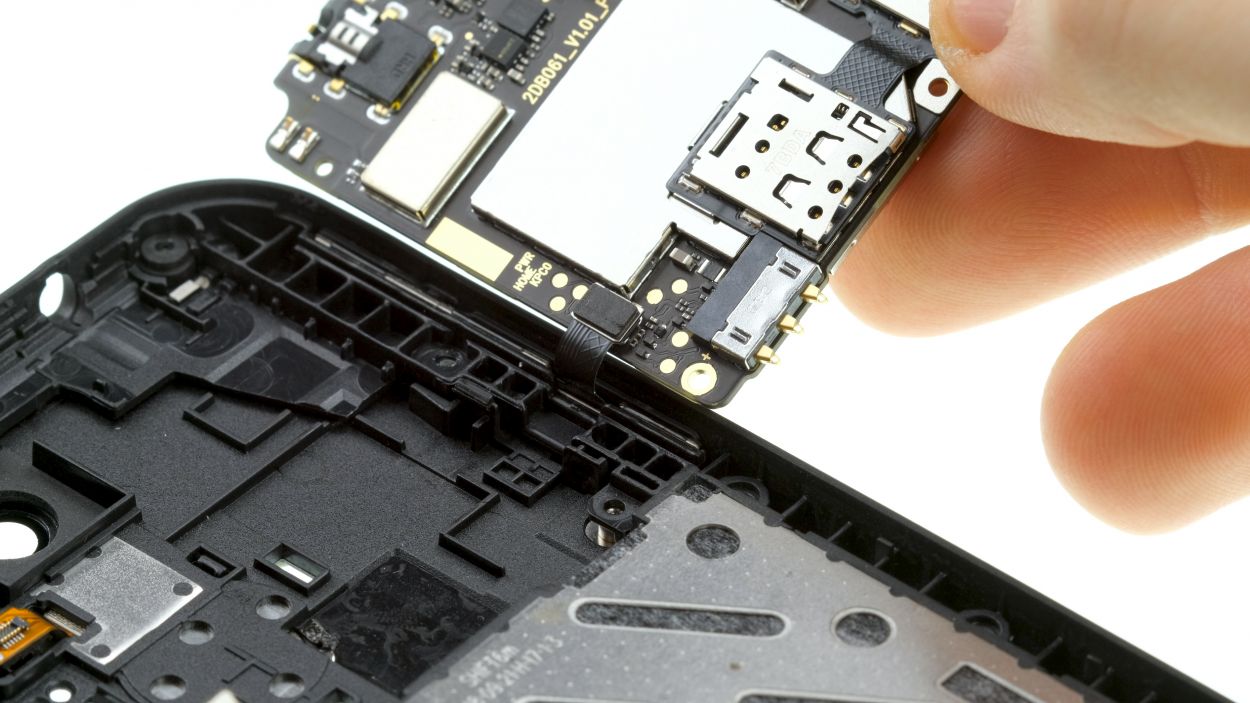
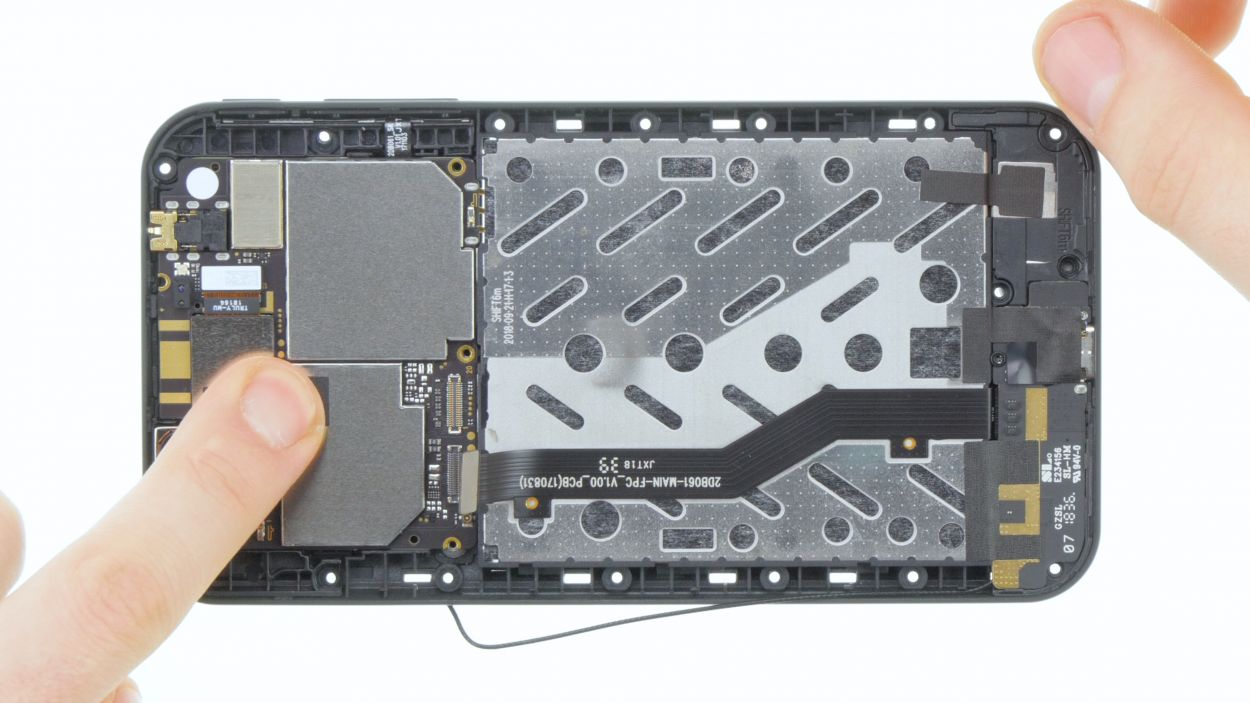
– With a little finesse, lift the main board’s left side upward just a tad, then carefully fold it over to the other side.
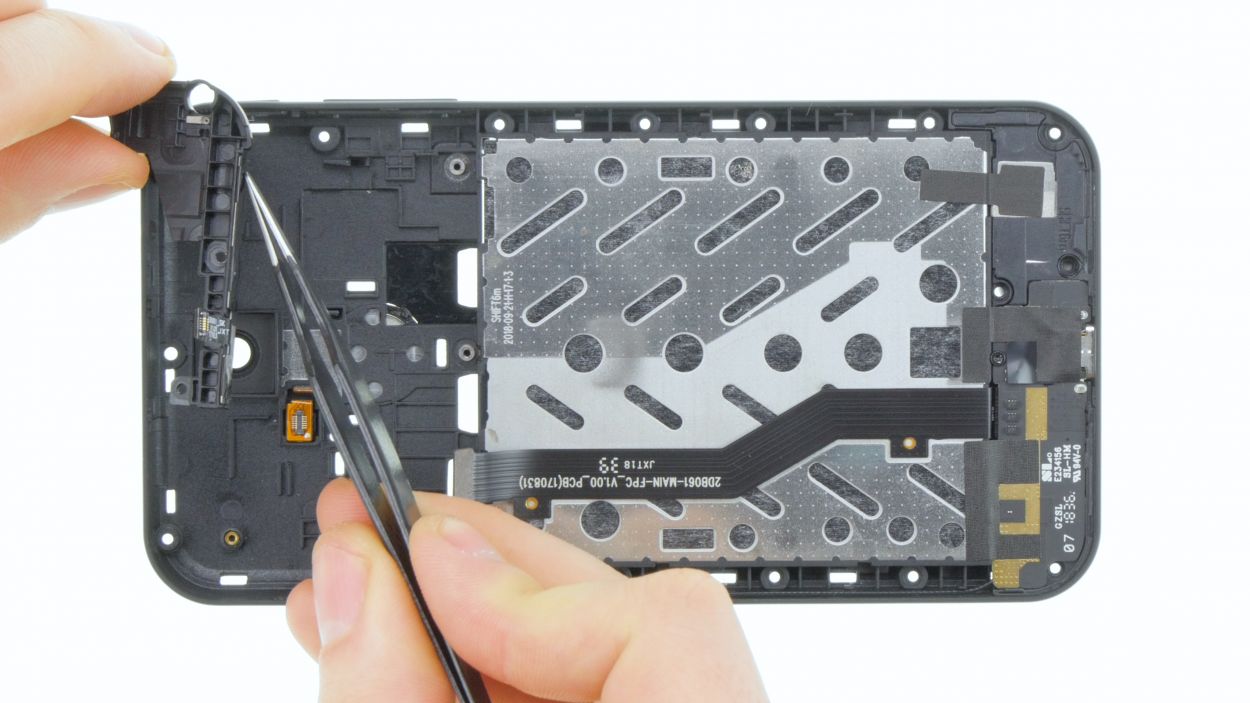
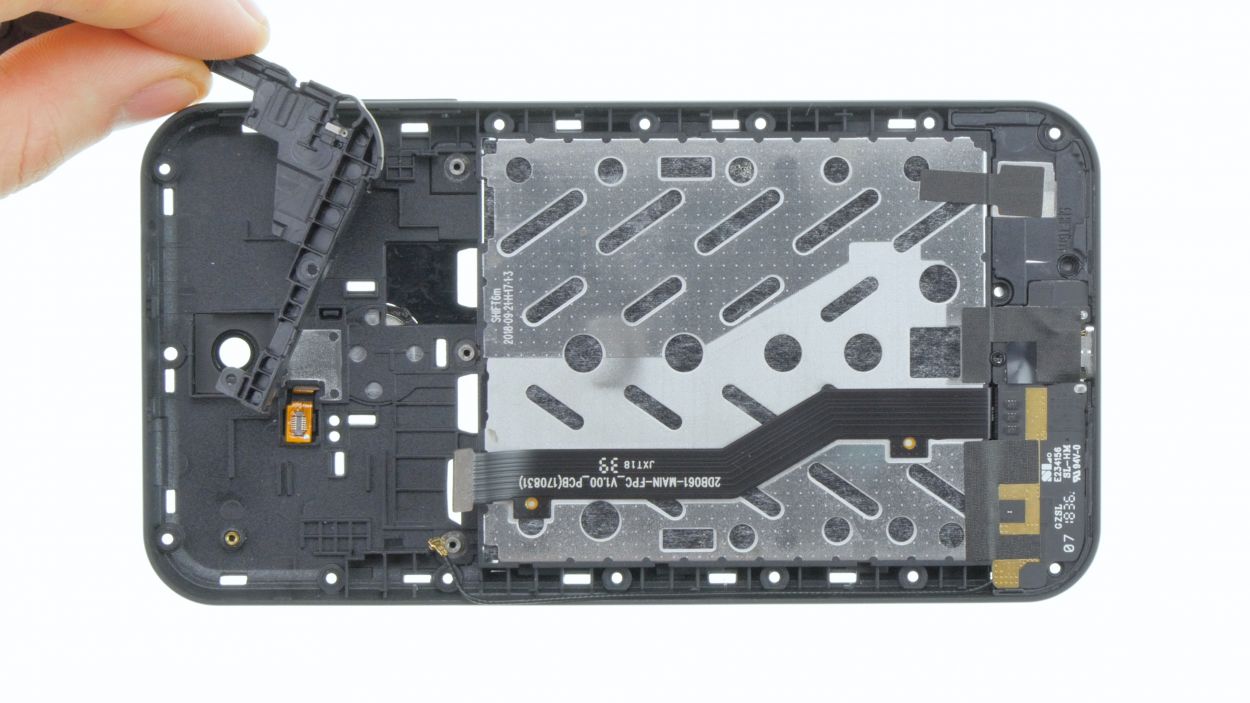
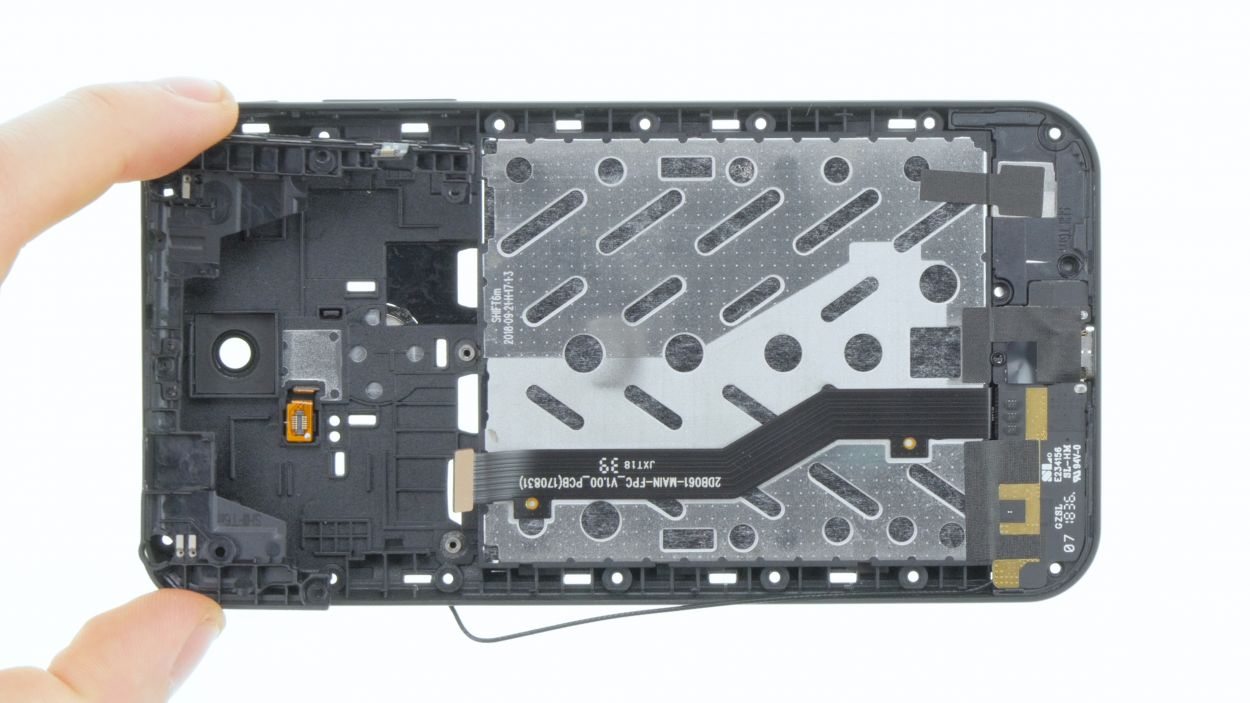
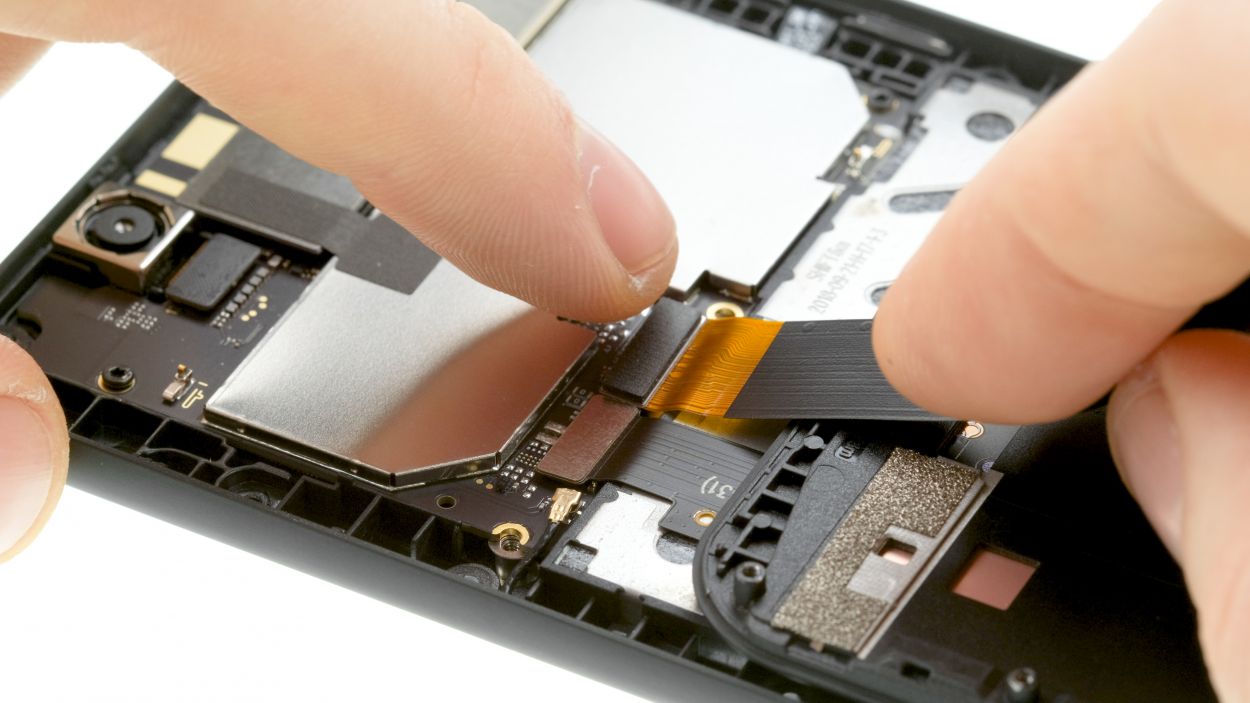
Step 6
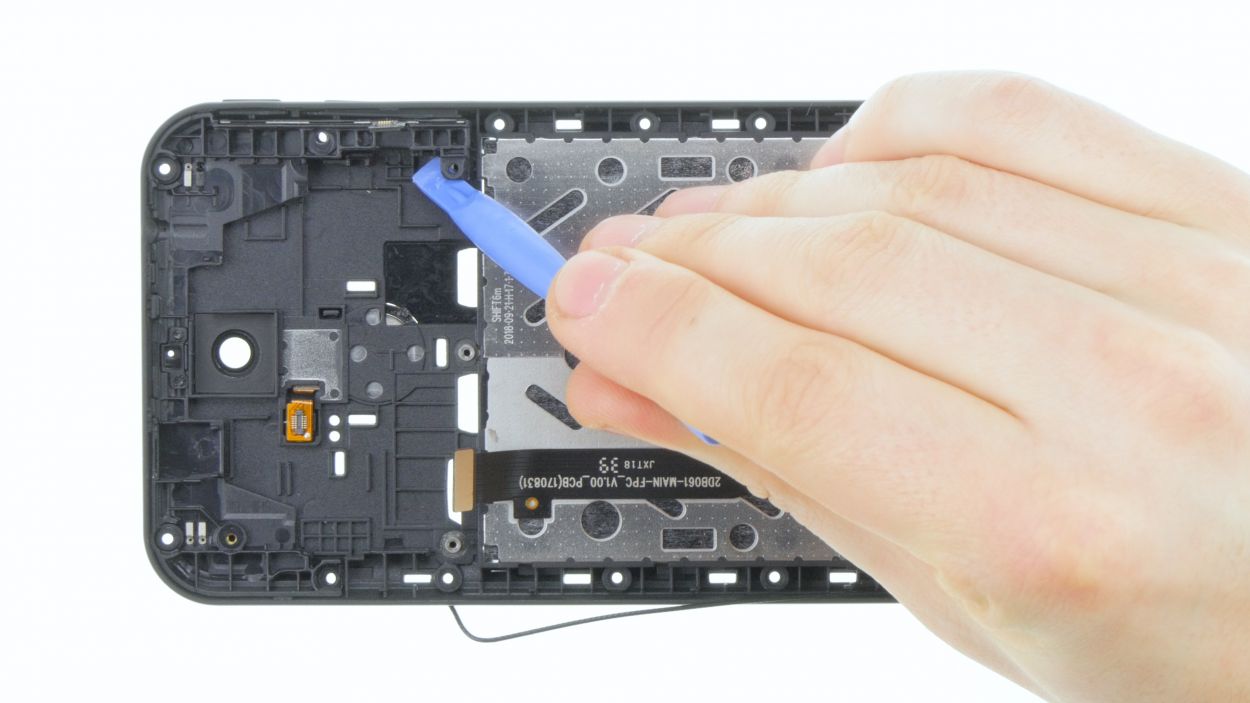
– Gently slide a flat tool like a steel spatula between the holder and the frame to easily pop that holder out.
– Carefully nudge the plastic in different spots to avoid any breaks. Go slow and steady!
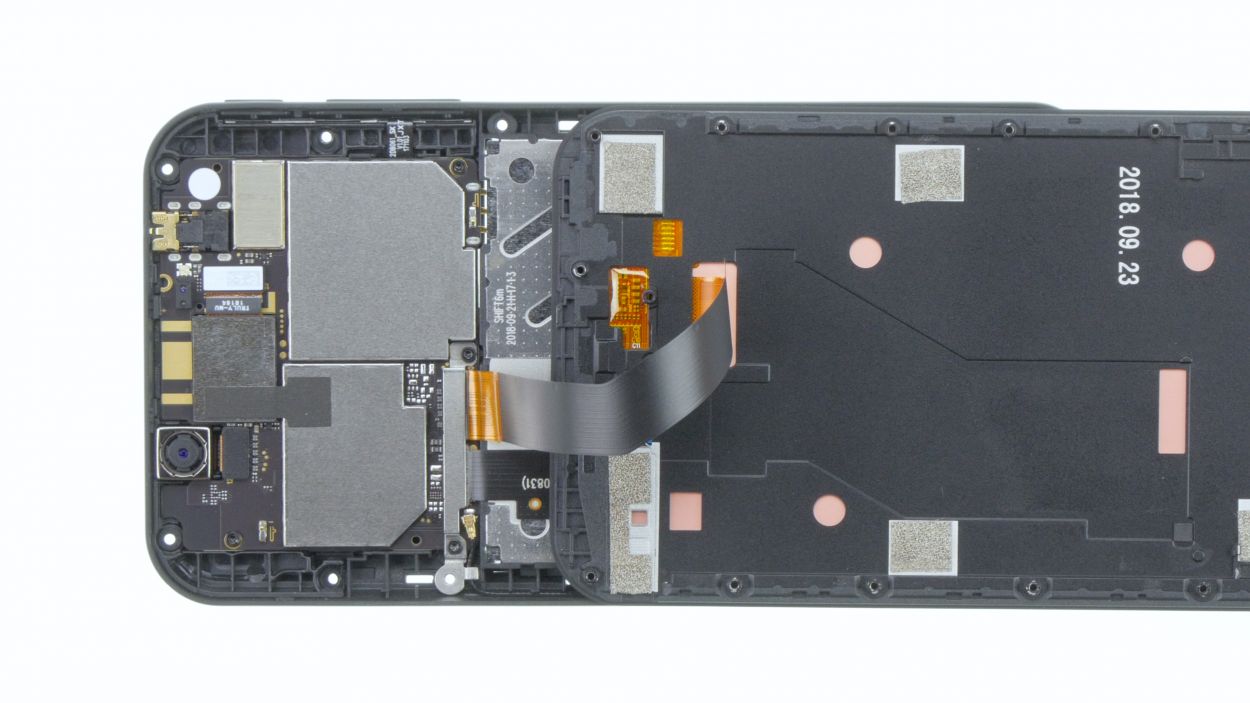
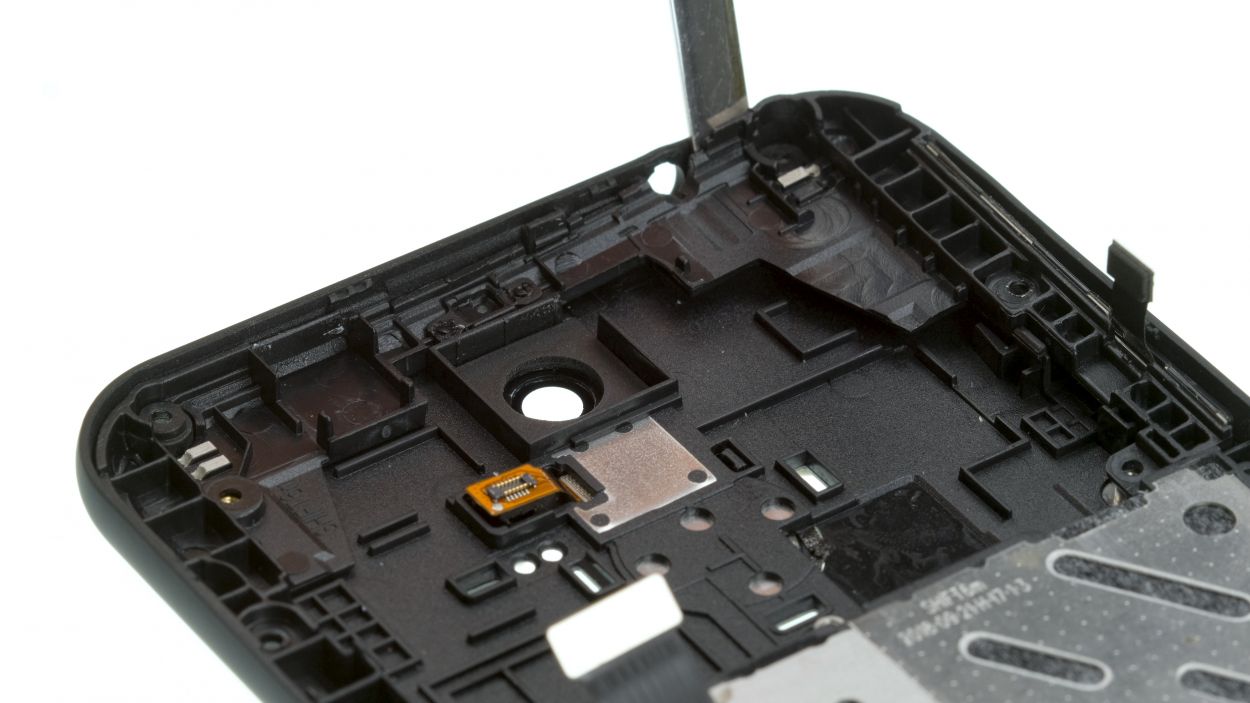
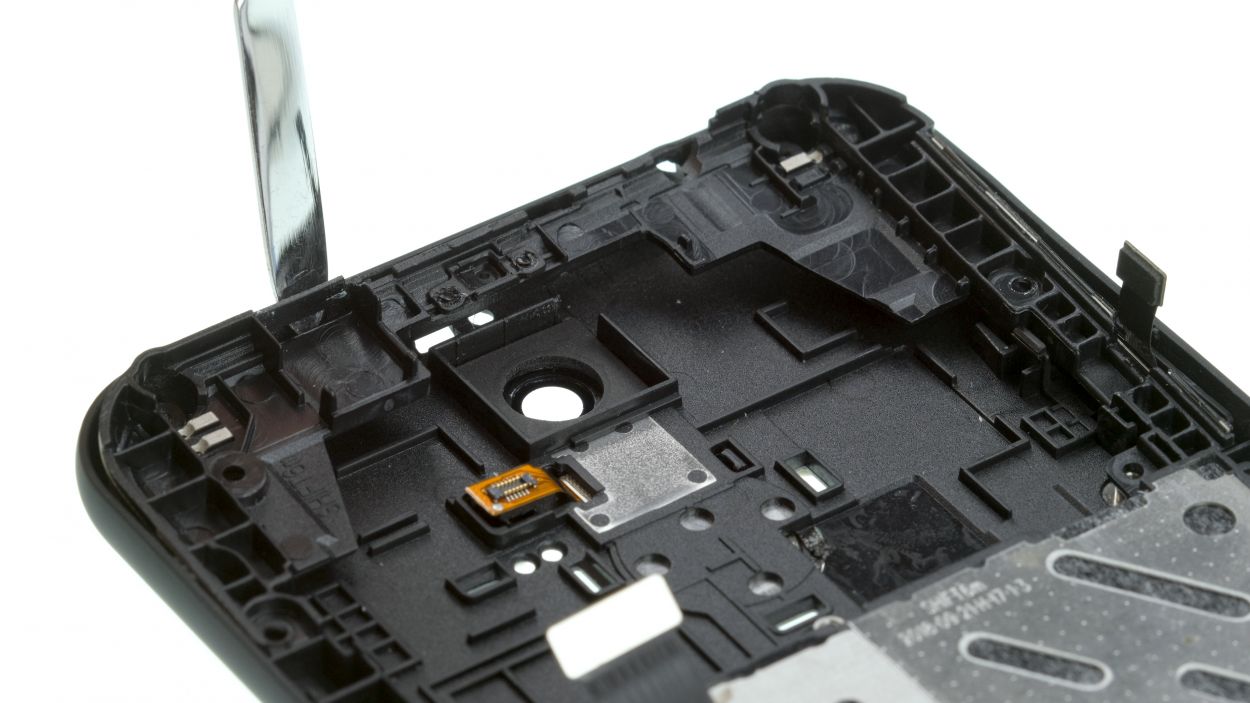
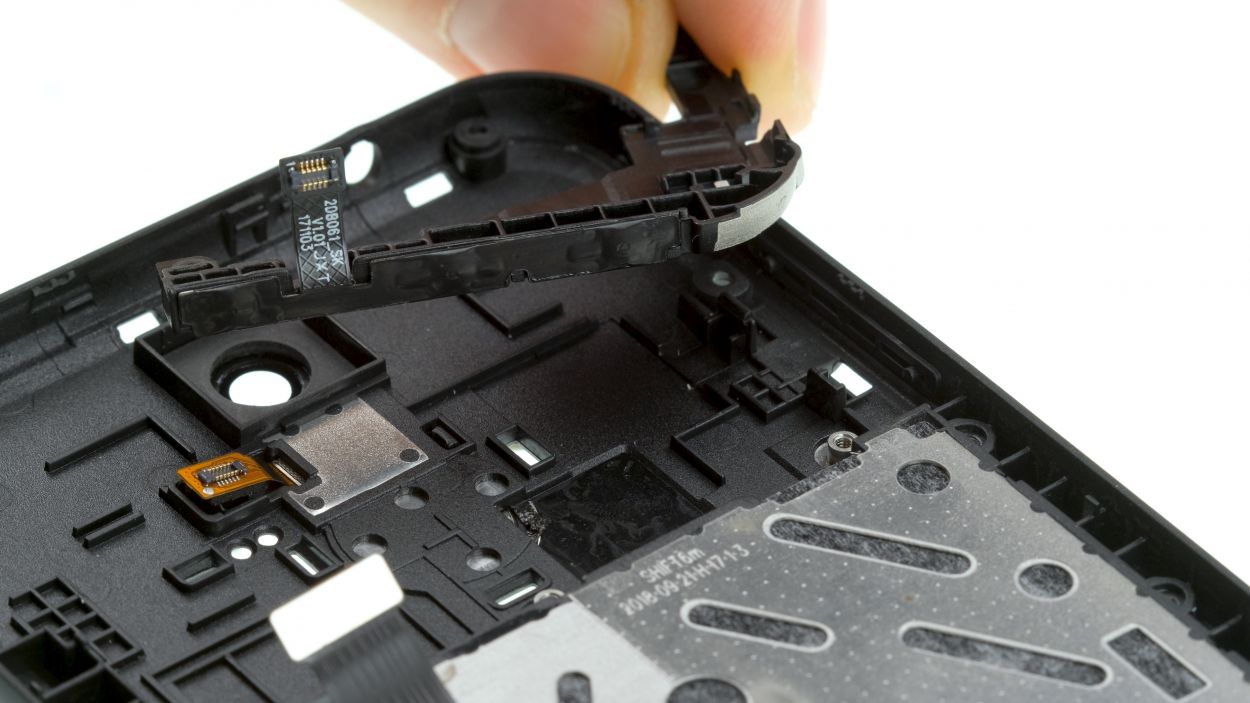
Step 7
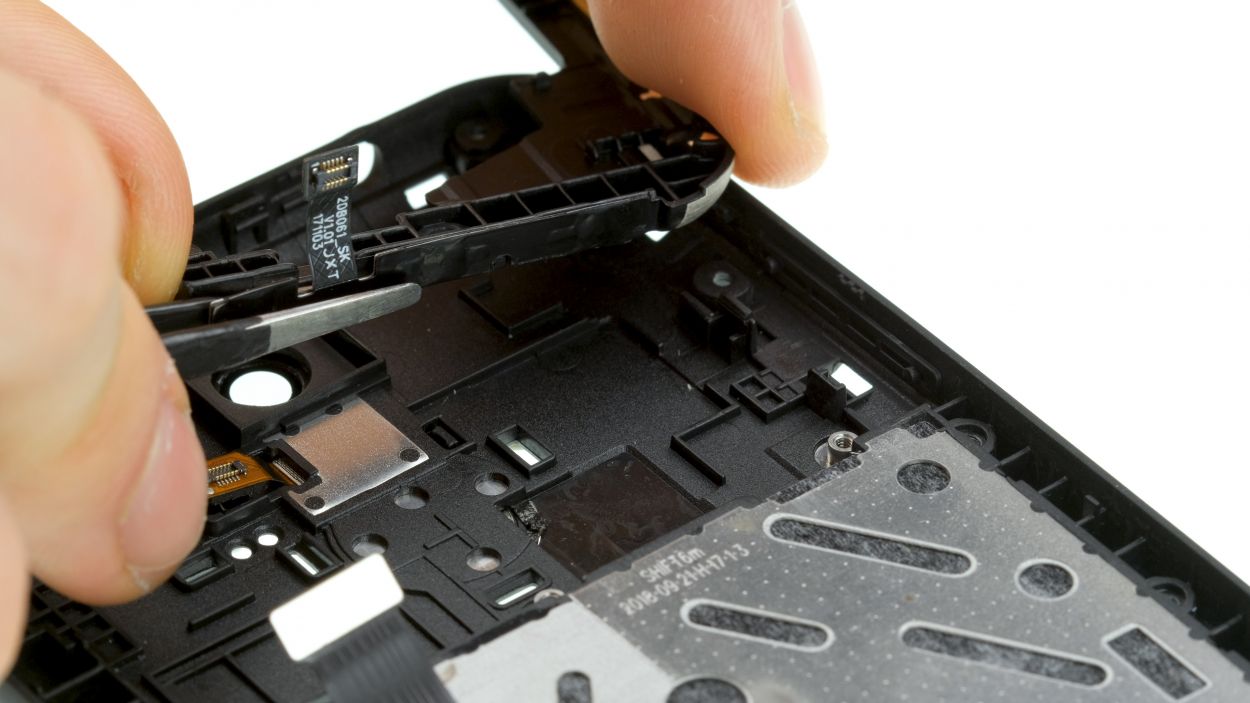
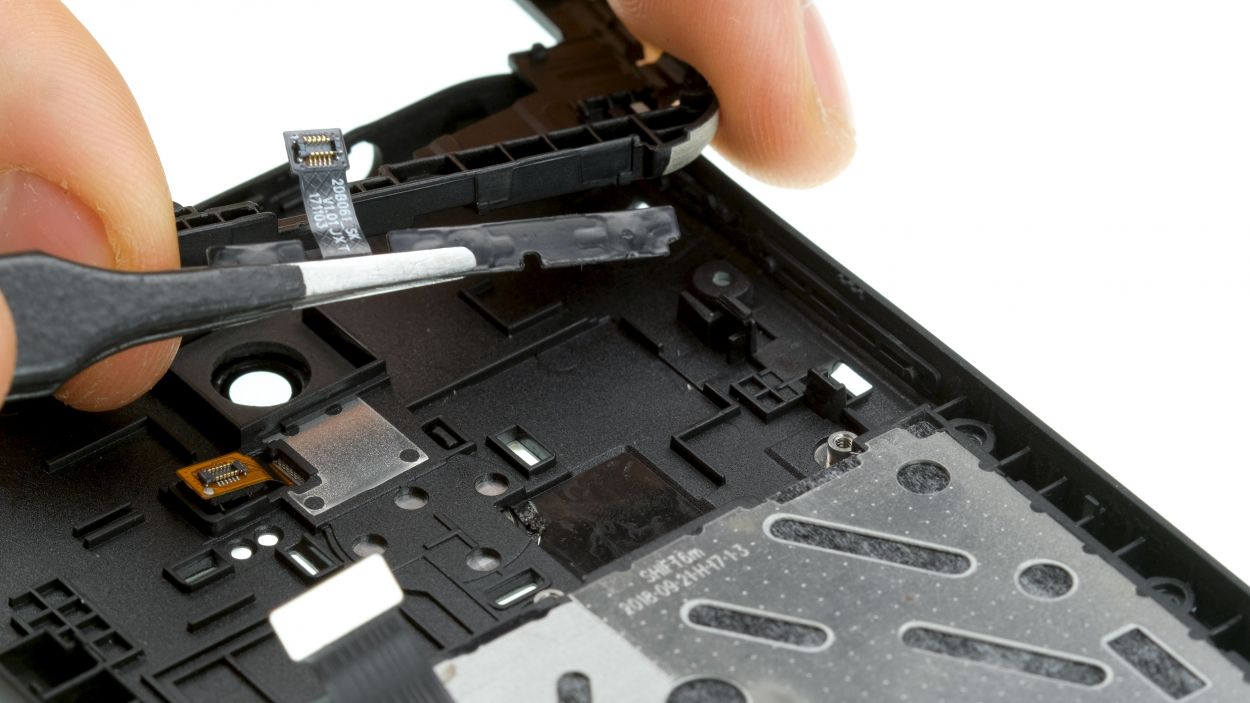
– The flex cable for the control buttons is stuck to the plastic holder like a stubborn sticker.
– Grab a tool and gently slide it under the cable to free it up, then lift it off with ease.
Step 8

– Glue the new flex cable of the control buttons onto the plastic carrier.
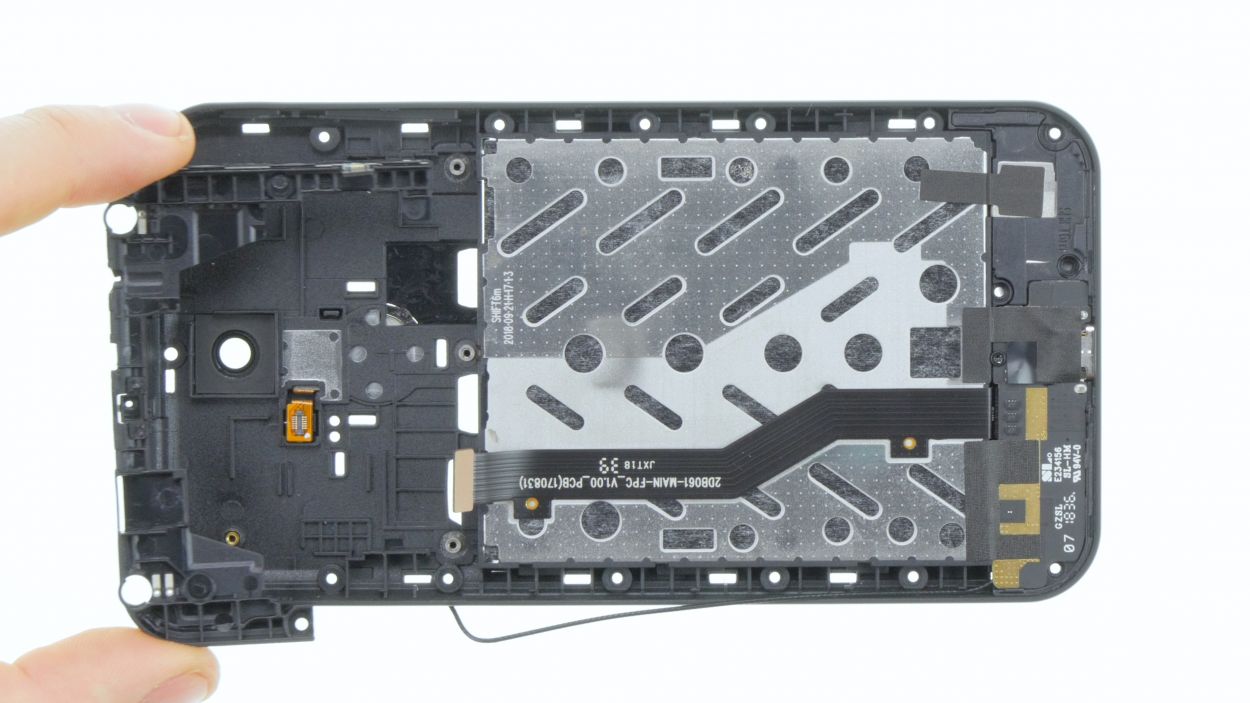
Step 9
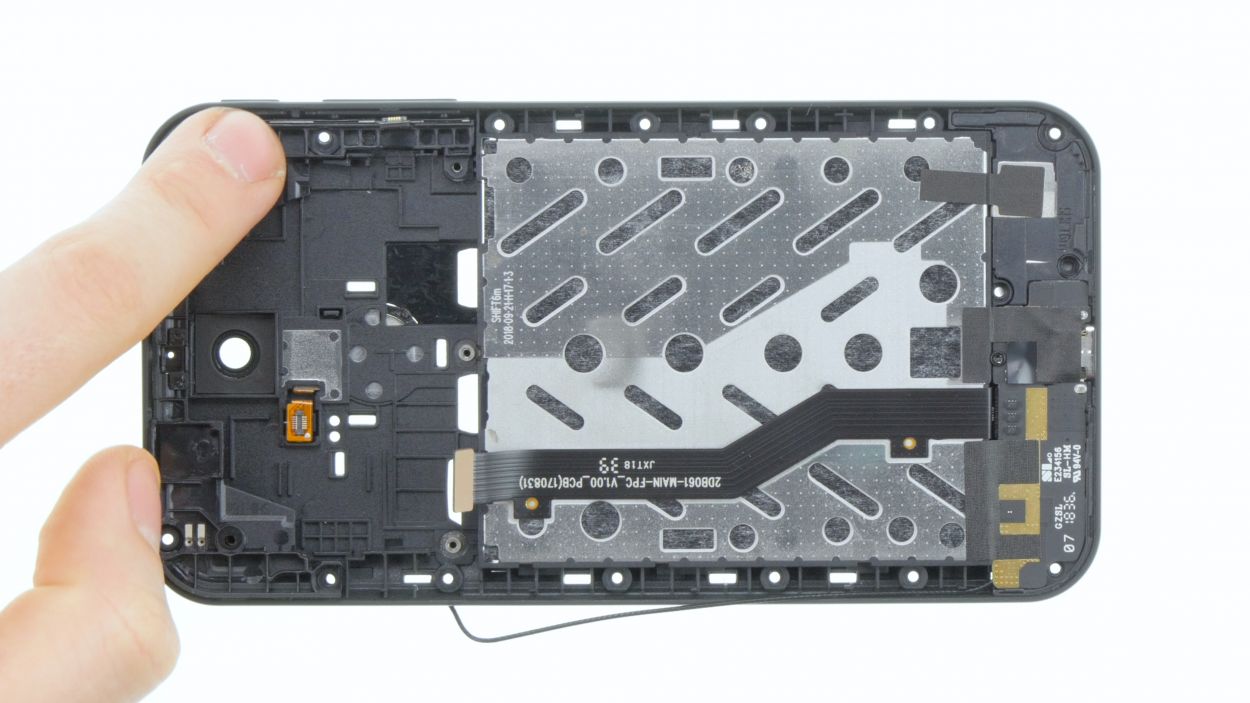
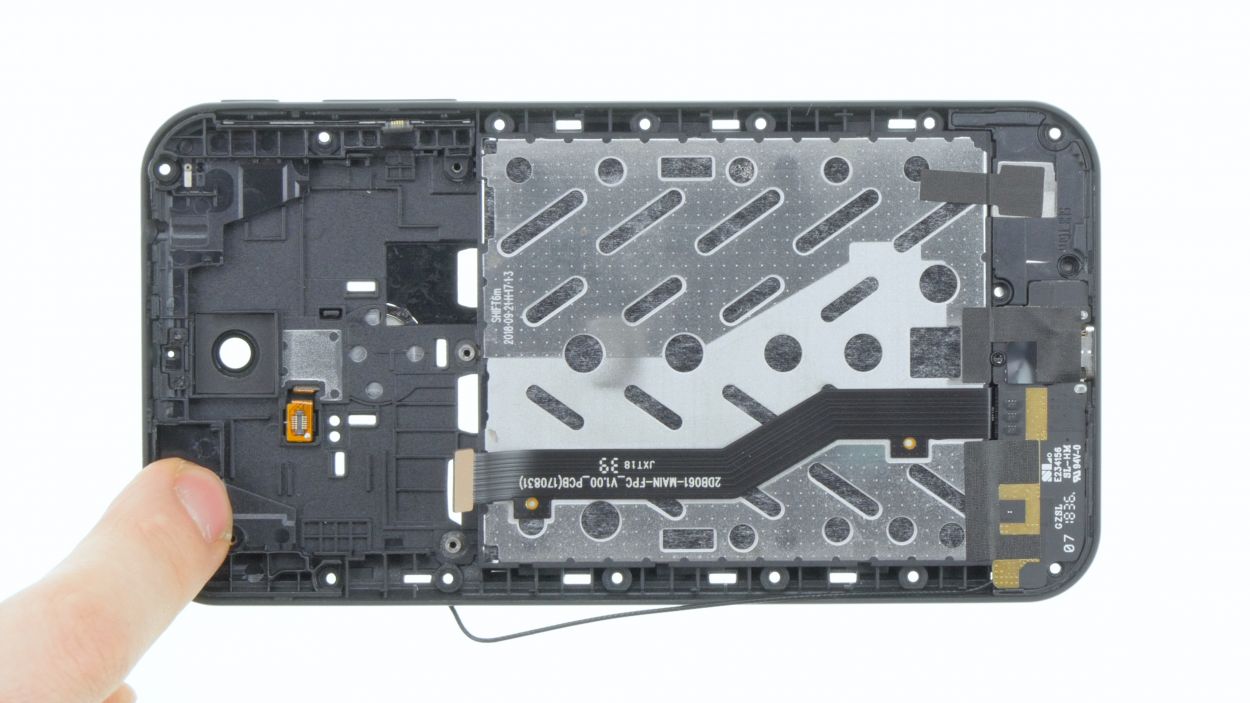
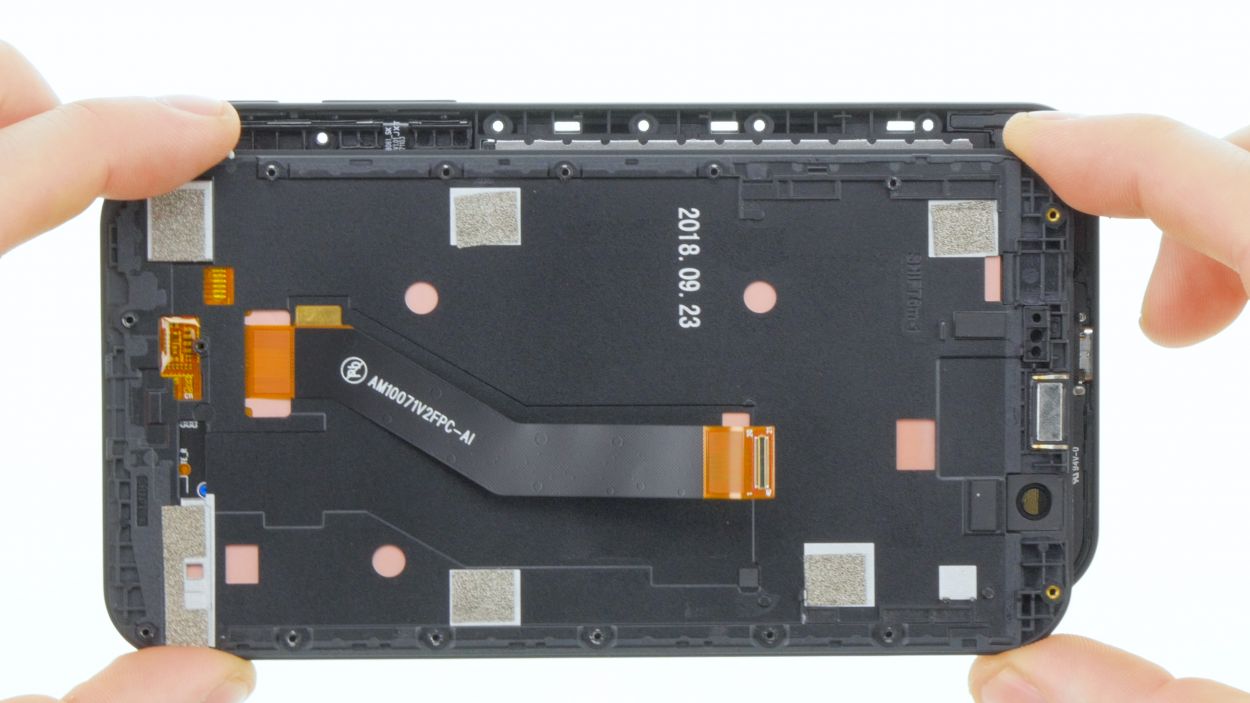
– Gently slide the plastic holder with the flex cable back into the upper section of your device.
– Give it a little press all around until it fits snugly and clicks into place like it belongs there.
Step 10


Standby/Volume Connector
2 × 4,0 mm Torx T3
Watch out for those sneaky cables hiding under the circuit board! Give them some space and keep everything safe while you work your magic.
– Start by laying the motherboard on its right side, but upside down—it’s like a yoga pose for electronics!
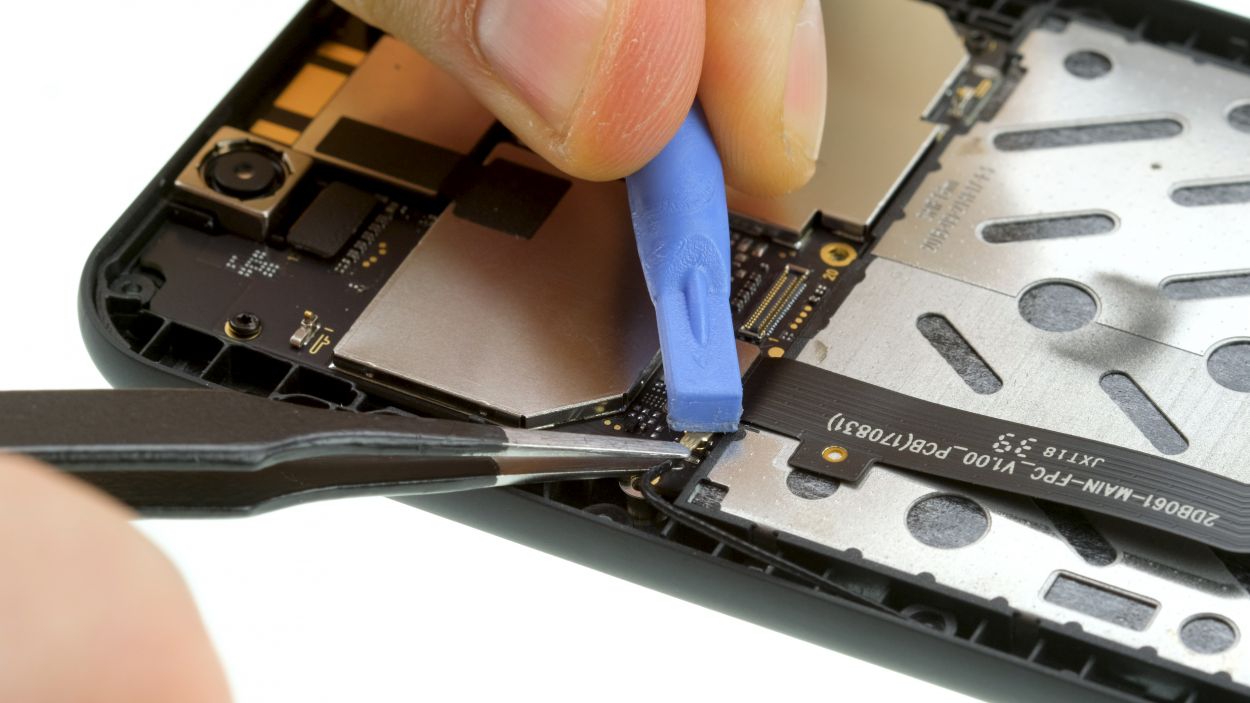
– Next up, connect that control button contact, giving it a snug hug.
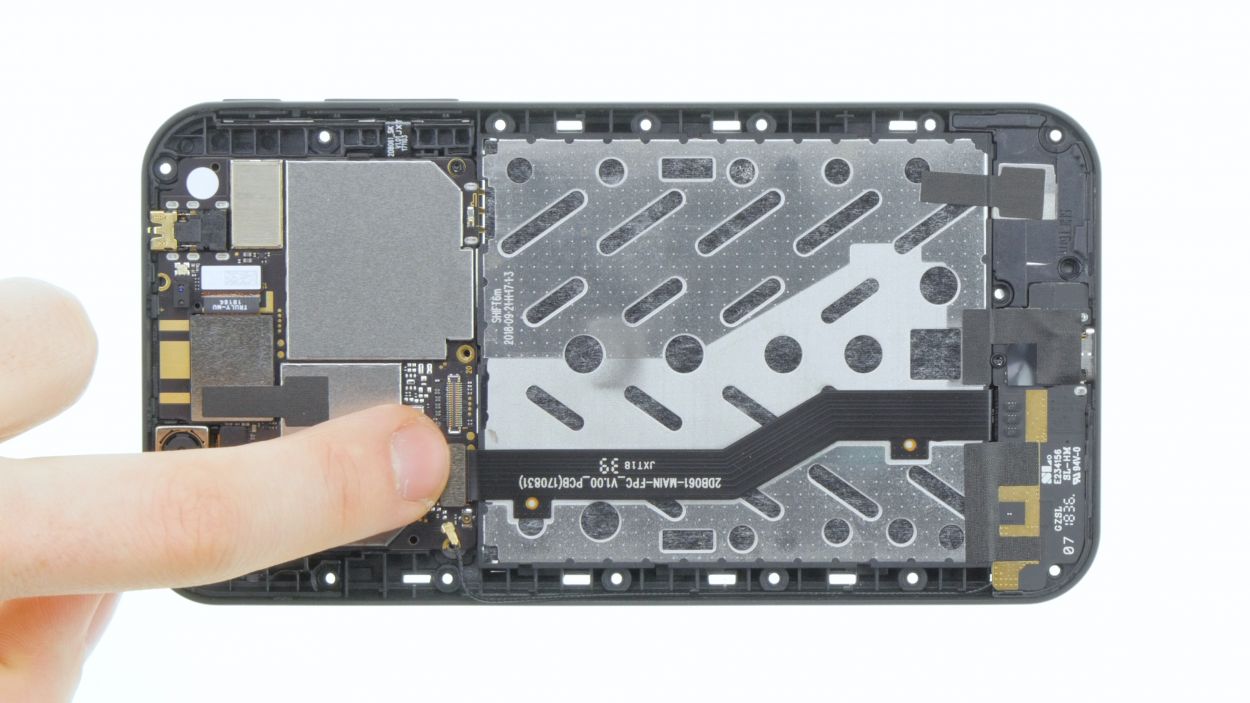
– Now, flip the motherboard back over and give it a gentle press until it sits perfectly in its cozy spot in the device. Listen for that satisfying click from the fingerprint sensor contact—it’s the sound of success!
Step 11

Display connector
2 × 4,0 mm Torx T3
16 × 4,0 mm Torx T3
Gently connect the connector until you hear a satisfying little click! If it doesn’t snap into place right away, no need to force it down. Just give it another shot by repositioning the connector and trying again. You’ve got this!
– Gently set the display onto the frame and align the display connector with its spot on the motherboard.
– With a little care, press the connector down until it clicks into place.
Step 12
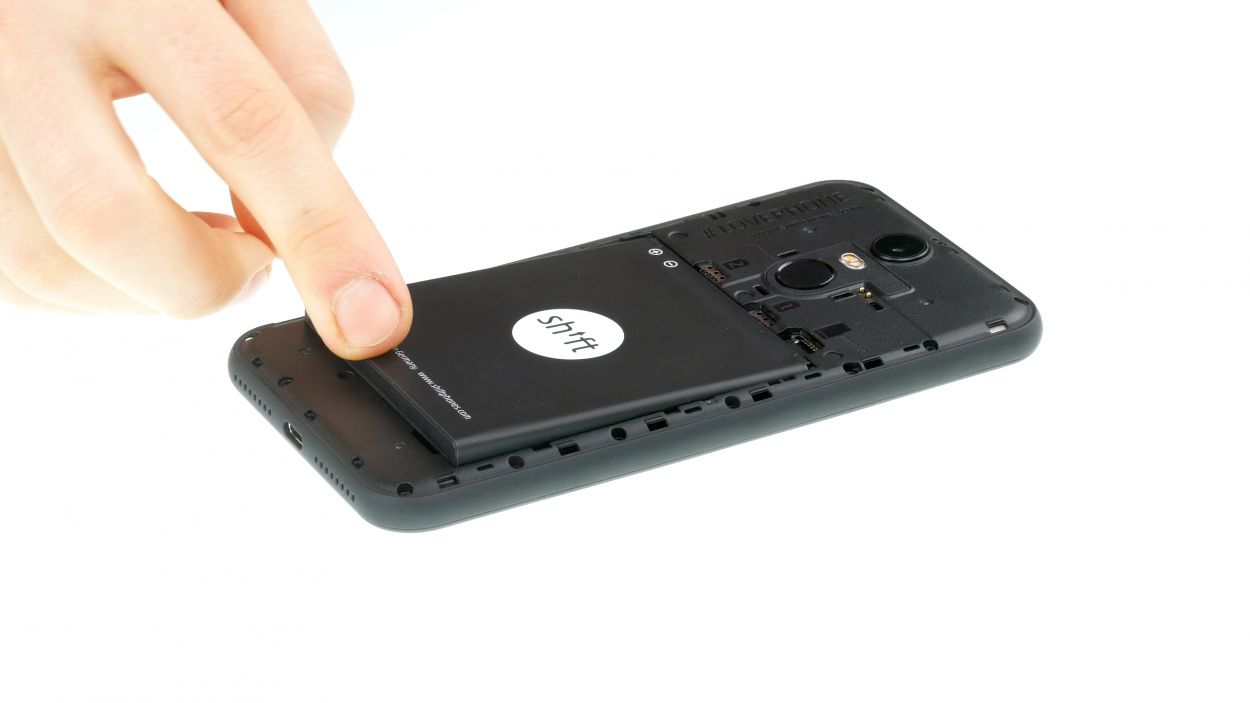
– Put the battery back in its place.
Step 13

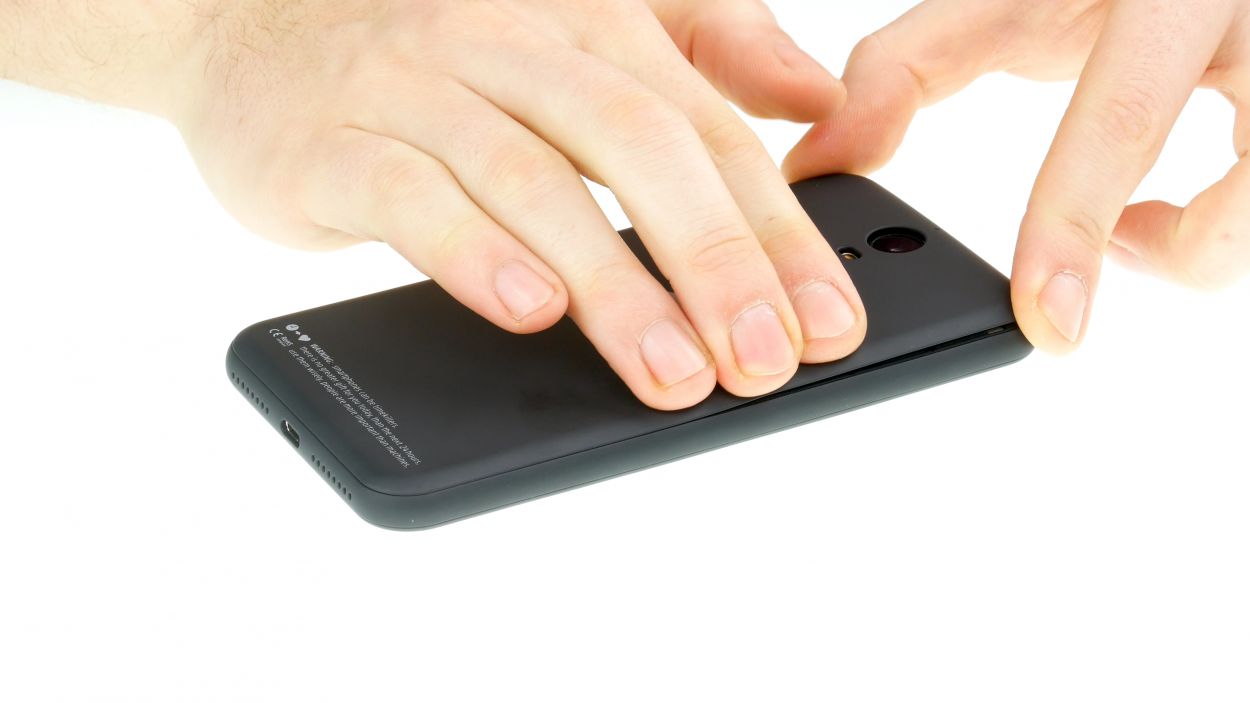
– The back cover has clips on the edge and around the opening of the fingerprint sensor.
– Press the backcover everywhere until it fits properly.
Step 14
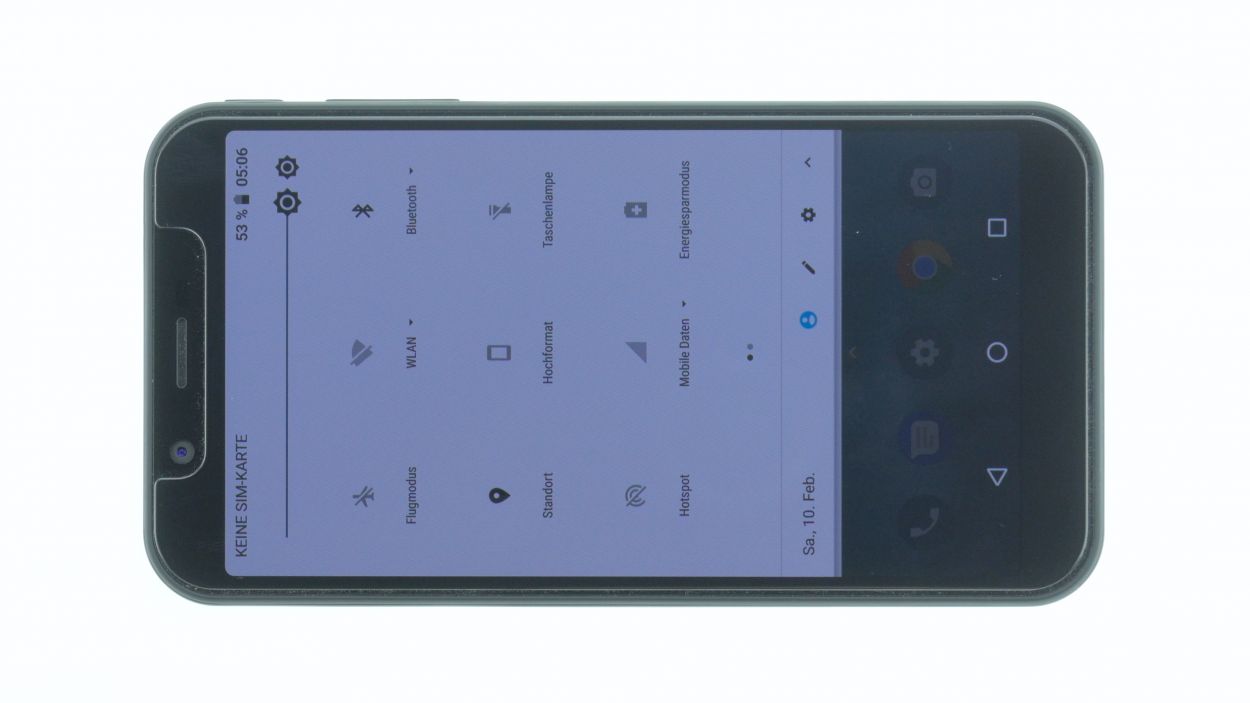
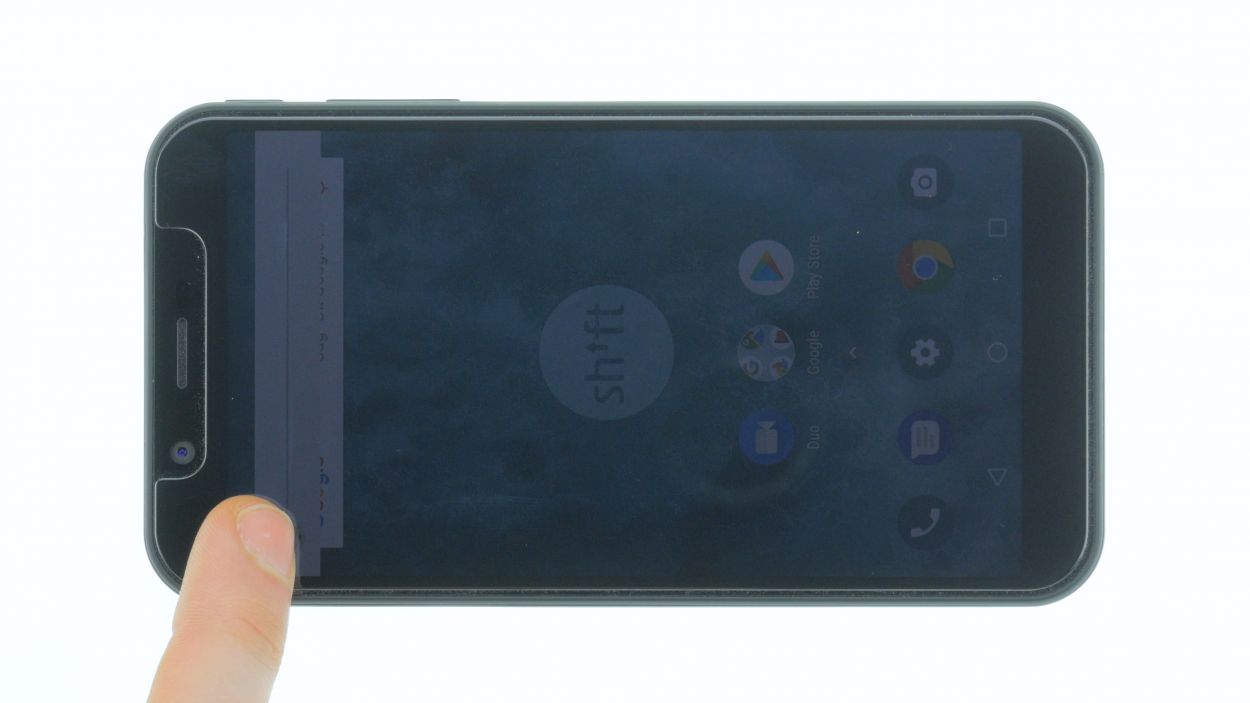

– Fire up your device and give that display brightness a whirl! Slide the brightness slider all the way down to the minimum and then crank it up to the max. Let’s see what it can do!
– Next, grab any app and swipe it across the screen to check out the touch functionality. Glide that app around the edges and then zigzag it all over the place. It should always keep up with your finger like a loyal sidekick!