DIY Guide to Replace Mainboard in SHIFT6m
Duration: 30 min.
Steps: 10 Steps
Pop the hood on your SHIFT6m and lets pull out that main board! You got this!
Step 1


– Let’s power down your device! Press and hold that power button until the ‘Power off’ option pops up on your screen.
– Now, tap the screen with your finger to confirm you want to shut down your SHIFT6m, and hang tight while the screen goes dark.
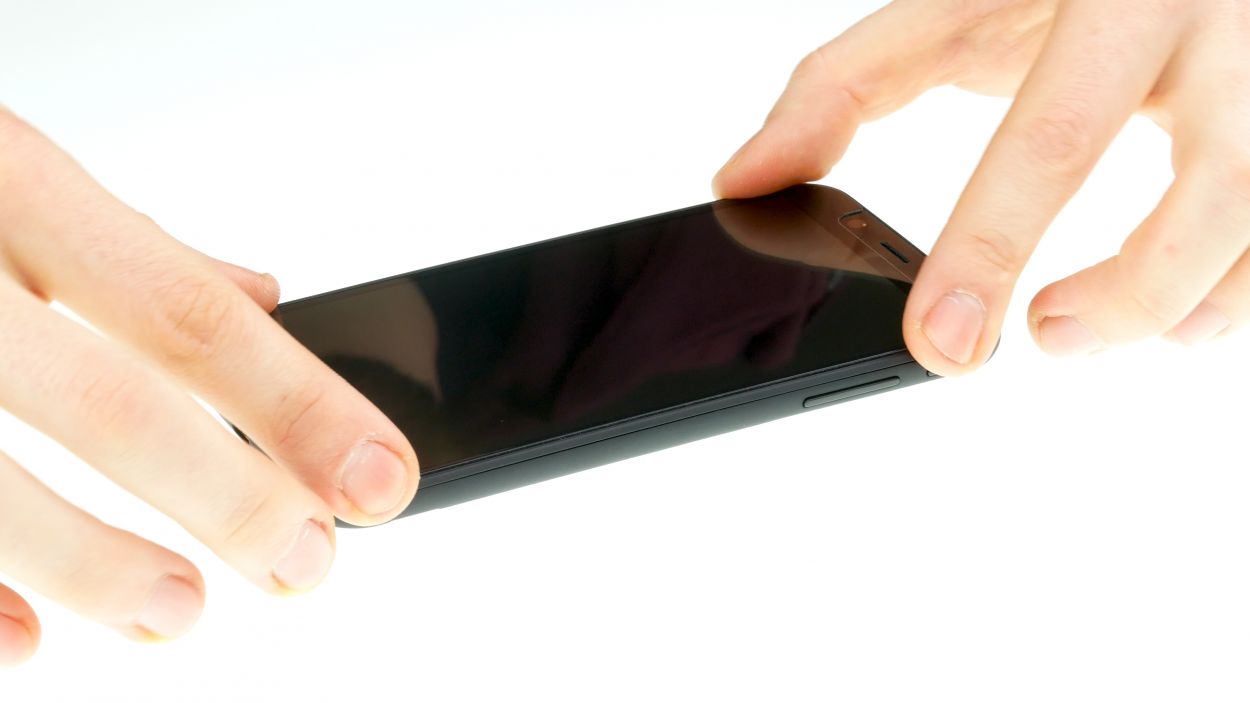
Step 2
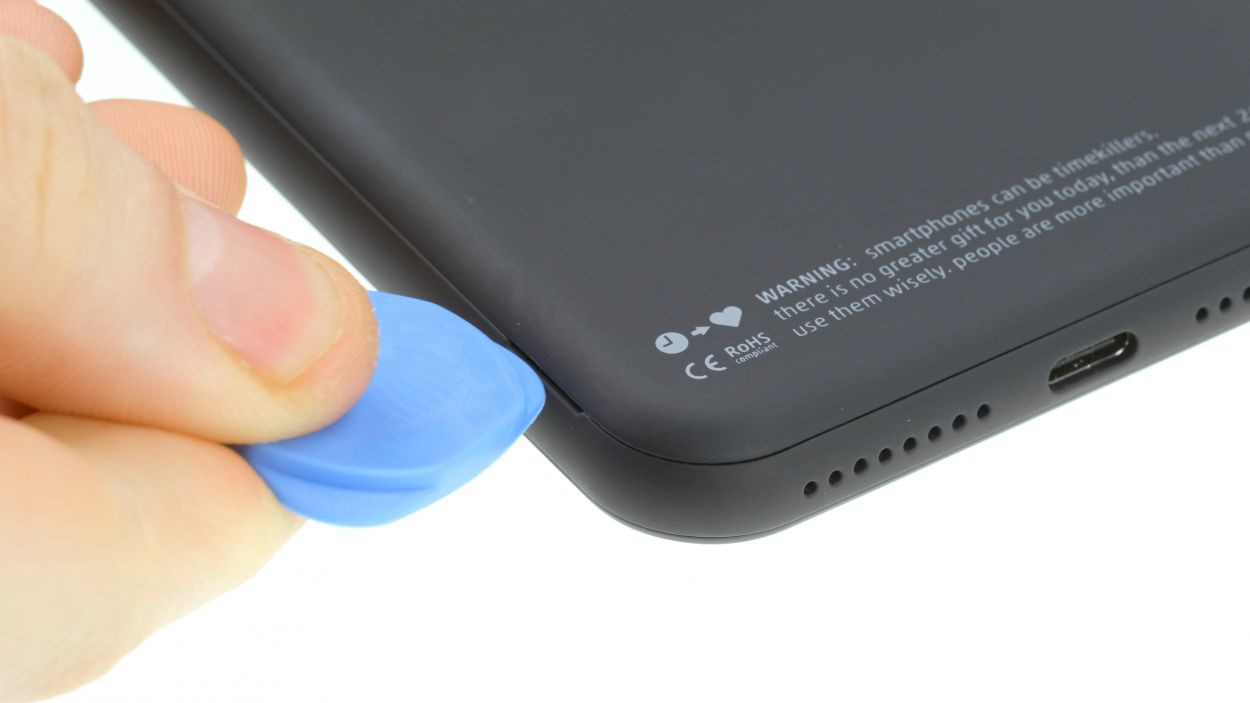
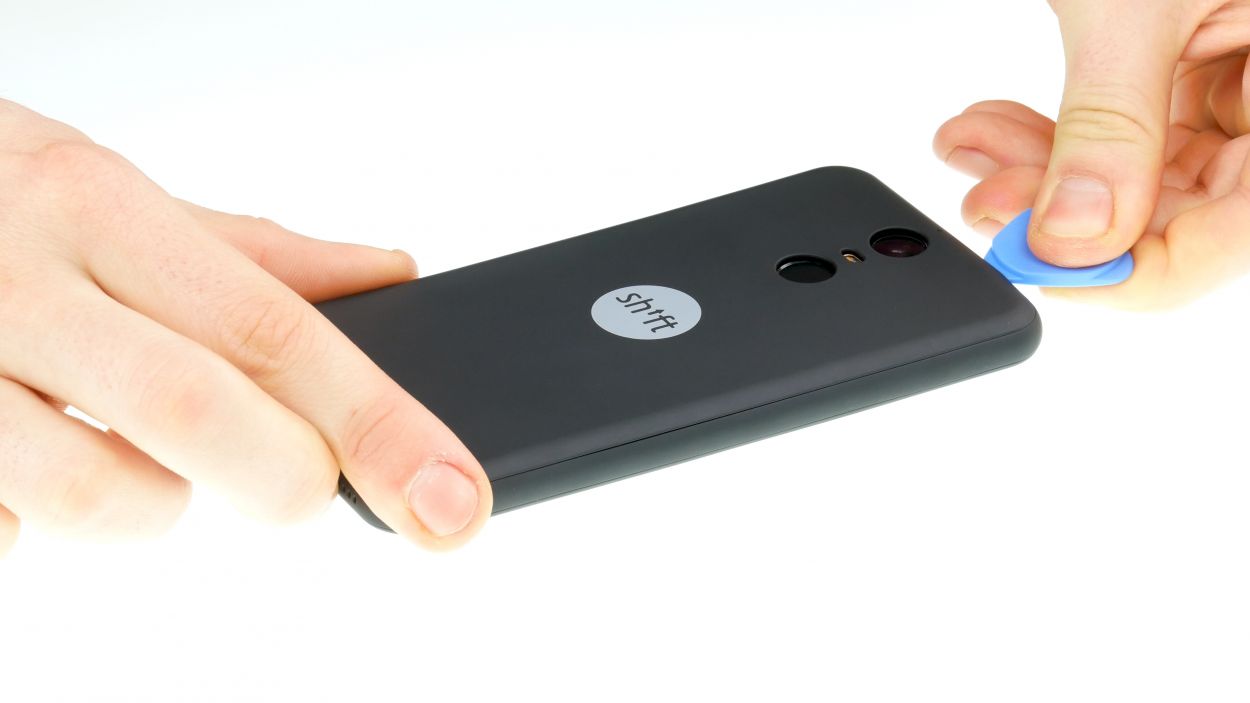
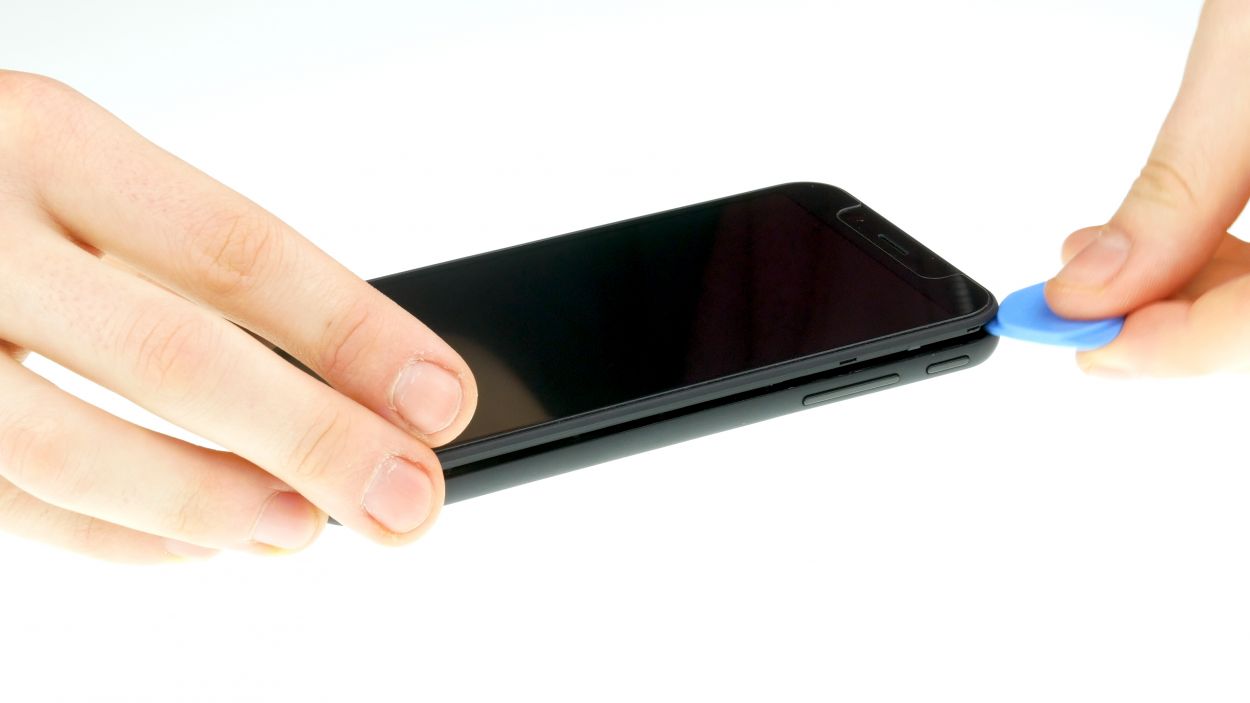
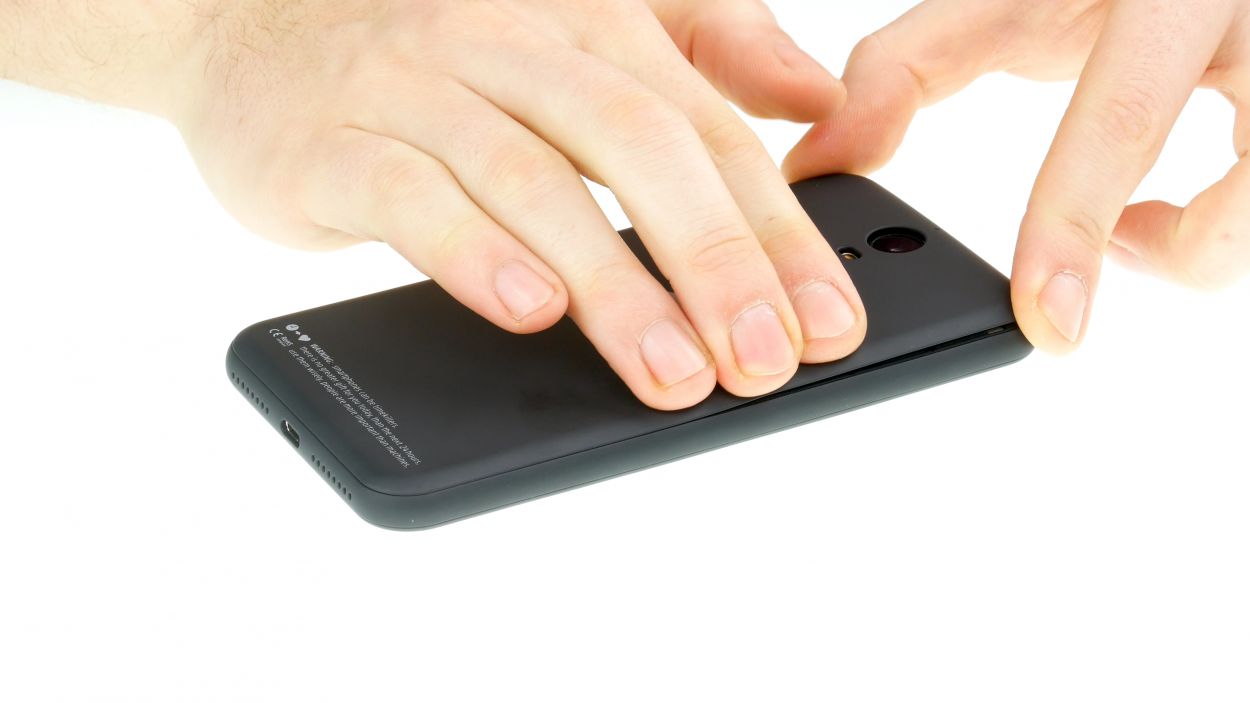
– Grab a plectrum or your trusty fingernail and gently slide it into the tiny gap in the bottom left corner. Give a little tug to lift off the back cover.
– Now, take your time to loosen all the clips around the edges. Just a heads up, the back cover is also secured around the fingerprint sensor, so you might need to give it a bit more oomph to get it loose.
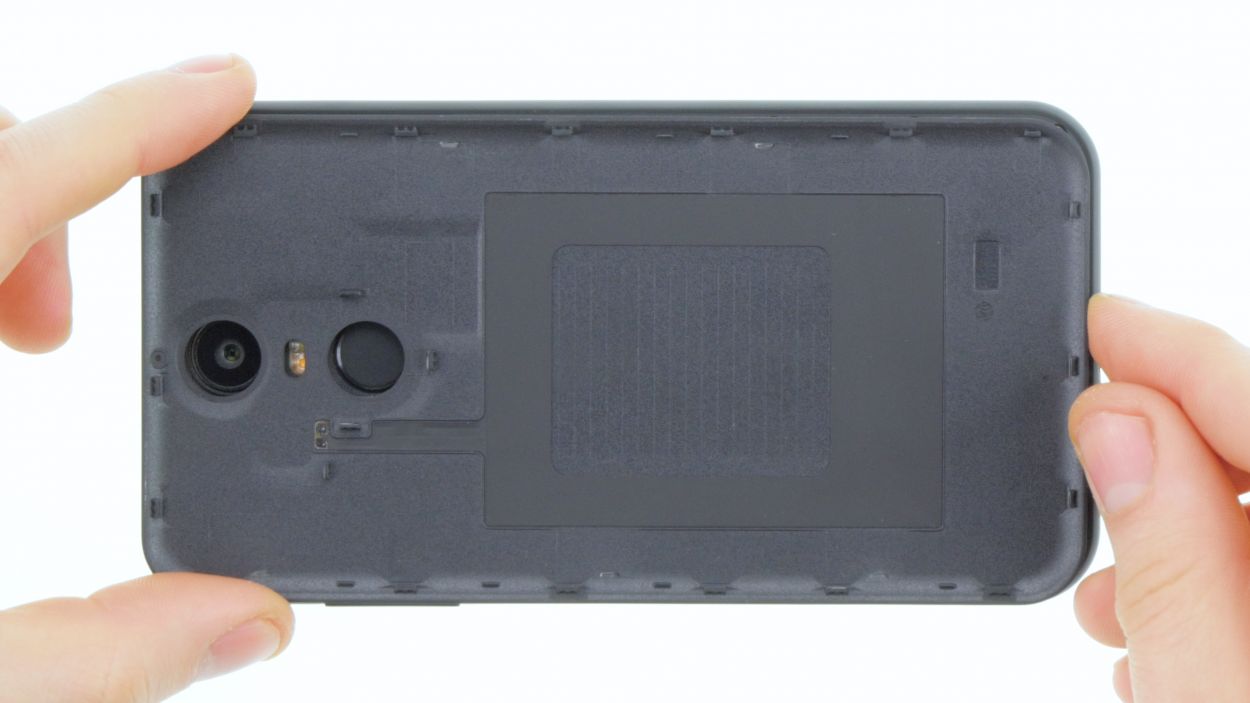
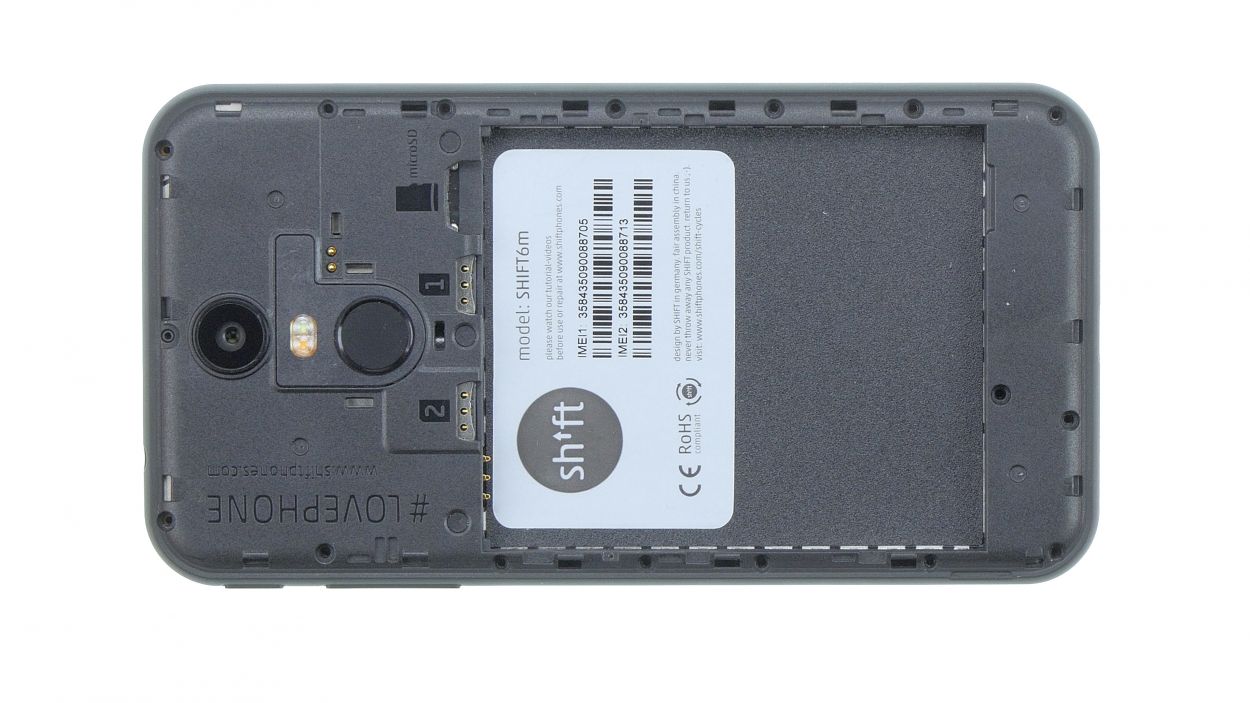
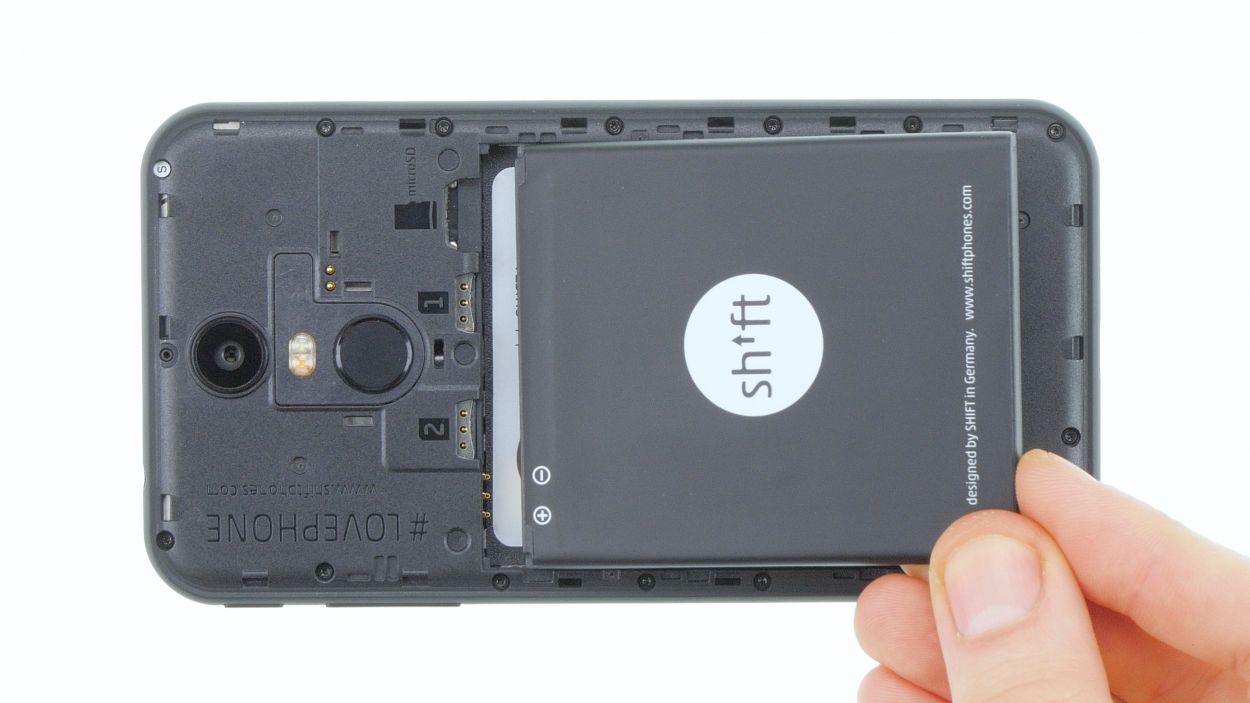
Step 3
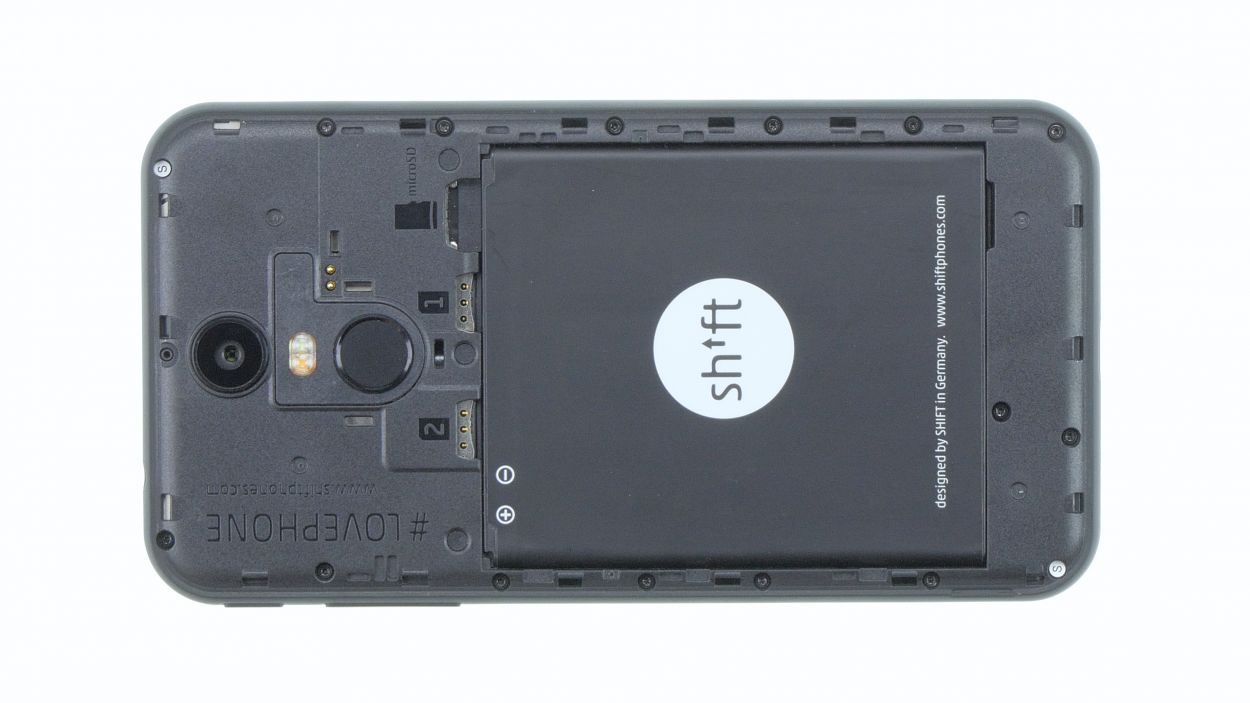
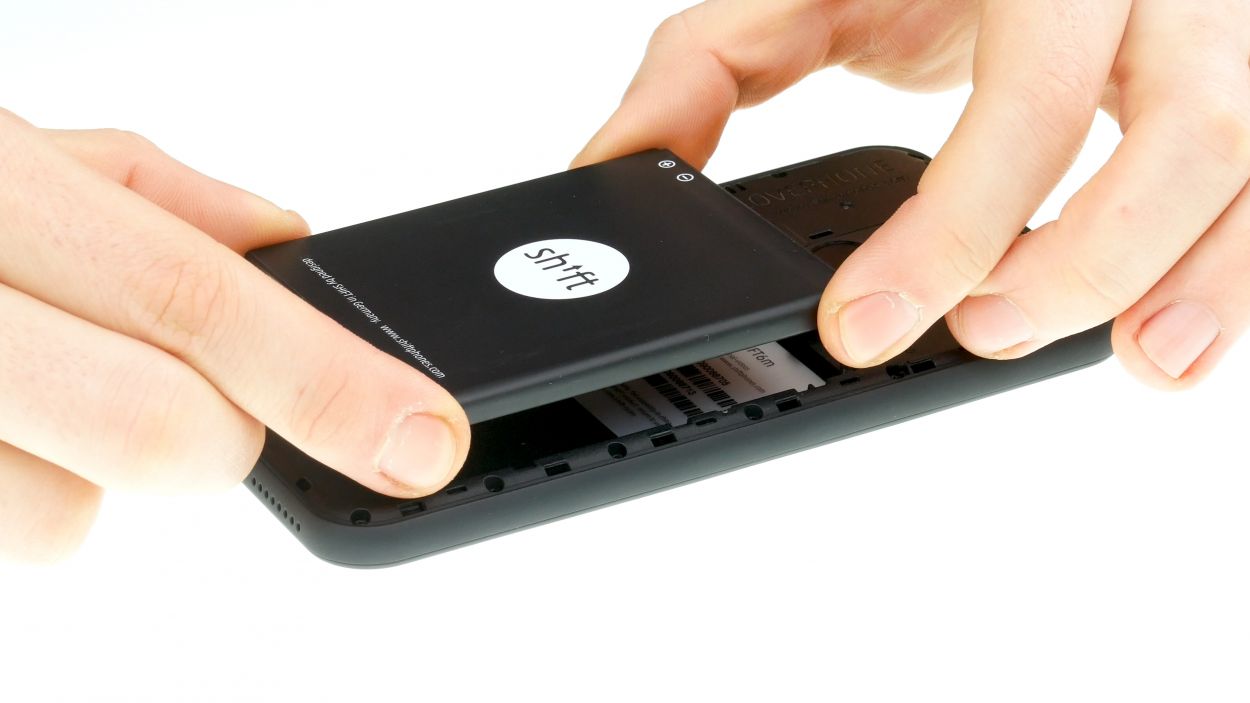
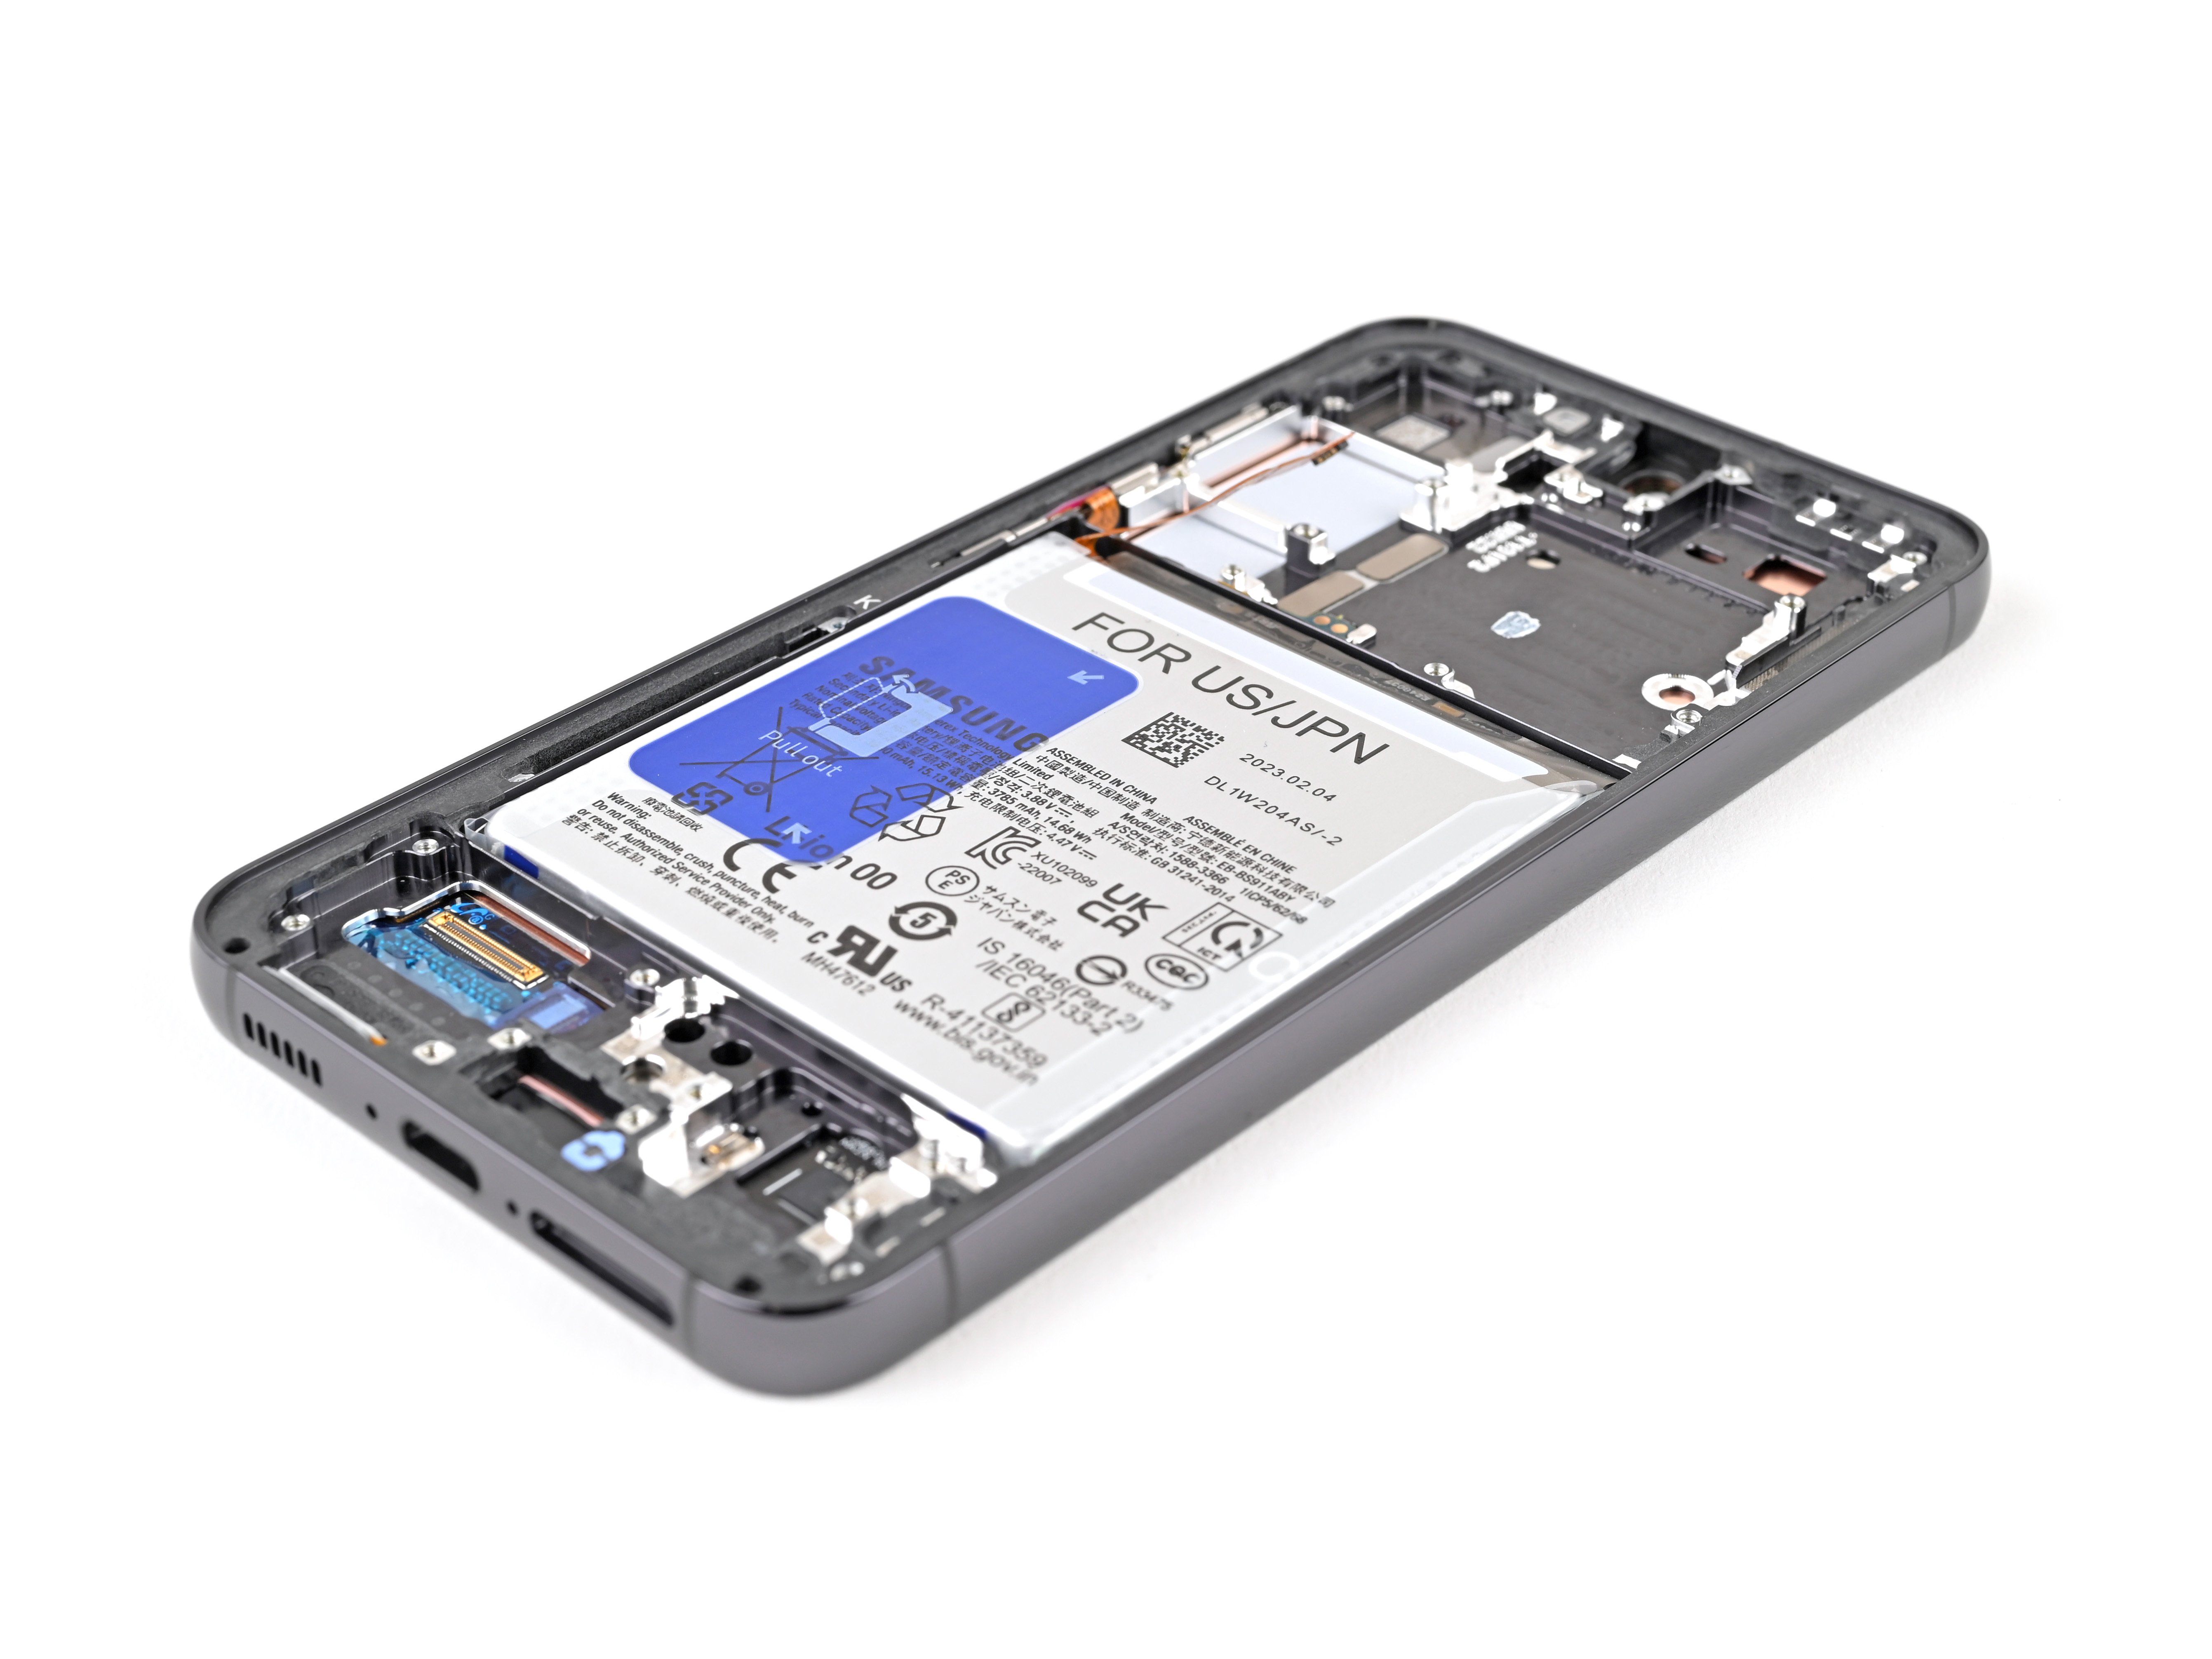
– Just lift the battery gently by that little notch hiding in the lower right corner, and pop it out of your device with ease. You’ve got this!
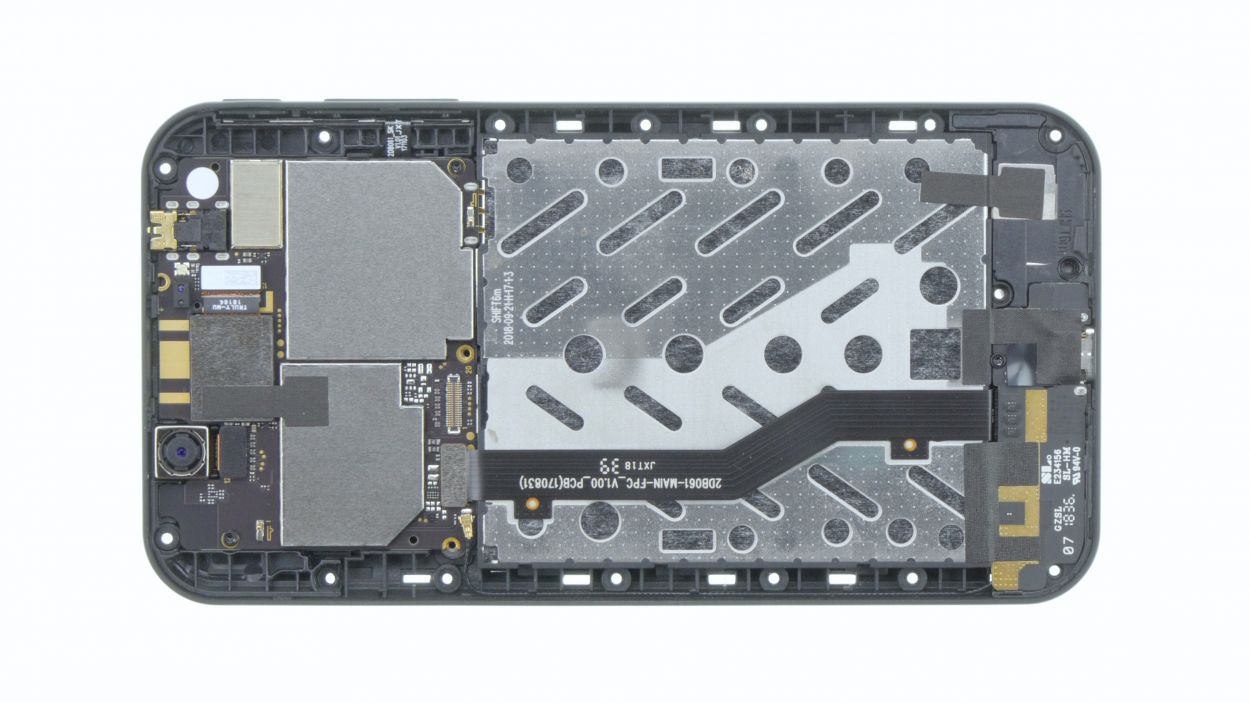
Step 4

16 × 4,0 mm Torx T3
2 × 4,0 mm Torx T3
Display connector
– Loosen all screws with a Torx T3 screwdriver.
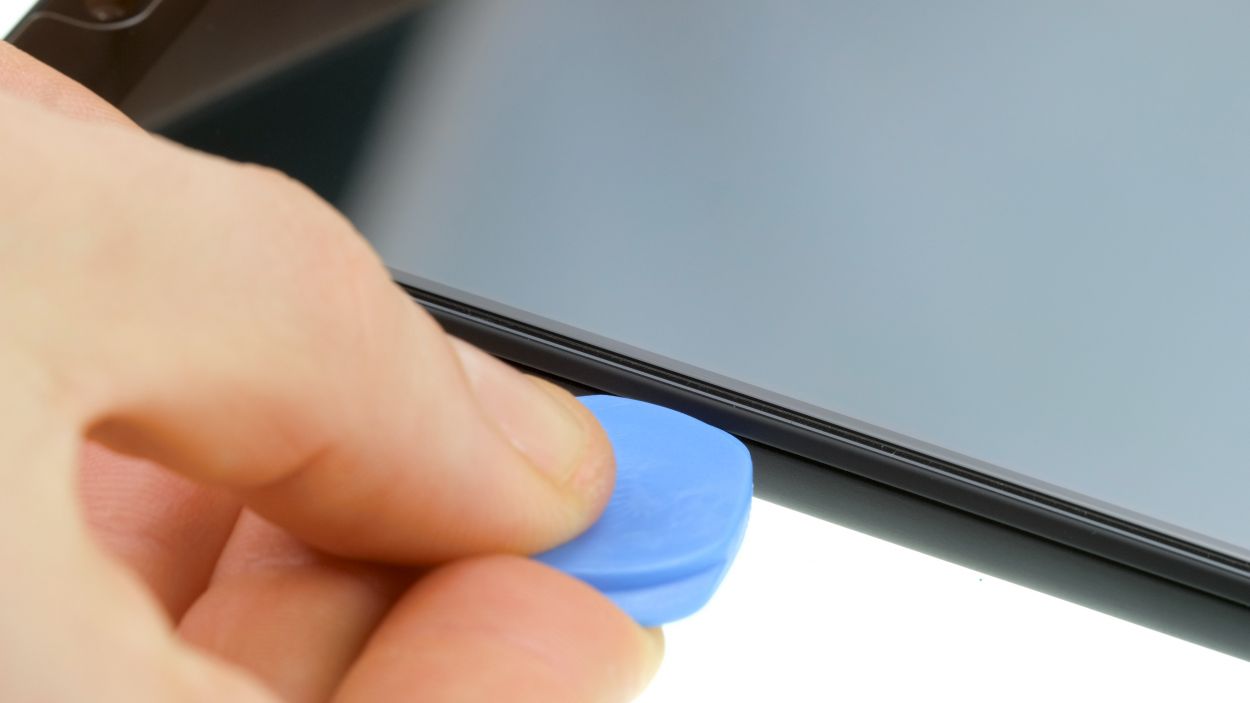
– Then turn the SHIFT6m over and slide a plectrum or your fingernail between the plastic frame and the display.
– Slide around the entire display once to gradually release it.
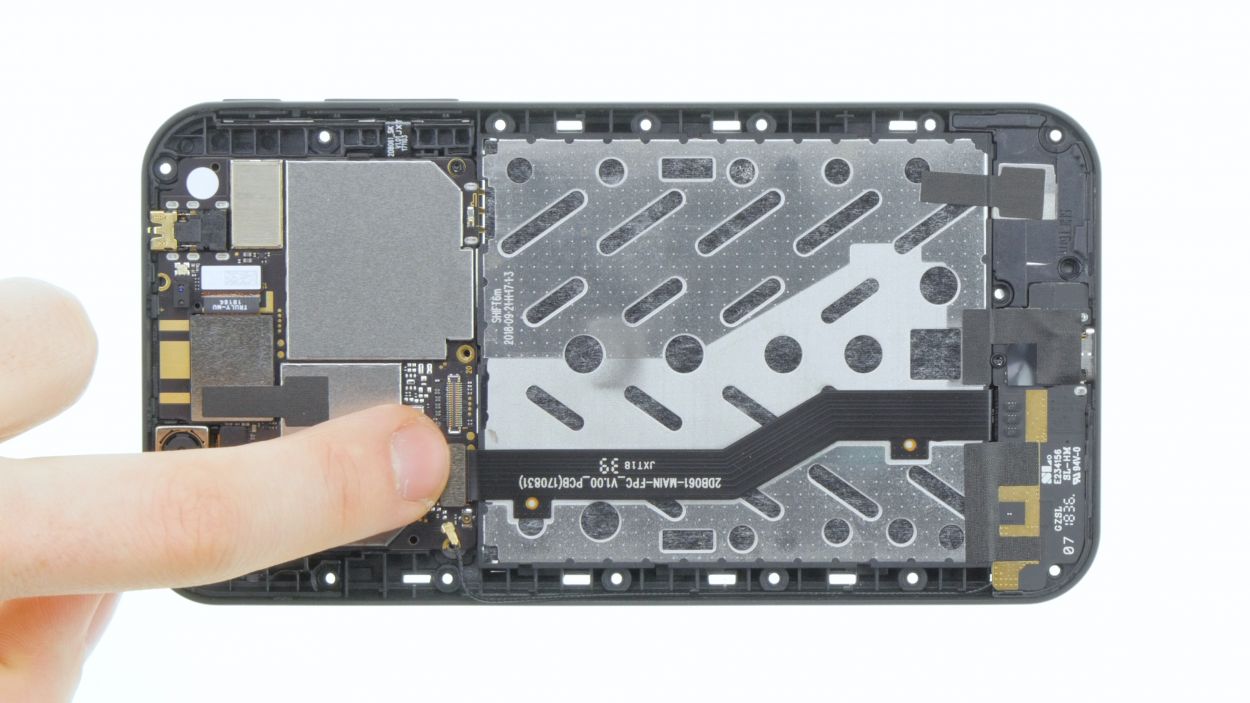
Step 5


2 × 4,0 mm Torx T3
Standby/Volume Connector
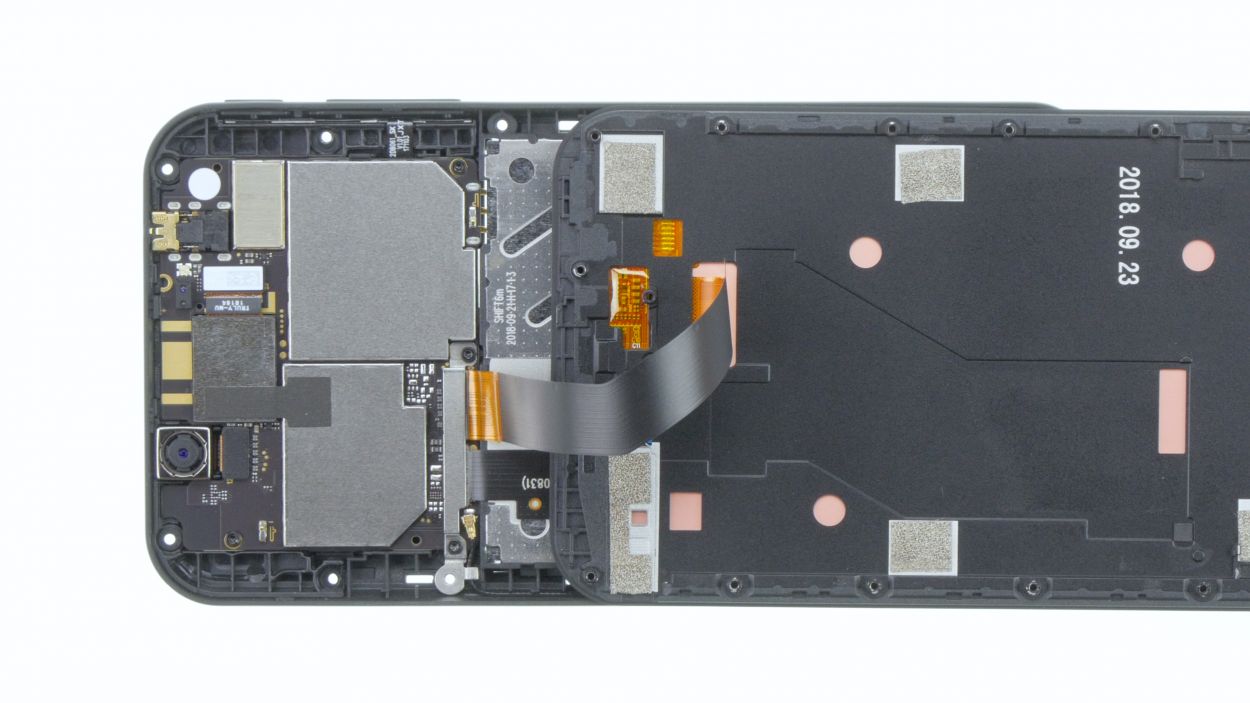
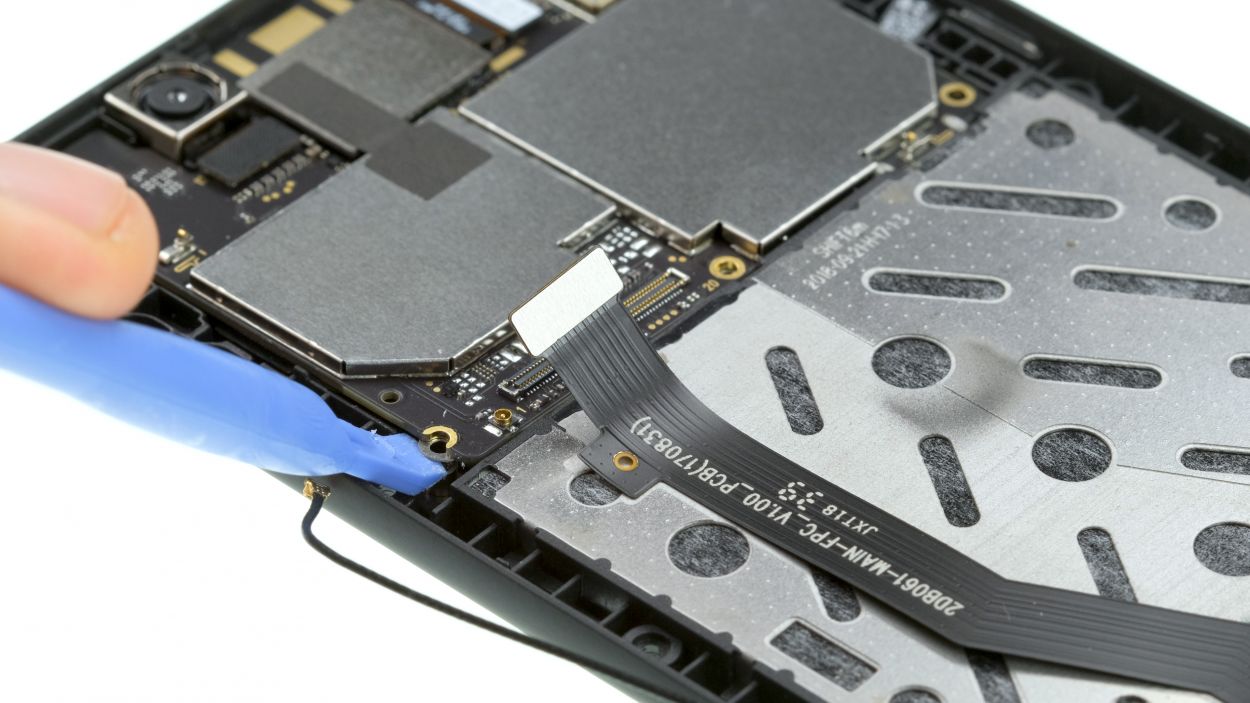
Hey there! Just a heads up, the control buttons on the back are still wired together with a short flex cable. Take care when you’re working around that!
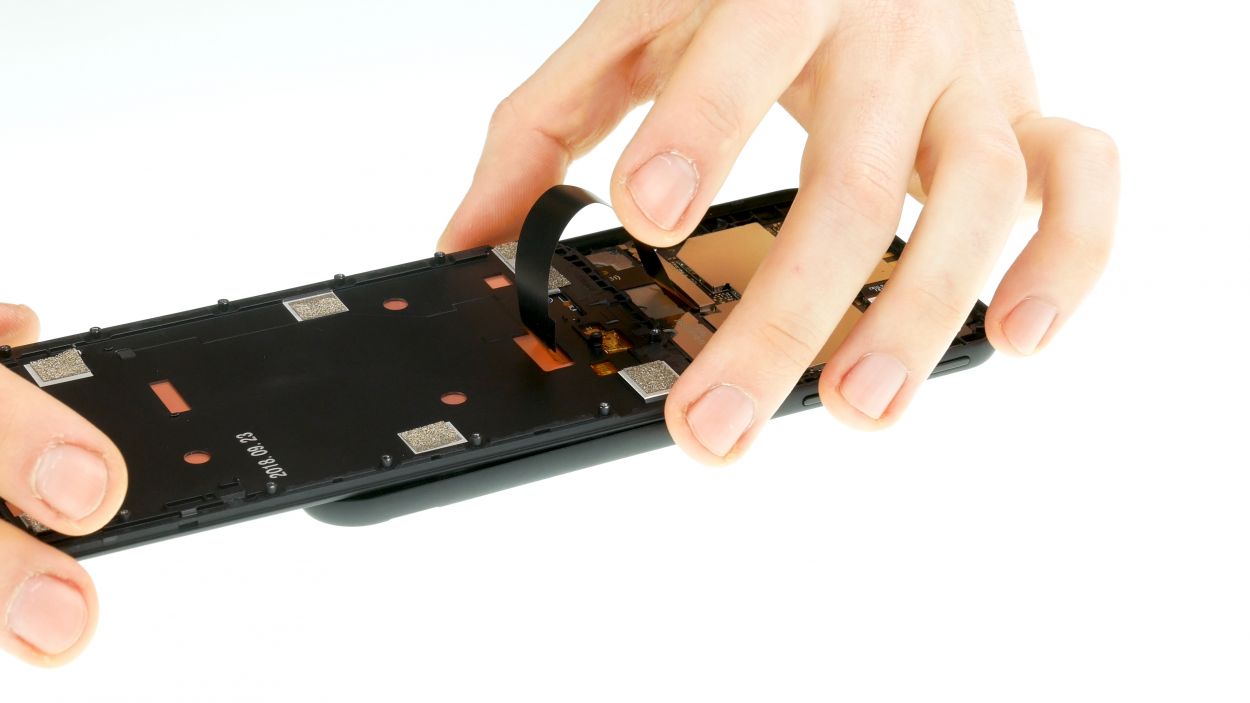
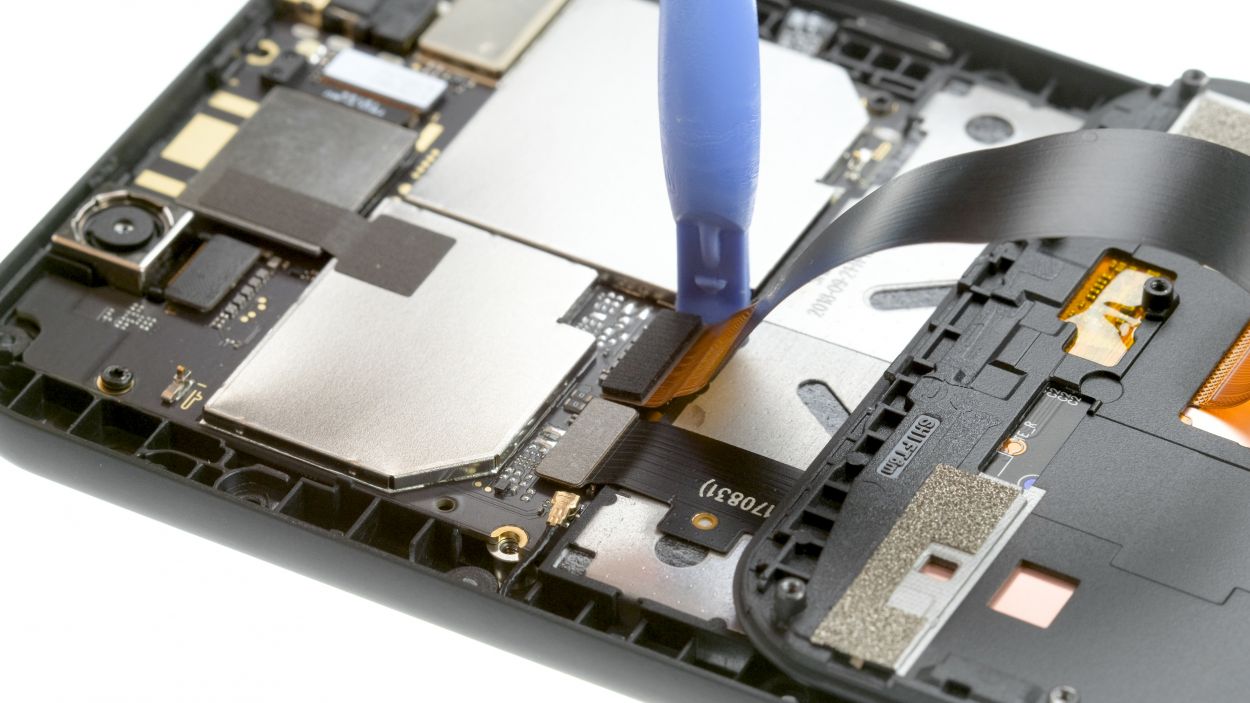
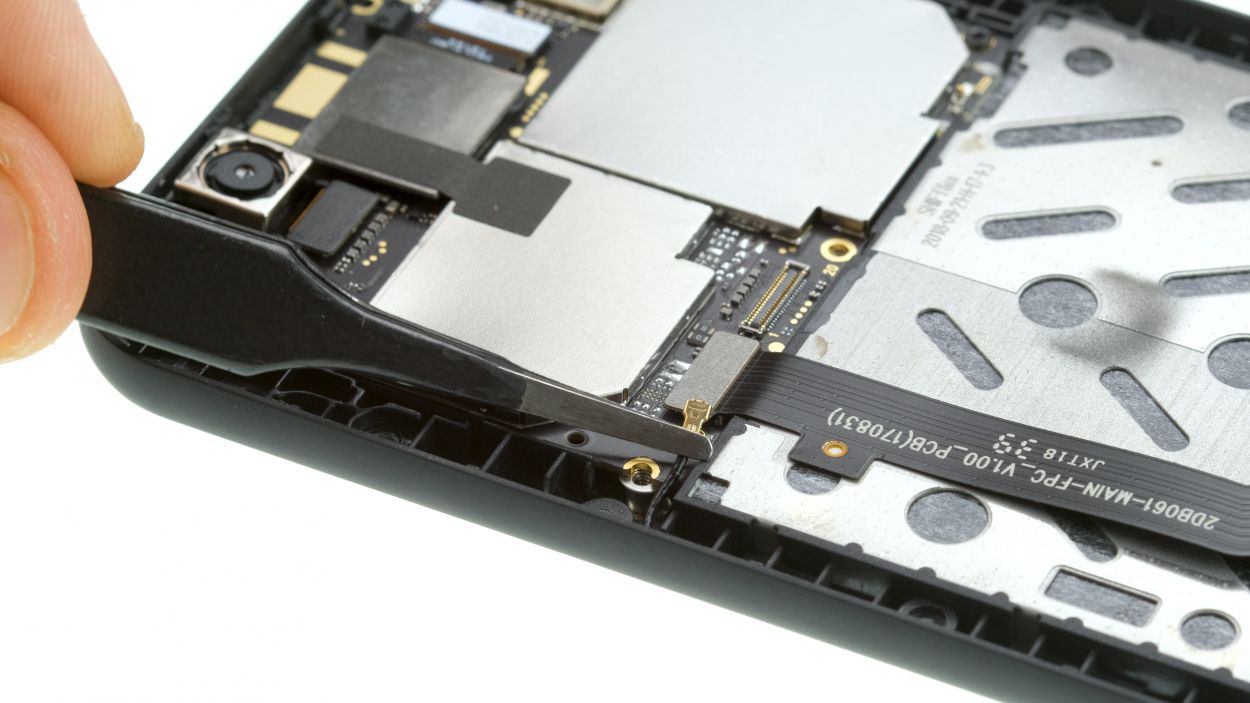
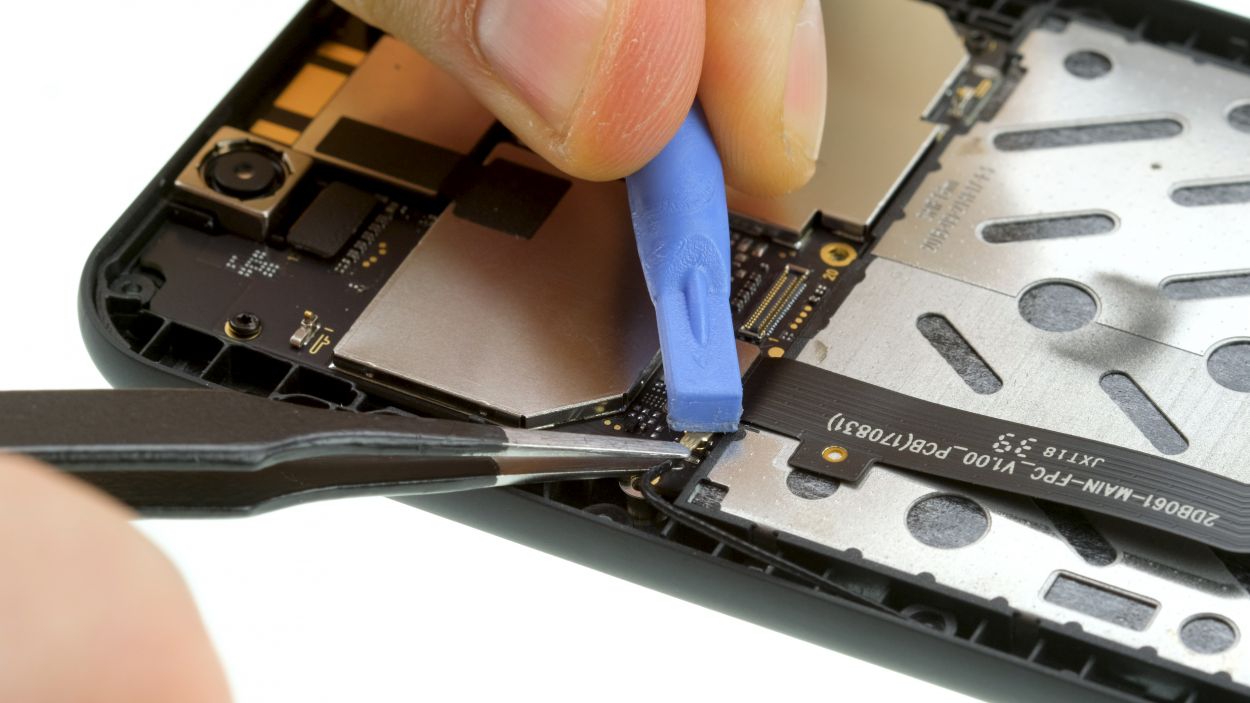
– Gently twist the black antenna’s contact with your tweezers—no need for a spudger here, as it might just mess with the socket on the board!
– Carefully work your spudger to separate the ribbon cable’s contact that stretches across the device.
– Loosen both screws with a little finesse.
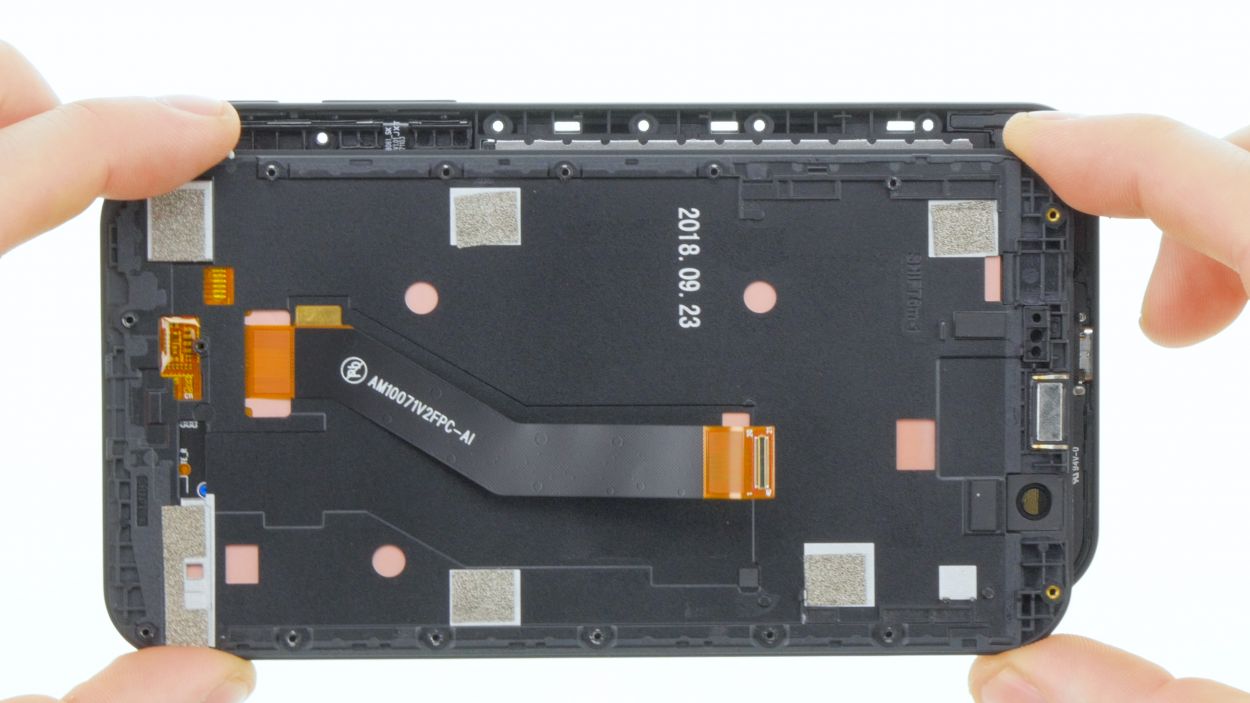
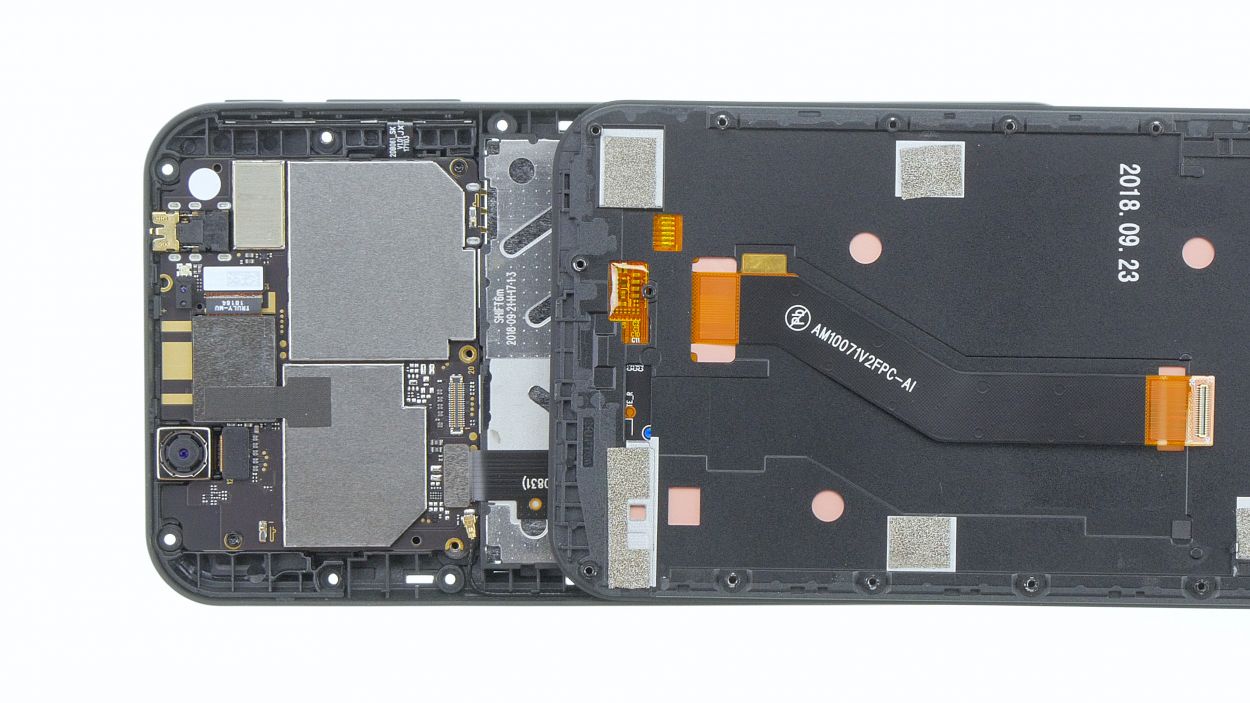
– Raise the left side of the main board just a tad and then gracefully fold it over to the other side.
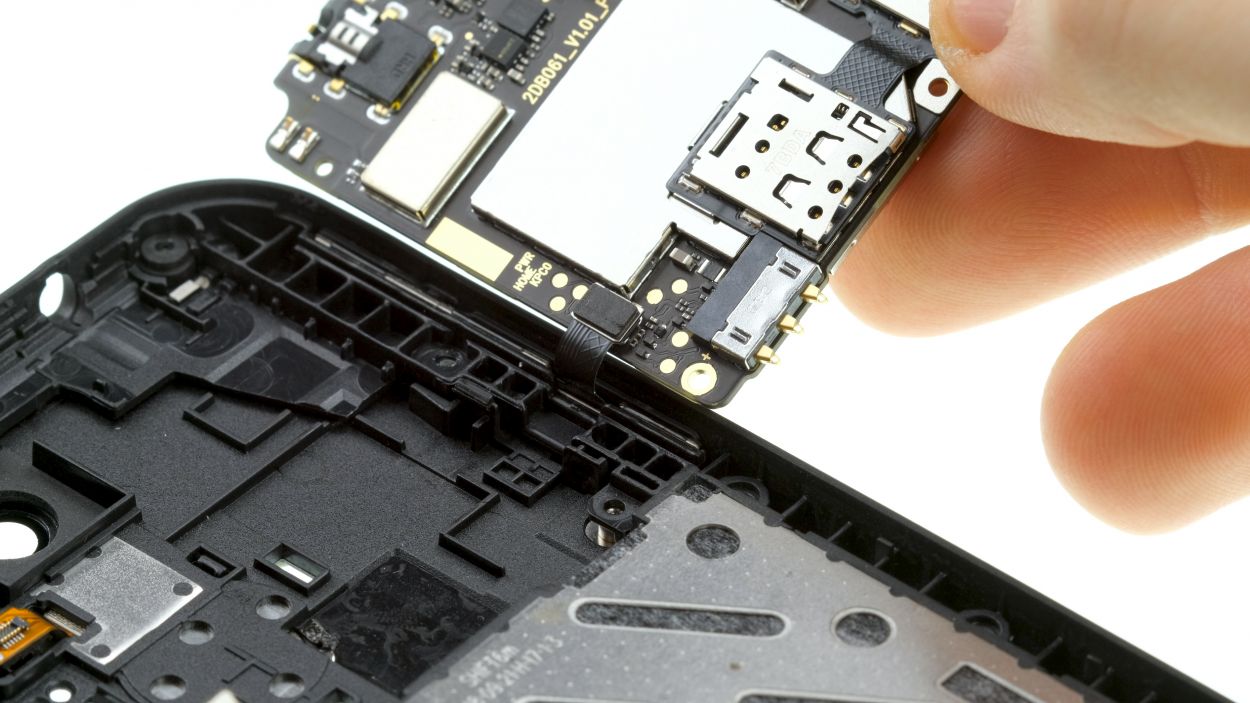
Step 6


Standby/Volume Connector
2 × 4,0 mm Torx T3
Be careful not to pinch any cables under the circuit board.
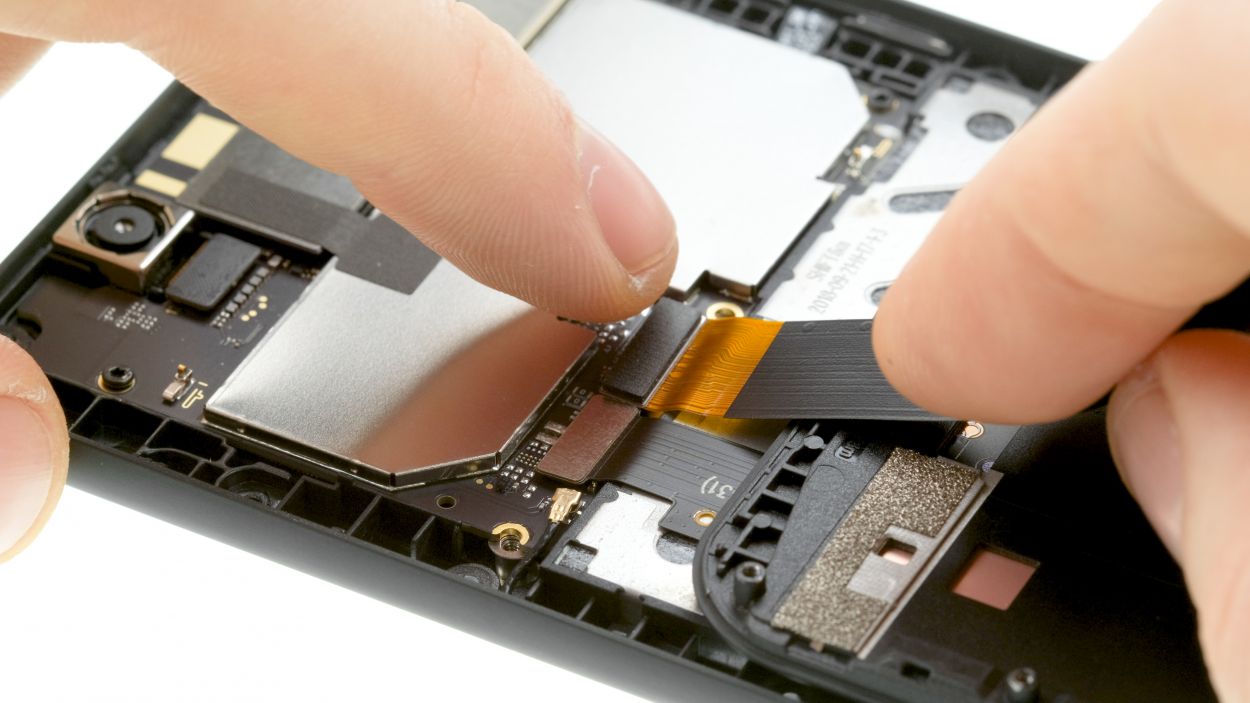
– Time to get started. Place the motherboard on the right side, upside down – don’t worry, it’s temporary.
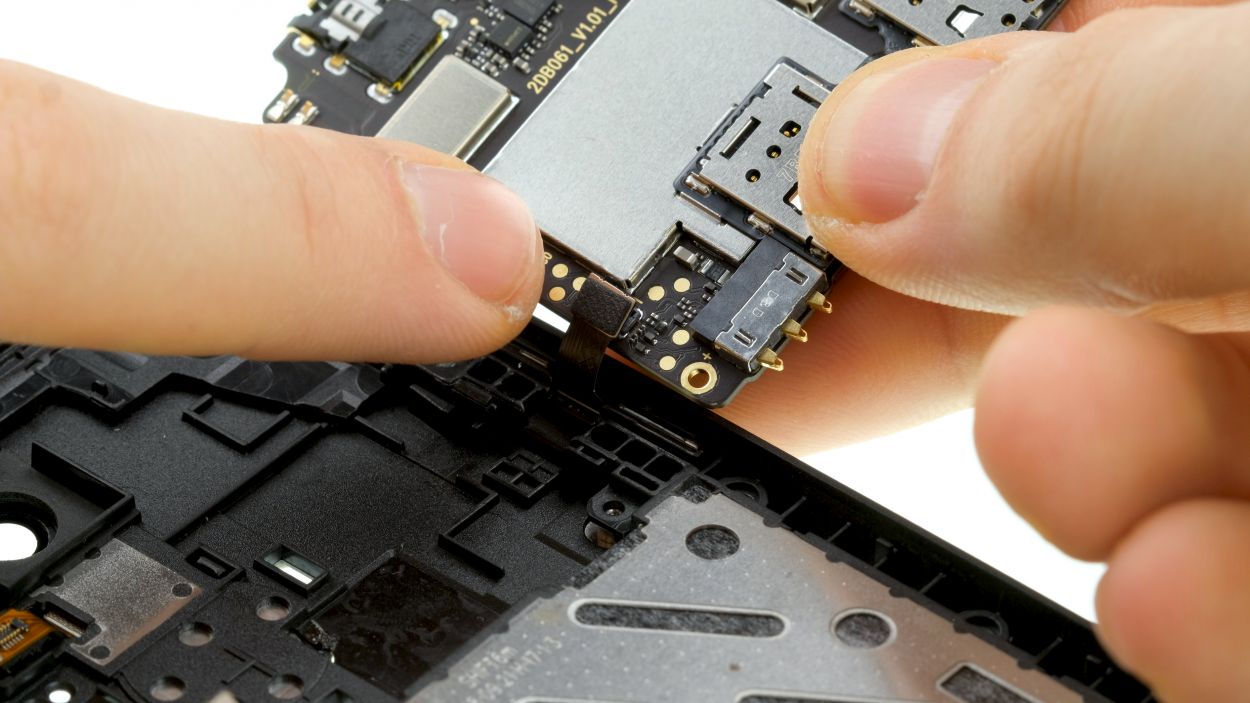
– Next, connect the control button contact. Easy peasy.
– Now, flip the motherboard over and gently press down until it’s snug in the device and the fingerprint sensor contact clicks into place. You’re doing great! If you need help, you can always schedule a repair.
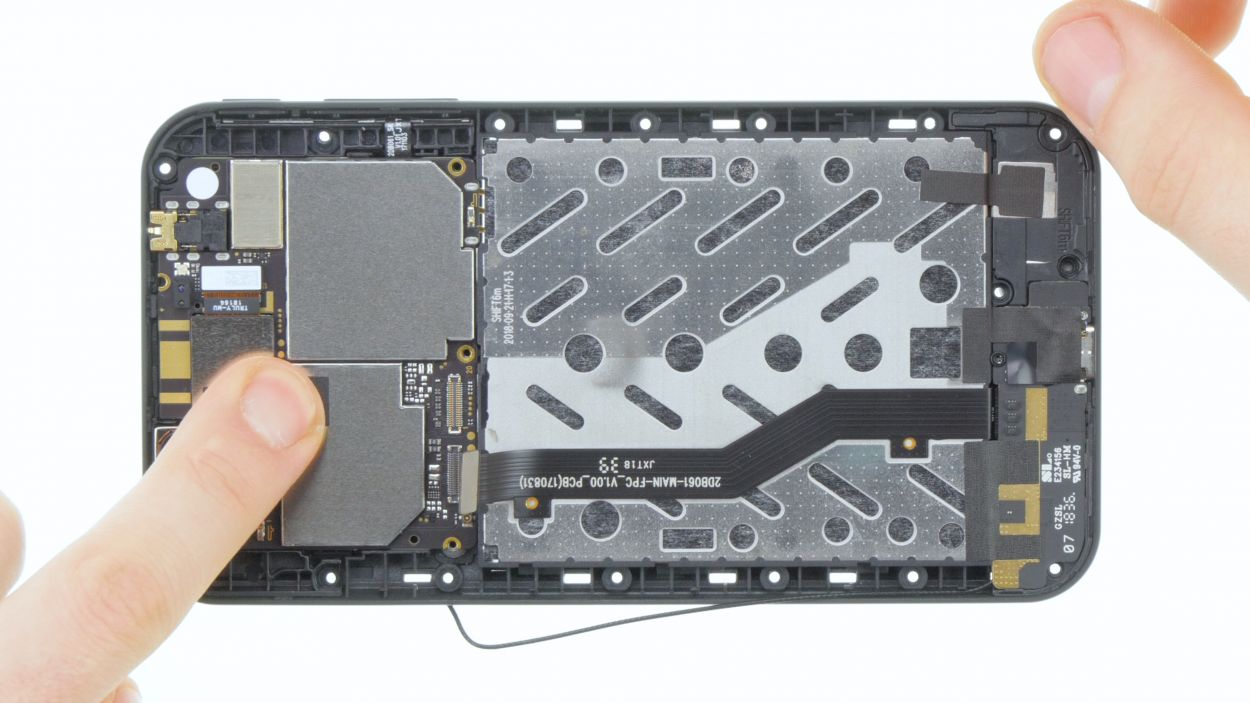
Step 7

Display connector
2 × 4,0 mm Torx T3
16 × 4,0 mm Torx T3
Gently connect the connector until you hear a satisfying little click! If it doesn’t snap into place right away, no need to force it down. Just give it another shot by repositioning the connector and trying again. You’ve got this!
– Gently nestle the display onto its frame, making sure the connector is perfectly aligned with its home on the motherboard.
– Give that connector a little nudge – a gentle push to secure it in place. You got this!
Step 8
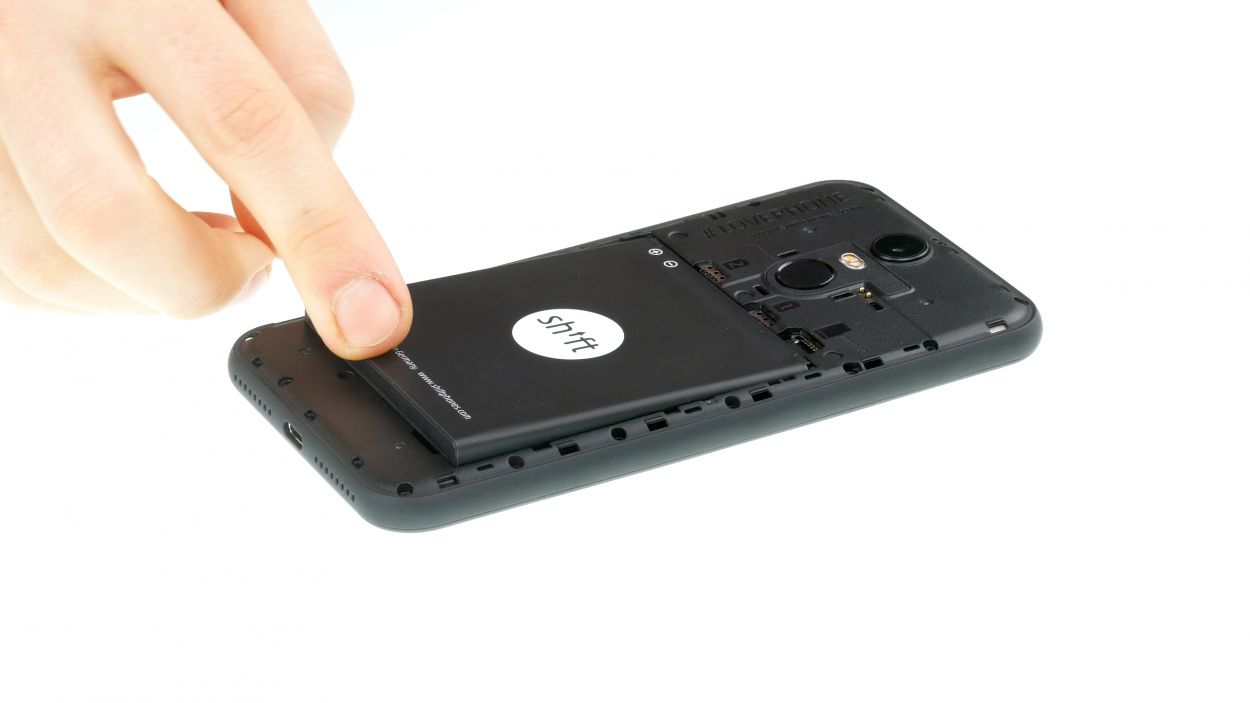
– Slide that battery back into its cozy spot!
Step 9

– The back cover is held in place by some cheeky little clips around the edges and near the fingerprint sensor opening. It’s a snug fit!
– Give the back cover a gentle press all around until it’s seated just right. You got this!
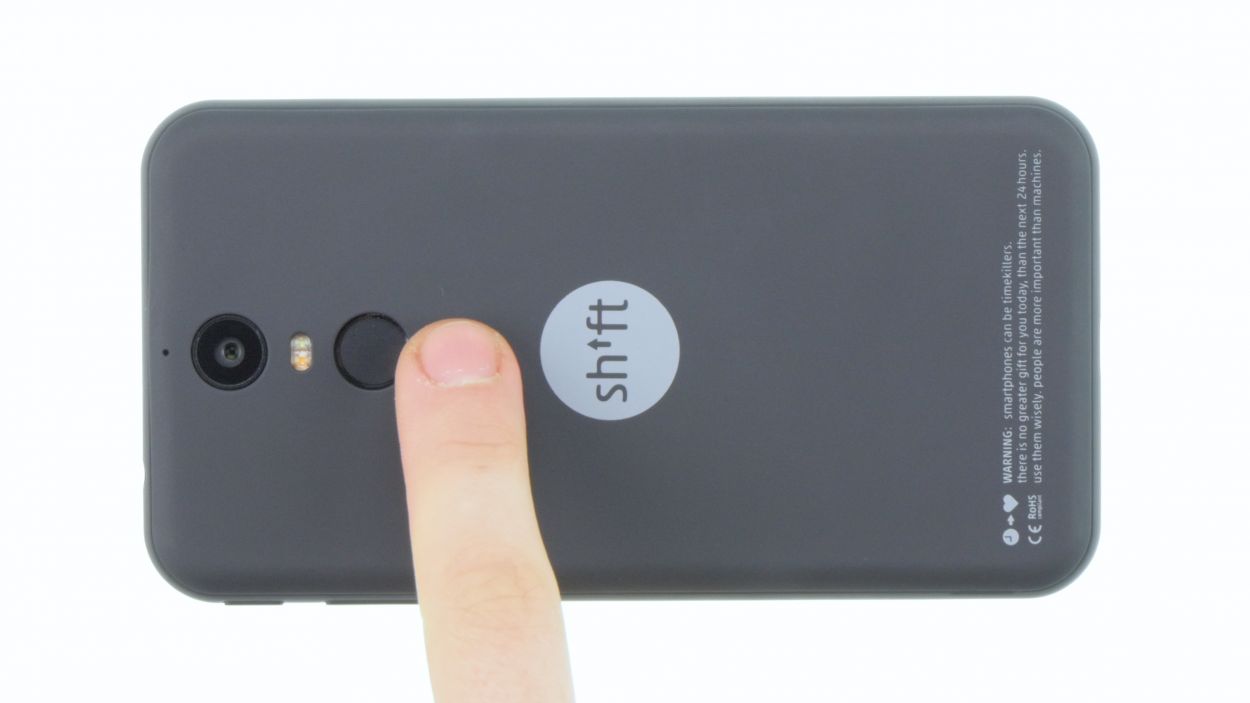
Step 10
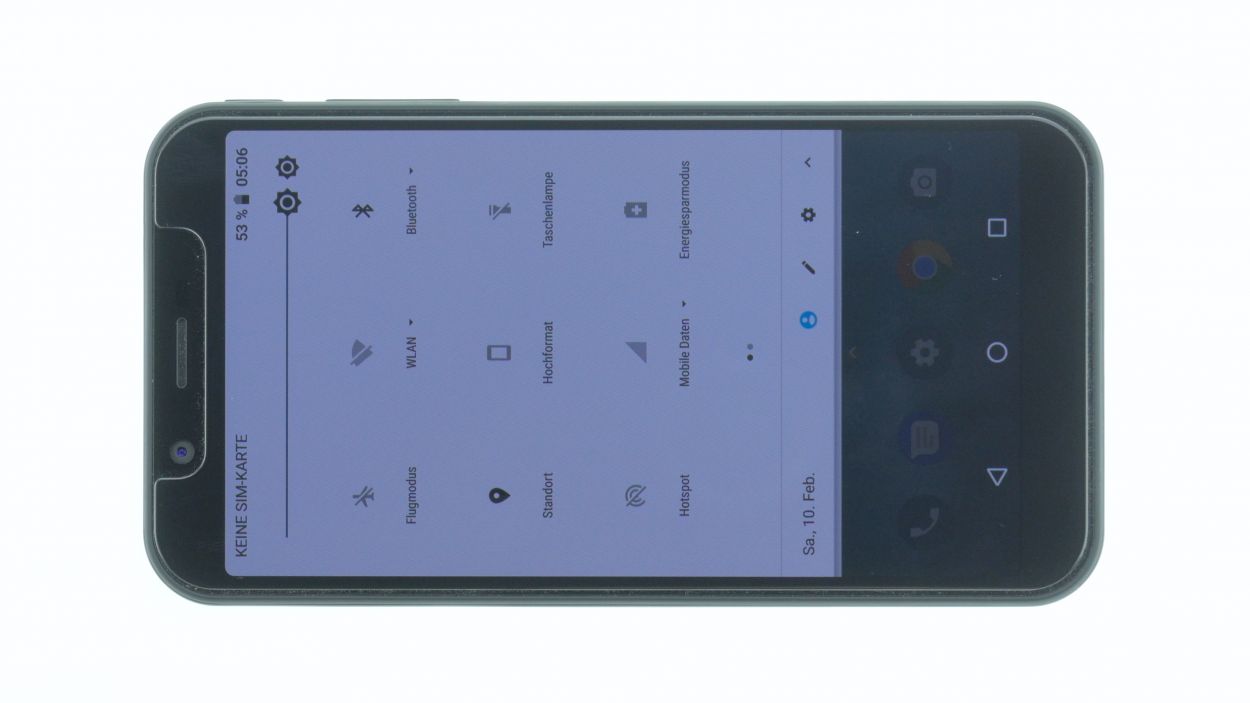

– Fire up your device and give the display brightness a whirl! Slide that brightness slider all the way down to the floor and then crank it up to the stars.
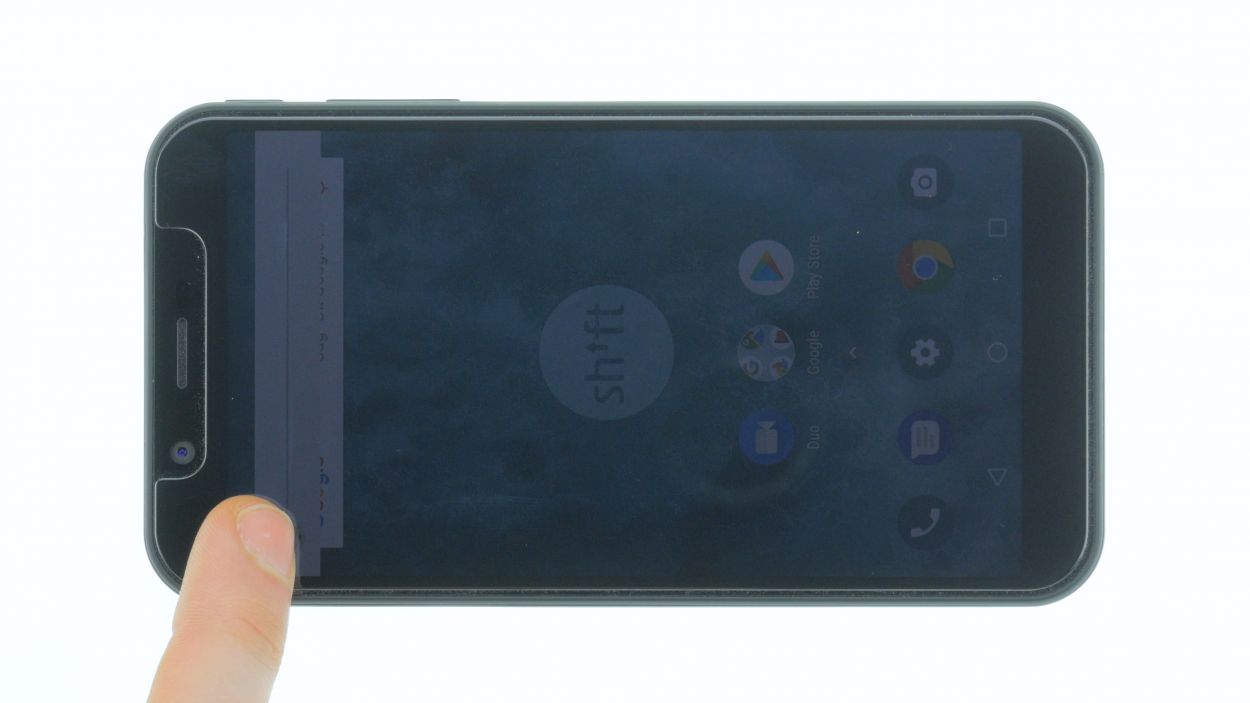
– Next up, grab any app and let it dance across your screen to check out the touch functionality. Glide that app all the way to the edges and then zigzag it like you’re drawing a funky shape. The app should never lose sight of your finger!