DIY Guide to Replace Google Nexus 5 Rear Camera
Duration: 30 min.
Steps: 15 Steps
In this repair guide, we show you how to replace your LG Google Nexus 5’s defective rear camera on your own. You need this repair if the rear camera isn’t working, your pictures are blurry, or the camera doesn’t focus.
Step 1
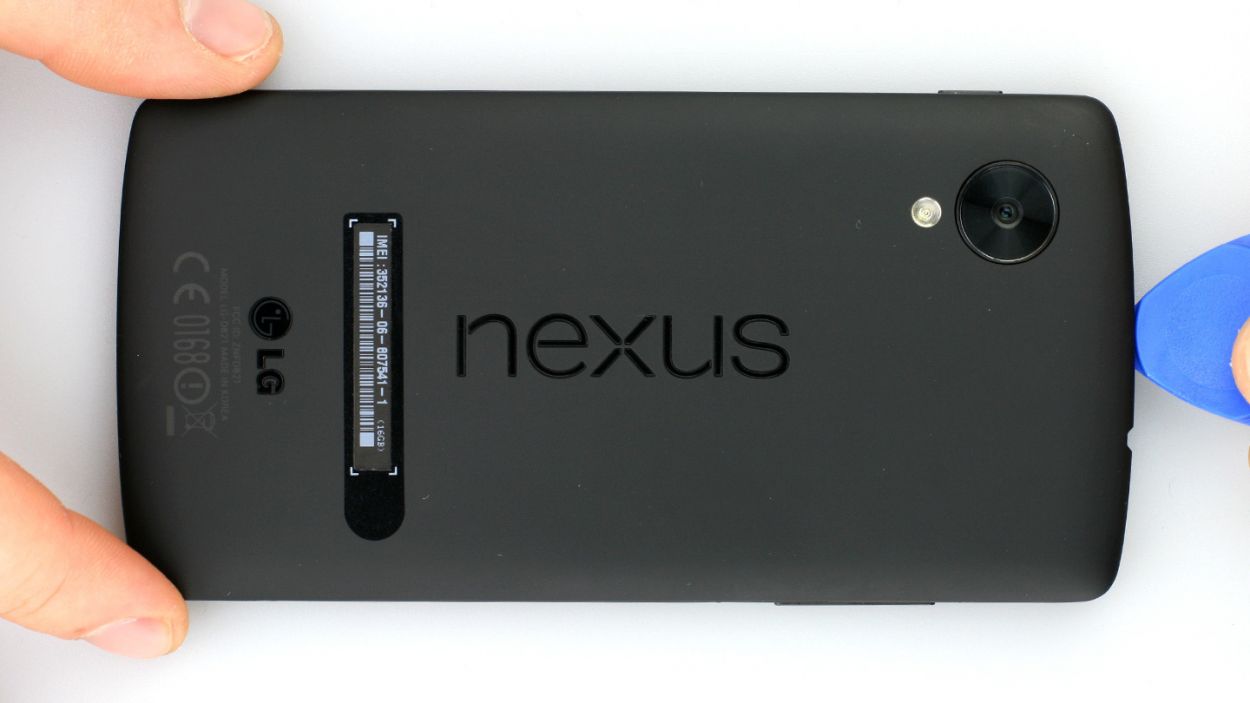
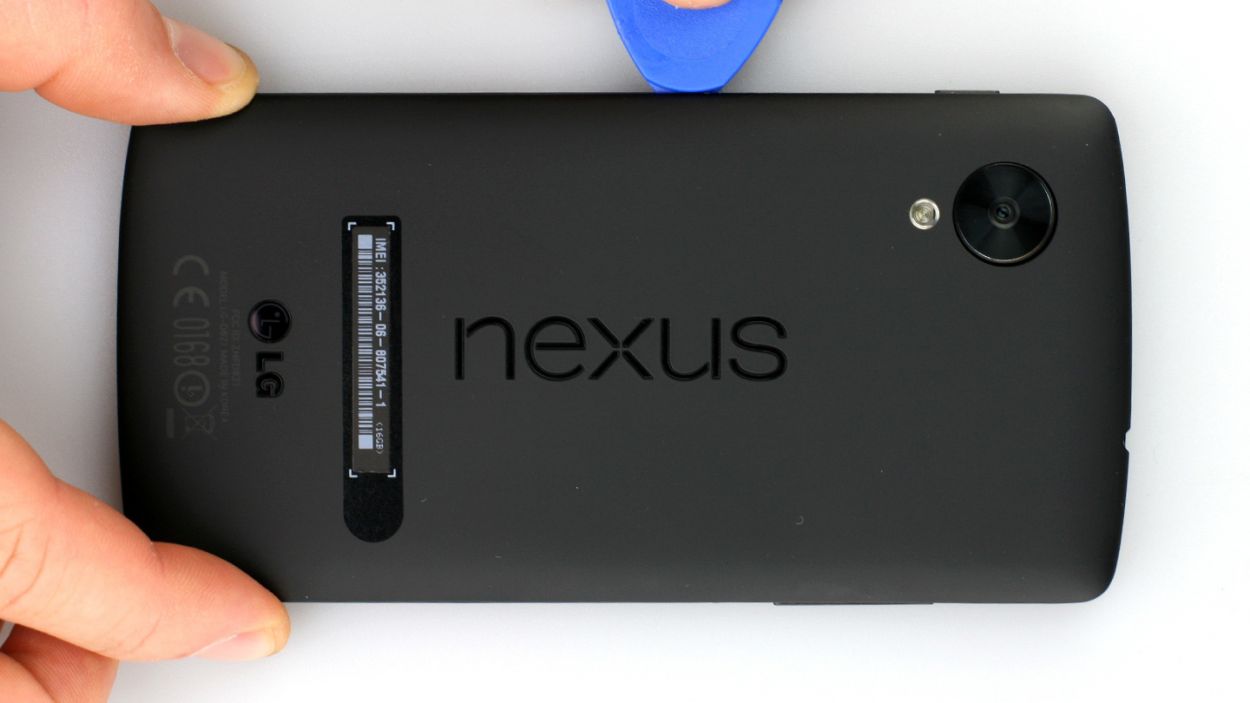
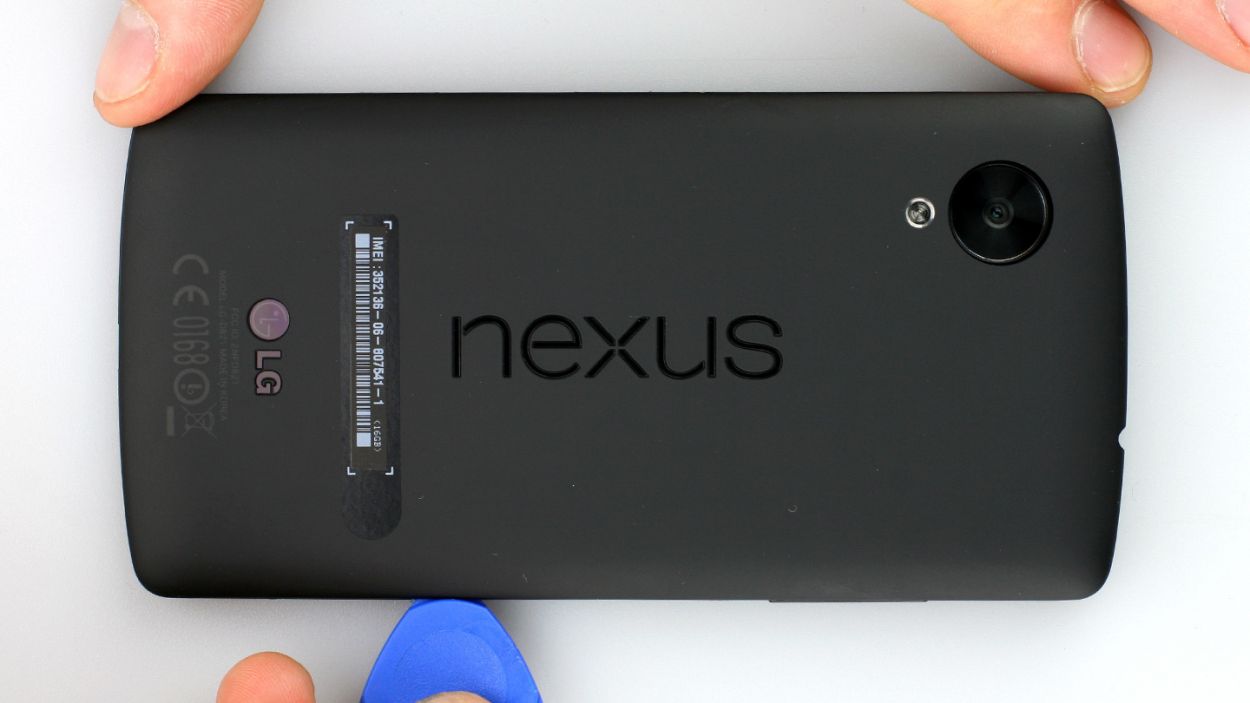
– Grab your trusty hard plastic pick and slide it into the little gap next to the volume button. You’re on a mission to disconnect 18 retaining clips resting snugly under the back cover. Glide that pick all around the smartphone like you’re dancing to your favorite tune! Start at the volume button, cruise past the headphone jack, and make your way to the SIM card tray. That’s where you’ll find it much easier to pop off the back cover. Some spots might need a bit more oomph, but you’ve got this!
– Once you’ve navigated those clips, go ahead and lift off the back cover.
Step 2

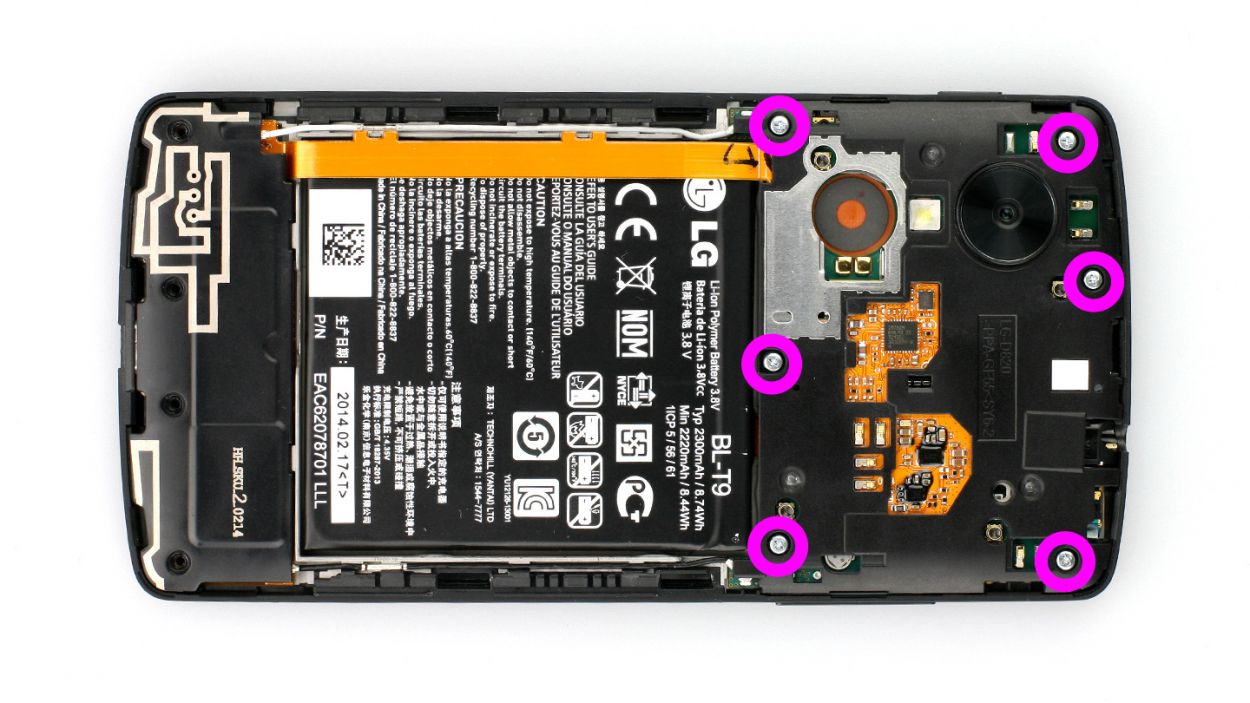
– Time to get started. Remove the 6 Phillips screws that hold the plastic cover in place (see figure 1). You’ll need a trusty screwdriver for this – 6 x 4.0 mm Phillips screws to be exact.
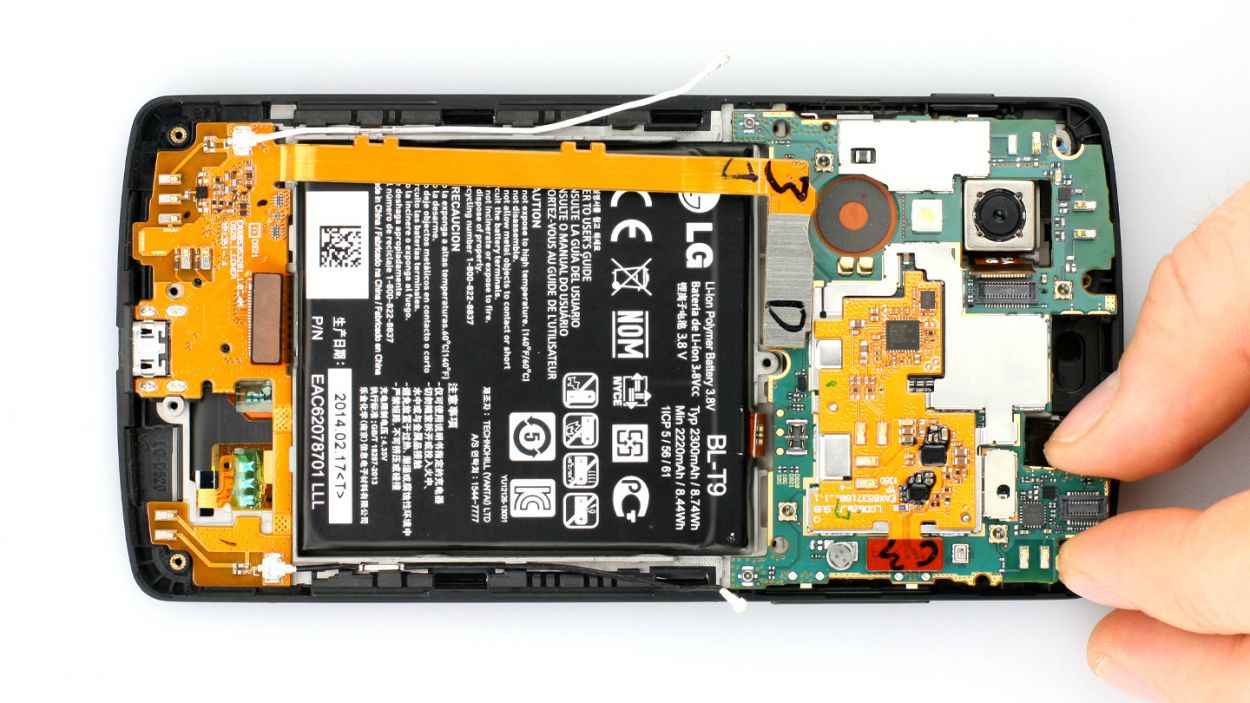
– Now it’s time to lift the cover off the logic board. Insert your spudger into the gap next to the headphone output (see figure 2). If it’s being stubborn, don’t worry – just use some other leverage points to help it along. If you need help, you can always schedule a repair
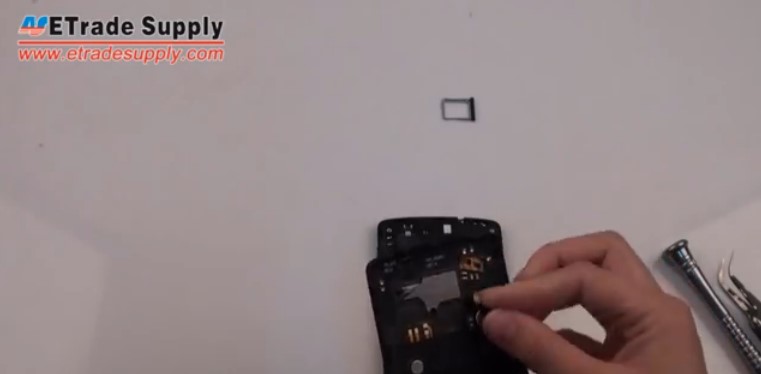
Step 3
– You can use the SIM Tool or a paperclip to remove the SIM card tray. Press the SIM Tool into the small hole in the SIM card tray to remove it.
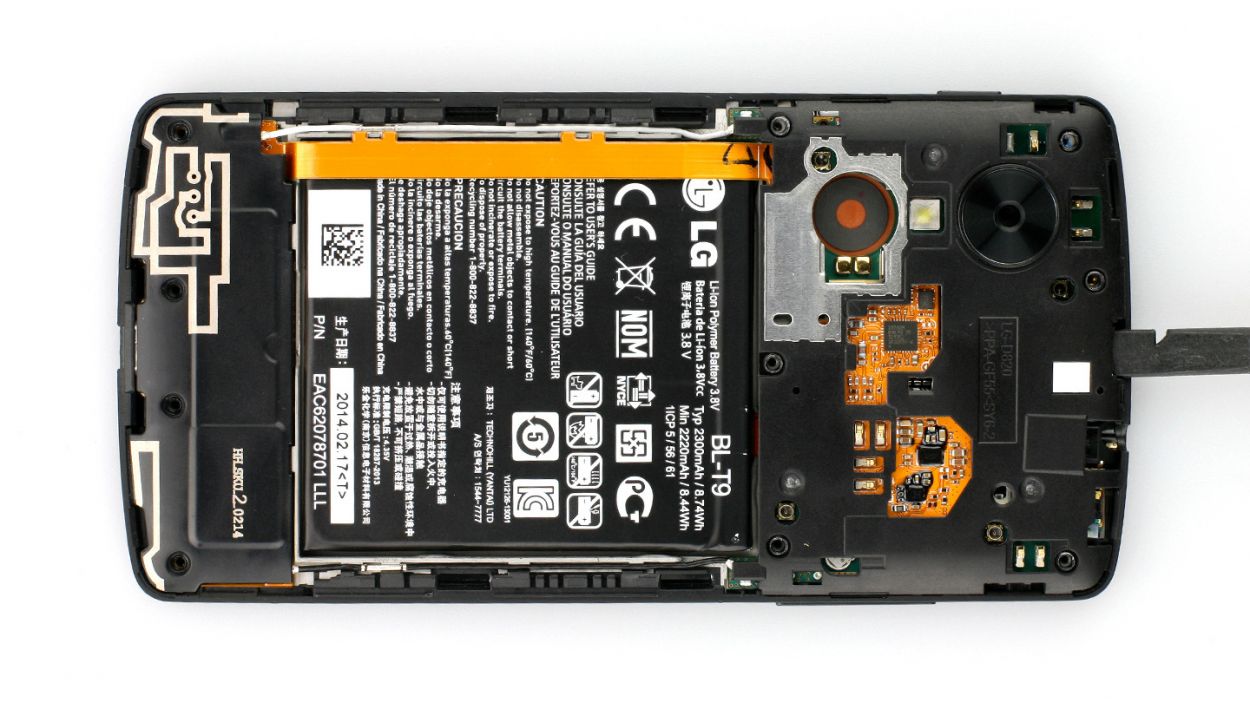
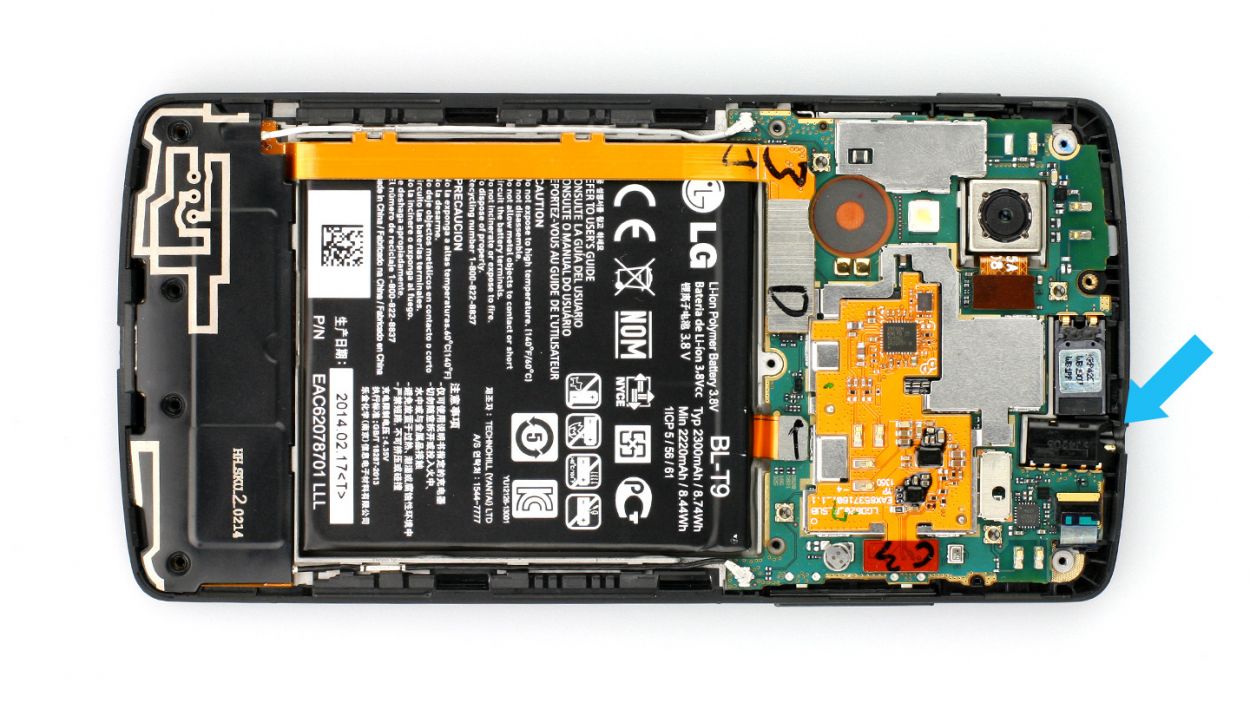
Step 6


LCD
USB port
Battery
Front camera
Rear camera
4 × Antenna
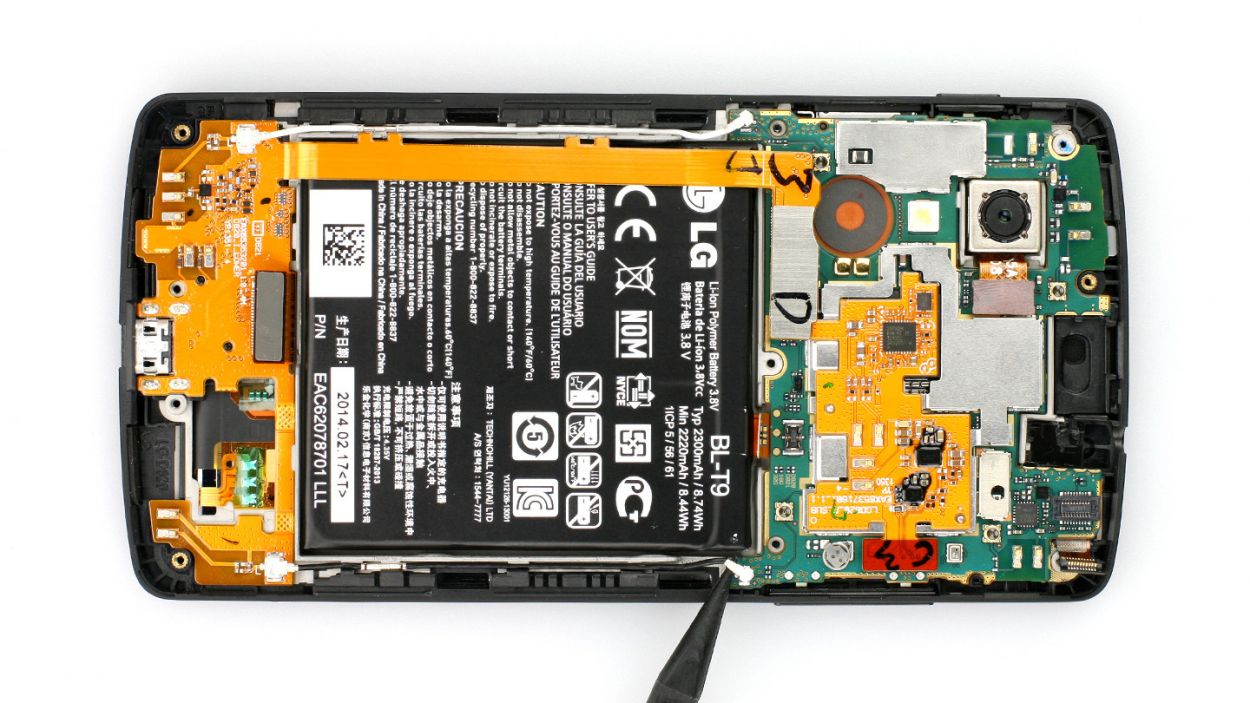
Watch out for those tiny resistors on the logic board! They’re like little ninjas—don’t let them sneak off while you work your magic!
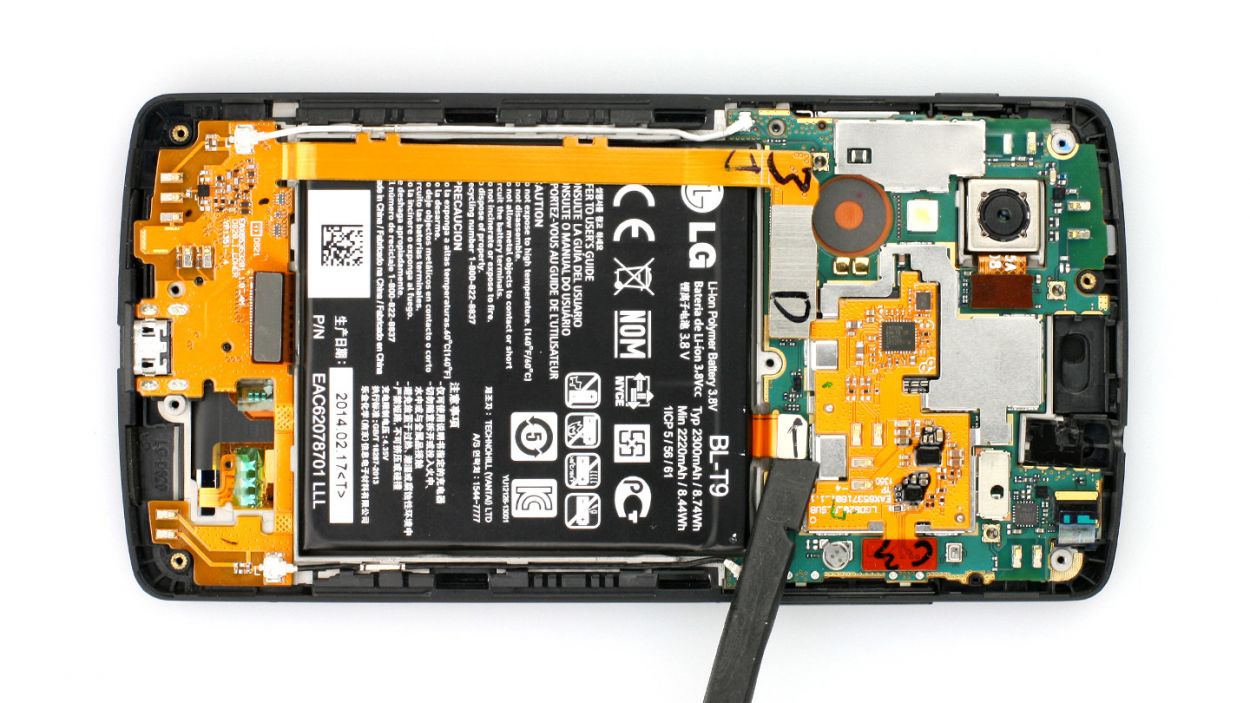
– Alright, let’s gently disconnect those highlighted connectors. Remember to tread carefully (check out figure 1) and avoid snapping off those tiny resistors on the logic board—they’re delicate little guys!
– Next, take the flat end of your trusty spudger and position it just below the connectors. Give them a gentle pry. The images will guide you on the perfect spot to place the spudger, so even if it slips, you won’t harm the little resistors (see figures 2 to 6).
– Now, it’s time to disconnect those tiny antenna connectors from the logic board as well (see figures 7 and 8). You’ve got this!
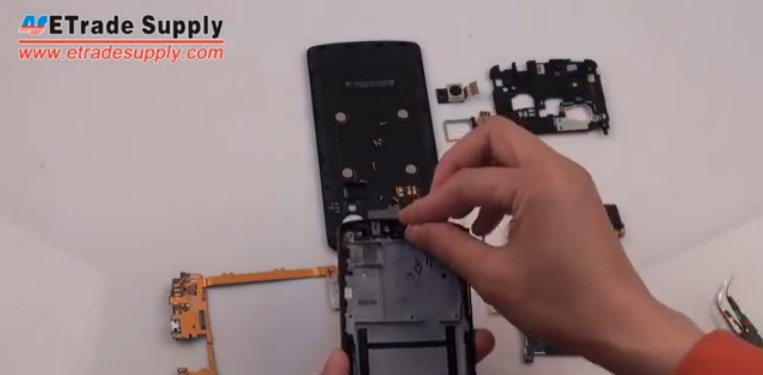
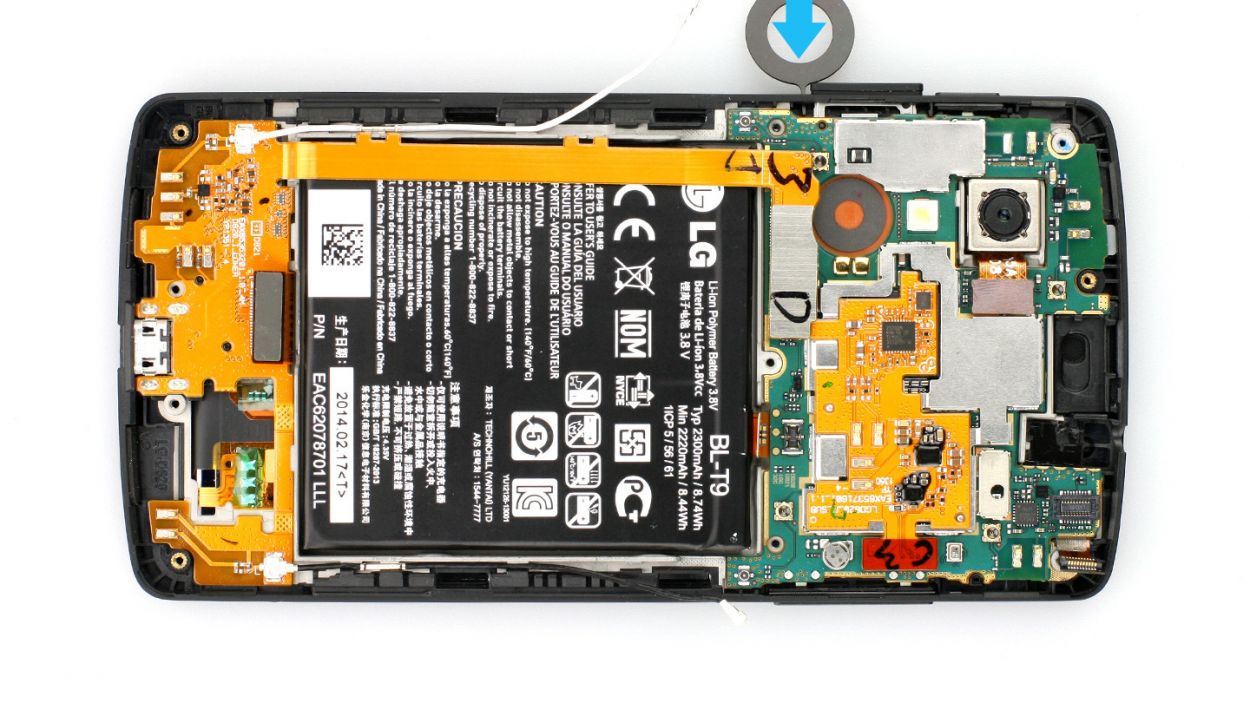
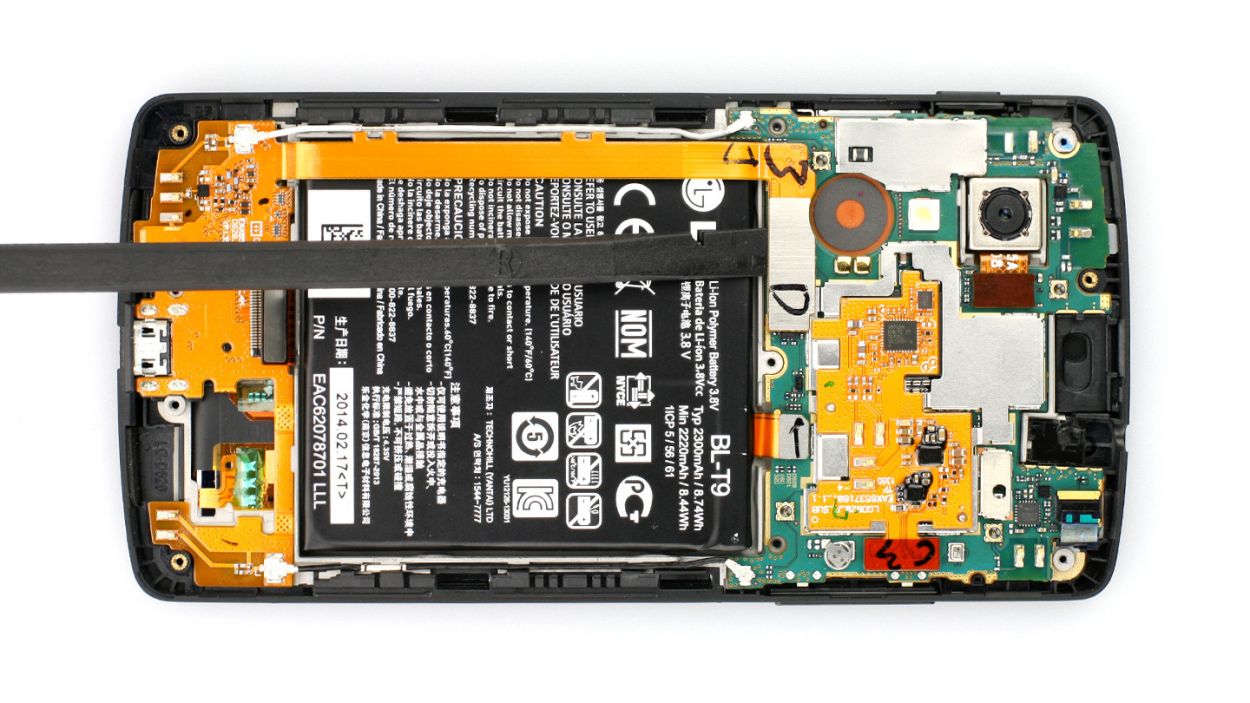
Step 7
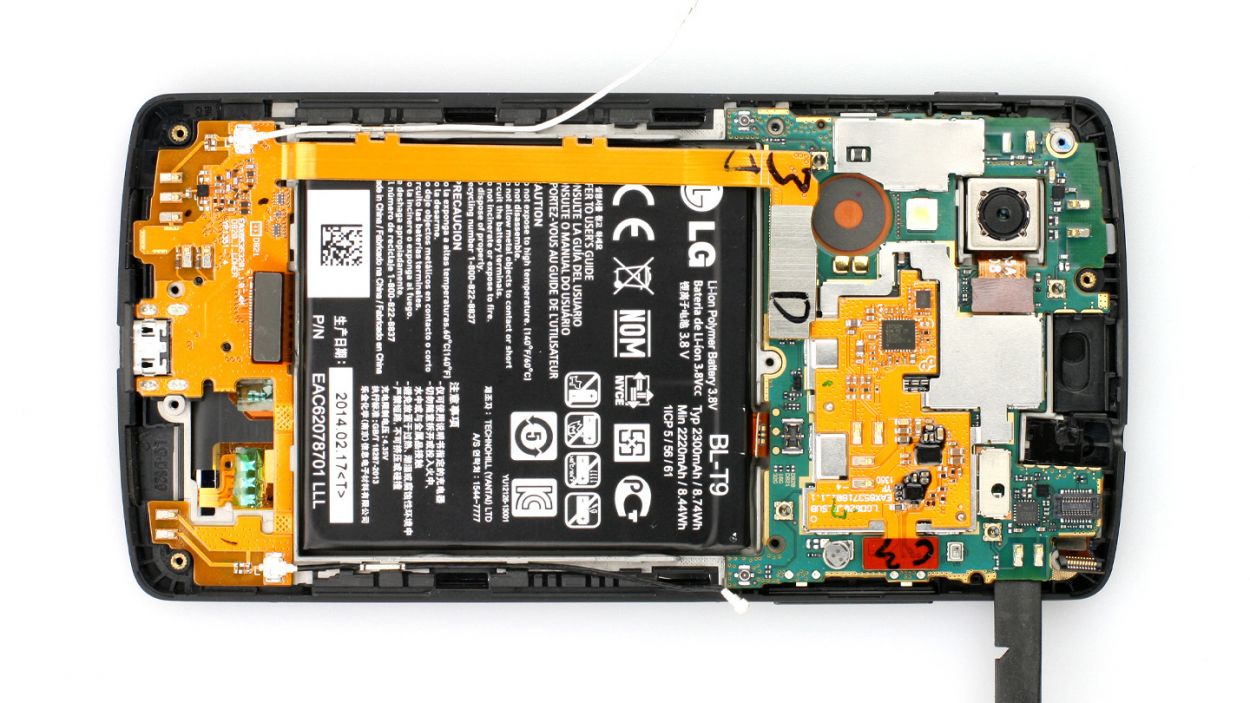

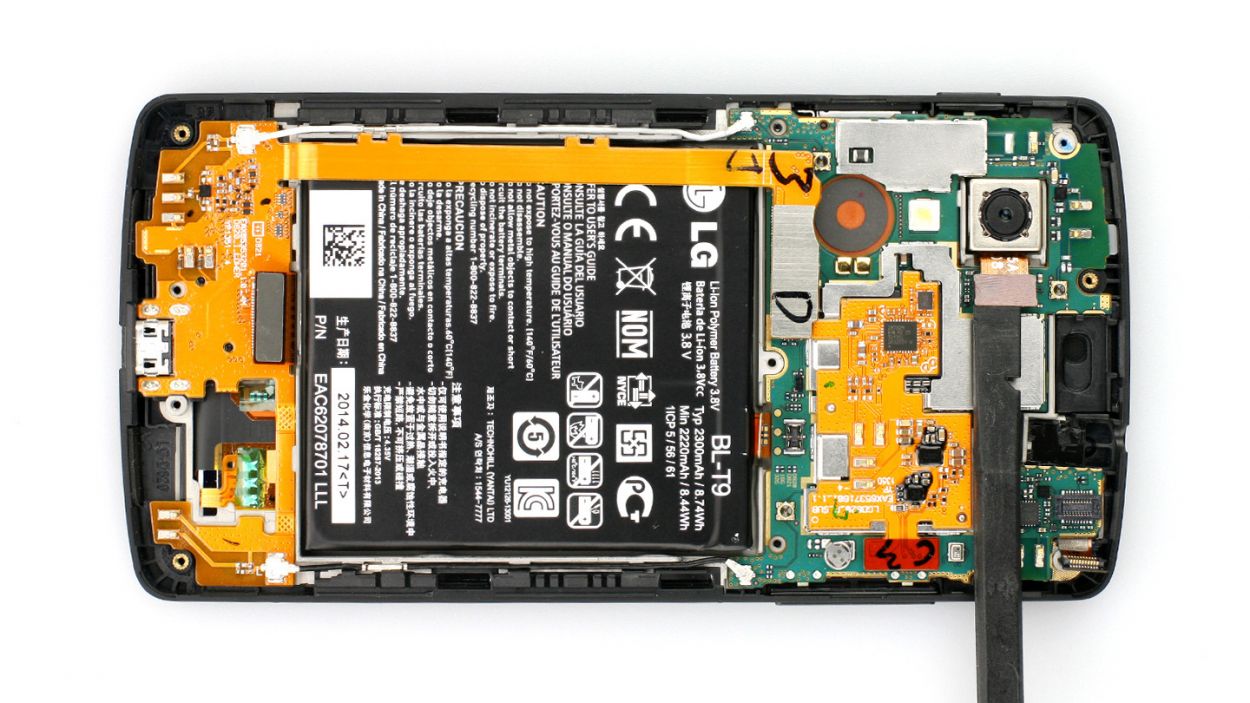
– Alright, let’s get this party started! Gently lift that logic board using your trusty spudger (check out figure 1 for a little guidance). Slide the flat end of the spudger under the GPS antenna’s contacts, give it a little nudge to lift it up, and then delicately remove it by hand (take a peek at figure 2).
Step 8
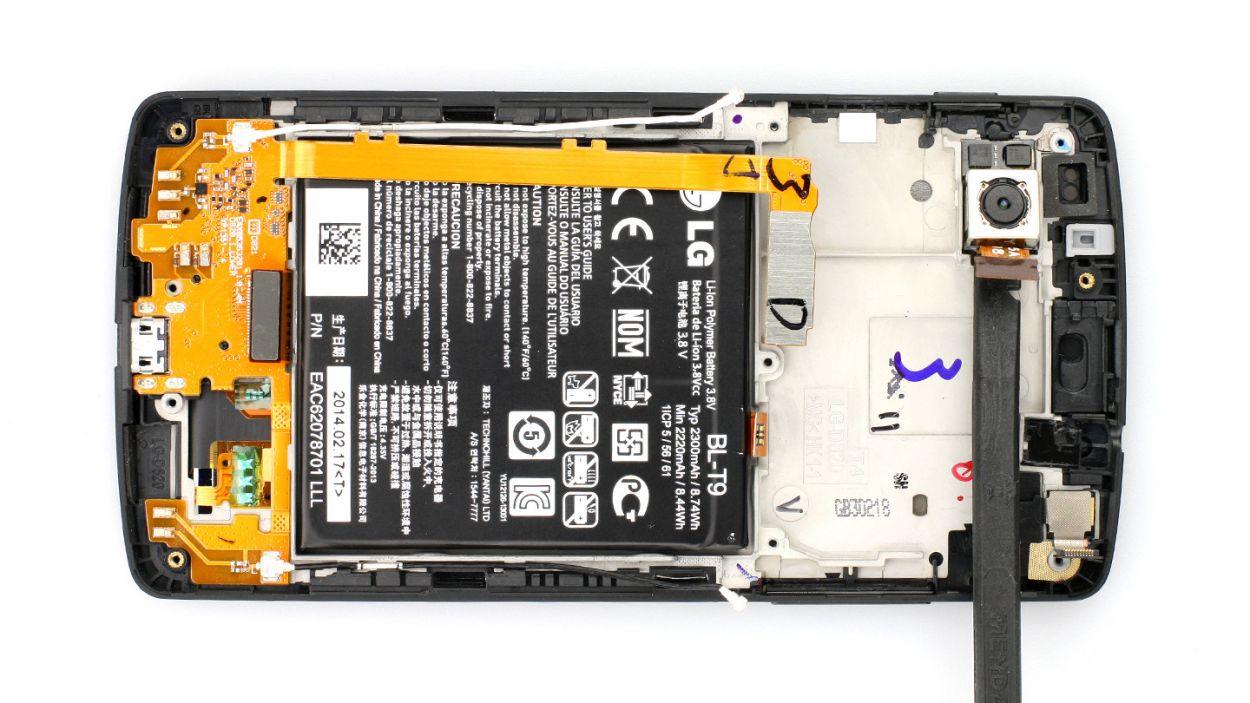
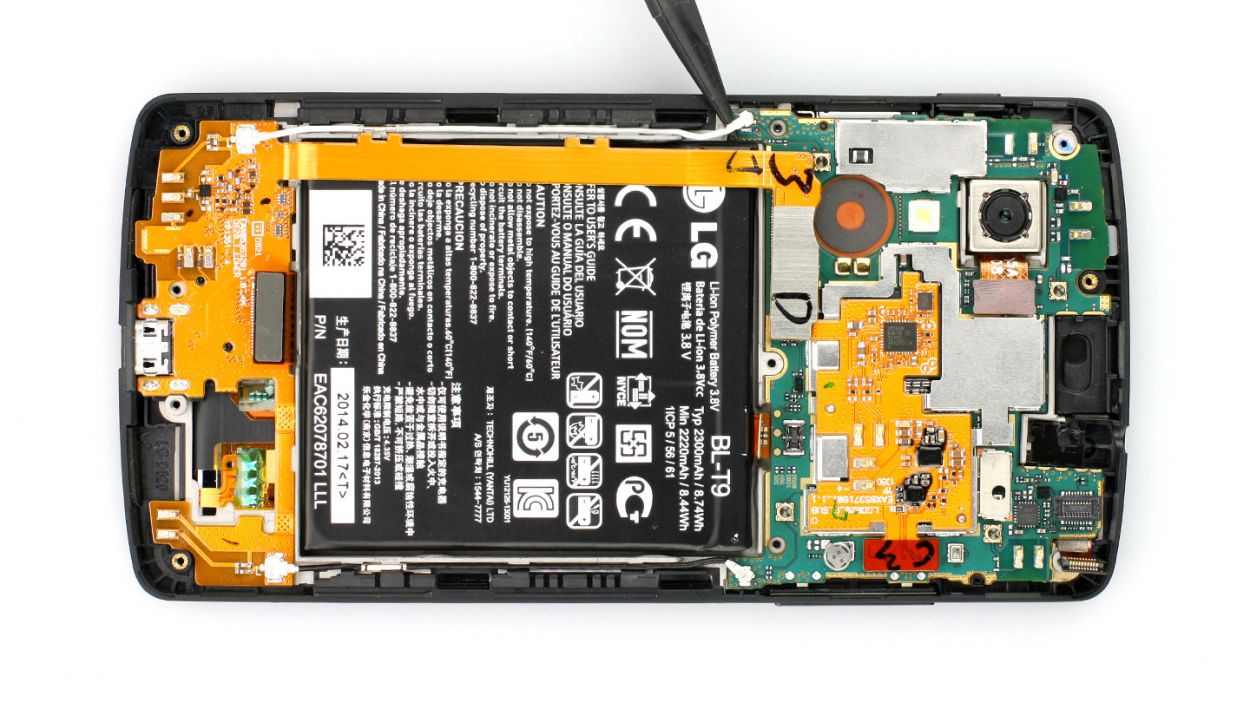
– Time to say goodbye to the rear camera! Grab your trusty spudger and slide the flat end right under the camera, which is stuck on there pretty good.
– Now, give it a gentle lift and watch it pop out!
Step 9
– Alright, let’s get that main camera snug in its rightful place!
Step 10
– Pop that logic board back in – easy peasy! Just make sure it’s snug in its spot.
– Watch out for those antenna connectors – we don’t want them hiding under the logic board! Keep ’em visible.
Step 11
LCD
USB port
Battery
Front camera
Rear camera
4 × Antenna
– Get those contacts moving again! Gently push them into their sockets with your finger. Don’t force it, just enough force to get them to click into place – easy peasy!
– Time to connect those antenna connectors, if your device needs ’em. Job done!
Step 12

– Time to pop that earpiece back into its cozy little spot! The adhesive strip should still have plenty of stickiness to keep it snug.
Step 13
– Alright, champ! Time to pop that new headphone jack into its rightful place. Give it a gentle nudge between the earpiece and logic board. It’s a little fiddly, but you got this!
Step 14
– Snap that black plastic cover onto the logic board – easy peasy! Give it a gentle press to make sure it’s snug.
– Time to get your screwdriver on! Secure the cover with those 6 Phillips screws (they’re 4.0 mm, in case you were wondering). If you need help, you can always schedule a repair
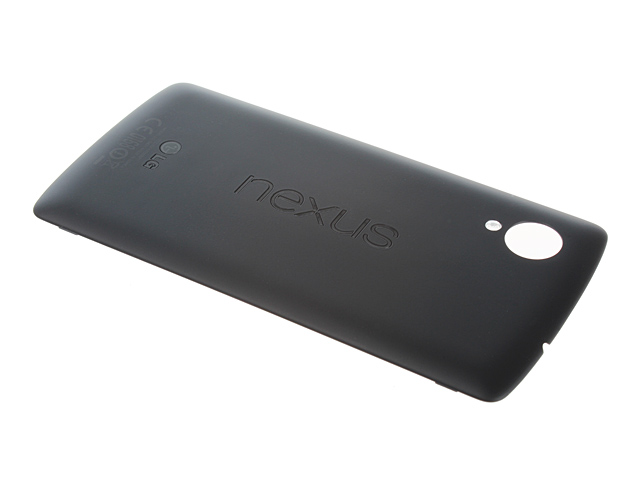
Step 15
– Putting the back cover on is a breeze! Just align it properly and give it a gentle but confident press all the way around until you hear that satisfying click. You’ve got this!