DIY Guide to Replace Google Nexus 5 Battery
Duration: 30 min.
Steps: 10 Steps
In this handy repair guide, we’re going to walk you through the steps to swap out that tired battery in your LG Google Nexus 5 all by yourself. This fix is perfect if your phone decides to throw a tantrum while multitasking, won’t charge or wake up, or if its battery seems to have gone on a permanent coffee break. Let’s get your device back to its best self!
Step 1
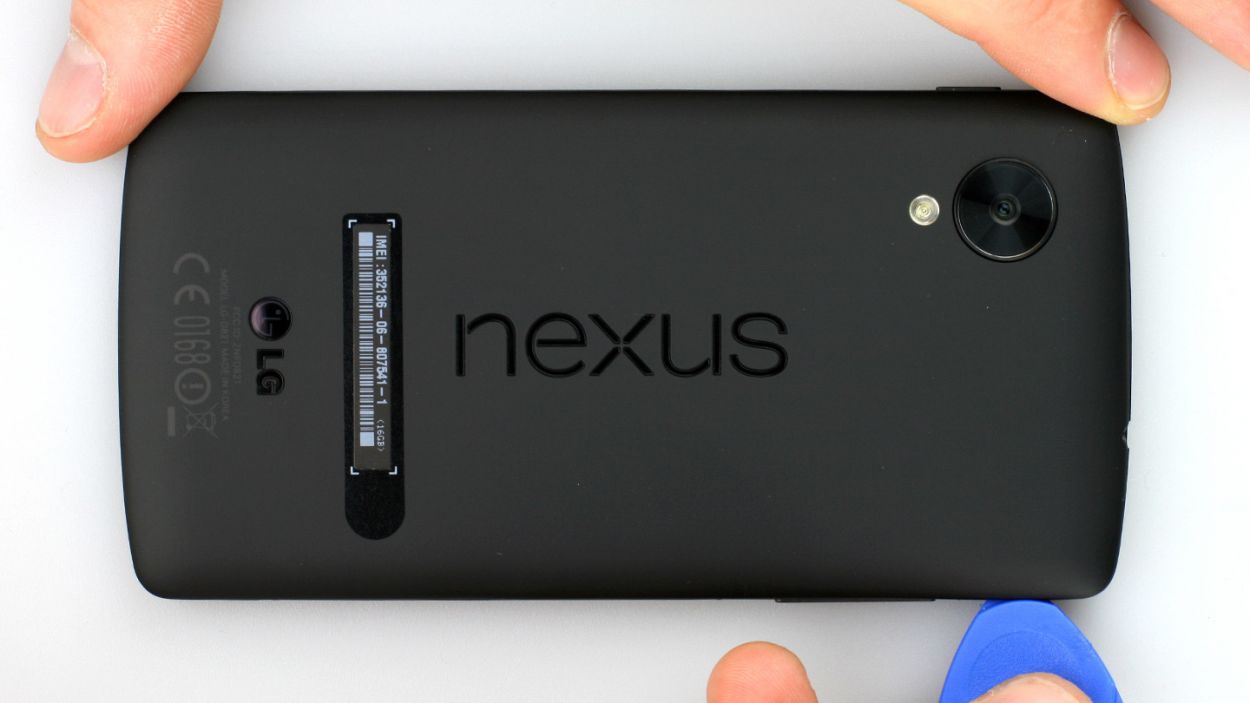
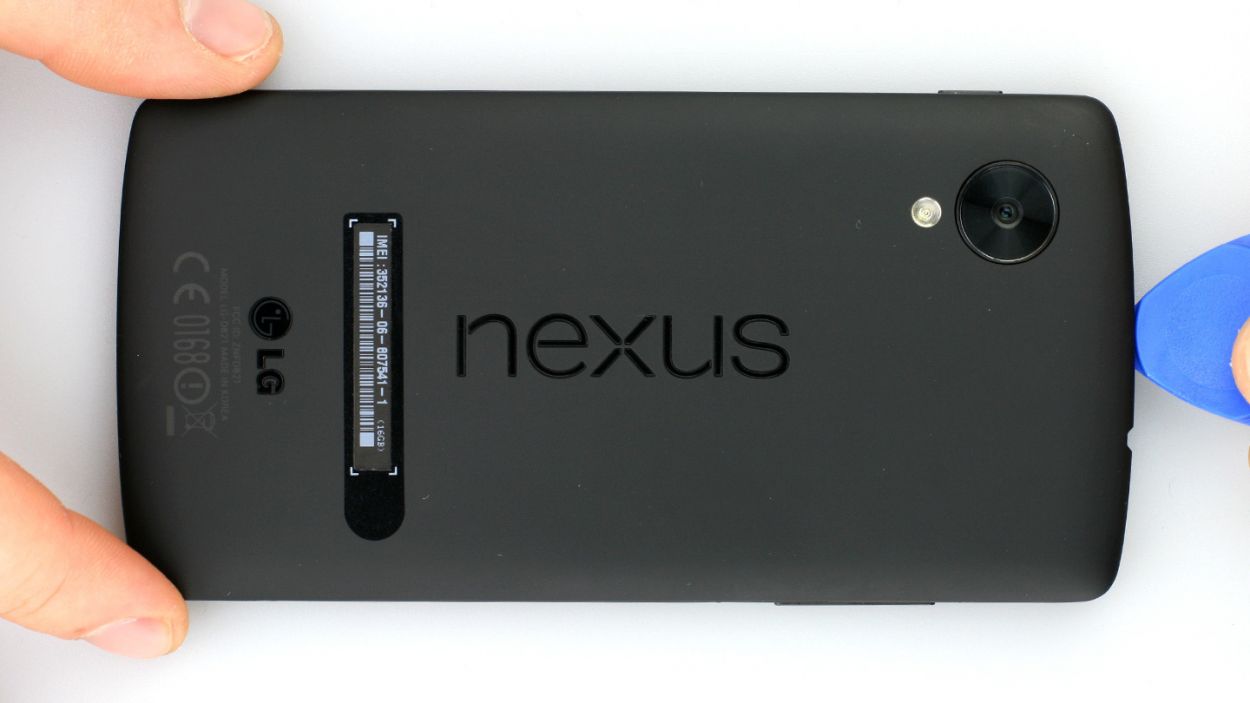
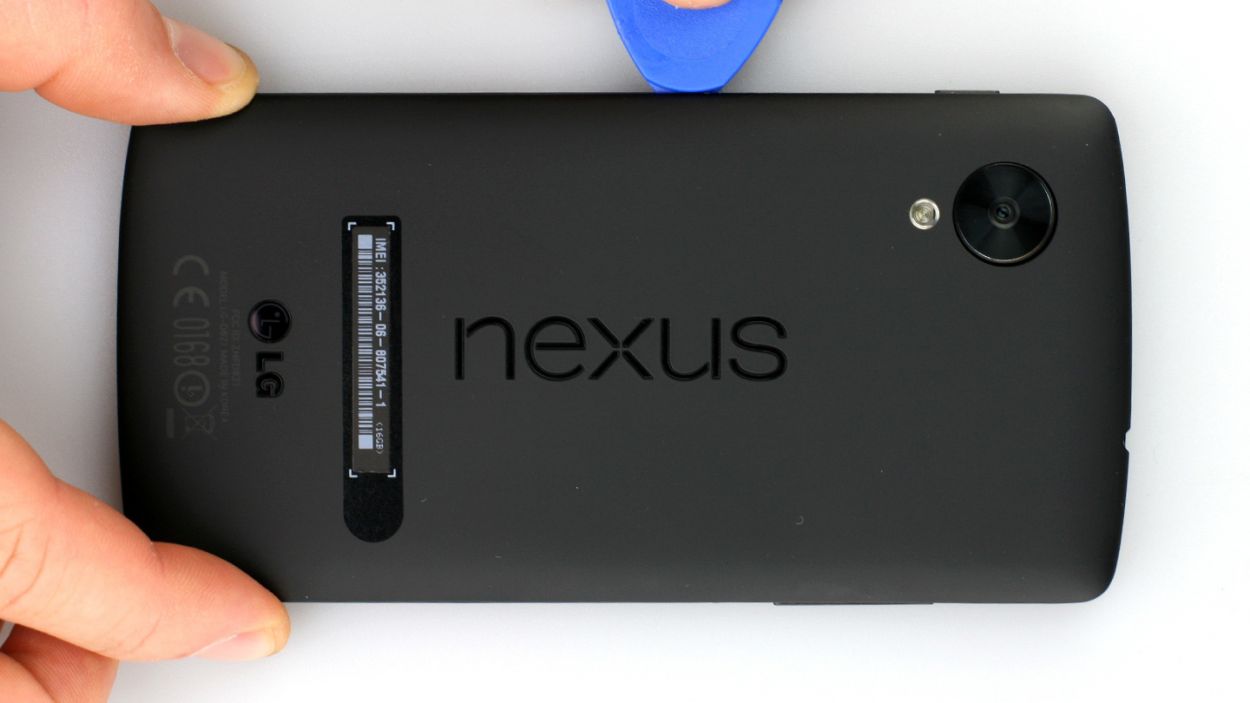
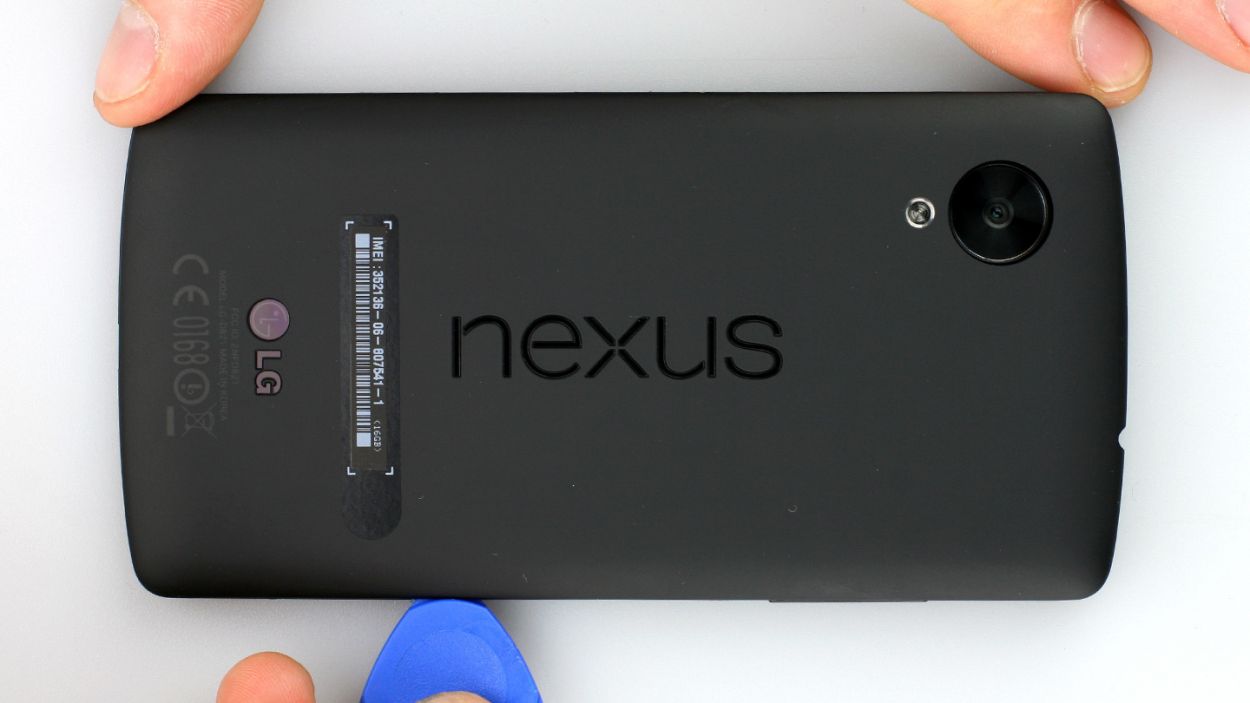
– Slide that hard plastic pick into the little gap next to the volume button. You’ve got 18 retaining clips to disconnect around the back cover, so let’s get to it! Glide the pick all the way around your smartphone. Start at the volume button, cruise past the headphone jack, and make your way to the SIM card tray. That’s where the back cover will be a bit easier to pop off. Just remember, you might need to apply a tad more force in some spots.
– Once you’ve done that, go ahead and lift off the back cover!
Step 2

– Time to get started. First, make sure your Google Nexus 5 is powered off. Press and hold the standby button for about two seconds, then follow the on-screen prompt.
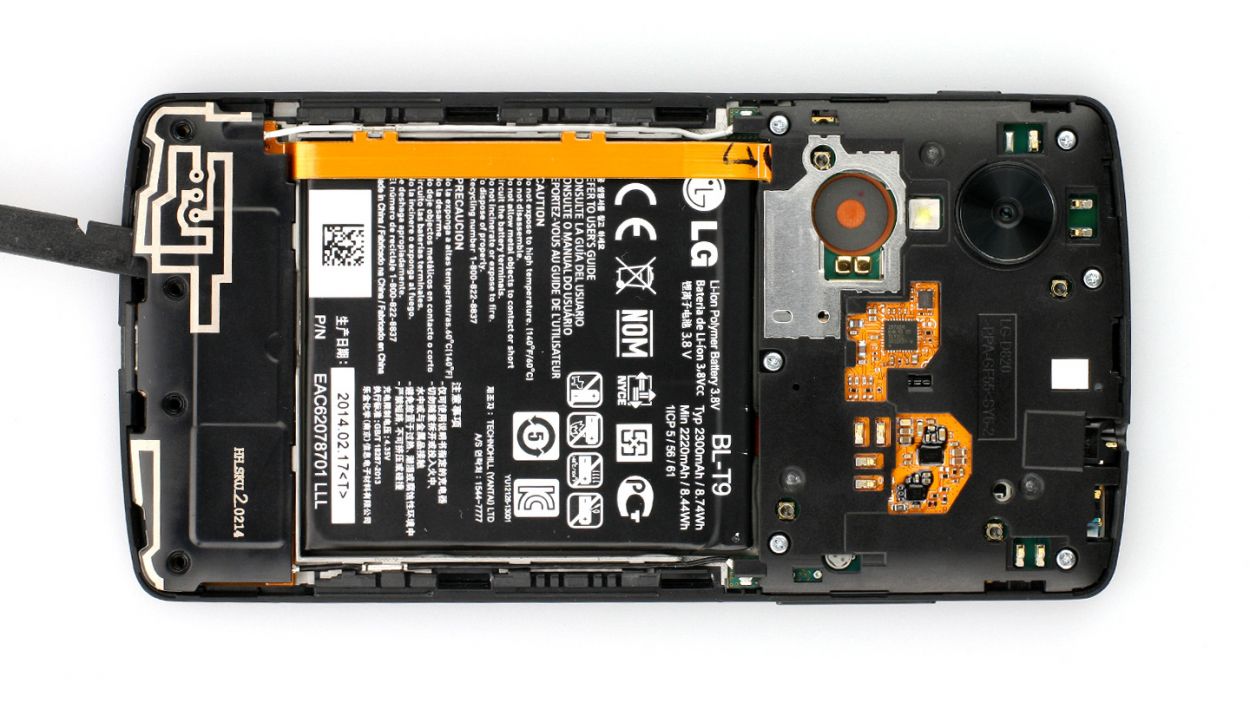
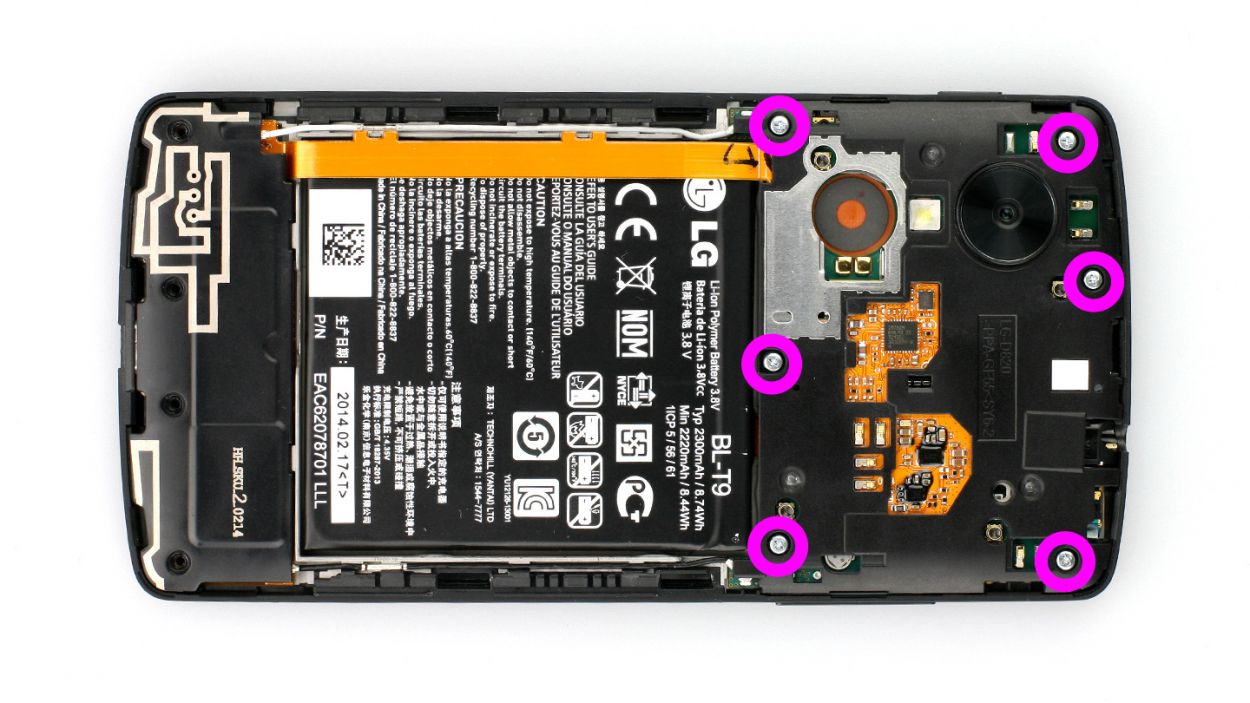
– Now, let’s get down to business. Remove the 4 Phillips screws that hold the speaker in place (check out figure 1 for a visual). You’ll need to take out 4 x 4.0 mm Phillips screws.
– Use your trusty spudger to carefully lift the speaker. Insert it next to the USB connector input (see figure 2 for reference), and gently remove the speaker. If you need help, you can always schedule a repair.
Step 3

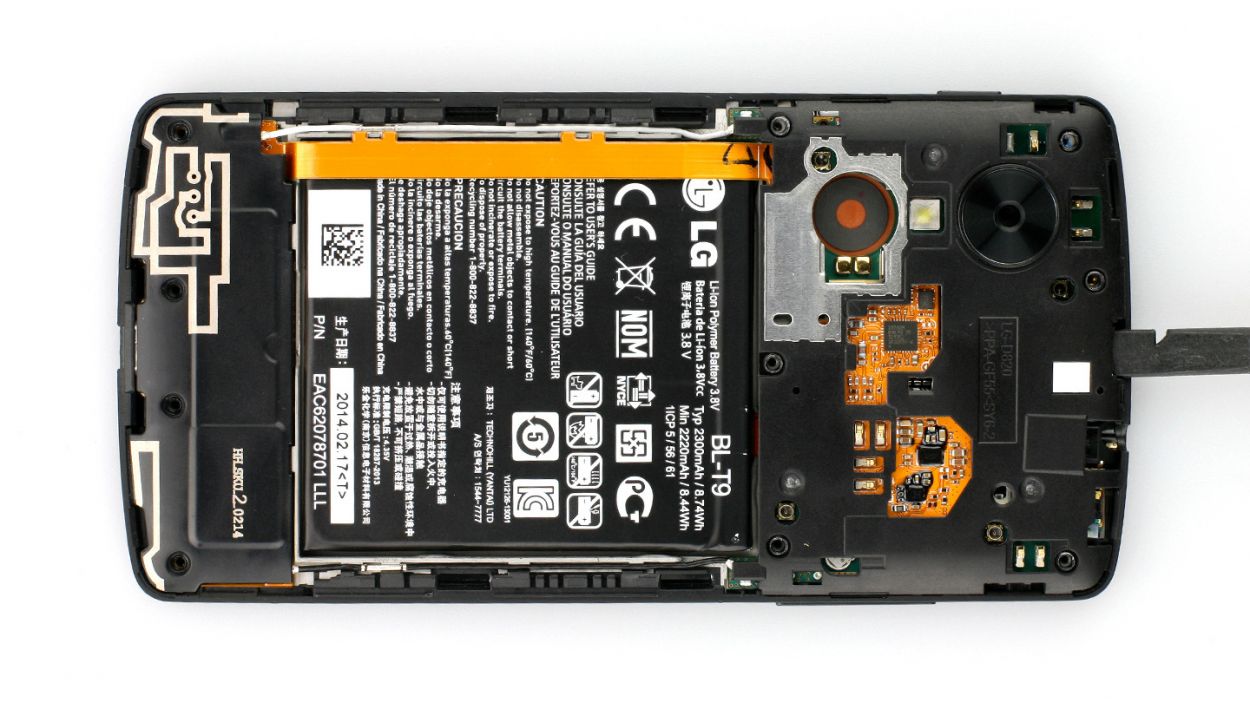
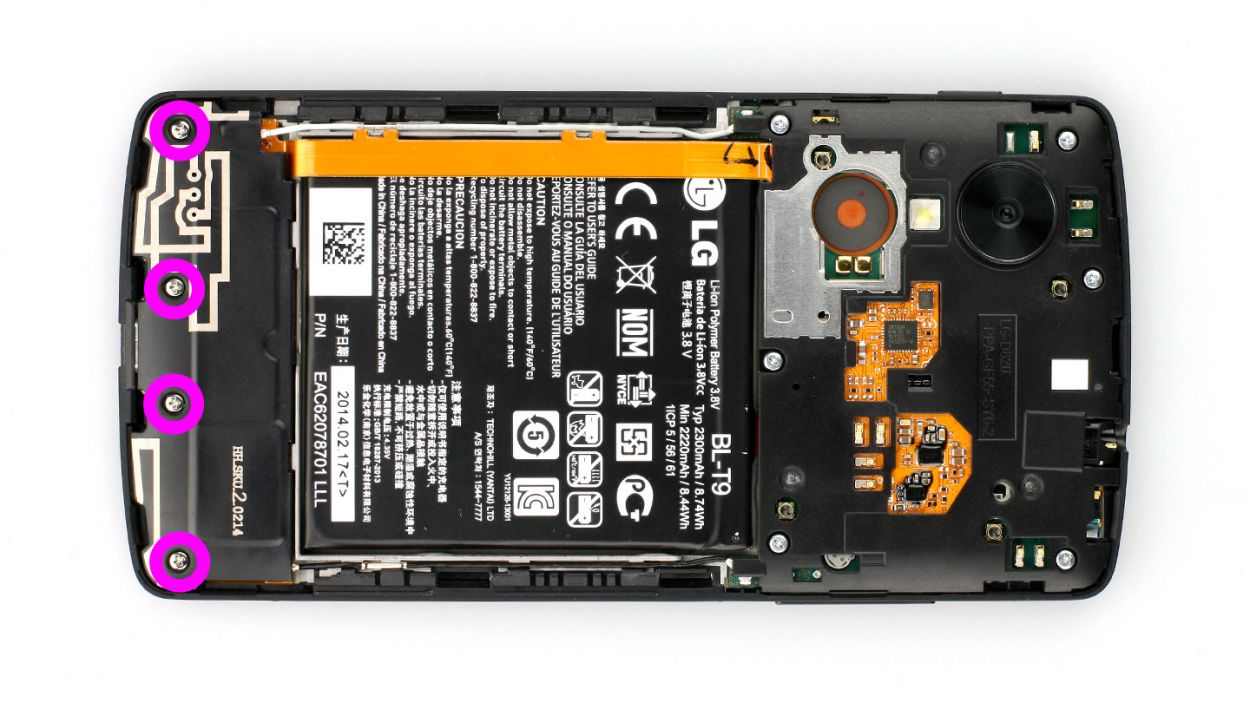
– Let’s kick things off by unscrewing the 6 Phillips screws that keep the plastic cover snugly in place (check out figure 1 for guidance!). These are 6 x 4.0 mm Phillips screws.
– Now, gently lift that cover off the logic board! Just slide the spudger into the gap right next to the headphone output (see figure 2). Don’t hesitate to explore other leverage points if you need a little extra help.
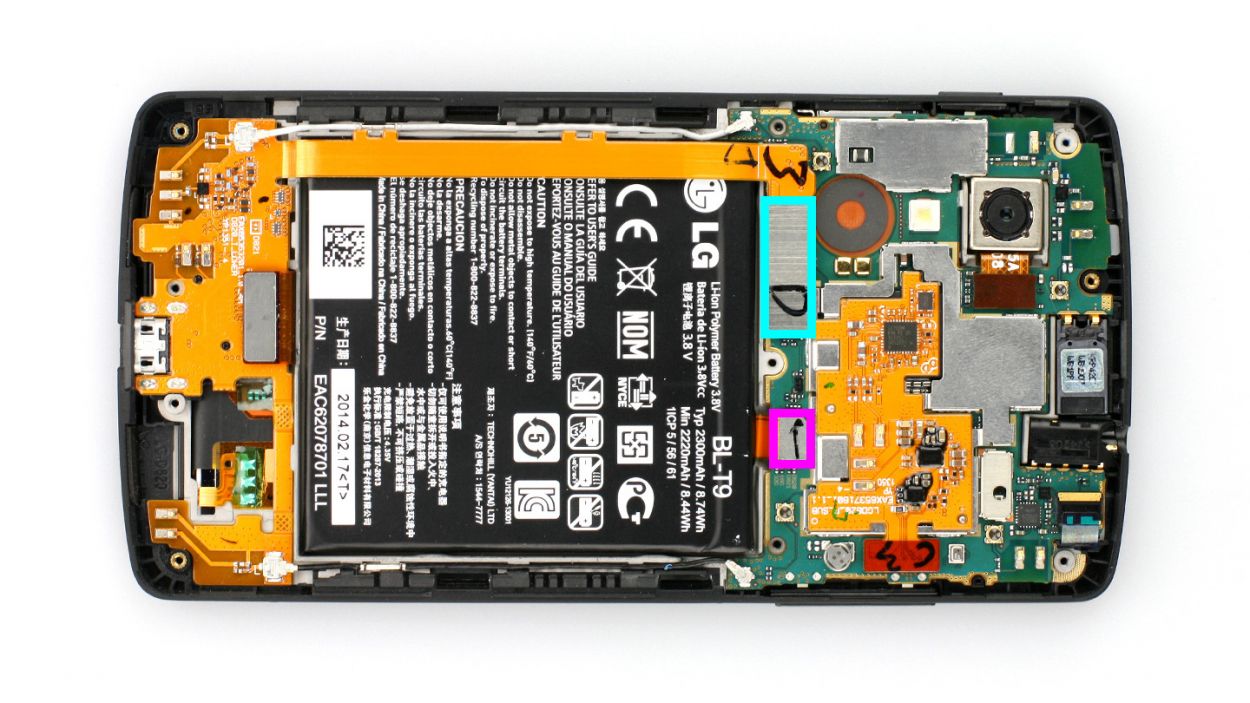
Step 4
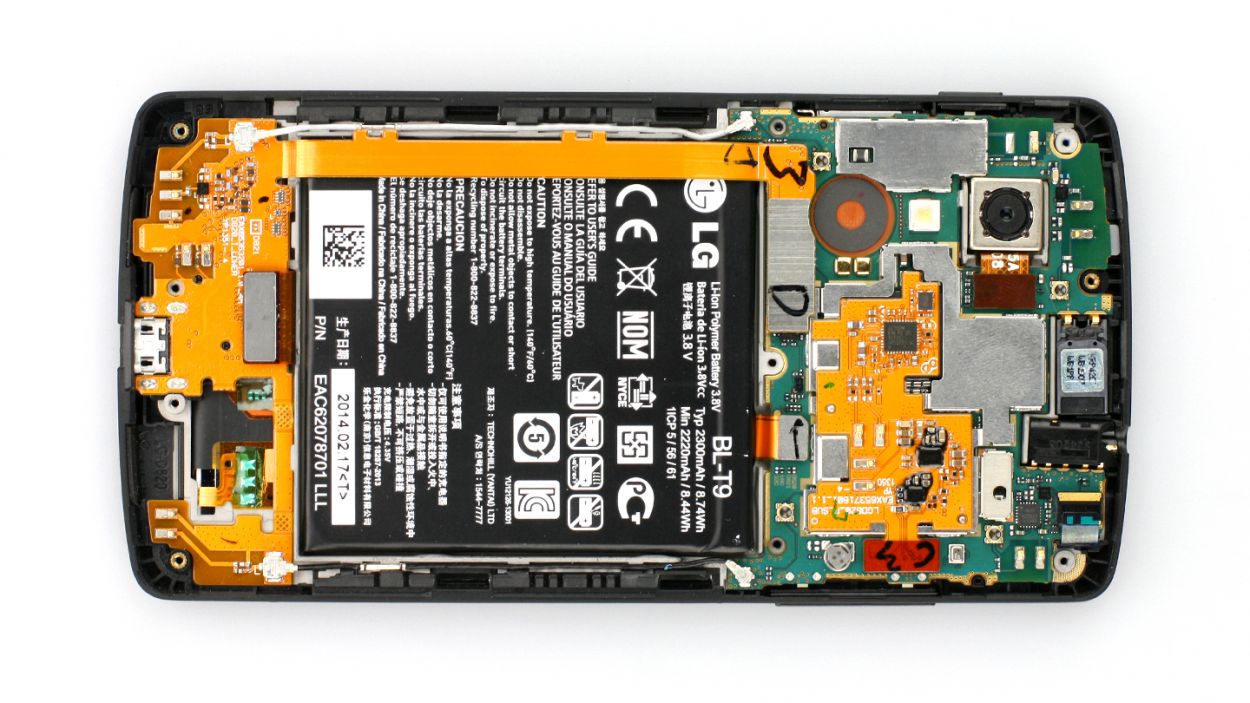

LCD
USB port
Battery
Front camera
Rear camera
4 × Antenna
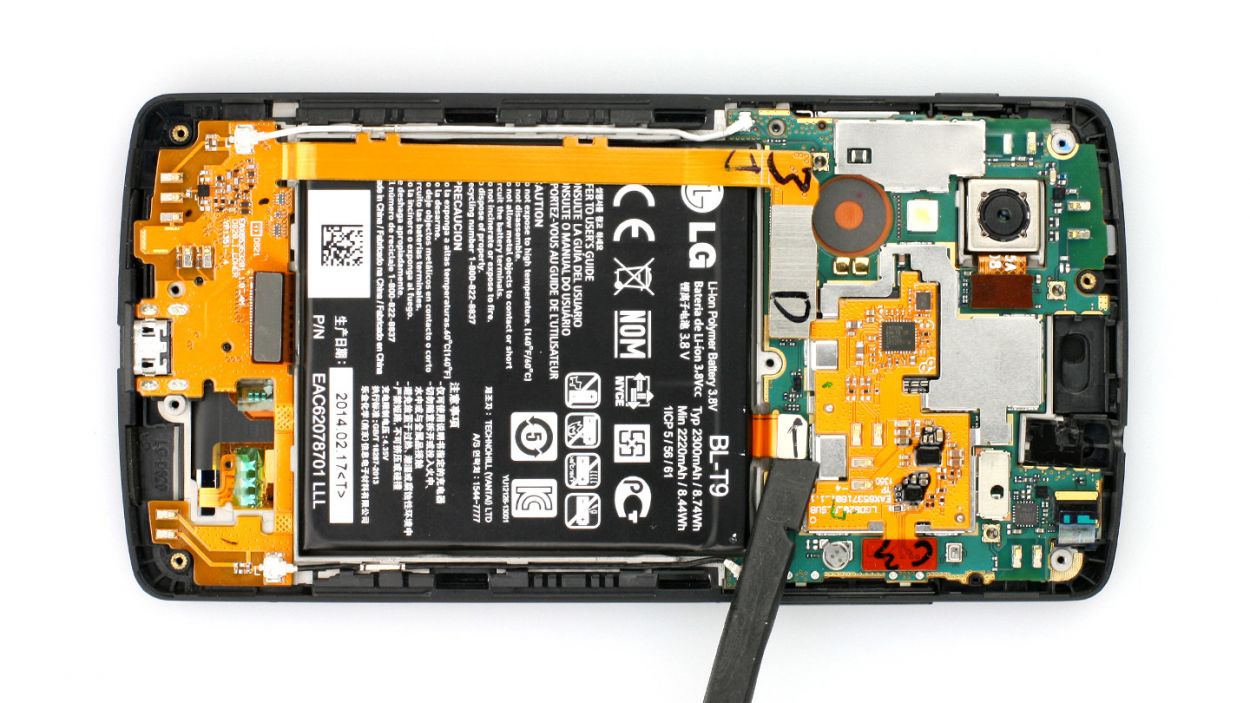
Remember to be gentle with those resistors on the logic board. They’re not gonna fight back, but they’re still delicate.
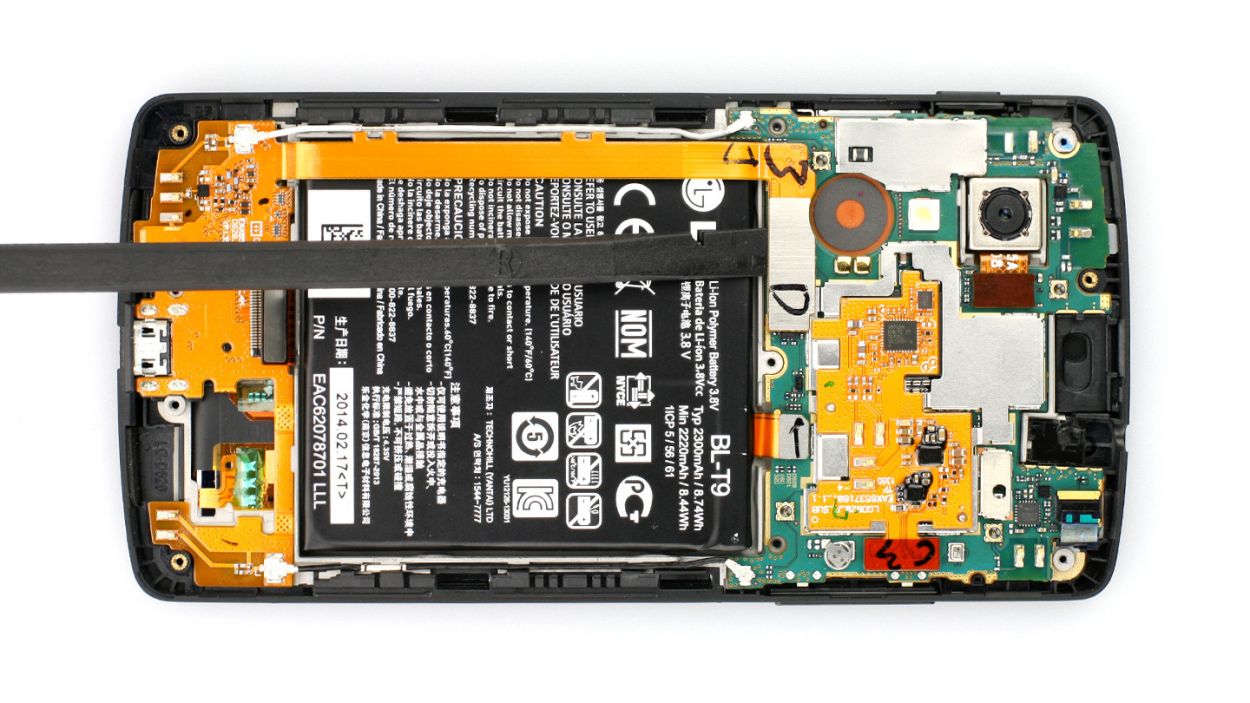
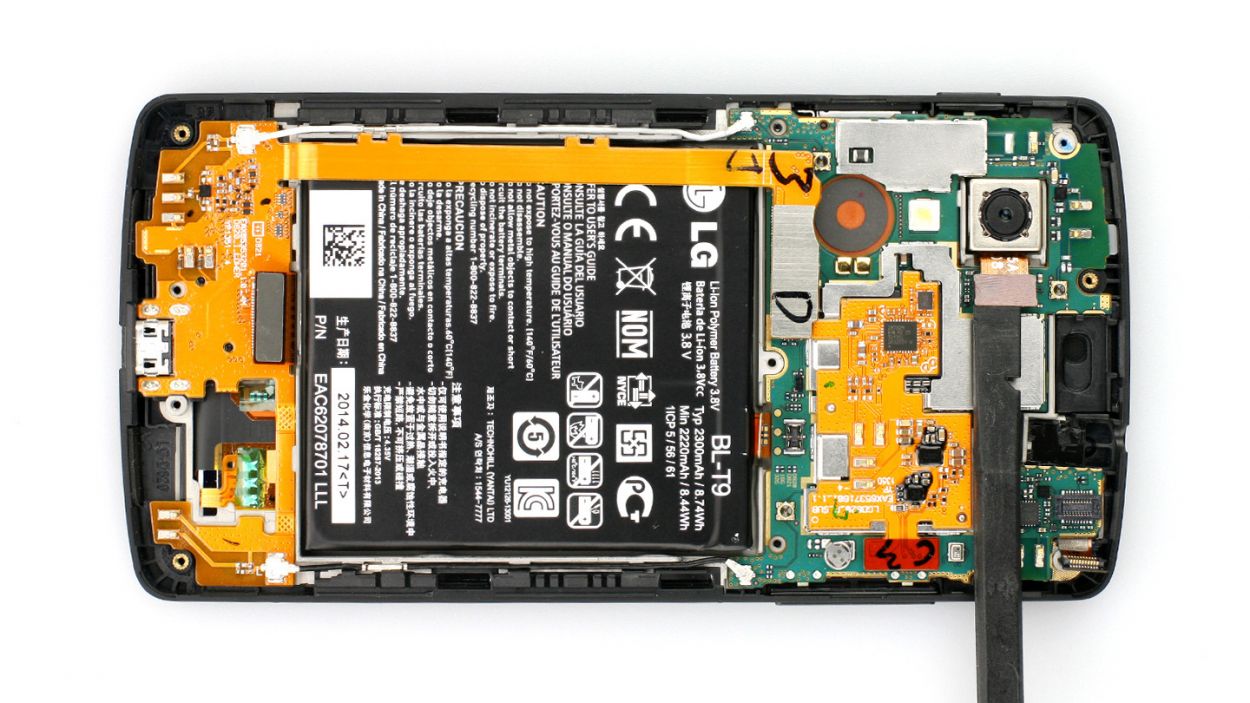
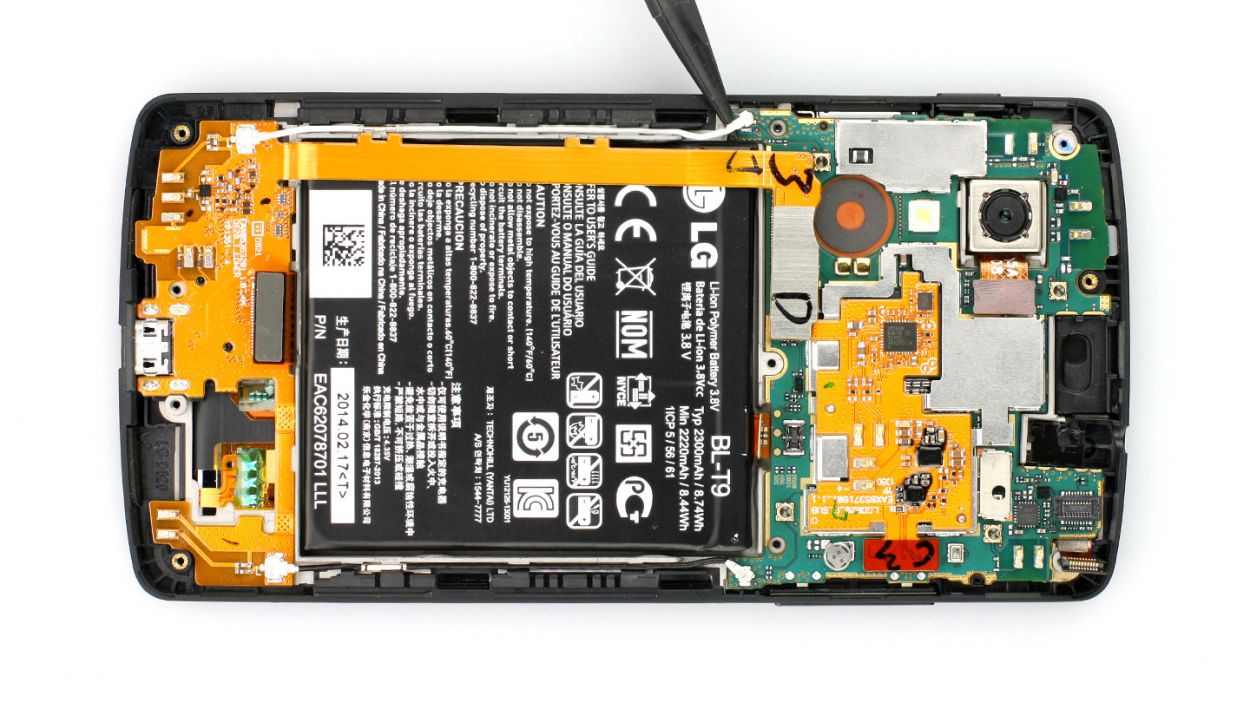
– Now you can disconnect the highlighted connectors. Be very careful (see figure 1).Make sure you don’t break off the resistors that are soldered onto the logic board.
– Place the flat end of the spudger very slightly below the connectors and pry them offf. The pictures show where you should put the spudger to avoid breaking off the little resistors even if it slips (see figures 2 to 6).
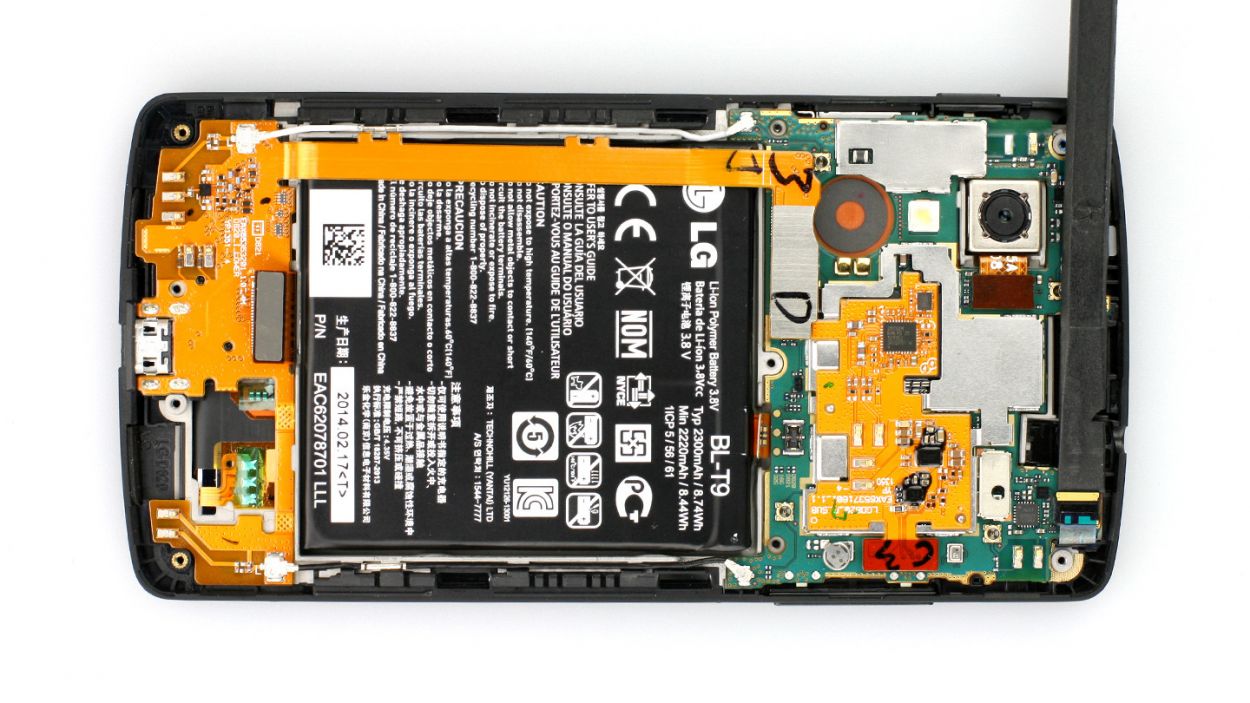
– Now also disconnect the little antenna connectors from the logic board (see figures 7 and 8).
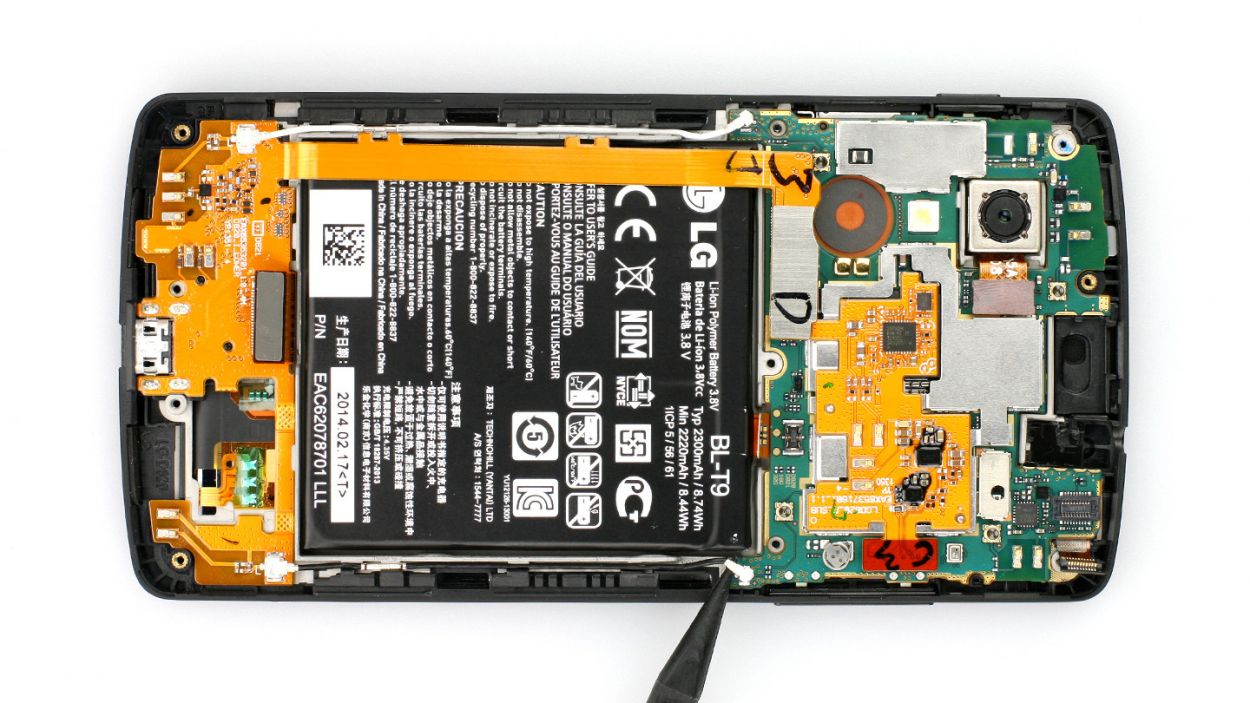
Step 6
– Gently place the battery into its cozy spot and give it a friendly little press onto the adhesive strips to make sure it’s snug and happy.
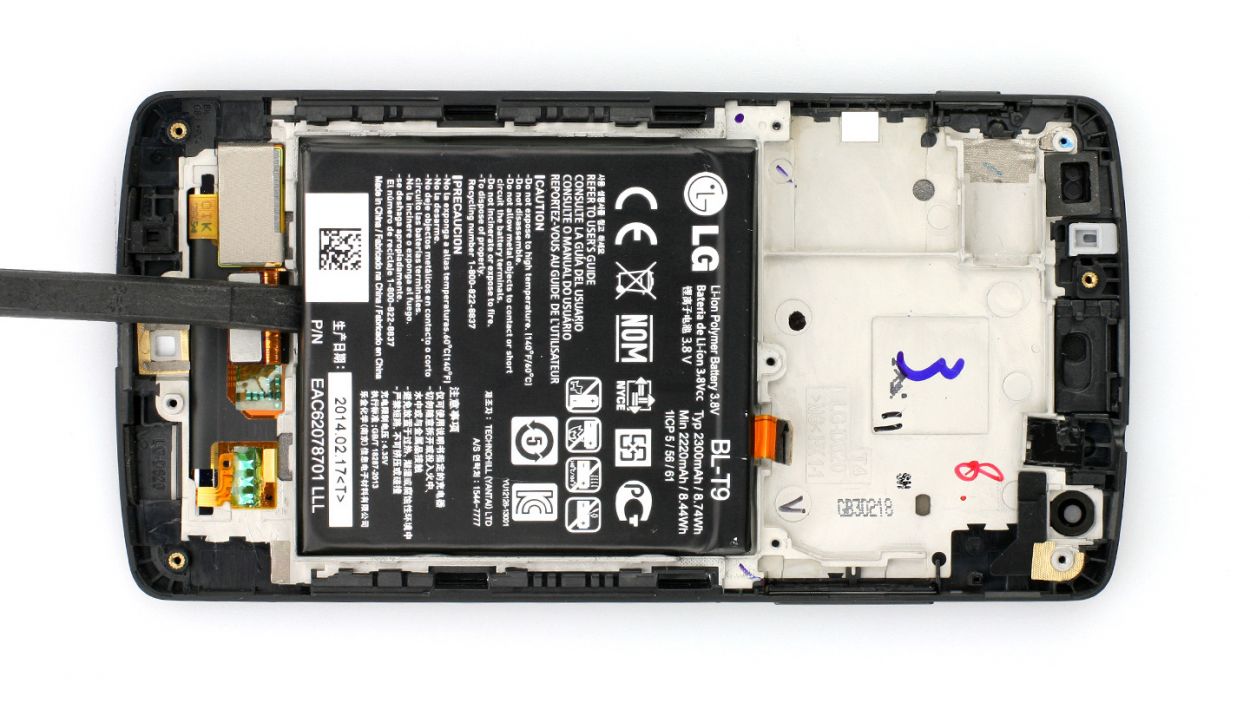
Step 7
– Now connect the following two contacts to the corresponding slots again. Use your finger to carefully press them into place. Only use as much pressure as you need for the contacts to gently click into place.USB connectorBattery
Step 8
– Slide that sleek black plastic cover back onto the logic board and give it a gentle press. You’re doing great!
– Now, grab those 6 Phillips screws and secure the cover snugly in place. They’re 6 x 4.0 mm Phillips screws, so make sure they’re just right. Nice work!
Step 9
– Carefully pop that speaker back into place, ensuring it’s snug and cozy (check out figure 1 for guidance!).
– Next up, grab those 4 Phillips screws and secure the speaker once more – you’ve got this! (See figure 2 for reference). 4 x 4.0 mm Phillips screws
Step 10
– It’s very easy to put the back cover back on. Put it on in the correct position and press it on all the way around until it’s completely clicked into place.
