DIY Guide to Replace Vibration Motor in LG G6
Duration: 30 min.
Steps: 13 Steps
Let’s get your LG G6 back in action by swapping out that pesky vibration motor. If your phone isn’t buzzing or giving you that satisfying haptic feedback when you tap a button, you’re in the right place! Follow along, and soon enough, your device will be vibrating like new. And remember, if you need a hand, feel free to schedule a repair!
Step 1
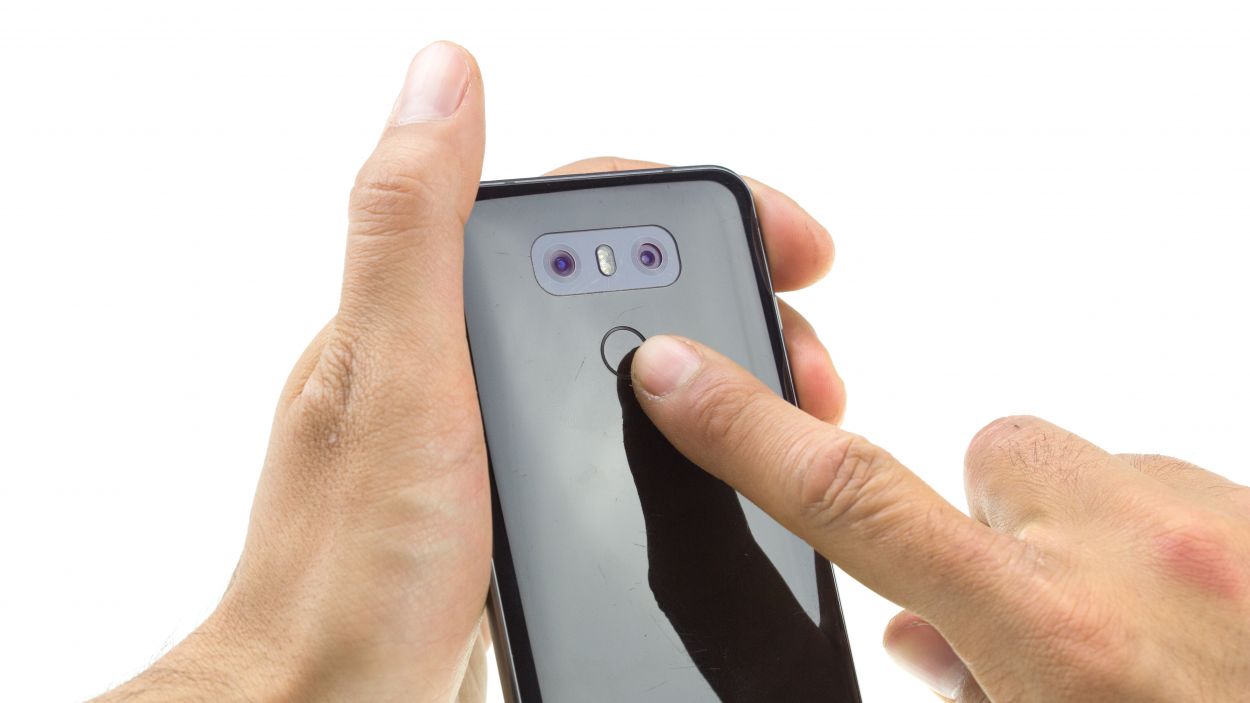
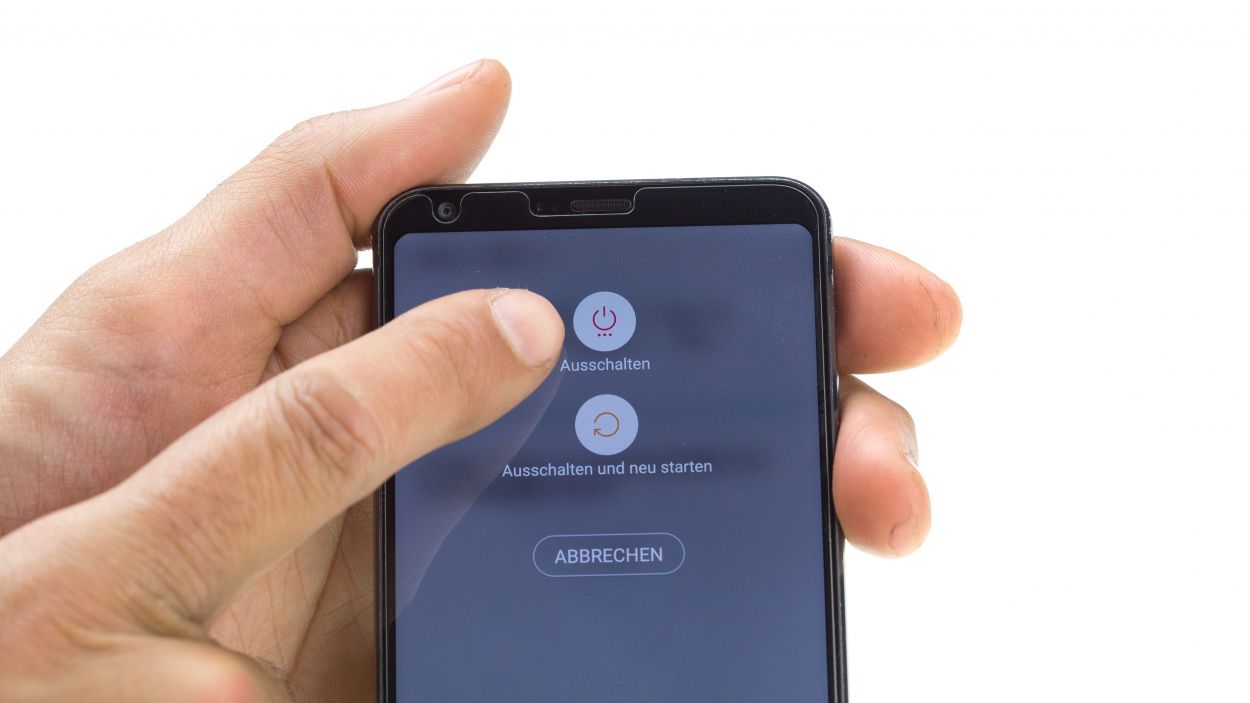
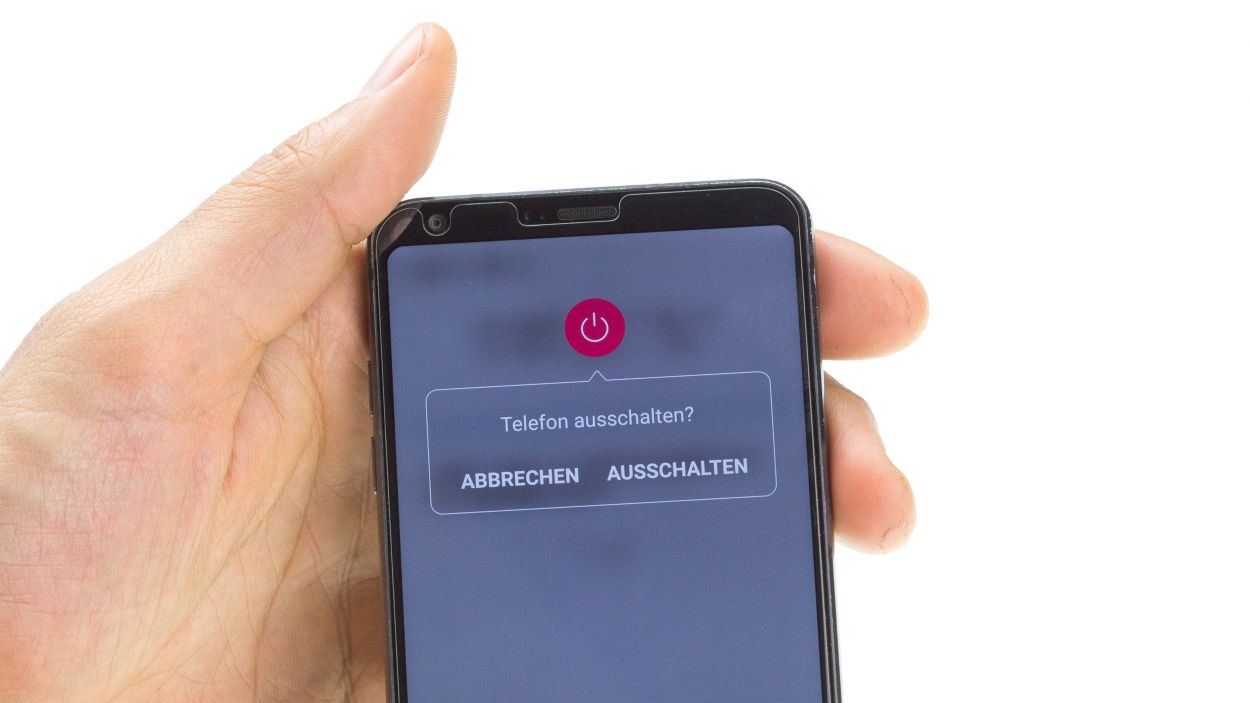
– Turn off your device by holding down the power button on the back until the “Power off” option appears.
– Tap to confirm and wait until the screen goes black.
Step 2
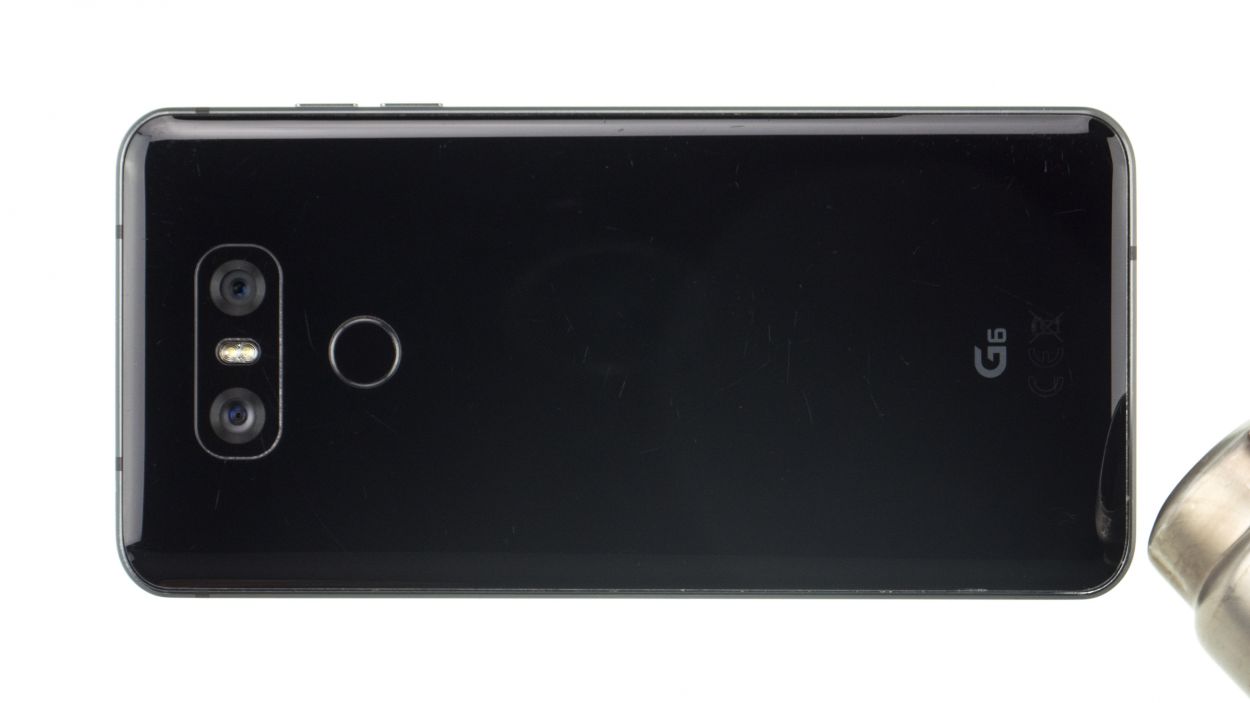
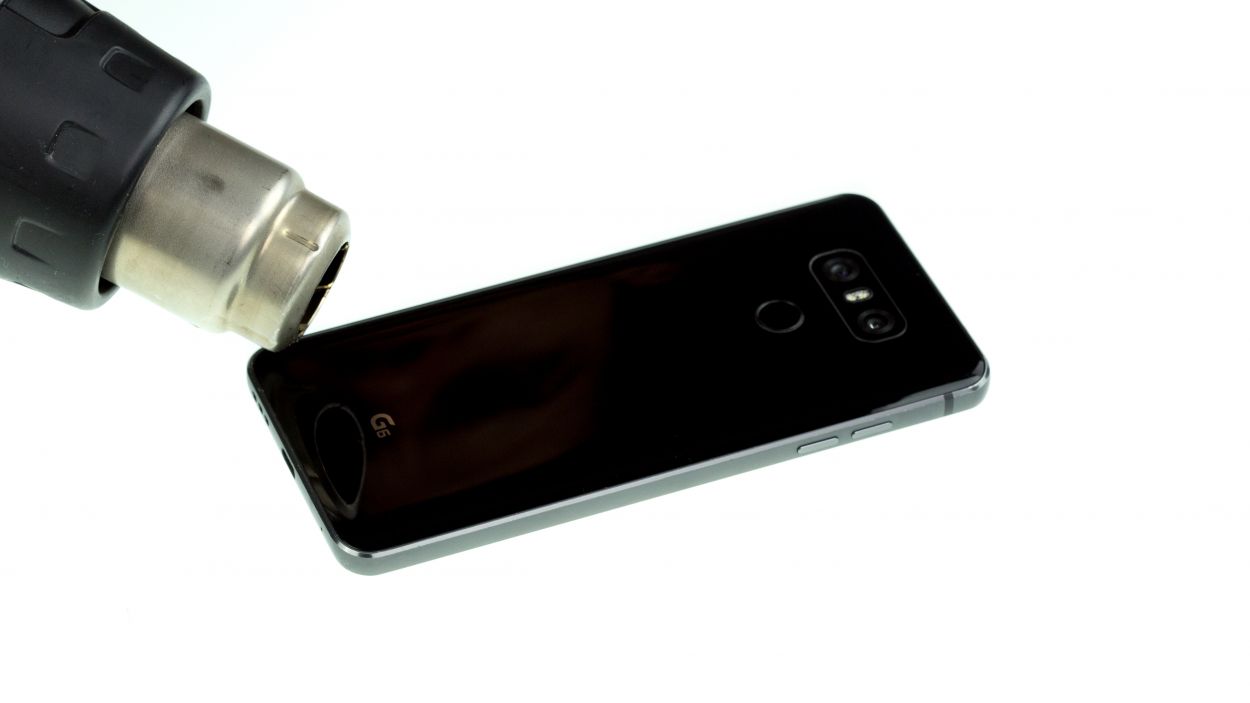
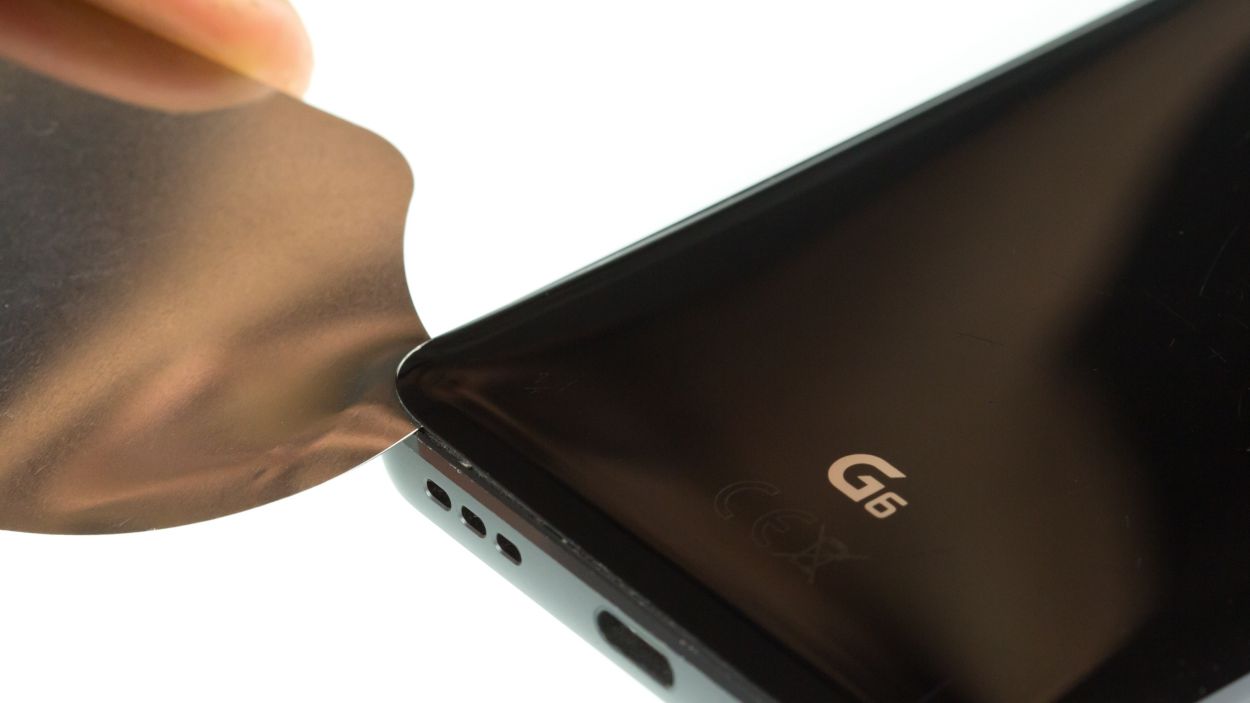
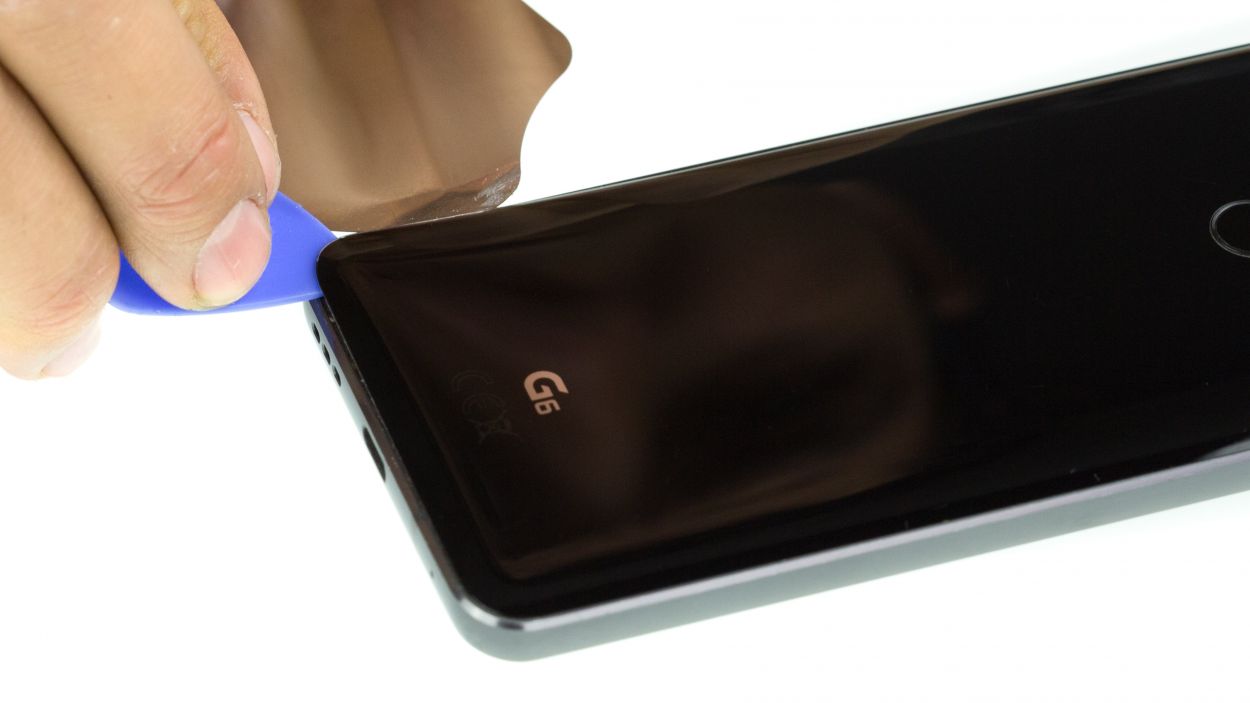
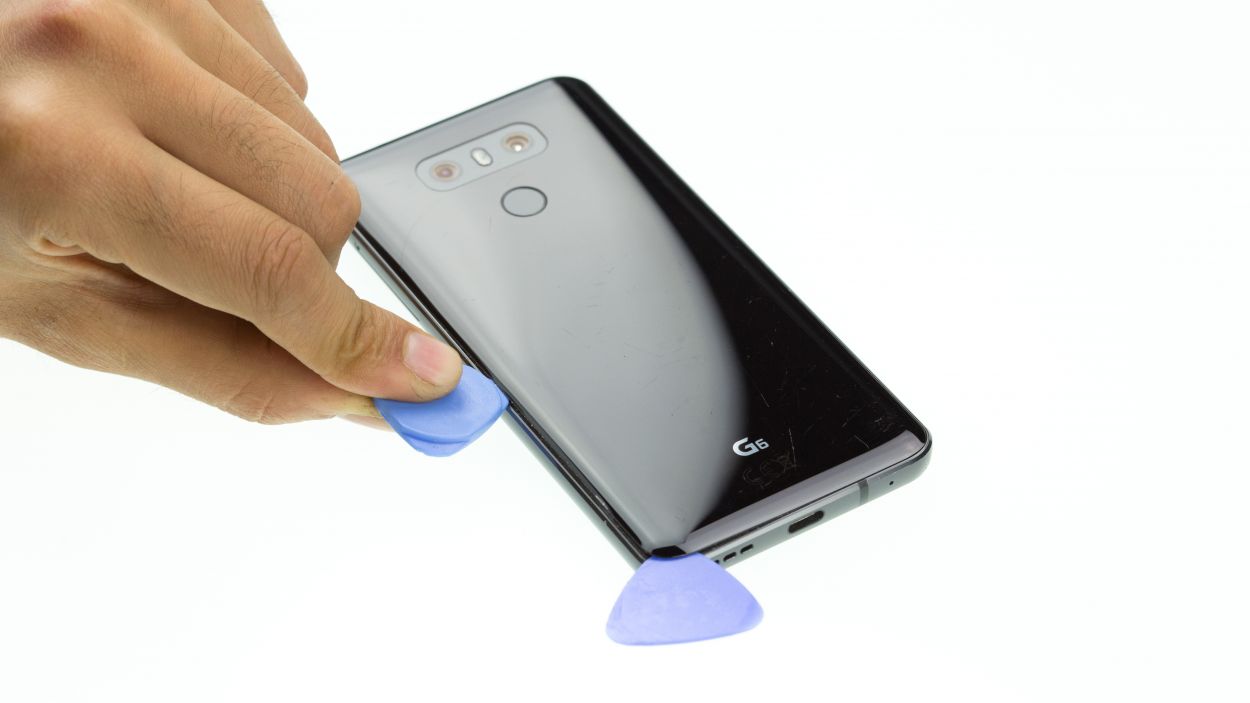

Be extra careful, the back cover can break very easily. Don’t pry with the tool, but only slide it around the edges. If necessary, apply the heat several times and try again. Removing the back cover might take a while. Take a little more time and work carefully to make sure you don’t break anything.
– Warm up that rear glass all around! It’s got a strong bond along the edges, around the home button, and over the USB port.
– Gently slide the iFlex between the rear glass and the frame, but keep it to a maximum of 5 mm. We want to be careful here!
Step 3


4 × 2.7 mm Phillips
Revving up your LG G6 game? You’ll notice the midframe and speaker need a good talkin’ to. One type of screw is all you need, so don’t sweat it!
– First up, let’s tackle those Phillips screws! Carefully remove the screws that are the same length from the speaker and keep them safe for next time.
– Now, with those screws out of the way, gently pry the speaker from the side of the battery and take it out of the device. You’re doing great!
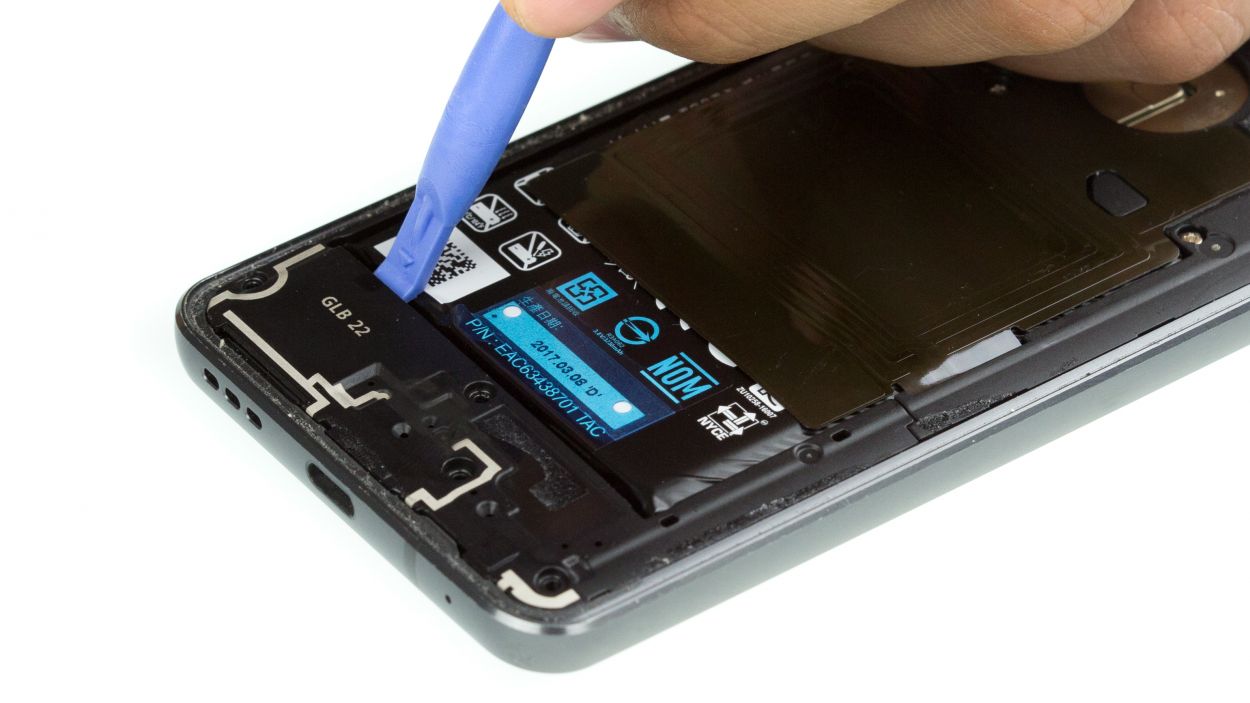
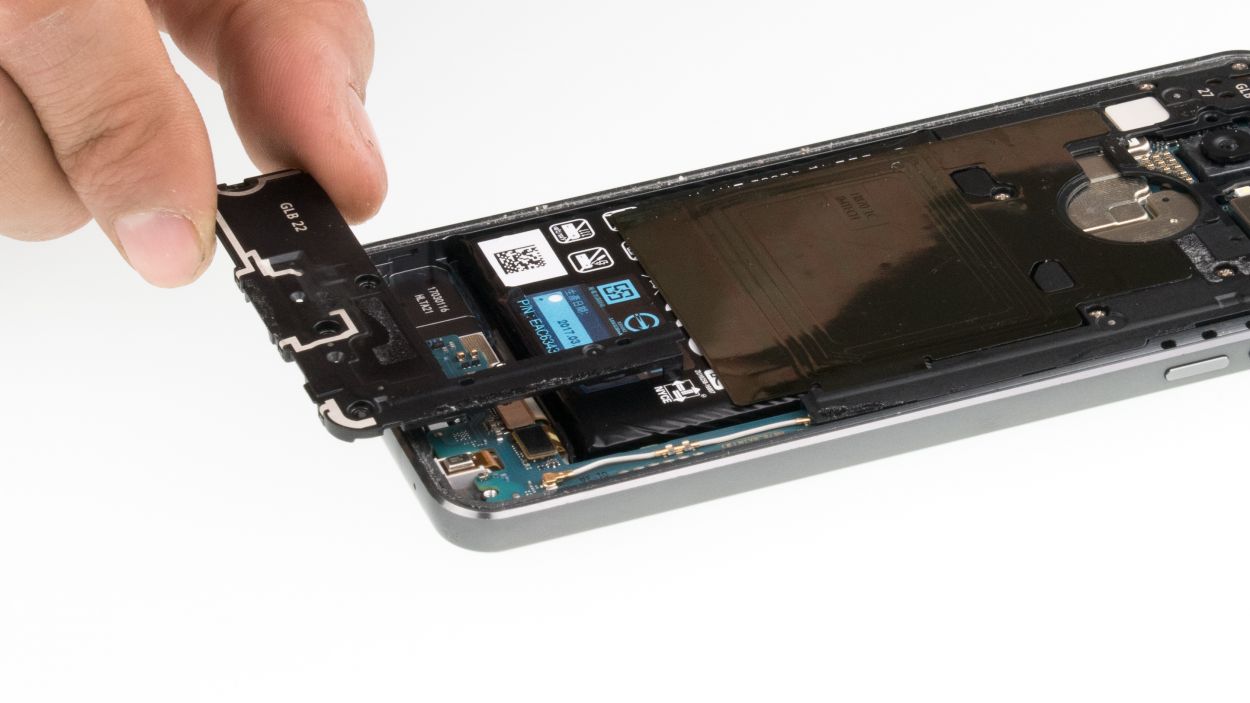
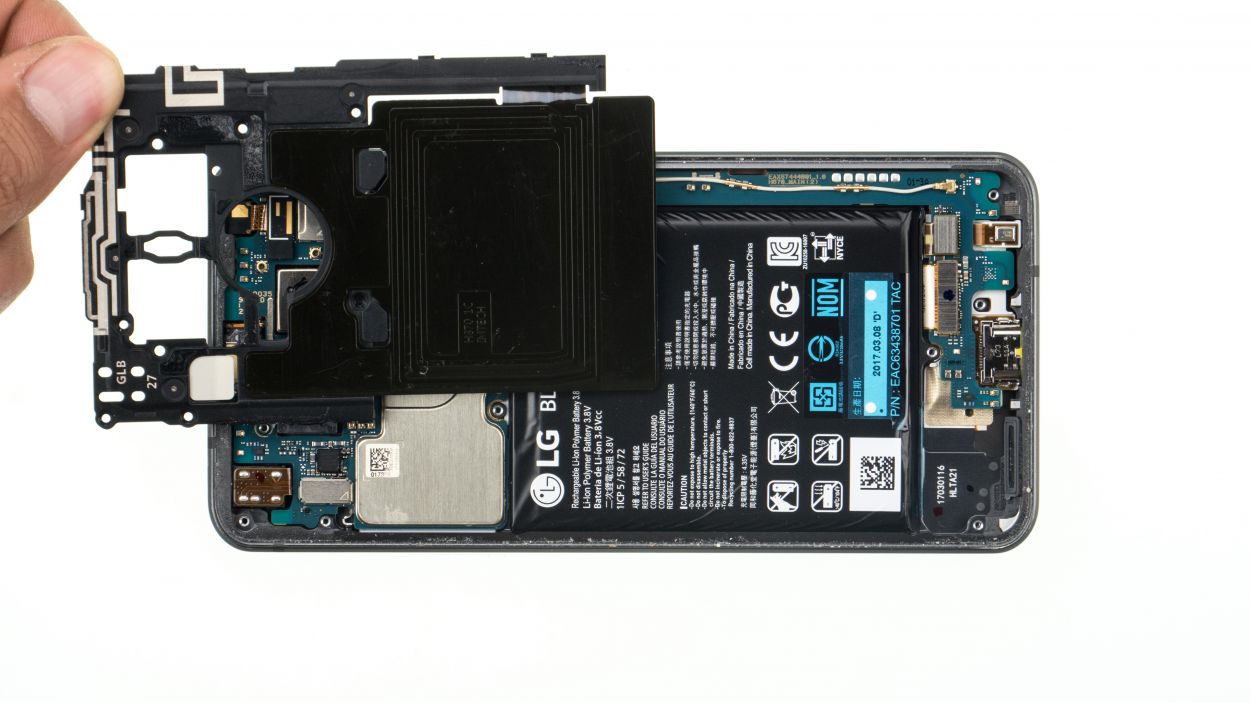
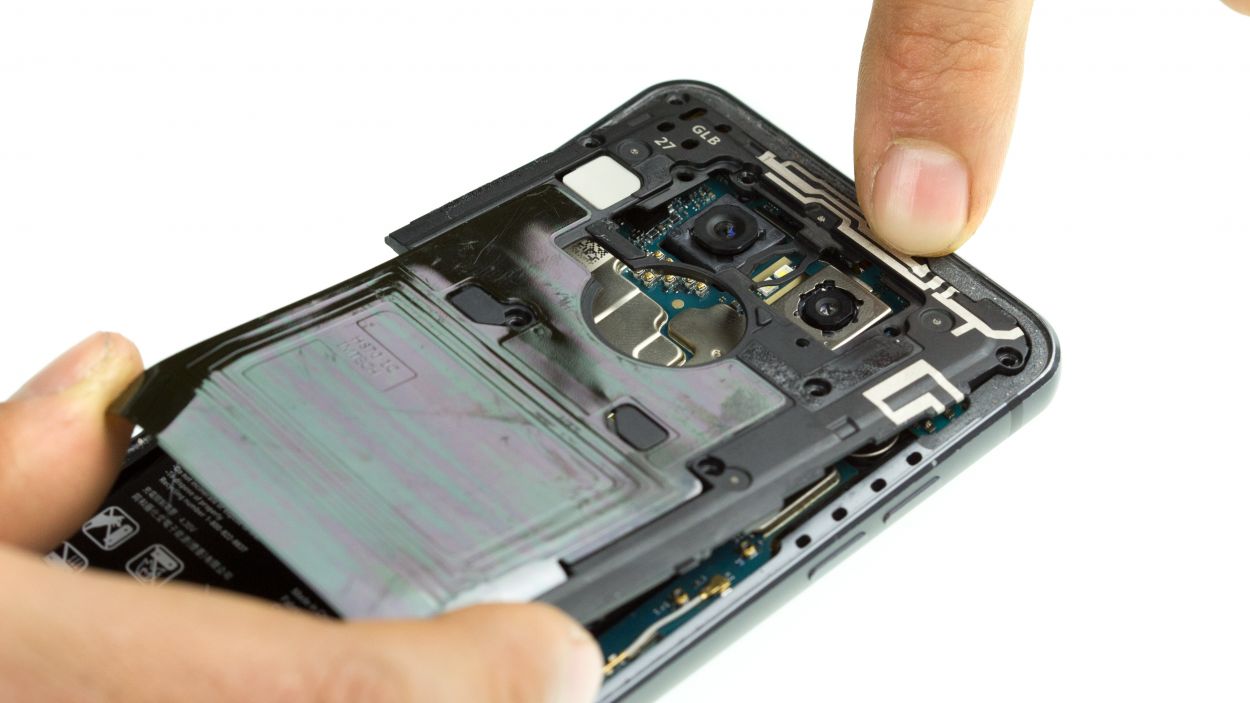
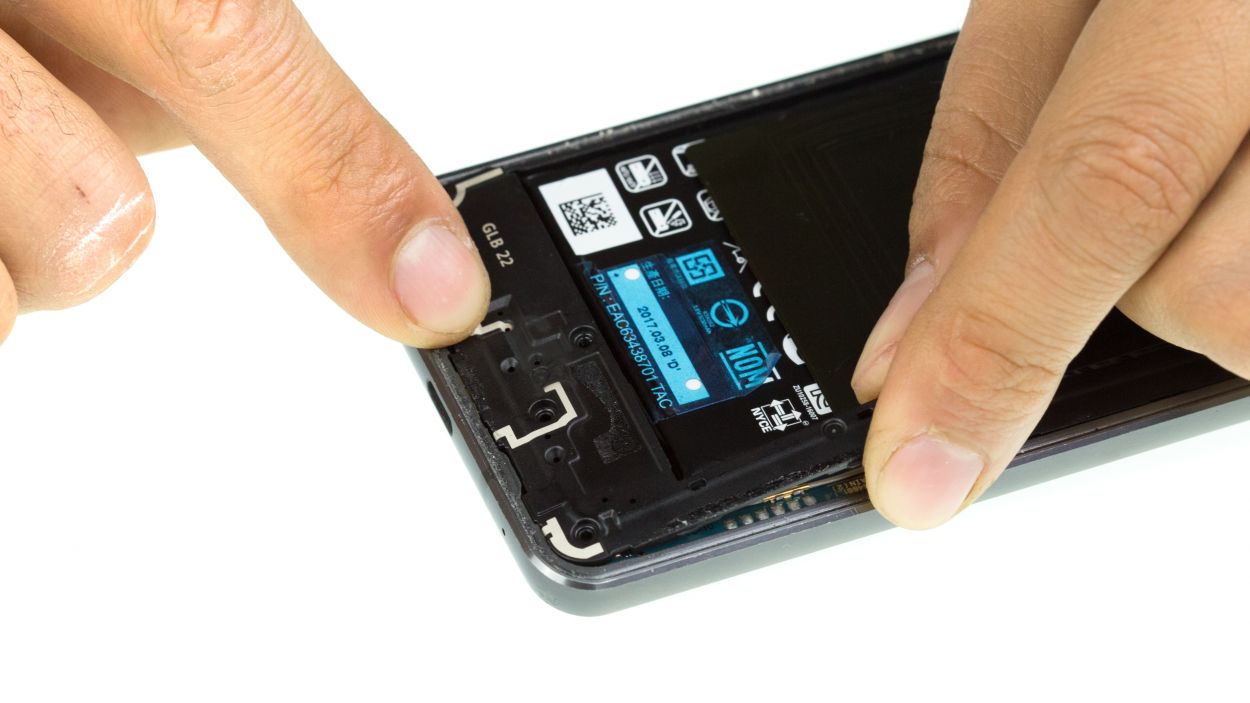
Step 4
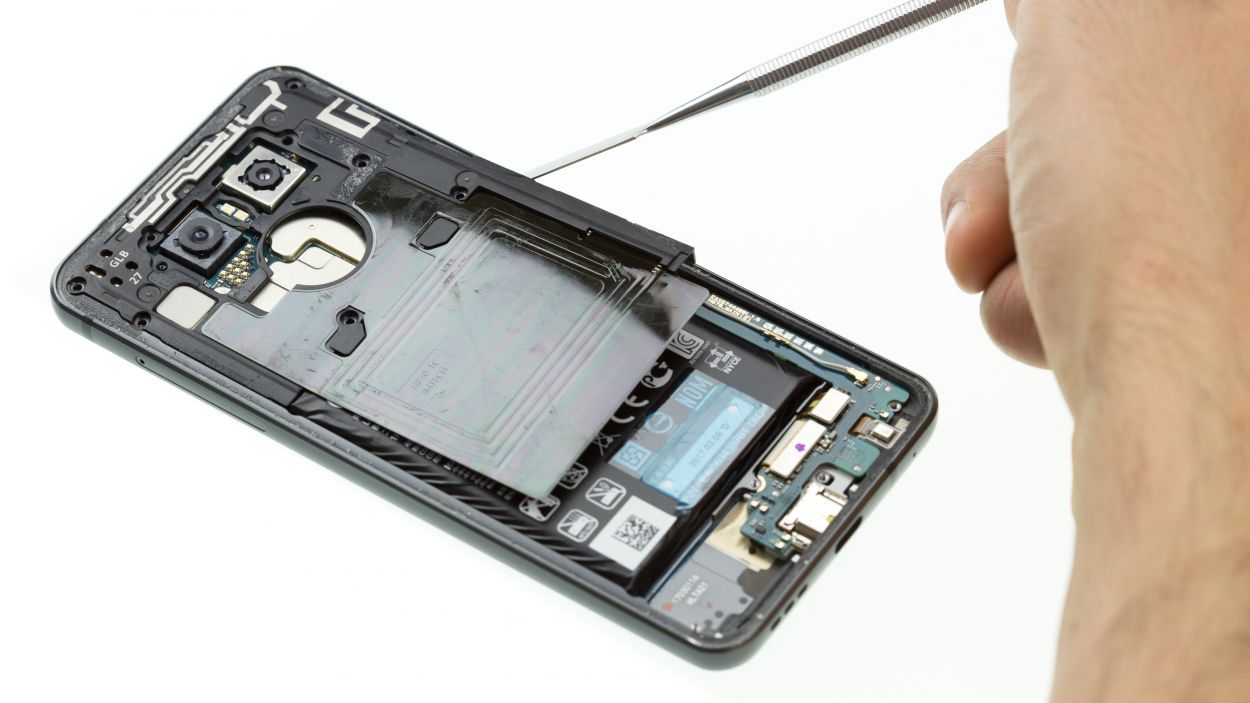
7 × Phillips
– Time to tackle those equal-length Phillips screws! Remove them from the midframe and keep them safe for later.
– Grab a flat, thin tool and gently slide it into the gap. Pry the midframe out with care—it’s like a gentle nudge to help it out.
– The midframe is held in place at four points. Carefully pop it loose, and once it starts to budge, go ahead and lift it out.
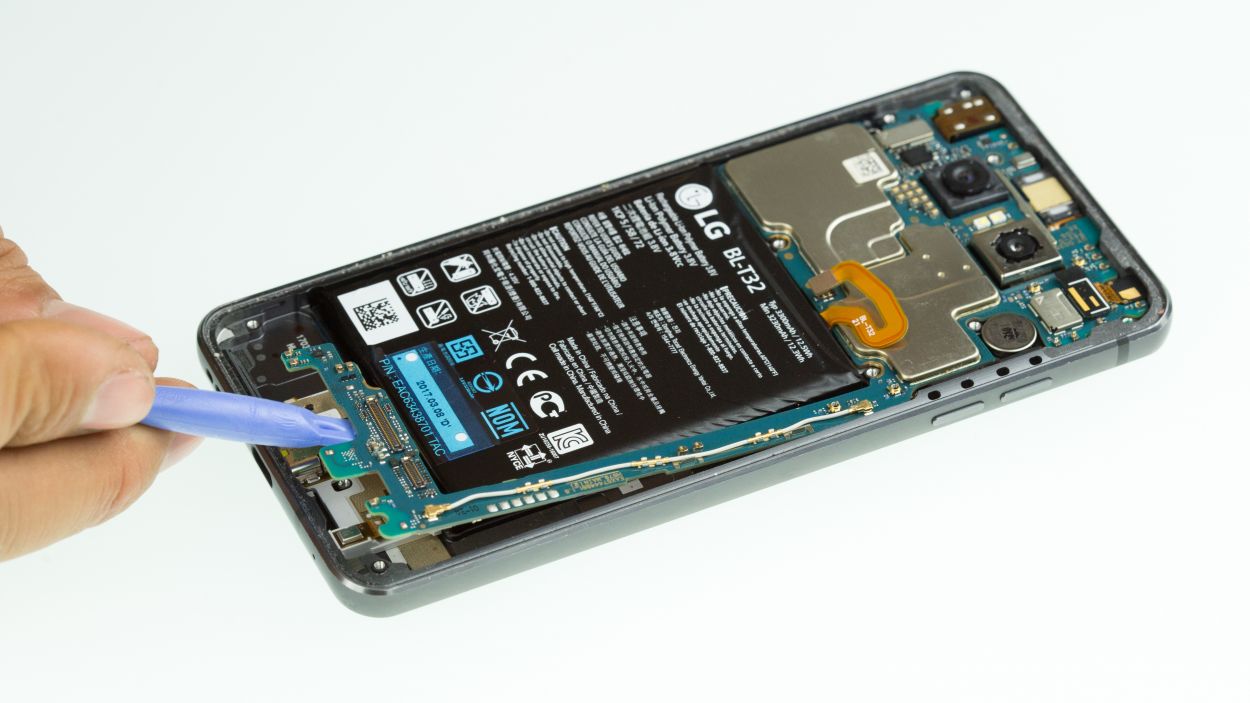
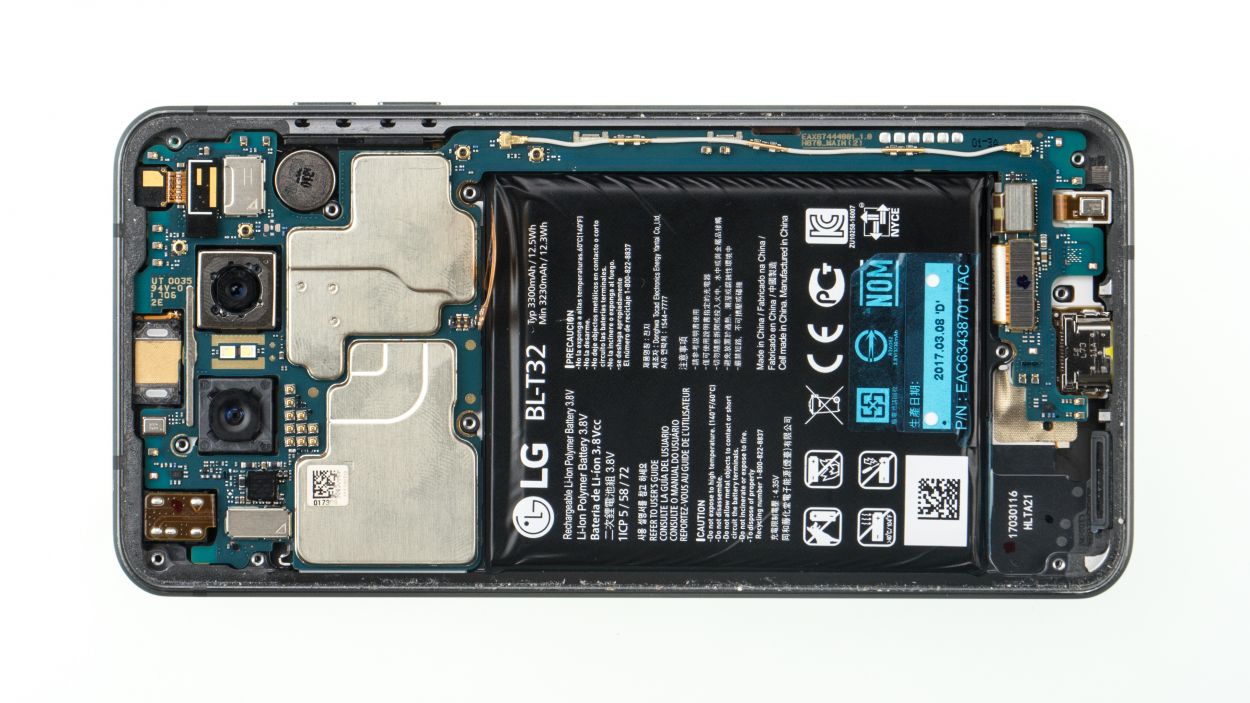
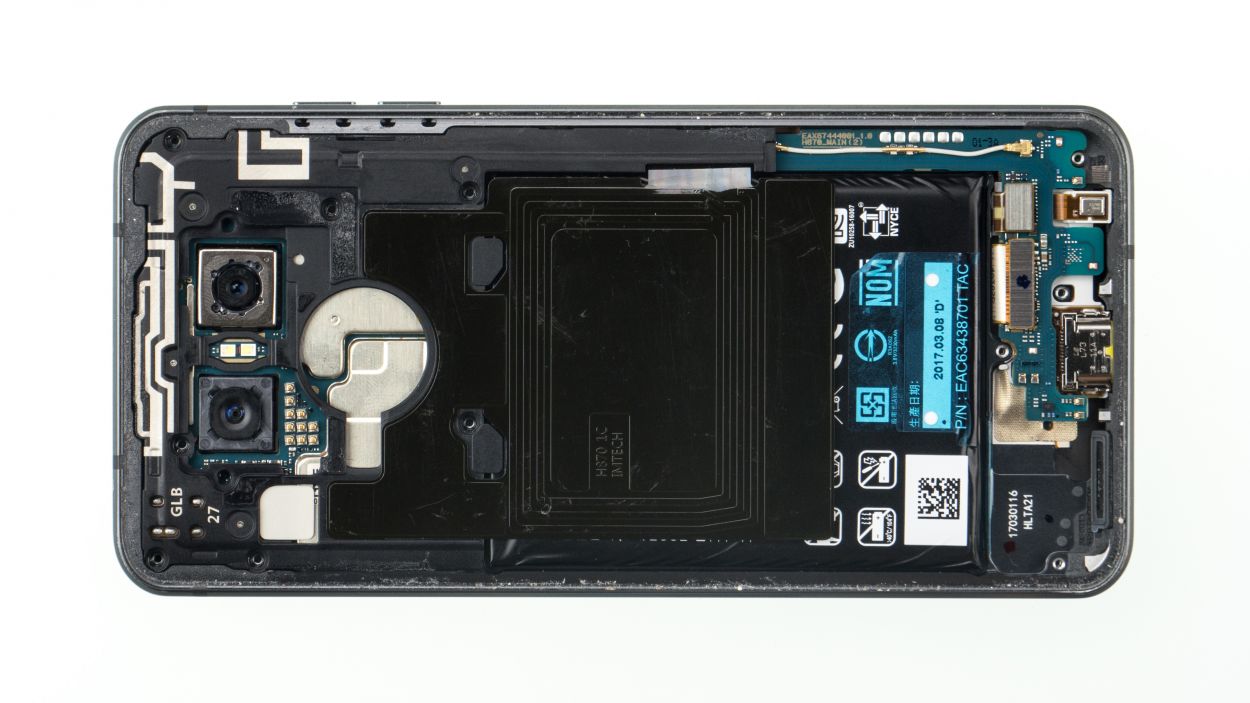
Step 5
Battery Connector
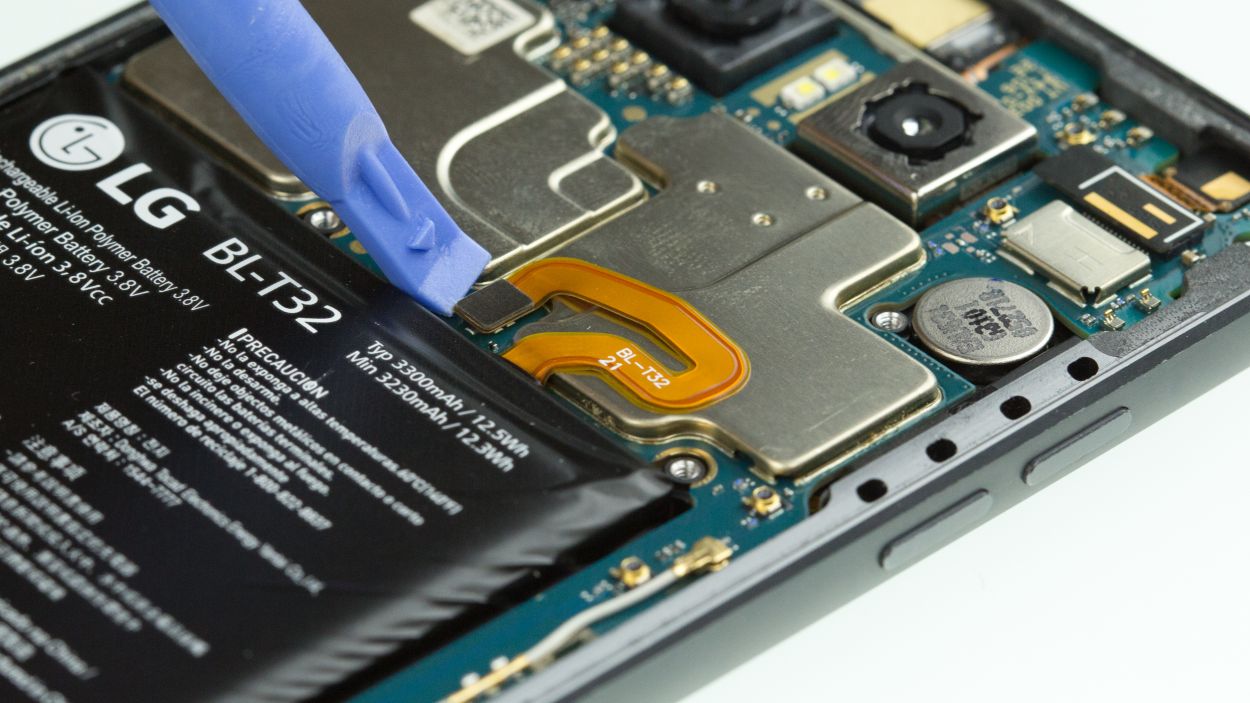
– Grab a plastic tool and gently detach the battery to avoid any electrical mishaps. You’ve got this!
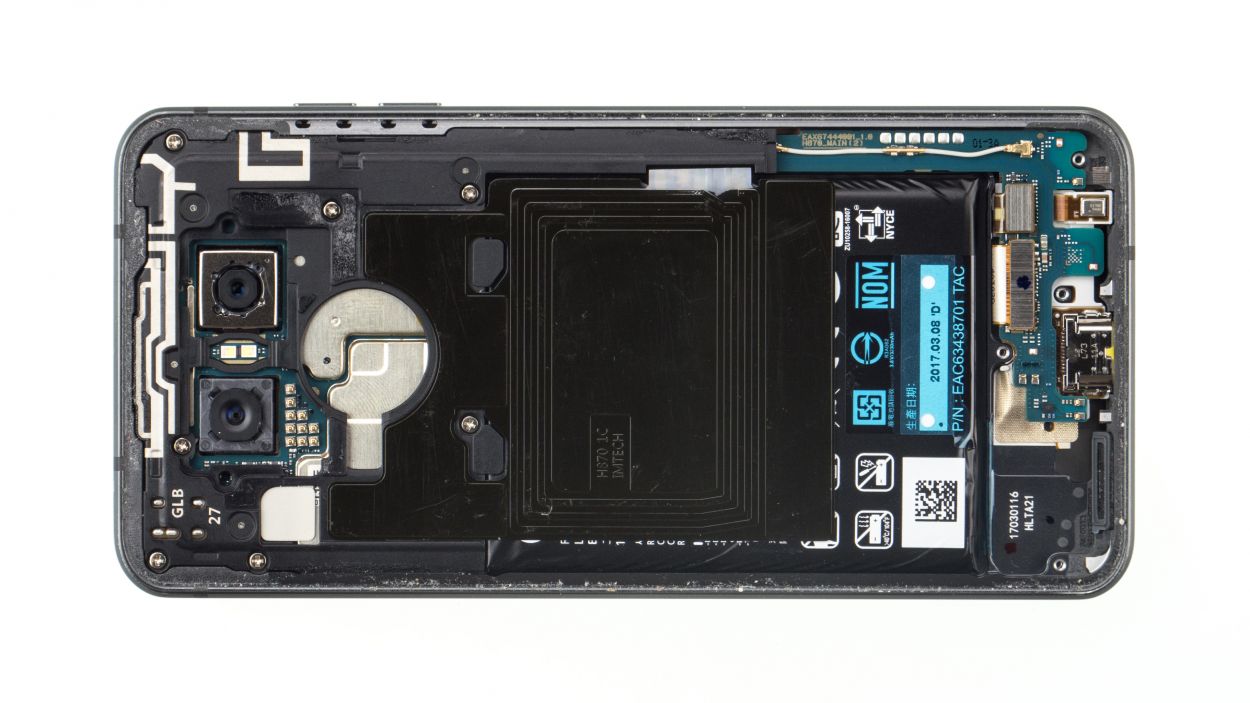
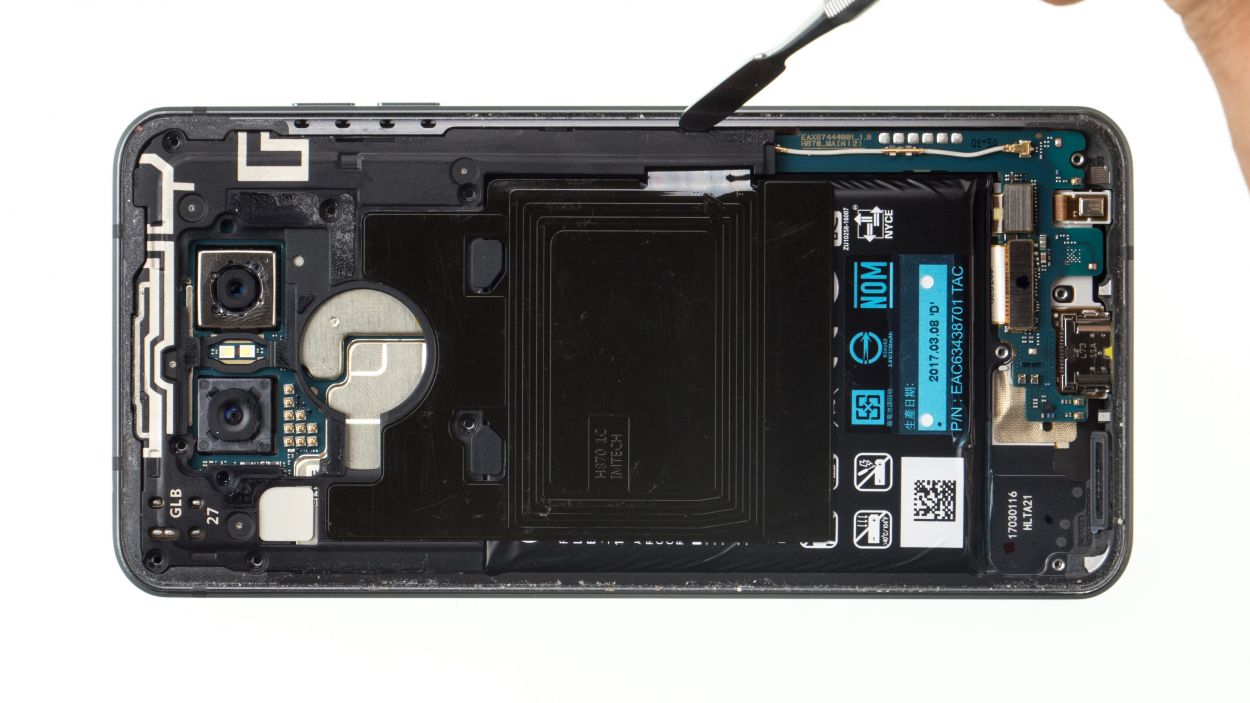
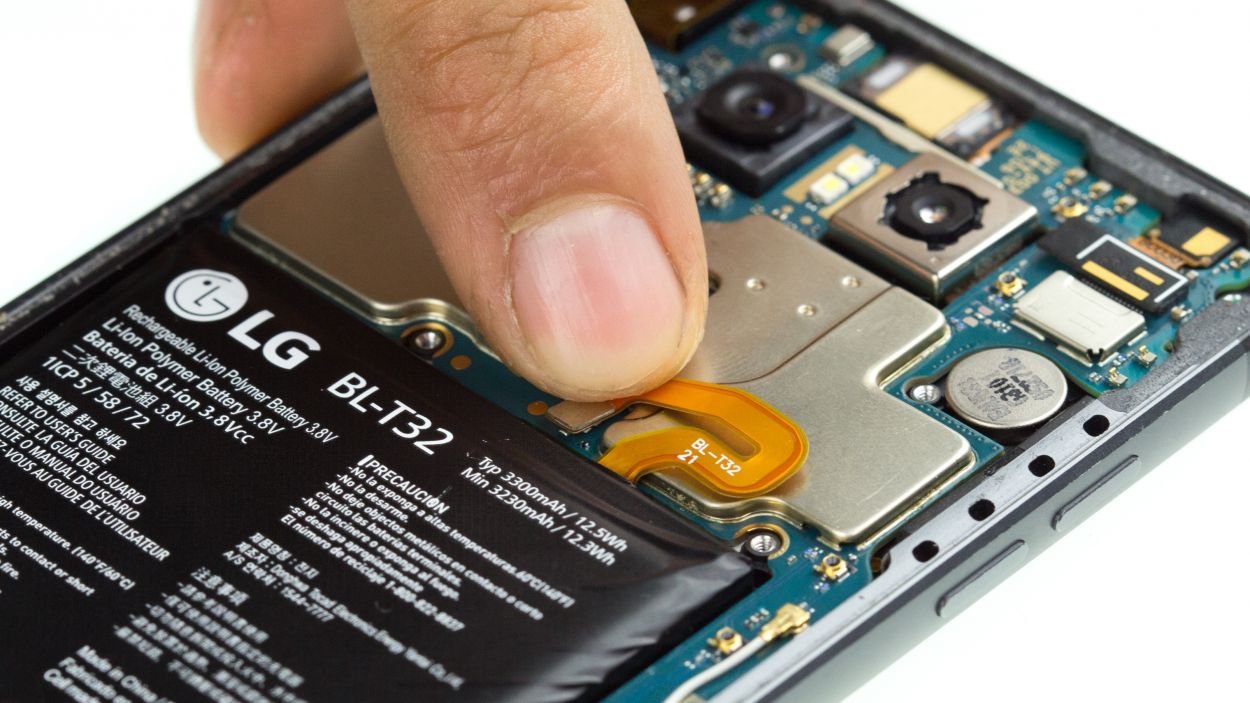
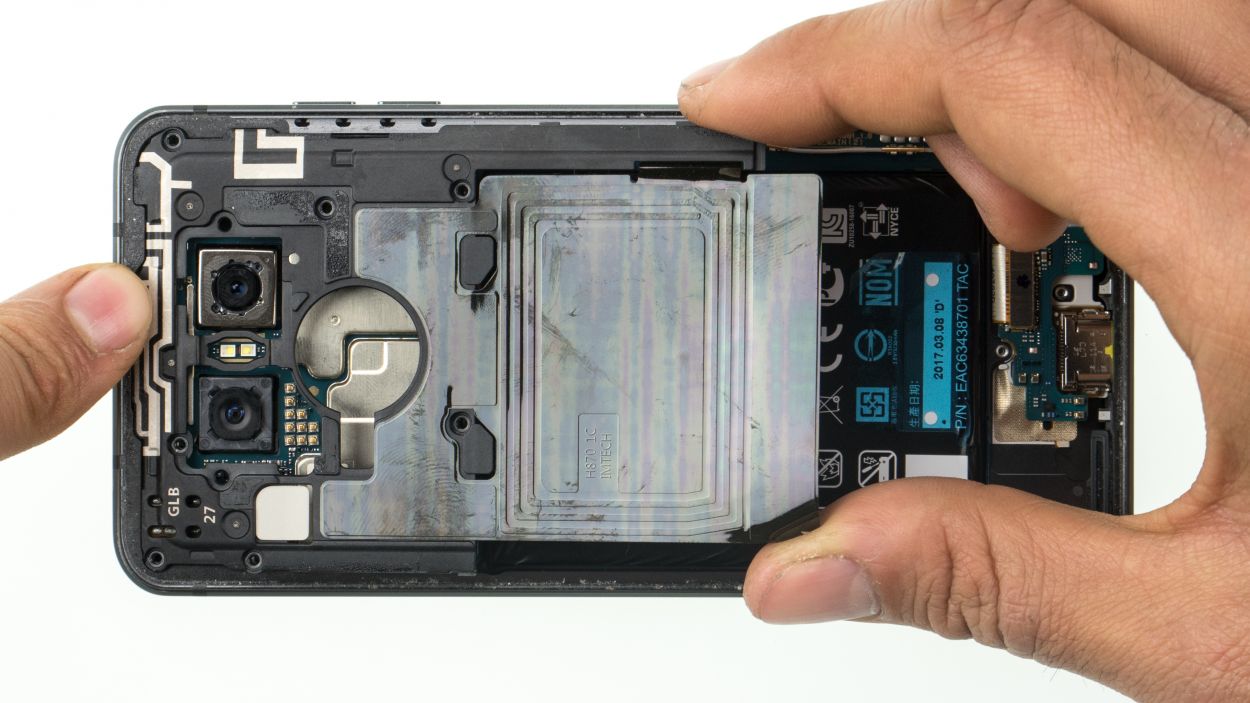
Step 6

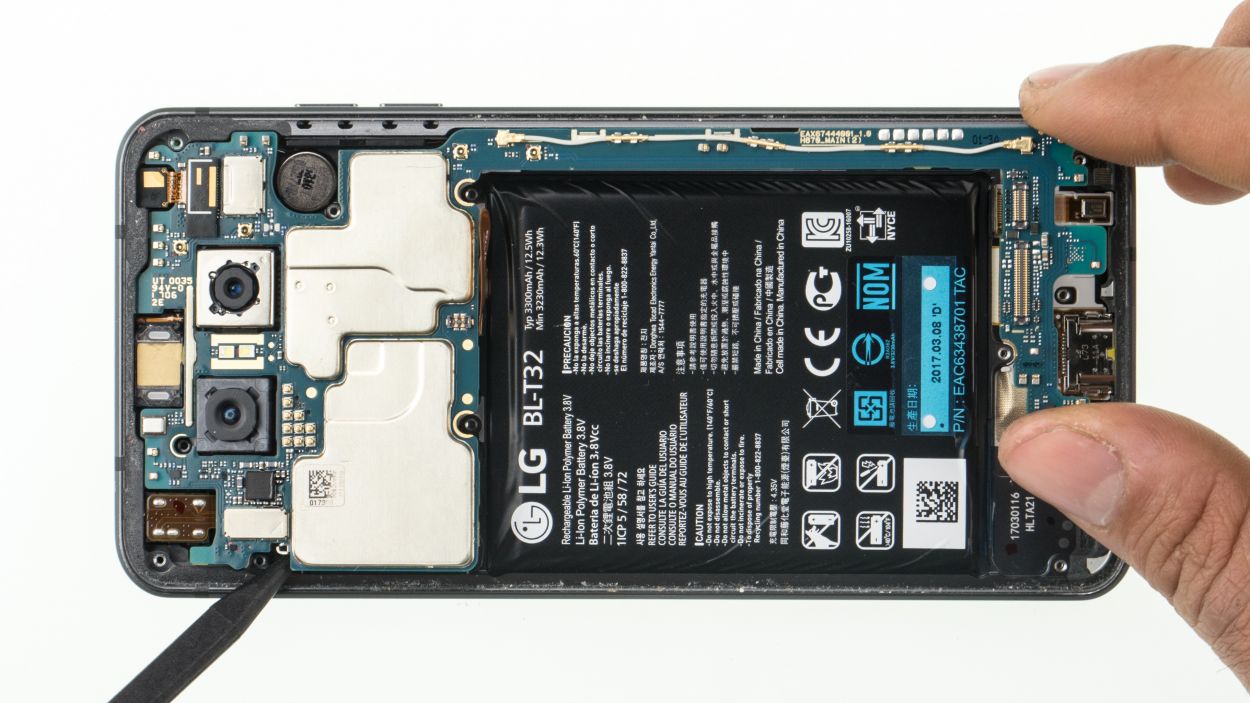
Don’t bend the logic board, since it breaks easily.
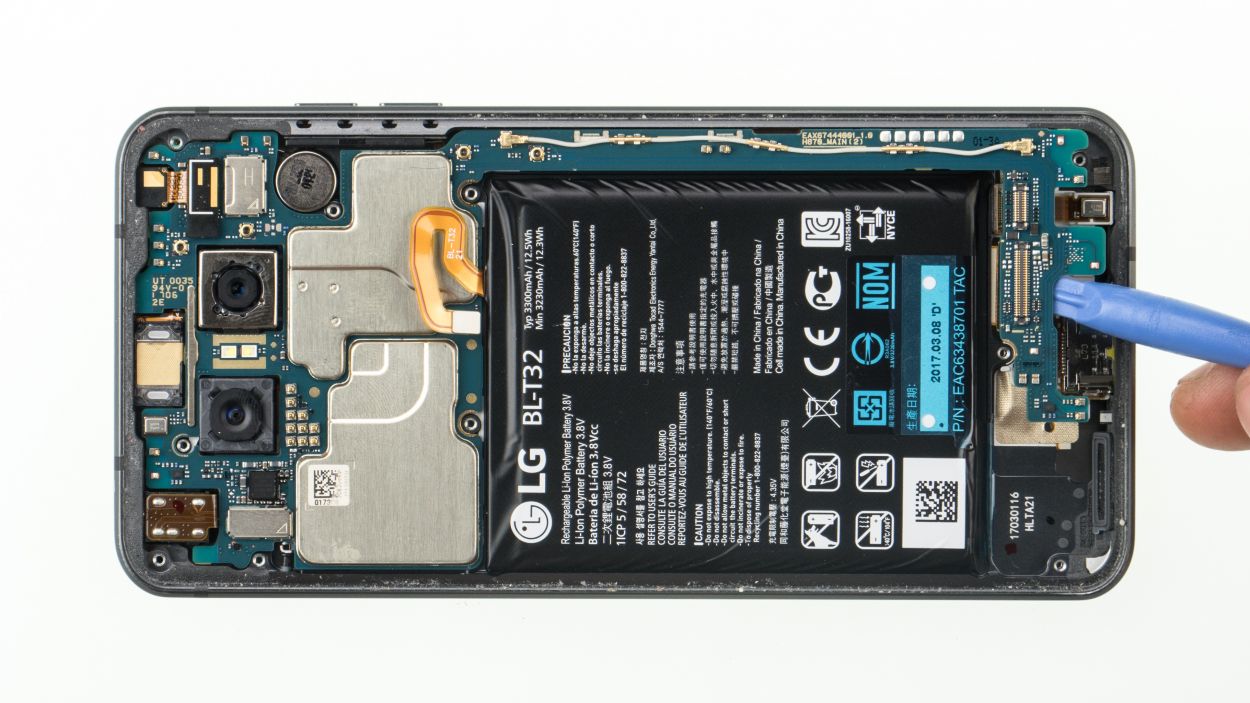
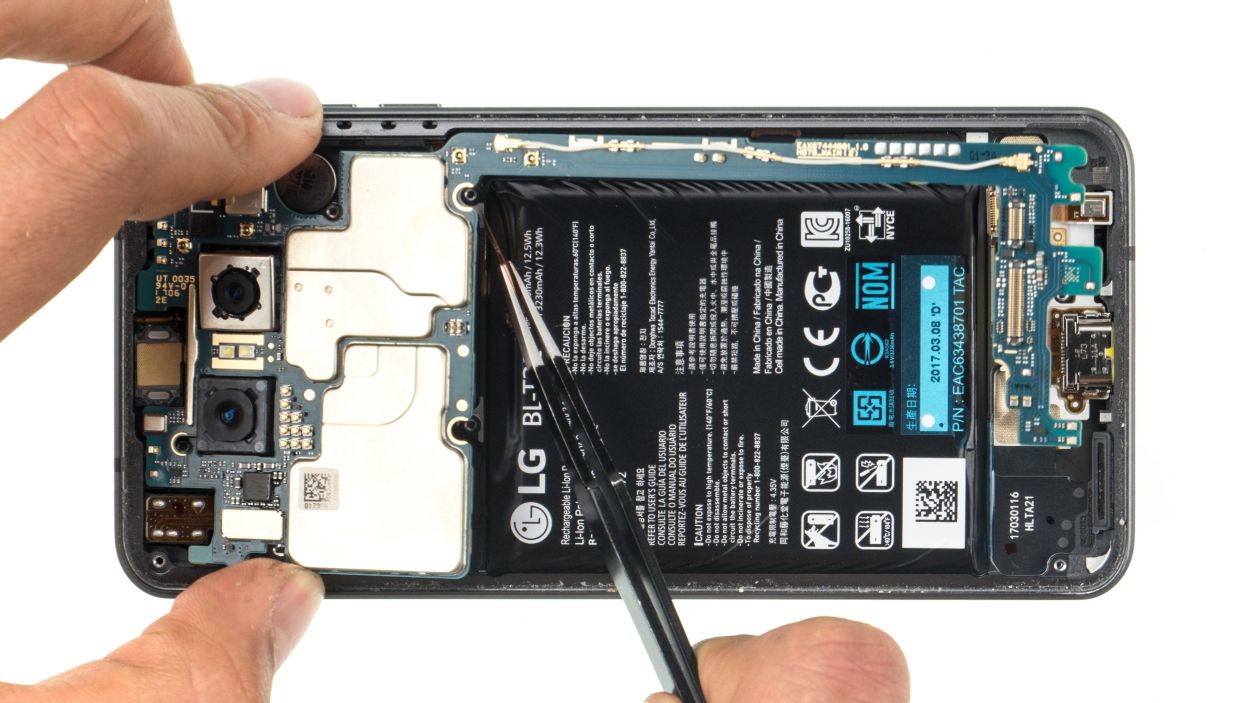
– First, gently unplug the two connectors located on the lower side of the logic board—this is your ticket to a successful repair!
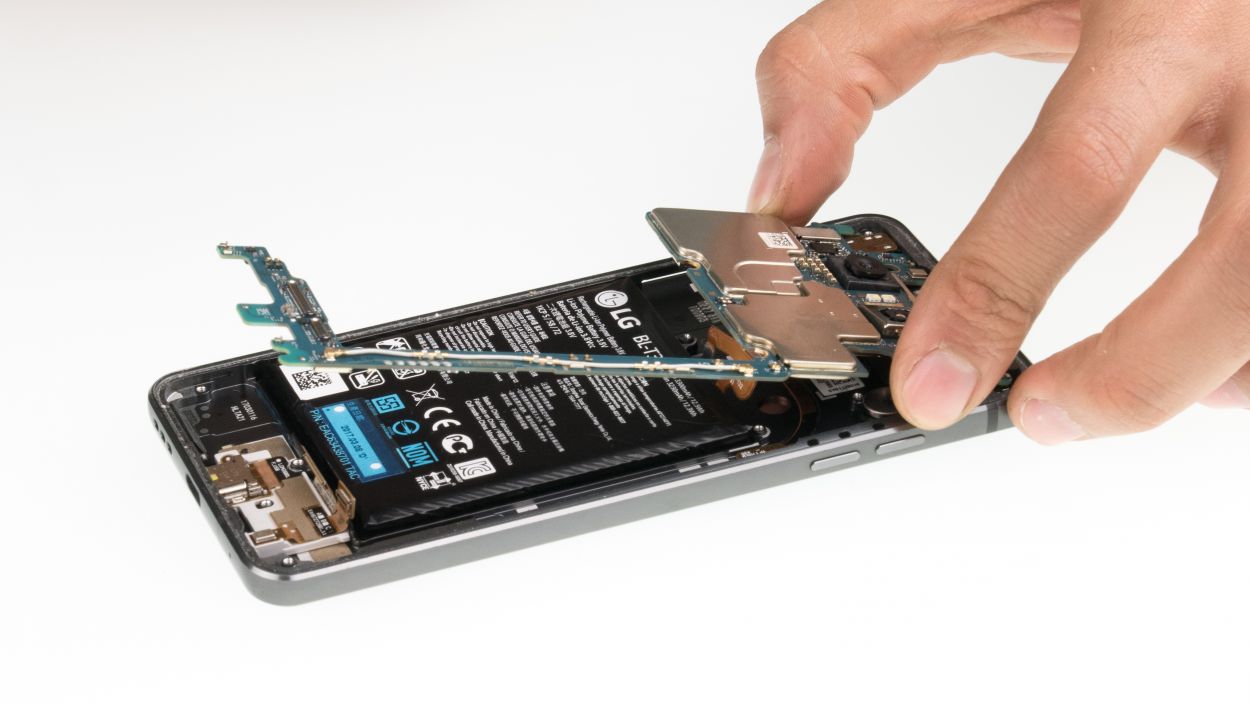
– Now, let’s pry out that lower side of the logic board with a little care. Remember to unclip it from the other spots it’s snagged at, and you’re one step closer to victory!
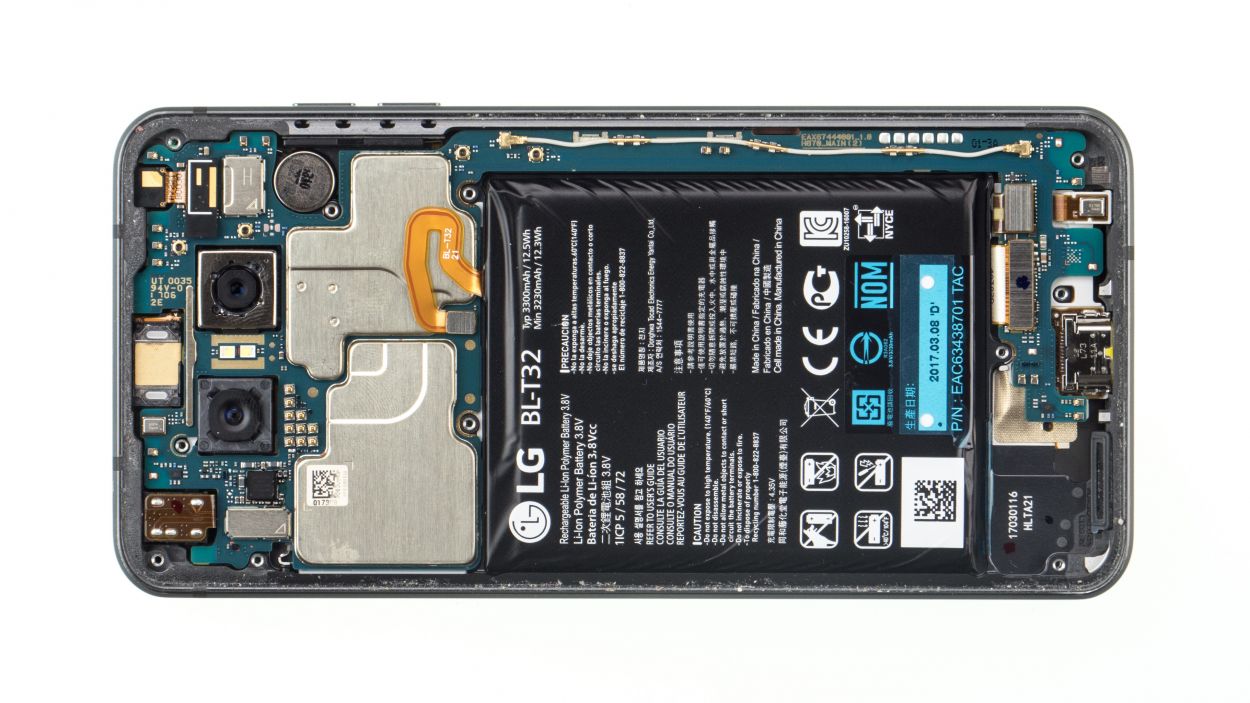
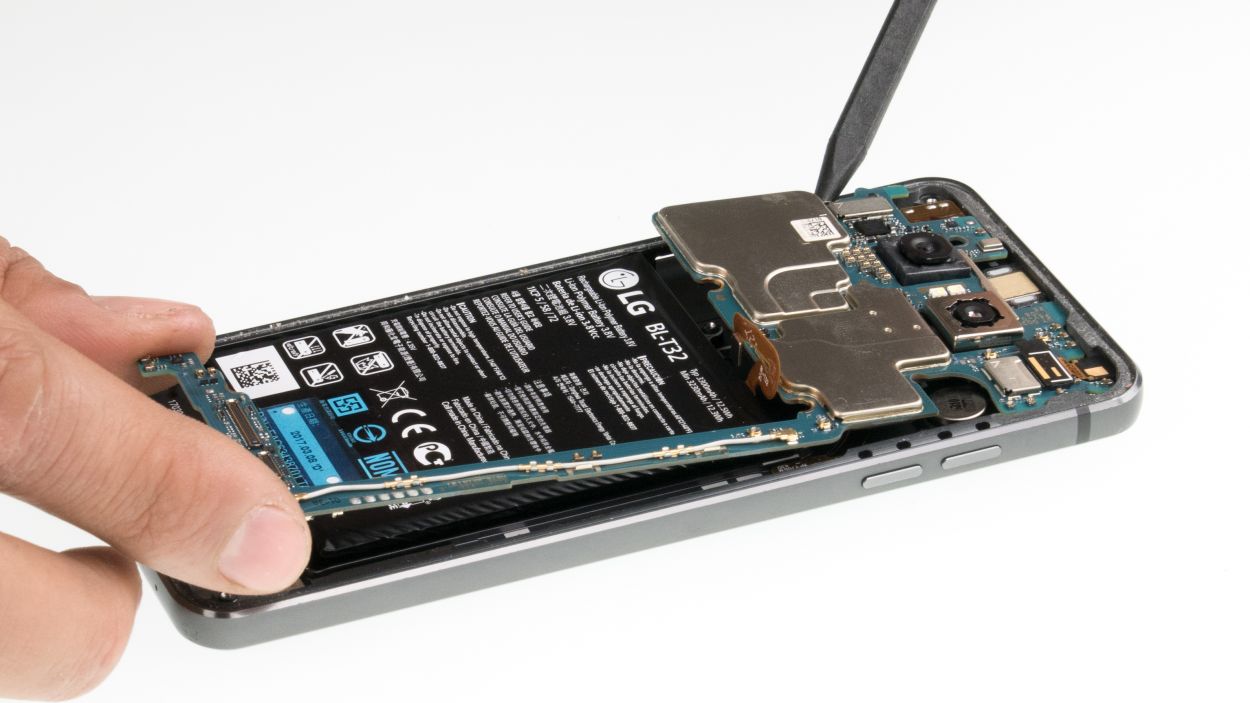
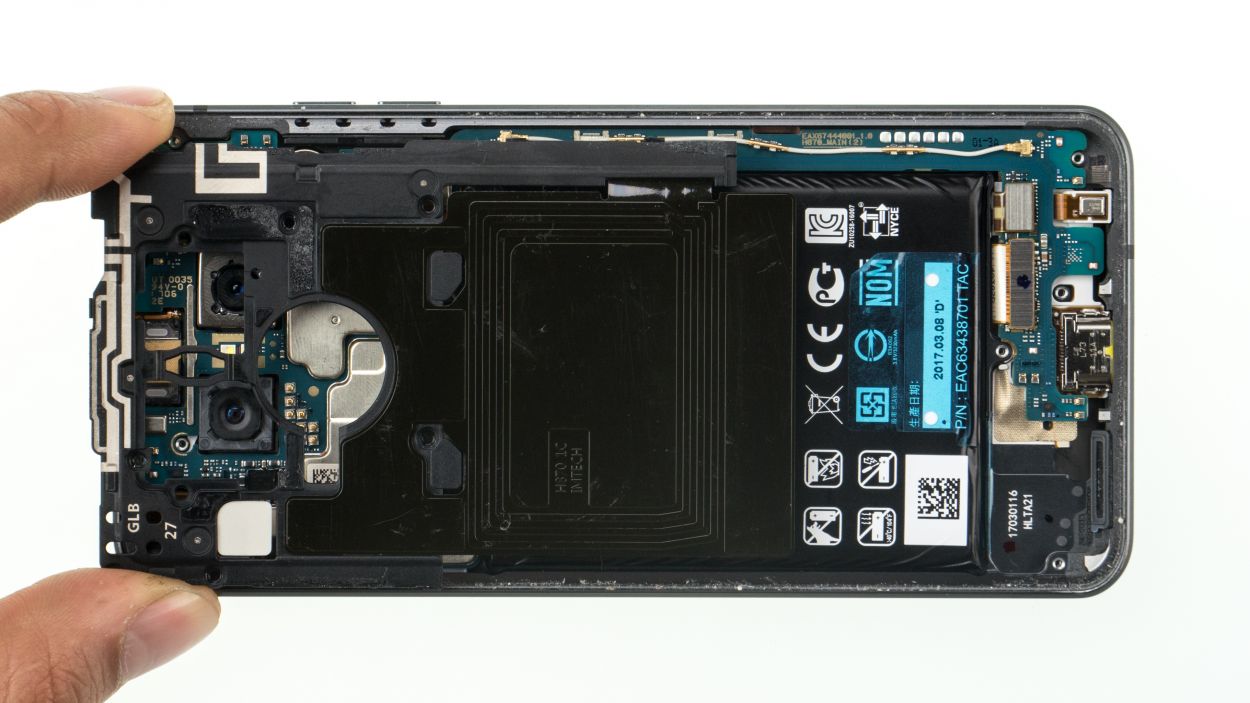
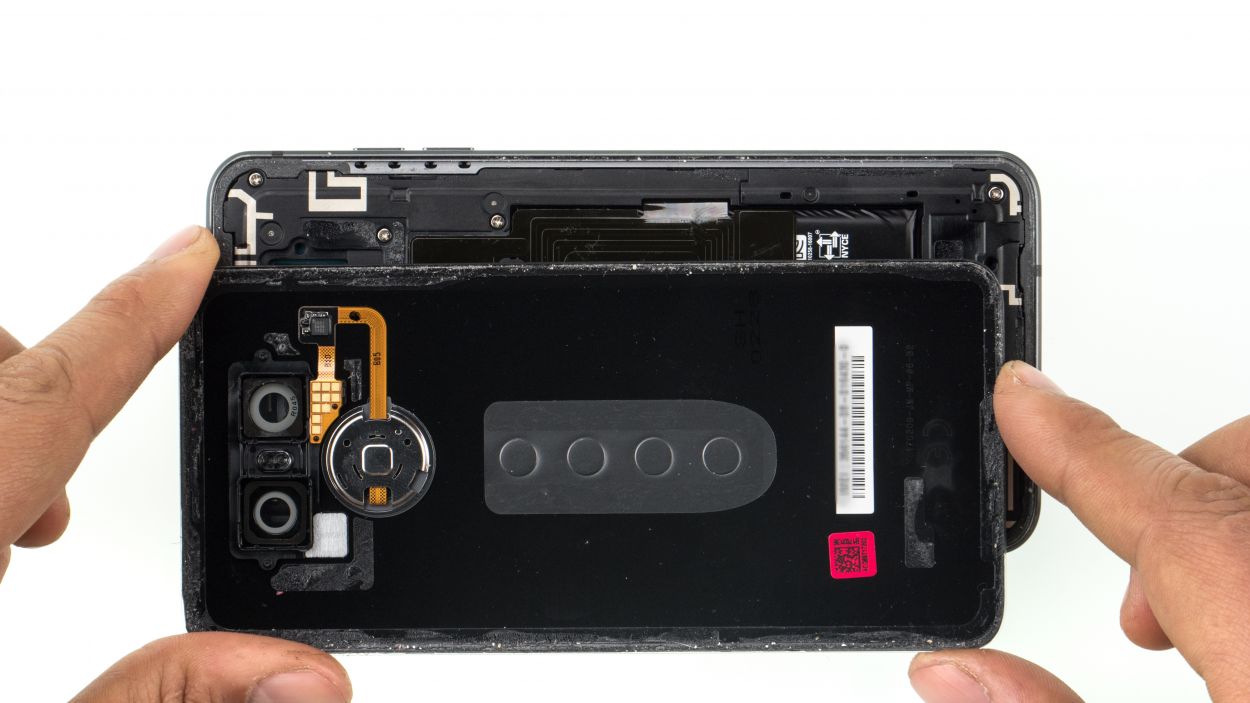
Step 7
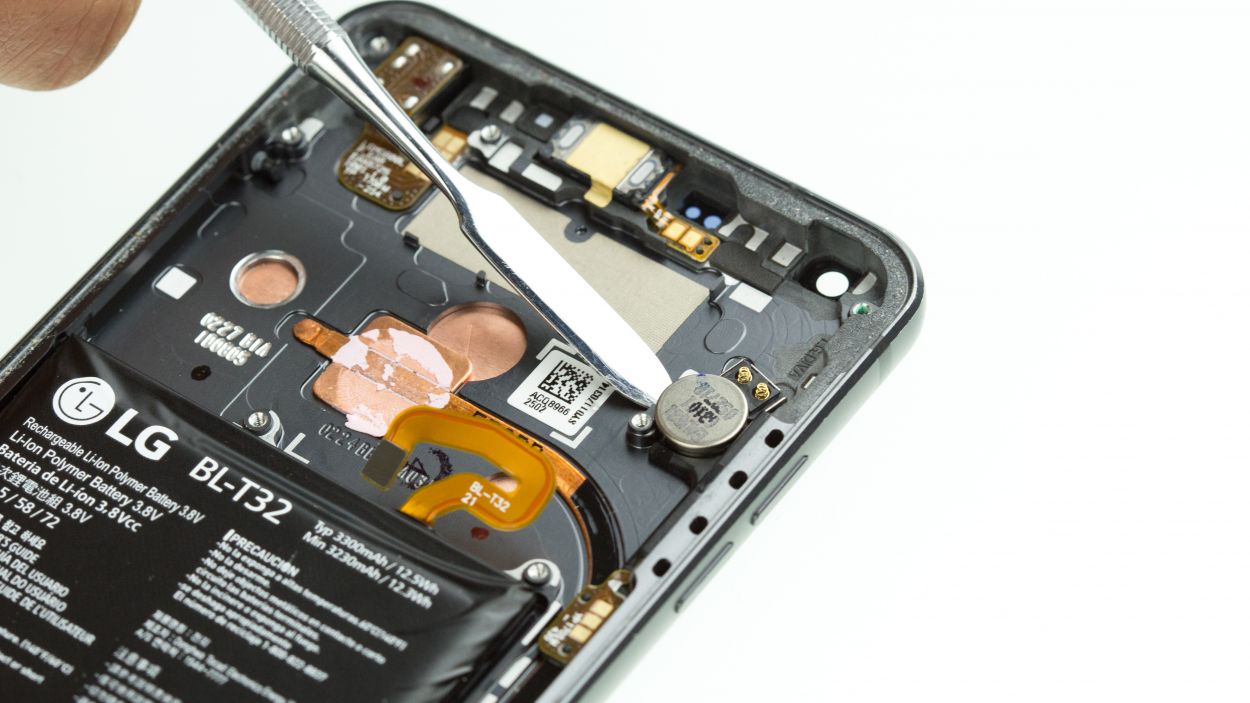
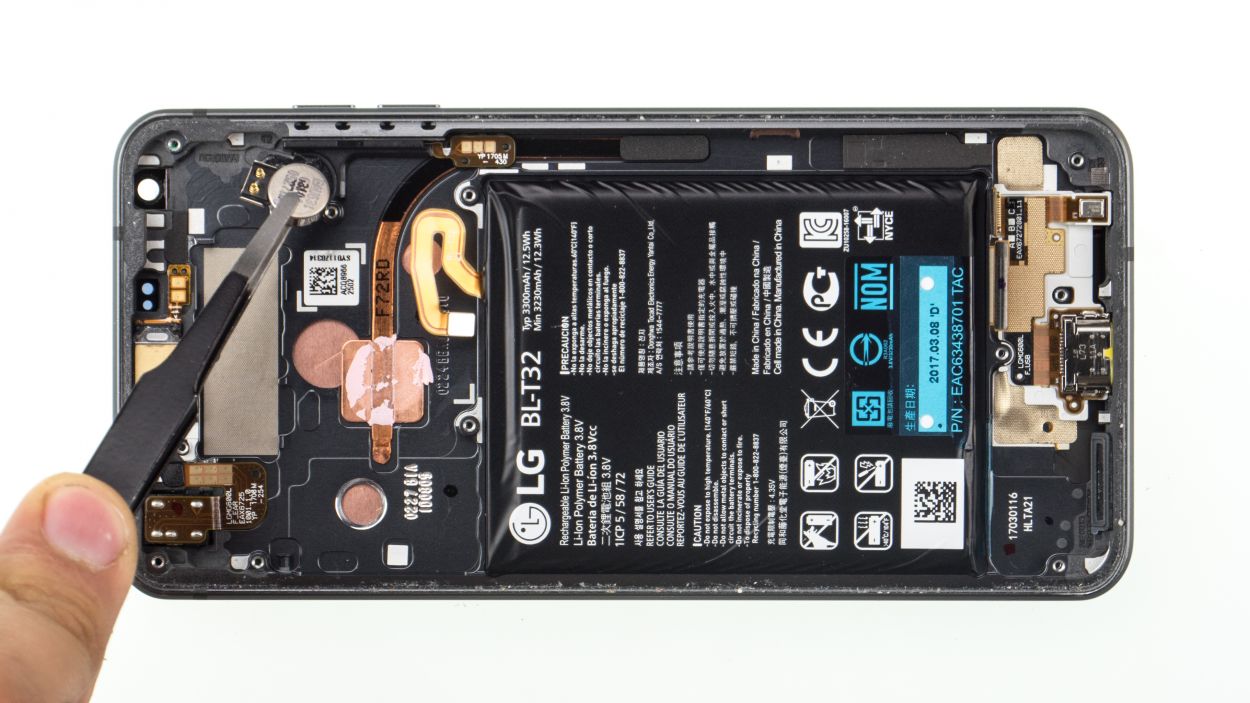
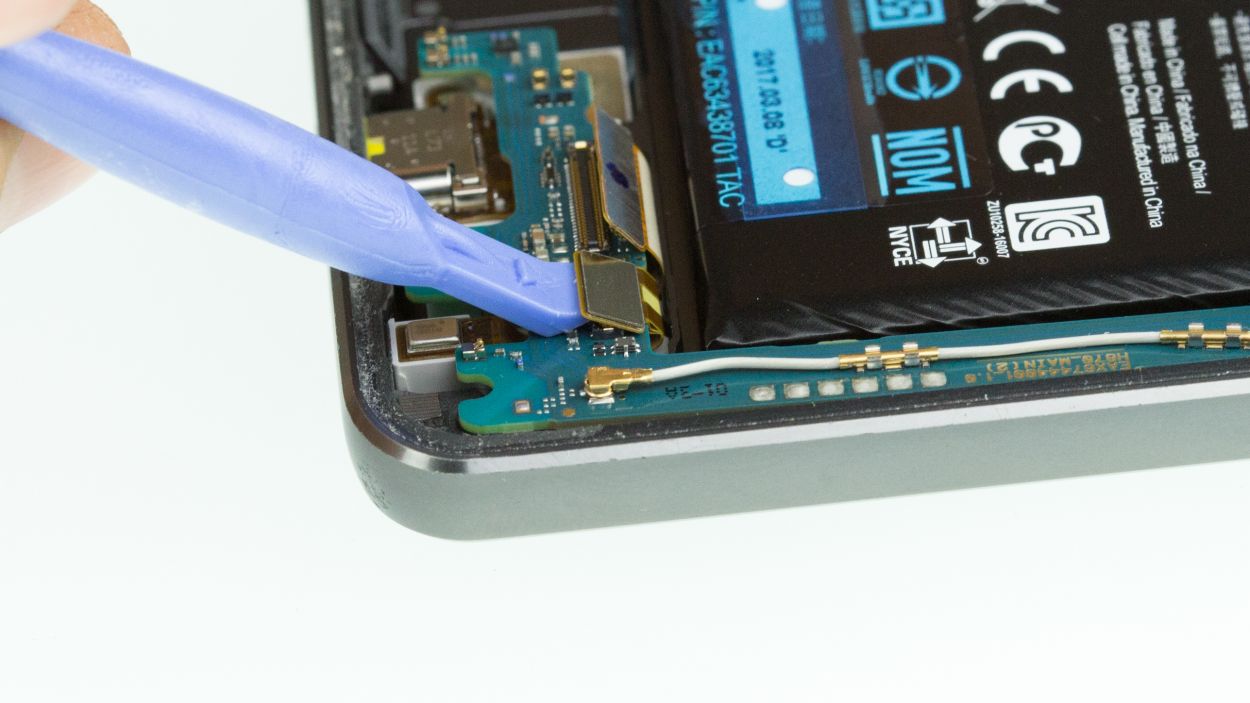
– 1. Carefully pry out the vibration motor and remove it from the display unit. Heat it if necessary.
Step 8
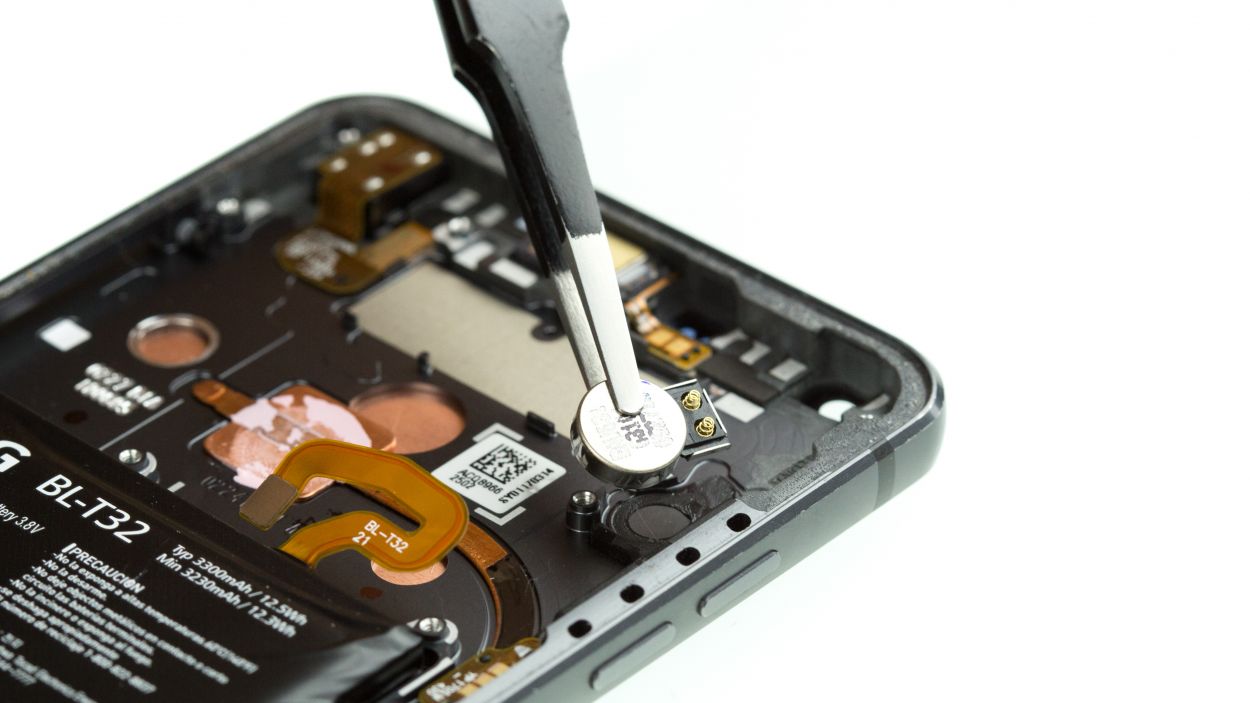
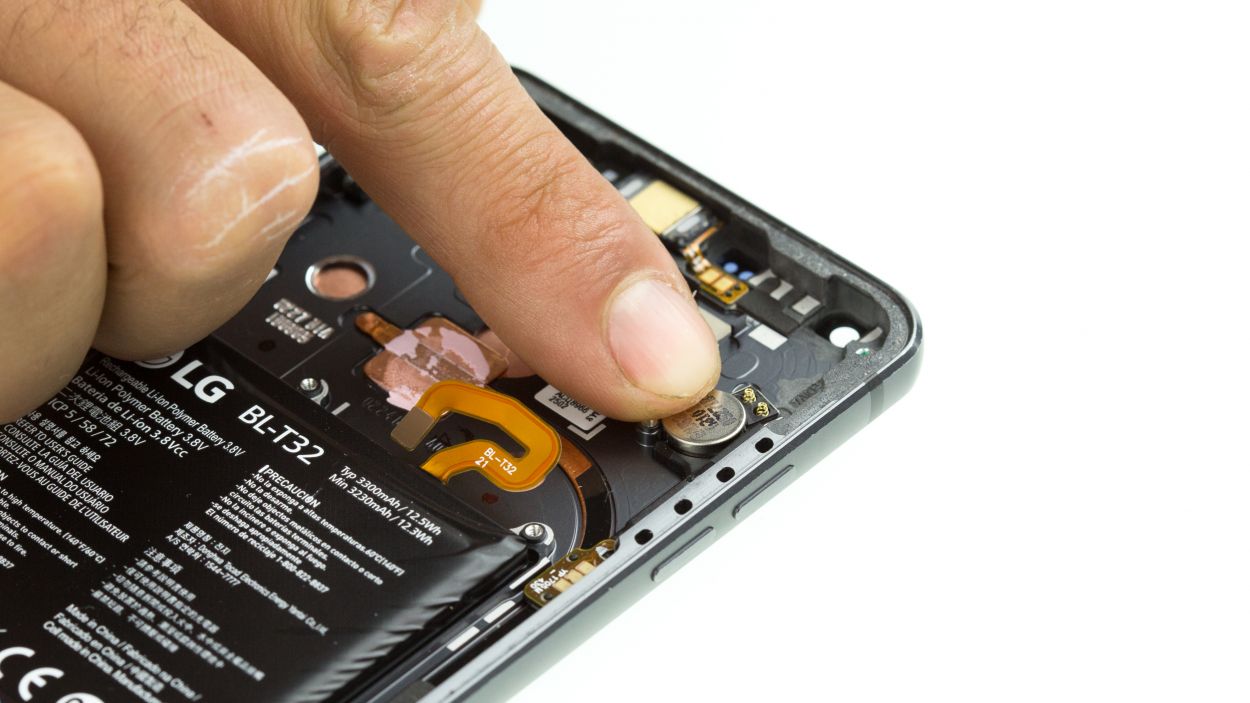
– Insert the vibration motor into the display unit and press it down to make it stick.
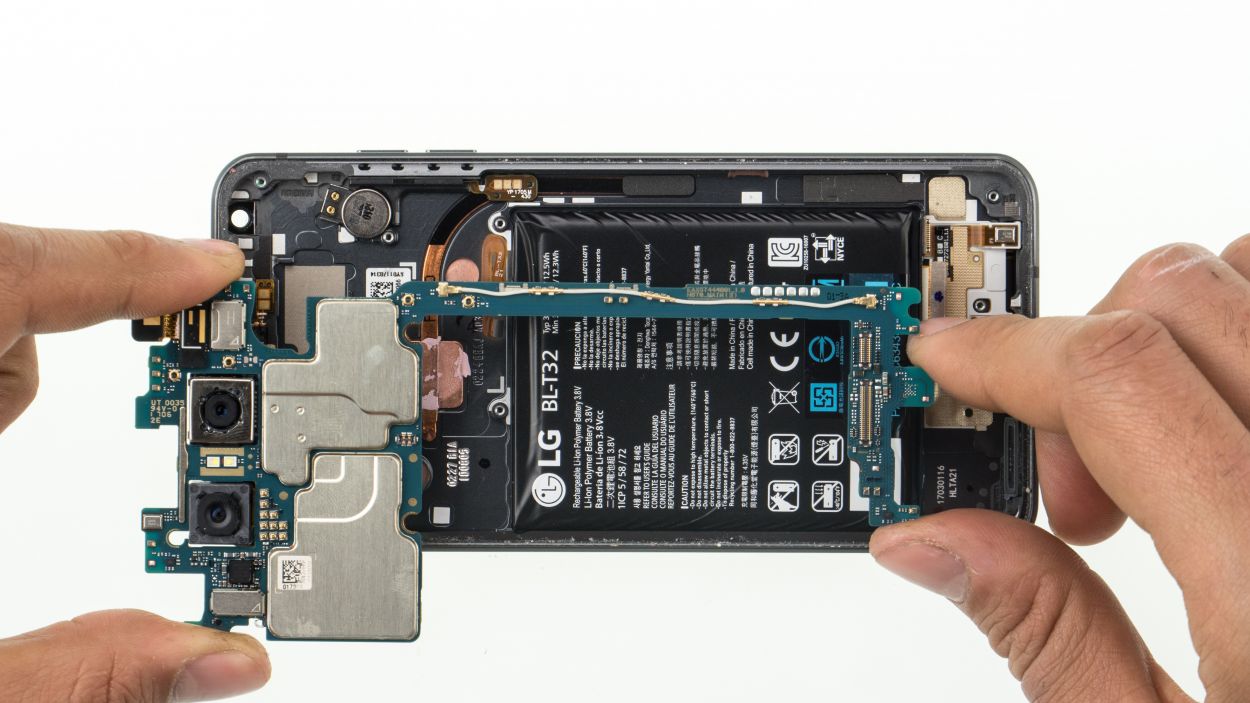
Step 9

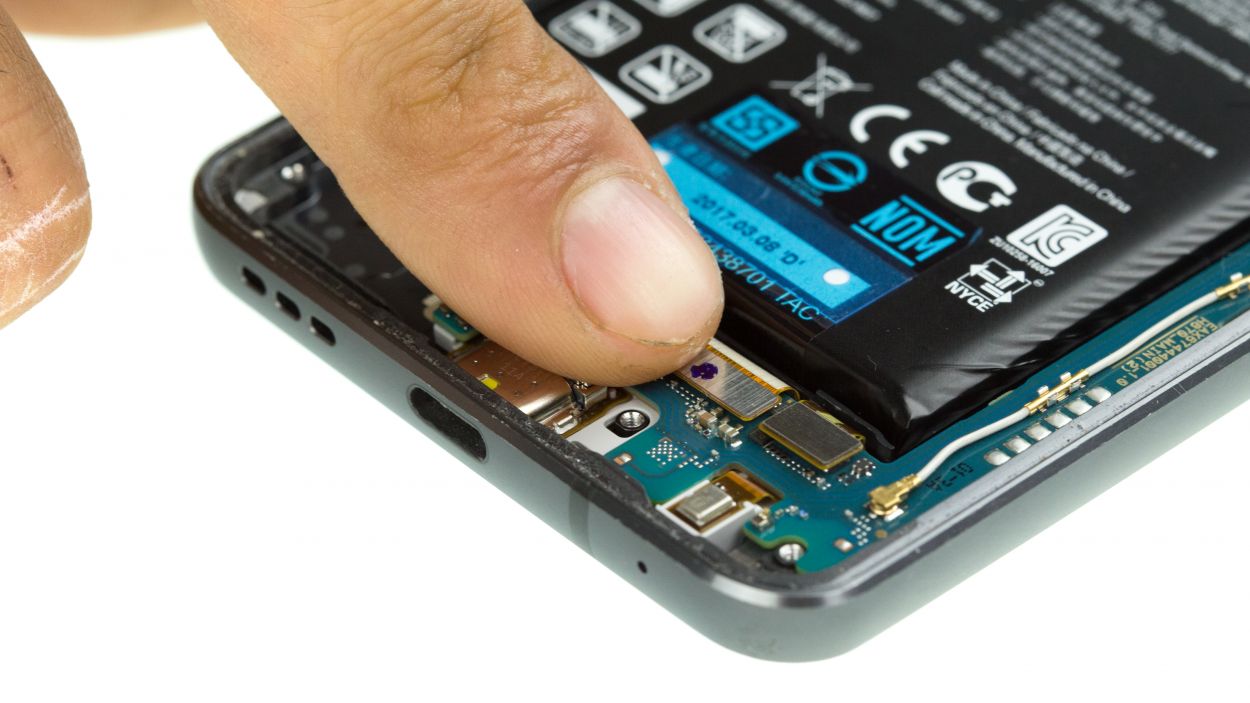

Keep an eye on that battery cable and those two connectors at the bottom—make sure they don’t sneak under the board! Let’s keep everything in its place while we do our magic.
– First check if the pin for the SIM tray is in place. If not, put it back in its opening.
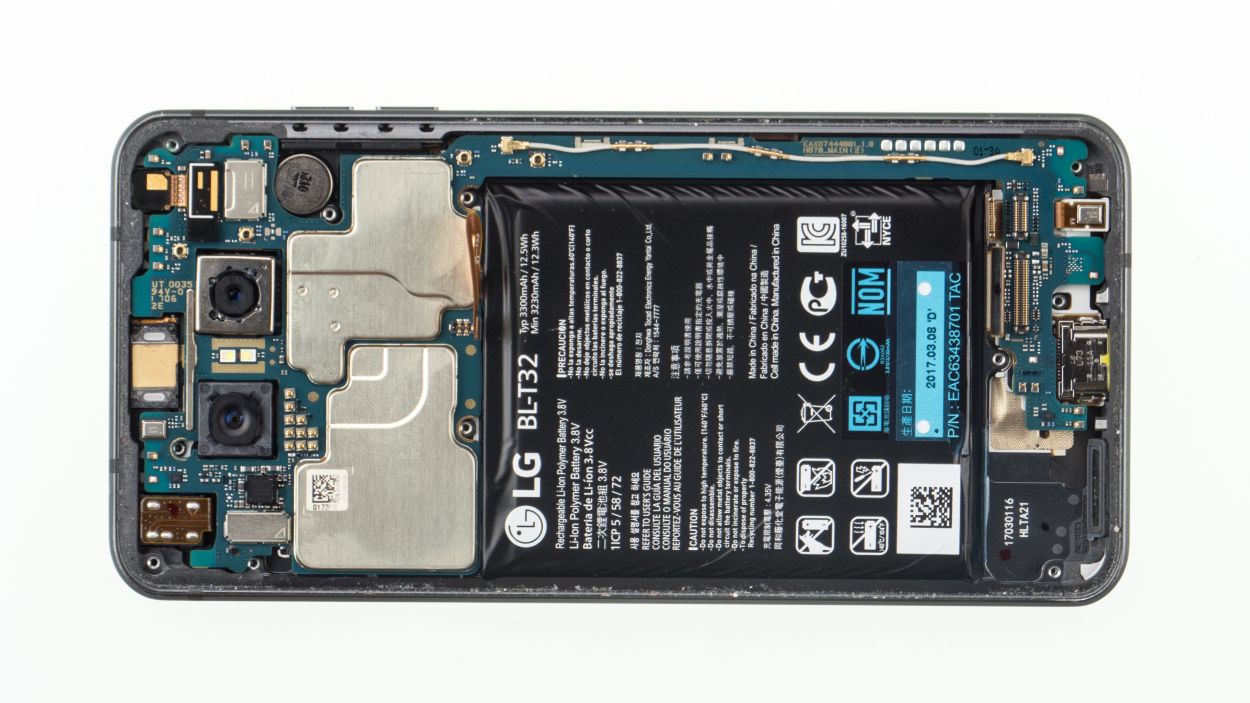
– Place the logic board back into the device.
Step 10
Battery Connector
– Gently snap the battery connector into its socket, giving it a little press to secure it in place.
Step 11
7 × 2.7 mm Phillips
– Gently pop the midframe back into your device and give it a little press to secure it.
– Tighten it up with those trusty Phillips screws to keep everything snug and secure.
Step 12


4 × 2.7 mm Phillips
– Rock that new speaker into place!
– Give those screws a little *twist* of respect.
Step 13
Give that rear glass a little heat boost to help the glue stick like it means it! If you need help, you can always schedule a repair.
– Place the rear glass back on the device and press it on.


