How to Replace LG G6 Battery: Step-by-Step Guide
Duration: 30 min.
Steps: 11 Steps
Ready to tackle that pesky battery issue on your G6? In this guide, we’ll walk you through the steps to replace your G6’s faulty battery all by yourself! Whether your device is crashing during those intense usage moments, you can’t charge it up, or the battery life just can’t keep up, we’ve got you covered. Let’s get your G6 back to life!
Step 1
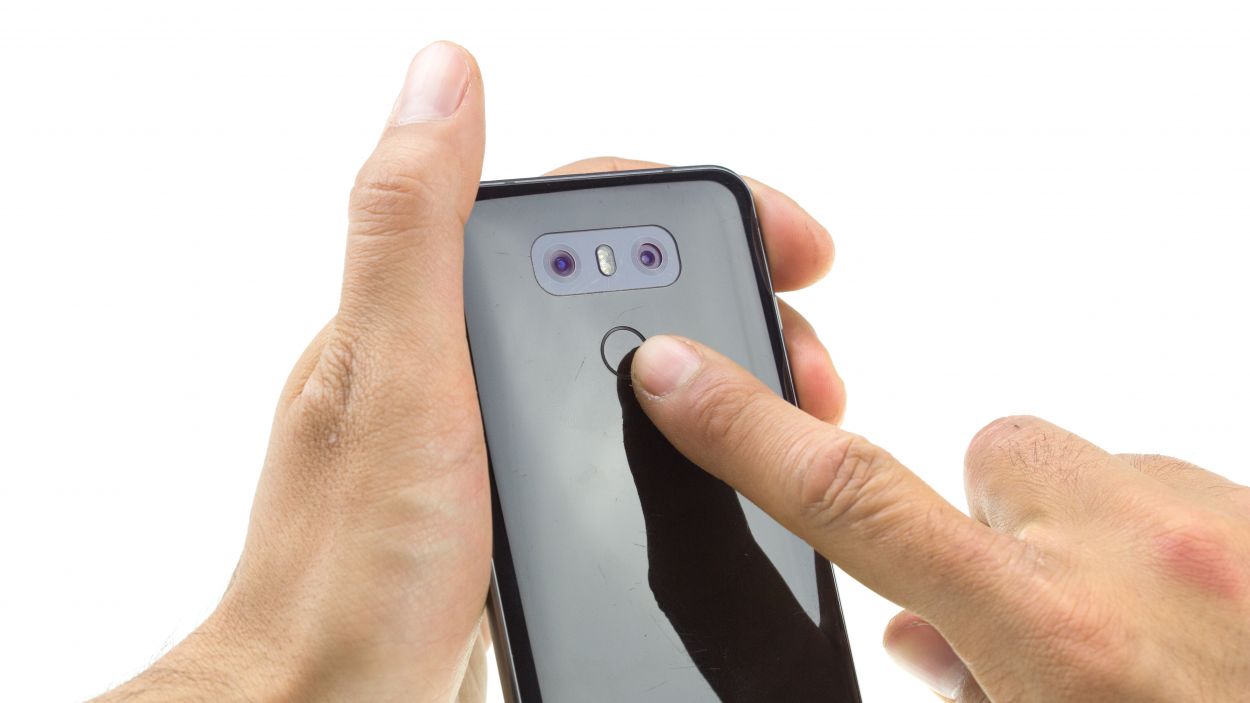
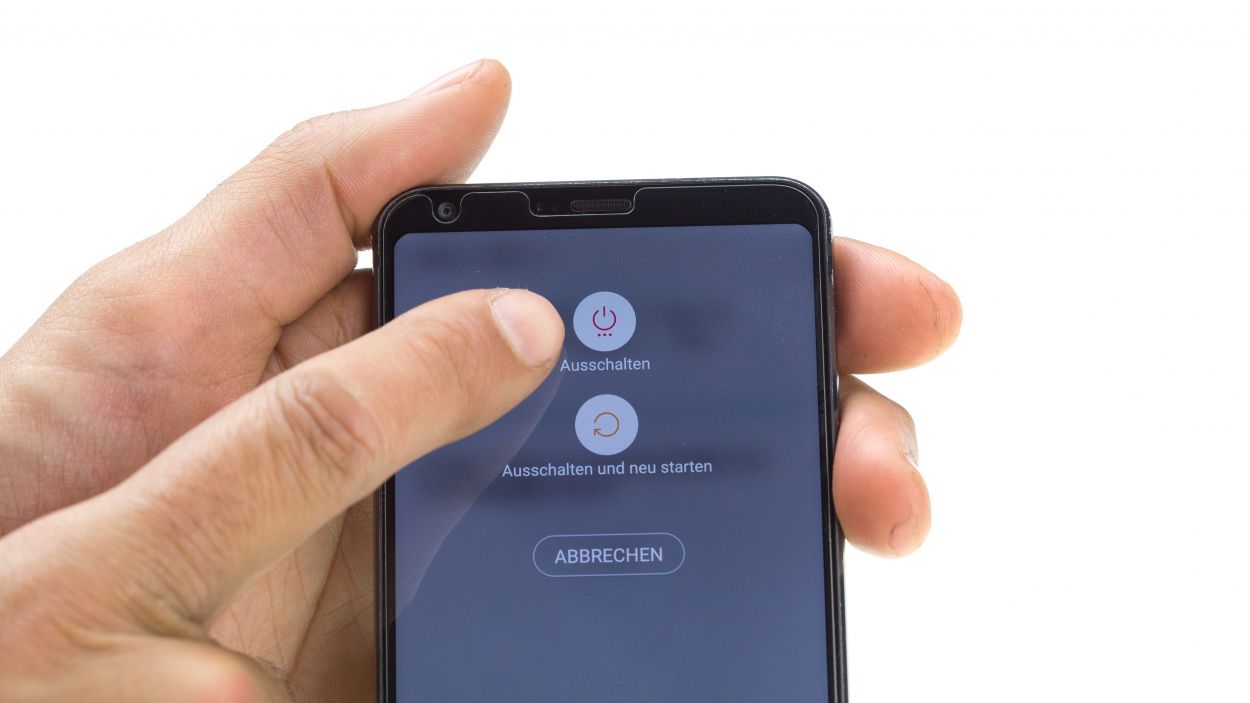
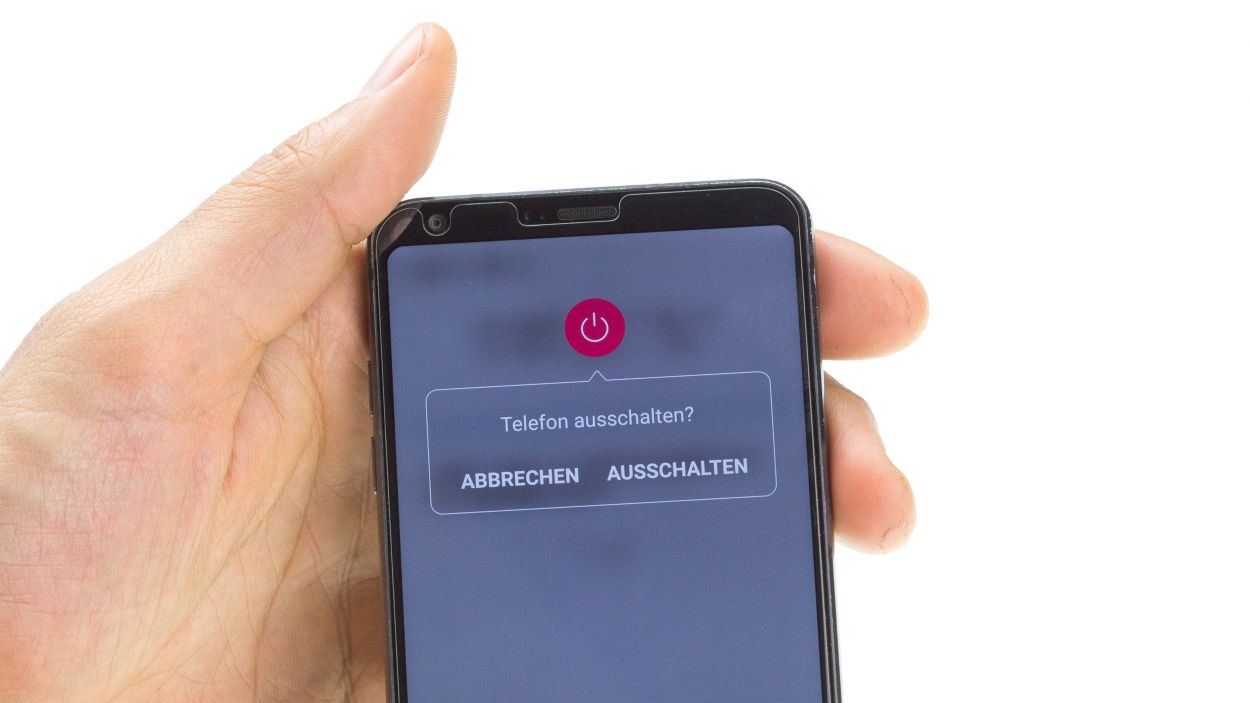
– Turn off your device by holding down the power button on the back until the “Power off” option appears.
– Tap to confirm and wait until the screen goes black.
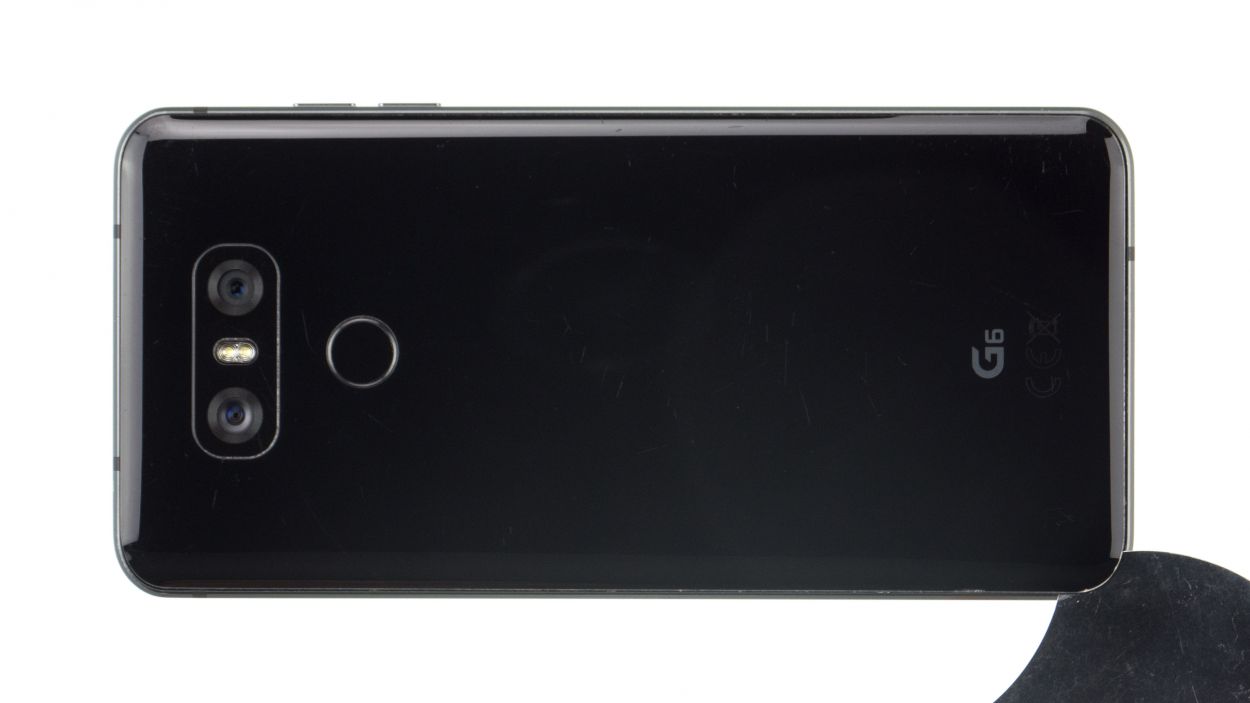
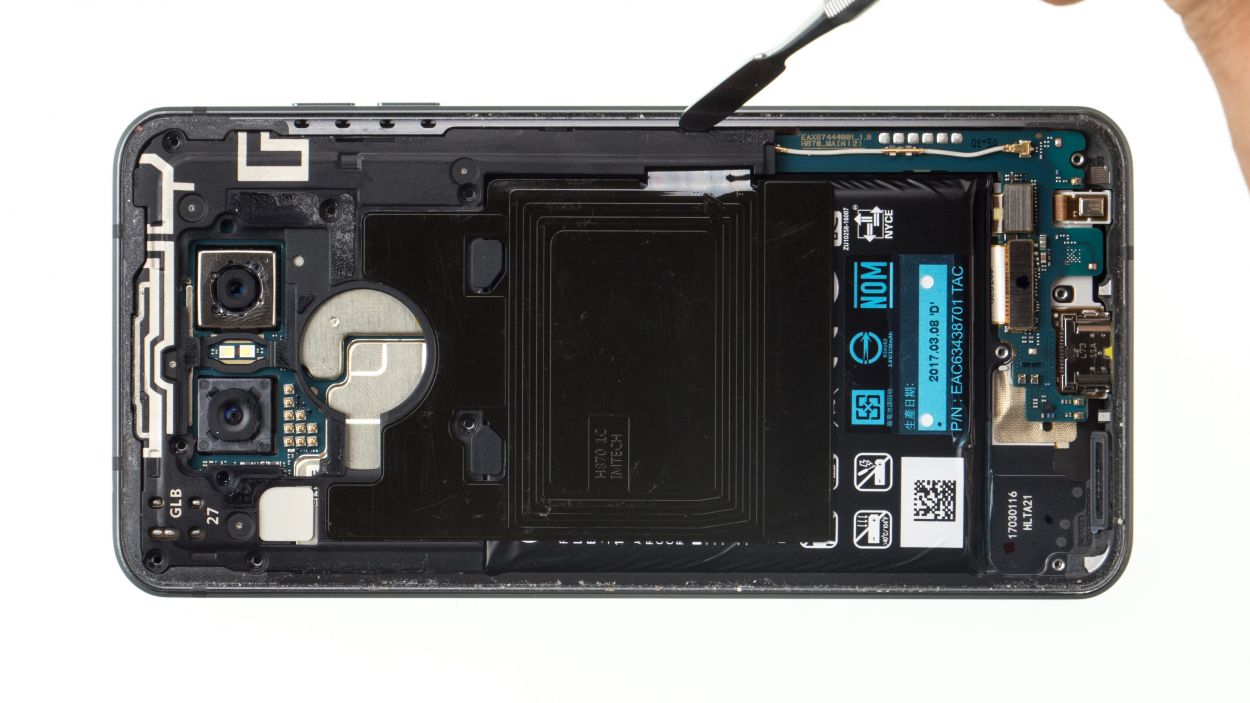
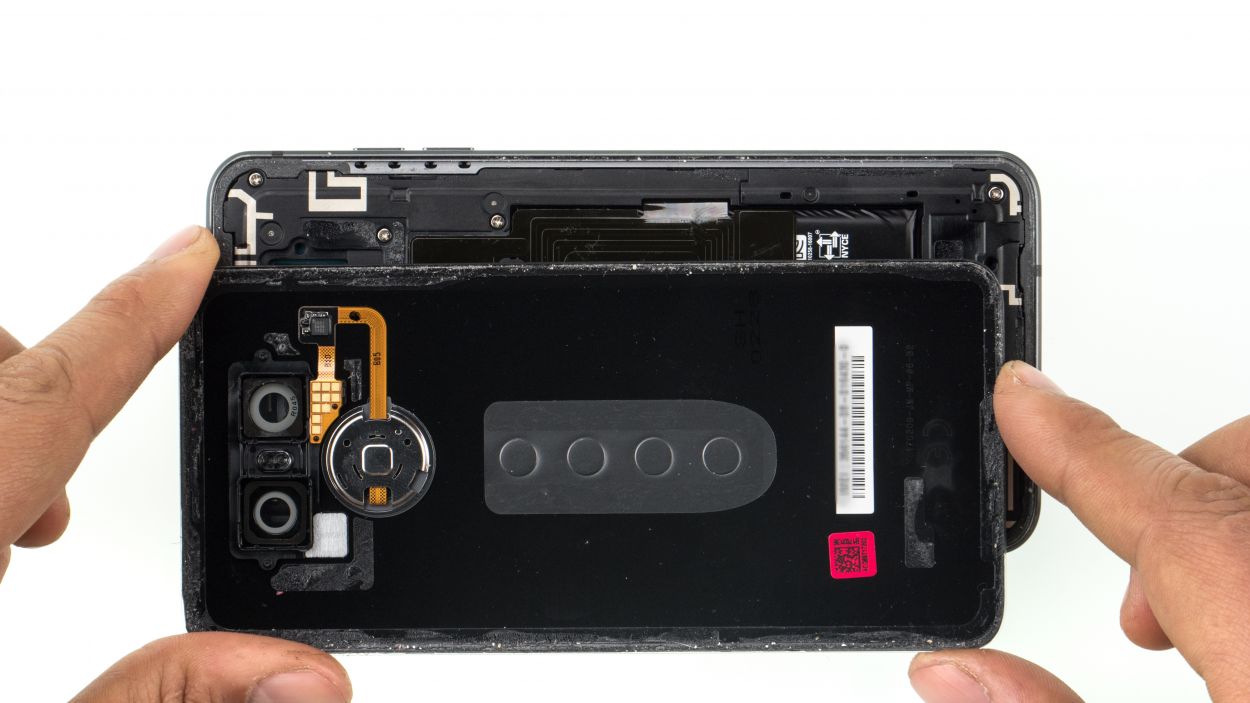
Step 2
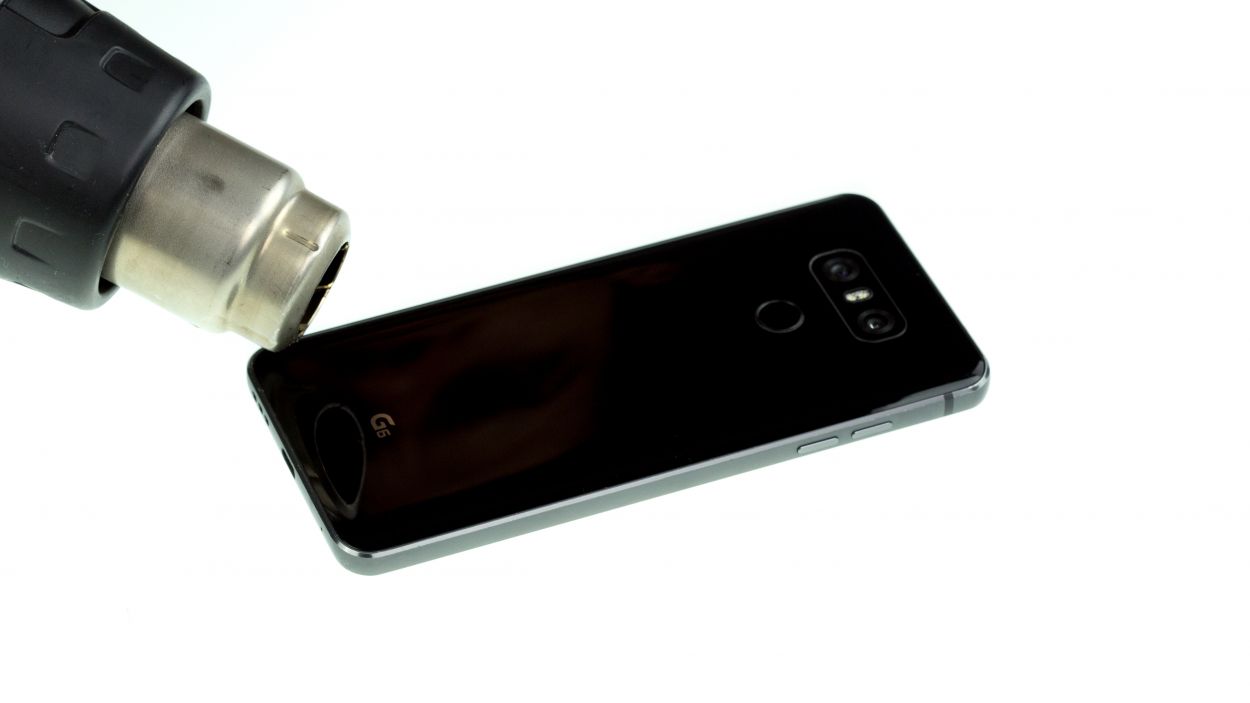
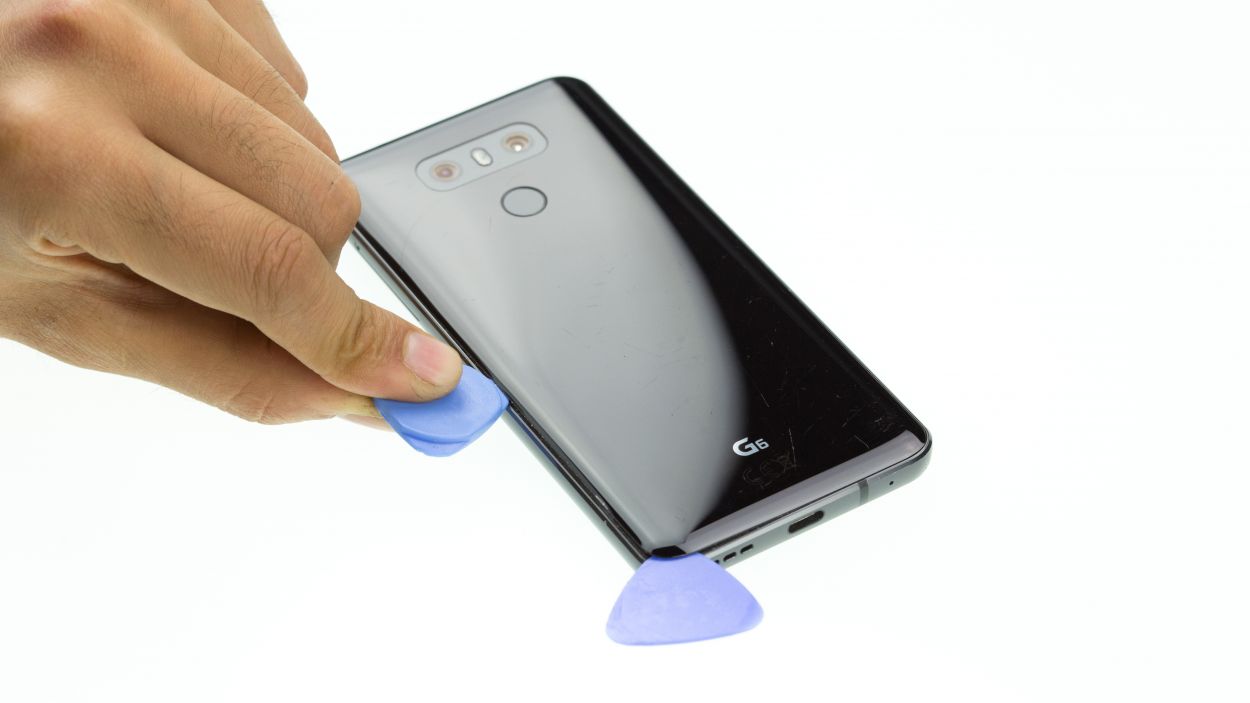

– Warm up that rear glass all around! It’s stuck tight along the edges, around the home button, and even over the USB port.
– Gently slide the iFlex between the rear glass and the frame, but keep it to a maximum of 5 mm. We want to be careful here!
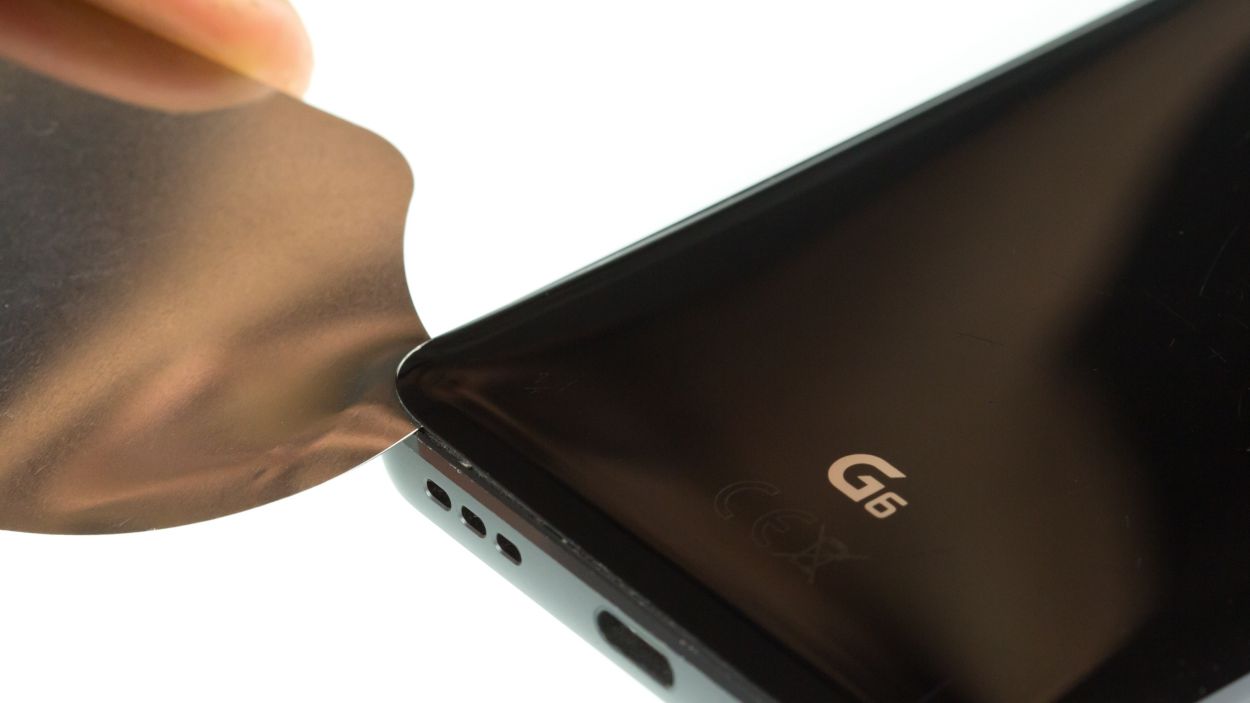
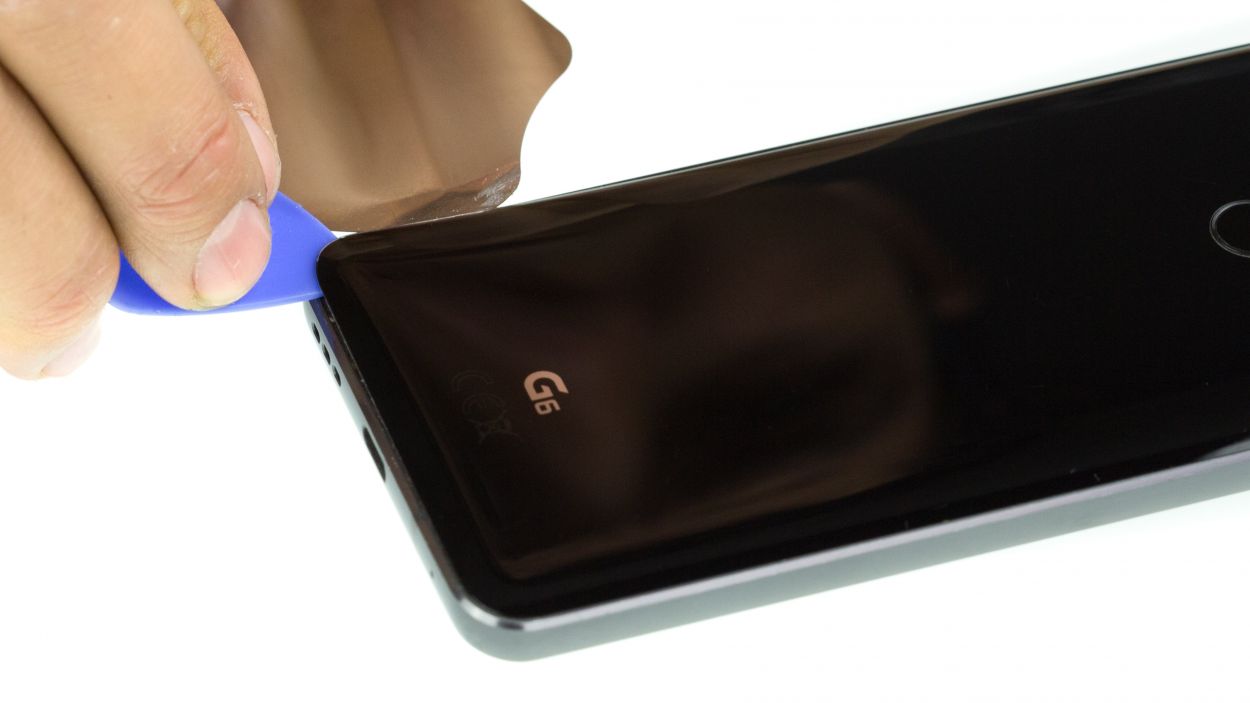
Hey there, just a friendly reminder: be super gentle with that back cover! It’s a bit fragile and can crack if you’re not careful. Instead of prying it, just glide your tool around the edges. If it’s being stubborn, don’t hesitate to give it a little heat boost and try again. Remember, patience is key here—removing the back cover might take a bit, so take your time and work carefully to avoid any mishaps. You got this!
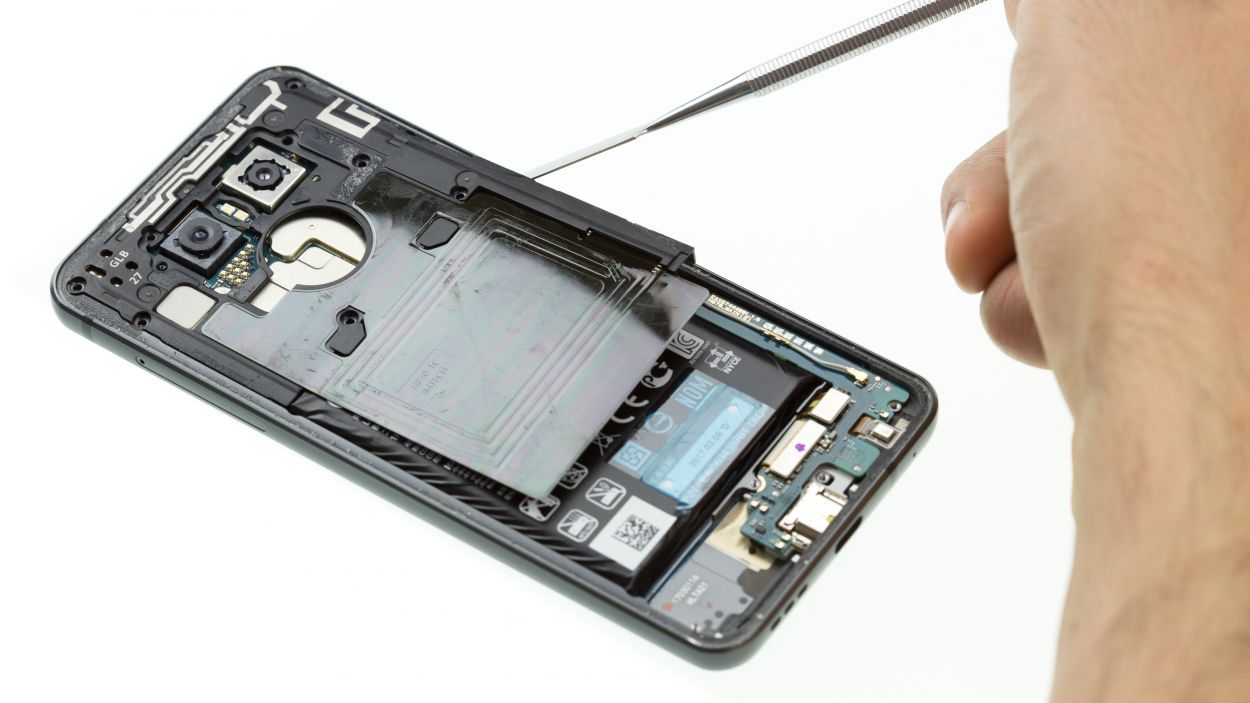
Step 3

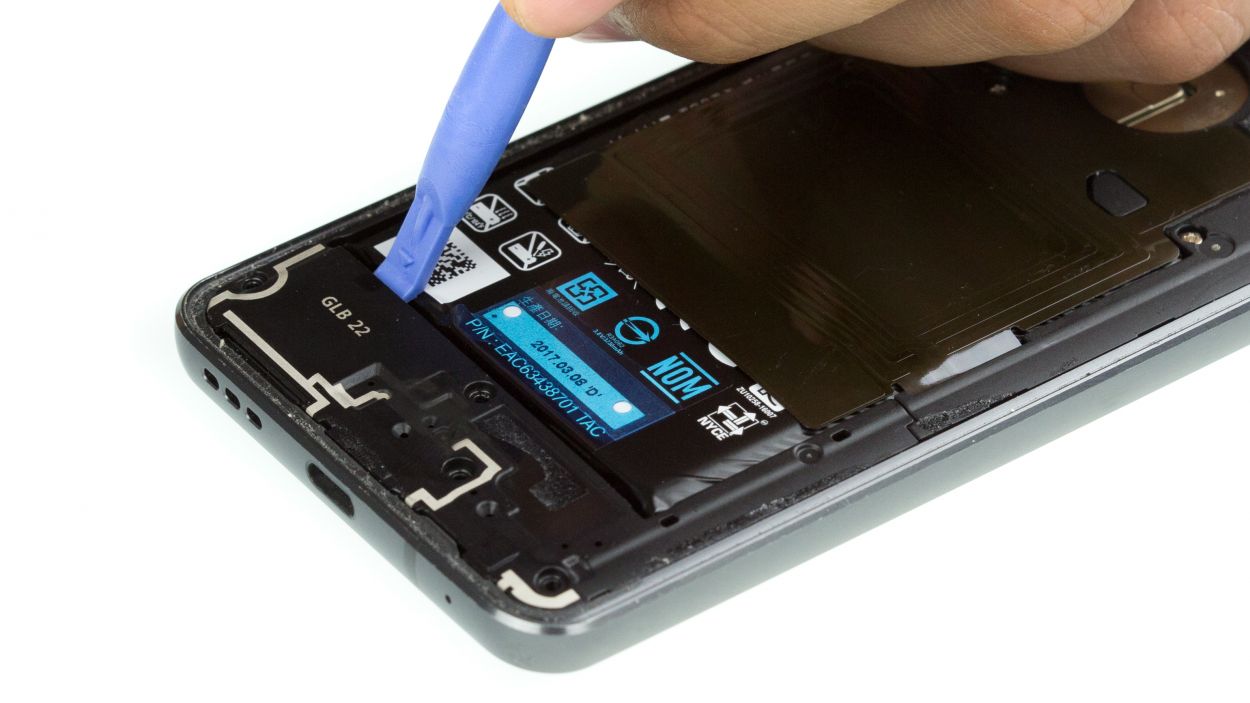

4 × 2.7 mm Phillips
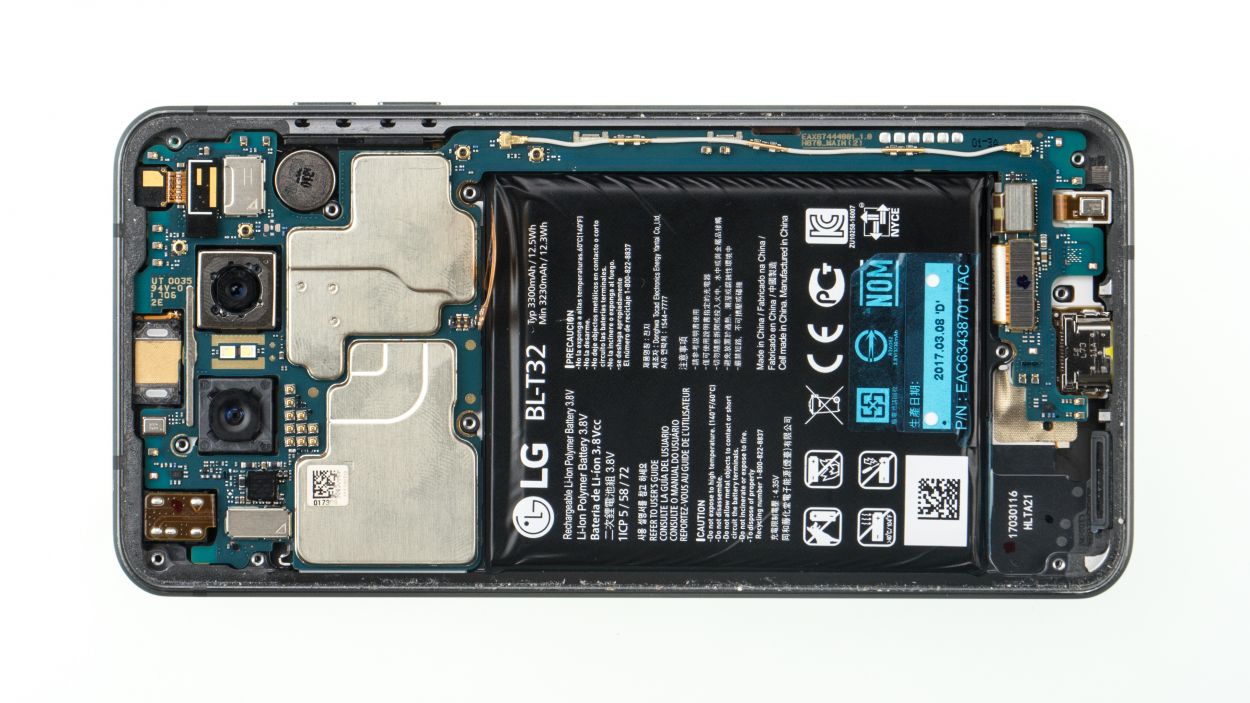
The LG G6 keeps it simple with just one screw length, and only the midframe and speaker are held in place with screws. Easy peasy!
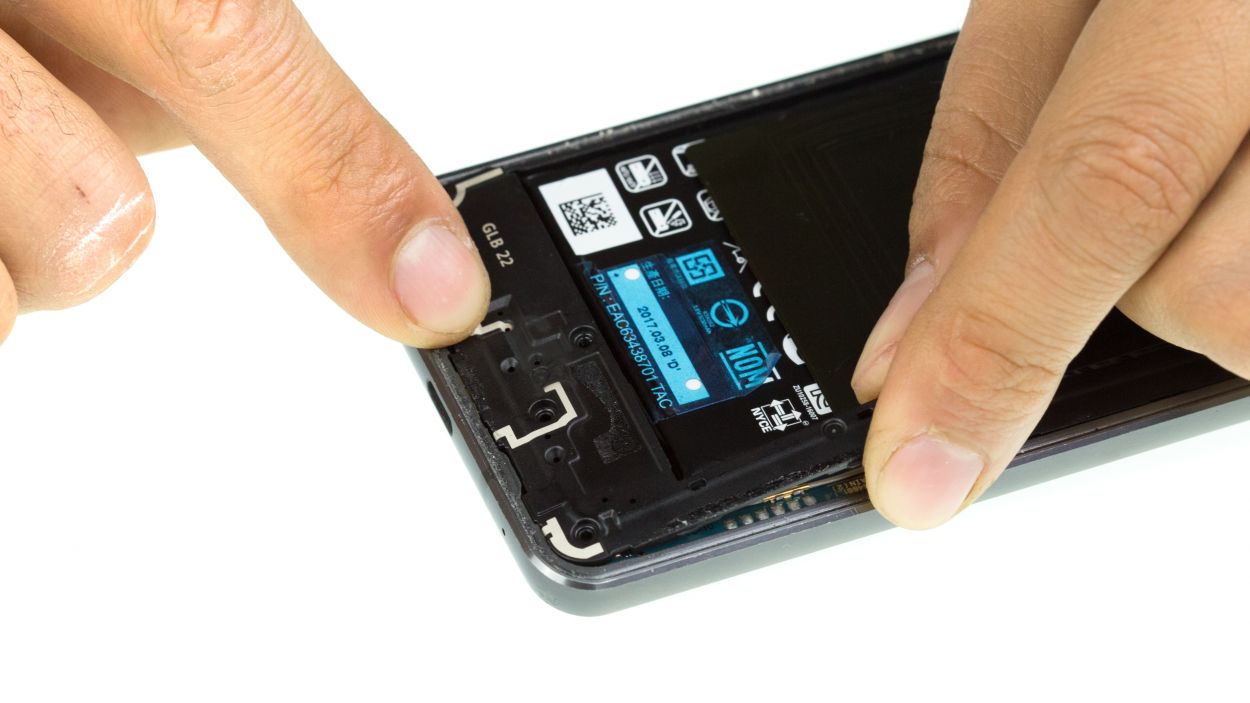
– First, let’s tackle those equal-length Phillips screws holding the speaker in place. Unscrew them and keep them safe for later use!
– Next up, gently pry the speaker away from the battery’s side and lift it out of the device. You’re doing great!
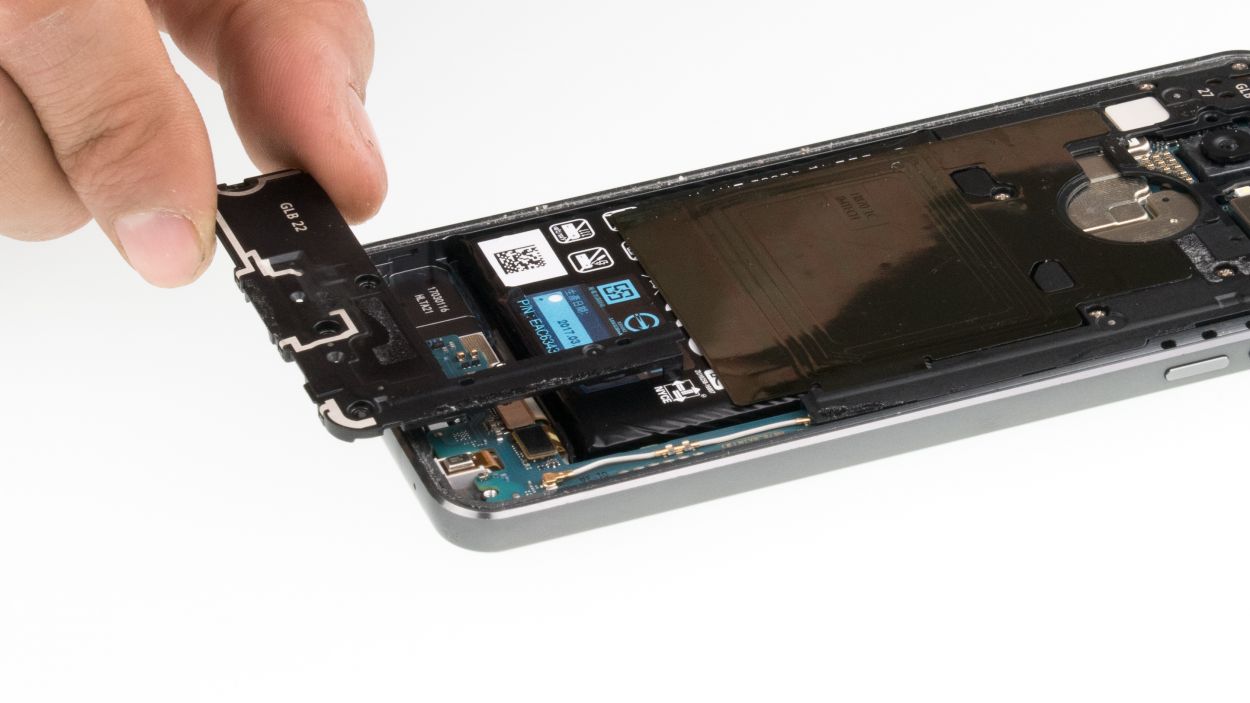
Step 4
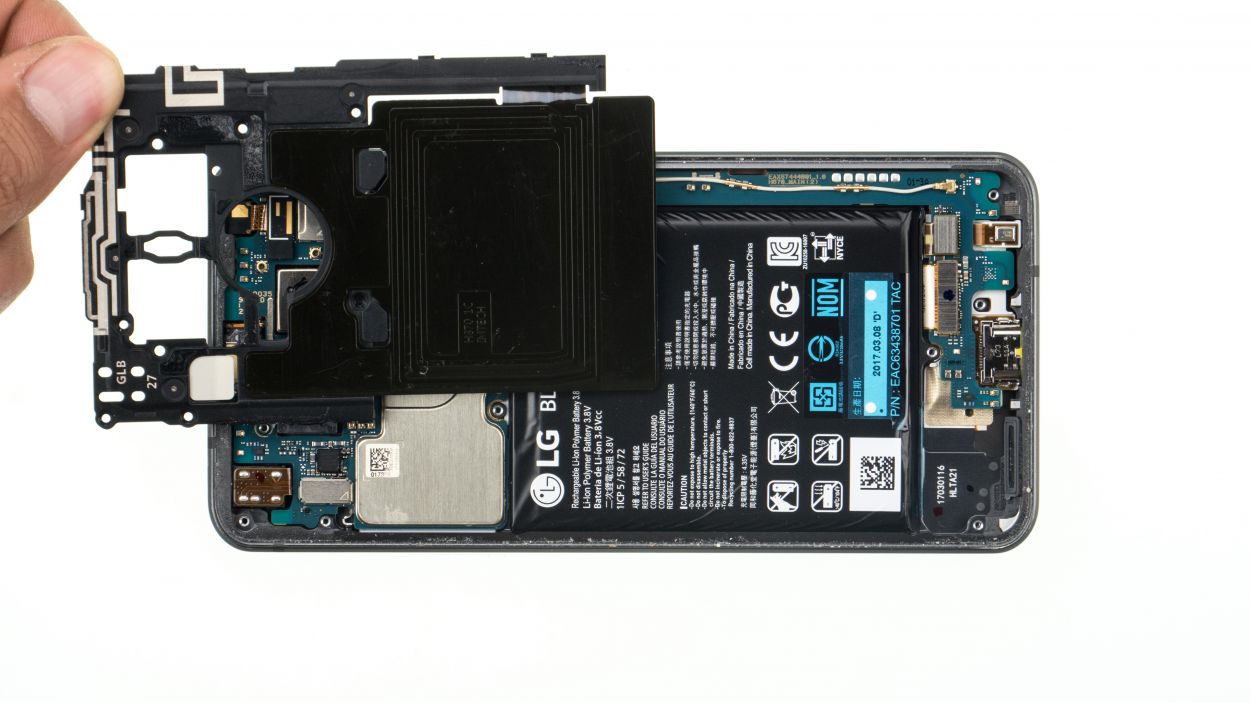
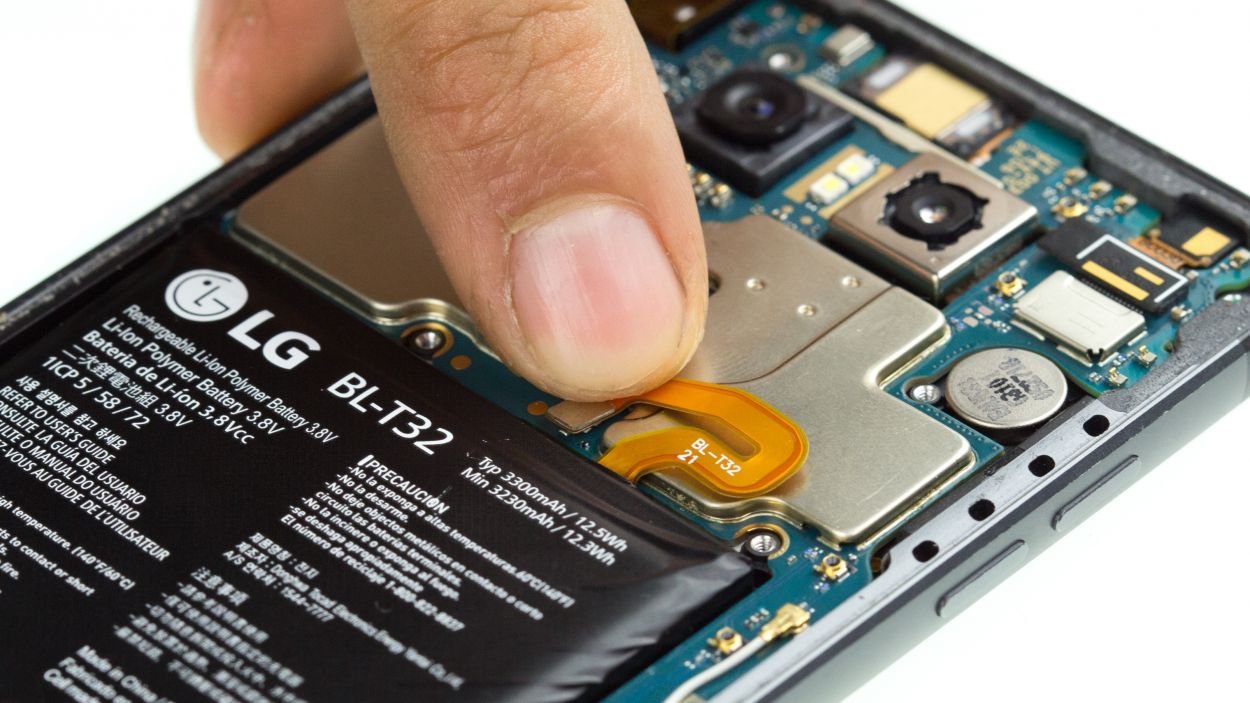
7 × Phillips
– Let’s get those midframe screws outta there! Use your Phillips head screwdriver and carefully remove the equally sized screws. Keep them safe – you’ll need them later!
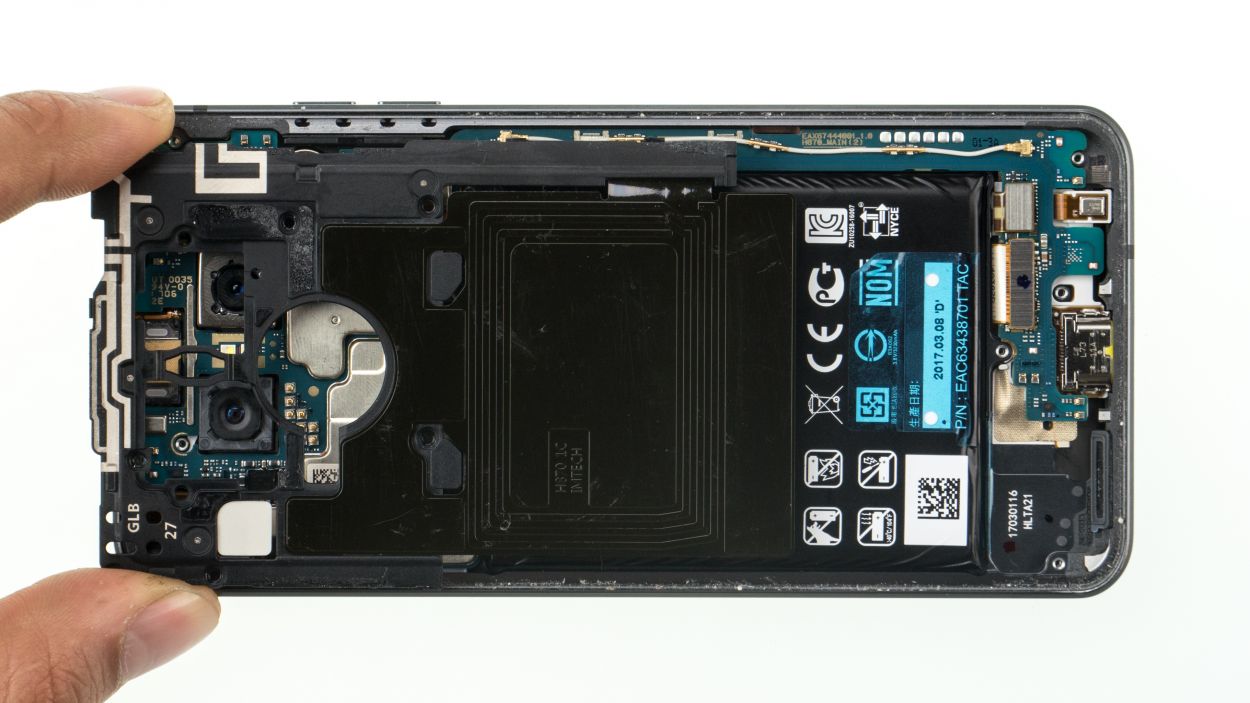
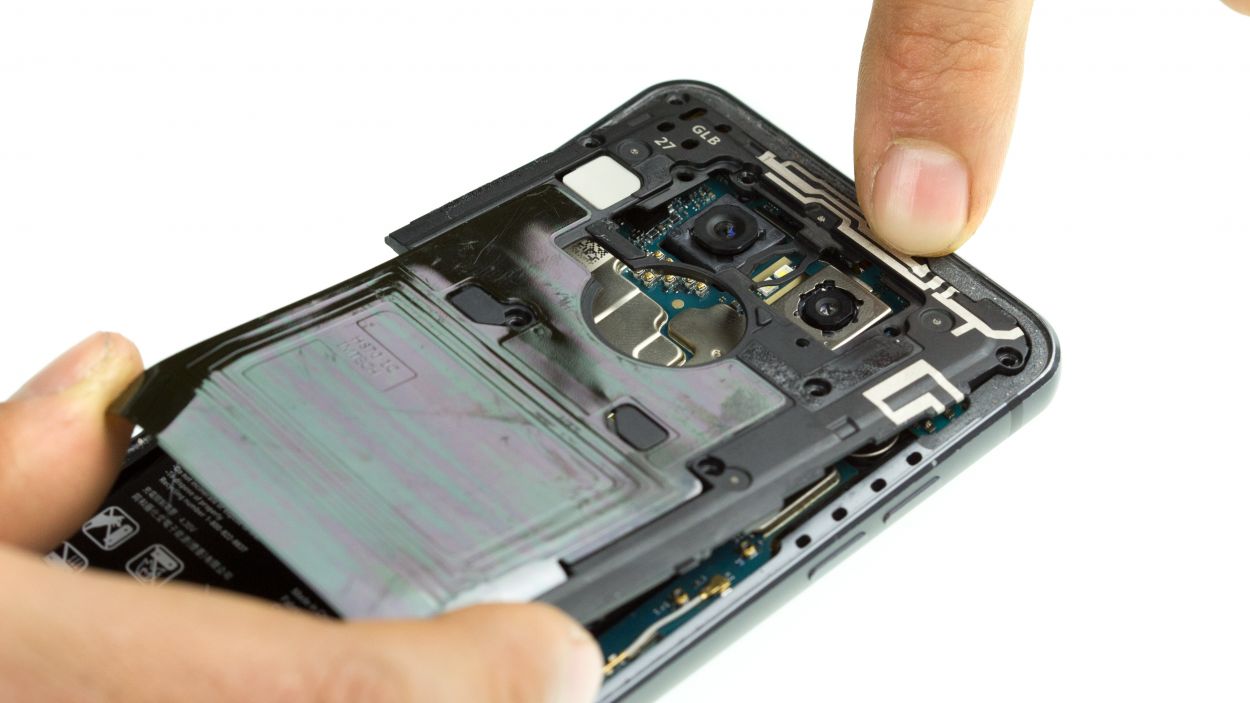
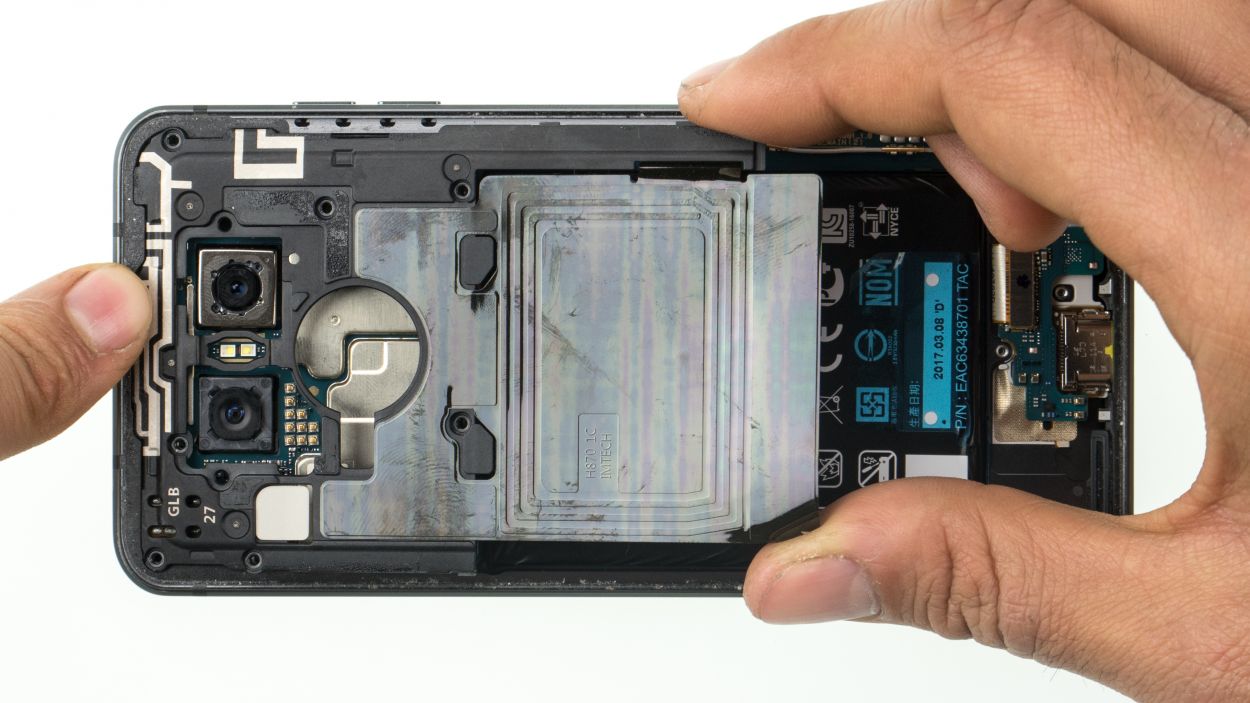
– Time to gently coax the midframe loose! Slide a thin, flat tool into the gap and give it a little nudge. Easy peasy!
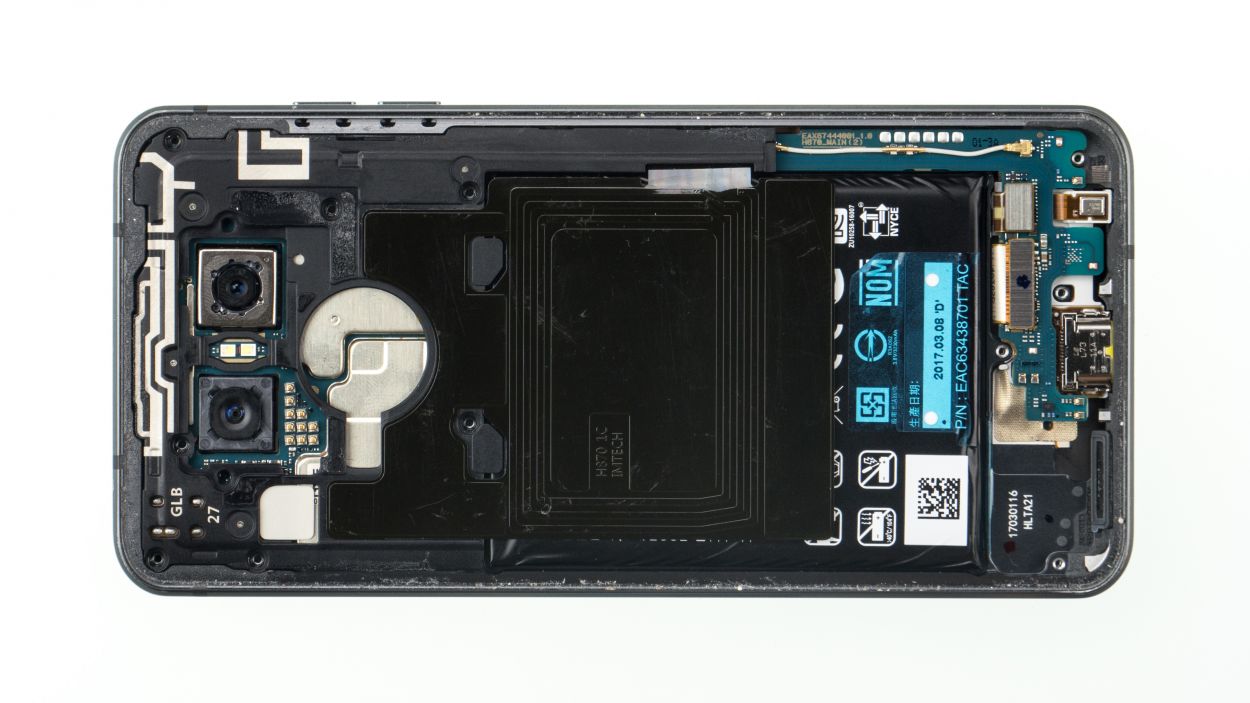
– The midframe’s got four little clips holding it in place. Once it starts to wiggle free, you’ll be able to pop it right out. Smooth sailing!
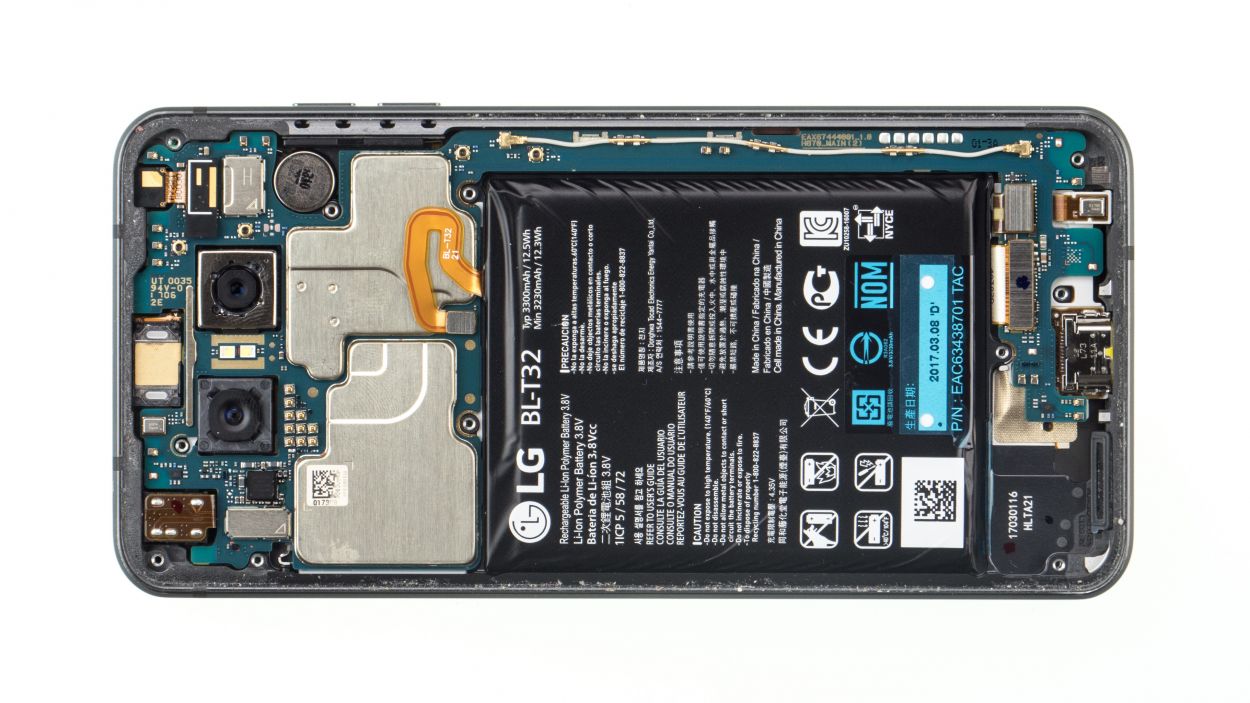
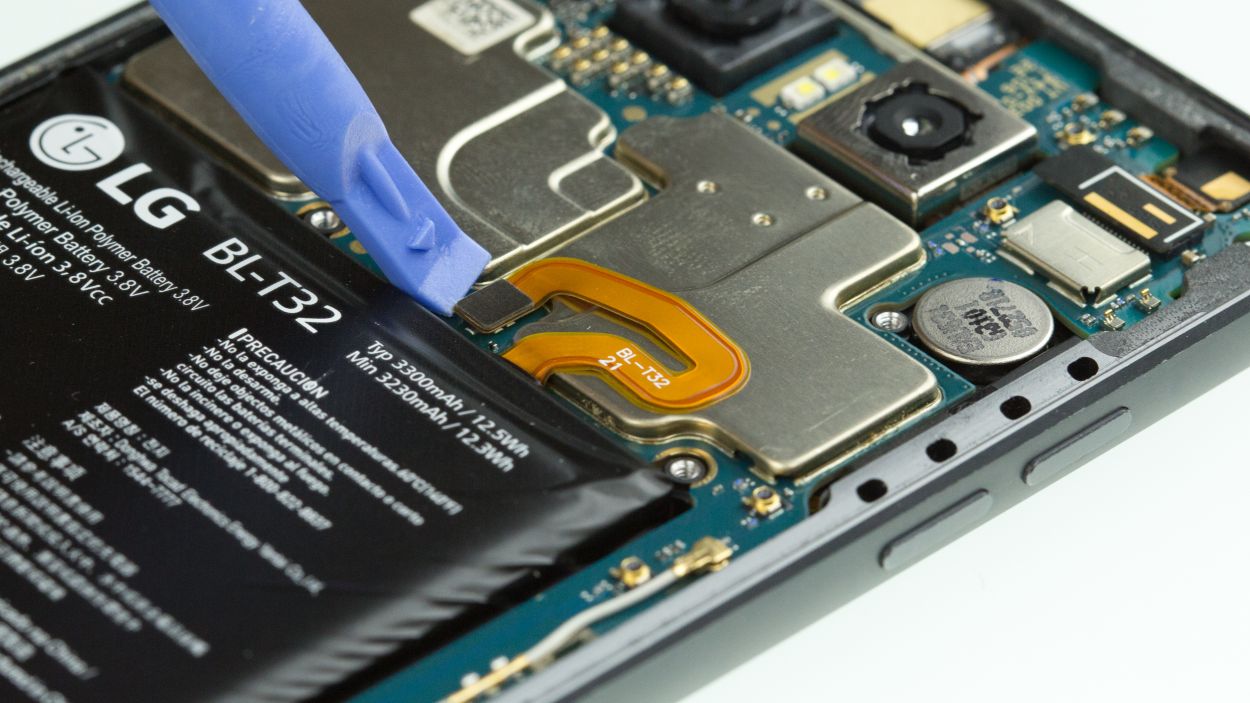


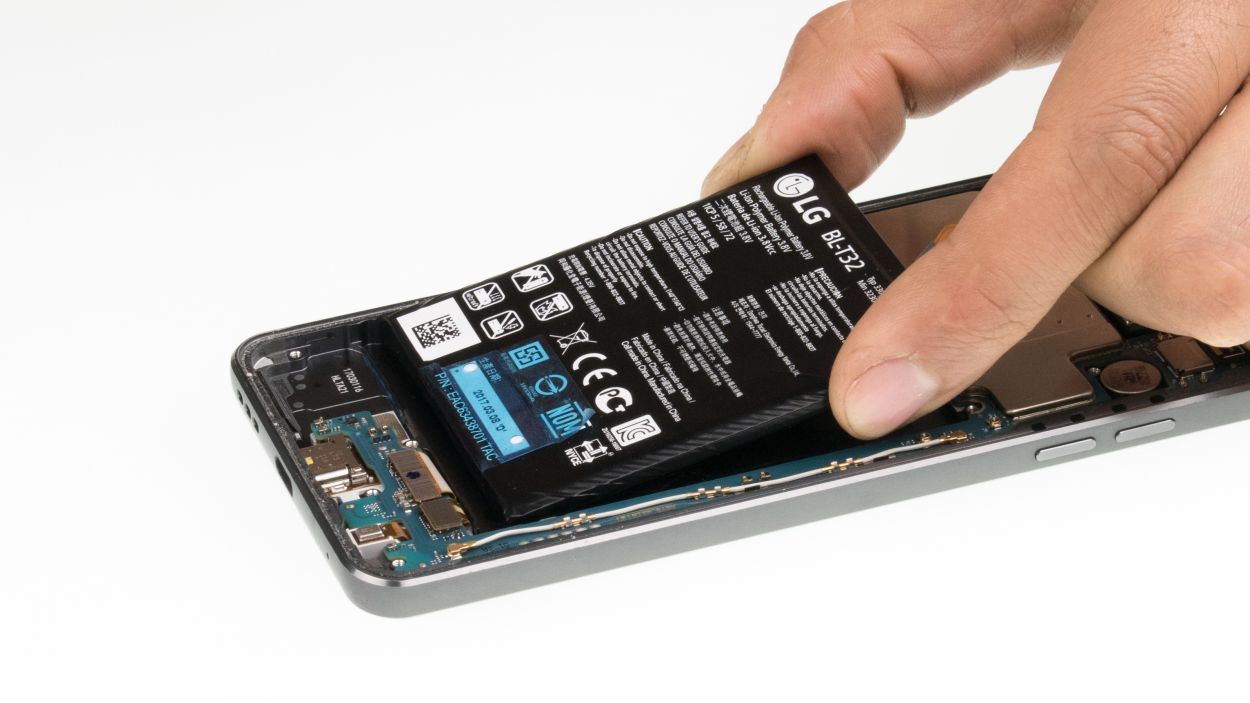

Step 9
7 × 2.7 mm Phillips
– Gently pop the midframe back into your device and give it a little press to secure it.
– Tighten it up with those trusty Phillips screws.
Step 10


4 × 2.7 mm Phillips
– Gently slide the speaker into the device and give it a little press to snuggle it in place.
– Tighten those Phillips screws securely to keep everything in harmony.
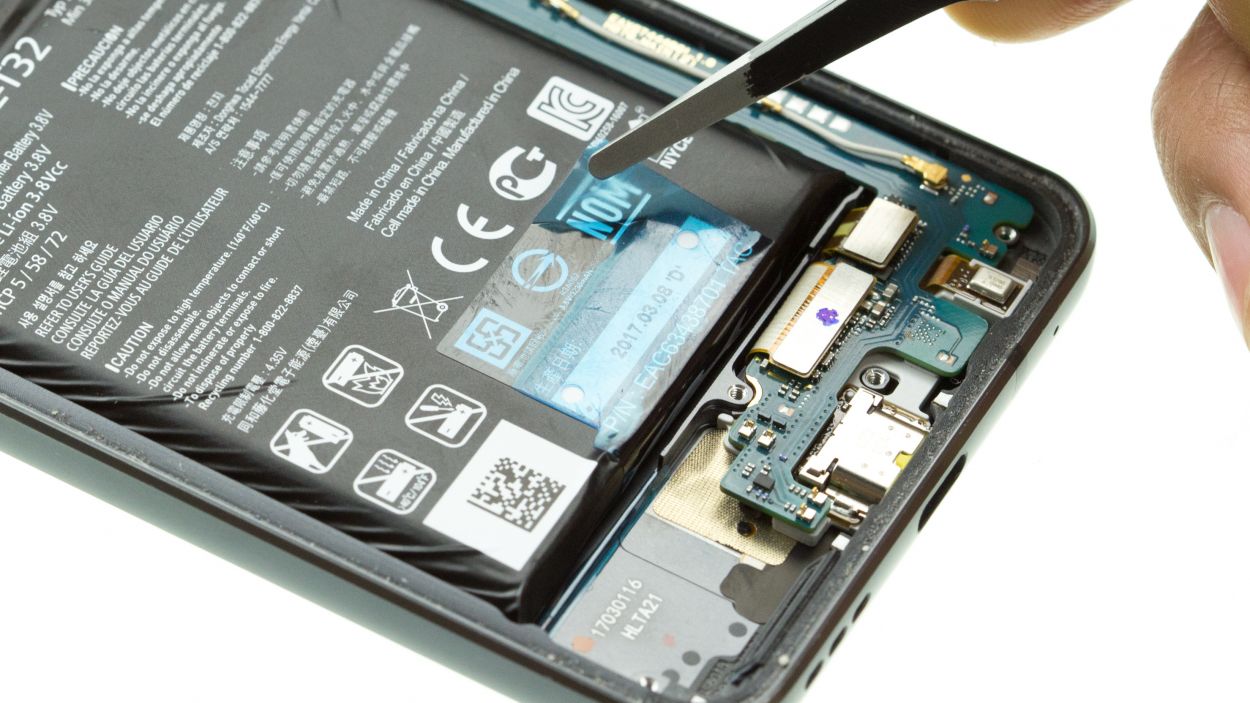
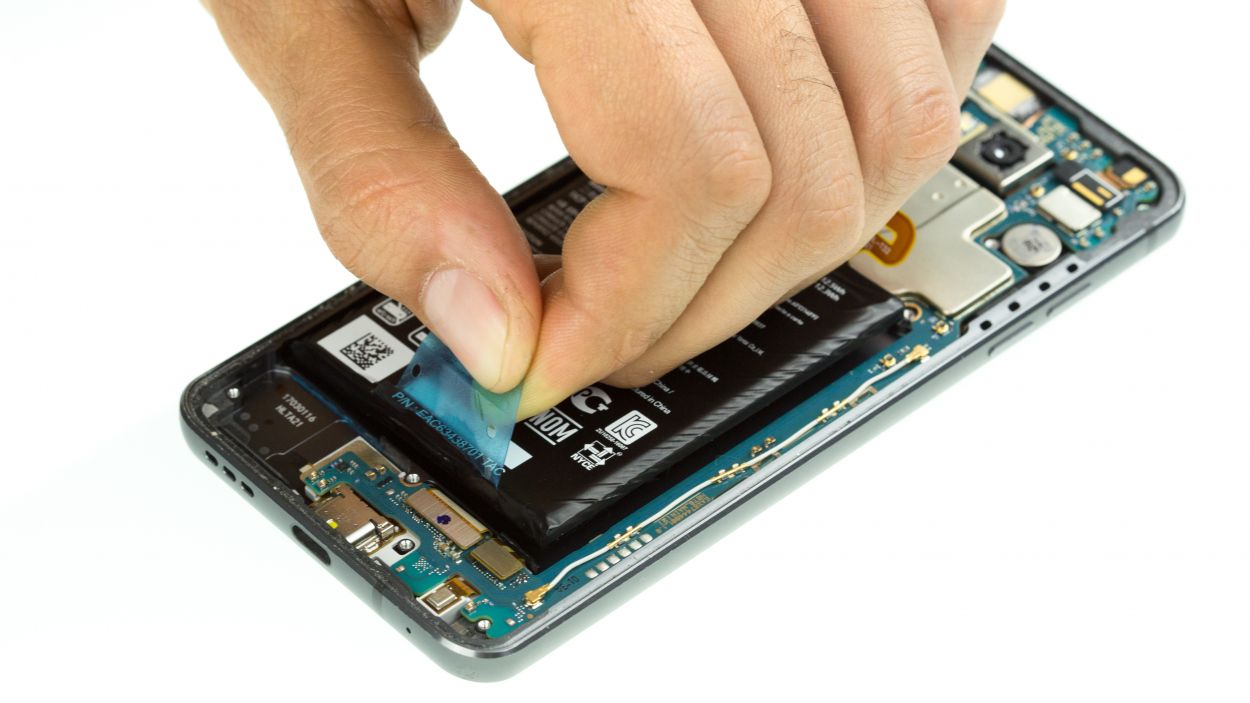
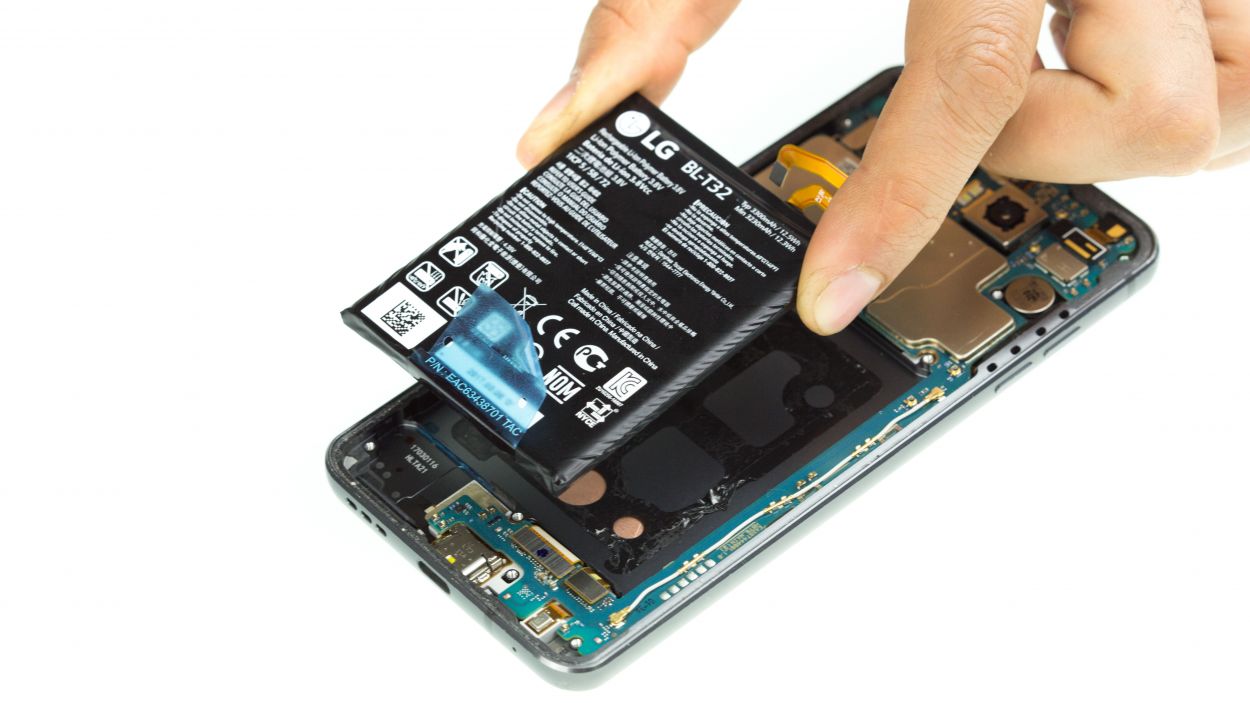
Step 11
Time to give that rear glass some extra love! Heat it up again to help the glue get all cozy and sticky. It’ll make a world of difference. If you need a hand, you can always schedule a repair
– Hop on the fun train and gently place that rear glass back onto your device. Give it a little press and watch it stick like magic!