How to Replace LG G6 (Other) Back Cover Tutorial
Duration: 30 min.
Steps: 6 Steps
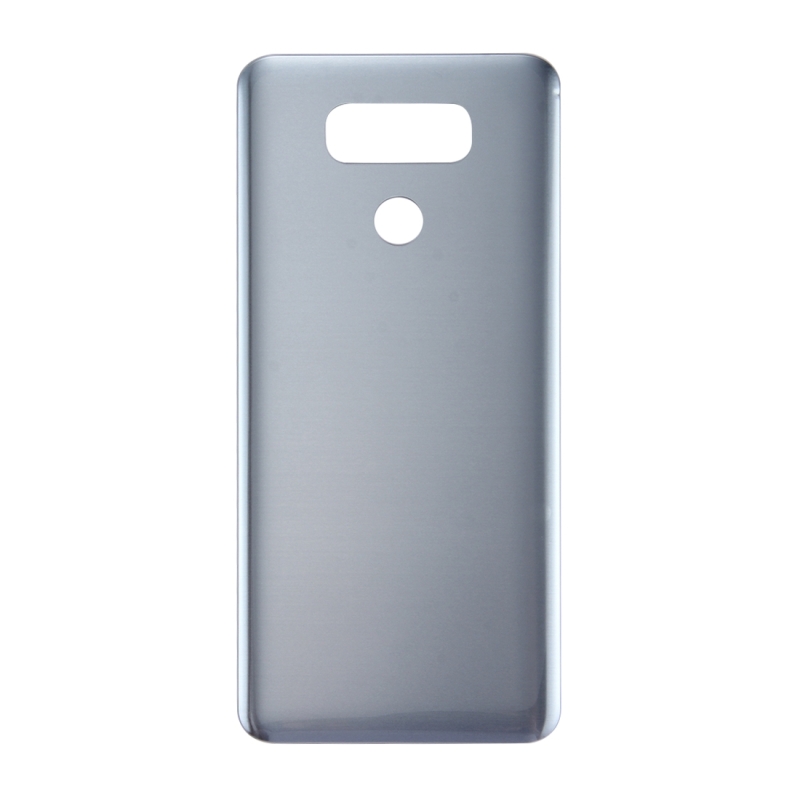
In this guide, we show you how to replace the defective back cover of your LG G6. This repair can help if your back cover is broken or cracked, or you want a new color.
Step 1
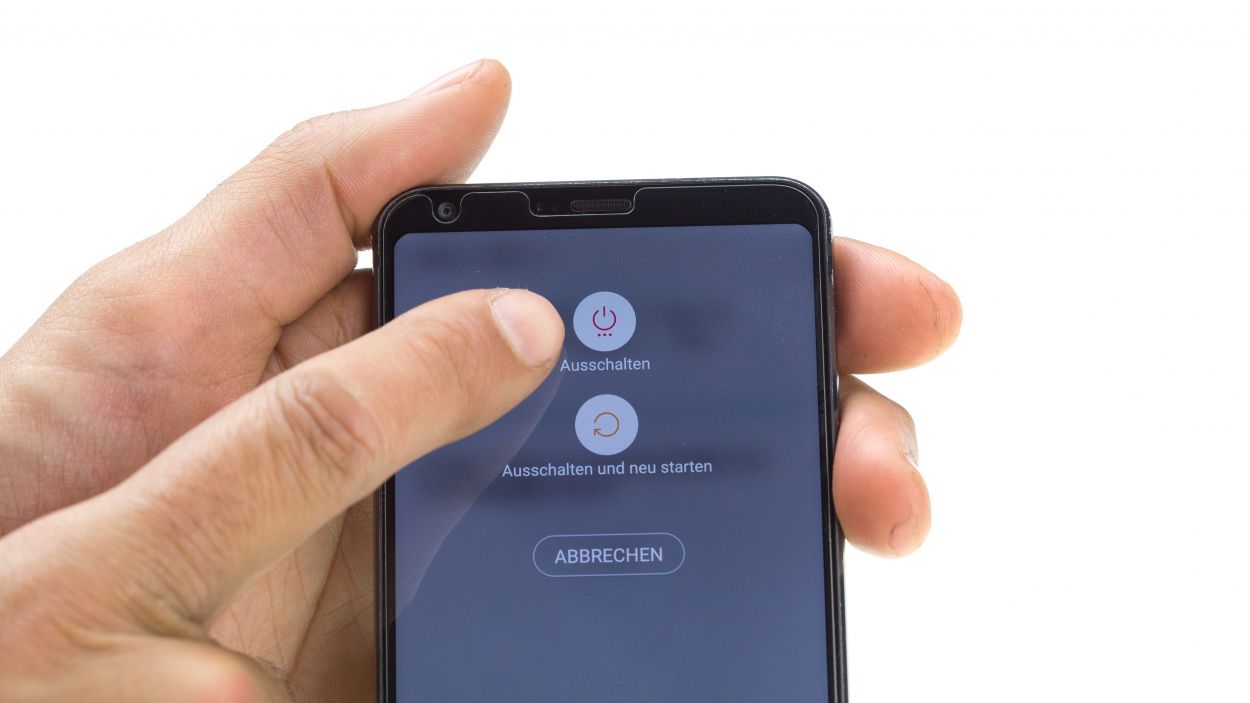
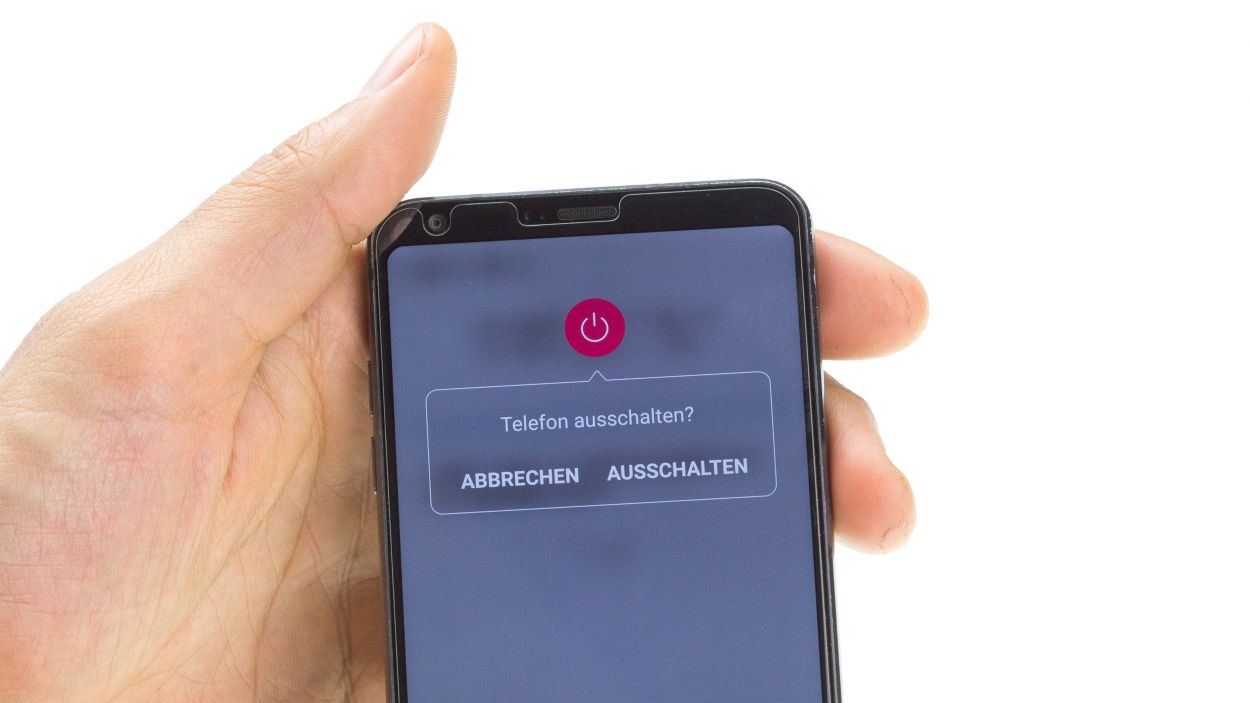
– Give your device a little break by pressing and holding the power button on the back until you see the ‘Power off’ option pop up.
– Go ahead and tap that option to confirm, then sit back and watch as the screen fades to black.
Step 2
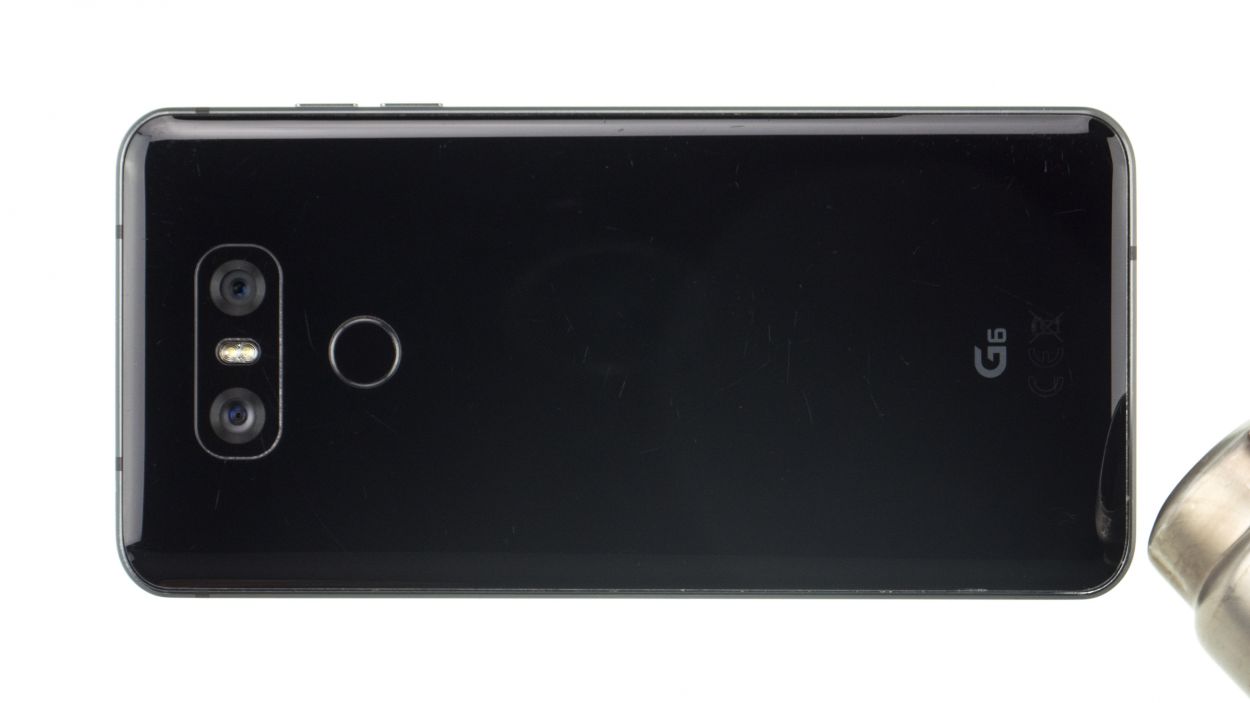
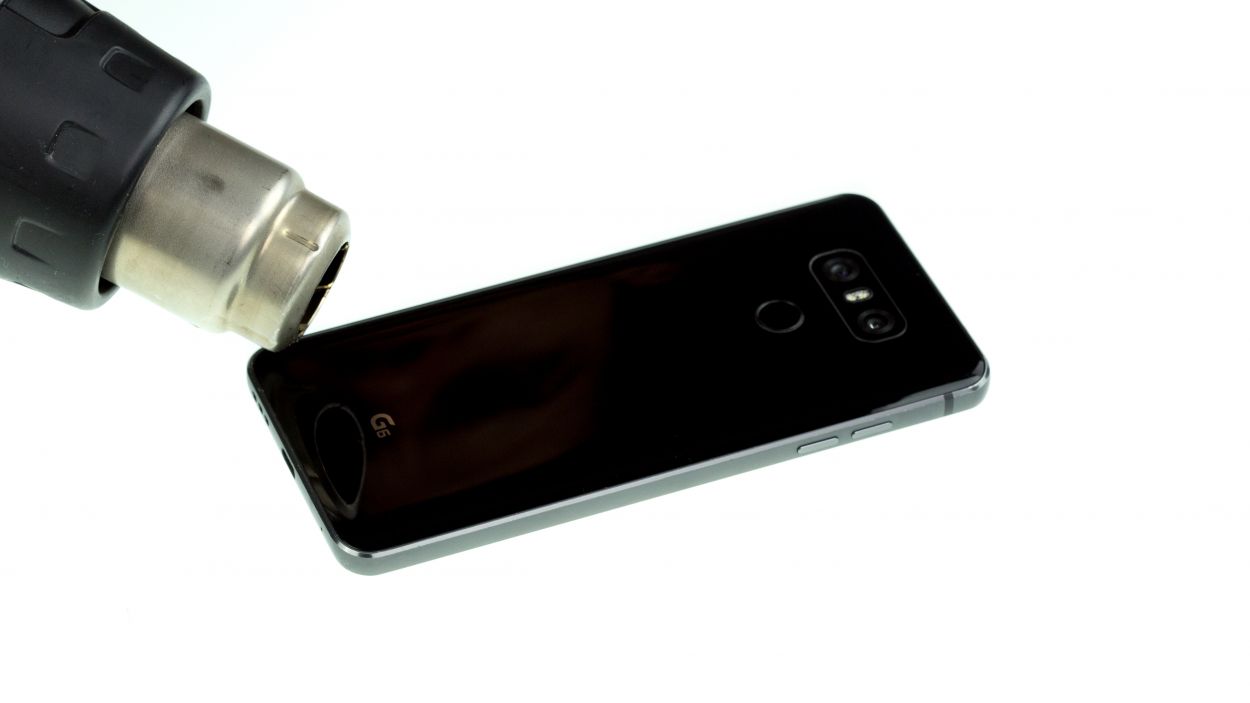
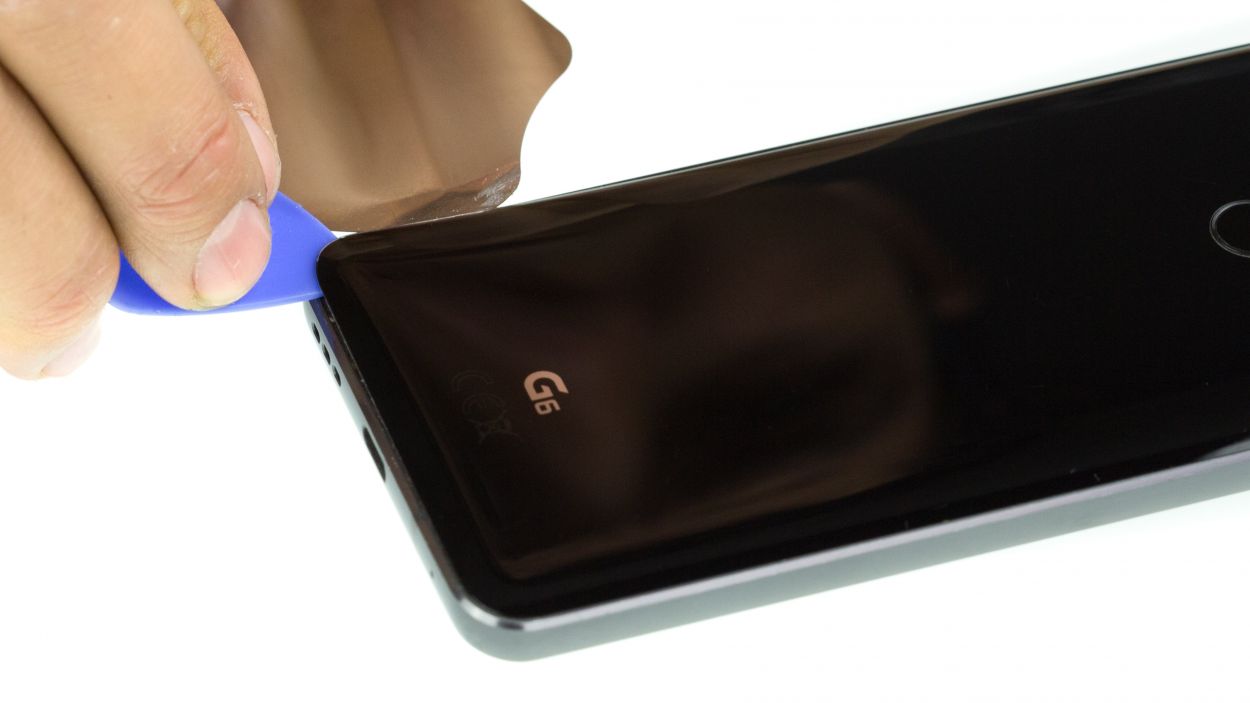

– Warm up the entire back glass to loosen it up. It’s stuck all around the edges as well as near the home button and over the USB port.
– Gently slide the iFlex between the rear glass and the frame, but don’t go more than 5 mm deep.
Yo, be chill and groove with it. The back cover is like a delicate flower, treat it with respect, or it’ll snap. Don’t force it, just slide it cool like a pro. If you need an extra hit of heat, don’t be shy to turn up the temperature. Just be like our homie patience and give it a little time. This isn’t a race, it’s a stylish repair. Take it slow and keep the good vibes flowing, and you’ll be golden. If you ever hit a snag, don’t trip, schedule a repair and we’ll get you back on track.
Step 3

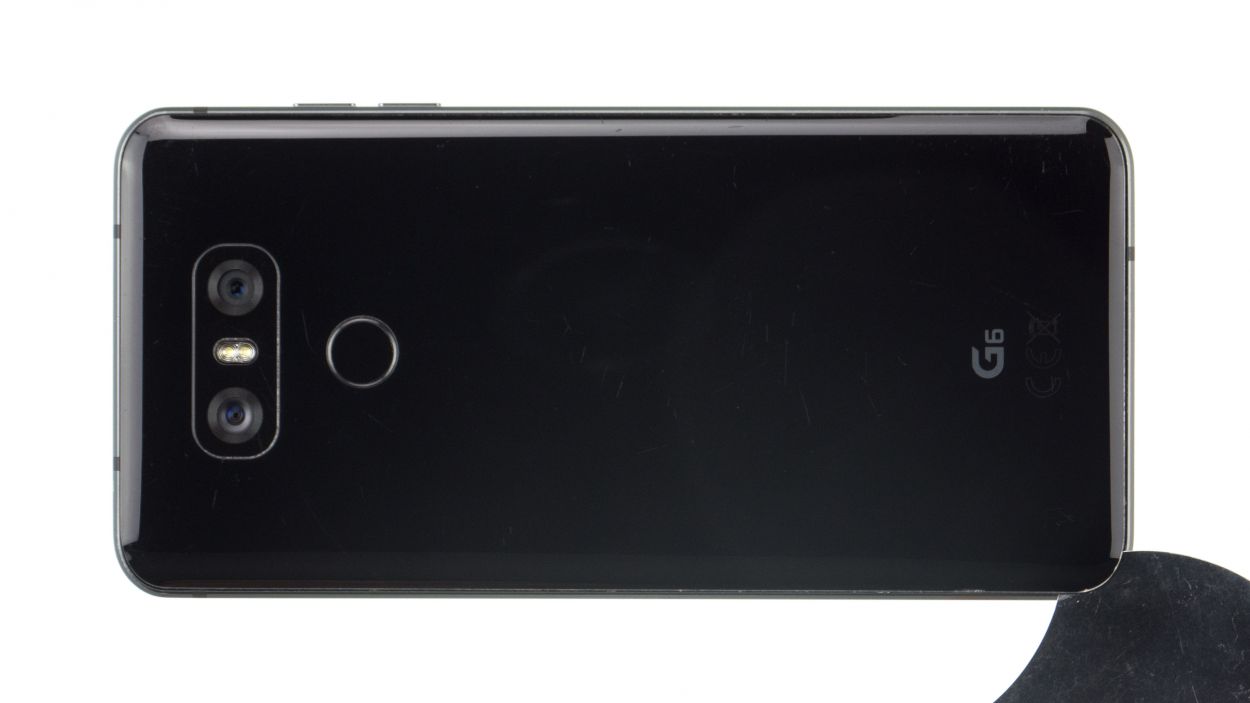
In this guide, we kept our original back cover because it was still in great shape! But don’t worry, the steps are just the same whether you’re using a new part or sticking with the old. If you need help, you can always schedule a repair.
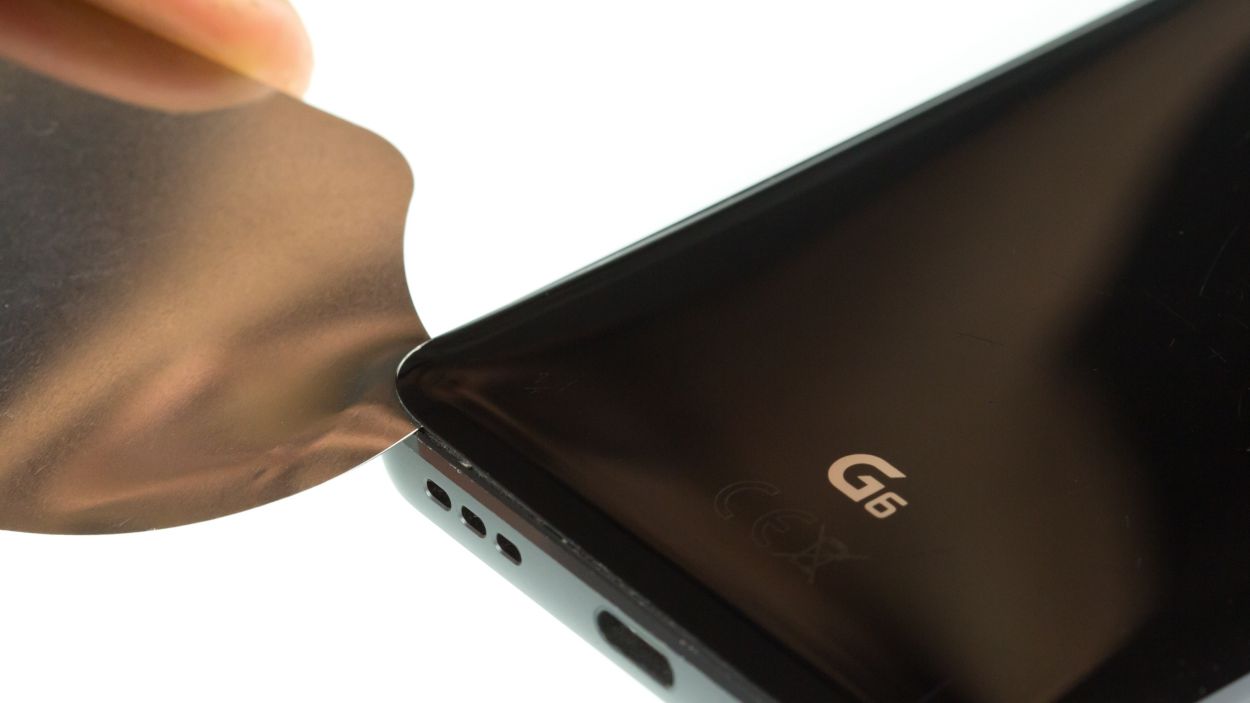
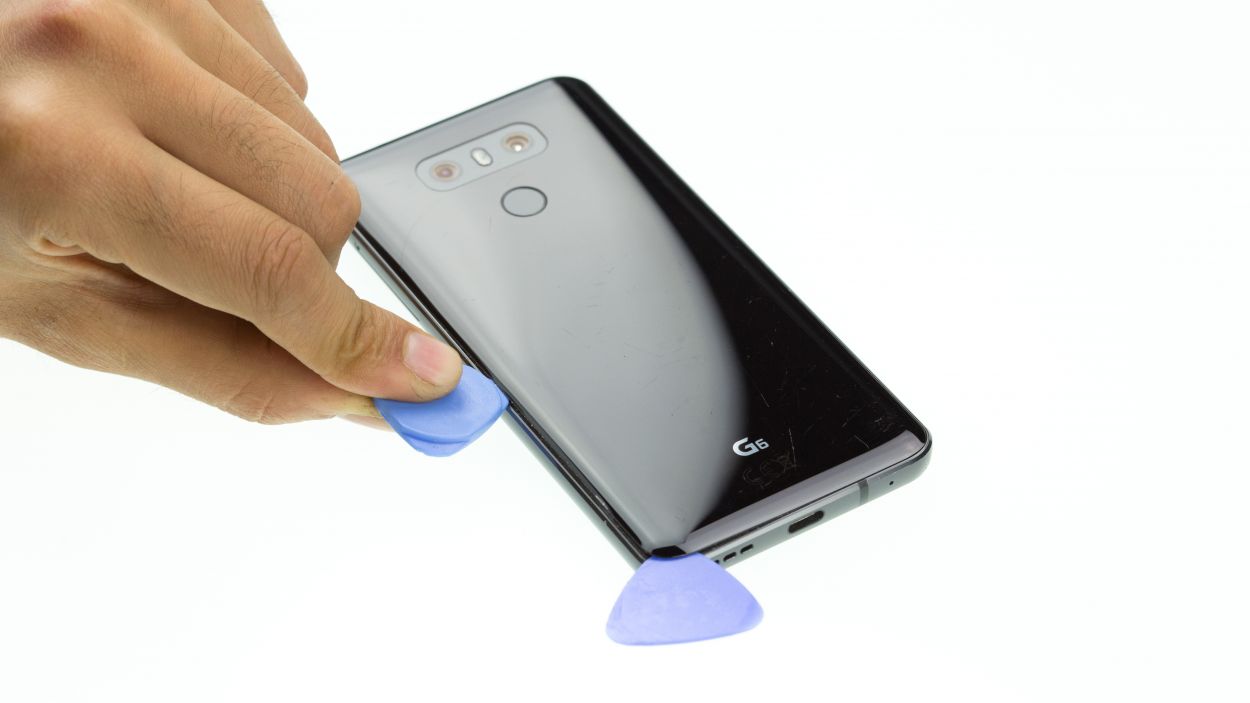
– Let’s get rid of that sticky residue! Grab a plastic tool and gently scrape away any leftover adhesive from the frame. If it’s being stubborn, a little warmth might do the trick. Isopropyl alcohol can also help loosen things up. Make sure it’s all gone so your new back cover fits perfectly!
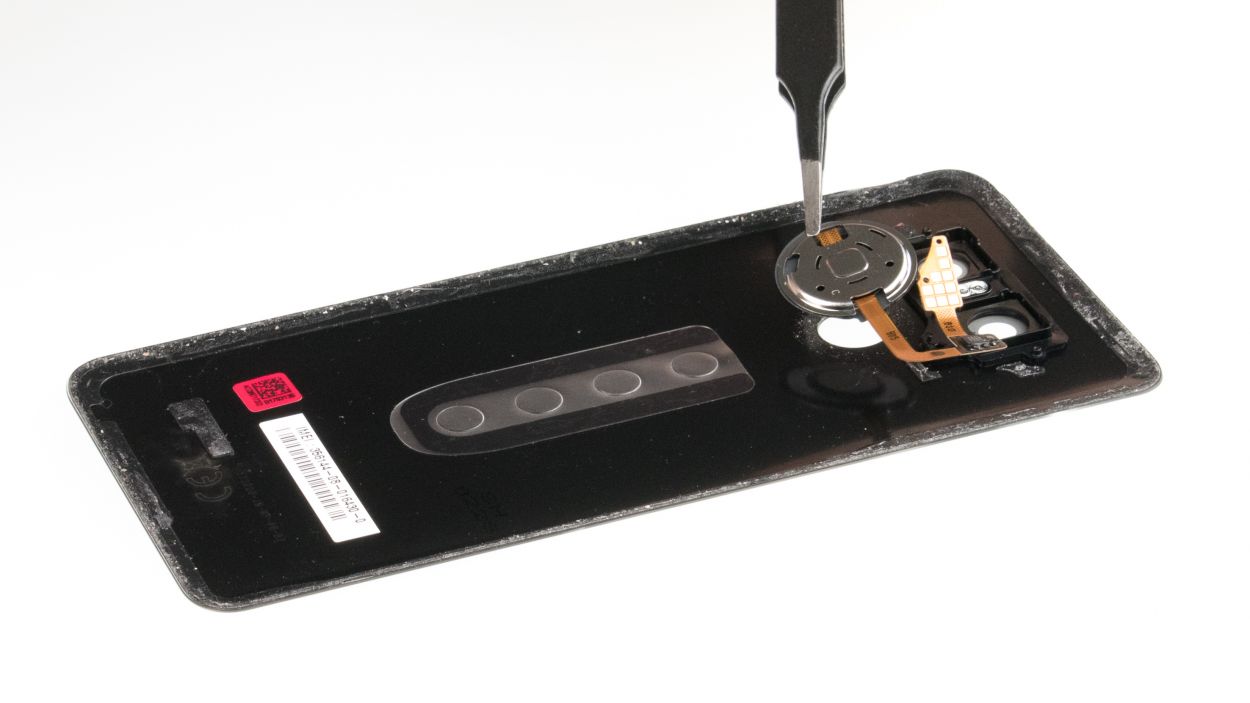
Step 4


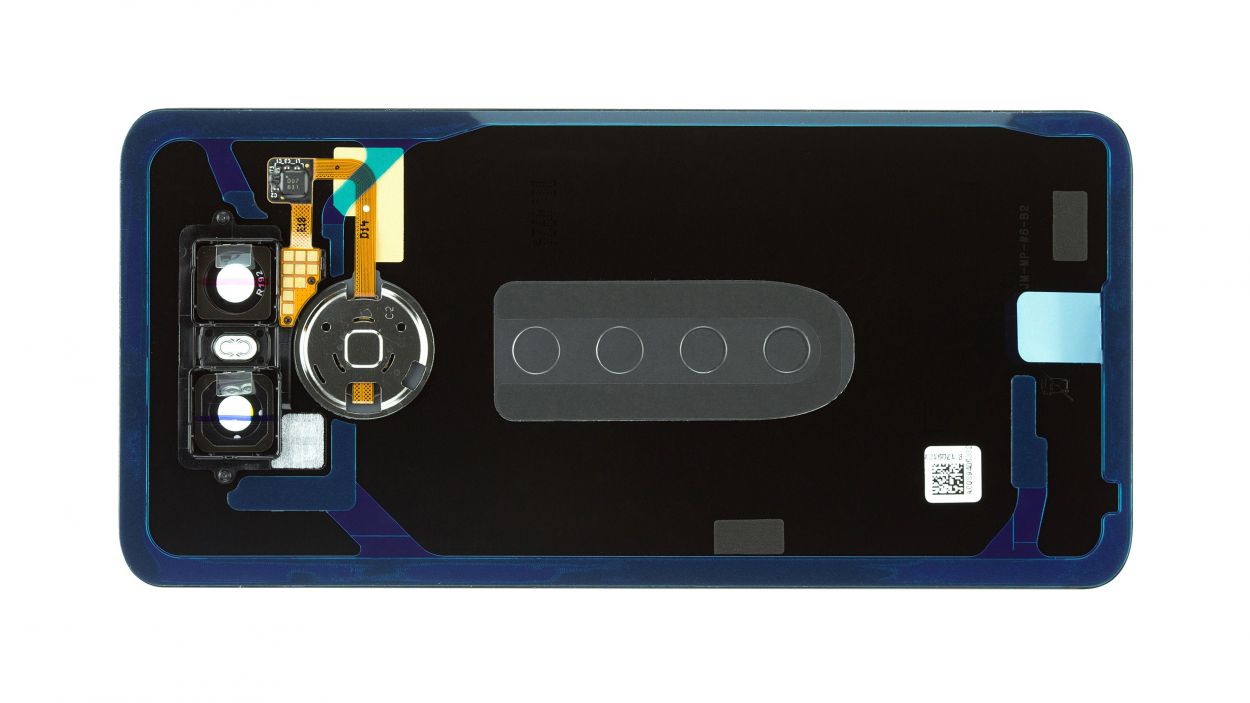
Before diving into the glass replacement, take a peek at your spare part. It might just surprise you with a built-in fingerprint sensor! If that’s the case, you can skip this step and move on to the next one. Happy repairing!
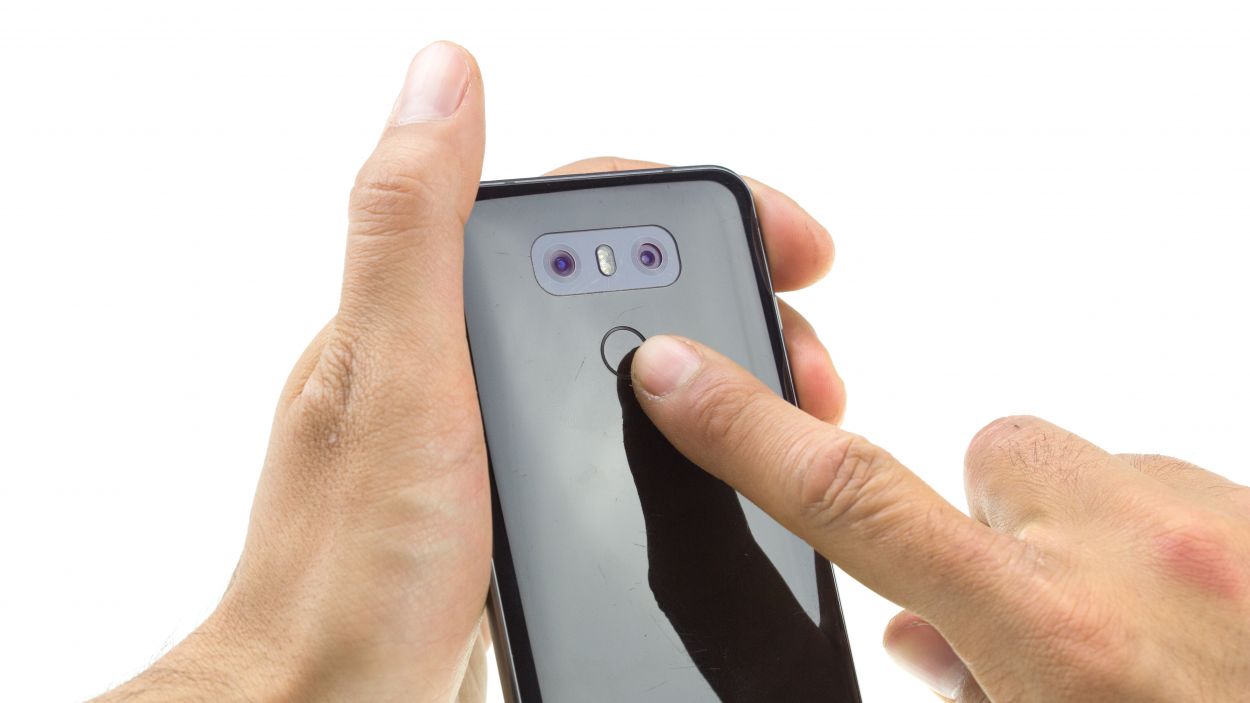
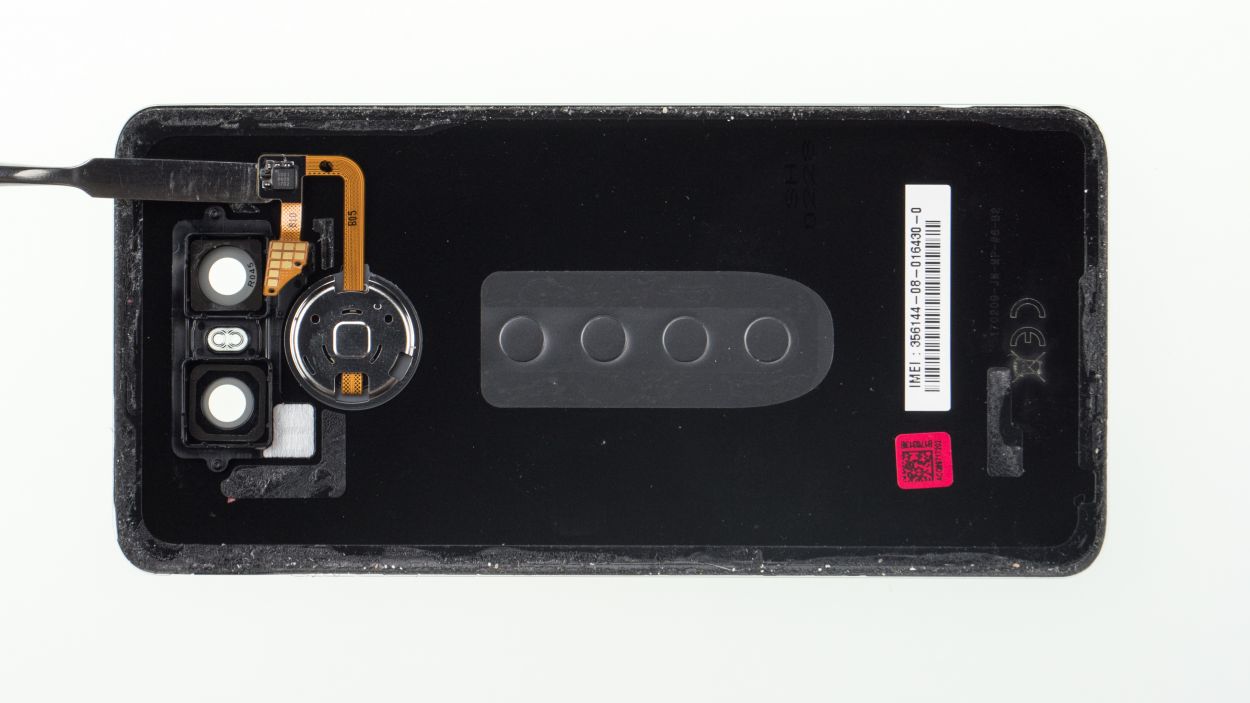
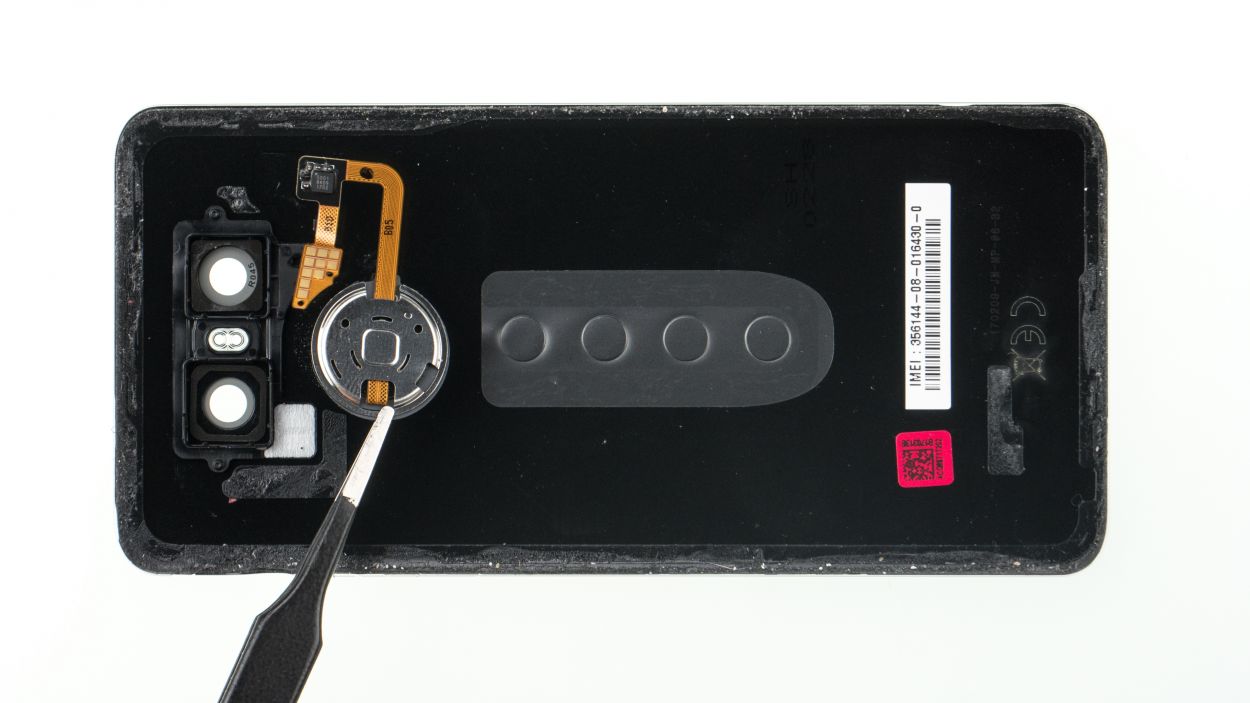
– Warm up that fingerprint sensor / standby button in the back glass to melt the glue a bit.
– Next, grab a flat tool to unlock the sensor’s flex cable with some gentle finesse.
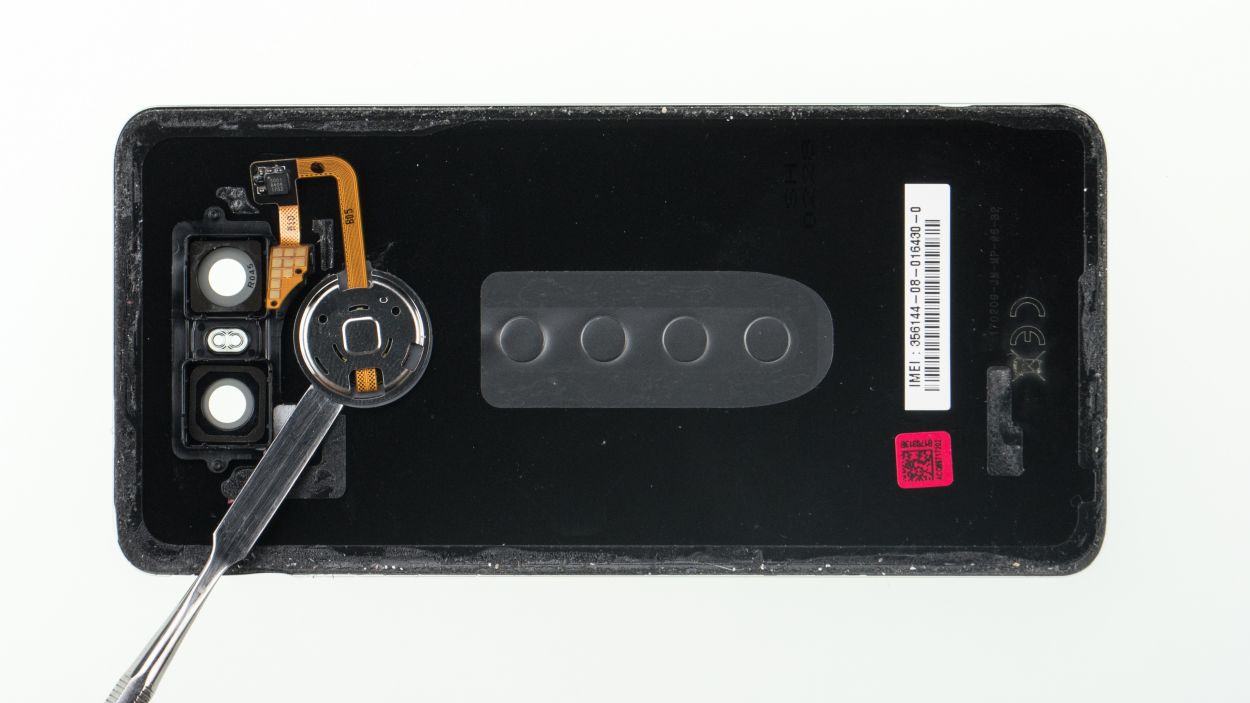
– Now, glide the tool all around the sensor to ease it away from the rear glass. Then, gently pop out the sensor.
Step 5
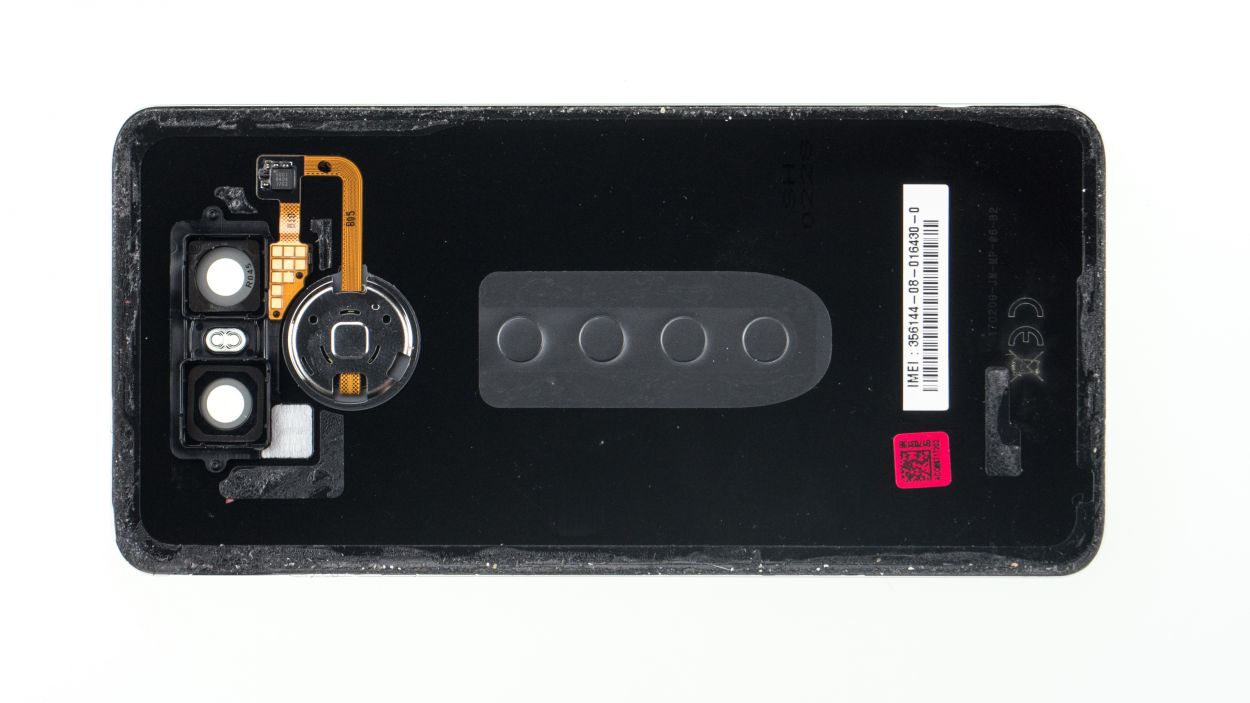
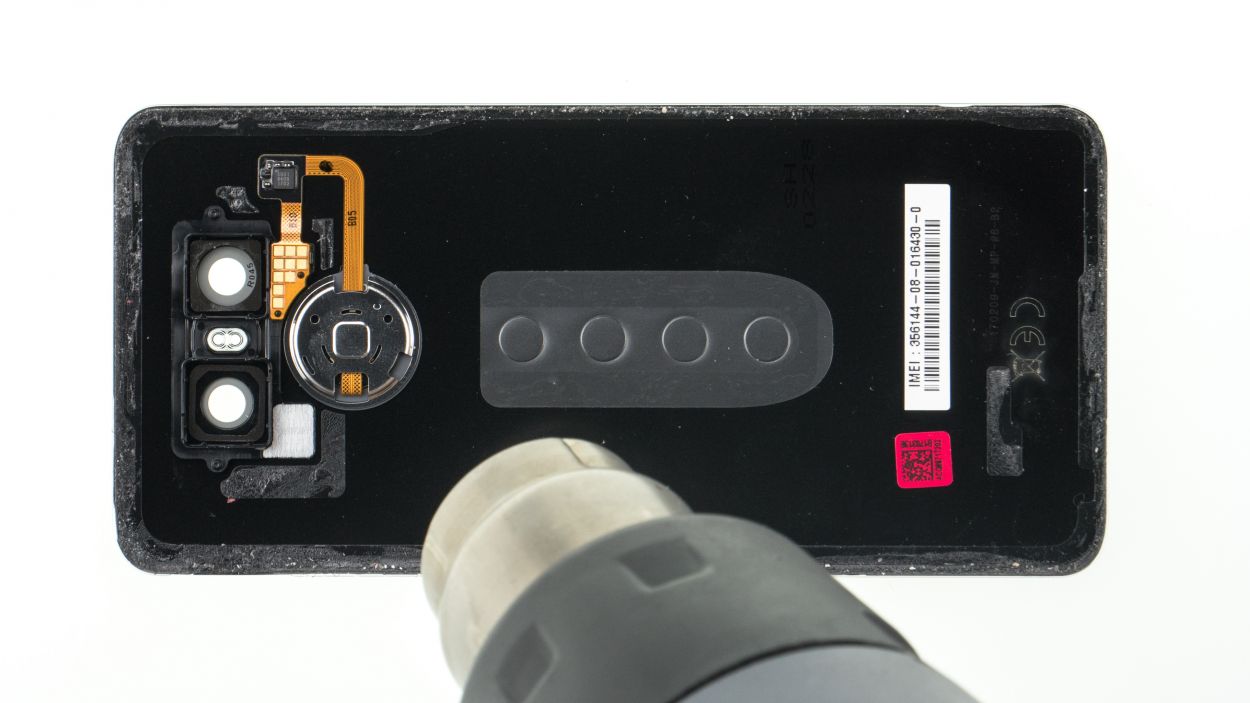
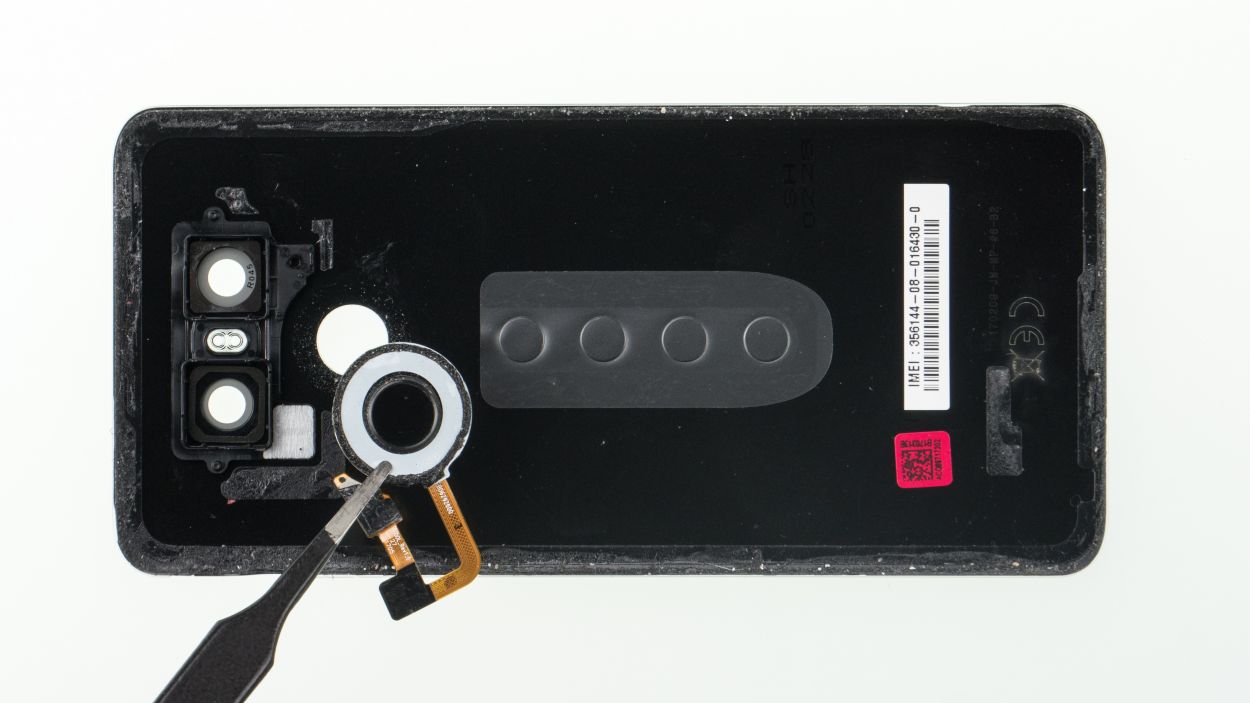
– Place the sensor into the opening in the rear glass.
Step 6
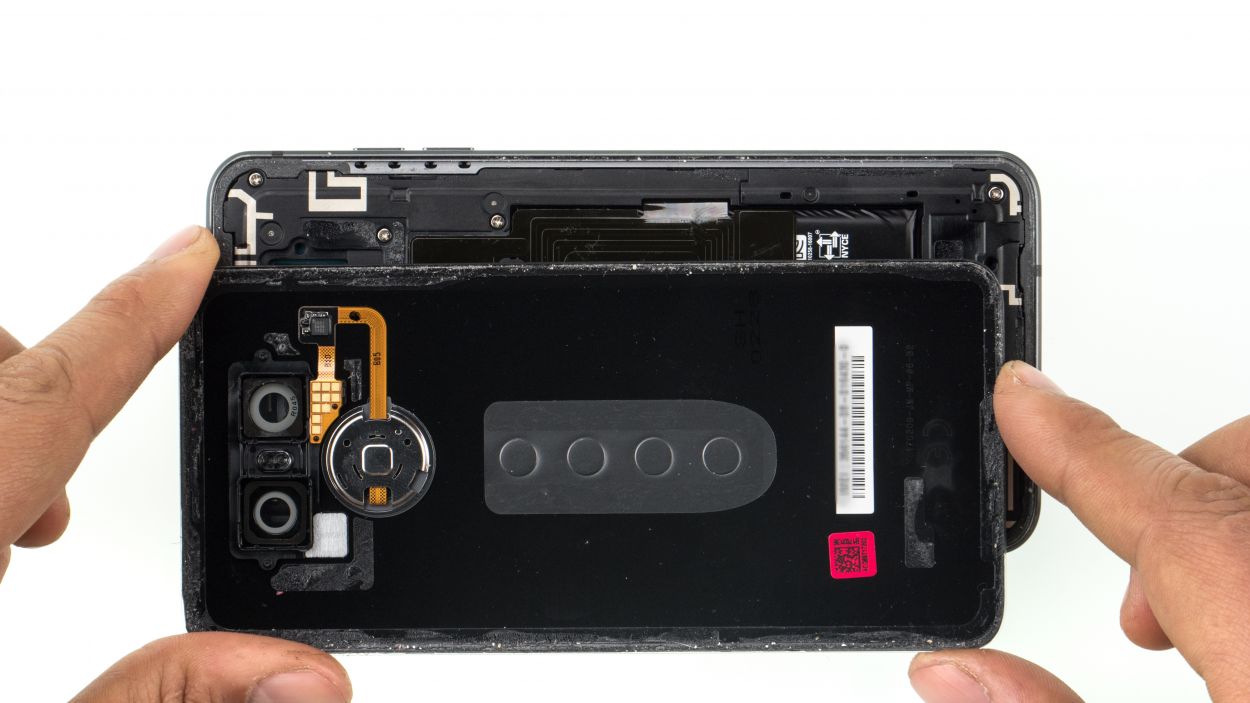
You can heat the rear glass again to make the glue stick better.
– Place the rear glass back on the device and press it on.