LG G7 ThinQ DIY Guide: Replace Back Cover Step-by-Step
Duration: 45 min.
Steps: 10 Steps
Getting into the LG G7 ThinQ can be a bit tricky since we need to pop open that glass back cover. Before diving in, make sure to back up your data, set up a tidy workspace, and take your time—no rush here! If you hit a snag, don’t hesitate to reach out through our live chat or drop a comment at the end of the guide. We’re here to help you through it!
Step 1
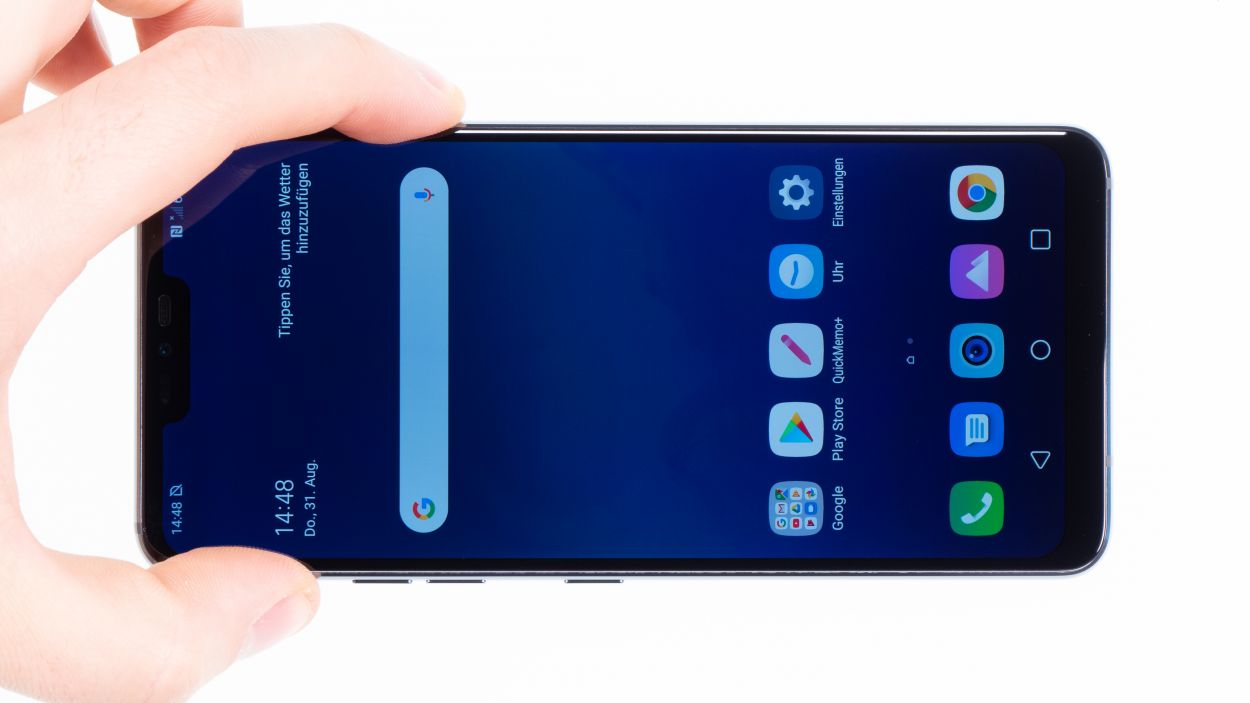

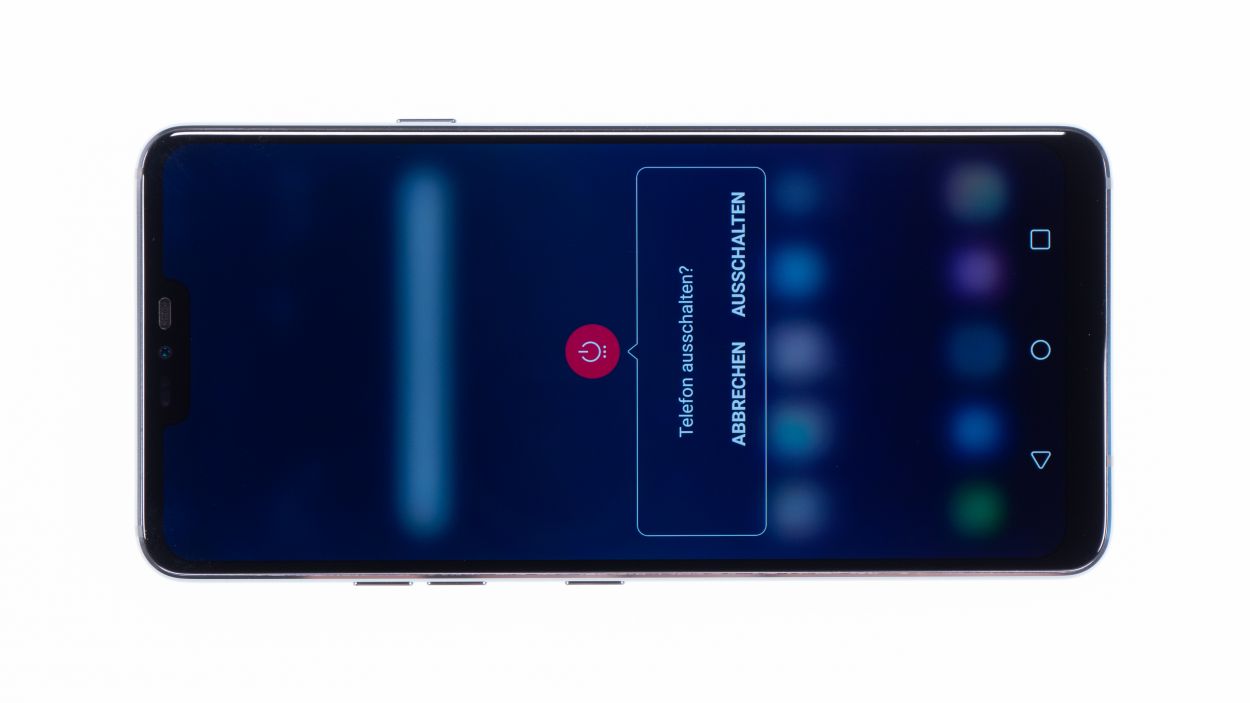
– Get your device to chill by pressing and holding the power button on the side until you see the ‘Power off’ option pop up.
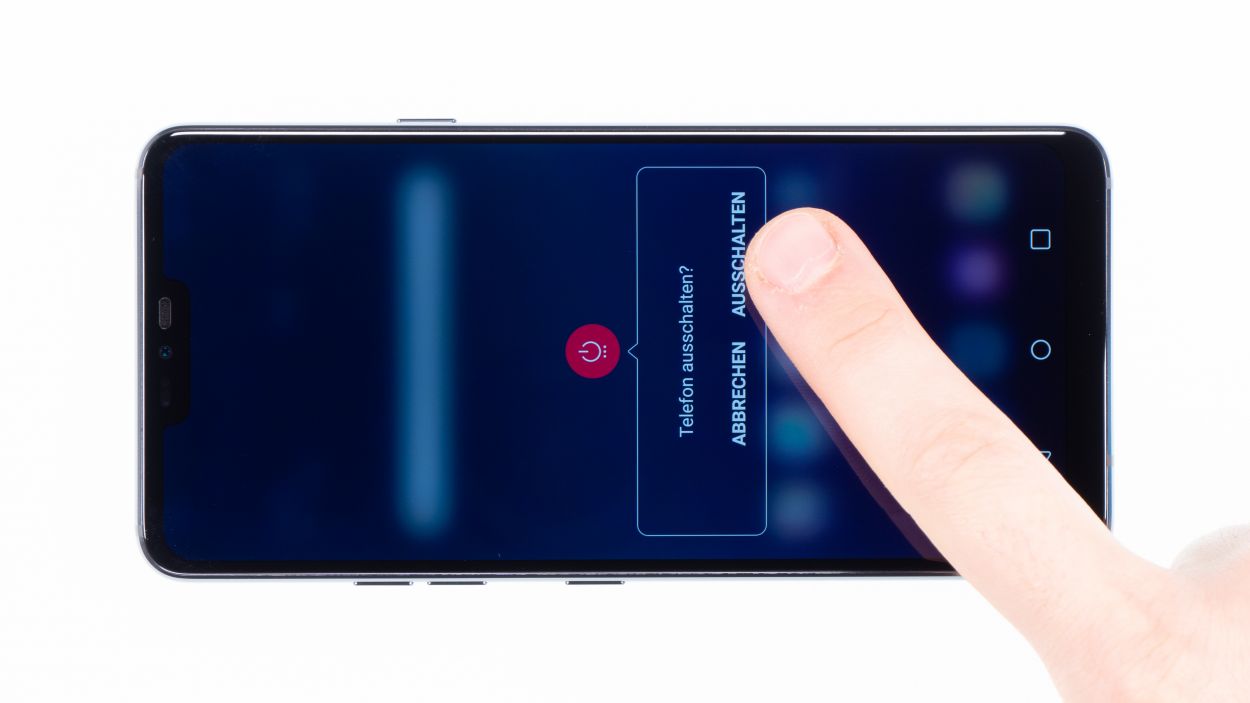
– Give it a tap to confirm, then sit back and relax while the screen fades to black.
Step 2
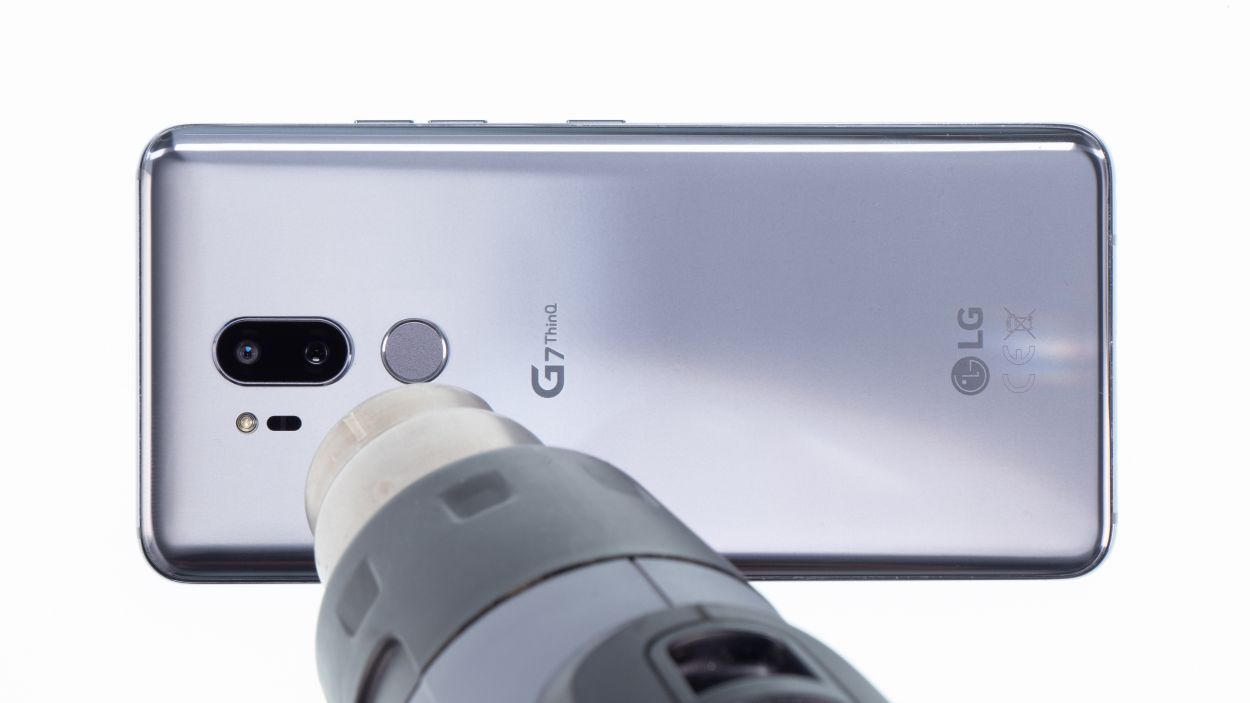
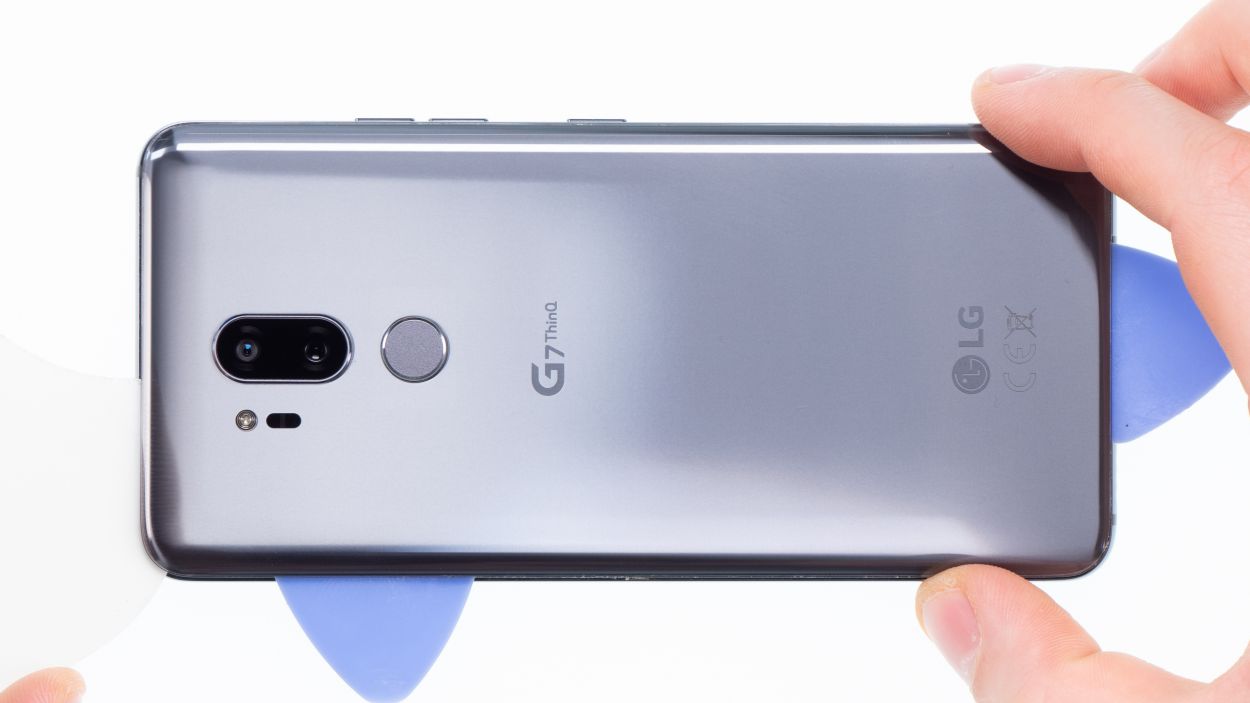
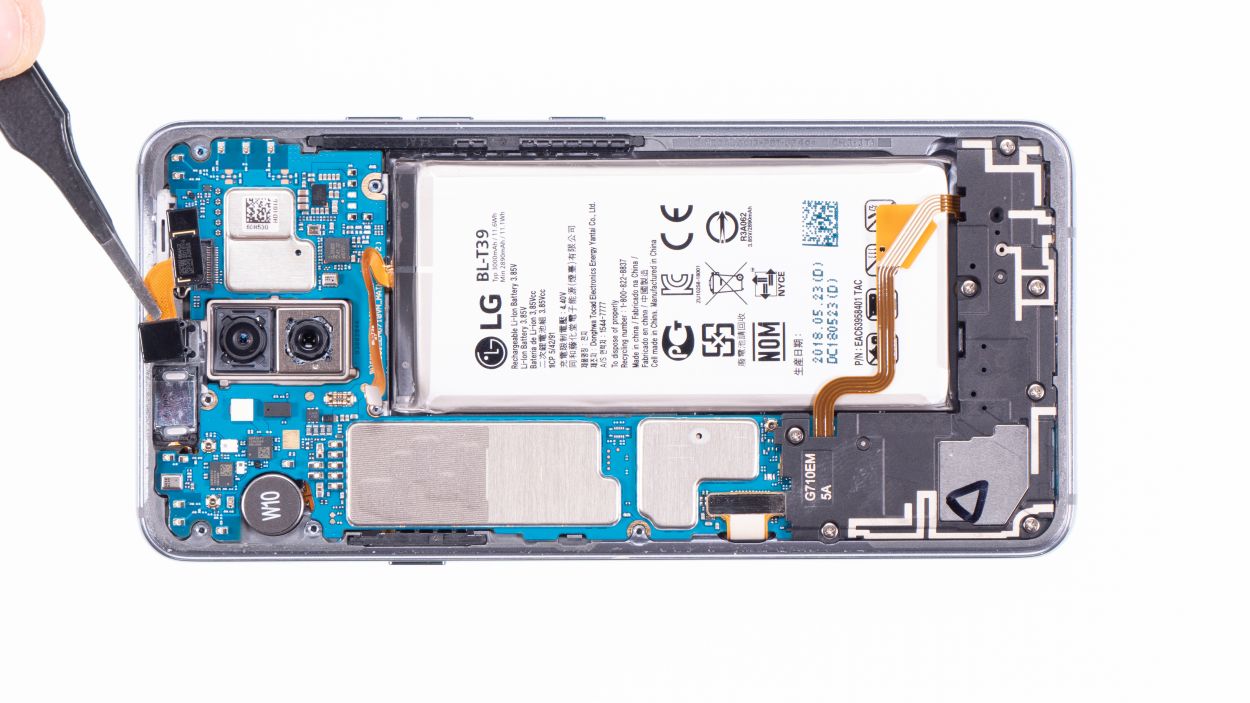
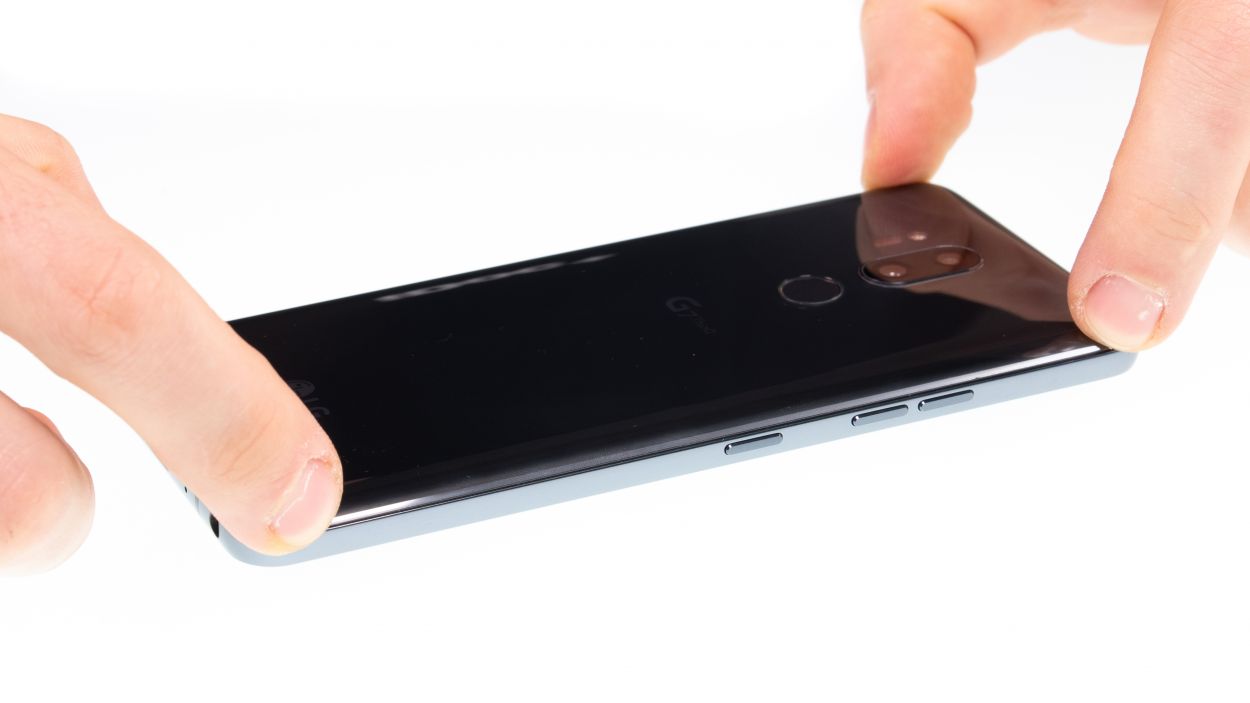
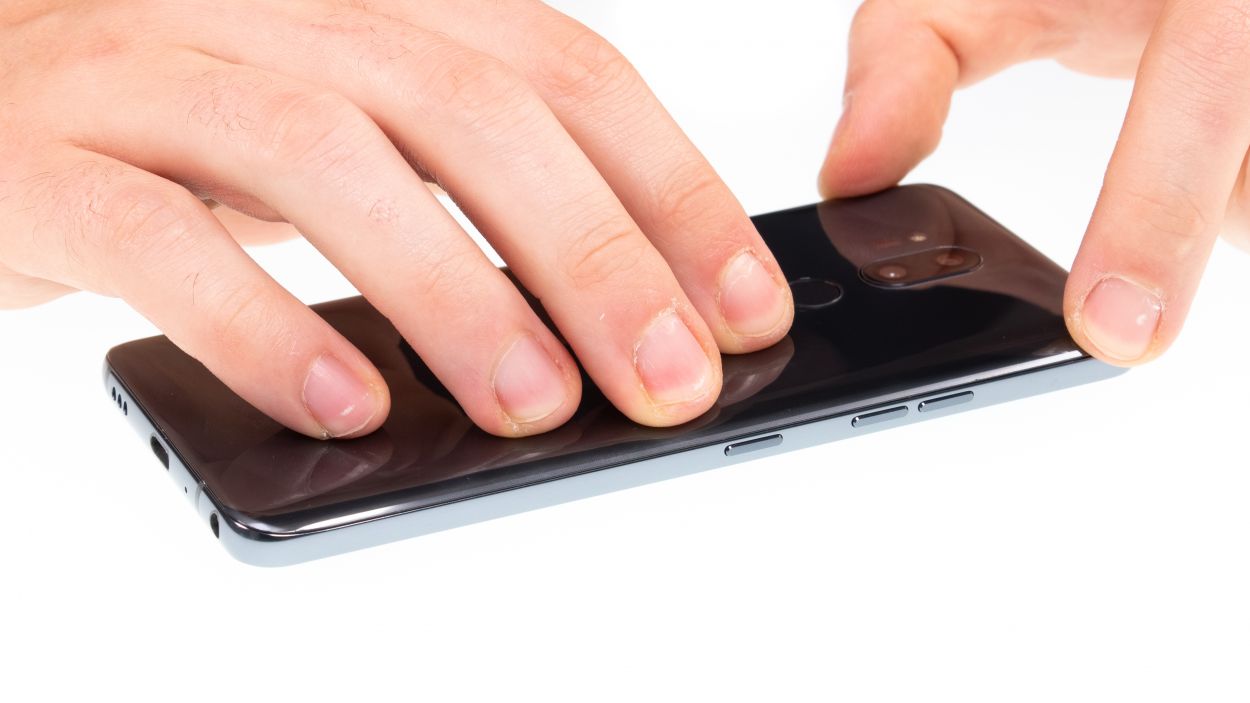
– The back cover is firmly adhered to the chassis. To make life easier, warm the device evenly with hot air to loosen that sticky glue. A cozy temperature of 60 – 80°C should do the trick. Remember, it should feel warm enough to touch, but not like you’re holding a hot pancake!
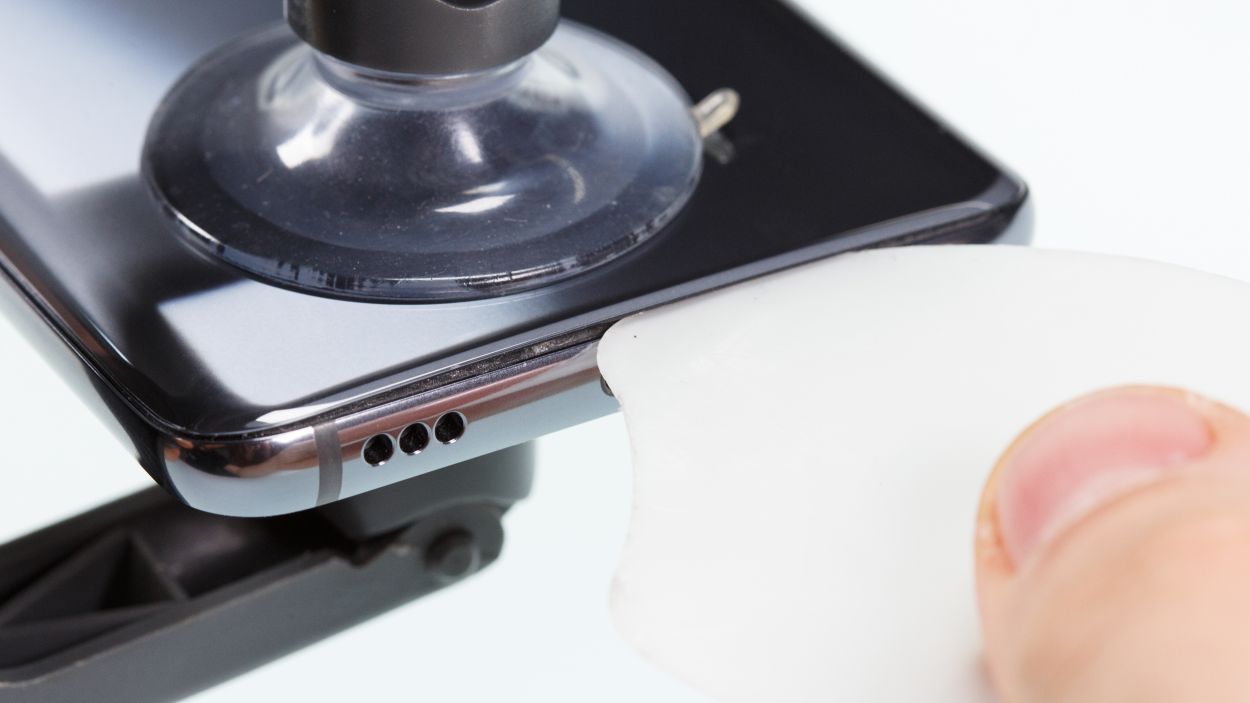
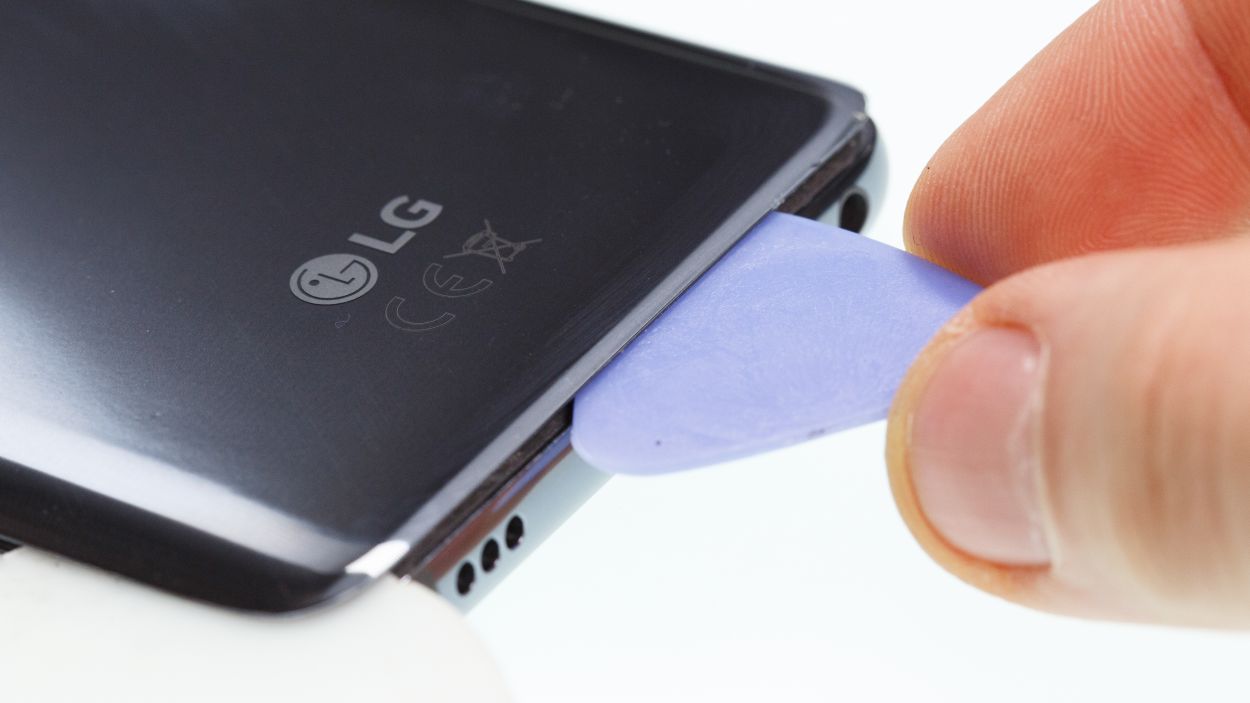
– To gently persuade the back cover to come off, grab a flat and flexible tool such as the iPlastix or iFlex. A couple of picks will also be your sidekicks in prying off the back cover all the way around.
– Heat the area where you’re starting, then slide your flat tool between the back cover and the frame. You got this!
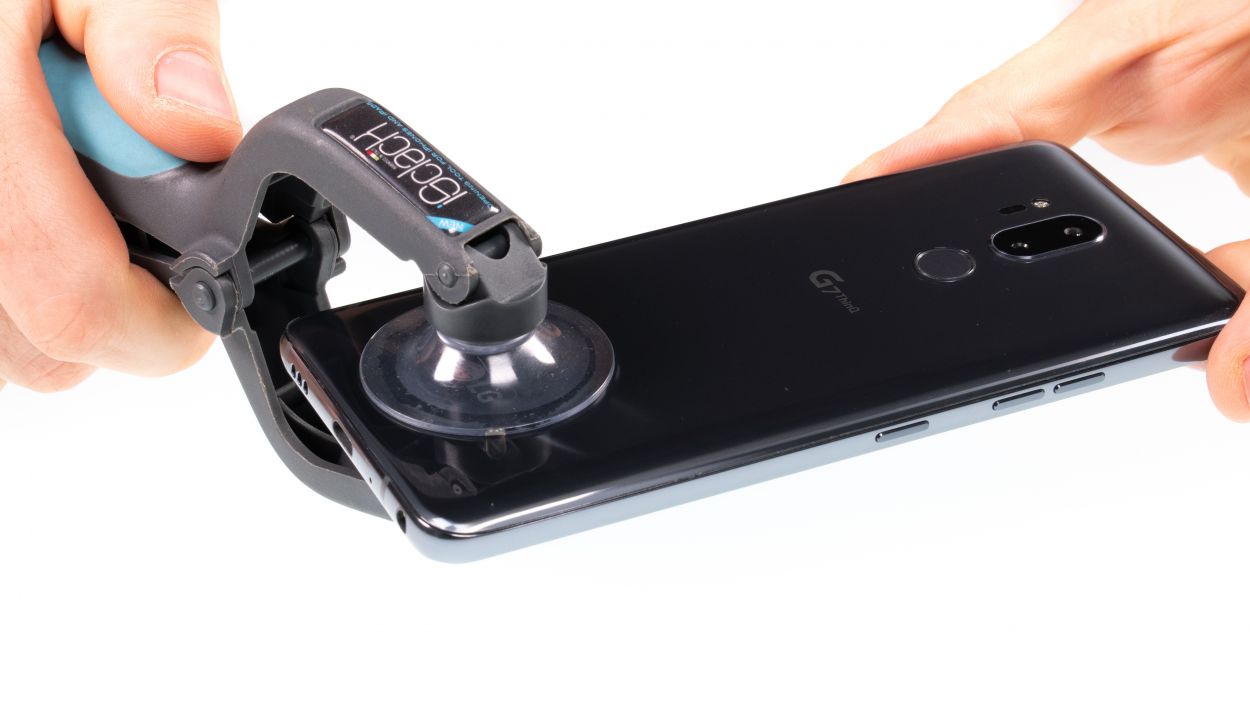
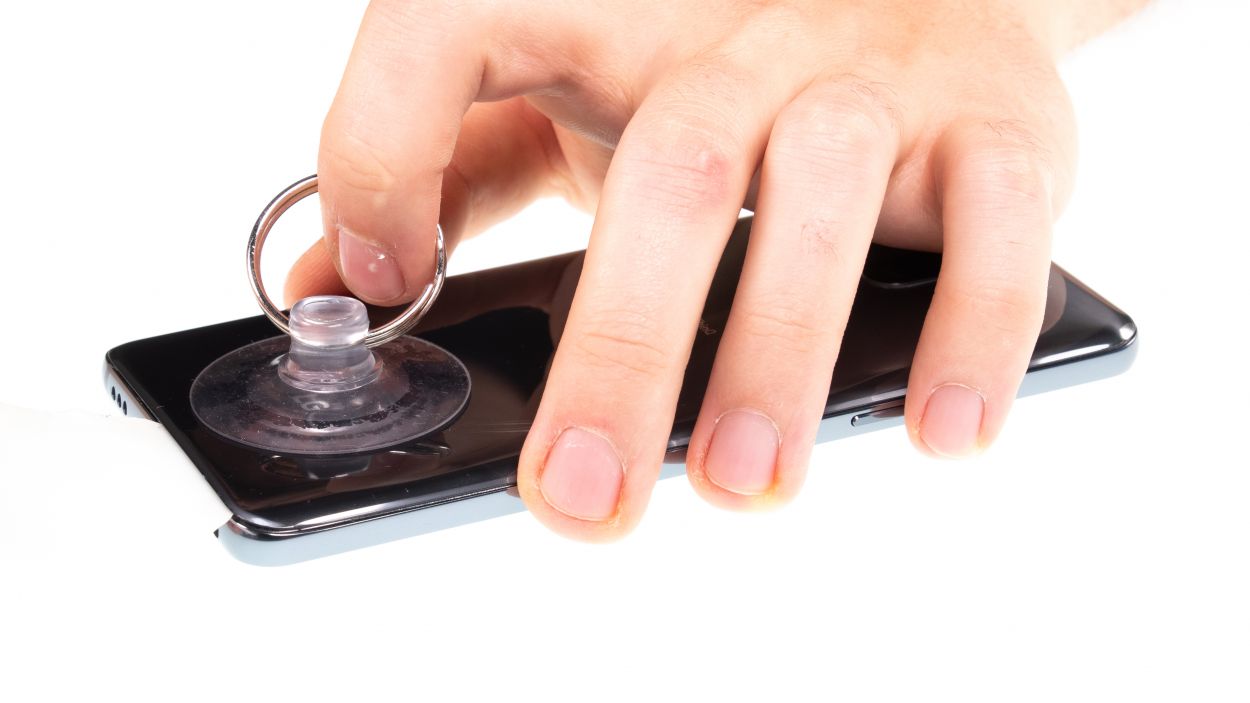
– If you’re having trouble finding a spot for your tool, use a suction cup to give that glass a little lift. Teamwork makes the dream work!
– With the iSclack, you’ll have an easy time lifting the back cover. Just place both suction cups on the display and the back cover, then squeeze the lever like you’re giving it a friendly hug.
Hey there! Just a friendly reminder to handle that back cover with care—it’s a bit fragile! If it’s giving you a hard time, feel free to warm it up a few times and give it another go. Remember, taking your time is key; it might take around half an hour, but being patient will help you avoid any mishaps. You’ve got this!
The iPlastix tool is crafted from plastic, so no worries about scratching your device! It’s a bit on the soft side, making it a tad tricky to slide in. Now, the iFlex? That’s your best buddy for getting into the snug gap between the glass and frame, thanks to its ultra-thin, sturdy metal build. Just a heads up, though—it can be a bit more prone to scratching the frame of your beloved device.
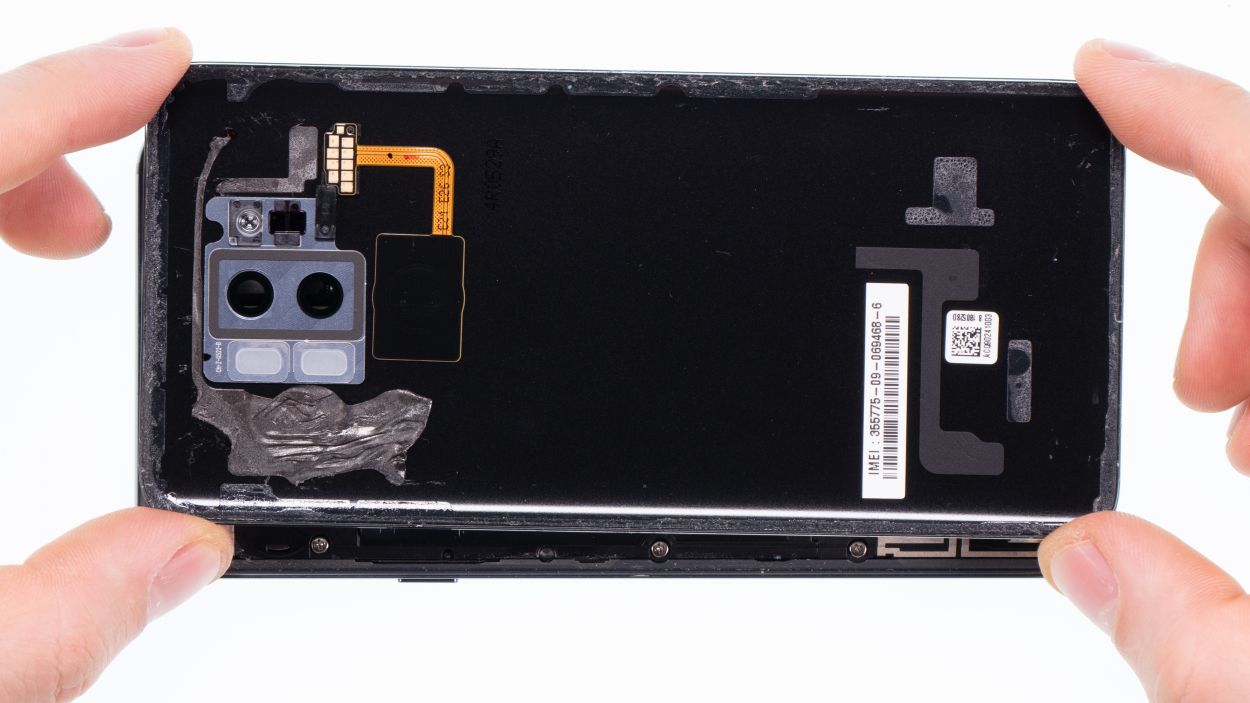
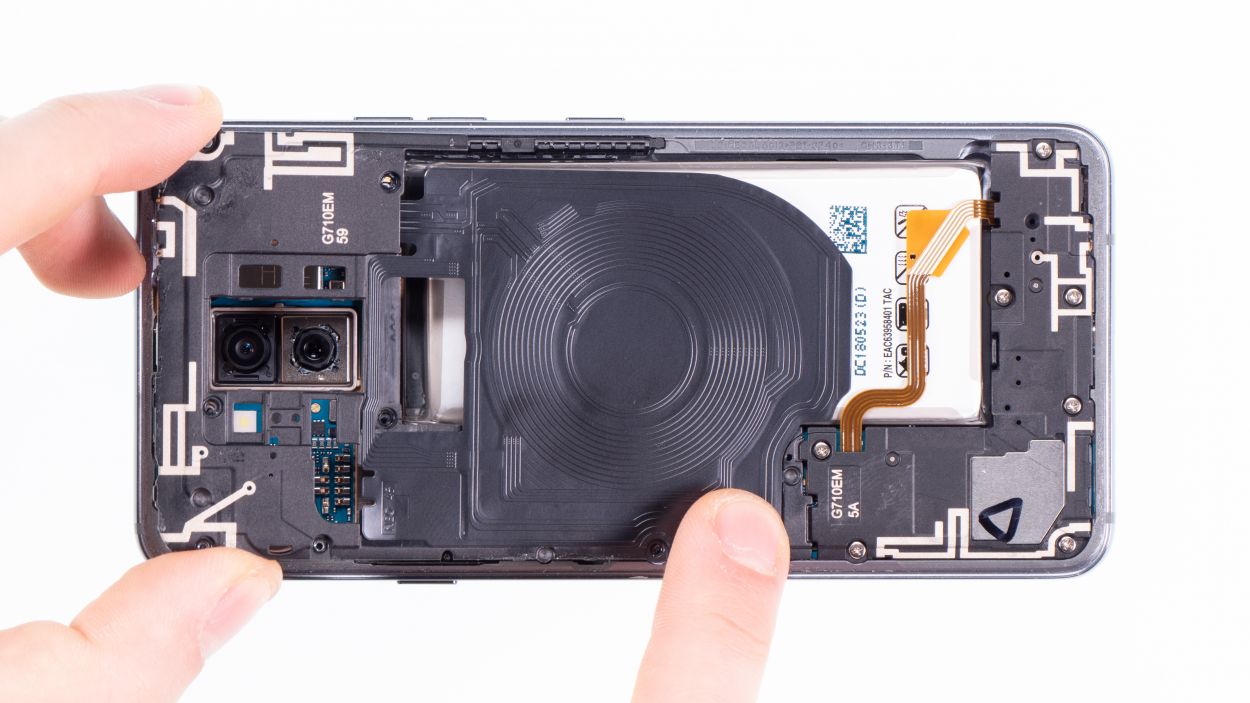
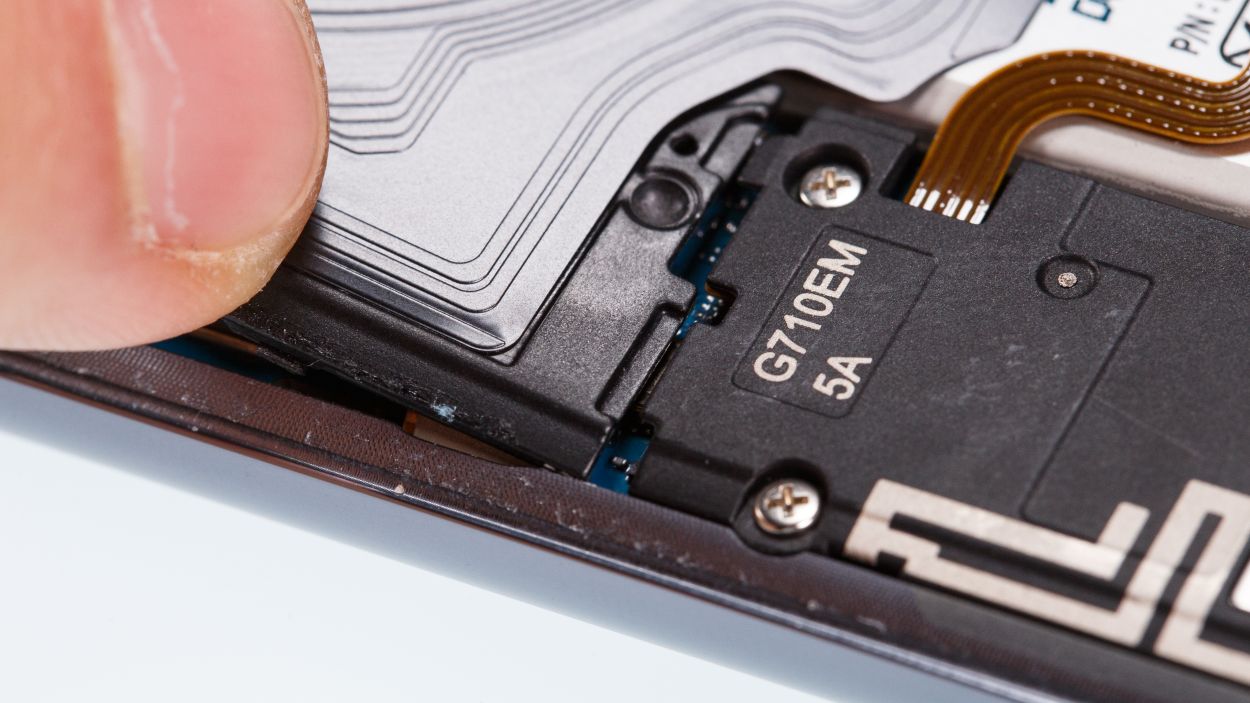
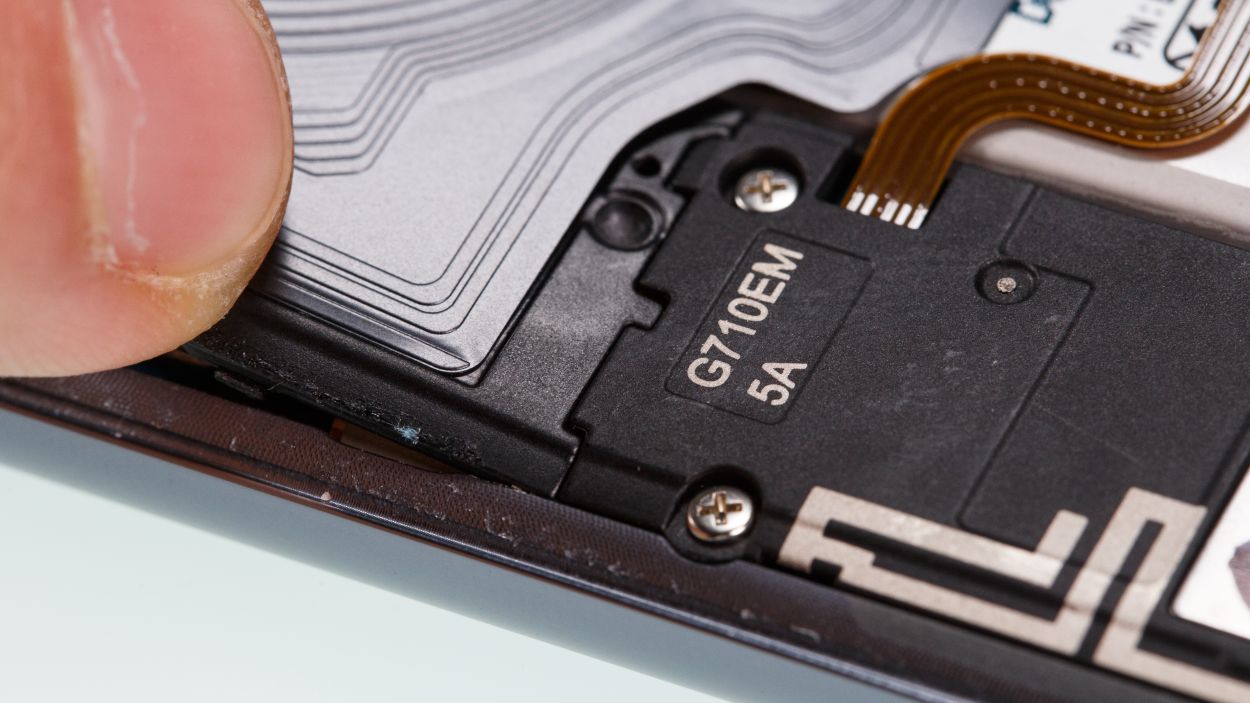
Step 3
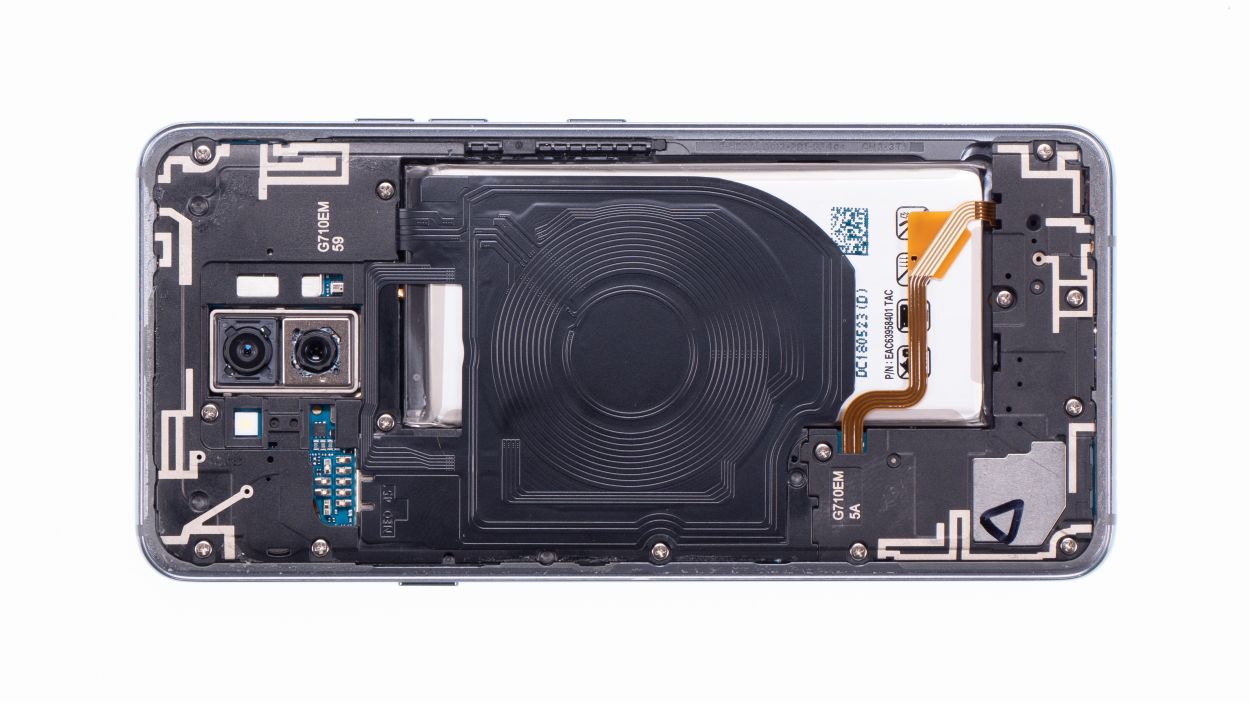
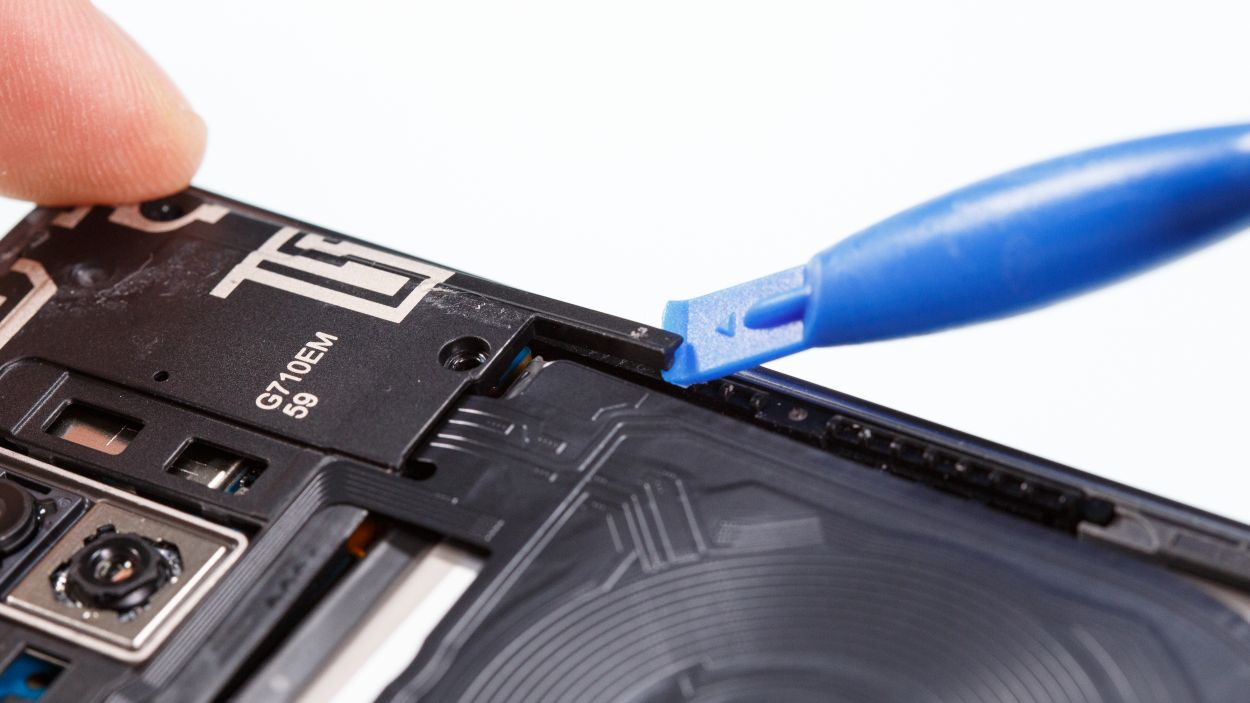
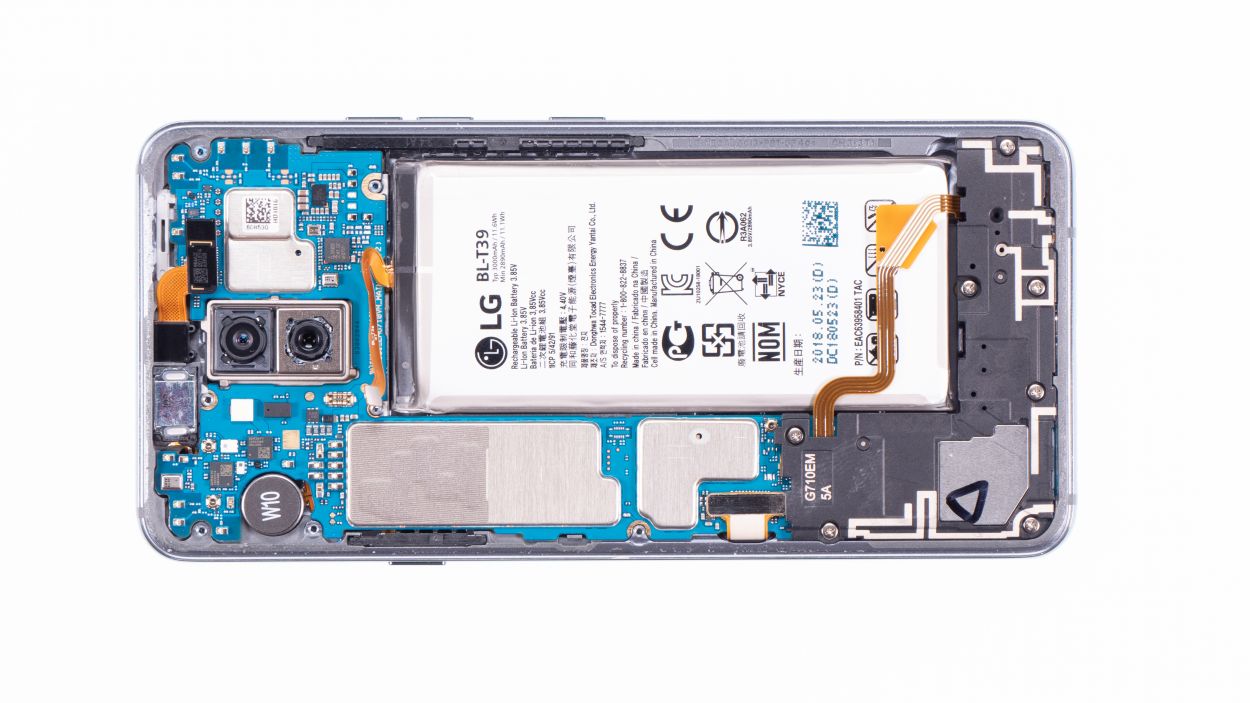
7 × 3,5 mm Phillips
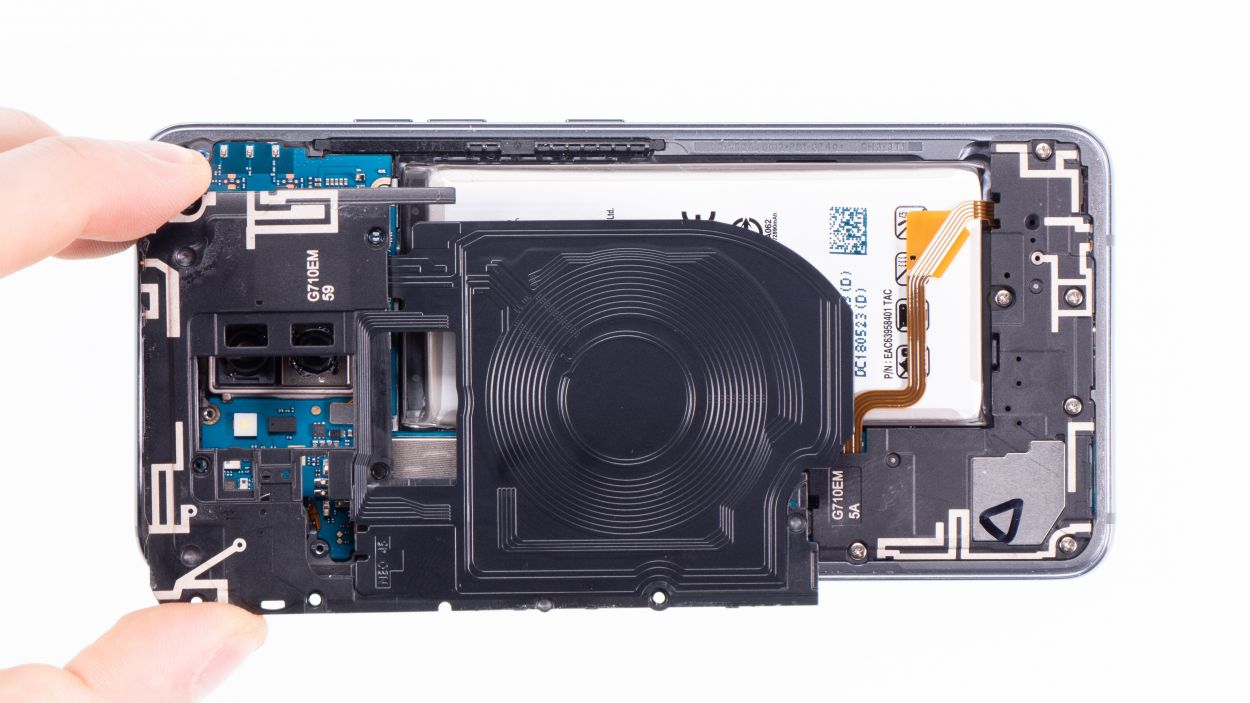
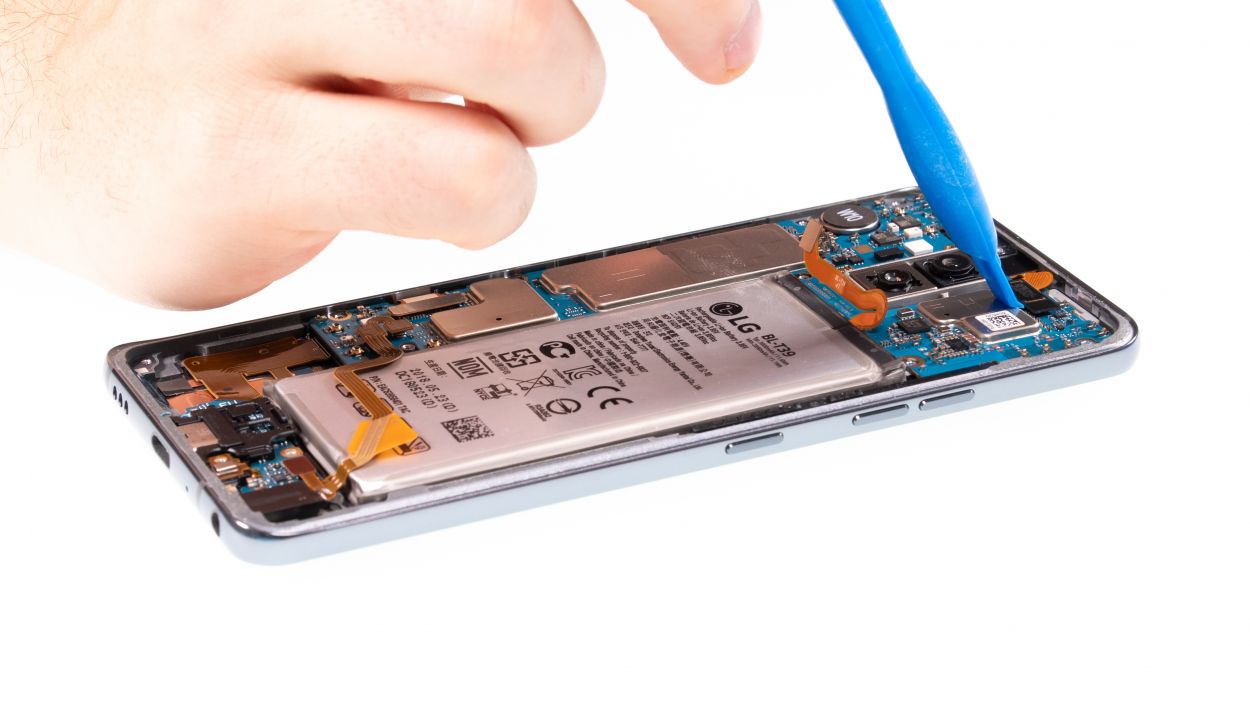
– Start by loosening those Phillips screws holding the cover in place. Just a heads up, the wireless charging coil and NFC antenna are cozying up to the plastic cover.
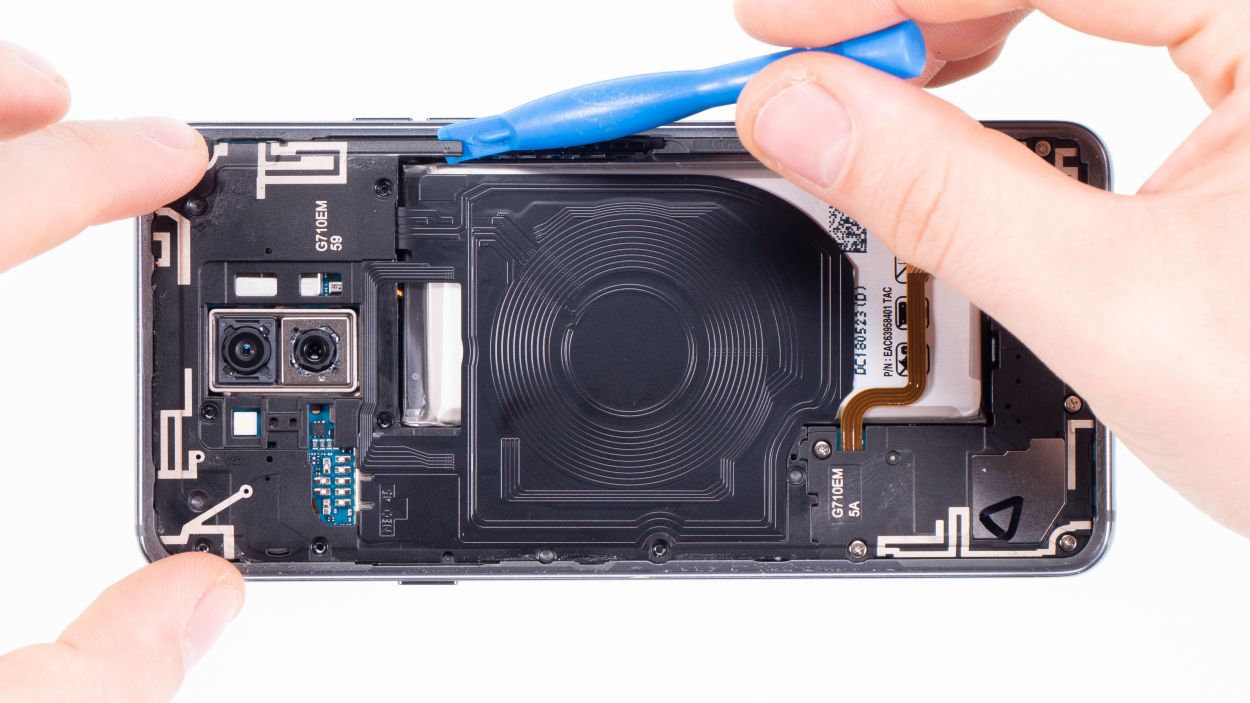
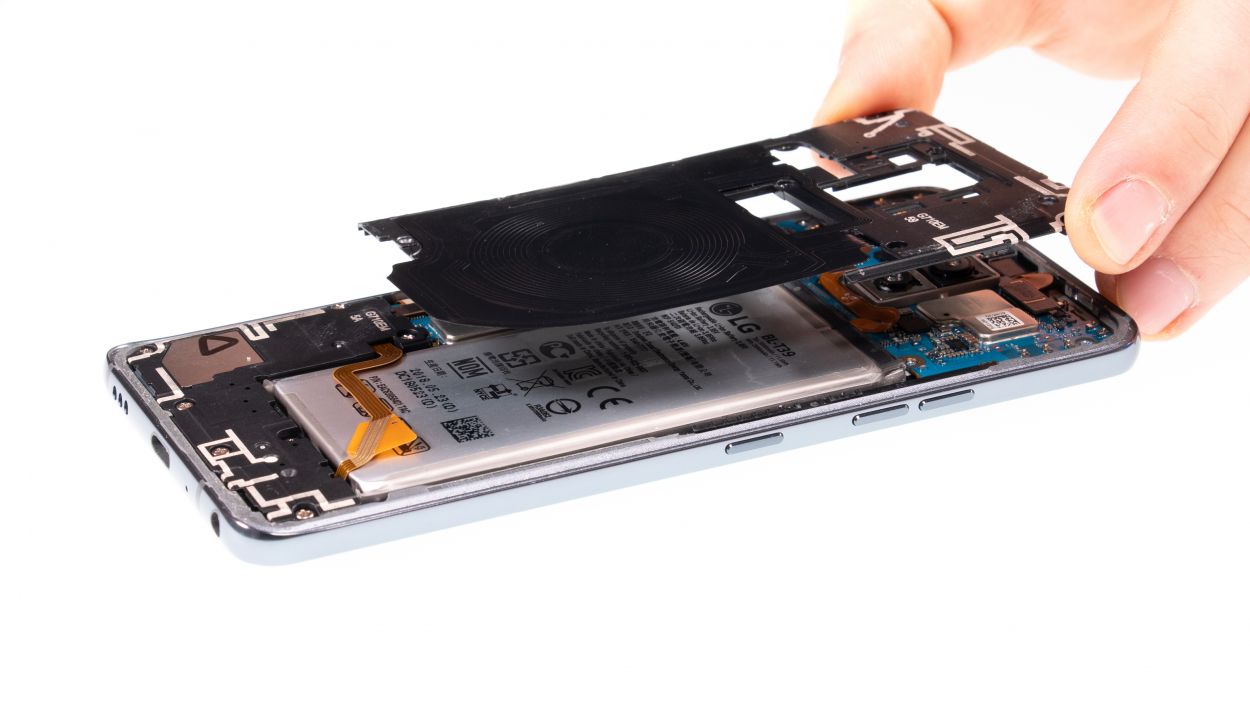
– Next, you’ll notice the cover is snugly hooked into the housing. Grab a tool and gently pry under the plastic frame, then lift it up with a little finesse.
– Now, you can easily lift off the plastic cover along with the coil. You’re doing great!
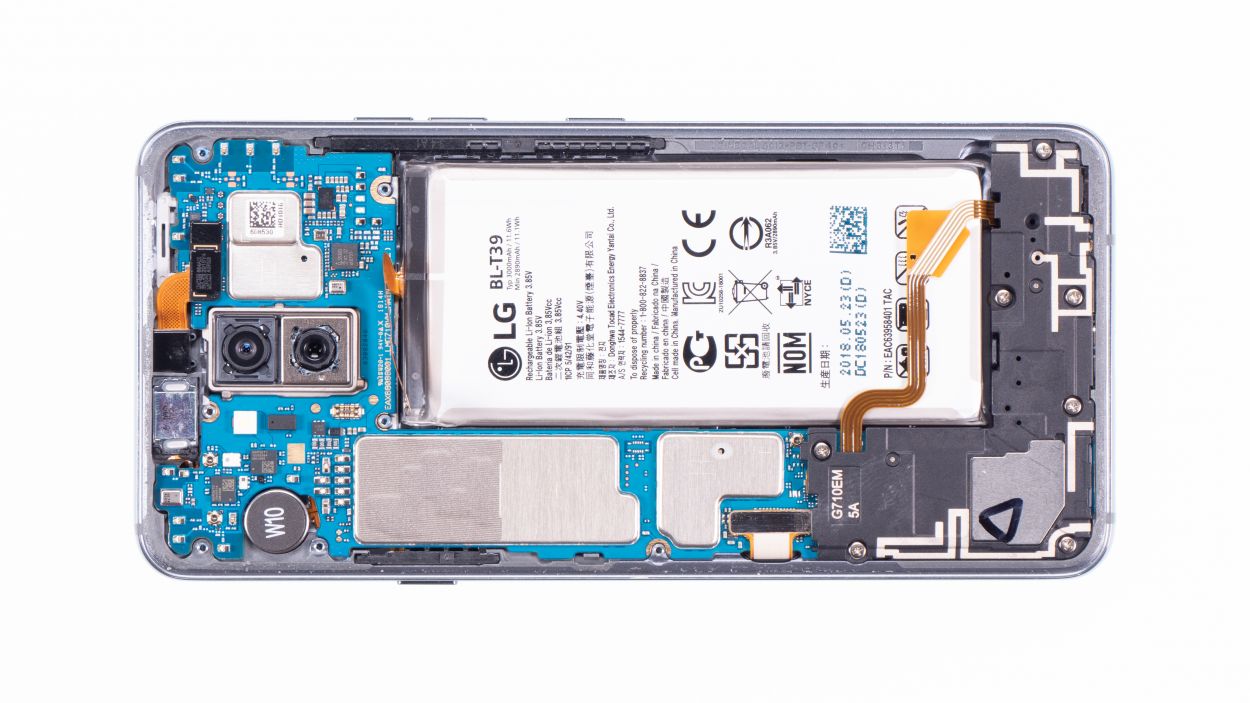
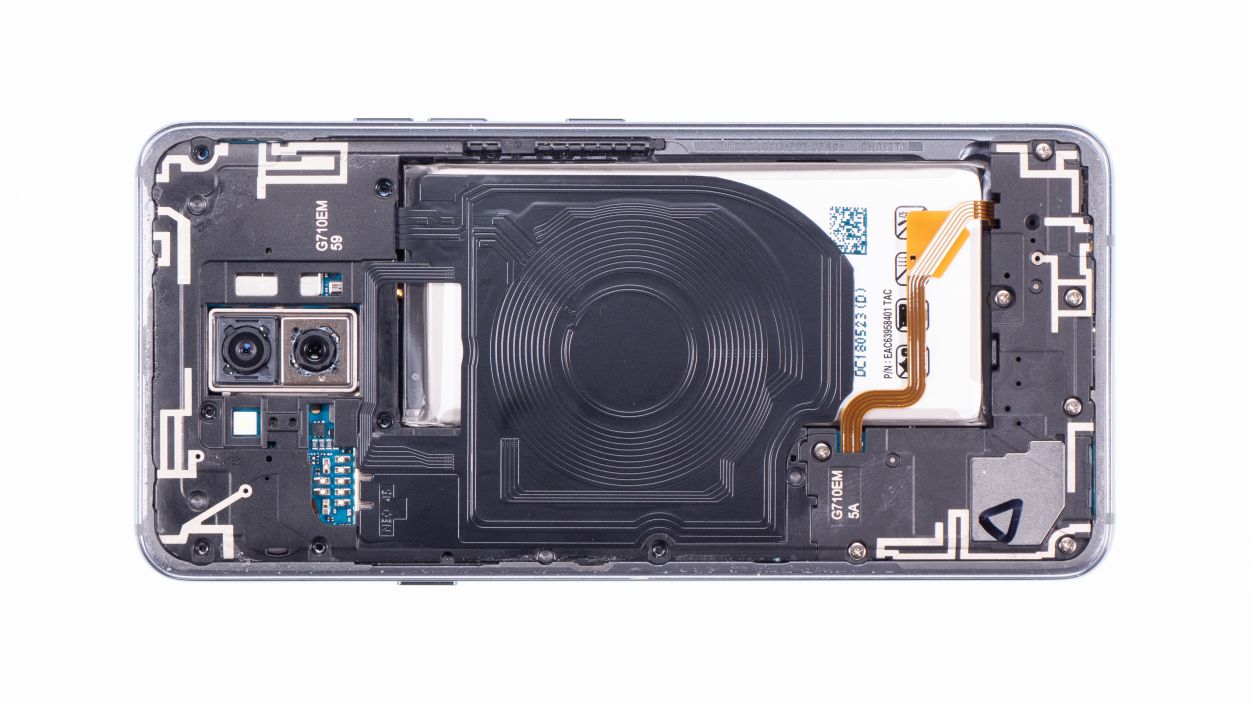
Step 4
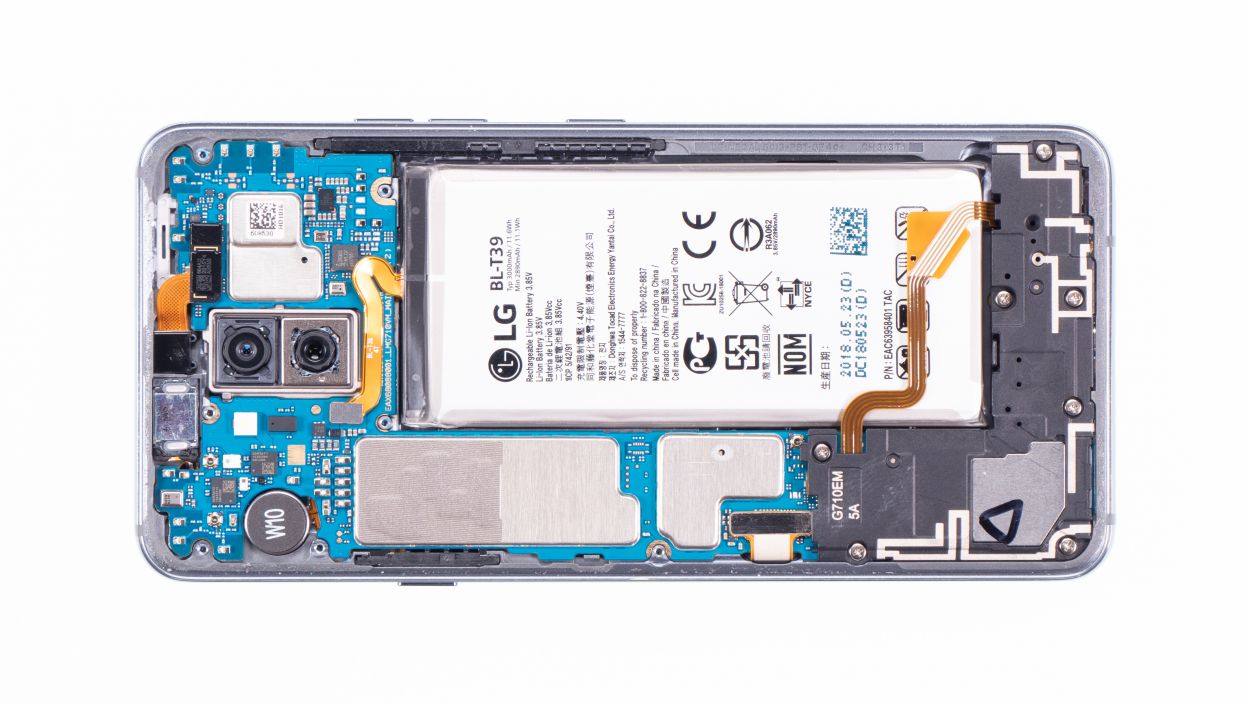
Battery Connector
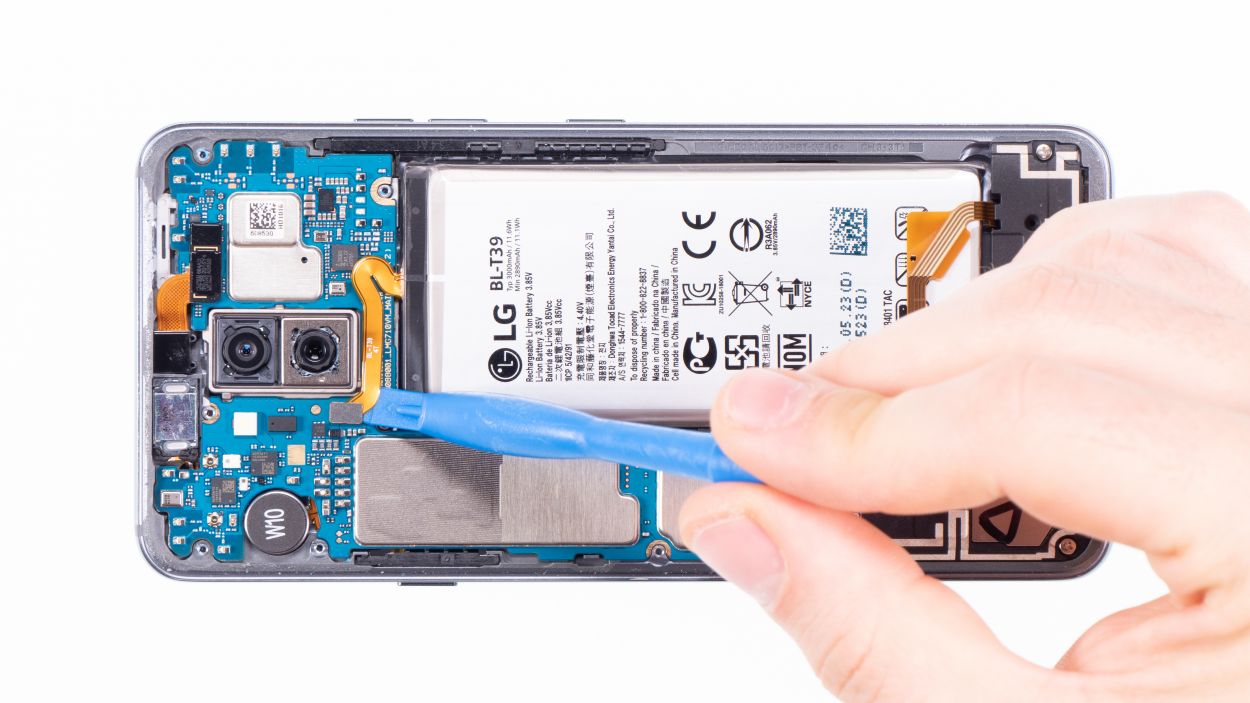
When you’re prying things open, make sure to start from an area without tiny components on the motherboard. This little trick helps keep capacitors and ICs safe from accidental mishaps. Stay savvy while you repair!
– Using the spudger, carefully disconnect the battery contact from the motherboard.
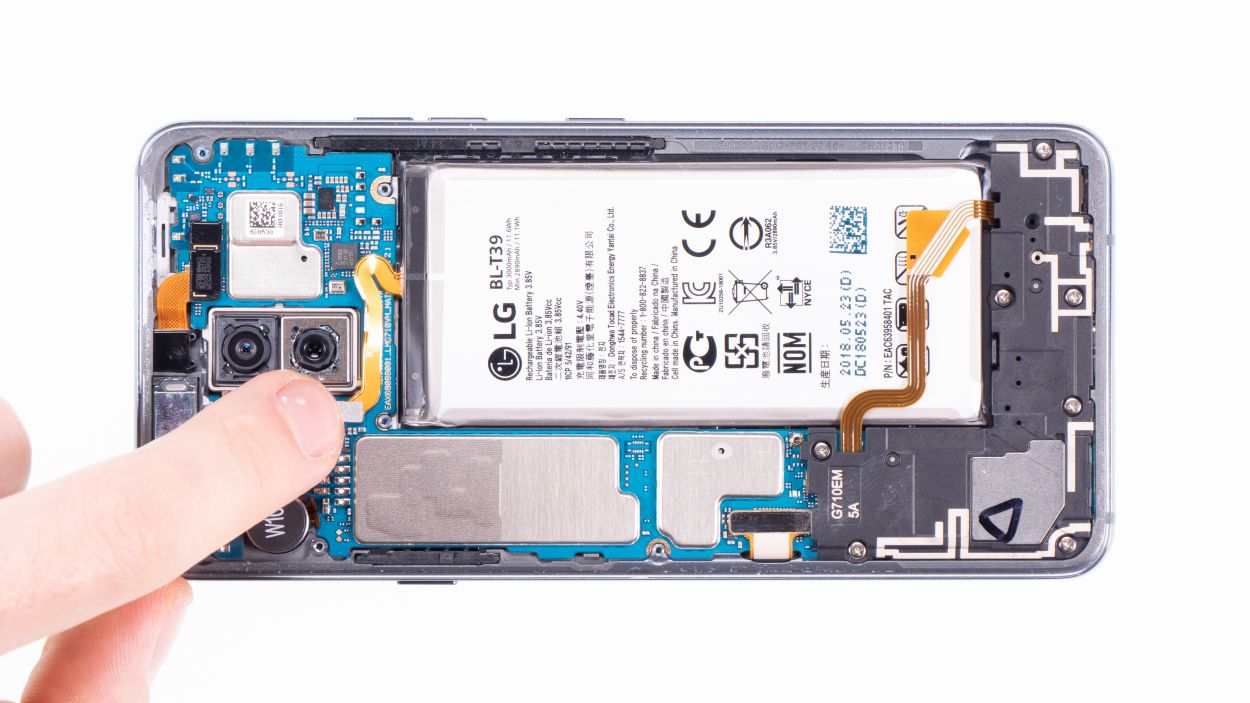
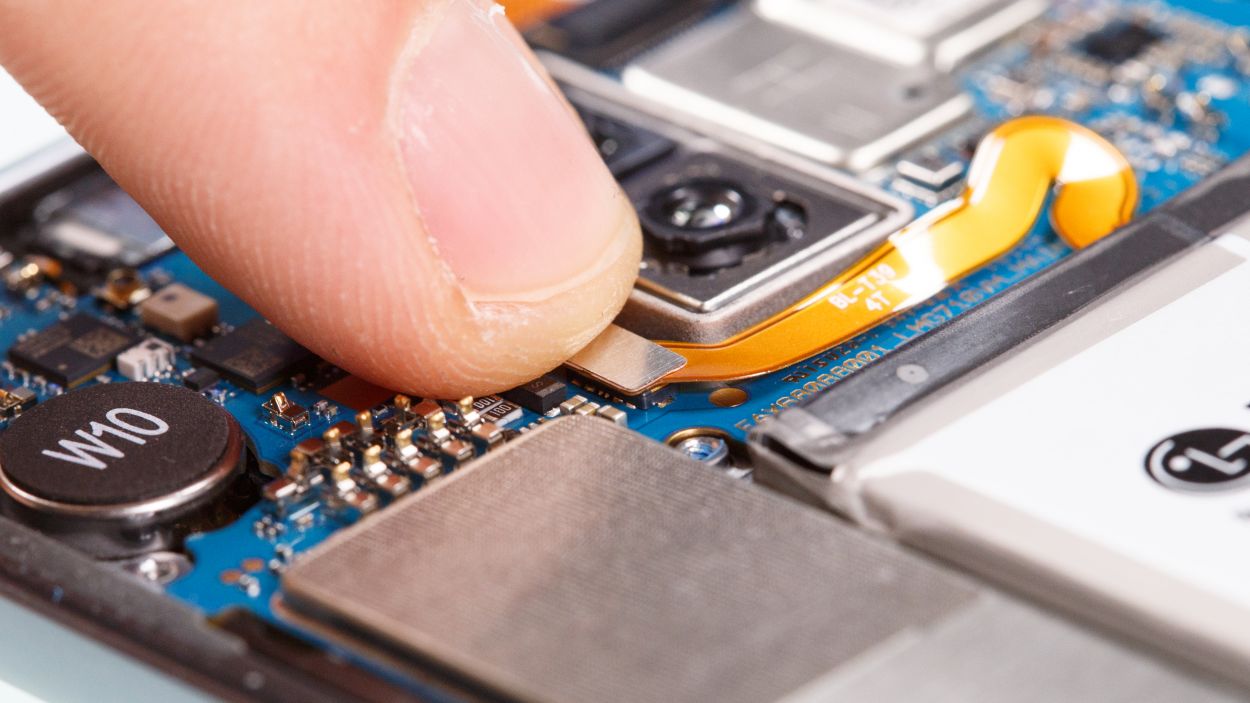
Step 5


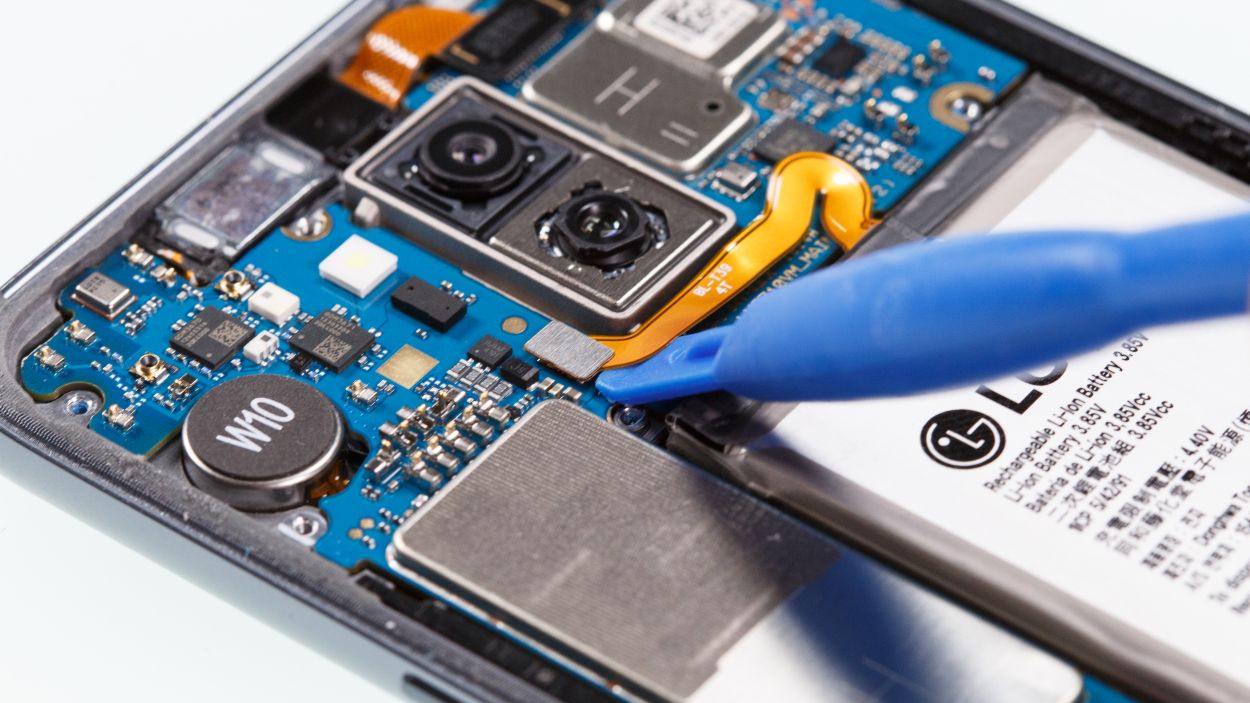
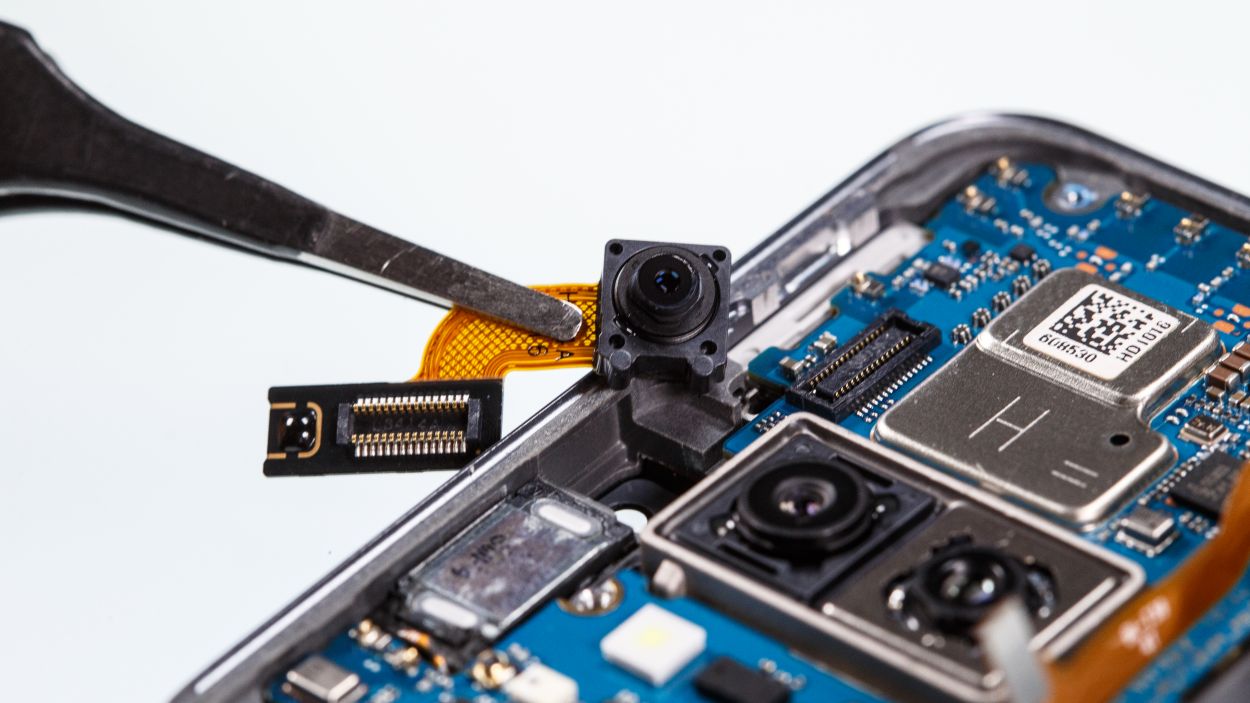
Camera connector
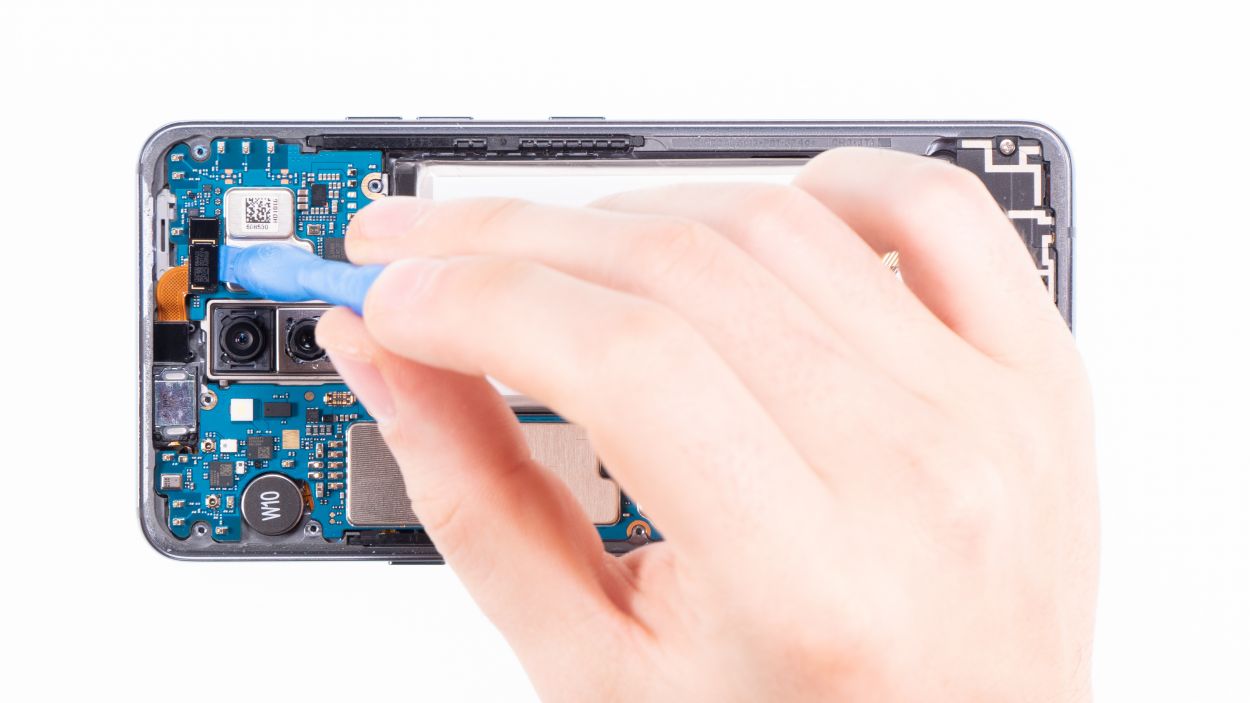
– First things first, gently unplug the front camera connector from the motherboard. Easy peasy!
– Next up, carefully take out the front camera from its cozy spot in the unit. You’re doing great!
Step 6
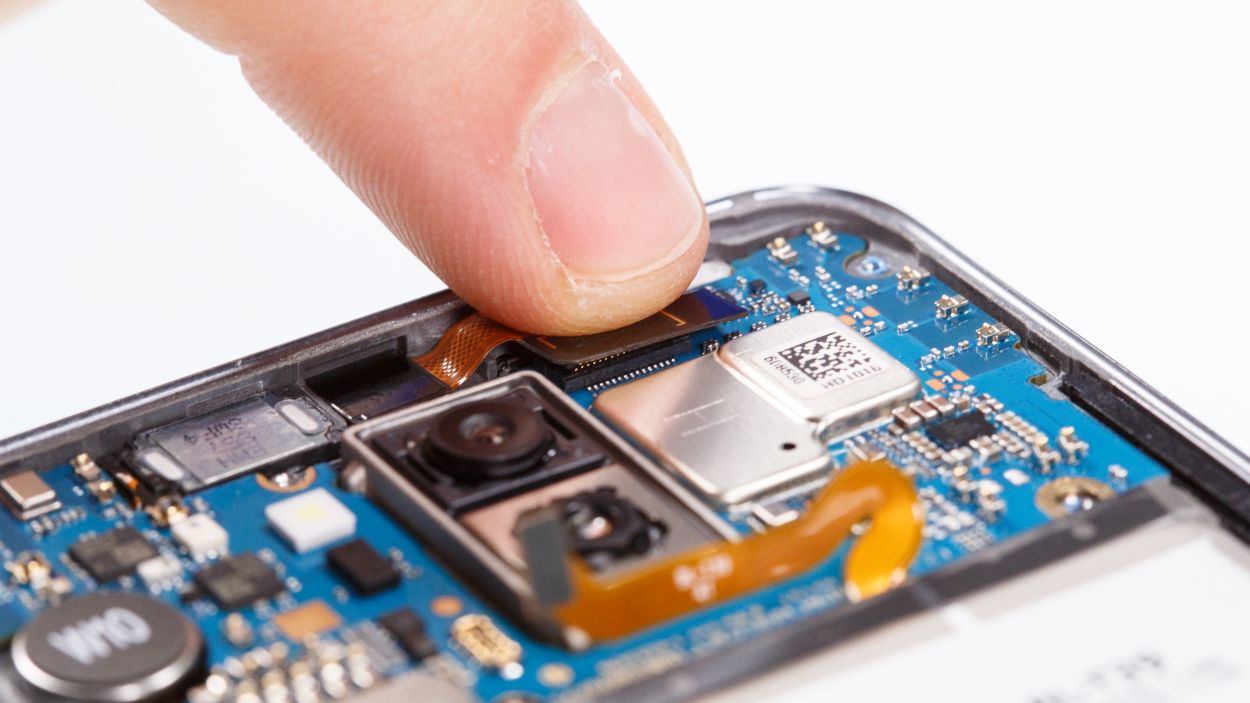
Front camera connector
First things first, if your camera lens has a protective film, peel that off! Next, give the camera and the inside of your device a quick check to ensure they’re free of dust and fingerprints. A clean lens means clearer photos, so let’s keep it tidy!
– Take the new front camera and place it in its opening.
Step 7
Battery Connector
– Connect the battery to the mainboard. Press the contact onto the
connection on the motherboard until you hear it click into place.
Step 8
7 × 3,5 mm Phillips
– Slide the cover with the antenna back into the enclosure, tucking it under the speaker at the bottom like a pro.
– Give the cover a gentle press with your fingers until you hear that satisfying click, letting you know it’s snug as a bug.
– Now, grab your Phillips screwdriver and fasten those screws tight!
Step 9
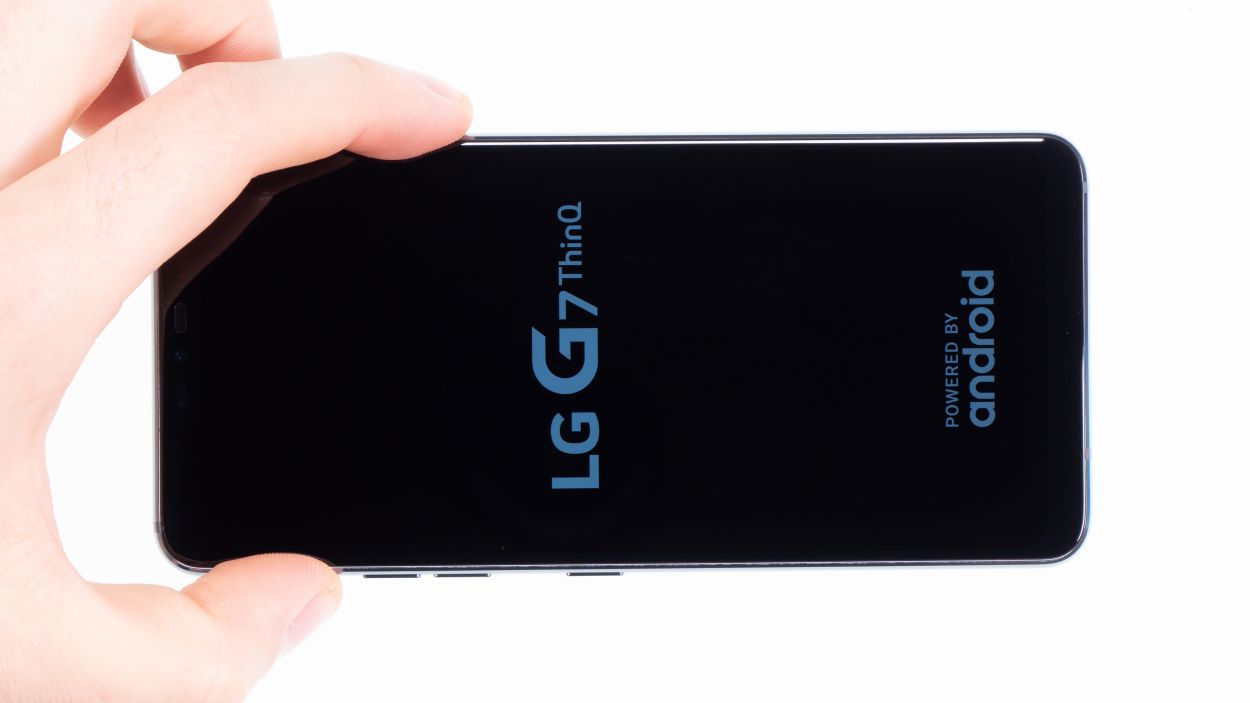
Give everything a good test drive, especially the part you just swapped out. Make sure it’s working like a charm!
– Let’s put your device through its paces! Power it up and give it a spin.
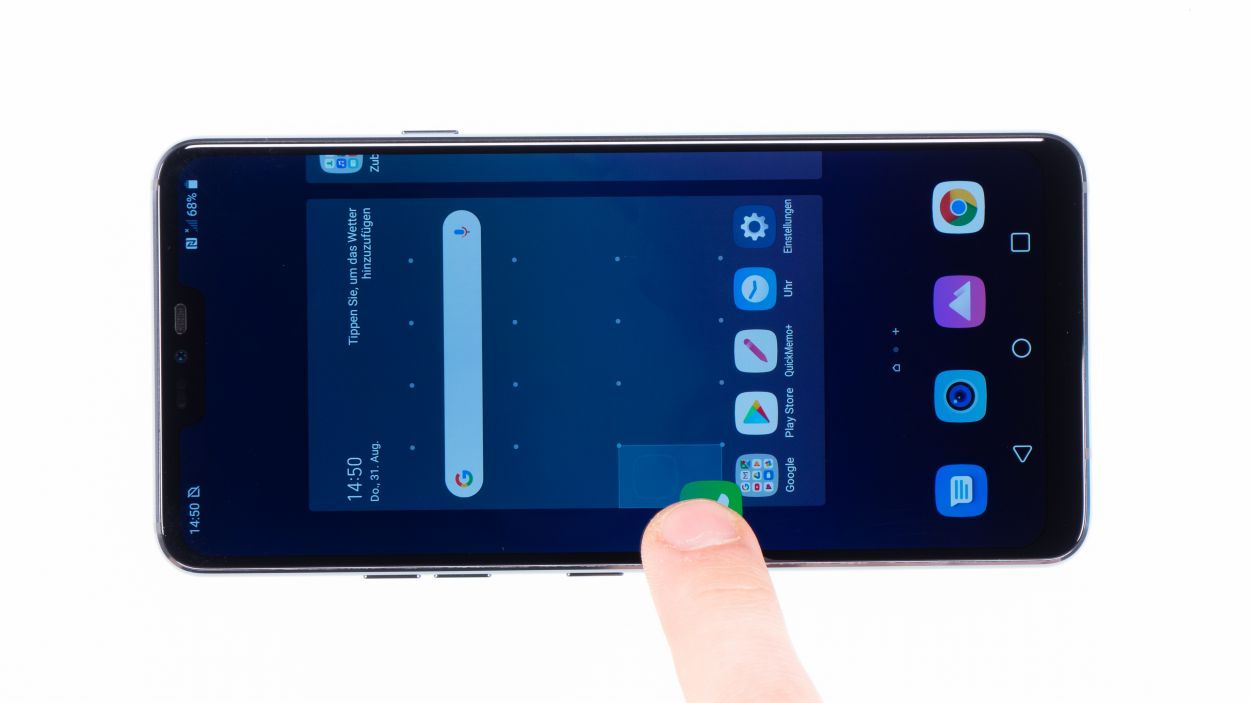
– Get ready for some screen gymnastics! Drag any app all around your screen like a superhero. Give it a twirl around the border and then zigzag it across the screen. Your app should be a loyal companion, following your finger wherever it goes.
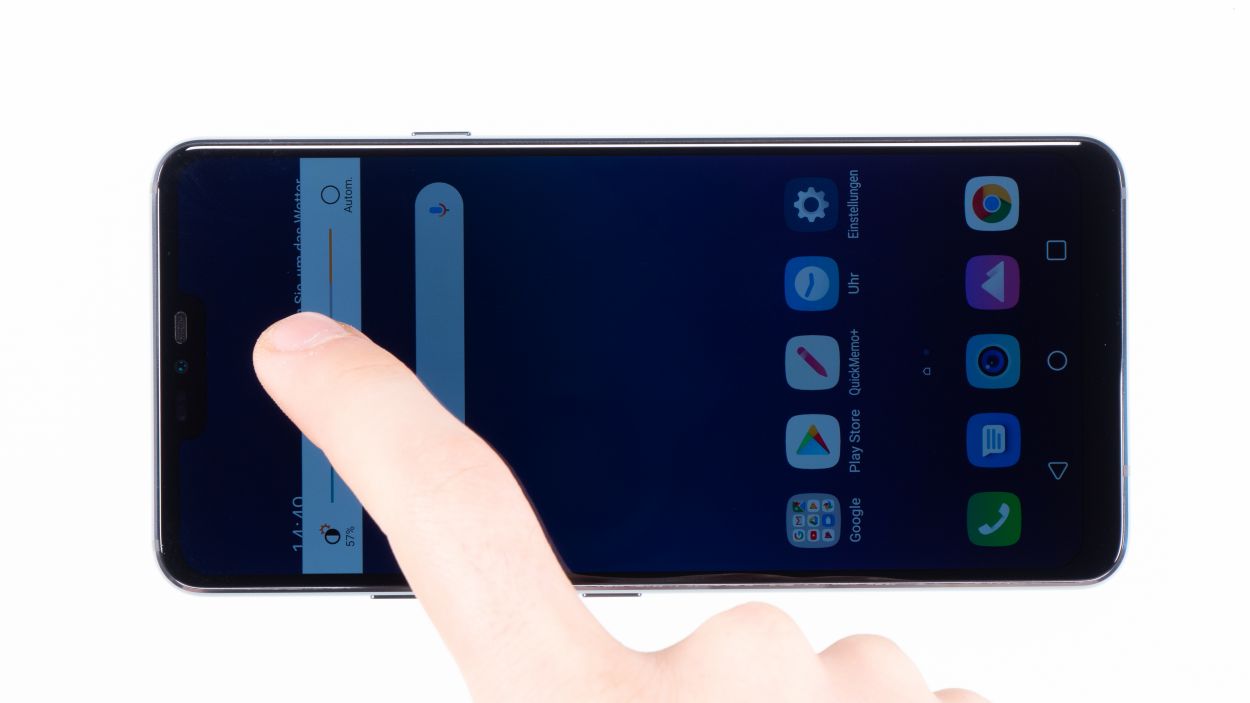
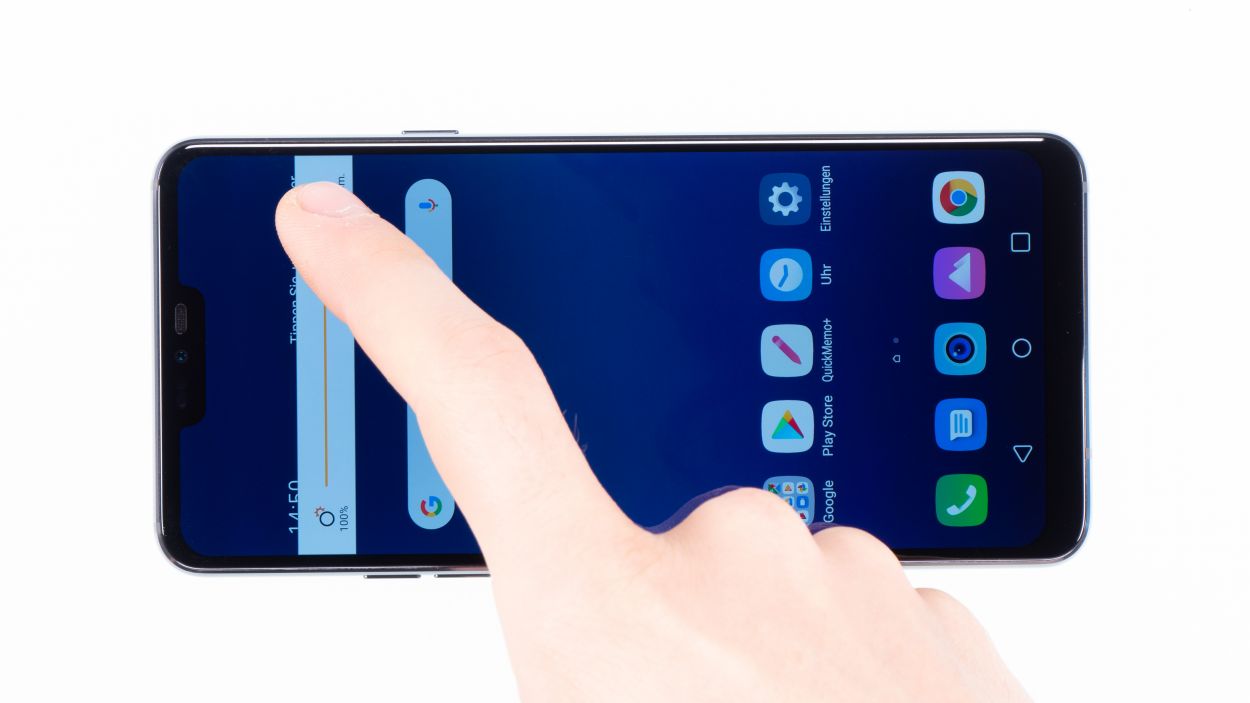
– Now, let’s check out your screen’s brightness. Zoom to the max and then to the minimum. Let’s see if it’s got the range!
Step 10
If the adhesive on the back cover is still intact, you can seal your device without using a new adhesive frame.
– Carefully place the back cover back where it belongs.
– Give the back cover a gentle press all around to ensure the glue sticks like it should.
