LG G7 ThinQ Camera Replacement Guide: Step-by-Step Tutorial
Duration: 45 min.
Steps: 16 Steps
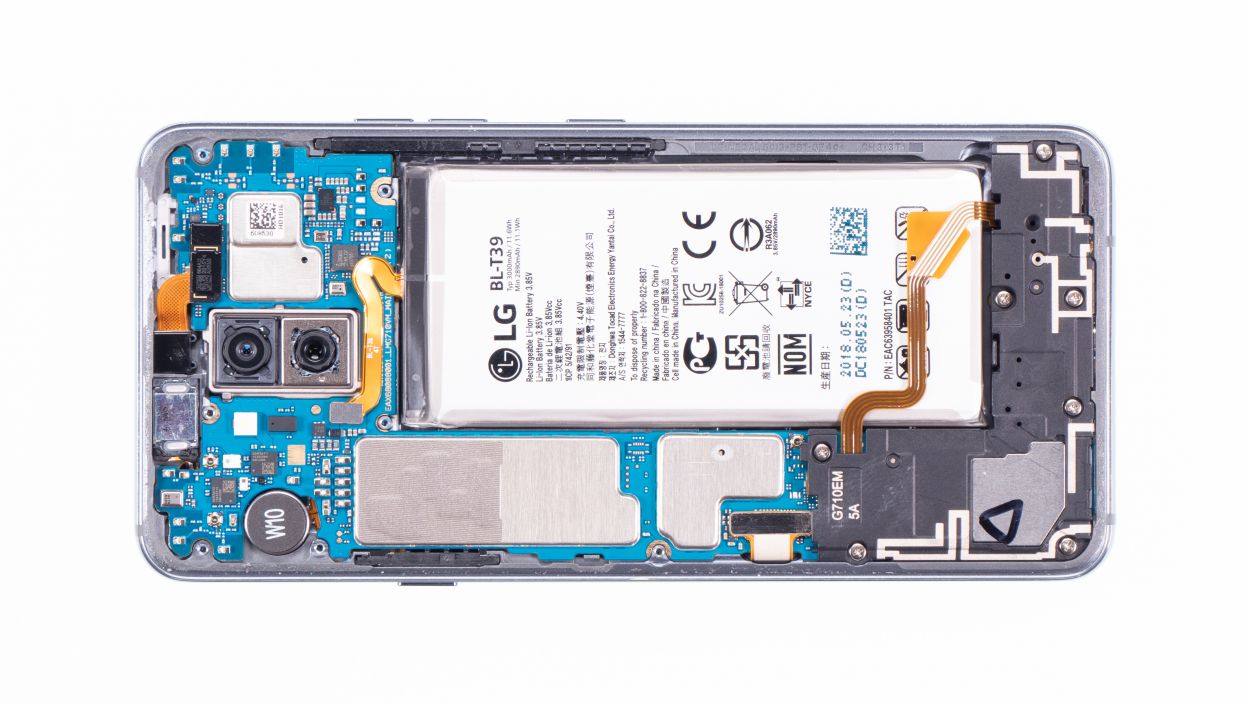
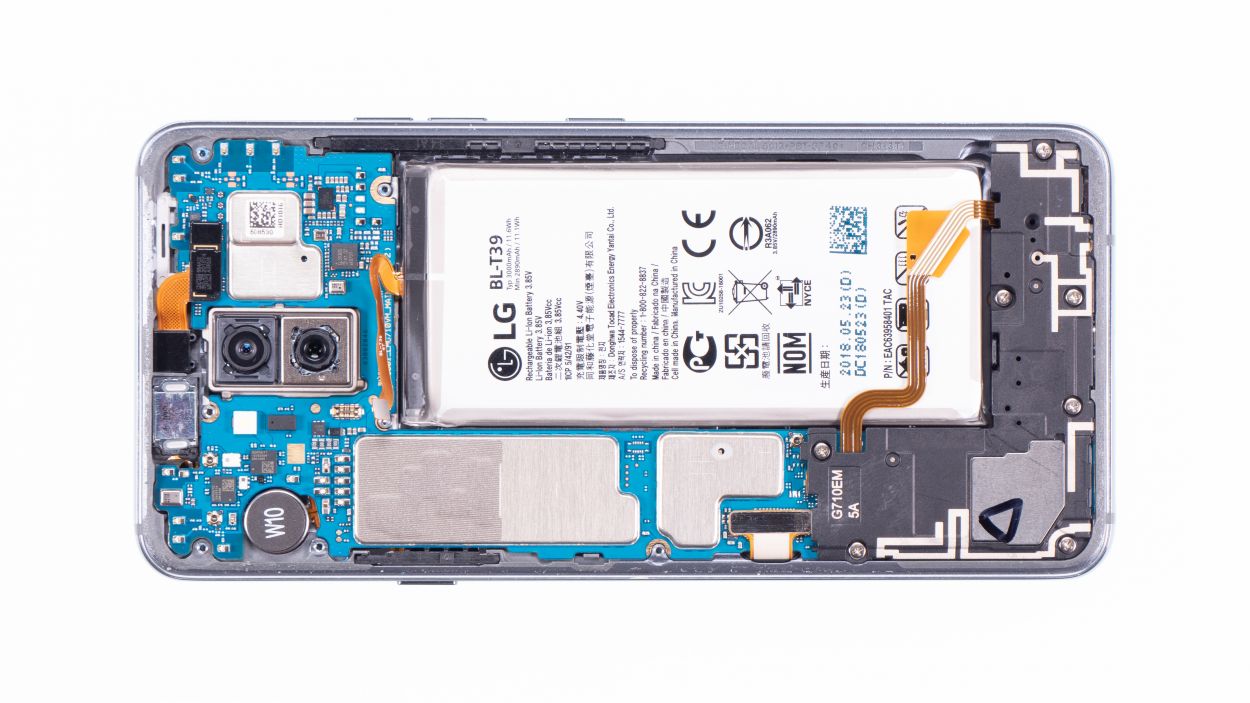
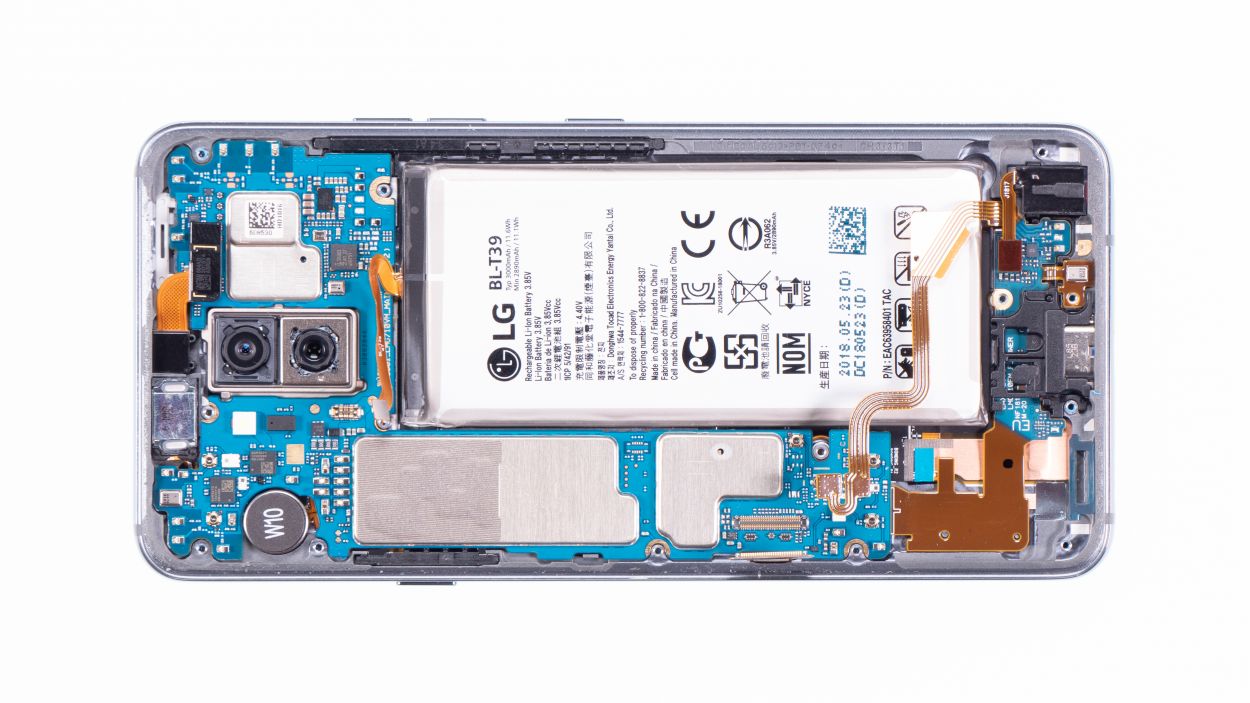
Getting into the LG G7 ThinQ can be a bit tricky since we need to pop open that glass back cover. Before diving in, make sure to back up your data, set up a tidy workspace, and take your time—no rush here! If you hit a snag, don’t hesitate to reach out through our live chat or drop a comment at the end of the guide. We’re here to help you through it!
Step 1
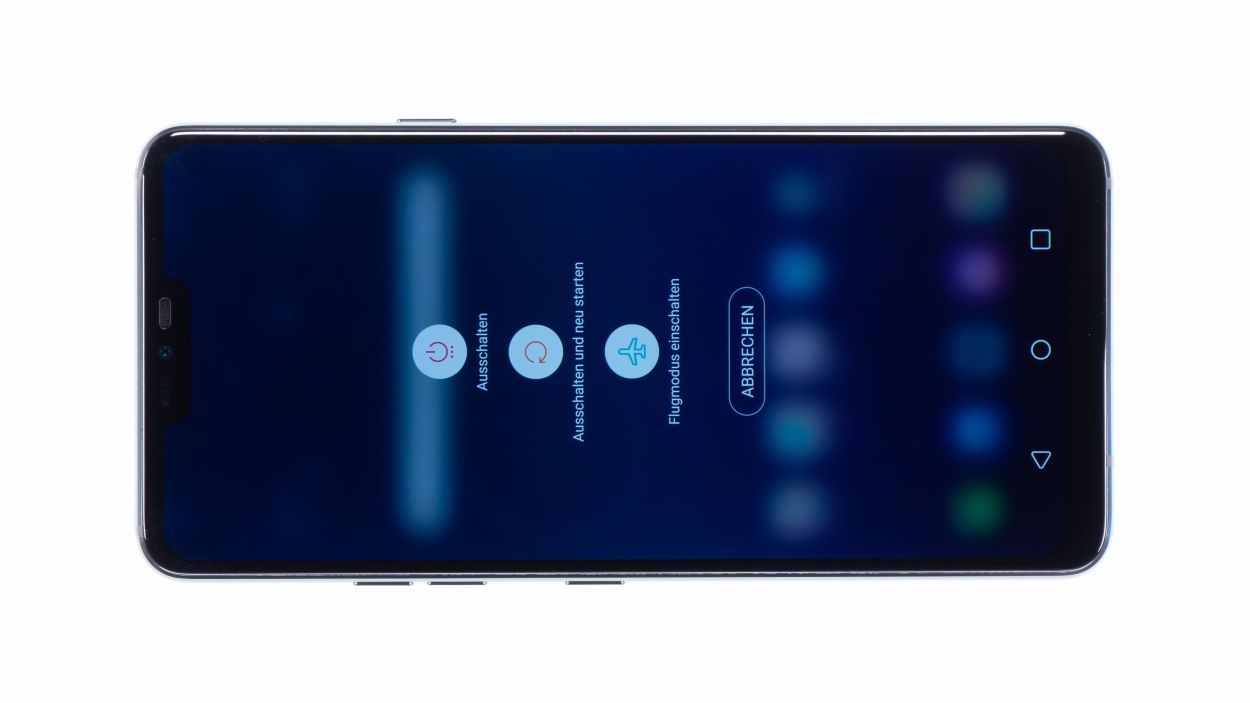
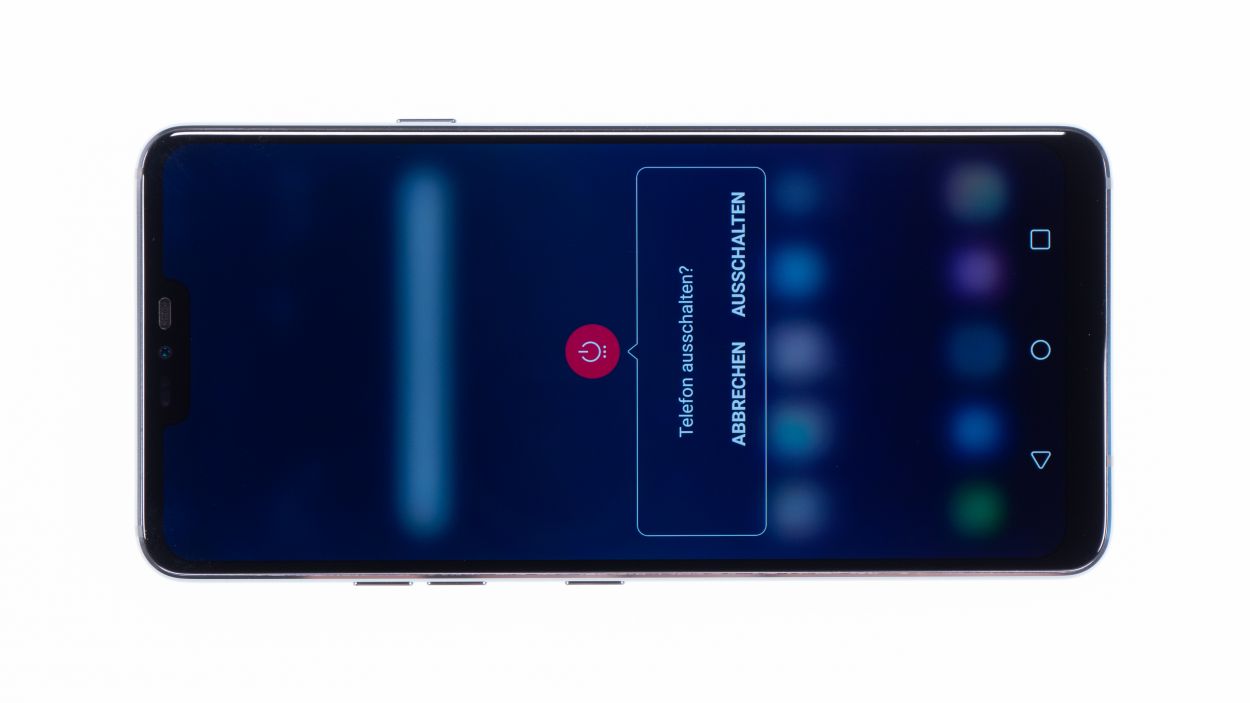
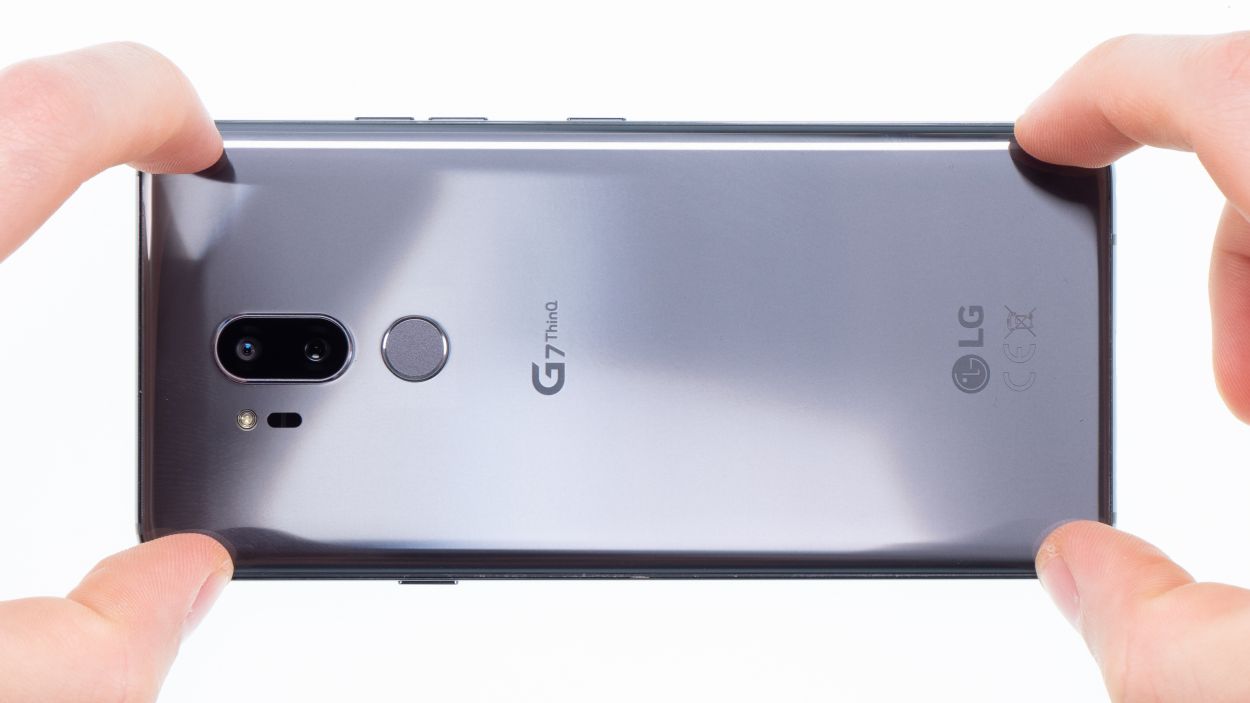
– Turn off your device by holding down the power button on the side until the “Power off” option appears.
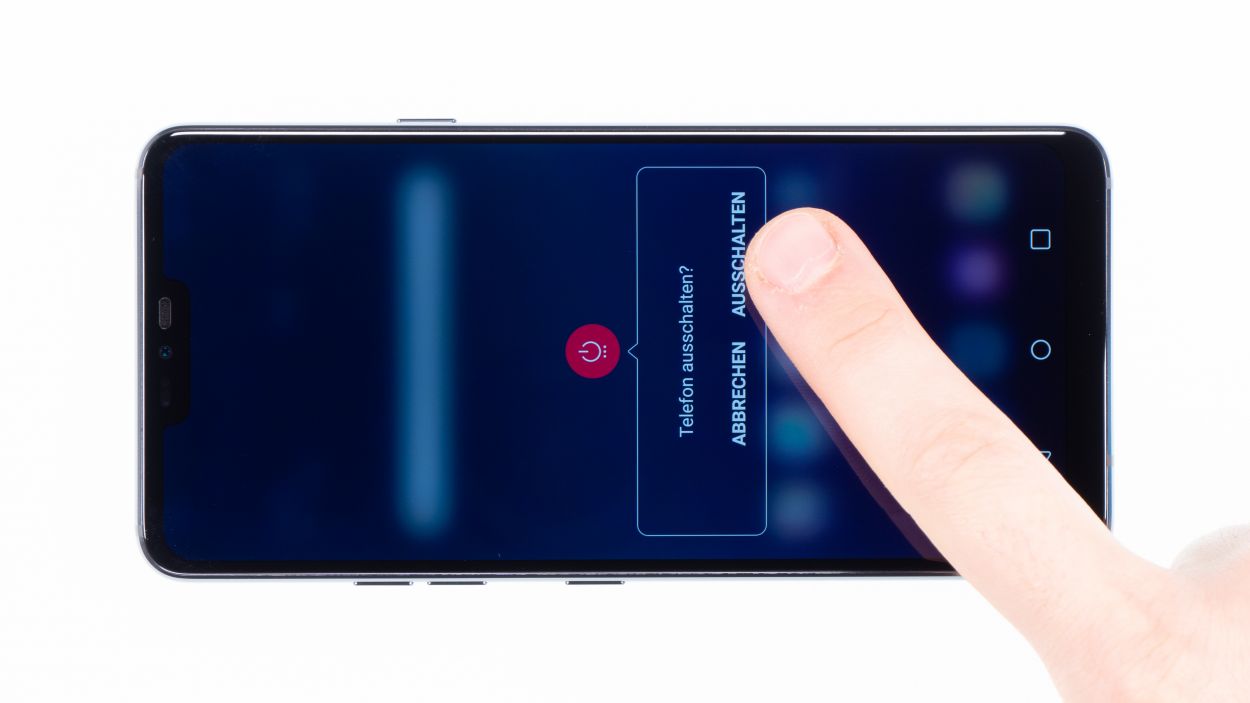
– Tap to confirm and wait until the screen goes black.
Step 2
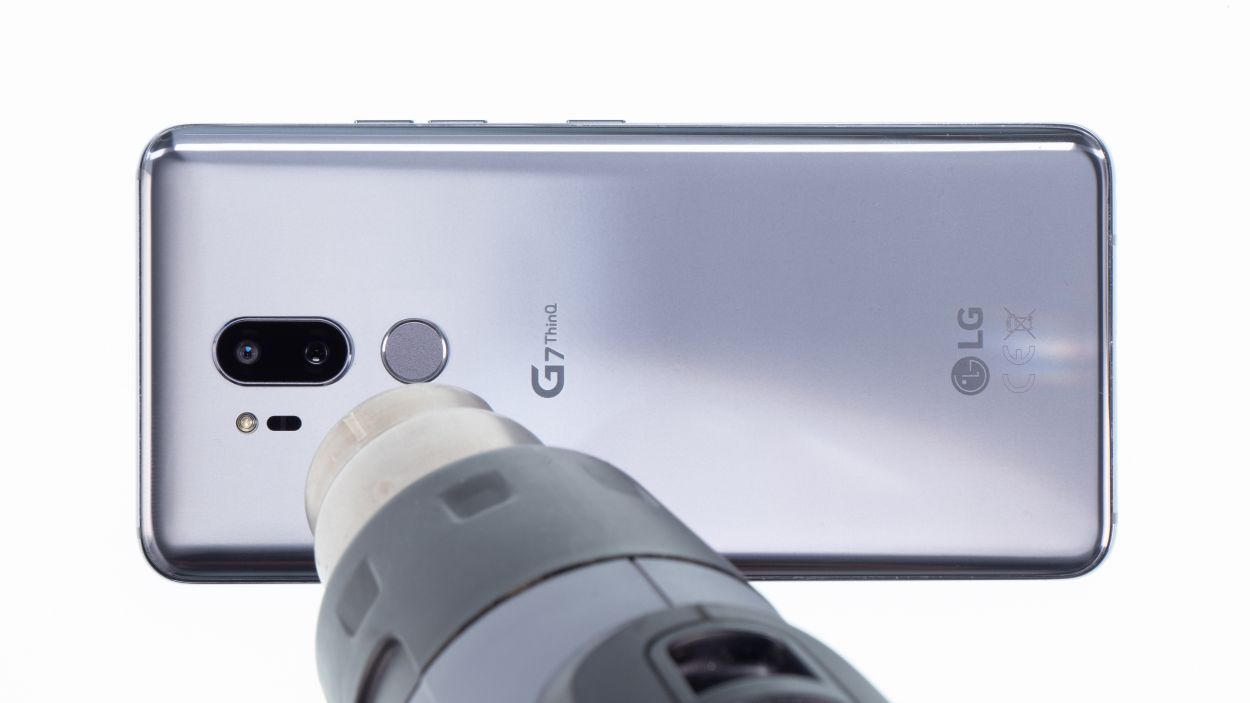
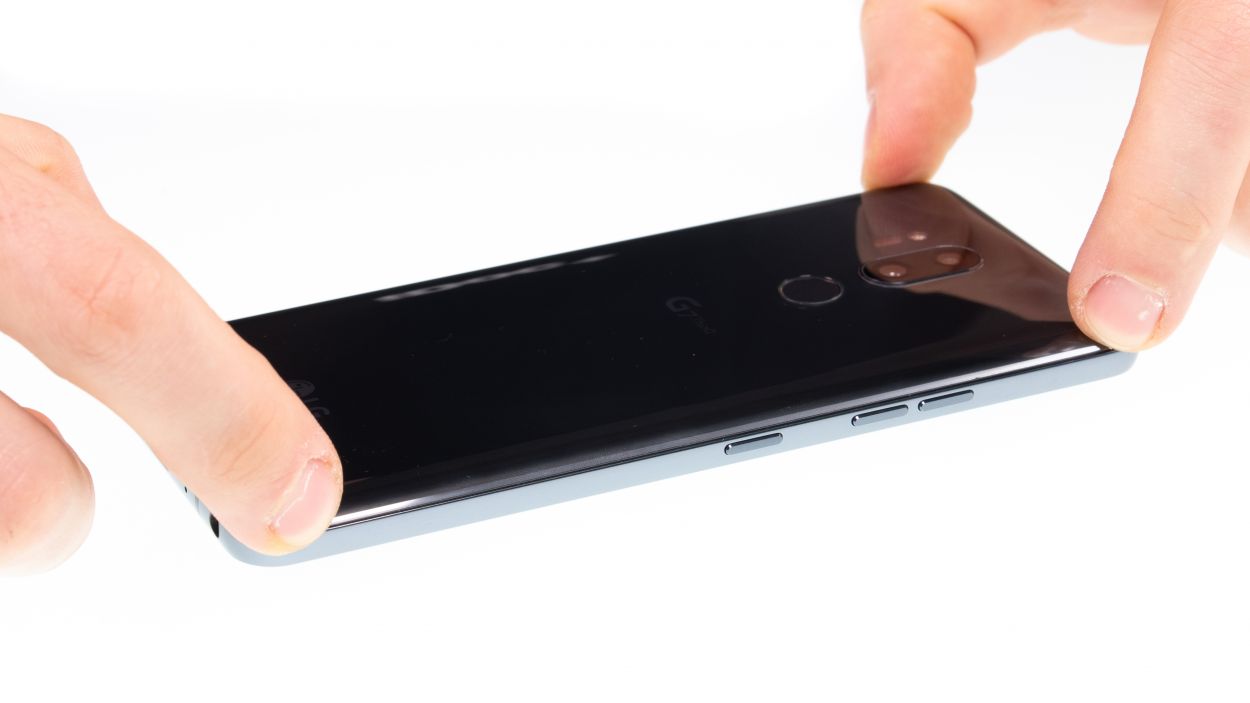
– The back cover is really stuck to the chassis, so let’s give it a little love! Warm up your device evenly with some hot air to loosen that glue. A cozy temperature of 60 – 80°C should do the trick. Just make sure it’s still comfortable to touch!
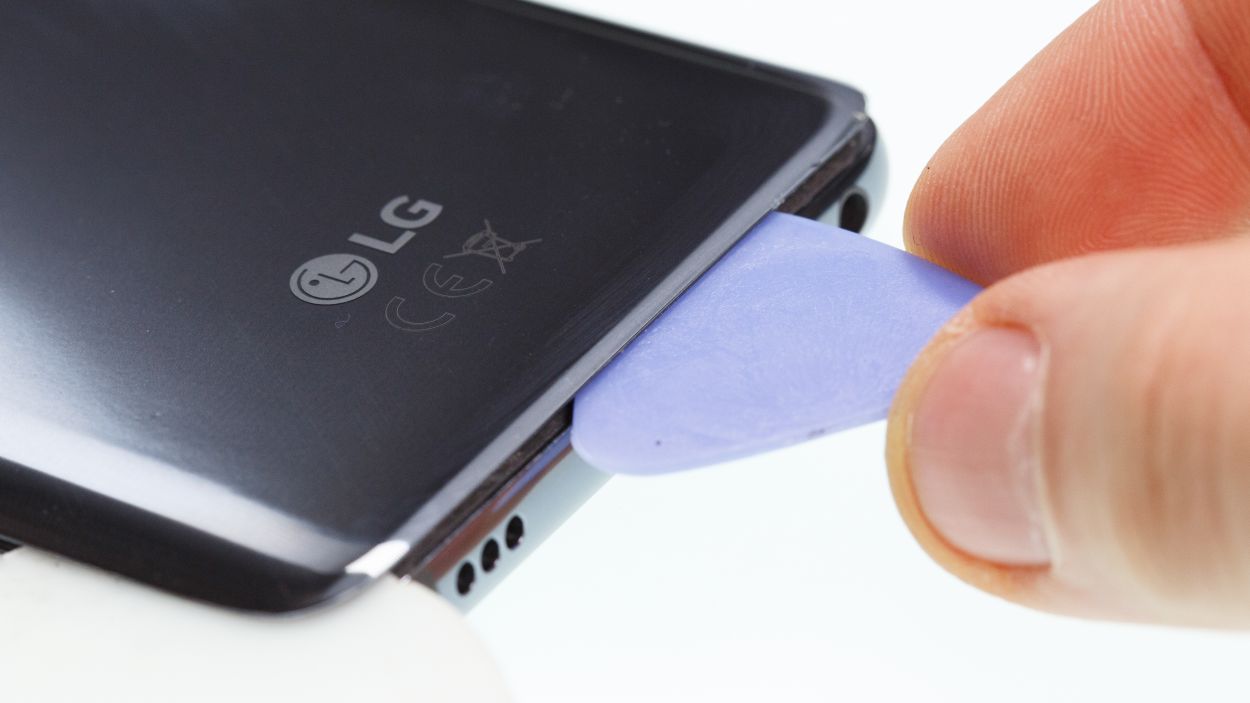
– To make things easier, grab a flat and flexible tool like the iPlastix or iFlex. You’ll also want a few picks handy to help unstick the back cover all around.
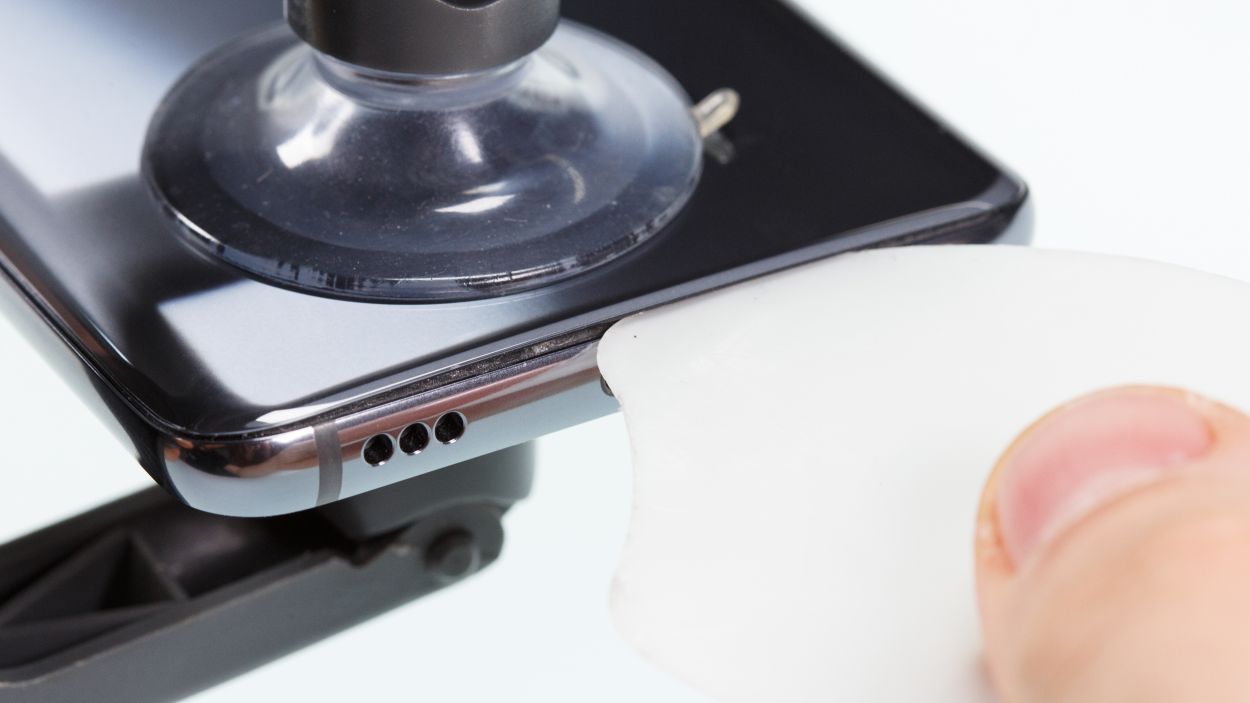
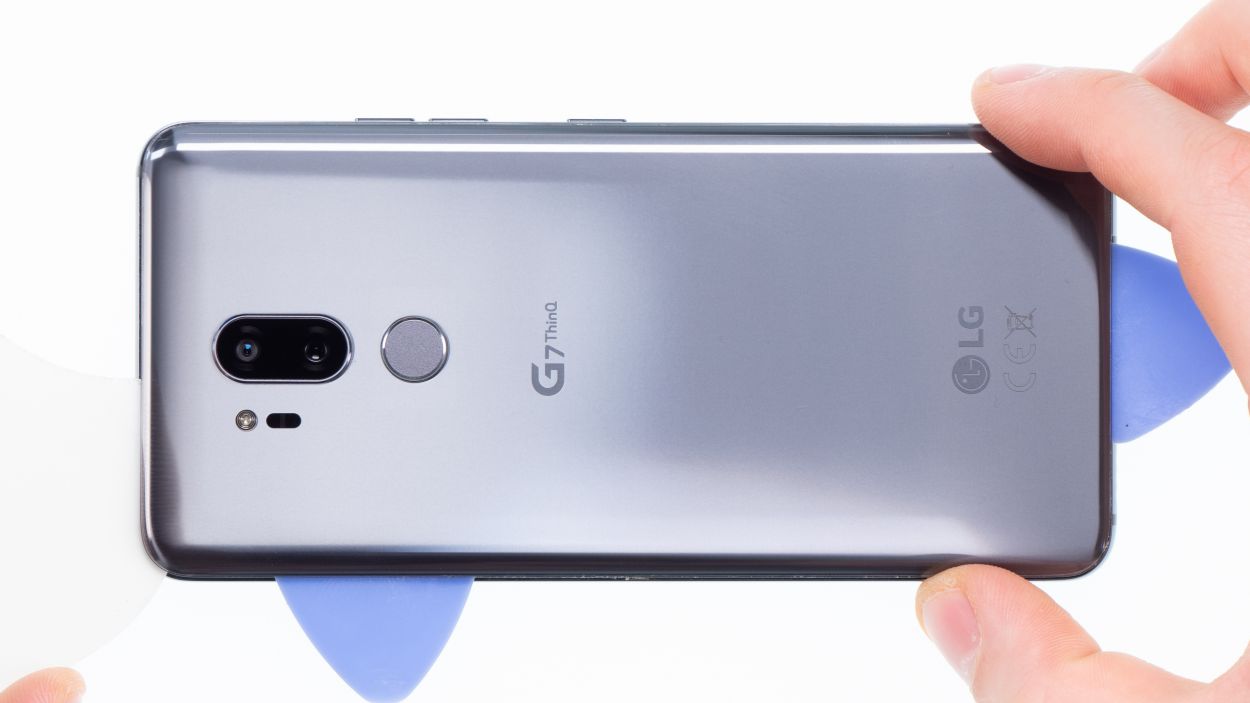
– Start by heating the area where you want to begin, then slide a flat tool between the back cover and the frame.
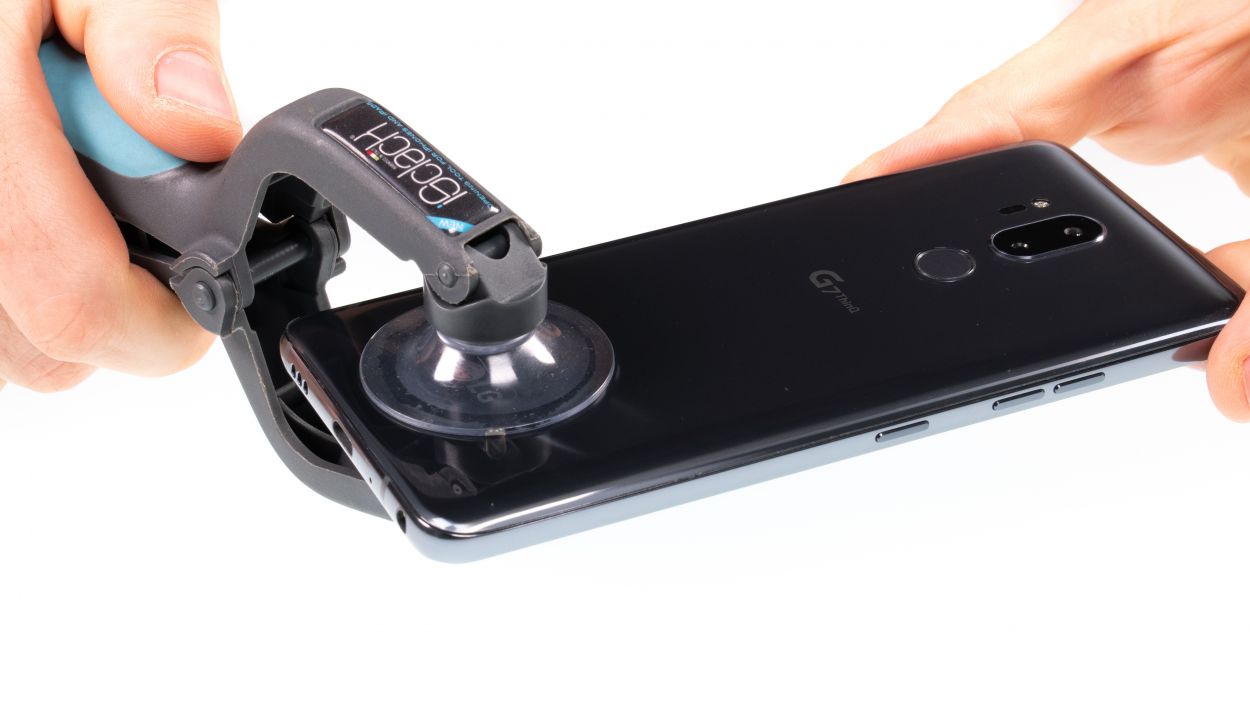
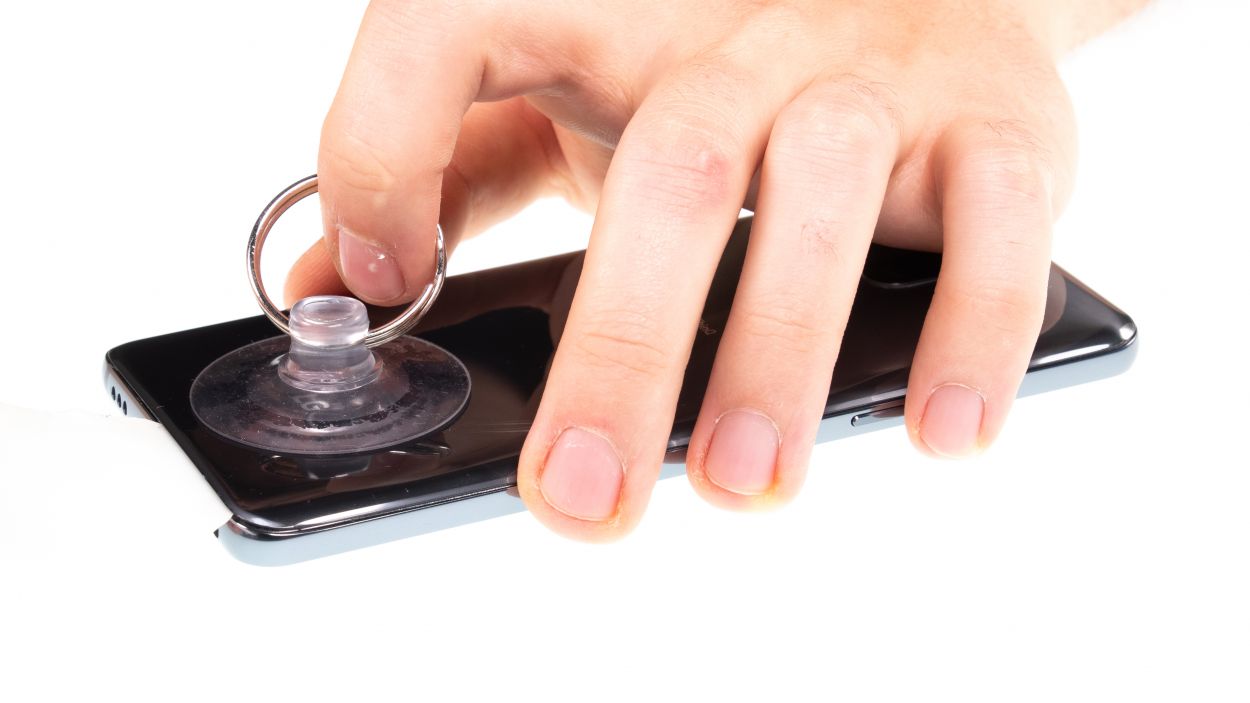
– If you’re having trouble finding a spot for your tool, a suction cup can be your best friend to lift the glass.
– With the iSclack, you can effortlessly lift the back cover. Just place both suction cups on the display and back cover, then squeeze the lever like you’re using a pair of pliers!
Be
extra careful, the back cover can break very easily. If necessary,
apply the heat several times and try again. Removing the back cover
might take half an hour. Take a little more time and work carefully to
make sure you don’t break anything.
The iPlastix is crafted from plastic, so it’s gentle on your device and won’t leave any scratches. However, it can be a bit soft and tricky to maneuver. On the flip side, the iFlex is your best buddy for slipping into the gap between the glass and the frame, thanks to its super thin and sturdy metal design. Just a heads up, though—it might be a little too eager and could scratch the frame of your device. If you need help, you can always schedule a repair.
Step 3
7 × 3,5 mm Phillips
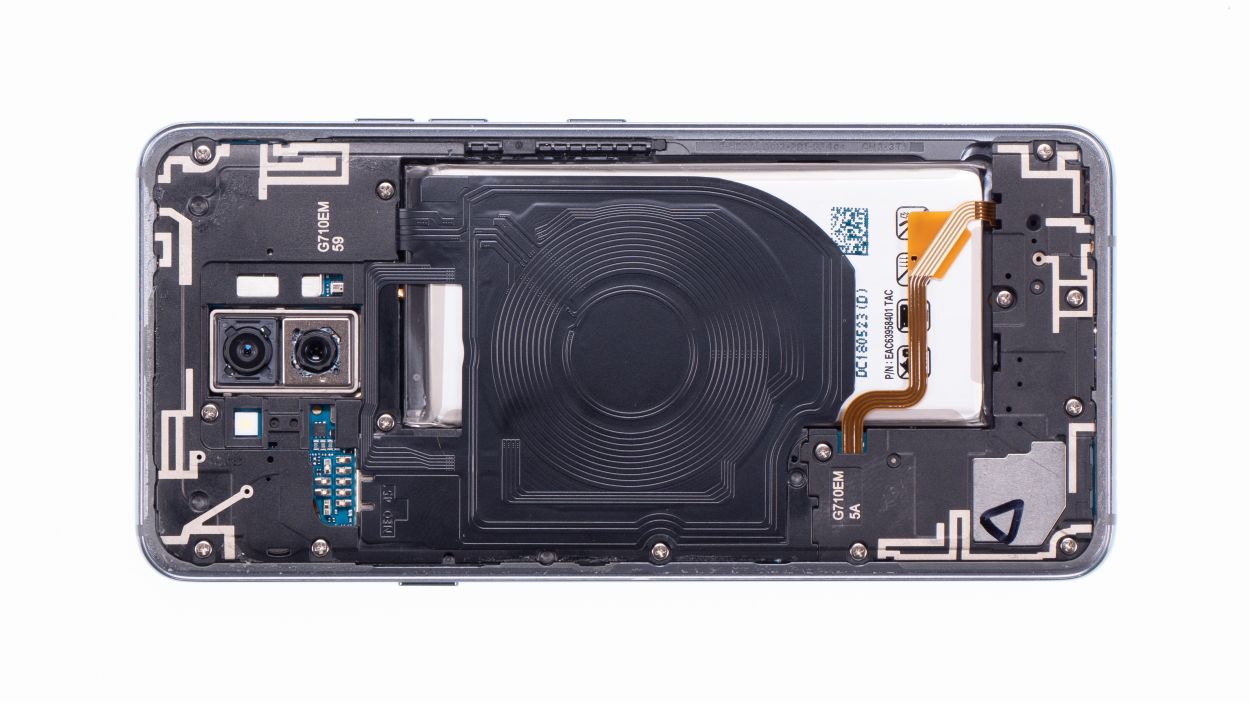
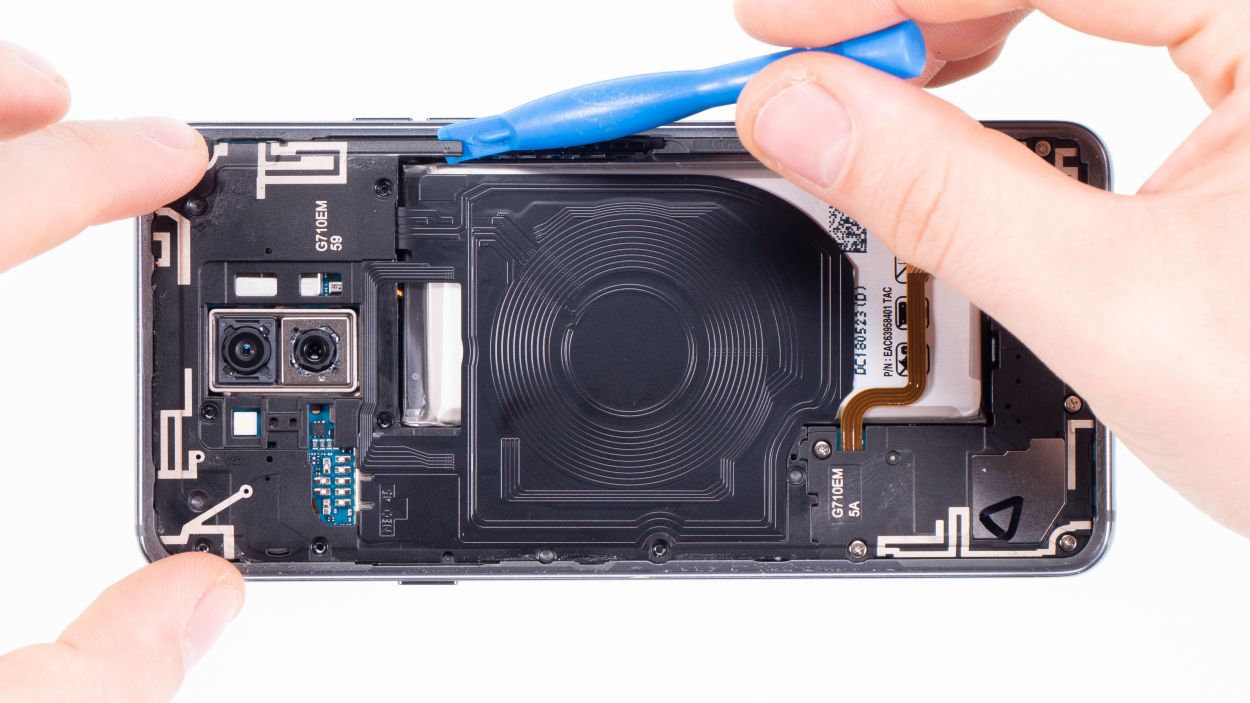
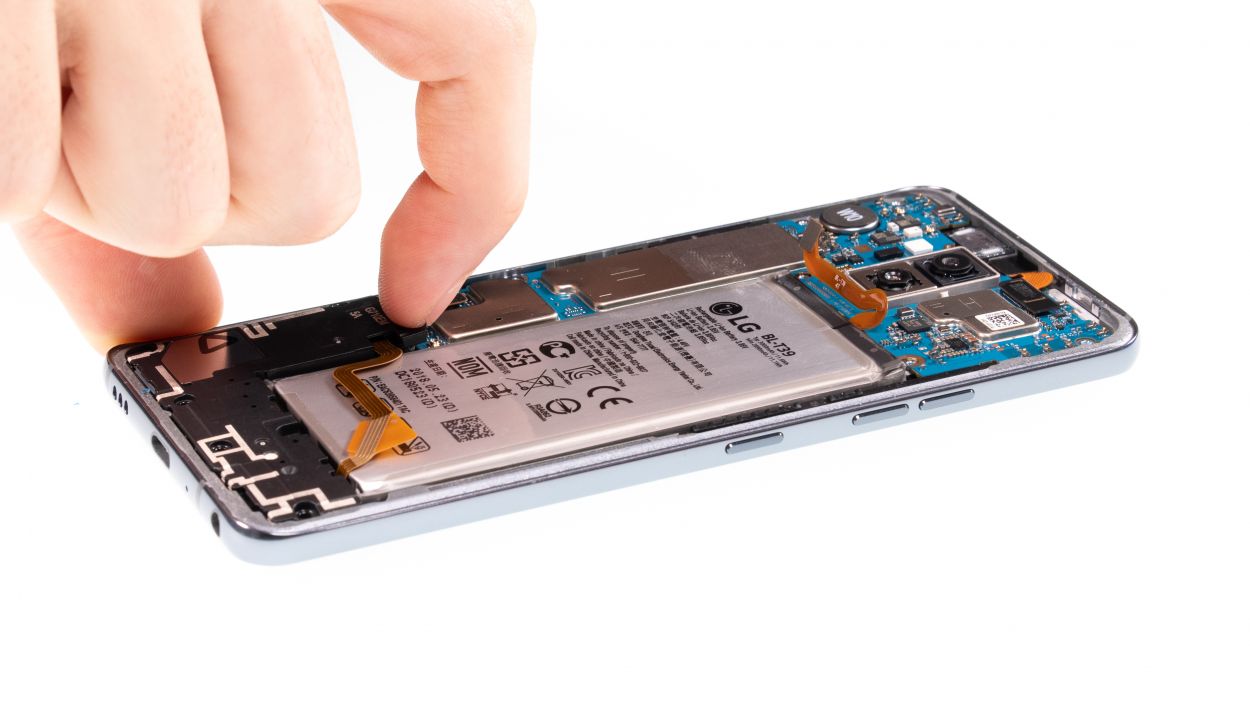
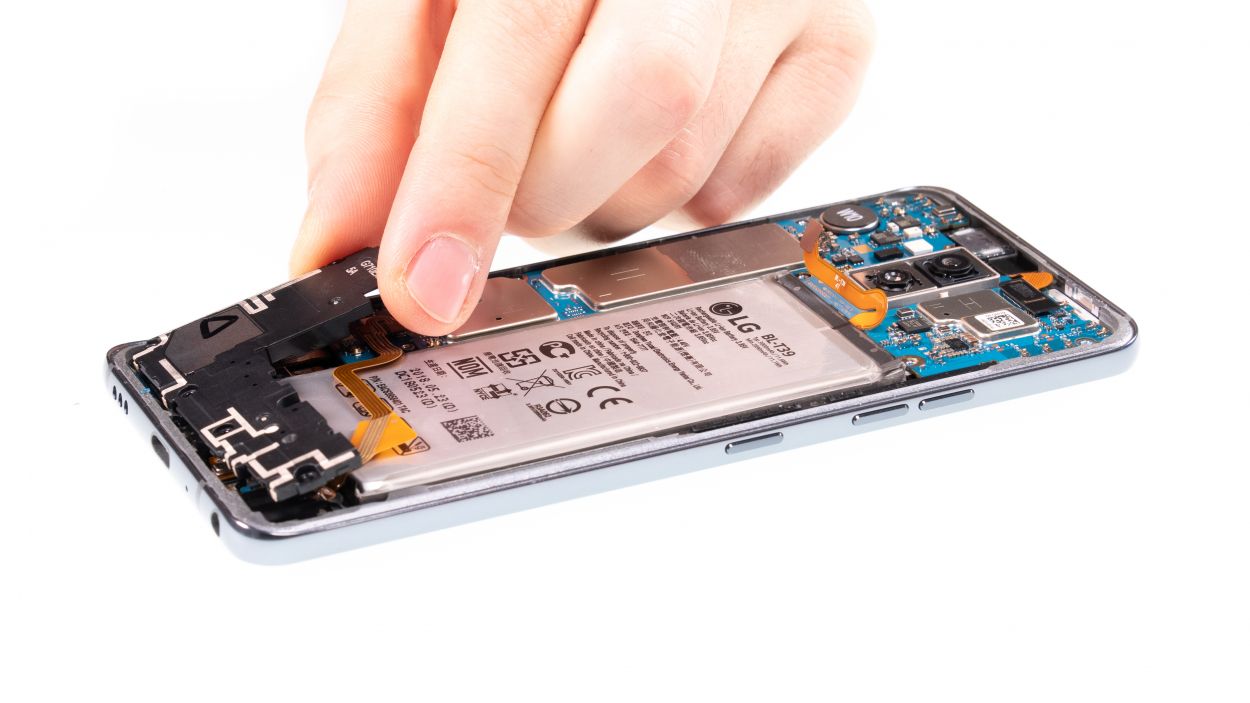
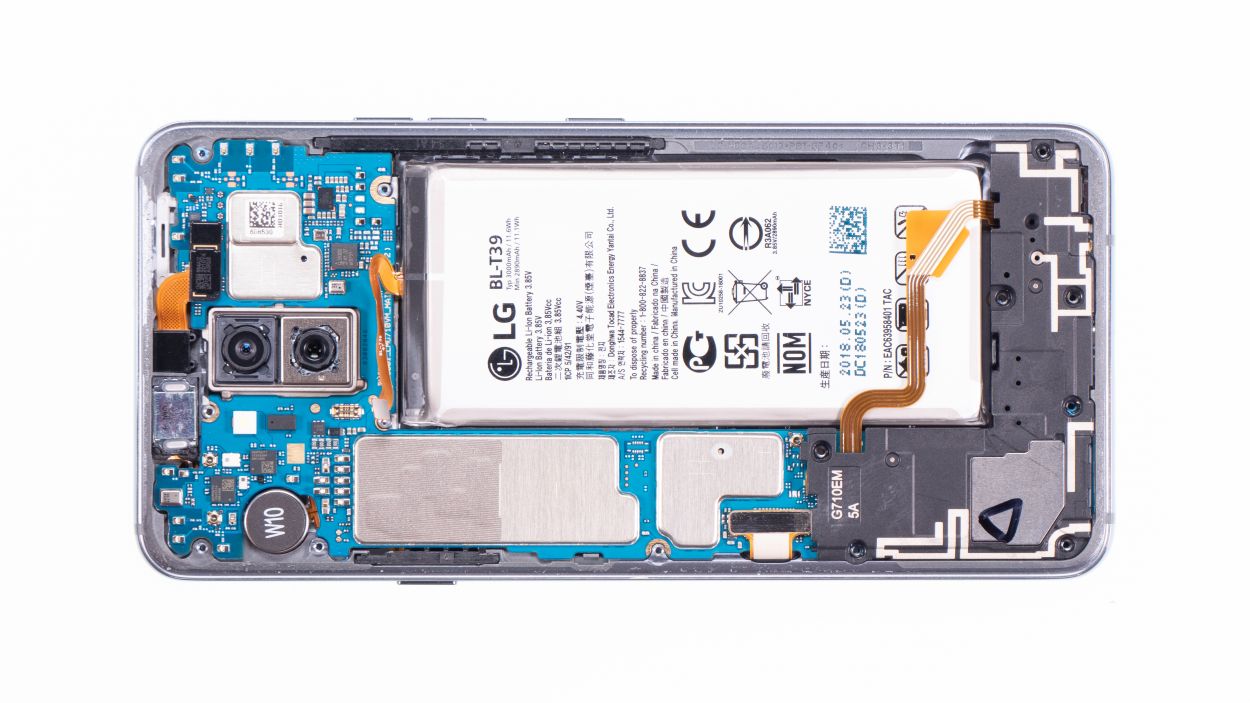
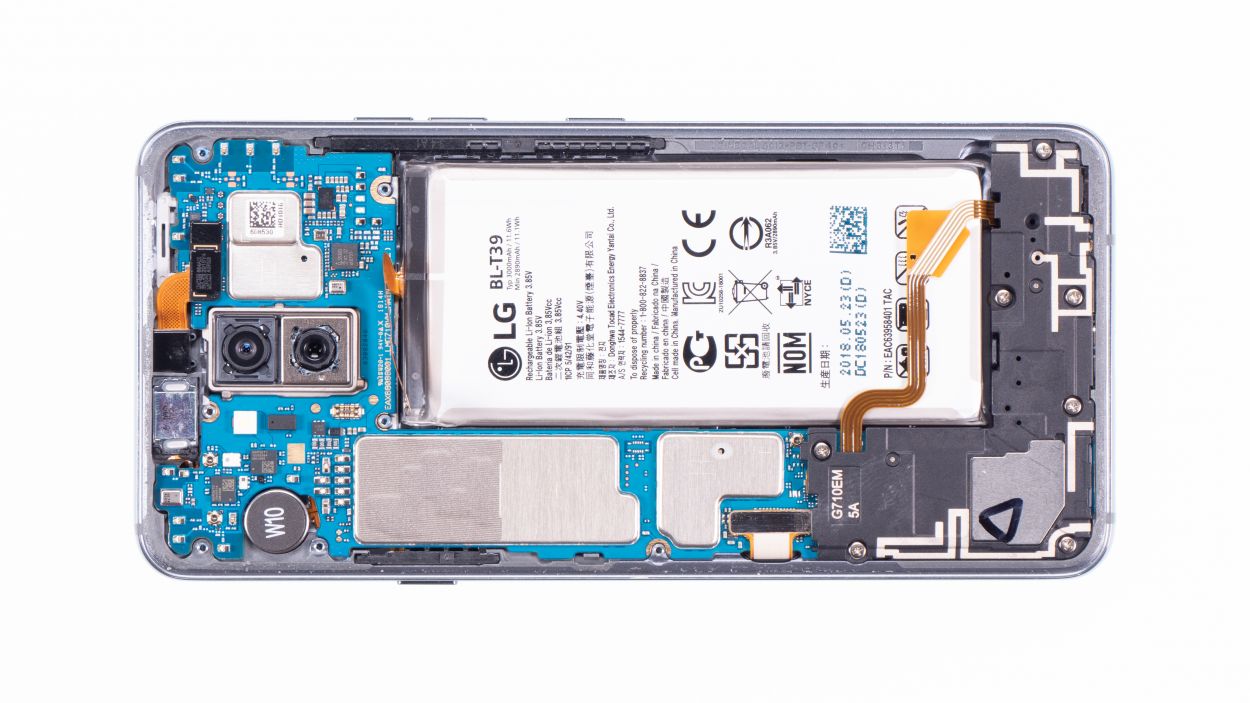
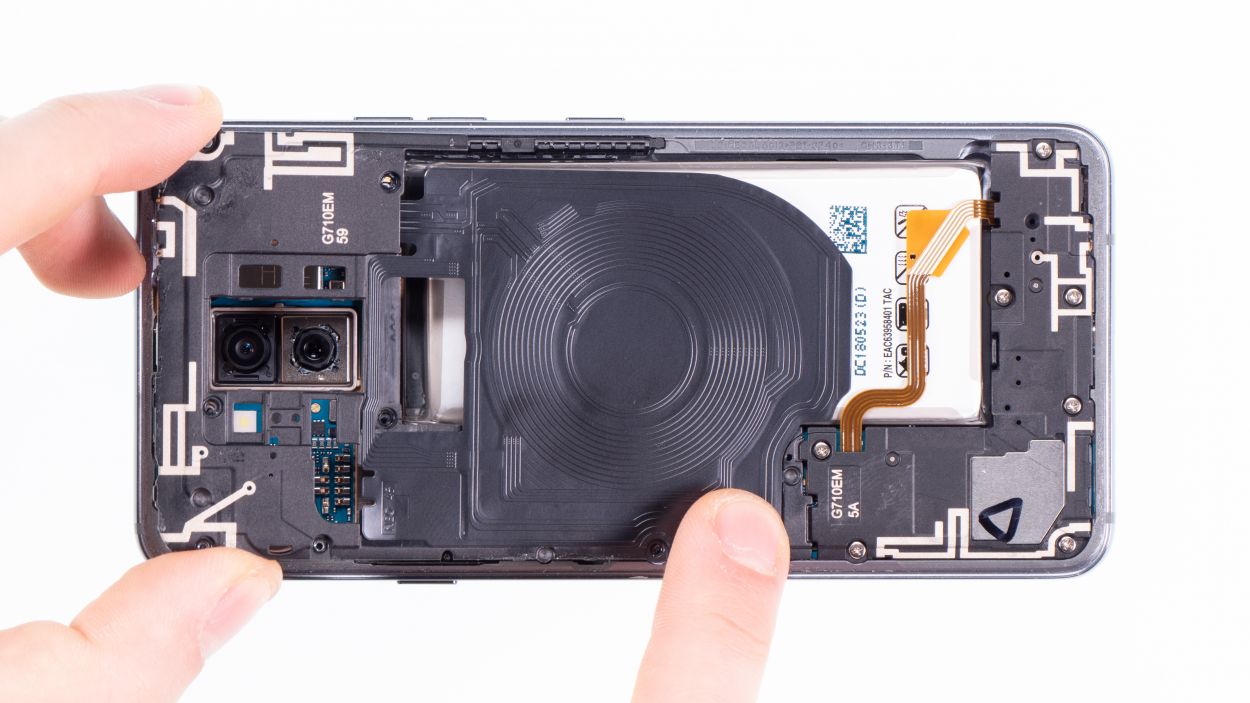
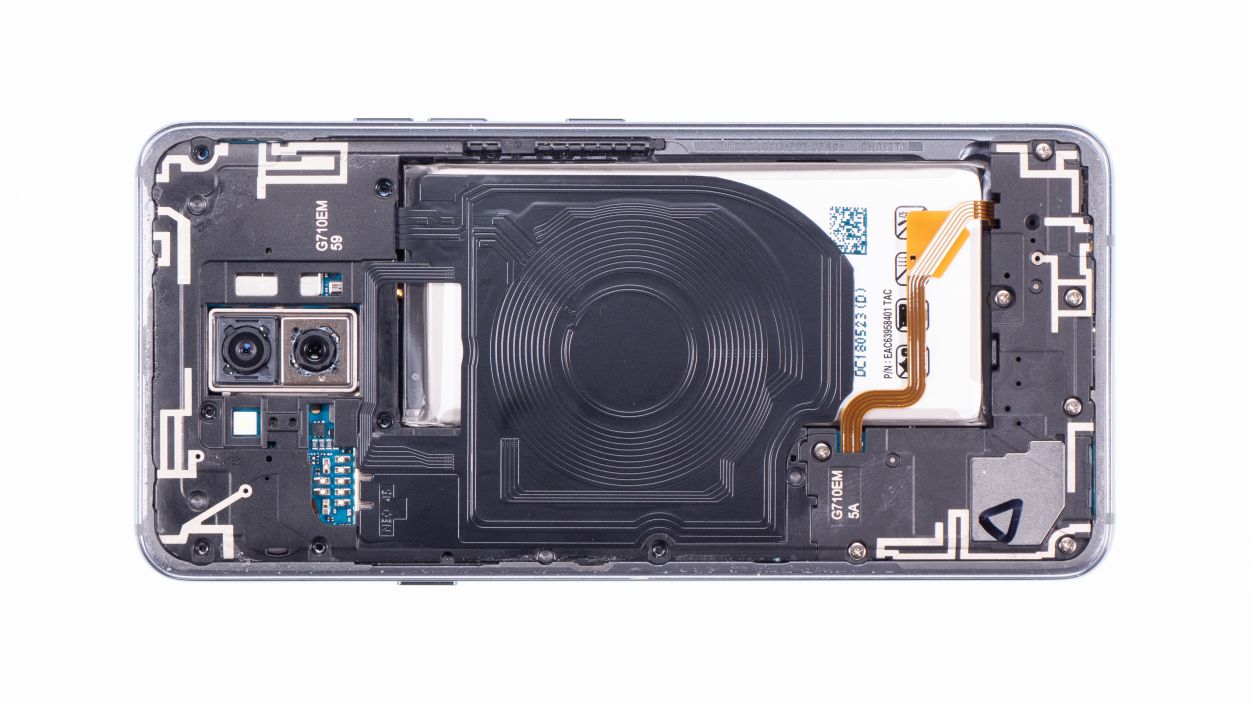
– Loosen the Phillips screws that secure the cover. The wireless charging coil and NFC antenna are attached to the plastic
cover.
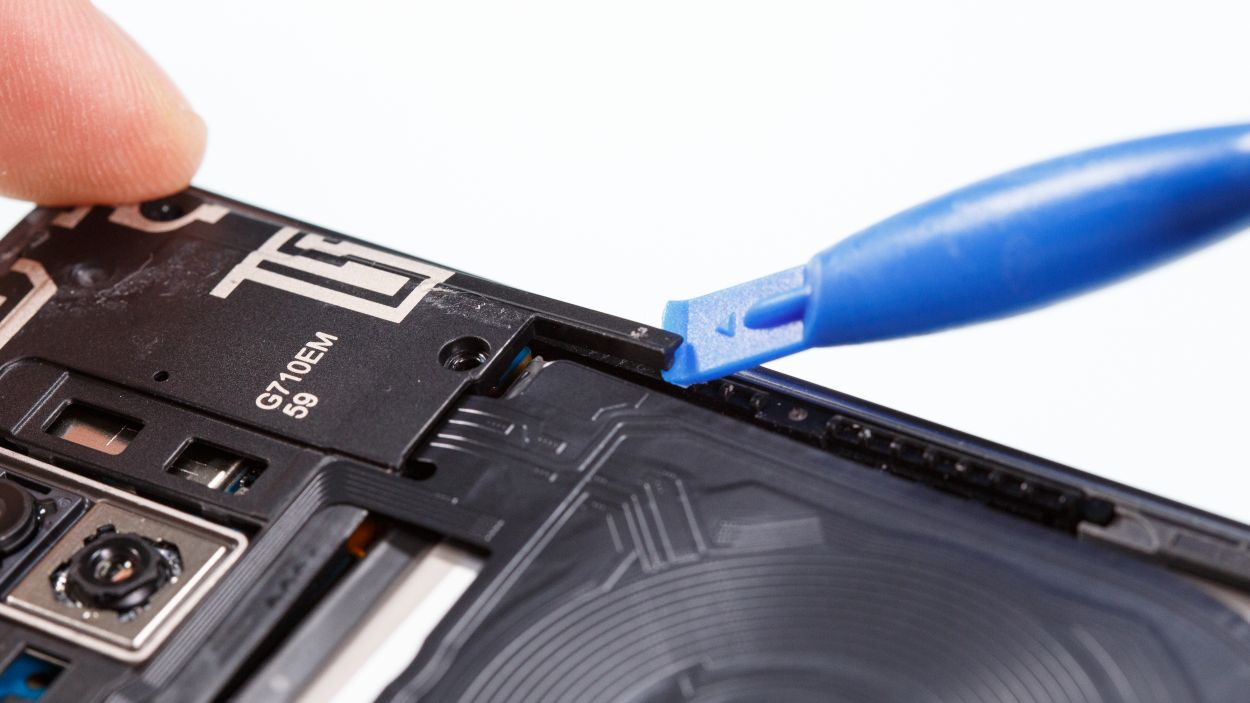
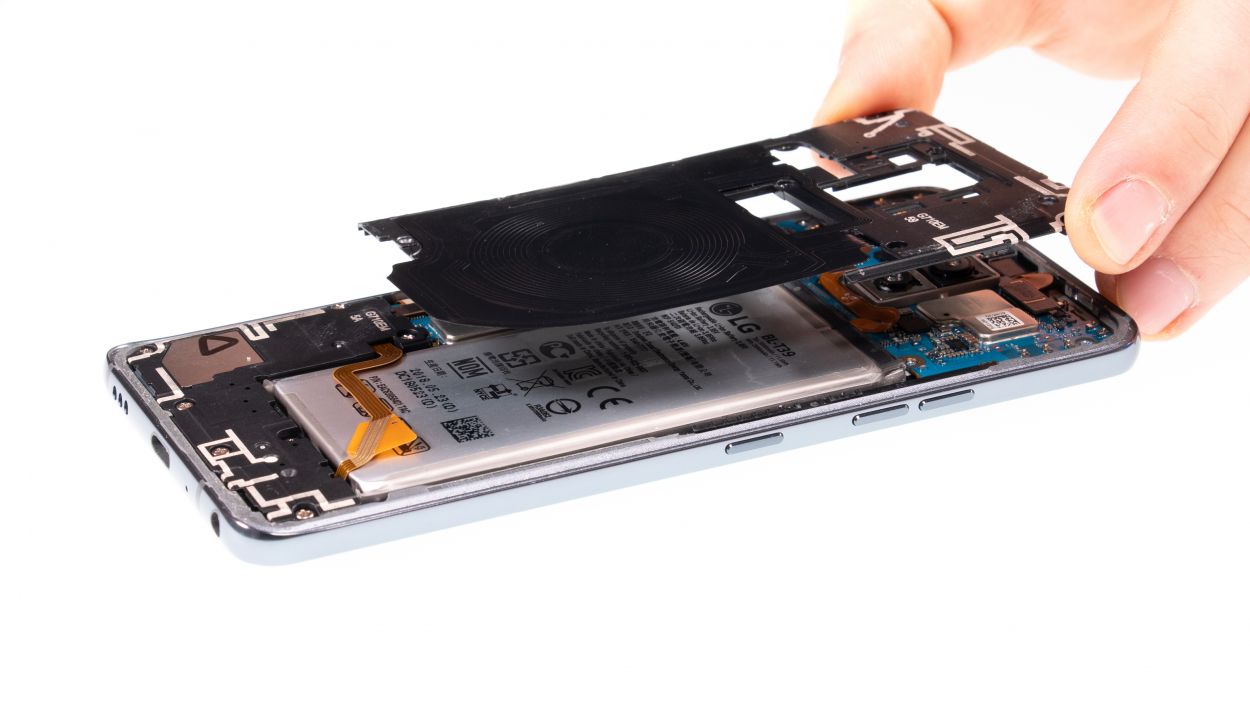
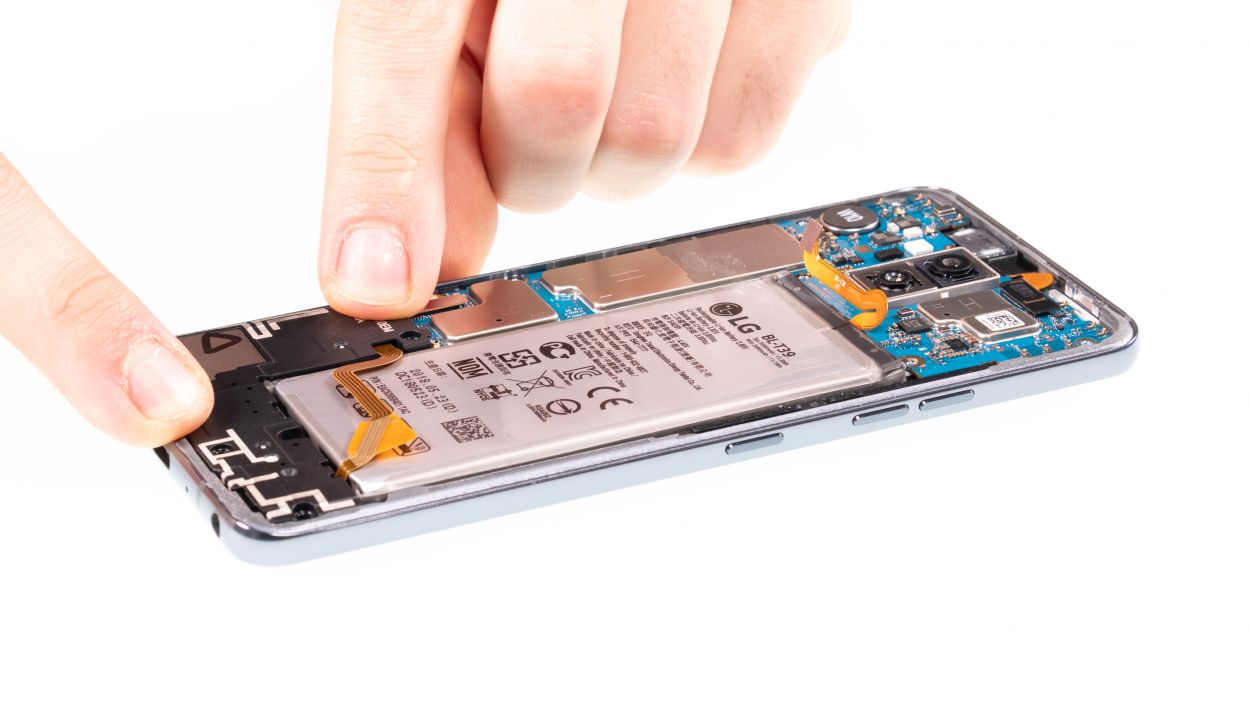
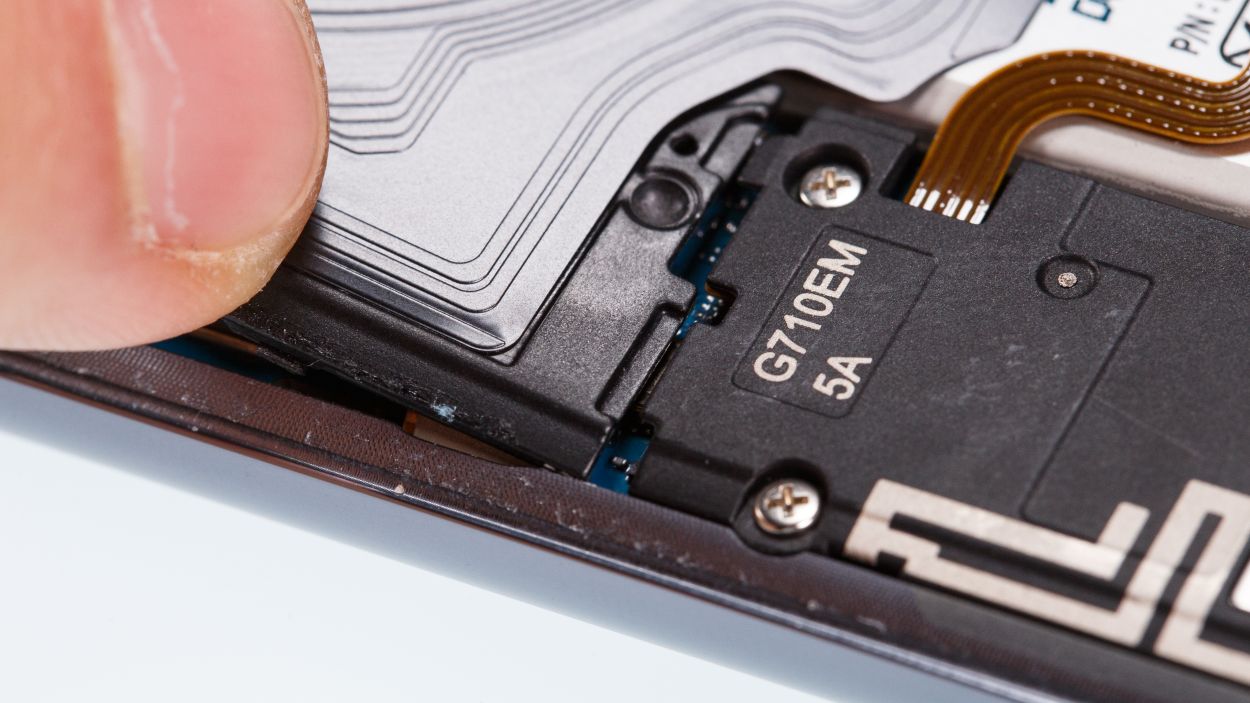
– The cover is hooked into the housing. Lever with a tool under the plastic frame and lift the frame upwards.
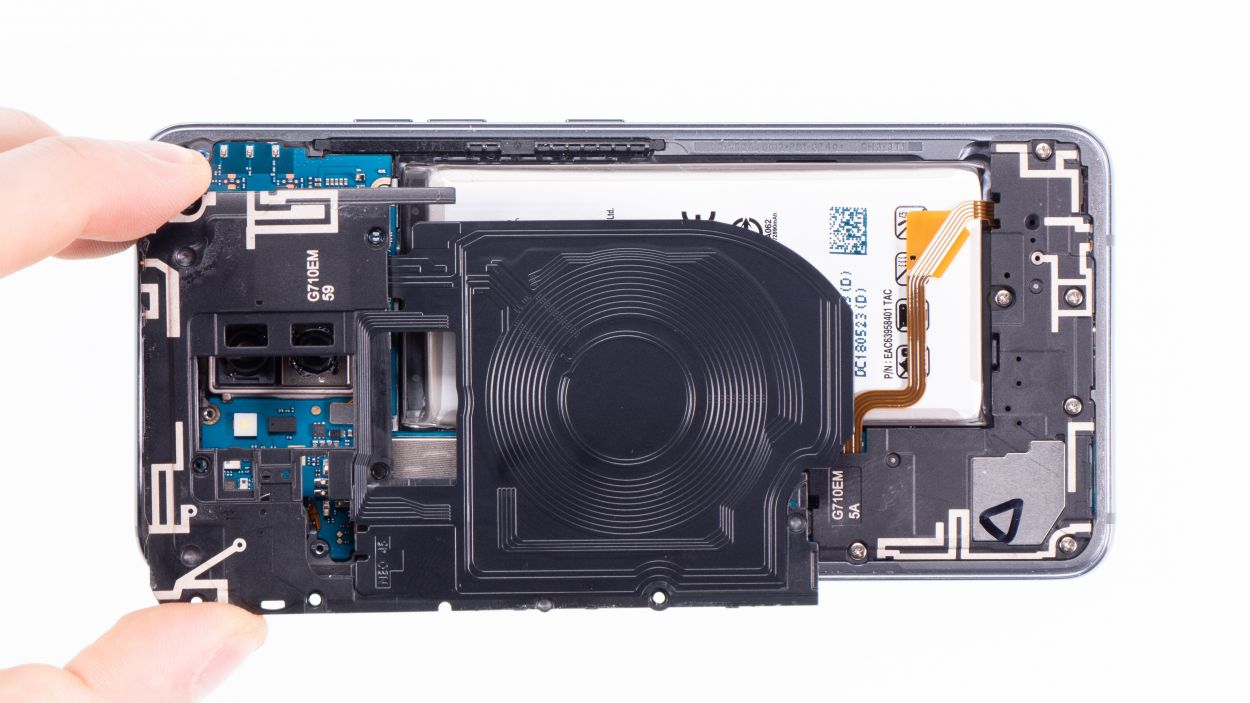
– Now you can remove the plastic cover together with the coil.
Step 4
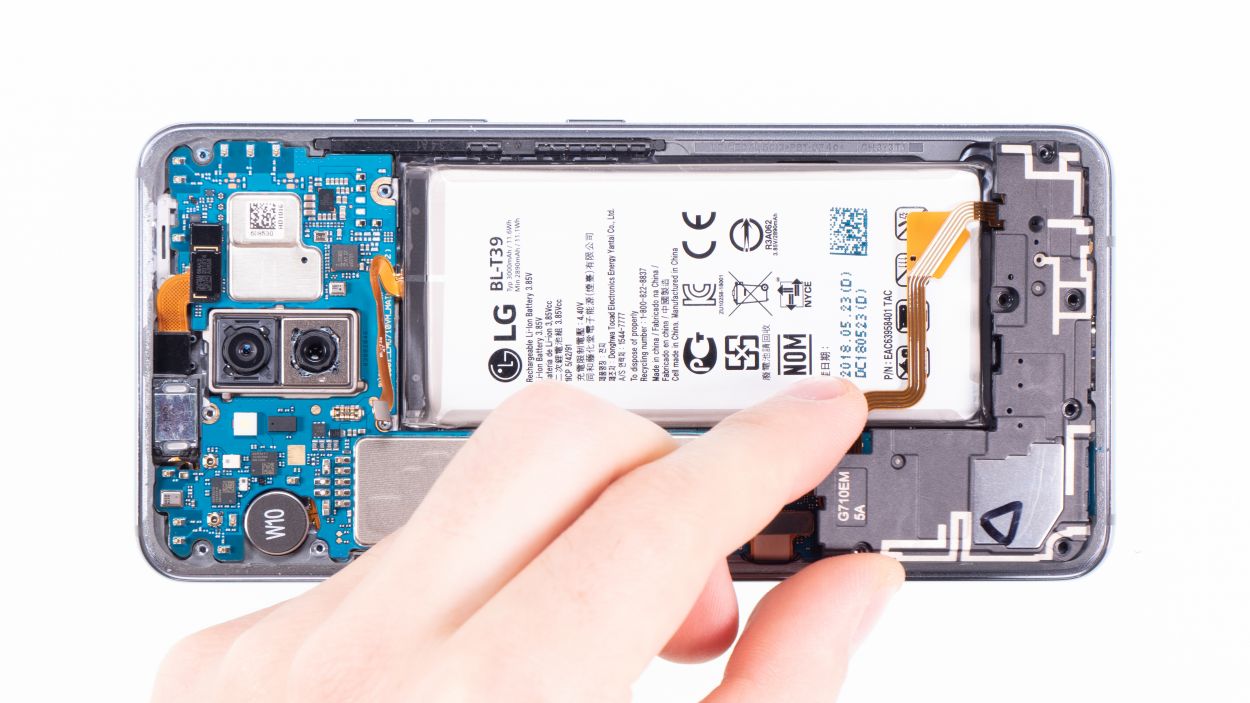
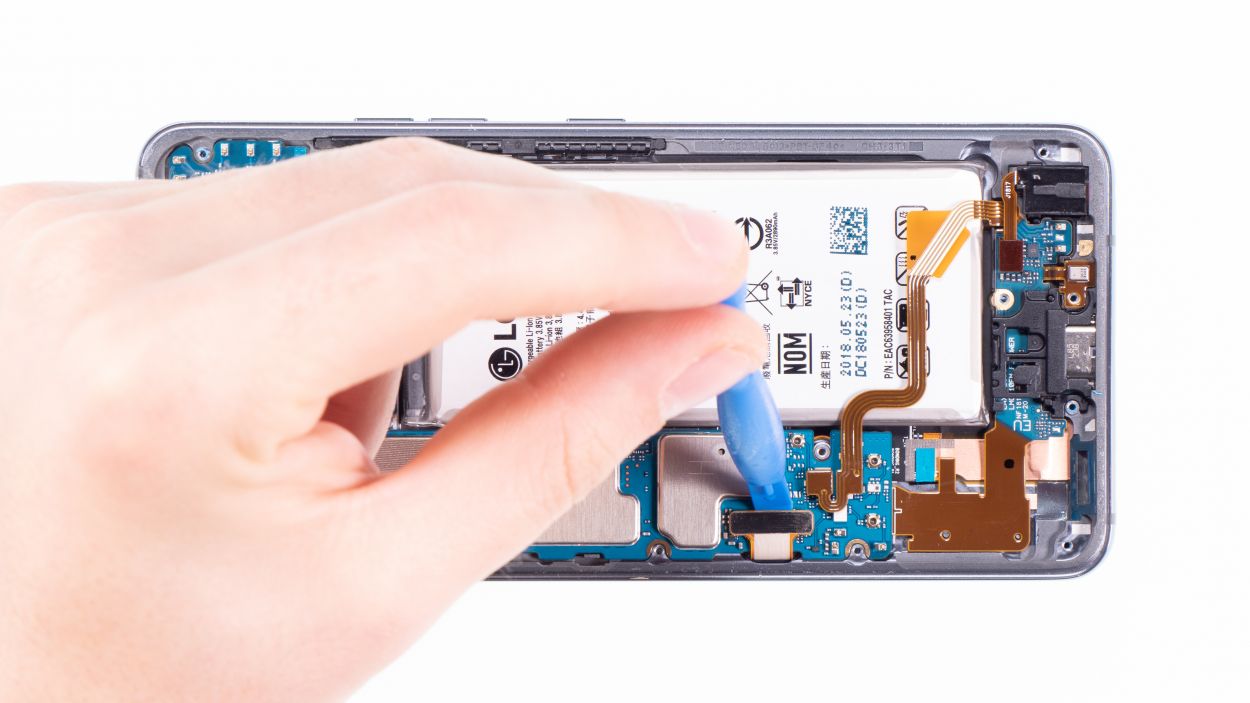
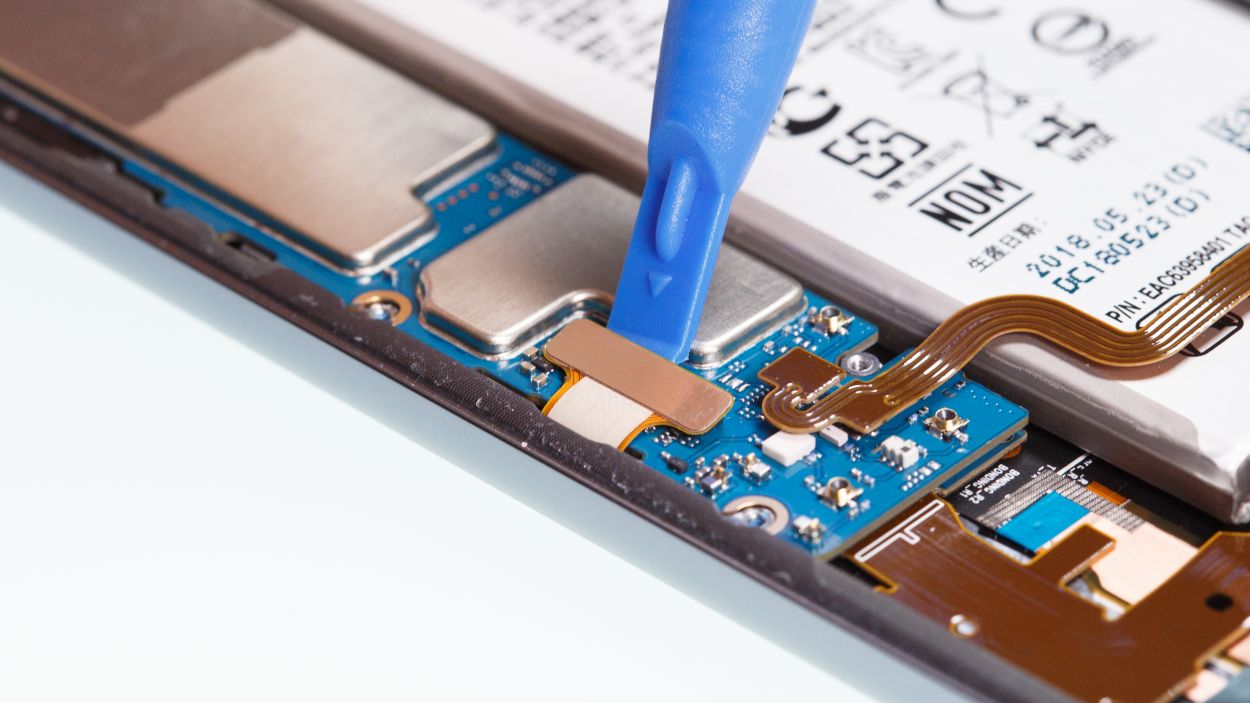
Battery Connector
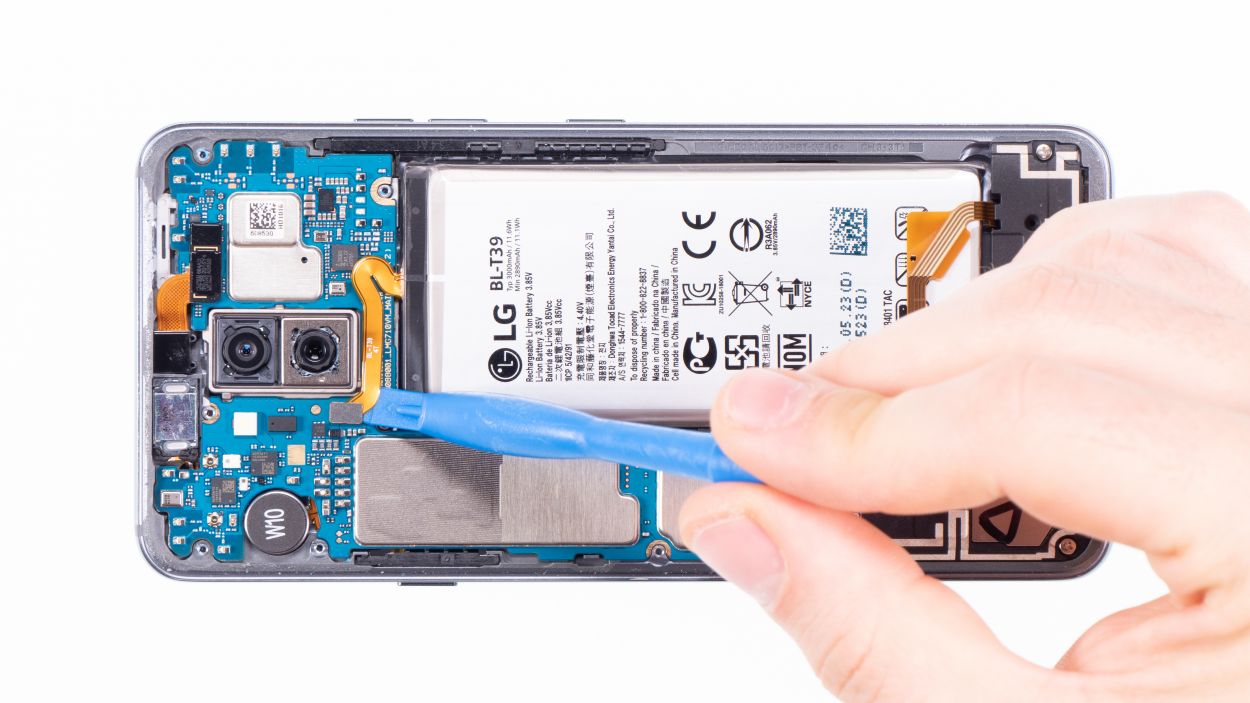
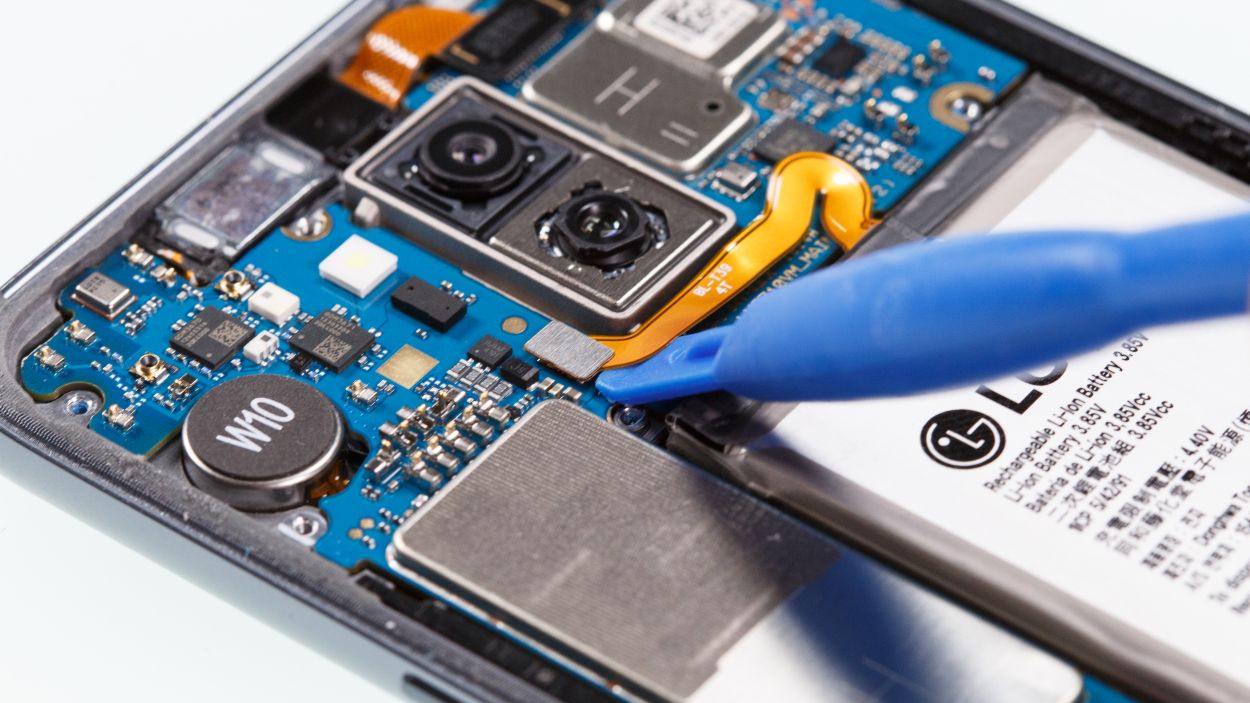
When you’re prying things open, make sure to stick to the edges where there aren’t any tiny components hanging out on the motherboard. This way, you’ll keep those delicate capacitors and ICs safe and sound!
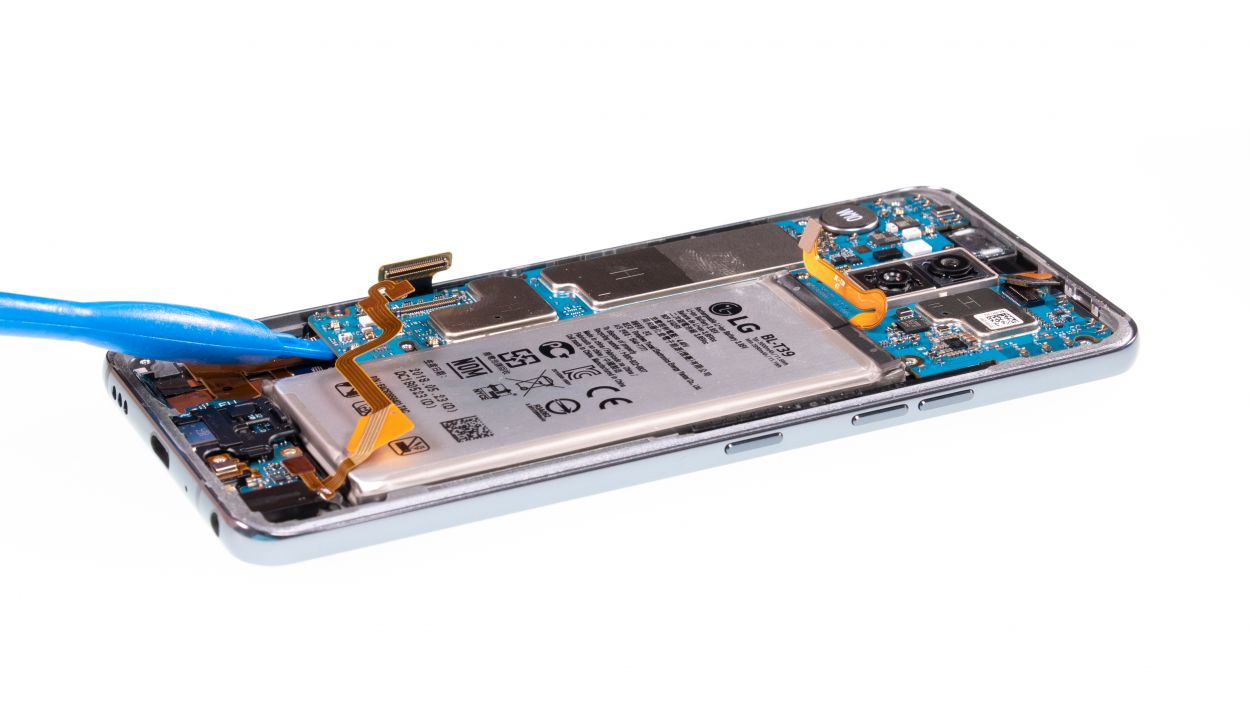
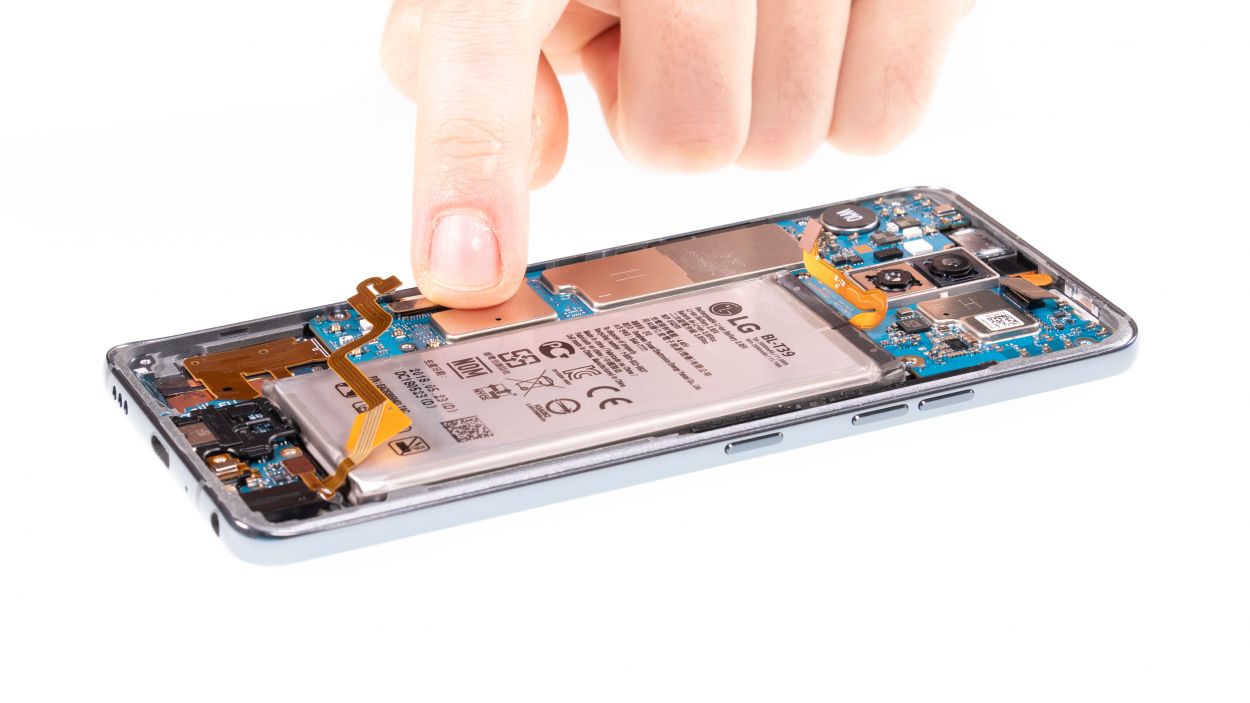
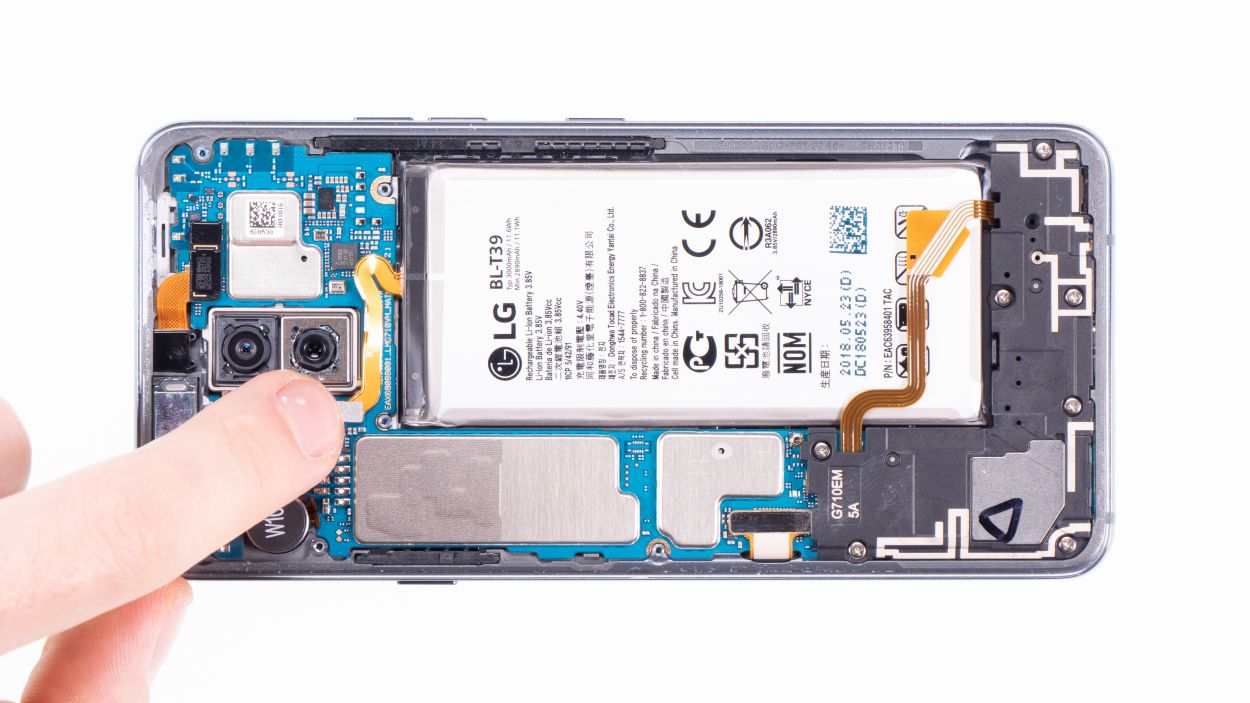
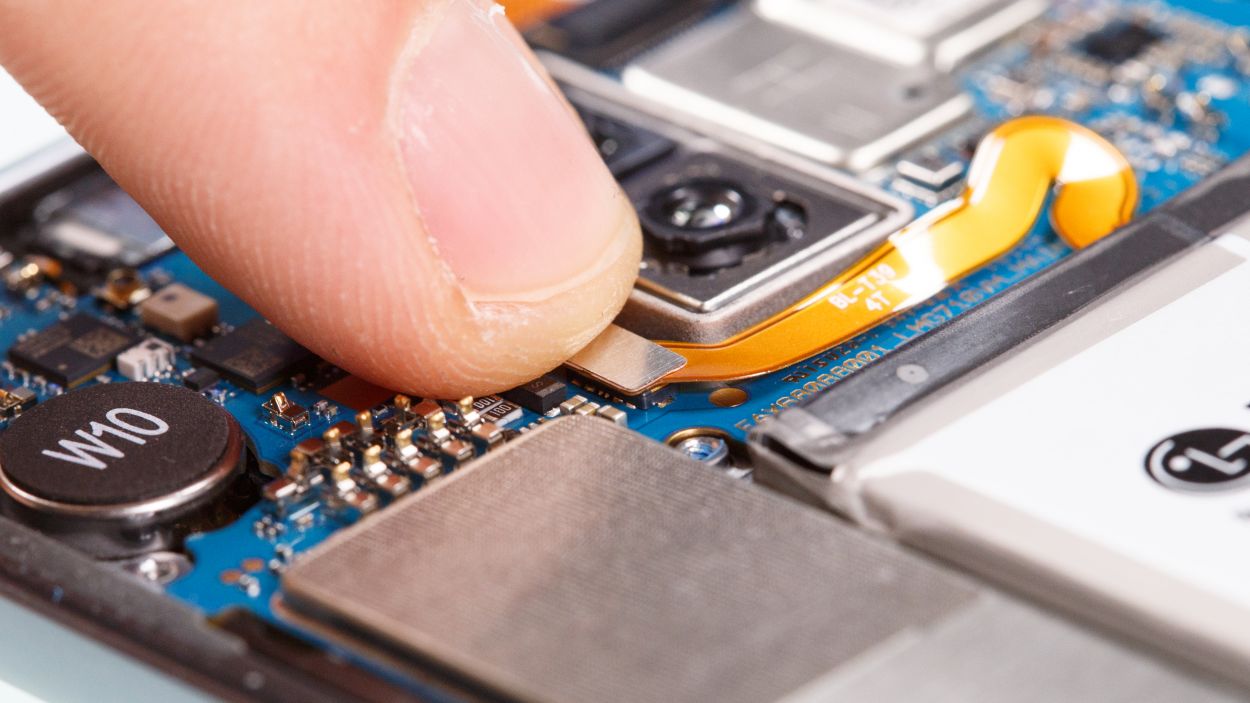
– Carefully disconnect the battery contact from the motherboard, like a courageous explorer untethering their spaceship from the docking bay. Go forth and conquer those pesky electrical connections!
Step 5
7 × 3,5 mm Phillips
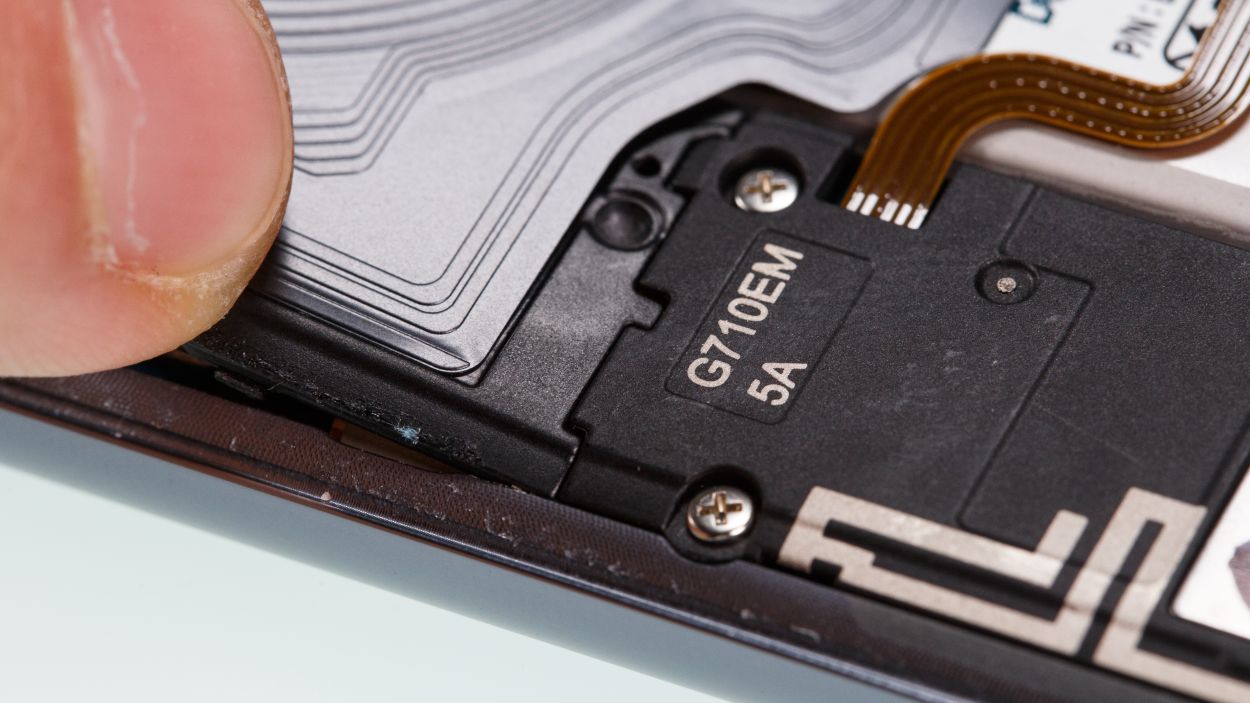
– Loosen the Phillips screws that secure the speaker and then remove it.
– You can easily release the speaker by pulling it up at the top with your fingernail.
Step 6
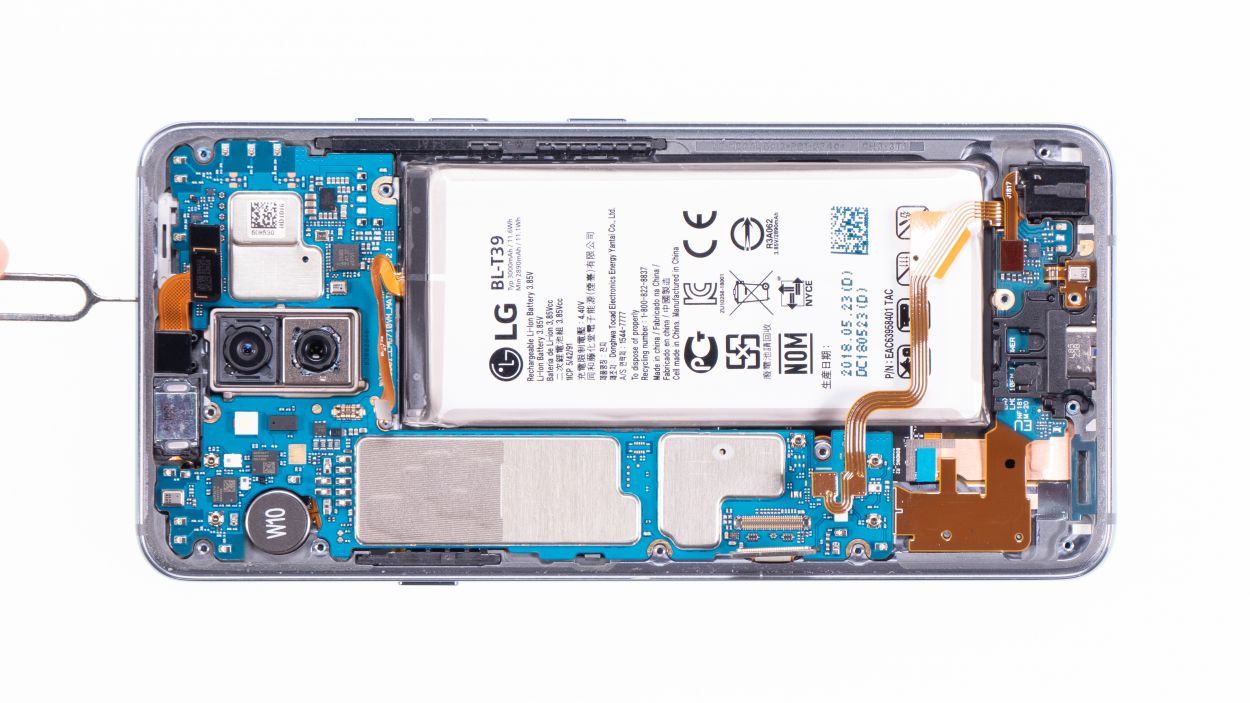
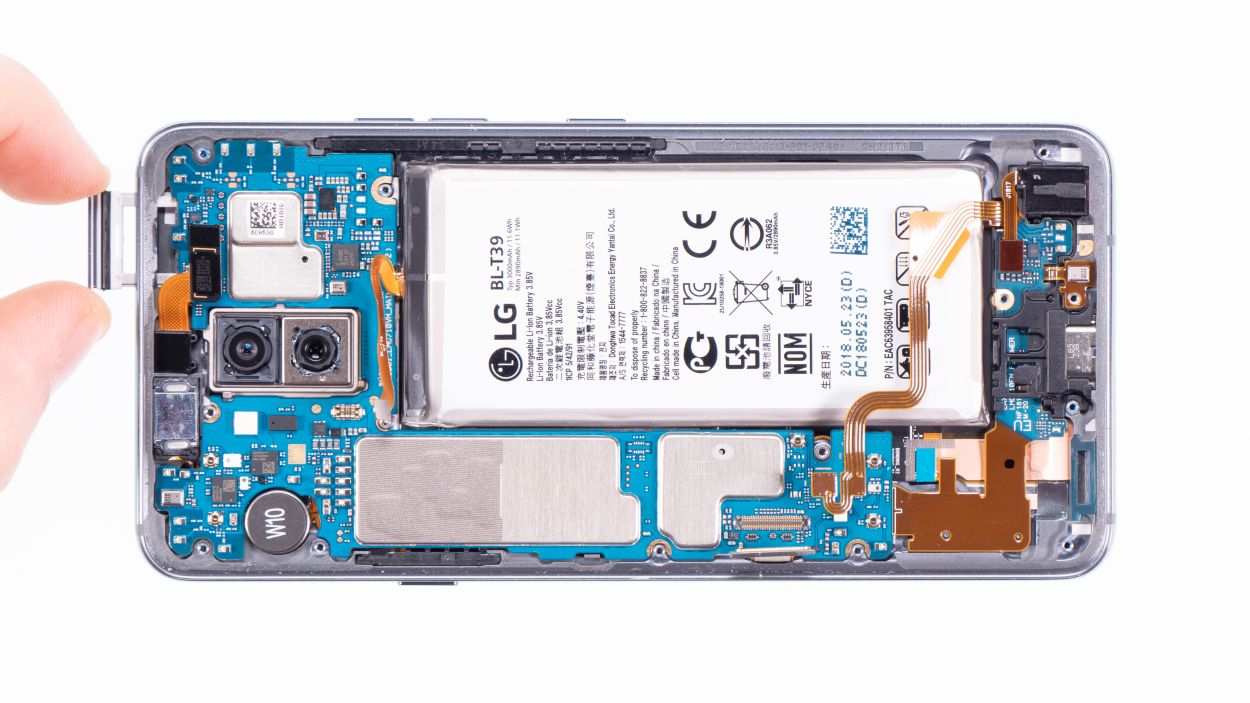
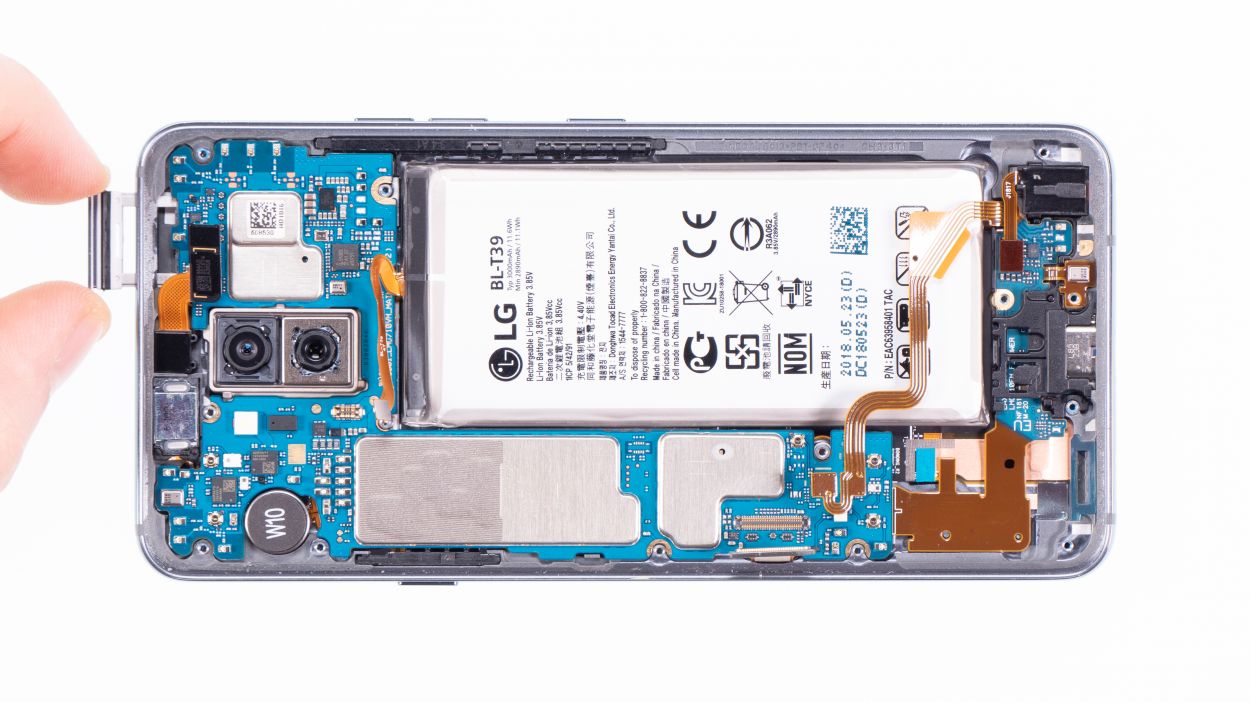
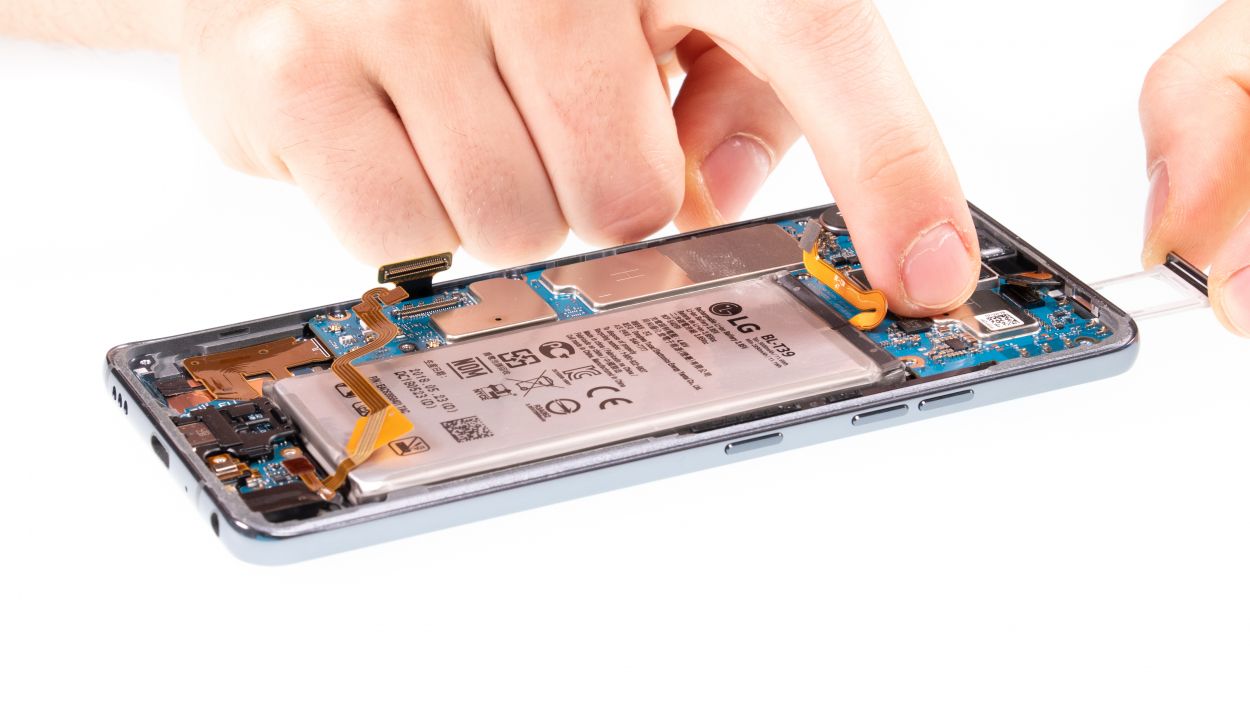
– Gently pop in a SIM tool into the little hole on the SIM tray.
– Carefully pull the SIM slider out of your device.
Step 7
Display connector
Camera connector
Antenna connector
USB connector
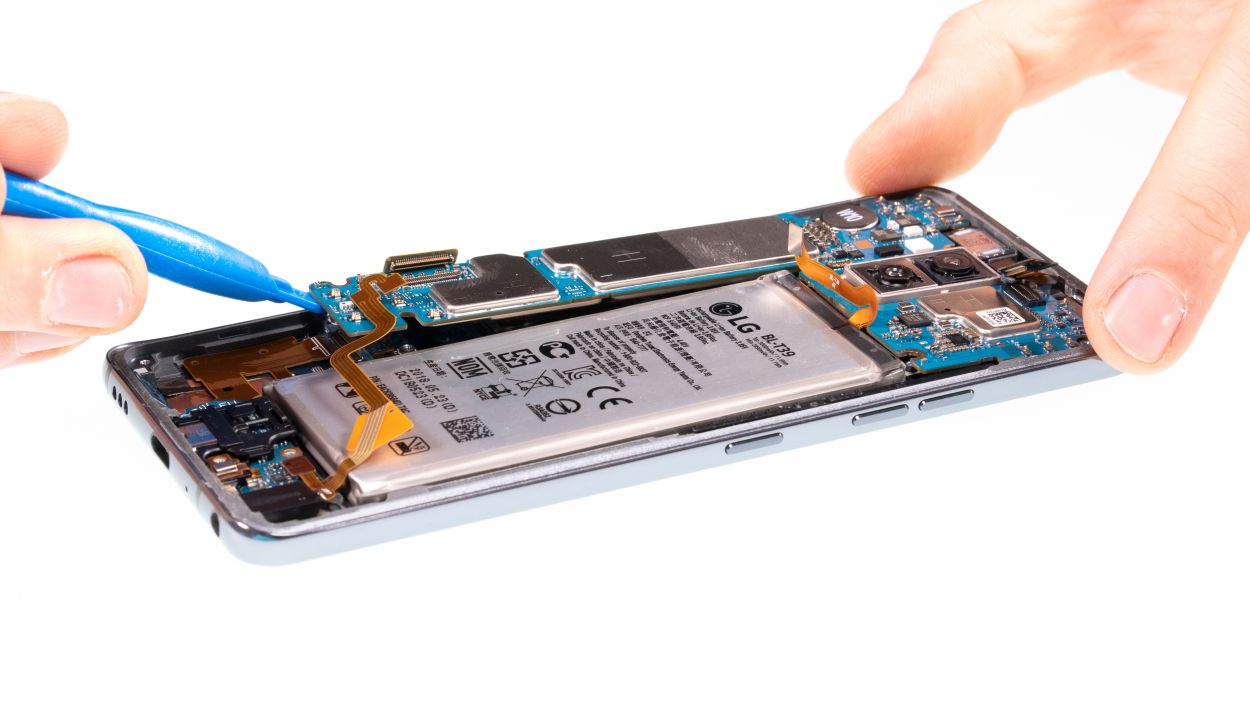
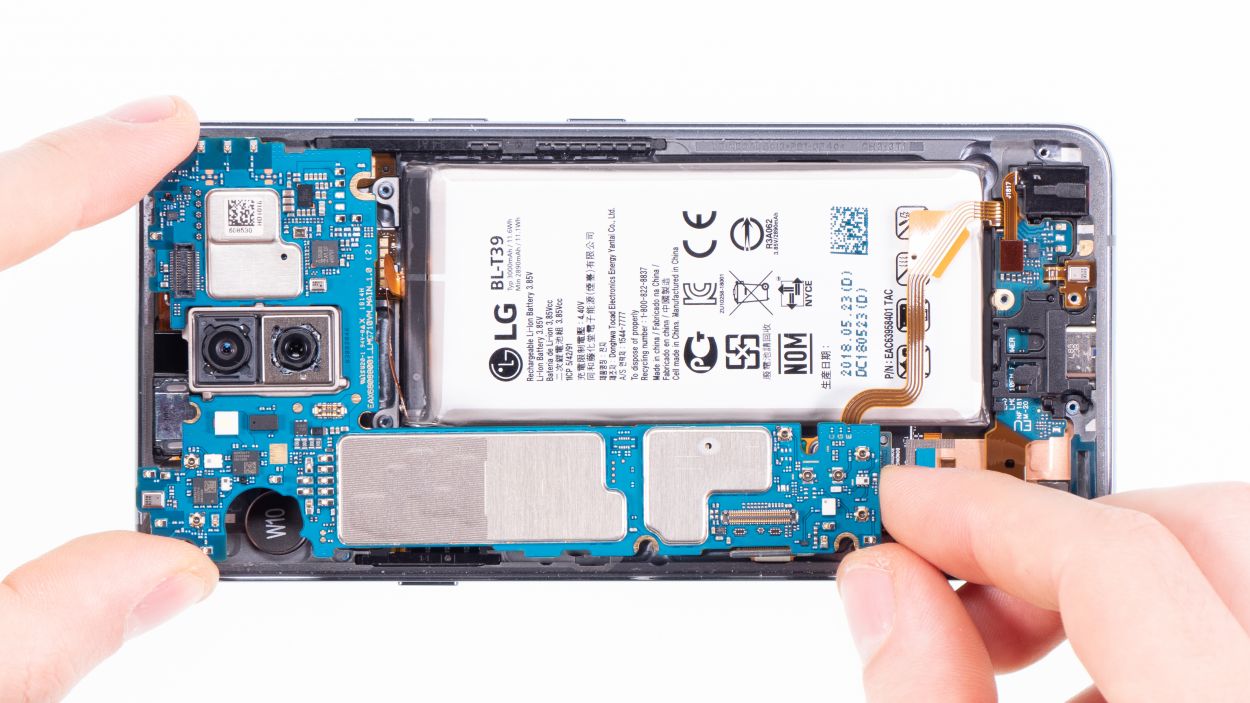
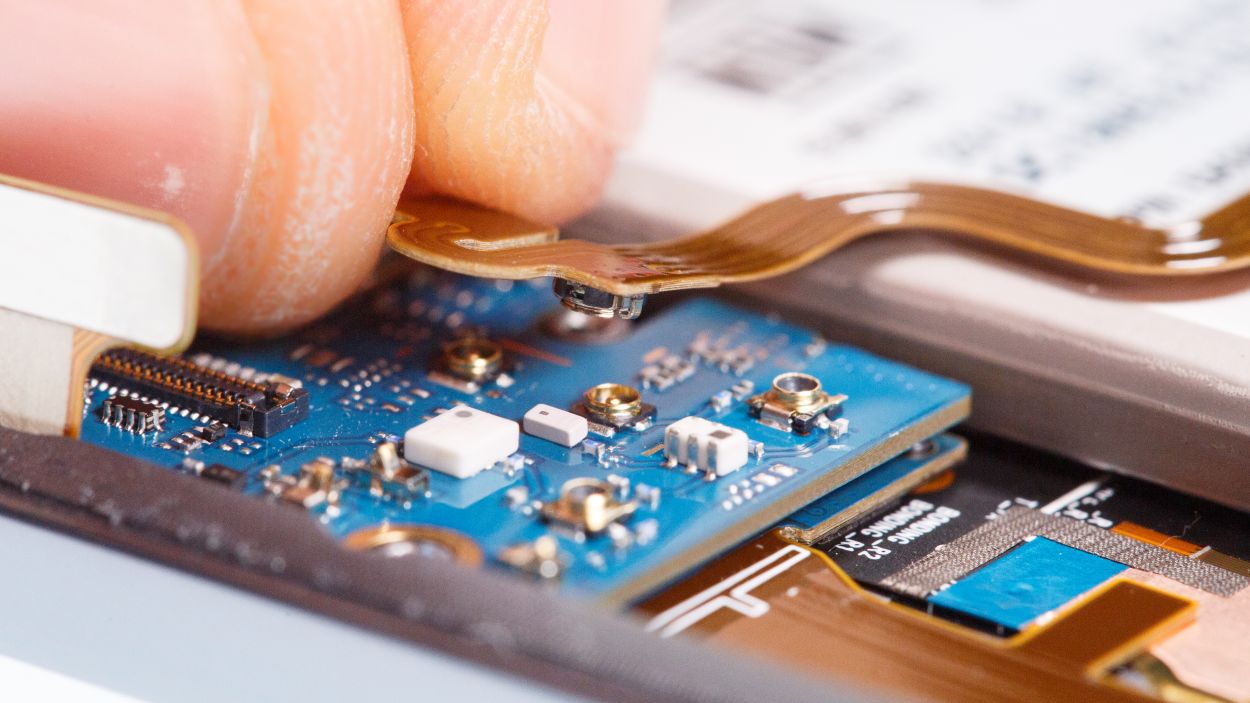
– Alright, let’s get started! Gently detach those highlighted connectors from the main board using your trusty spudger. These little guys are responsible for the front camera, the screen, and a few antennas.
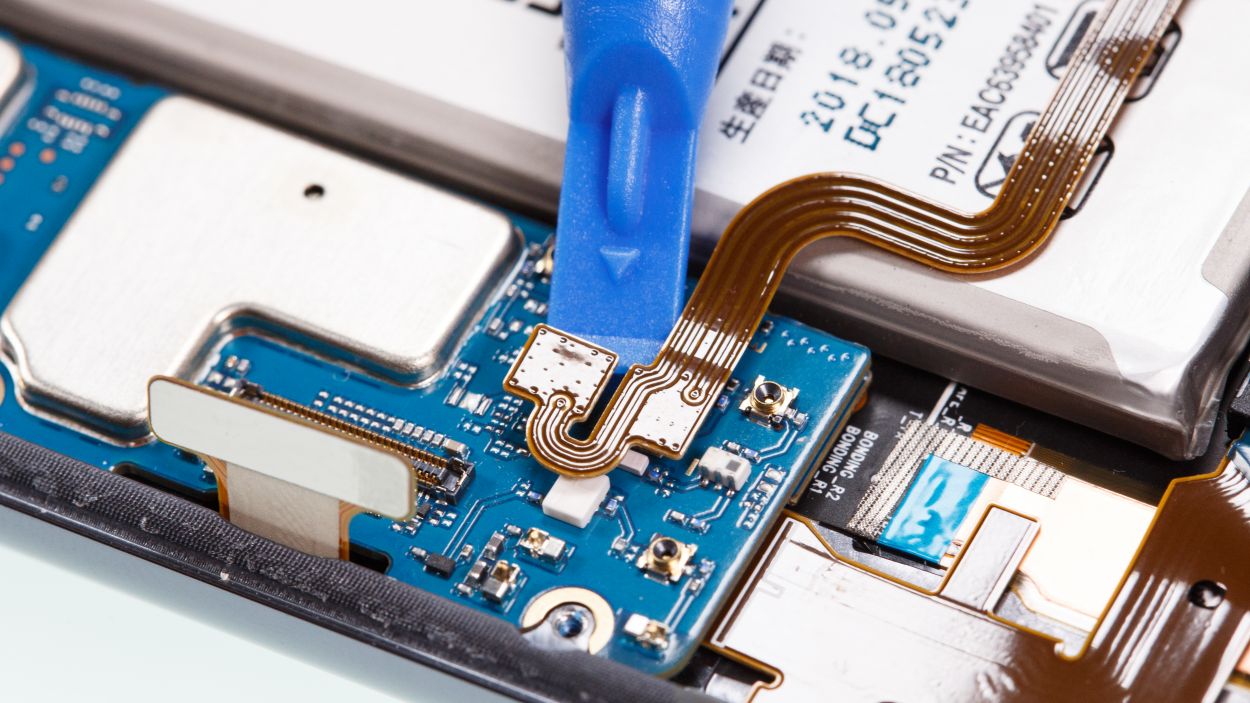
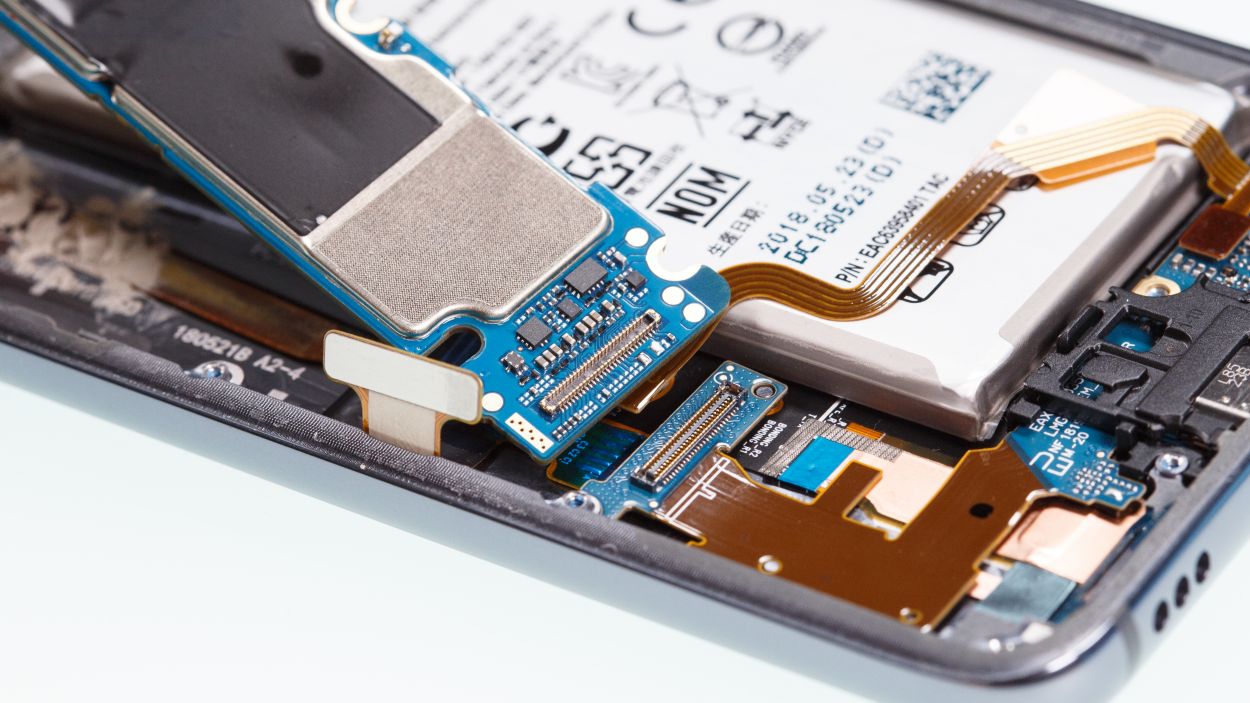
– Now, there’s another connector hanging out on the lower side of the main board that’s a bit shy and doesn’t want to be separated directly.
– Use that spudger to carefully lift the bottom side of the board until you see that connector starting to loosen up. Easy does it!
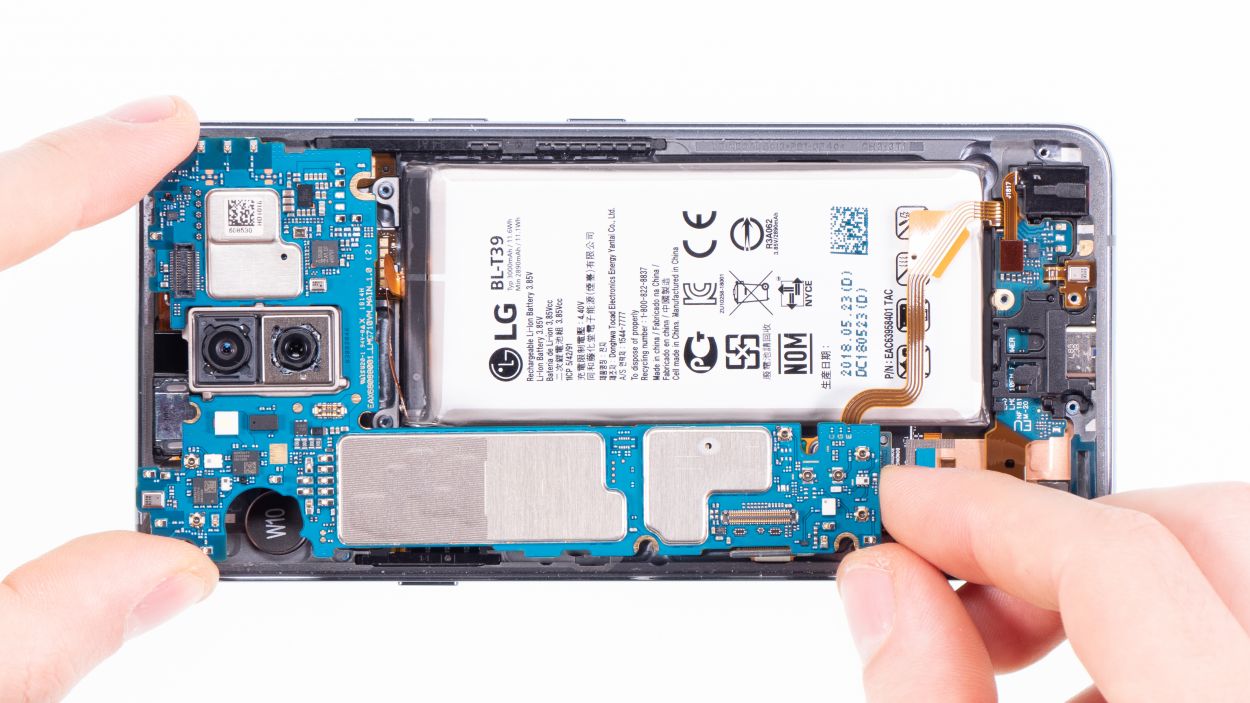
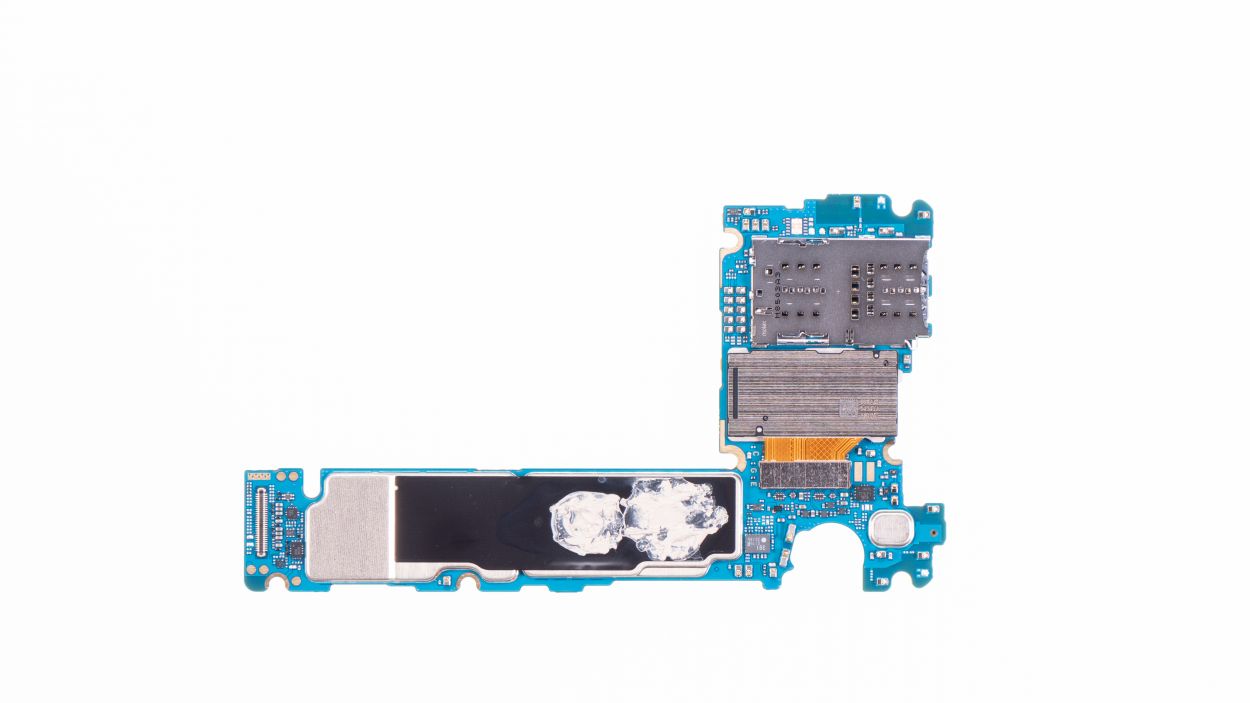
– Once you’ve got that sorted, you can gently lift out the motherboard. Just be careful not to let it snag on any of the connectors you’ve already disconnected.
– Finally, find a cozy spot to set the board aside safely. You’ve got this!
Step 8
Camera connector
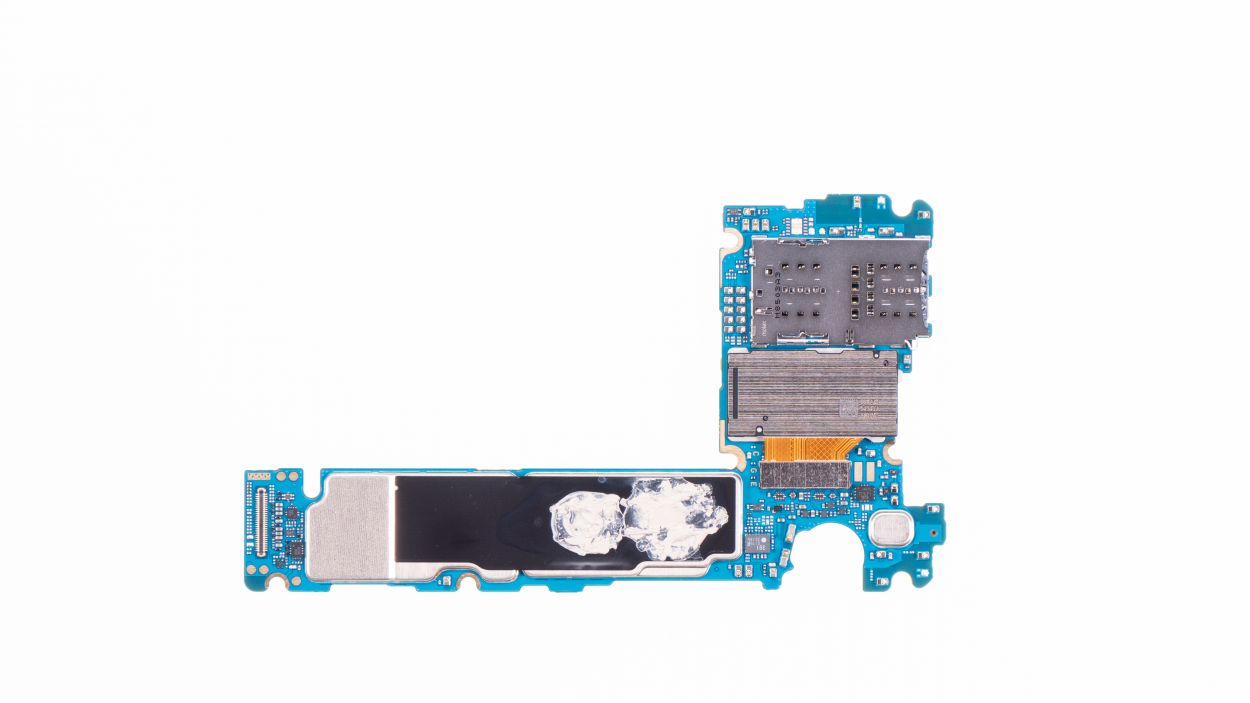
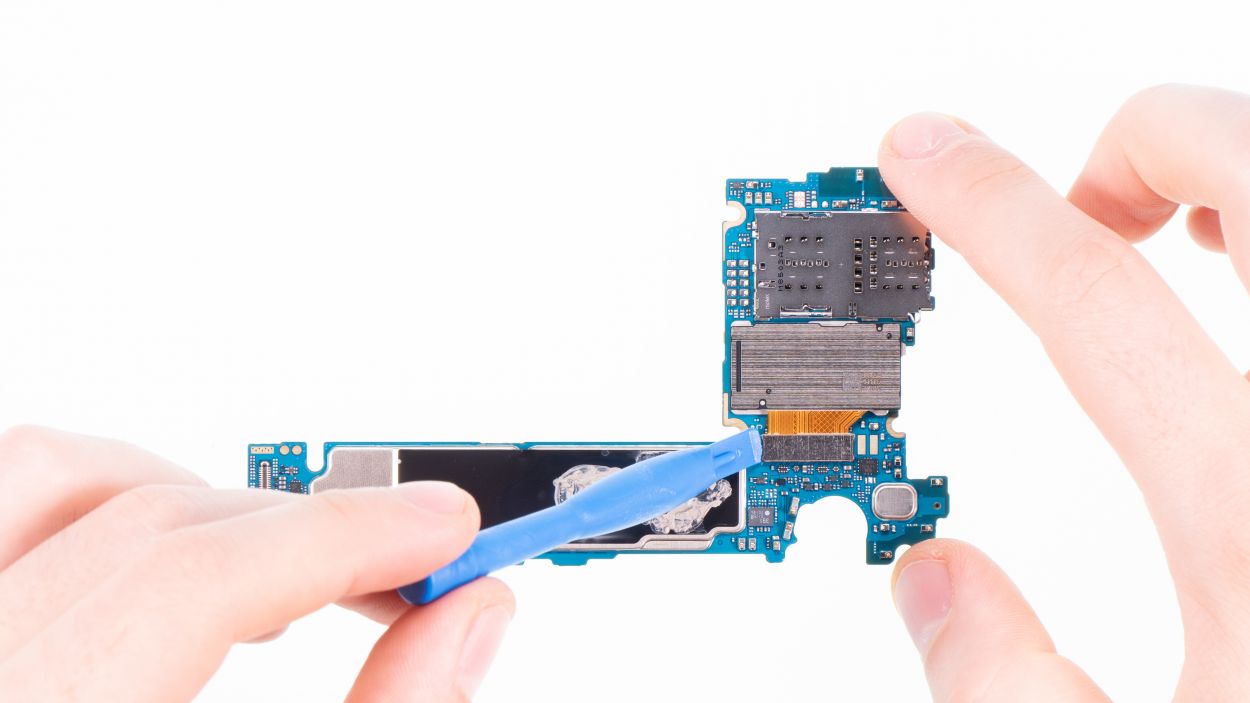
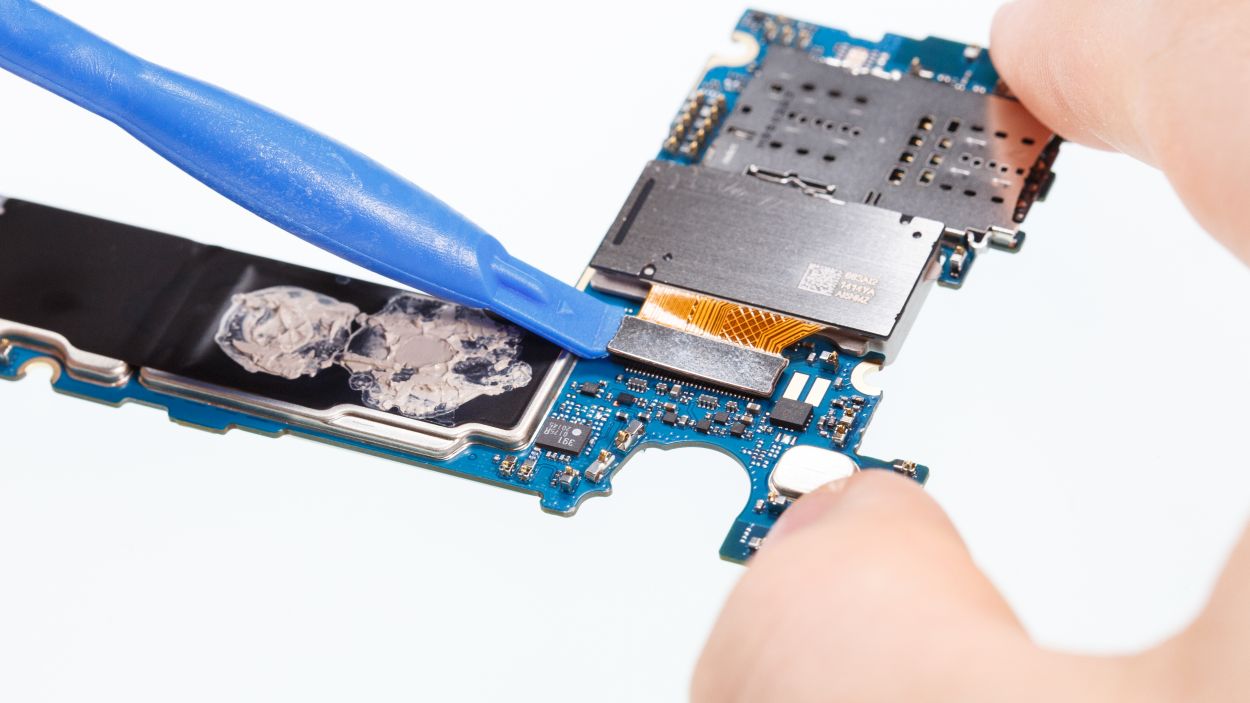
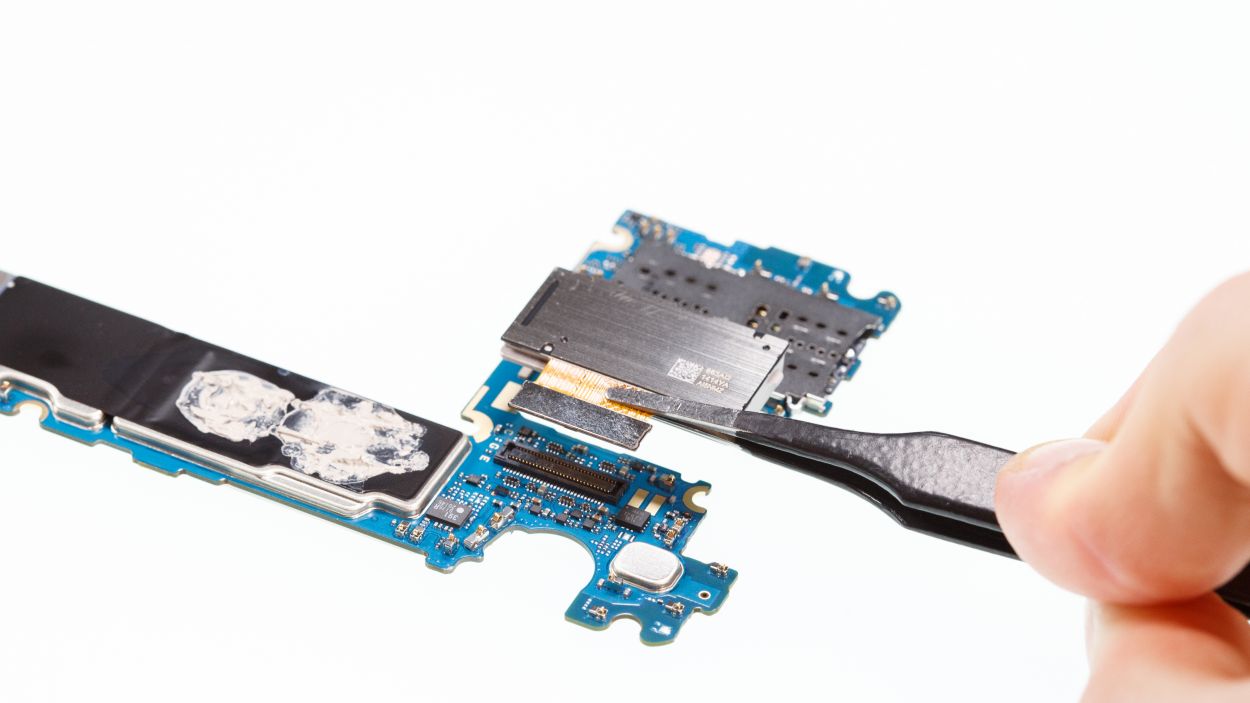
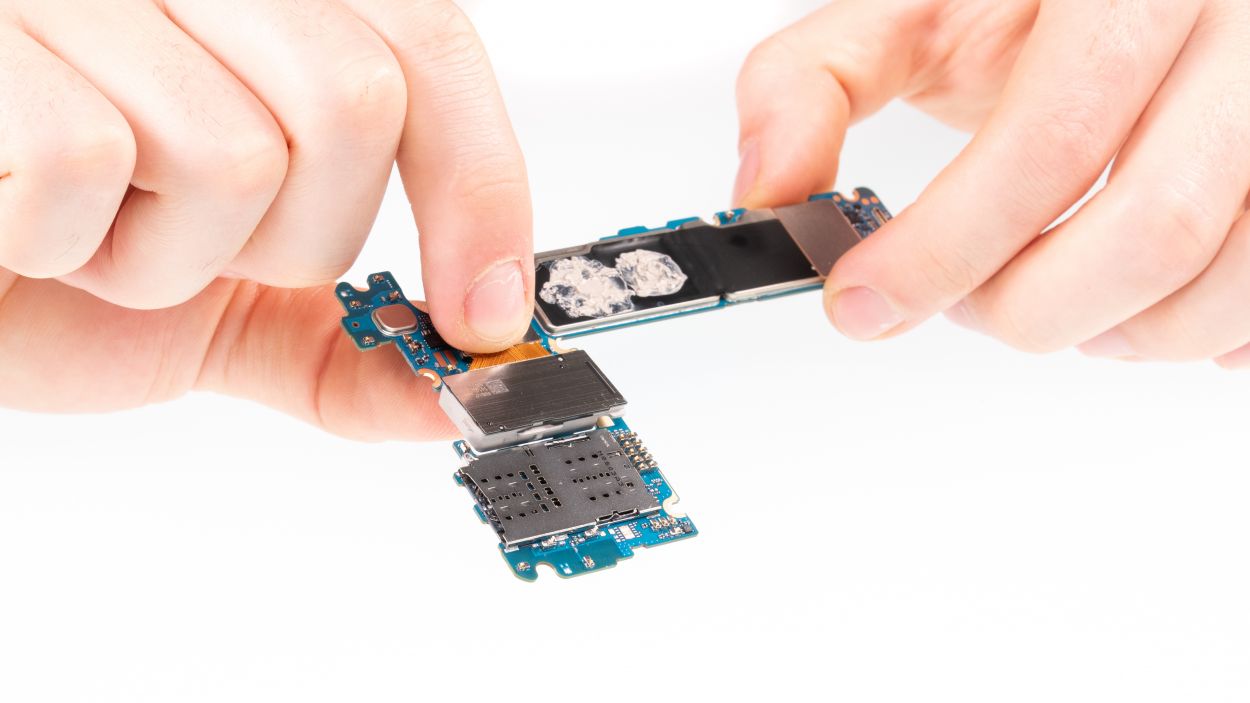
When you’re working on the mainboard, handle it with extra care! Use that trusty Spudger only in areas free of tiny components like ICs or capacitors. You’ve got this; just take it slow and steady!
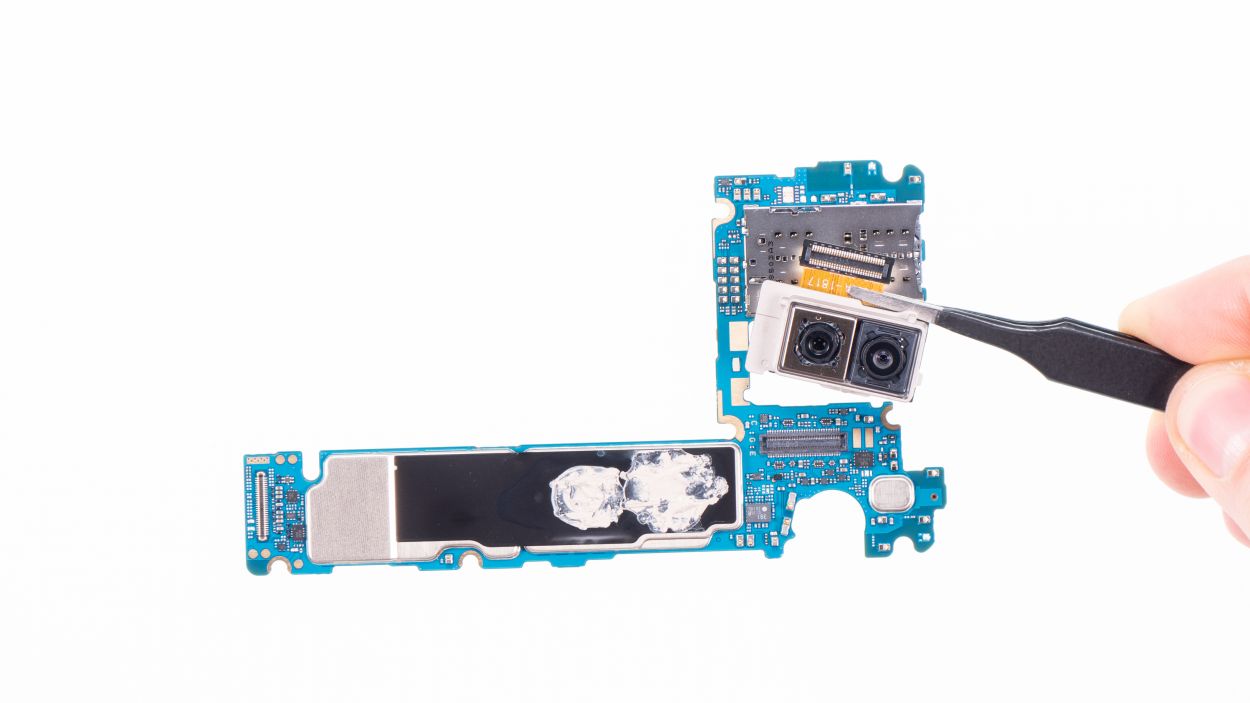
– Take the mainboard and carefully disconnect the connector of the camera module.
Step 9
Camera connector
Hey there! Before you close up shop, make sure those camera lenses are film-free! Give ’em a quick check and peel off any pesky protectors. If you need a hand, you can always schedule a repair.
Step 10
USB connector
Display connector
Camera connector
Antenna connector
Make sure the connector clicks into place smoothly. If it doesn’t fit right away, don’t force it! First, double-check that the mainboard is lined up correctly. Remember, patience is key!
– Grab that motherboard and gently slide it into the device, making sure to keep those cables safe and sound. Just give those connectors a little nudge to the side.
– Once the mainboard is snug in its spot, go ahead and connect the bottom connector by giving it a gentle push down. You’re doing great!
Step 11
– Pop in the SIM card holder! If it’s feeling a bit stubborn, don’t force it. Instead, take a moment to check if the mainboard is snugly in place.
Step 12
7 × 3,5 mm Phillips
– Then place the speaker back over the USB port, press it in and screw it tight.
– Make sure it’s latched in at the bottom.
Step 13
Battery Connector
– Pop that battery onto the mainboard. Press the contact onto the connection on the motherboard until you hear that satisfying click!
Step 14
7 × 3,5 mm Phillips
– Slide the cover with the antenna back into the enclosure, making sure it goes under the speaker at the bottom.
– Gently press the cover with your fingers until you hear a satisfying click.
– Secure the cover by fastening the Phillips screws.
Step 15
Make sure to give all the functions of the part you replaced a thorough test. If you need help, you can always schedule a repair.
Step 16
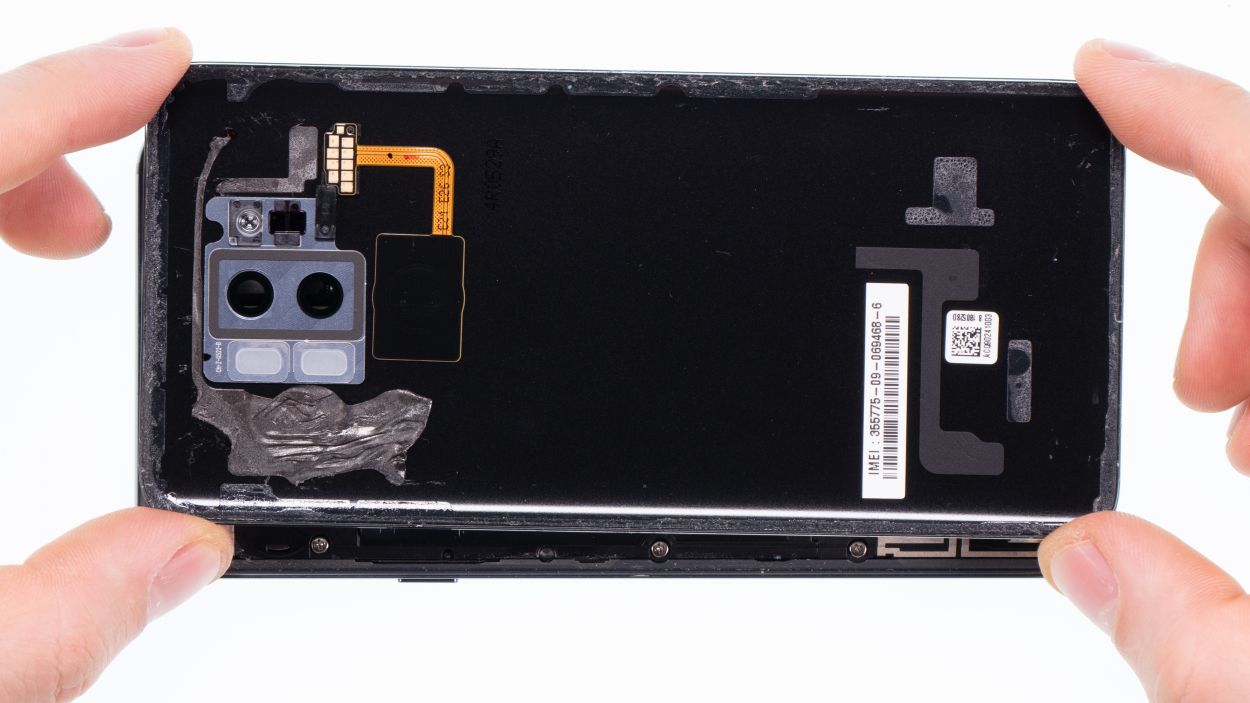
If the adhesive on the back cover is still holding strong, you can seal your device back up without needing a new adhesive frame. If you need help, you can always schedule a repair.
– Pop that back cover right back where it belongs!
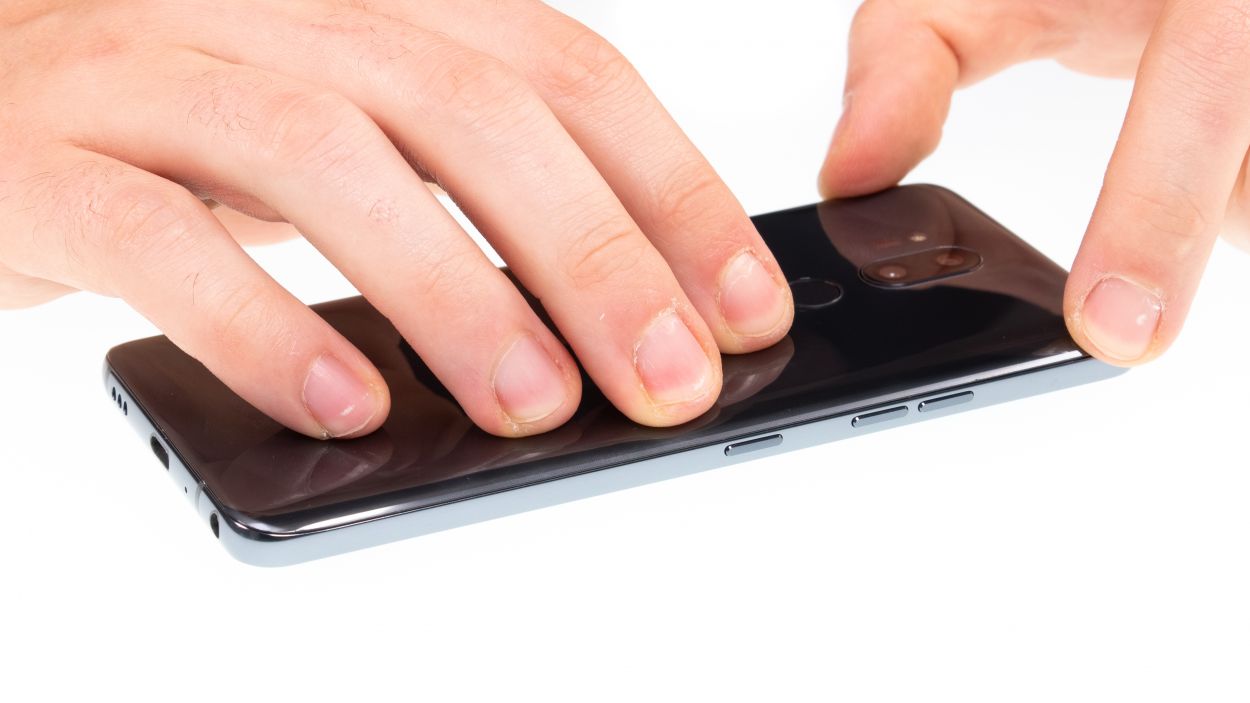
– Give it a good press all around so the glue sticks tight.
