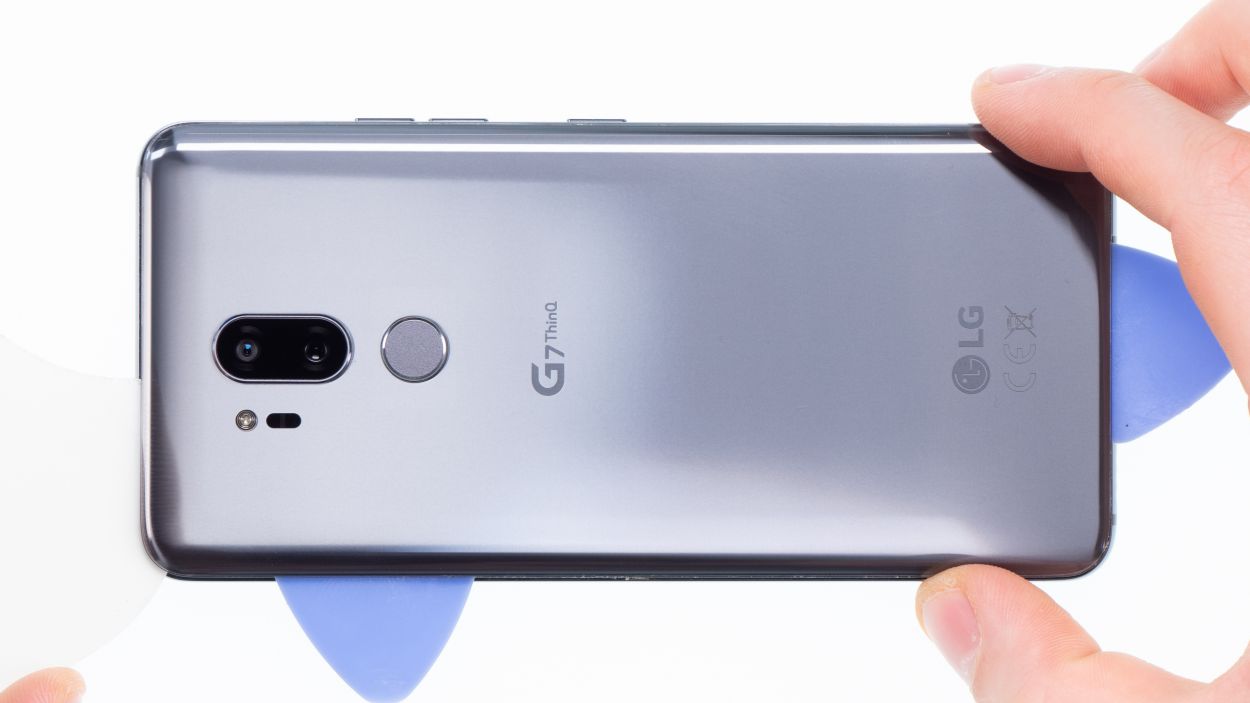
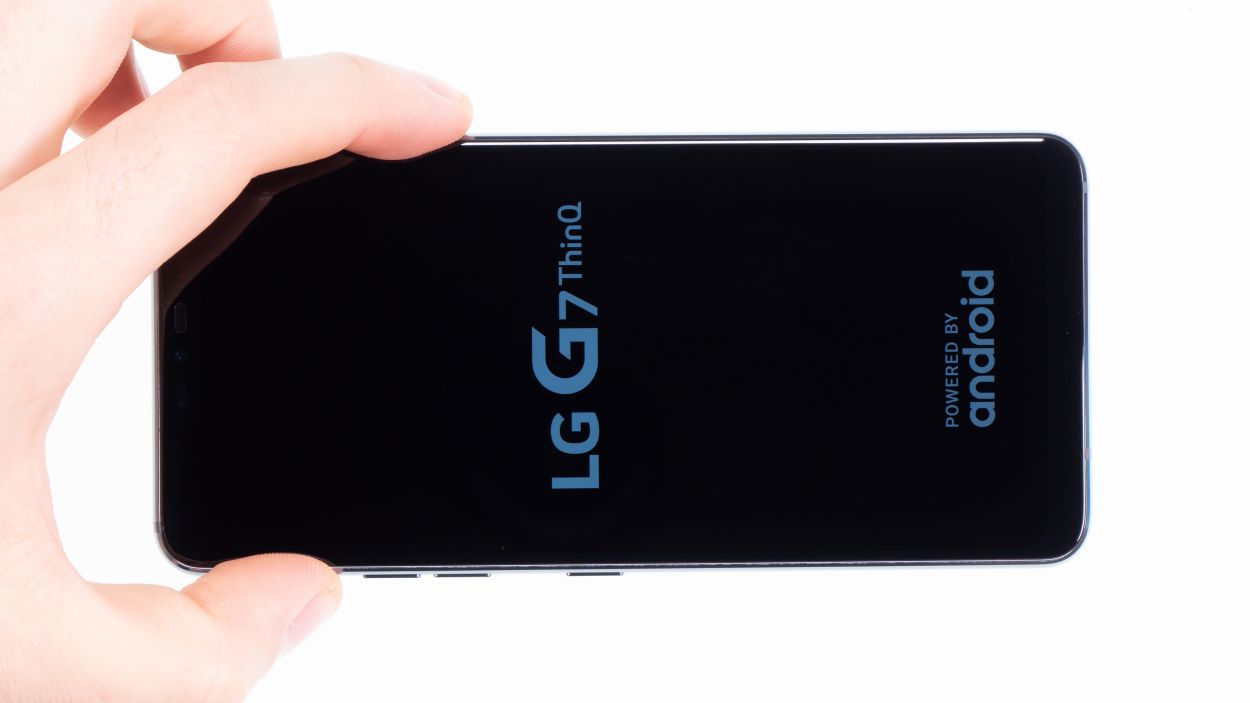
DIY Guide to Replace LG G7 ThinQ Battery
Duration: 45 min.
Steps: 17 Steps
Is your G7 ThinQ feeling a bit drained and begging for a recharge too often? A shiny new battery might just be the pick-me-up it needs! If your LG G7 ThinQ is running out of juice faster than you can say ‘low battery’ or even decides to take a nap in the cold, swapping out the battery could be the solution. Just a heads up, getting into the LG G7 ThinQ requires a bit of finesse since you’ll be opening it through the glass back cover. Remember to back up your data, set up a tidy workspace, and take your time with the process. If you hit a snag, don’t hesitate to reach out through our live chat or drop a comment at the end of the guide. We’re here to help you out!
Step 1
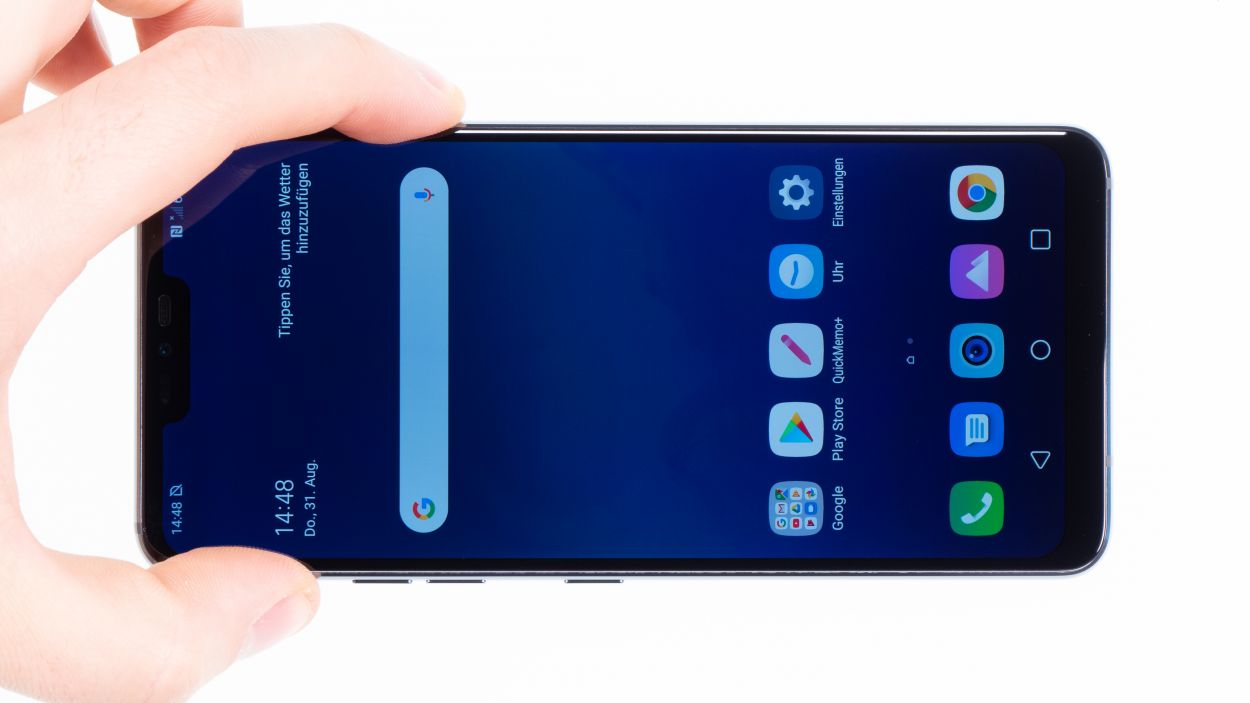

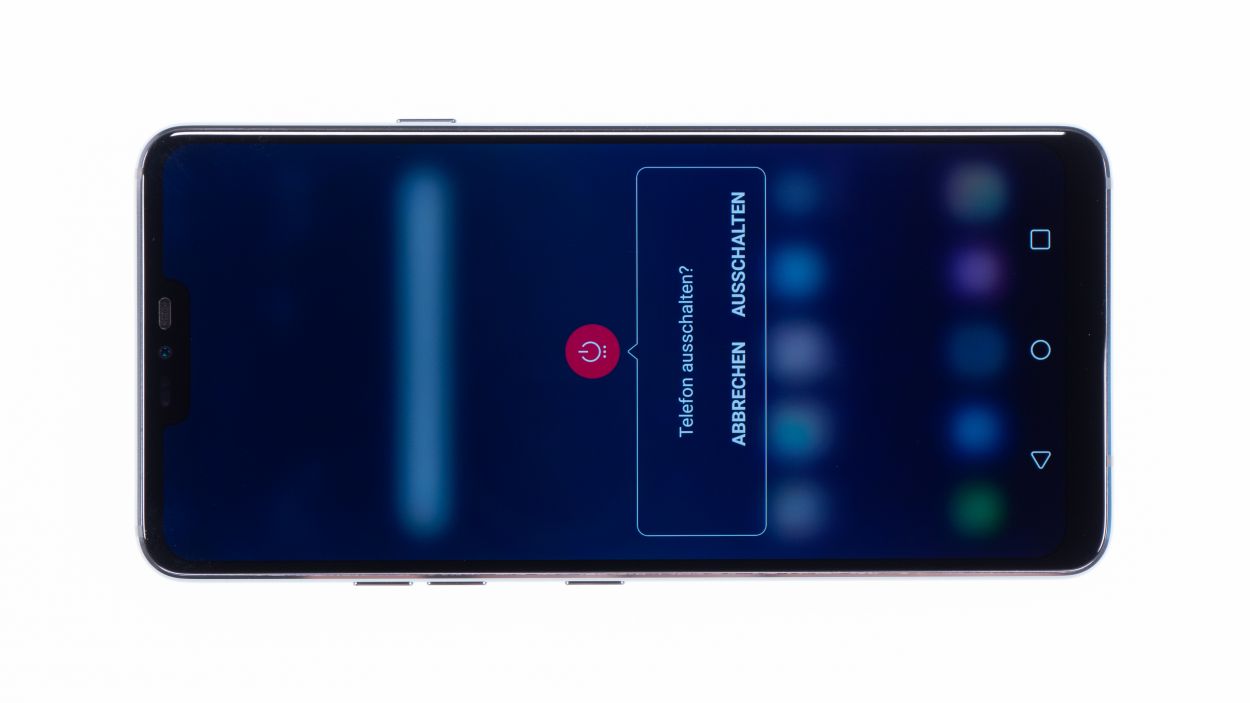
– First things first, let’s power down your device! Just press and hold that power button on the side until you see the ‘Power off’ option pop up.
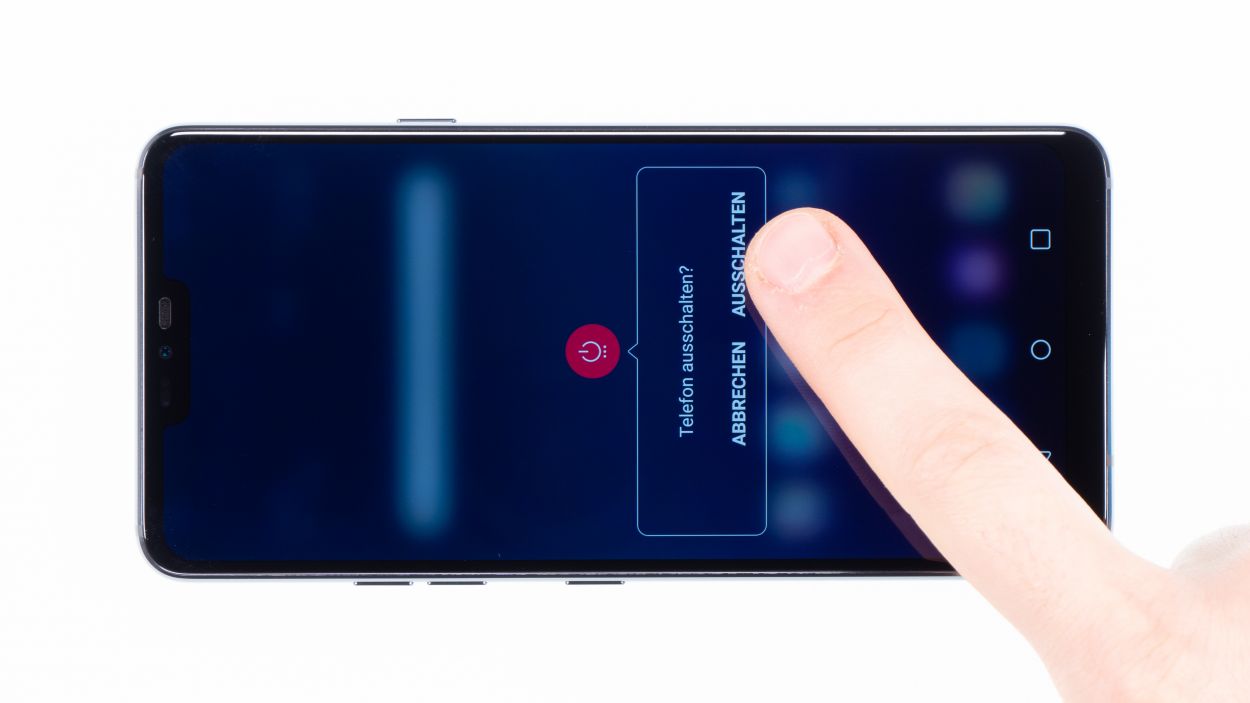
– Give it a tap to confirm and hang tight while the screen fades to black. You’re doing great!
Step 2
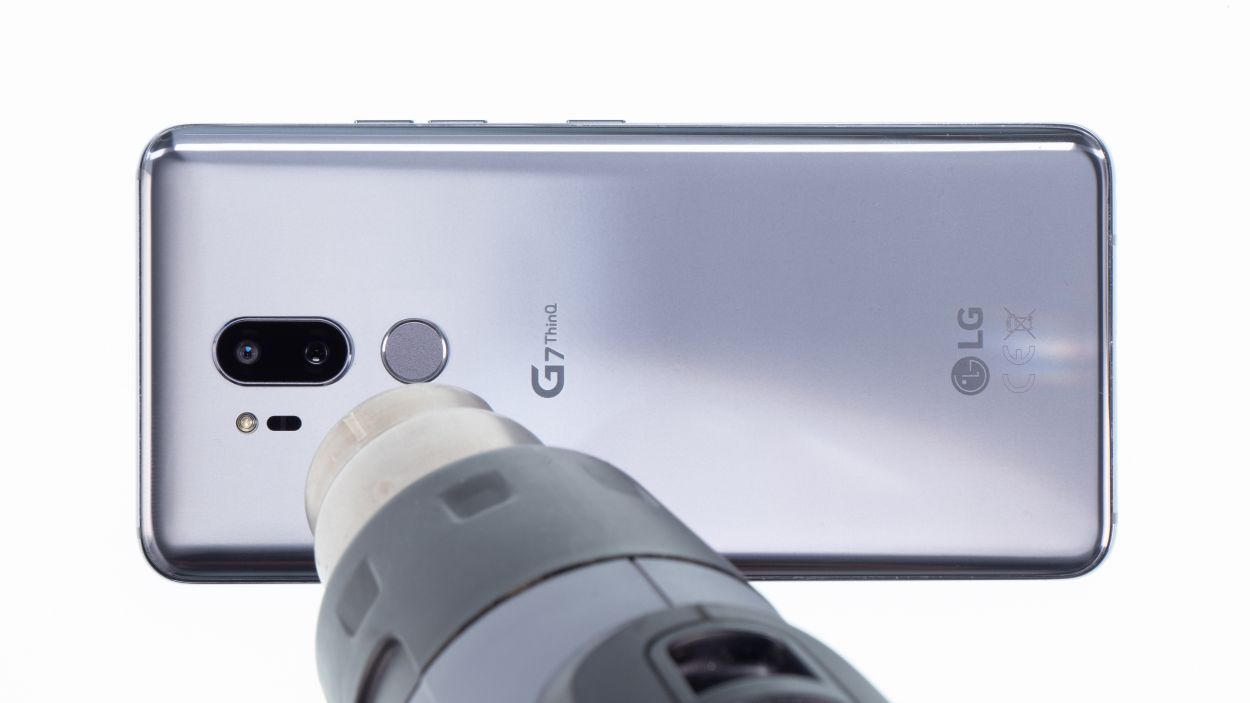
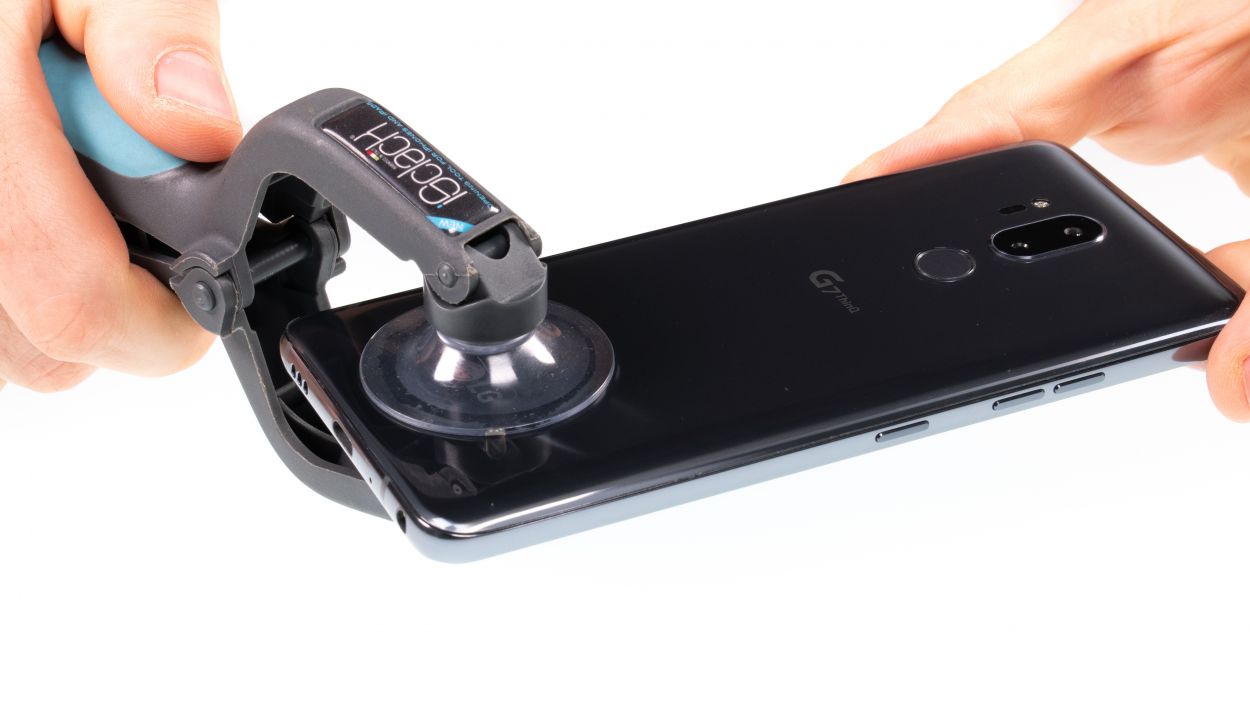
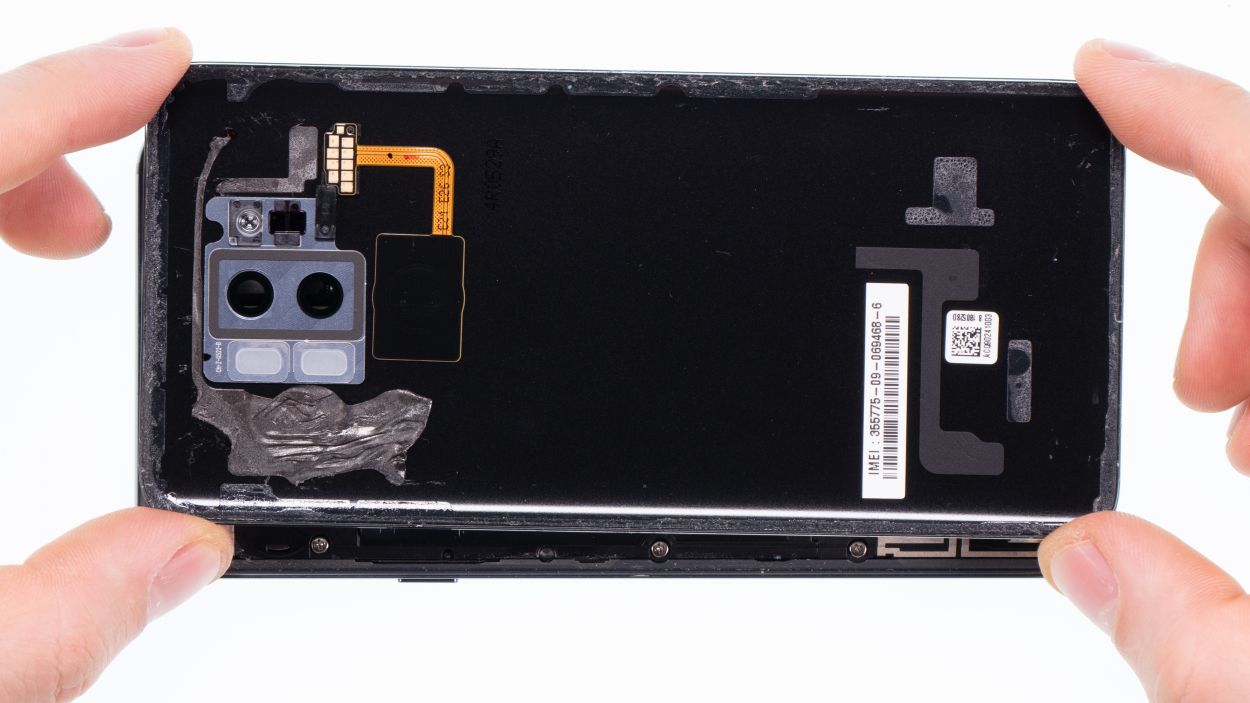
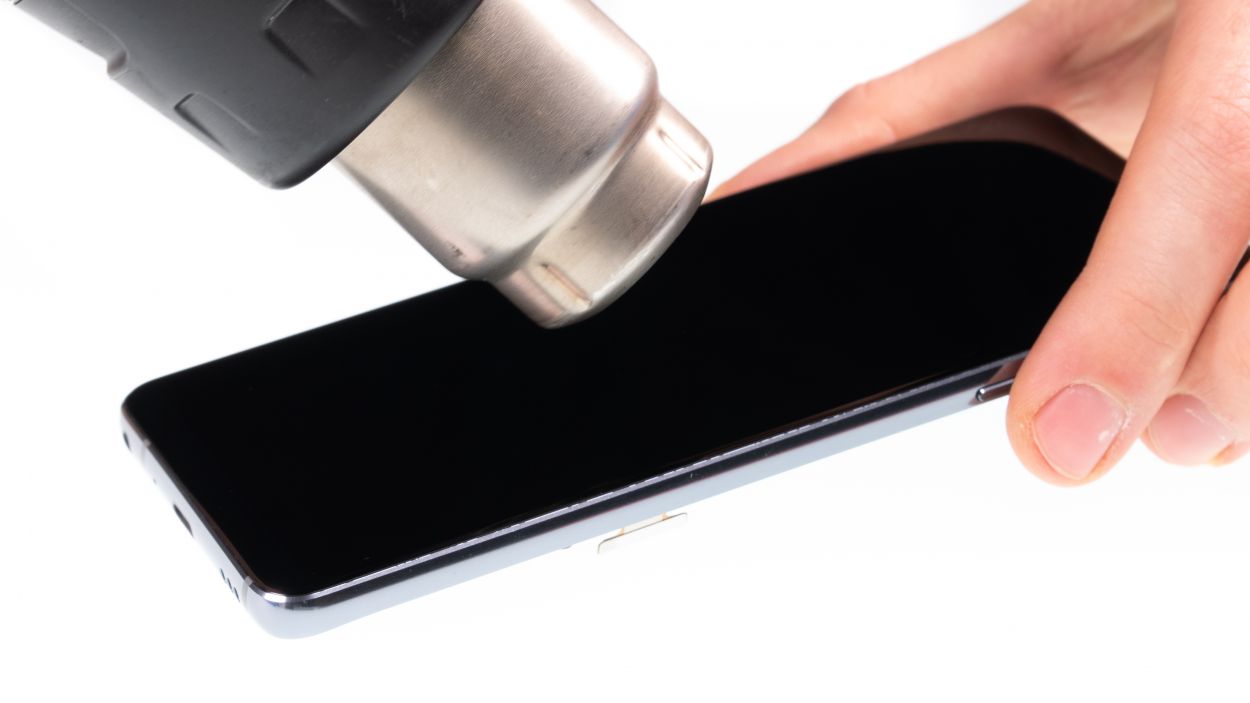
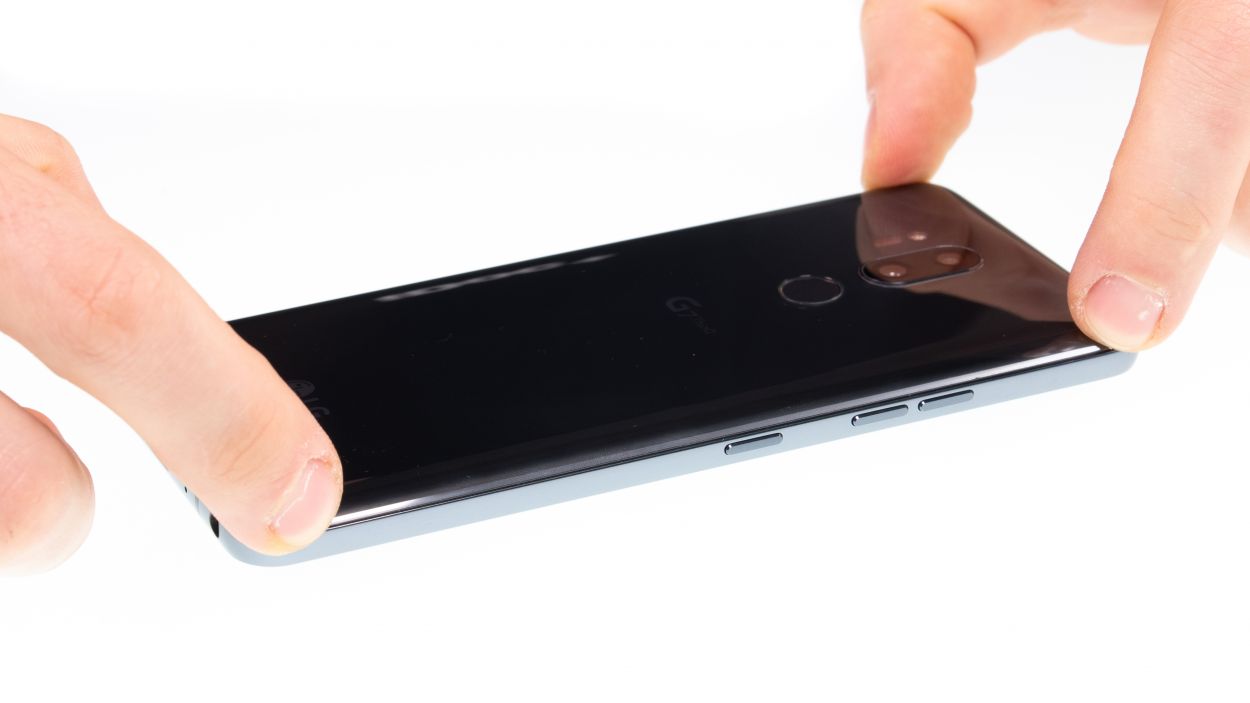
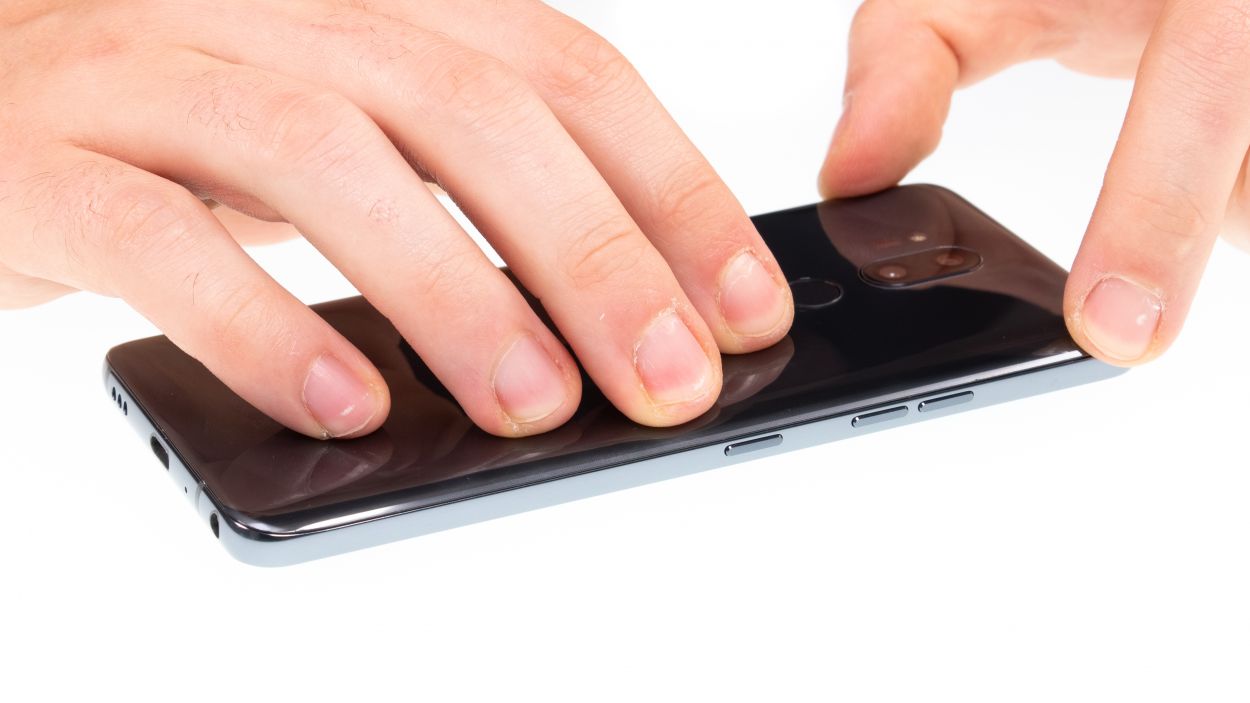
– The back cover has a lot of glue! Heat your device using hot air so that the glue starts to cool down. While it’s cooling, try to touch your device without it burning you – that’s the right temperature!
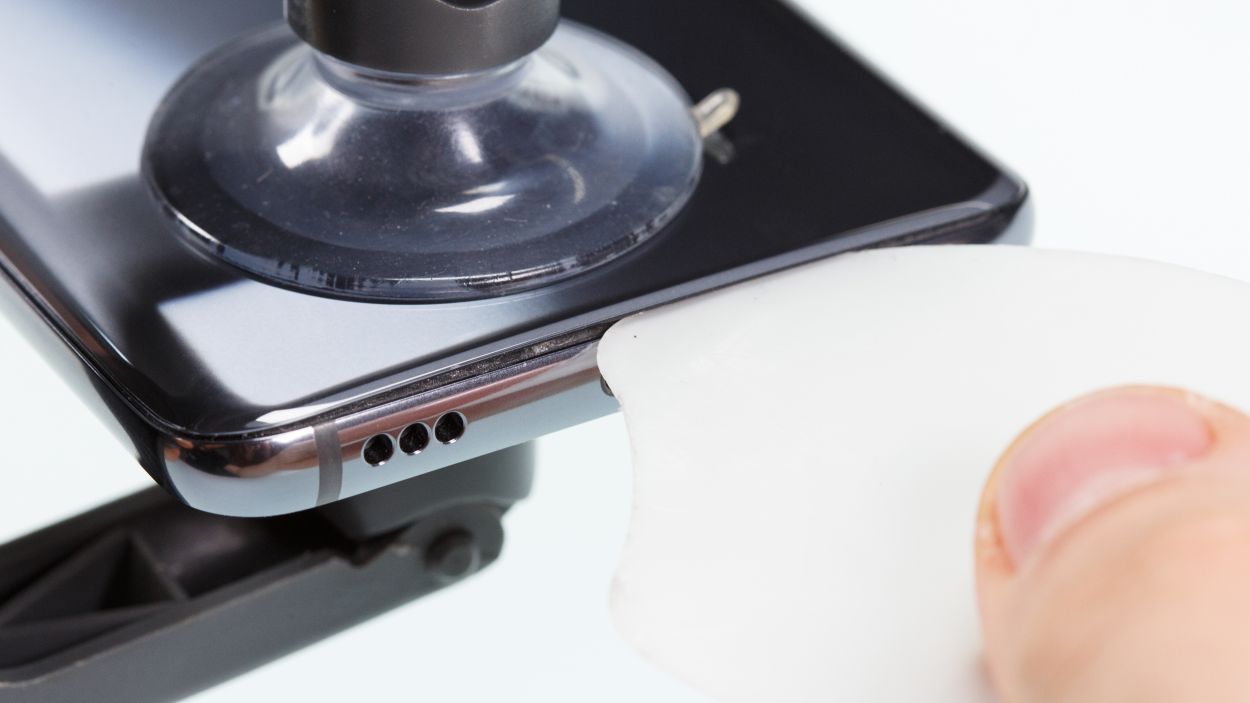
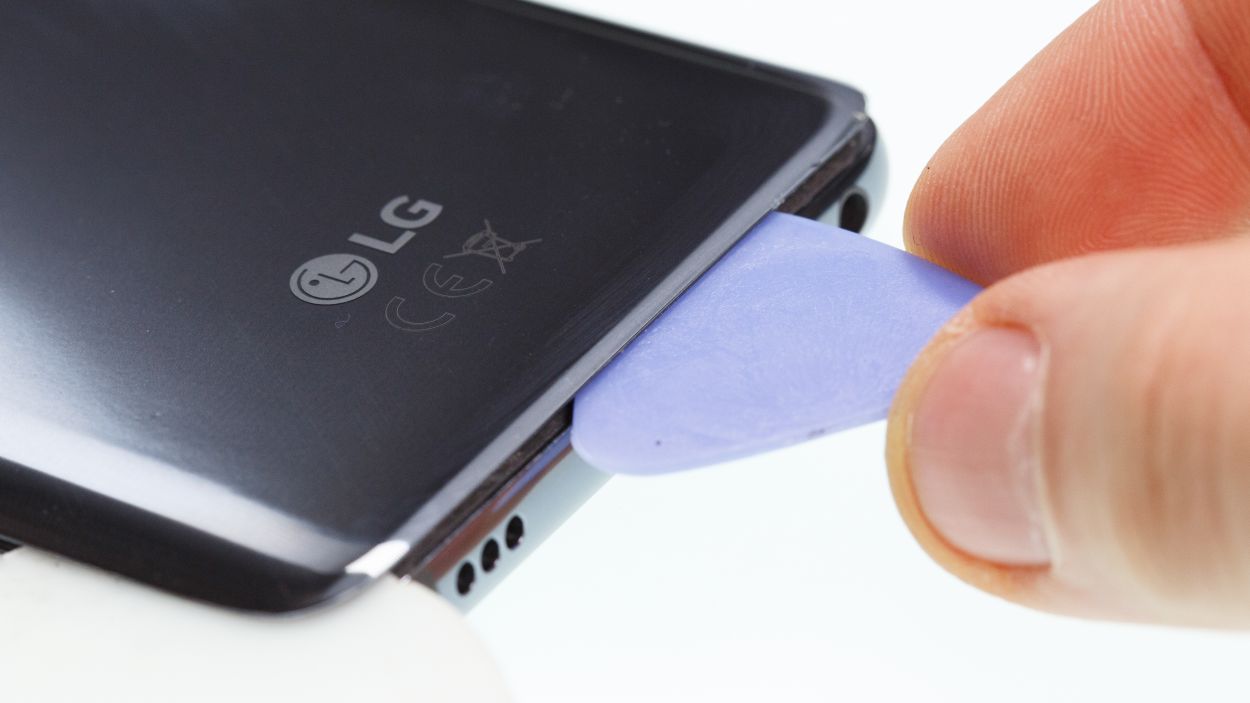
– A good way to get the back cover apart from your device is to use a flat tool like the iPlastix or iFlex. You’ll also need some picks to unstick everything.
– Start with heating one spot and put the flat tool between the back cover and the frame.
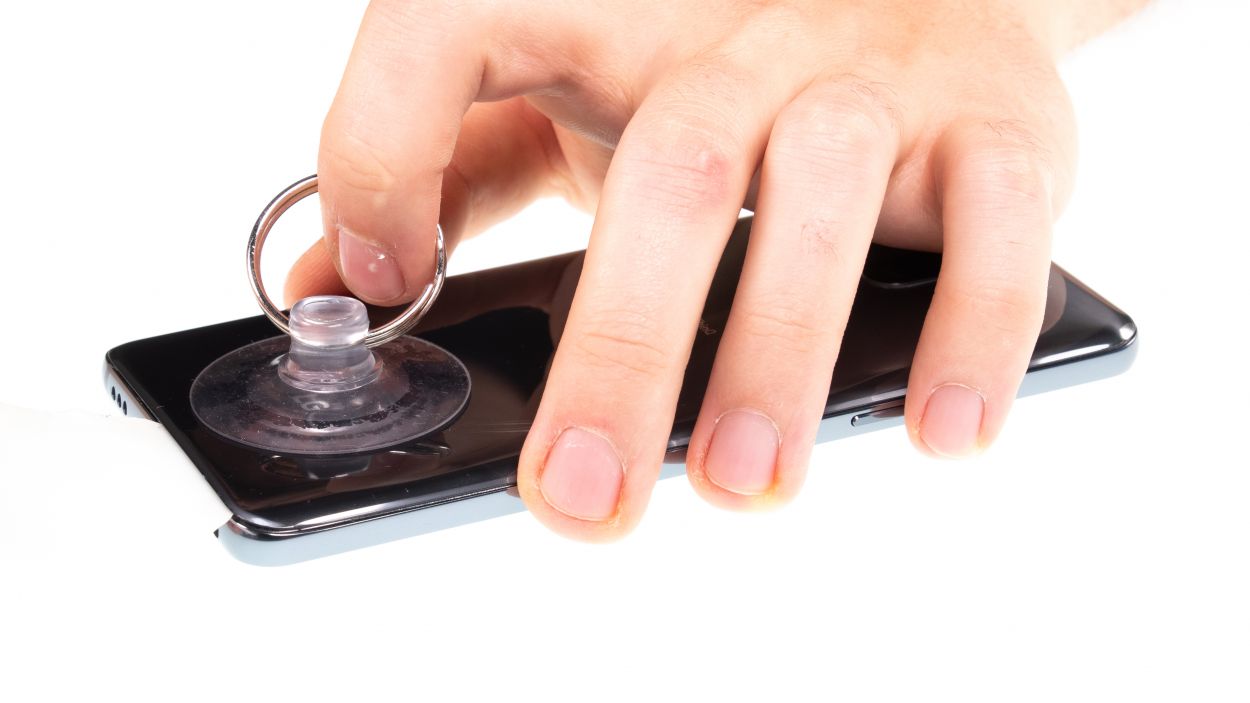
– If you can’t find a spot to insert your tool, use a suction cup to lift the glass.
– Finally, use the iSclack! It will easily lift the back cover so you can use a flat tool and pry apart the glue. Put suction cups on the display and backcover and press the tool lever together.
Be
extra careful, the back cover can break very easily. If necessary,
apply the heat several times and try again. Removing the back cover
might take half an hour. Take a little more time and work carefully to
make sure you don’t break anything.
The iPlastix is crafted from plastic, so it’s gentle on your device and won’t leave any scratches. However, it can be a bit soft and tricky to maneuver. On the flip side, the iFlex is your best buddy for slipping into that tight space between the glass and the frame, thanks to its super thin and sturdy metal design. Just a heads up, though—it might be a little too good at getting in there, so be careful not to scratch the frame of your device!
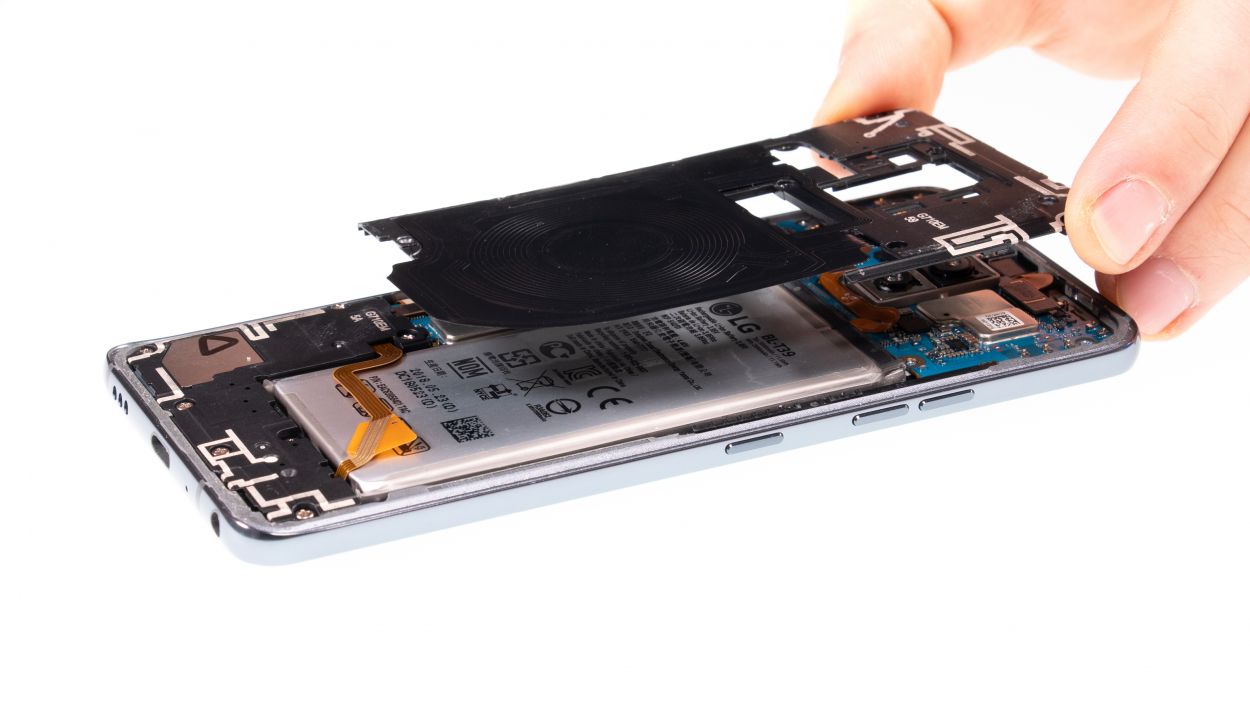
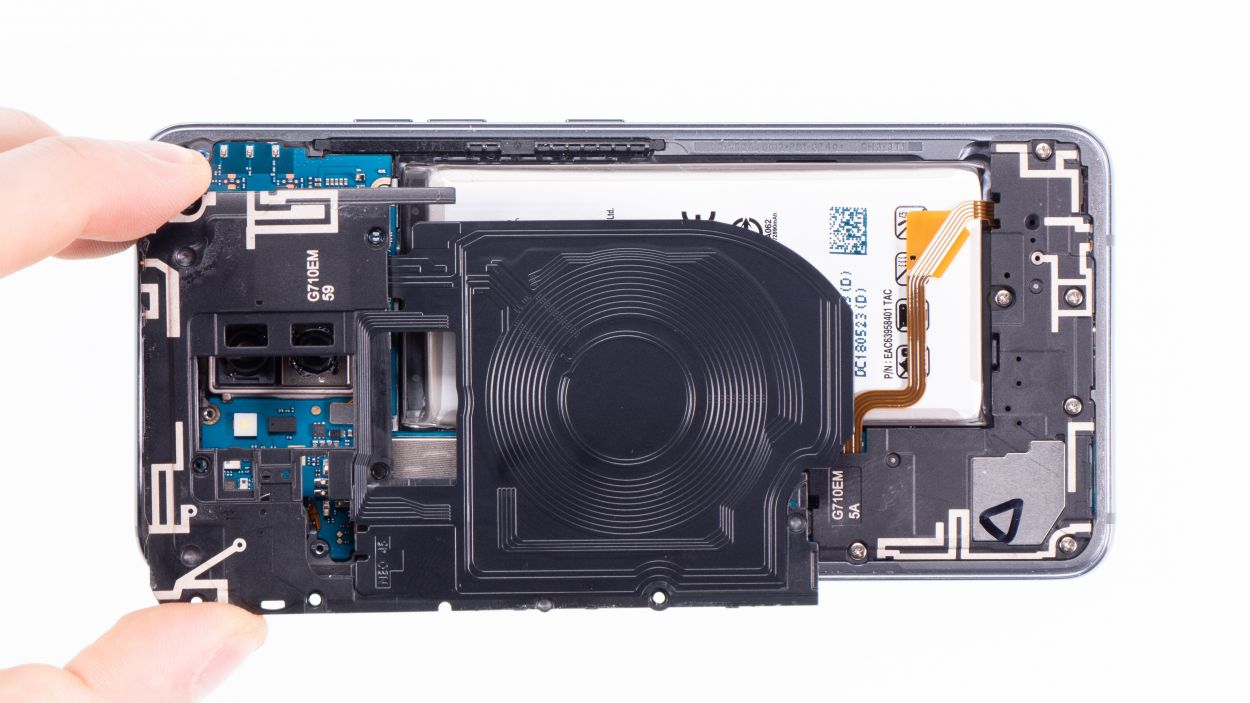
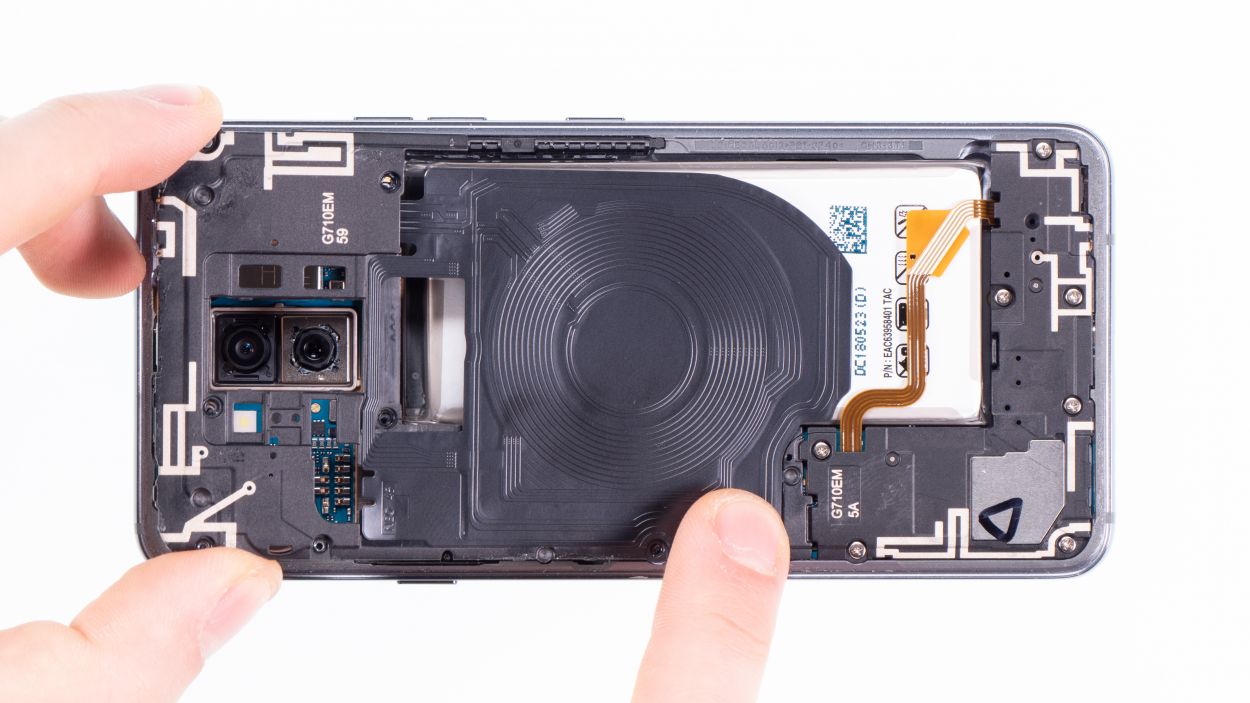
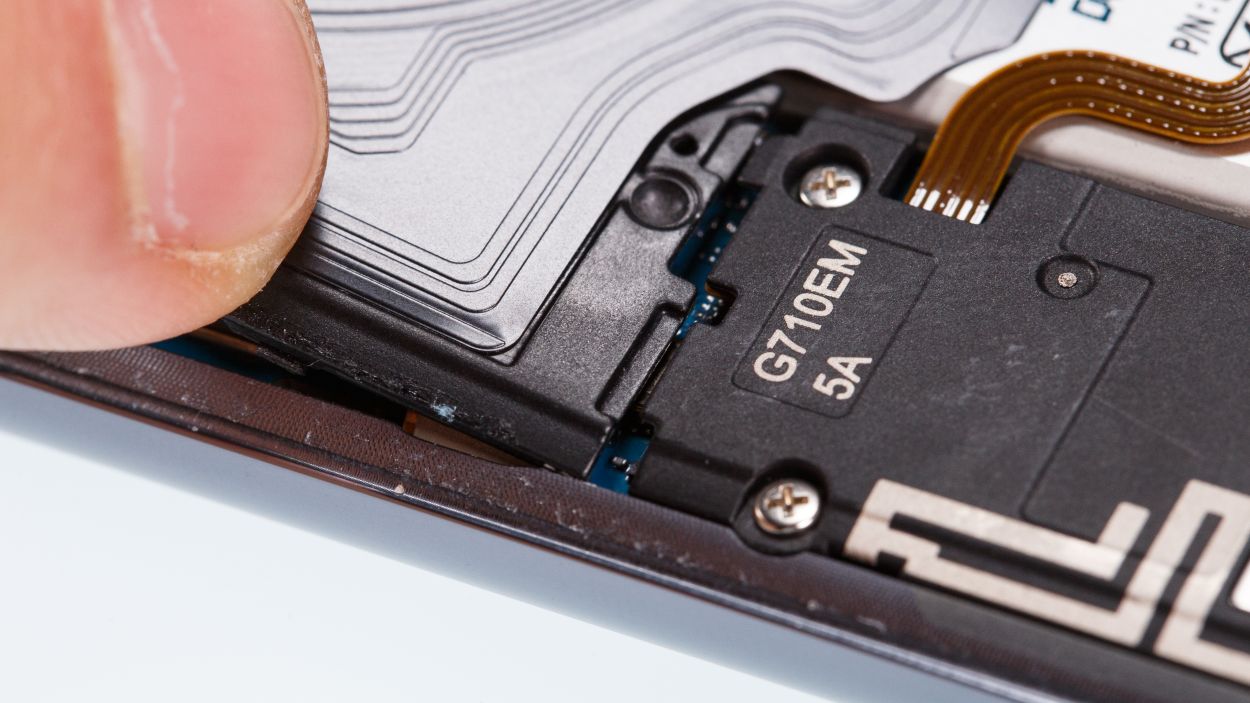
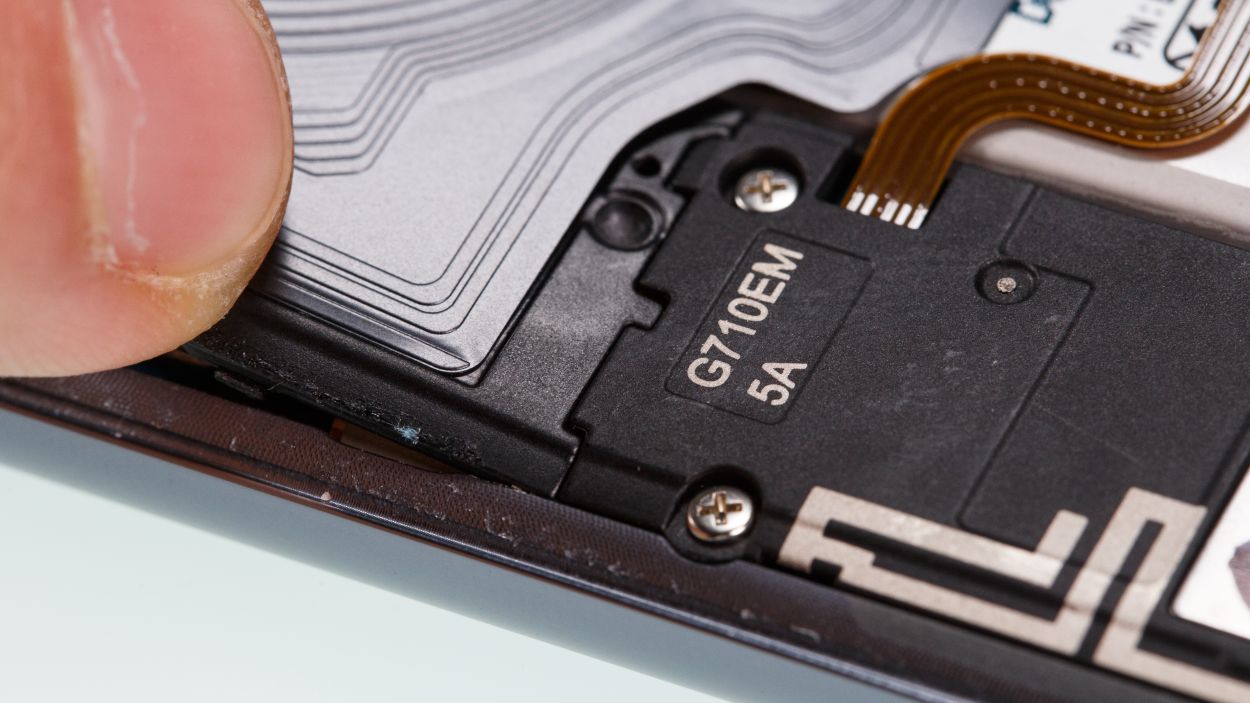
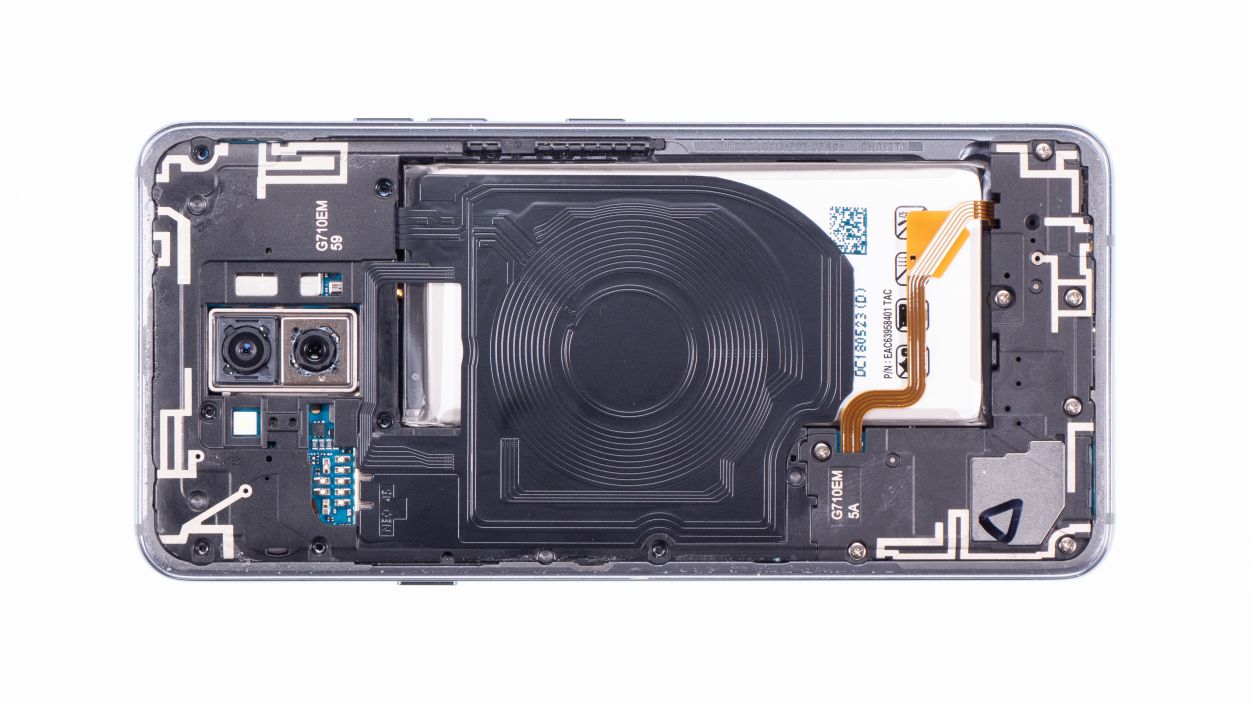
Step 3
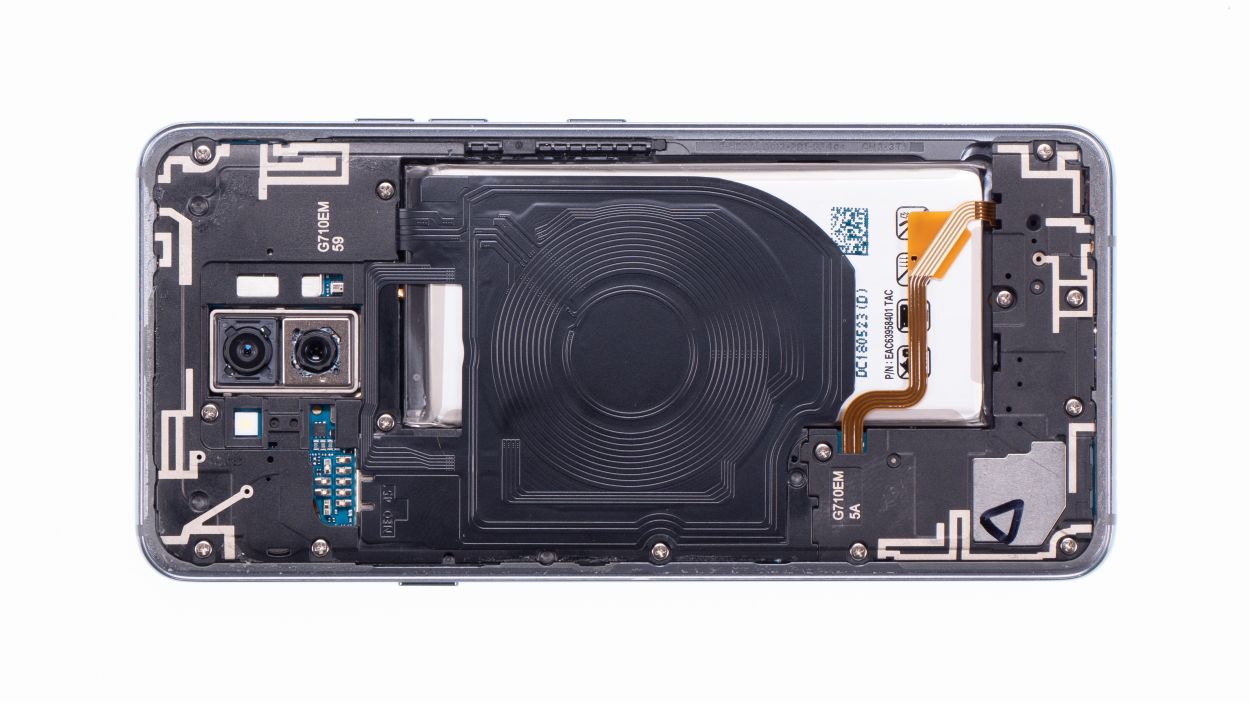
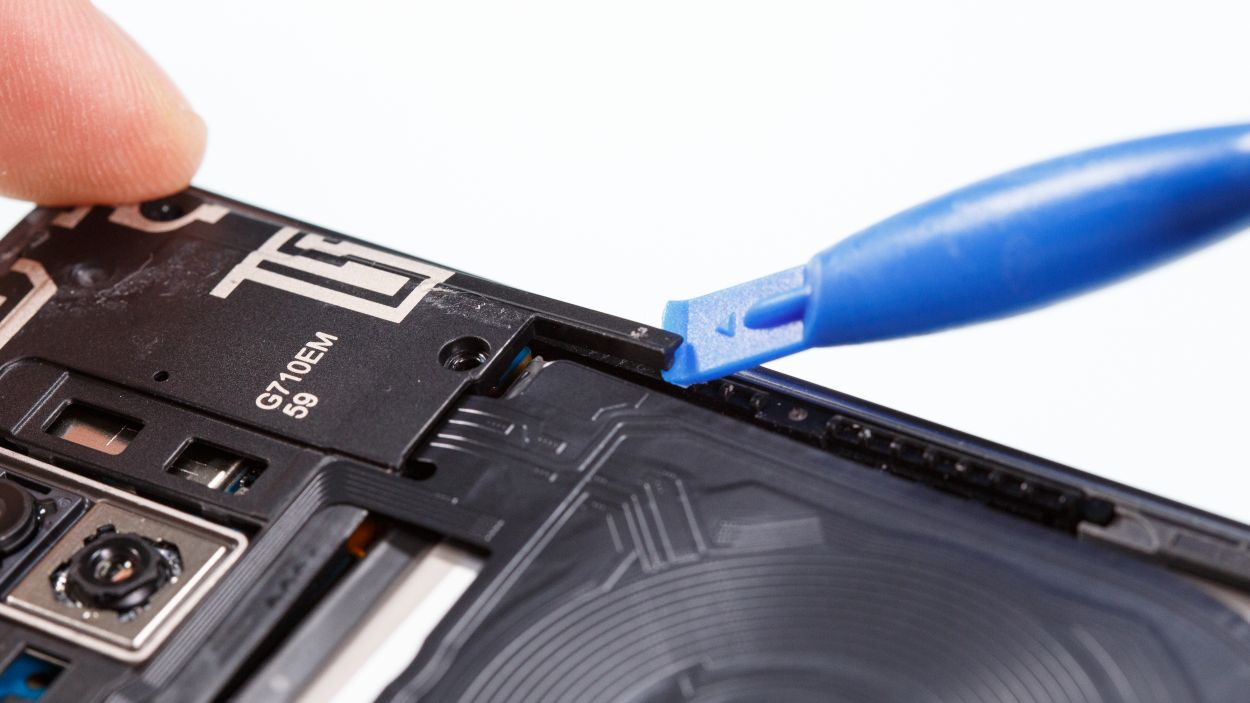
7 × 3,5 mm Phillips
– Start by loosening those Phillips screws holding the cover in place. Just a heads up, the wireless charging coil and NFC antenna are cozying up to that plastic cover.
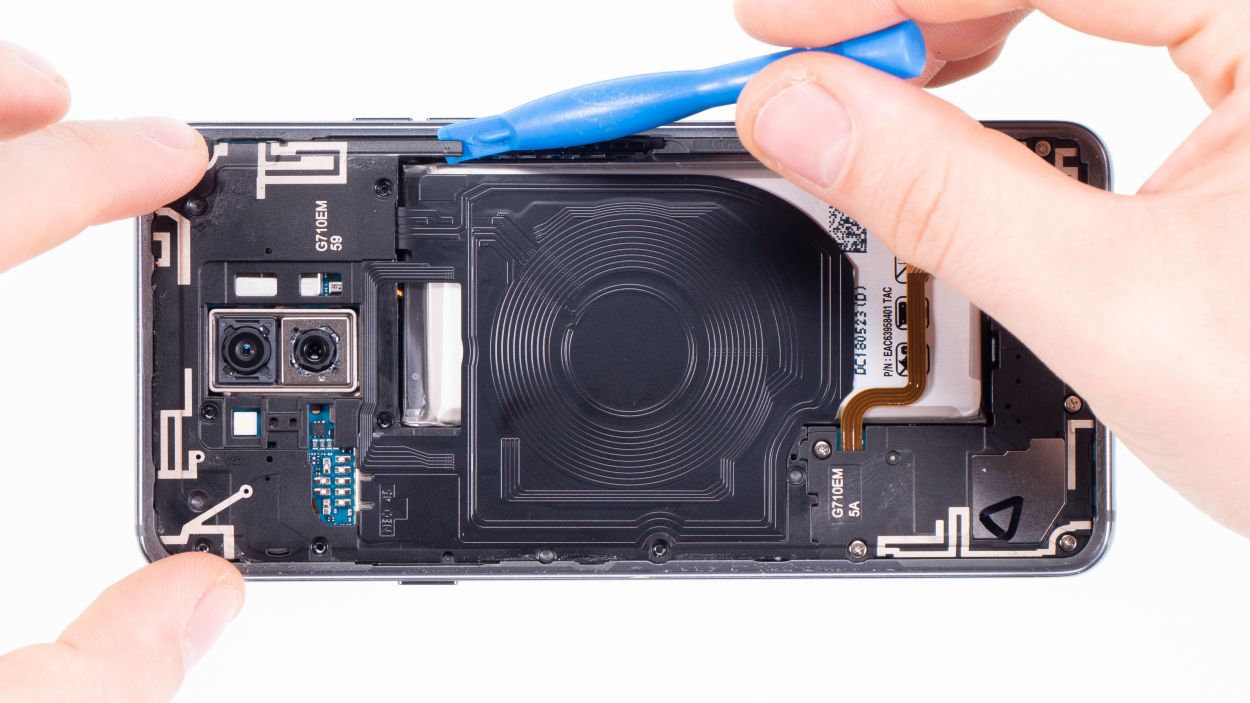
– Next, you’ll notice the cover is snugly hooked into the housing. Grab a tool and gently pry under the plastic frame, then lift it up with a little finesse.
– Now, you can easily lift off the plastic cover along with the coil. You’re doing great!
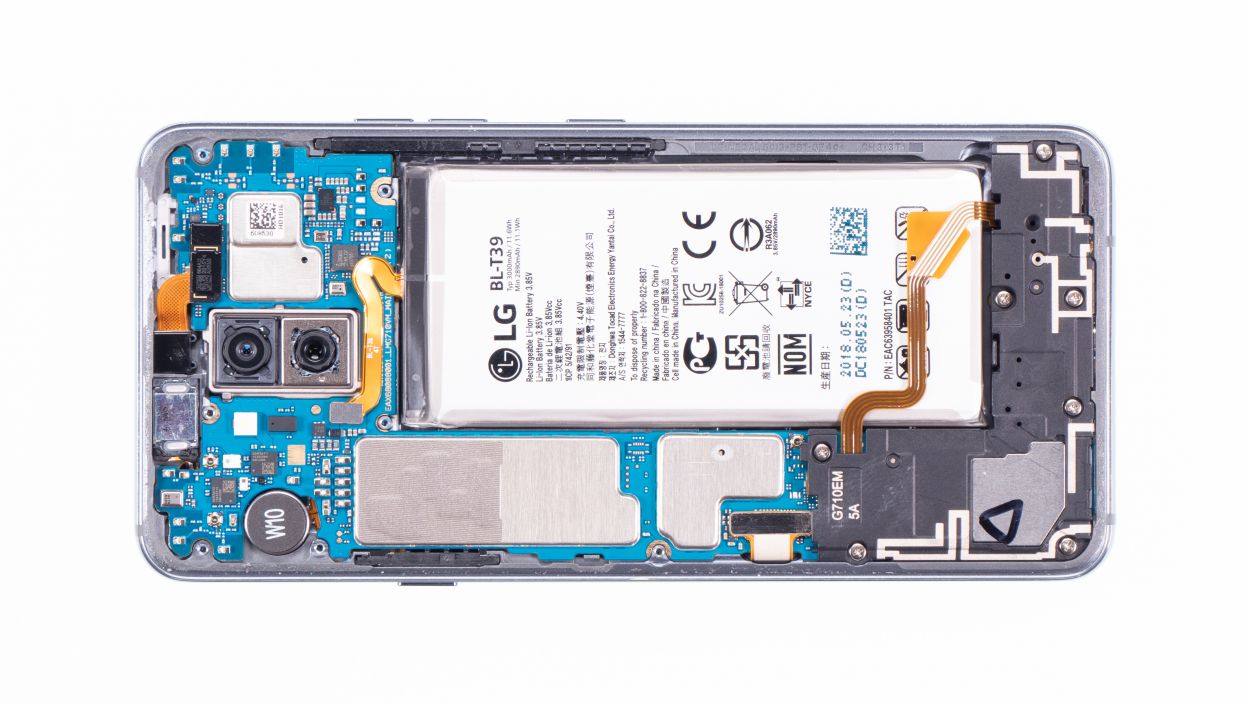
Step 5

7 × 3,5 mm Phillips
– Loosen the Phillips screws that secure the speaker and then remove it.
– You can easily release the speaker by pulling it up at the top with your fingernail.
Step 6
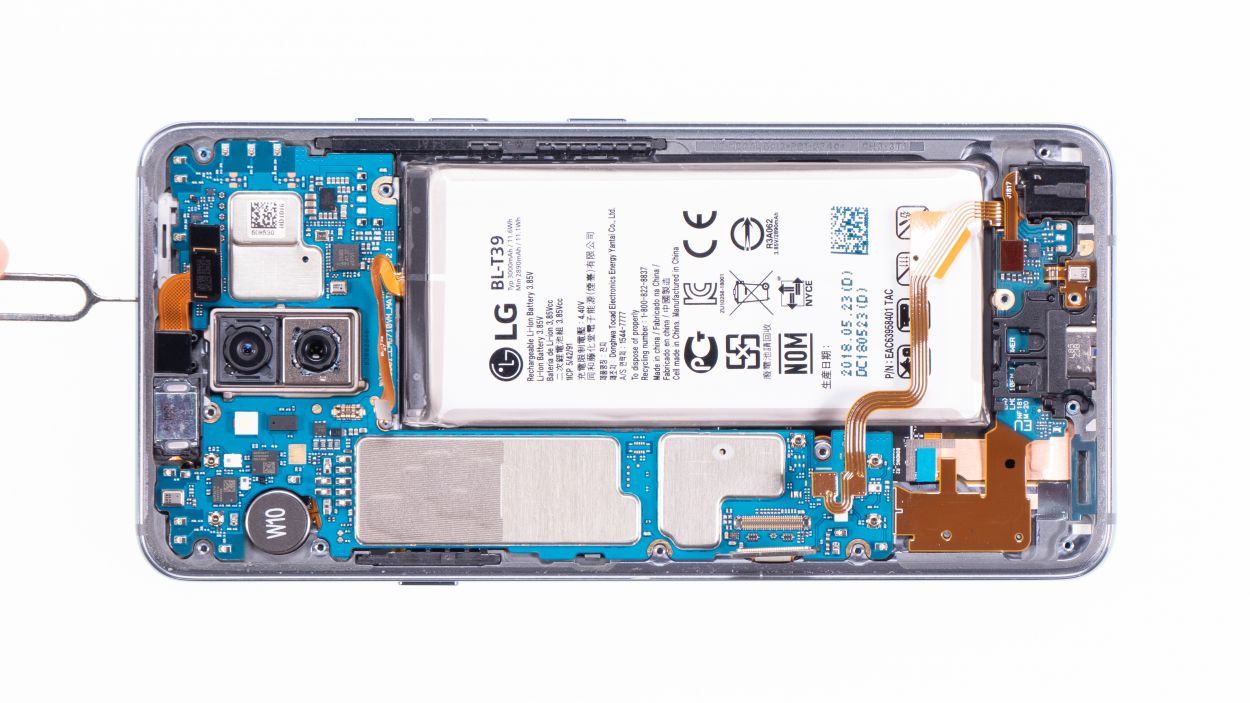

– Gently pop in a SIM tool into the little hole on the SIM tray.
– Carefully pull the SIM slider out of your device.
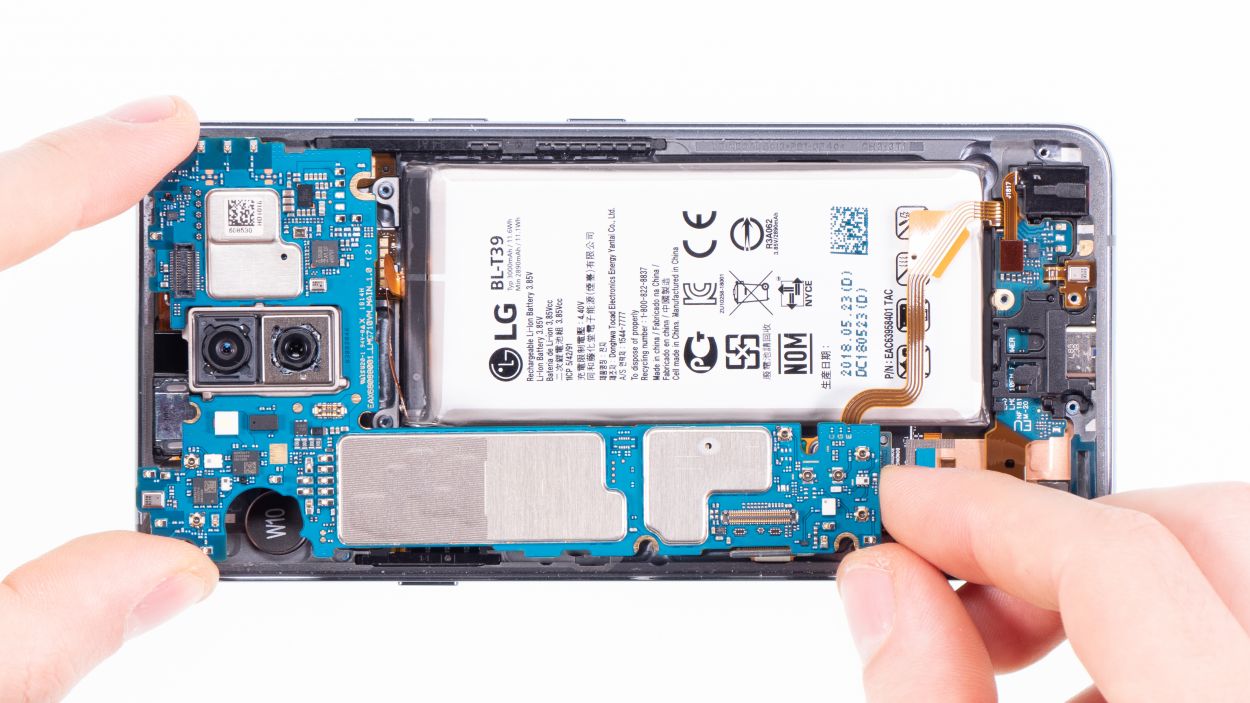
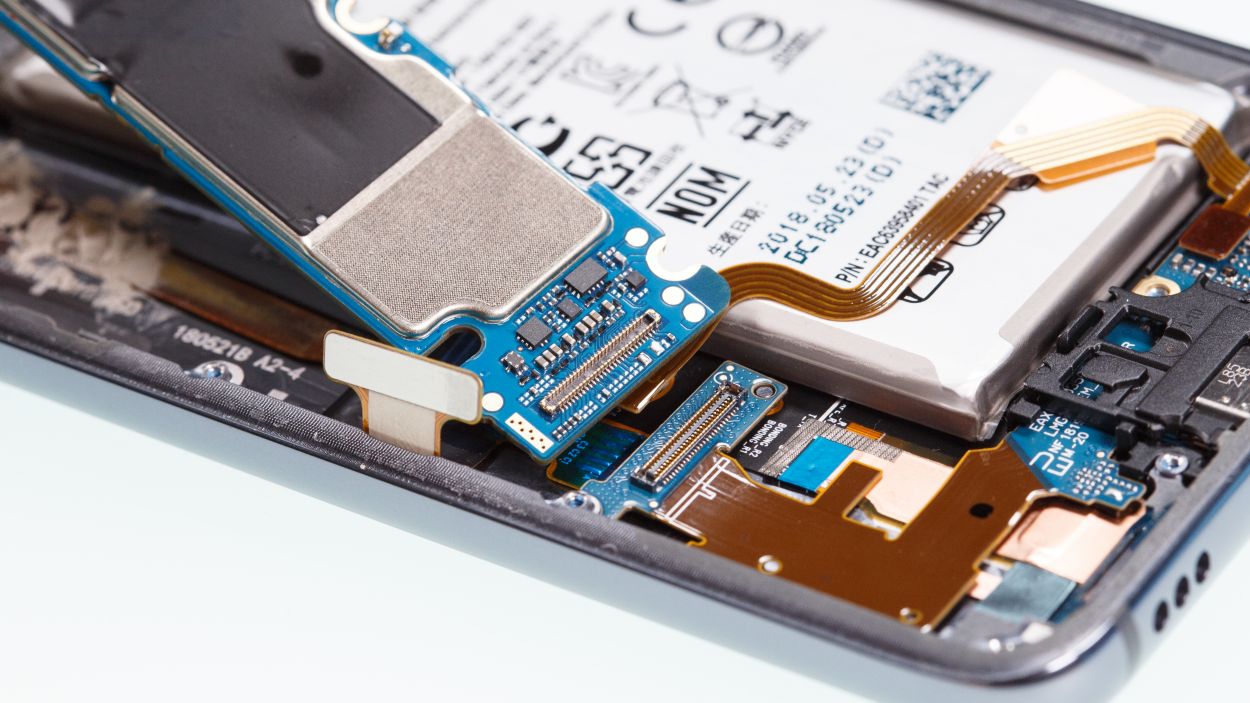
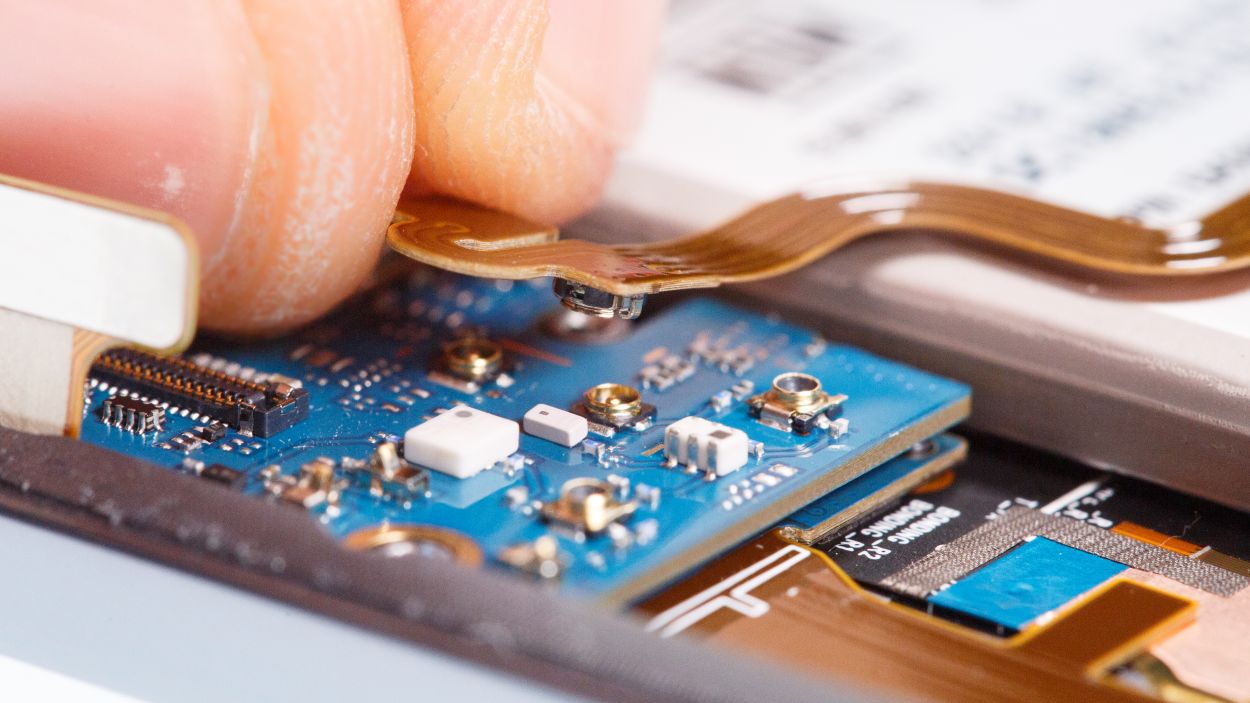
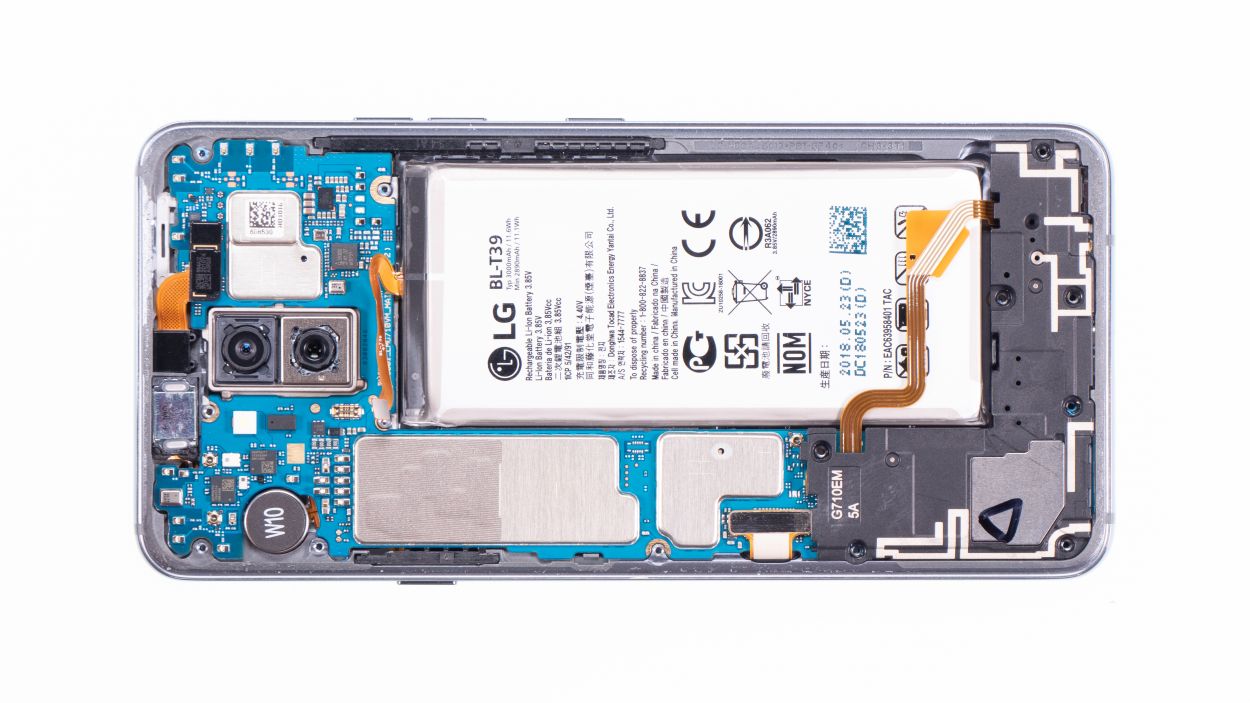
Step 7

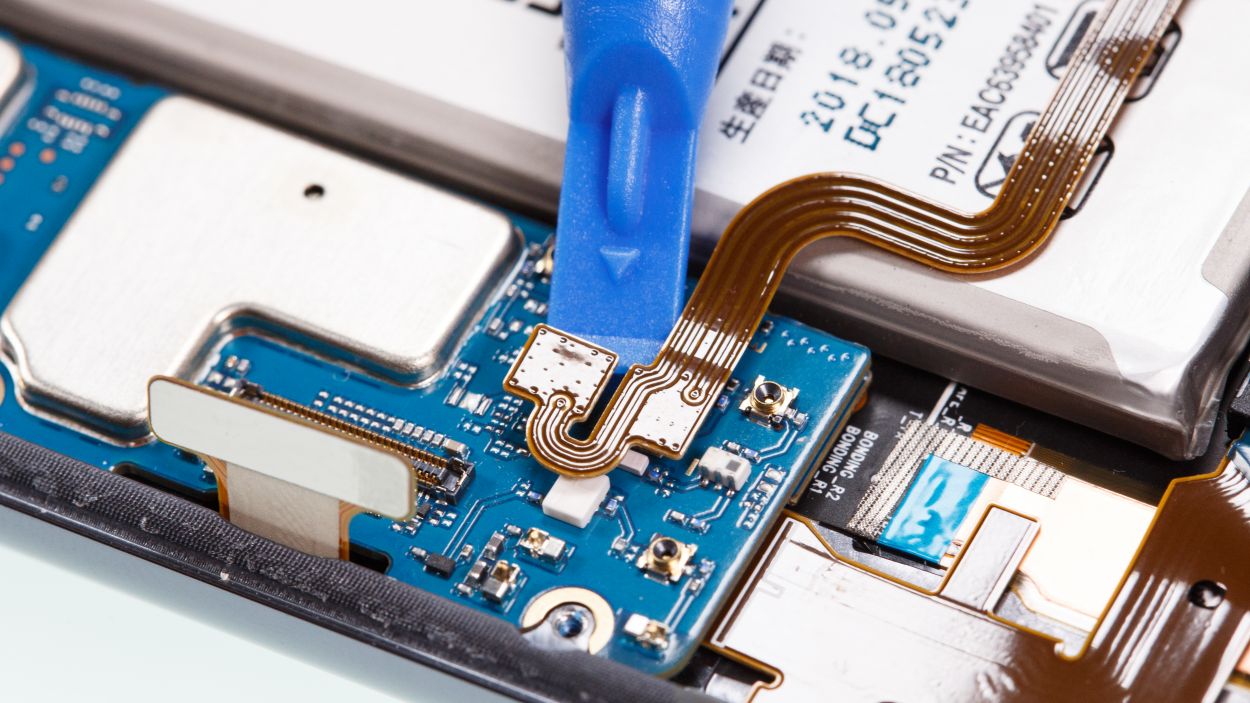

Display connector
Camera connector
Antenna connector
USB connector
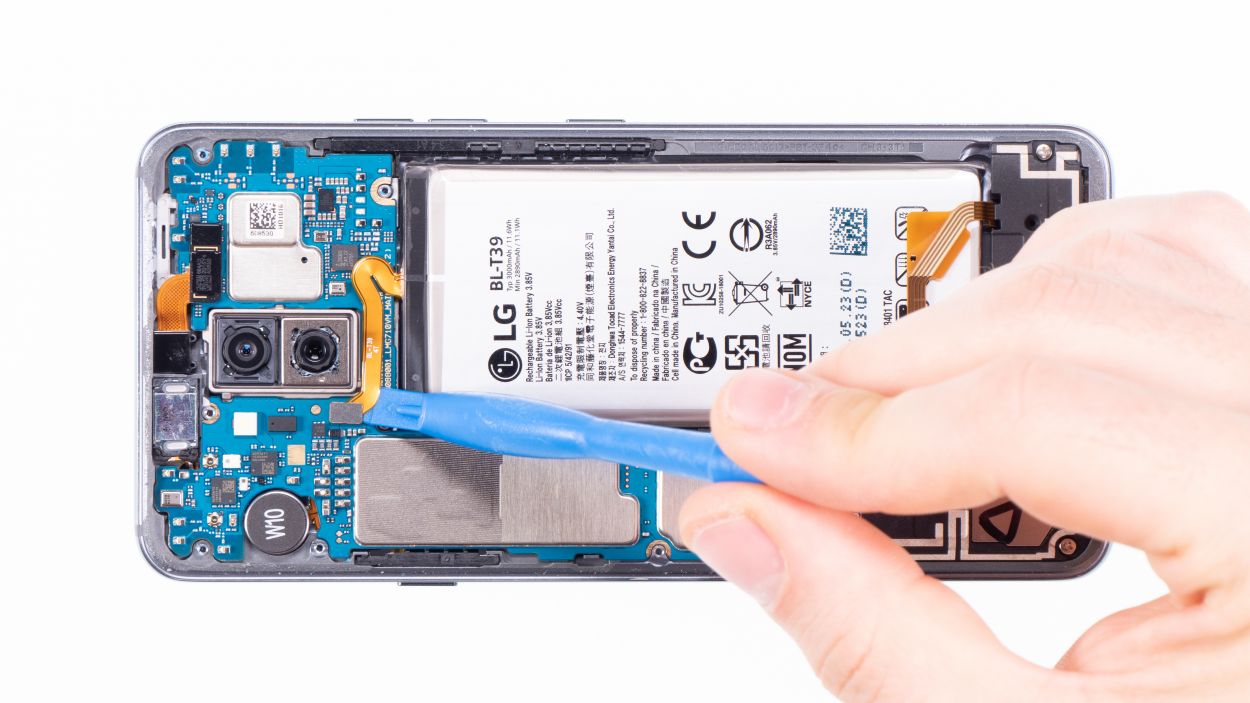
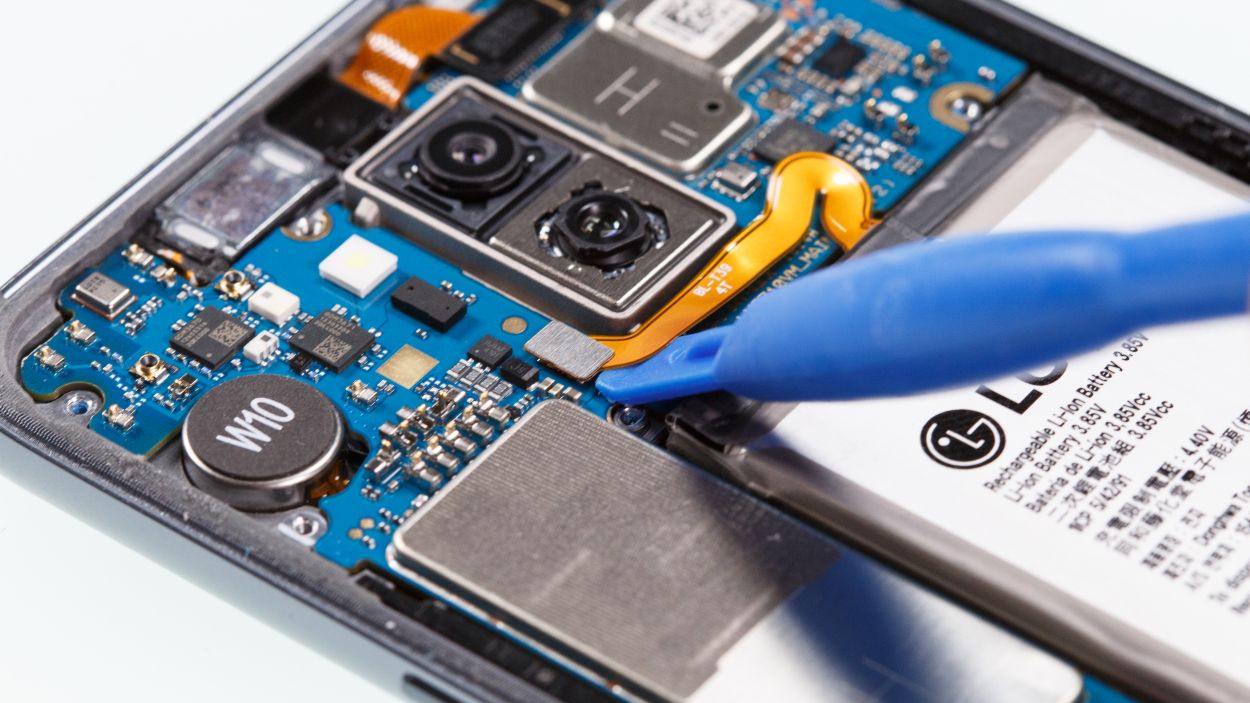
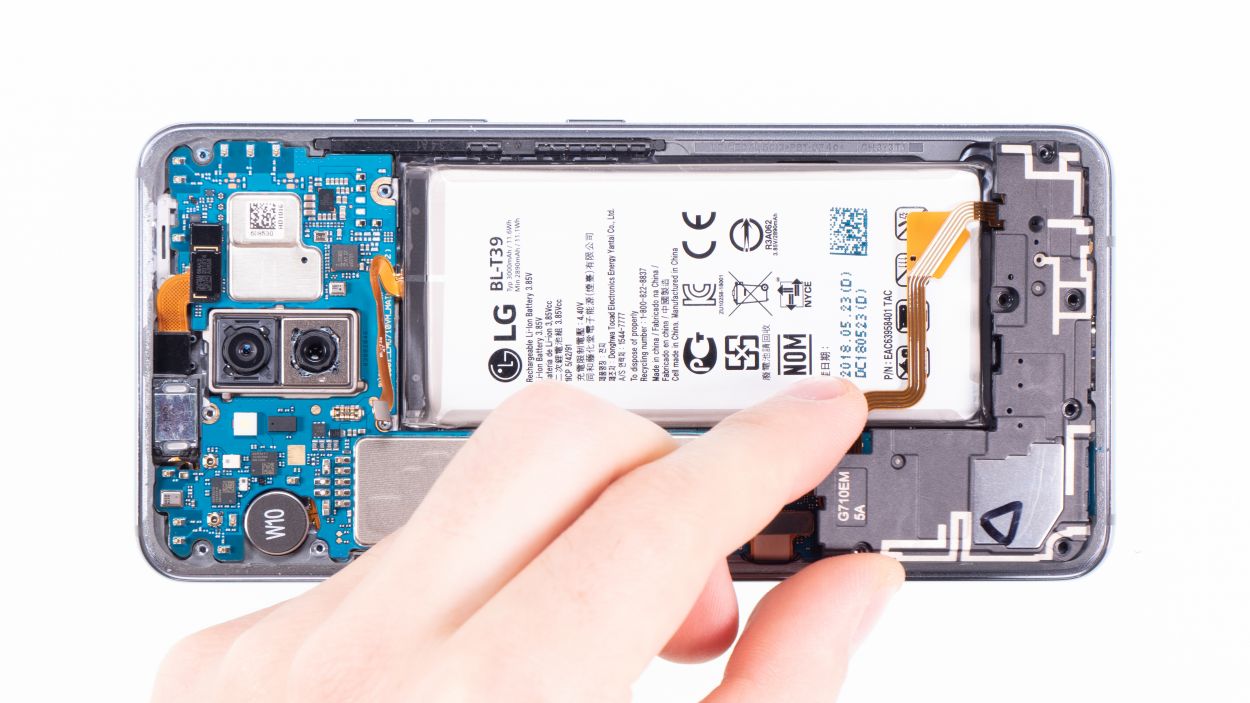
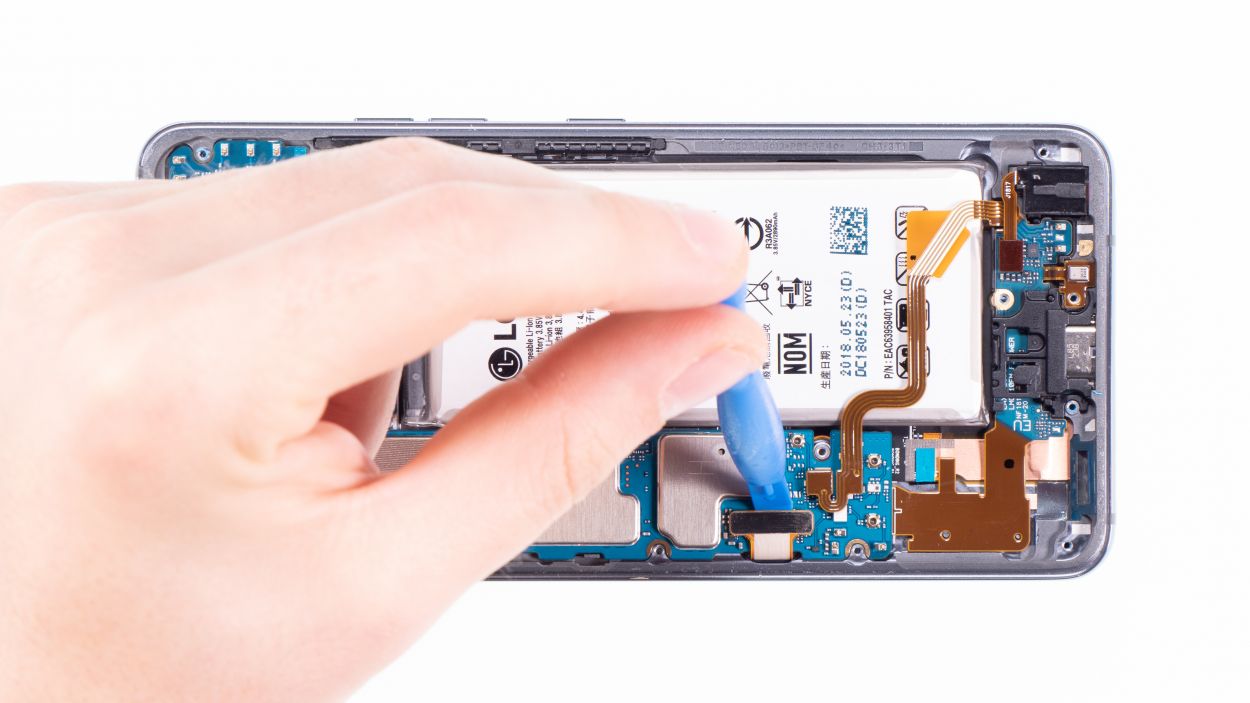
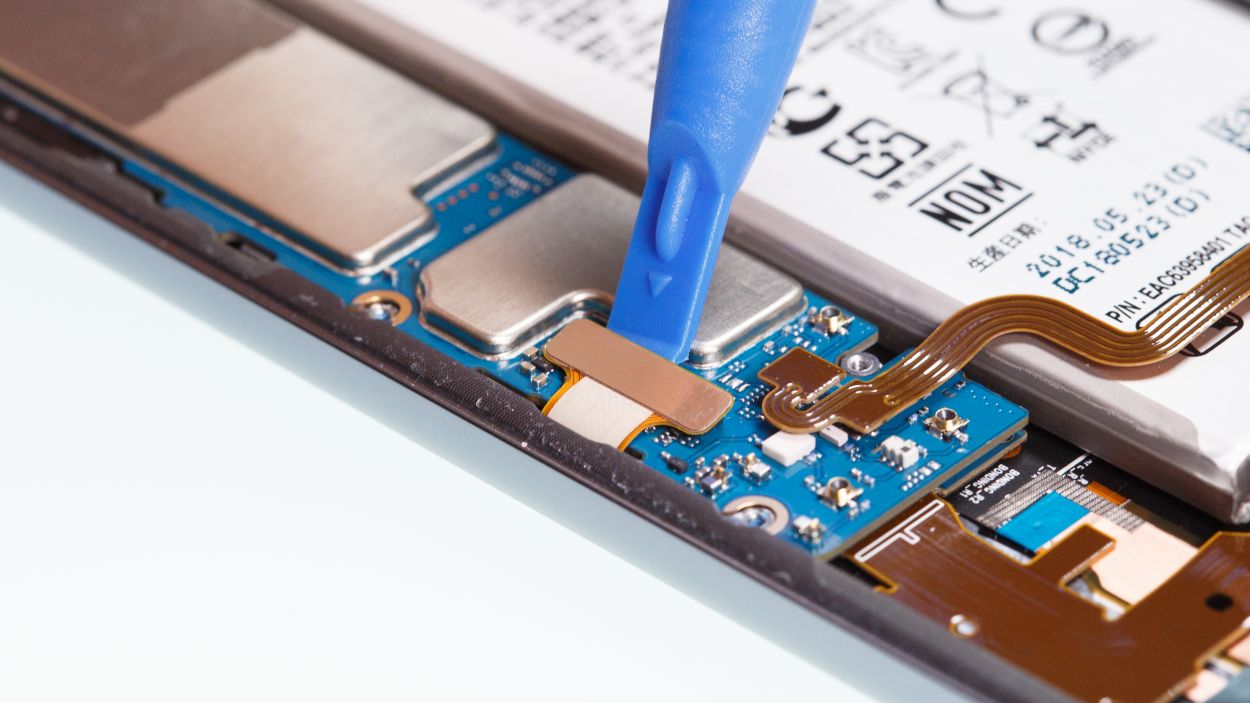
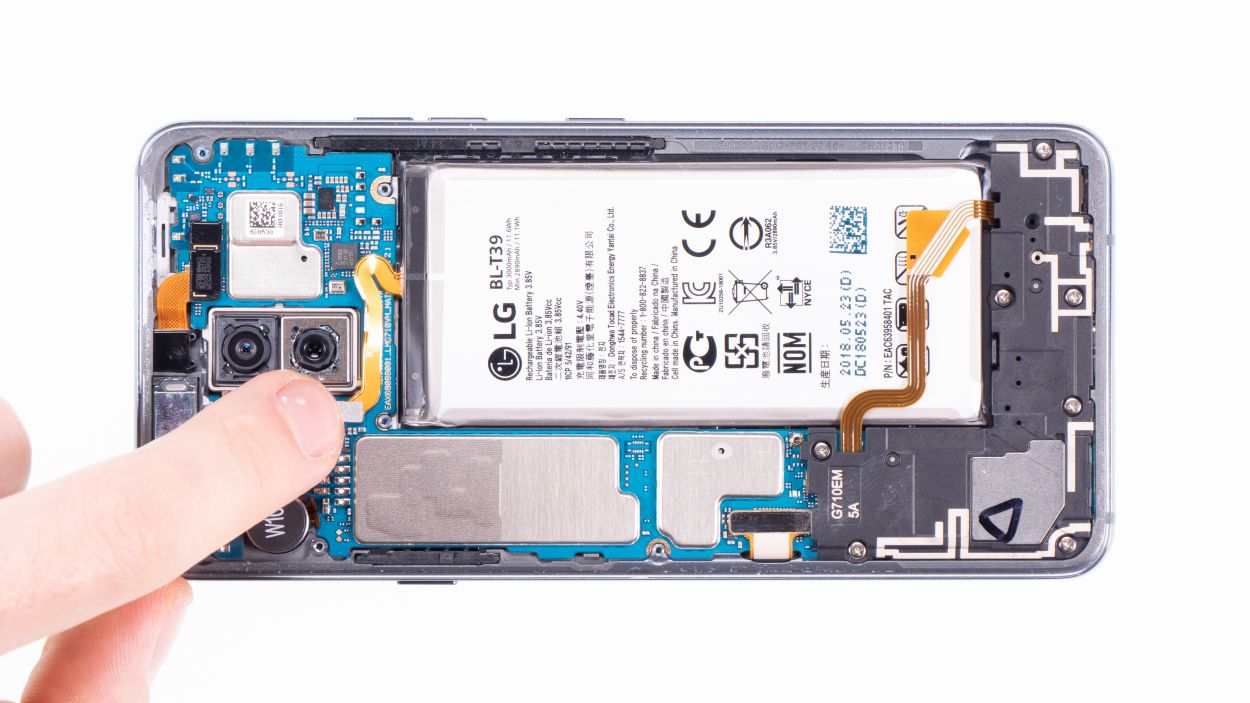
– Alright, let’s get started! Gently detach the highlighted connectors from the main board using a spudger. These little guys are responsible for the front camera, the screen, and a few antennas.
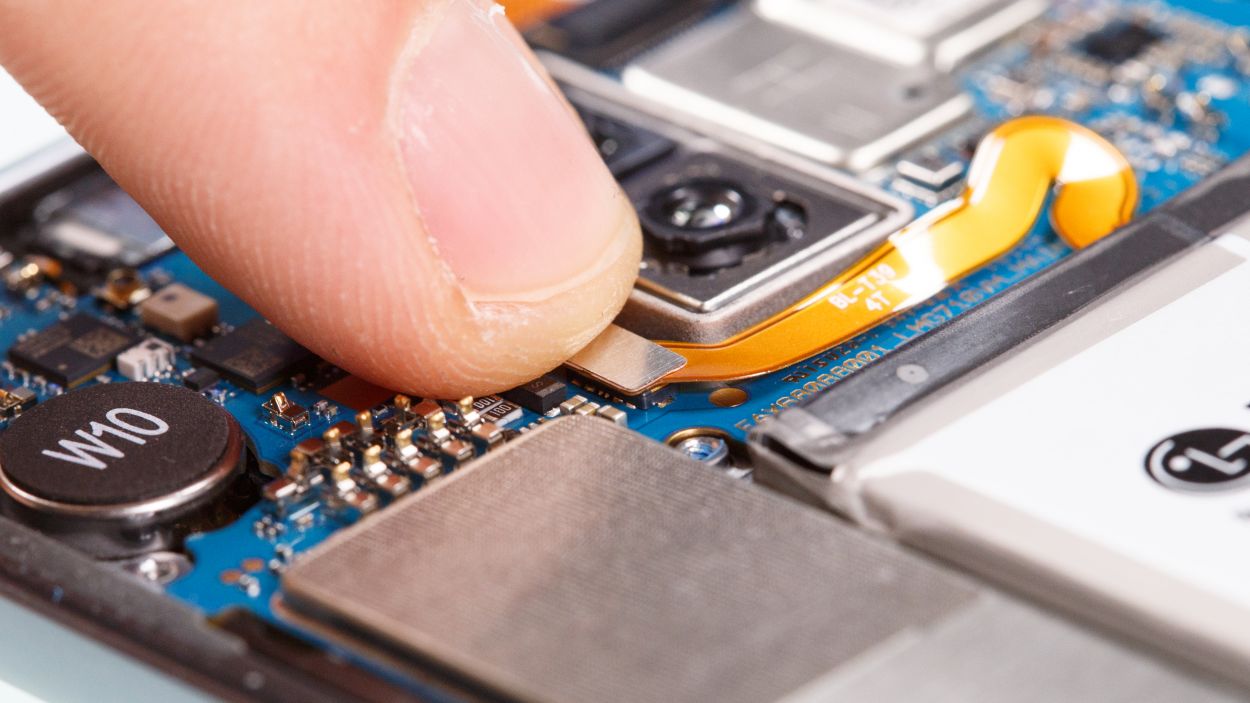
– There’s another connector hanging out on the lower side of the main board, but it’s a bit shy and doesn’t want to be separated directly.
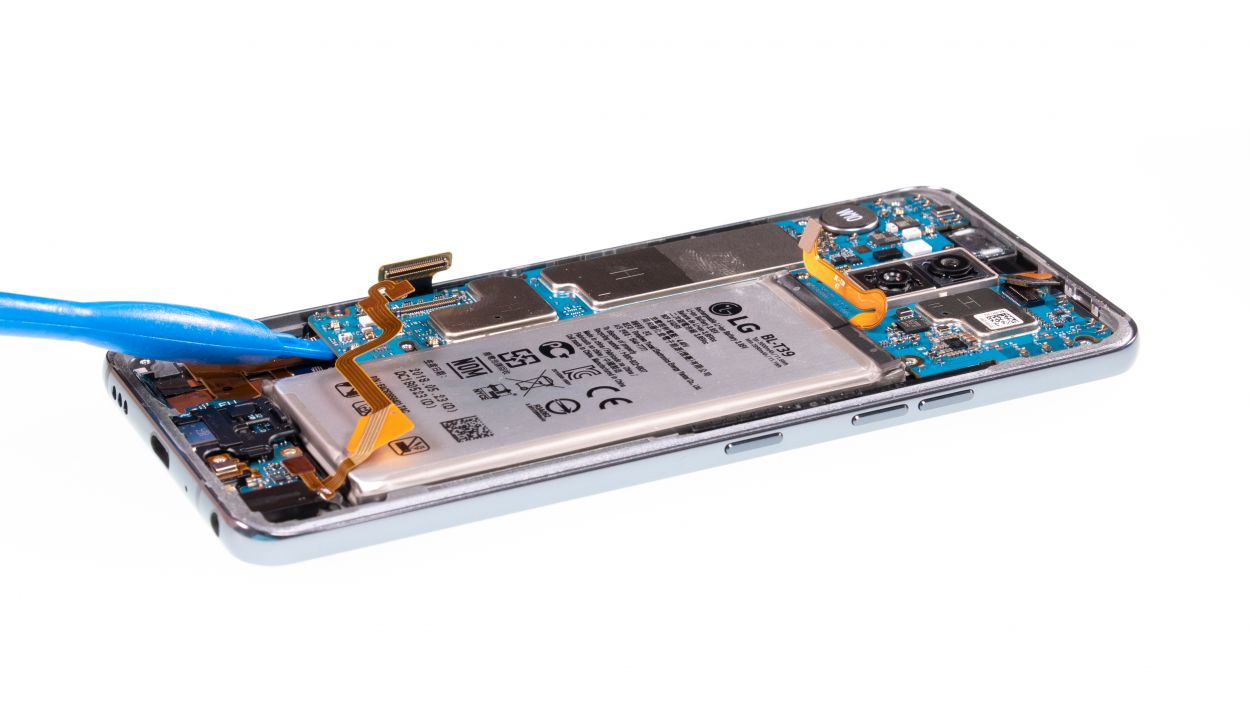
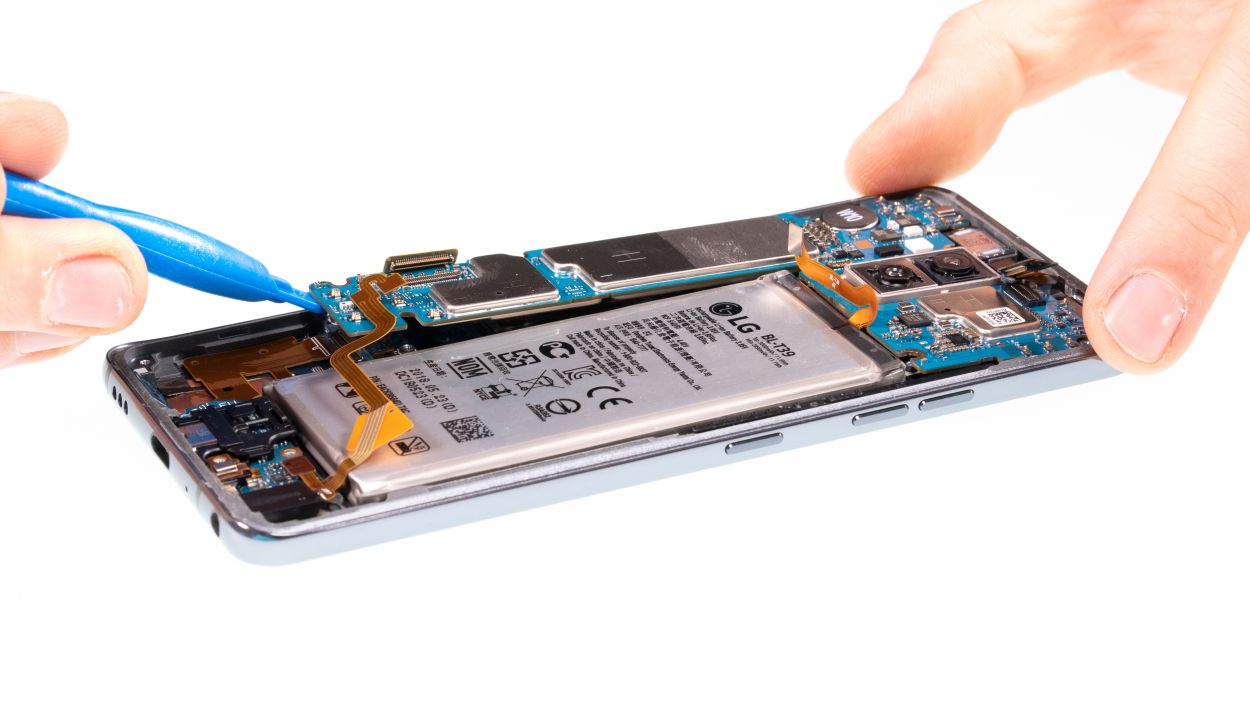
– Grab your spudger and carefully pry up the bottom side of the board until you see that connector starting to loosen up.
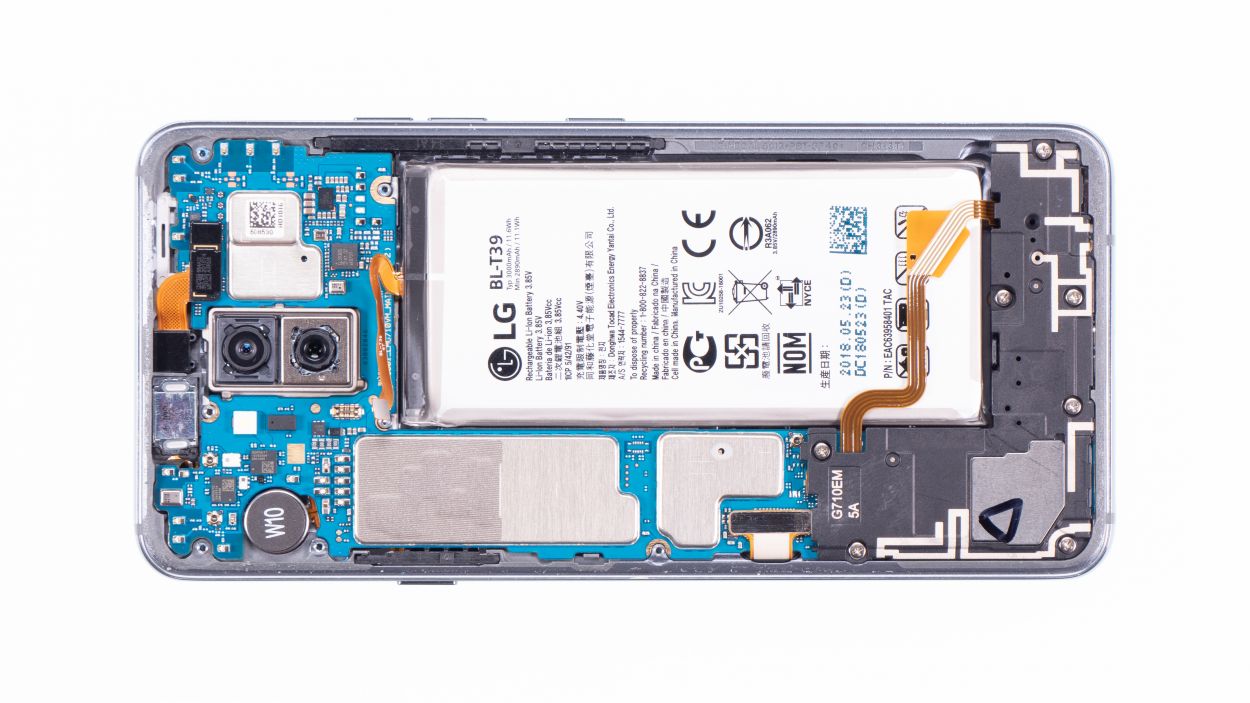
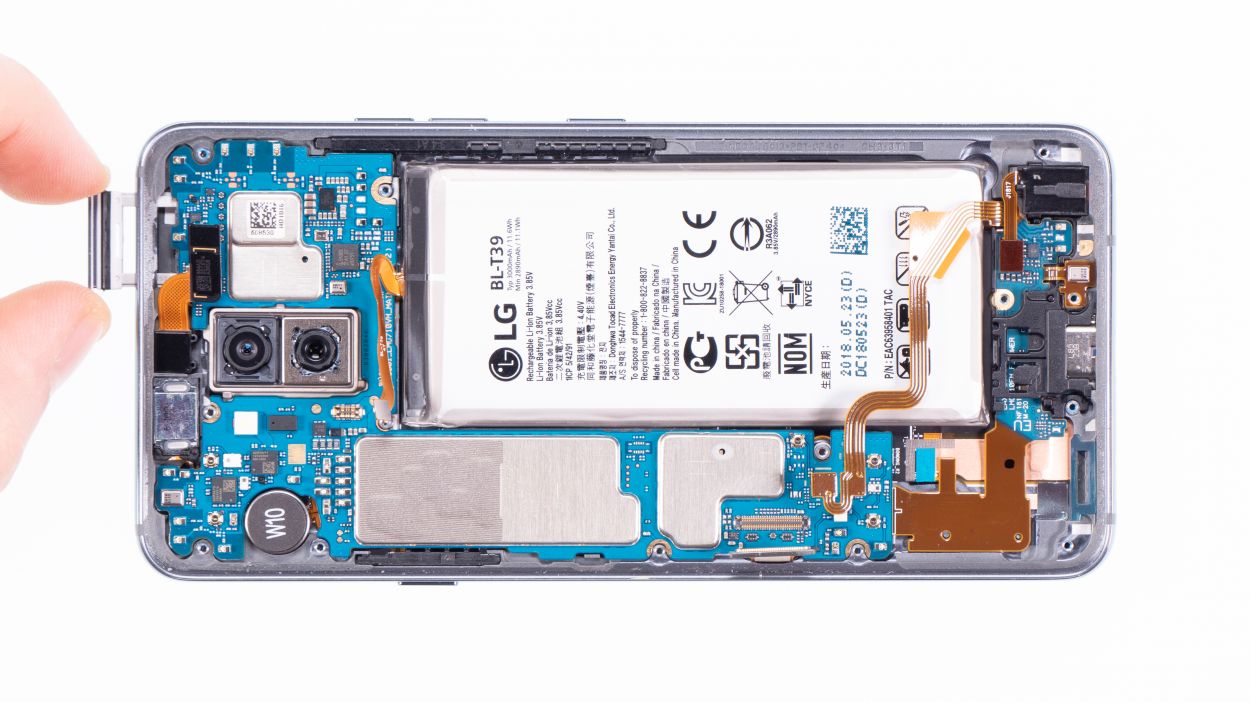
– Now it’s time to gently lift out the motherboard. Just be cautious not to let it snag on any of the connectors you’ve already disconnected.
– Once you’ve got it out, place the board in a safe spot to keep it cozy.
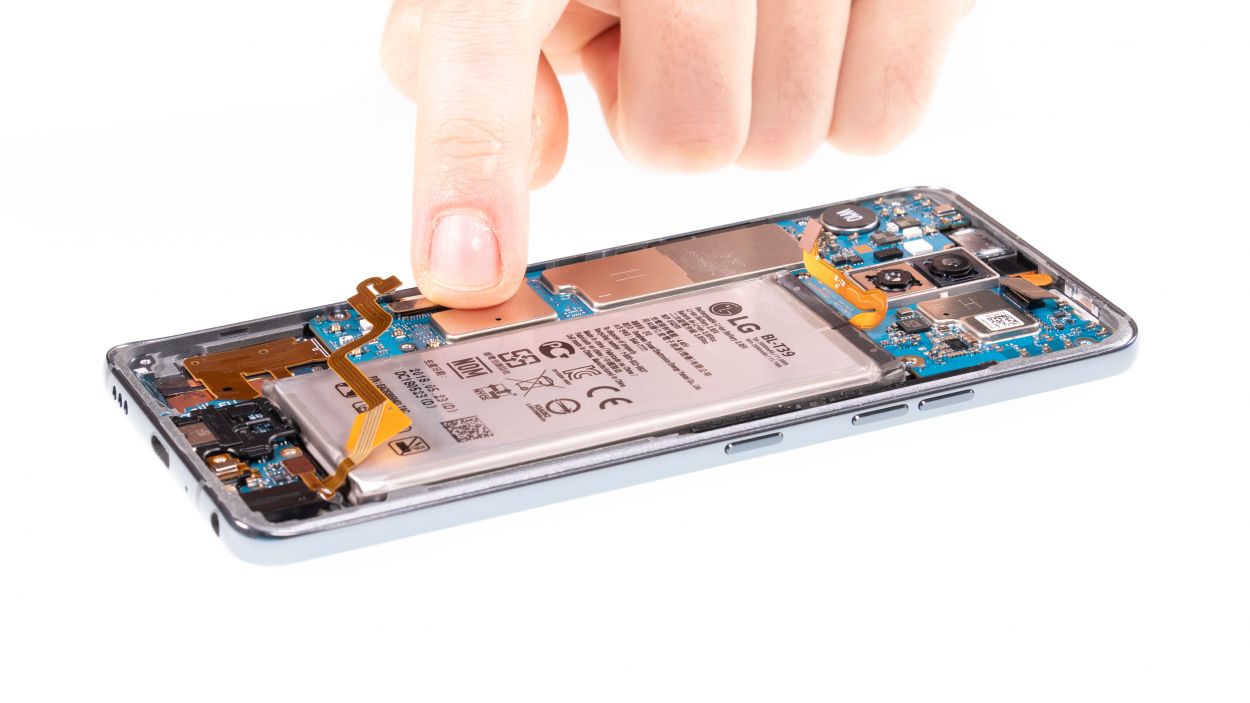
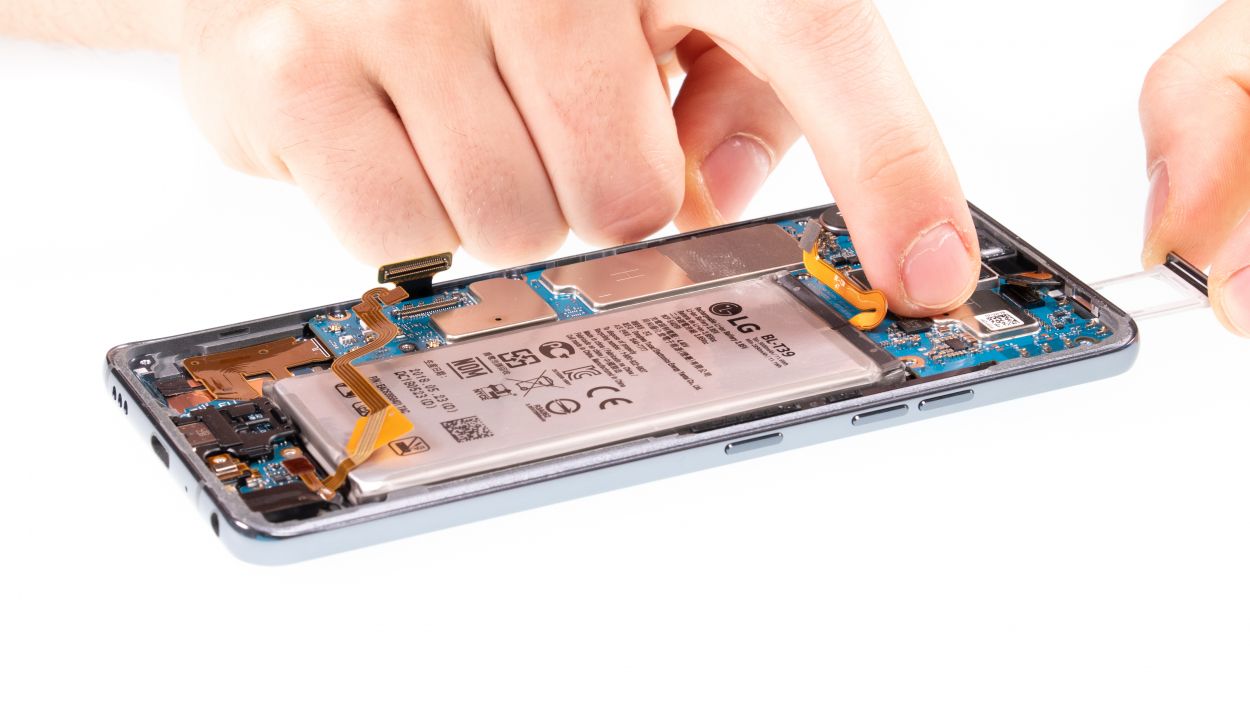
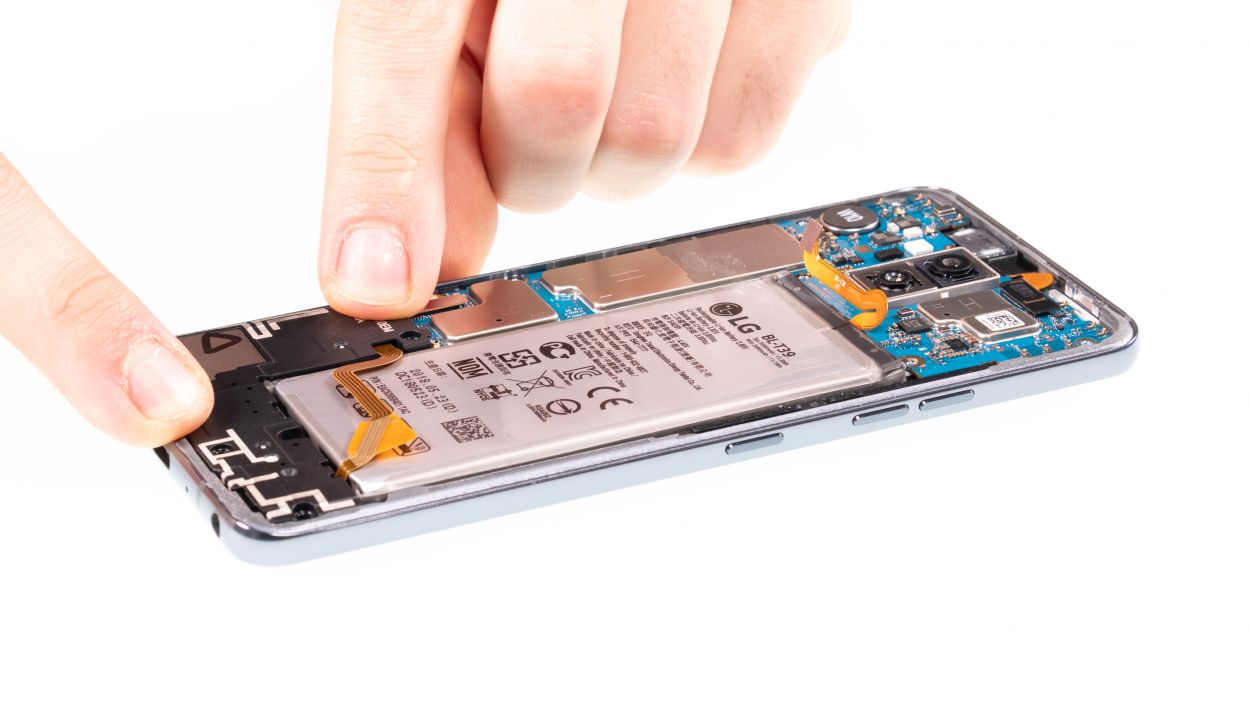
Step 8
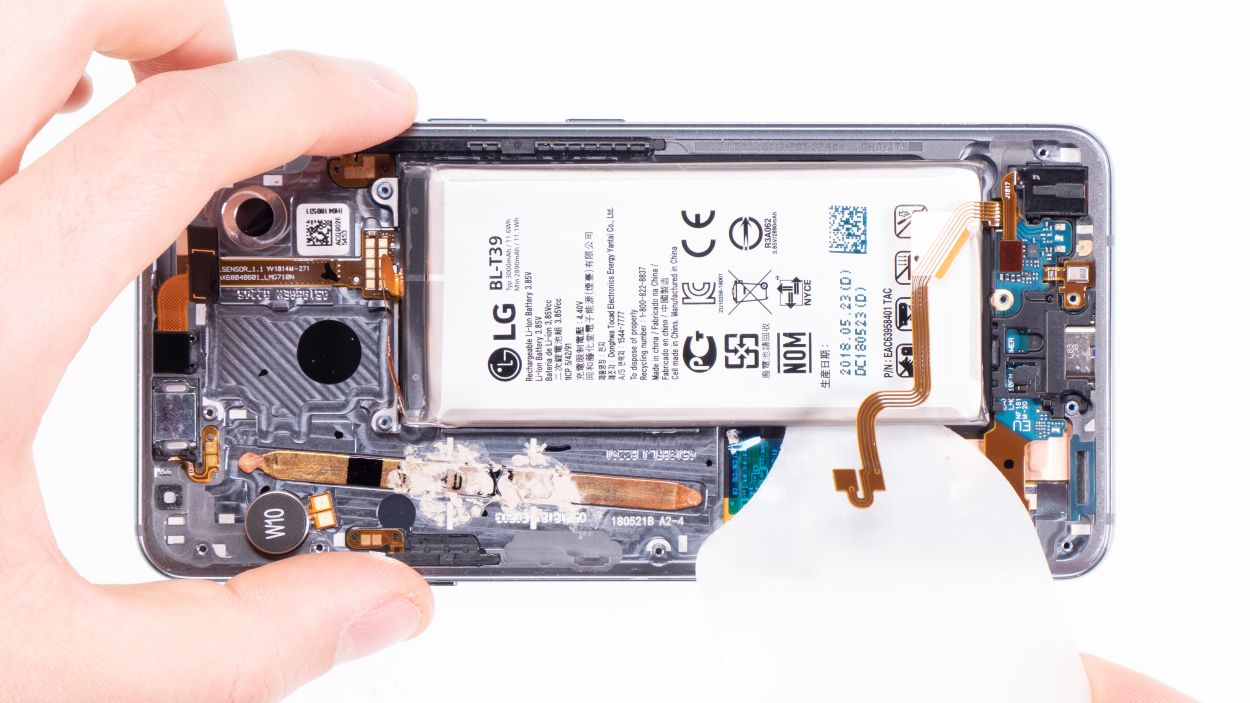
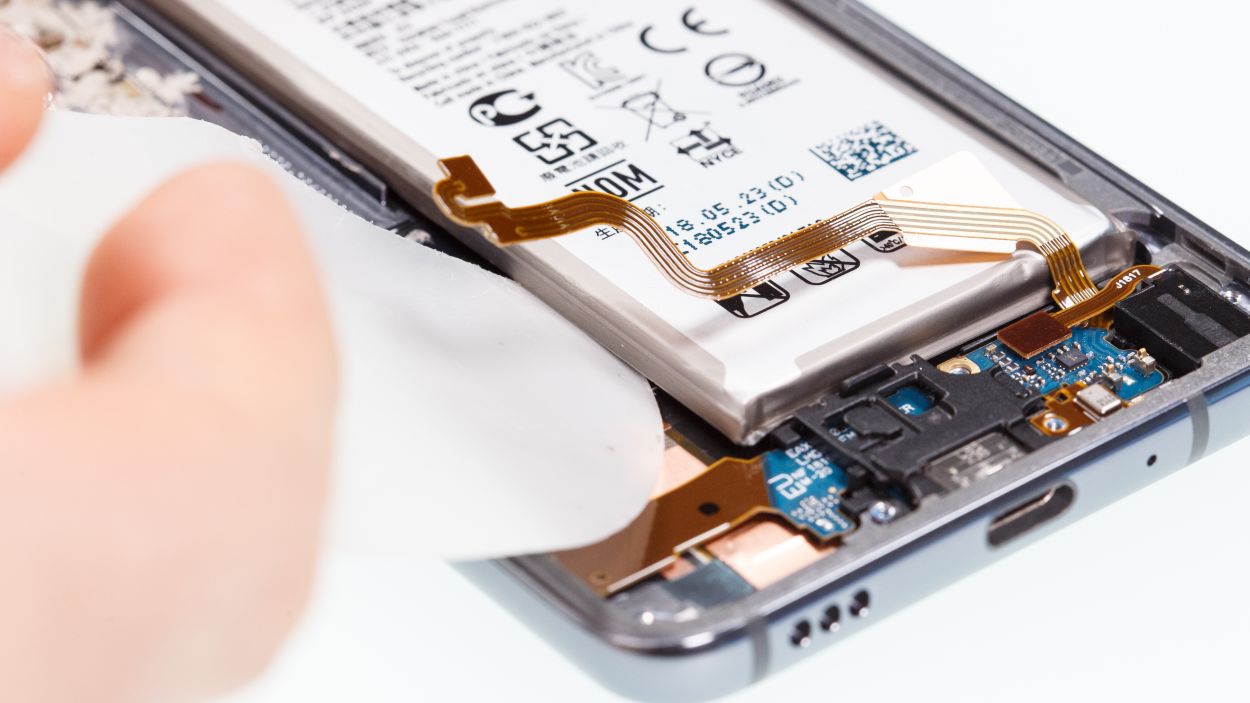
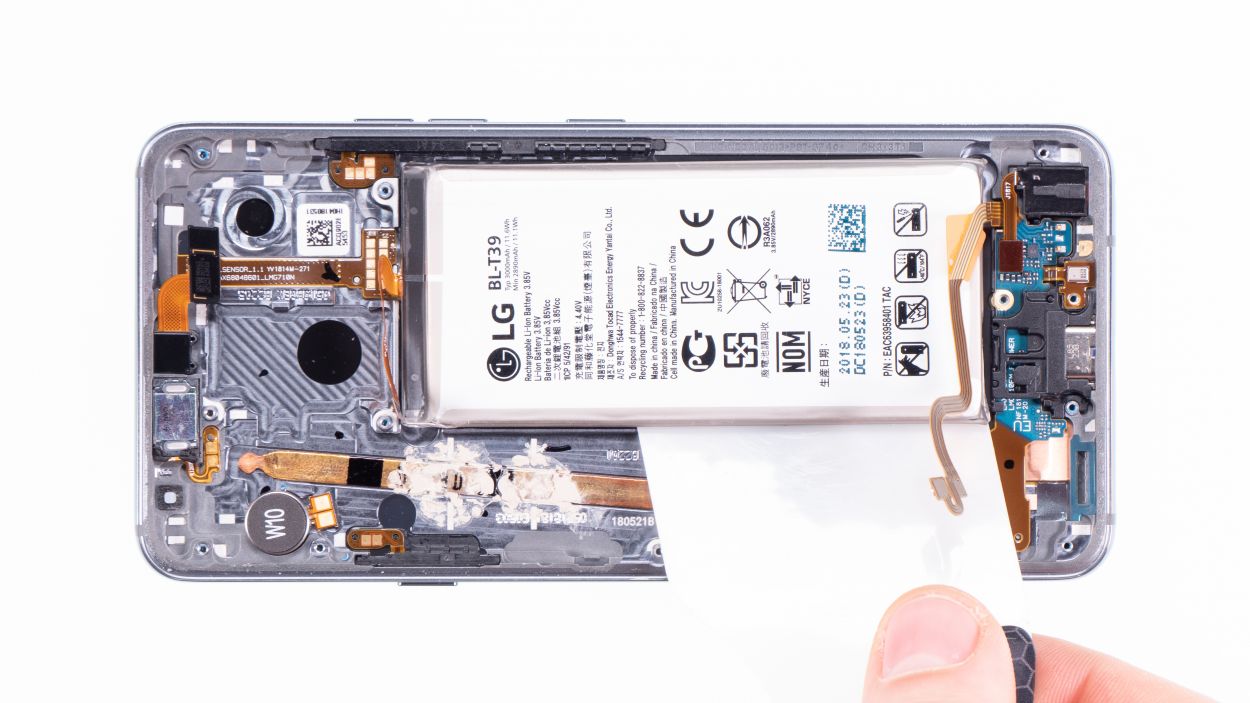
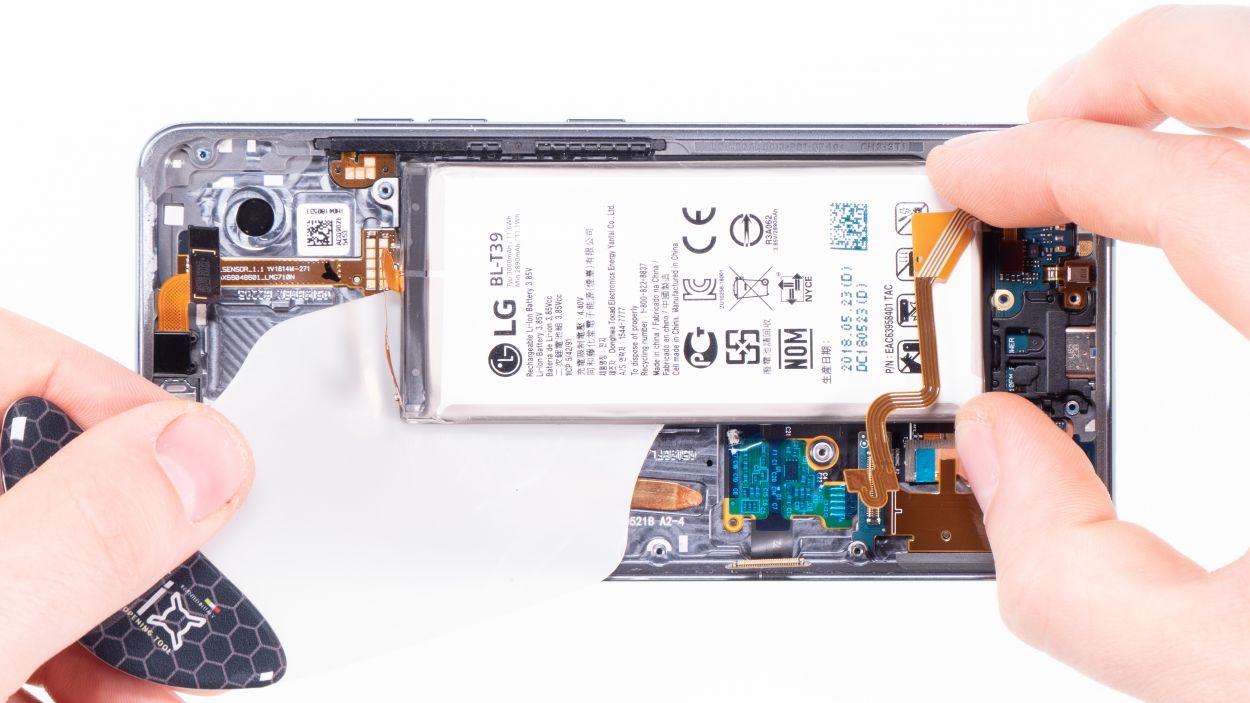
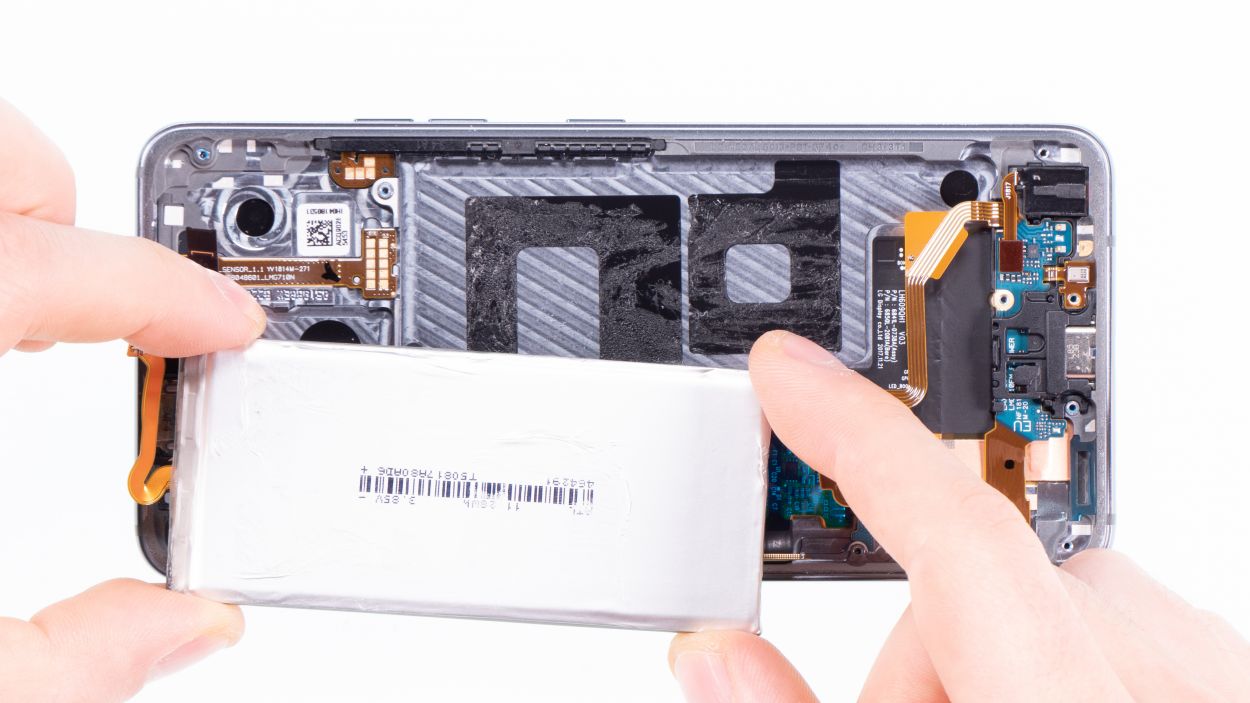
Hey there! Just a friendly reminder to handle that battery with care. Take your time and give that glue a little extra love by heating it up a few times. You’ve got this!
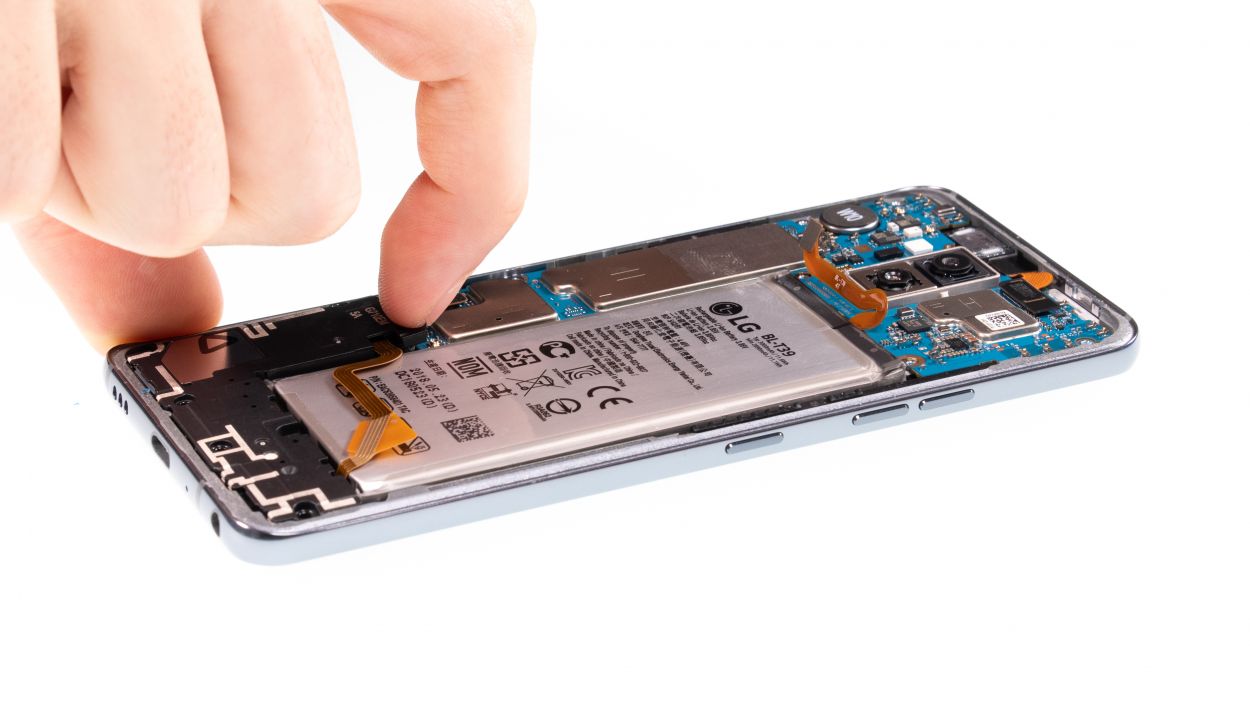
– Warm up that adhesive on the back of the battery by giving the display a little heat love.
– Grab a flat tool, like the iPlastix, and gently slide it under the battery all around, giving it a careful nudge.
– Once the adhesive is feeling loose and cozy, lift the battery out and say goodbye to it as you remove it from the device.
Step 9
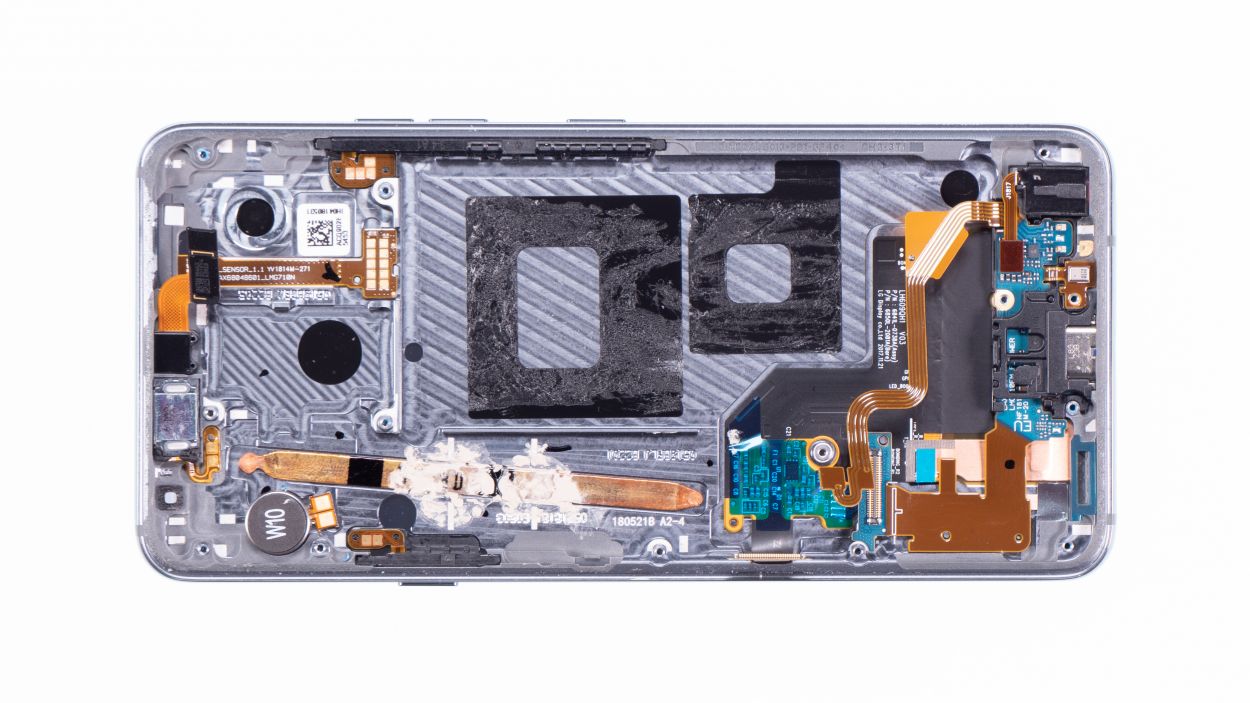
Battery adhesive
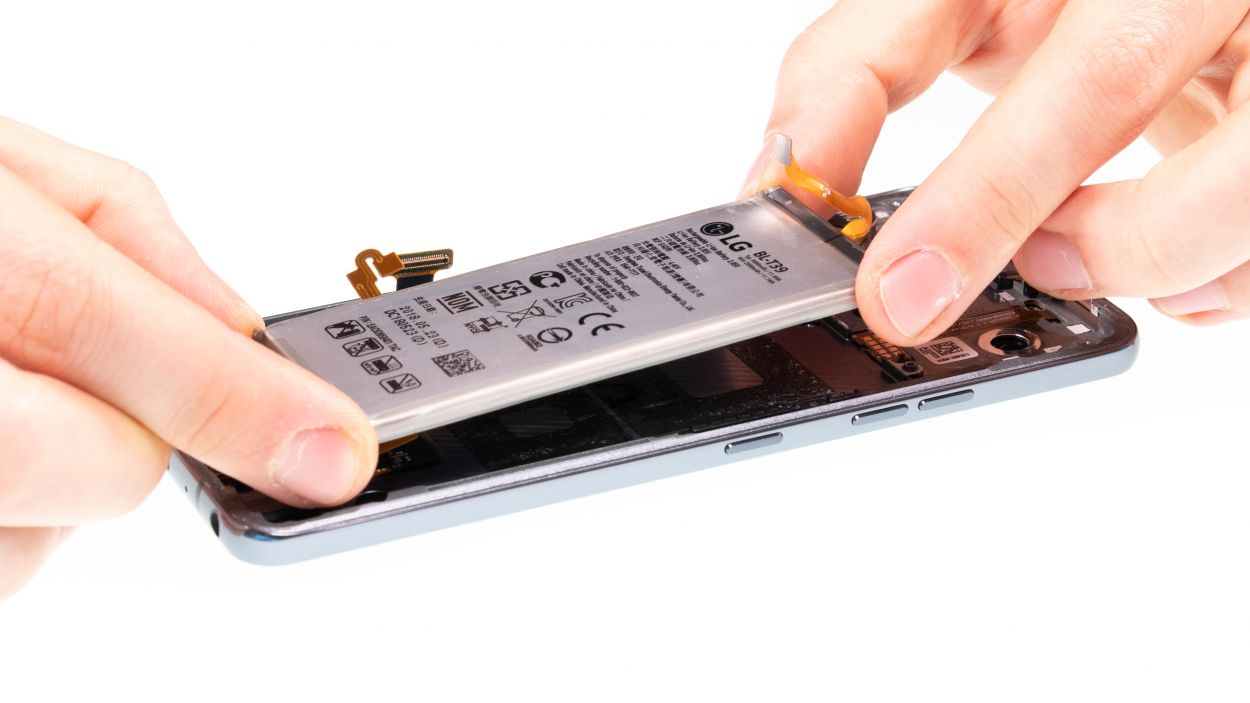
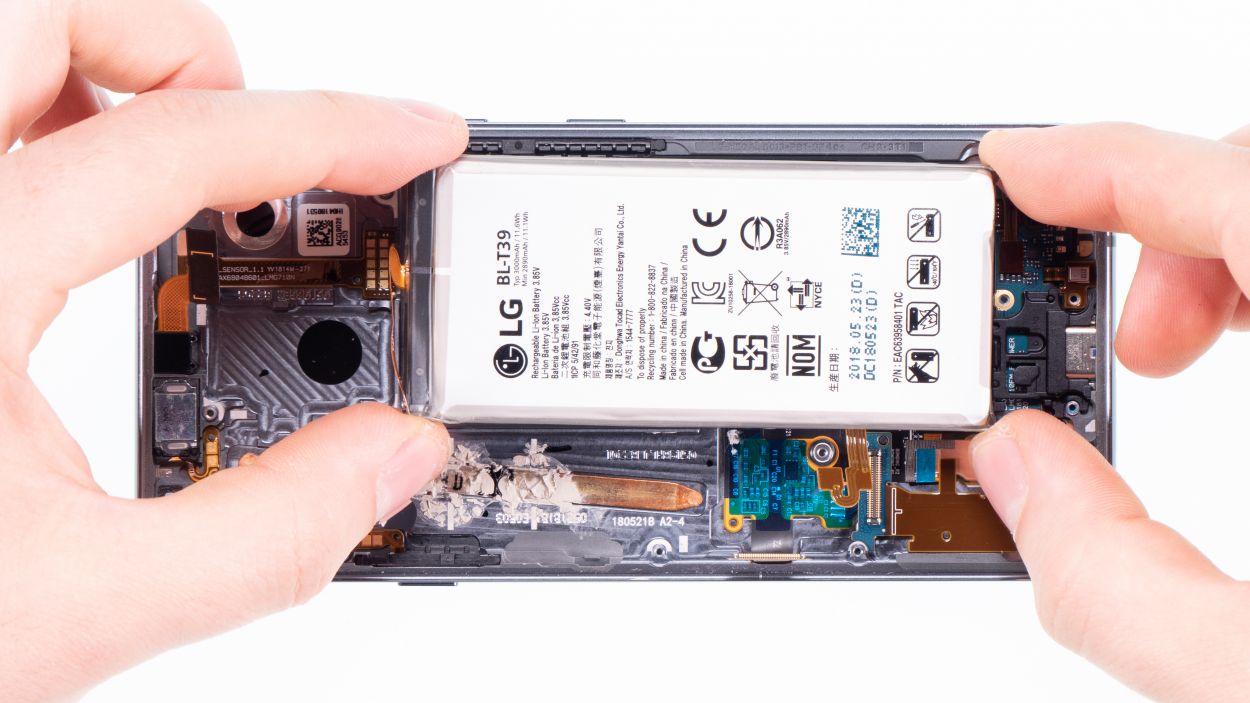
– If the adhesive is still holding its ground and giving you a sticky situation, feel free to pop in that new battery directly.
– Just keep an eye on that adhesive – we don’t want it wrinkling up and pushing the battery upwards. That would make it tricky to get the back cover on nice and flat, and we definitely don’t want any bumps!
– If you’re finding that the glue has seen better days, consider grabbing some fresh adhesive so the battery sticks securely and stays cozy during use.
– Opt for some ultra-thin double-sided tape, and make sure that battery is lying nice and flat in your device – we wouldn’t want it to be pushed upwards by any sneaky adhesive!
Step 11
USB connector
Display connector
Camera connector
Antenna connector
Make sure the connector clicks into place smoothly. If it doesn’t fit right away, don’t force it! First, double-check that the mainboard is lined up correctly. Remember, patience is key!
– Grab that motherboard and gently slide it into the device, making sure to avoid pinching any cables. Just give those connectors a little bend to the side!
– Once the mainboard is snug in its spot, go ahead and connect the bottom connector by giving it a little push down. You’re doing great!
Step 12
– Pop in the SIM card holder! If it’s feeling stubborn, no need to play tough. Just take a moment to ensure the mainboard is seated properly.
Step 13

7 × 3,5 mm Phillips
– Now, pop that speaker back onto the USB port. Give it a little press, then snug it up with those screws.
– Make sure it’s all clicked in at the bottom – you got this!
Step 14

Battery Connector
– Snap that battery onto the motherboard! Push it in until you hear a satisfying *click*. You got this!
Step 15
7 × 3,5 mm Phillips
– Slide the cover with the antenna back into the enclosure, tucking it under the speaker at the bottom like a pro.
– Give the cover a gentle press with your fingers until you hear that satisfying click as it locks into place.
– Now, grab your Phillips screwdriver and fasten those screws snugly.
Step 16
Remember to test the replaced part and see if it solves your problem!
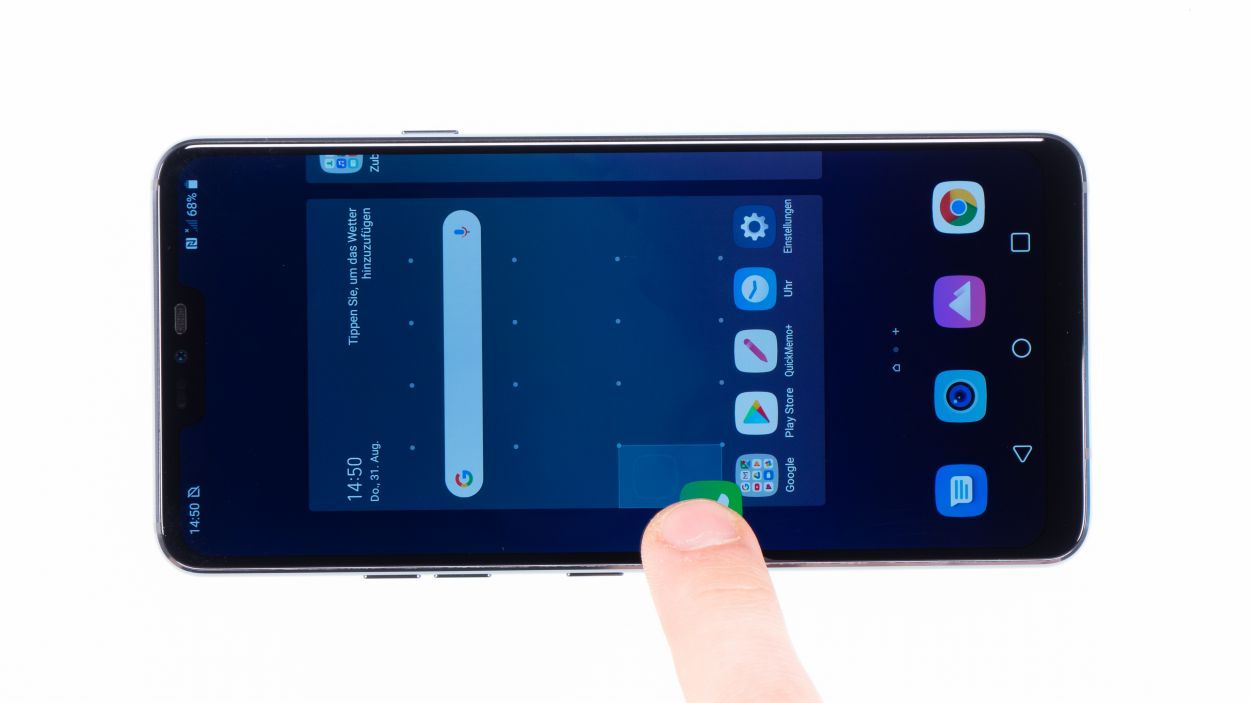
– Turn on your device and test it before you finally close it.
– Drag any app across the entire
screen. Drag the app once around the entire border and then in a zigzag
across the screen. The app should always follow your finger.
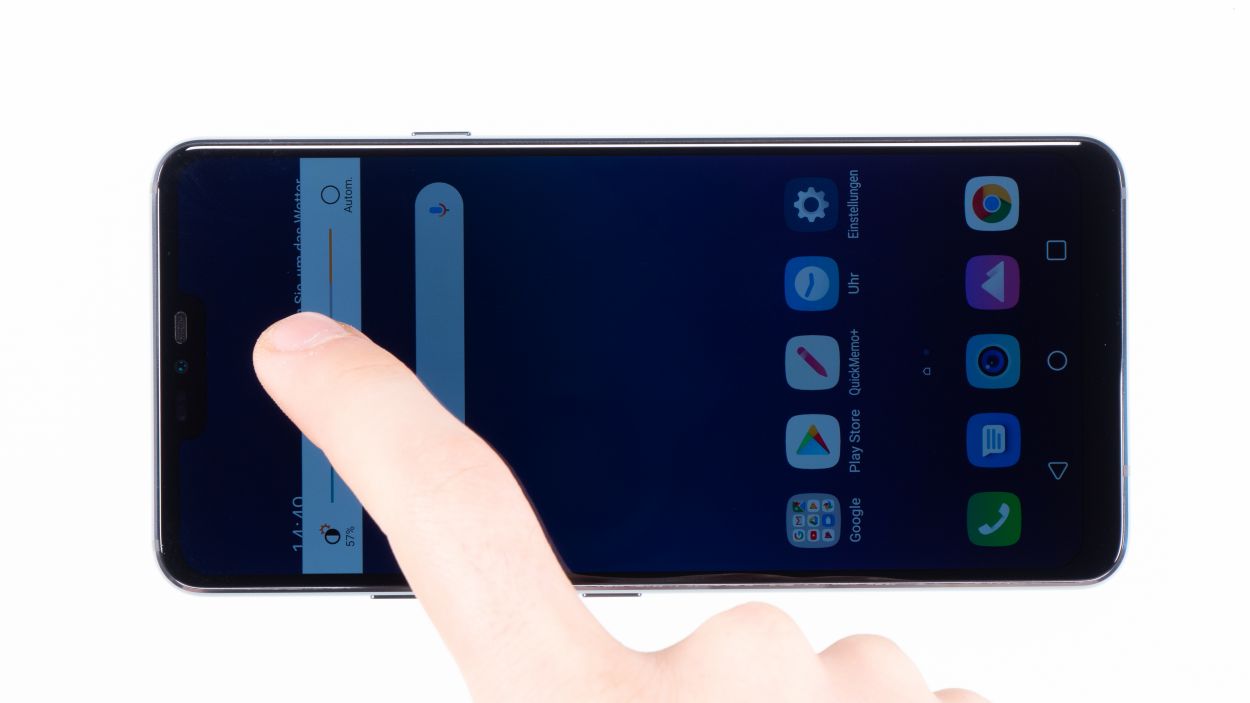
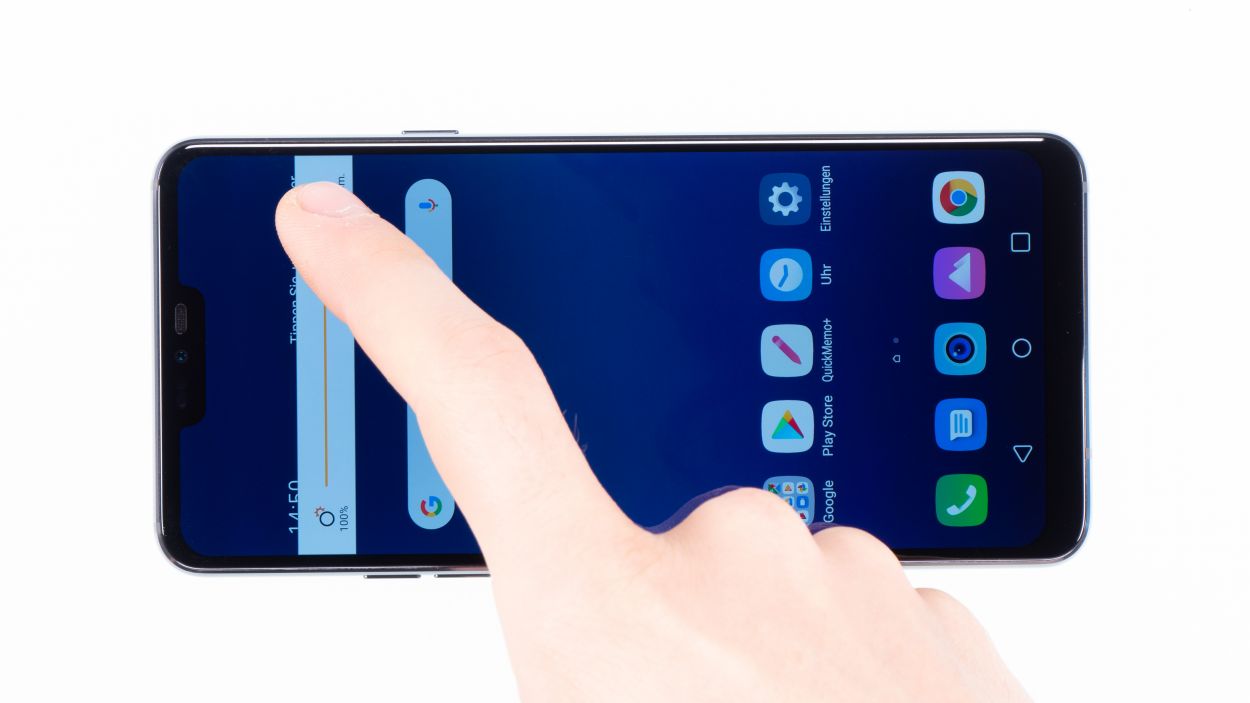
– Then test the display brightness by dragging the brightness slider to minimum and maximum.
Step 17
If that sticky goodness on the back cover is still holding strong, you can seal your device up without needing to grab a new adhesive frame. Easy peasy!
– Gently place the back cover back where it belongs.
– Give the back cover a little love by pressing down all around so the glue can do its magic.
