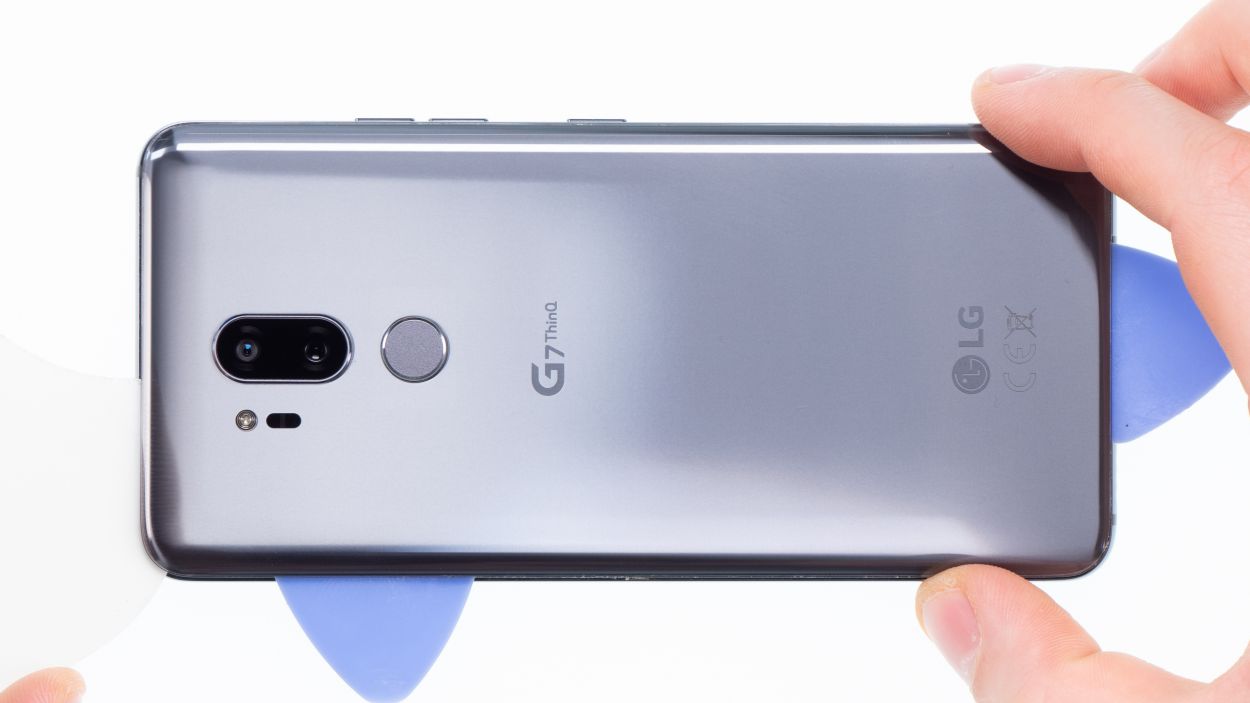
How to Replace LG G7 ThinQ Screen Guide
Duration: 45 min.
Steps: 19 Steps
Is the screen of your LG G7 ThinQ cracked or is the touchscreen not
working properly anymore? With our instructions you can easily repair
your LG G7 ThinQ yourself!During this repair, we replace the entire display unit including the frame, not just the broken screen.The repair is a bit more difficult because the LG G7 ThinQ has to be opened via the glass back cover.Make
a backup before the repair, use a clean work surface and take your
time. If you are stuck at any point, simply contact our live chat or
write a comment at the end of the guide.
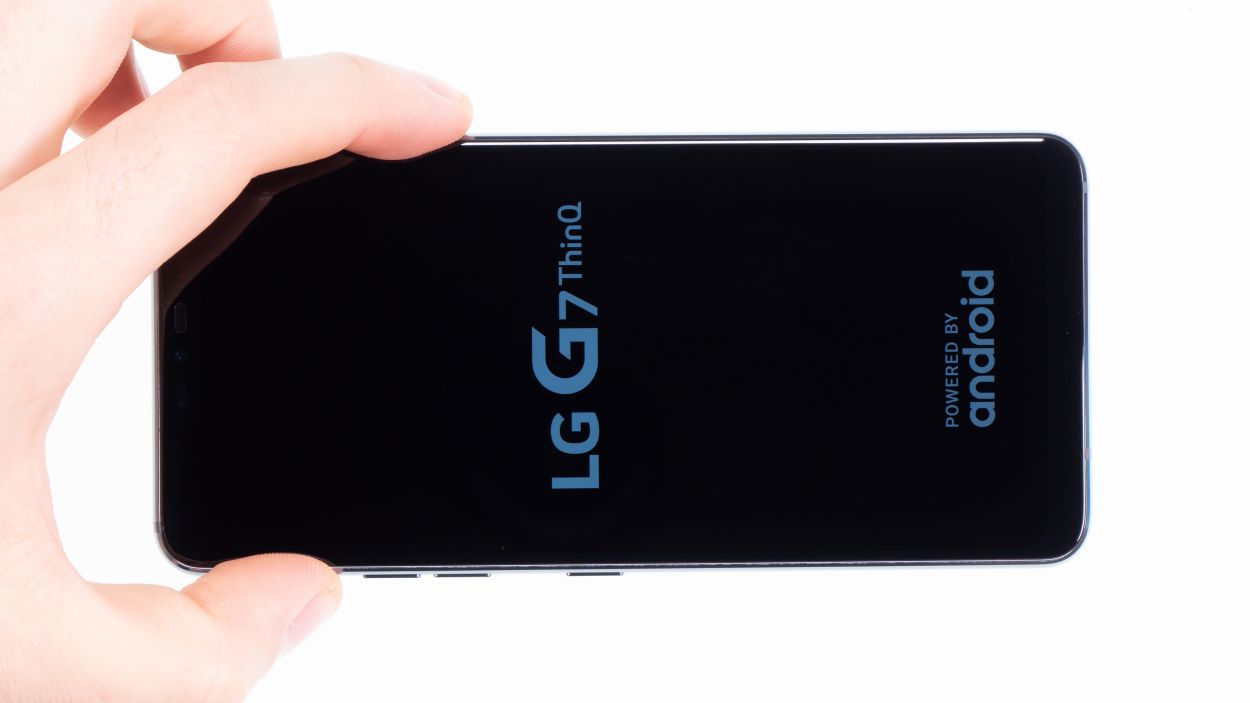
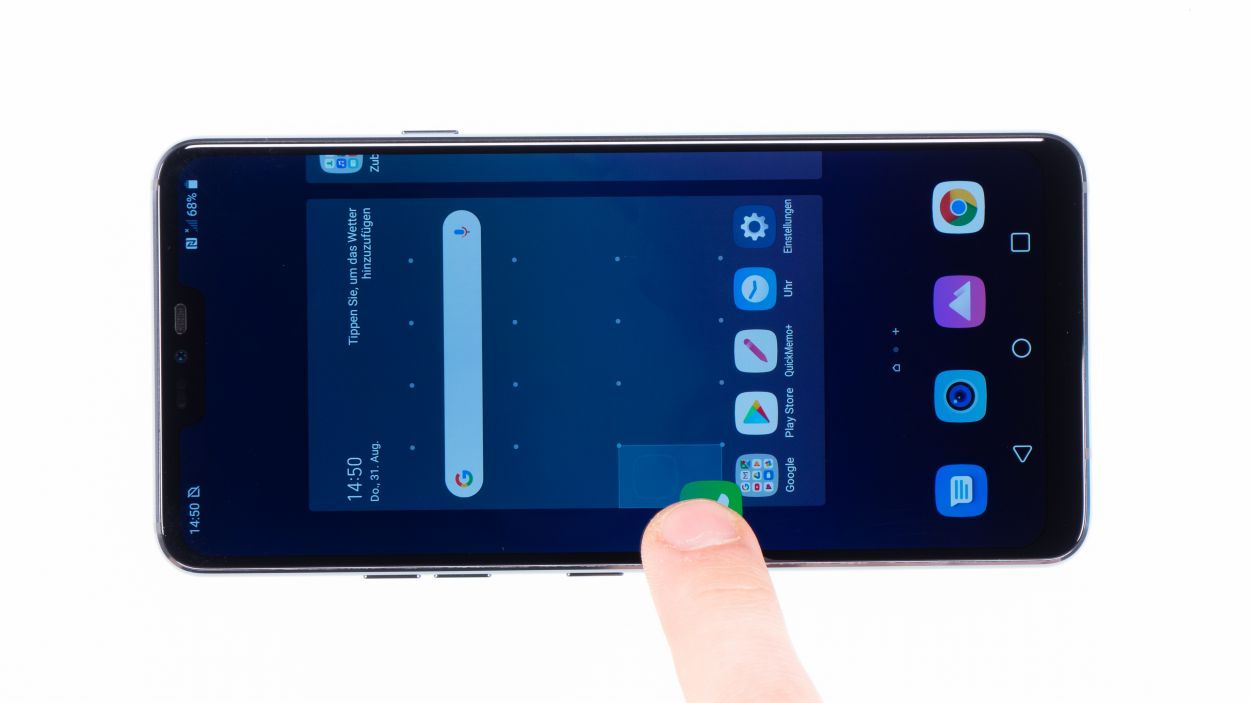
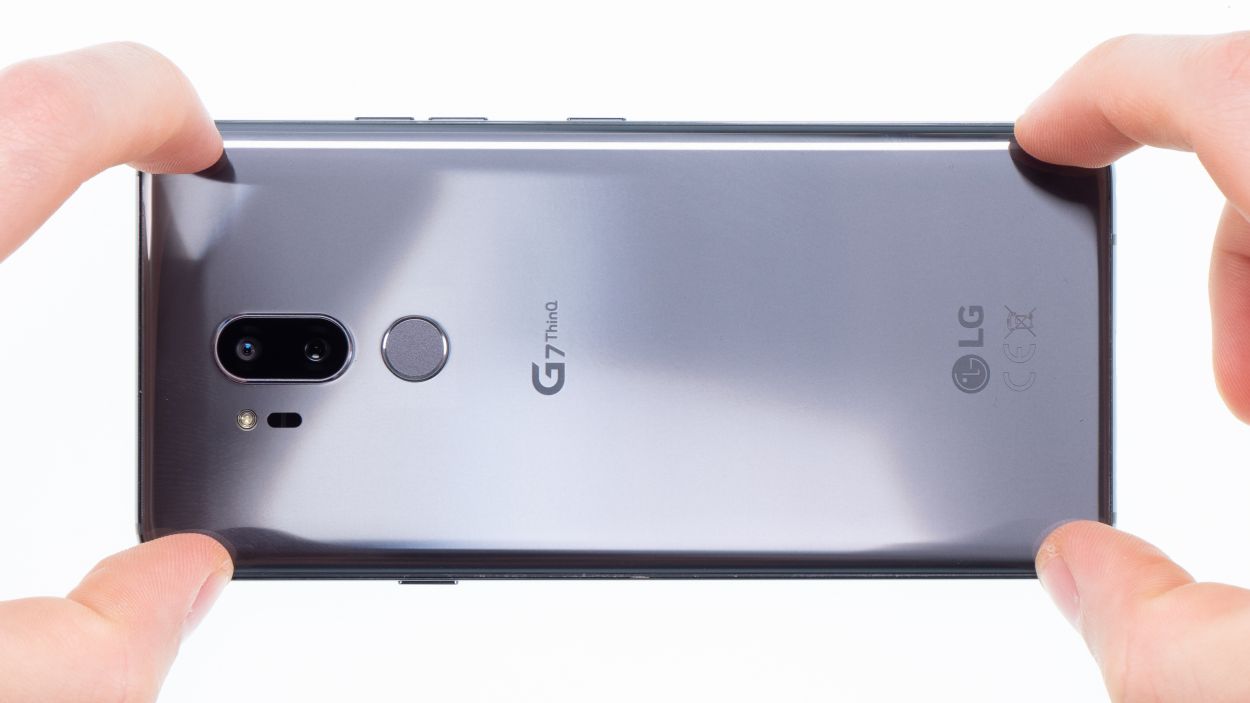
Step 1
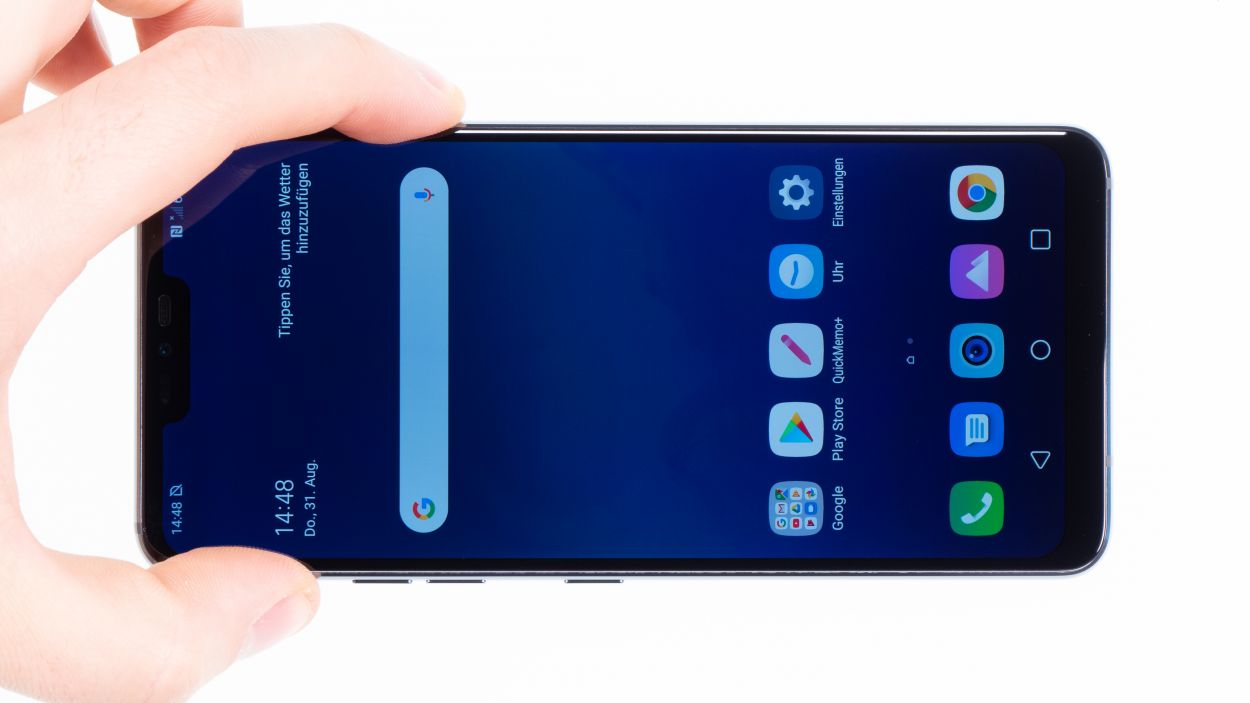

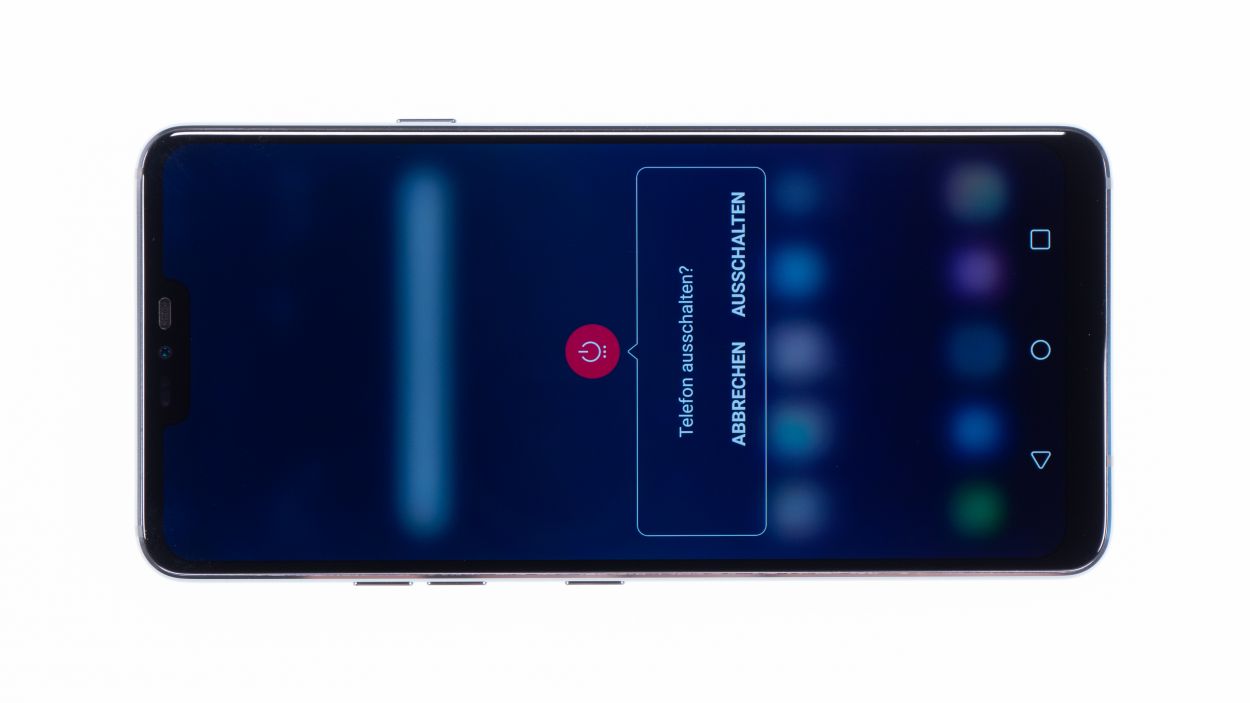
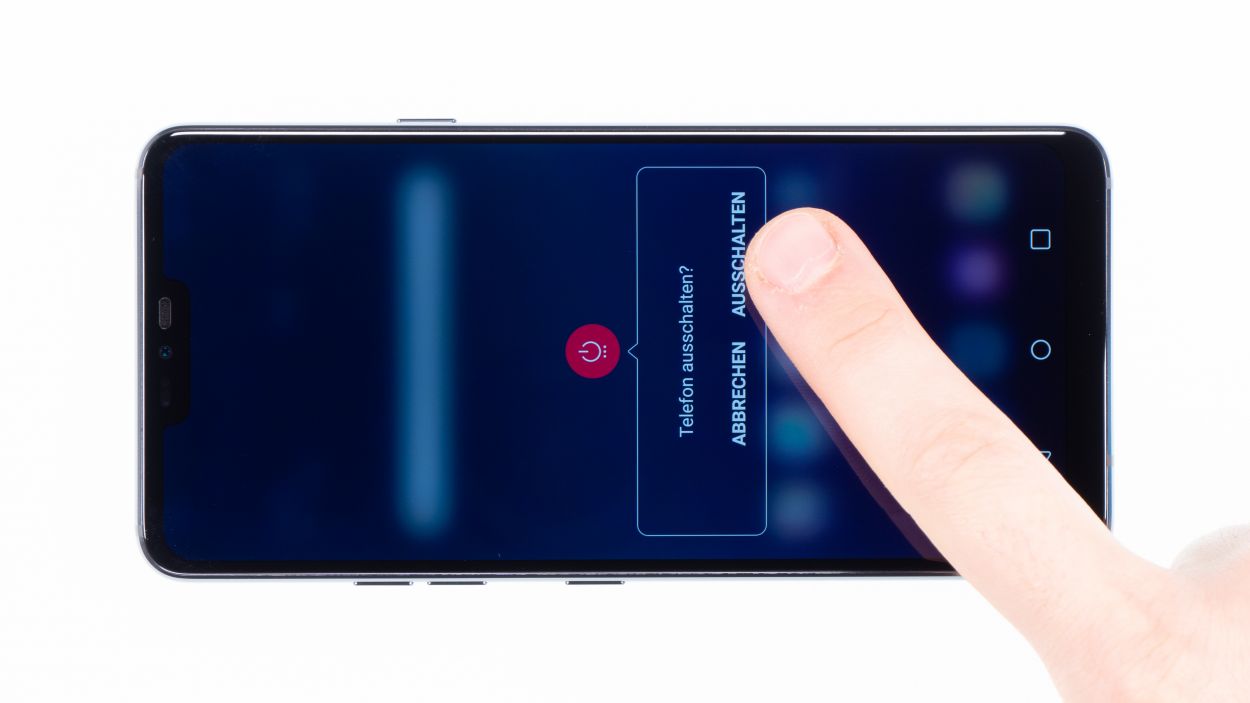
– Give your device a little break by pressing and holding the power button on the side until you see the ‘Power off’ option pop up.
– Go ahead and tap that option to confirm, then sit back and watch as the screen fades to black.
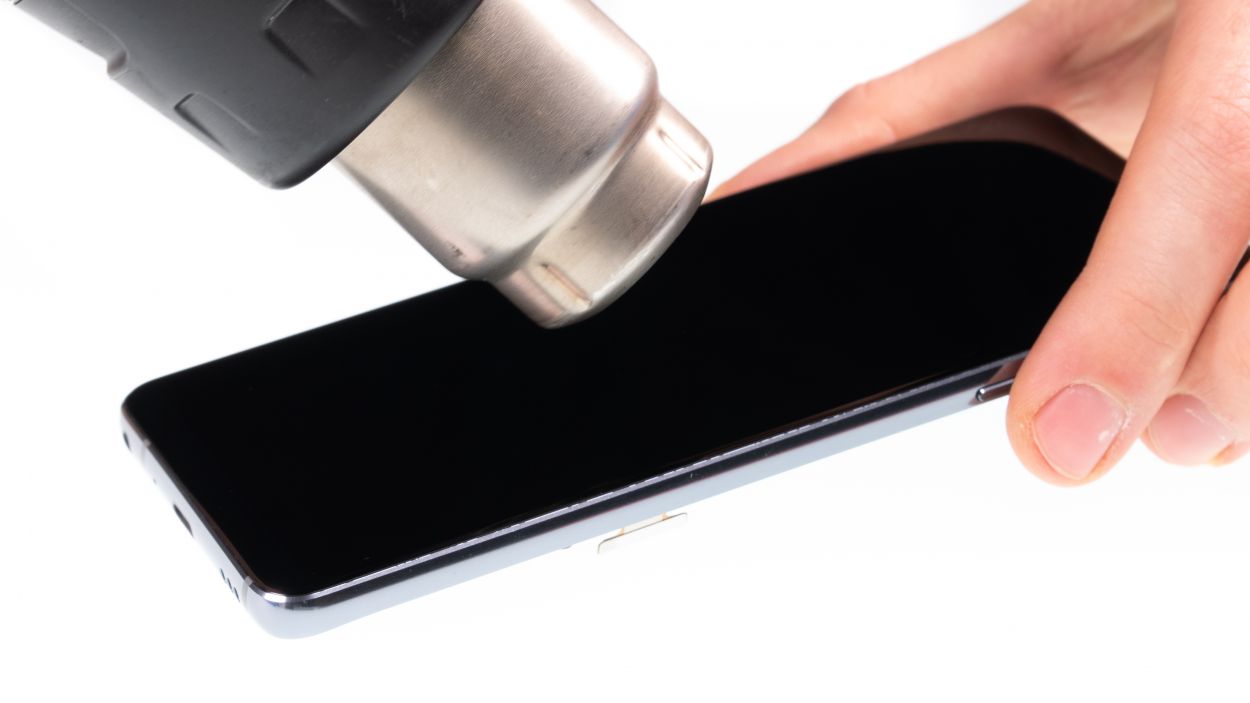
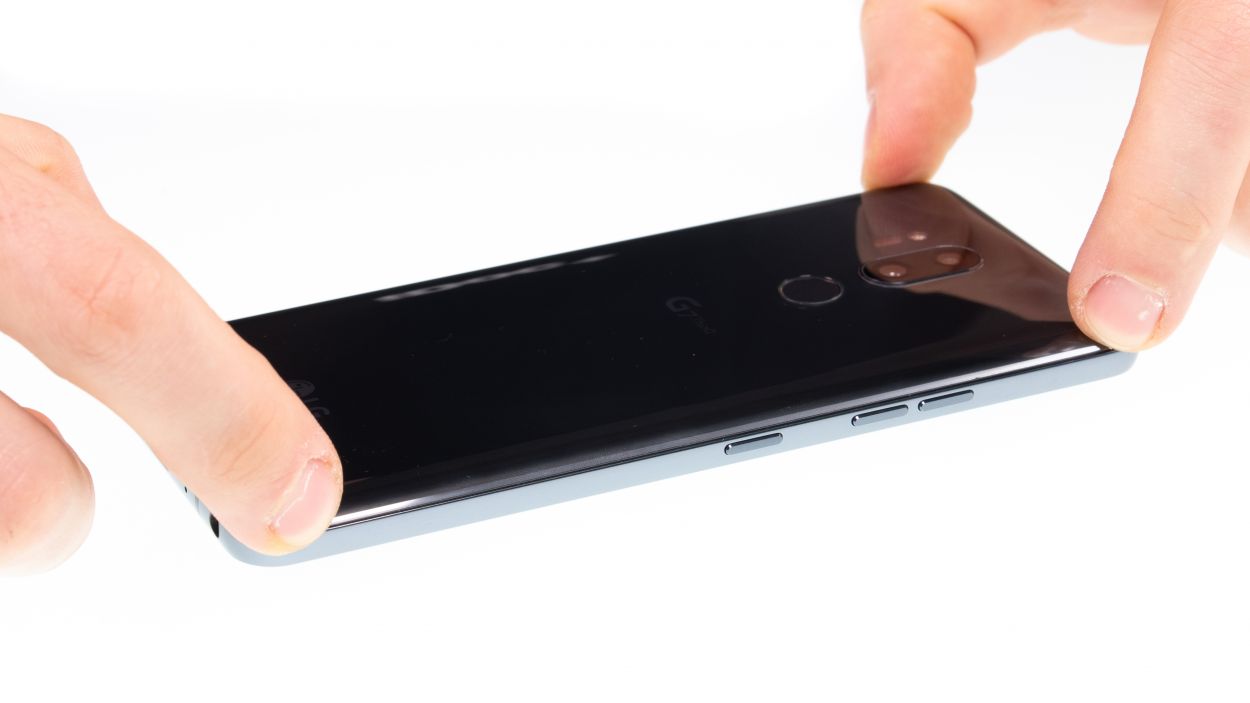
Step 2
– The back cover’s heavily glued to the chassis. Heat the device
evenly with hot air to soften the glue. A temperature of 60 – 80°C
should be sufficient. As a rule of thumb, you should still be able to
touch your device without it being uncomfortably hot.
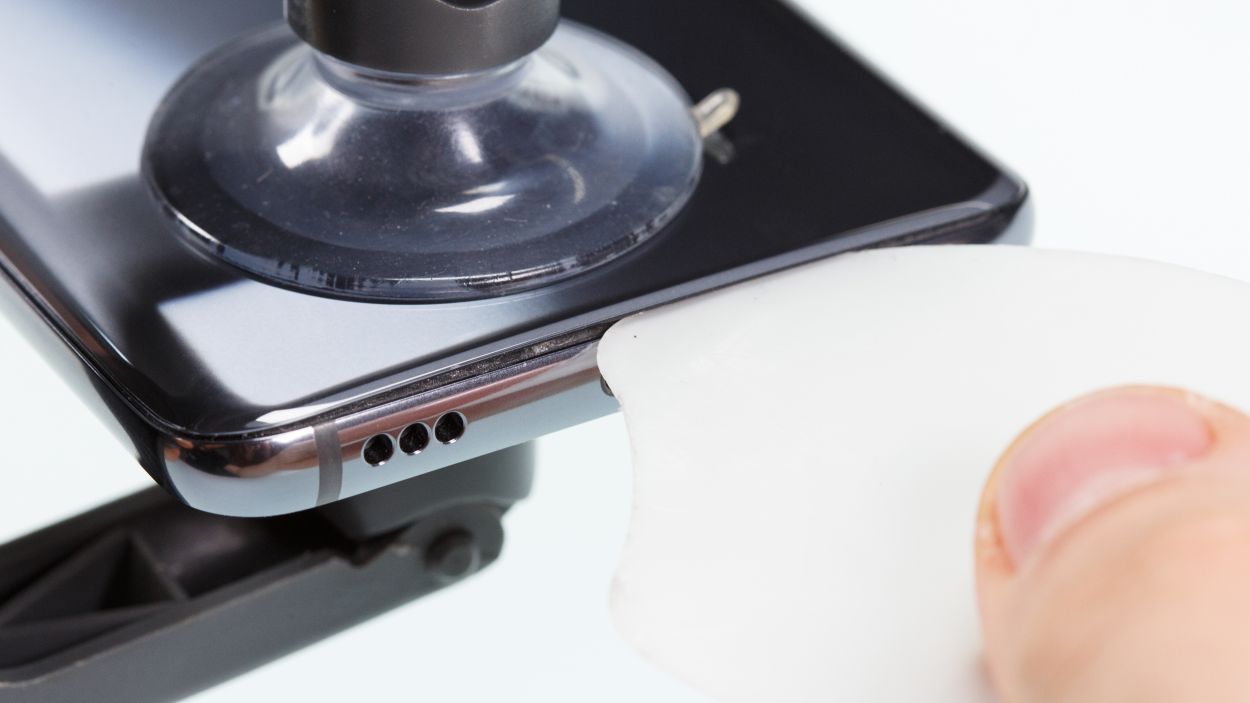
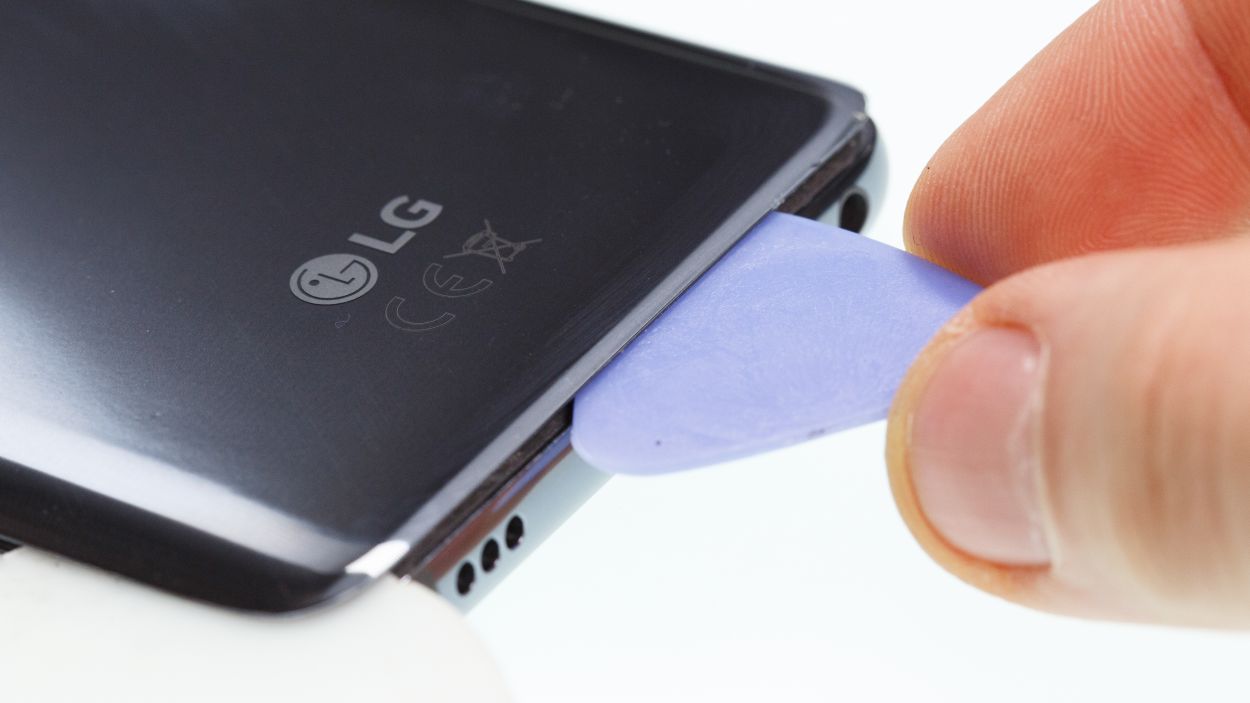
– The
easiest way to loosen the back cover is to use a flat and flexible tool
such as the iPlastix or iFlex. You will also need several picks to
unstick the back cover all around.
– Heat the spot where you start and place a flat tool between the back cover and the frame.
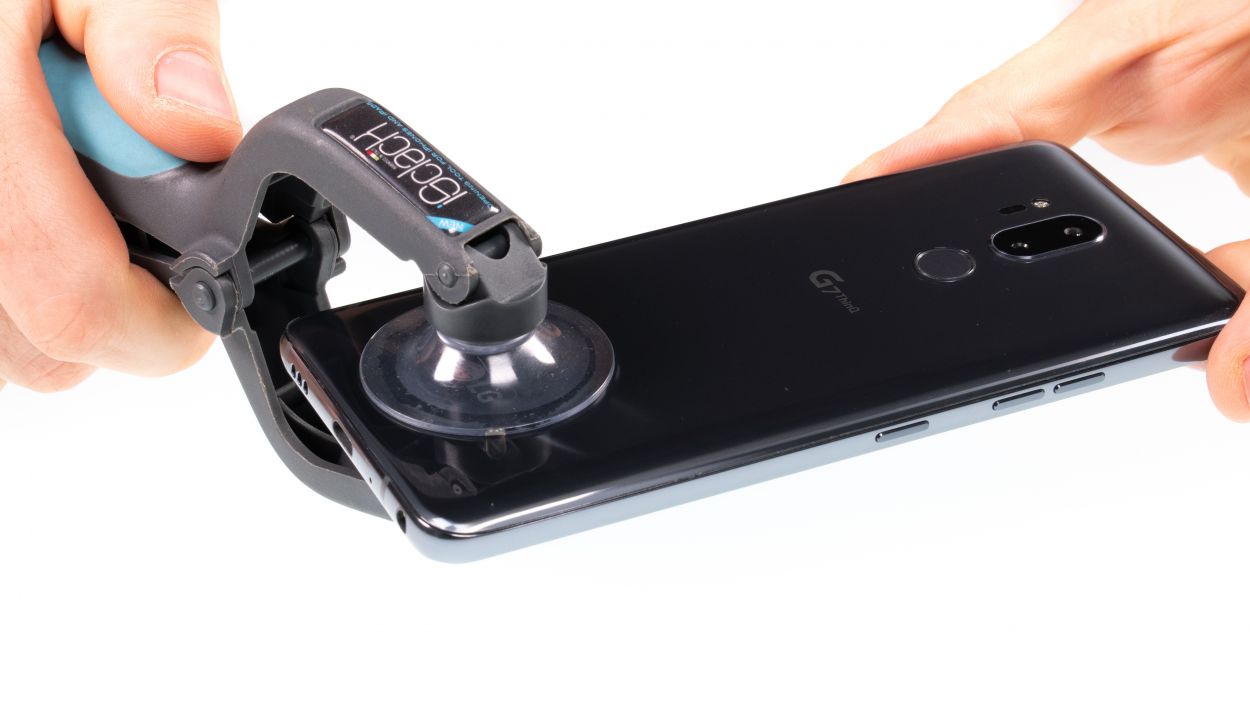
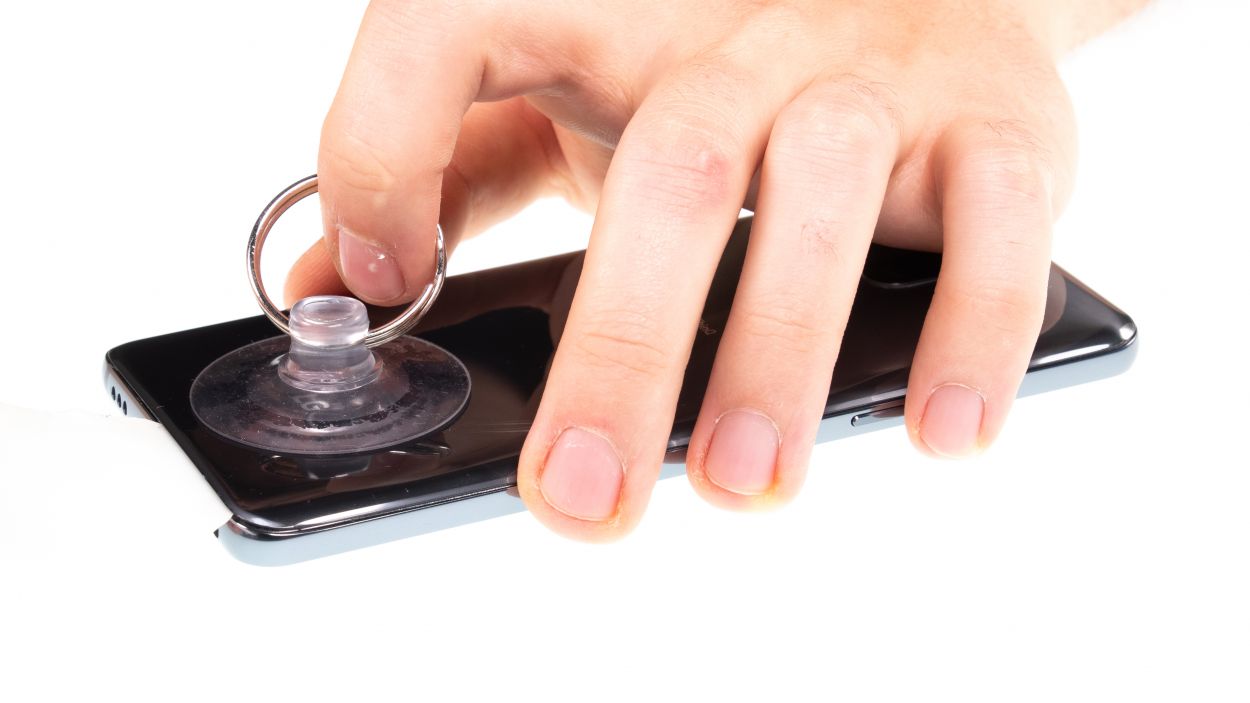
– Use a suction cup to lift the glass if you can’t find a place to insert your tool.
– With the iSclack, you can easily lift the back cover and then use a flat tool to loosen the glue. Put both suction cups on the display and the backcover and press the lever of the tool together like a pair of pliers.
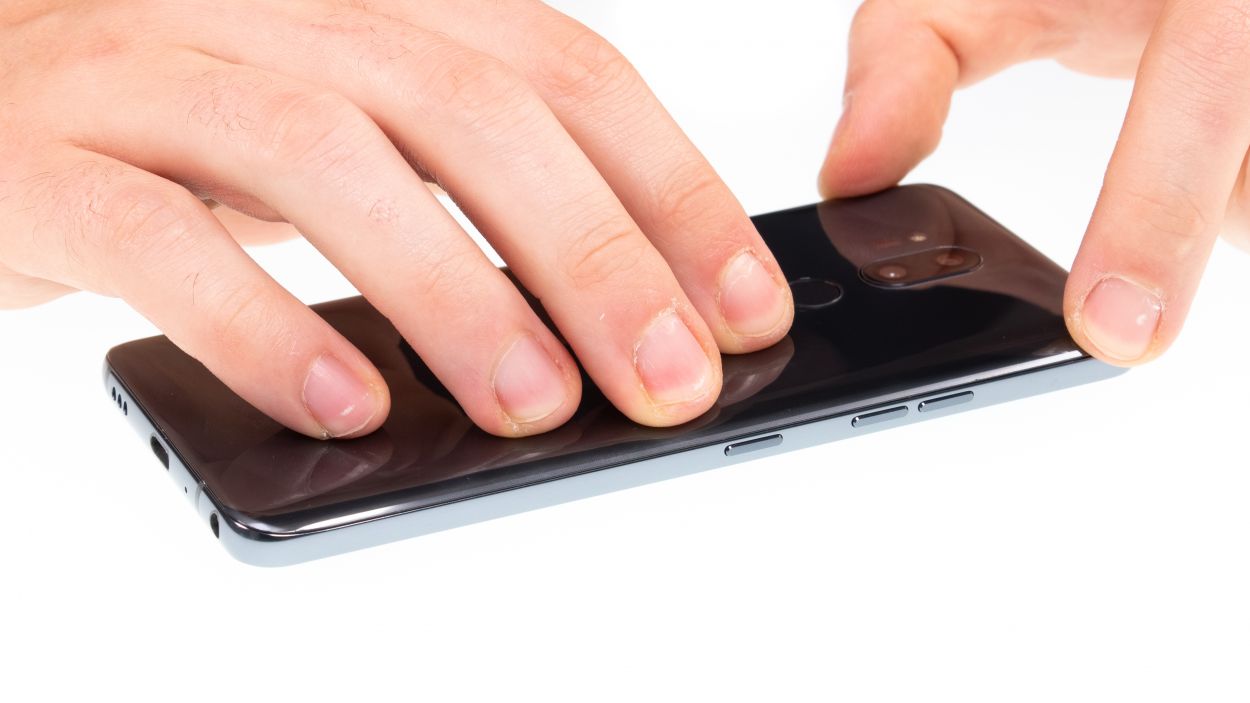
Hey there! Just a friendly reminder to handle that back cover with care—it’s a bit fragile! If it’s giving you a hard time, feel free to warm it up a few times and give it another go. Remember, taking your time is key; it might take around half an hour, but being patient will help you avoid any mishaps. You’ve got this!
The iPlastix is crafted from plastic, ensuring it won’t leave any scratch marks on your device. It’s super soft, though, making it a bit of a challenge to pop in! Now, the iFlex is your best bud when it’s time to slide into that narrow gap between the glass and frame, thanks to its sleek and sturdy metal design. Just a little heads up, it can be a tad more prone to scratching the frame of your device. Always proceed with care!
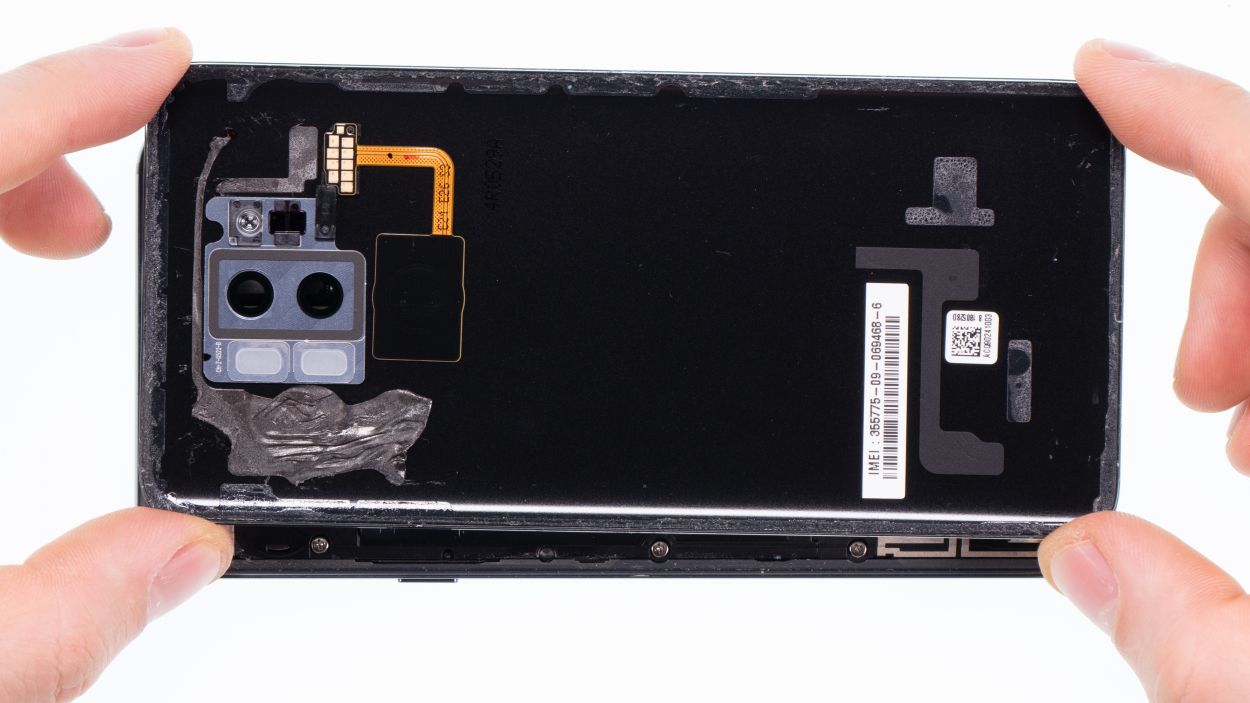
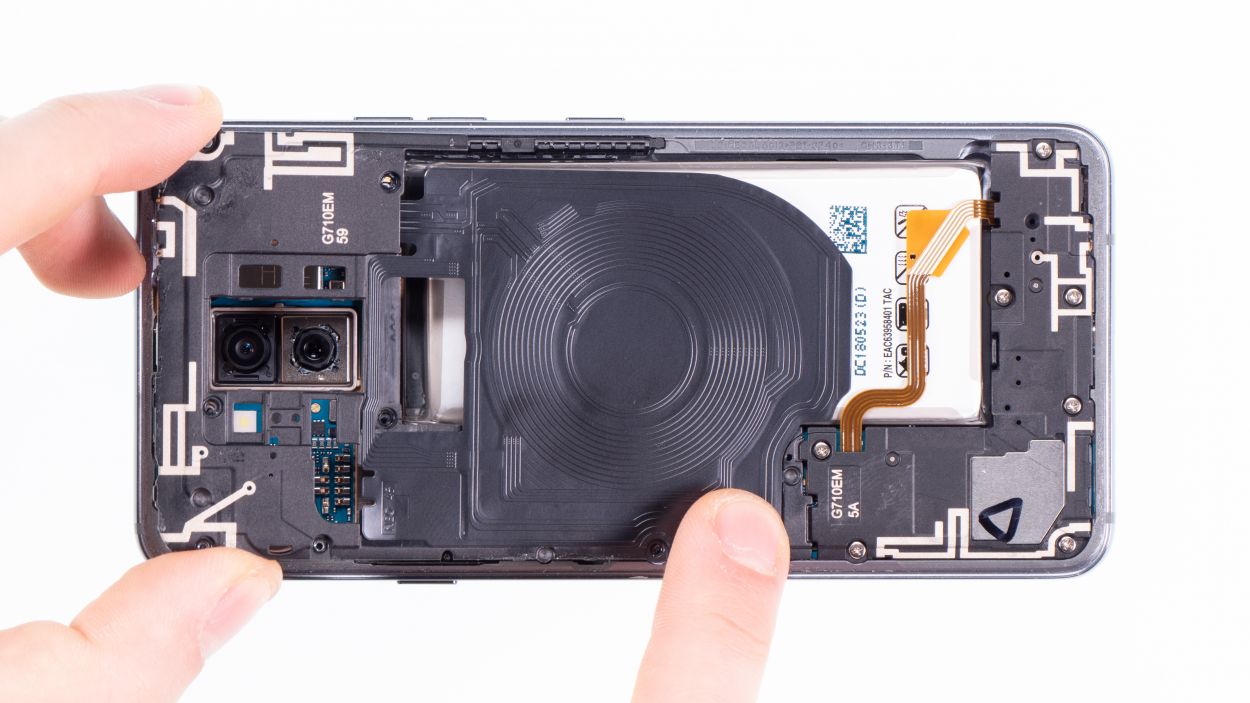
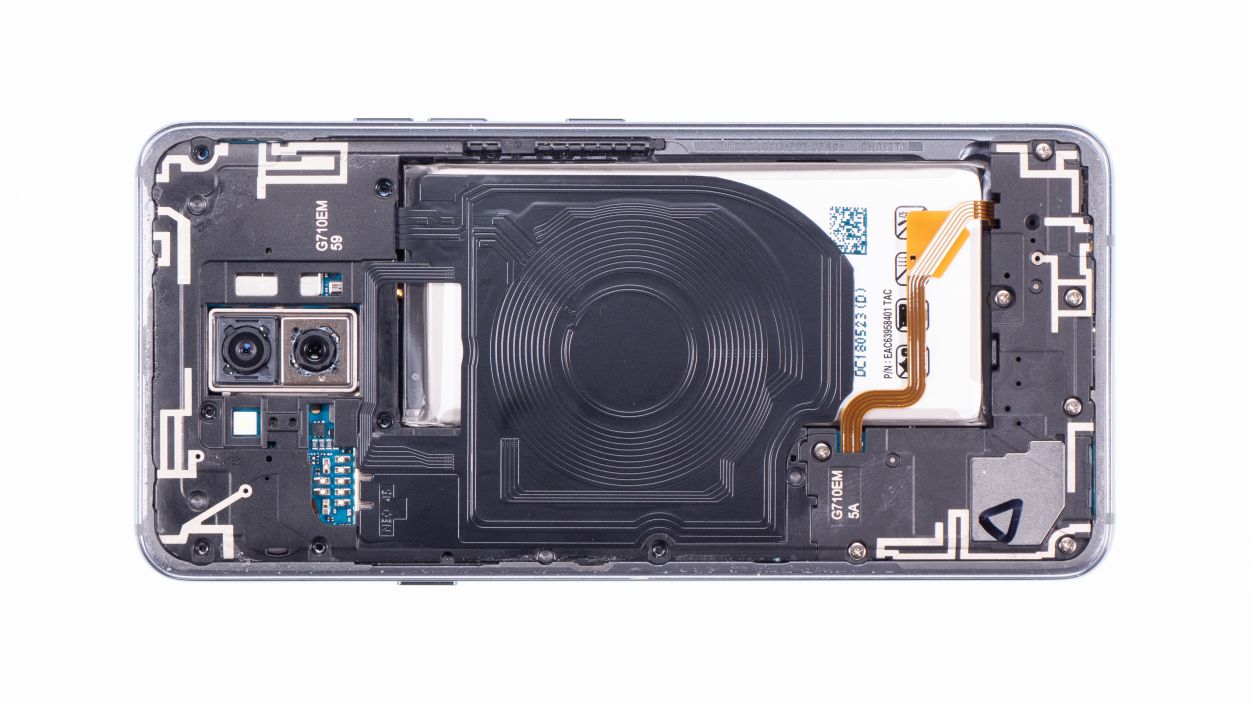
Step 3
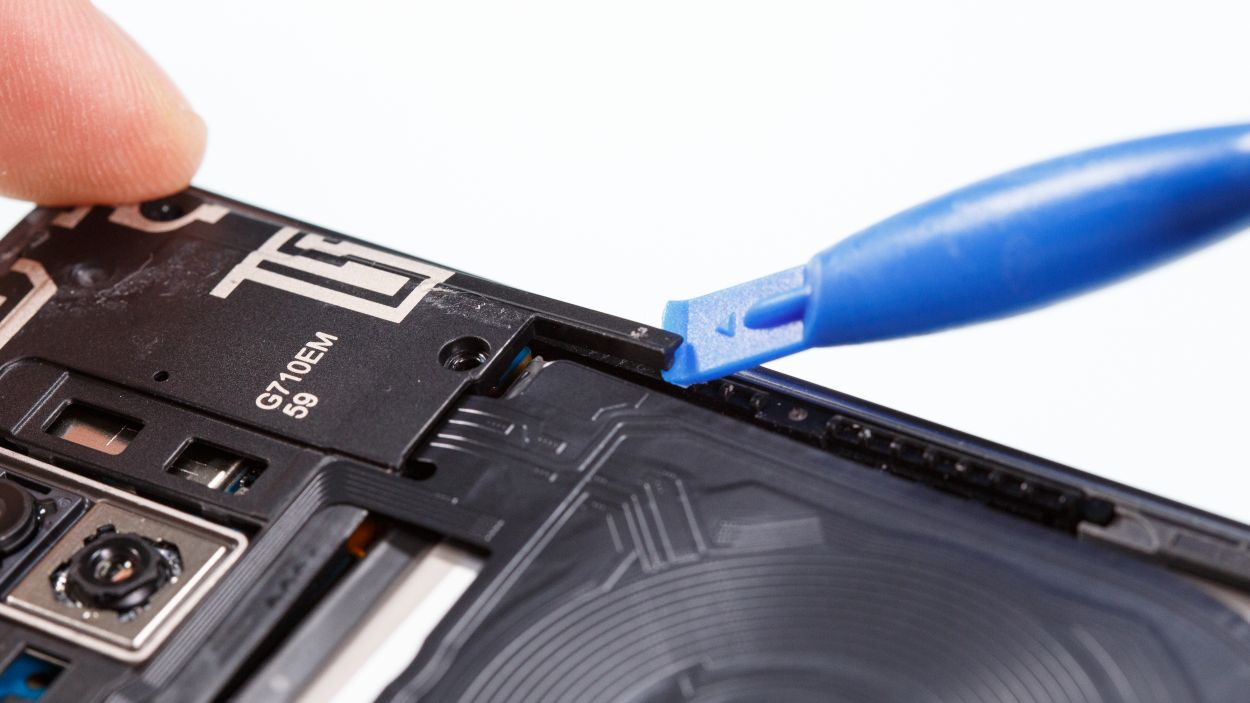
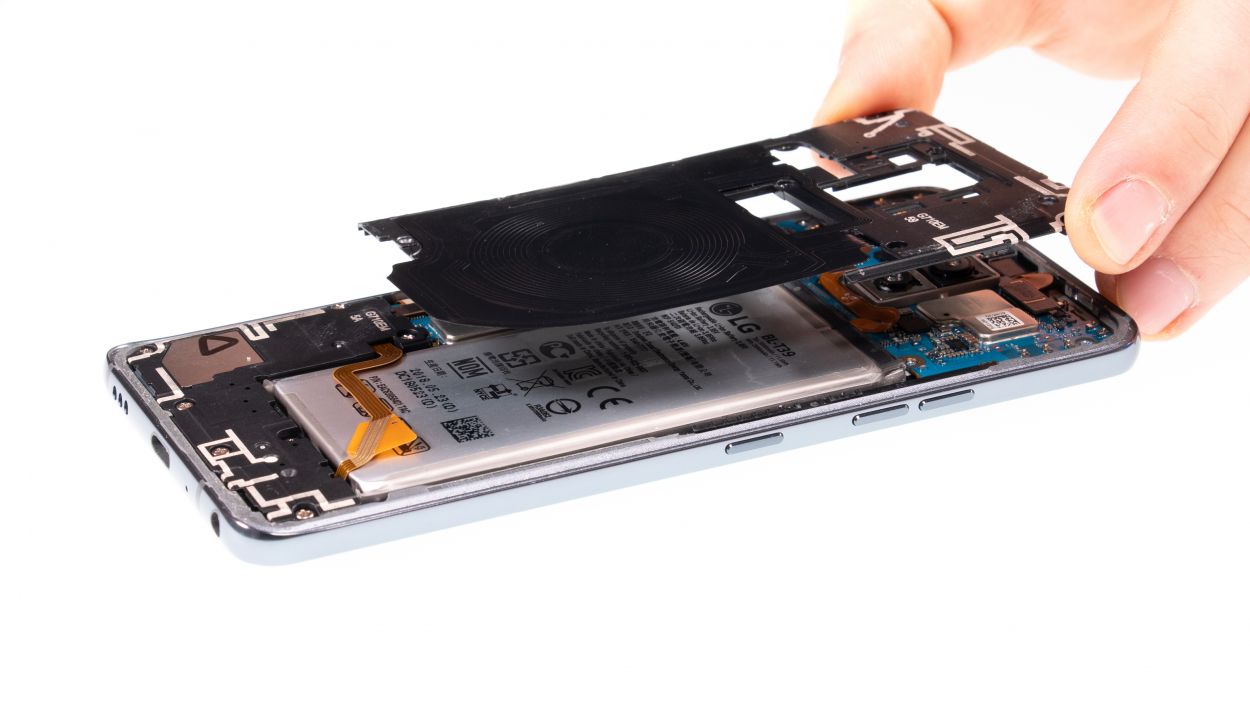
7 × 3,5 mm Phillips
– Loosen the Phillips screws that secure the cover. The wireless charging coil and NFC antenna are attached to the plastic
cover.
– The cover is hooked into the housing. Lever with a tool under the plastic frame and lift the frame upwards.
– Now you can remove the plastic cover together with the coil.
Step 4
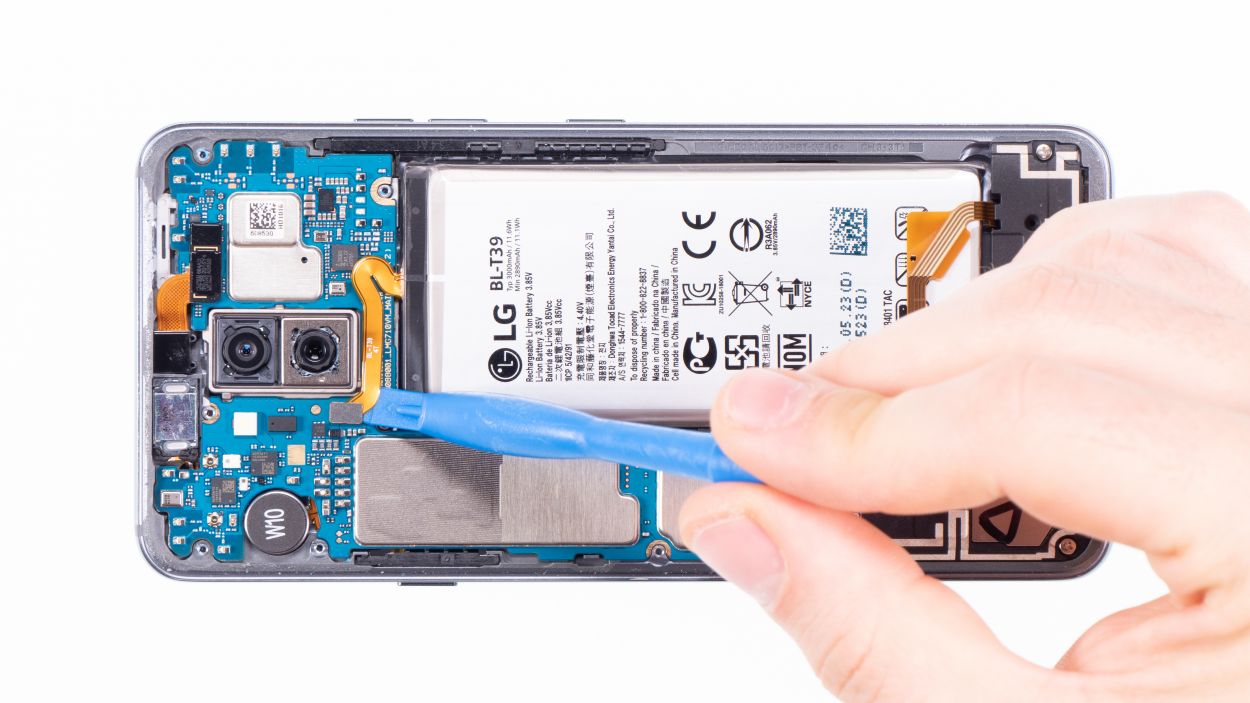
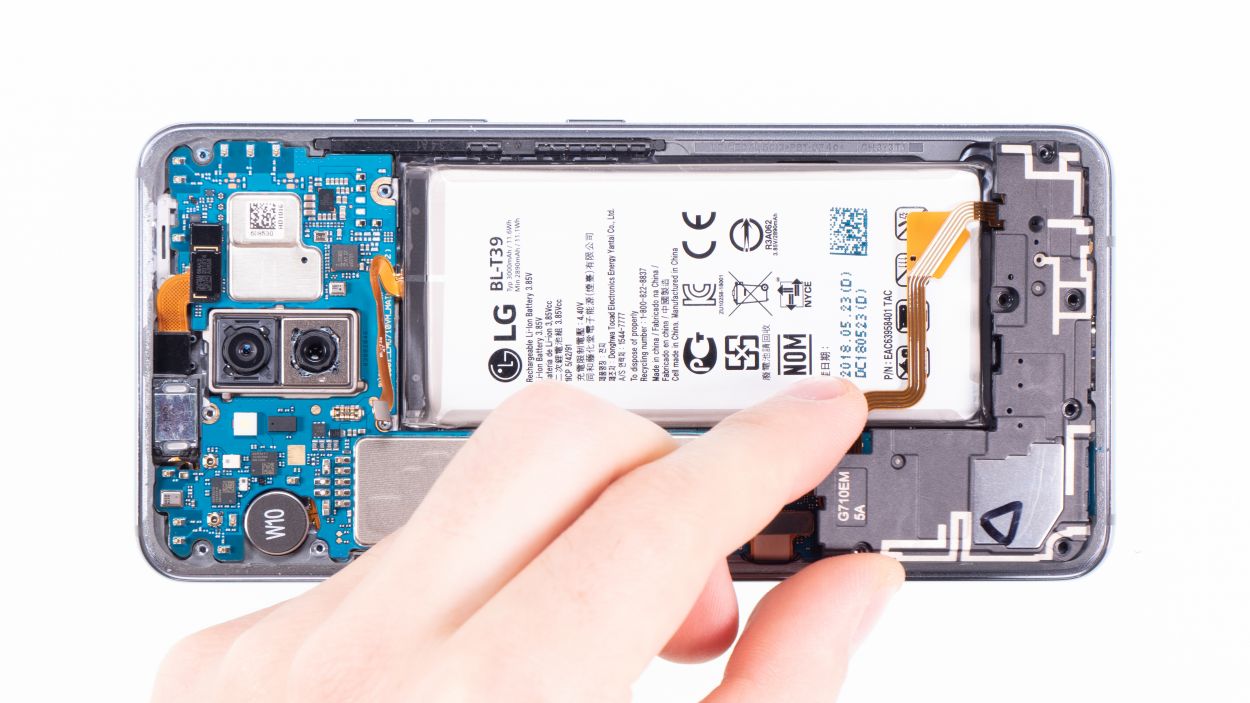
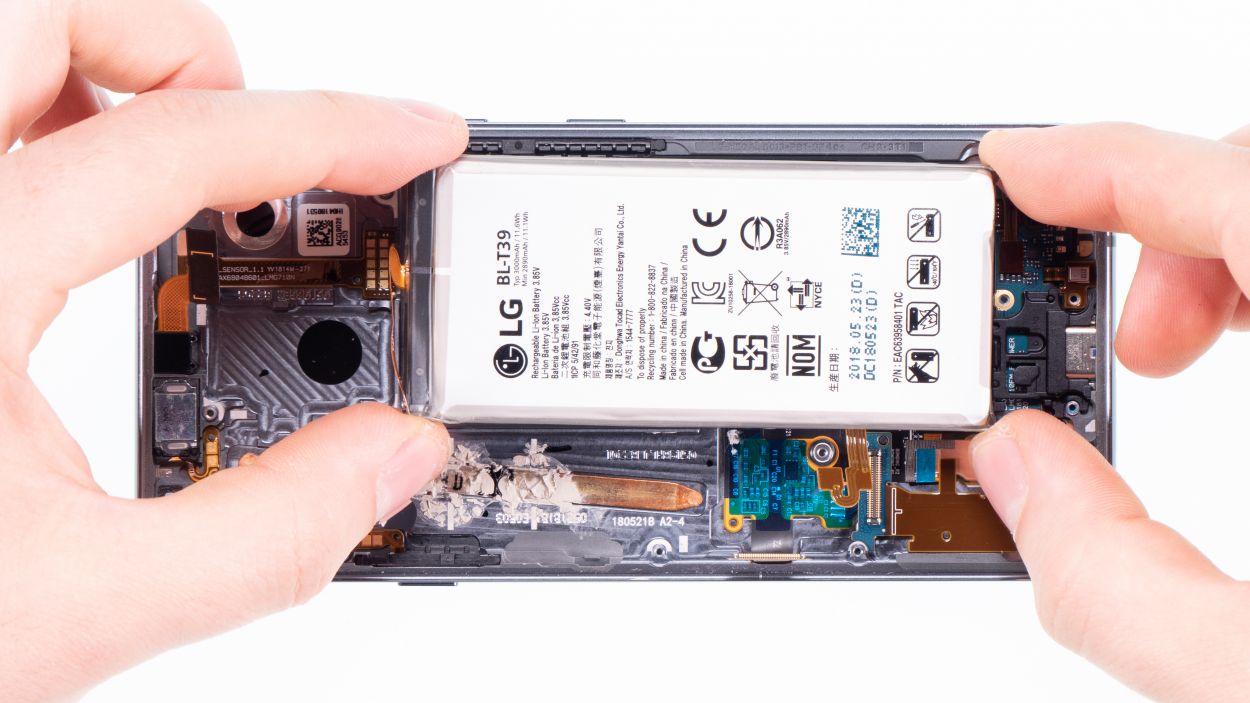
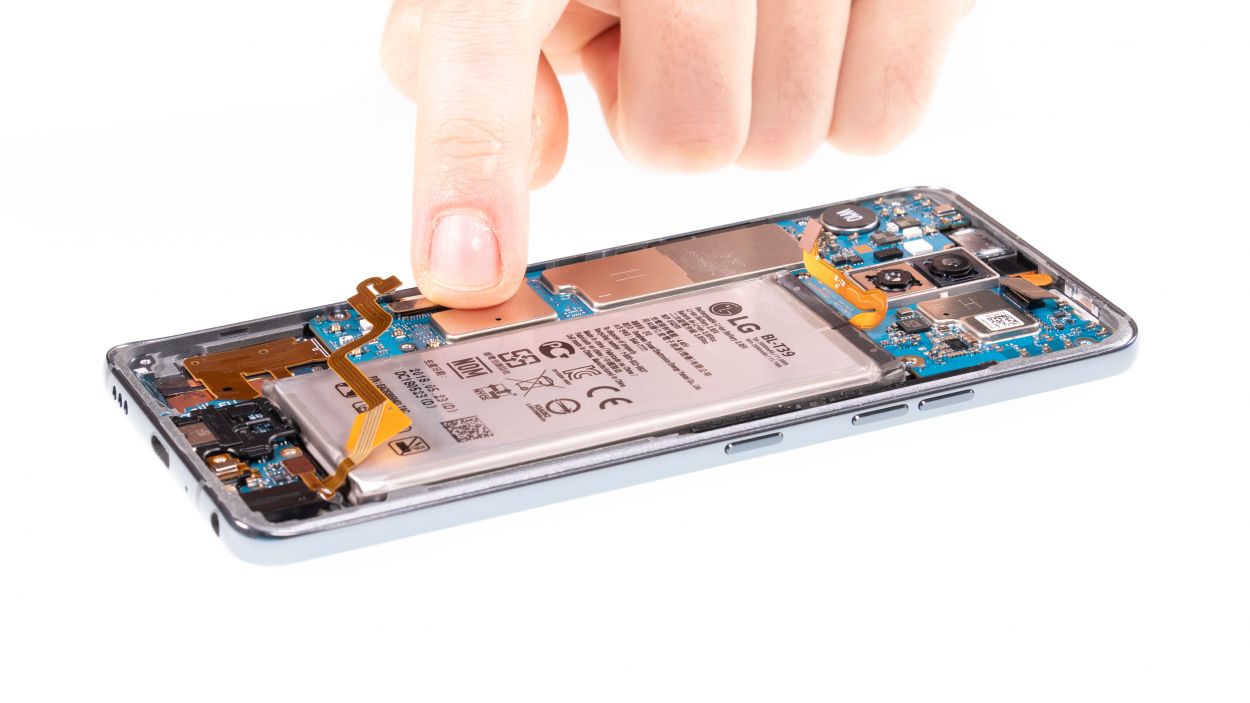
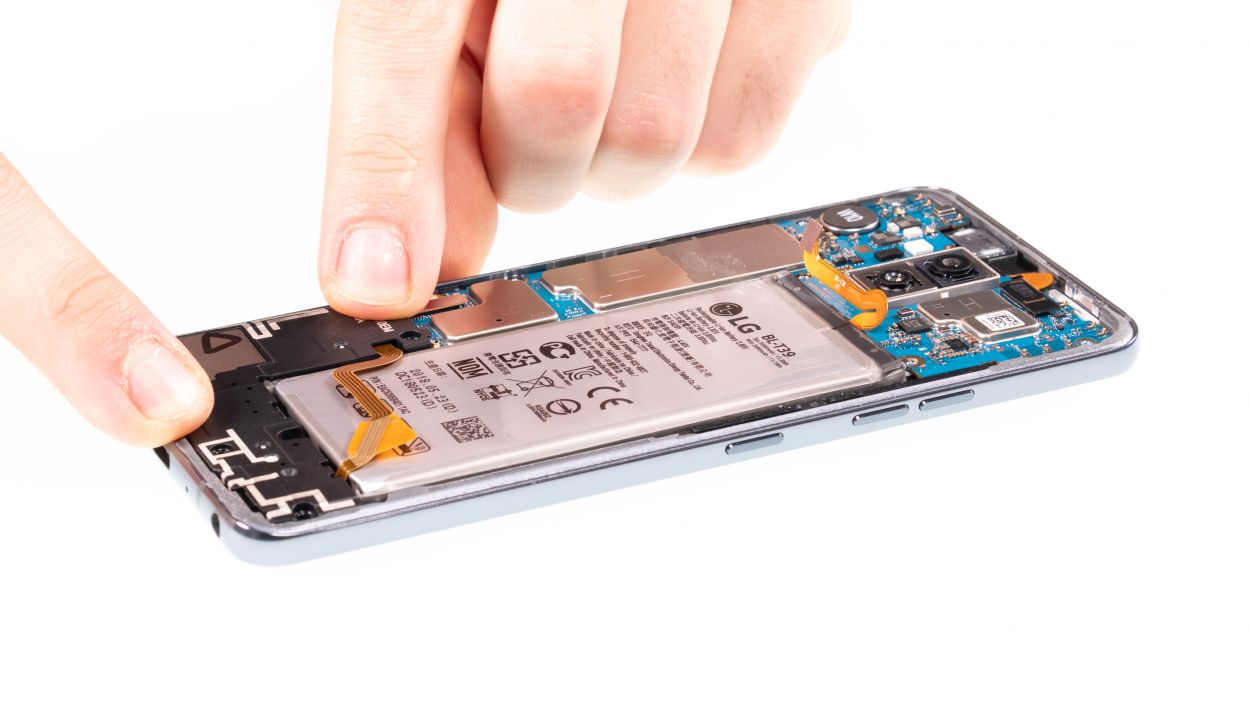
Battery Connector
When you’re prying things open, always start from the side where the motherboard has fewer tiny components. This way, you won’t accidentally cause any grief to those delicate capacitors or ICs. Keep it smooth and safe!
– Using the spudger, carefully disconnect the battery contact from the motherboard.
Step 5

7 × 3,5 mm Phillips
– Start by loosening those Phillips screws holding the speaker in place, and then gently lift it out.
– To make things easier, just use your fingernail to pull up the speaker from the top. It’s a breeze!
Step 6
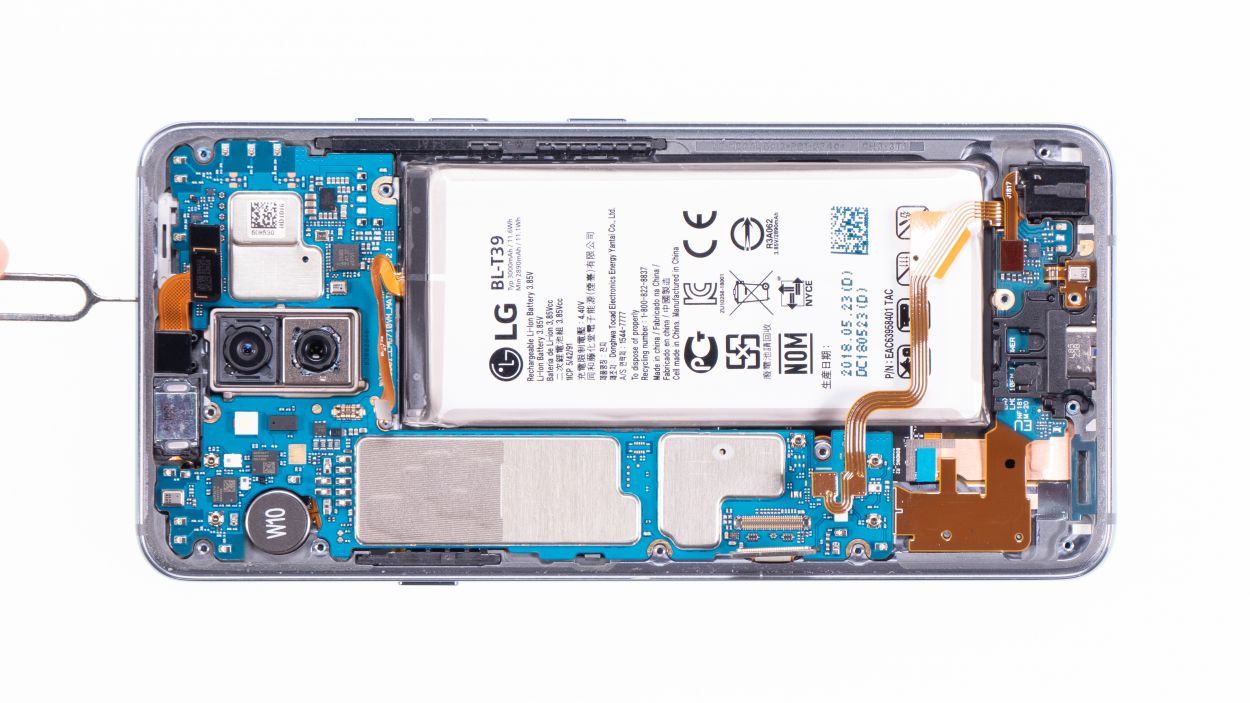

– Pop that SIM tool into the little hole on the SIM tray like a pro!
– Gently pull out the SIM slider from your device to keep things moving smoothly.
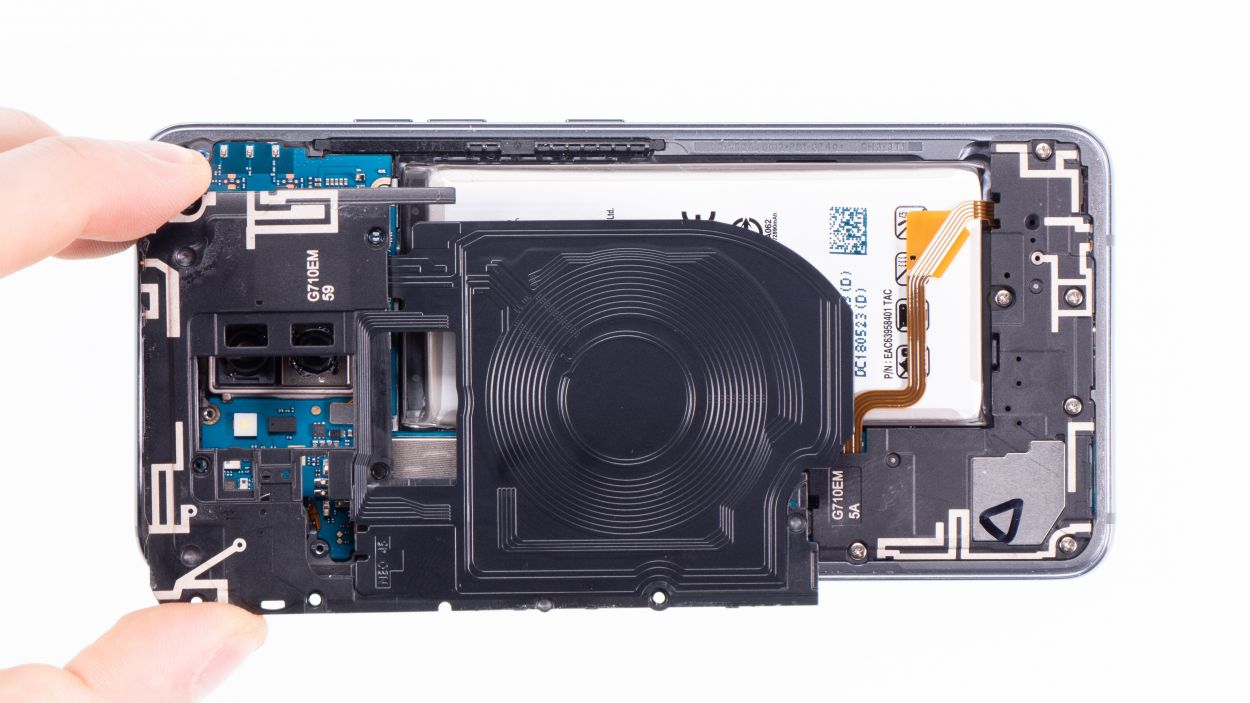
Step 7

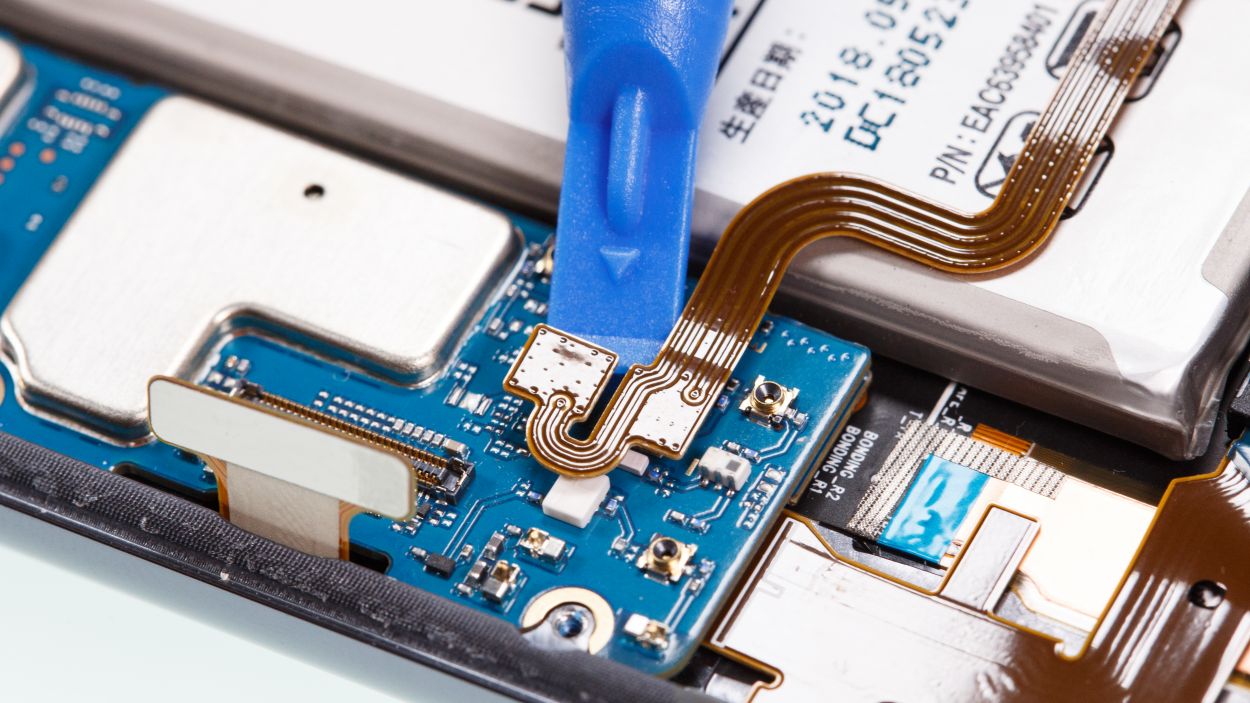

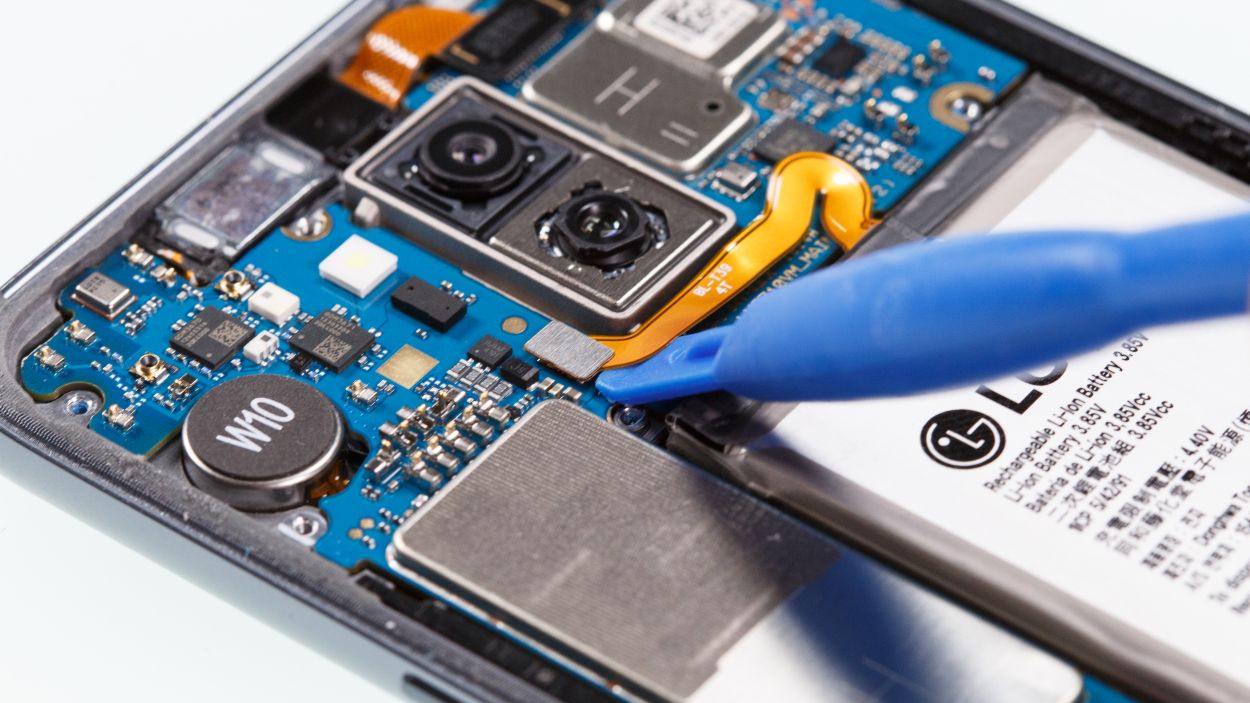
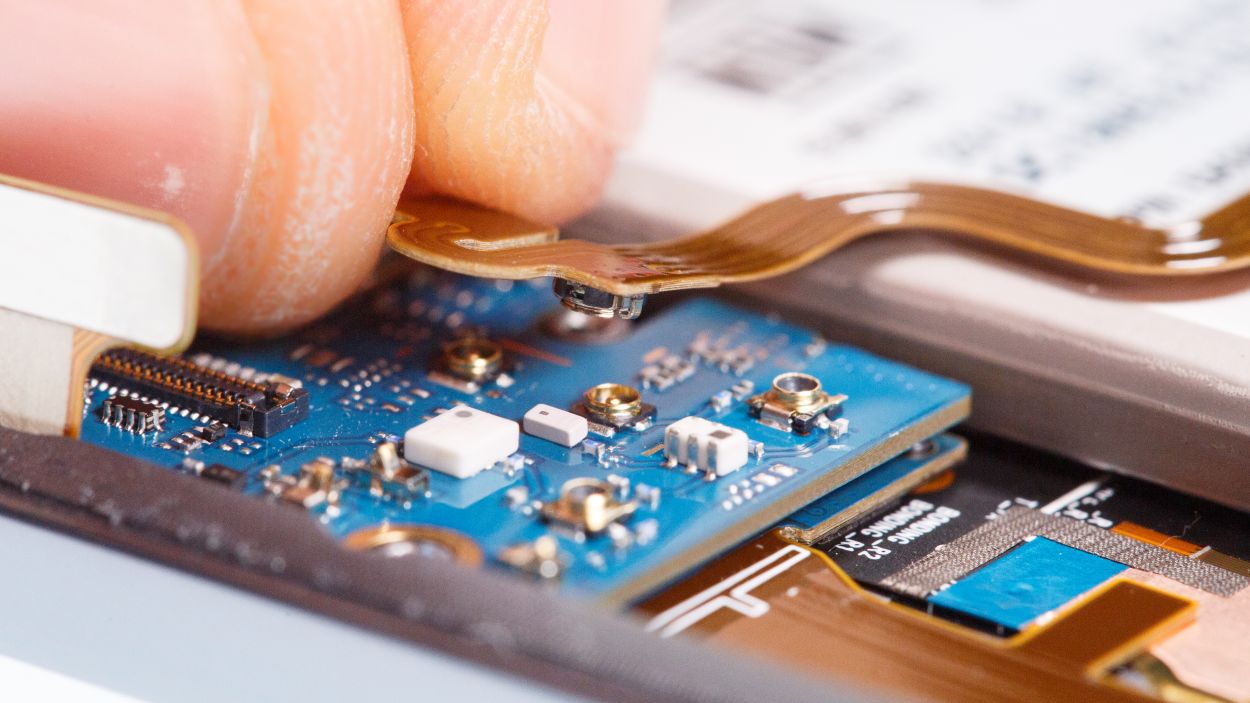
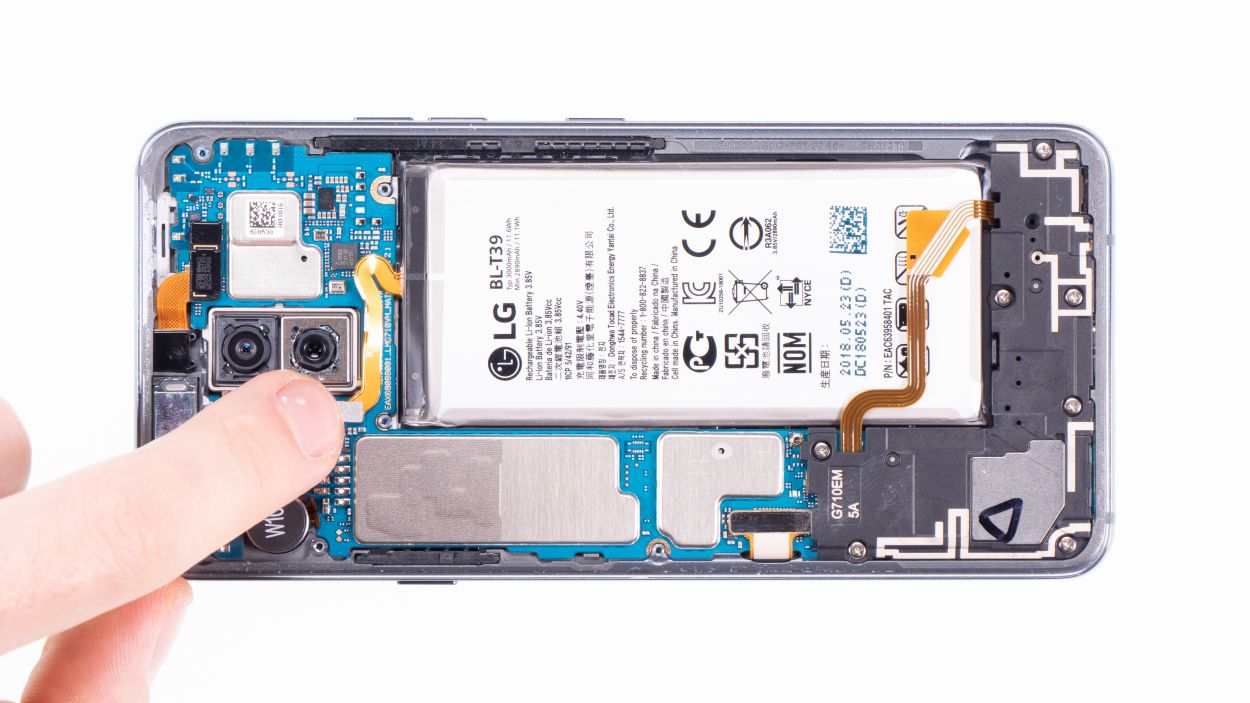
Display connector
Camera connector
Antenna connector
USB connector
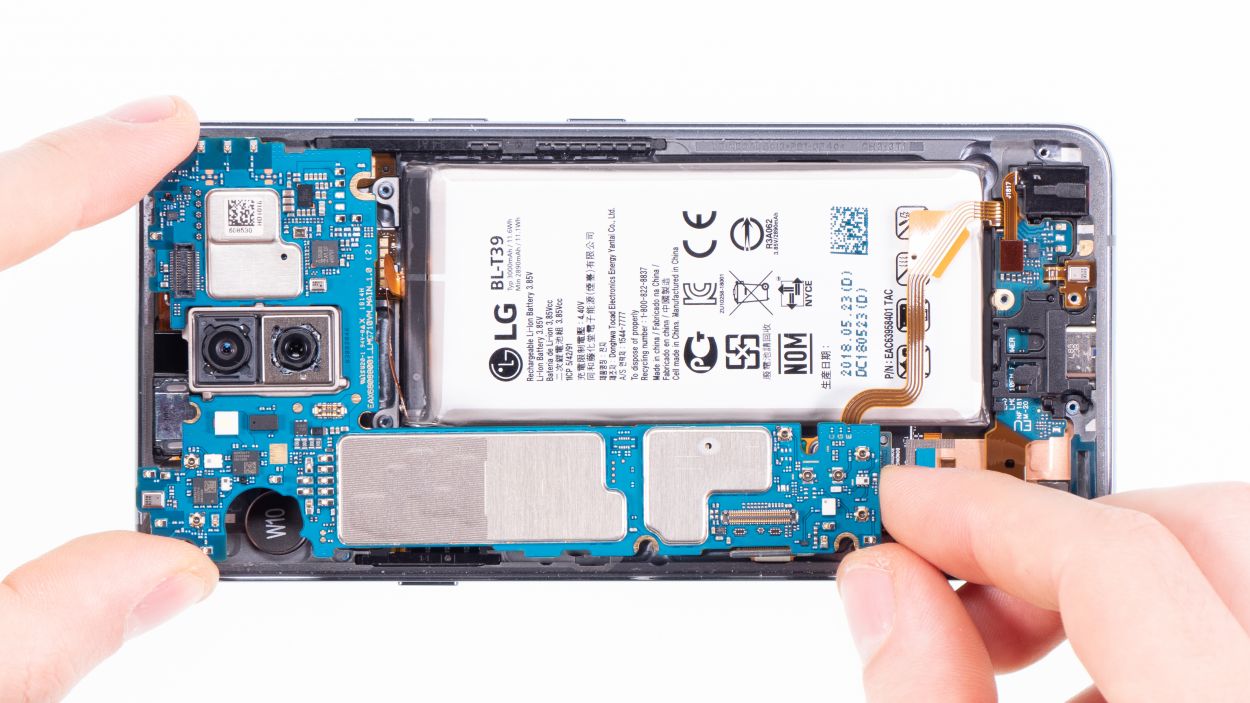
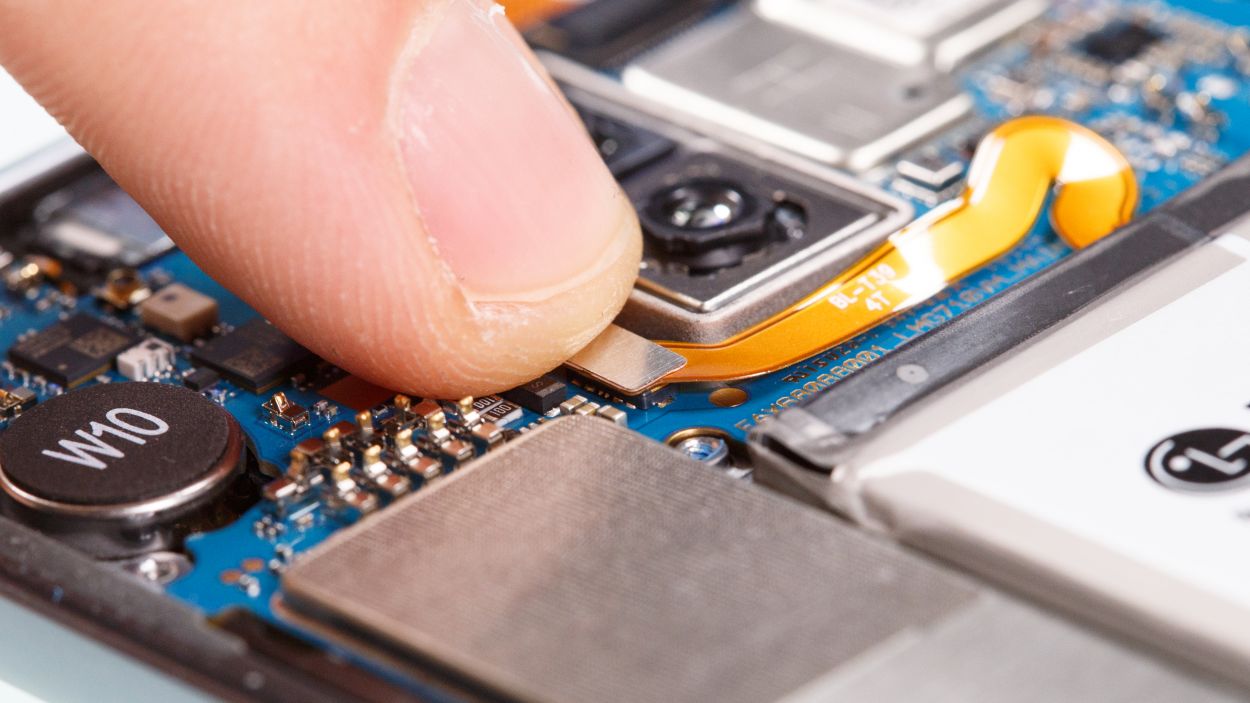
– Alright, let’s get started! Gently detach the highlighted connectors from the main board using a spudger. These little guys are responsible for the front camera, the screen, and a few antennas.
– There’s another connector hanging out on the lower side of the main board that’s a bit tricky to reach directly.
– Use that trusty spudger to carefully lift the bottom side of the board until you see the connector starting to loosen up.
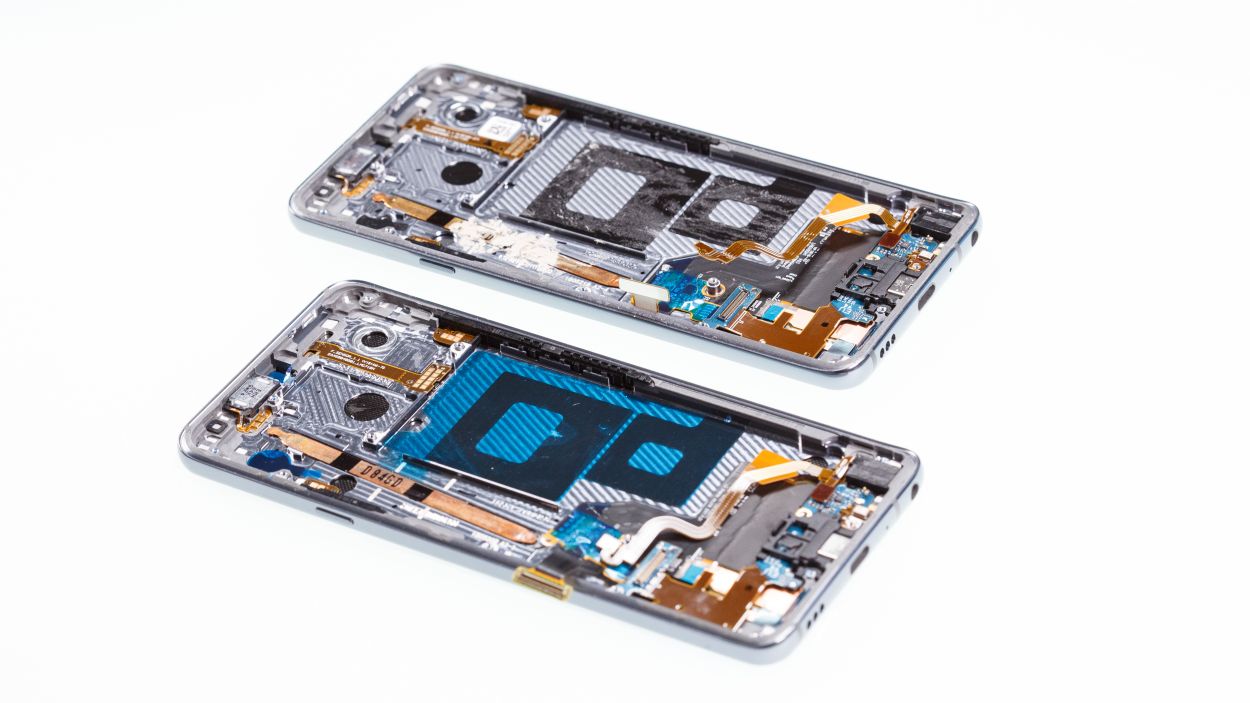
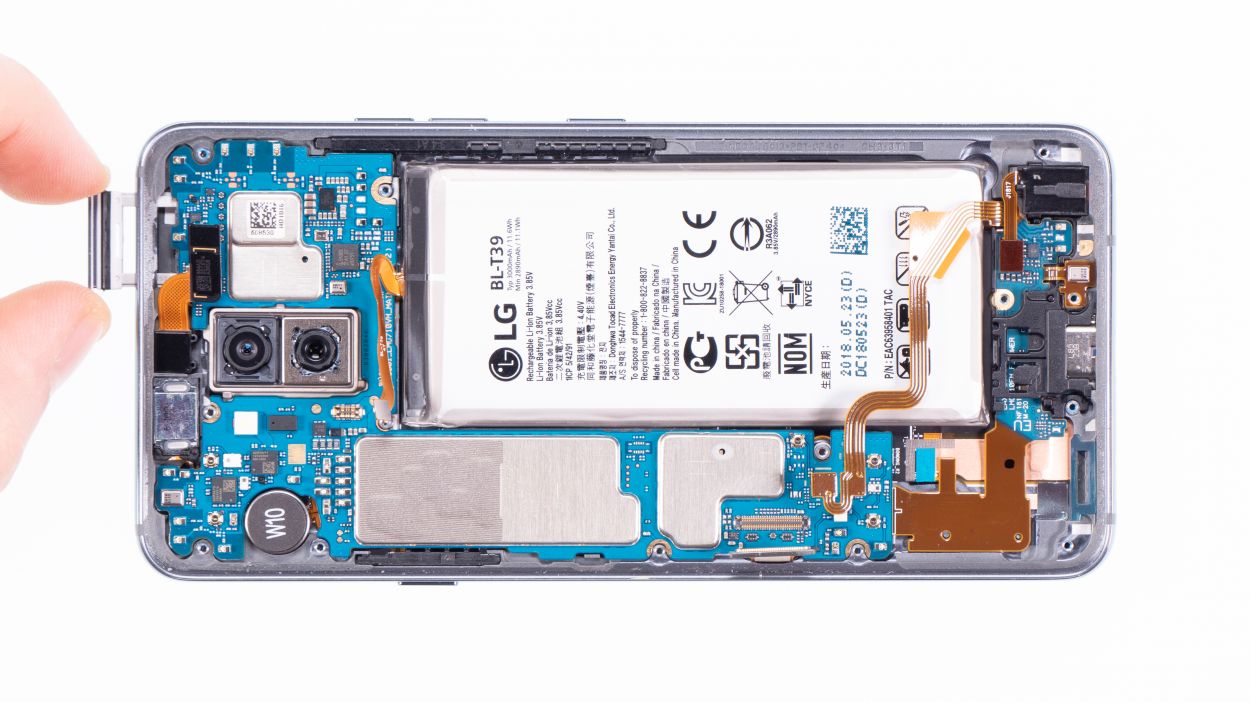
– Now, with a steady hand, you can remove the motherboard. Just be cautious not to snag it on any connectors you’ve already disconnected.
– Once you’ve got it out, place the board somewhere safe and sound.
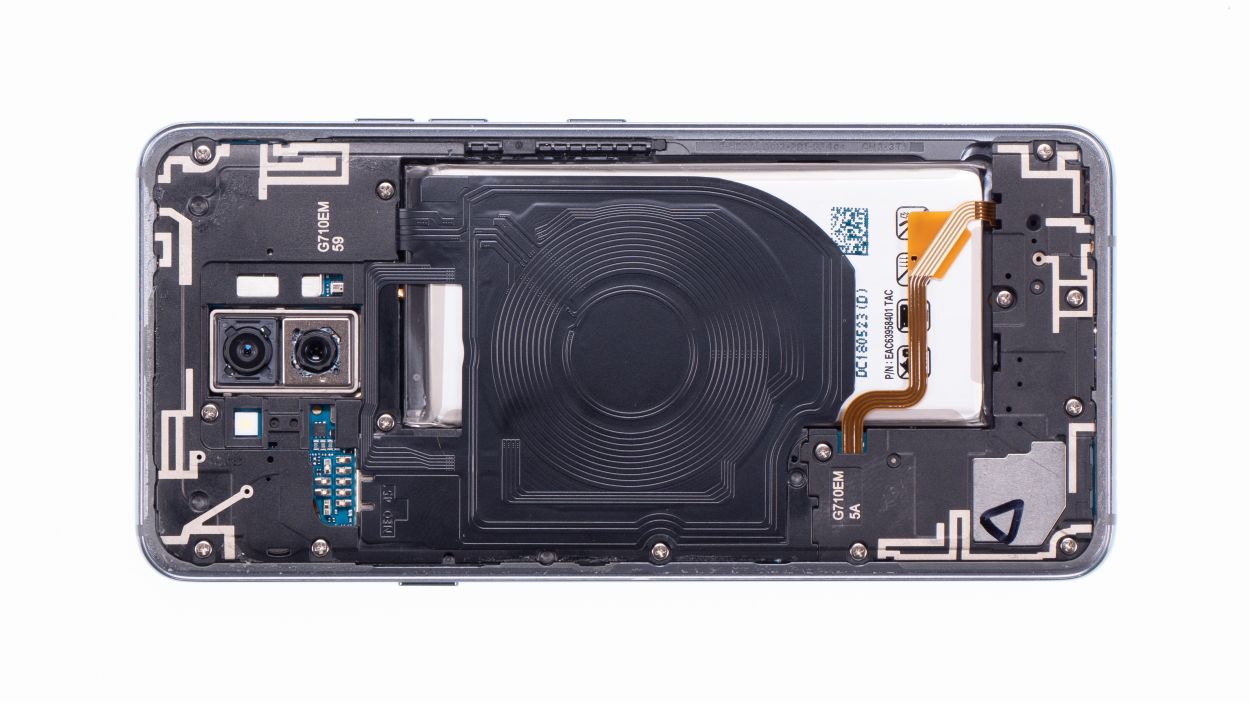
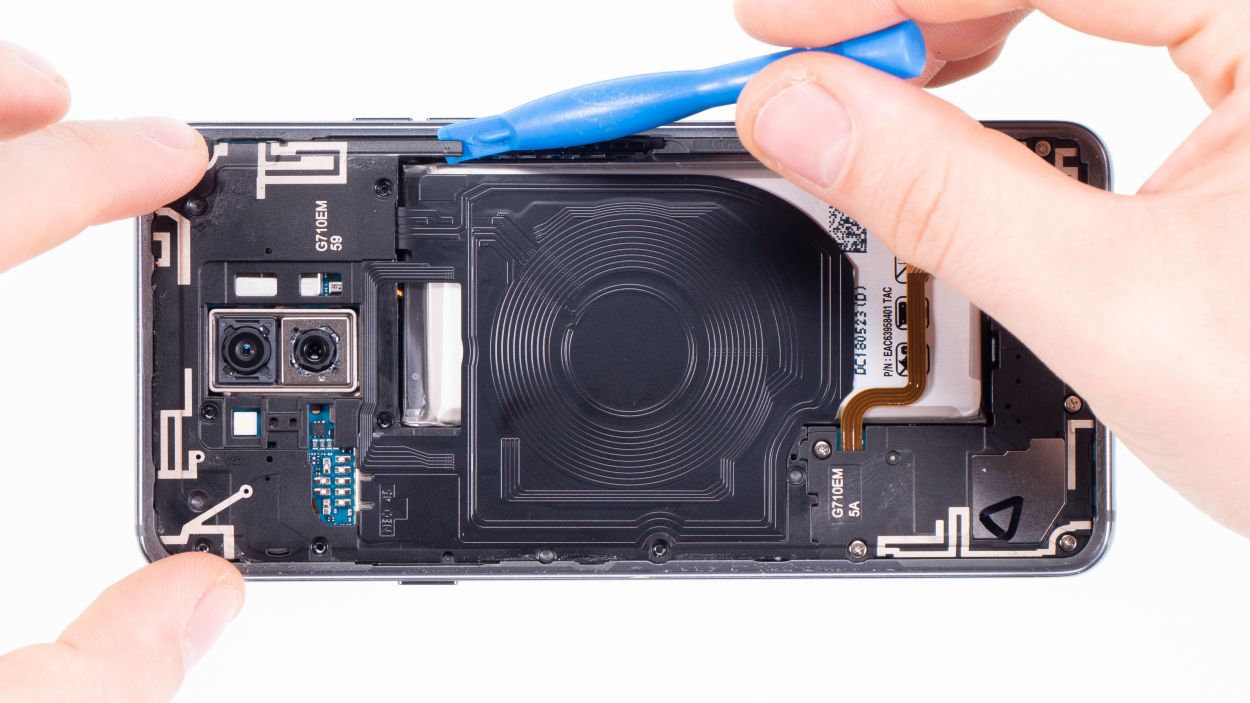
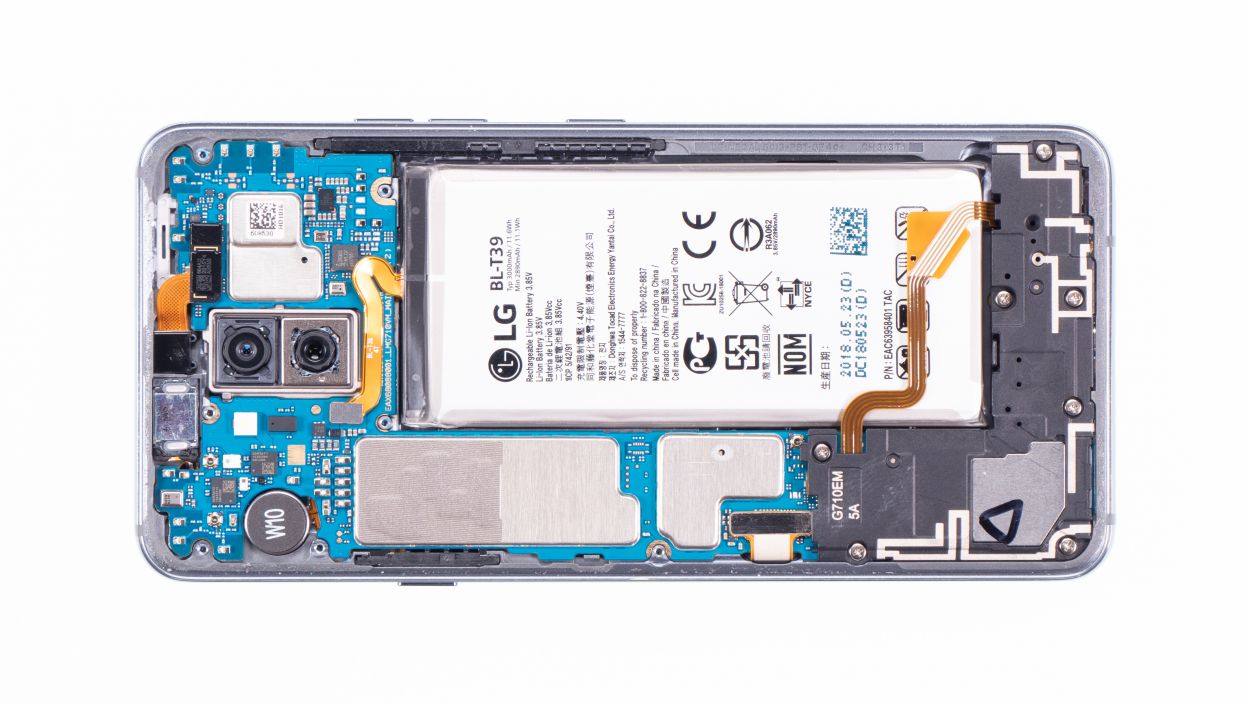
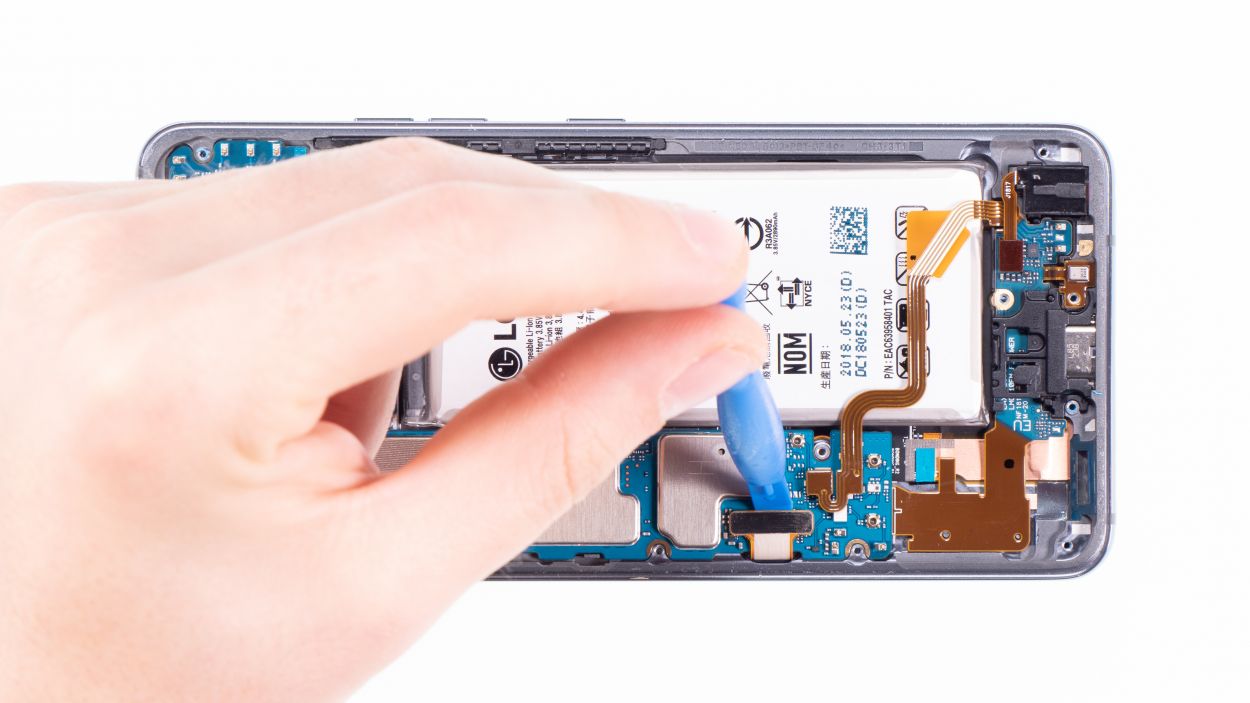
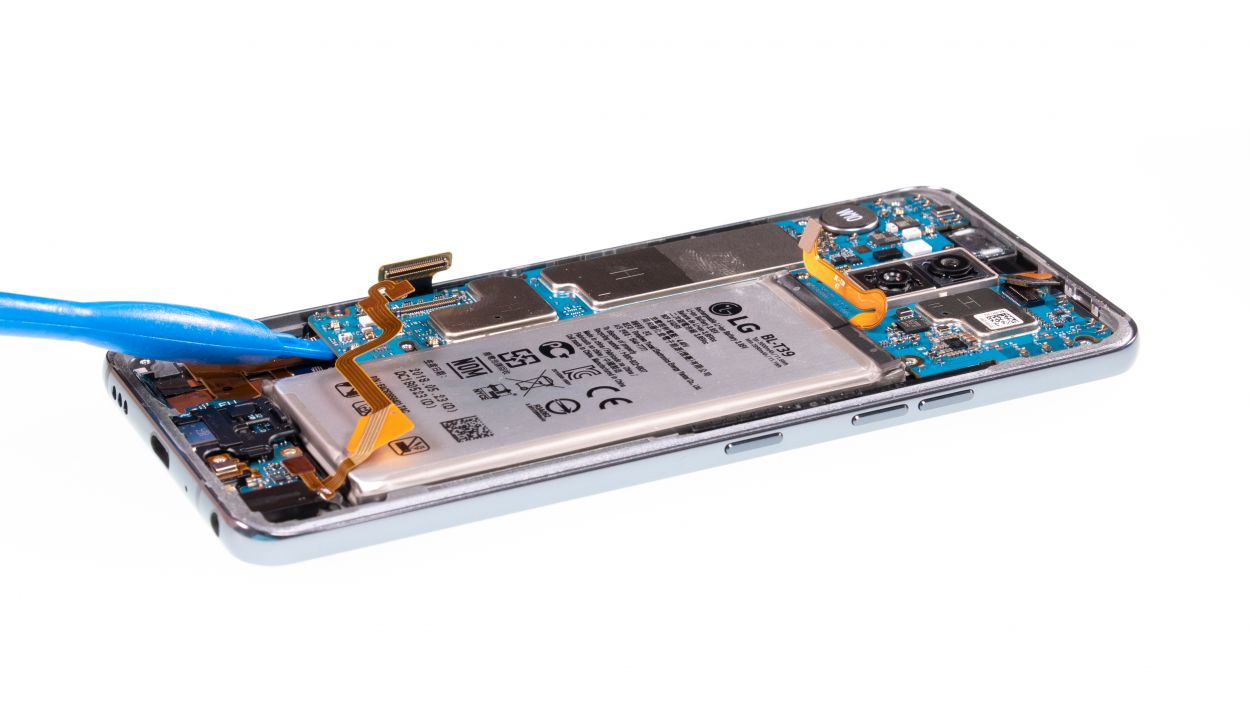
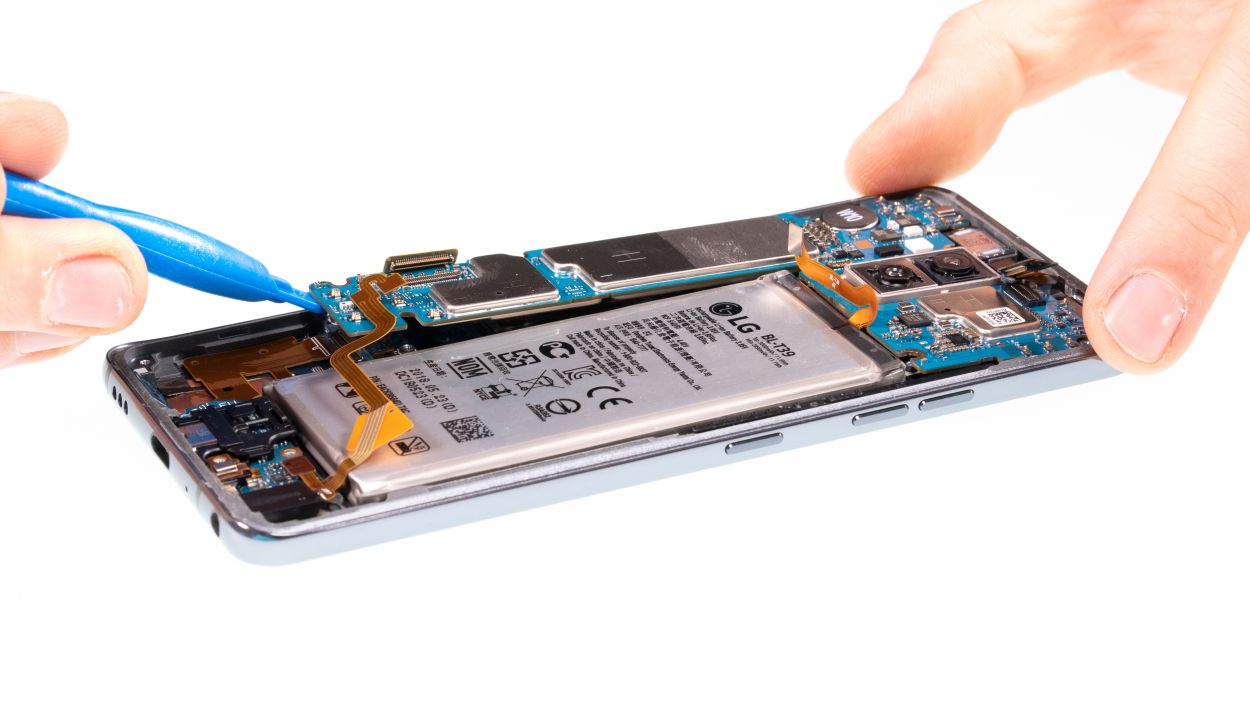
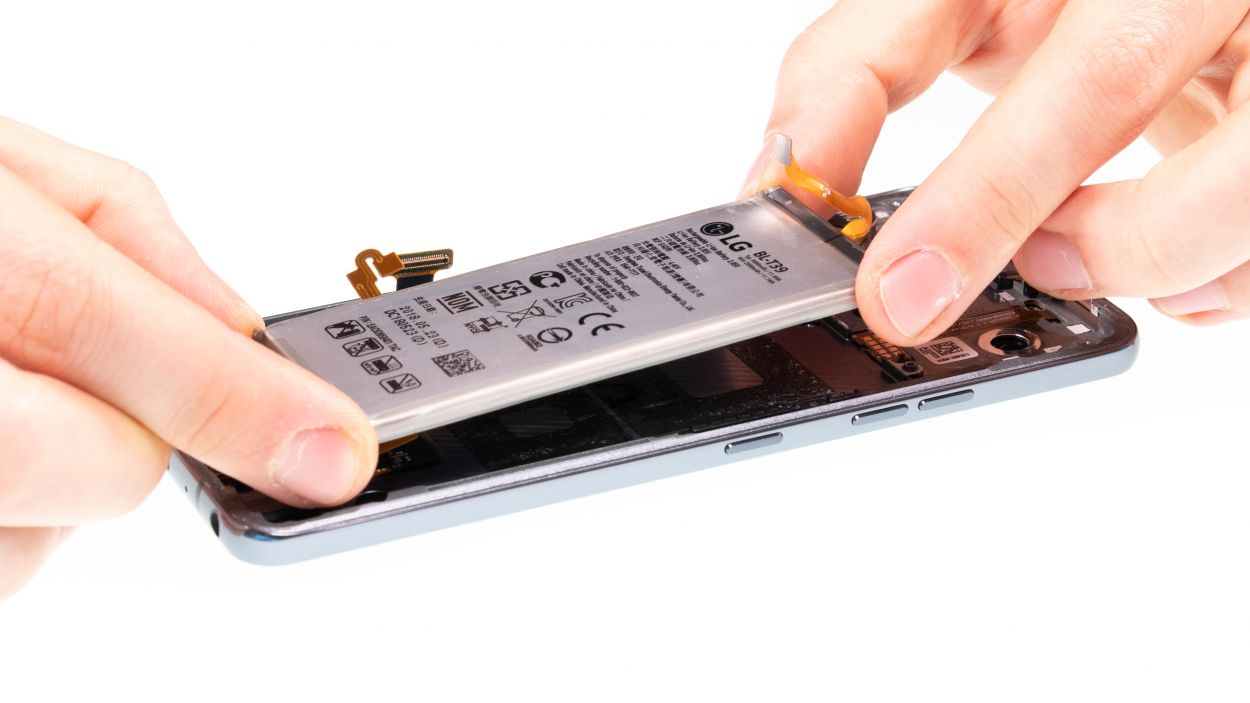
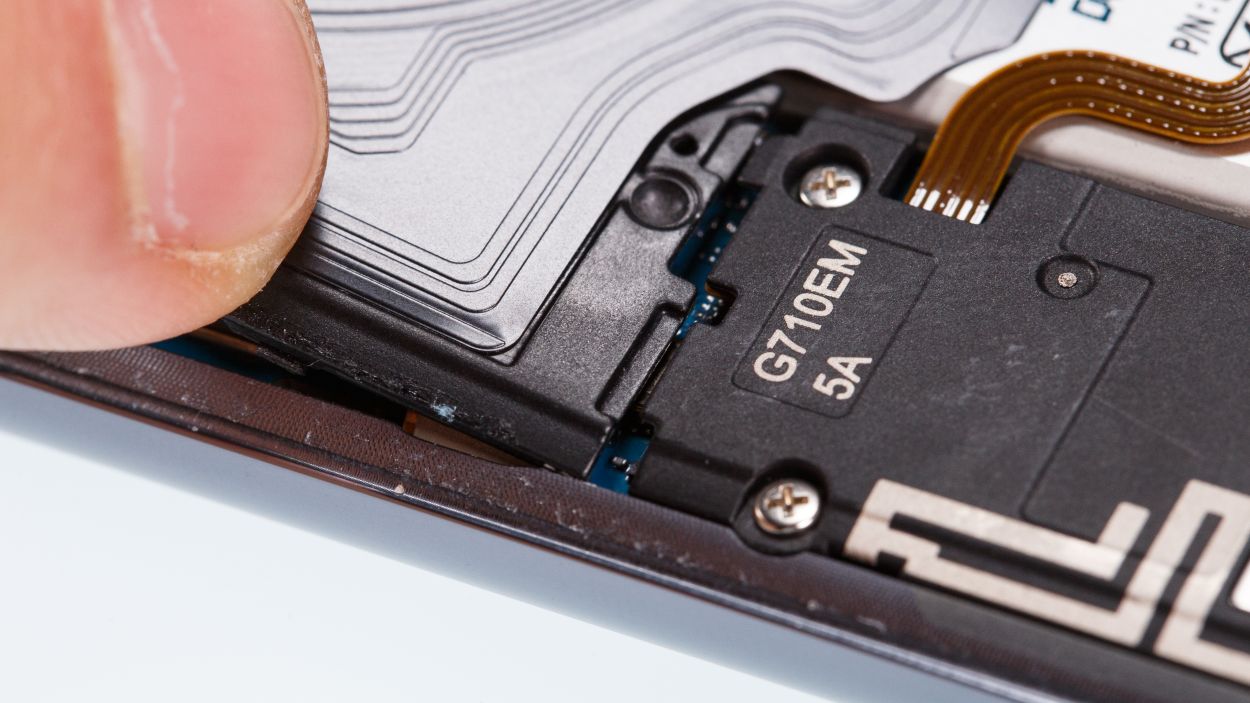
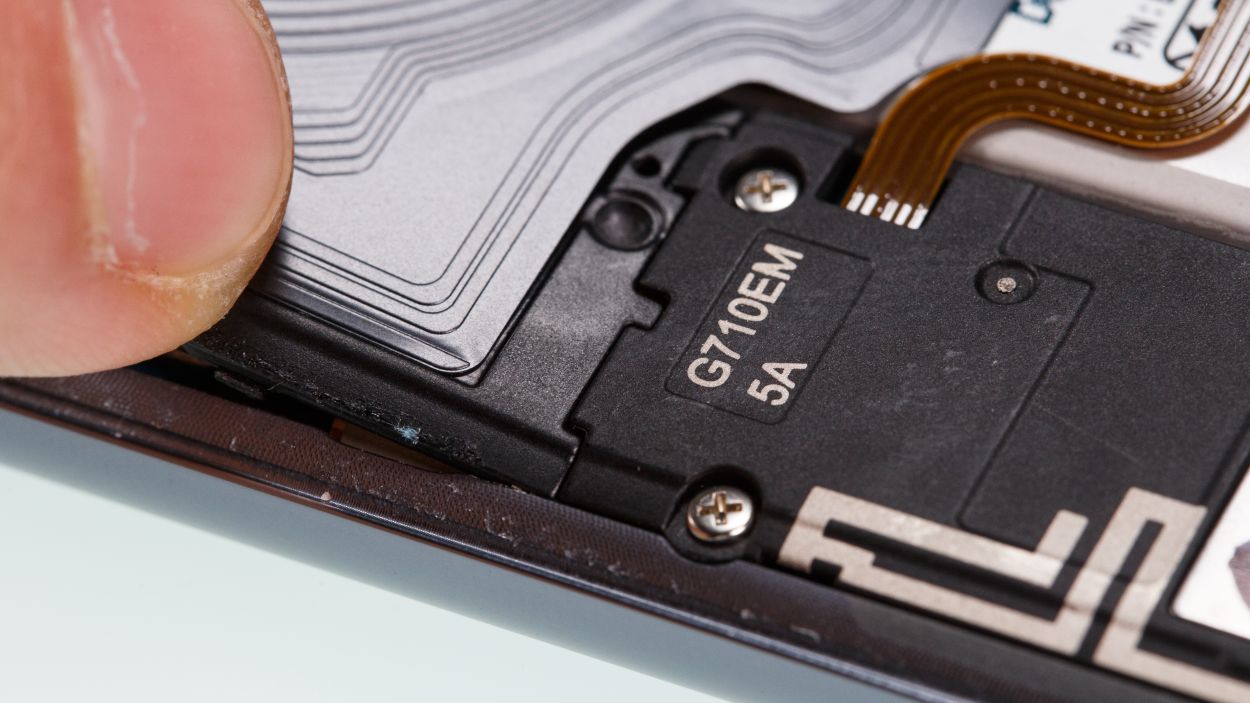
Step 8
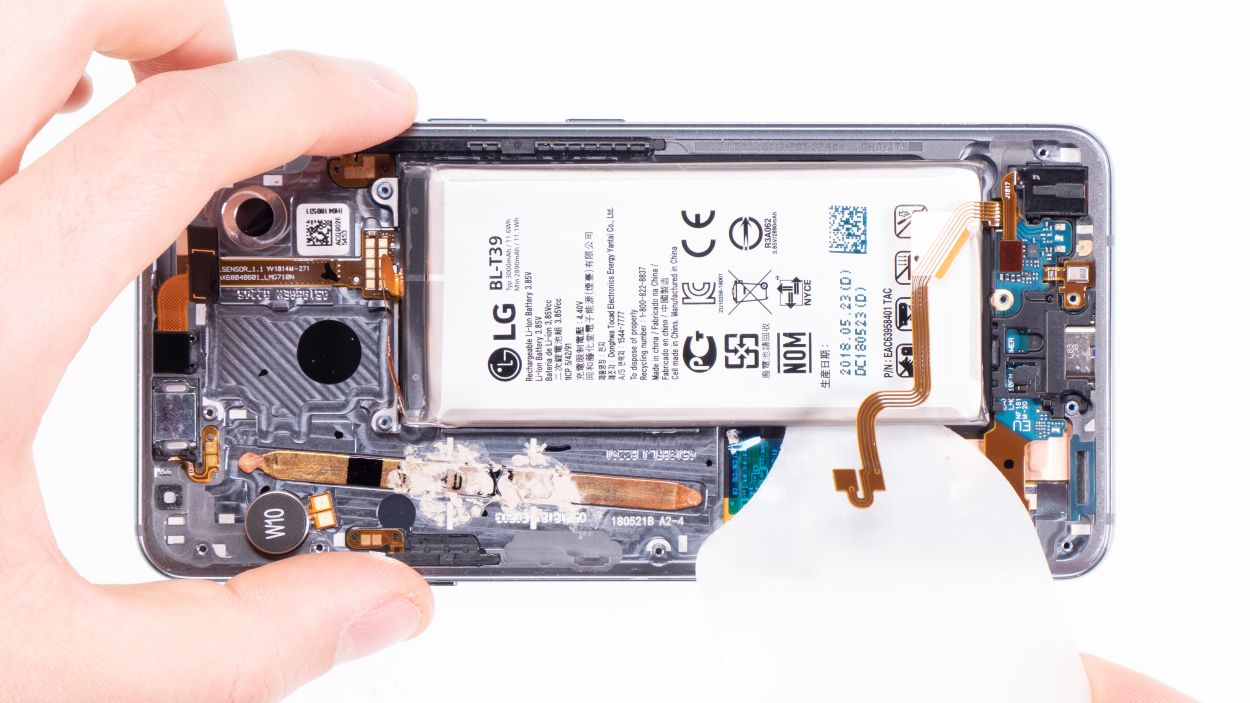
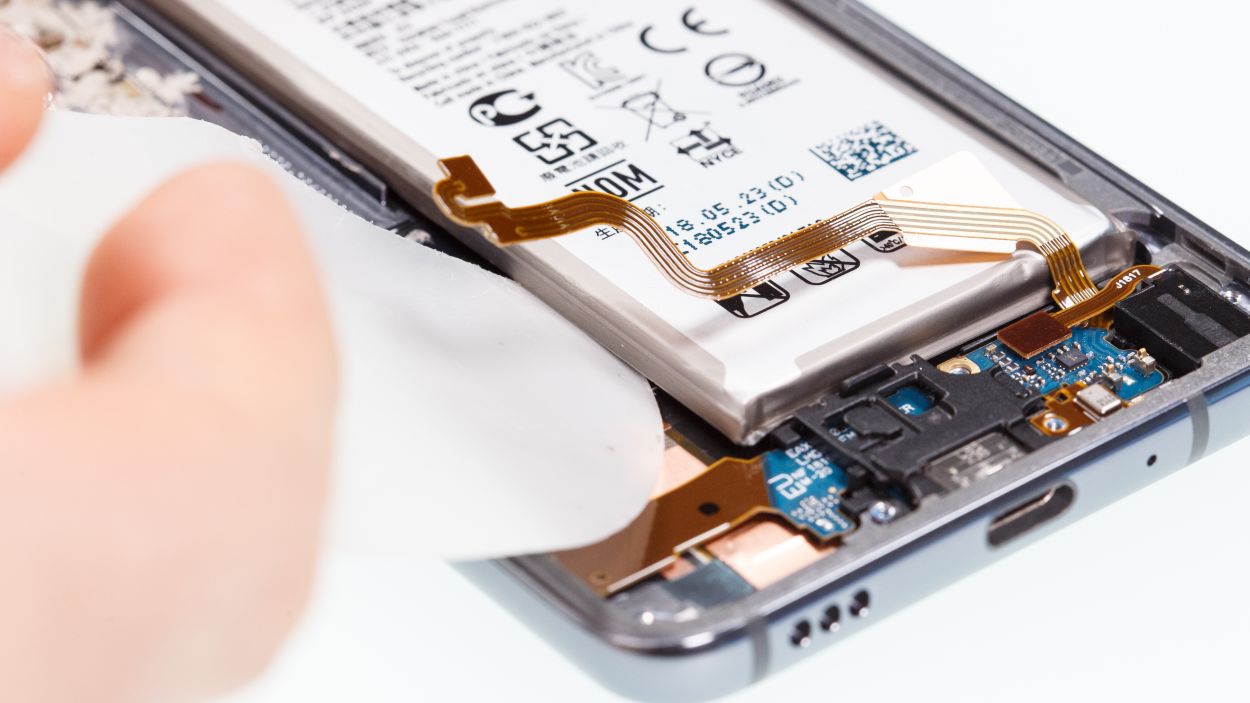
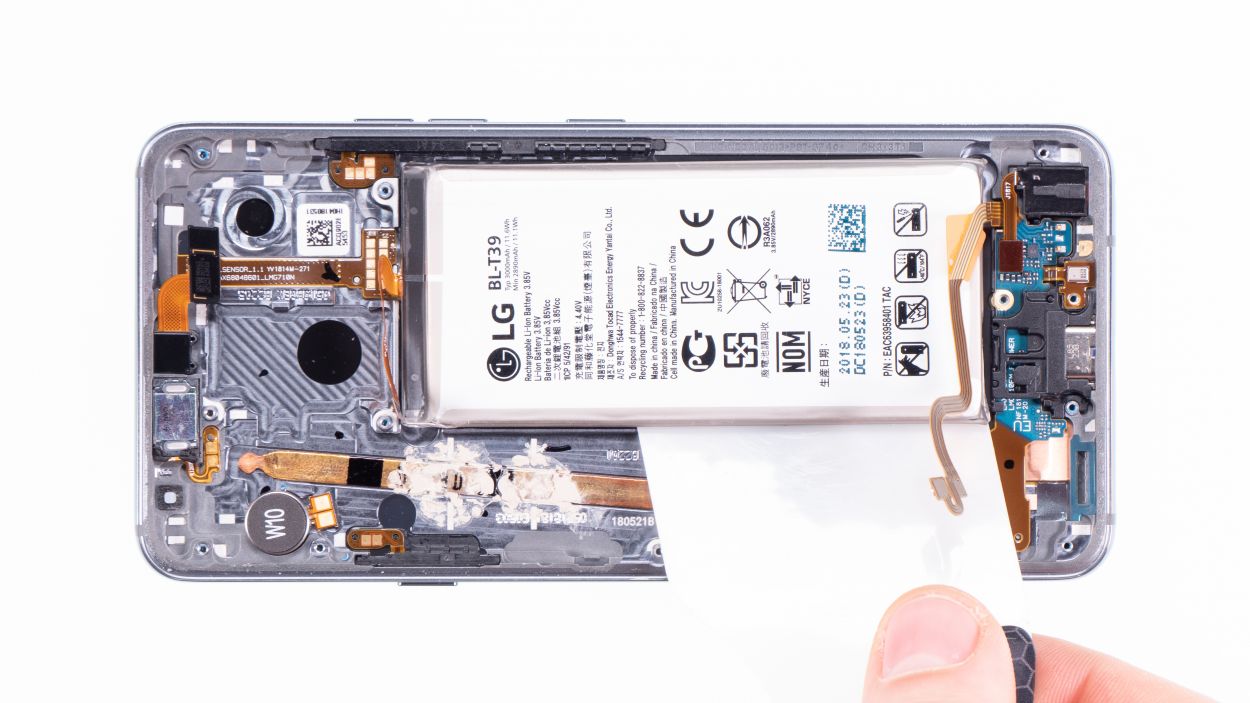
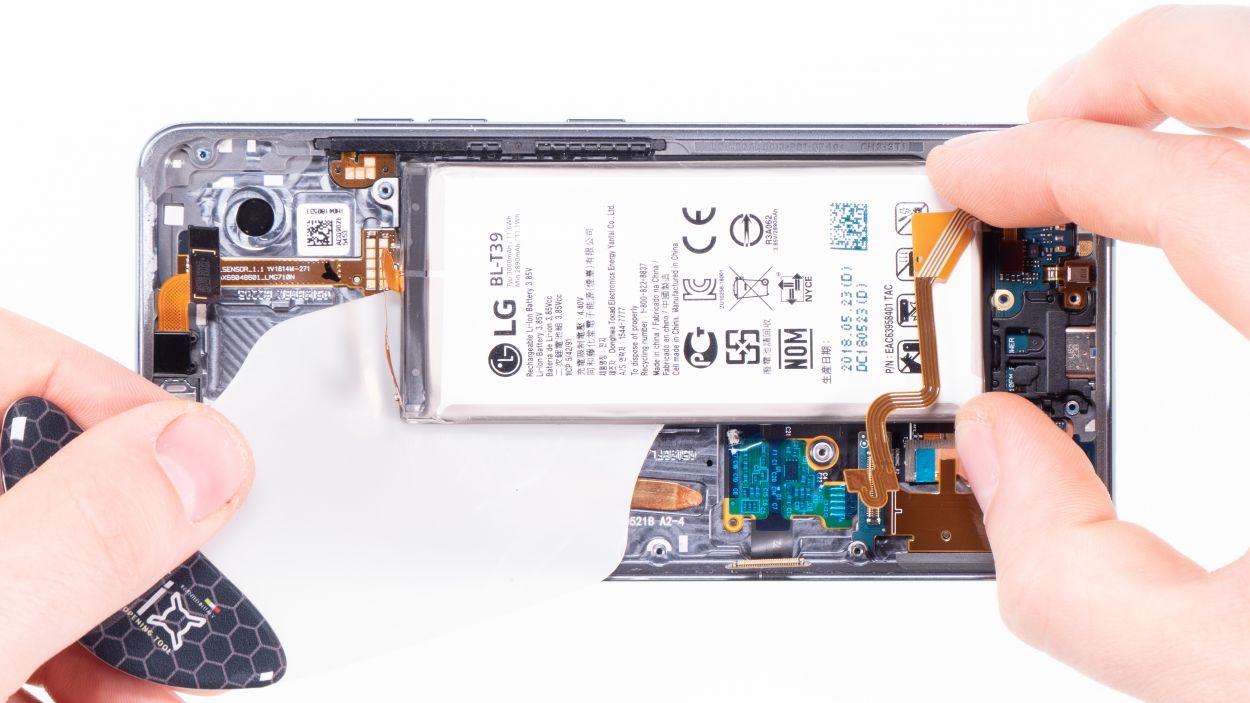
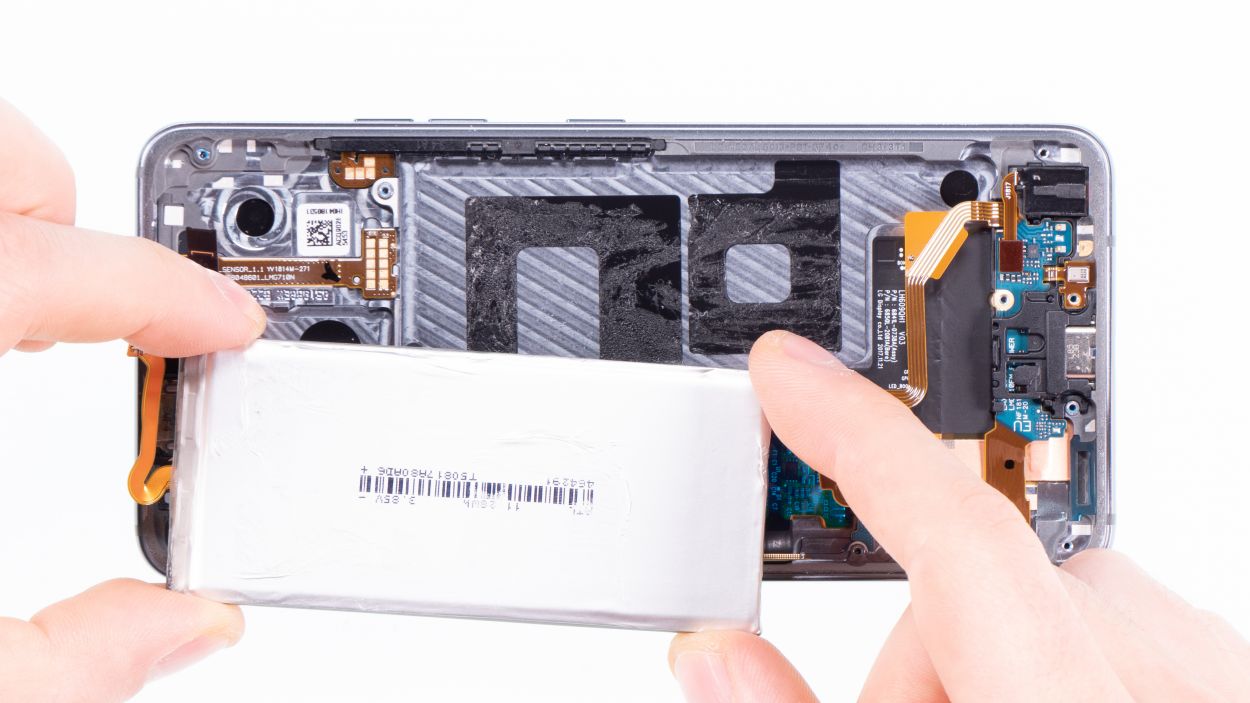
Hey there! Just a friendly reminder to treat that battery with care. Take your time and give that glue a little extra love by heating it up a few times. You’ve got this!
Step 9
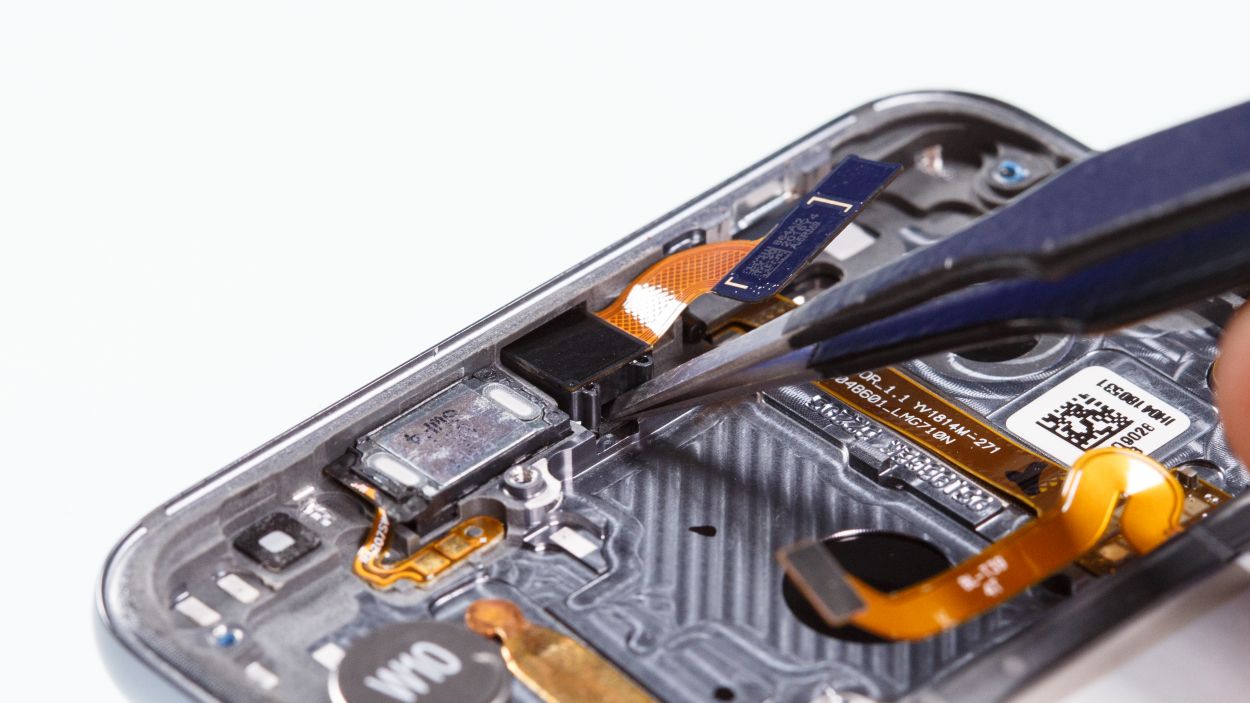


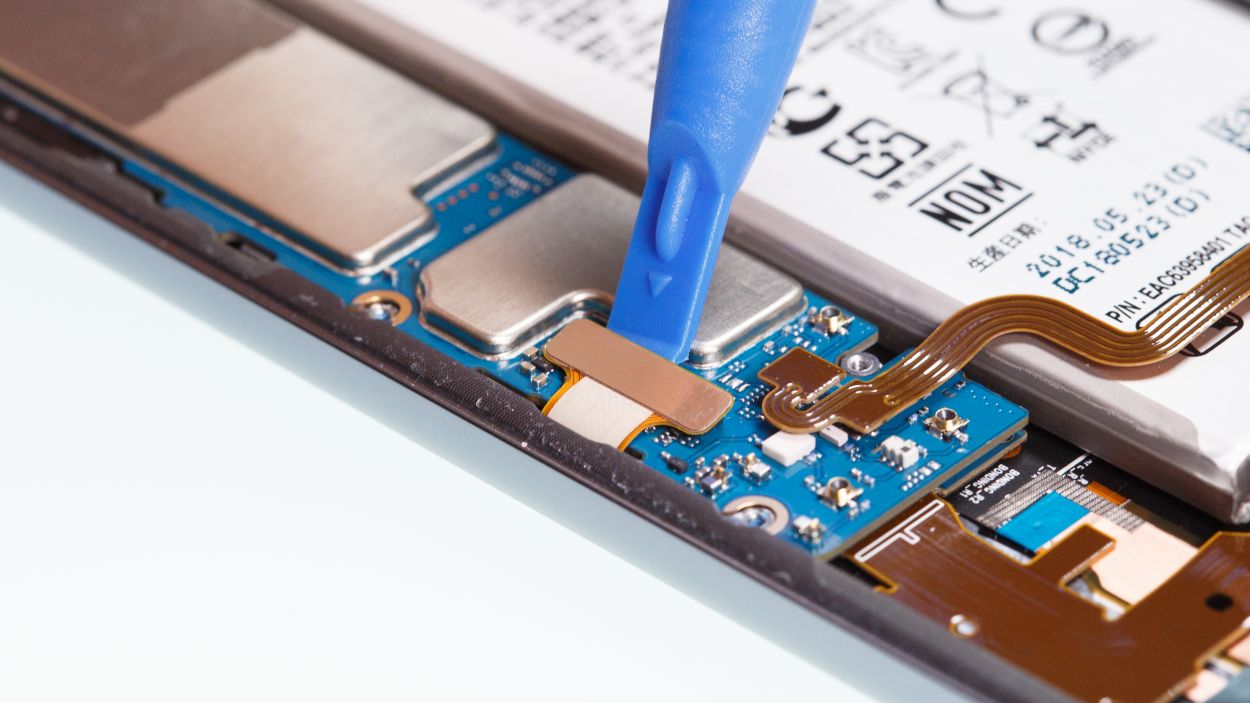
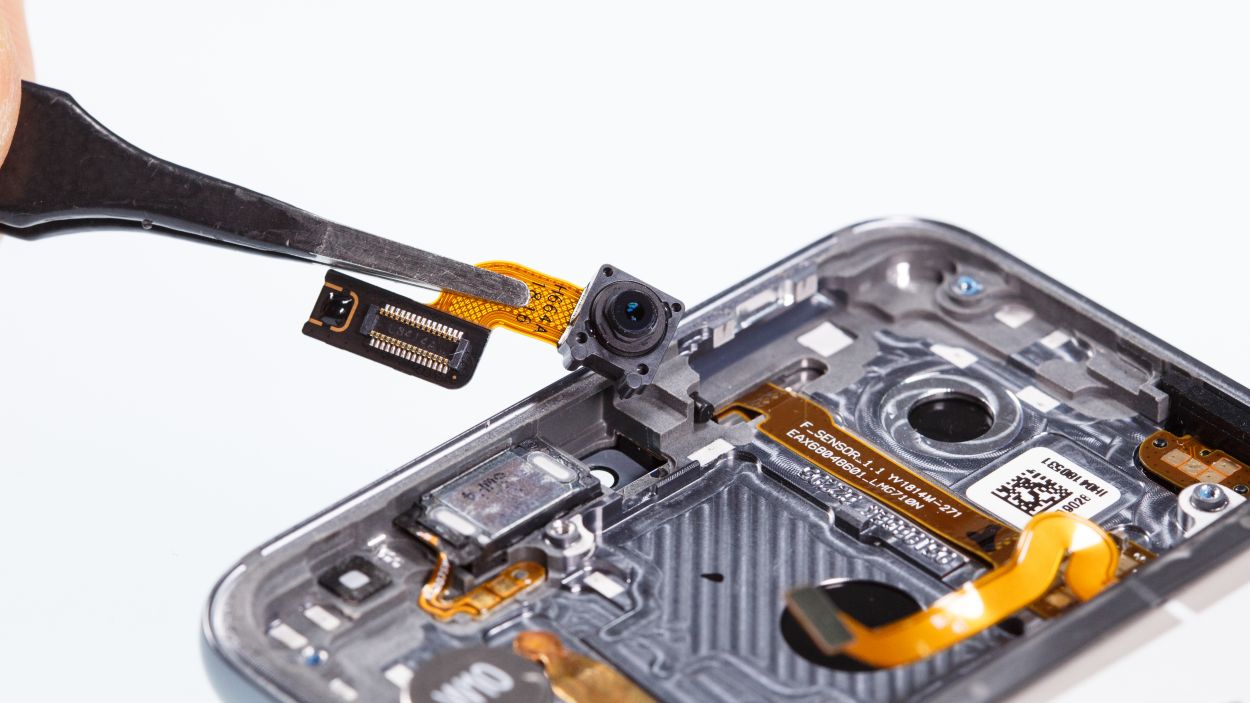
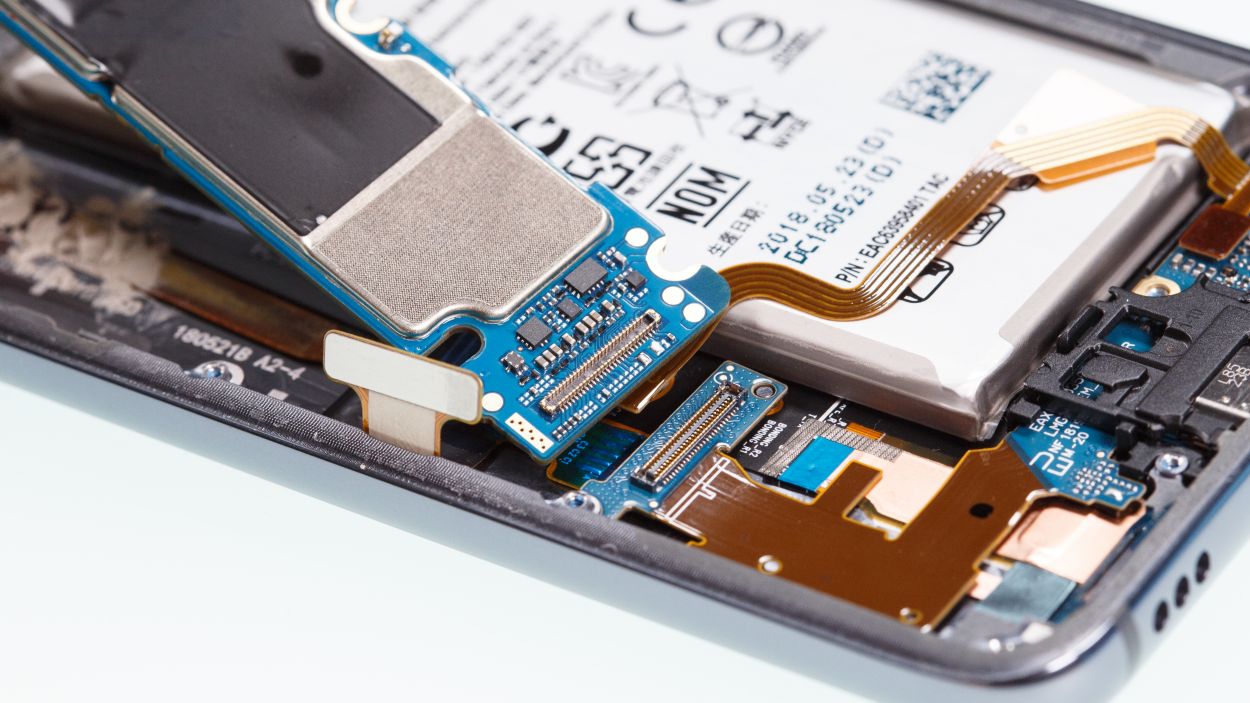
Be gentle and avoid putting pressure on the side with the golden contacts; they’re delicate little guys and can come off easily!
– Lever the camera out of its opening and remove it.
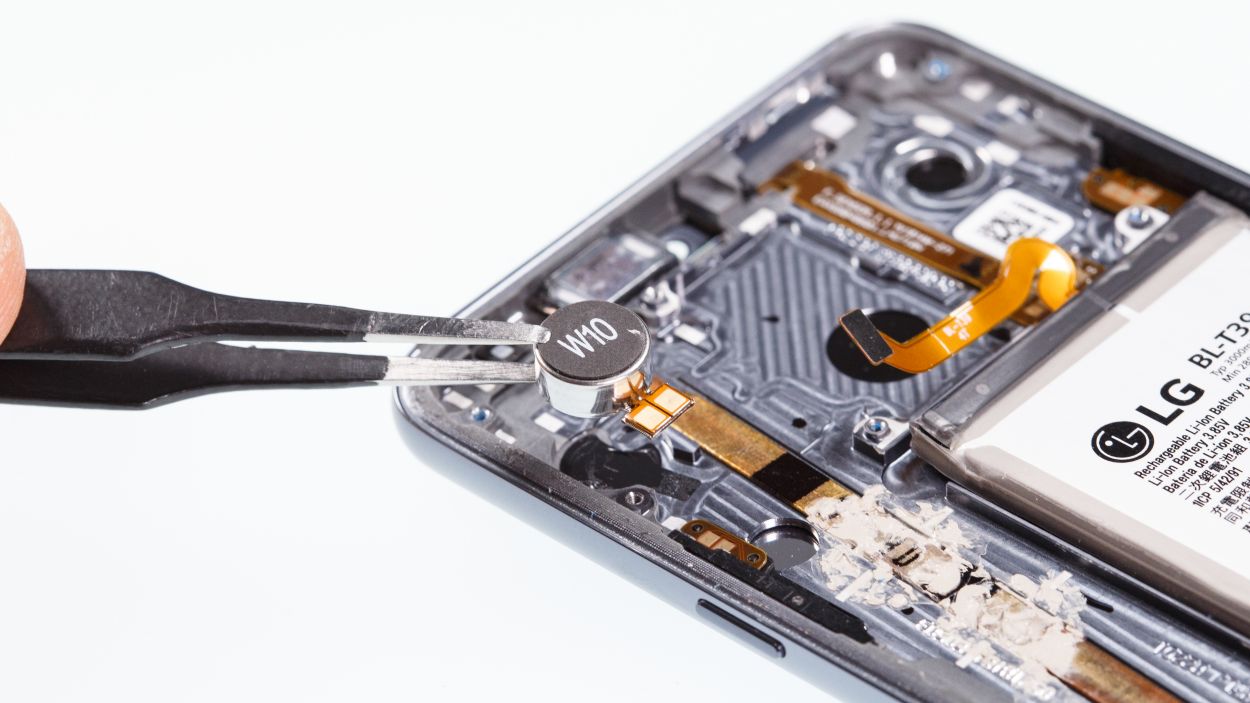
– The vibration motor is glued to the enclosure. Carefully detach the
motor by inserting your tool between the enclosure and the
motor.
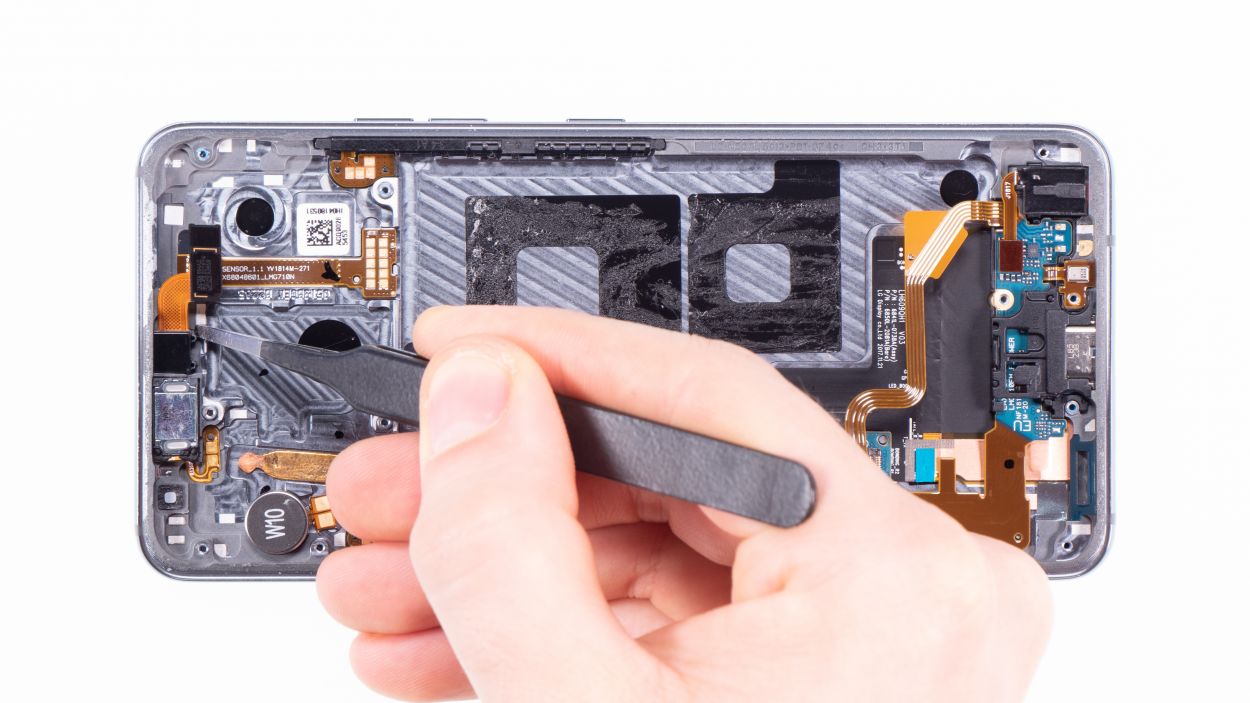
Step 10
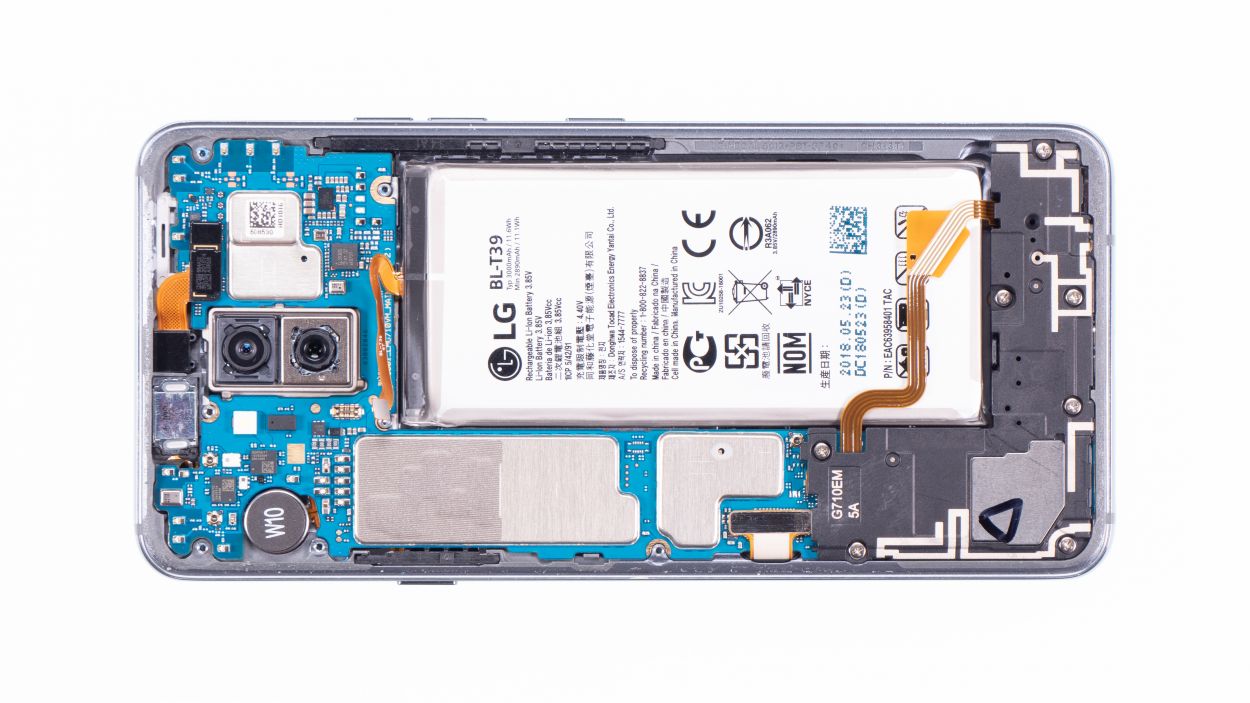
– Now take the new display and compare it to the old one. If necessary, you have to reuse some gaskets or holders.
– Remove the backing films from the sticker surfaces, so you can attach the front camera or the battery later on.
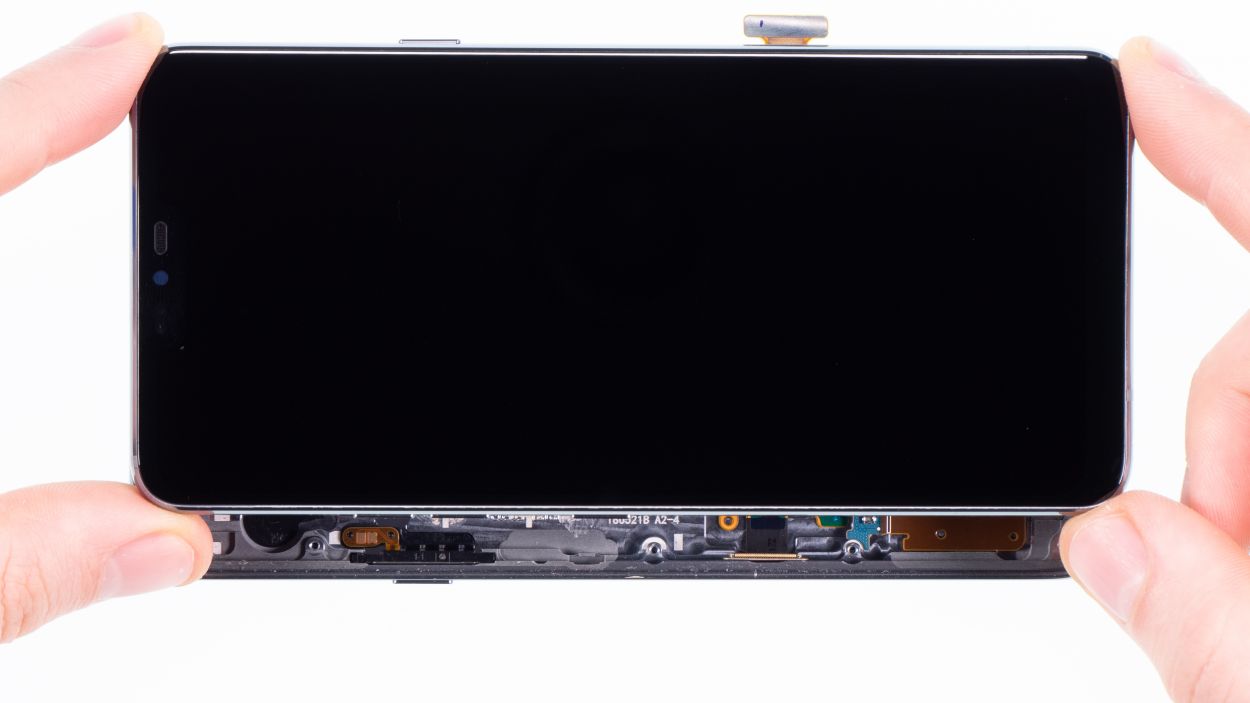
Step 11
– Gently place the front camera into its designated spot, and double-check that there’s no pesky protective film lingering on the inside of the display.
– Carefully position the vibration motor into the small round opening on the side of the case.
– Use your fingers to give the motor a nice, firm press to secure it in place.
Step 13
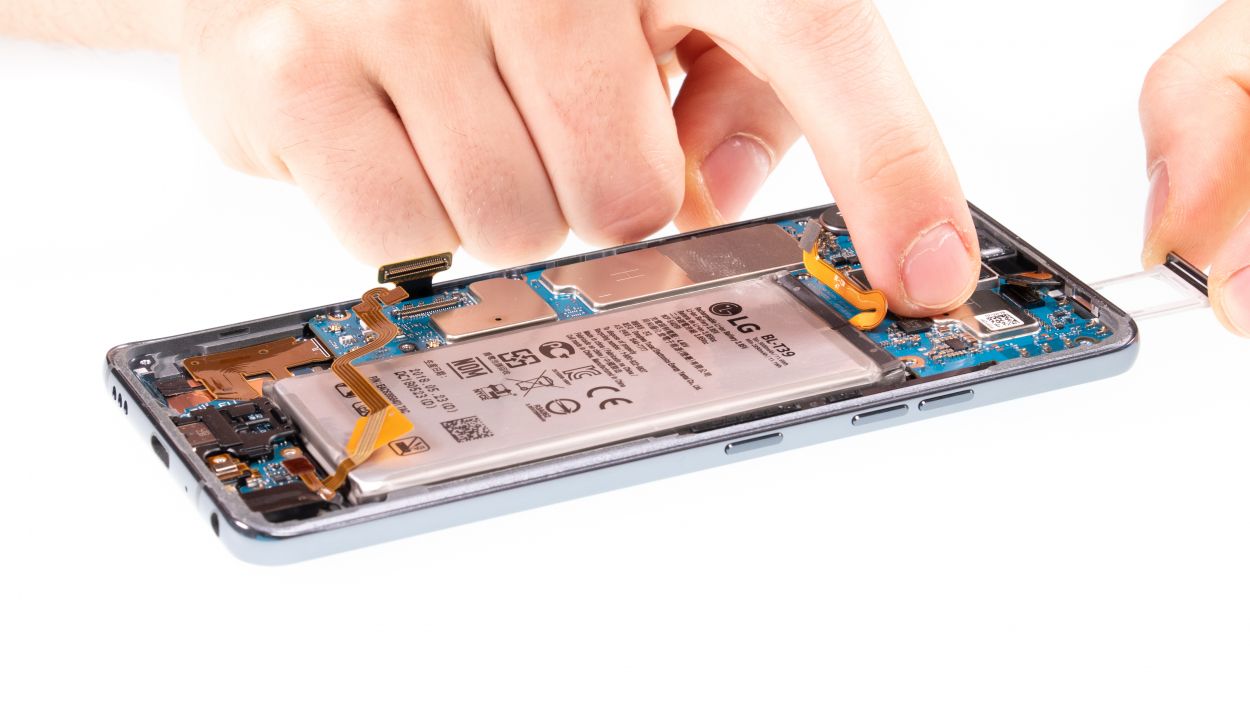
USB connector
Display connector
Camera connector
Antenna connector
The connector should click into place directly. Do not force the contact if this does not work right away. First check that the mainboard is correctly positioned.
– Grab that motherboard and gently slide it into the device, making sure to avoid pinching any cables. Just give those connectors a little nudge to the side.
– Once the mainboard is snug in its spot, go ahead and connect the bottom connector by pressing it down firmly.
Step 14
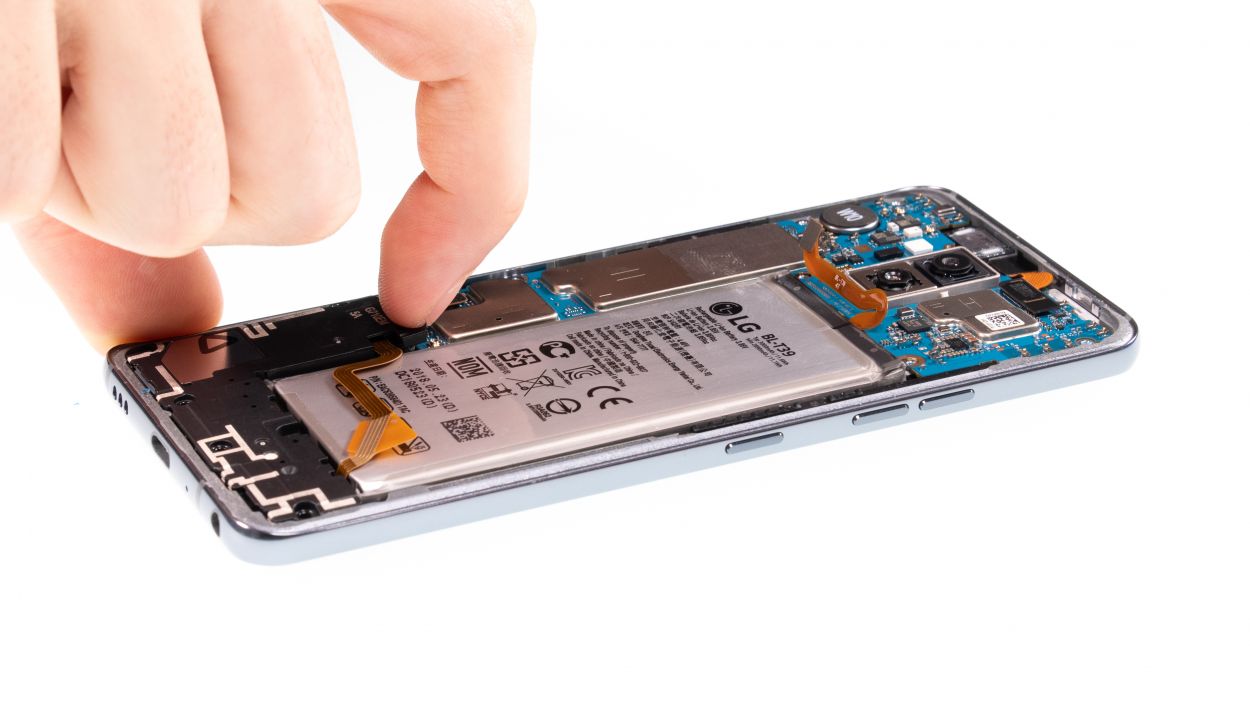
– Pop in the SIM card holder! If it’s feeling a bit stubborn, don’t force it—let’s keep things smooth. Take a moment to check if your mainboard is snugly in place.
Step 15

7 × 3,5 mm Phillips
– Then place the speaker back over the USB port, press it in and screw it tight.
– Make sure it’s latched in at the bottom.
Step 16

Battery Connector
– Connect the battery to the mainboard. Press the contact onto the
connection on the motherboard until you hear it click into place.
Step 17
7 × 3,5 mm Phillips
– Put the cover with the antenna back in the enclosure after sliding it under the speaker at the bottom.
– Then press the cover with your fingers until it clicks gently into place.
– Fasten the phillips screws.
Step 18
Give all the functions of the part you swapped out a good test drive! Make sure everything is running smoothly and ready to rock.
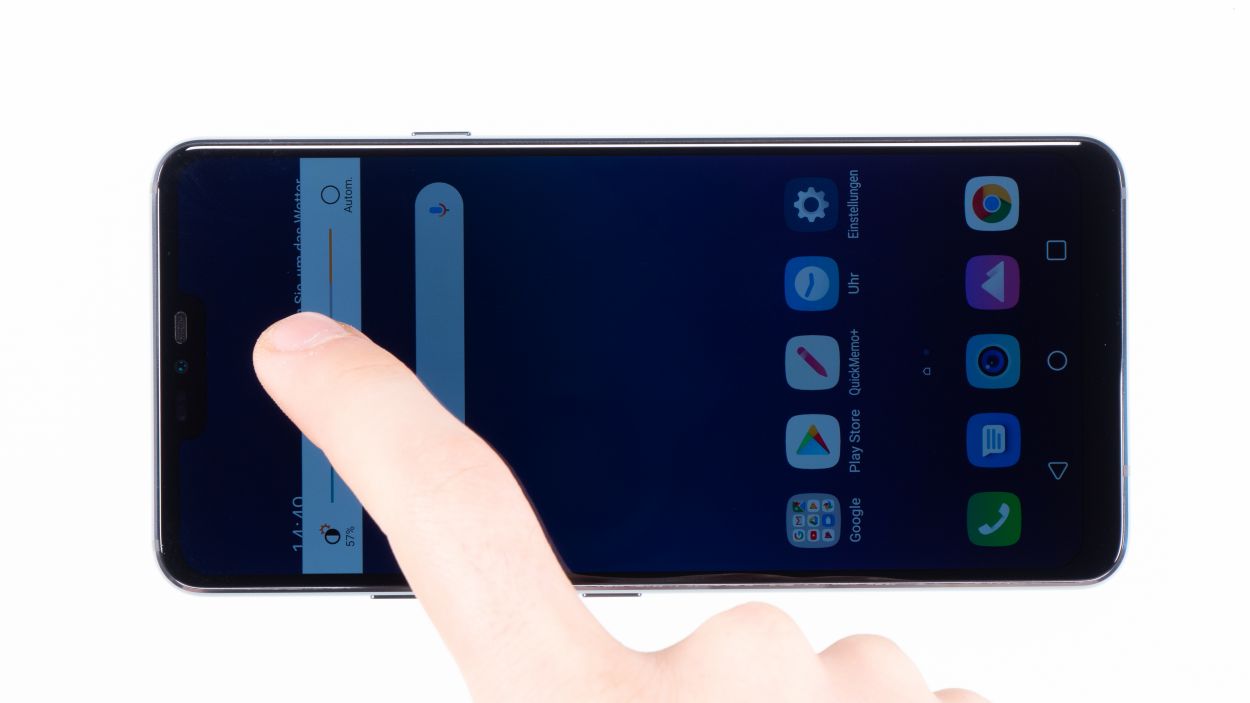
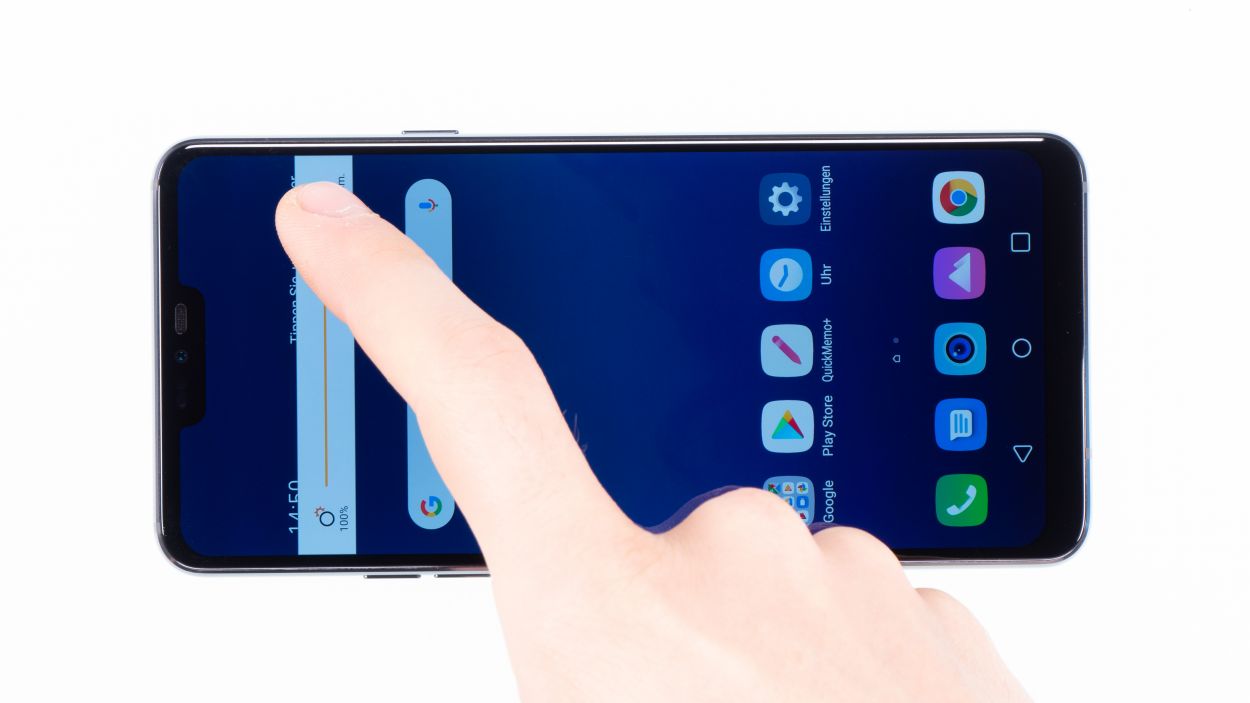
– Power up your device and give it a quick test before sealing it up for good.
– Swipe any app across the whole screen. Give it a spin around the edges and then zigzag it across the display. The app should keep up with your finger like a loyal sidekick.
– Next, check the display brightness by sliding the brightness control all the way down to the dimmest setting and then cranking it up to the brightest. Let’s see how bright it can shine!
Step 19
If the adhesive on the back cover is still holding strong, you can snugly seal your device without needing a fresh adhesive frame. Keep it simple and get that device back in action!
– Put the back cover back in its original position.
– Press the back cover on all over so the glue will stick.