How to Replace LG G7 ThinQ Mainboard: DIY Guide
Duration: 45 min.
Steps: 14 Steps
This repair is a bit trickier since the LG G7 ThinQ needs to be opened through the glass back cover. Make sure to back up your data before starting, keep your workspace clean, and take your time. If you get stuck, you can always schedule a repair or drop a comment at the end of the guide.
Step 1
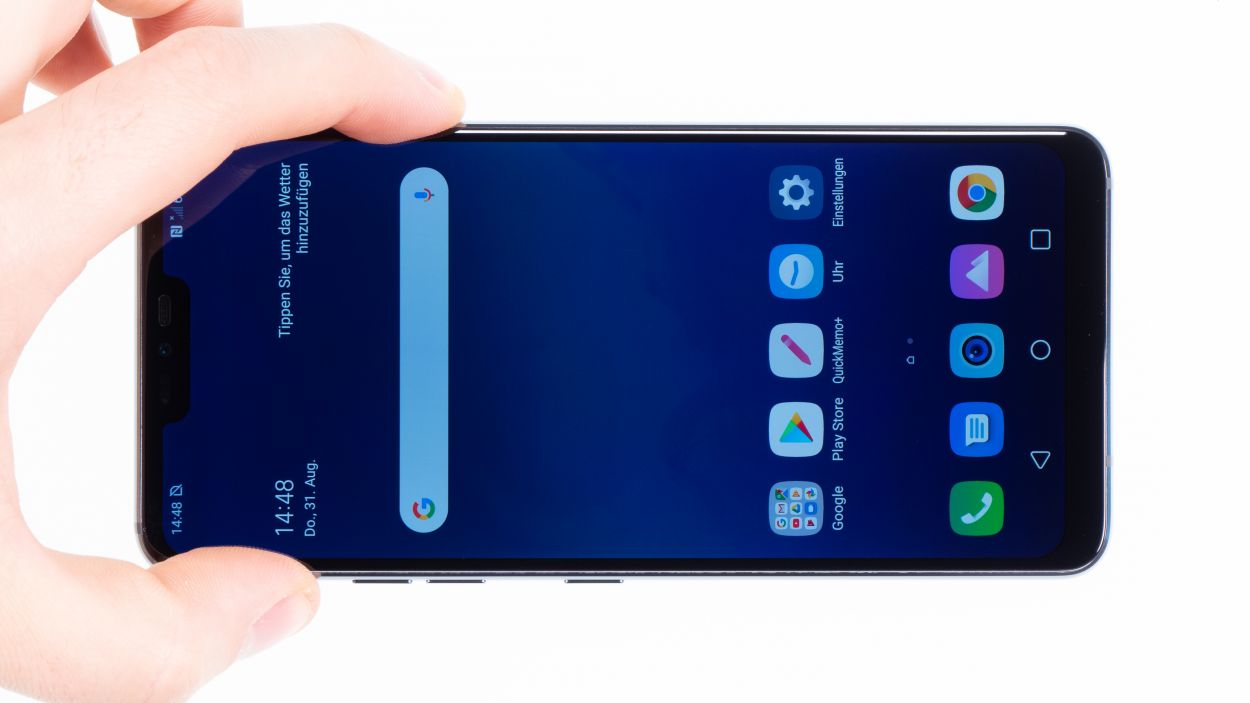

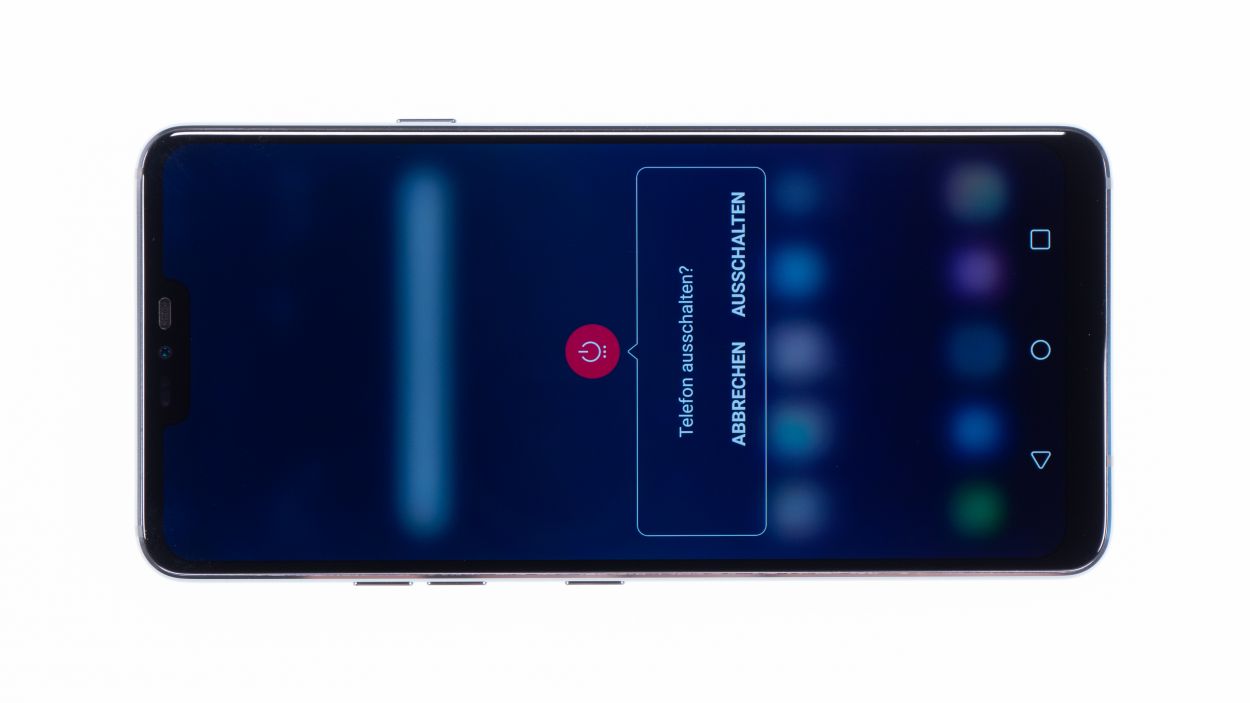
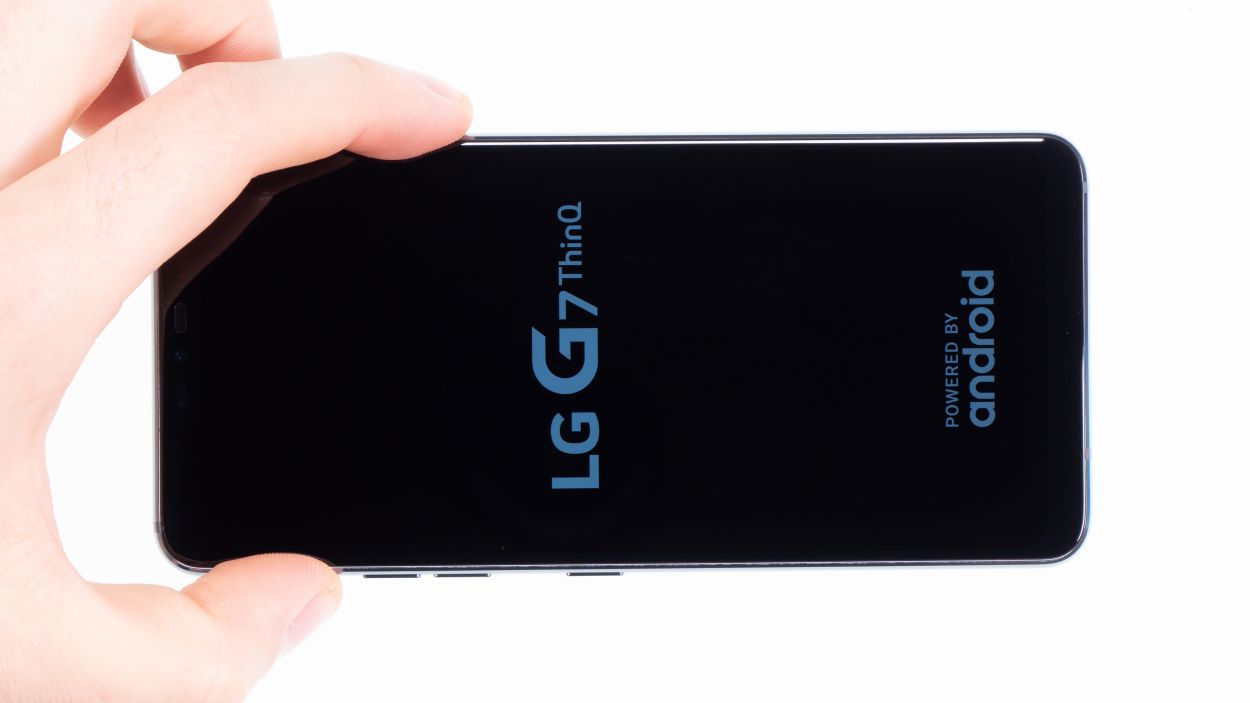
– Give your device a little break by pressing and holding the power button on the side until you see the ‘Power off’ option pop up.
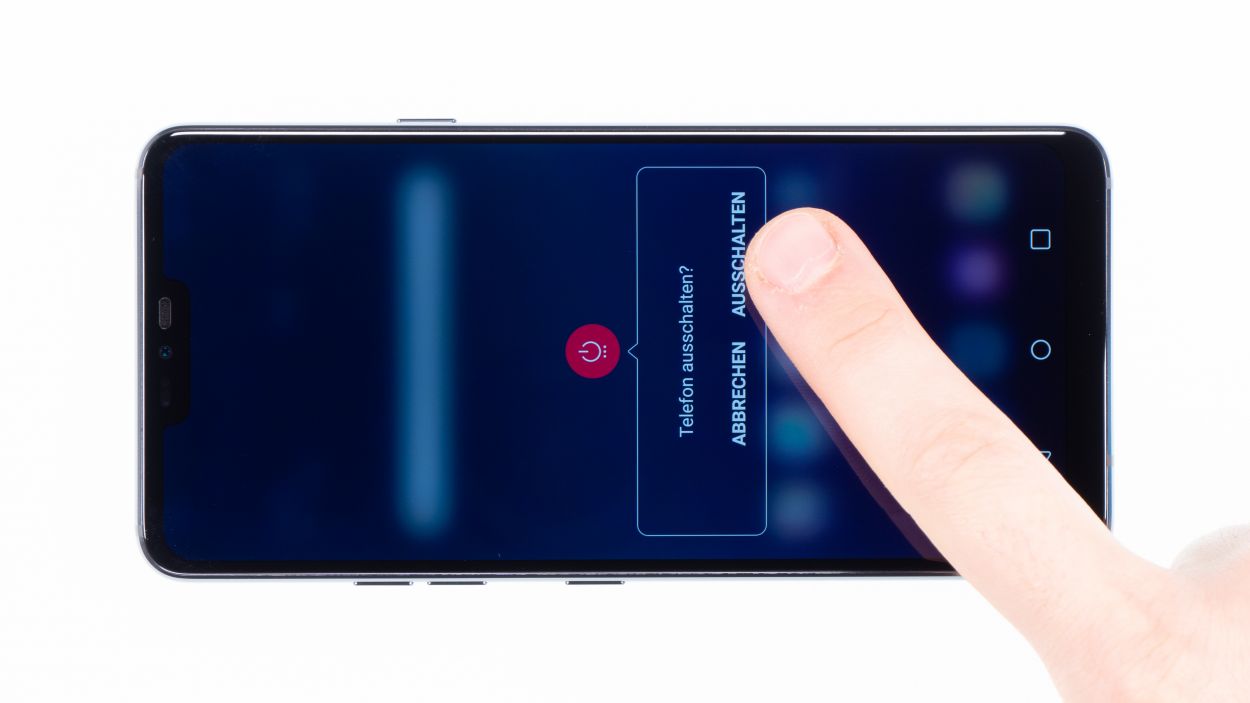
– Go ahead and tap that option to confirm, then sit back and watch as the screen fades to black.
Step 2
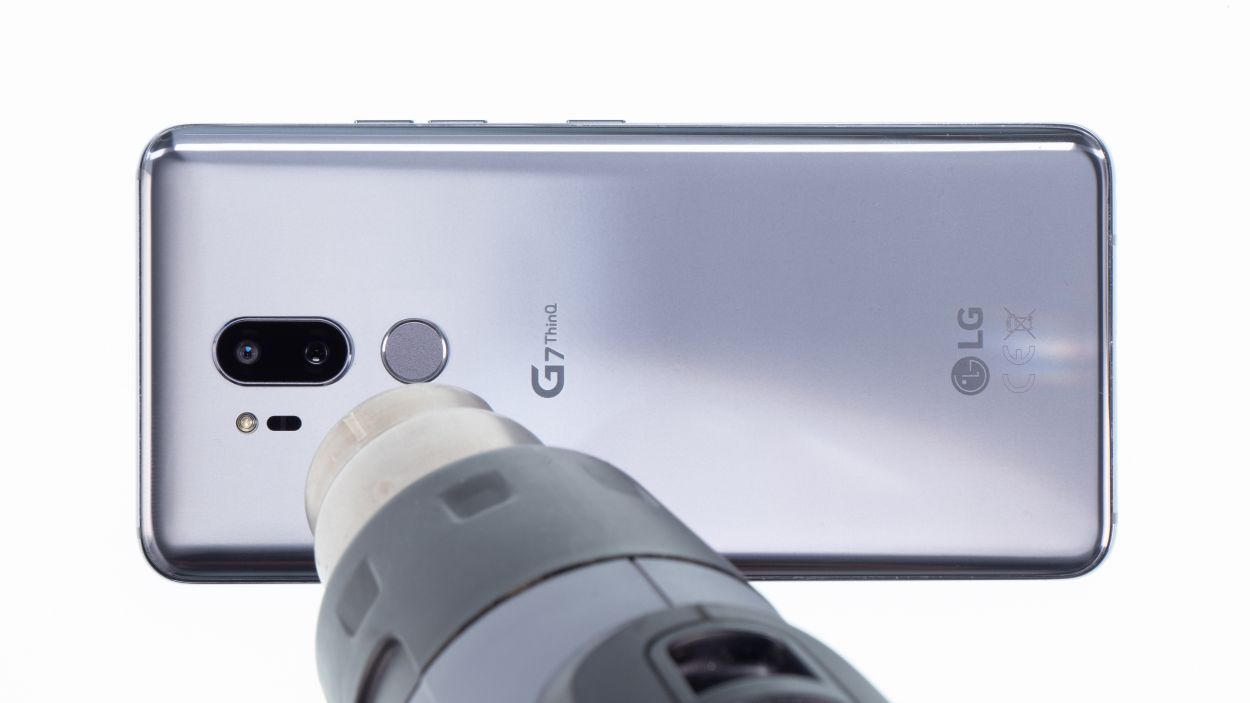
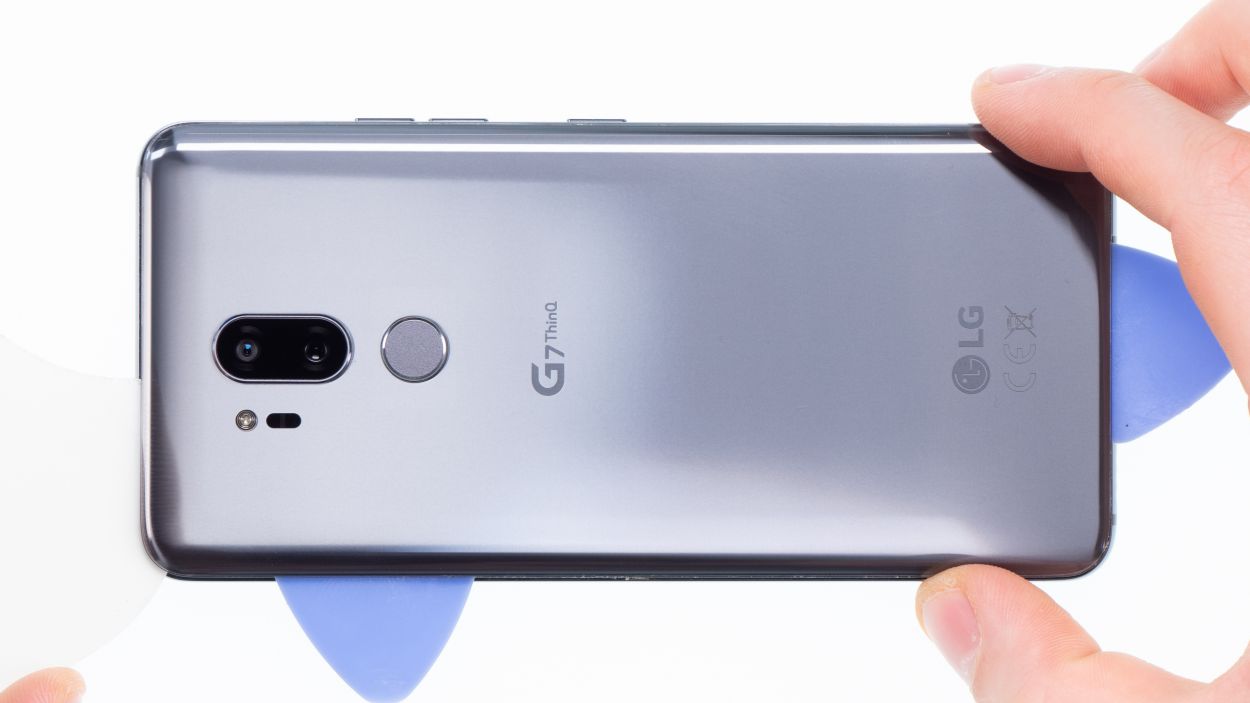
– The back cover is really stuck to the chassis, so let’s give it a little love! Warm up your device evenly with some hot air to make that glue nice and soft. A cozy temperature of 60 – 80°C should do the trick. Just remember, it should still feel comfortable to touch—no one likes a scorcher!
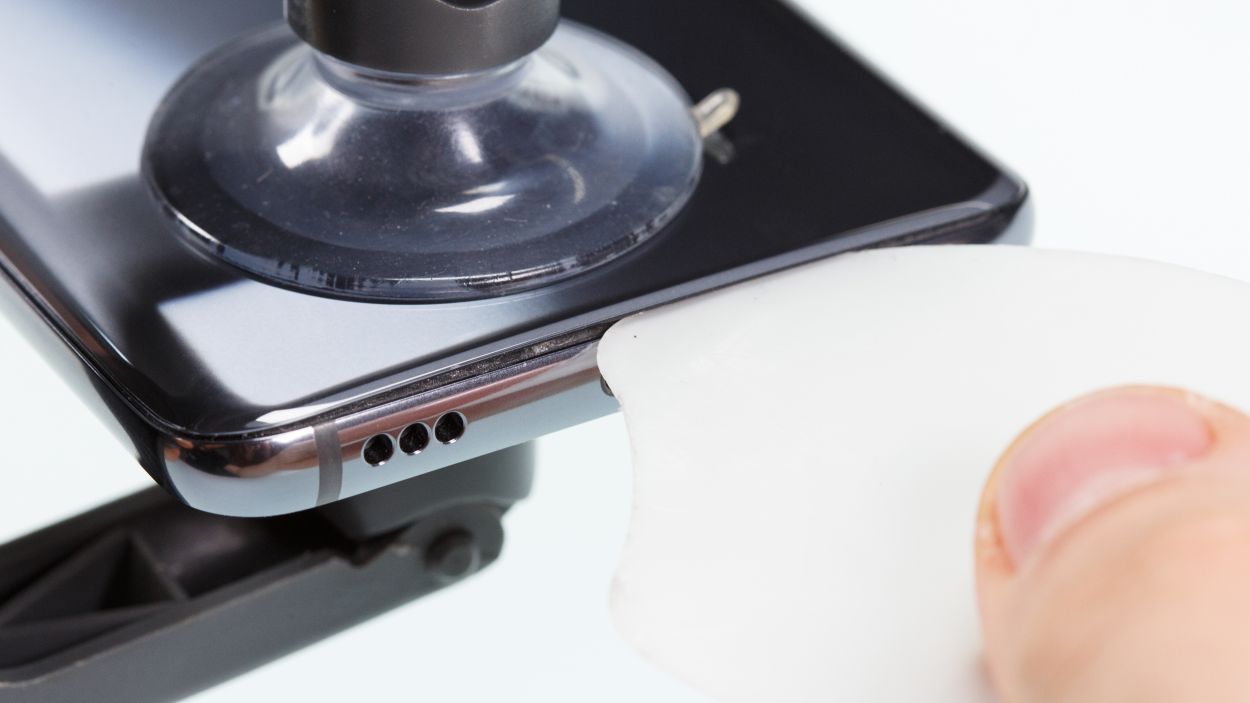
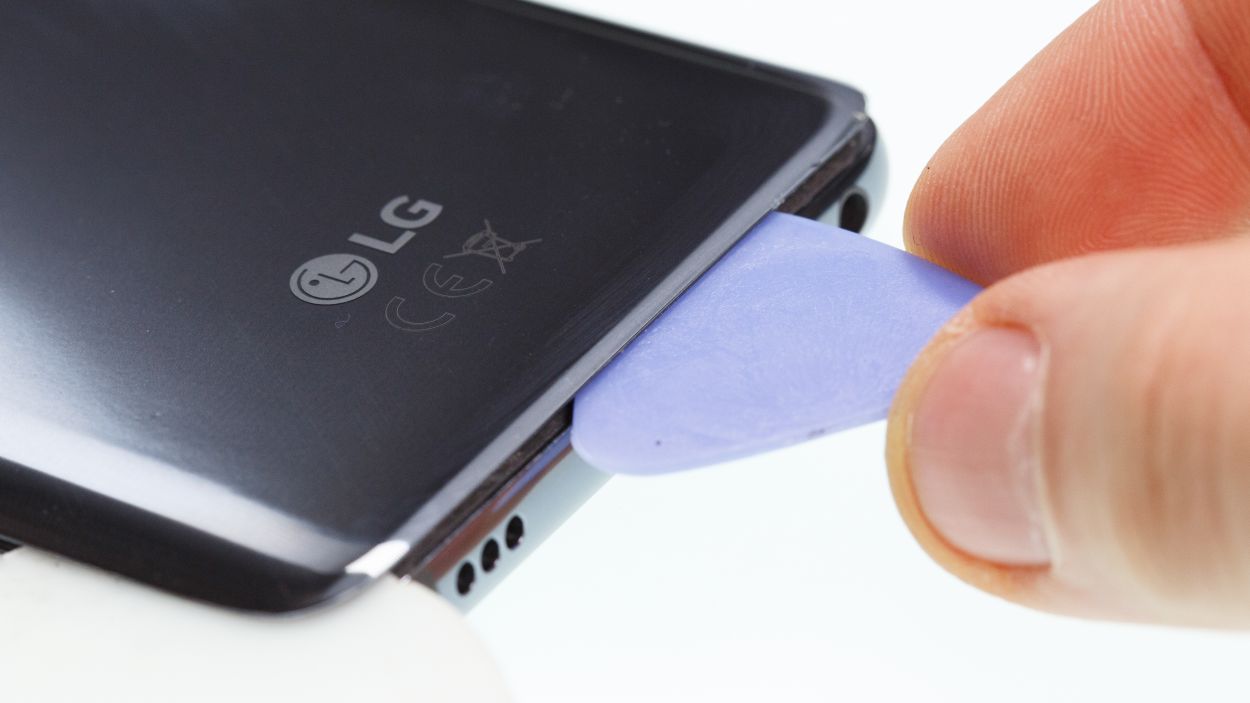
– To make your life easier, grab a flat and flexible tool like the iPlastix or iFlex. You’ll also want a few picks handy to help unstick the back cover all around. Teamwork makes the dream work!
– Start by heating up the spot where you want to begin, then slide a flat tool between the back cover and the frame. Easy peasy!
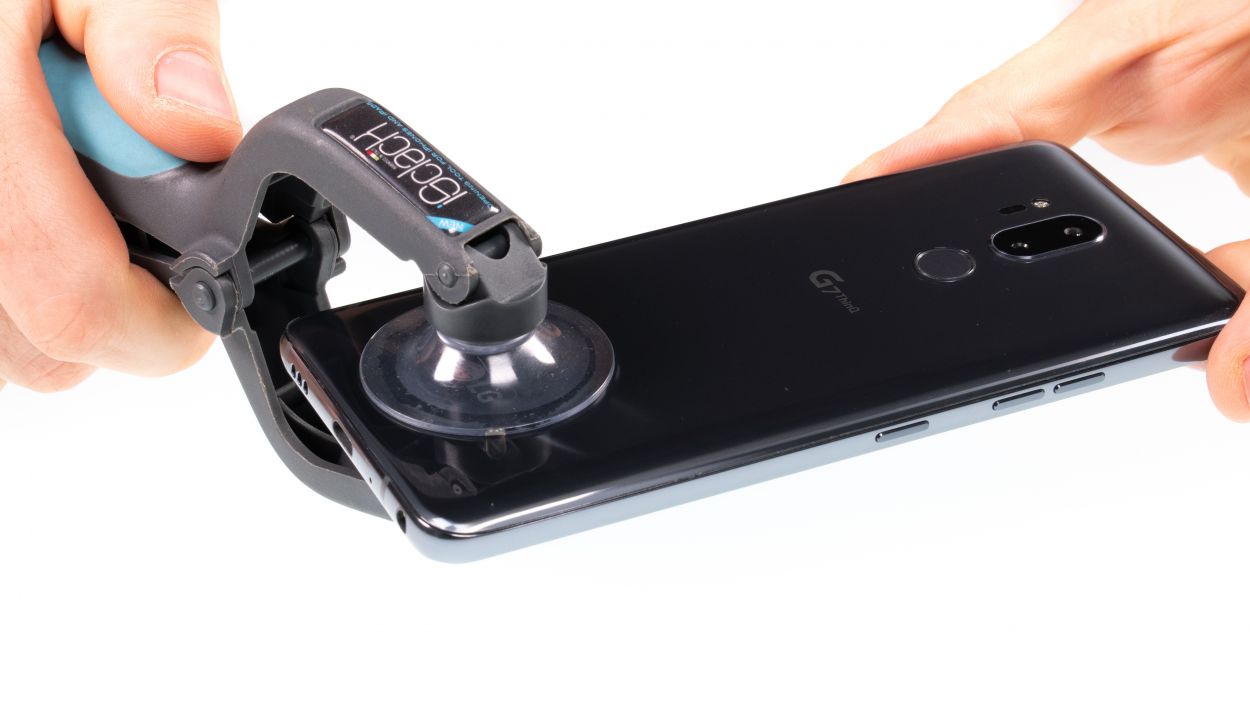
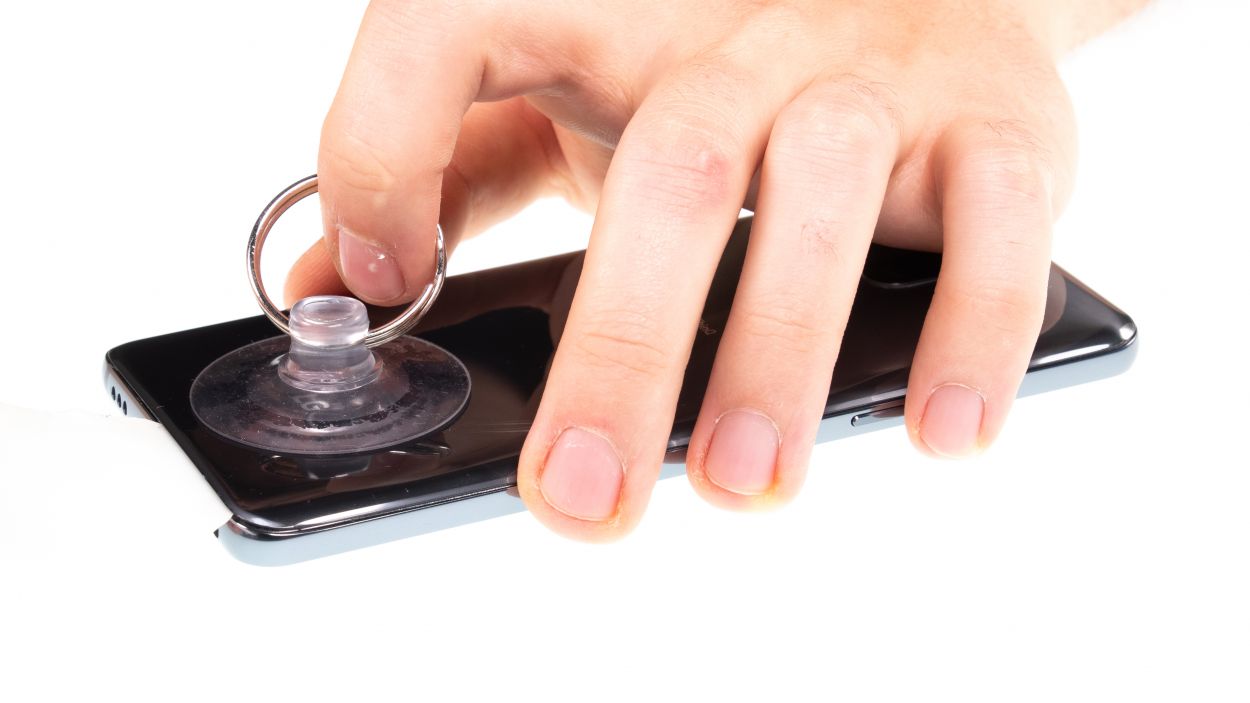
– If you’re having trouble finding a spot to insert your tool, no worries! Just use a suction cup to lift the glass and get things moving.
– With the iSclack, lifting the back cover is a breeze! Just place both suction cups on the display and the back cover, then squeeze the lever like you’re giving it a friendly handshake.
Hey there! Just a friendly reminder to handle that back cover with care—it’s a bit fragile and can crack easily. If it’s giving you a hard time, don’t hesitate to warm it up a few times and give it another go. Remember, taking your time is key; it might take around half an hour, but being patient and gentle will help you avoid any mishaps. You’ve got this!
Necesitas las mejores herramientas para hacer el trabajo, ¿verdad? El iPlastix no raya tu dispositivo porque está hecho de plástico. Pero es muy blando y difícil de insertar. El iFlex, por otro lado, puede entrar fácilmente en el hueco entre el cristal y el marco porque está hecho de un metal muy fino y estable. Pero también puede rayar más fácilmente el marco de tu dispositivo.
Step 3
7 × 3,5 mm Phillips
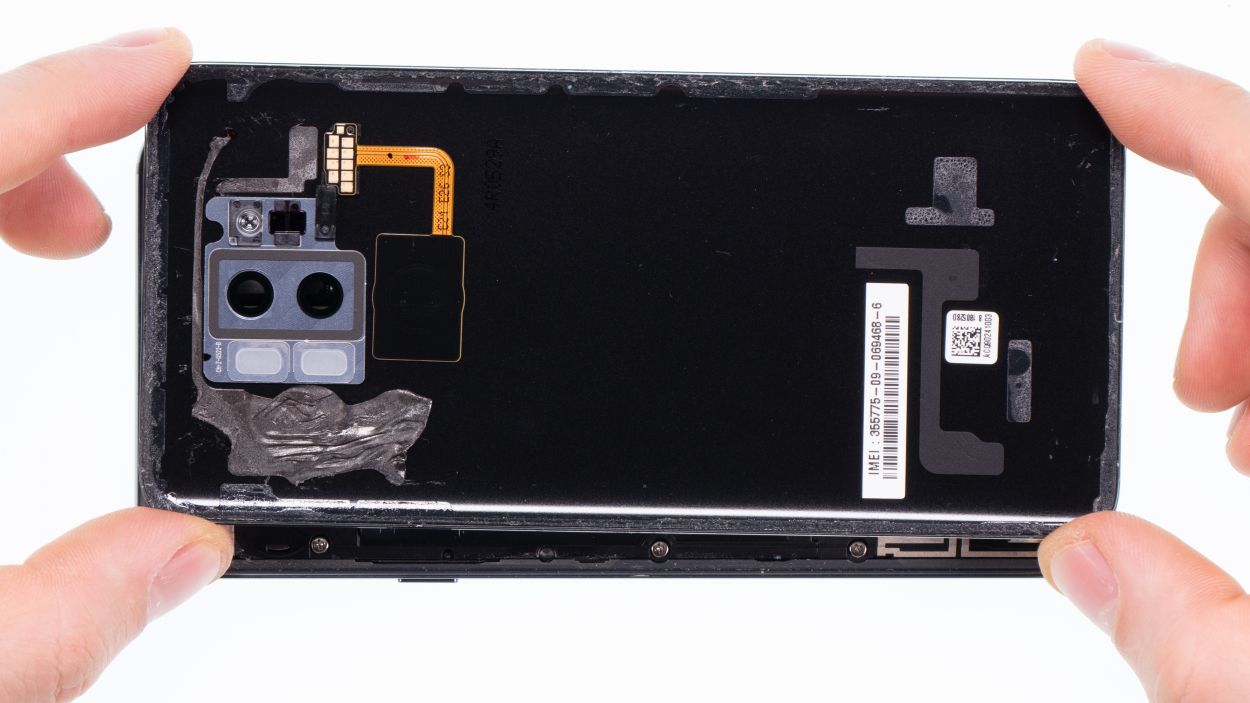
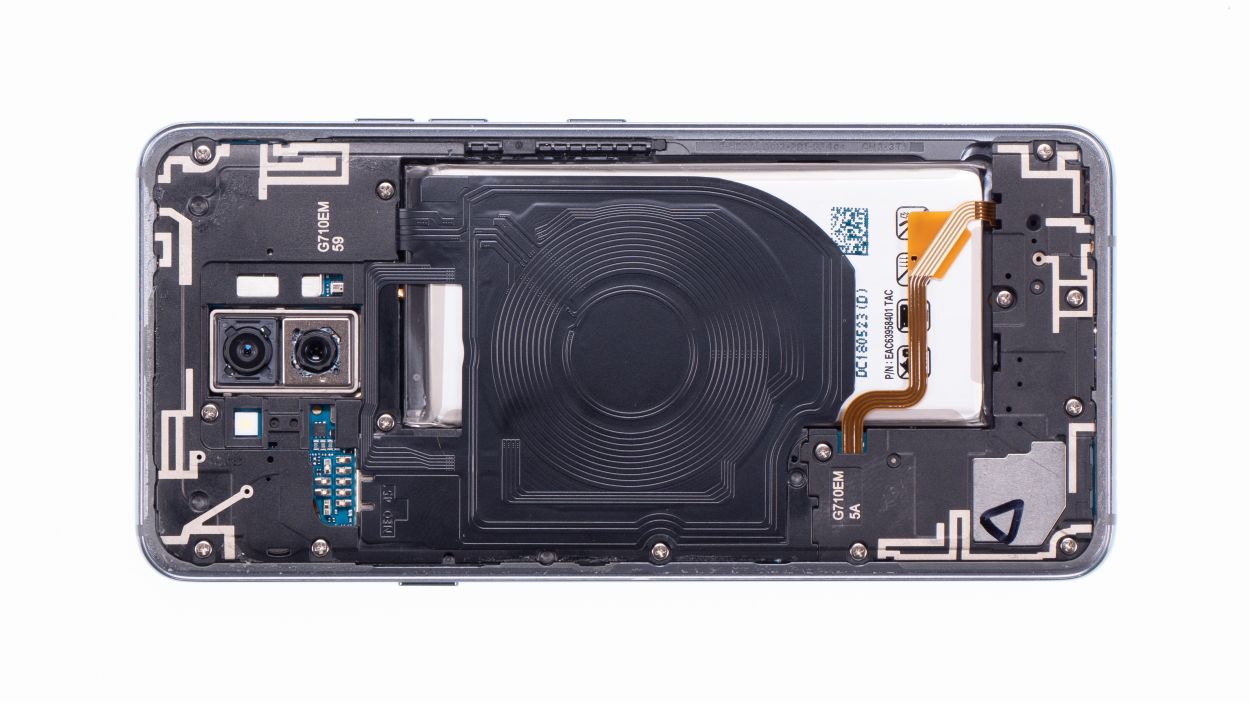
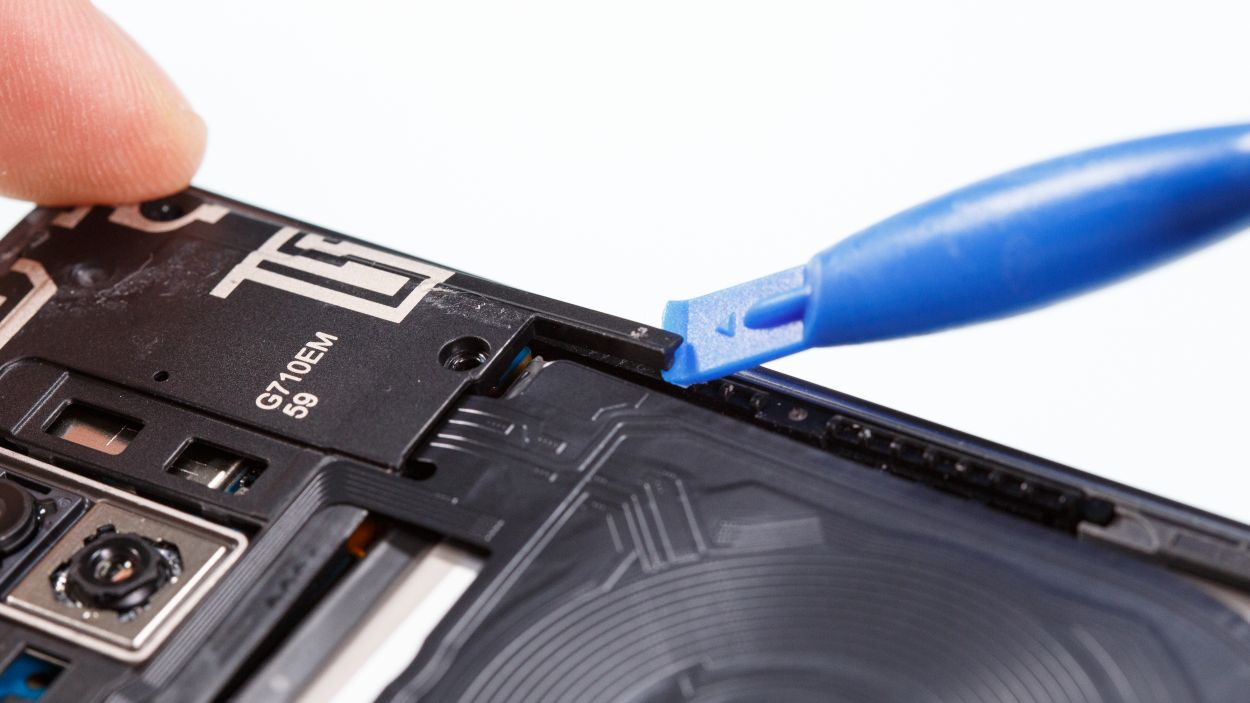
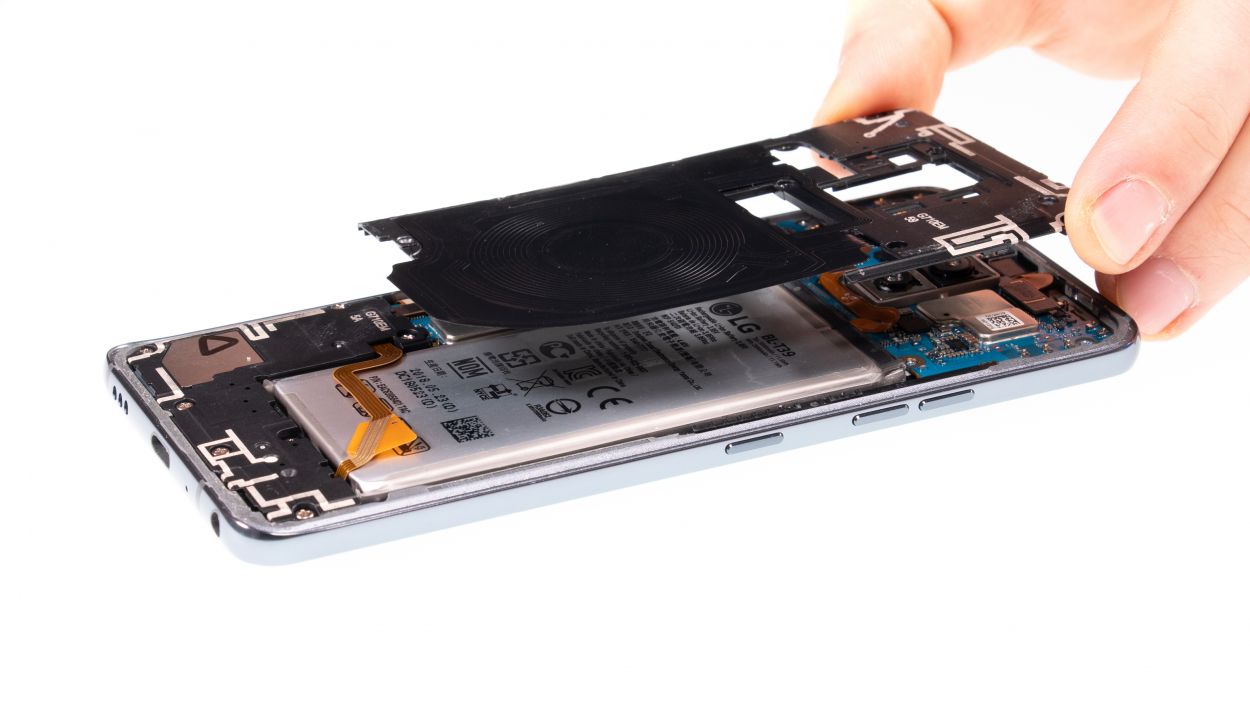
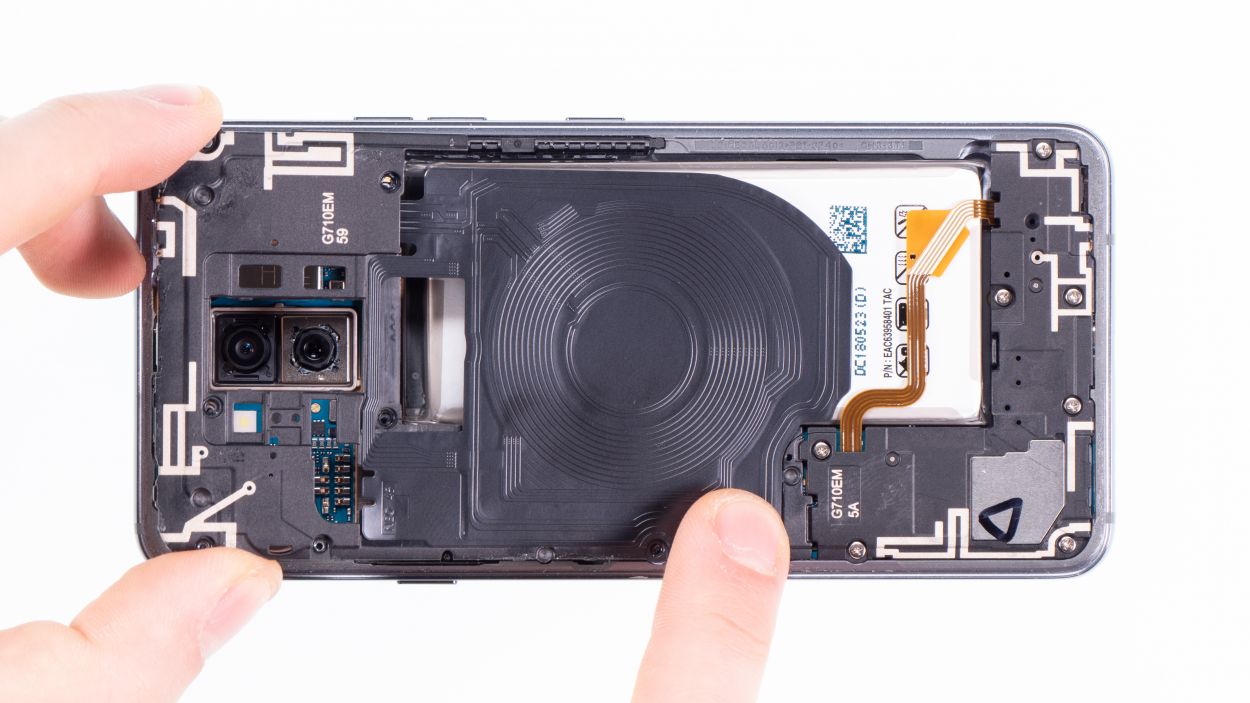
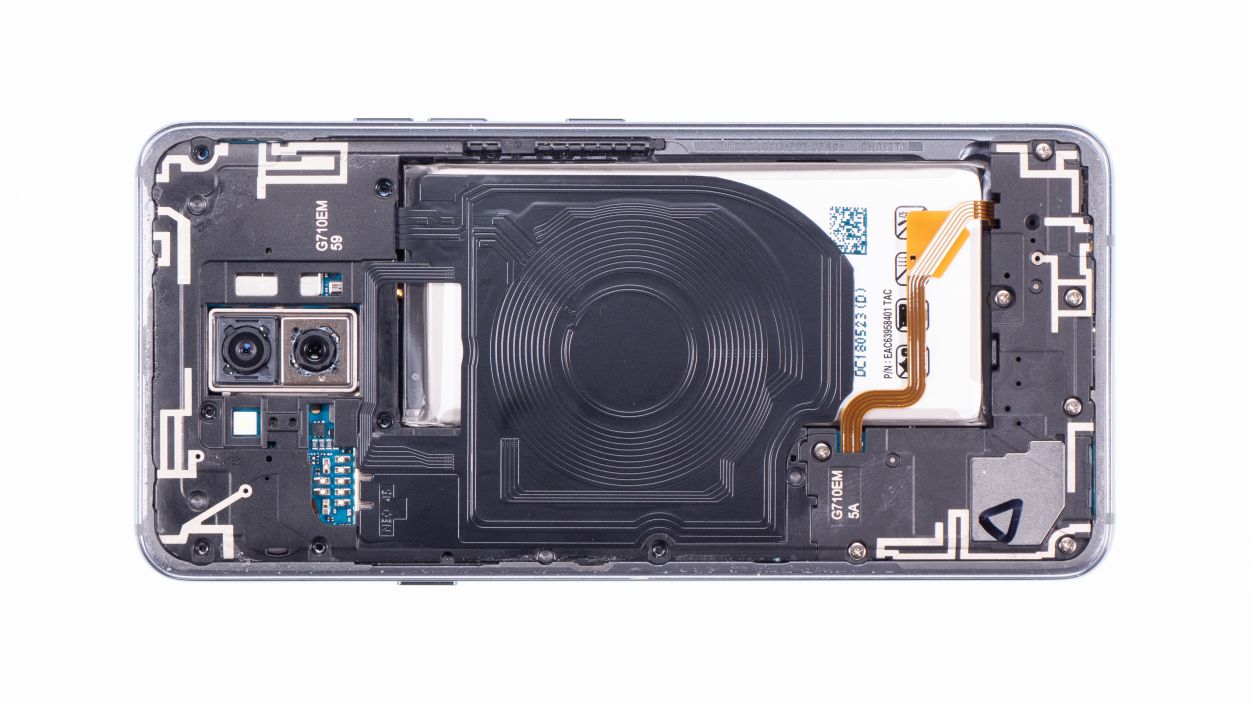
– Let’s get started! First, gently unscrew the Phillips screws holding the cover in place. Remember, those screws are keeping the wireless charging coil and NFC antenna snug as a bug on the plastic cover.
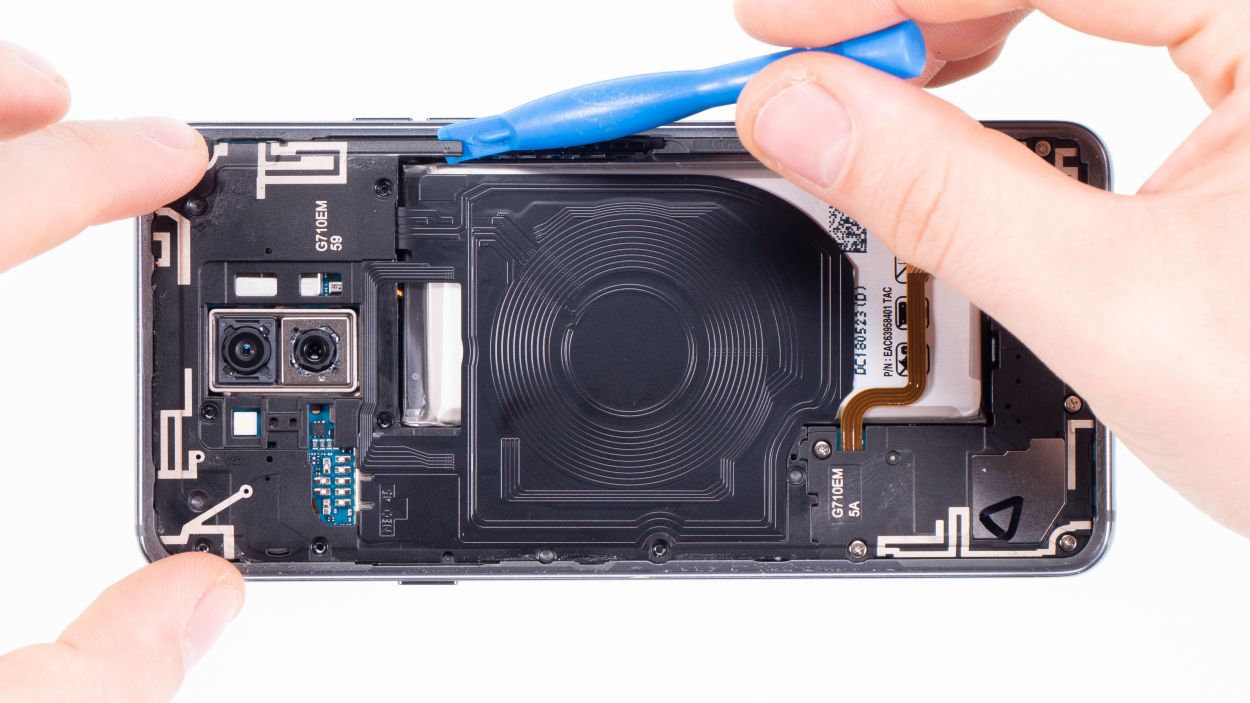
– Next up, the cover is playing hard to get! Use a tool to pry it away from the housing, easing under the plastic frame and lifting it up with a little love.
– And voila! You can now lift the plastic cover right off, along with the coil. Easy peasy!
Step 5

7 × 3,5 mm Phillips
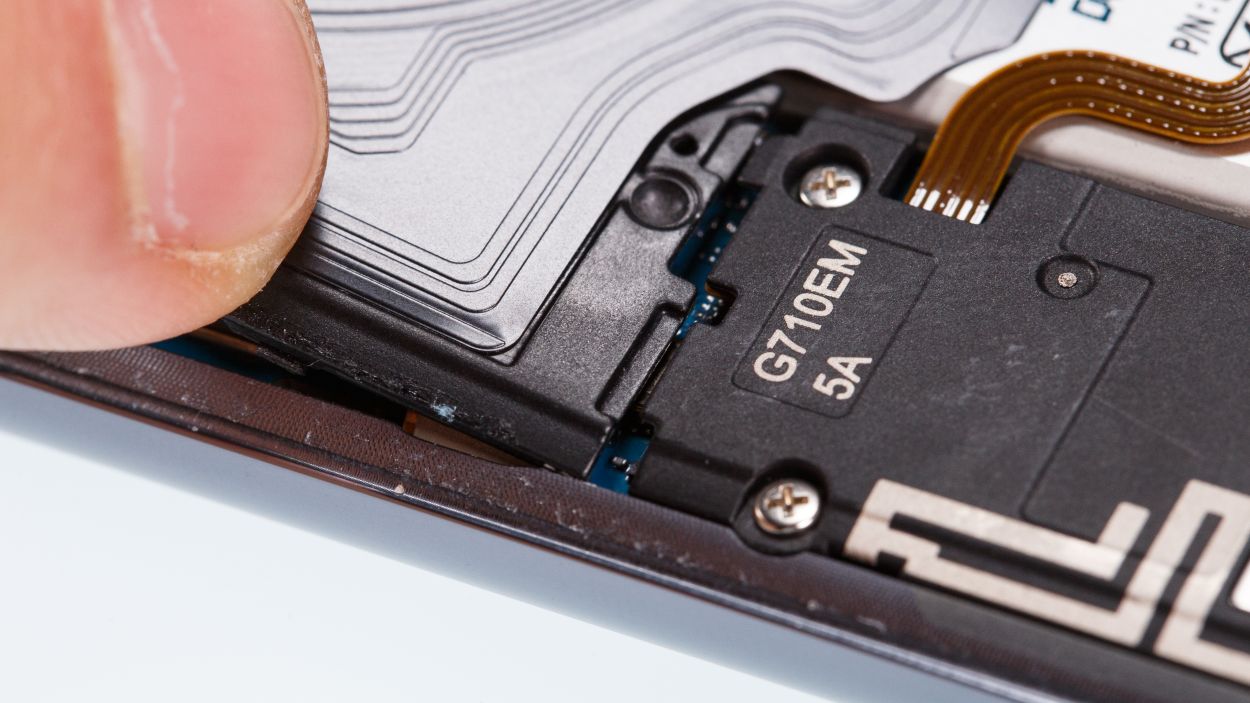
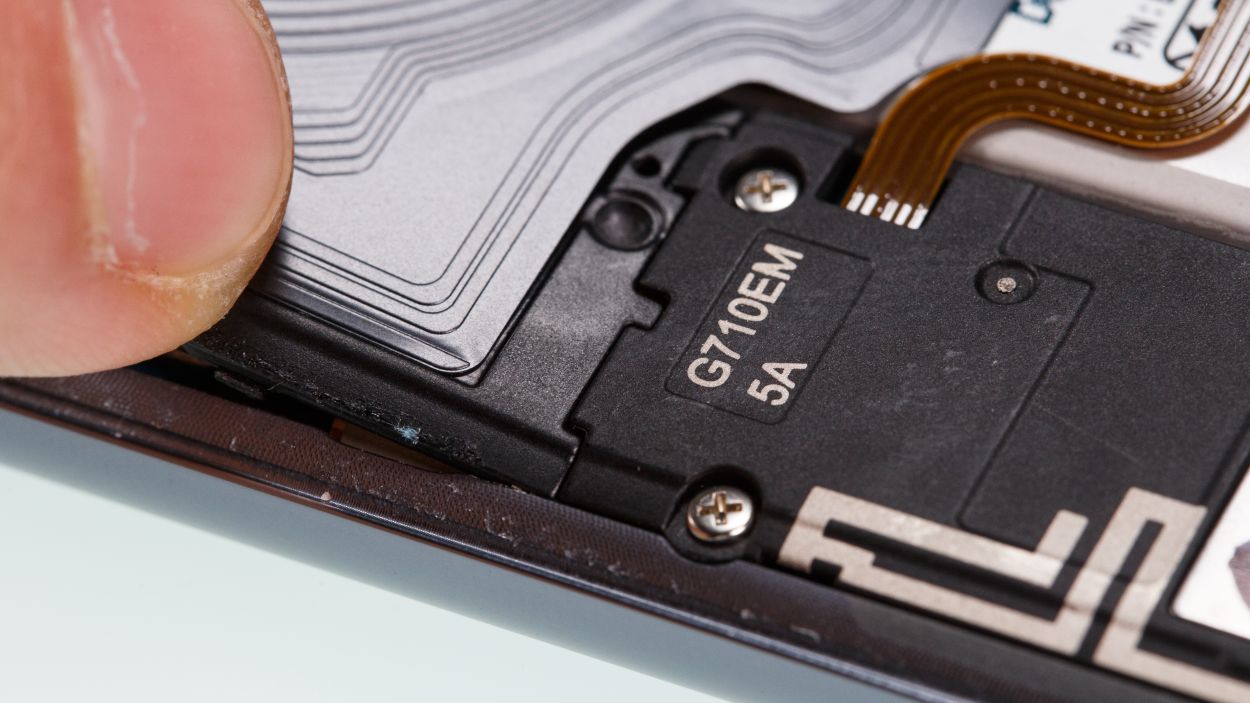
– Start by loosening those Phillips screws holding the speaker in place, and then gently lift it out.
– To make it even easier, just use your fingernail to pop the speaker up from the top. You’ve got this!
Step 6
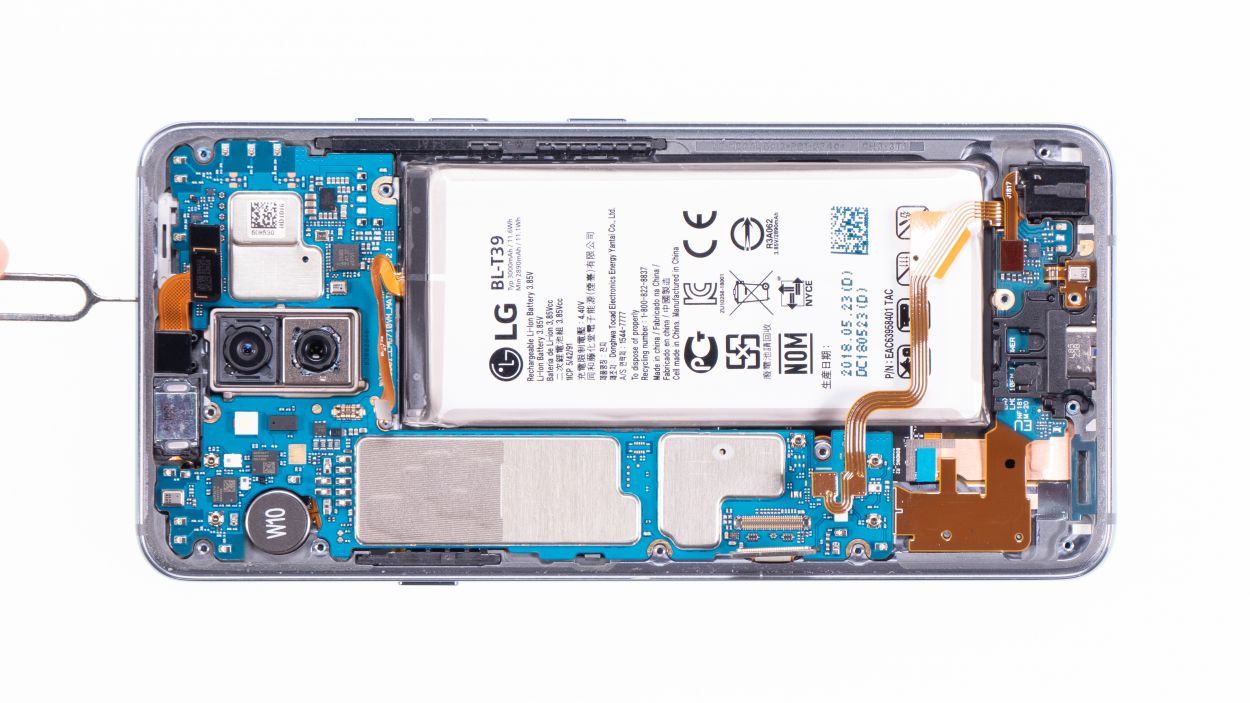

– Get your SIM tool all ready to slide into the SIM tray. It’s going to be a magical experience
– Slide that baby in! Take the SIM slider, give it a gentle tug and then give it life outside of the device.
Step 7


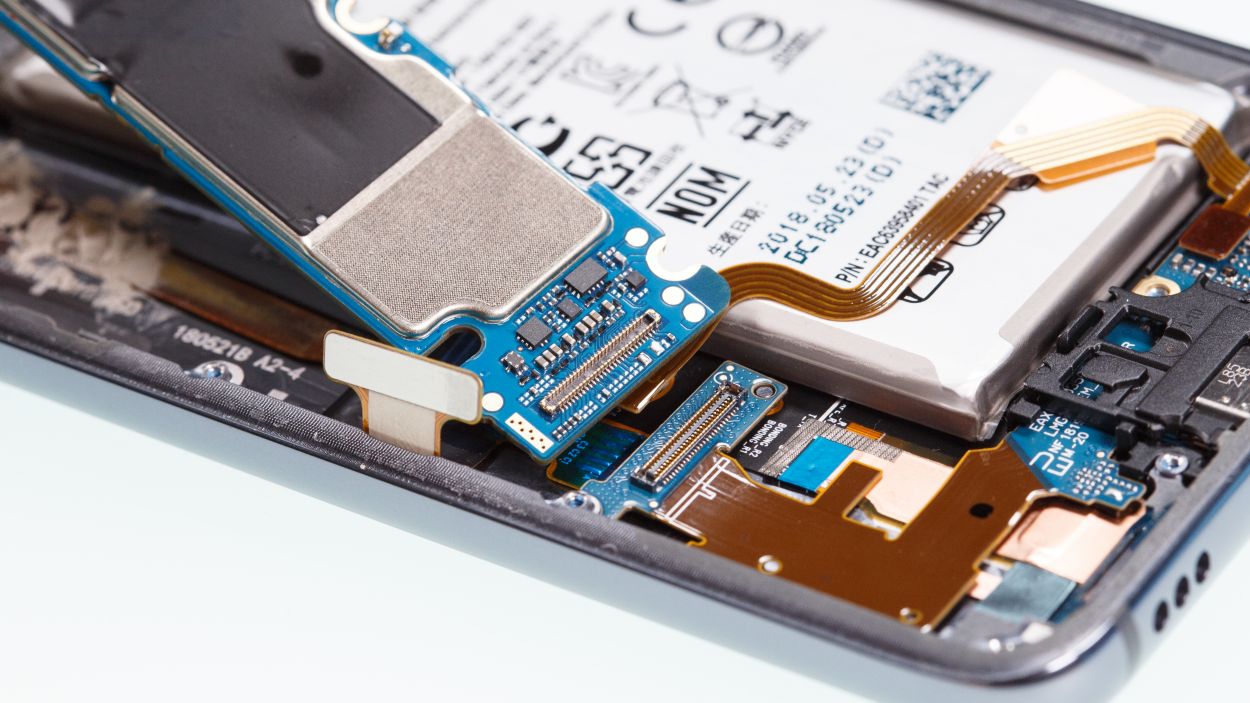
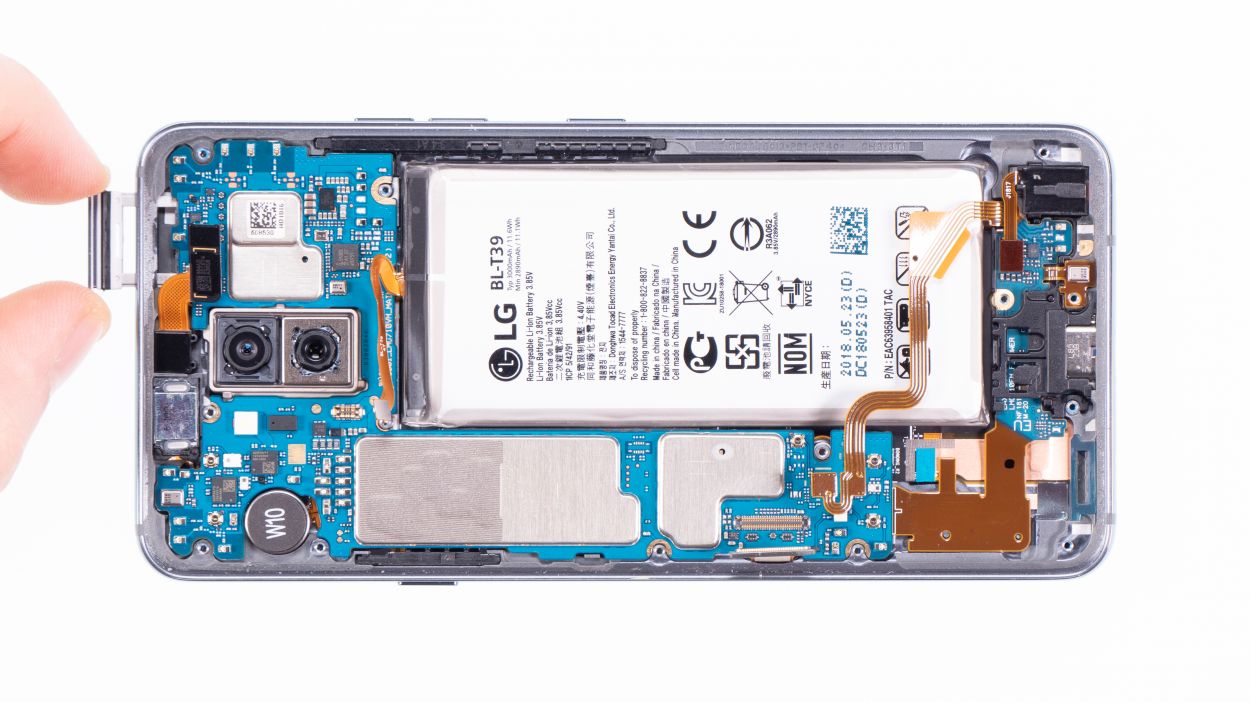
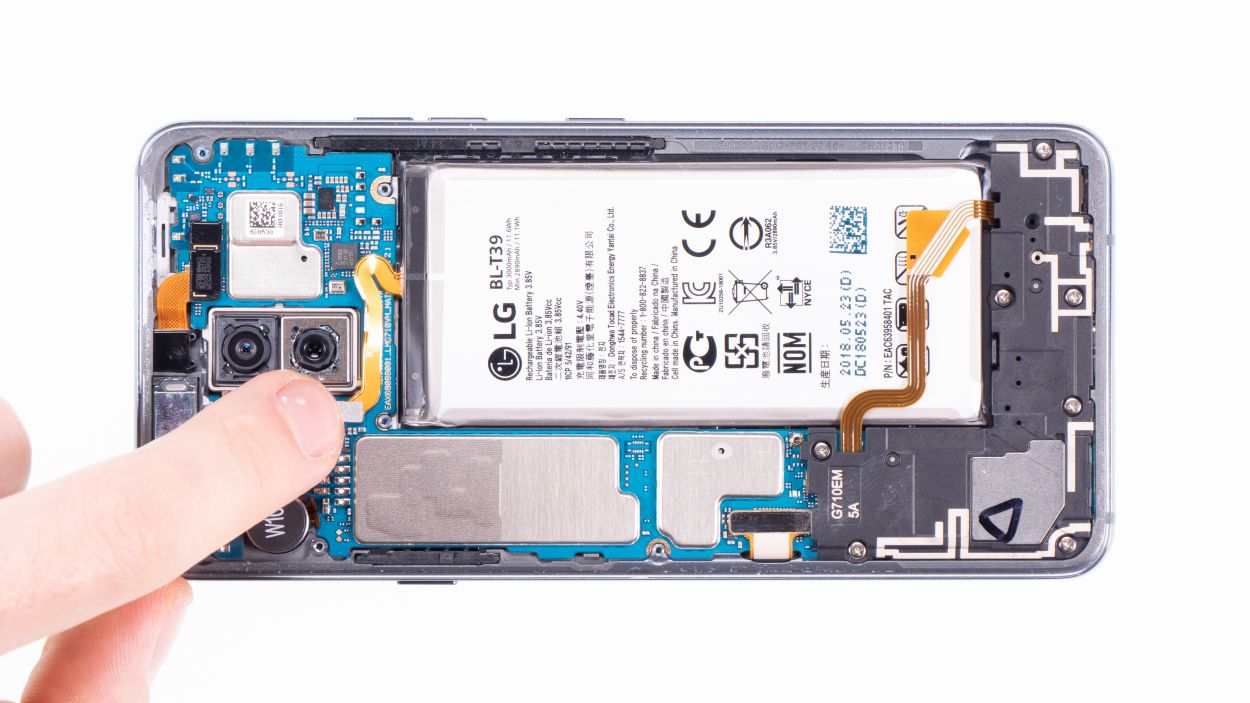
Display connector
Camera connector
Antenna connector
USB connector
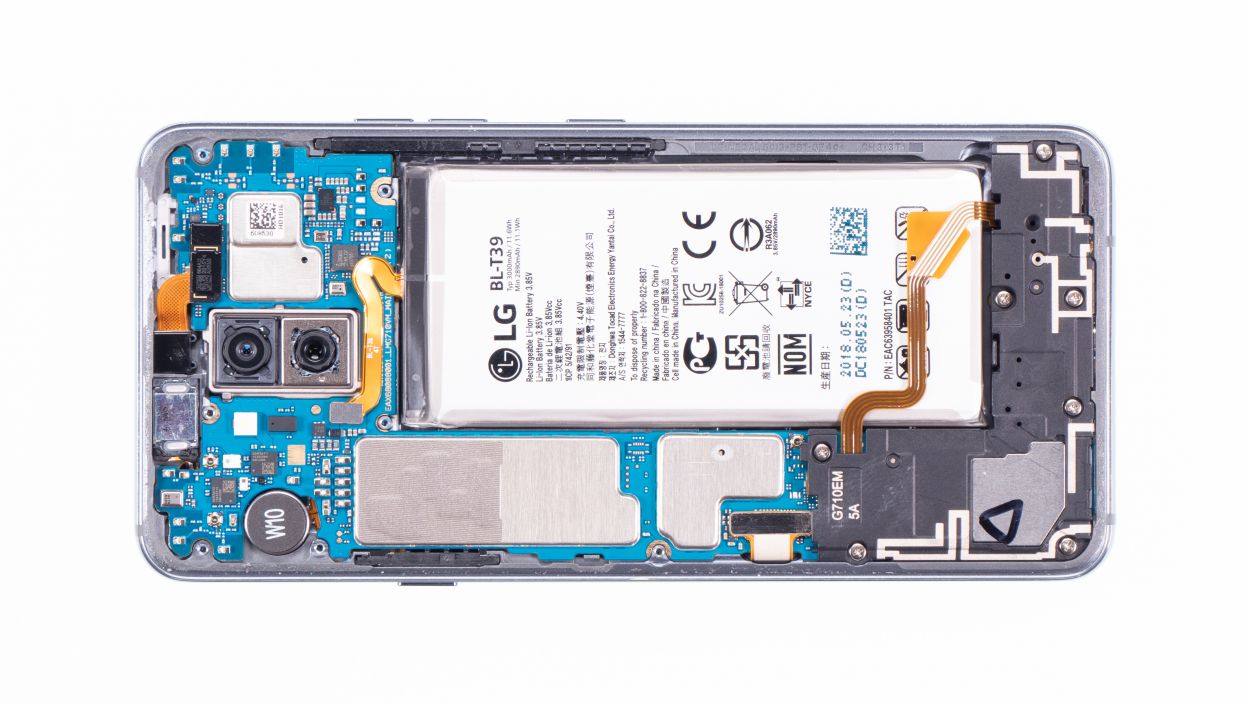
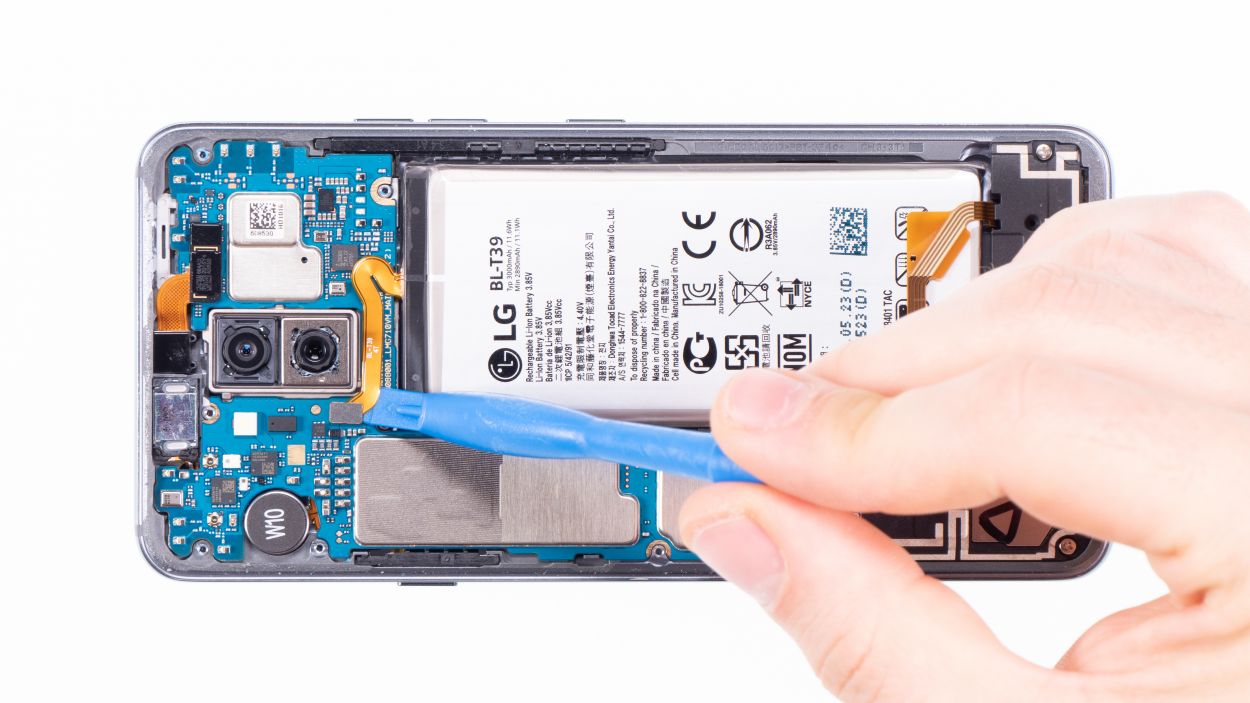
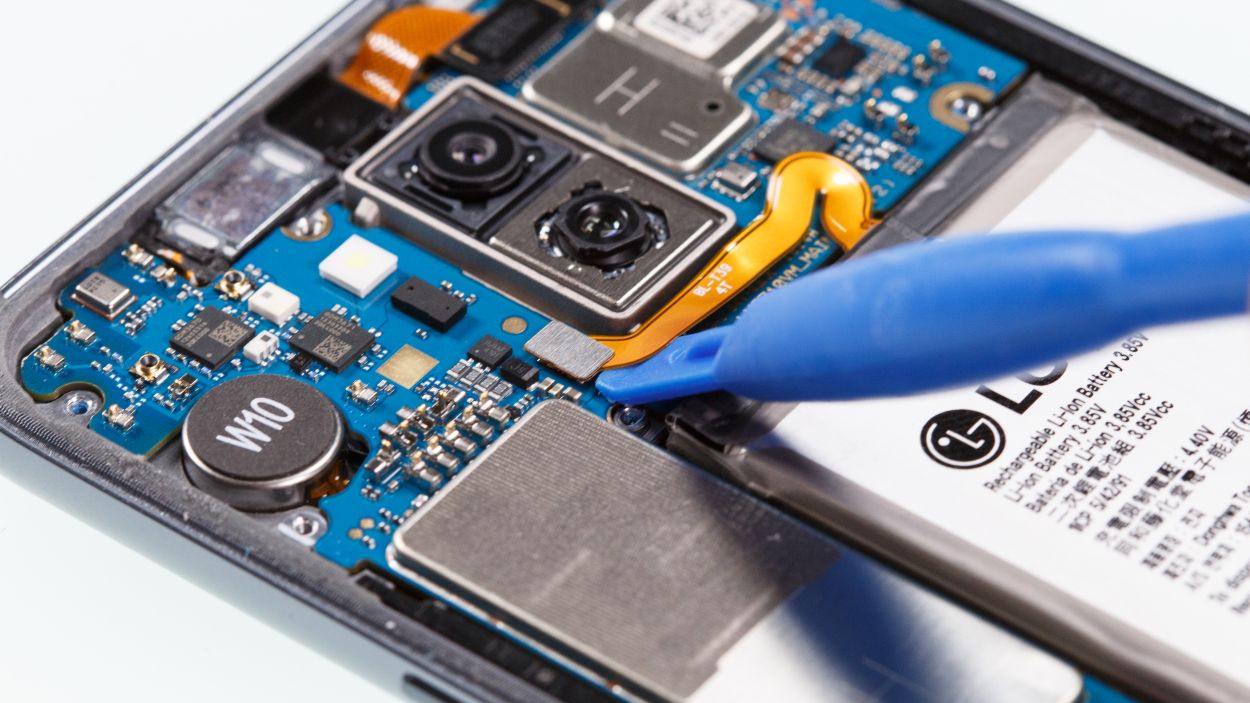
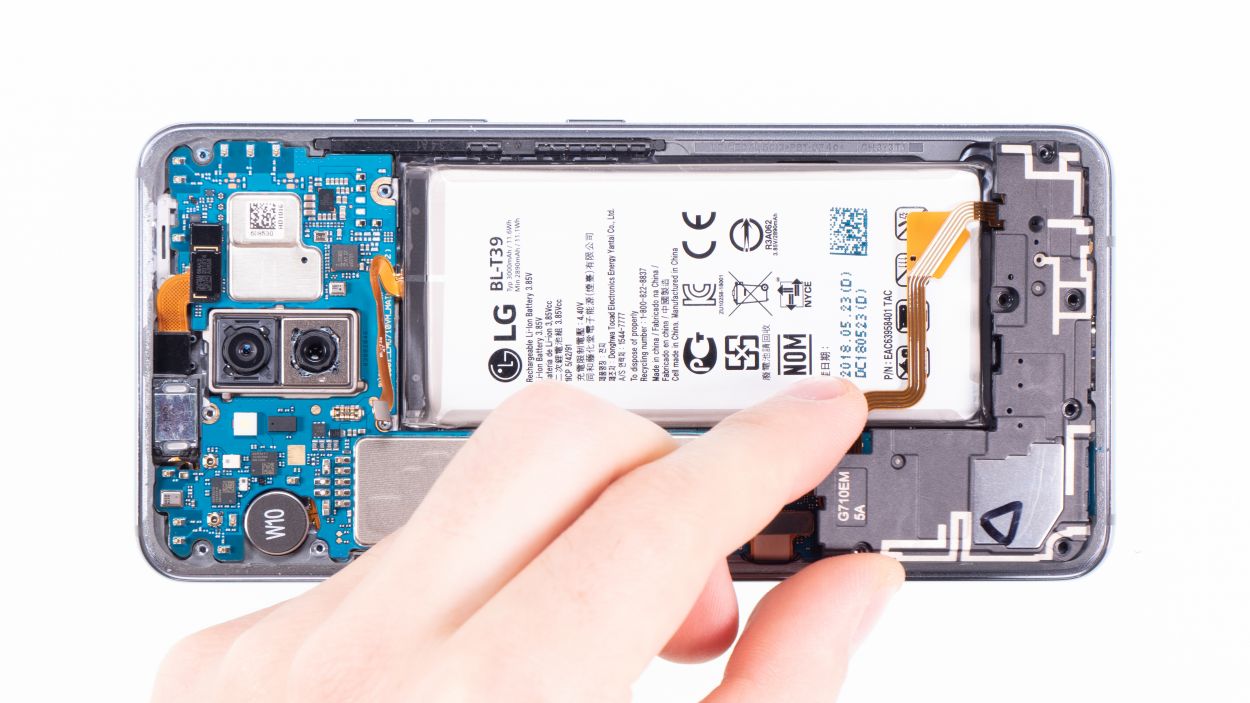
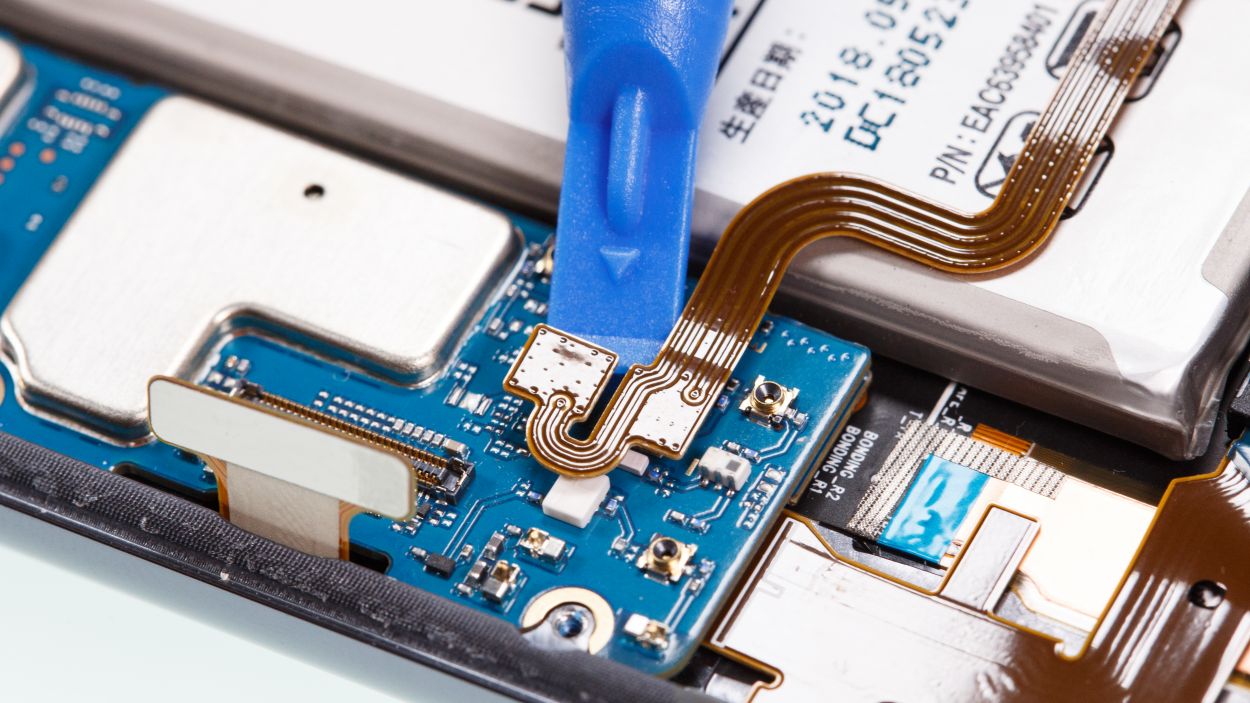
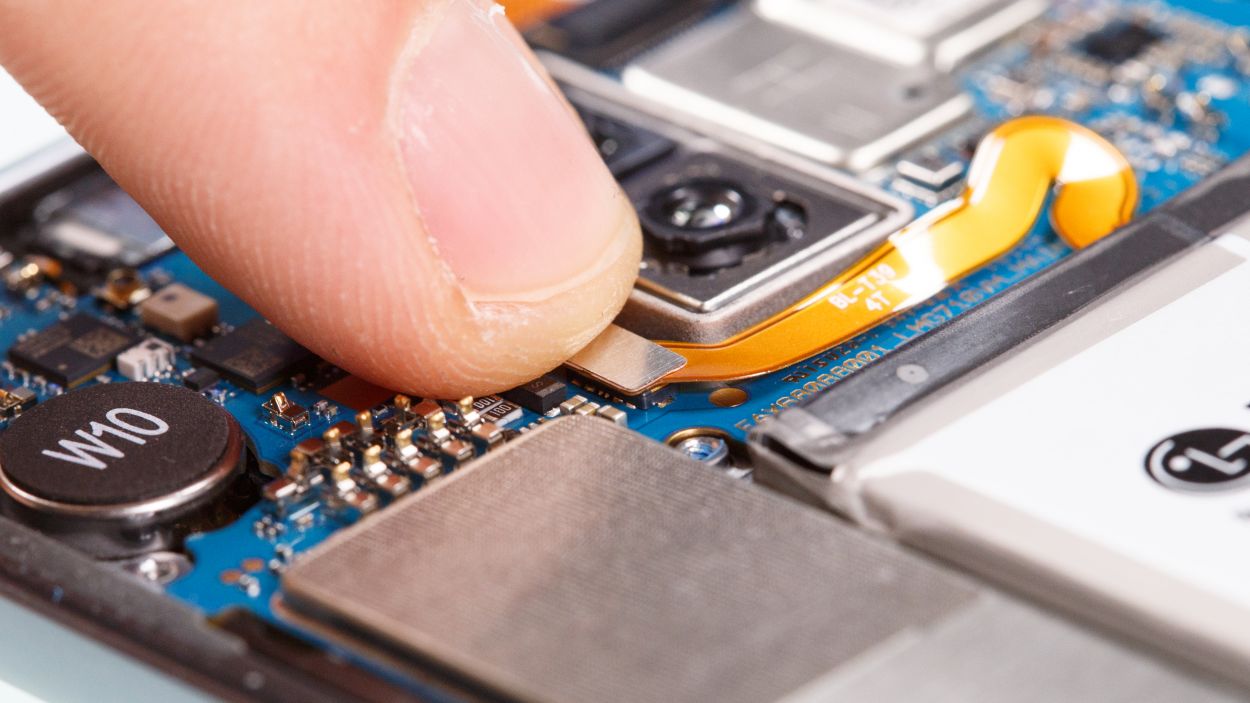
– Alright, let’s get started! Gently detach the highlighted connectors from the main board using a spudger. These little guys are responsible for the front camera, the screen, and a few antennas.
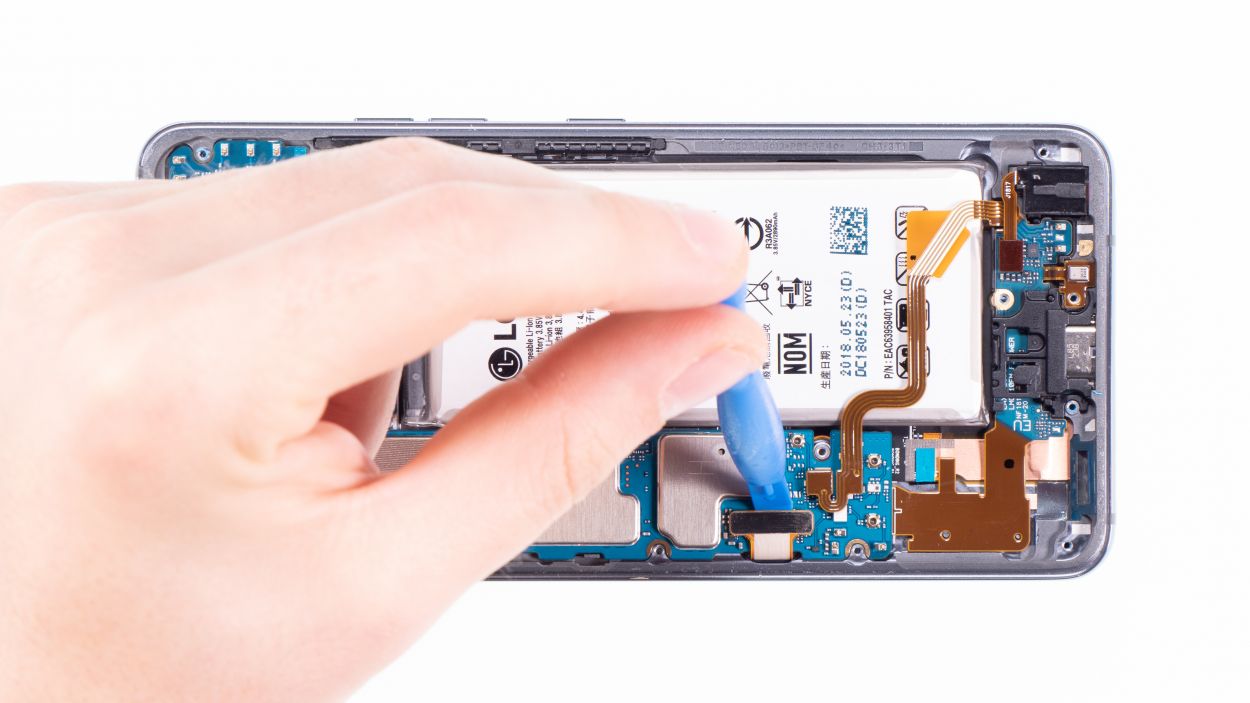
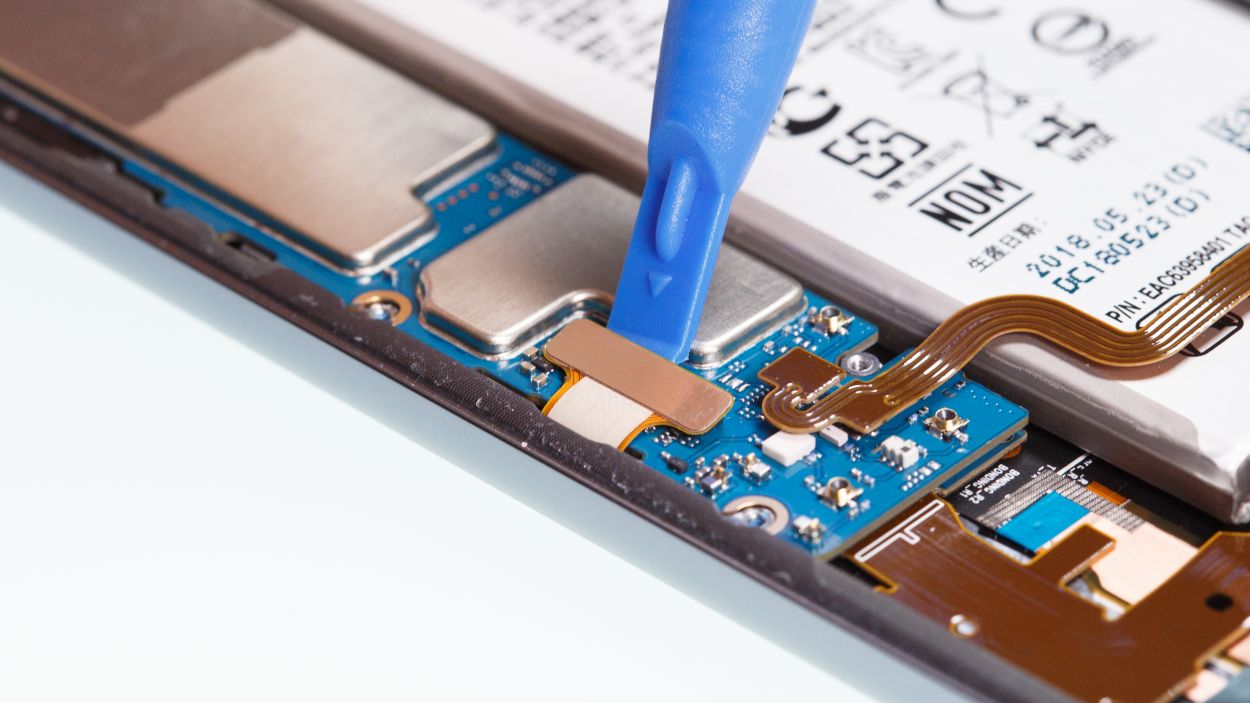
– There’s another connector hanging out on the lower side of the main board, but it’s a bit shy and doesn’t want to be separated directly.
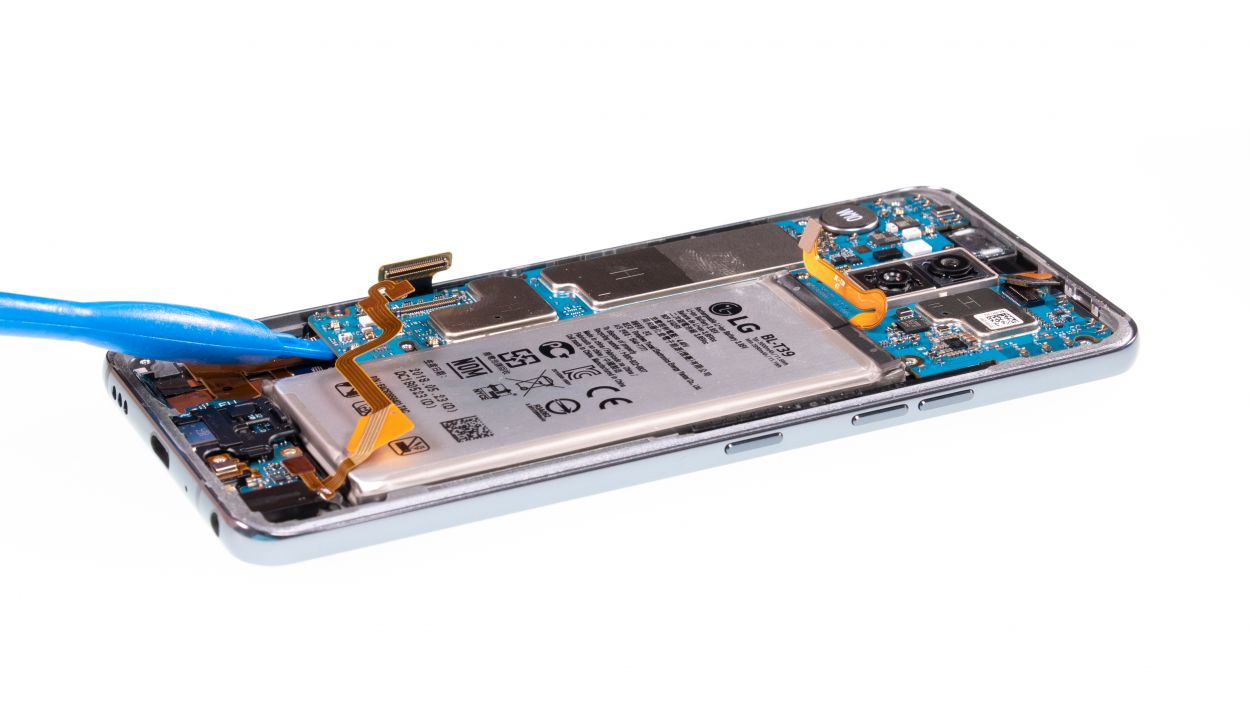
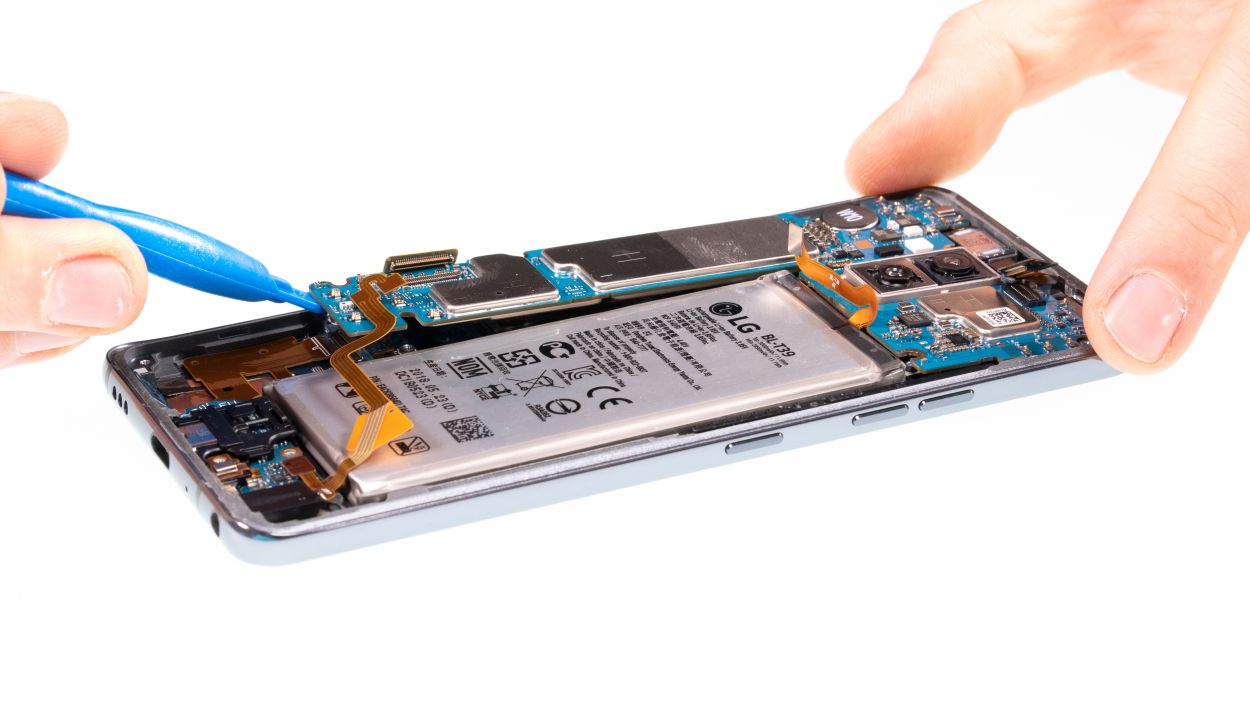
– Grab your spudger and carefully pry up the bottom side of the board until you see that connector starting to loosen up.
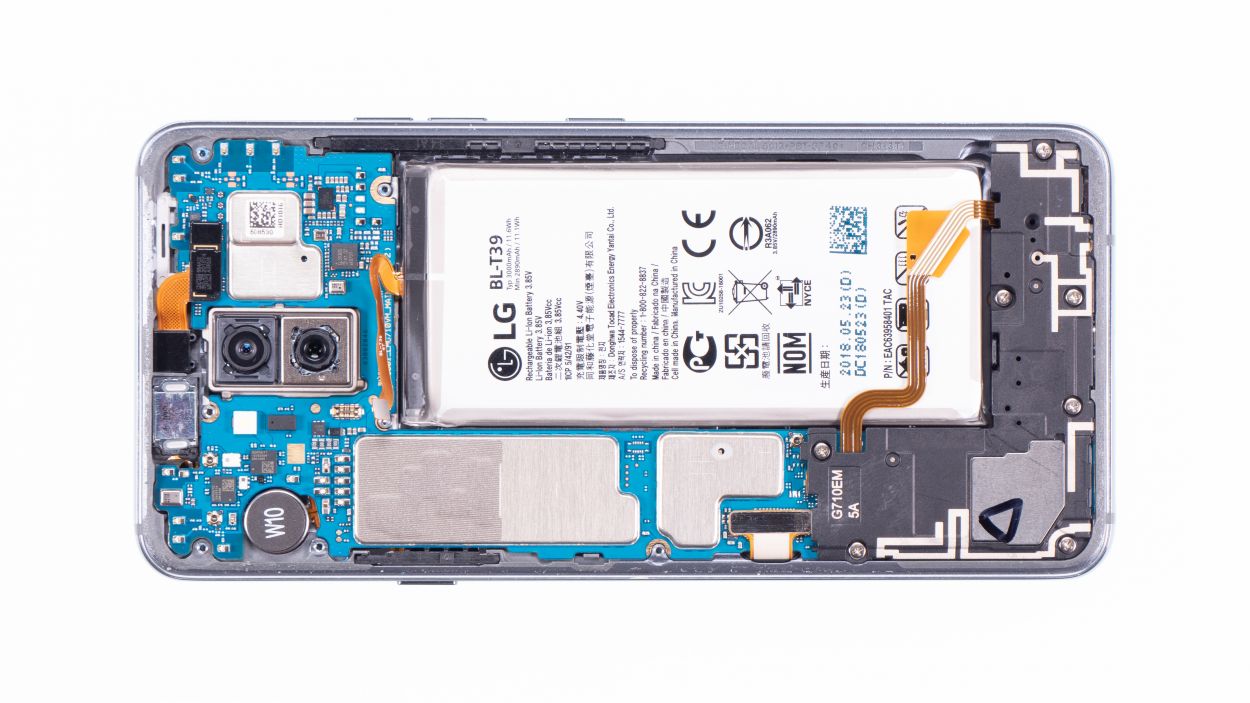
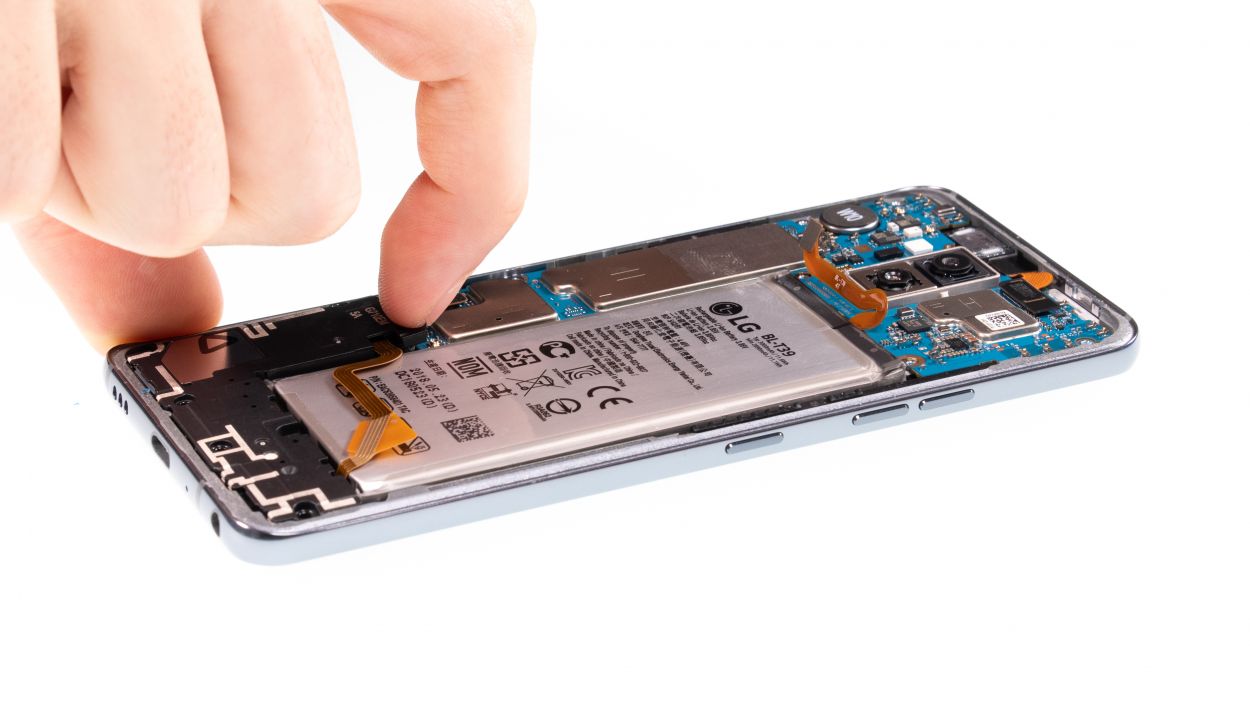
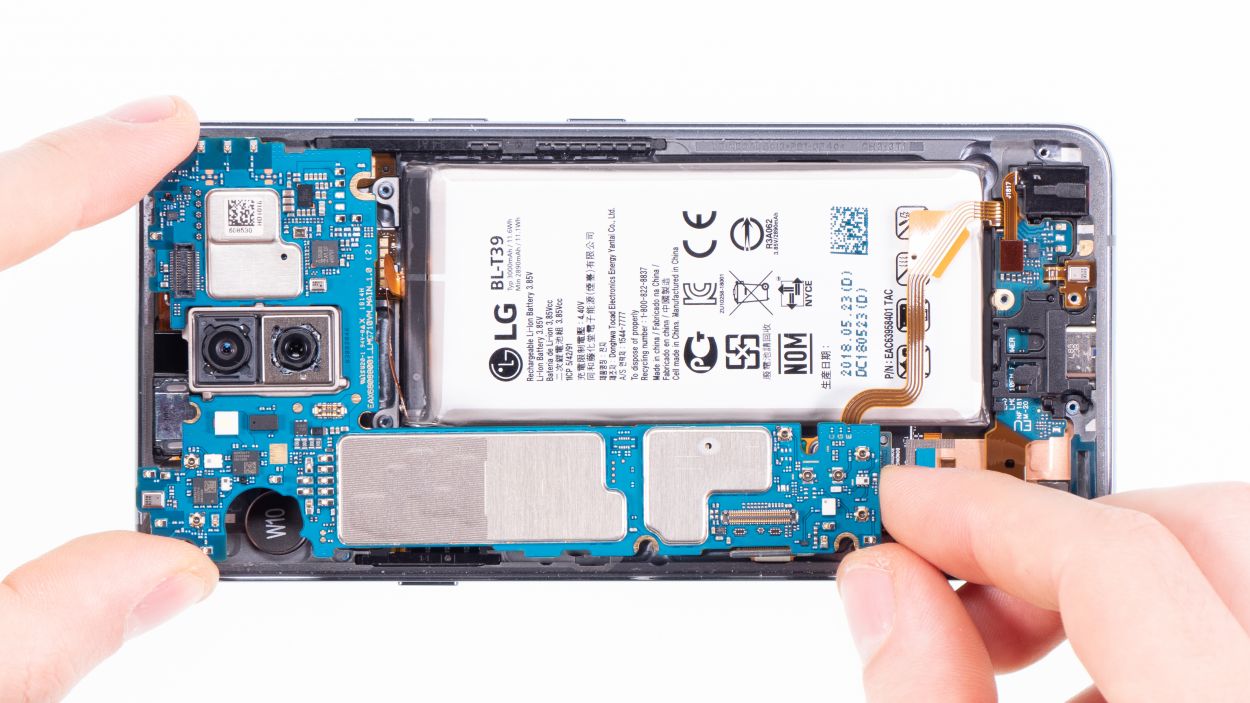
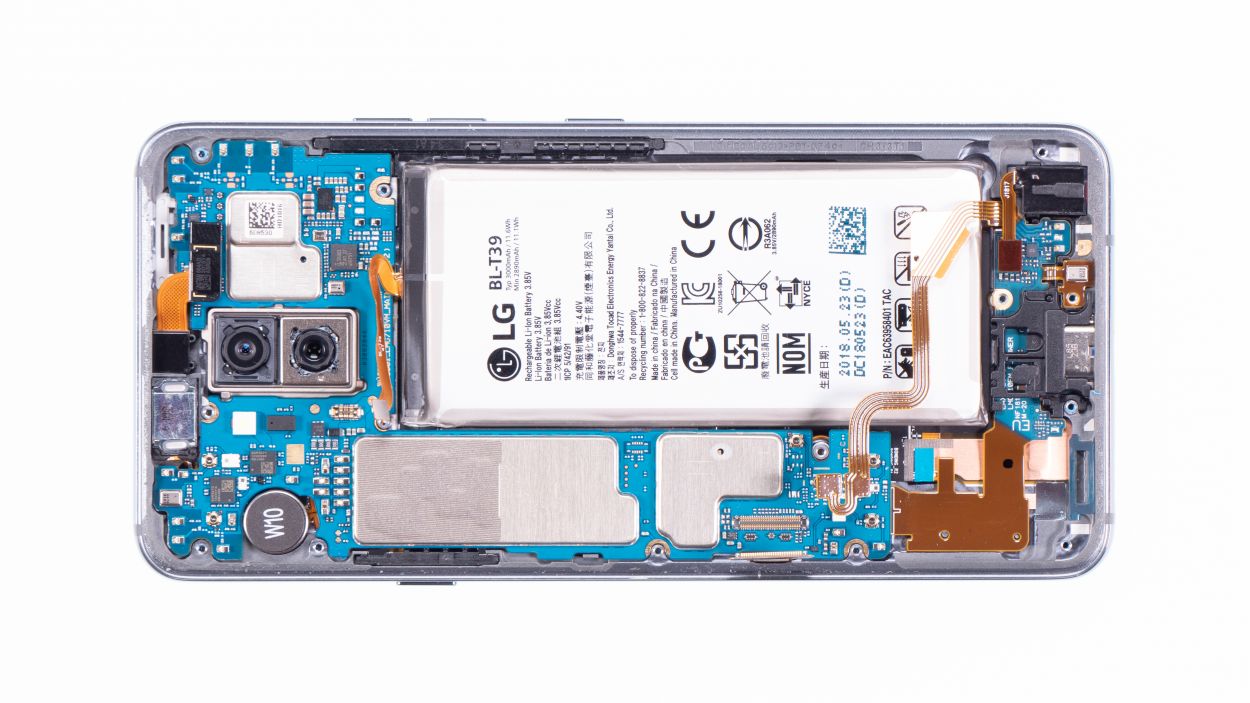
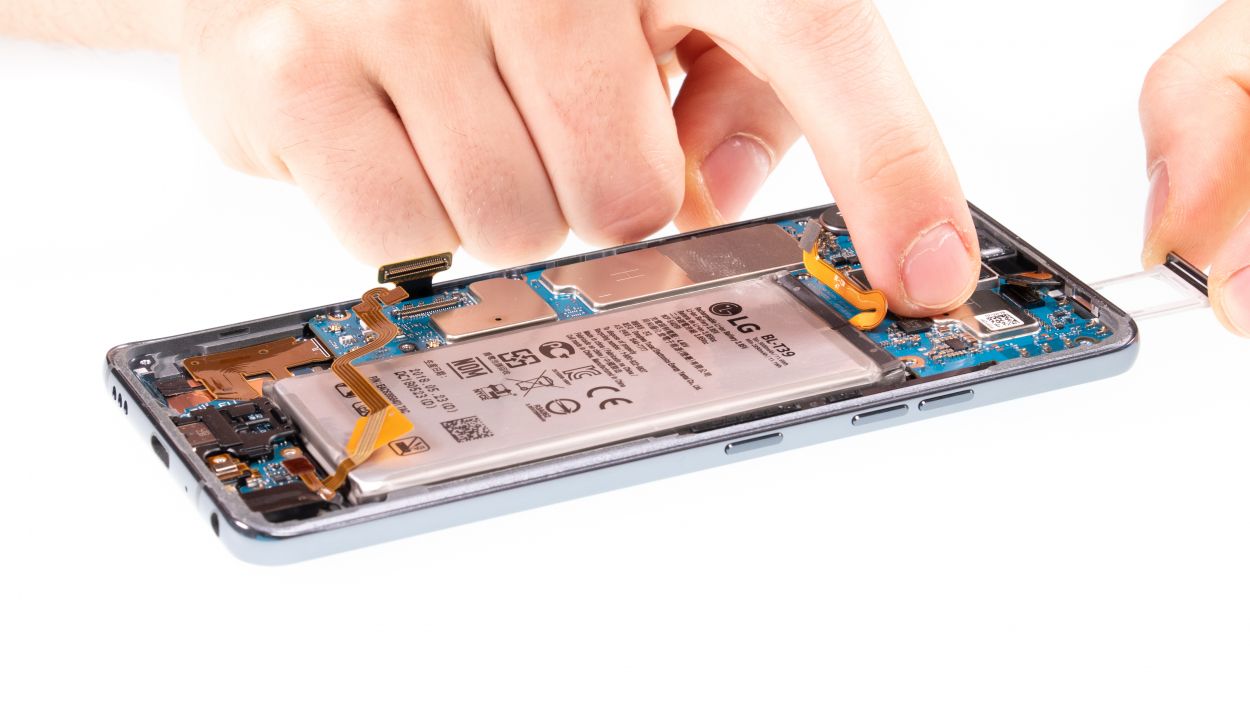
– Now it’s time to gently lift out the motherboard. Just be cautious not to snag it on any of the connectors you’ve already disconnected.
– Once you’ve got it out, place the board in a safe spot to keep it cozy.
Step 8
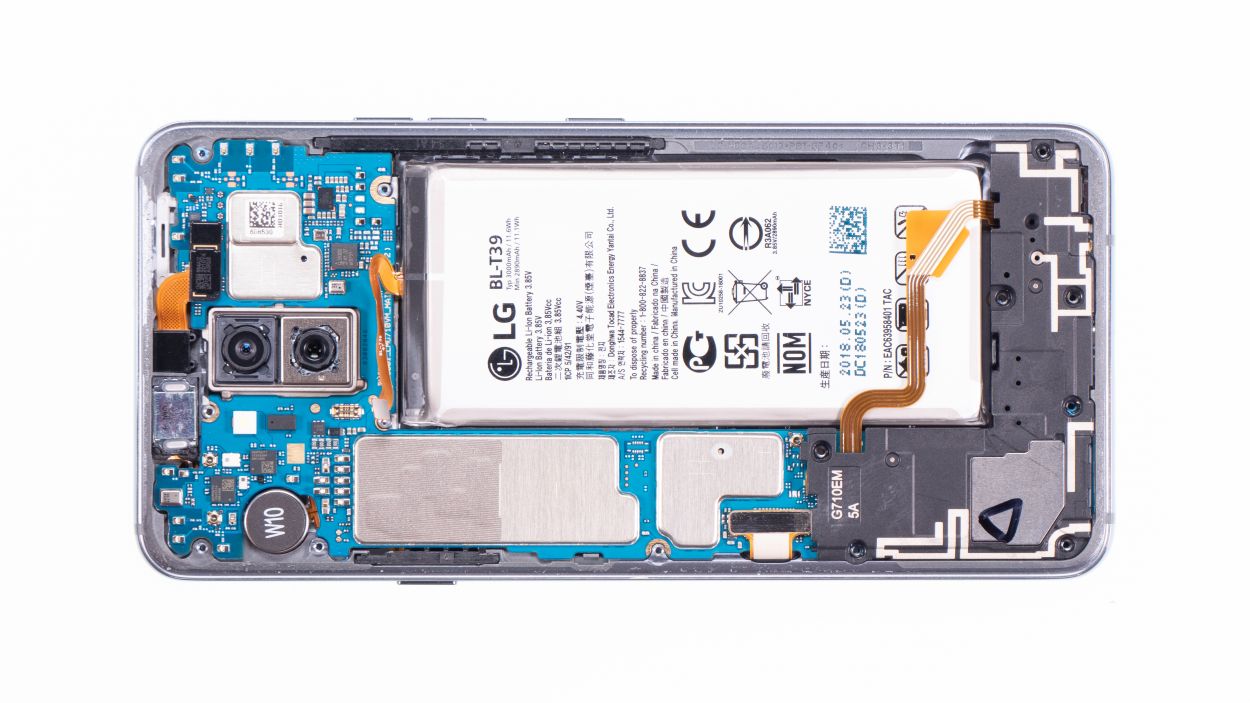
USB connector
Display connector
Camera connector
Antenna connector
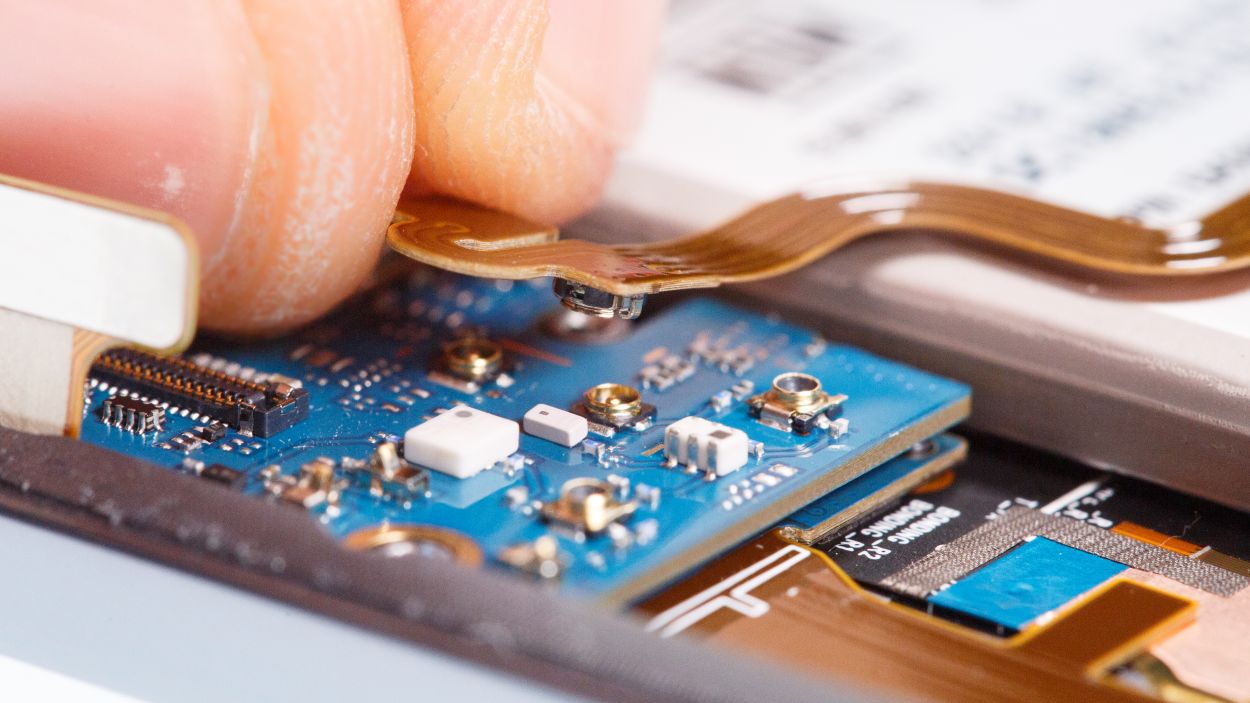
Make sure the connector clicks into place smoothly. If it doesn’t fit right away, don’t force it! First, double-check that the mainboard is lined up just right.
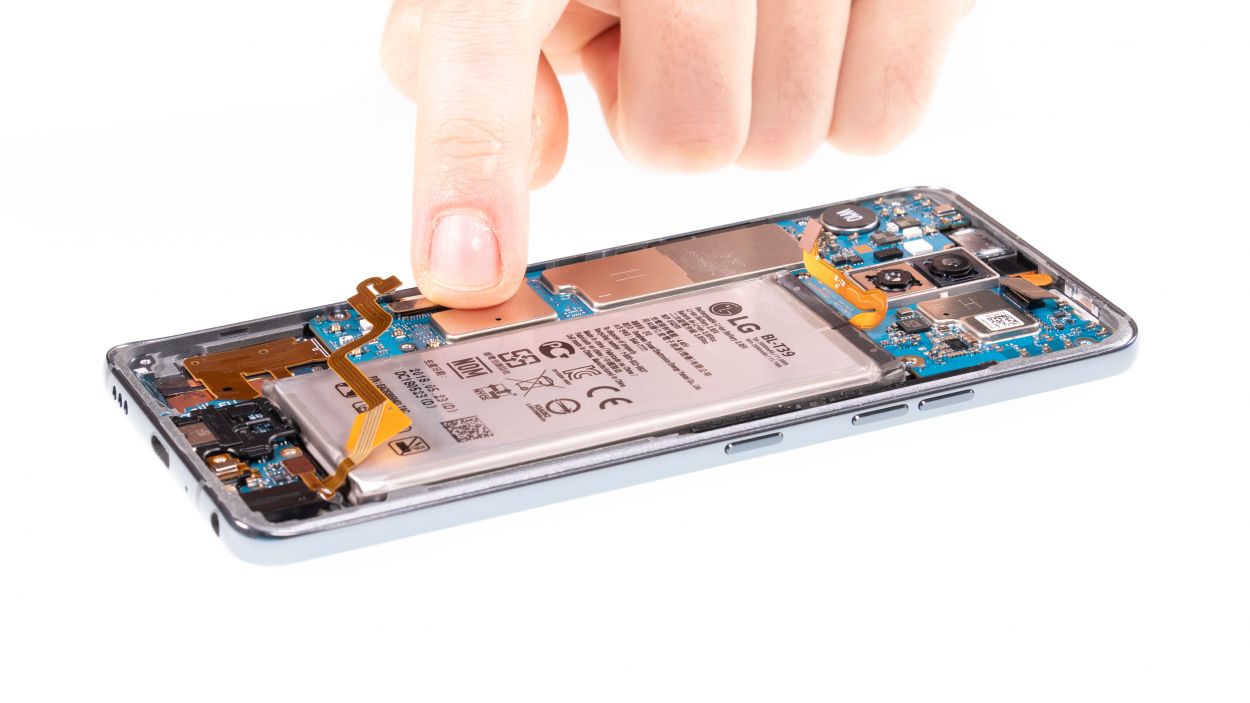
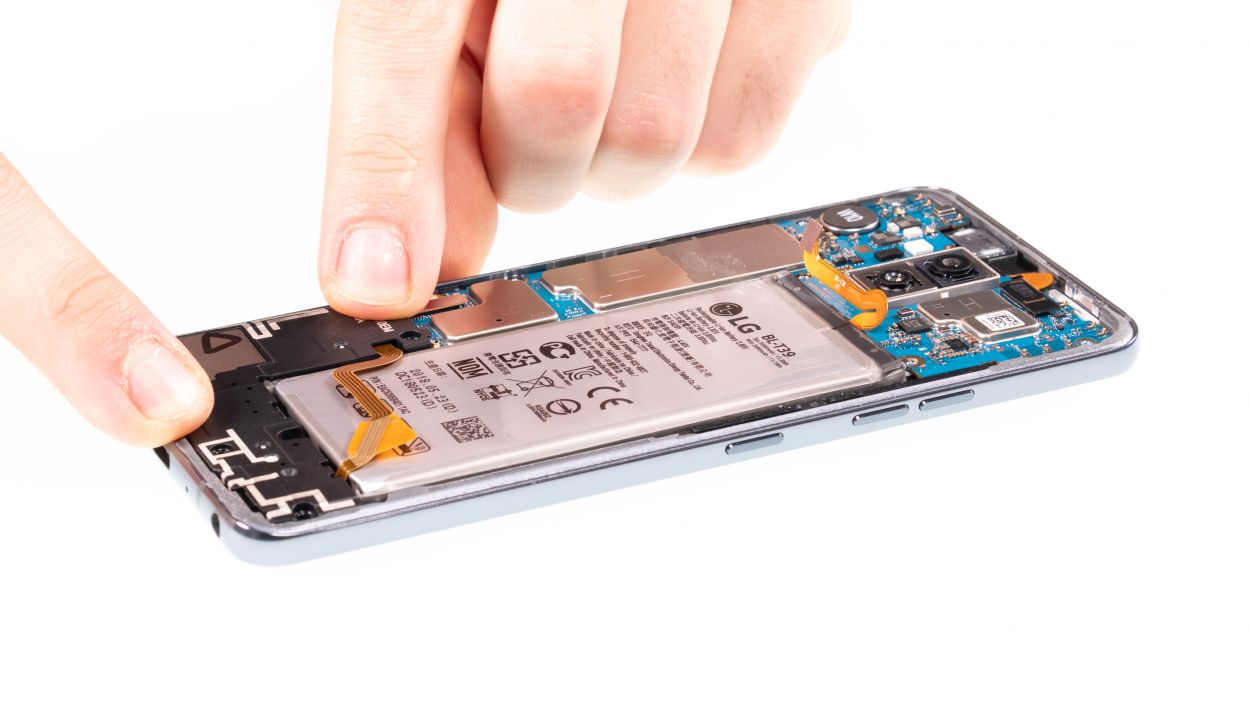
– Take the motherboard and carefully insert it into the device. Be careful not to pinch any cables. Bend all connectors to the side.
– When the mainboard is positioned correctly, you can connect the connector on the bottom by pushing it down.
Step 9
– Insert the SIM card holder. If it’s stuck, don’t push it in with force. In this case check if the mainboard is correctly positioned.
Step 10

7 × 3,5 mm Phillips
– Then plop the speaker over the USB port, give it a cozy hug and crank it tight.
– Double-check that it’s snuggled up nice at the bottom, good job!

Step 12
7 × 3,5 mm Phillips
– Slide the cover back into the enclosure, making sure the antenna finds its cozy spot under the speaker at the bottom.
– Now, give that cover a gentle press with your fingers until you hear it click snugly into place.
– Finally, grab your Phillips screws and fasten them down securely.
Step 13
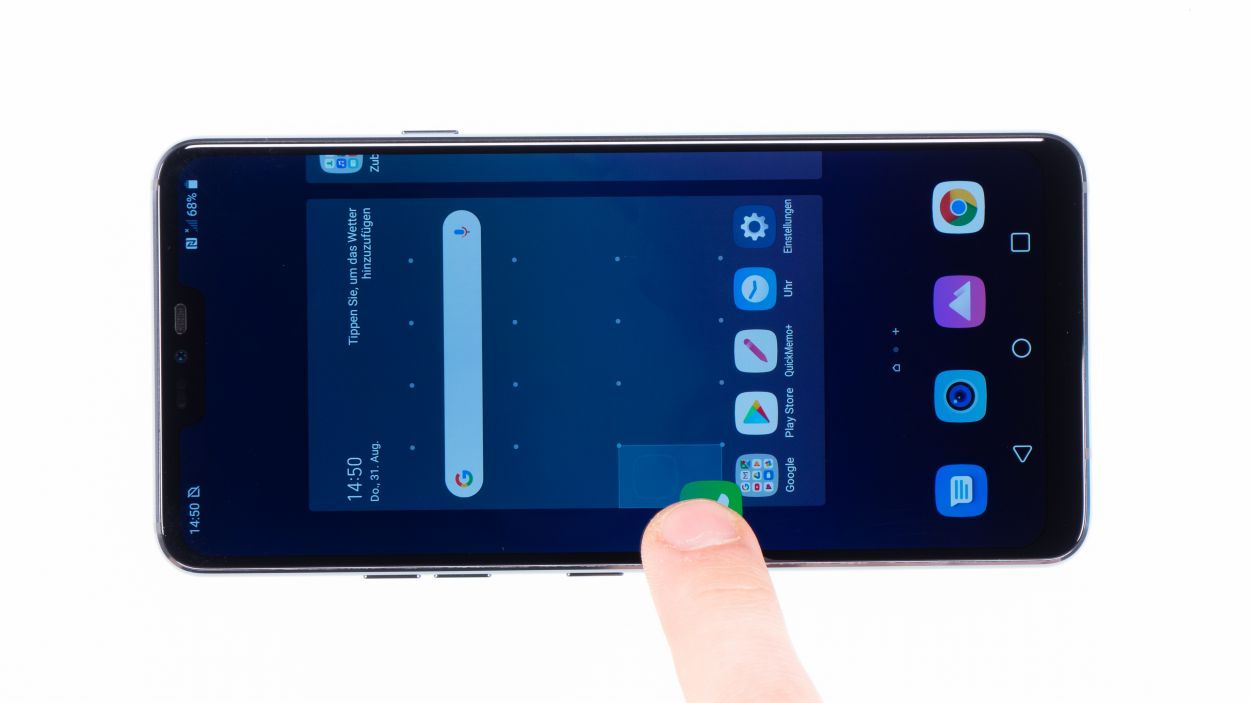
Give all the functions of the part you swapped out a good test run. Make sure everything’s working like a charm!
– Fire up your device and give it a quick test run before sealing it up for good.
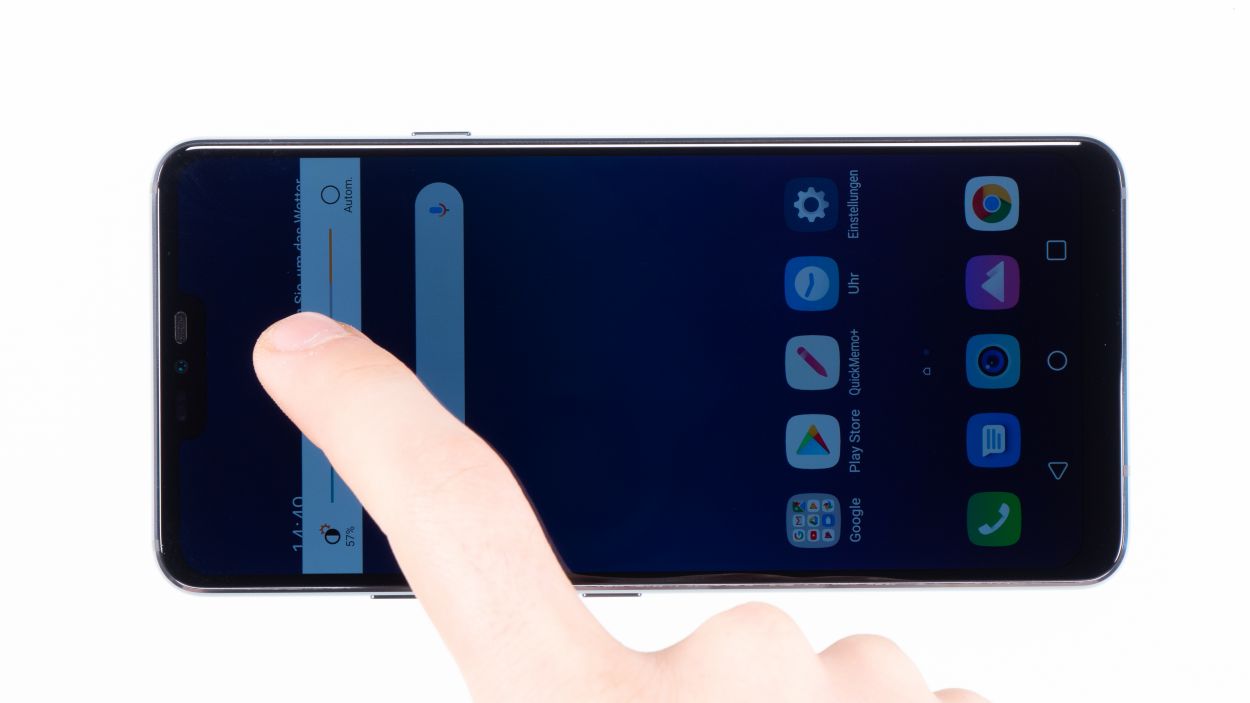
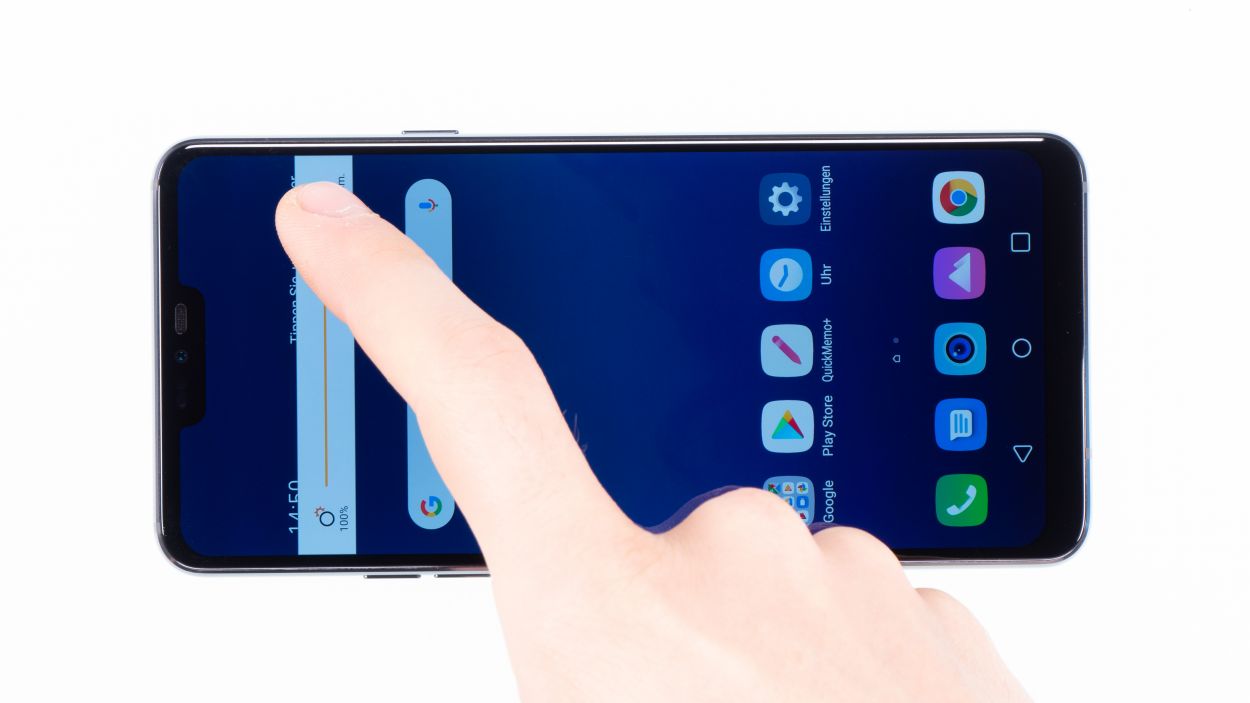
– Slide any app around the screen like a pro! Take it for a spin around the edges, then zigzag it across the display. Your finger should be the boss, and the app should follow along.
– Next, let’s check out the display brightness! Move that brightness slider all the way down to the dark side and then crank it up to the max. Let’s see what it can do!
Step 14
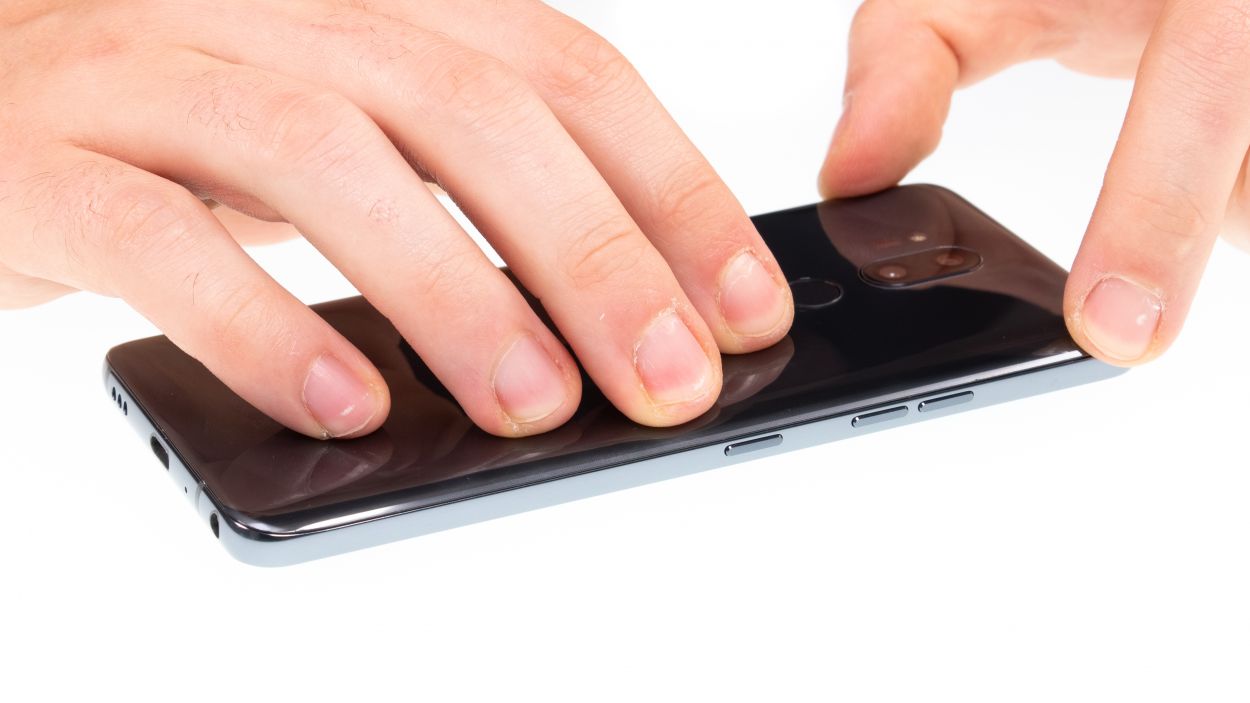
If the adhesive on the back cover is still holding strong, you can snugly seal your device without needing a fresh adhesive frame. Keep it simple and get that device back in action!
– Gently place the back cover back where it belongs.
– Give the back cover a little love by pressing down all around so the glue can do its magic.