OnePlus One USB Port Replacement Guide: Step-by-Step DIY Tutorial
Duration: 60 min.
Steps: 12 Steps
In this repair guide, we show you how to replace your OnePlus One’s defective USB port on your own. You need this repair if your device no longer charges or doesn’t connect to a computer.
Step 1
– First turn off your OnePlus One.
– You can use the SIM Tool or a paperclip to remove the SIM card tray. Press the SIM Tool into the small hole in the SIM card tray to remove it.
Step 2

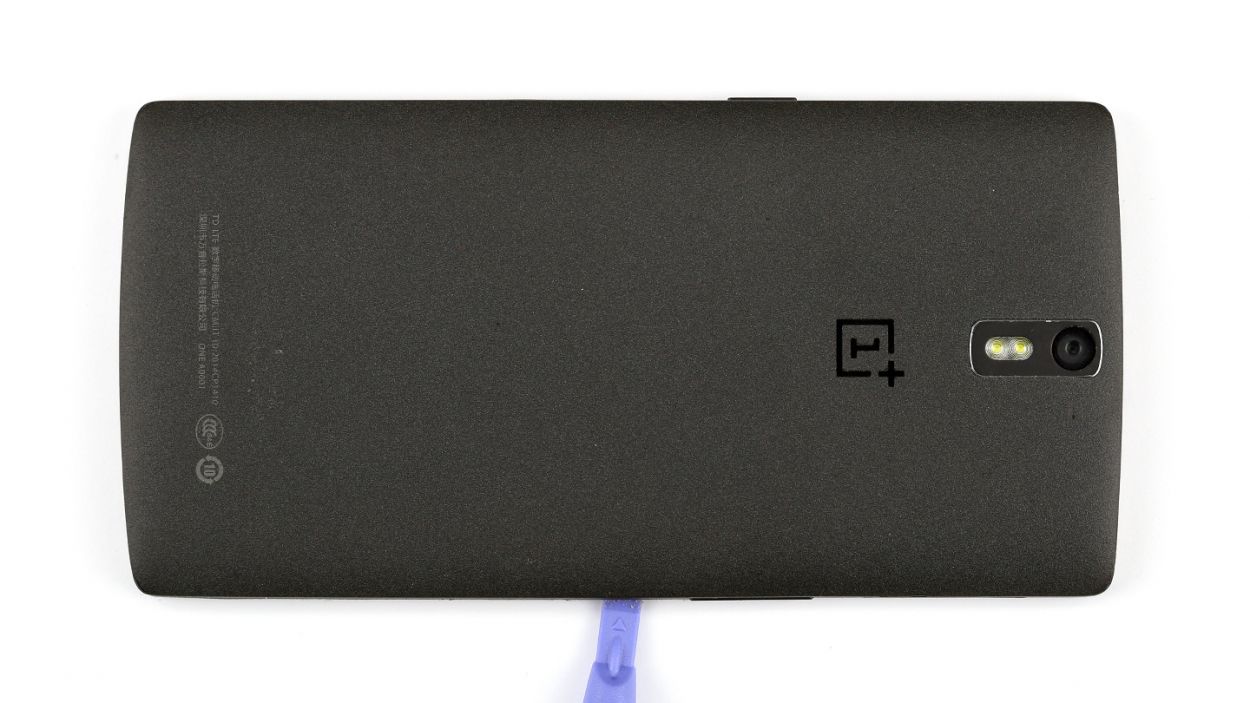
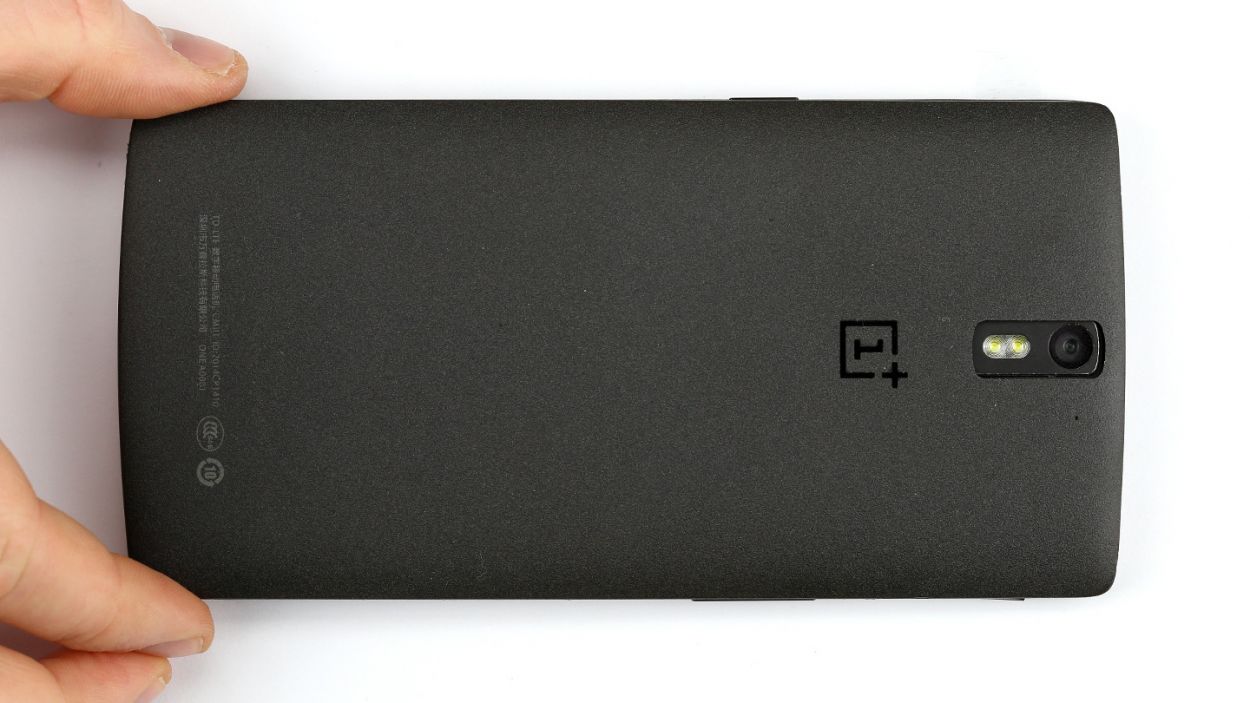
– Grab a thin, flat, tapered spudger and gently slide it into the corner gap of your smartphone. You’ll find some sneaky clips hiding under the back cover that need to be disconnected. Just run that spudger around the edge of the phone once, and those clips will be no match for you! If you’re feeling adventurous, you can also use your trusty fingernails to pop off the back cover.
– Once you’ve tackled those clips, go ahead and lift off the back cover.
Step 3

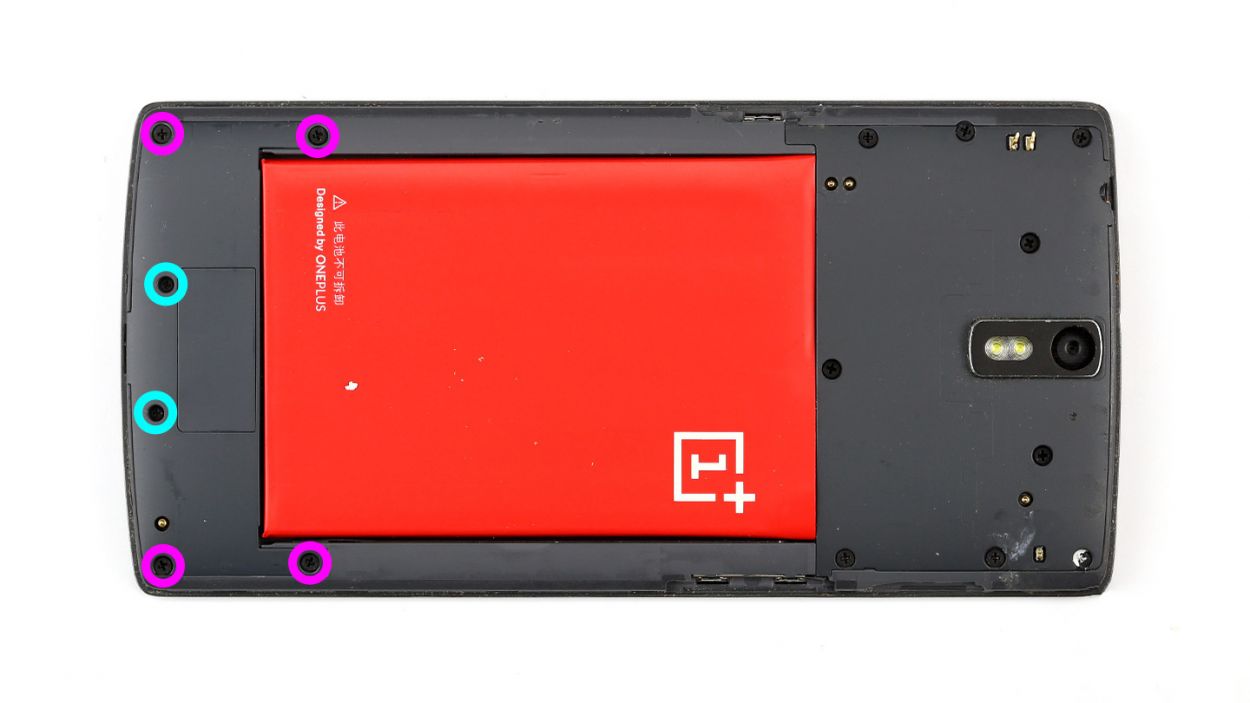
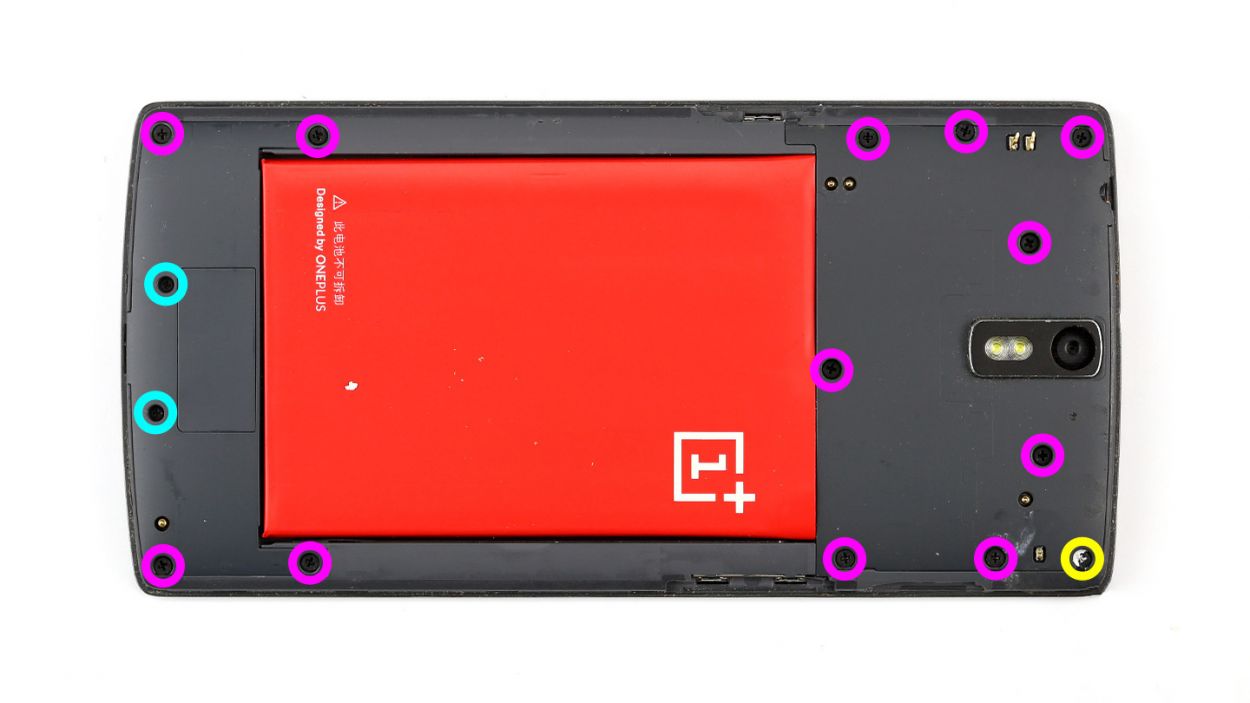
– Time to get those 15 Phillips screws out of the way! They’re holding the plastic cover snugly, so let’s show them who’s boss.
– Keep your eyes peeled for 2 sneaky Phillips screws hiding under a rubber cover. Grab a sharp object and gently lift that cover off to reveal the hidden treasures.
– Now, let’s tackle the next batch of screws. You’ve got 4 x 3.1 mm Phillips screws and 2 x 3.1 mm Phillips screws (the small ones) waiting for you.
– With the screws out of the way, it’s time to lift off the speaker cover. Use the pointed tip of your trusty ESD spudger to carefully poke into the USB port and lift that black cover like a pro.
Step 4
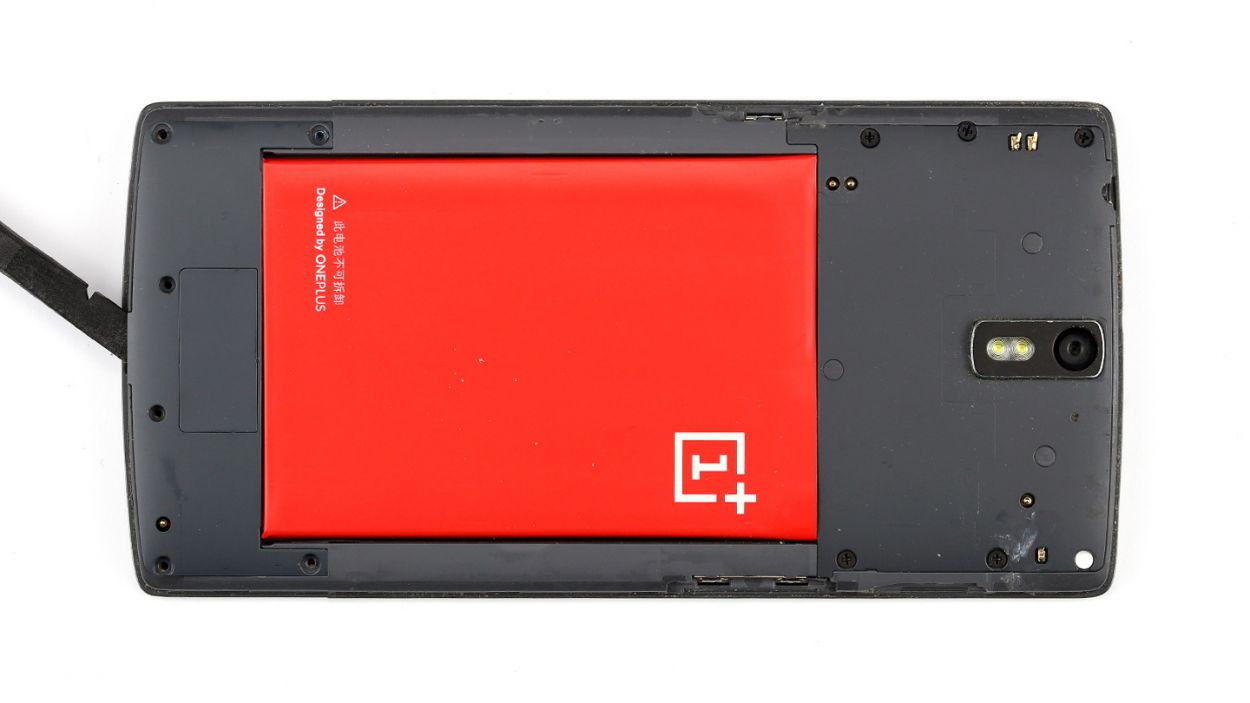
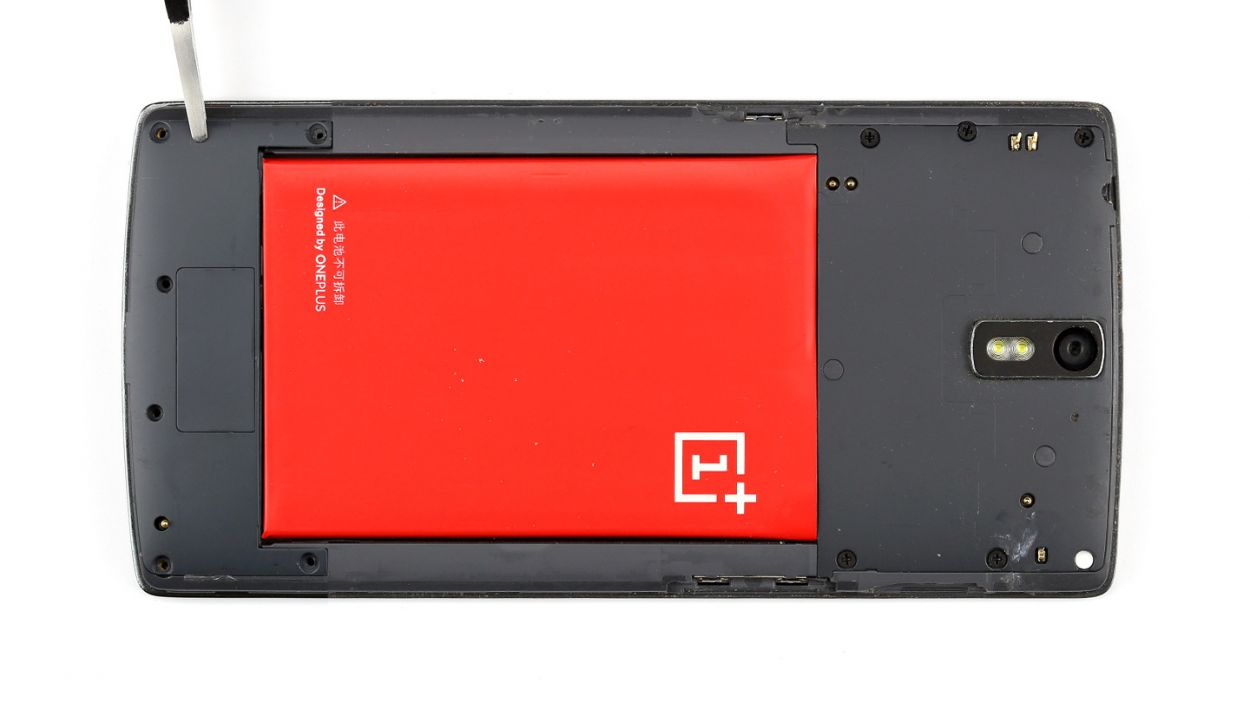
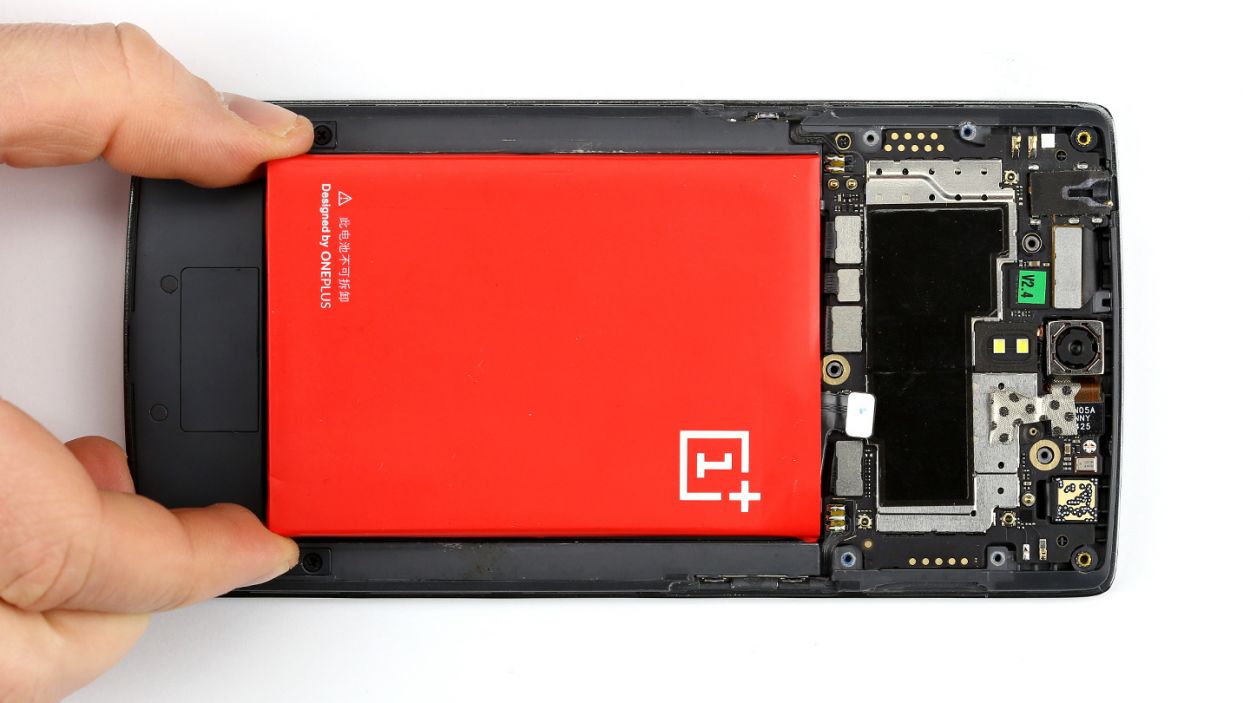
– Yo! If your OnePlus One’s still jammin’, give it some silence by holdin’ down that sleep button for ’bout three seconds and just follow what the screen says.
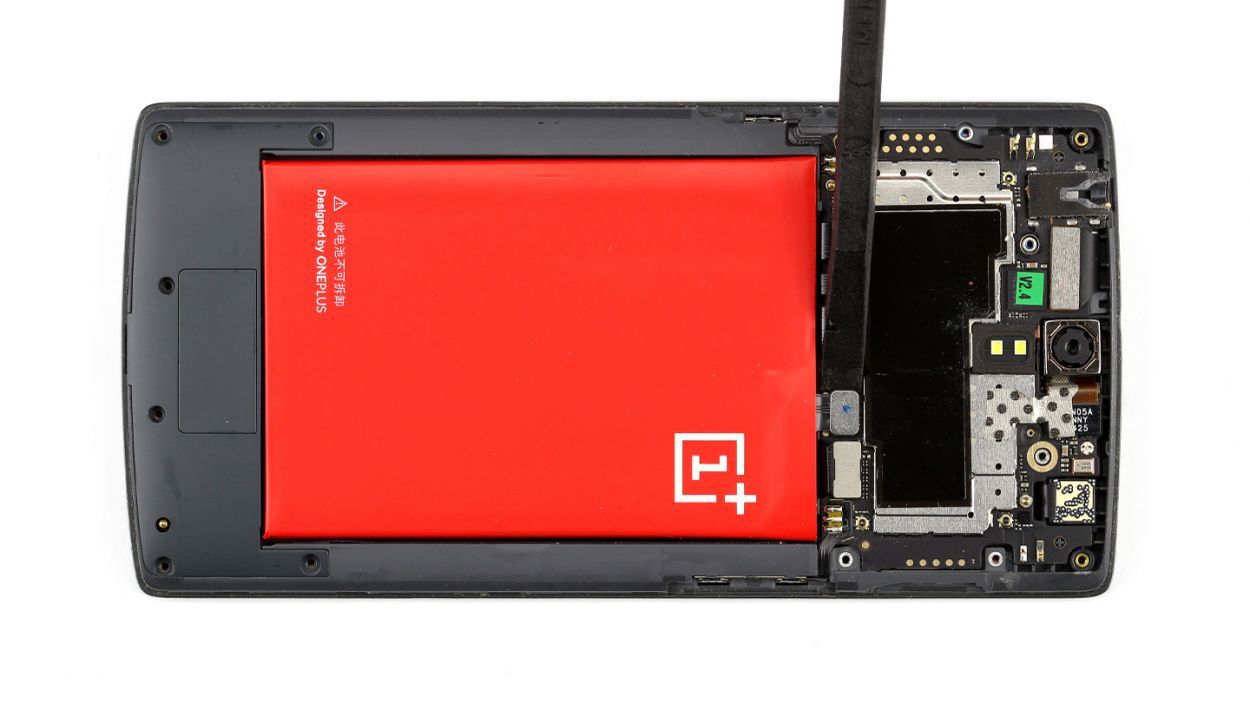
– Now it’s time to unhook that battery dance partner. But hey, be mega careful. Just take your spudger’s sharp end and slide it ever so slightly under that connector. Lift it up nice and slow. Check the pics to see where to put your spudger, so you don’t accidentally send those little resistors to resistor heaven.
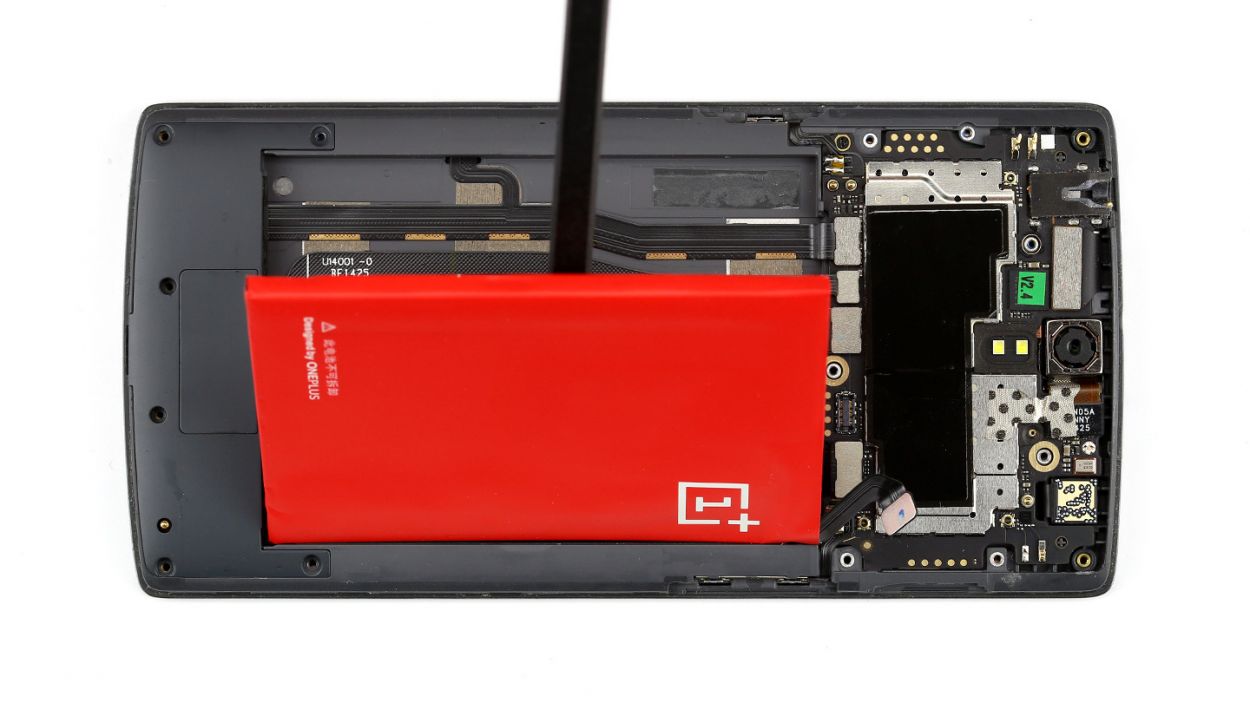
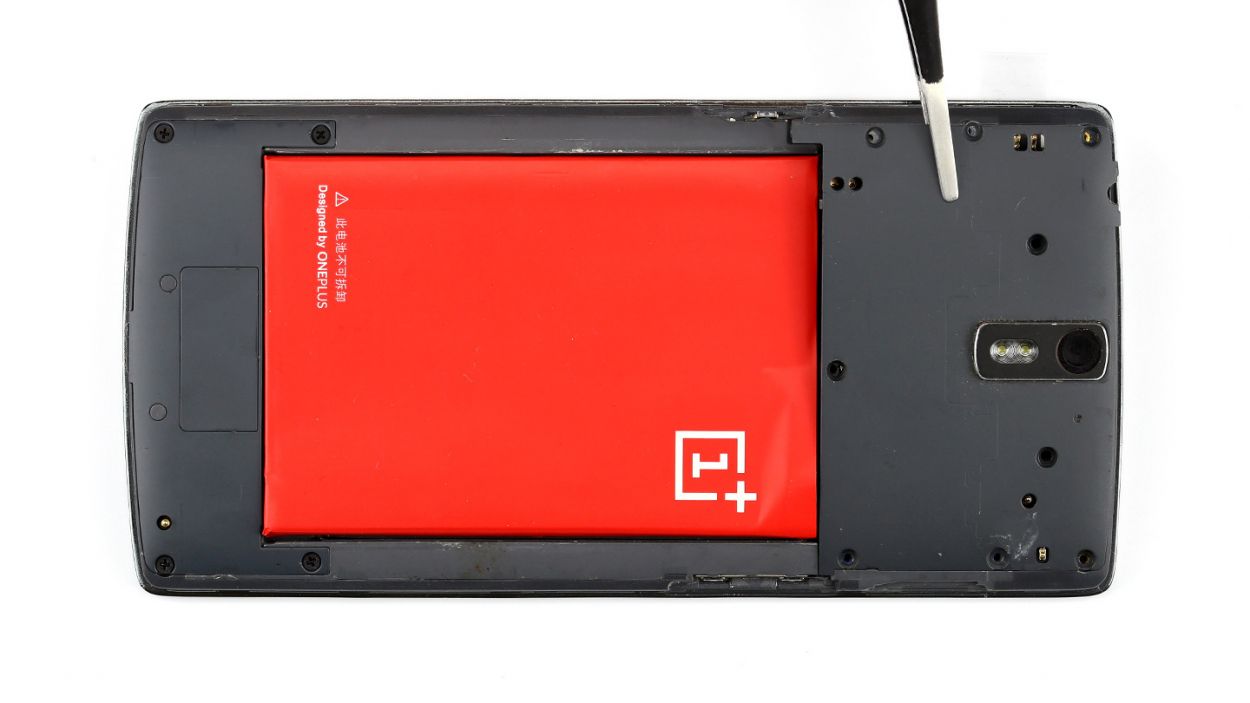
– Now, grab that battery with your spudger and give it a lift and a slide out. Bam! Battery’s out!
Step 5
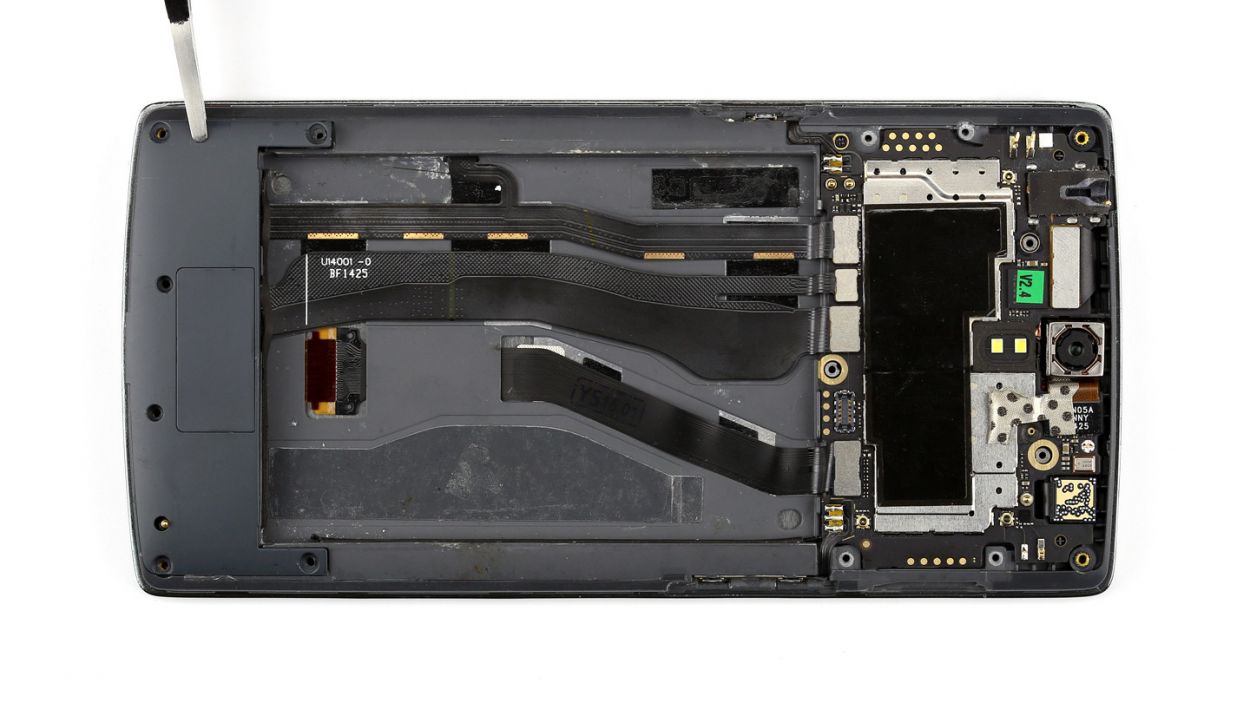
– Gently slide the flat end of your trusty spudger right below the cover near the charging port. With a little care, lift the cover up and reveal the stereo speakers hanging out underneath.
– Now, you’re all set to take them out!
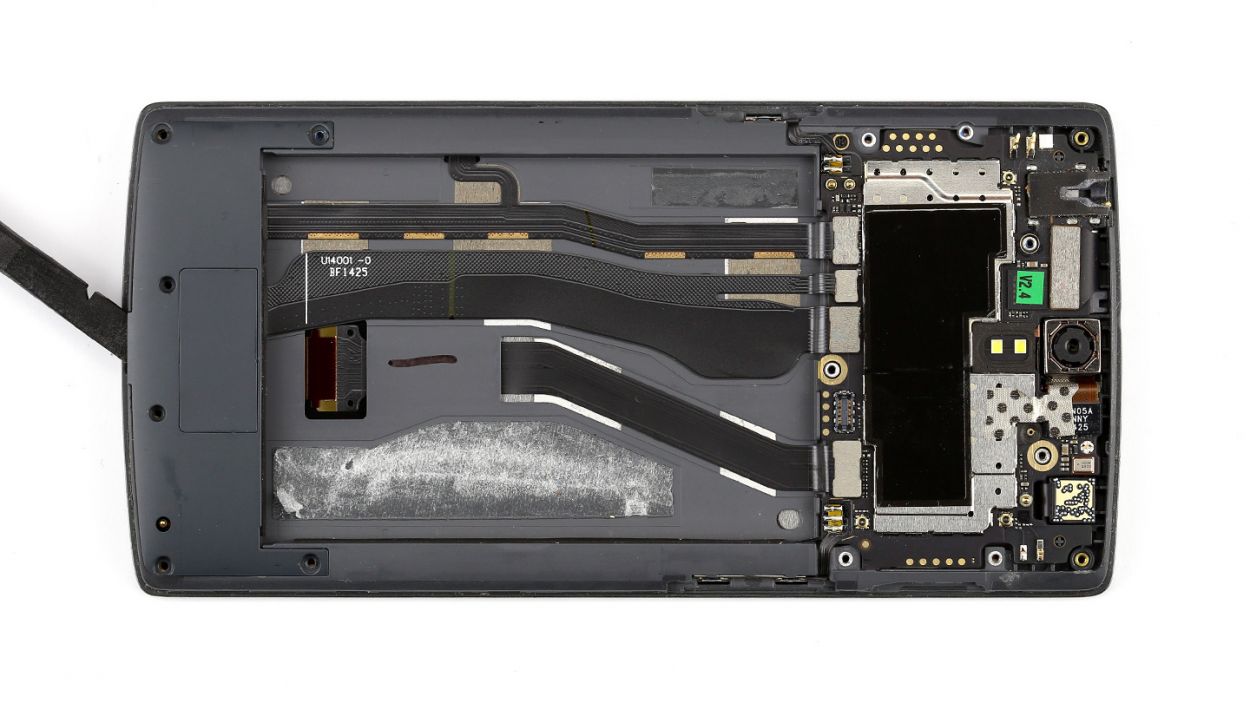
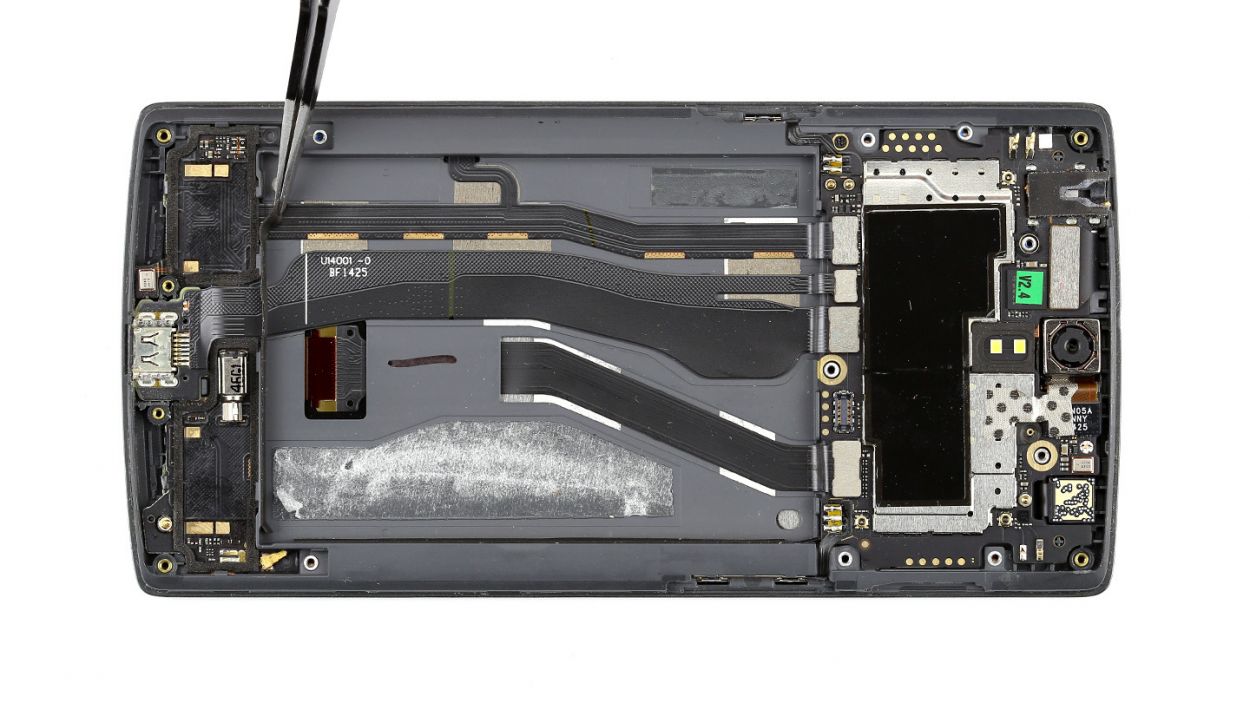
Step 6
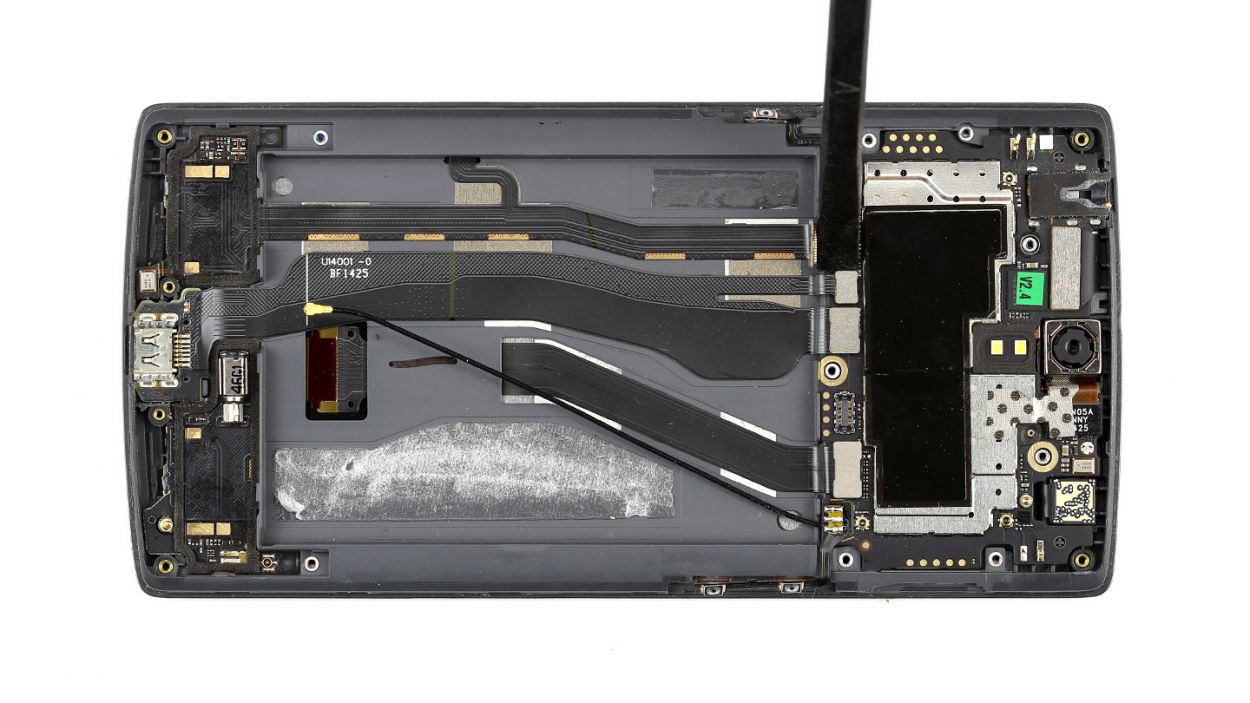
Be super careful not to accidentally snap off those little resistors and coils that are snugly soldered onto the logic board. We want everything to stay in one piece!
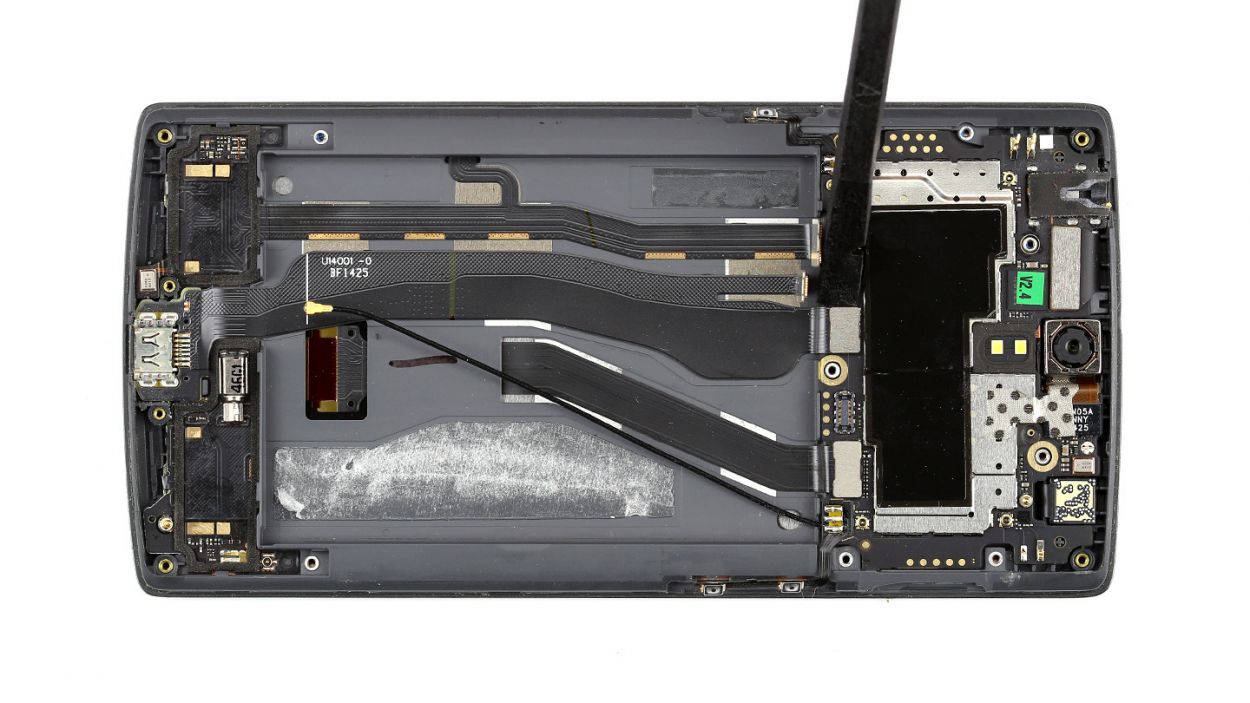
– Alright, it’s time to unplug those two connectors! Just be sure to take it easy and stay careful.
– Grab your spudger and, with the pointed tip or flat end, gently slide it just below the contact and lift up with finesse. Remember, we want to keep those little resistors and coils safely soldered onto the logic board!

Step 8

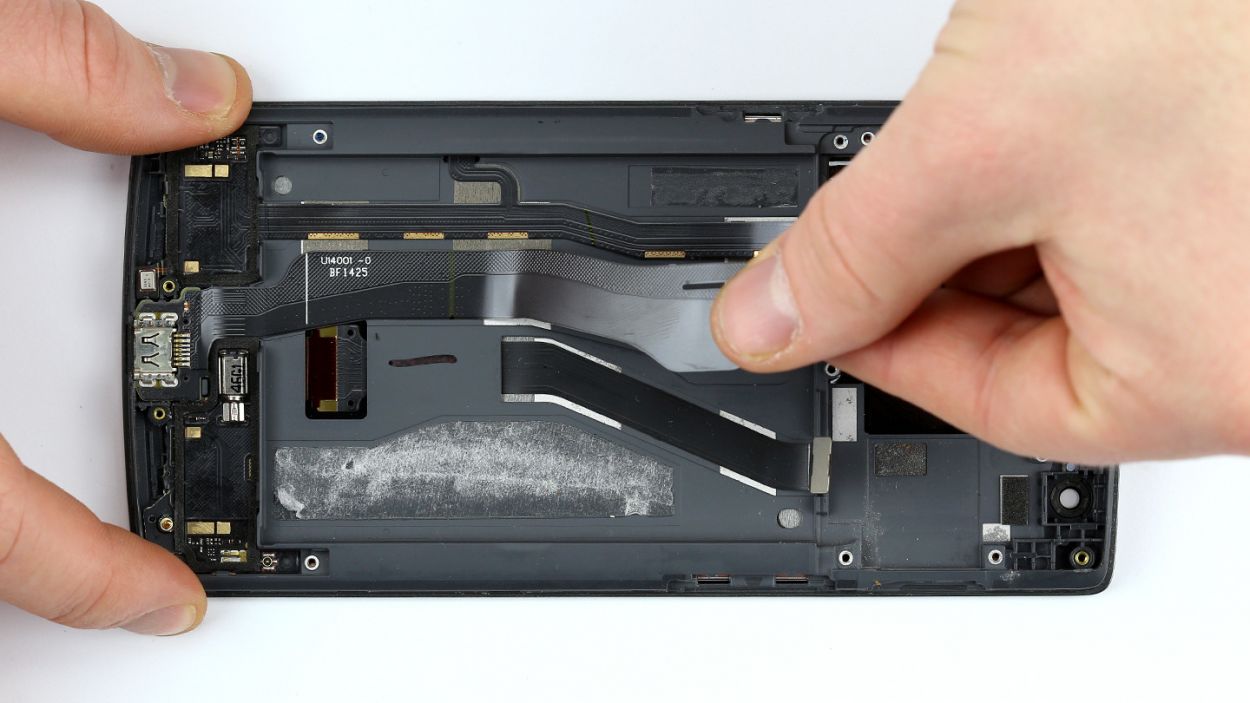
– Alright, let’s get that USB port ribbon cable snugly back in its original spot.
– Next up, the dock connector cable just needs to slide right onto the speaker cable set, where the old glue is keeping it cozy.
– Finally, let’s seal the deal by putting that adhesive strip back on.
Step 9
– Bam! Now, let’s get that cover back on. And don’t forget to put those sound-blasting speakers back in their rightful place!
Step 11

– Alright, let’s get that cover back on, shall we?
– Next up, it’s time to tighten all those Phillips screws like a pro! You’ll need: 12 x 3.1 mm Phillips screws, 2 x 3.1 mm Phillips screws (the small ones), and 1 x 3.1 mm Phillips screw.
– And hey, don’t forget to pop those little rubber plugs back in place!
Step 12

– It’s very easy to put the back cover back on. Put it on in the correct position and press it on all the way around the phone until it’s completely clicked into place.