DIY Guide to Replace OnePlus One Front Camera
Duration: 60 min.
Steps: 17 Steps
In this repair guide, we show you how to replace your OnePlus One’s defective front camera on your own. You need this repair if the front camera isn’t working, the aperture doesn’t open, or your pictures are blurry.
Step 1
– First, let’s power down your OnePlus One. It’s time for a little nap!
– Grab your trusty SIM Tool or a paperclip and get ready to pop that SIM card tray out. Just press the tool into the tiny hole on the tray, and voilà, it’s out!
Step 2

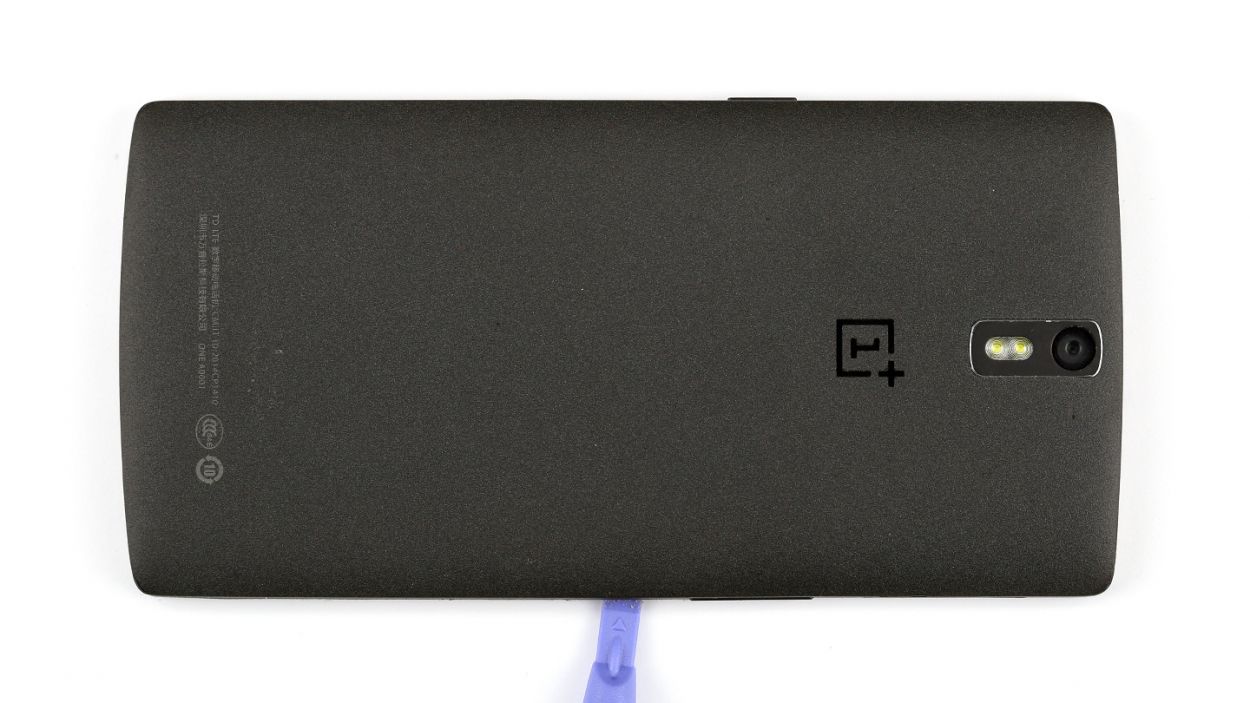
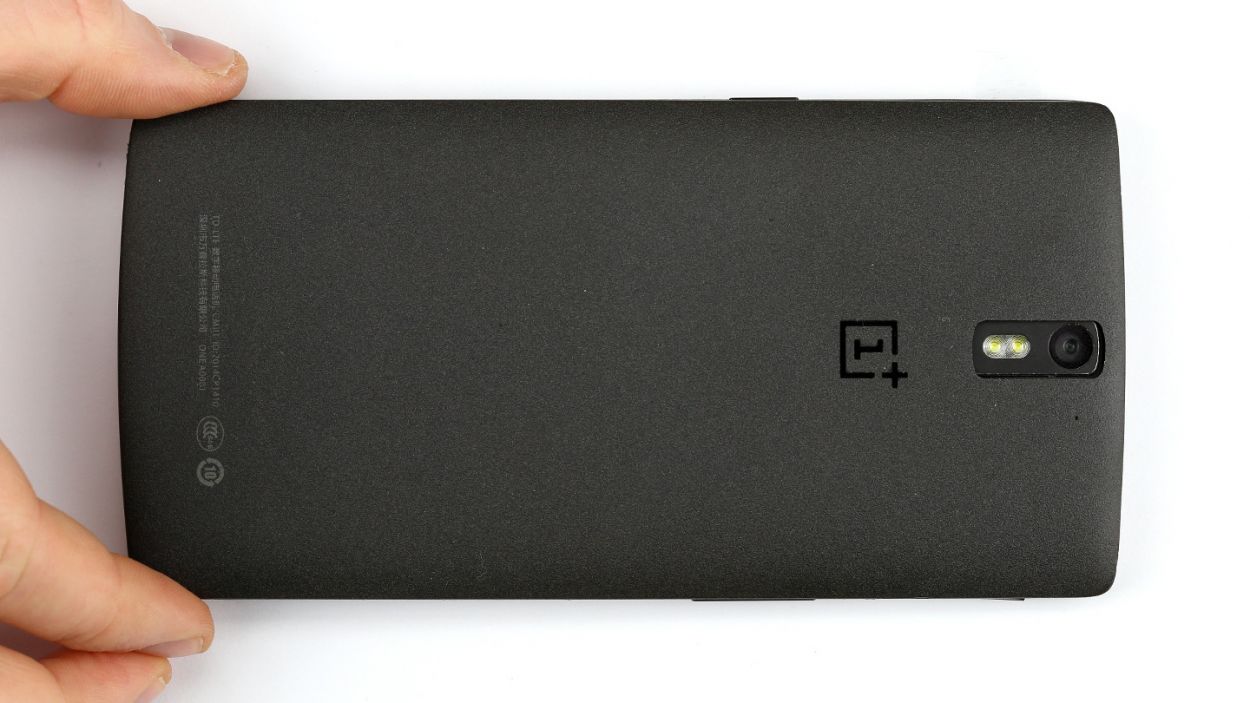
– Hey, DIY pal! Time to get started! To begin, insert a thin, flat, tapered spudger into the gap at the corner of your device. Yep, those clips on the outside under the back cover? You’ll need to wiggle the spudger around the whole phone (or laptop/tablet, we got you!) to release ’em. Or, if you’re feelin’ feisty, you can use your fingernails to detach that back cover. Either way, you’re one step closer to a fixed device!
– Next up: shed that back cover and let the repair magic begin!
Step 3

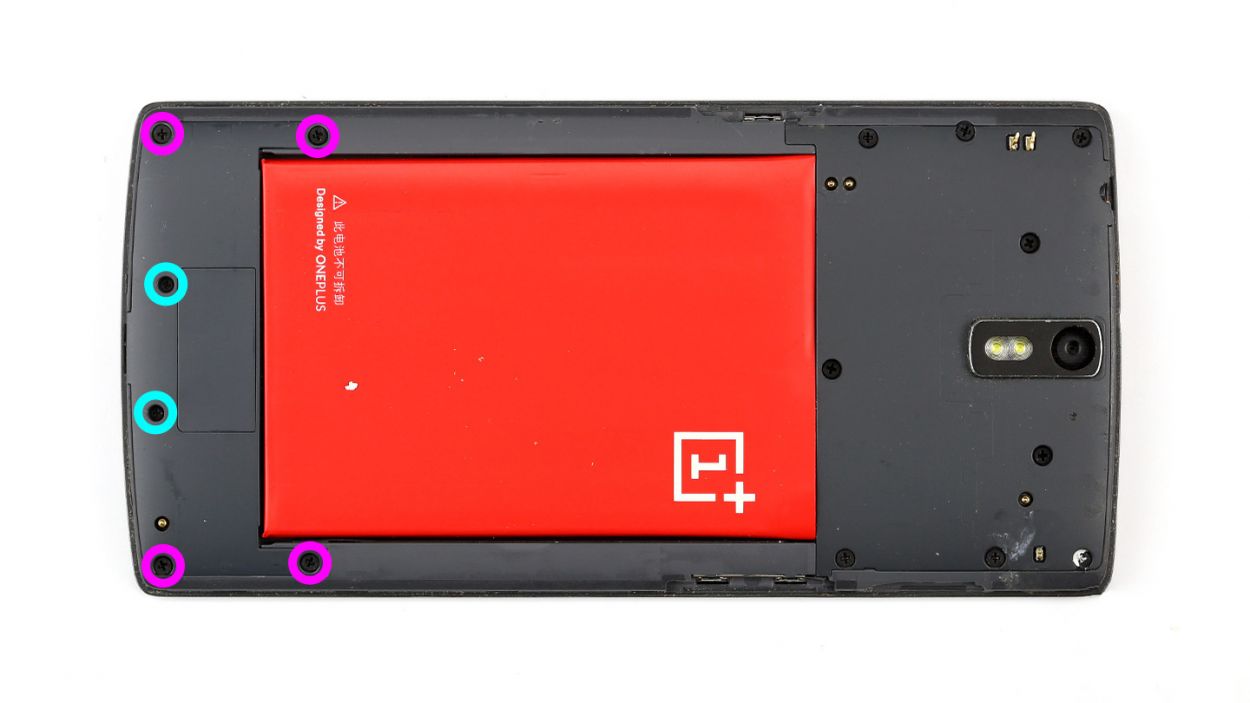
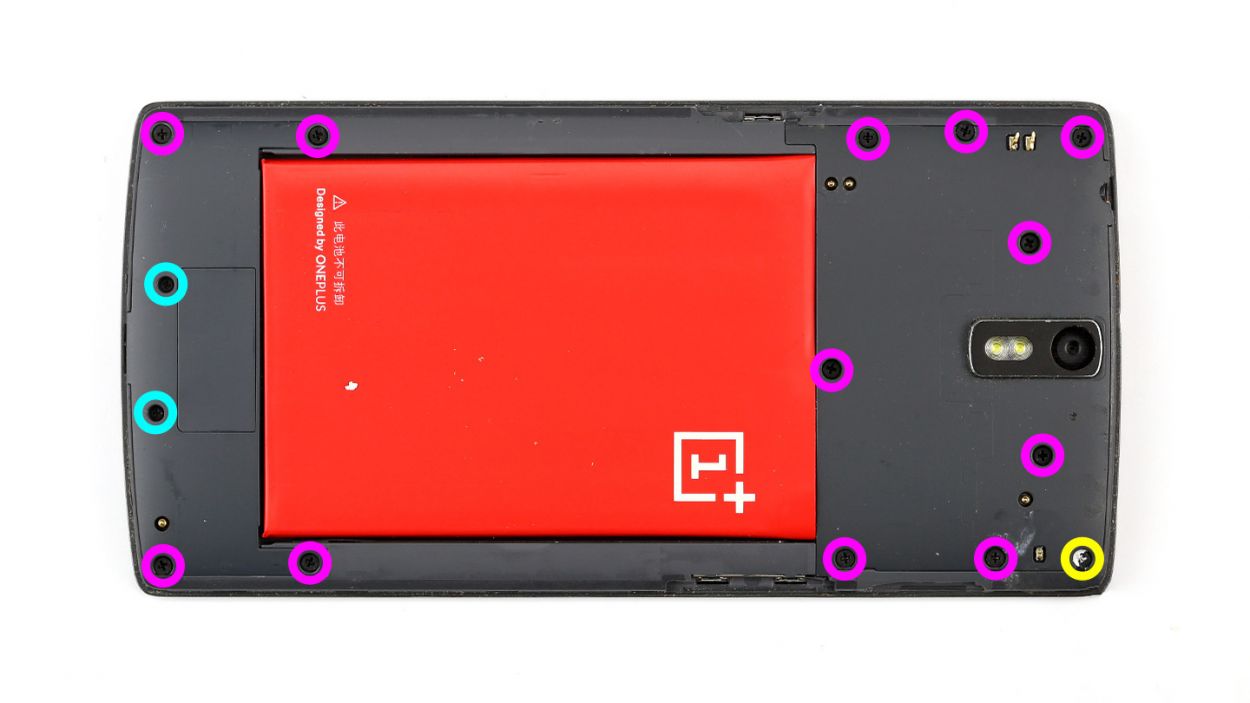
– Time to get started. Remove all 15 Phillips screws that hold the plastic cover in place. Don’t worry, it’s easier than it sounds.
– Now, let’s find those sneaky screws. 2 Phillips screws are hiding under a rubber cover. Use a sharp object to carefully lift out the cover and set those screws free.
– Next up, remove the following screws. You’ve got this: 4 x 3.1 mm Phillips screws and 2 x 3.1 mm Phillips screws (the small ones).
– Almost there. Lift out the speaker cover. Now, carefully insert the pointed tip of the ESD spudger into the USB port and gently lift the black cover. If you need help, you can always schedule a repair.
Step 4
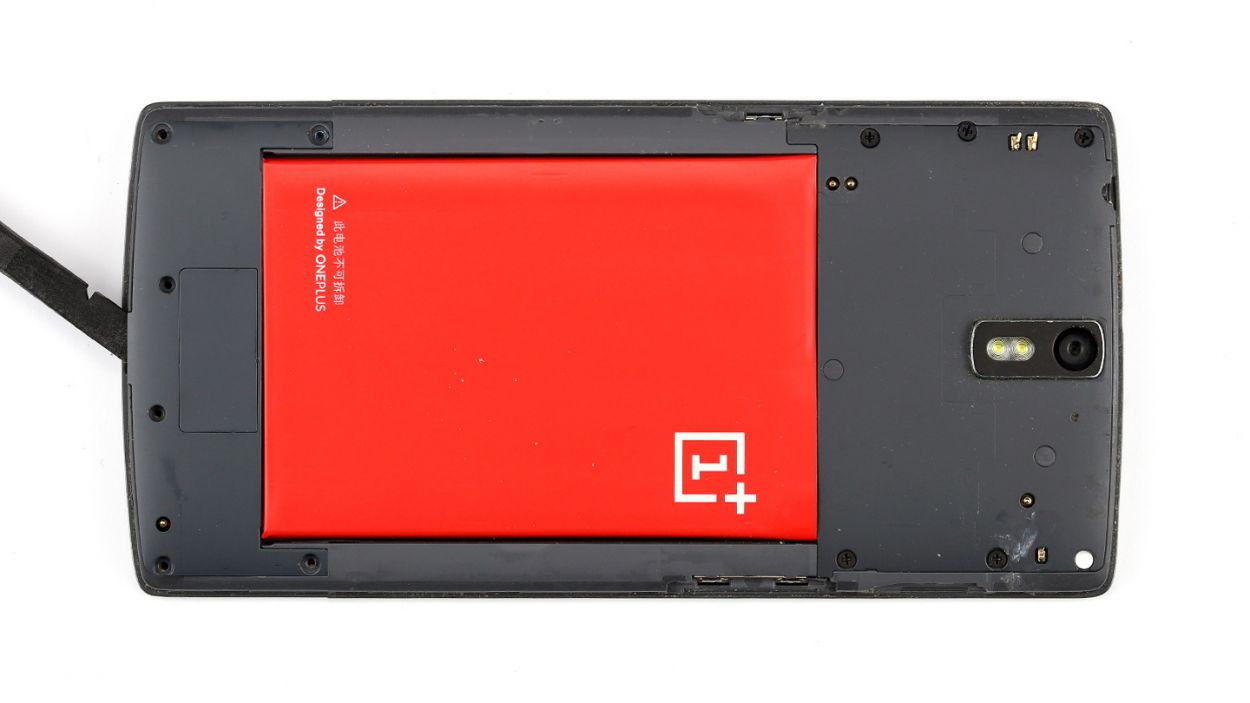
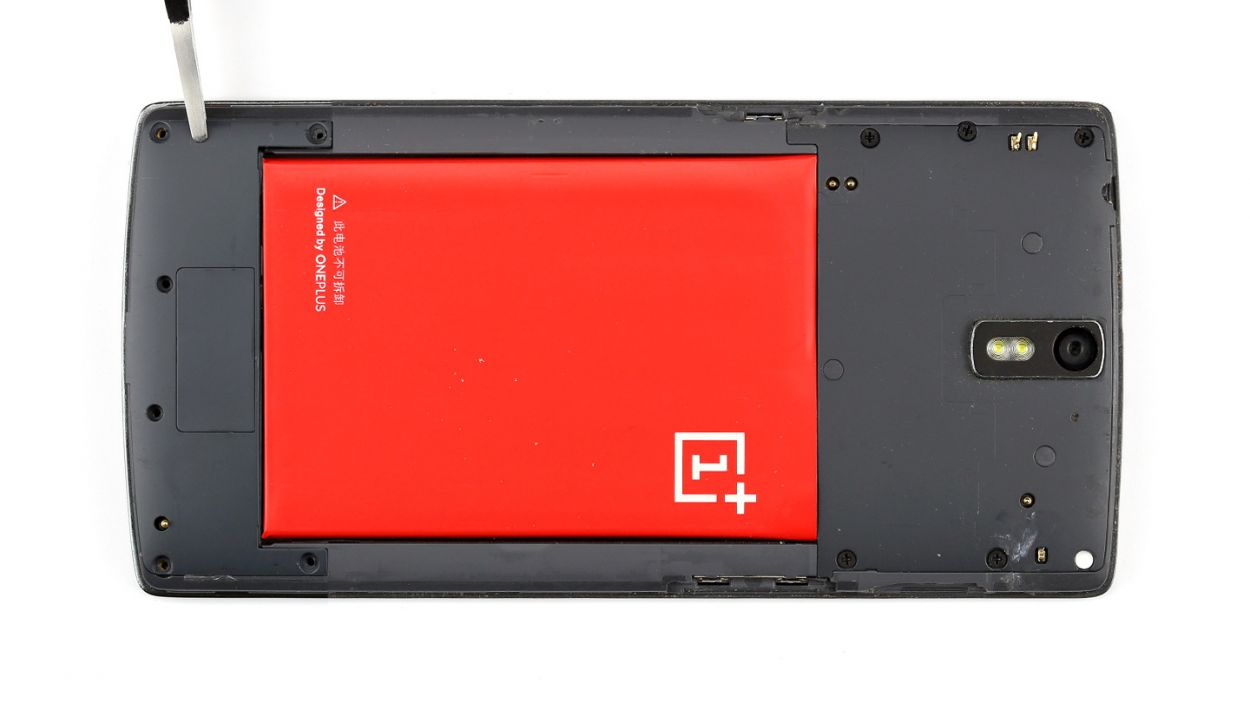
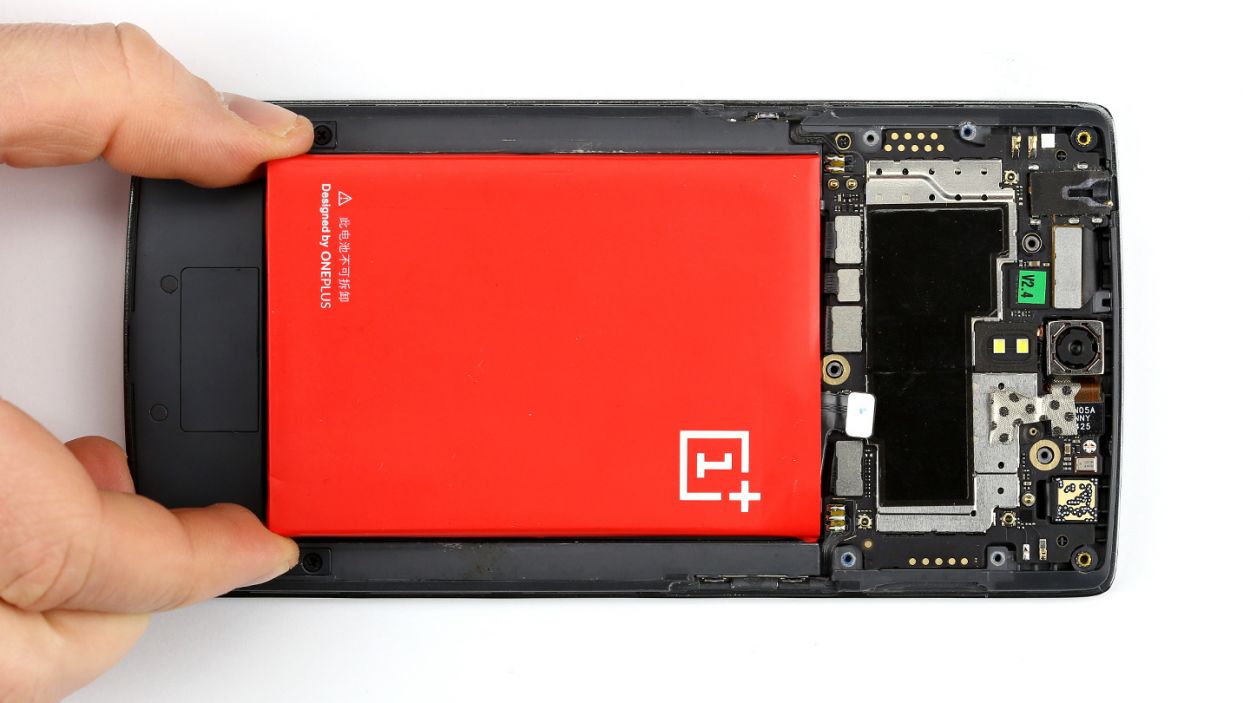
– Alright, let’s get that OnePlus One powered down! Press and hold the standby button for about three seconds, and just follow the on-screen instructions to turn it off.
– Next up, it’s time to gently detach the battery connector. Grab your spudger and place the pointed tip just below the contact—be super careful here! Lift it up slowly. The pictures will guide you on where to position the spudger to keep those tiny resistors safe, even if it slips a bit.
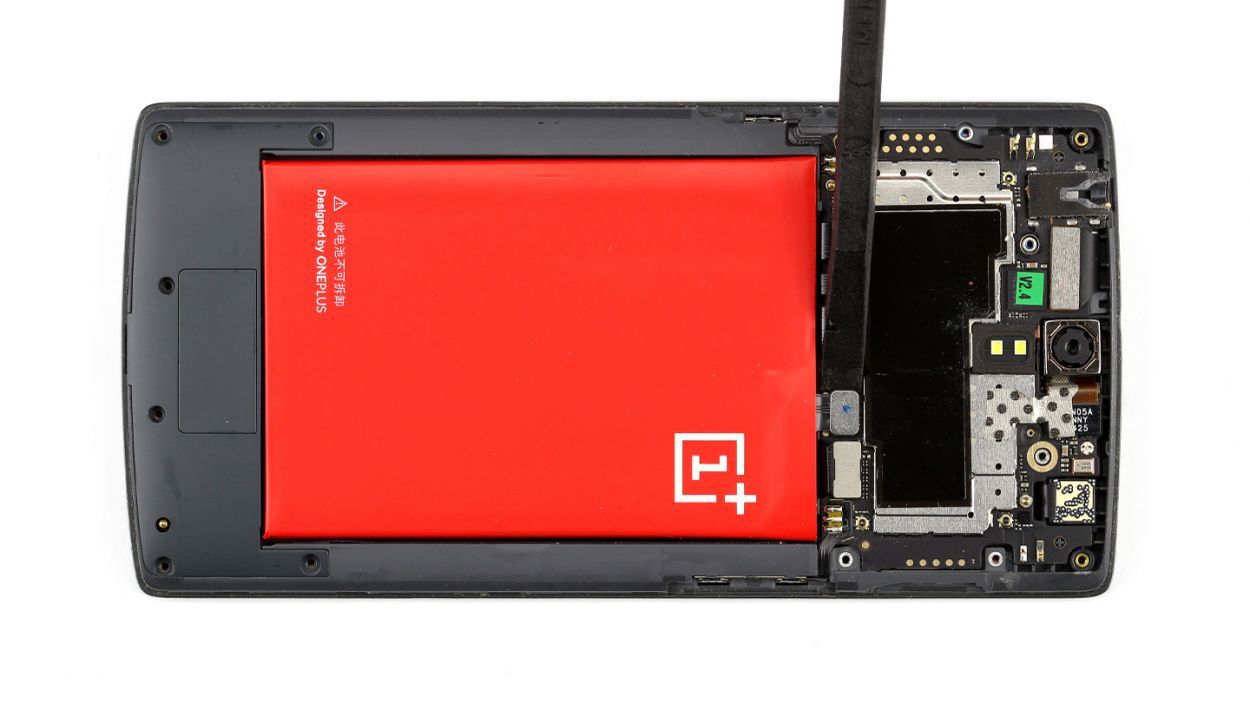
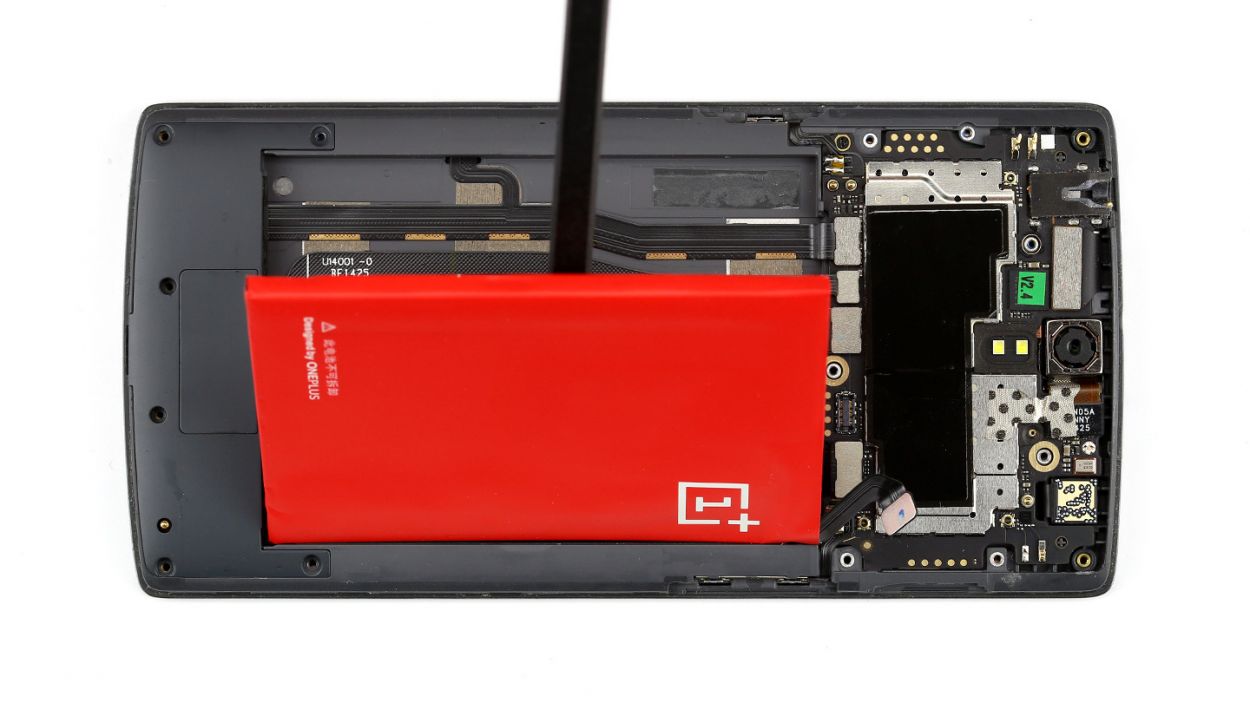
– Now, with a little finesse, lift the battery using the spudger and remove it. You’ve got this!
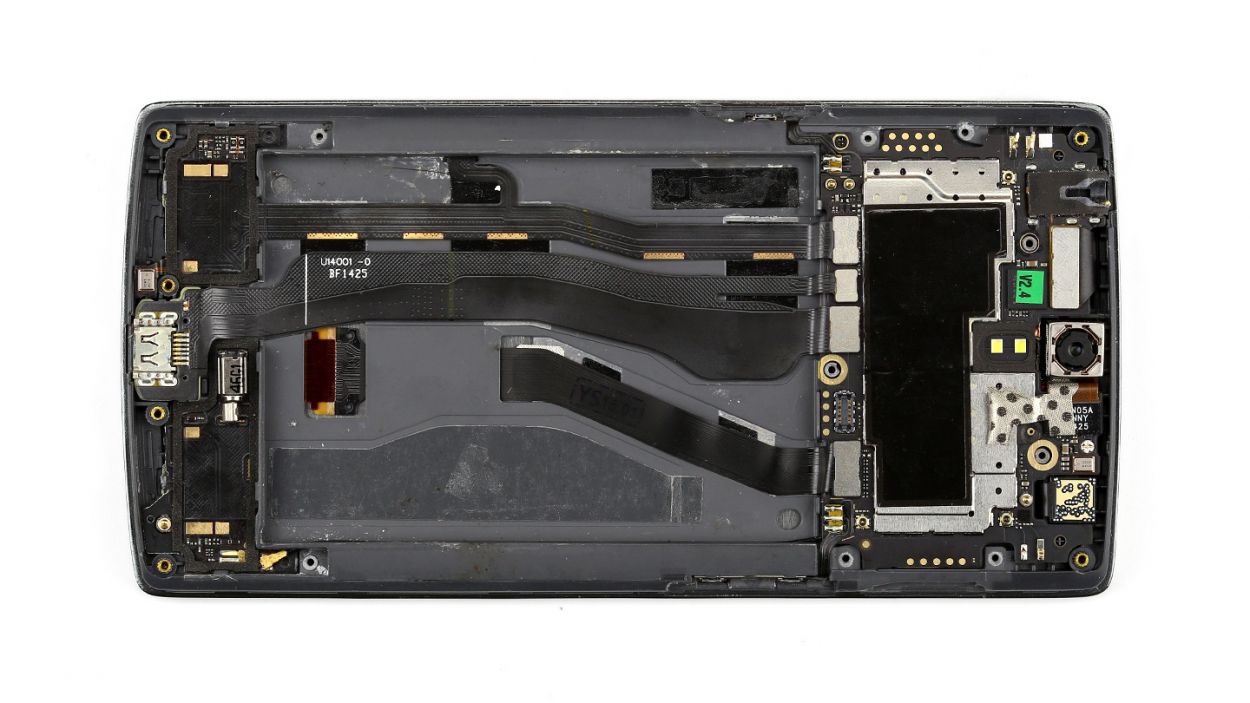
Step 5
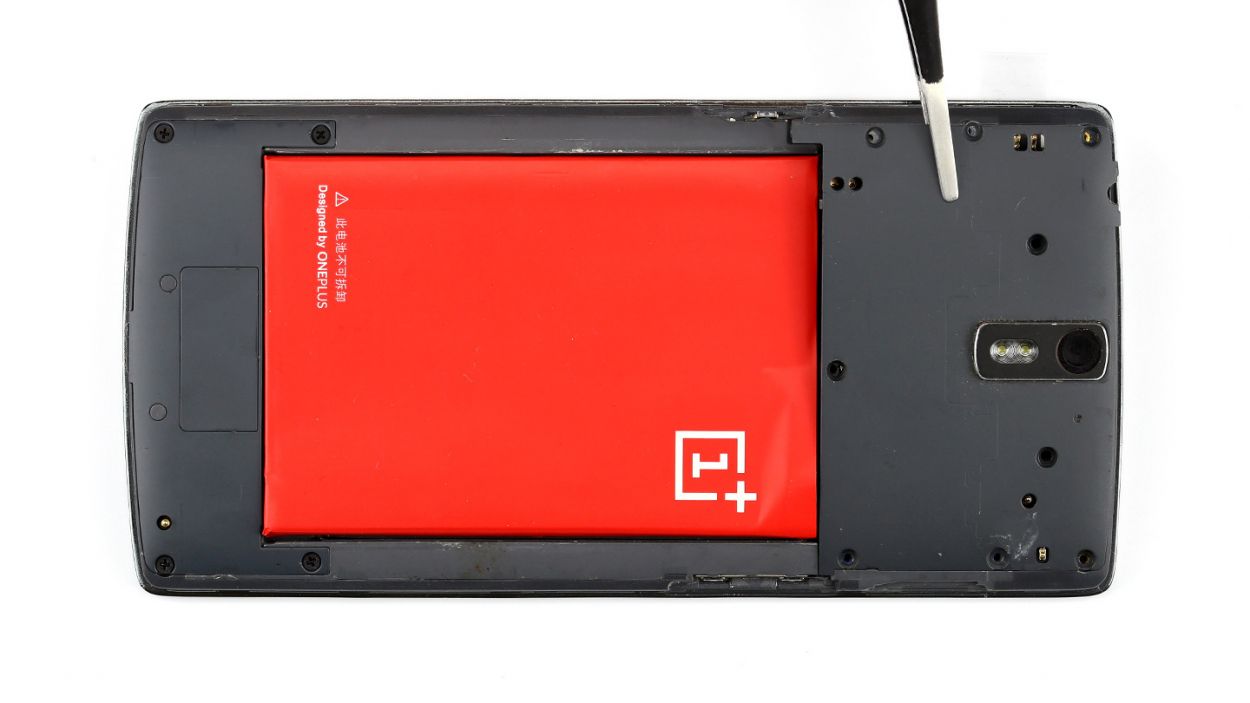
– Slide the flat end of the spudger gently underneath the cover right where the charging port is, and give it a careful lift. Guess what? The stereo speakers are hiding under there!
– Once you’ve got that cover up, it’s time to say goodbye to those speakers!
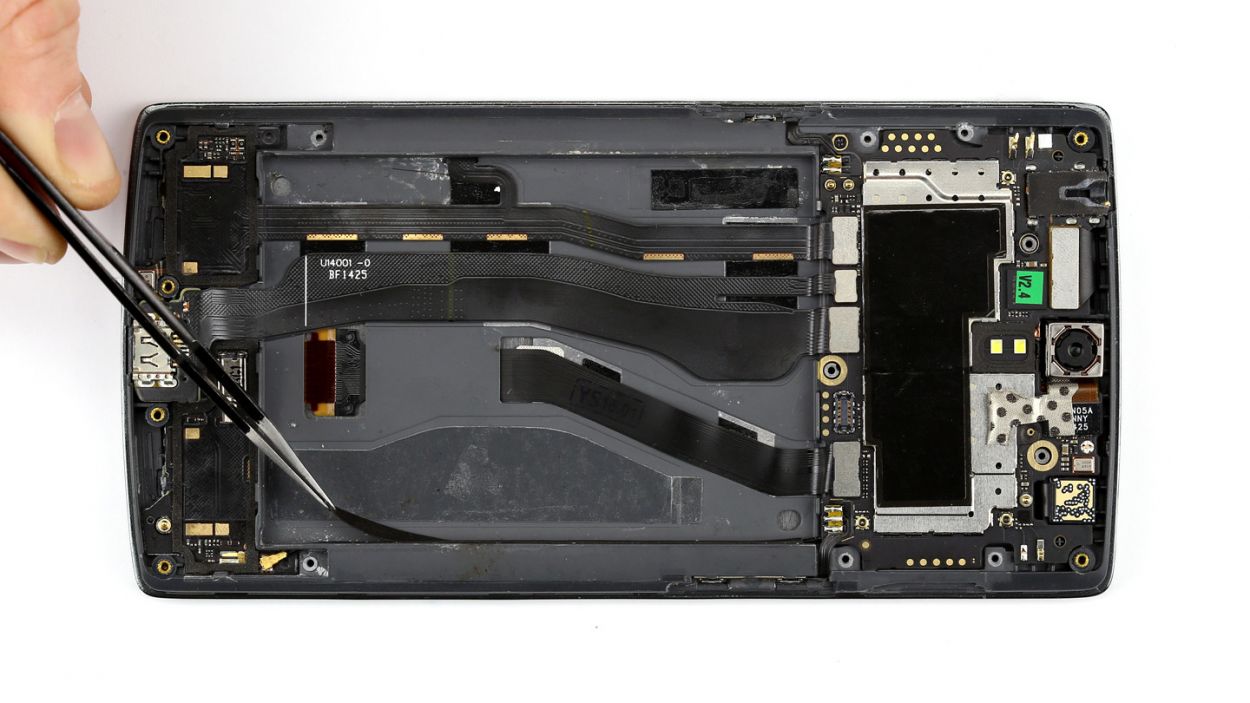
Step 6
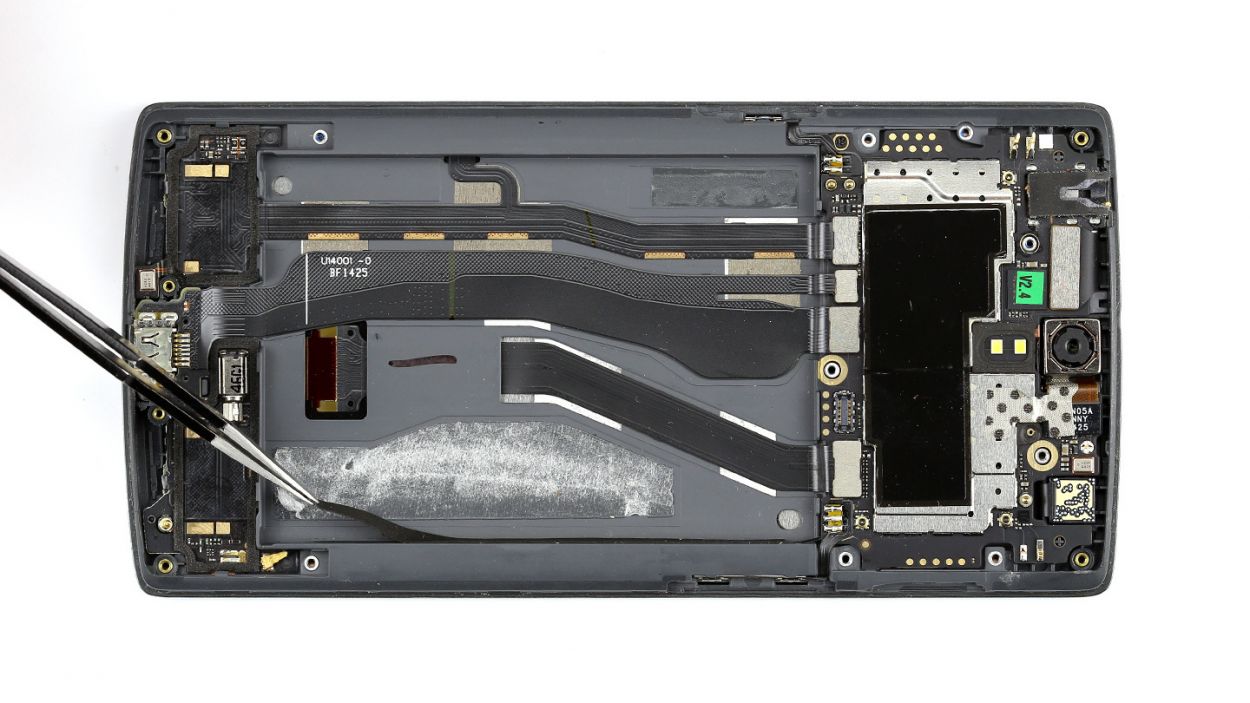
– First things first, let’s get those two black stickers off the side! A trusty pair of tweezers will do the trick—just give them a gentle pull.
– Next up, it’s time to disconnect the antenna cable from the connector. Grab your metal spatula and use its pointed tip to carefully pry it loose, then remove it with ease.
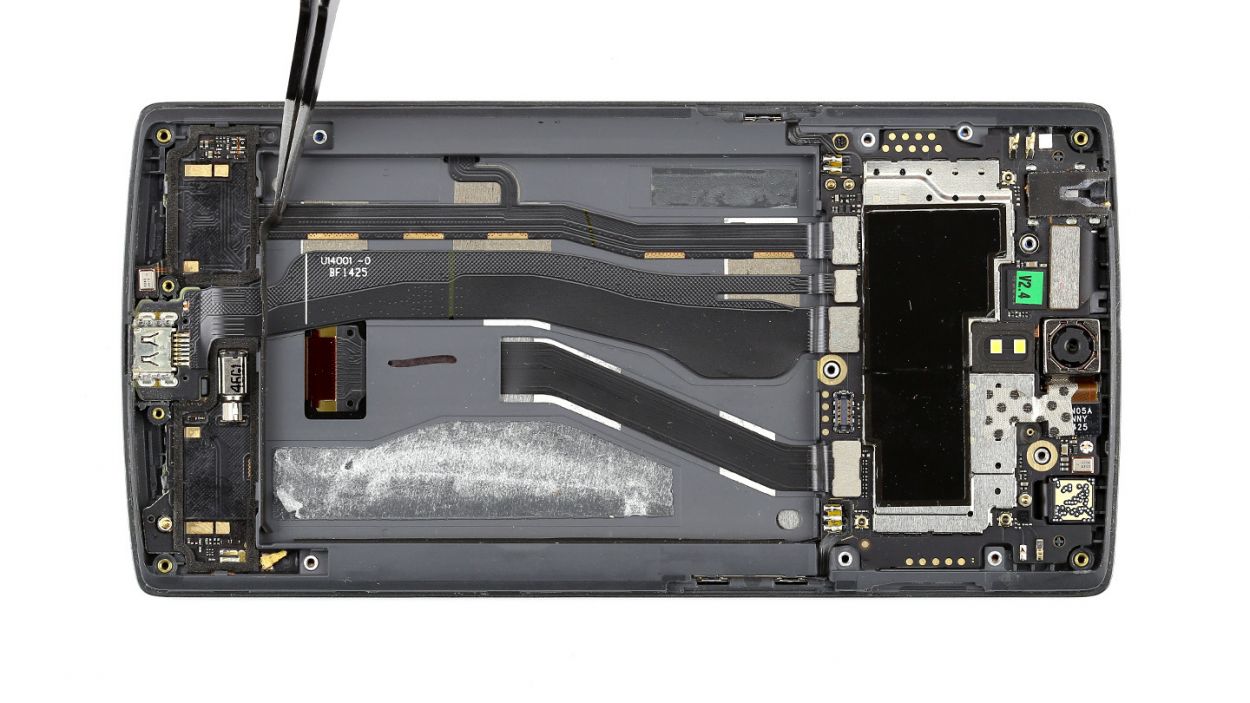
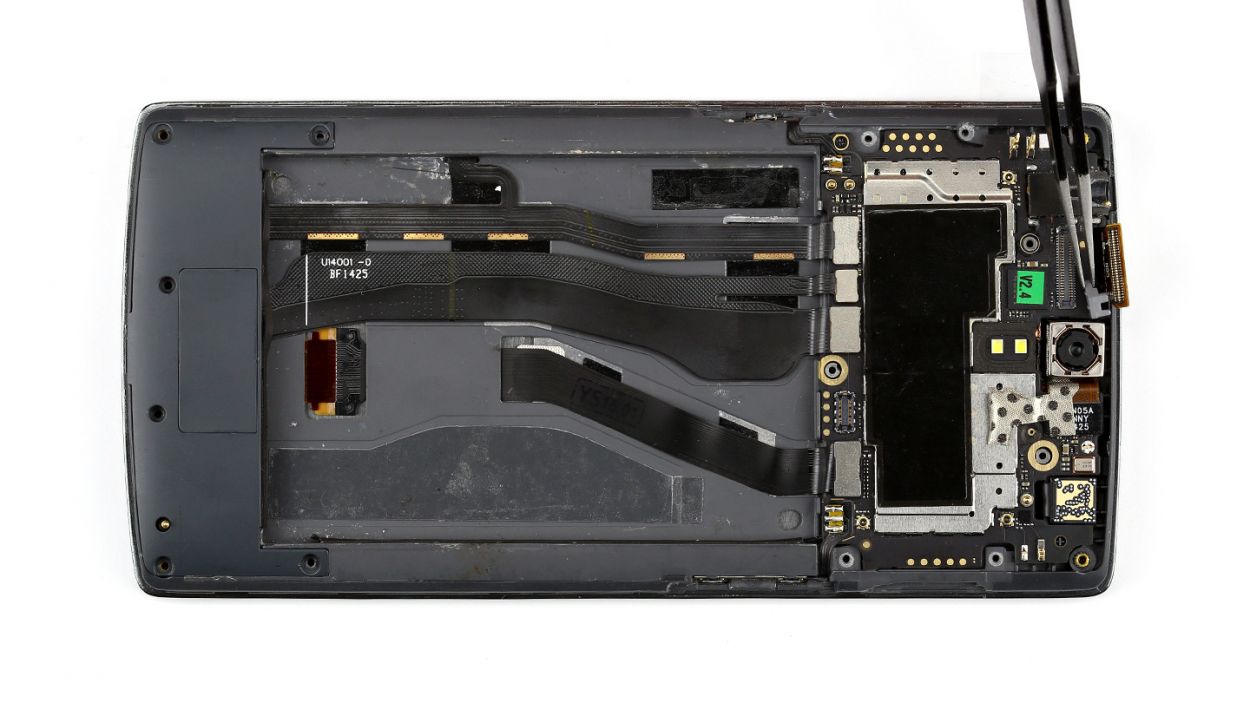
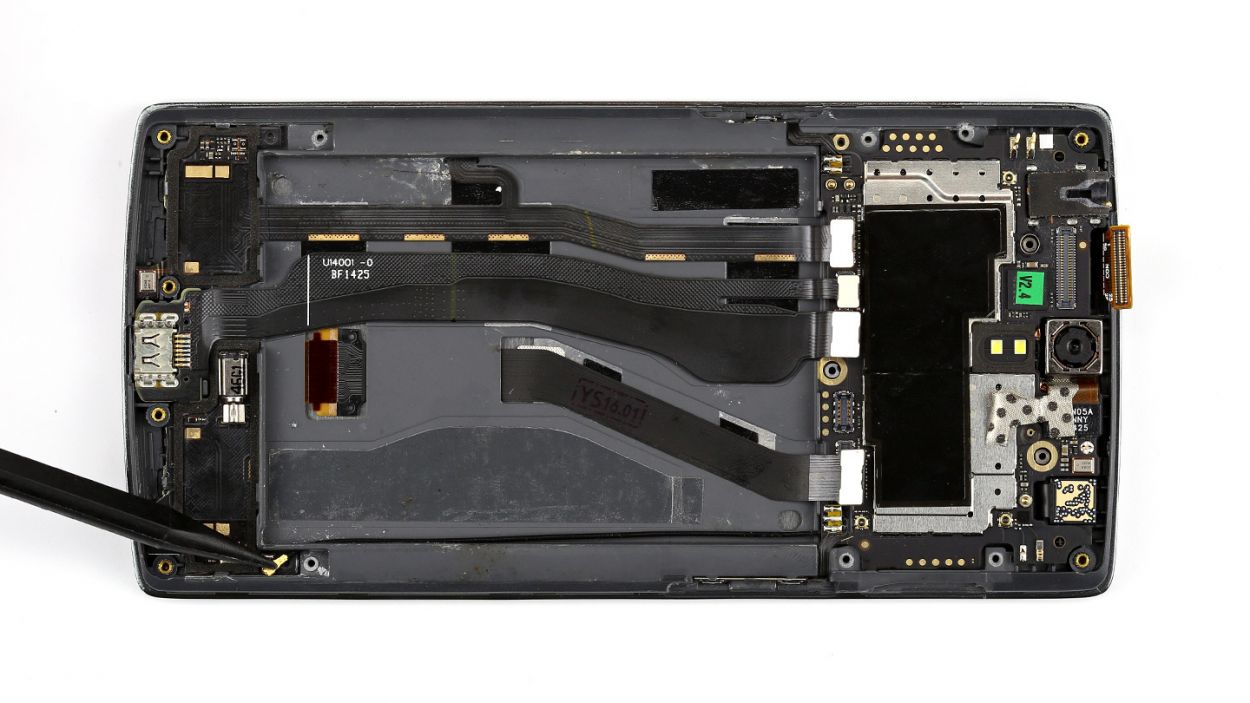
Step 7
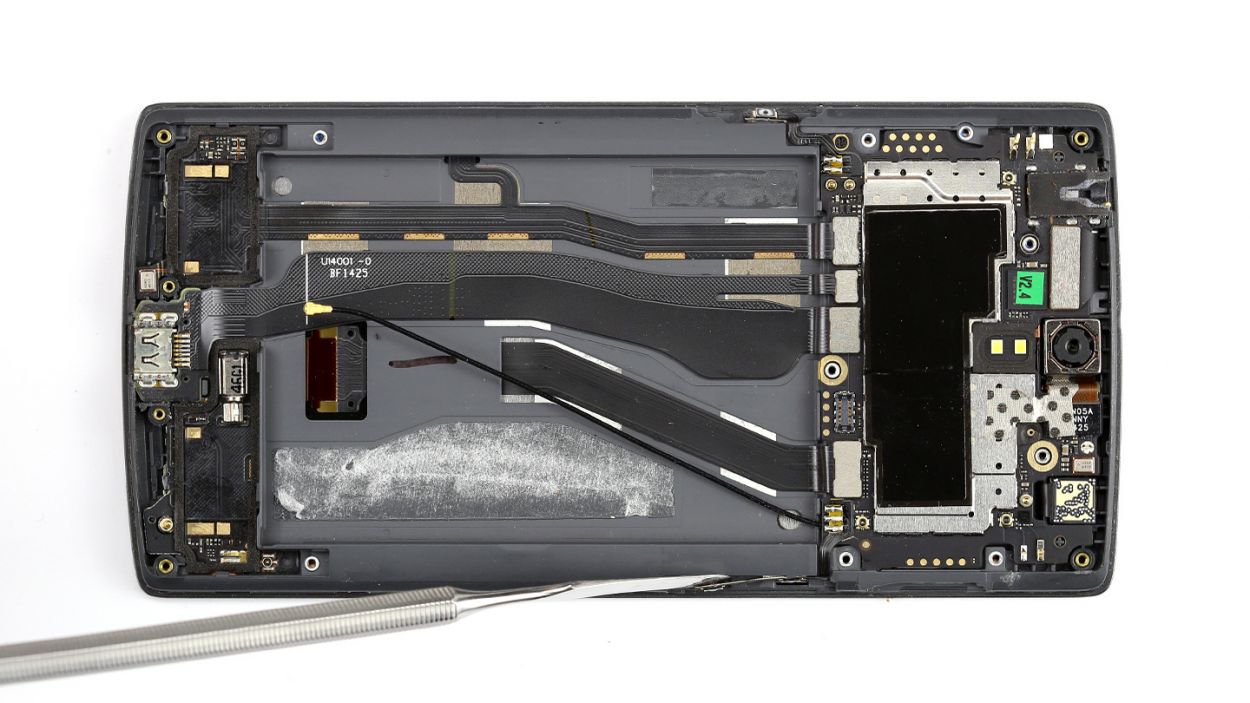
– The standby and volume buttons are linked to their own little ribbon cables, which are securely soldered onto the logic board.
– Now, grab your trusty metal spatula and gently pry off the cable – it’s just lightly glued to the frame, so it shouldn’t put up much of a fight!
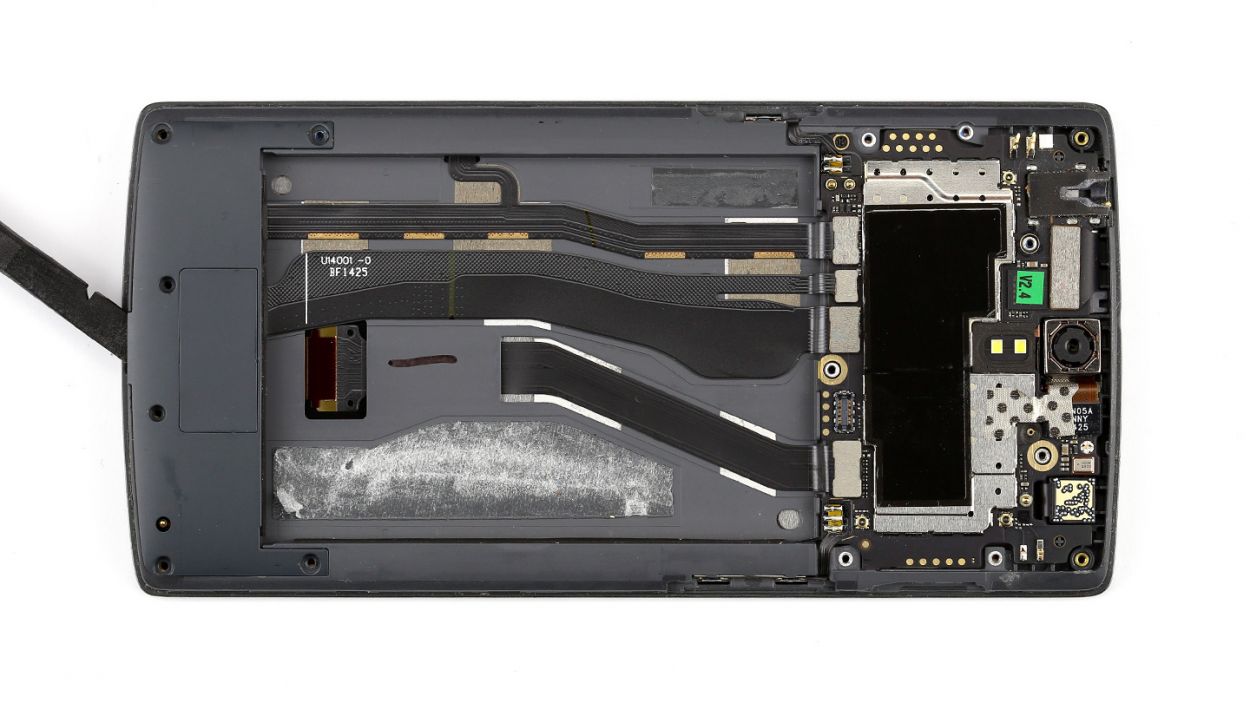
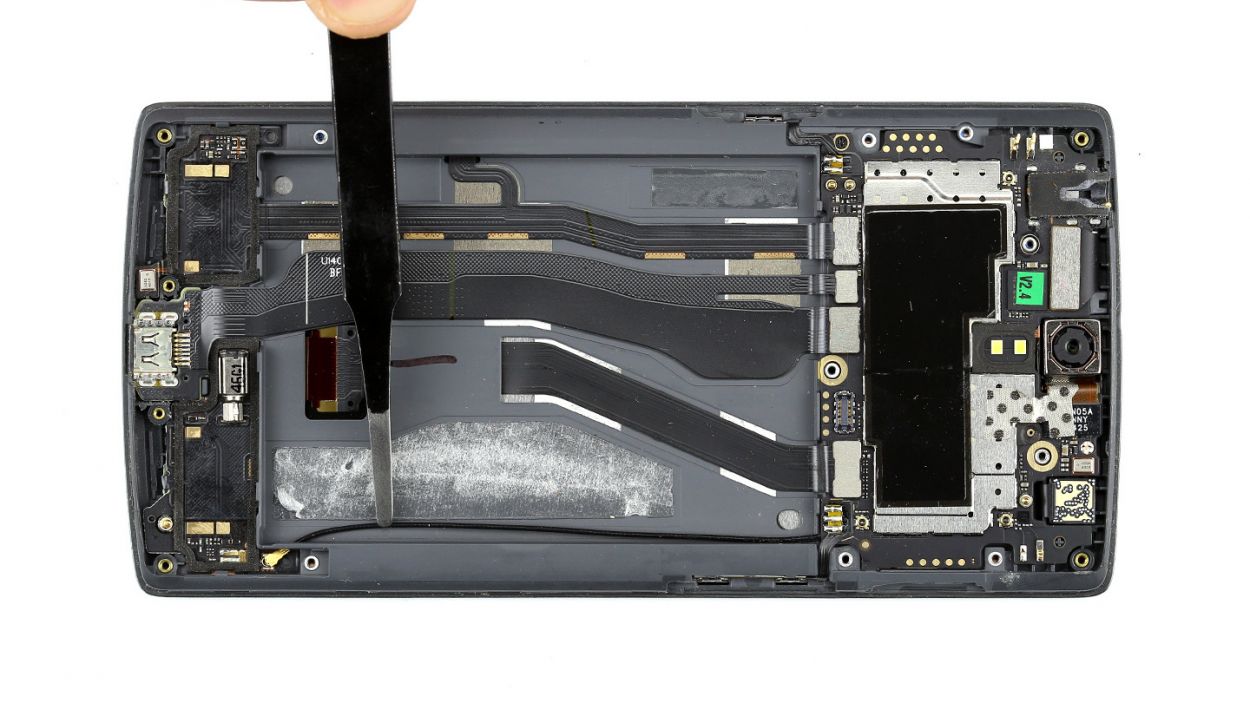
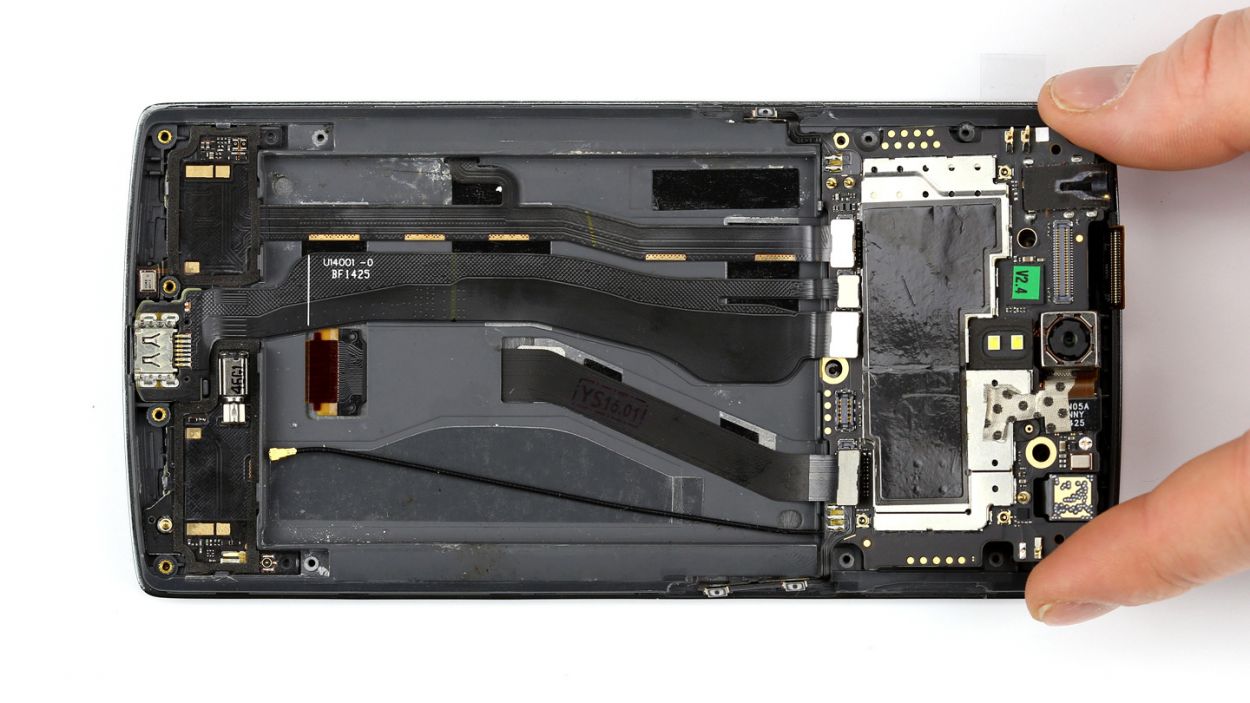
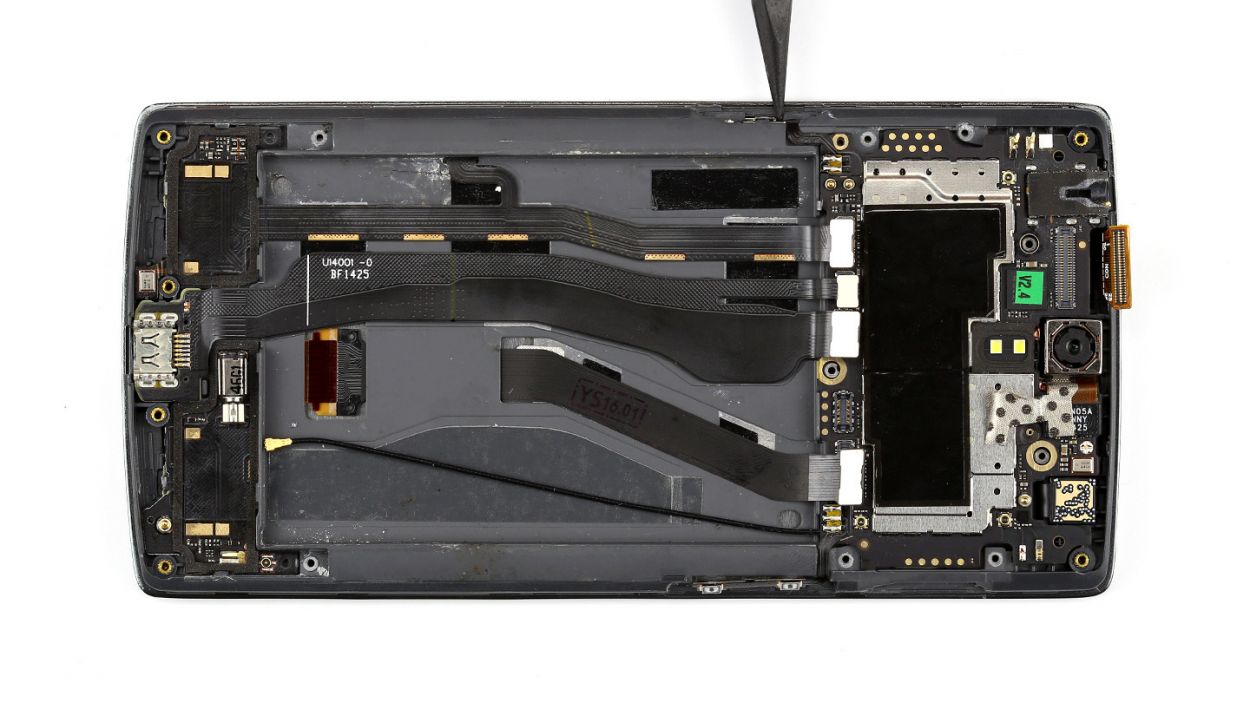
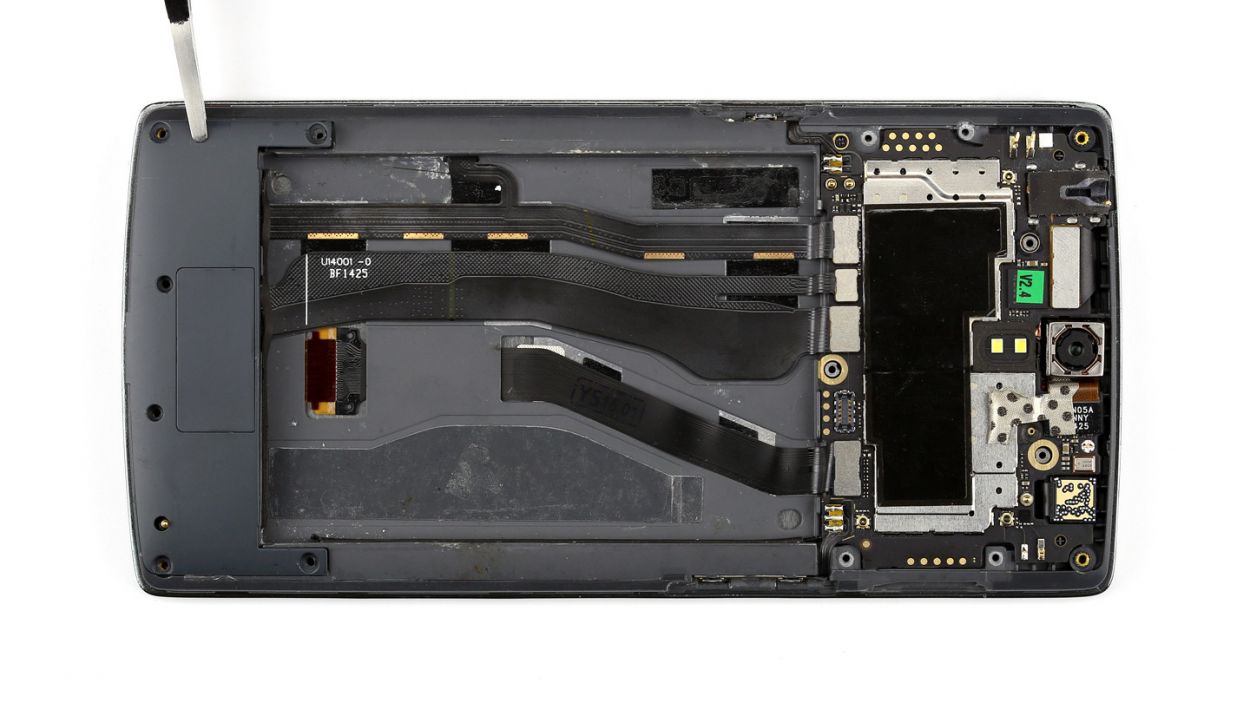
Step 8

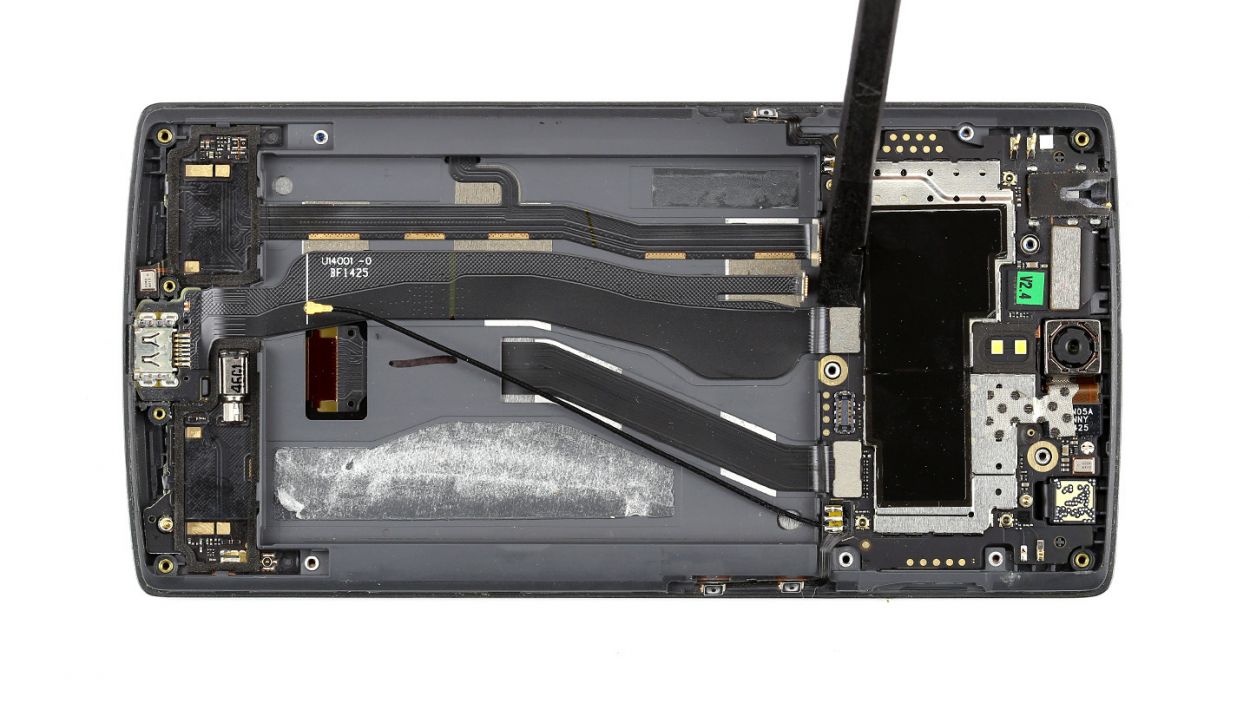

Keep an eye on those resistors and coils soldered to the logic board—let’s not send them flying while you work your magic!
– Alright, it’s time to gently disconnect those five connectors. Take your time and be super careful!
– Grab your spudger and place the pointed tip or flat end just a smidge below the contact. Lift it up with care, and remember to avoid breaking off those little resistors or coils that are soldered onto the logic board. You’ve got this!
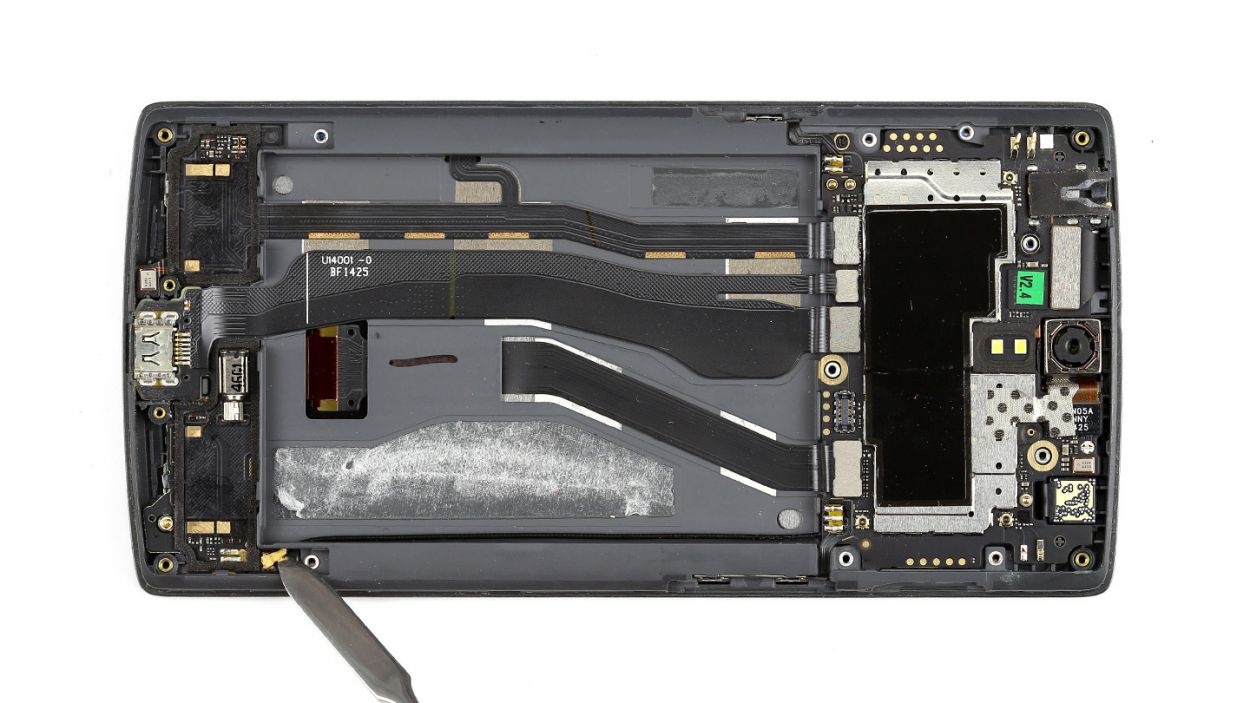
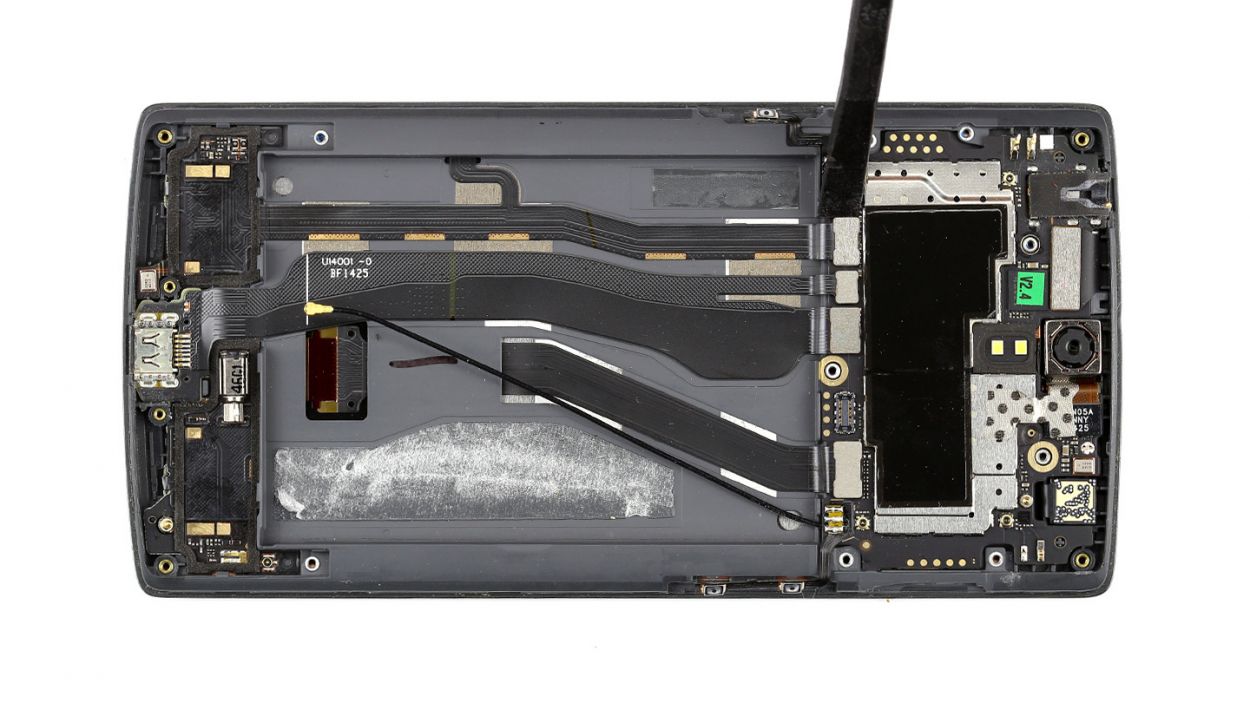
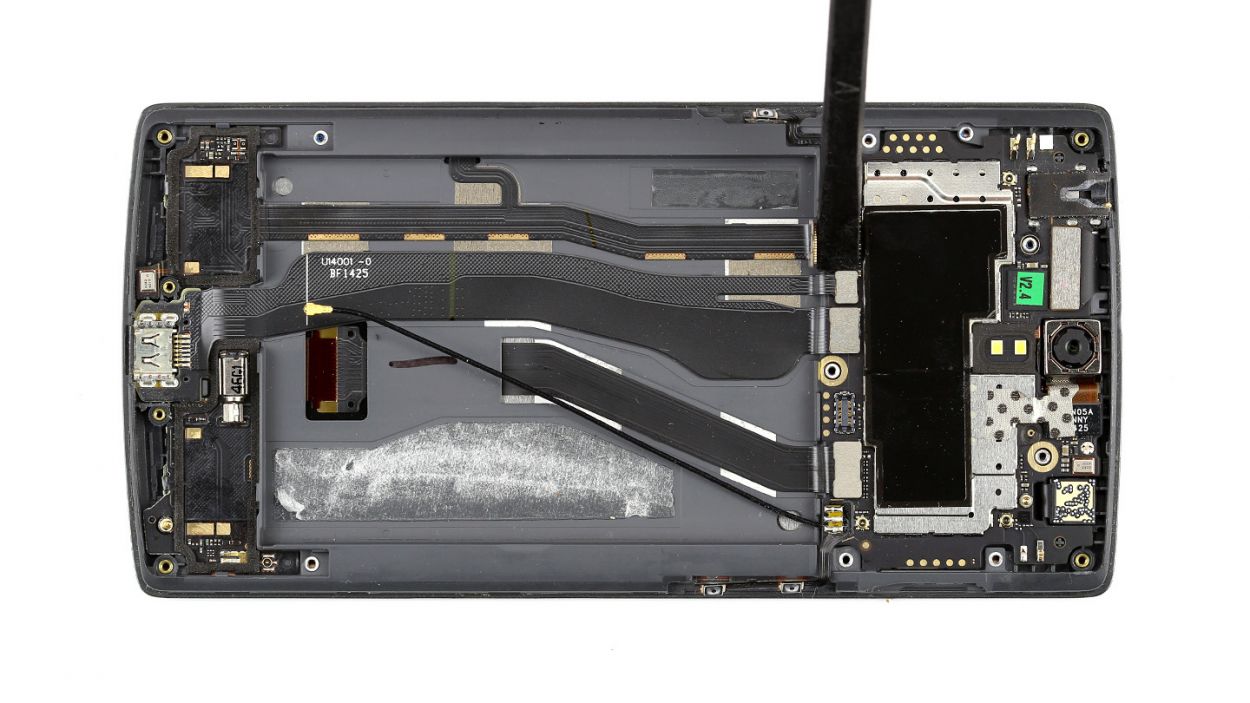
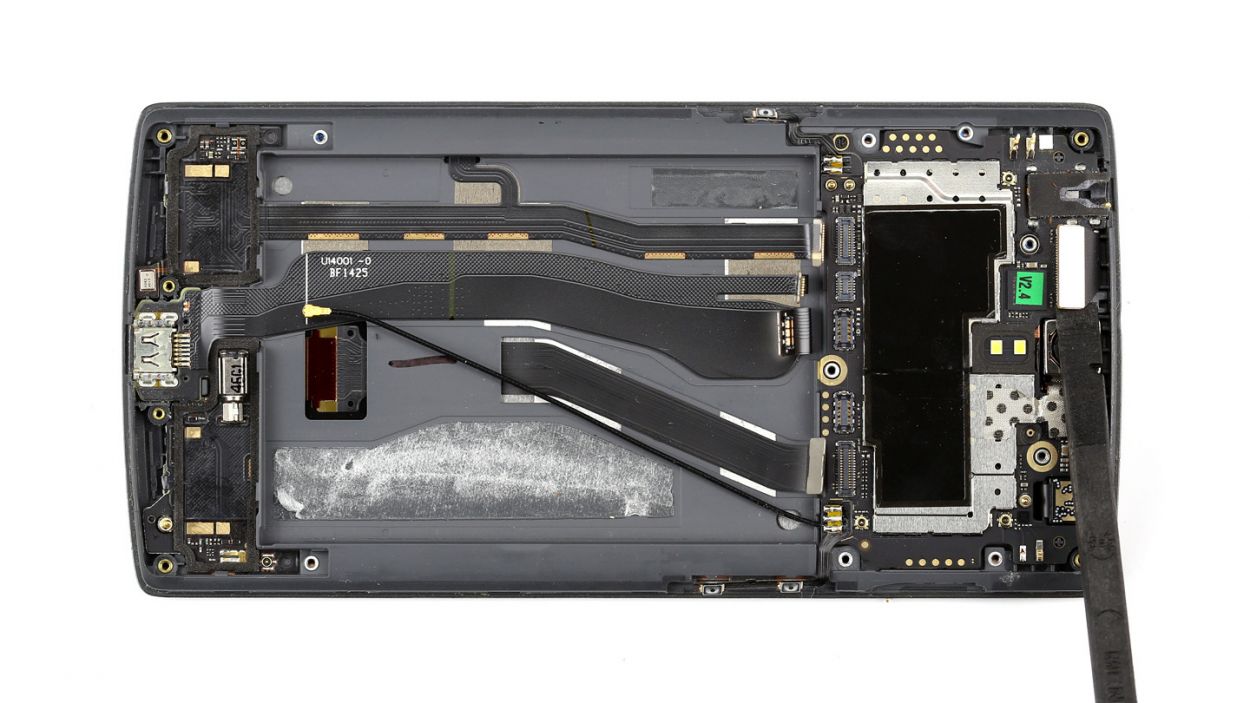
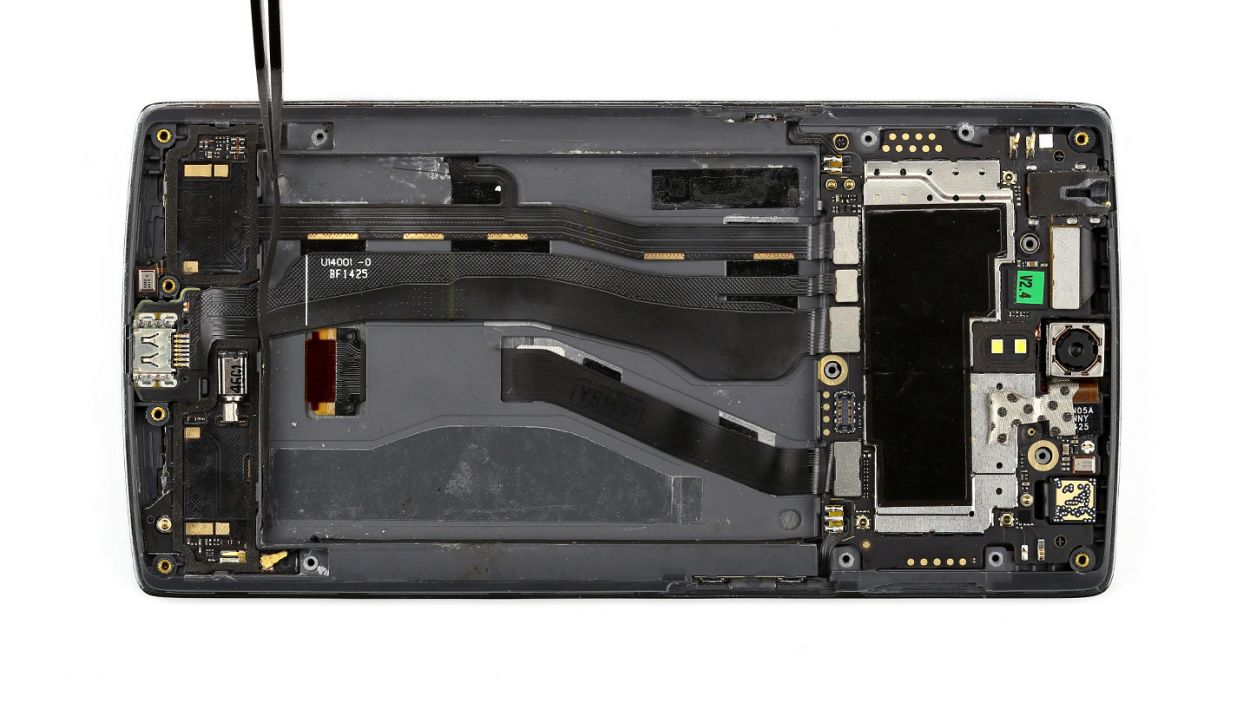
Step 9
Alright, let’s do this! Carefully remove that little screw under the camera connector. You got this, champ! If you need any help, just schedule a repair with the friendly folks at Salvation Repair.
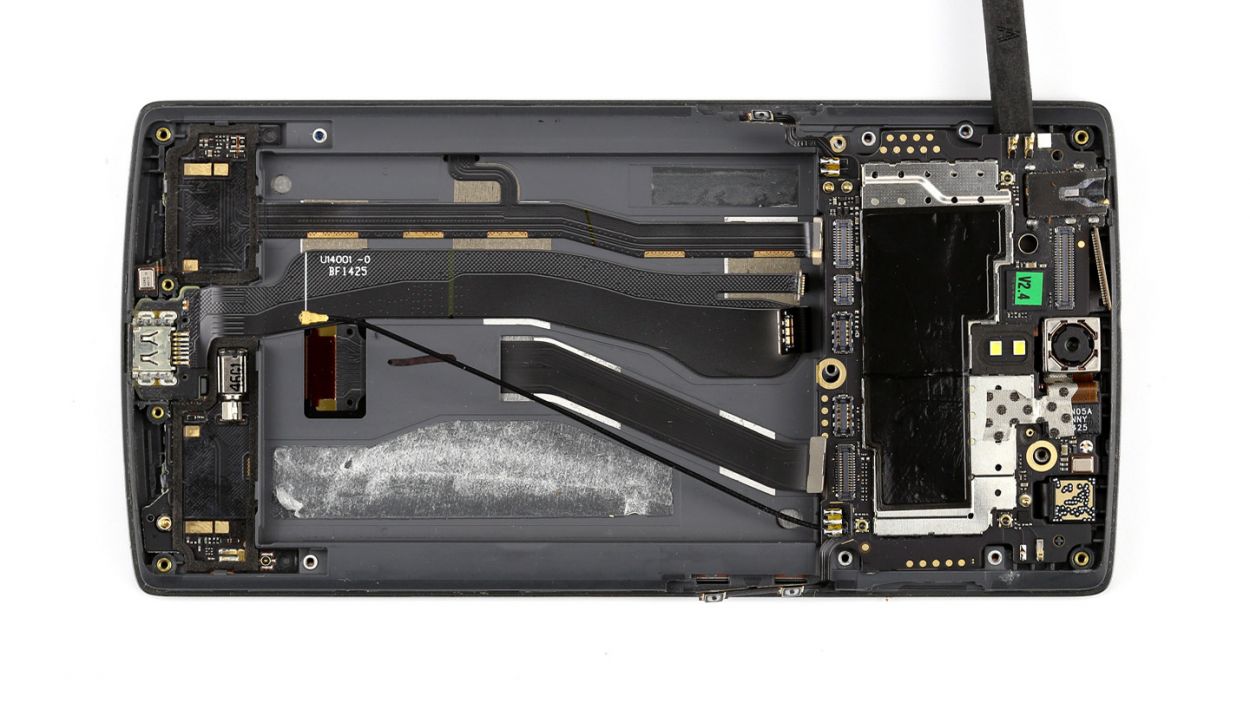
– Carefully lift the logic board with your trusty spudger and gently take it out by hand. You’ve got this!
Step 10
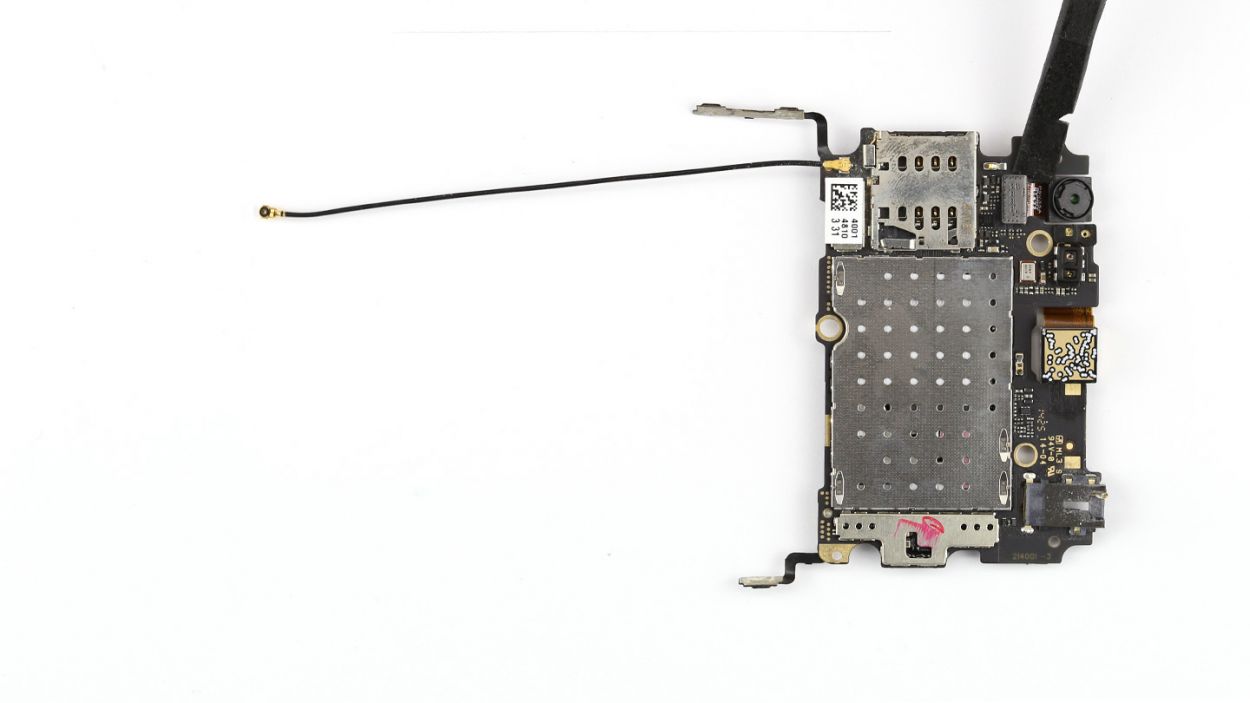
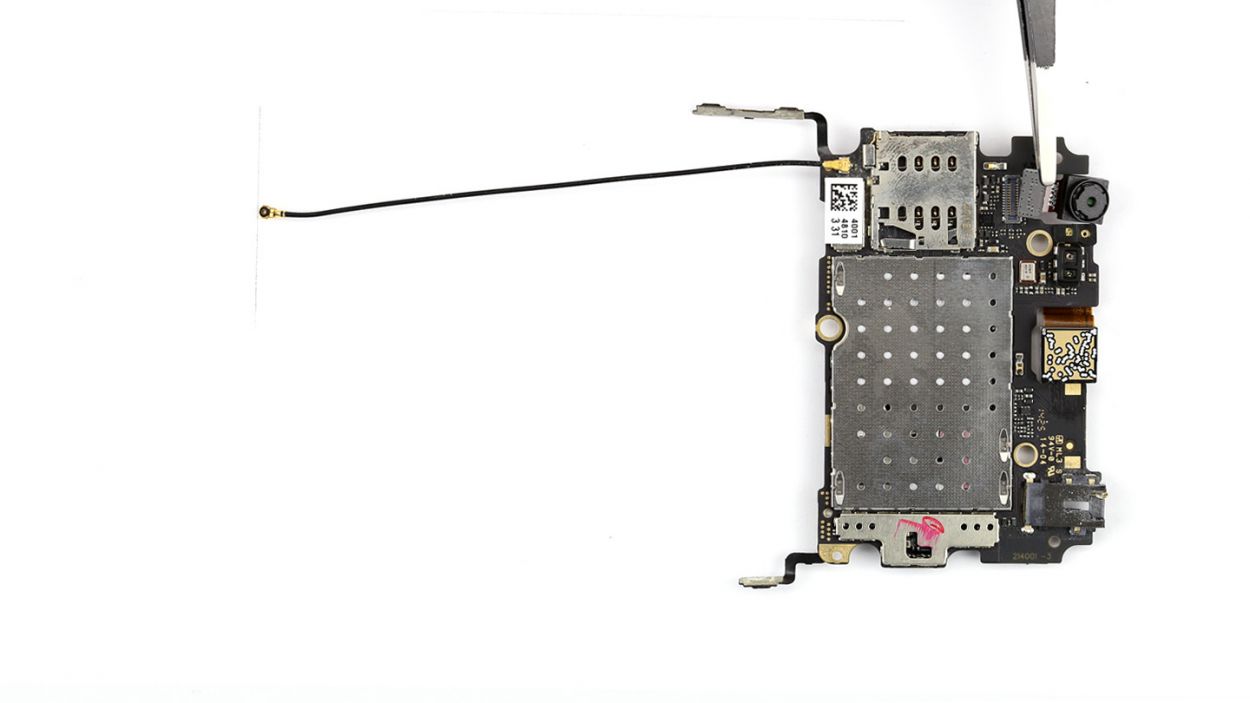
– First things first, gently unplug that front camera connector—take it slow and steady, alright?
– Next up, carefully remove the old camera and swap in the new one.
– Finally, don’t forget to stick those adhesive strips back where they belong!
Step 11
– Alright, time to slide that logic board back into its cozy home in the frame!
– Just be careful not to let any cables sneak under the logic board – they like to play hide and seek.
– Check out the picture to make sure your logic board is sitting pretty in its spot.
– Pop in the little placeholder on the display connector like it’s a puzzle piece.
– Now, let’s reconnect all those little connectors to the logic board and get everything back in action!
Step 12

– Install the standby button and the volume buttons again. Use the spatula to press them into the appropriate positions.
Step 13
– First, let’s carefully guide that antenna cable back through the tiny opening and make sure it connects securely to the logic board. You’ve got this!
– Next up, remember to reapply those adhesive strips like a pro. You’re almost done!
Step 14
– It’s time to pop on that cover with the stereo speakers and slide them back into their cozy spots!
Step 15
– Time to reunite your device with its power source! Gently place the battery back in its home and make sure it’s snug and connected.
Step 16

– Time to put the cover back on – easy peasy!
– Next, get those Phillips screws back in their spots. We’re talking 12 of the 3.1 mm size, 2 smaller 3.1 mm ones, and 1 more 3.1 mm screw. You got this!
– Don’t forget those tiny rubber plugs! They’re important little guys.
Step 17

– It’s very easy to put the back cover back on. Put it on in the correct position and press it on all the way around the phone until it’s completely clicked into place.


