How to Replace OnePlus One Earpiece: DIY Guide
Duration: 60 min.
Steps: 18 Steps
In this guide, we’re here to help you swap out that pesky earpiece on your OnePlus One. If you’re struggling to hear your buddy on the other end or the call sounds like a whisper, it’s time for a little DIY magic. Let’s get started!
Step 1
– Alright, let’s kick things off by powering down your OnePlus One. Safety first, right?
– Now, grab your trusty SIM Tool or a paperclip. Locate that tiny hole in the SIM card tray and give it a gentle push to pop it out. Easy peasy!
Step 2

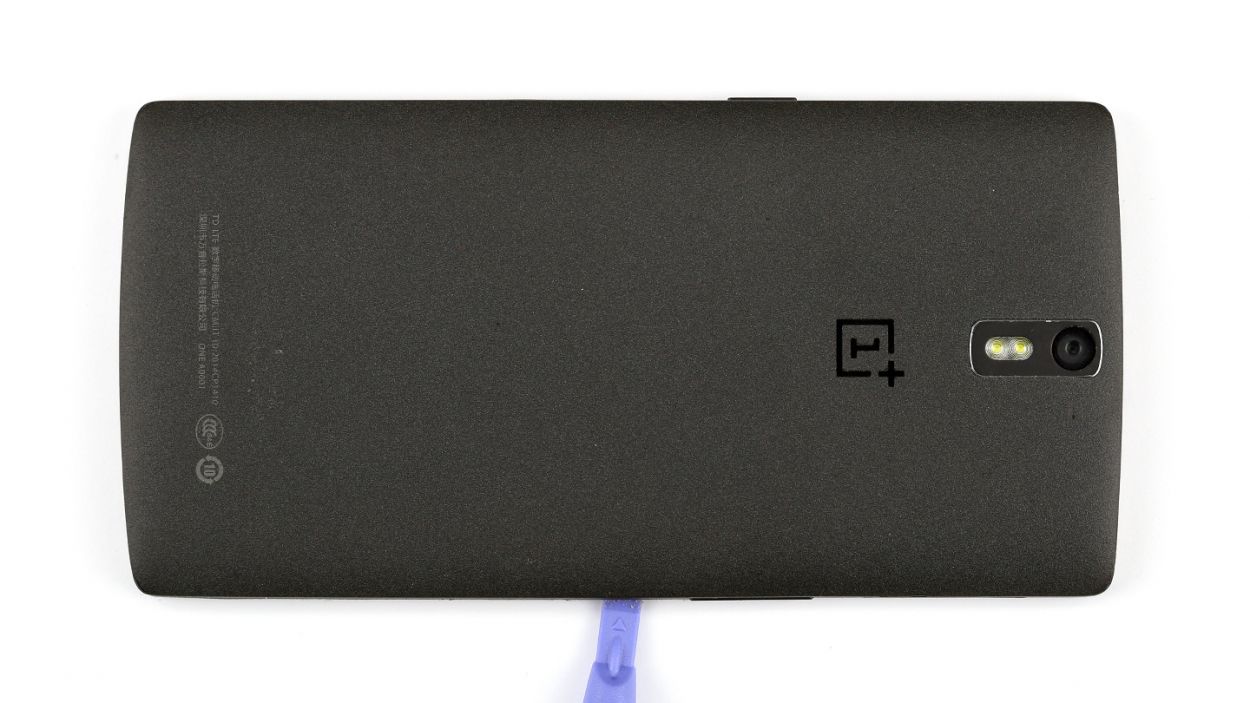
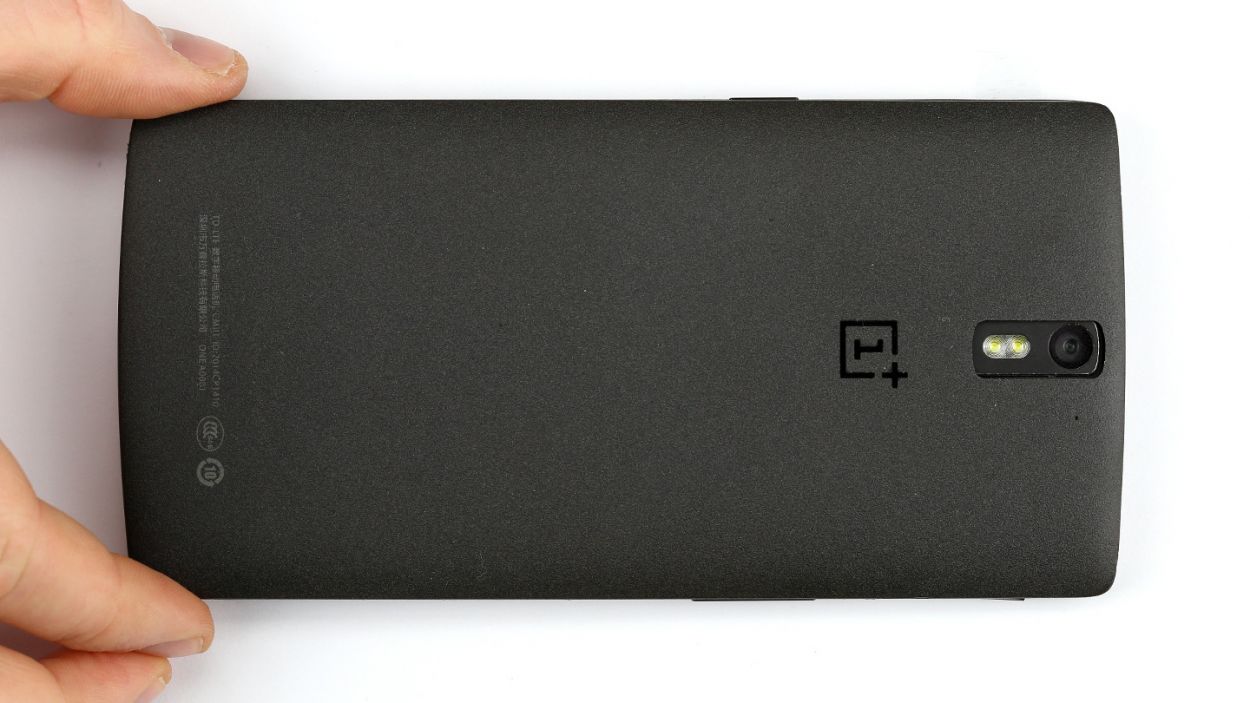
– Grab a thin, flat, tapered spudger and gently slide it into the corner gap of your smartphone. You’ll find some sneaky clips hiding under the back cover that need to be disconnected. Just run that spudger around the smartphone once to free them up! If you’re feeling adventurous, you can also use your trusty fingernails to pop off the back cover.
– Once you’ve done that, go ahead and lift off the back cover!
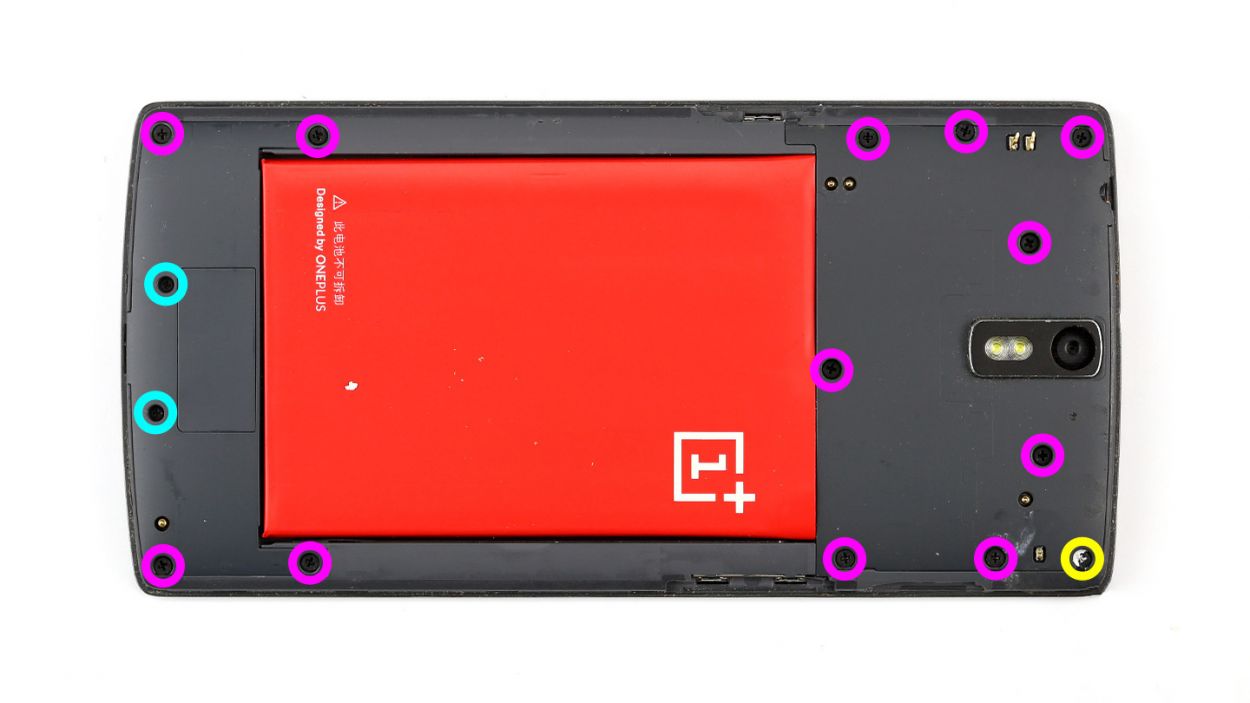
Step 3

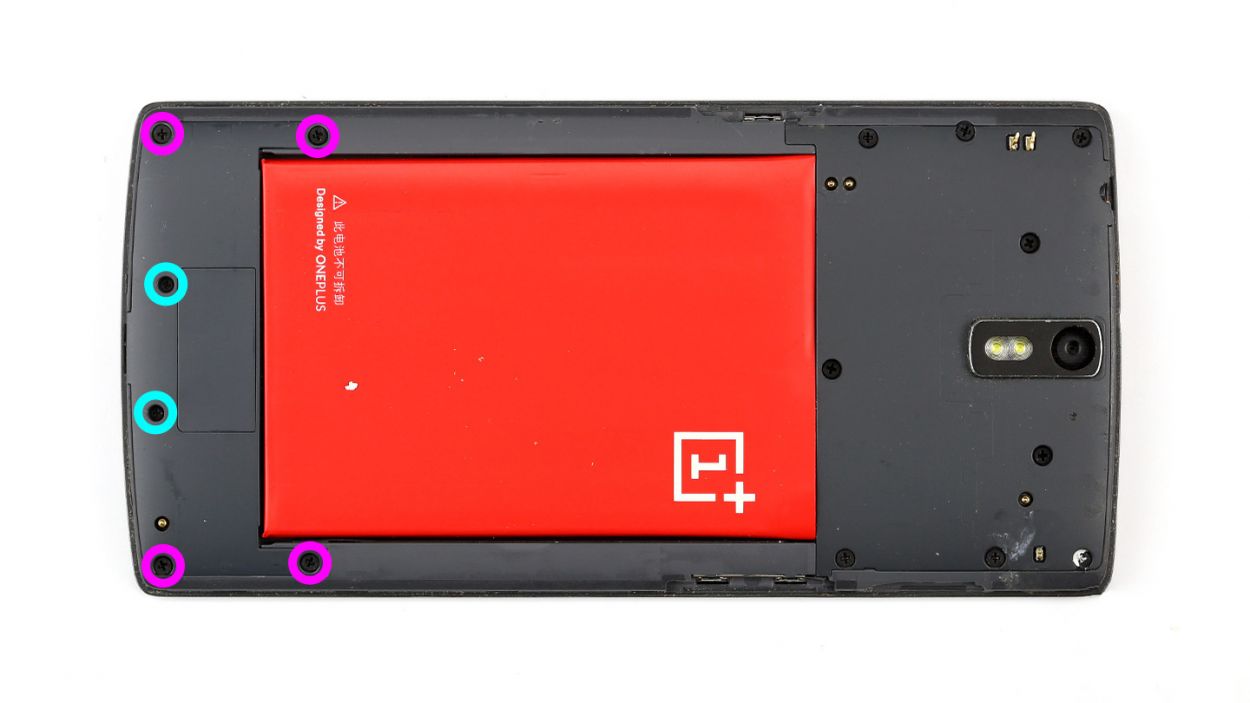
– Take out all 15 Phillips screws holding the plastic cover in place.
– There are 2 Phillips screws hidden under a rubber cover. Use something sharp to lift the cover.
– Now, remove these screws: 4 x 3.1 mm Phillips screws and 2 x 3.1 mm Phillips screws (small).
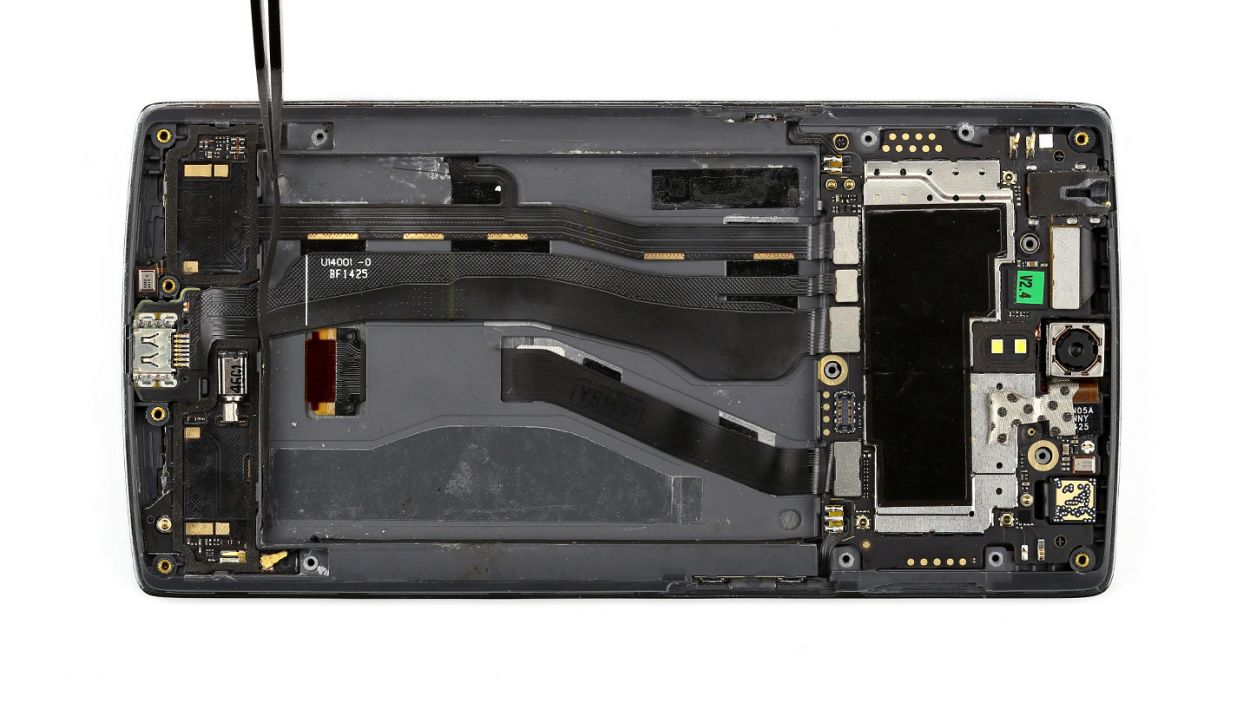
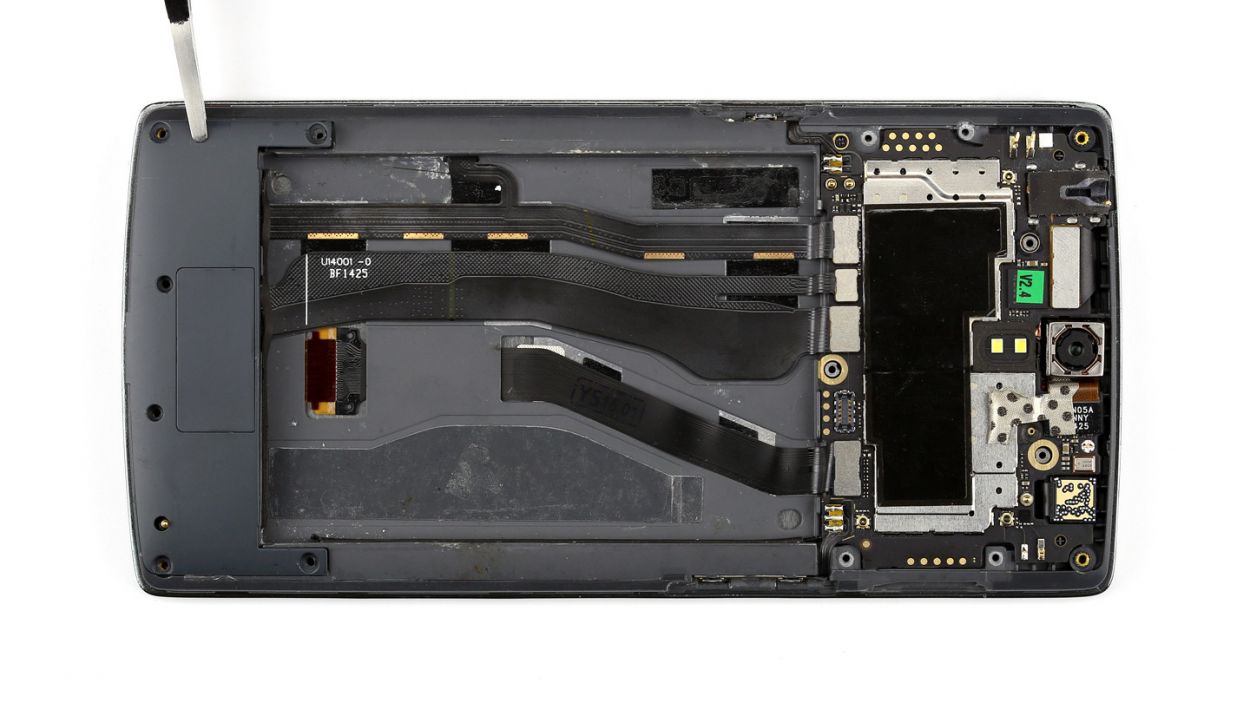
– Lift off the speaker cover. Carefully insert the pointed tip of the ESD spudger into the USB port and lift the black cover.
Step 4
– Got your OnePlus One still on? Let’s power it down! Hold that standby button for about three seconds and follow the prompt on the screen.
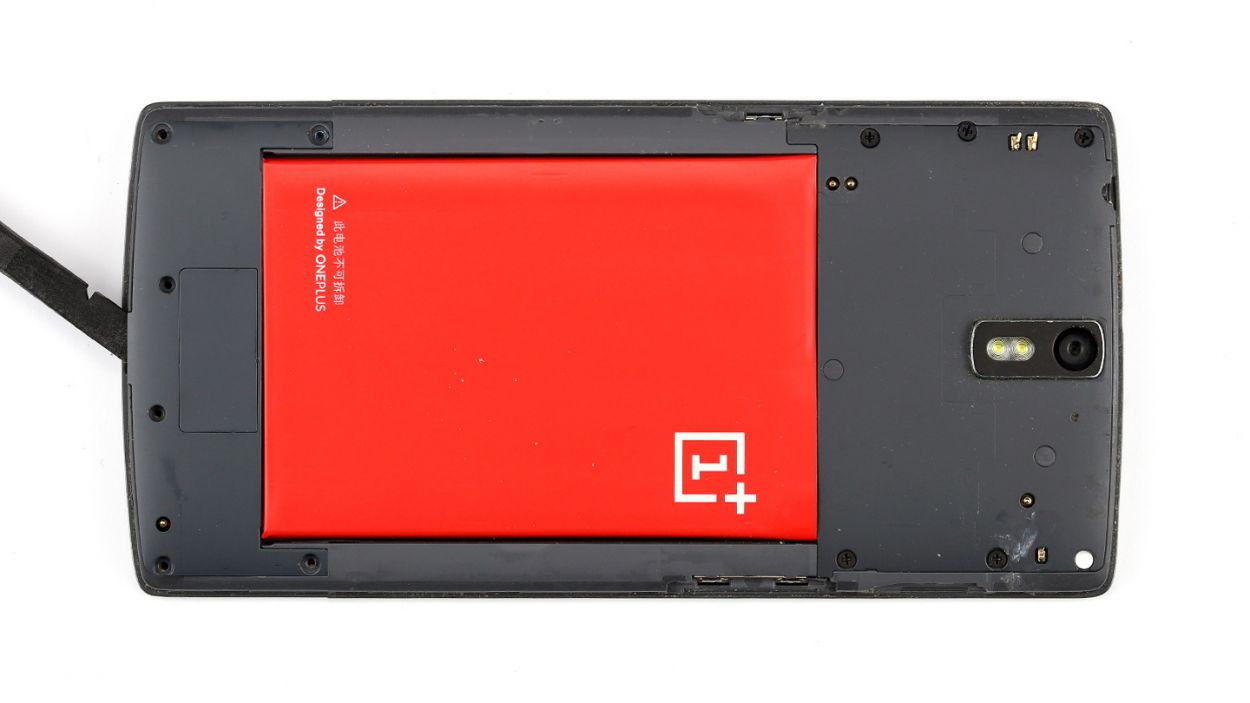
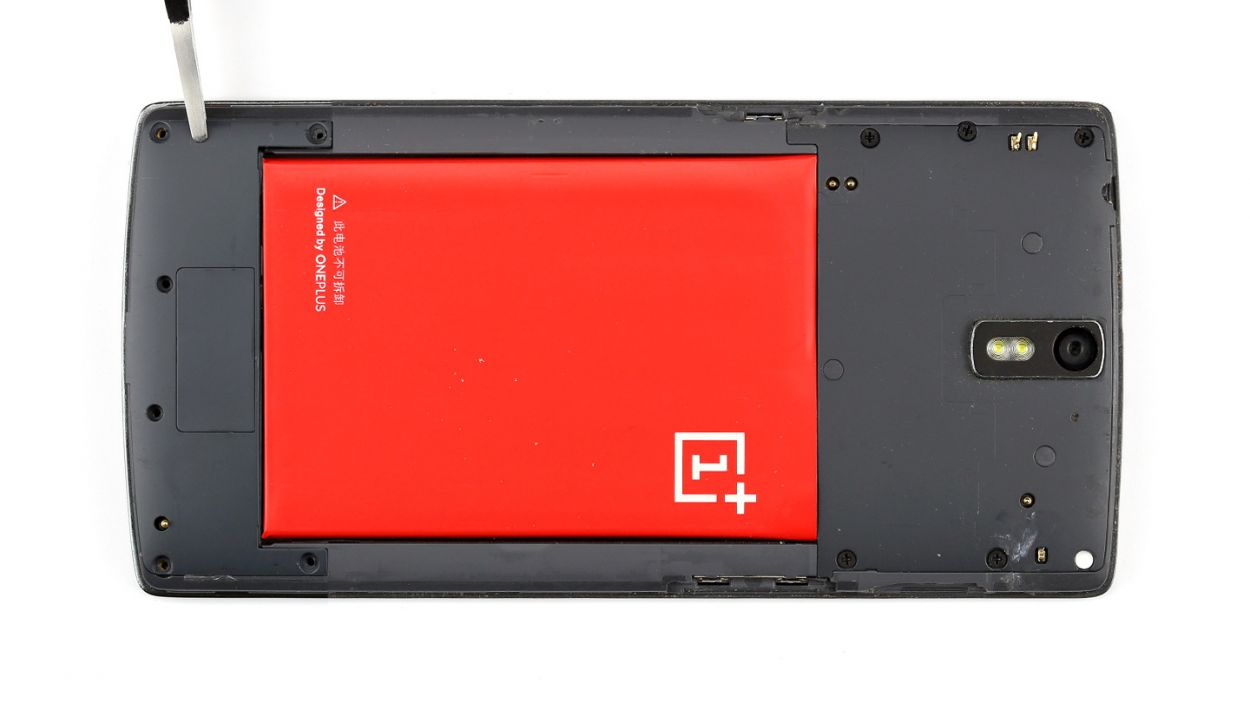
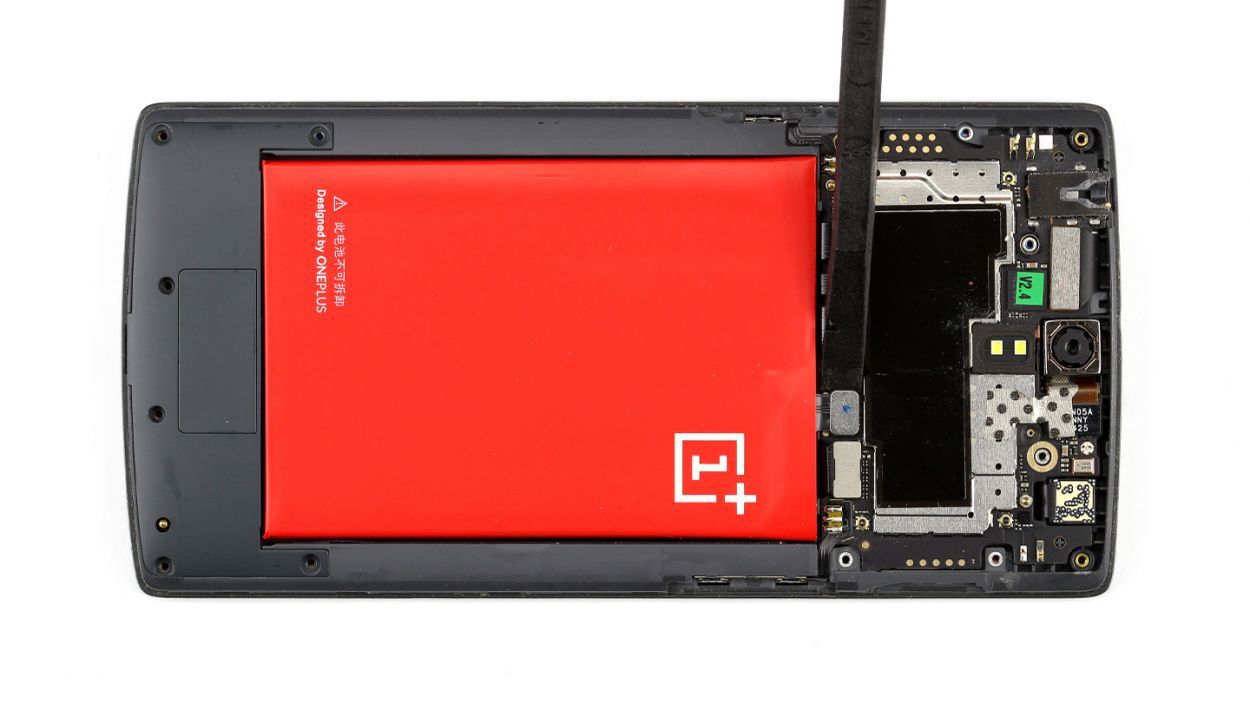
– Time to detach the battery connector. Be super careful! Gently place the pointed tip of the spudger just below the contact and lift it up carefully. Check out the pictures to see where to place the spudger to avoid breaking those tiny resistors, even if it slips.
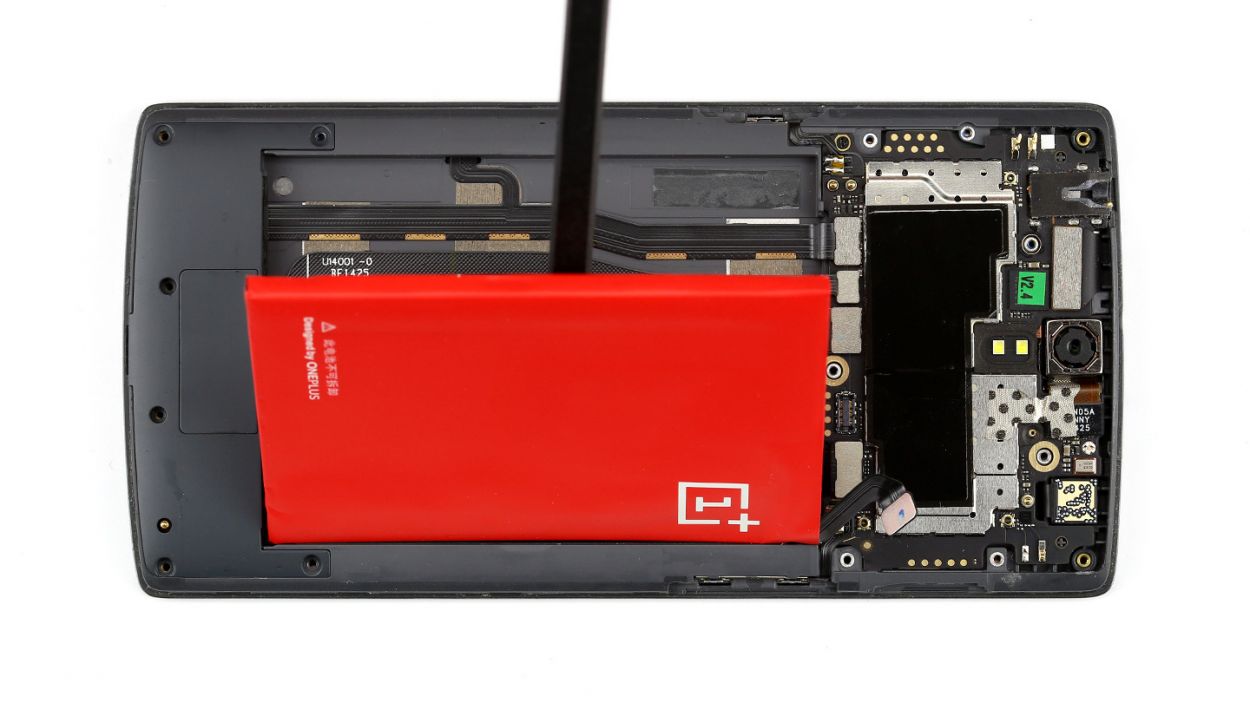
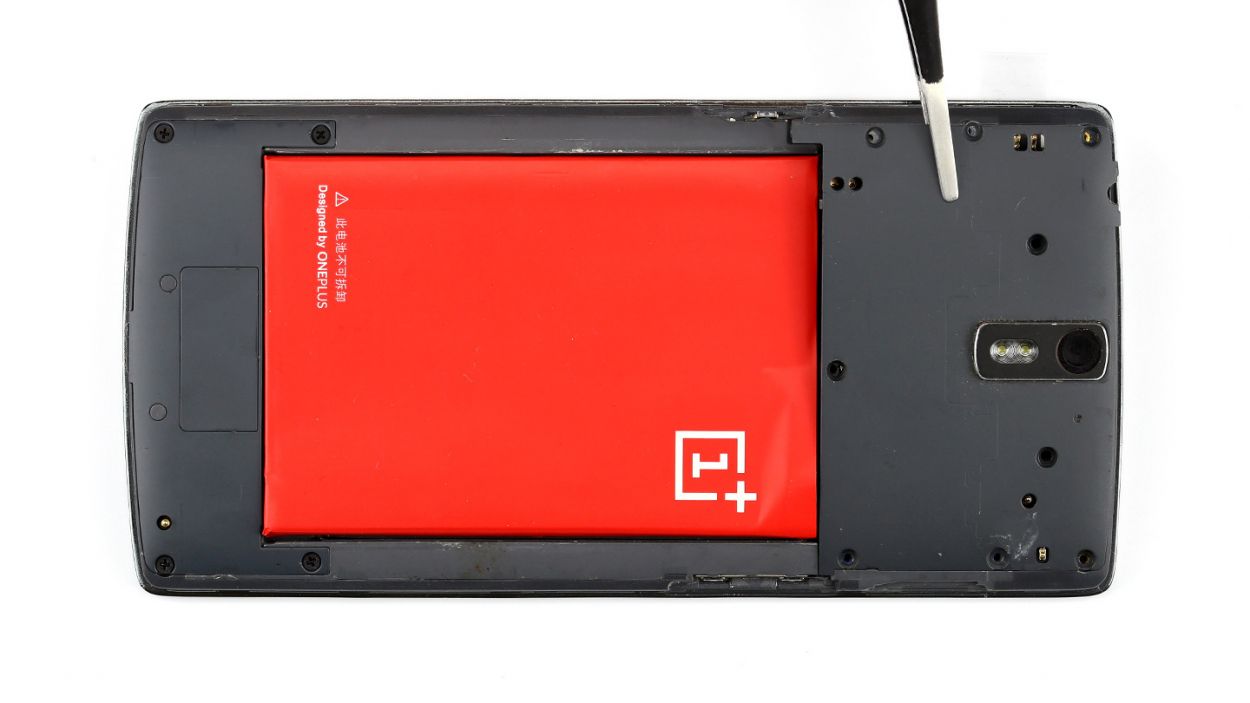
– Now, lift the battery with the spudger and remove it. If you need help, you can always schedule a repair.
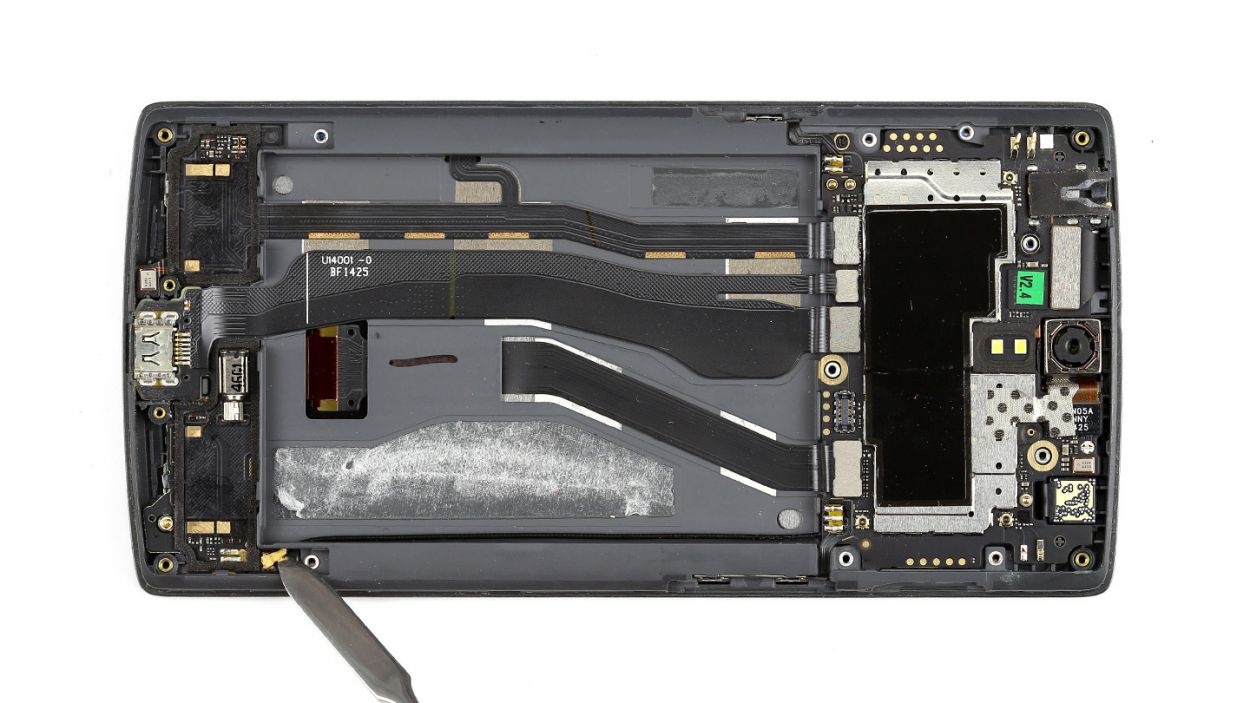
Step 5
– Slide the flat end of your spudger under the cover near the charging port and gently lift it up. You’ll find the stereo speakers chilling underneath.
– Go ahead and take them out now.
Step 6
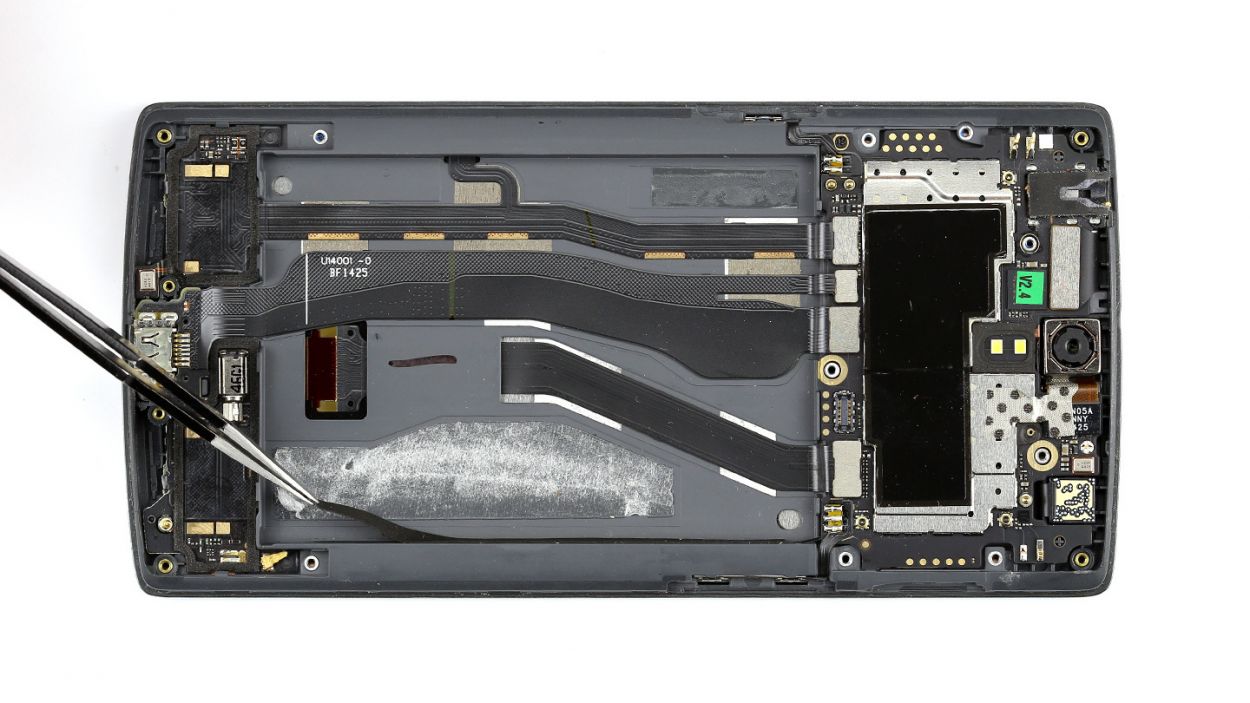
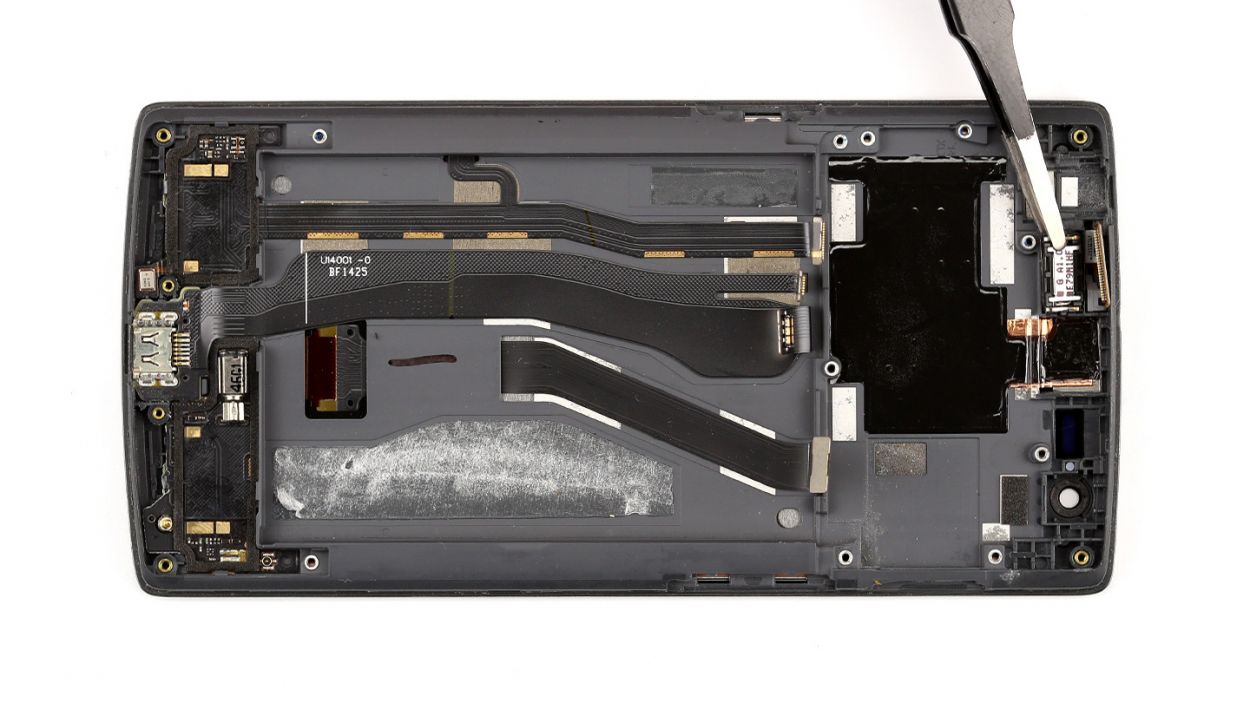
– Alright, first things first! Peel off those two black stickers on the side. A pair of tweezers will do the trick!
– Next up, use the pointed tip of the metal spatula to disconnect the antenna cable from the connector, and then take it out. If you need help, you can always schedule a repair.
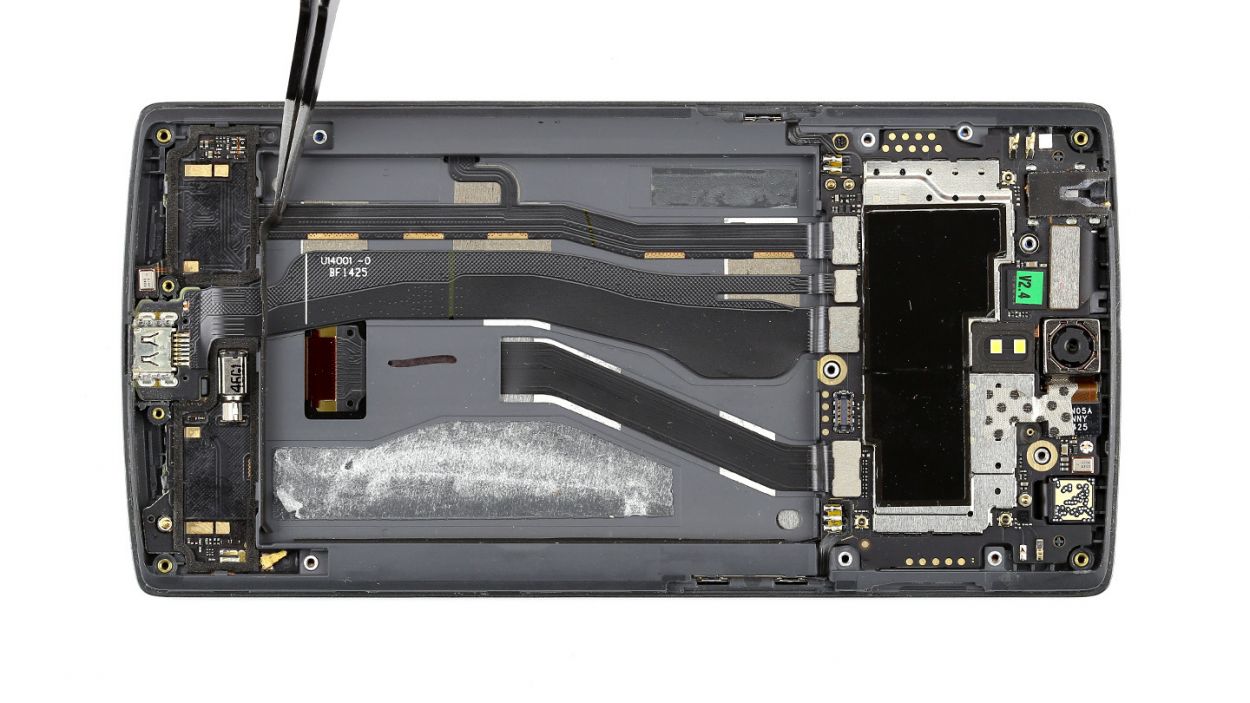
Step 7
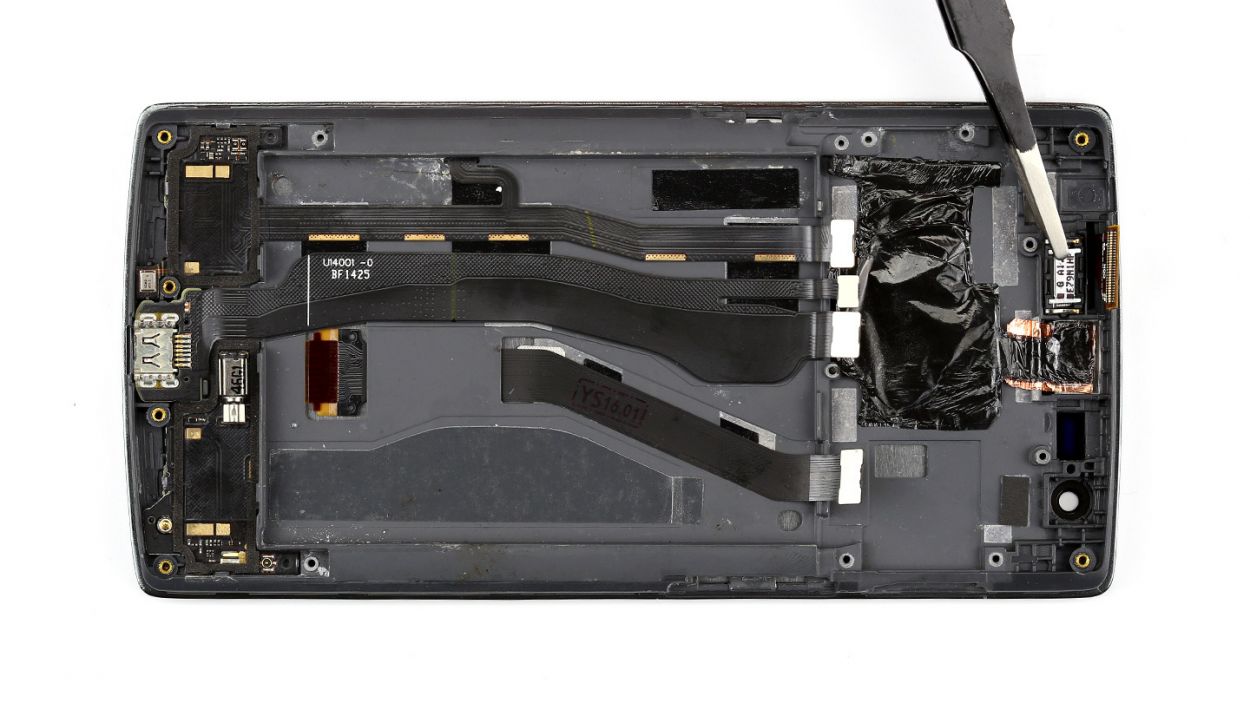
– The standby and volume buttons are connected to their own ribbon cables, which are securely soldered to the logic board. No worries, though!
– Grab your trusty metal spatula and gently pry off the cable, which is just a little bit glued to the frame. You’ve got this!
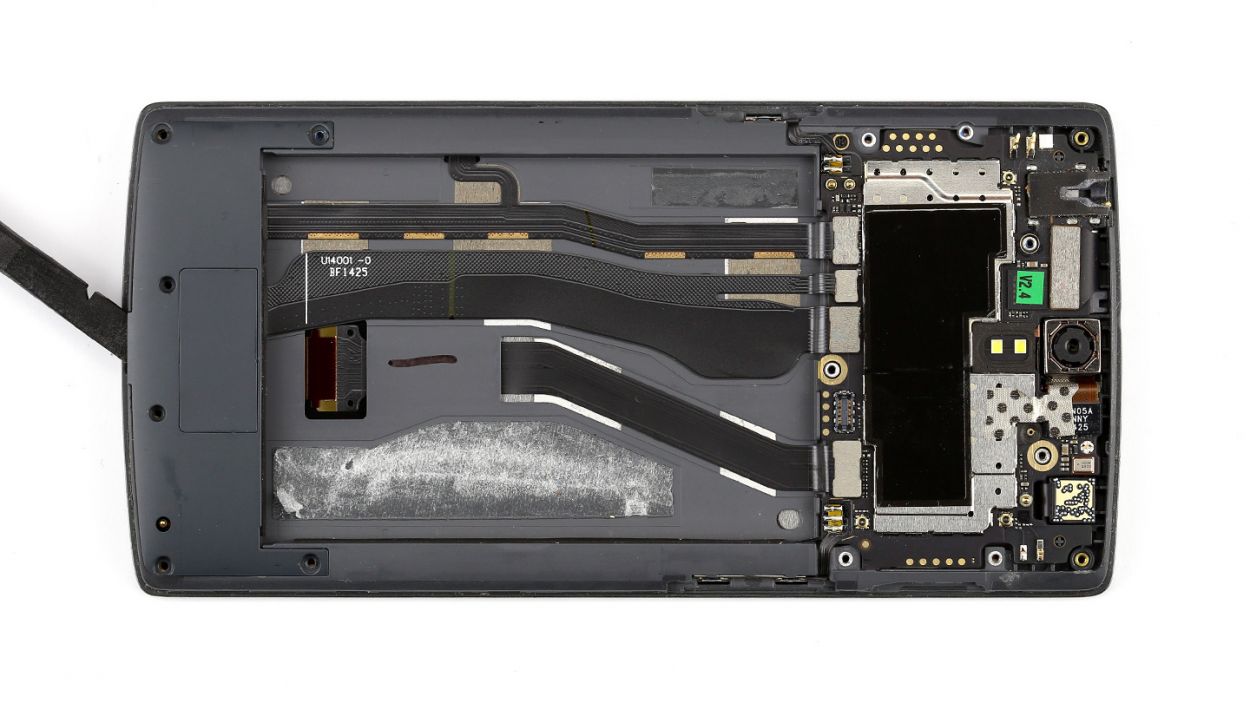
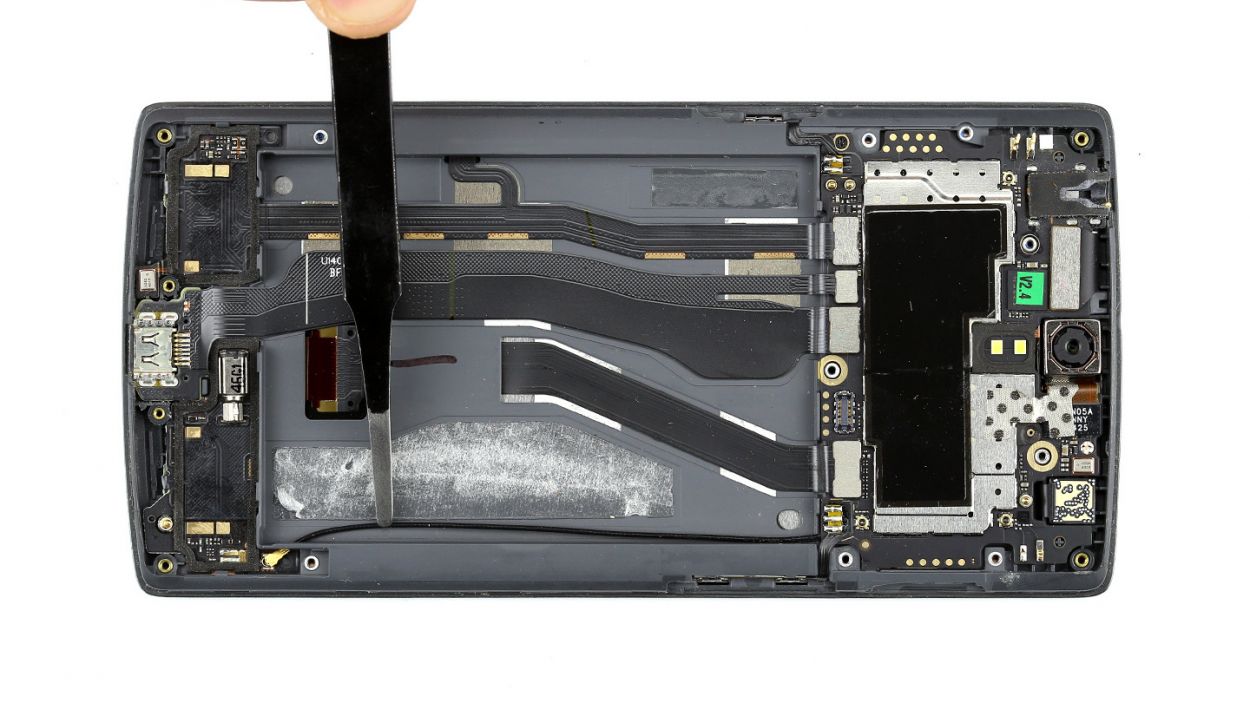
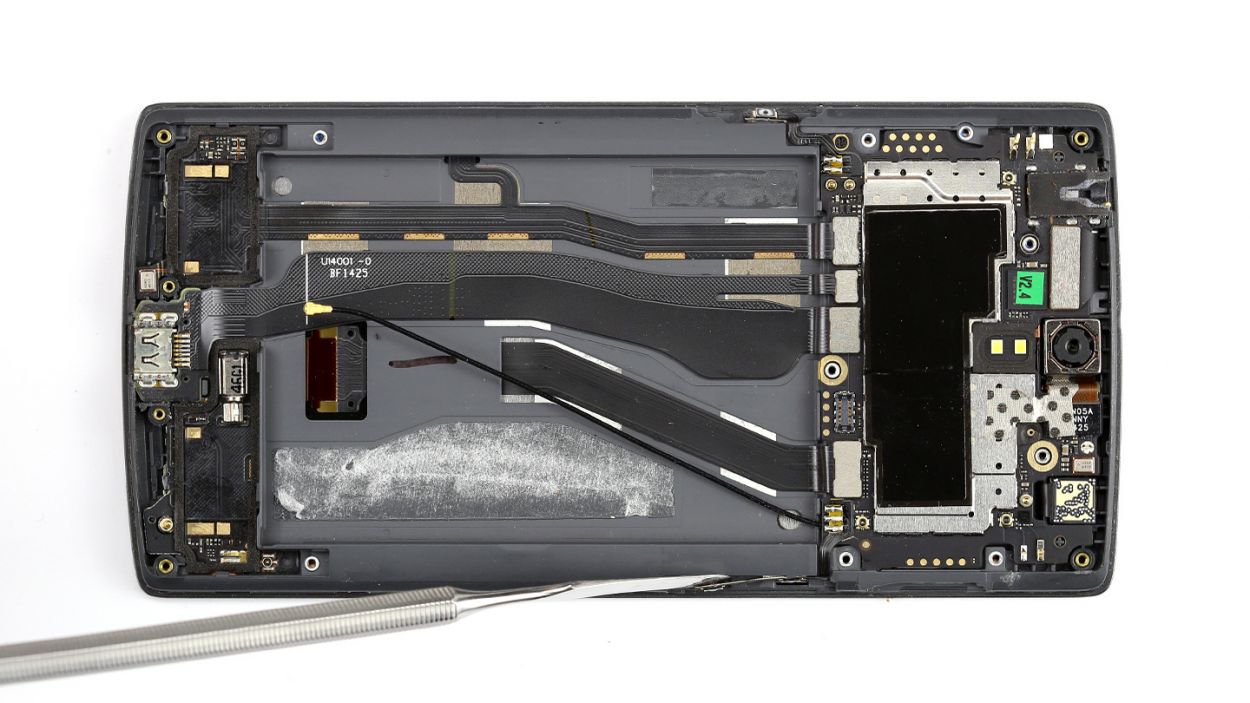
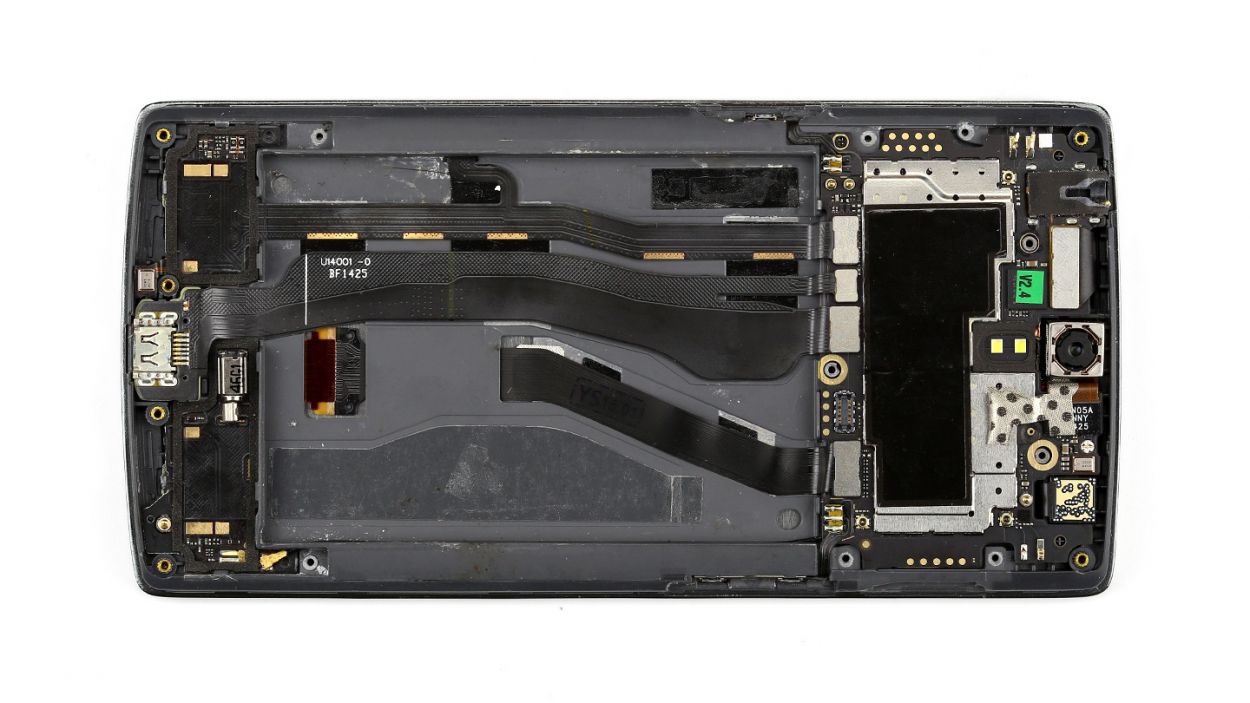
Step 8

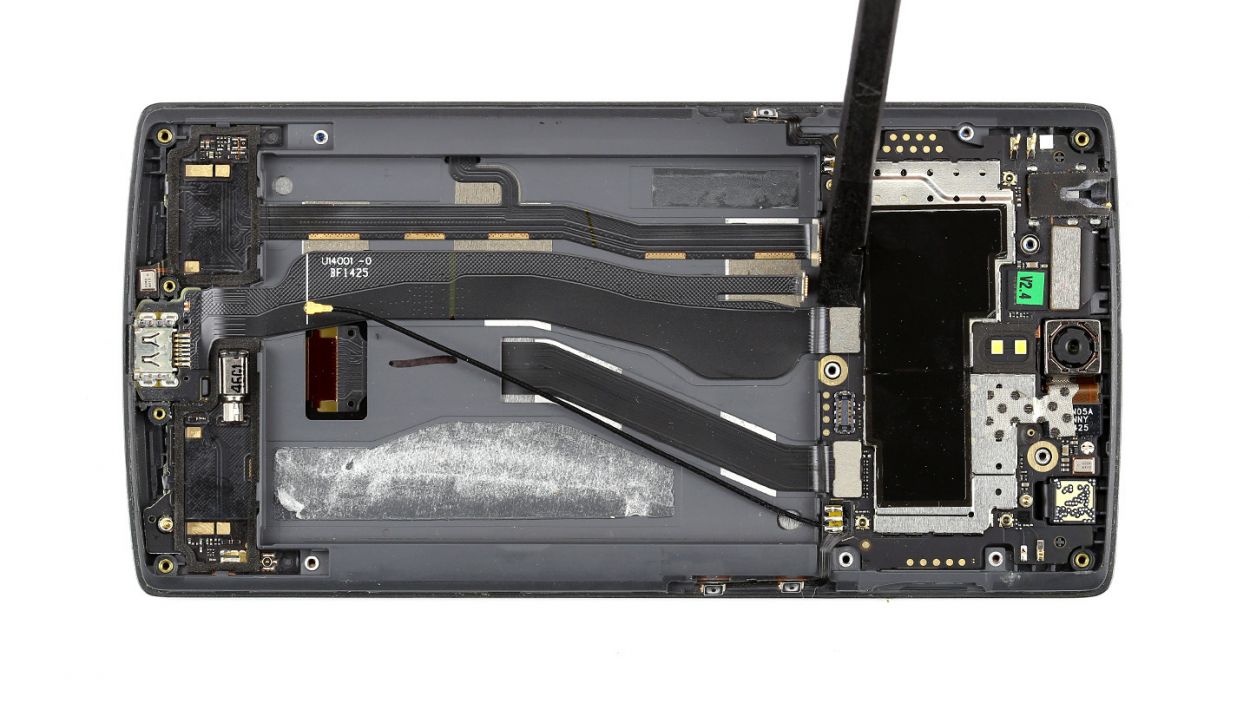

Be careful not to knock off the resistors or coils that are soldered onto the logic board. If you need help, you can always schedule a repair.
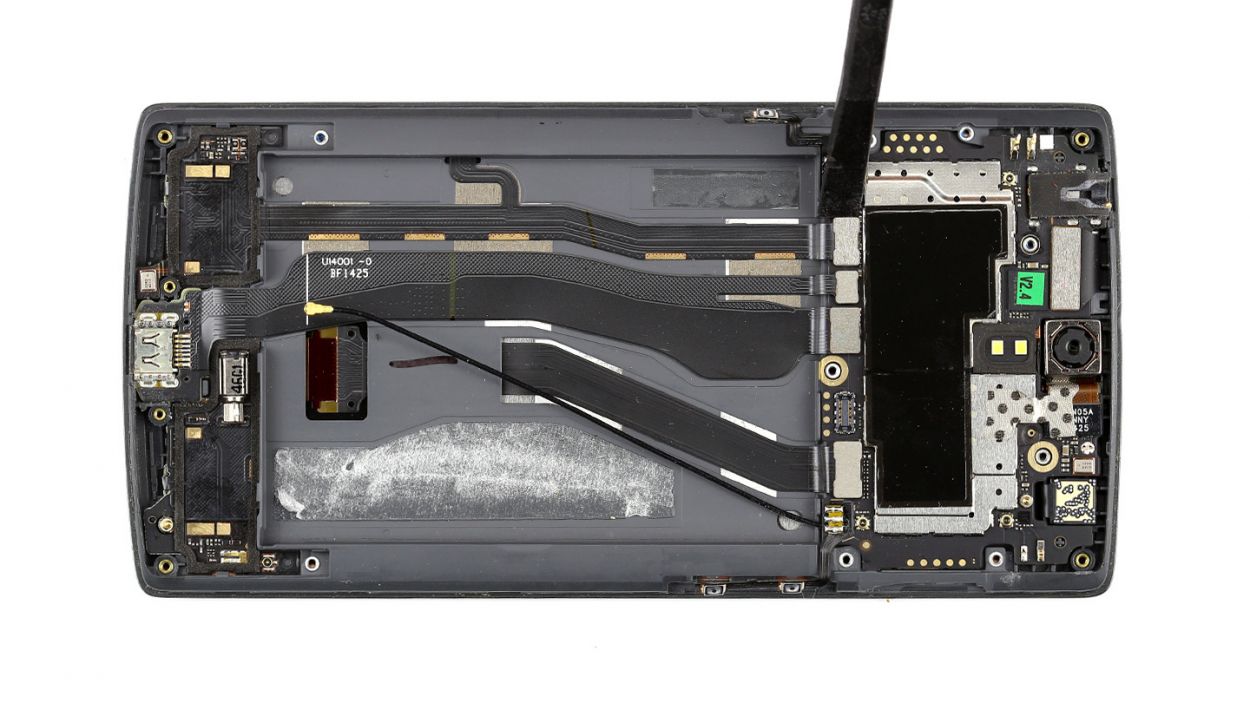
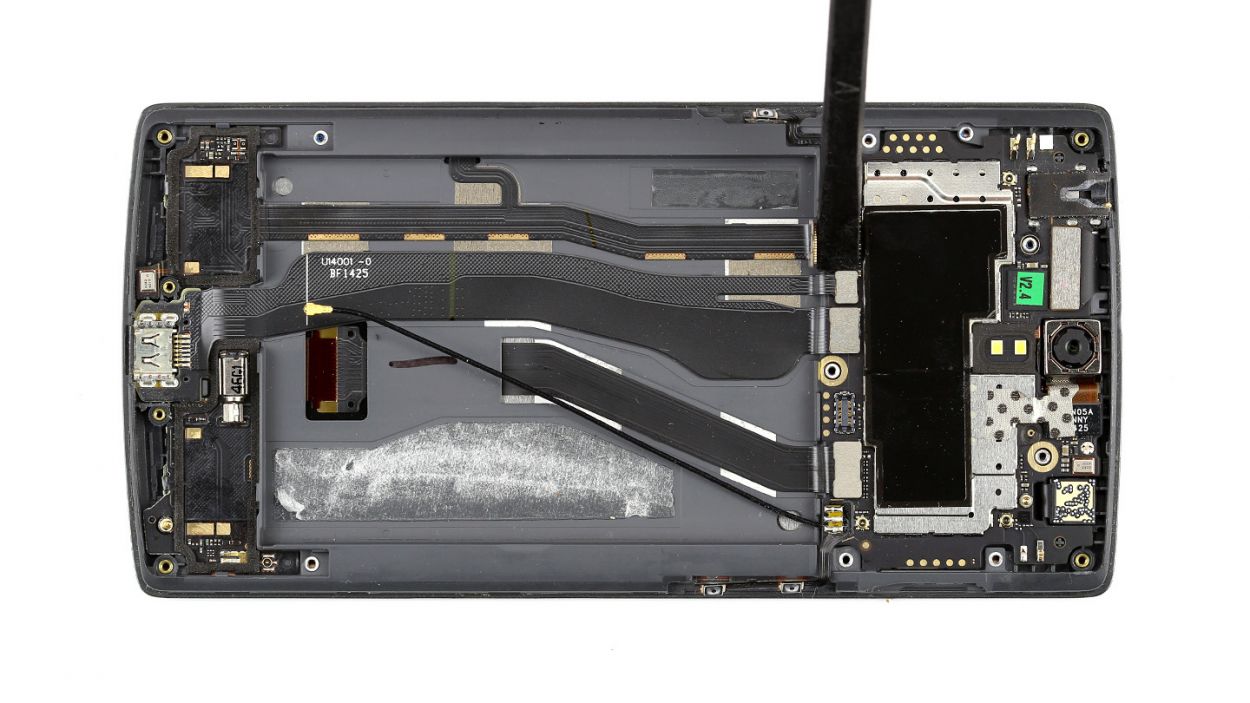
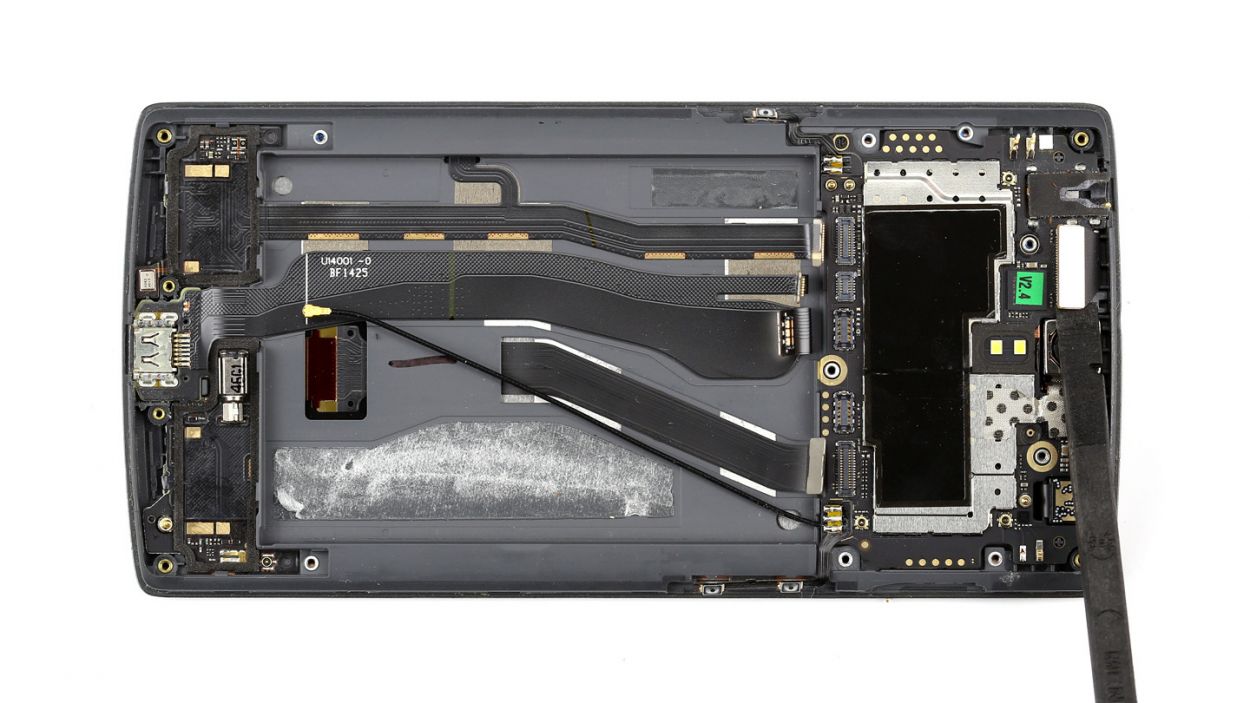
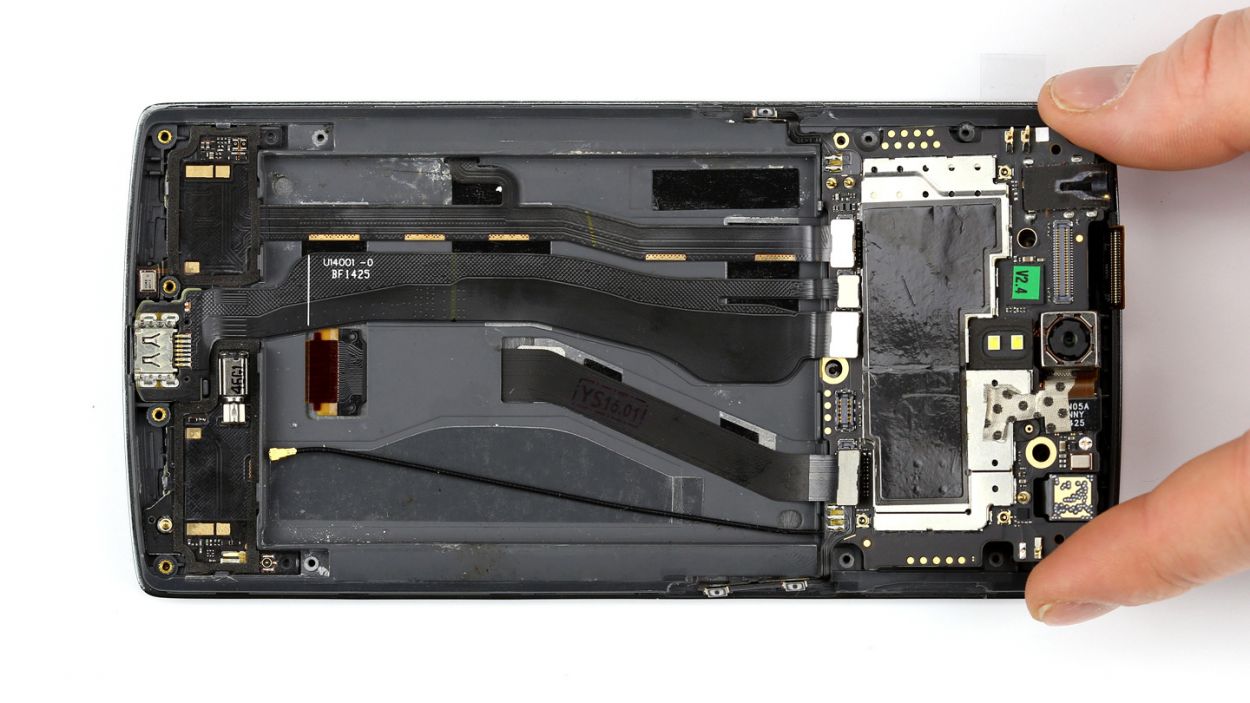
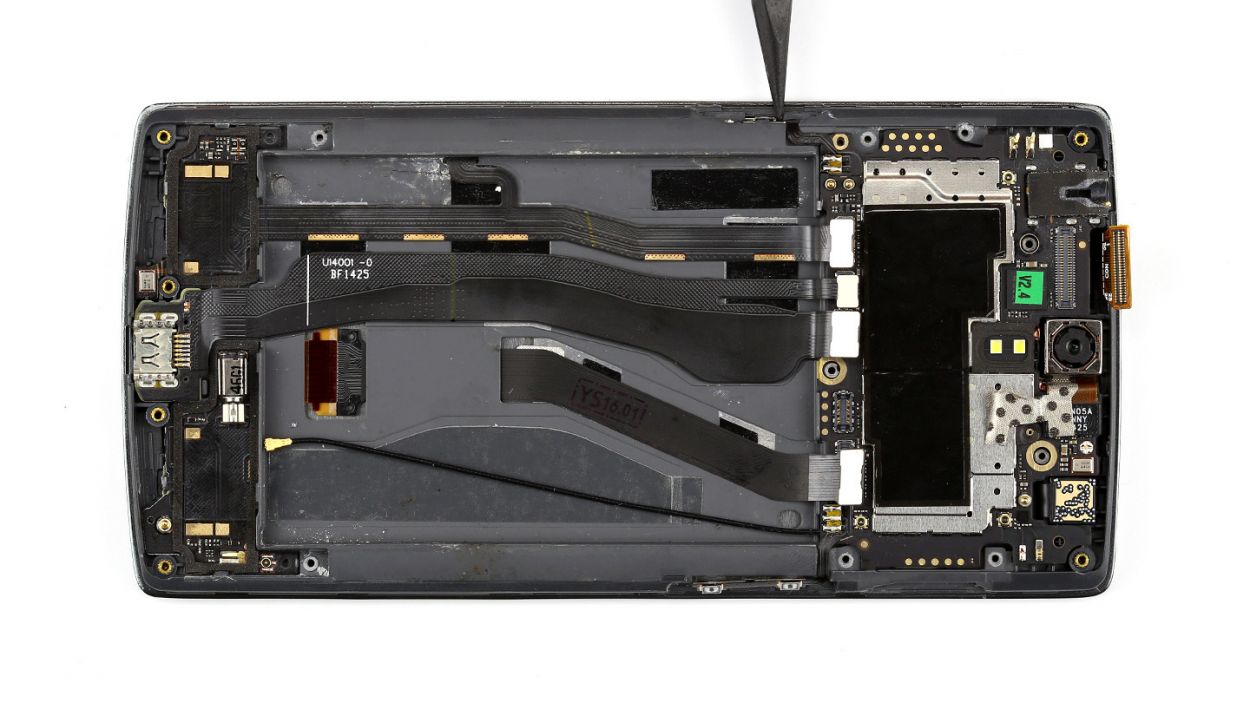
– Alright, time to unplug these five connectors. Take it easy and be gentle!
– Gently slide the pointed tip or flat end of the spudger just under the contact and lift it up carefully. Watch out for those tiny resistors/coils on the logic board – don’t break ’em!
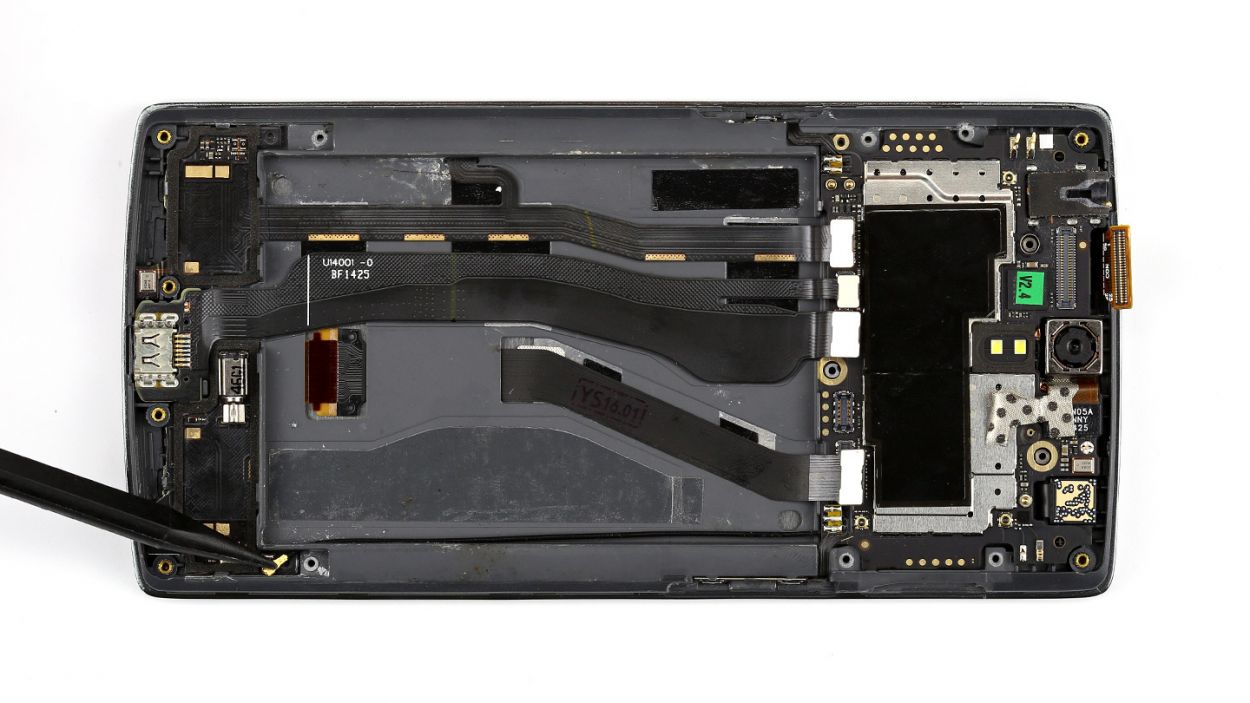
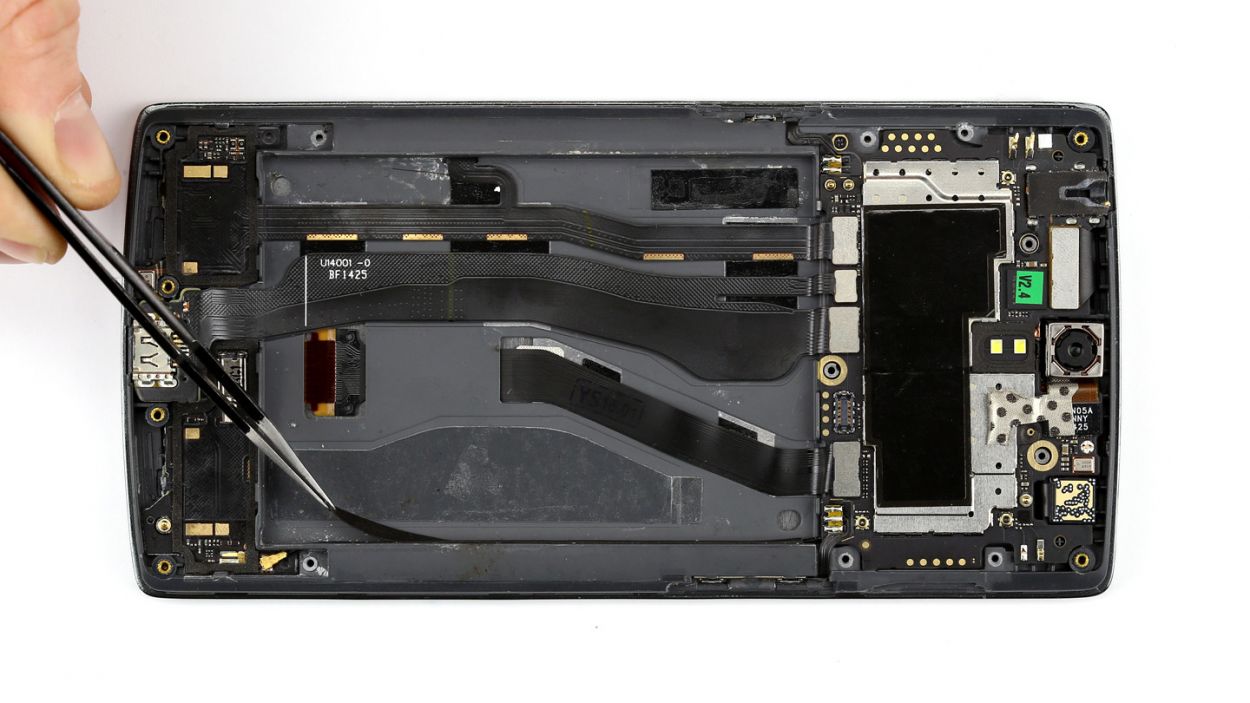
Step 9
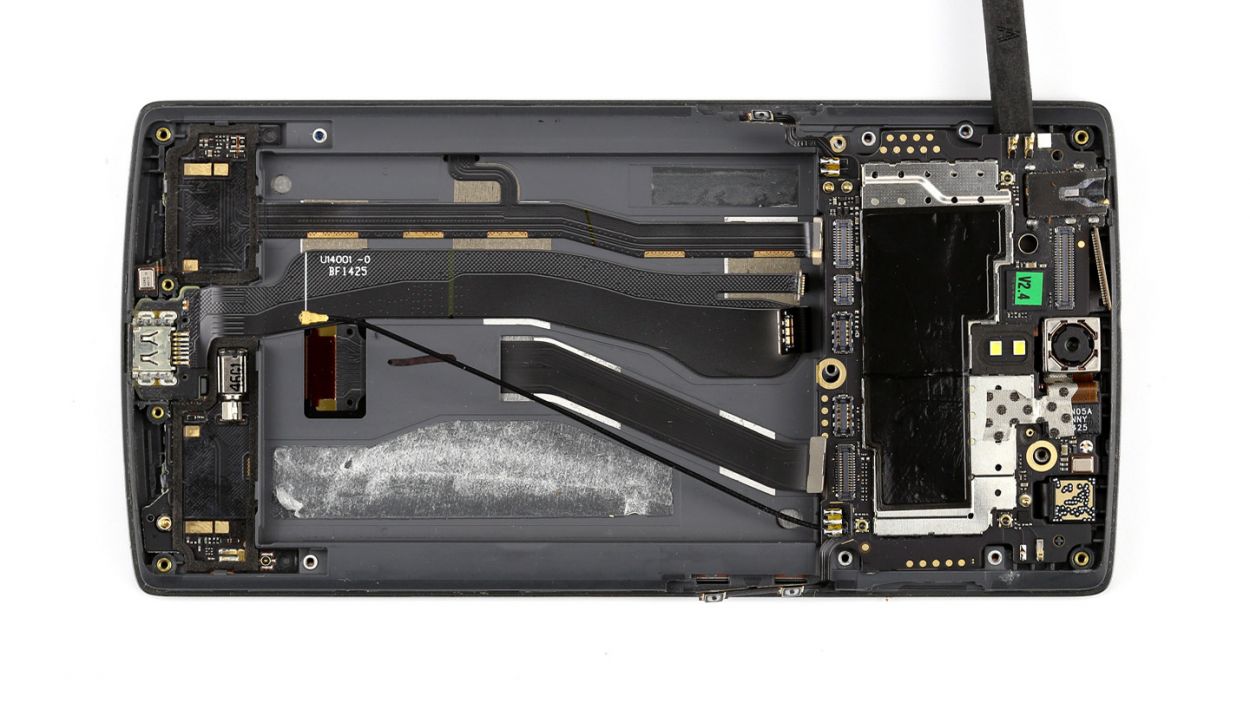
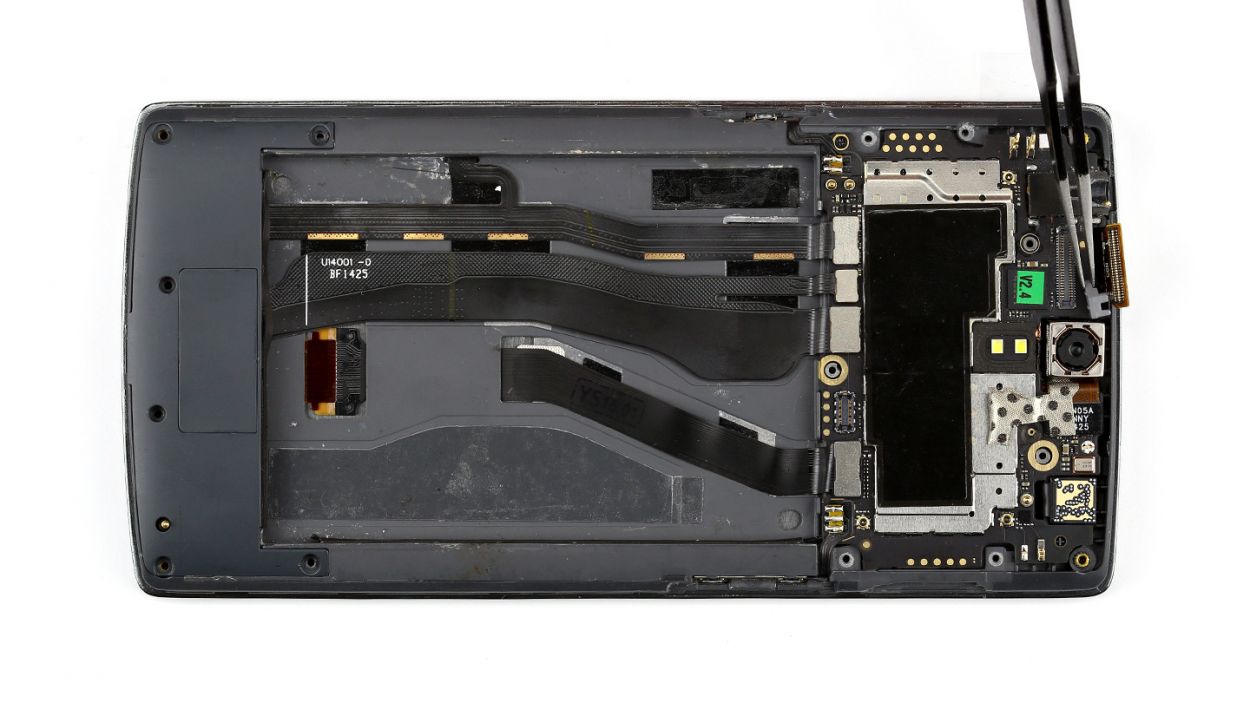
Hey there! Don’t forget to take out that tiny screw near the camera connector. Achte darauf, die kleine Schraube unterhalb der Kamera zu entfernen.
– Now you can carefully lift the logic board using the spudger and remove it by hand.
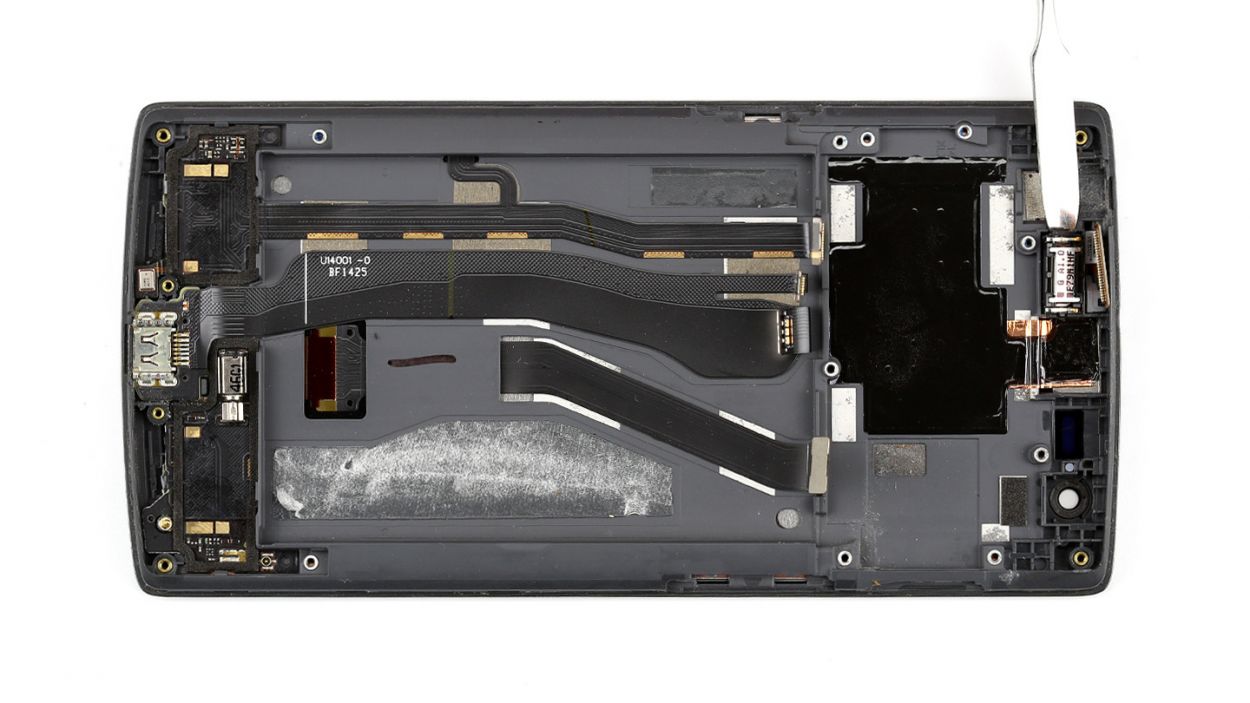
Step 11
– Alright, time to pop that earpiece back where it belongs! Easy peasy.
Step 12
– Alright, let’s get that logic board snugly back into its frame!
– Just a friendly reminder: keep those cables from sneaking under the logic board.
– Check out the picture to ensure your logic board is sitting pretty in the right spot.
– Pop in the little placeholder on the display connector like a pro.
– Now, it’s time to reconnect all those connectors to the logic board. You’ve got this!
Step 13

– Install the standby button and the volume buttons again. Use the spatula to press them into the appropriate positions.
Step 14
– Gently guide that antenna cable back through the tiny opening and make sure it’s snugly connected to the logic board.
– Next up, let’s stick those adhesive strips back in place.
Step 15
– Now install the cover with the stereo speakers and put them back in the appropriate positions.
Step 16
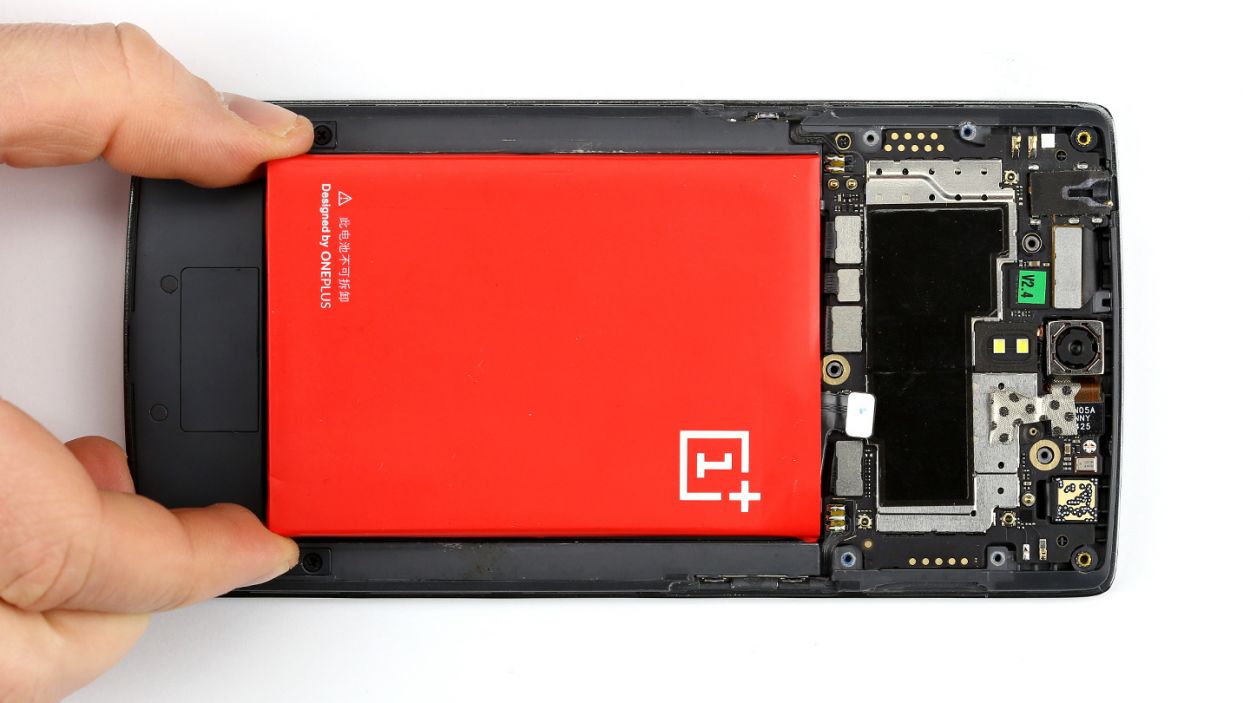
– Slide that battery back into its cozy spot and plug it in!
Step 17

– Alright, let’s get that cover back on, shall we?
– Next up, it’s time to tighten all those Phillips screws again: 12 of the 3.1 mm ones, 2 of the smaller 3.1 mm screws, and don’t forget the single 3.1 mm screw!
– And hey, make sure to pop those little rubber plugs back in place. They like to feel included too!
Step 18

– Alright, champ, the final stretch! Time to put the back cover back on. Make sure it’s in the correct position and give it a good press all around the device until it clicks into place. Voilà! You’re almost done. If you need help, you can always schedule a repair.


