How to Replace OnePlus 2 Rear Camera – DIY Guide
Duration: 30 min.
Steps: 9 Steps
Ready to give your OnePlus 2 a camera comeback? This guide is your ticket to fixing a faulty rear-facing camera. Perfect for when your photos look more abstract than anticipated, or your camera plays hide-and-seek with its focus.
Step 1
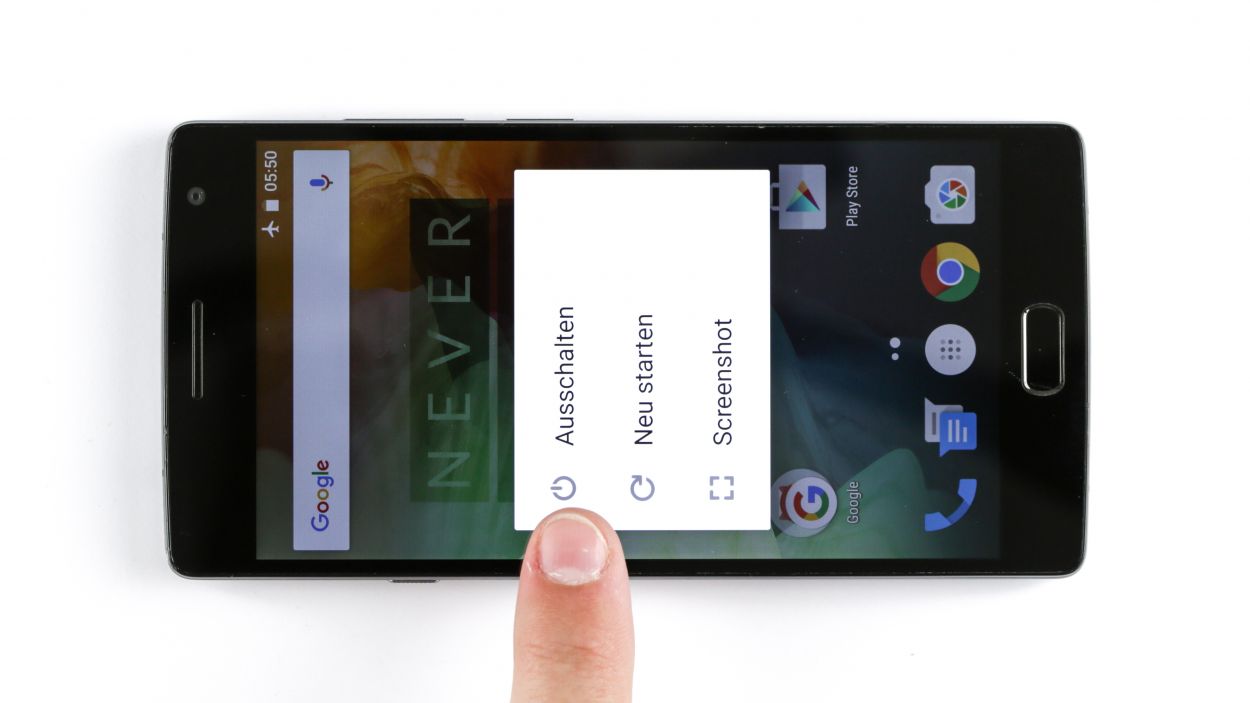
– Shut down your gadget by pressing and holding the power button until you see the ‘Power off’ prompt pop up. It’s nap time for your OnePlus 2!
– Give the ‘Power off’ confirmation a little tap with your finger and wait patiently until the screen kisses you goodbye with a blank display.
Step 2
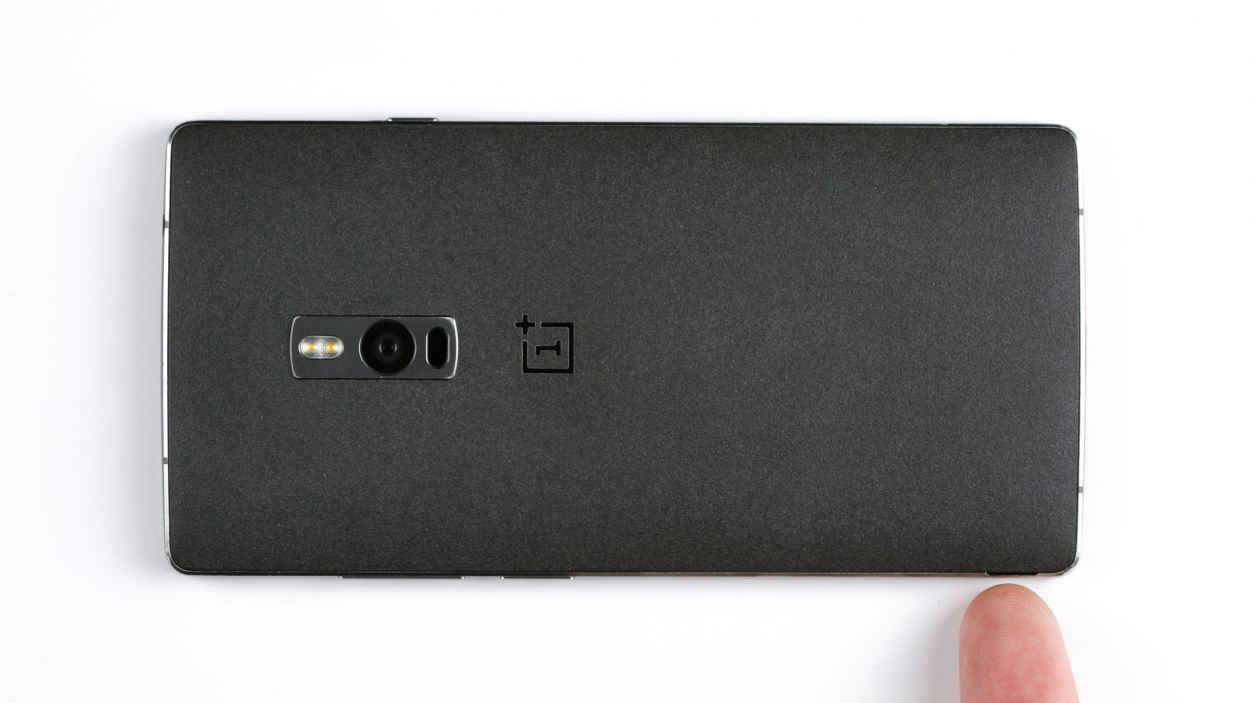
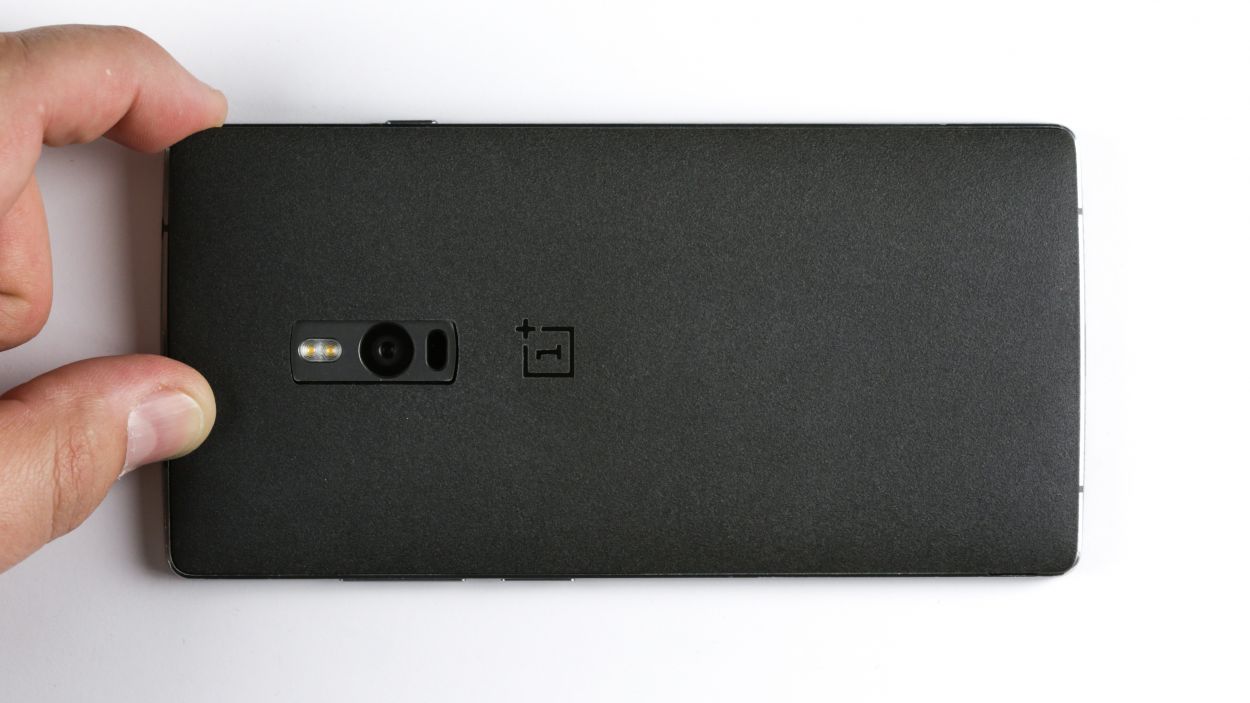
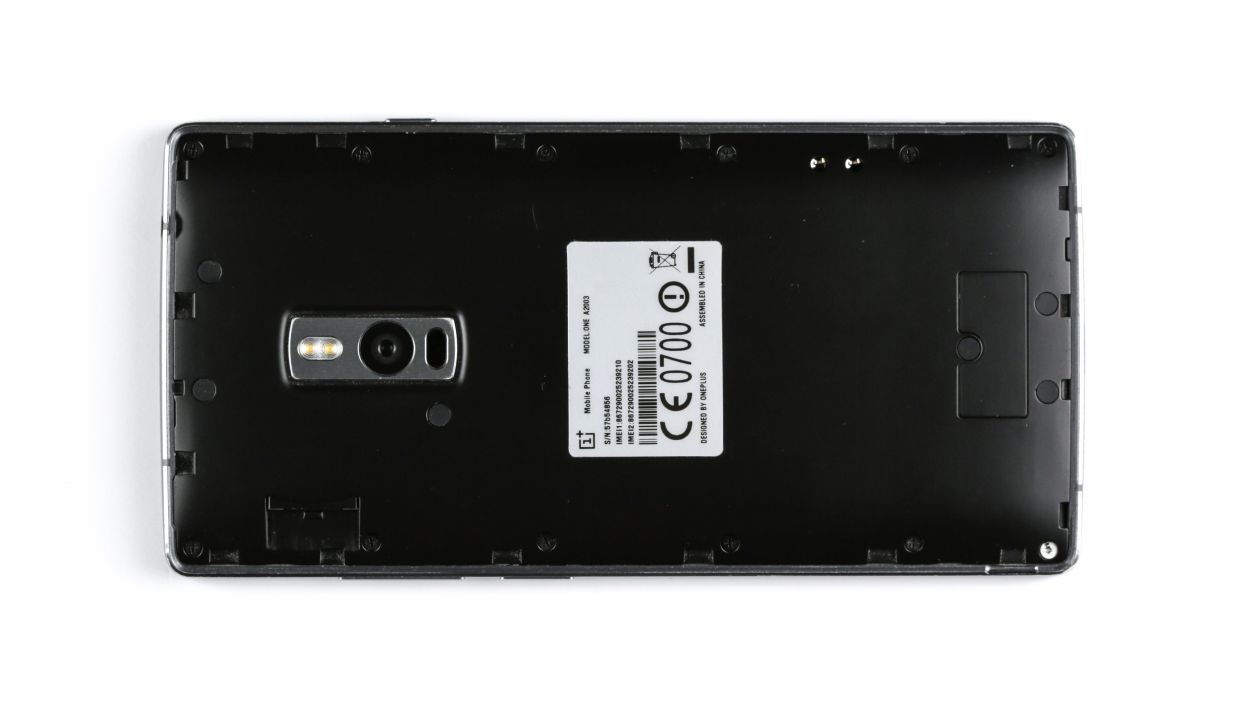
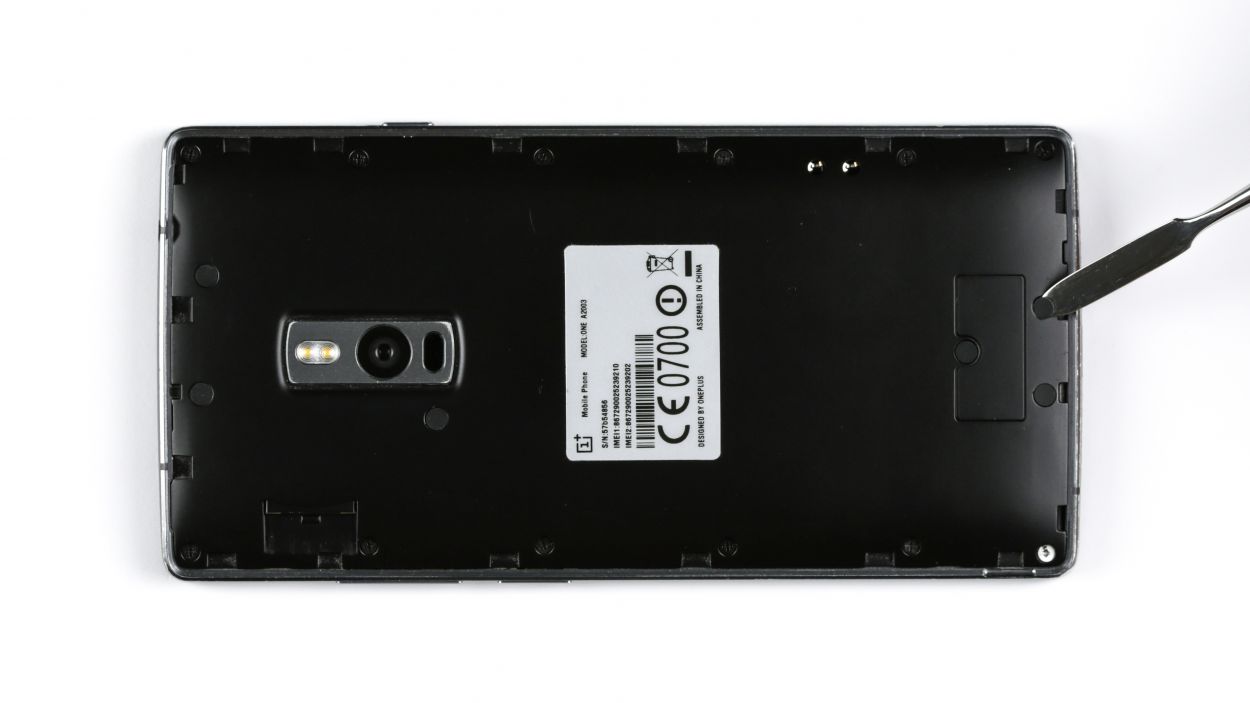
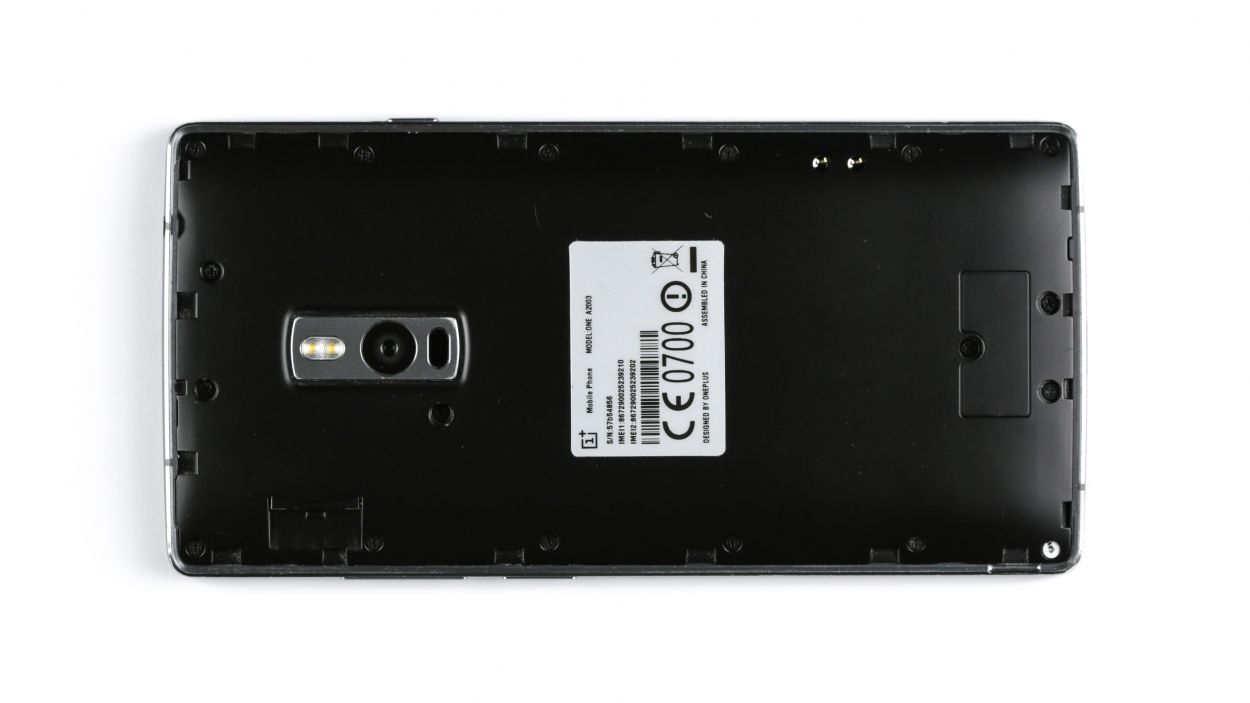
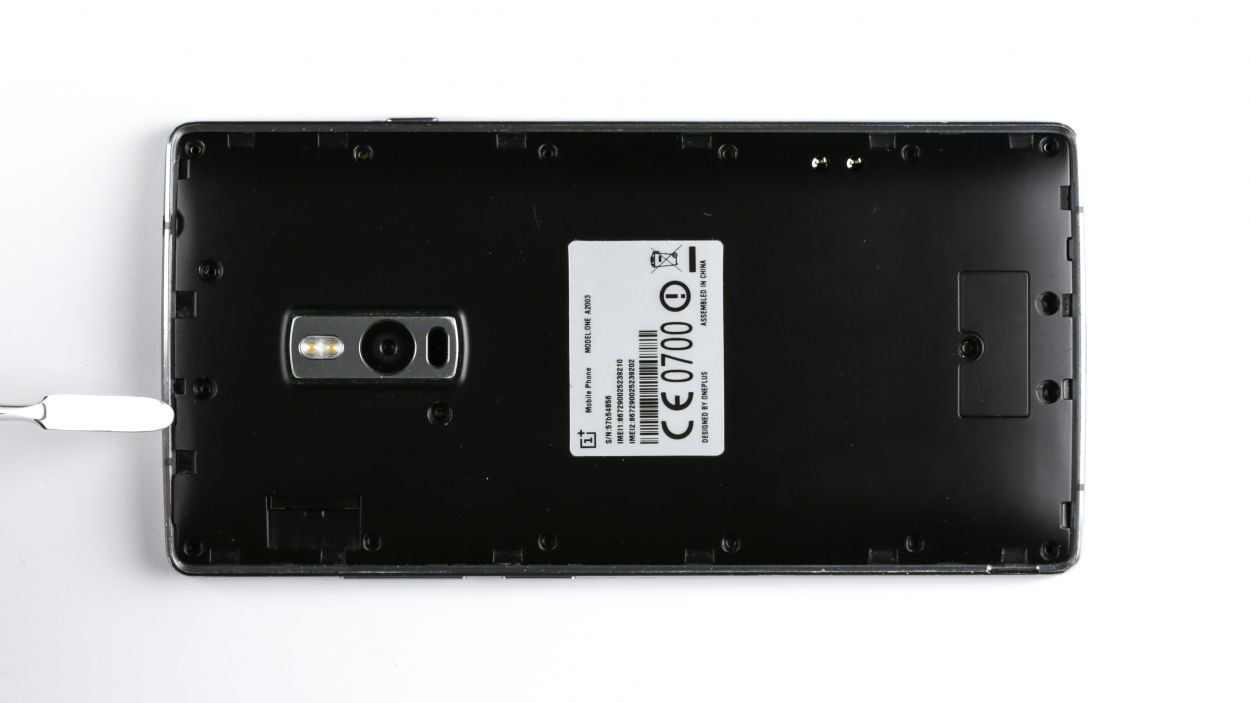
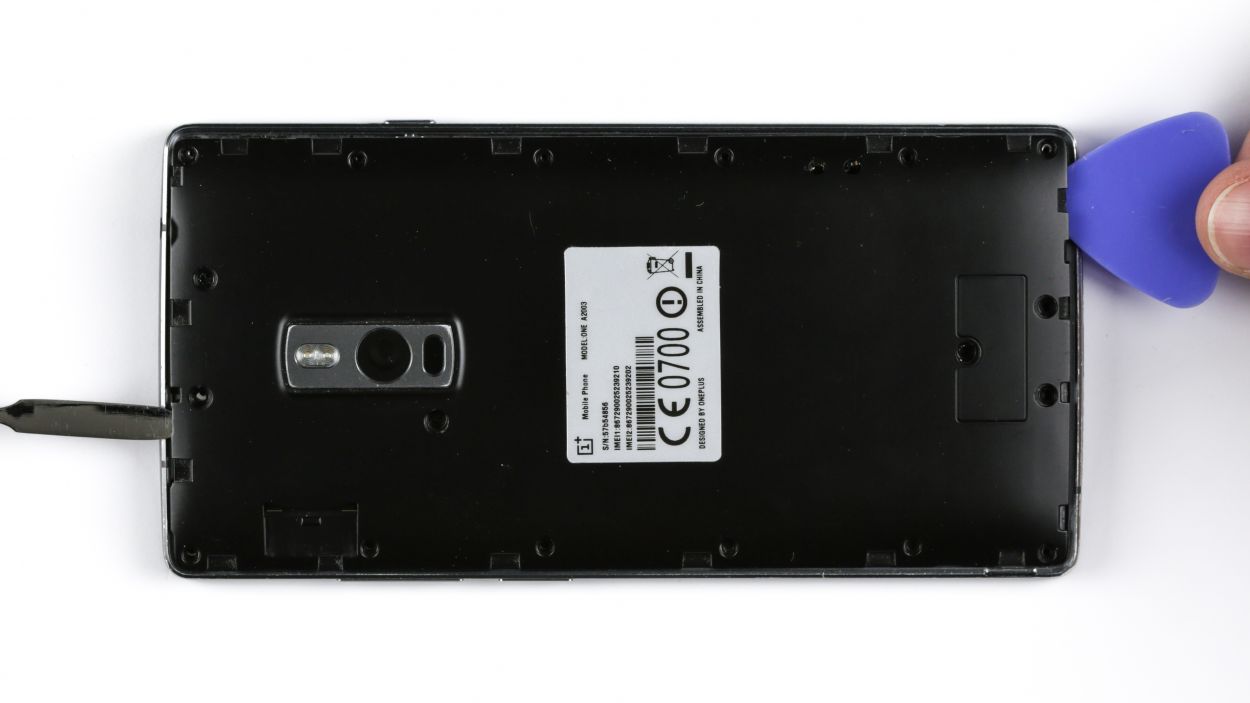
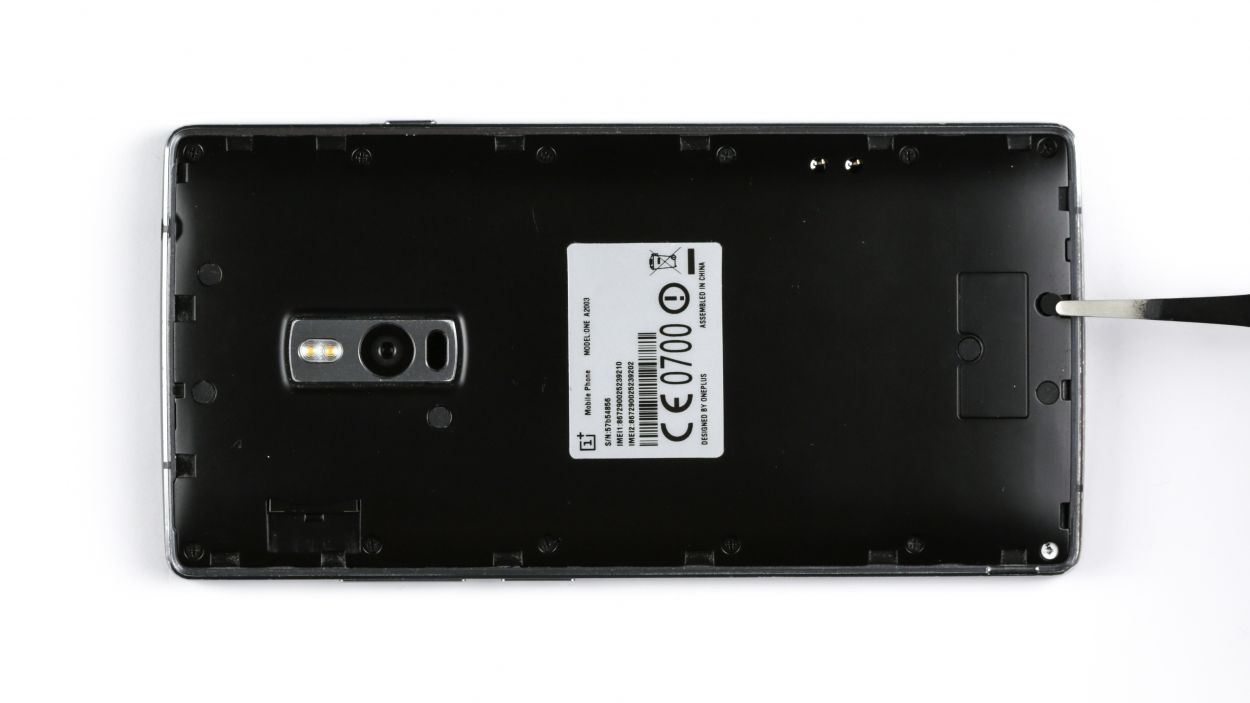
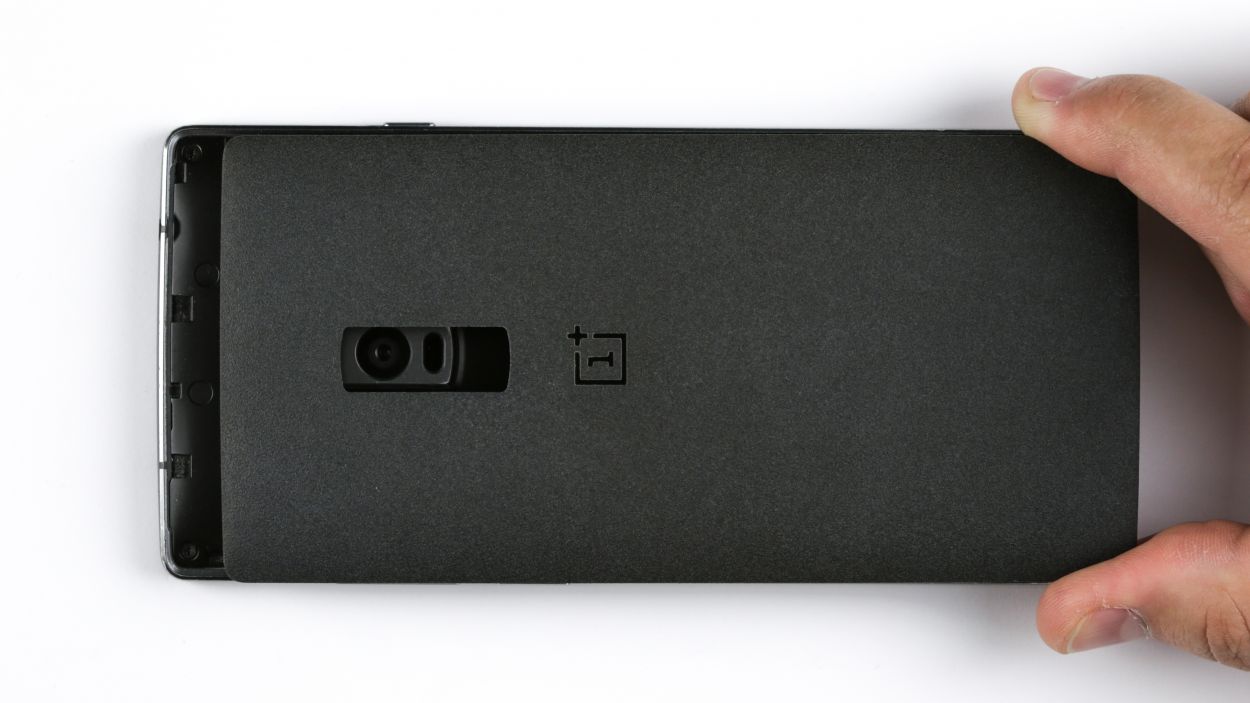
– Slide a slim, flat, and slightly tapered spudger into the gap at your smartphone’s corner. There are a bunch of clips hiding under the back cover just waiting to be popped open. Glide the spudger all around the edge to free those sneaky clips. If you’re feeling adventurous, your fingernails might just do the trick too!
– With the clips out of the way, you’re free to lift off the back cover. Voila!
Step 3
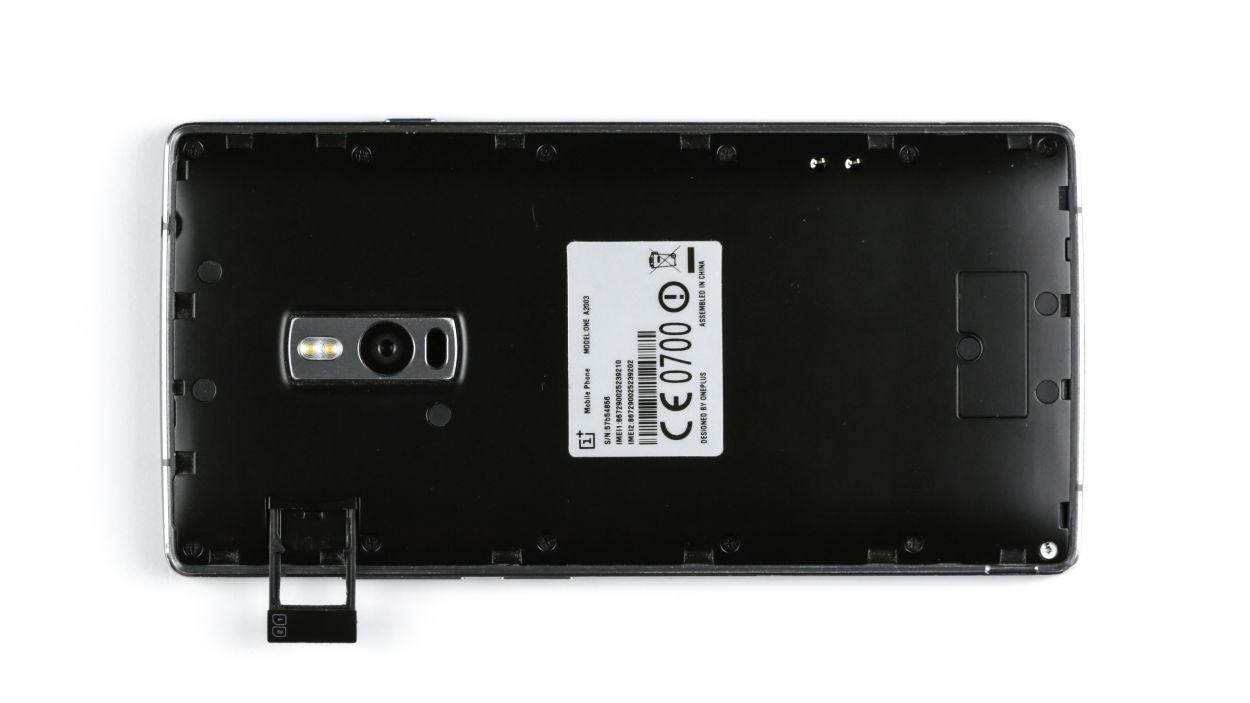
– Pop out that SIM card tray with some pizzazz! Just jab a SIM Tool or a humble paperclip into the tiny hole and voila! That tray will slide right out.
Step 4

6 × Gummiabdeckung
18 × Phillips-Schraube
– Alright, let’s dive in and unscrew all 18 Phillips screws keeping that plastic cover snug as a bug.
– Surprise! There are 6 more Phillips screws playing hide and seek under a rubber cover. Grab something sharp and gently persuade it to reveal the secrets.
– Time to liberate the logic board cover! Use the ESD spudger’s pointy end to lovingly coax the black cover up. Don’t forget to give it a little encouragement at other spots too.
Step 5


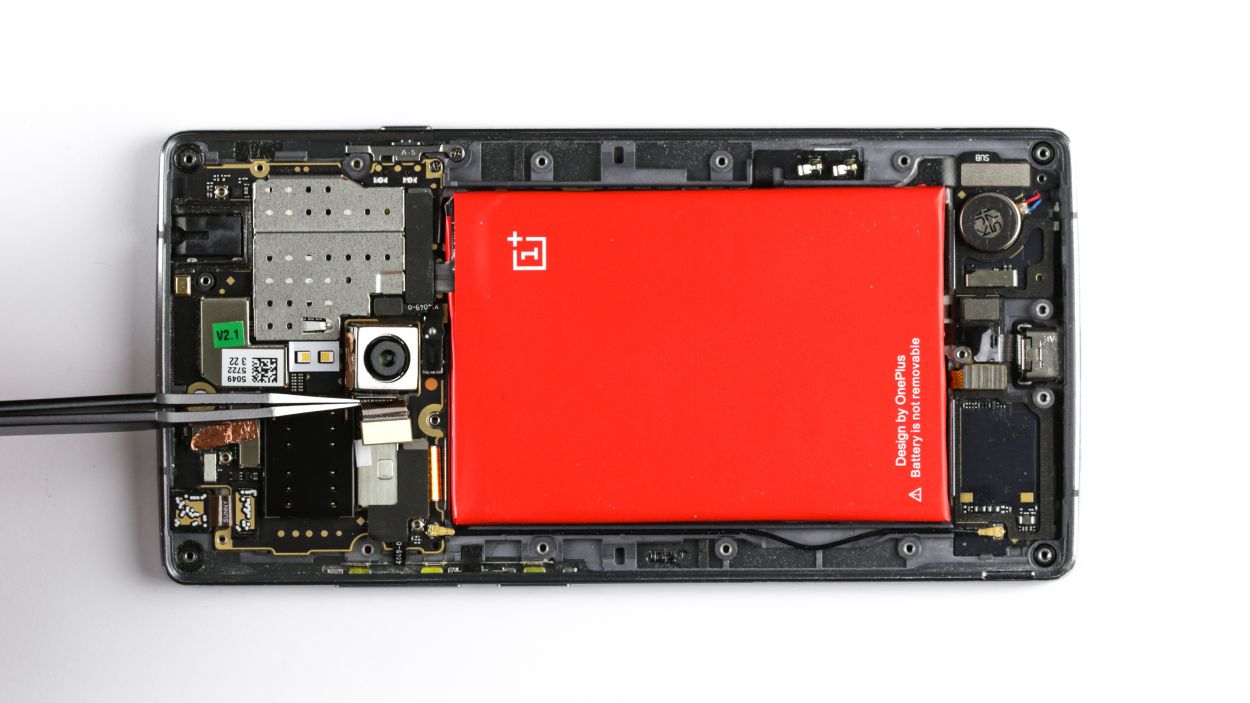
– Alright, it’s time to unplug the rear camera connector. Handle it with care, like it’s a delicate cookie.
– Go ahead and lift out the old camera. You’ve got this!
Step 6
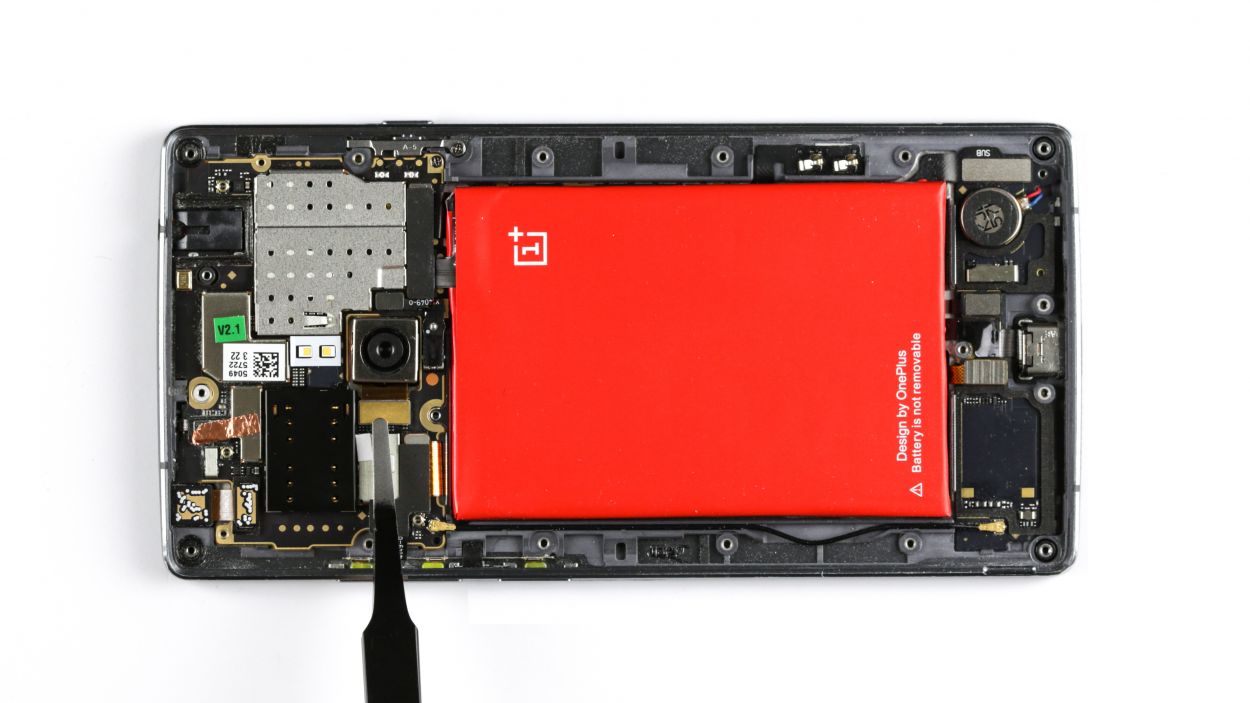
– Now connect the new camera.
Step 7

18 × Phillips-Schraube
6 × Gummistöpsel
– Now, slide that cover back into place like a boss.
– Next, make sure to tighten all those Phillips screws – they’re the star of the show!
– And remember, those little rubber plugs are important too, so pop them back in for the perfect finish.
Step 8

– Pop that sim tray back in like a pro!
Step 9
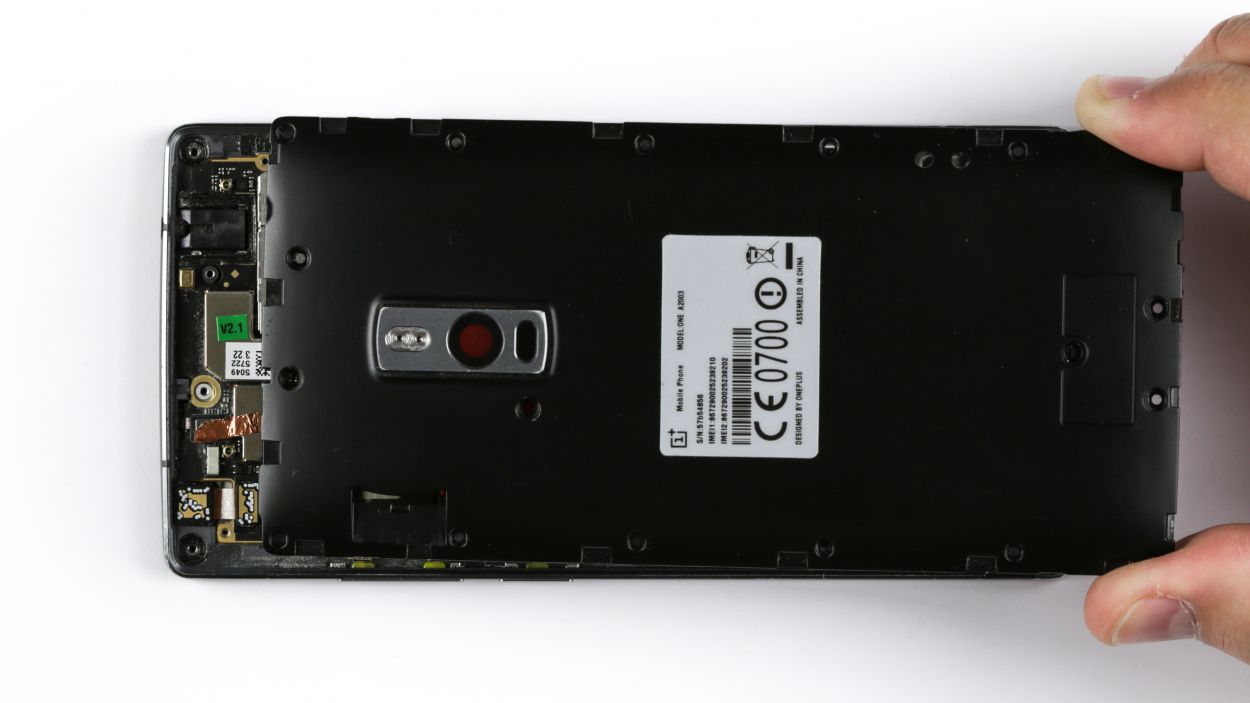
– It’s very easy to put the back cover back on. Put it on in the correct position and press it on all the way around the phone until it’s completely clicked into place.