How to Replace the Earpiece on OnePlus 2 – DIY Guide
Duration: 60 min.
Steps: 19 Steps
In this guide, we’ll be your trusty sidekick as you tackle replacing the earpiece on your OnePlus 2. If you’re struggling to hear your conversation or the sound is barely there, this repair is just the ticket. Let’s get started on bringing back the clarity to your calls!
Step 1
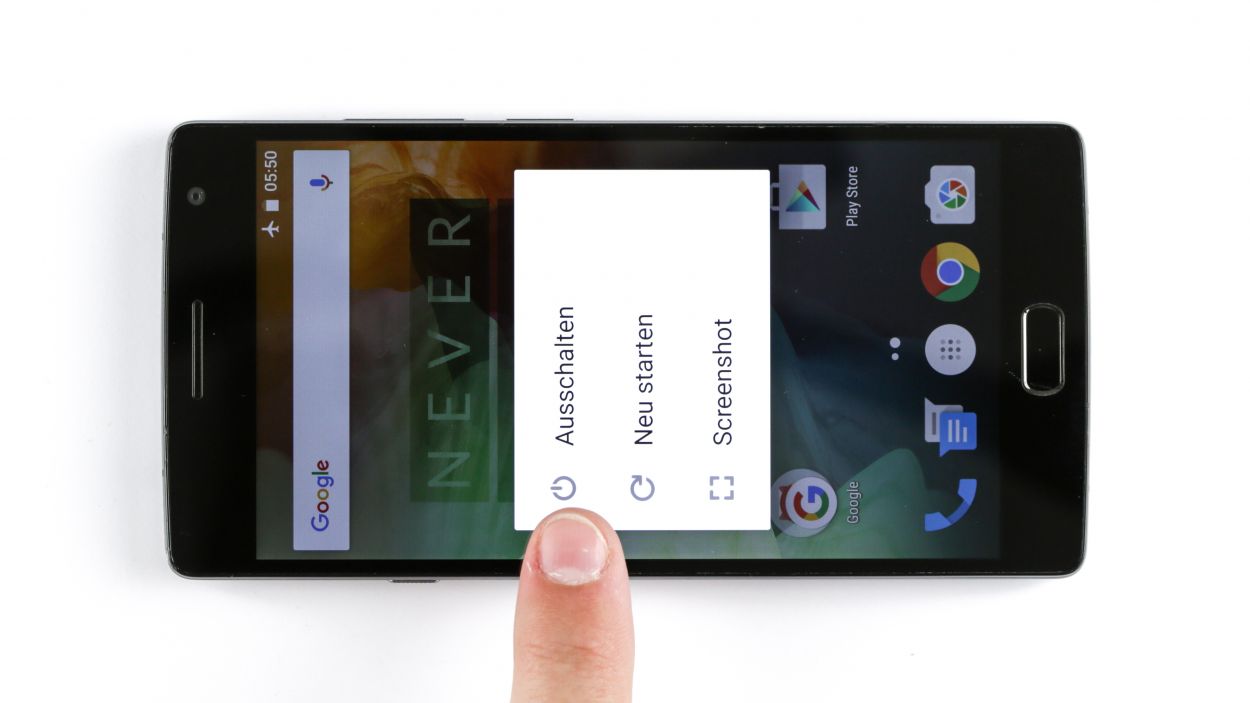
– Alright, let’s get your device powered down! Hold down that power button until you see the ‘Power off’ option pop up, then give it a tap to confirm. Once the screen goes dark, you’re all set – nice work!
– Now, let’s make sure your OnePlus 2 is completely shut down. Use your finger to select the ‘Power off’ option, and wait patiently until the screen goes blank. Easy peasy!
Step 2
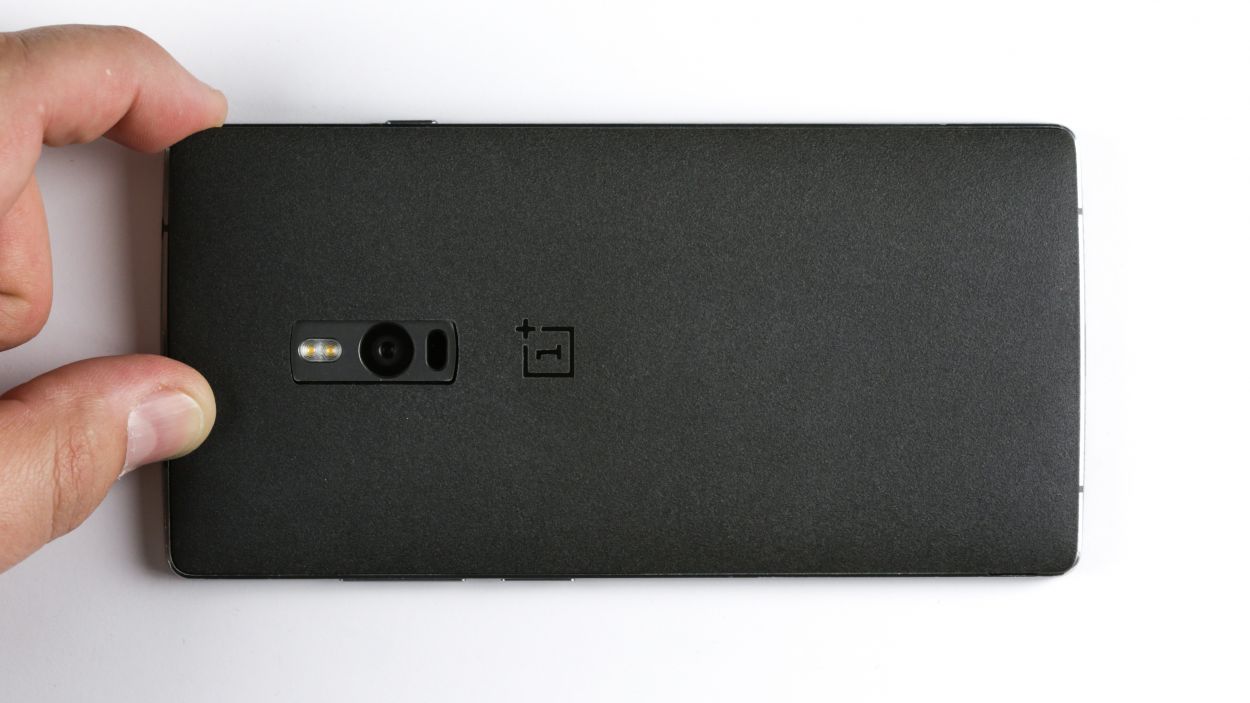
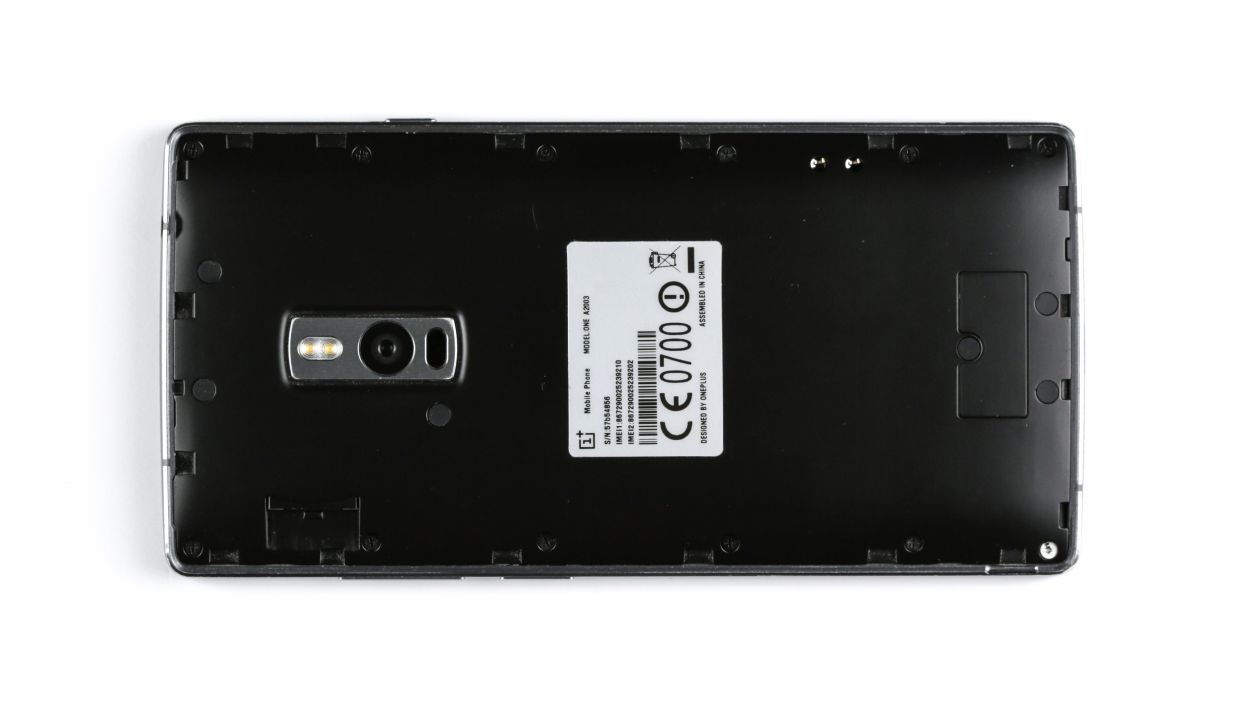
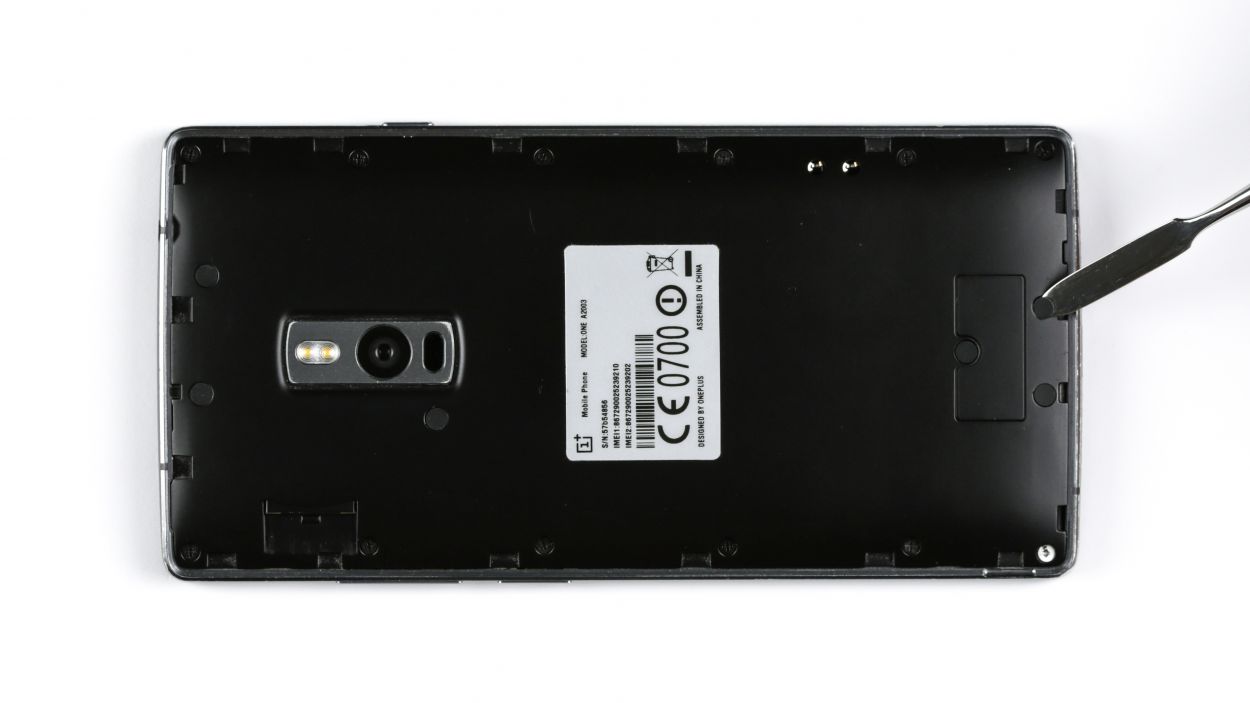
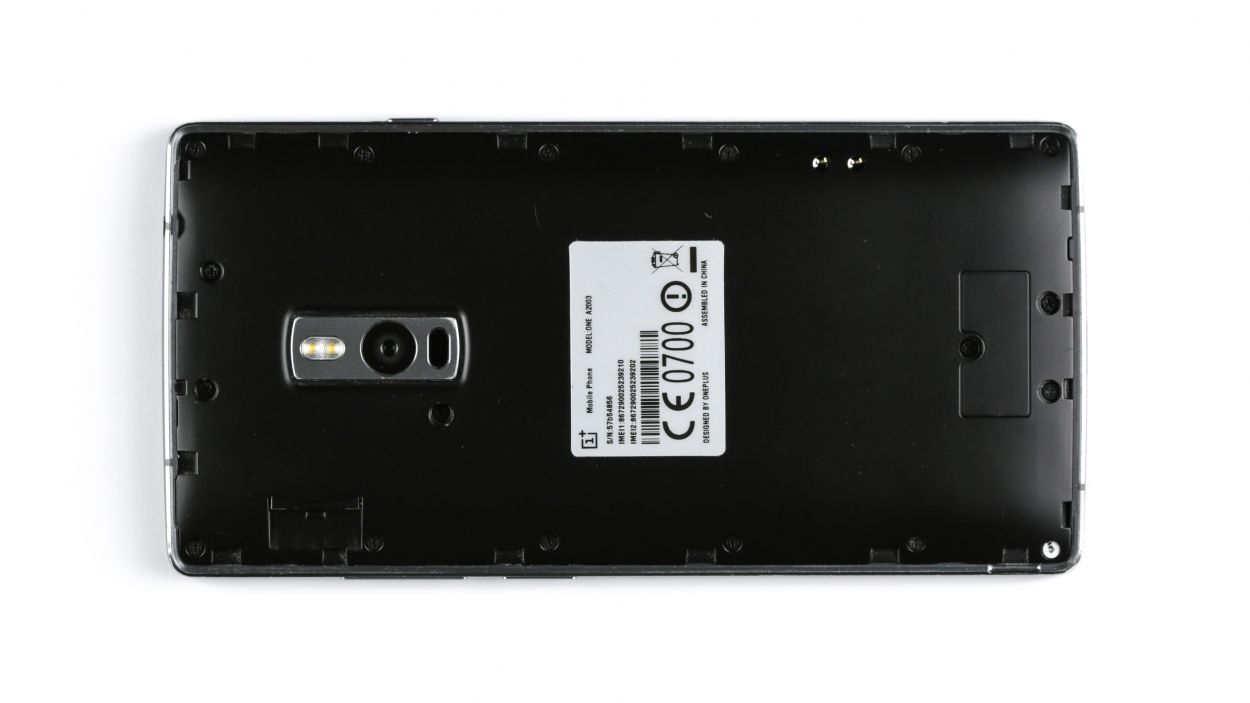
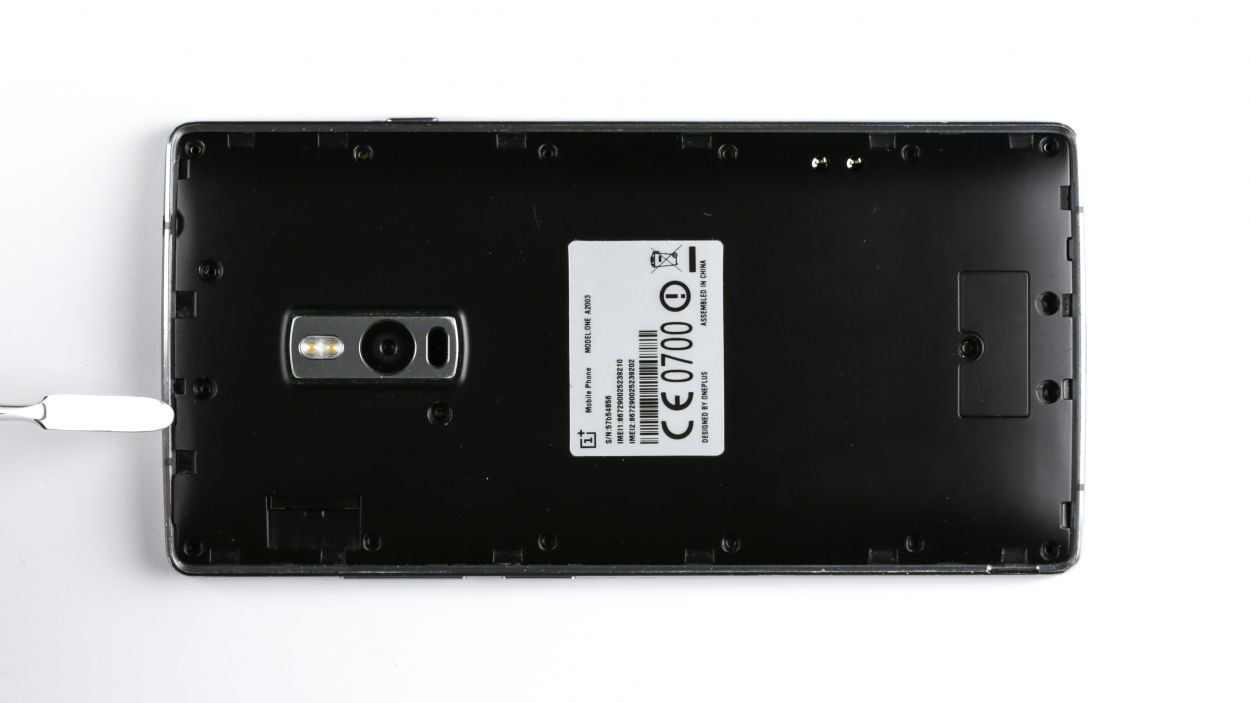
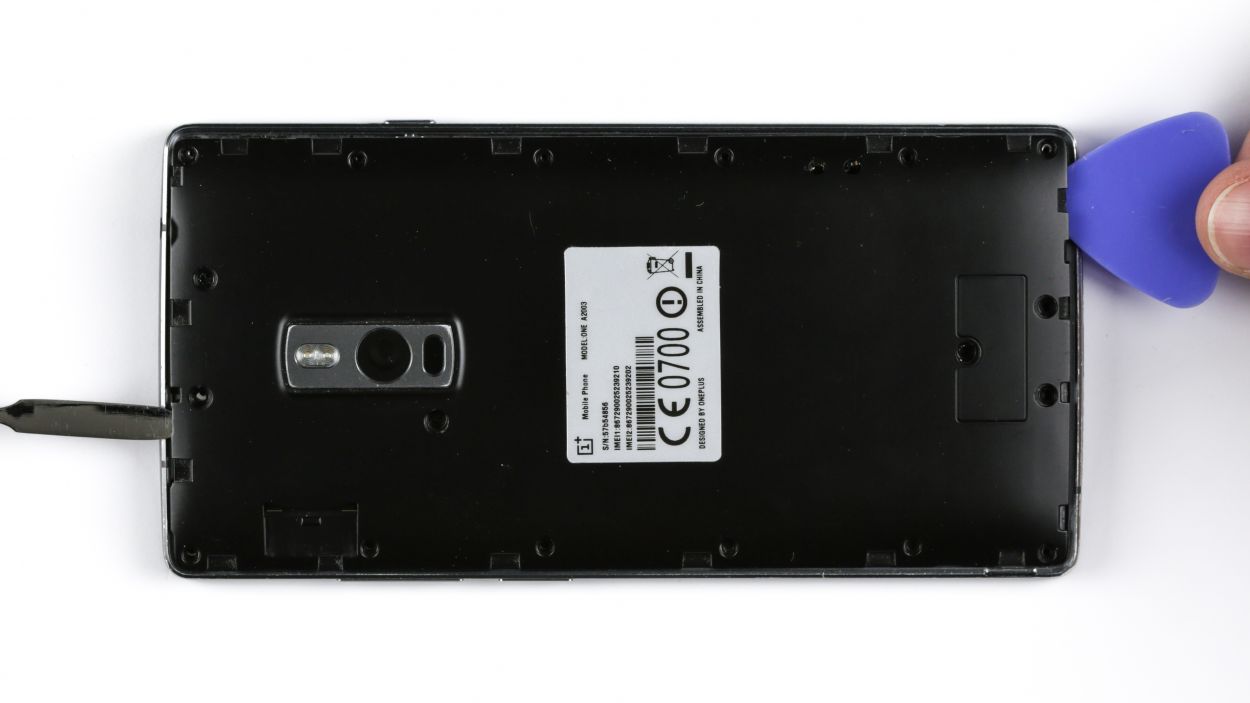
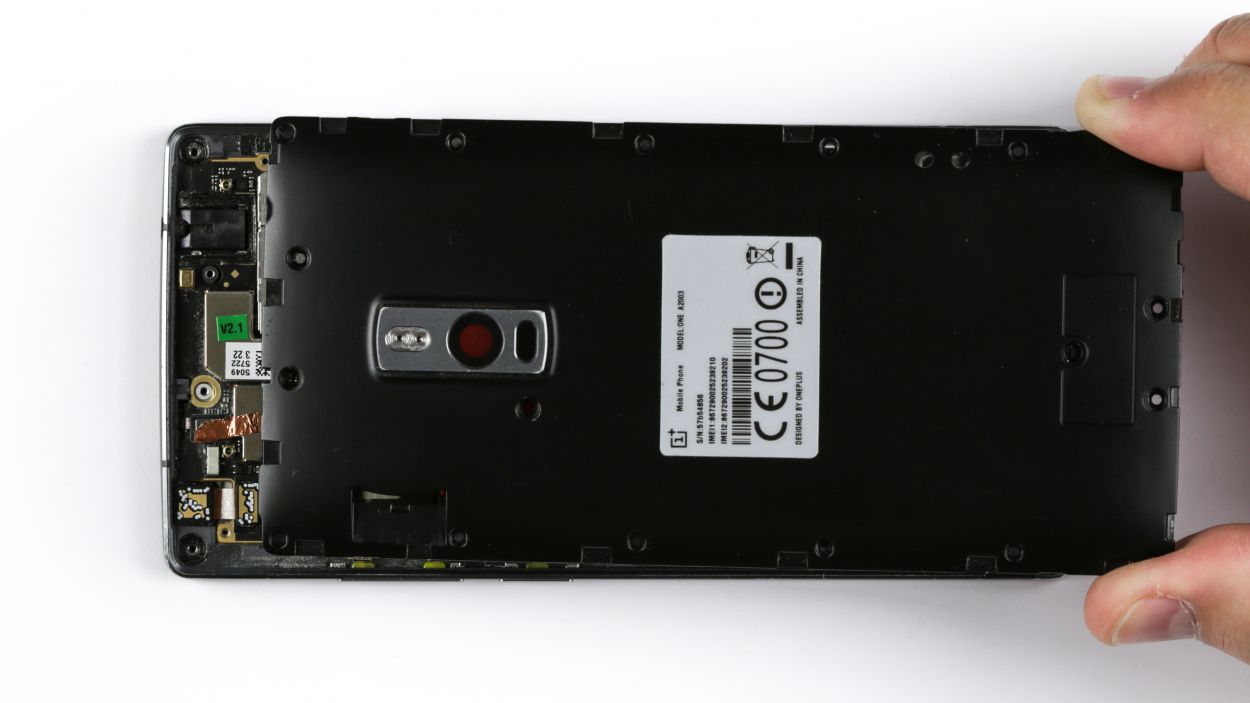
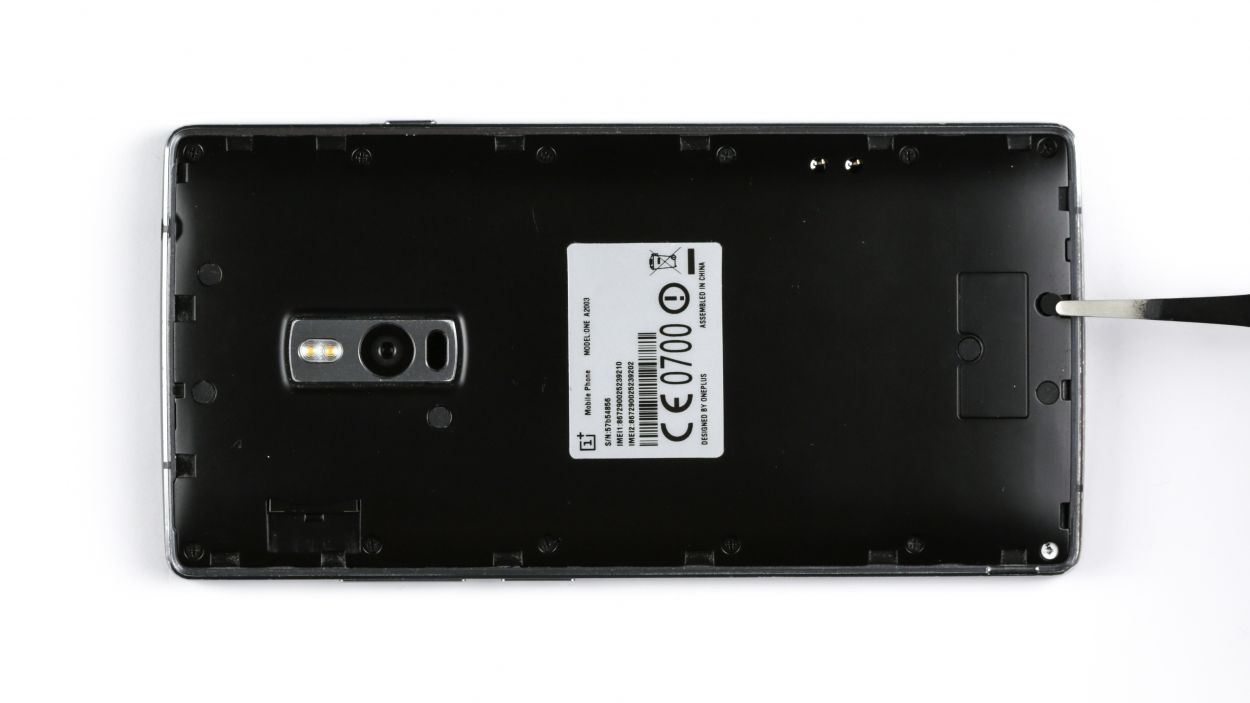
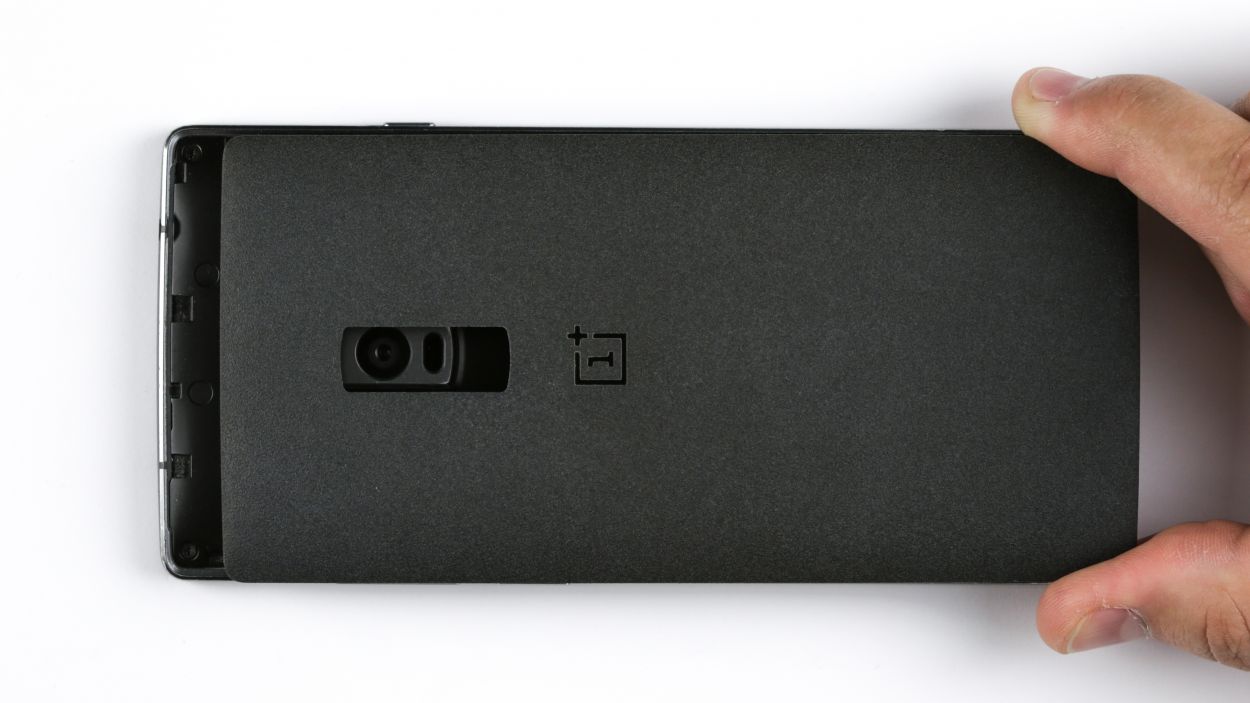
– Slide a slender, flat spudger into the corner gap of your smartphone. You’ll find a few clips lurking beneath the back cover that need to be freed! Just glide the spudger around the smartphone’s perimeter once to disconnect them all. If you’re feeling handy, you can also use your fingernails to pry off the back cover.
– Now, go ahead and remove that back cover!
Step 3
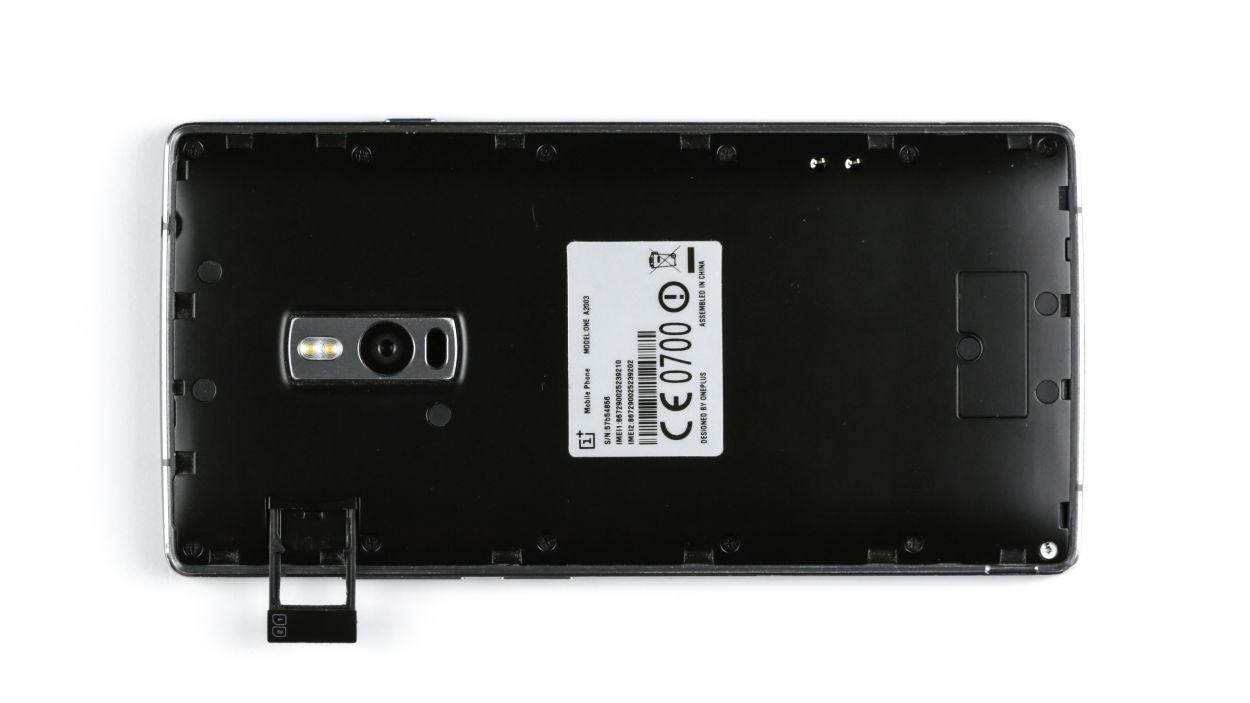
– You can use the SIM Tool or a paperclip to remove the SIM card tray. Press the SIM Tool into the small hole in the SIM card tray to remove it.
Step 4

6 × Gummiabdeckung
18 × Phillips-Schraube
– Time to get those screws out! Start by removing all 18 Phillips screws that are keeping the plastic cover snug as a bug.
– Keep your eyes peeled! There are 6 sneaky Phillips screws hiding under a rubber cover. Grab a sharp object and gently lift that cover off.
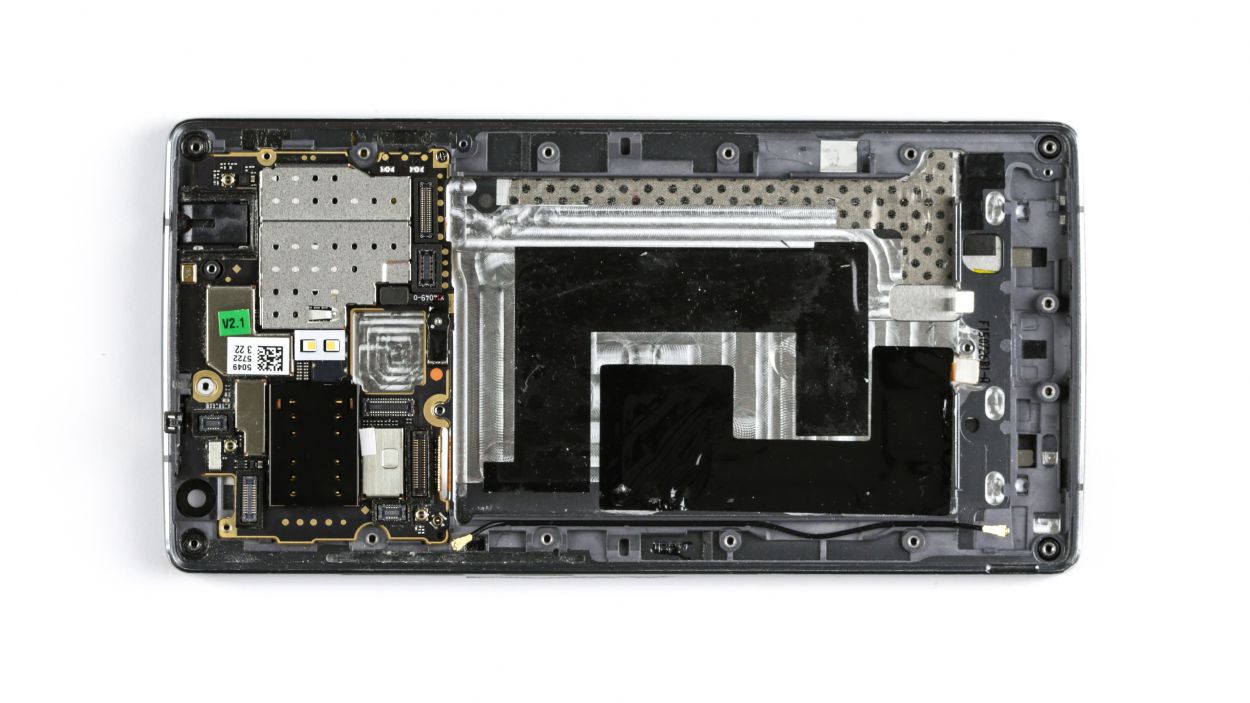
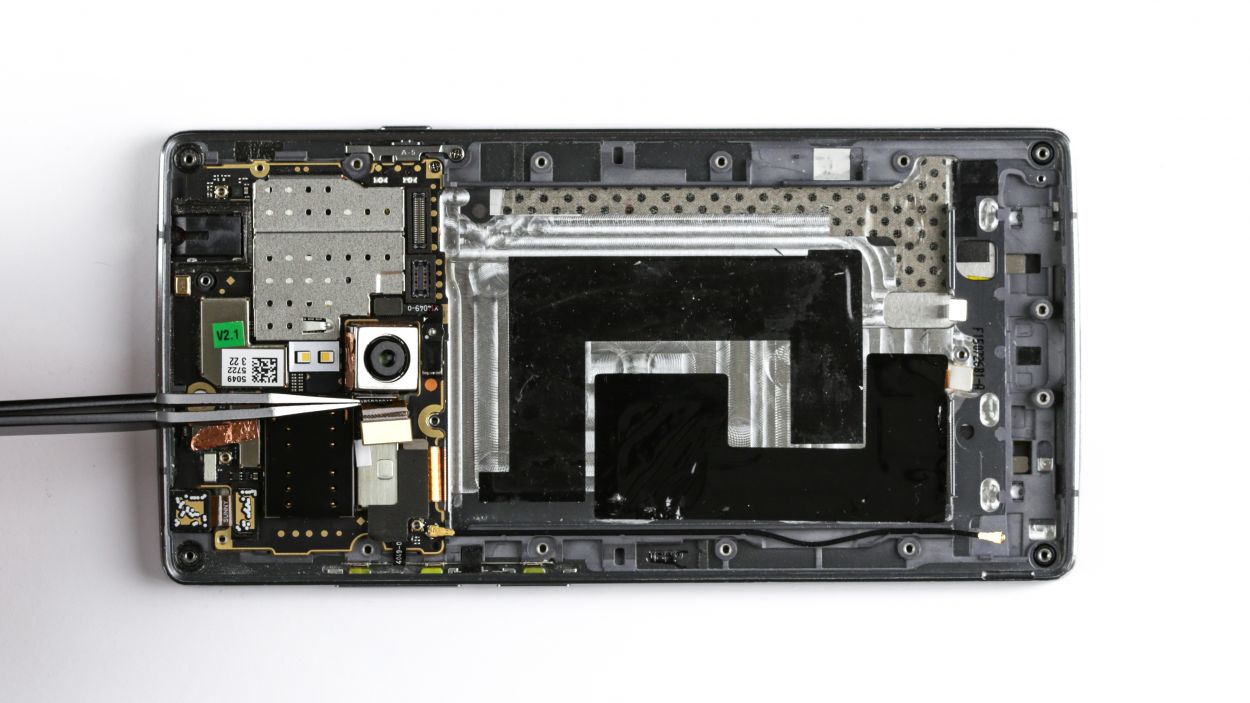
– Now, let’s unveil the logic board! Carefully use the pointed tip of your ESD spudger to lift the black cover. Don’t be shy—pry it out at other spots too!
Step 5
– You don’t need to remove these parts, even-though they have been removed in the following pictures.
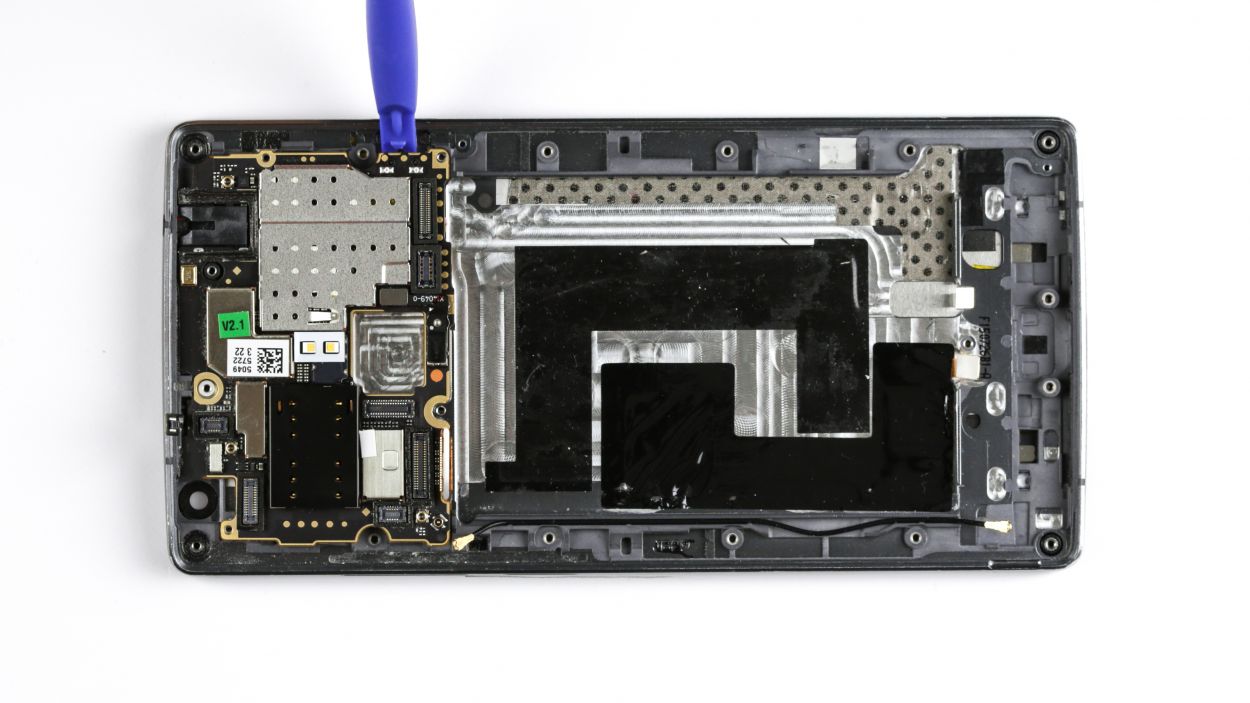
Step 6
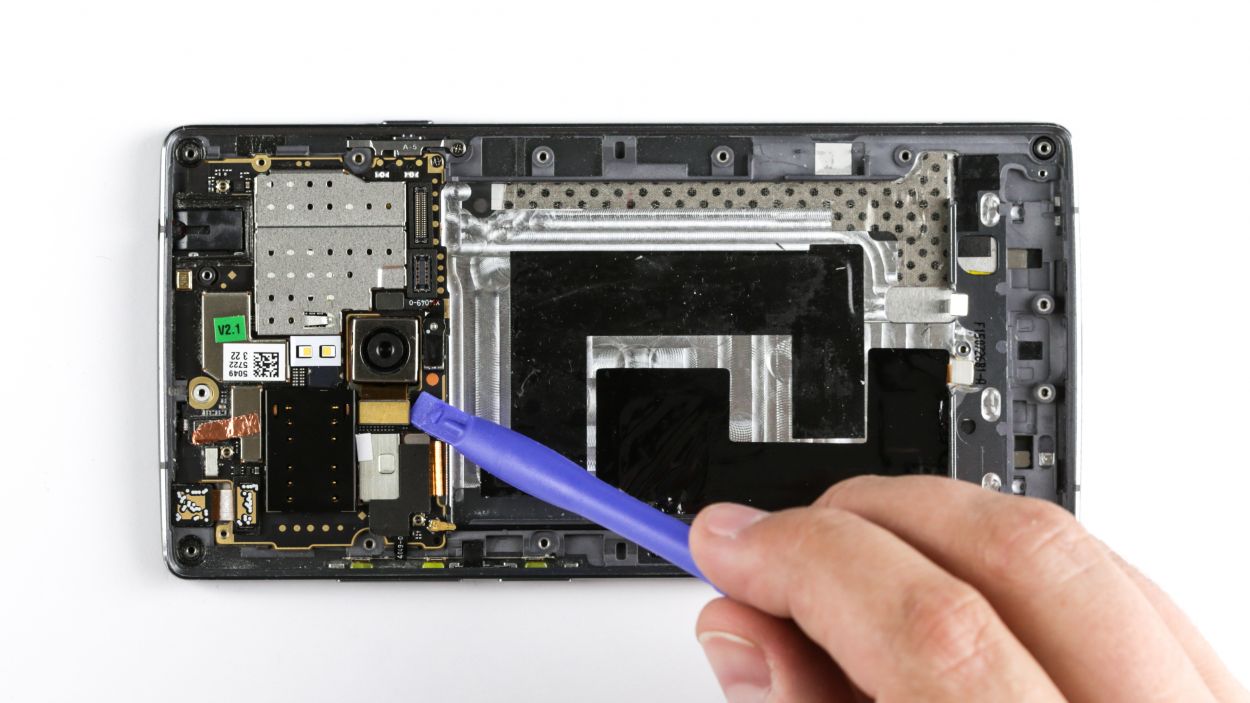

– Time to gently unplug the rear camera connector. Take it easy, you’ve got this!
– Now, carefully lift out the old camera and say goodbye to it!
Step 7

– Disconnect the front camera connector – don’t worry, it’s easier than a selfie!
– Grab your toolset and gently pry out that old camera – we’re upgrading your device, dude!
Step 8


1 × Phillips-Schraube
The standby and volume buttons are connected to their own ribbon cables, which then link up to a flat cable. If you need help, you can always schedule a repair!
– First things first: Gently peel off those two pesky black stickers on the standby and display connector. Tweezers are your best friend here!
– Time to disconnect that standby connector – easy peasy!
– Let’s get those buttons out of there. Piece of cake!
– Next up: Remove the cable. Smooth sailing!
– Unscrew that tiny screw holding the mute button. Then, give that bracket the boot!
– And finally, say goodbye to the mute button! You did it!
Step 9
Sensorkabel
Displaykabel
Antennenkabel
Be careful not to accidentally snap off those little resistors and coils that are snugly soldered onto the logic board. We want everything to stay in one piece, so keep it steady!
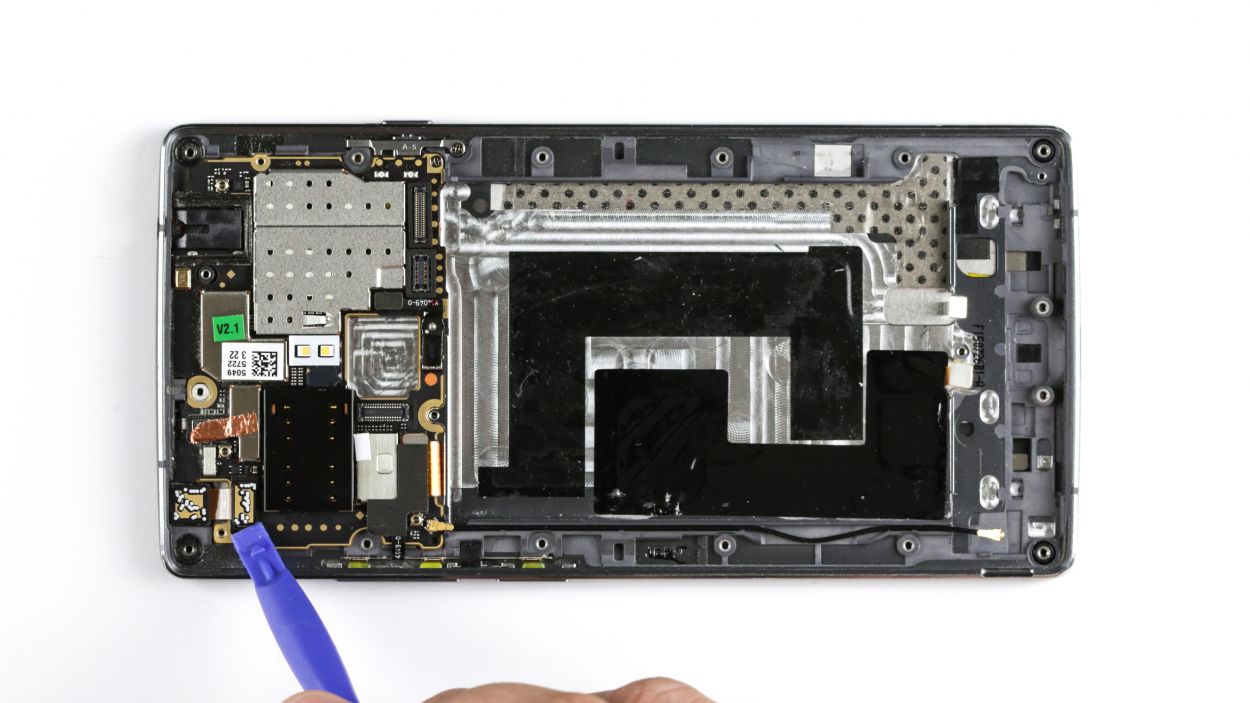
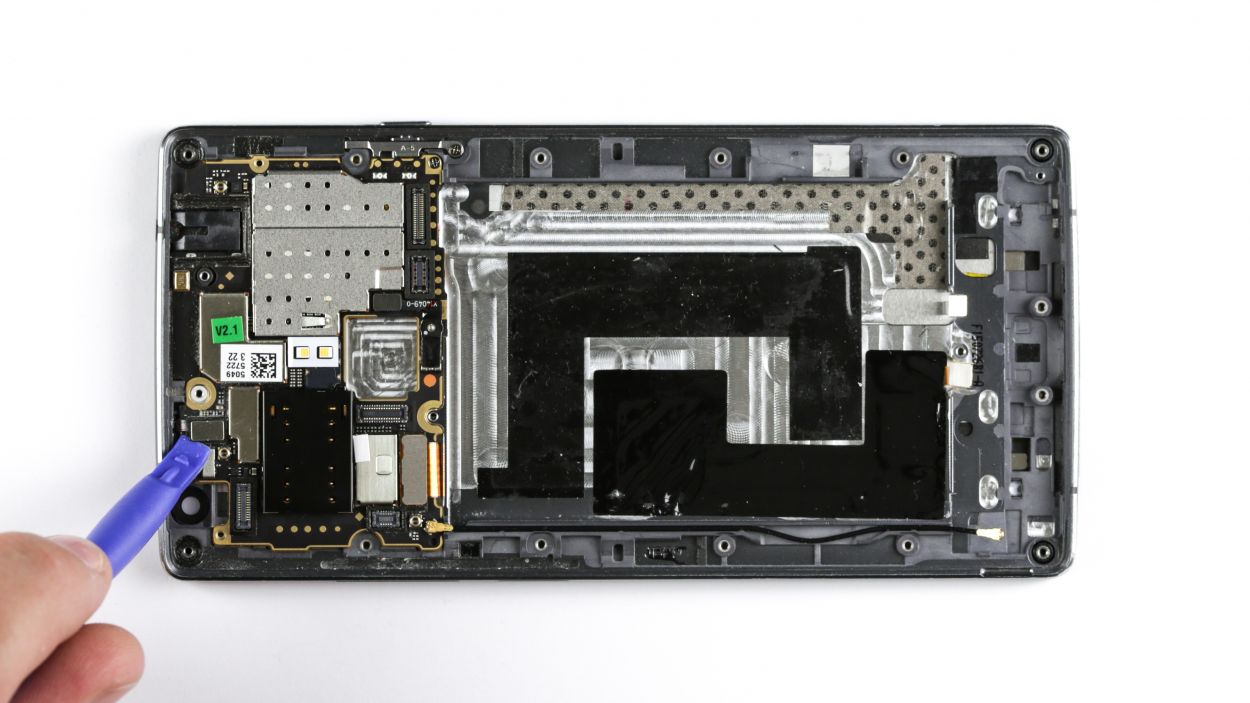
– Alright, it’s time to gently disconnect those three connectors. Just take it easy and be cautious!
– Using the pointed tip or flat end of the spudger, carefully slide it just below the contact and lift it up with a gentle touch. Remember, we want to keep those resistors and coils on the logic board safe and sound!
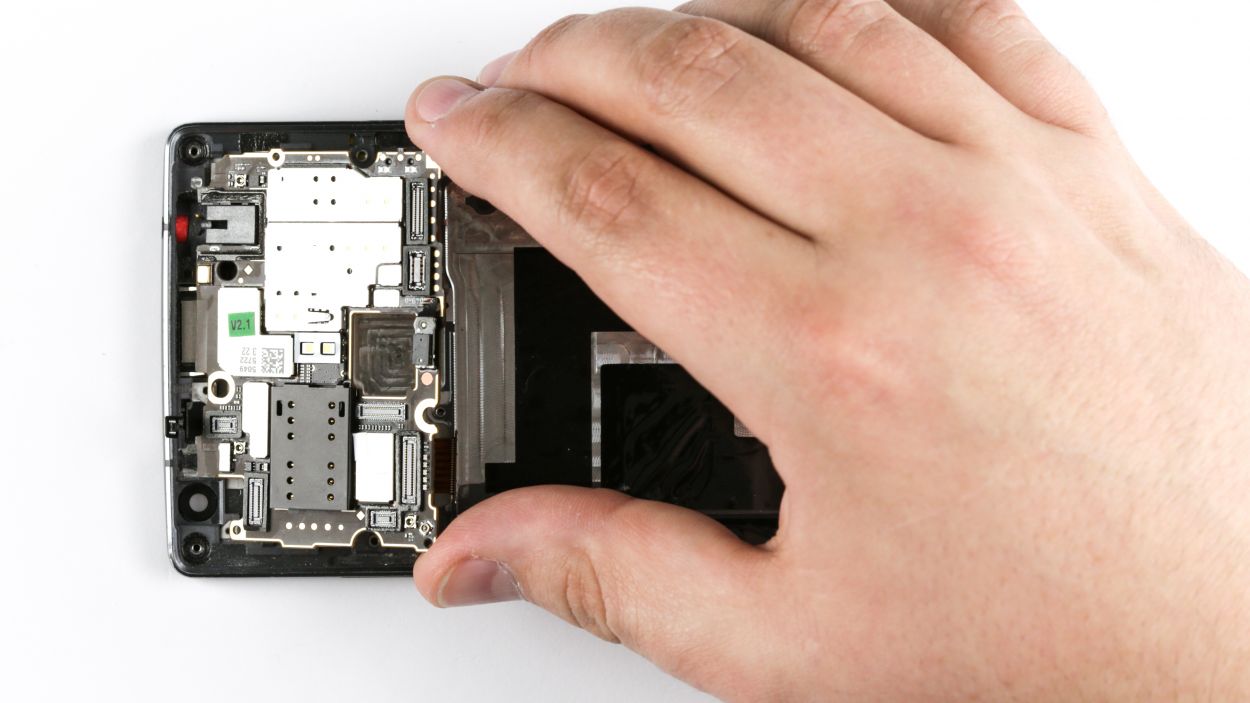
Step 10
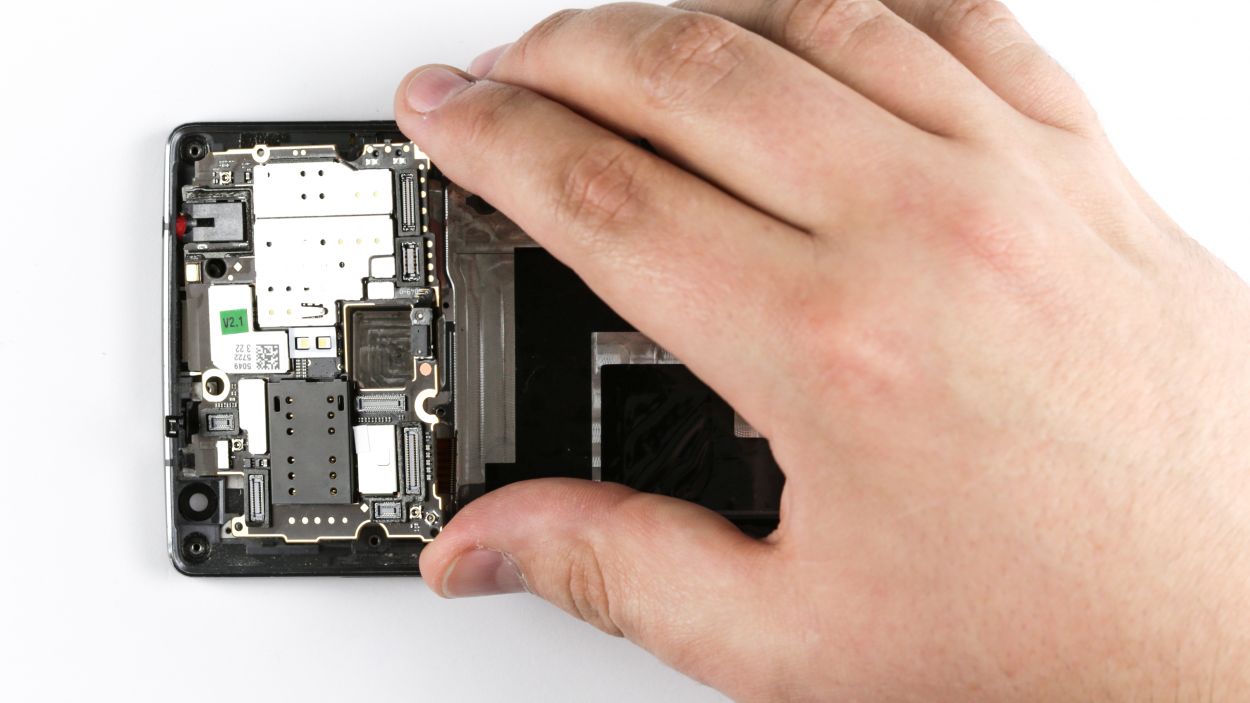
1 × Phillips-Schraube
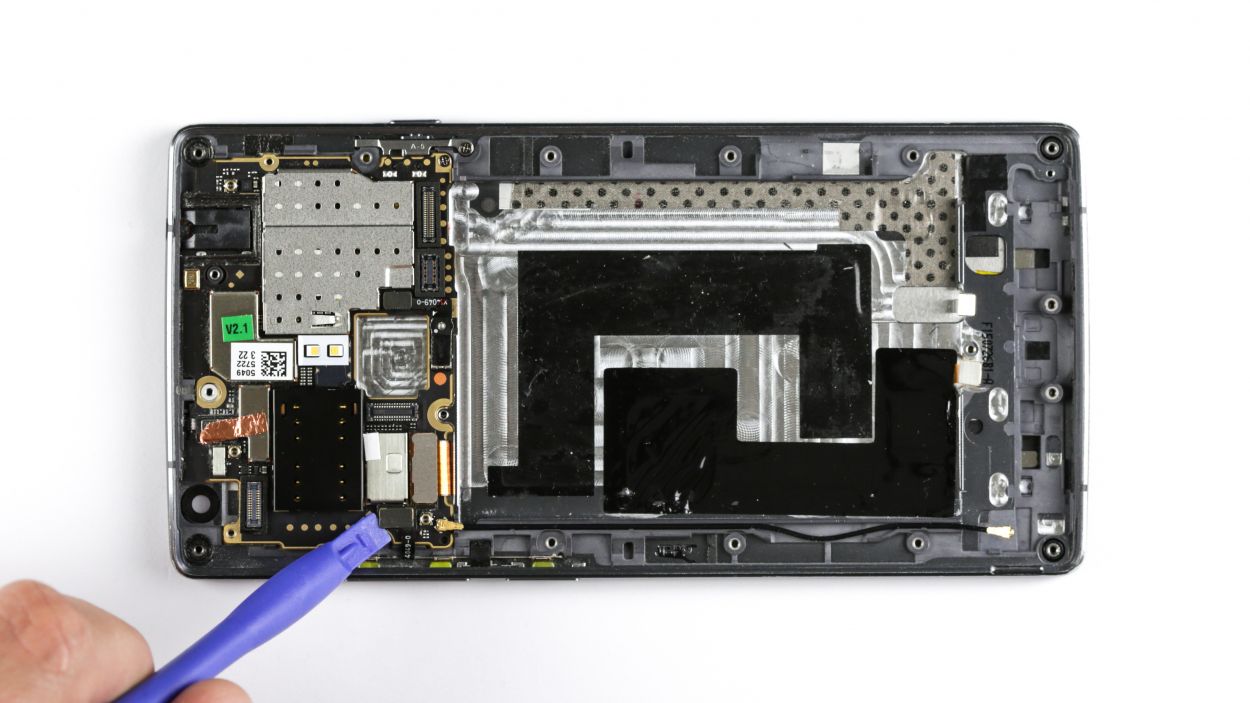
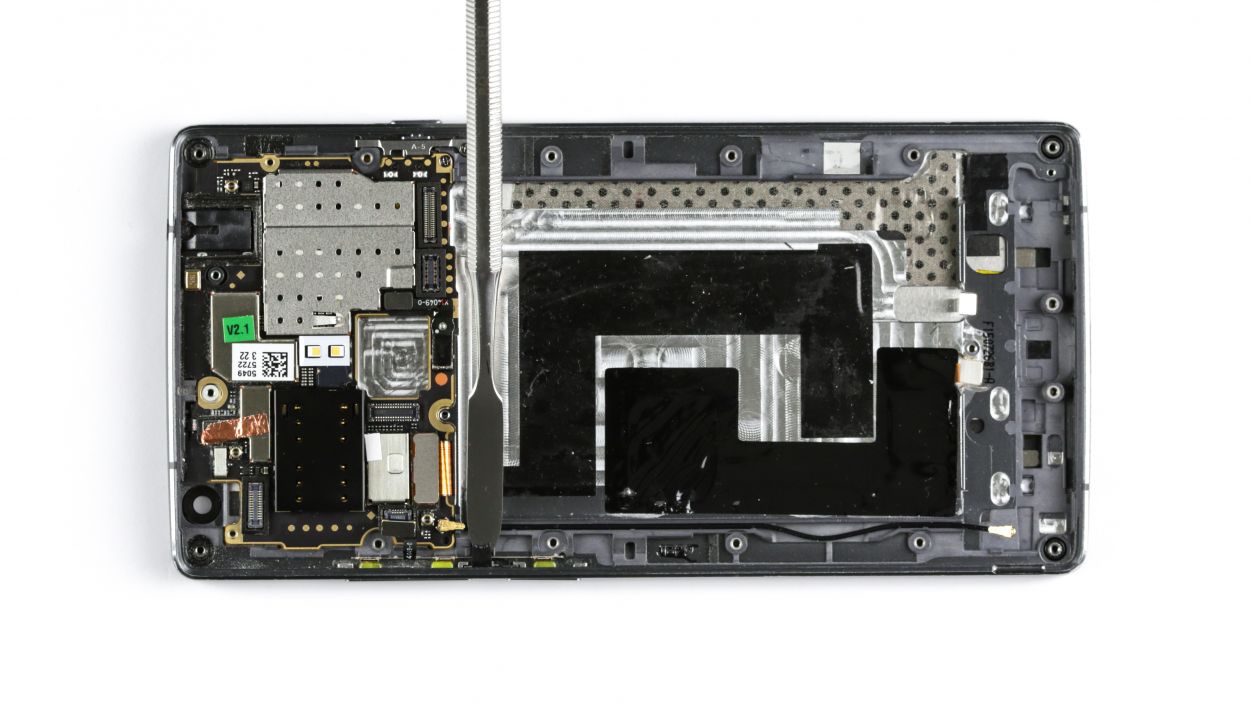
Hey there! Don’t forget to take out that tiny screw right below the camera connector. It’s a little guy, but super important for your repair journey!
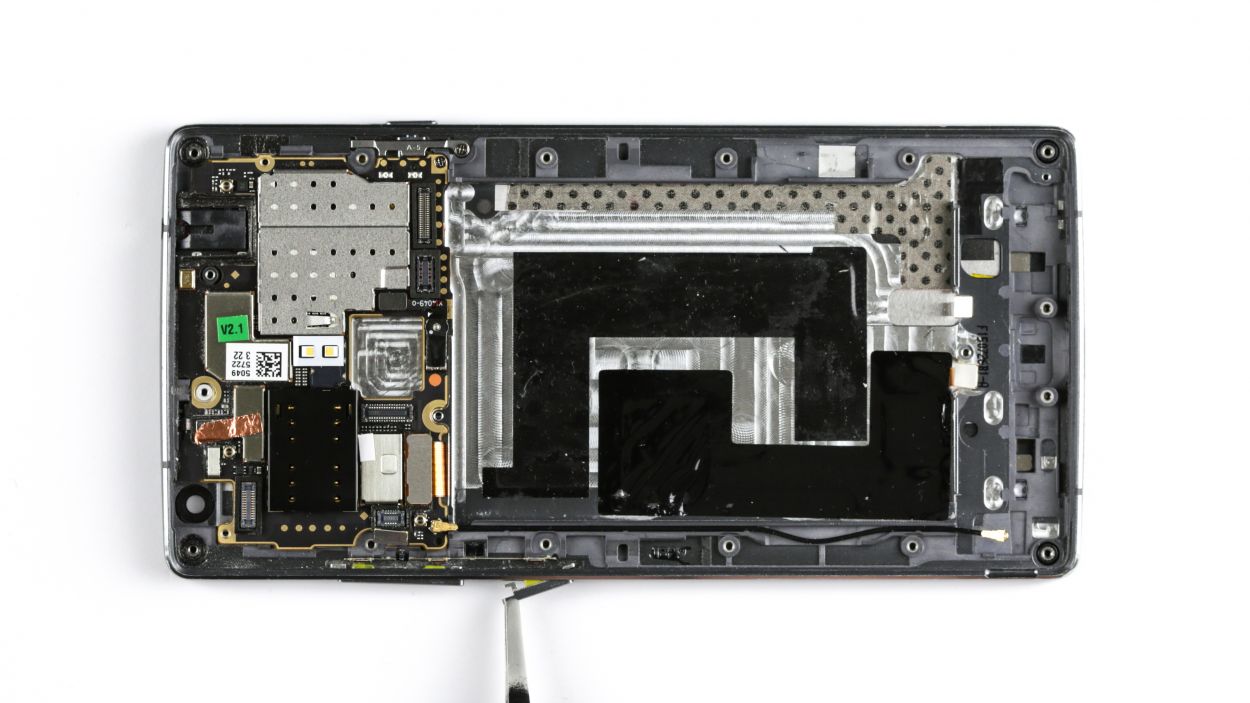
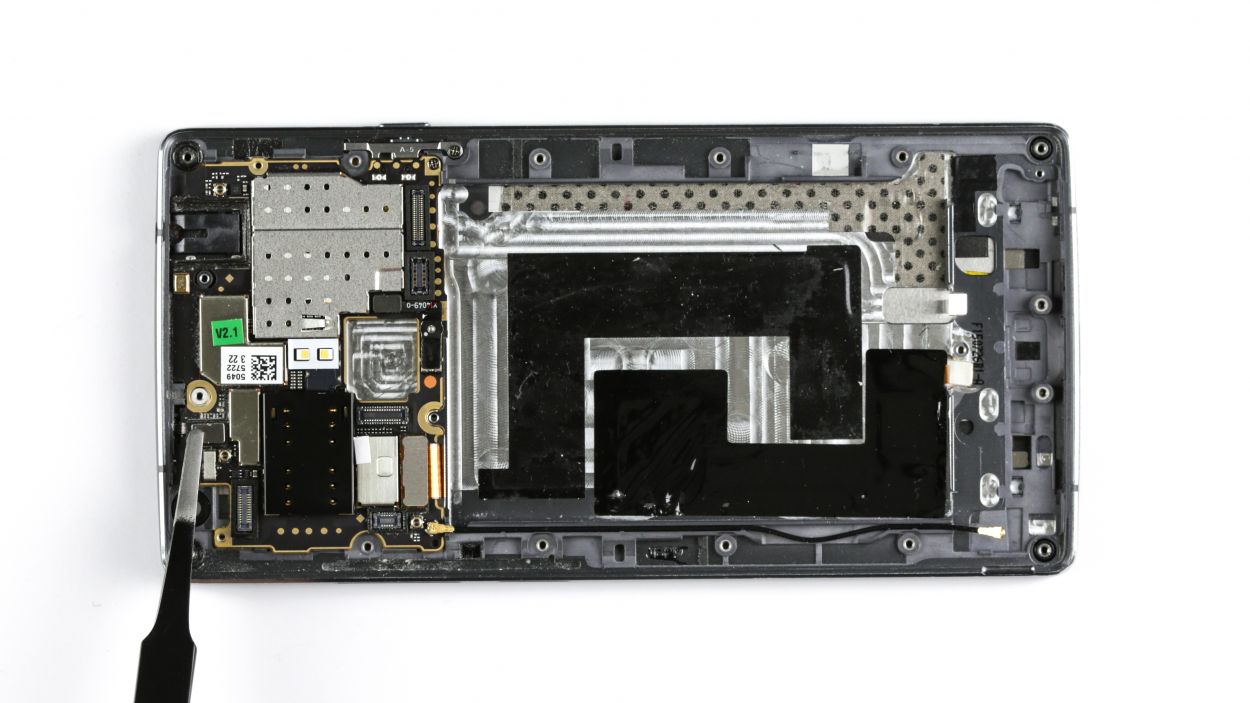
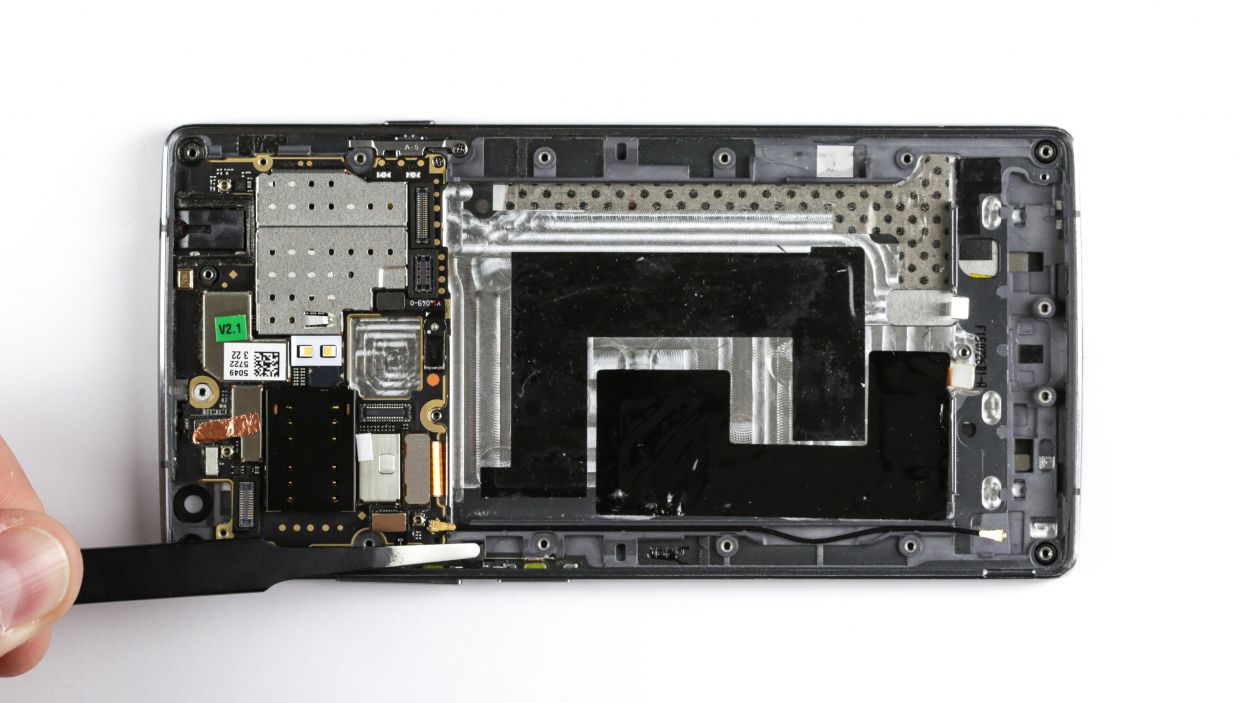
– Now you can carefully lift the logic board using the spudger and remove it by hand.
Step 11


– {‘image’: ‘https://example.com/image1.jpg’, ‘background’: ‘Blast your old speaker off with some TLC.’, ‘info’: {‘text’: “
Before we dive in, make sure you’ve got your gear and your game face on! See schedule a repair for more info on our repair process.
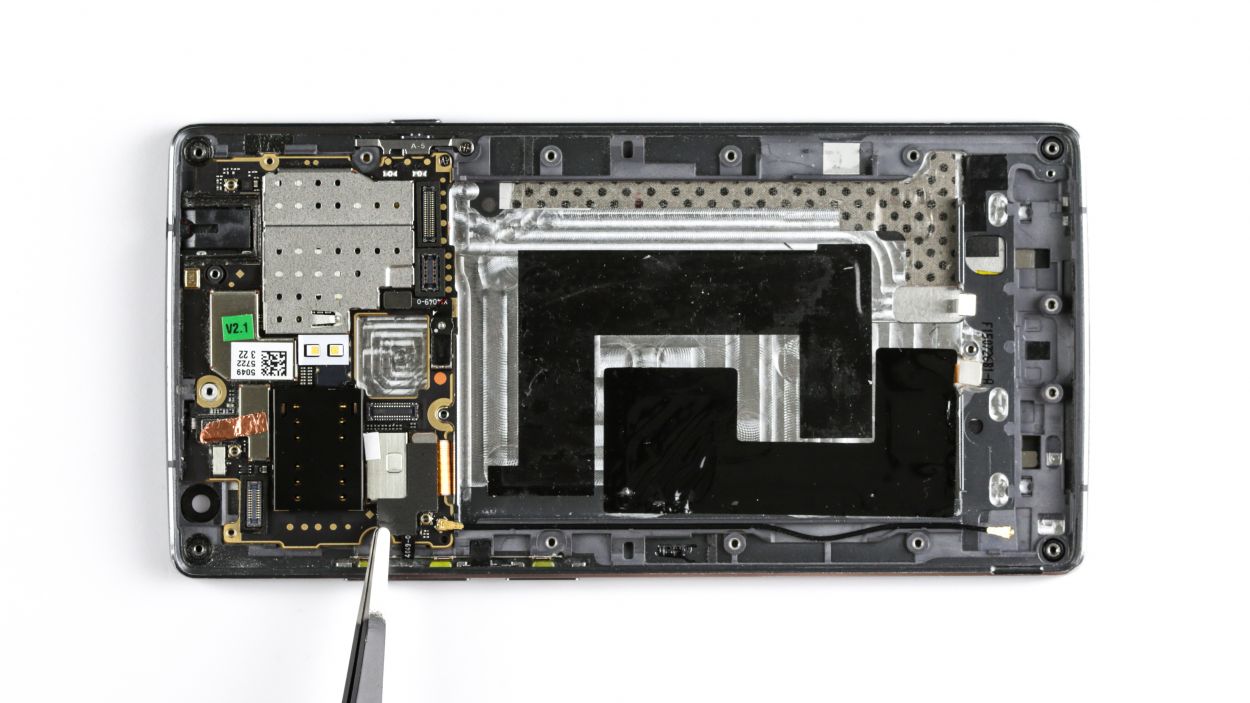
“, ‘links’: }, ‘description’: ‘Remove the old speaker – a.k.a. the earpiece.’, ‘text’: “Time to get your speaker loose from its cozy little home – carefully remove the earpiece. To start, grapple up your trusty spudger (we like laboratory spatulas too) and insert the pointed tip underneath the earpiece – it’s a bit of a stubborn buddy, but persistance (and a teeny bit of spudgerly persuasion) will set it free! One more thing: some earpieces are pretty sticky, so if it’s not budging, give it a micro-pop with a heat gun to soften things up.”}
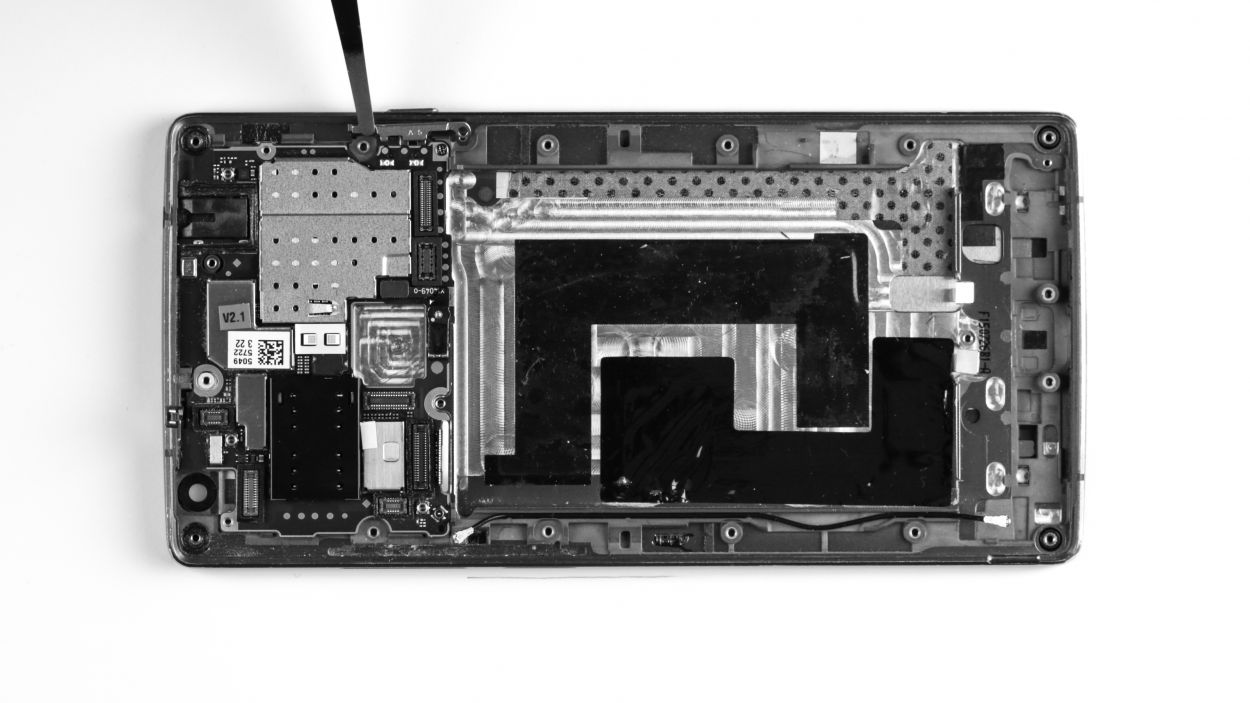
– {‘image’: ‘https://example.com/image2.jpg’, ‘background’: ‘You got this!’, ‘info’: {‘text’: “
Now that you’ve blasted off your old speaker, take a moment to inspect the surrounding area for any remaining stickiness. If you still find some, don’t worry – a tiny puff of air should clear things up nicely. Once the coast is clear, your earpiece is now free and ready for replacement!
“, ‘links’: }, ‘description’: ‘Rock on with the new speaker!’, ‘text’: ‘And, voilà! Now, carefully pluck out your newly freed earpiece and its home is yours to rearrange for brand new, freshly installed device bliss!’}
Step 12

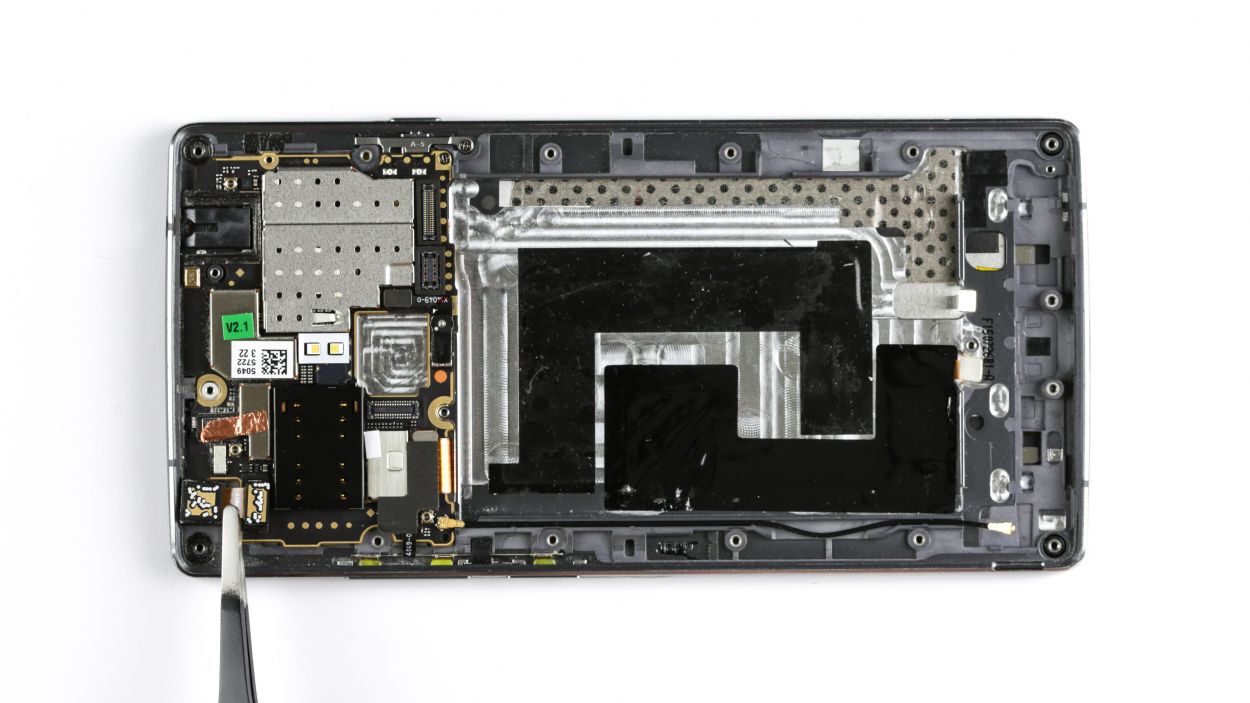
– Now put the earpiece back in the appropriate position.
Step 13

1 × Phillips-Schraube
Antennenkabel
Displaykabel
Sensorkabel
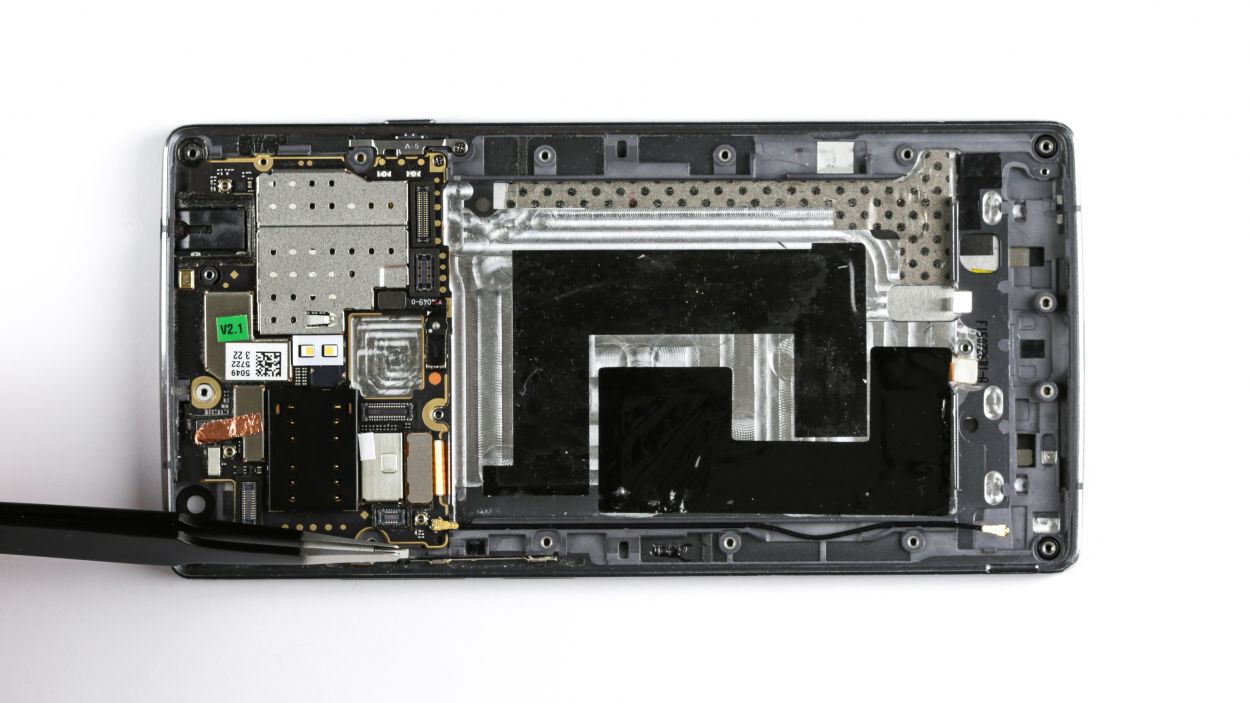
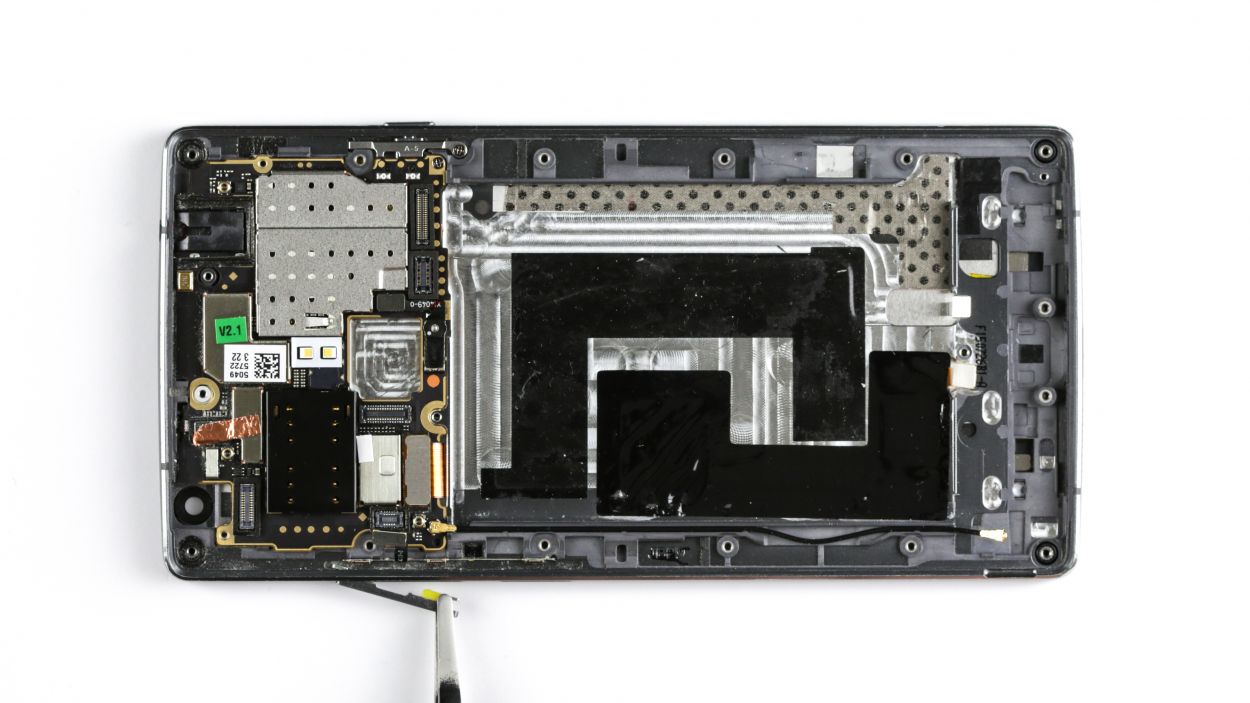
– Let’s return that logic board to its rightful home in the frame!
– Those sneaky cables might try to hide under the logic board, so keep an eye out!
– Check out our handy picture to see if your logic board is chillin’ in the right spot.
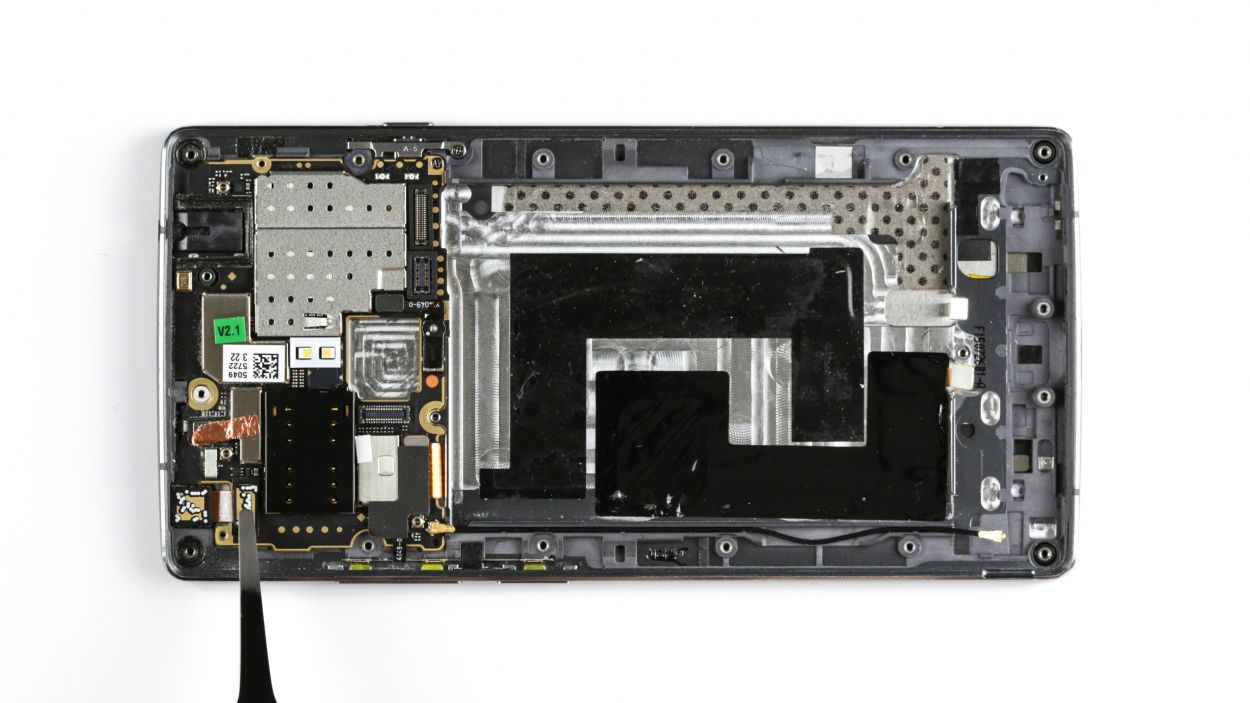
– Give that display connector its little placeholder—it’s like putting a sock in a shoe!
– Time to reunite the connectors with their logic board bestie!
Step 14


1 × Phillips-Schraube
– Time to pop in that mute button!
– Secure it with the bracket and screw – nice and tight!
– Now, let’s get the standby and volume buttons back in place. Use your spatula to gently press them into their cozy spots.
Step 15
– Alright, let’s get that new camera connected! Just snap it right in there, easy peasy.
– Awesome, now let’s put those adhesive strips back on. Stick ’em down nice and secure, we want this thing staying put!
Step 16

– Now connect the new camera.
Step 17

18 × Phillips-Schraube
6 × Gummistöpsel
– Alright, it’s time to pop that cover back on!
– Next up, grab your trusty Phillips screwdriver and tighten all those screws back in place.
– And hey, don’t forget to reinsert those little rubber plugs—they’re the finishing touch!
Step 18

– Pop that sim tray back in place!
Step 19
– It’s very easy to put the back cover back on. Put it on in the correct position and press it on all the way around the phone until it’s completely clicked into place.