DIY OnePlus 5 USB Type-C Port and Audio Jack Replacement Guide
Duration: 30 min.
Steps: 12 Steps
Get ready to rock this repair like a pro! Our OnePlus 5 guide is all about confidence, skills, and the right tools. Don’t worry, it’s a breezy fix (screen’s not glued in, hooray!), but one step requires some finesse. Just remember: the right prep, a clean workspace, and patience are key. In case you hit a snag, we’re here to help – schedule a repair with us, and we’ll sort you out.
Step 1
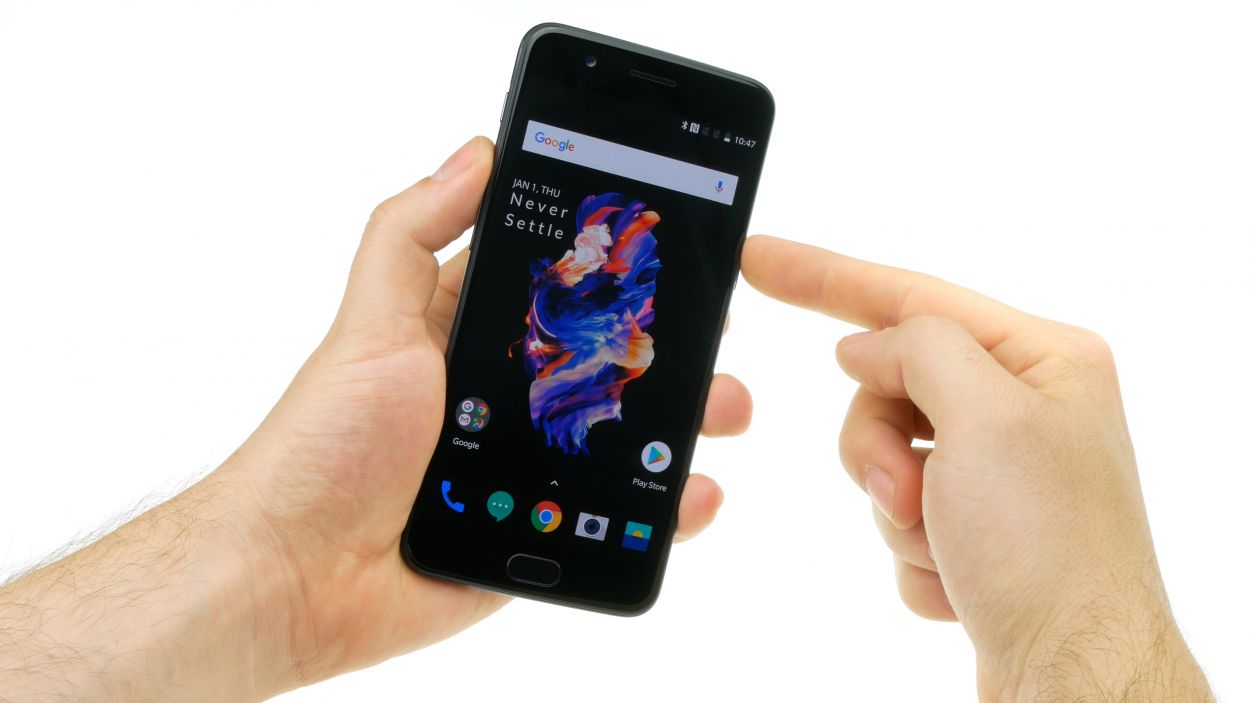
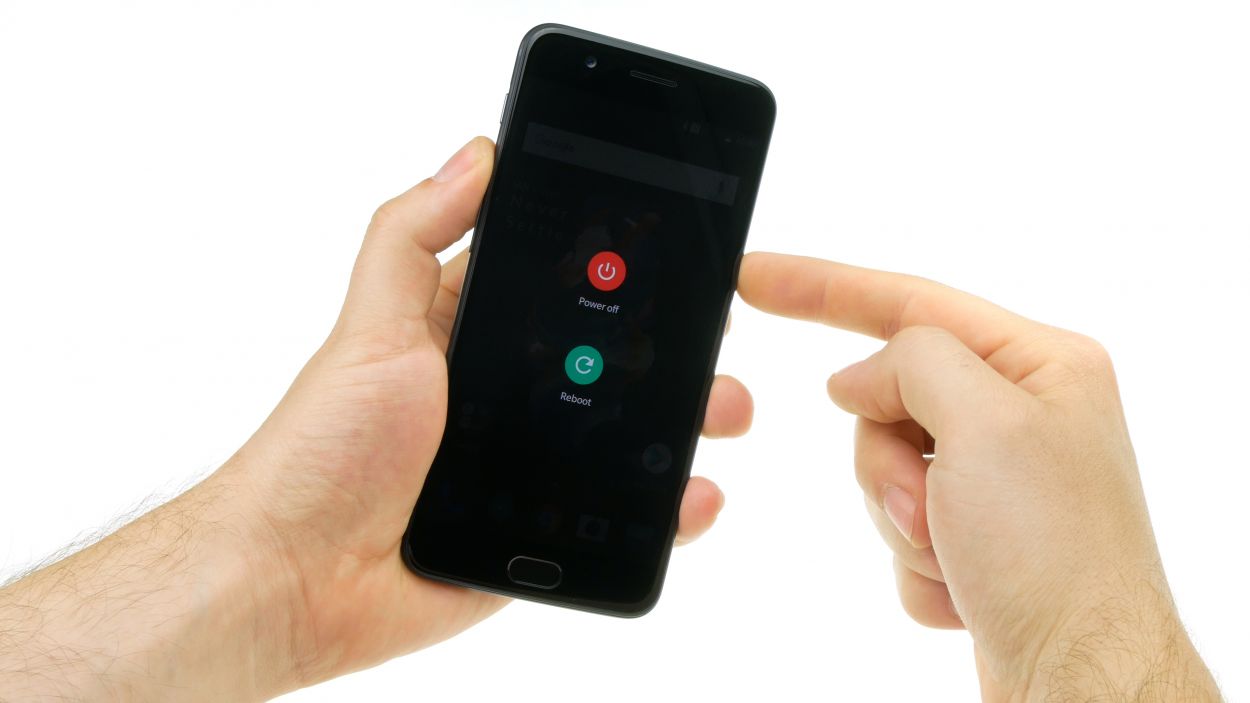
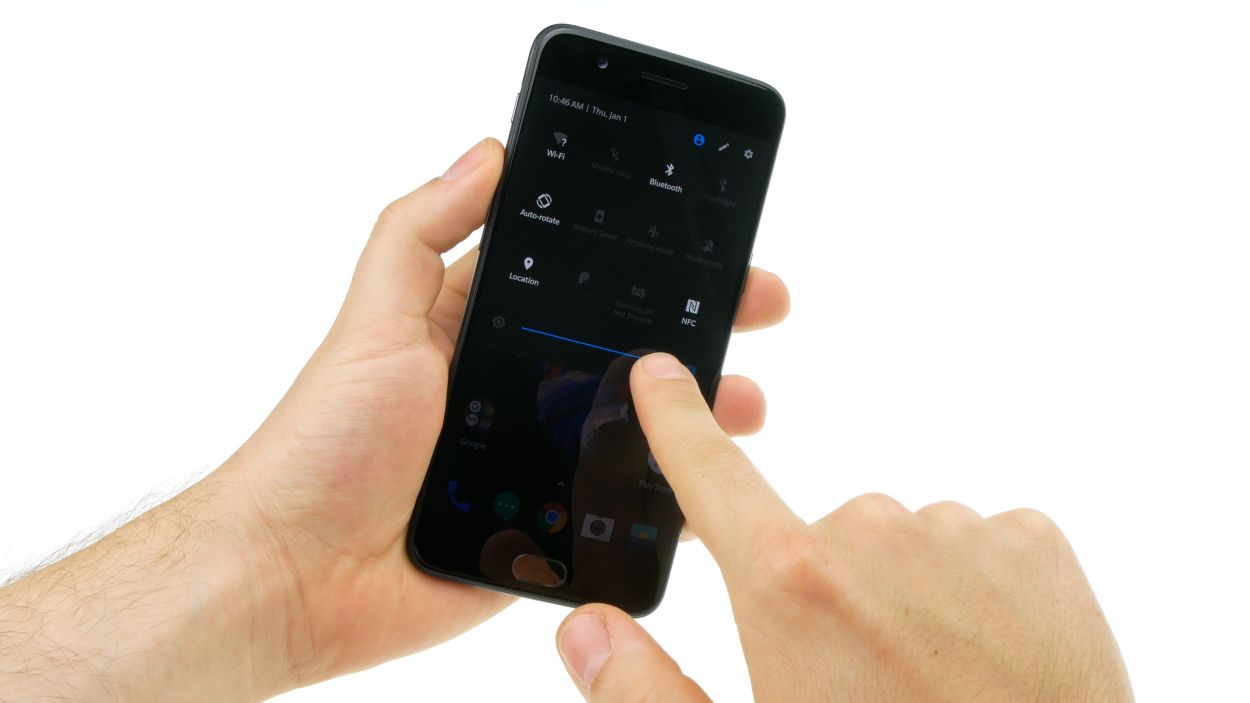
– Give that standby button a good press and hold until you see the “Switch off” option pop up.
– Tap it again to seal the deal.
– If your OnePlus 5 touchscreen is playing hard to get, just press and hold the standby button for about 10-15 seconds to turn it off.
Step 2

2 × 2.5 mm Torx T1
– Alright, let’s get this show on the road! First, remove those two screws on the bottom edge of the case. You’ll find them right next to the USB port and the audio jack. Easy peasy! Once you’ve got those out, just set them aside on your trusty magnetic mat or sorting box. We don’t want those little guys getting lost, now do we? Let’s keep this repair rolling, shall we?
– Great job so far! Now, let’s move on to the next step. Place those screws you just removed in a safe spot on your magnetic mat or sorting box. We don’t want them wandering off and causing any trouble. Keep up the good work, and let’s get this device back in tip-top shape! If you need any help along the way, you can always schedule a repair.
Step 3
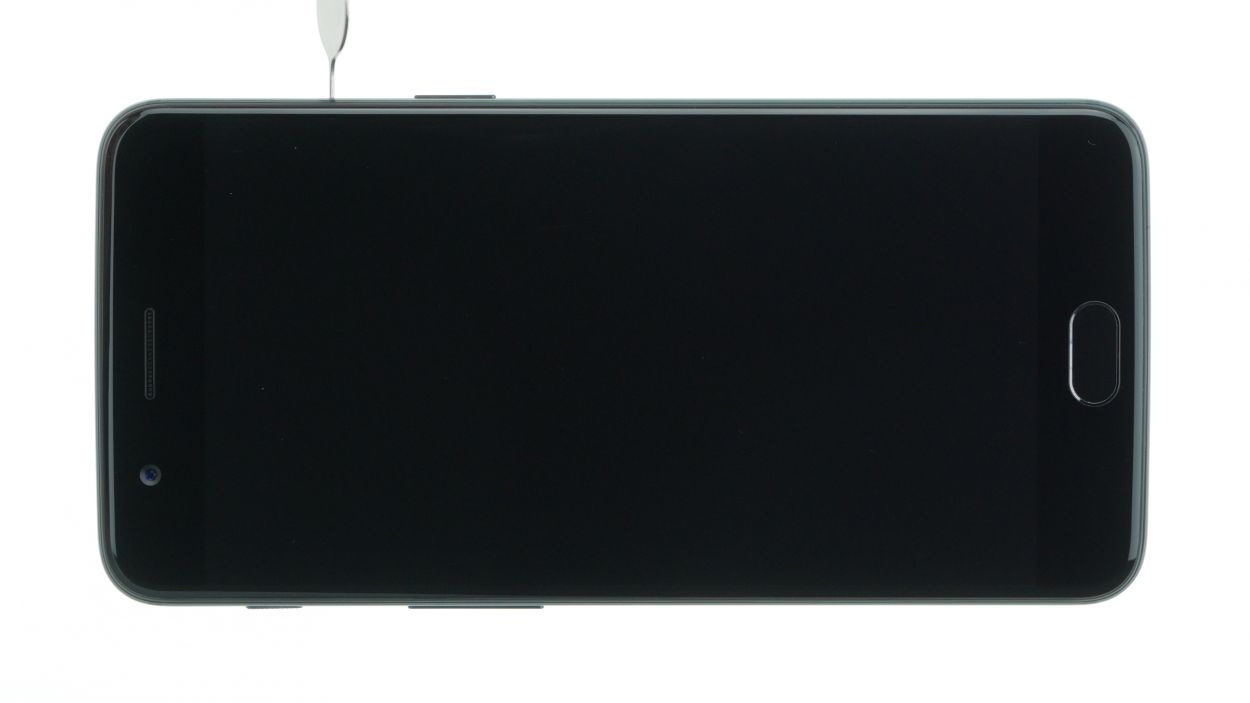
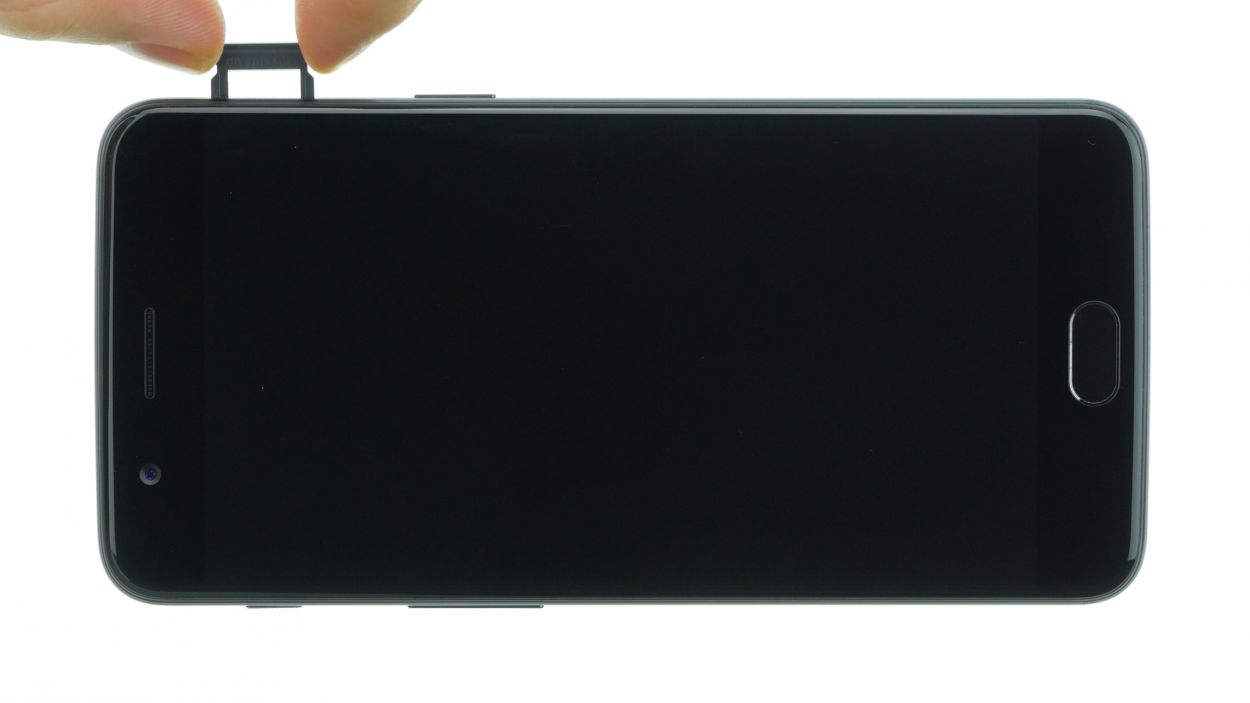
– Remove the SIM card holder with a SIM tool or paper clip. Push the tool into the small hole on the SIM tray and pull it out.
Step 4
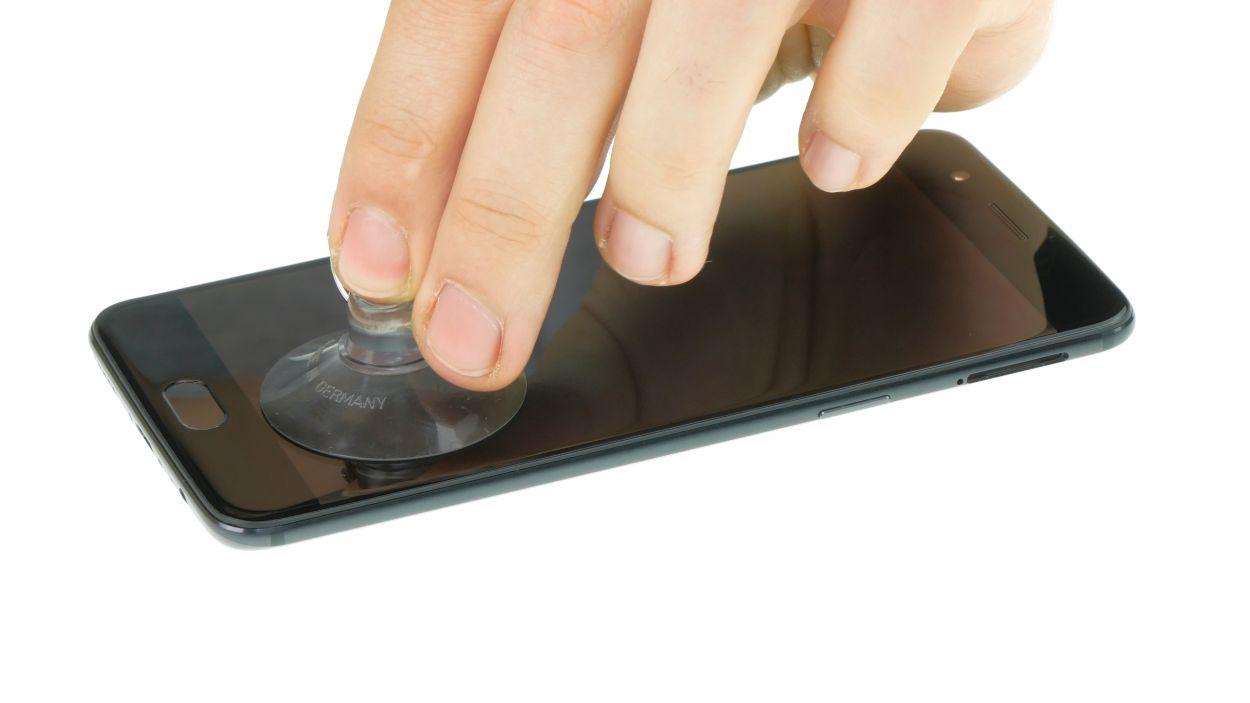
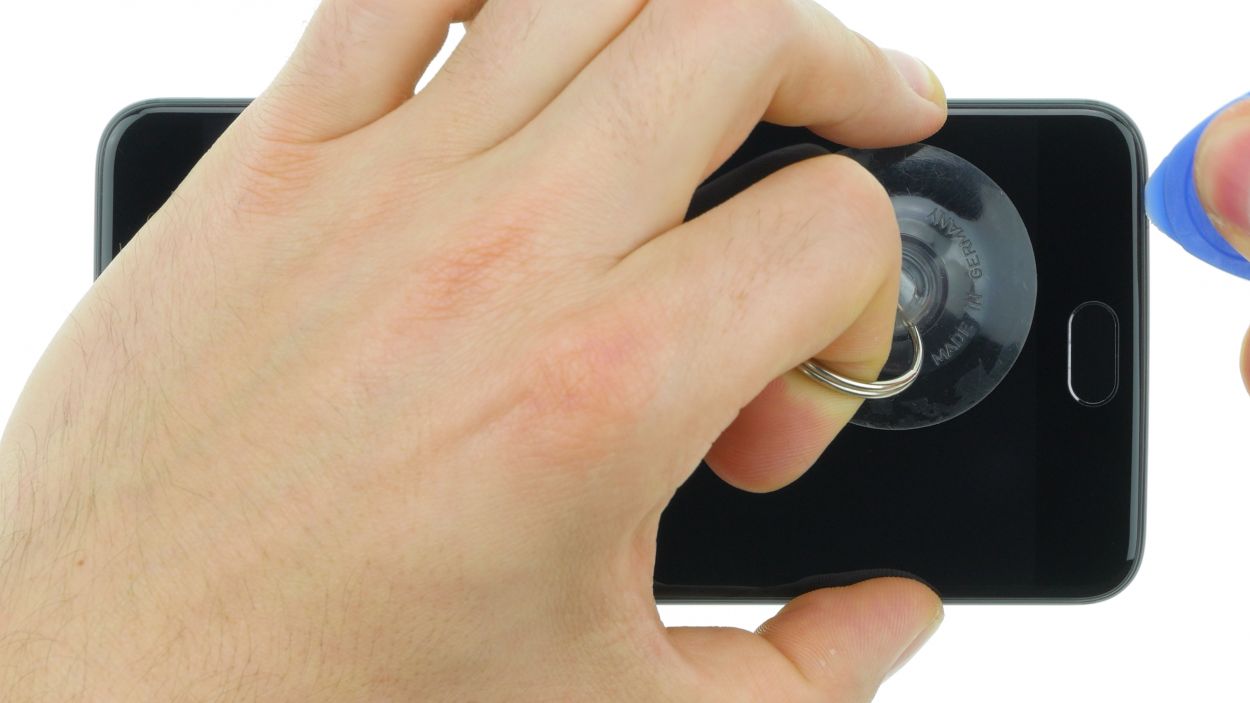
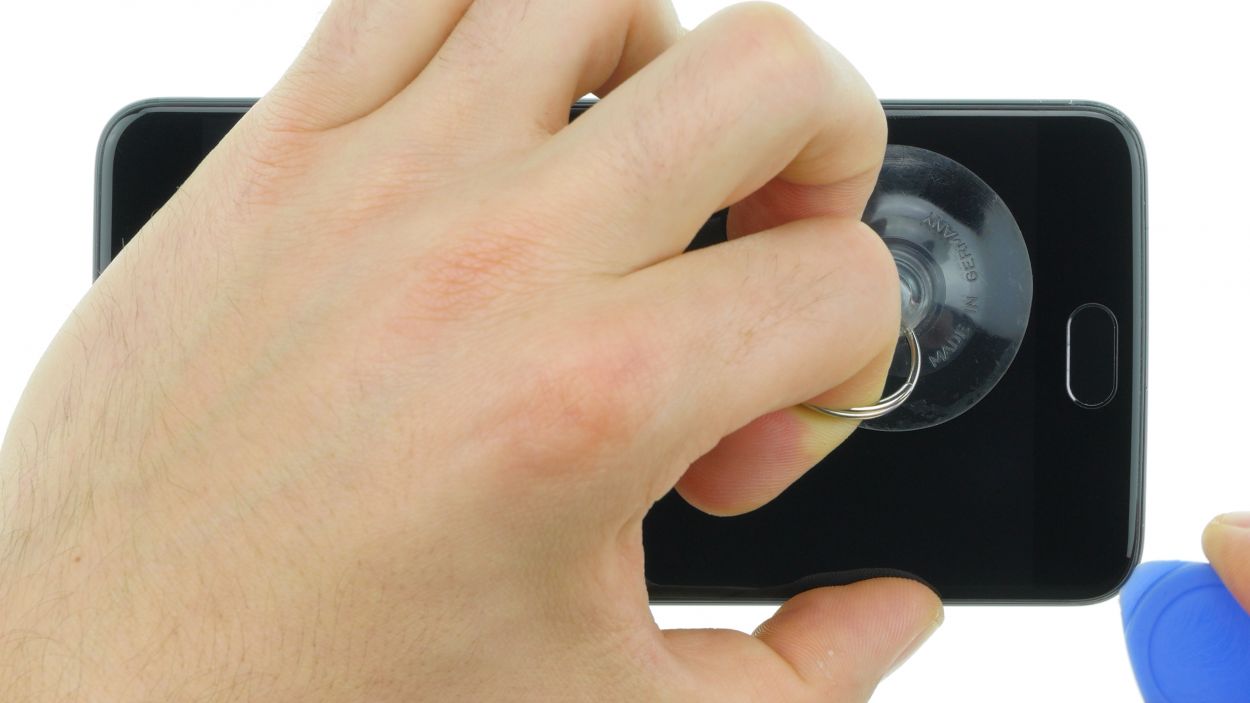
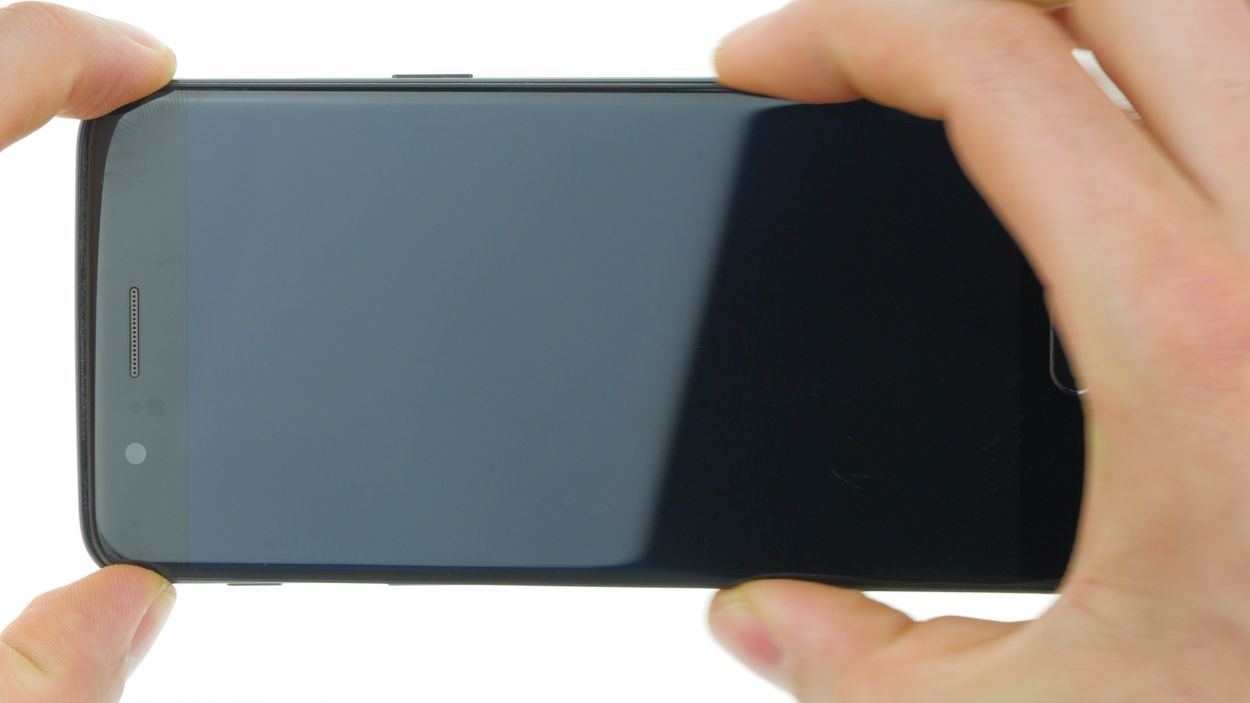
– Time to get this party started, repair rockstars! First, grab your trusty suction cup and fit it nice and snug over that home button. Then, with a gentle tug, pull it up and slide a slender plastic pick (we love ’em, don’t you?) between the display and the rear panel. You’ll start to see a teensy gap – ta-da!
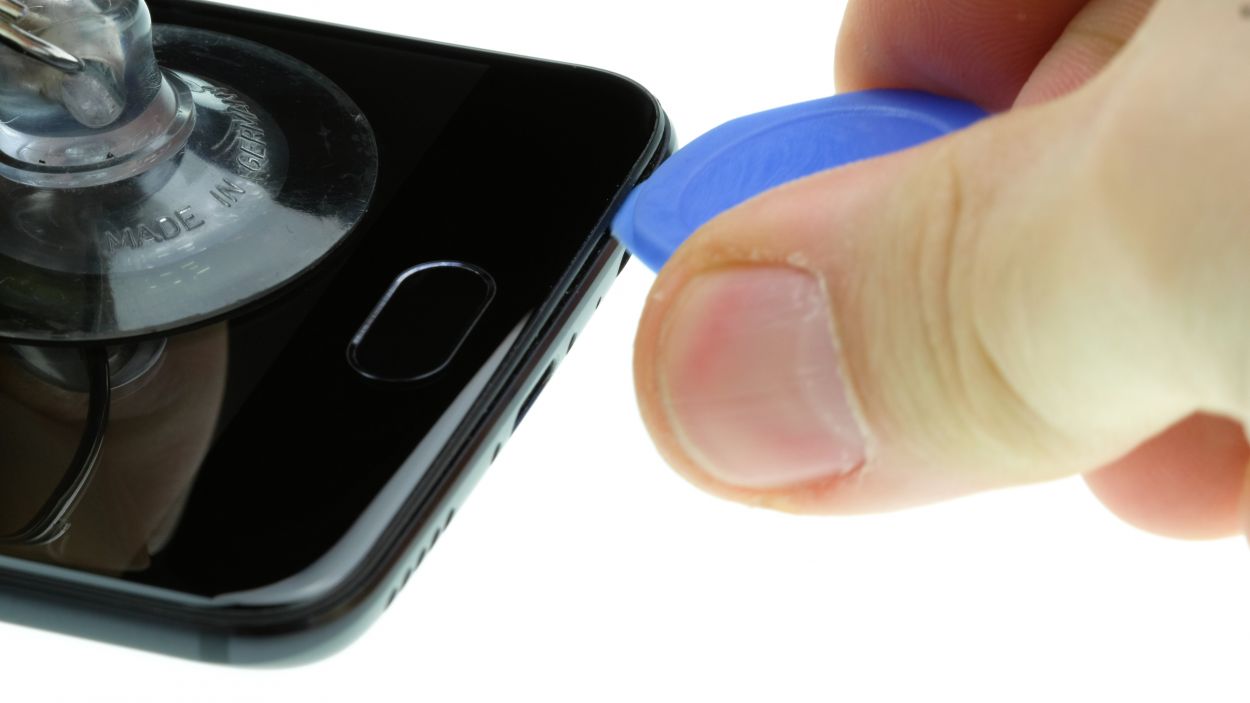
– Now, slide that pick around the whole frame, feeling that gentle ‘pop’ as the clips release. Don’t worry, no glues here! Just a little squeeze to get you to the next level. As you slide, twist that pick a hair to leverage off the display. Easy does it!
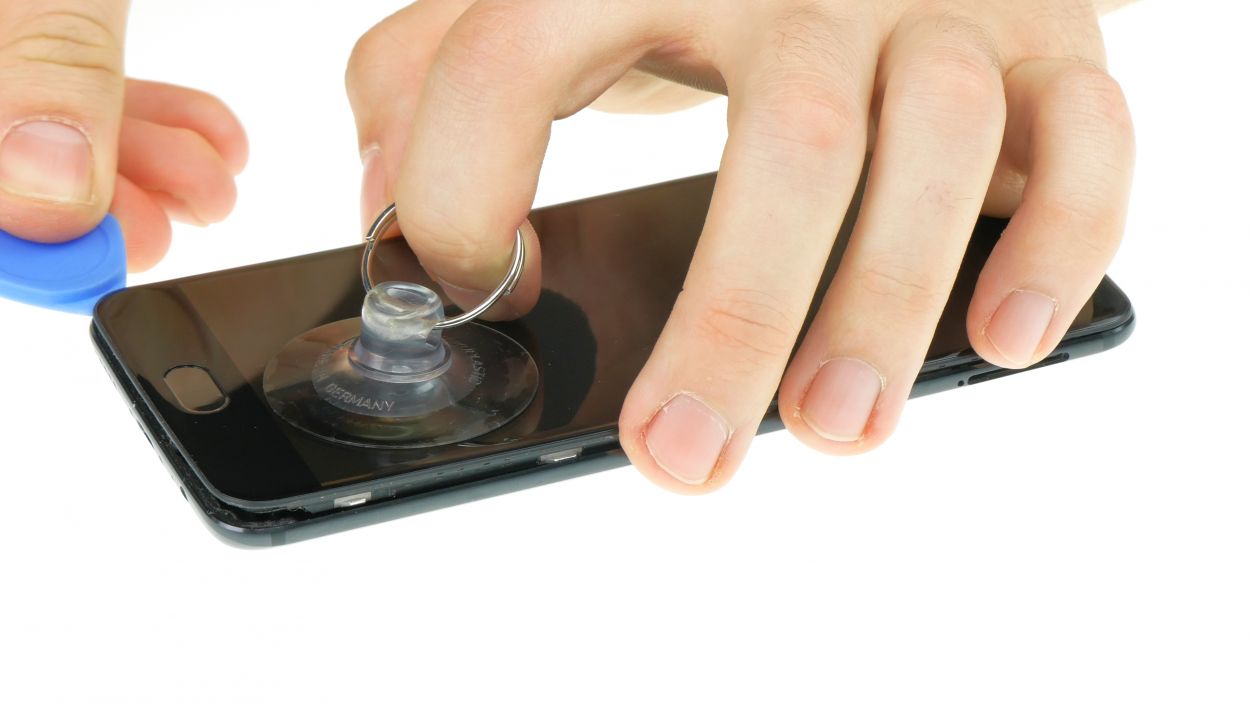
– Next, pick your way around the clips, sliding off each one like a little mini version of a game – and when you’re done, voila! That rear cover comes off easily. Oh, and don’t forget to be gentle with that sensitive flex cable at the top.
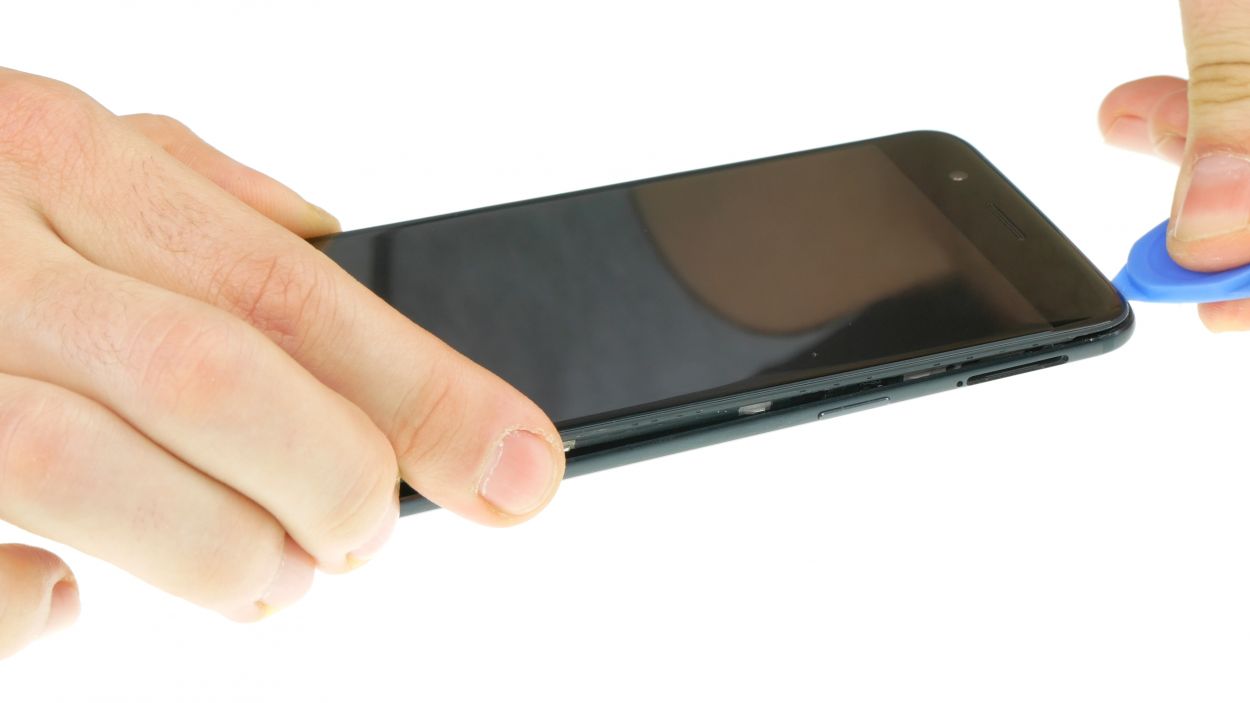
– Last but not least, gently lift up that back cover, and voilà – you’ve got yourself a beaming, clean device! And when the time comes, don’t hesitate: schedule a repair with Salvation Repair to keep your gear running like new!
Save your OnePlus 5 from those pesky scratches and make it look like new with these easy steps!
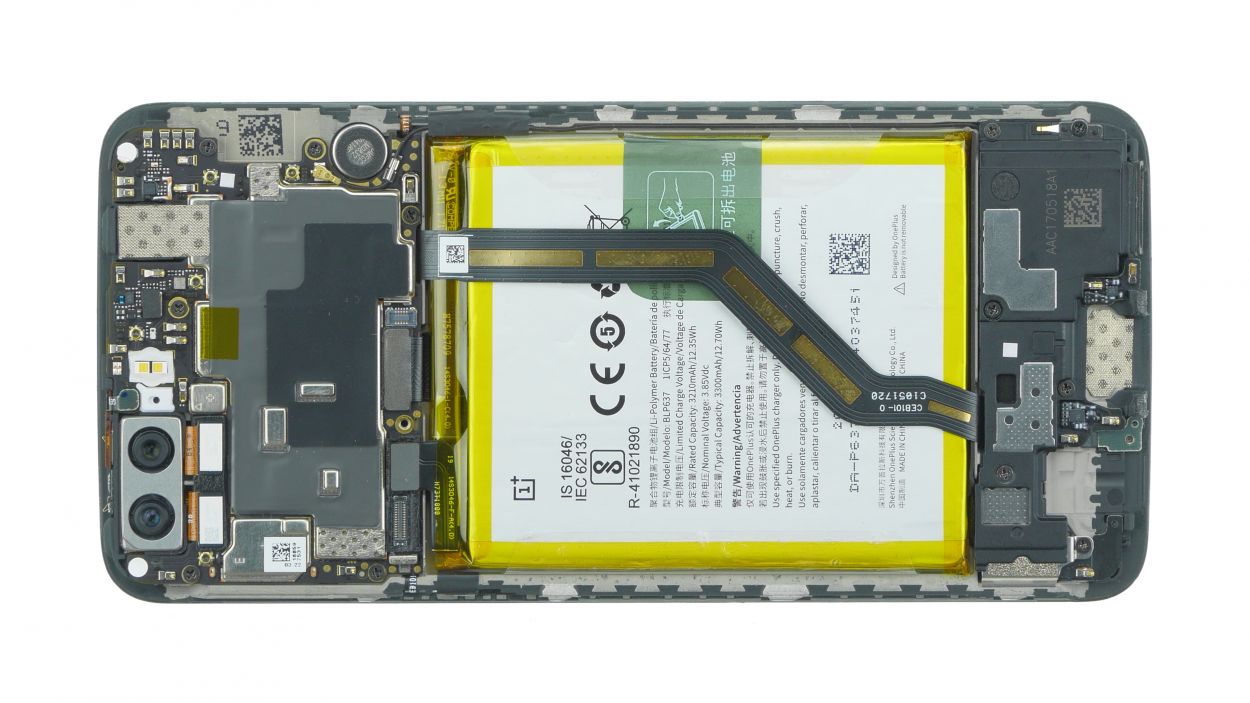
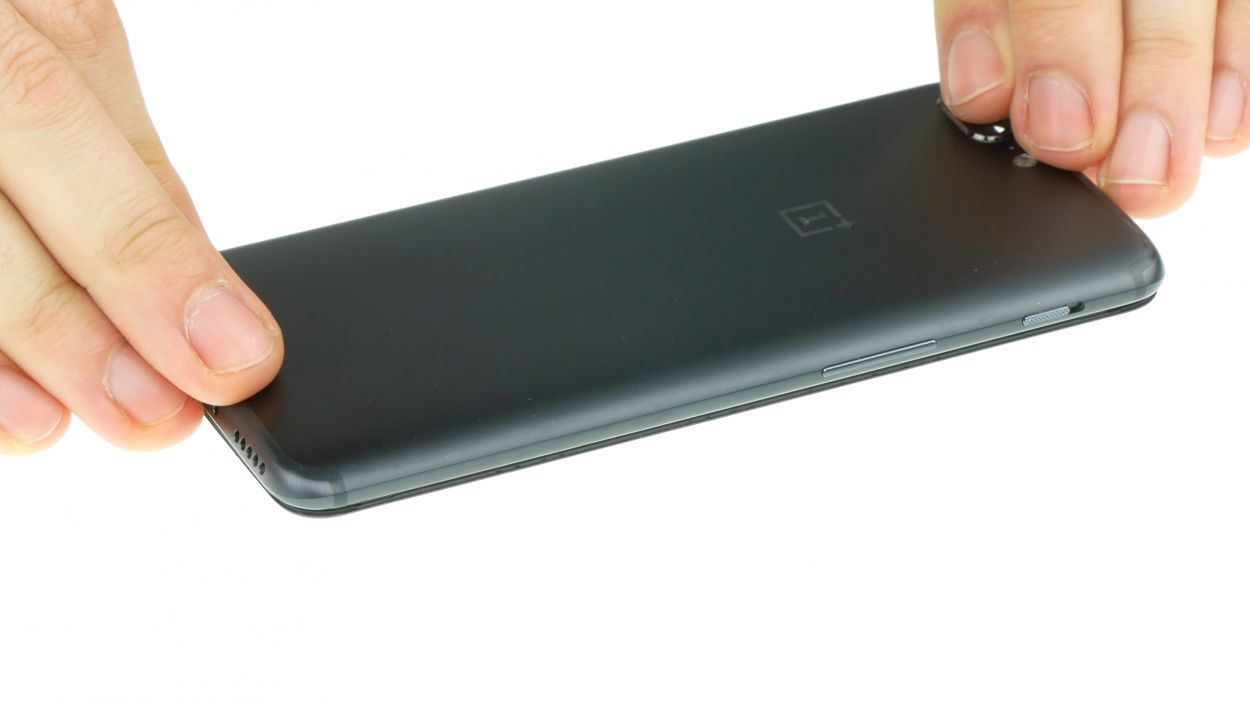
The OnePlus 5 has a back cover that doubles as a stylish case, while the display unit houses all the electronics and the screen. It’s like a cozy home for all the tech goodness inside! Need assistance? No worries, just schedule a repair if you need help.
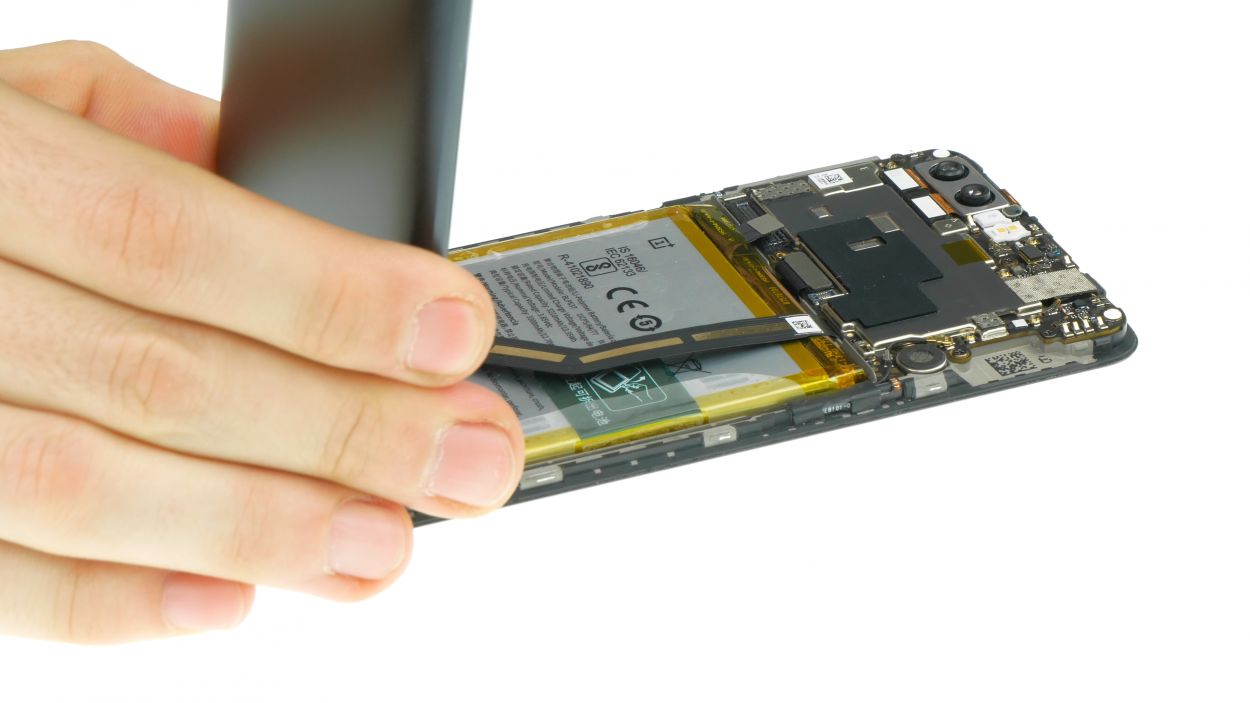
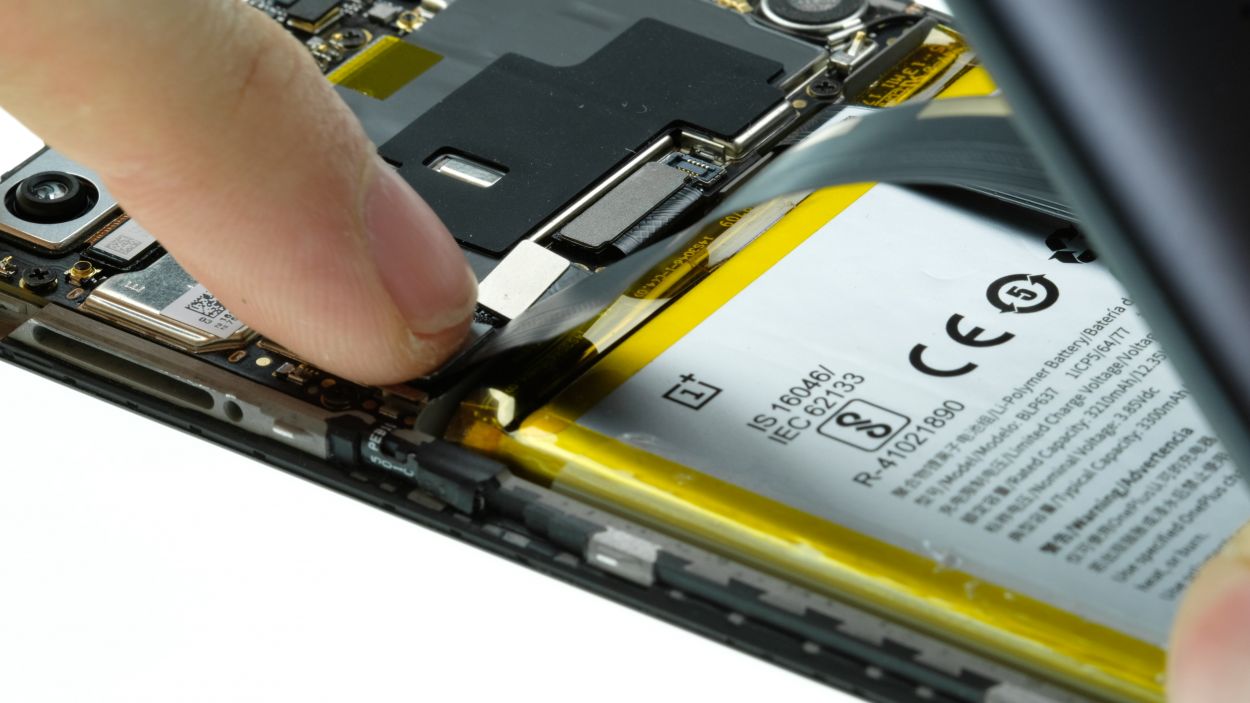
Step 5

1 × 2.3 mm Phillips
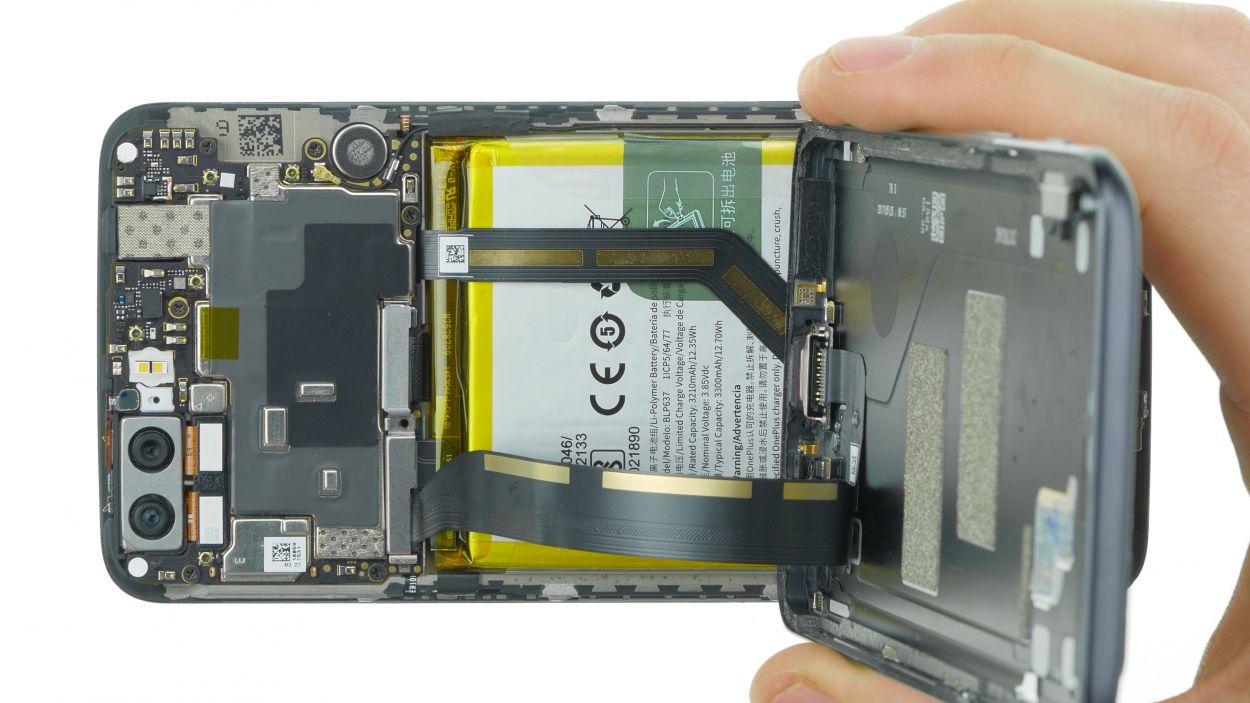
Battery connector
USB port connector
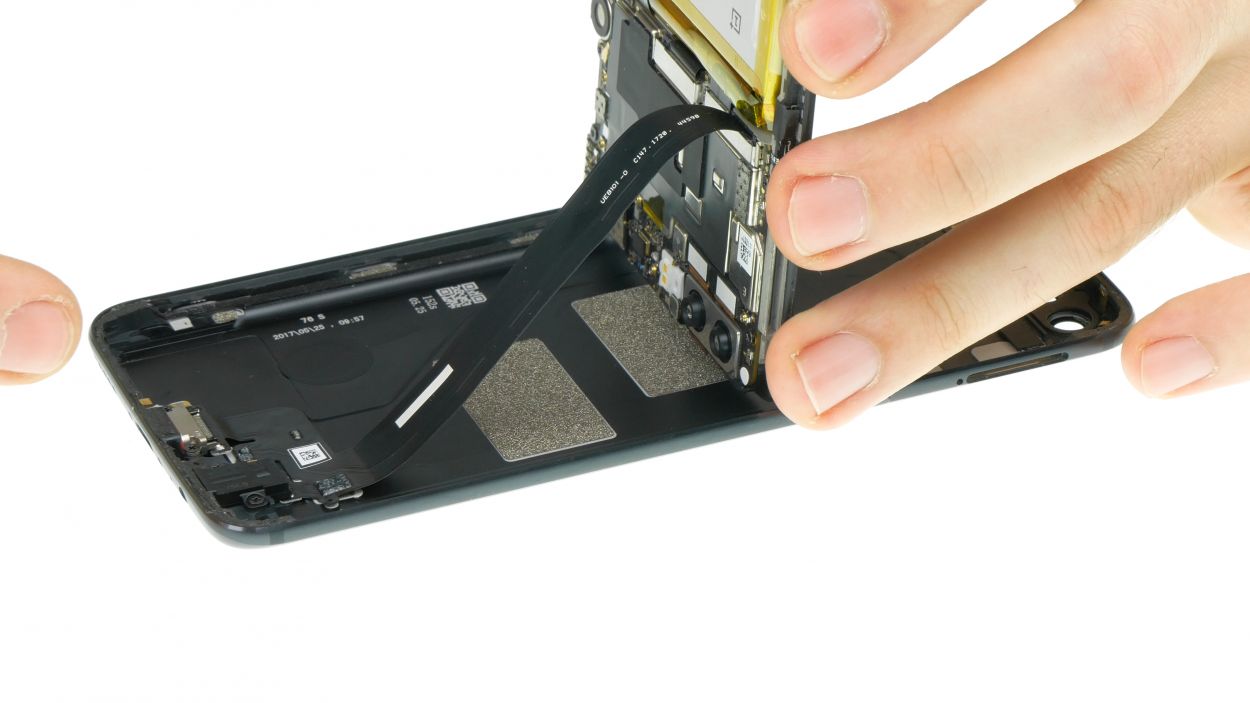
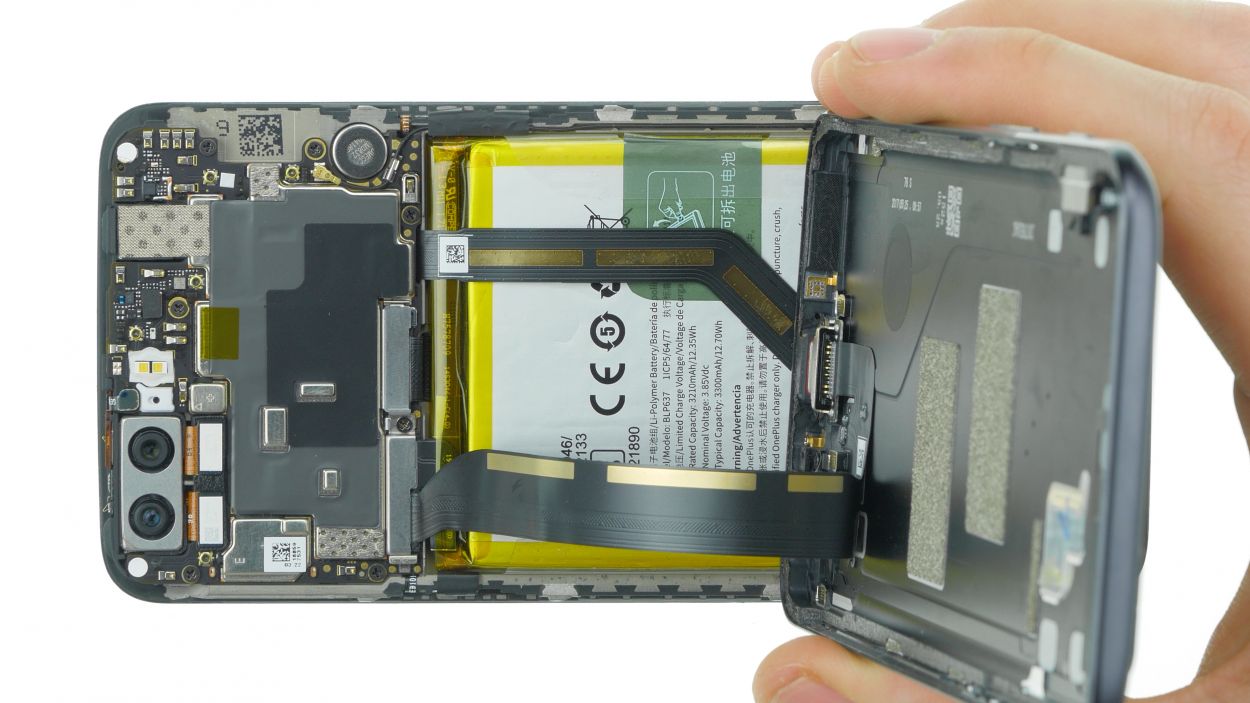
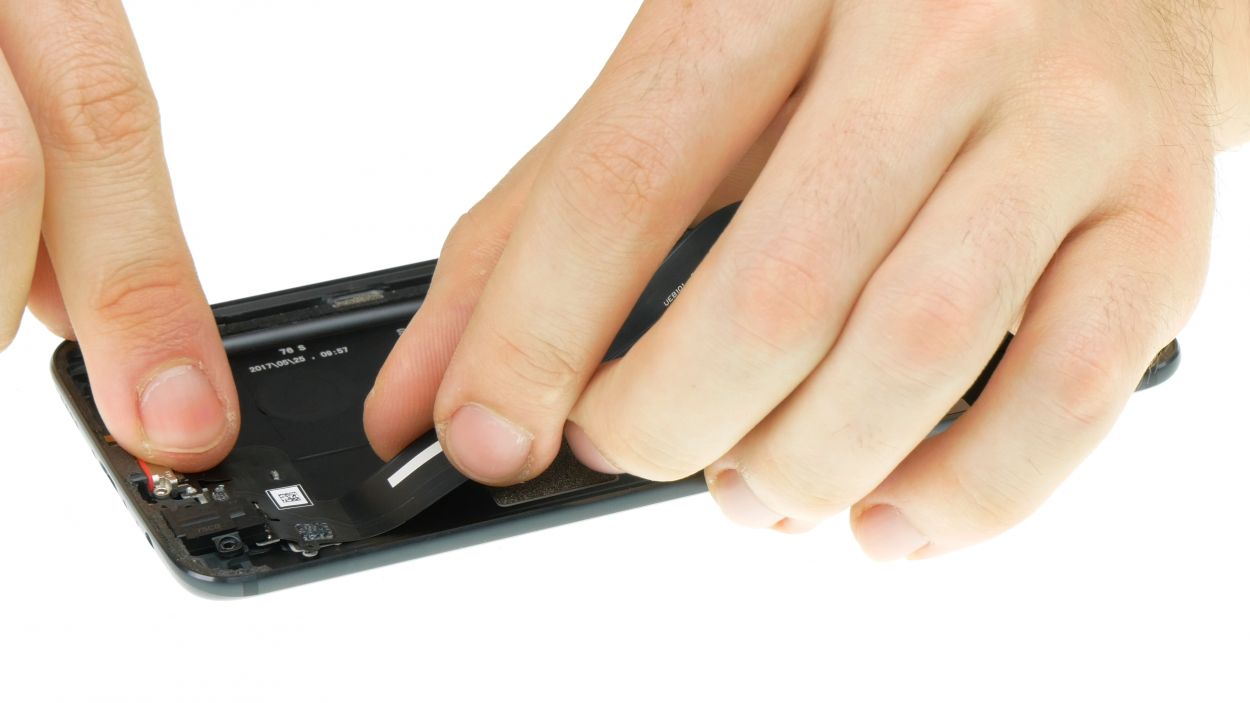
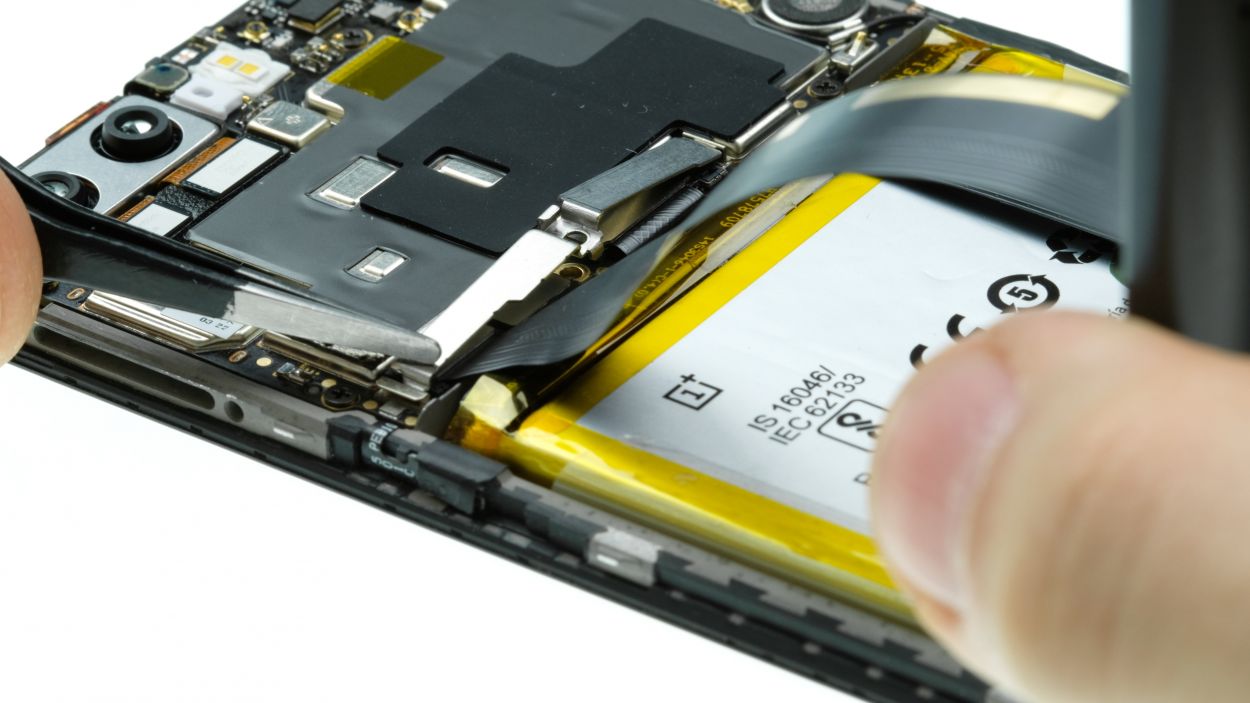
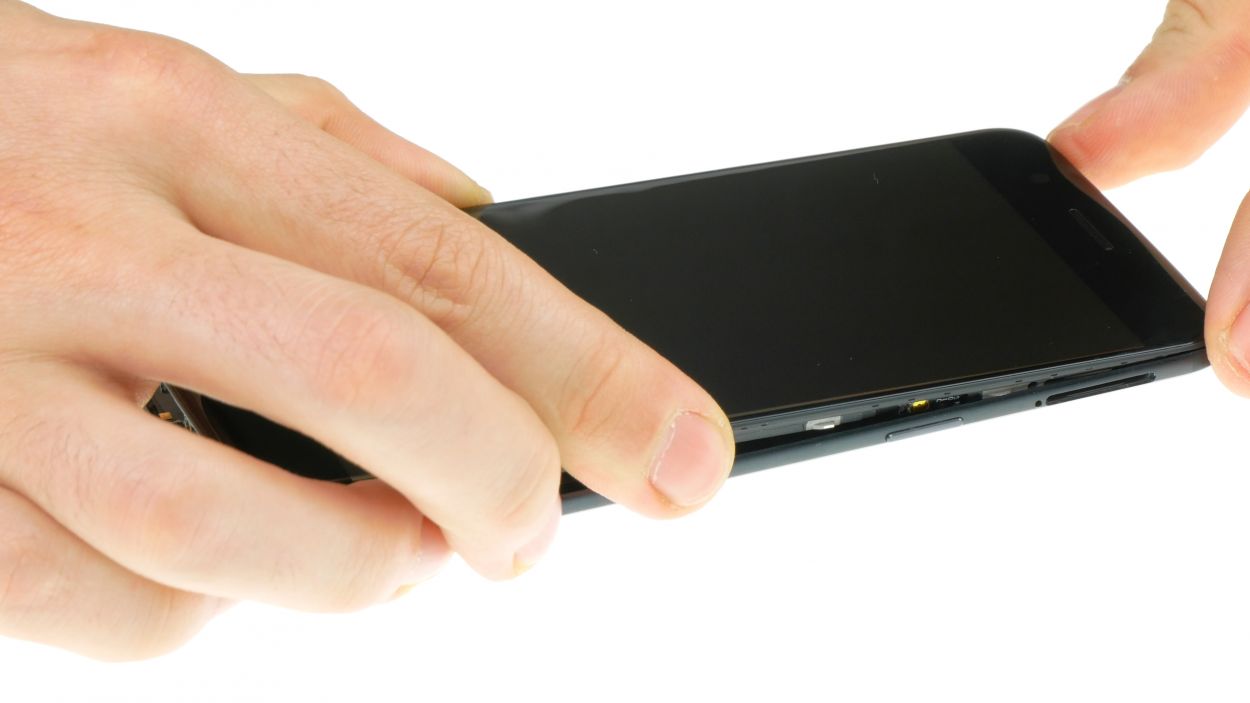
– Start by unscrewing the screw from the bracket and gently take it off. It’s held in place on both ends, so give it a little wiggle!
– Next up, let’s keep things safe! Disconnect the battery to prevent any short circuits. Use a plastic tool to carefully detach the battery connector.
– Now, let’s move on to the second connector. This one links the USB port to the mainboard, so go ahead and disconnect it with care!
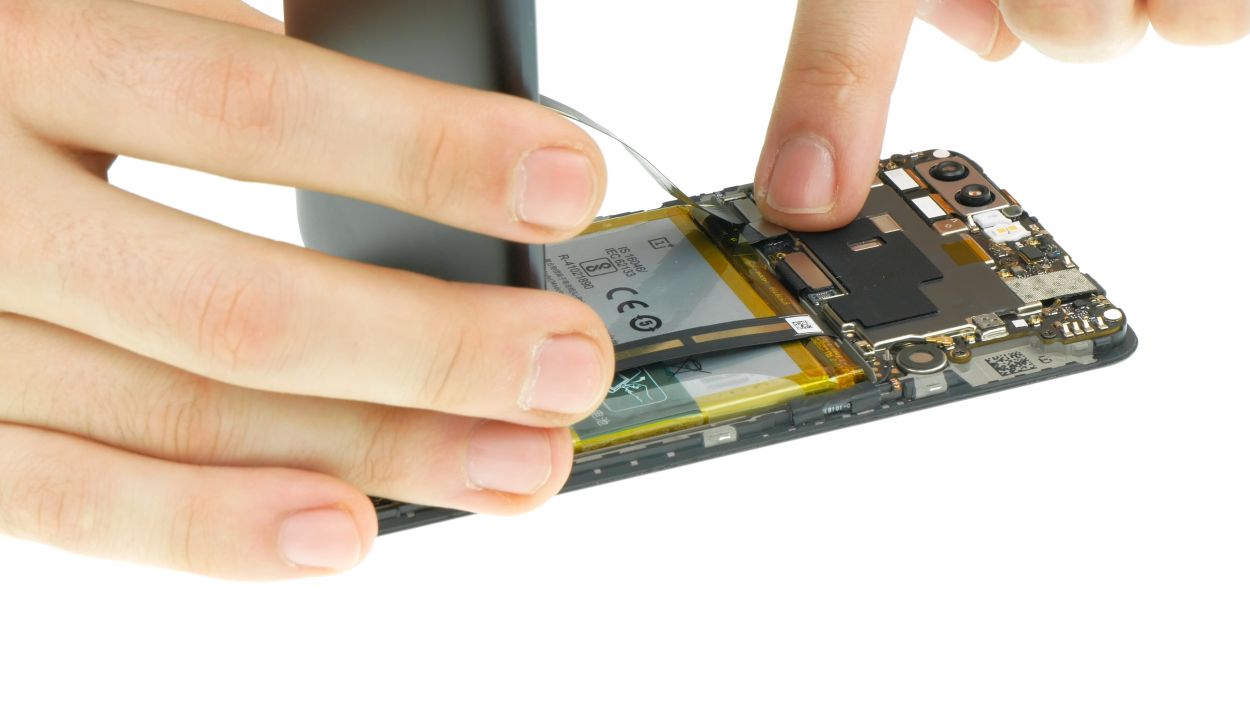
Step 6

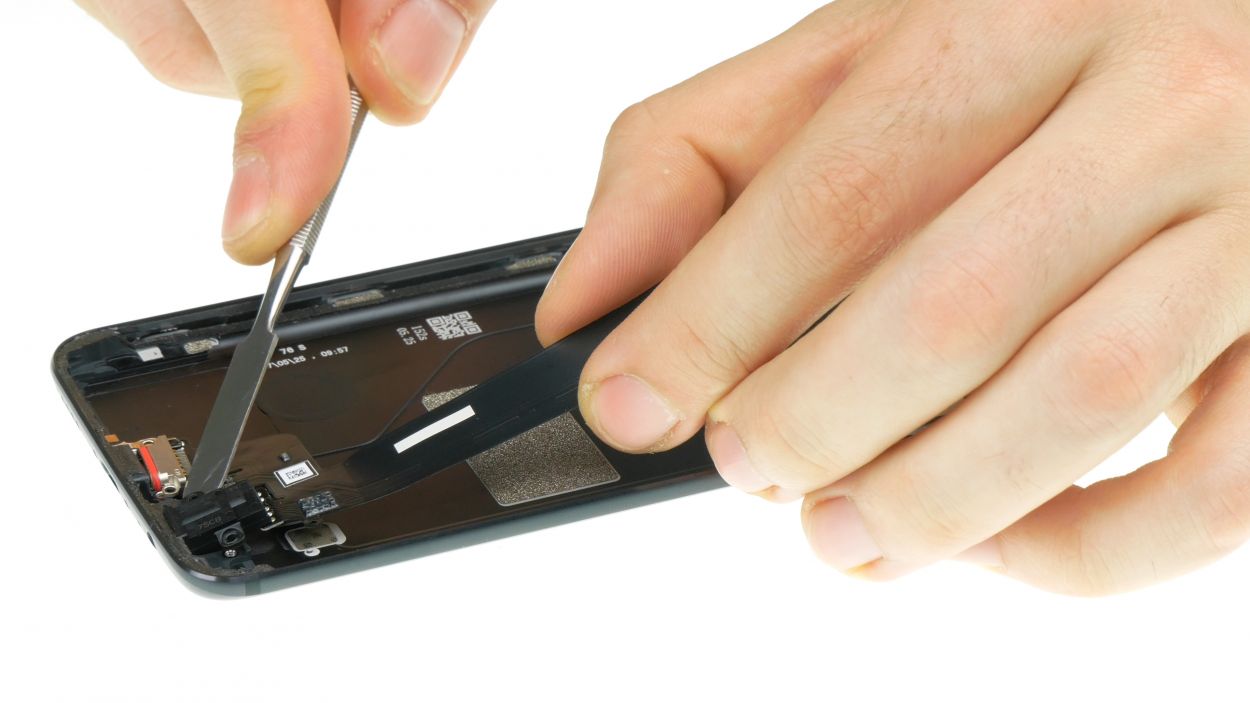
4 × 2.3 mm Phillips
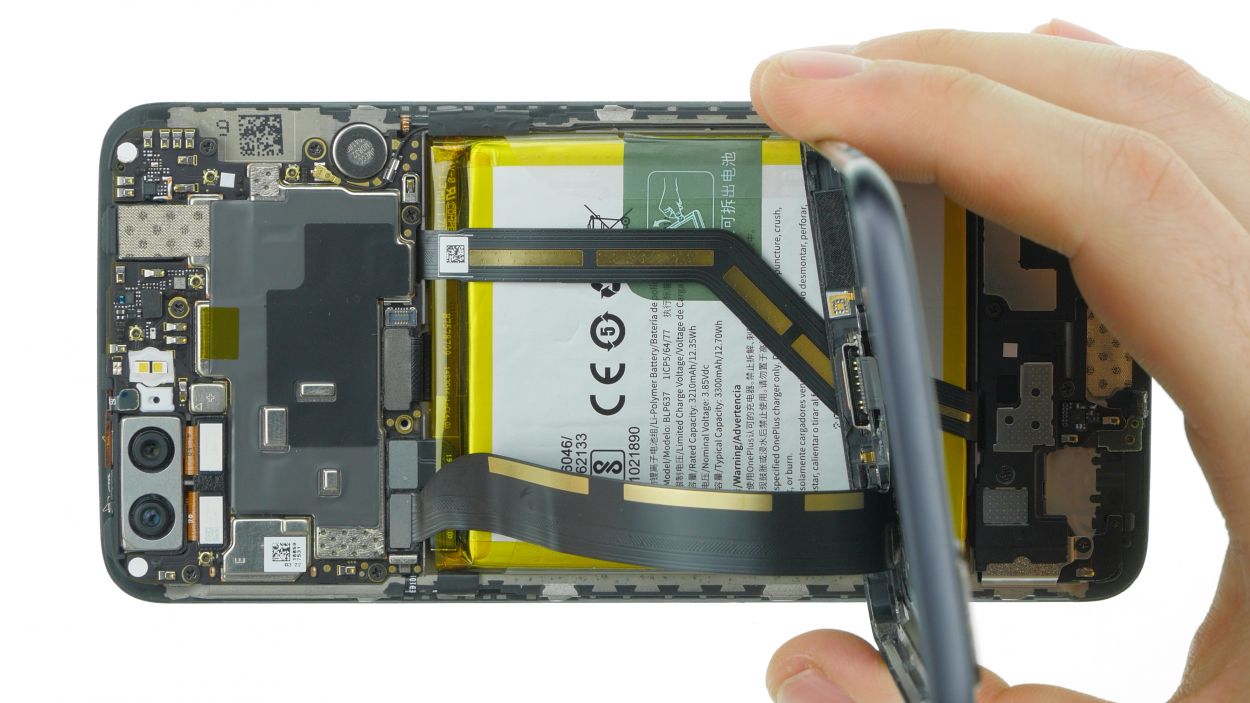
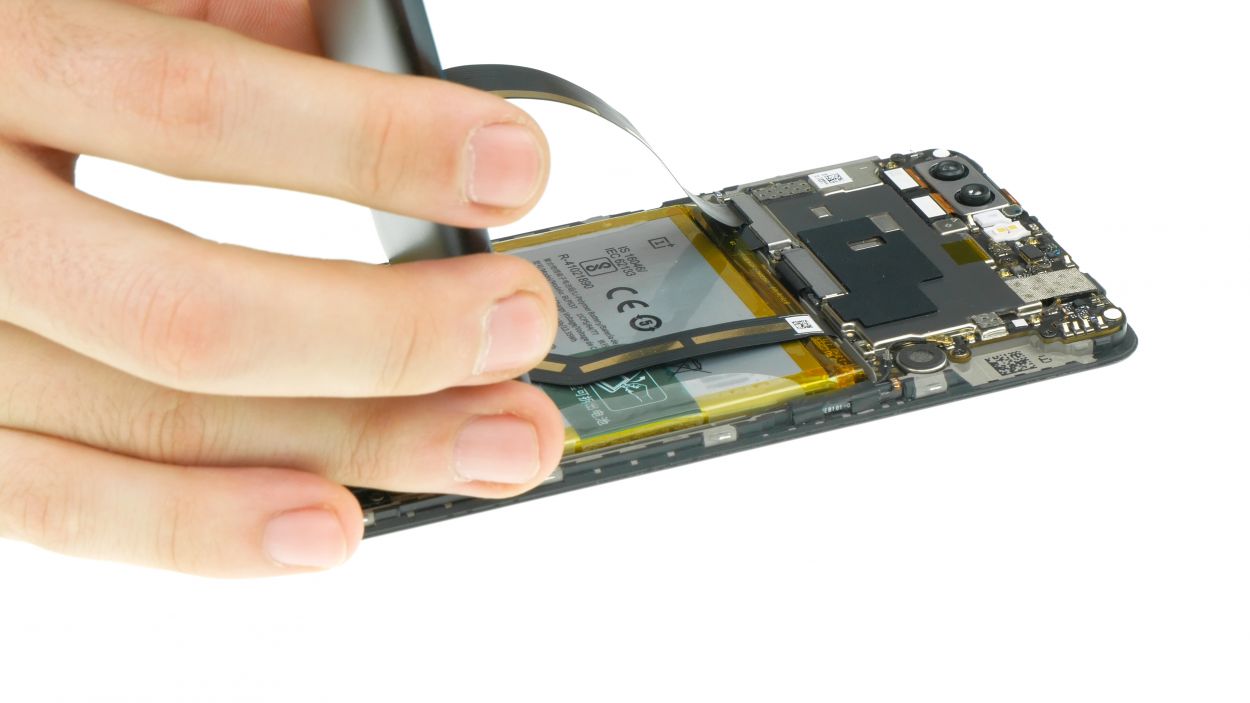
If the cable is stuck on there pretty well, a little hot air can help loosen up that adhesive. Just heat it up and watch the magic happen!
– Let’s ditch those screws! Unscrew the highlighted ones.
– Now, gently wiggle that flex cable free using a flat tool like our trusty steel spatula. Easy peasy!
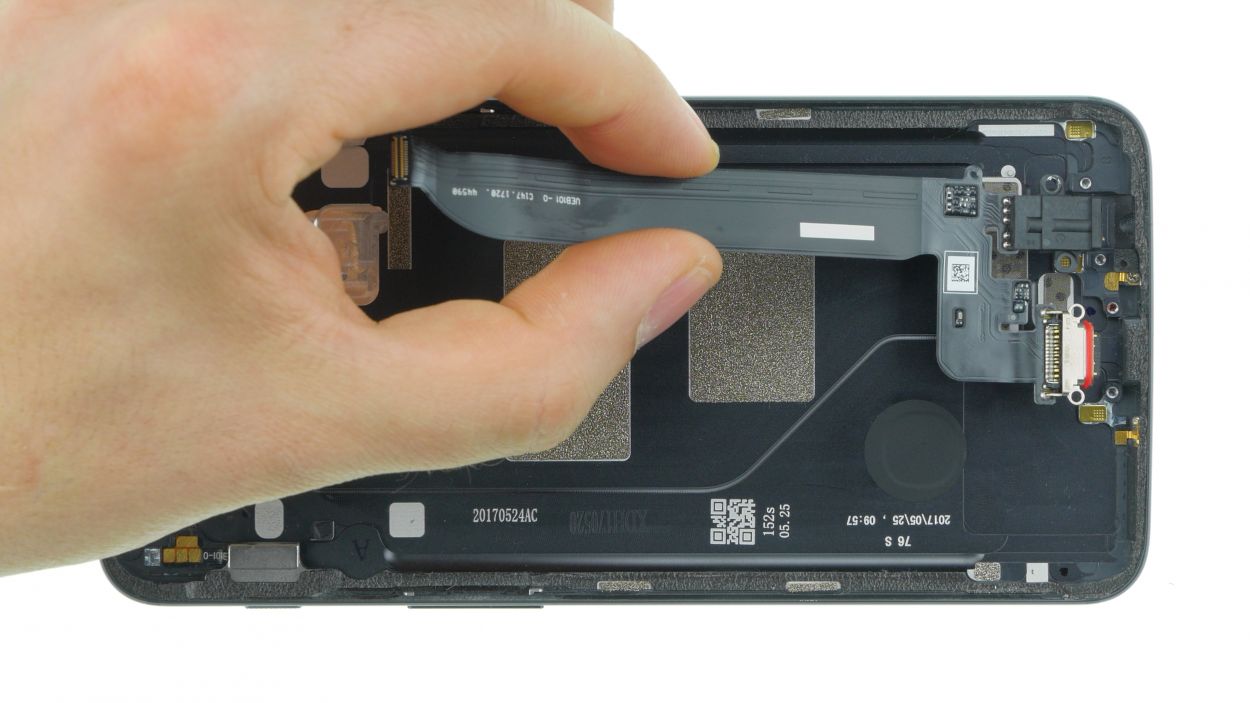
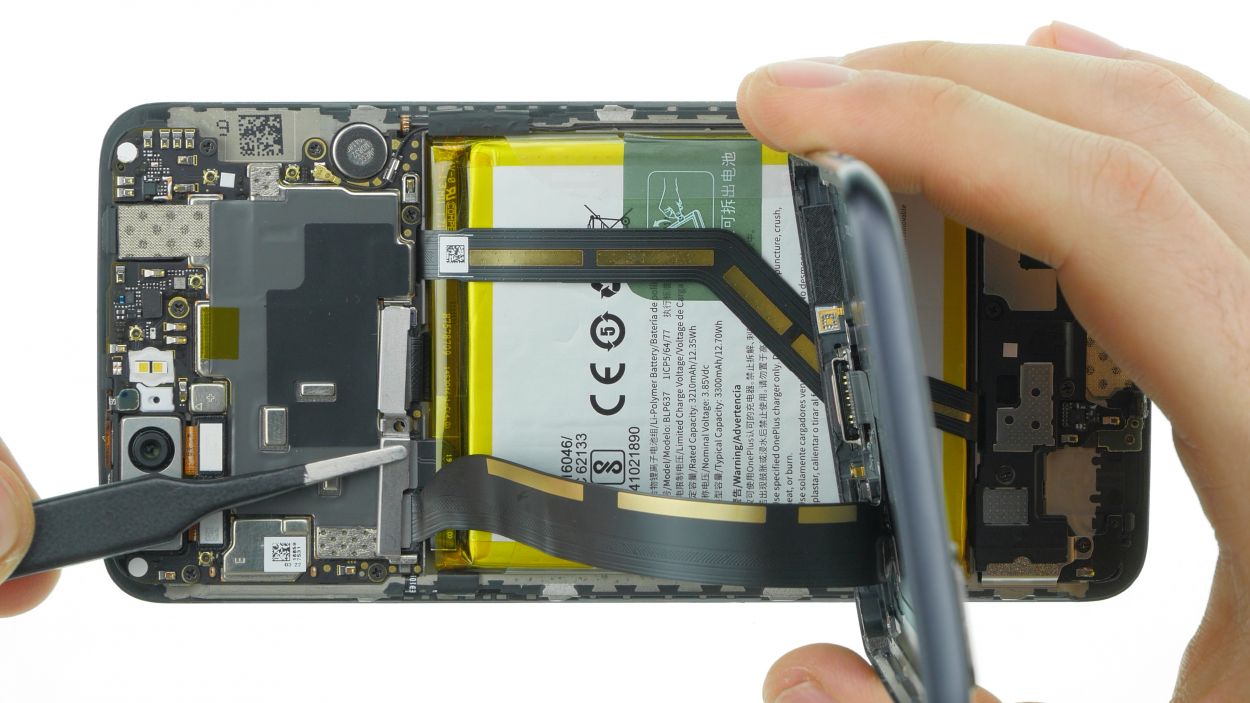
Step 7


4 × 2.3 mm Phillips
– Carefully position the new flex cable and give it a gentle press to secure it in place. Ensure that the jacks fit snugly into their designated spots.
– Next, pop those marked screws back in to keep everything nice and tidy.
Step 8
– Let’s get that back cover sitting pretty and perpendicular to your device!
– Now, connect the USB port to the main board like a pro.
– It’s time to plug in the battery connector to the mainboard—easy peasy!
– Next up, attach the bracket and ensure it’s snugly latched at both ends—just like a good hug.
– Finally, tighten that screw on the bracket to keep everything in place.
Step 9

Gently press the device together with your fingers instead of slamming it on the table. We want to keep that display safe and sound!
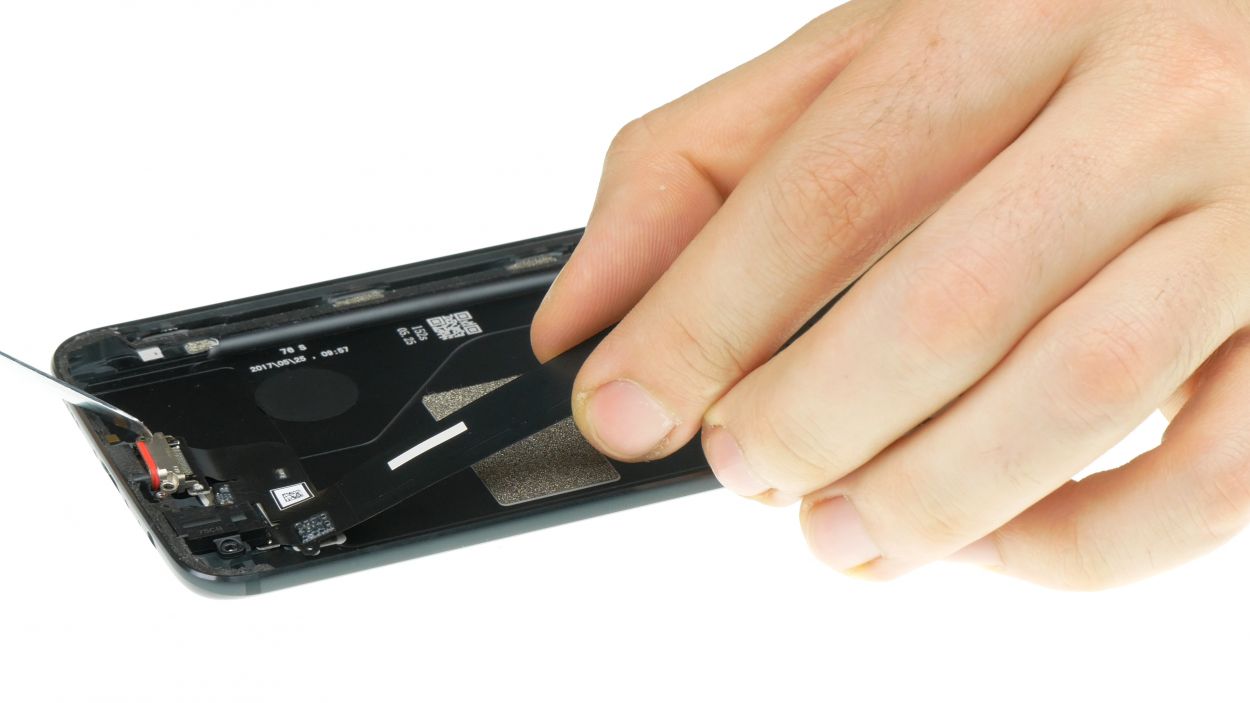
– Time to put the back cover back on your display unit! Start by attaching the upper edge first. You’ll notice there are three clips waiting for you right there.
– Getting everything clipped together might require a bit of muscle. Grab your device with both hands and give those edges a good squeeze with your fingers. You’ve got this!
Step 10
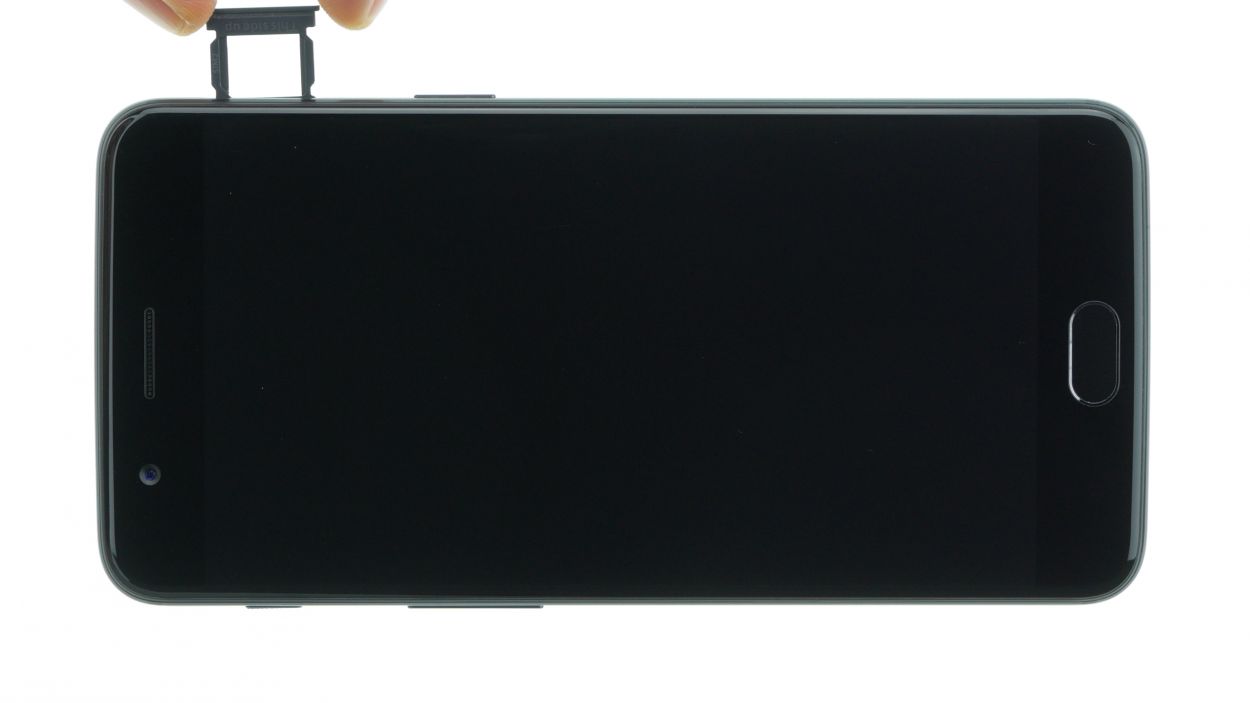
– Insert any SIM/SD cards and slide the tray back into the device.
Step 11
2 × 2.5 mm Torx T1
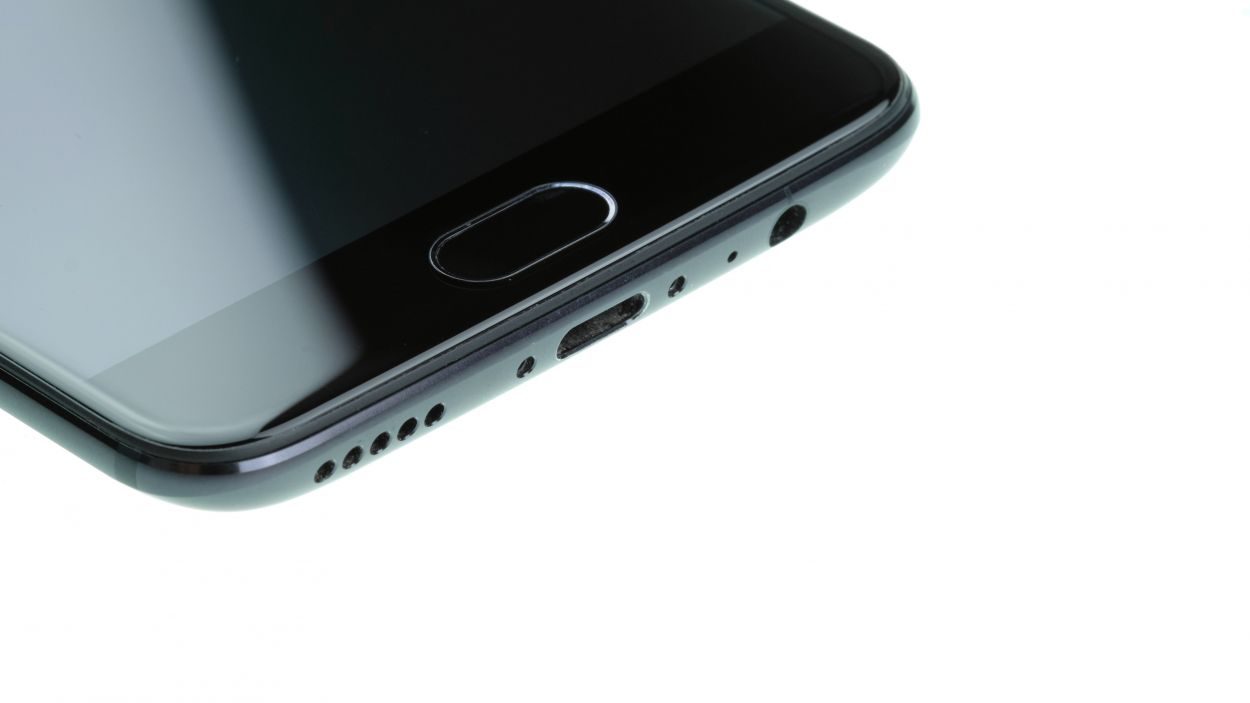
– Fasten the two screws to the left and right of the USB port.
Step 12
– Hey, tech buddy! Let’s get your device crying for help fixed! First, let’s check if the problem is with the display itself. Check the brightness – is it super low or maxed out? Are there any wonky pixels making things fuzzy? Take some notes, folks!
– Time to get your fingers on the case (literally)! Drag any app across the screen in a zig-zag pattern. If it just won’t budge, your touch function might be, well, a bit wonky. We’ve got your back!
– It’s time to test the whole shebang! Fire up a recording app and take your device for a spin. Try out the camera, speaker, and even that fancy earpiece. If anything sounds fishy, don’t worry, we’re here to help! If you need help, you can always schedule a repair


