DIY Guide to Replace OnePlus 5 Mainboard
Duration: 45 min.
Steps: 14 Steps
Uh oh! Did your OnePlus 5 take an unexpected swim? Don’t panic! Swapping out the logic board for a quick cleaning with contact spray is a breeze. The OnePlus 5 is super chill to work on—the screen’s not glued down, and the screws are all friendly and easy to manage. Unclipping the display might need a little finesse, but you got this! Before you dive in, back up your data (always a good idea!), grab a clean workspace, and take your time. Need a hand? You can always schedule a repair or drop us a comment if you have any questions.
Step 1
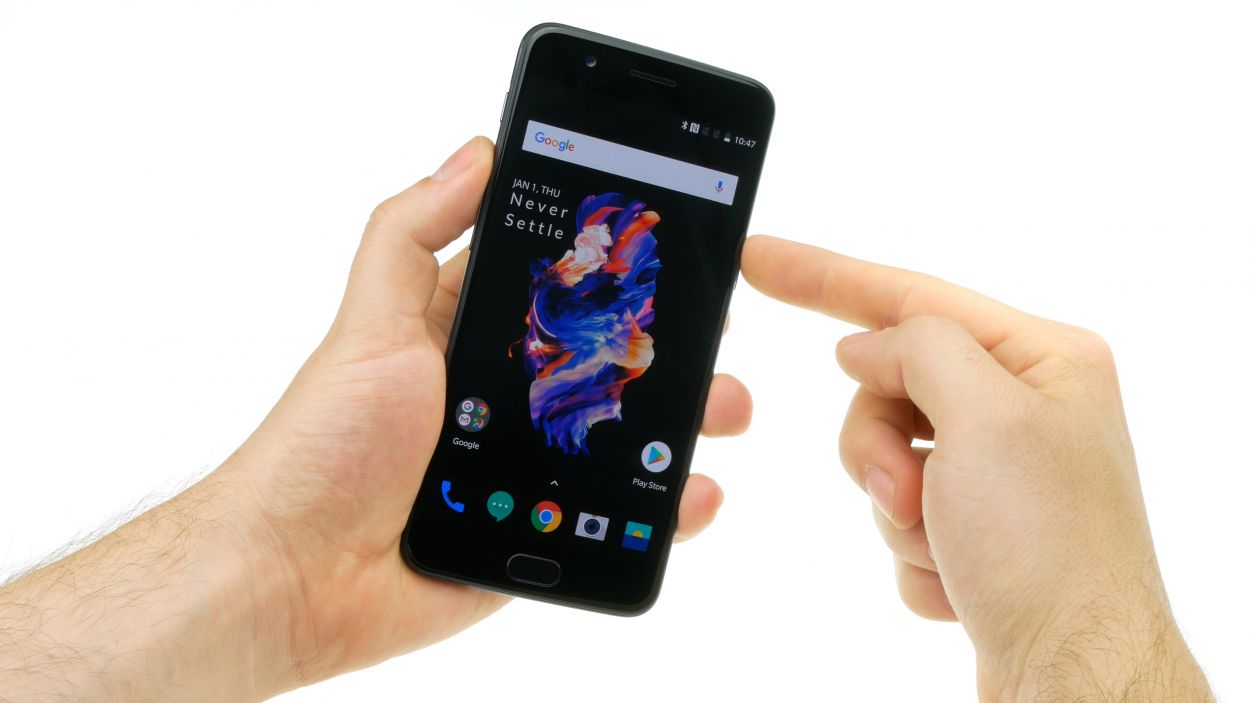
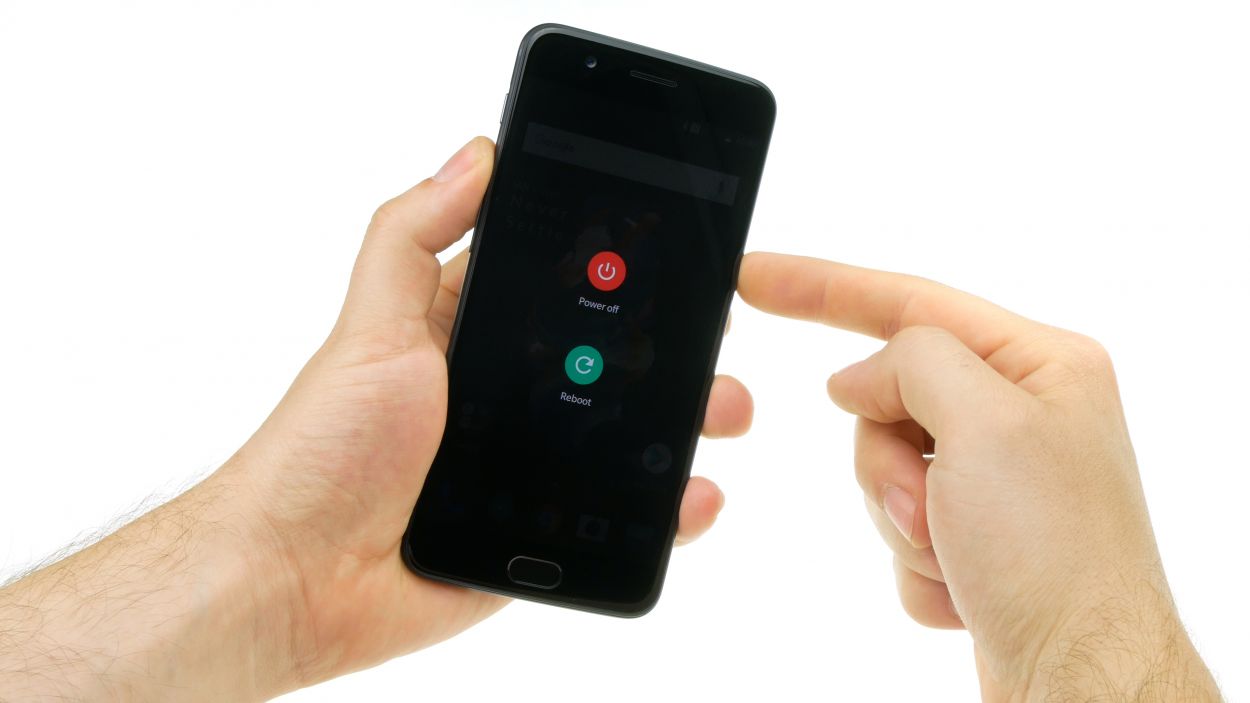
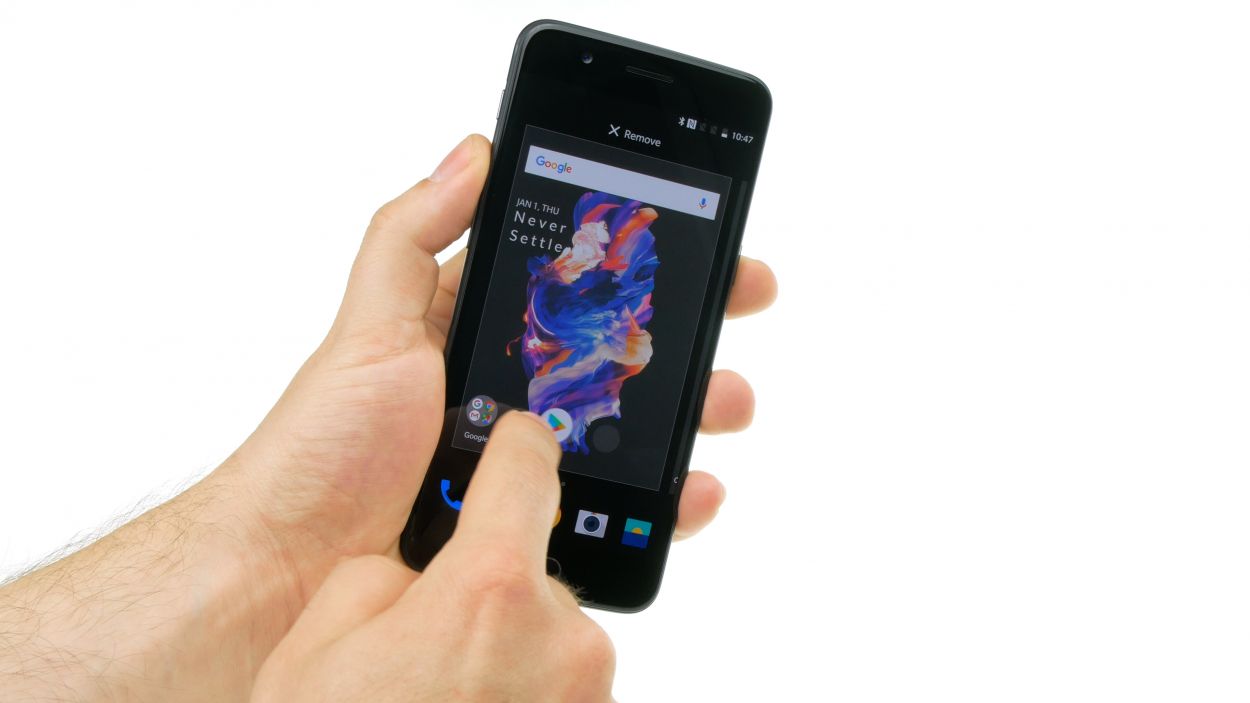
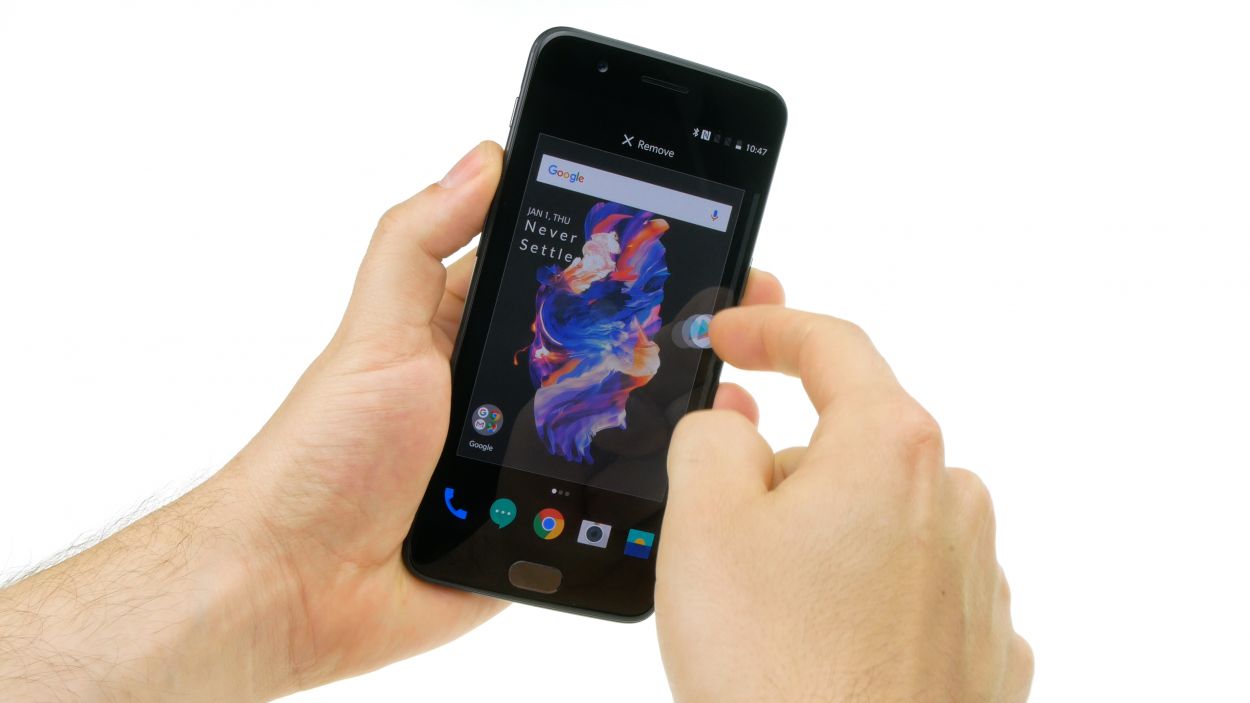
– Hold down that power button until you see “Switch off.” It’s like giving your phone a little time out!
– Tap to confirm. Almost there!
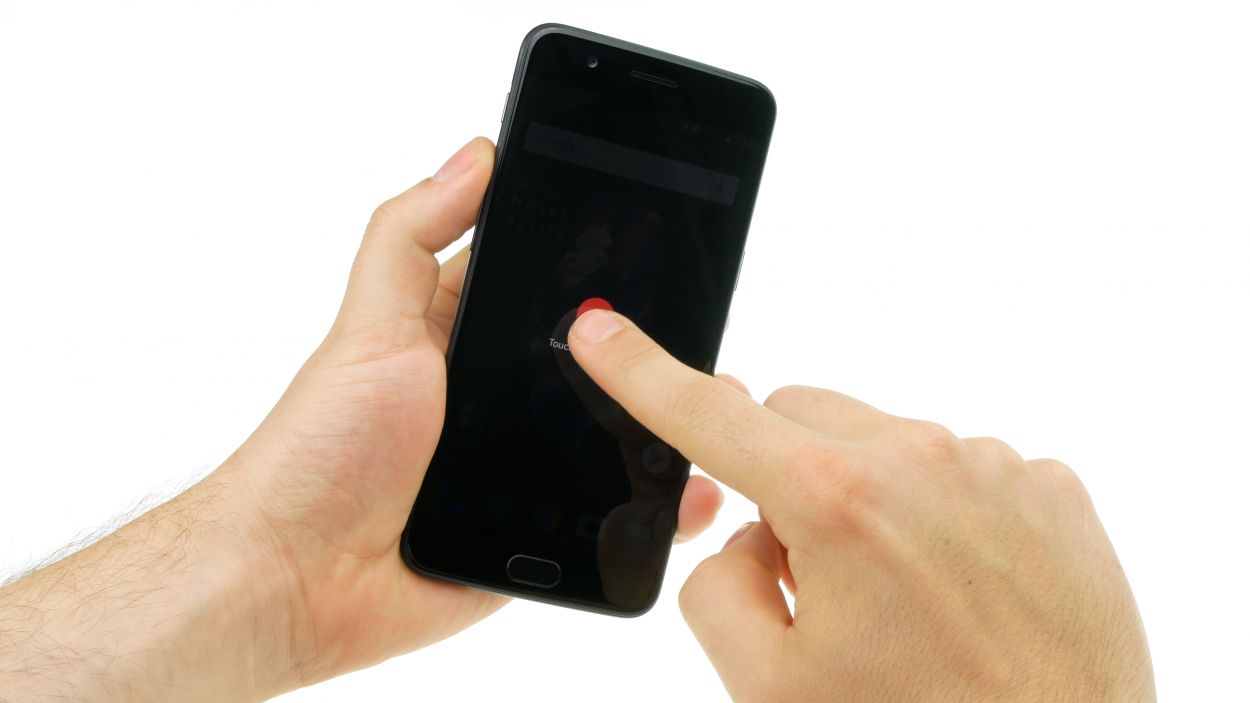
– If your touchscreen is being a bit stubborn (OnePlus 5 owners, we feel ya!), try holding that power button for 10-15 seconds. It’s a power nap for your phone. If you’re still having trouble, you can always schedule a repair
Step 2

2 × 2.5 mm Torx T1
– Time to get up close and personal with your device’s skeletal system! Remove those two screws at the bottom edge of the case, located on either side of the trusty USB port and the audio jack. It’s like giving your device a little spa day!
– And don’t worry, we’ve got a cozy little spot for those screws! Place ’em on a common field on our magnetic mat or sorting box, where they’ll be extra happy and protected. If you need help, you can always schedule a repair.
Step 3
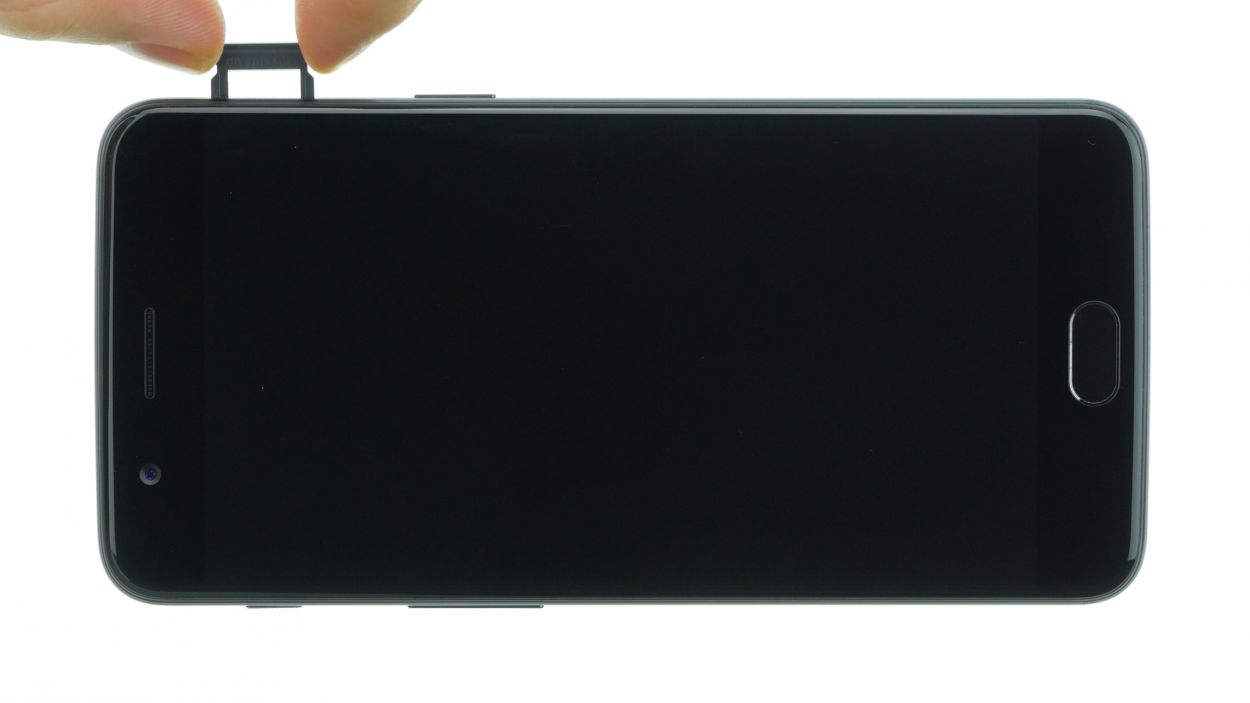
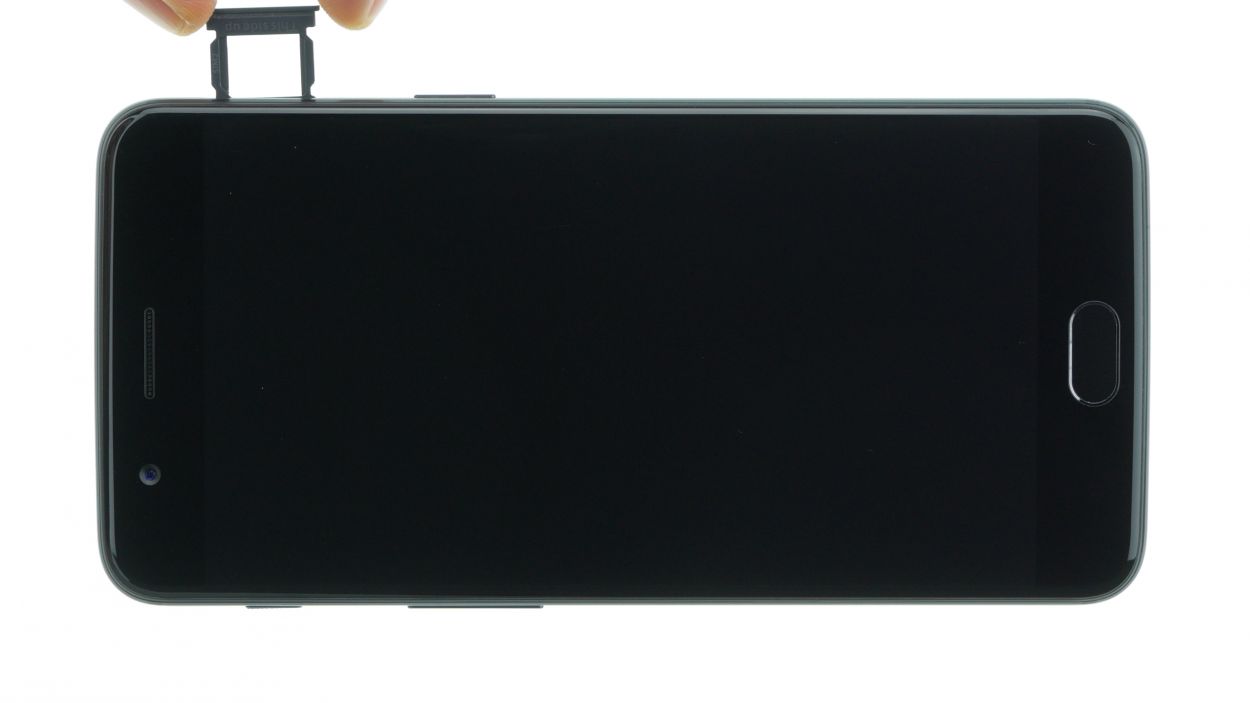
– Let’s get this SIM card out! Grab your SIM tool (or a paperclip if you’re feeling resourceful!), find the tiny hole on your SIM tray, and gently nudge the tray out. Easy peasy!
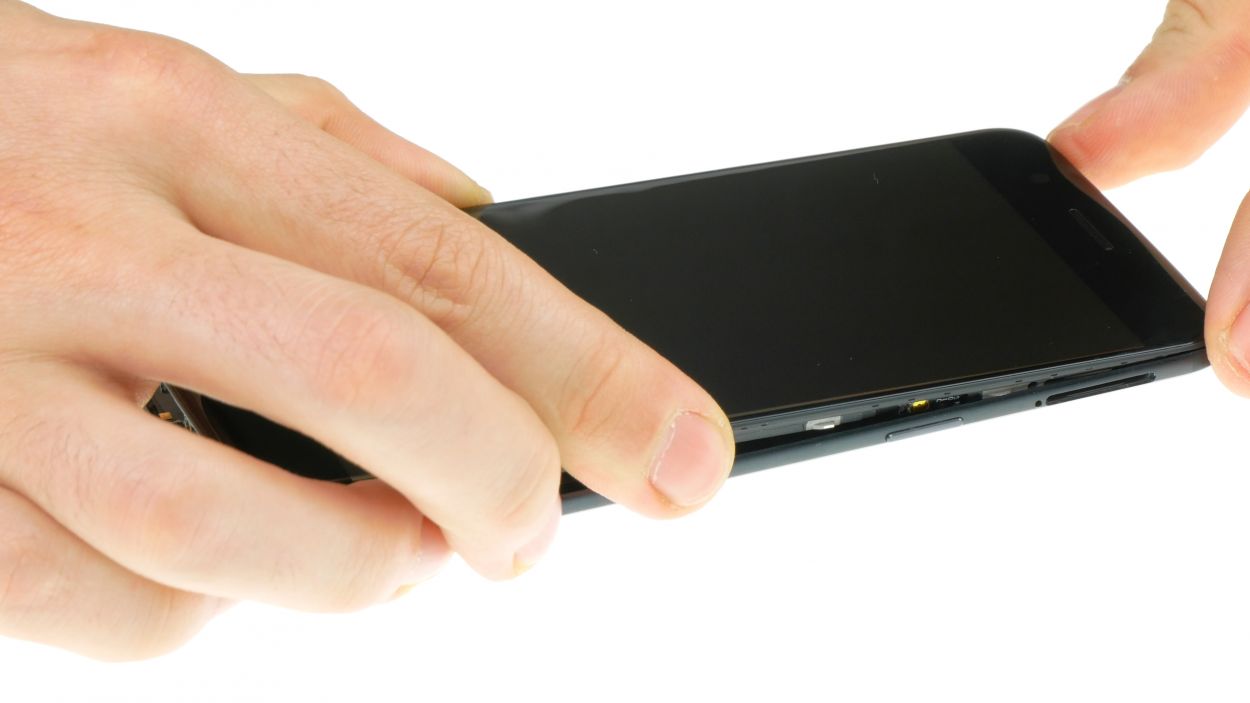
Step 4
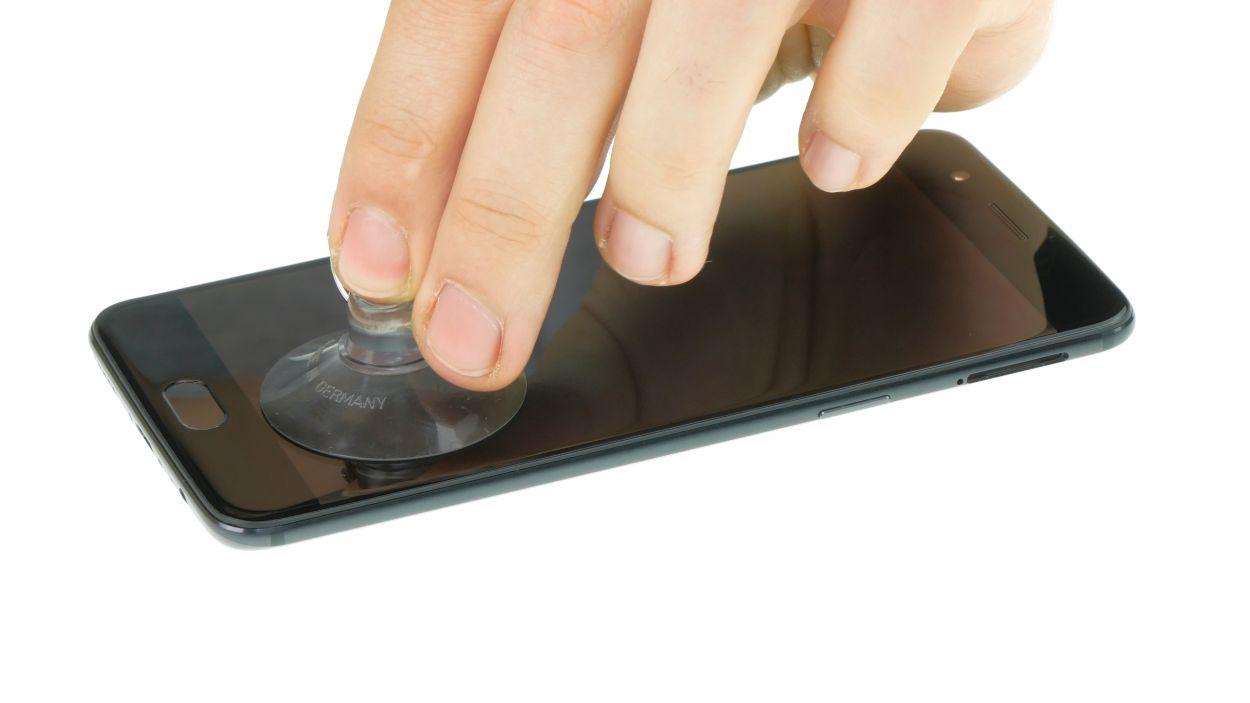
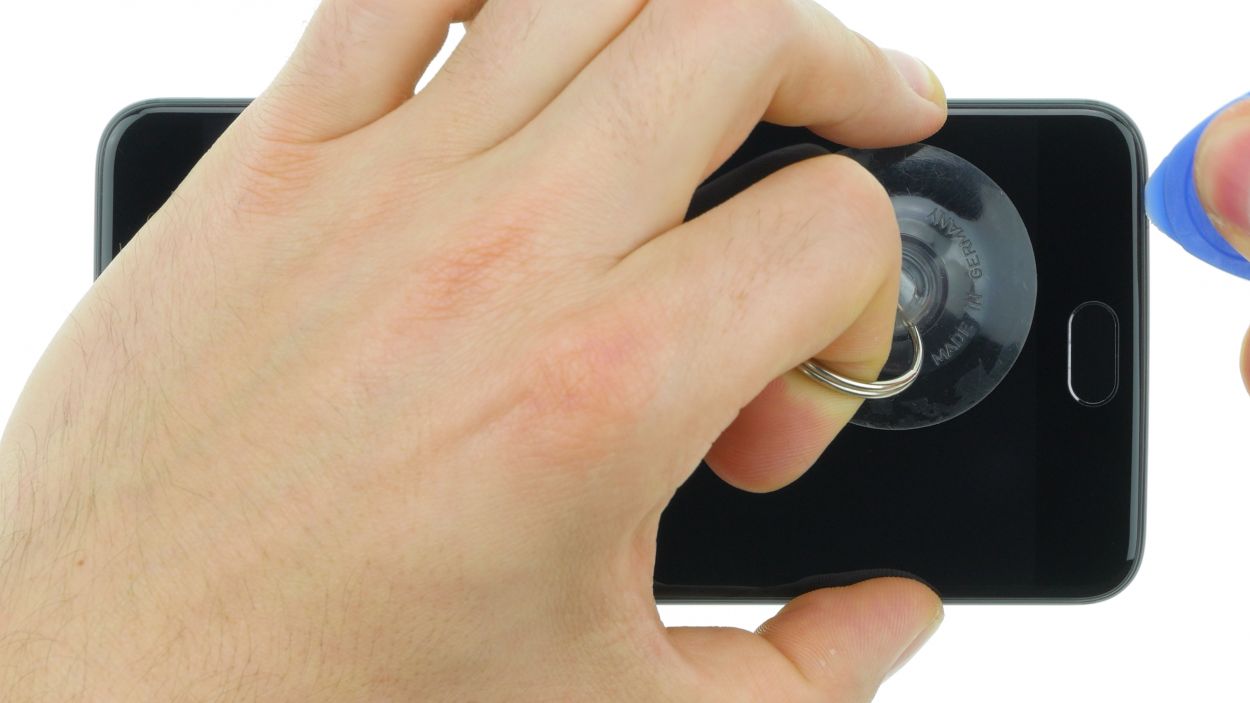
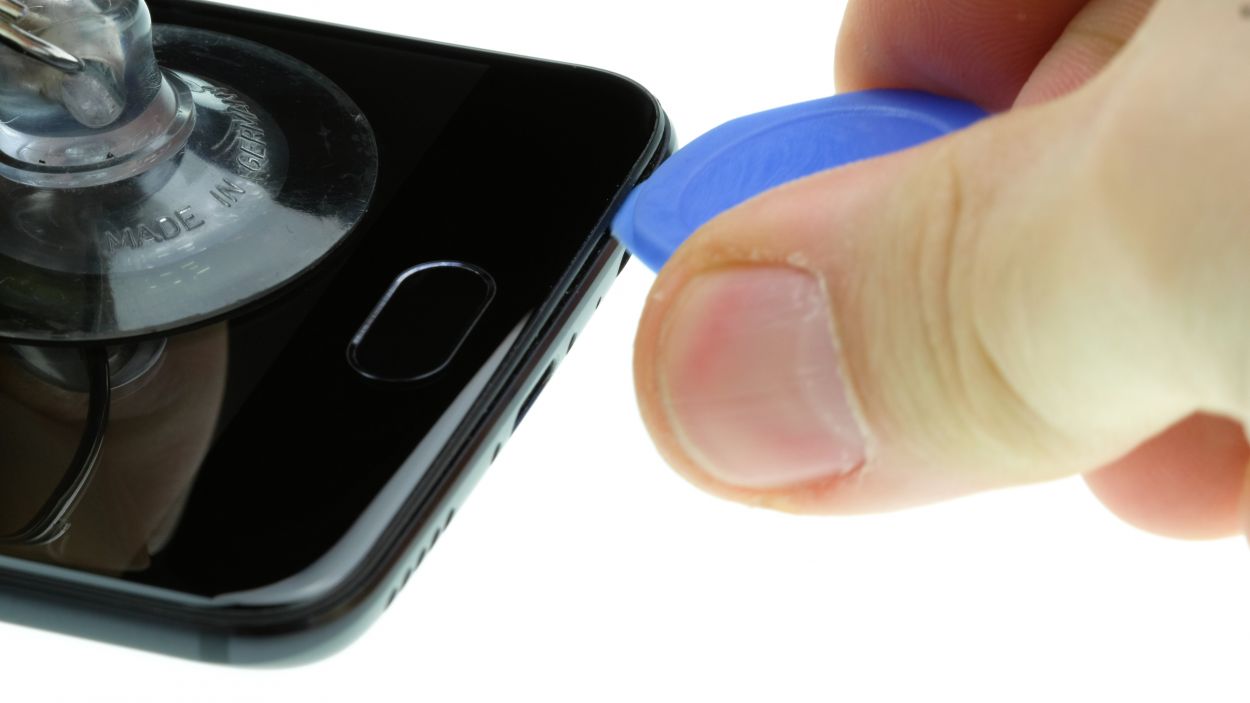
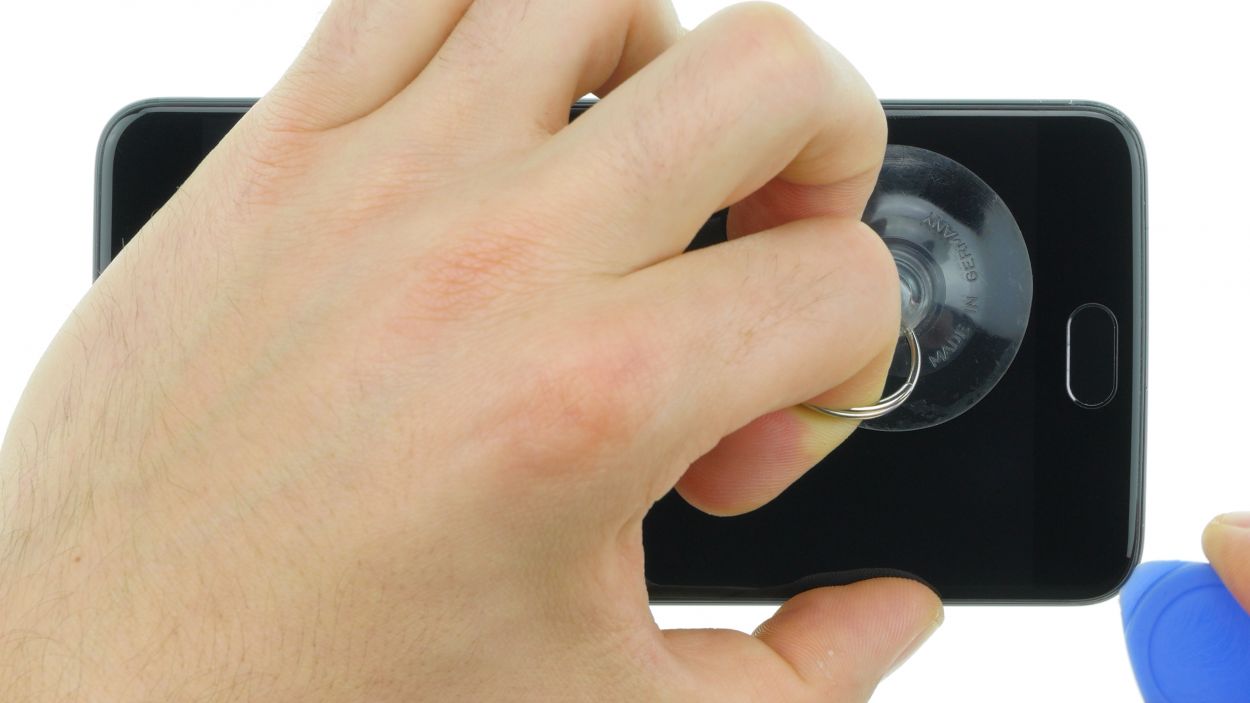
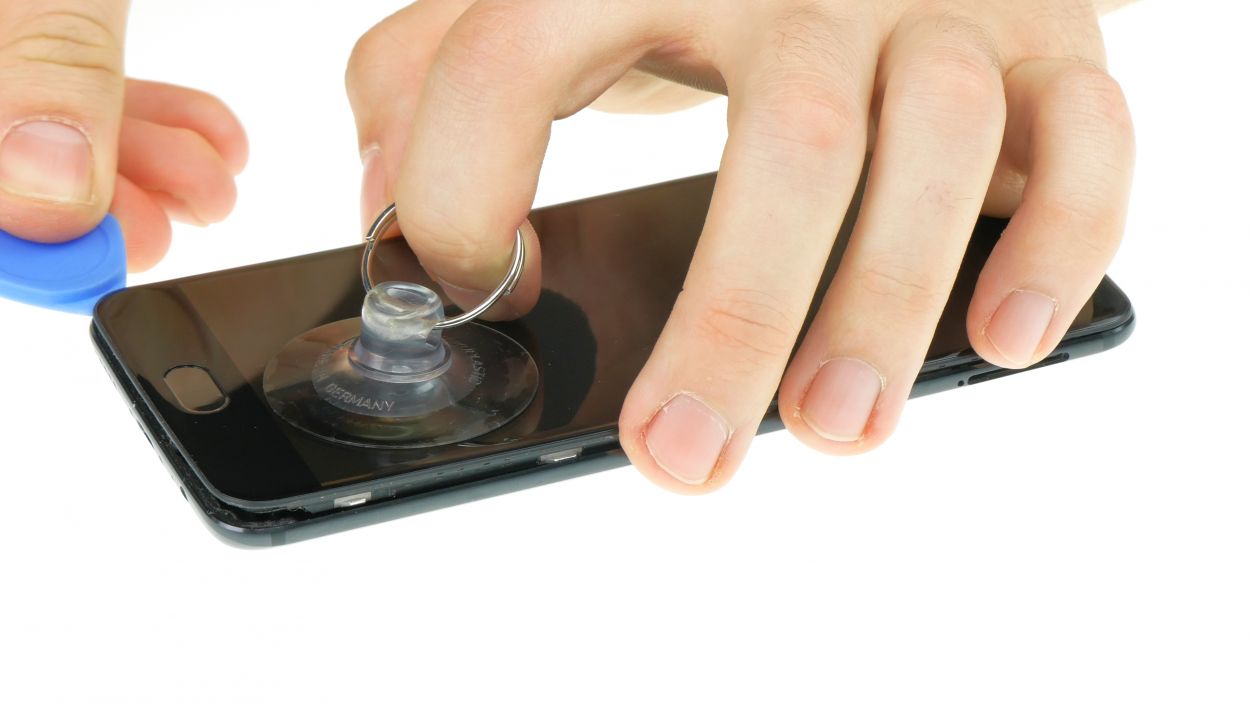
– Attach the suction cup over the home button. Pull on the suction cup and then slide in the iPlastix or a plastic pick between the display and the rear panel.
– A small gap should appear. Here you can insert the pick. It is best to use a hard plastic pick with stopper, so that won’t slip too far into the device.
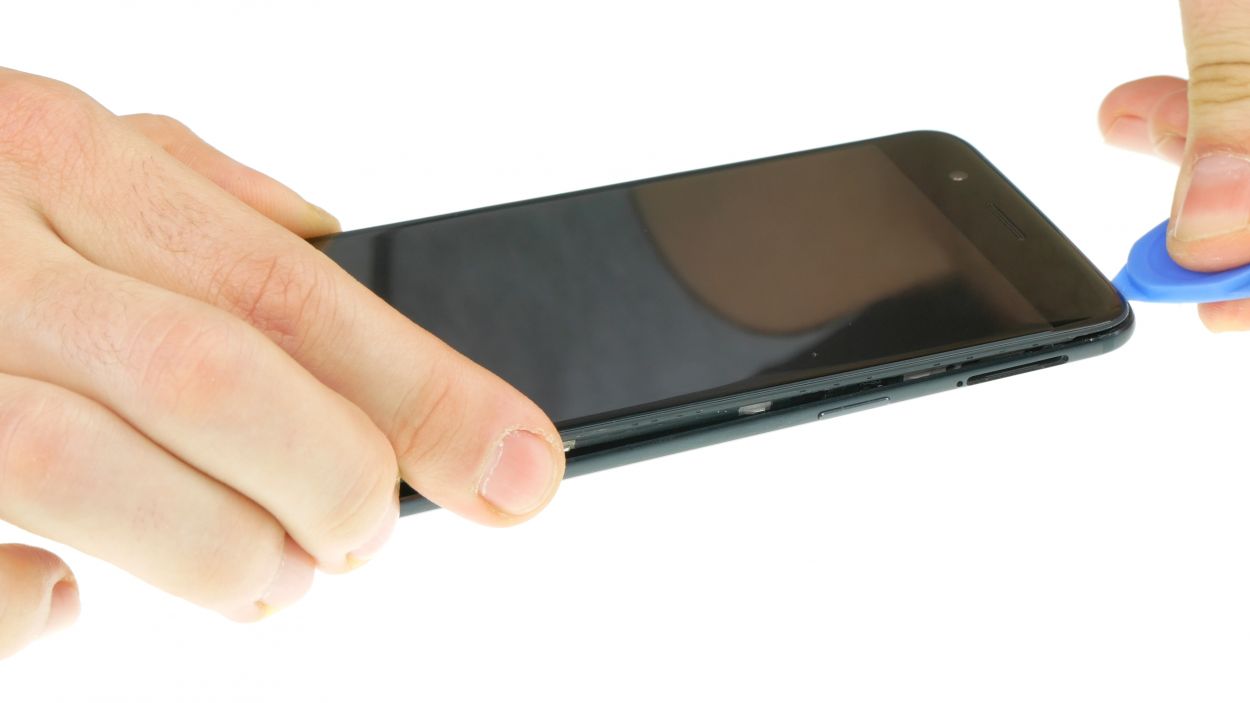
– Now slide the pick around the whole frame. You can twist the pick a little to lever off the display. The device is not glued, but clipped. Use the plectrum to release the clips one by one. When all clips are released, you can lift off the back cover. The clips at the upper edge come off last.
– The back shell is still connected with a sensitive flex cable. Lift up the back cover and hold it to prevent damaging the cable.
Hey there! Keep your OnePlus 5 scratch-free by giving it a comfy spot on a soft, clean surface. It’ll thank you for it! If you need a hand, you can always schedule a repair
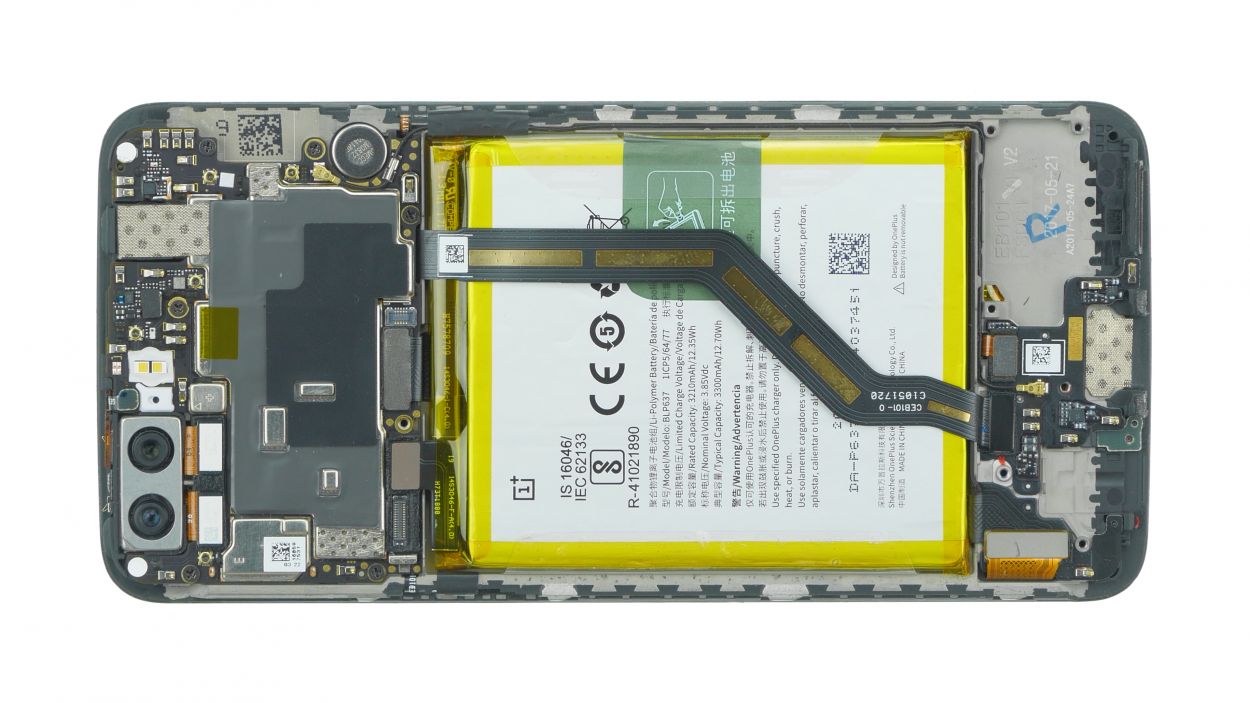
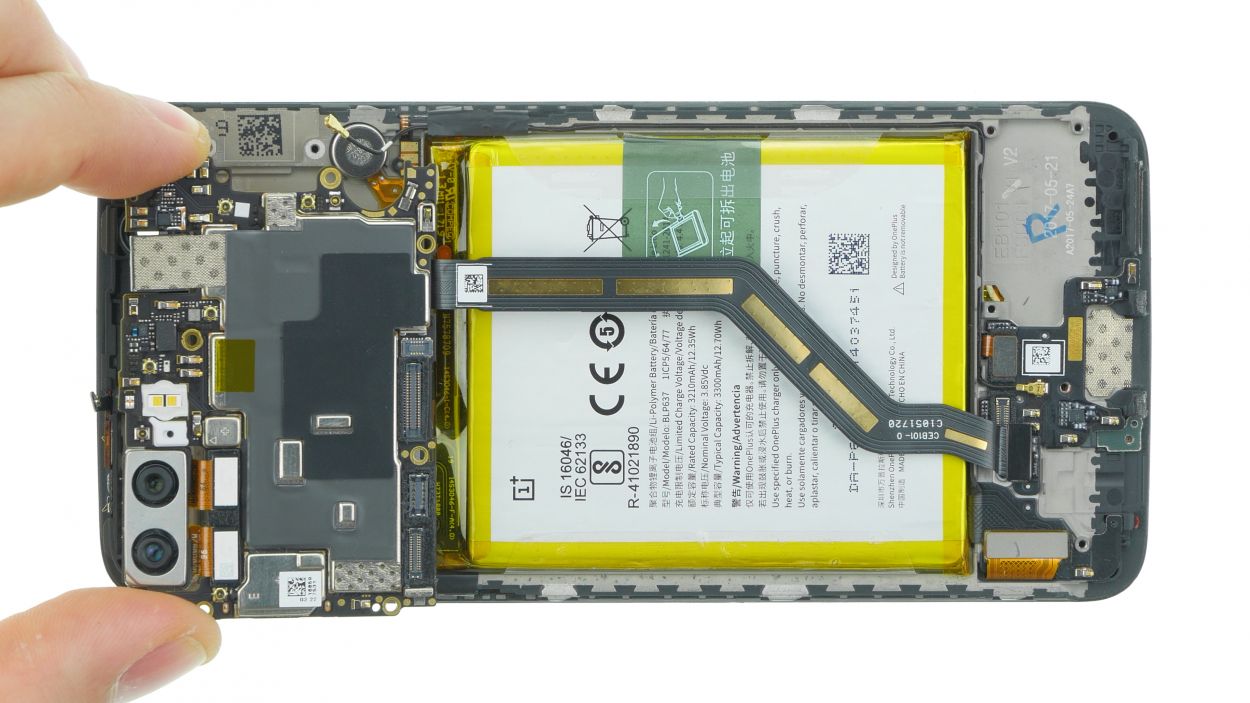
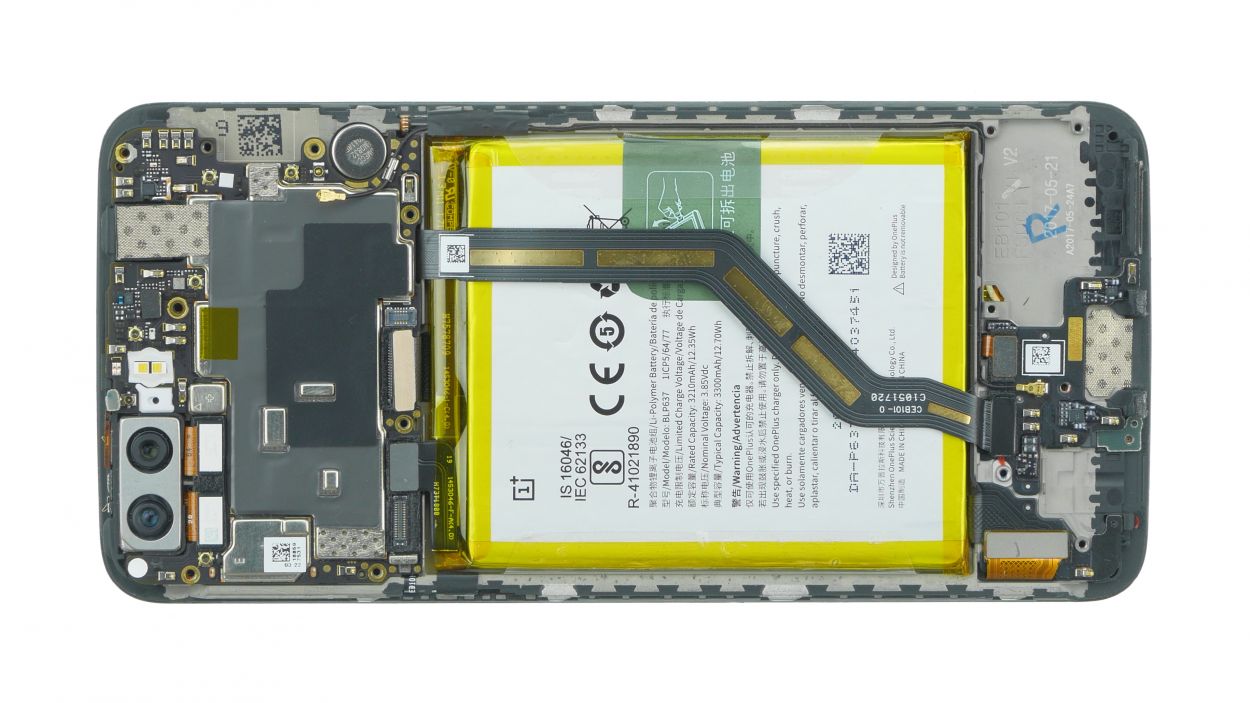
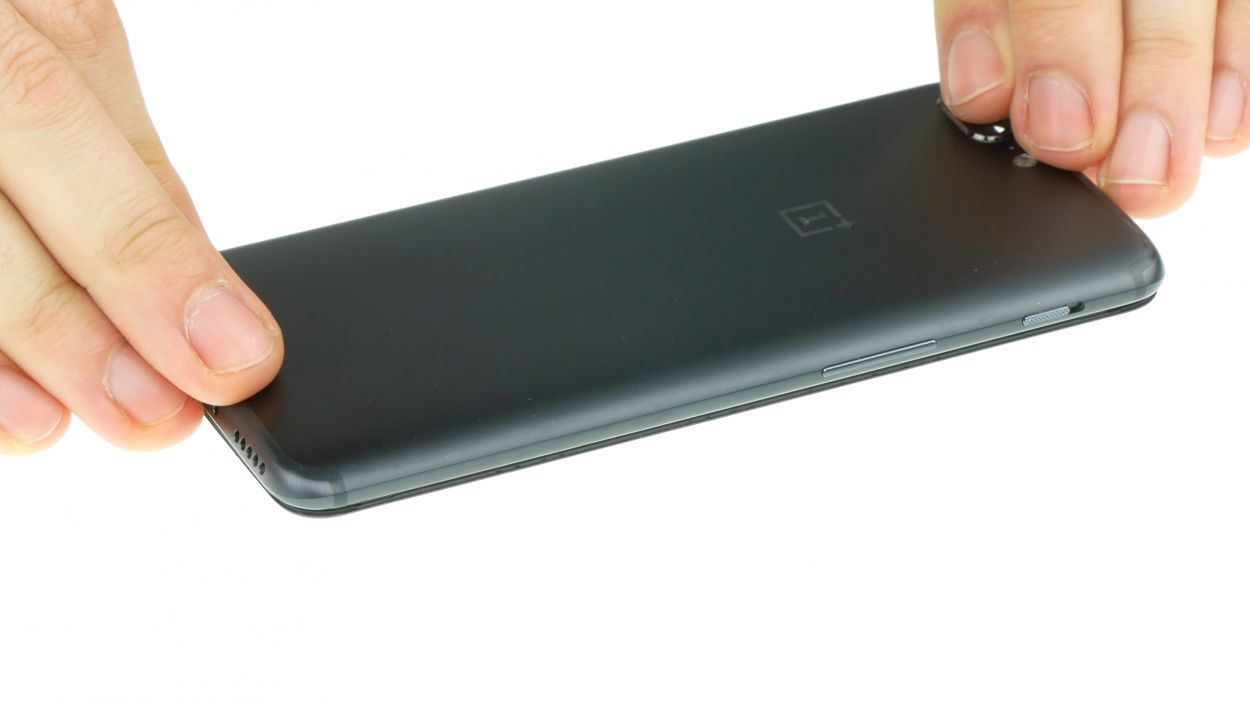
The OnePlus 5 consists of a back cover and a display unit. All the electronics and the screen are installed in the display unit. The back cover is designed as a case.
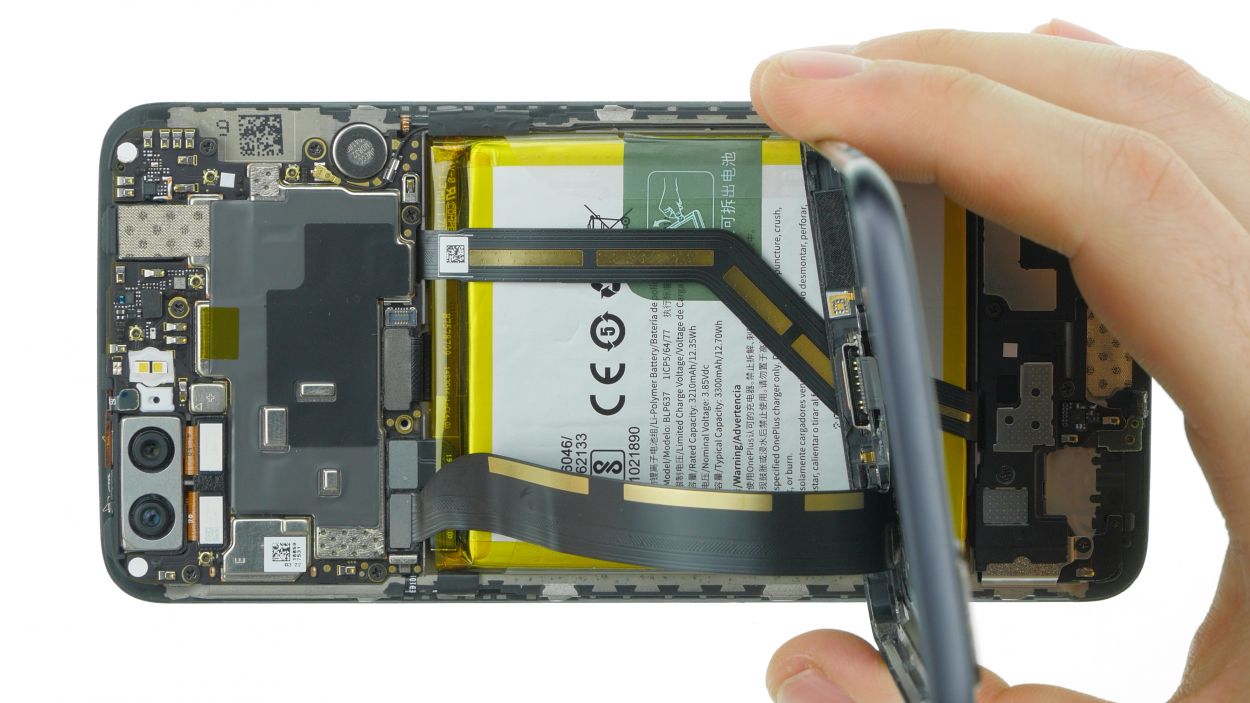
Step 5
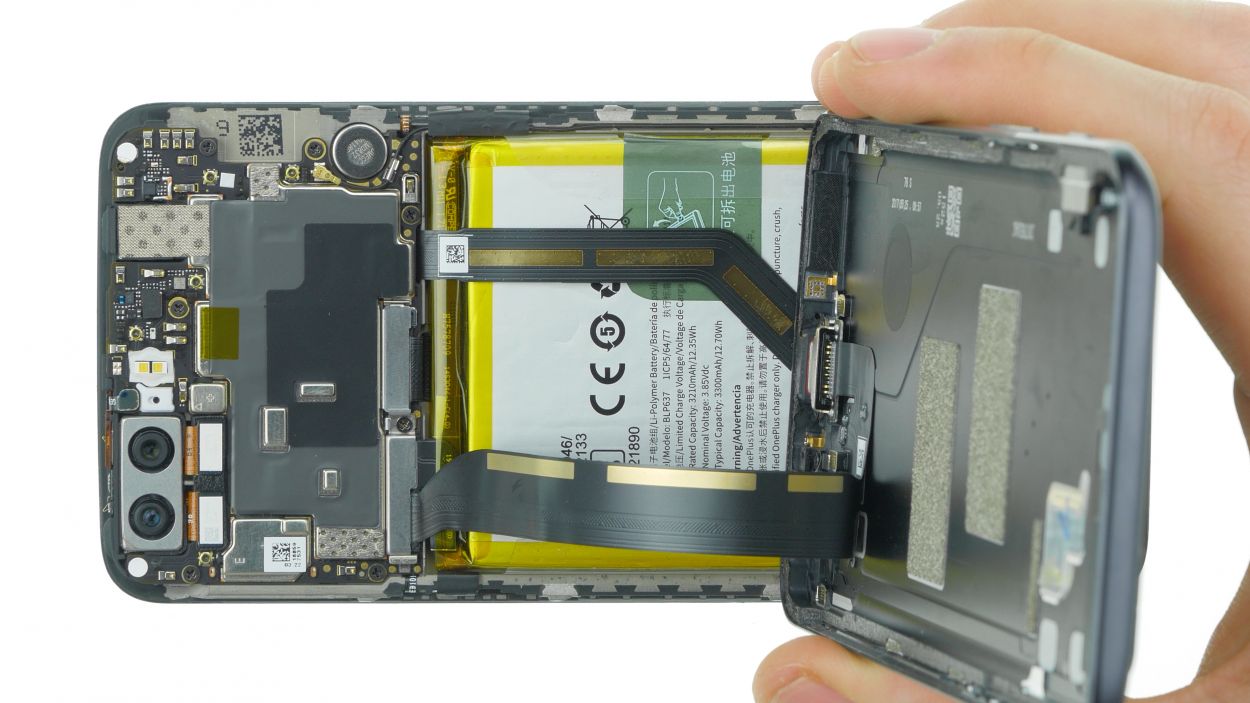

1 × 2.3 mm Phillips
Battery connector
USB port connector
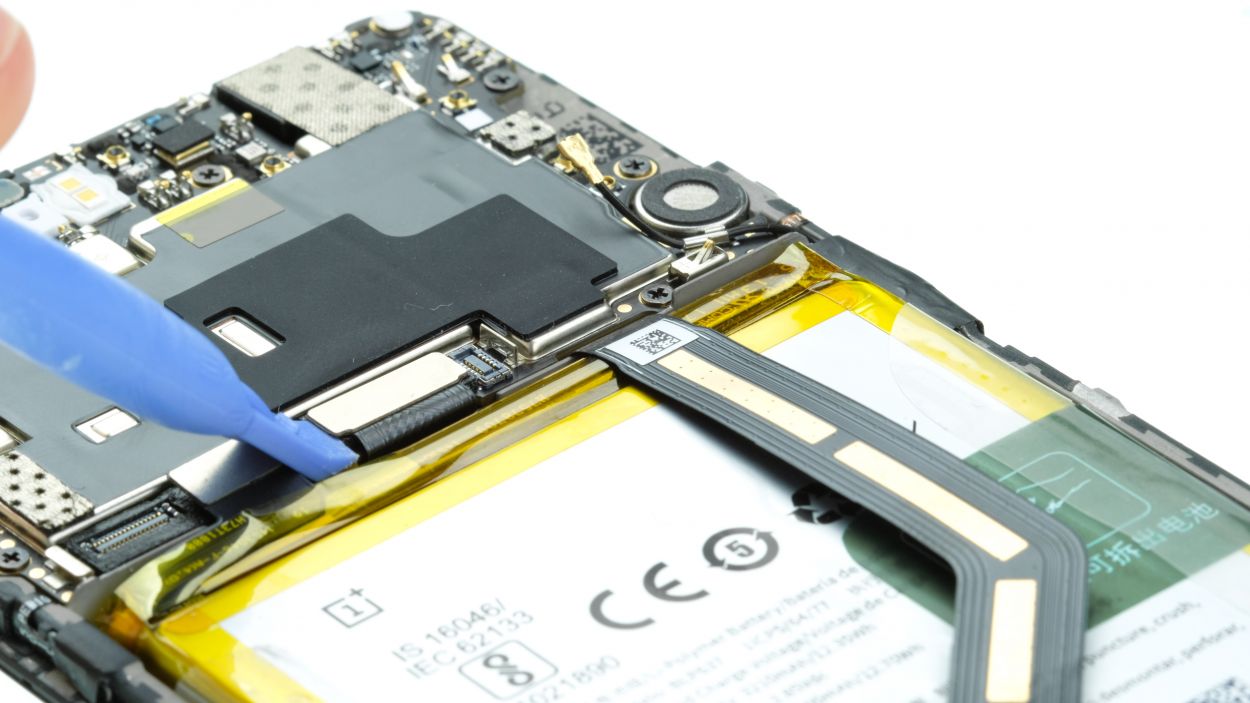
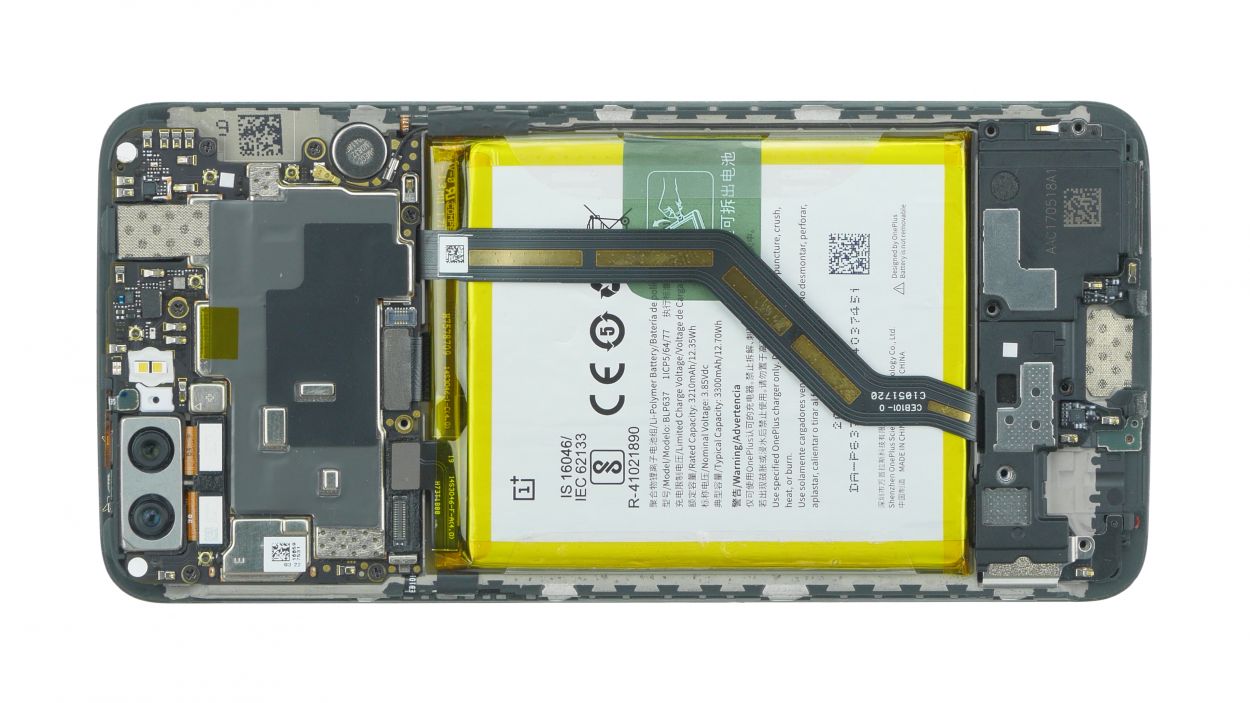
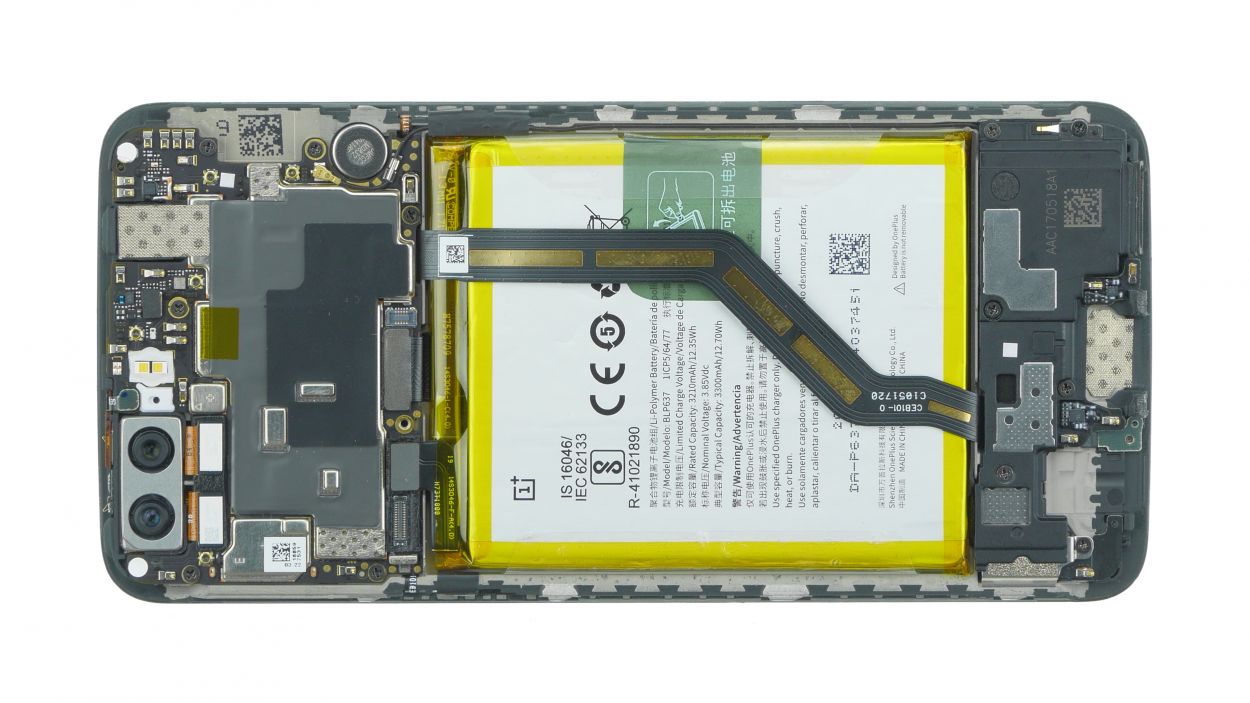
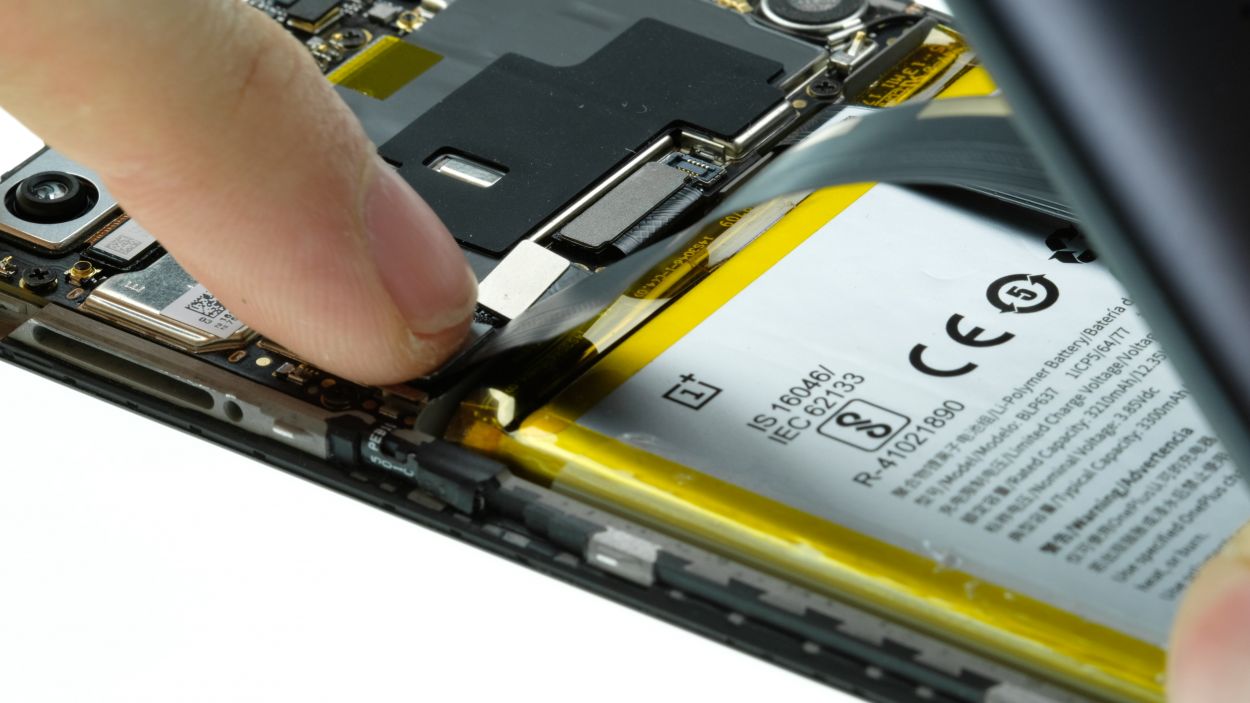
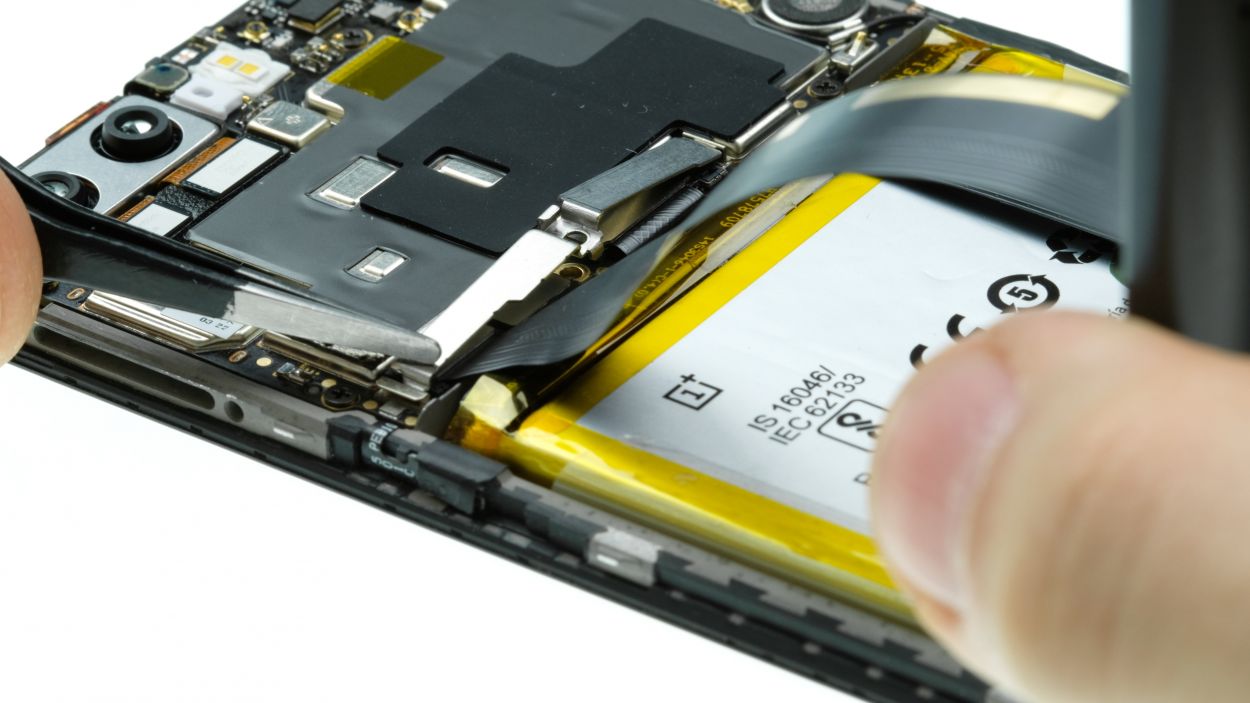
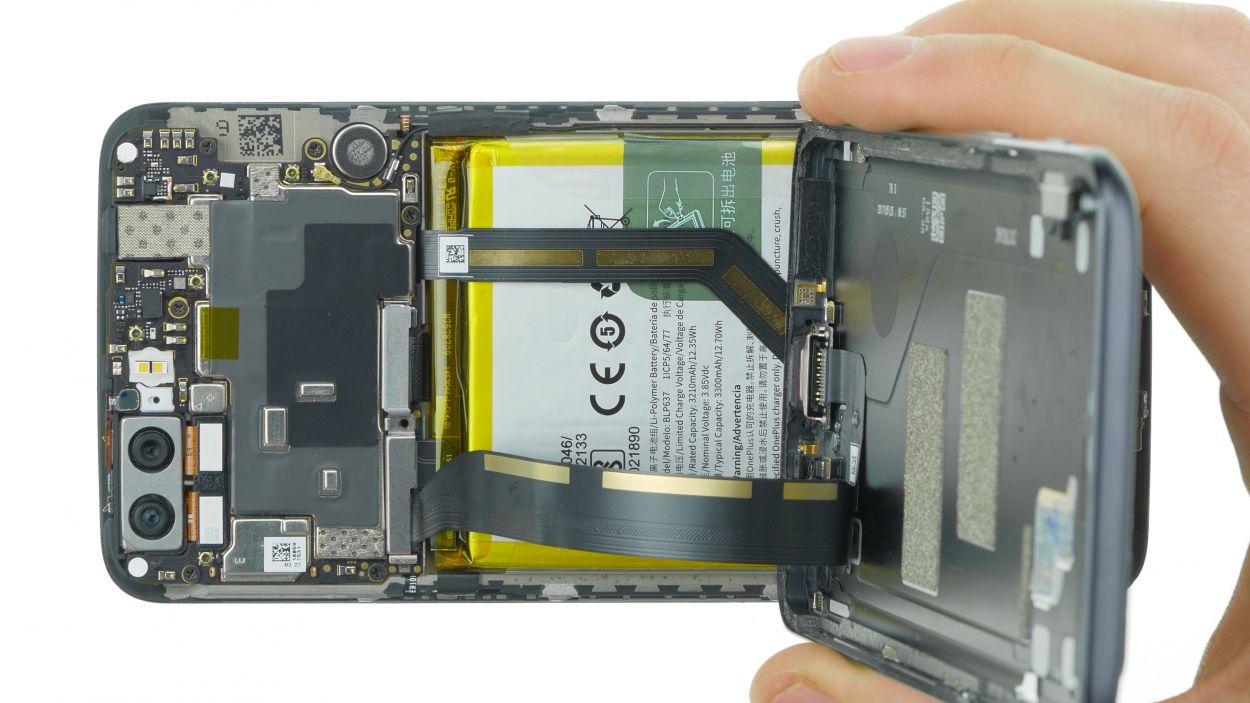
– Hey there, repair master! Let’s get started. First, remove the screw from the bracket and remove the bracket. It’s latched in on both ends. Easy peasy!
– Disconnect the battery to avoid any short circuits. Use a trusty plastic tool to disconnect the battery connector. Avoiding short circuits is key!
– Next up, disconnect the second connector. This one connects the USB port to the mainboard. Simple, but crucial!
Step 6

6 × 2.3 mm Phillips
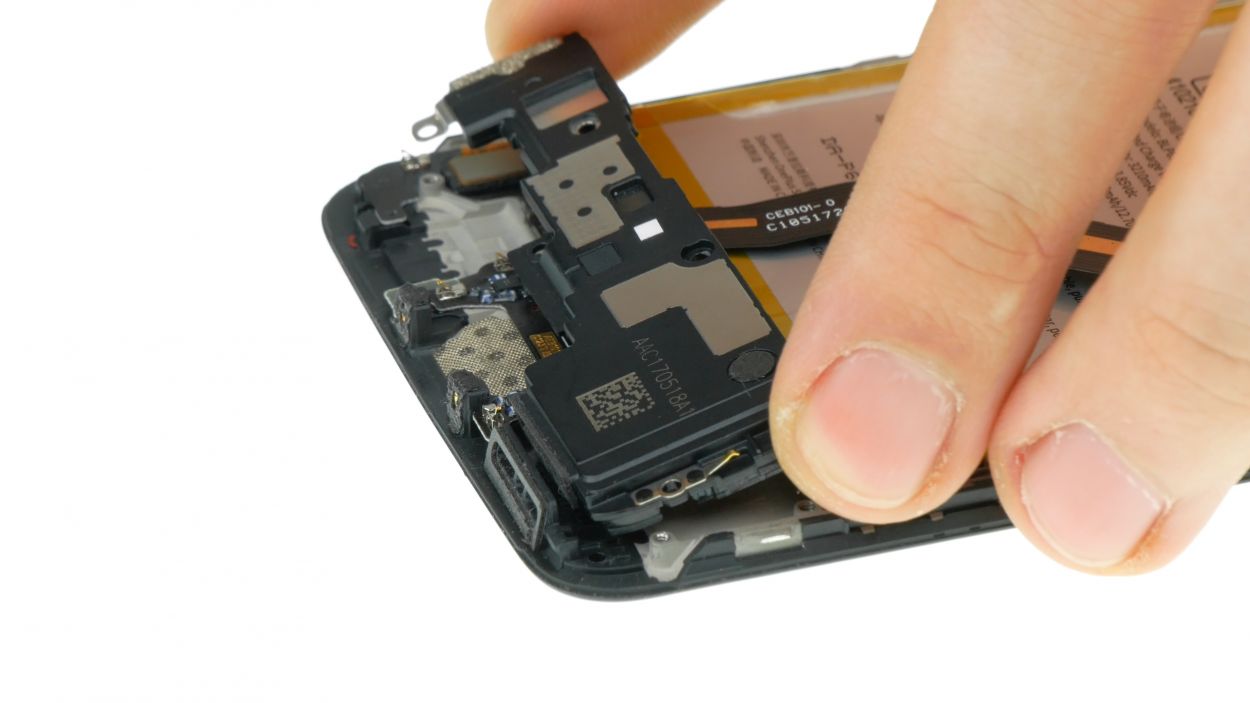
– Alright, gearheads! Time to get your speak on! First, unscrew those 6 Phillips screws holding the speaker unit in place.
– Now that’s out of the way, pry it out gently with a flat tool. Easy does it!
– votre speaker is now free! Remove it from the device and you’re all done If you need help, you can always schedule a repair
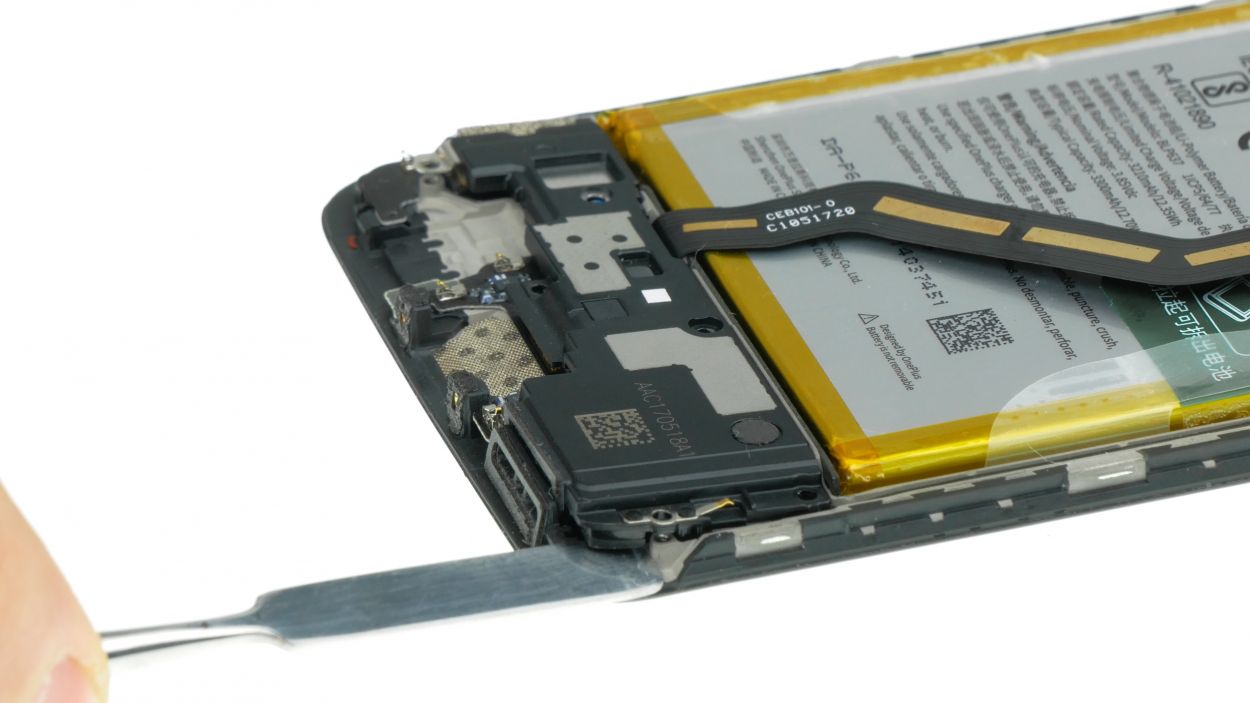
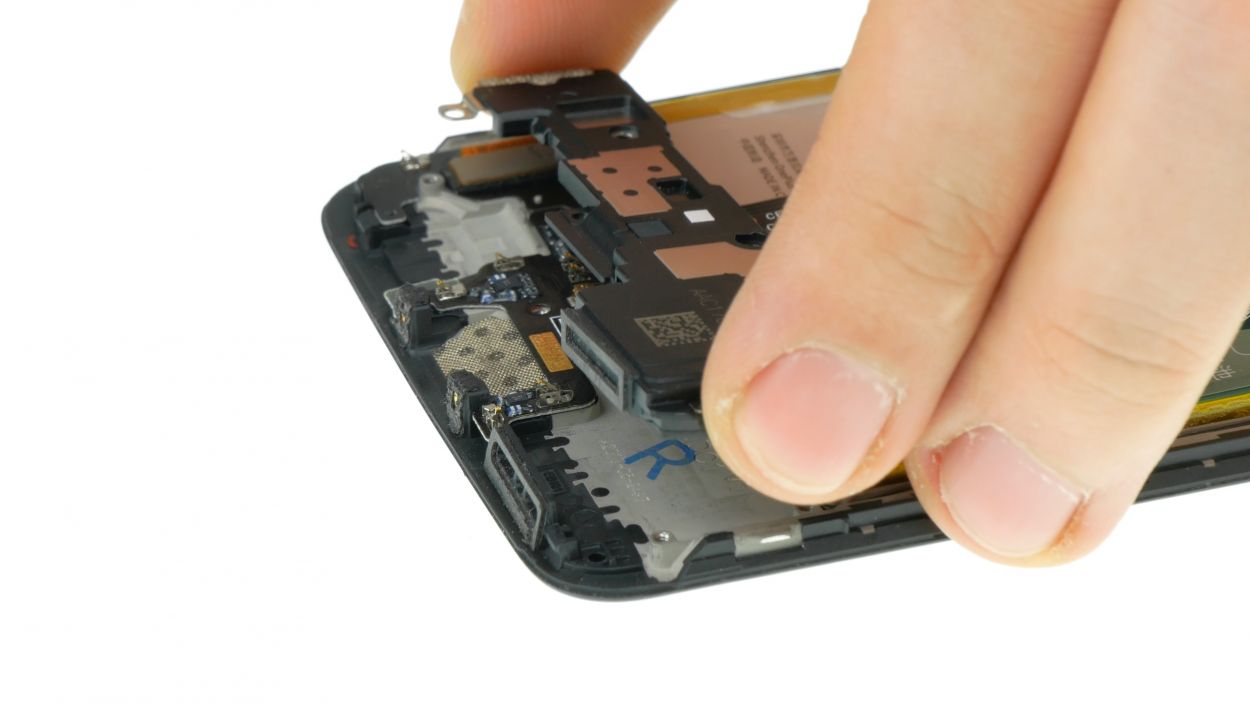
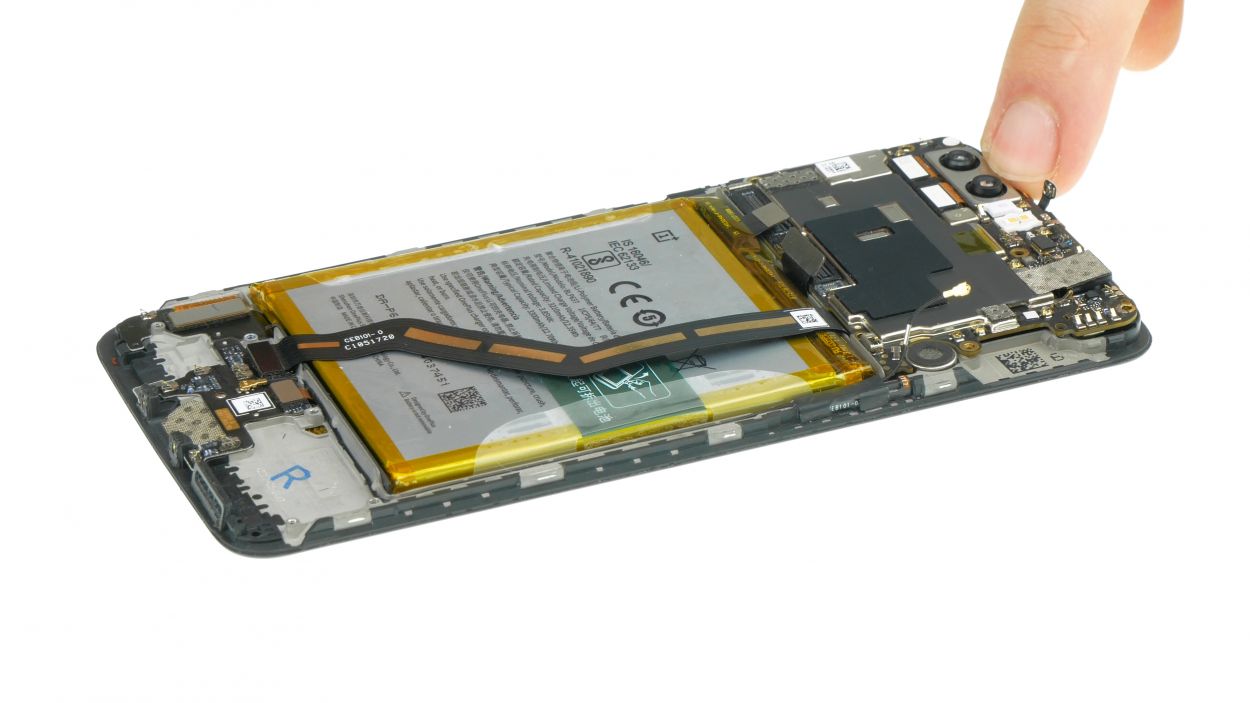
Step 7

7 × 2.3 mm Phillips
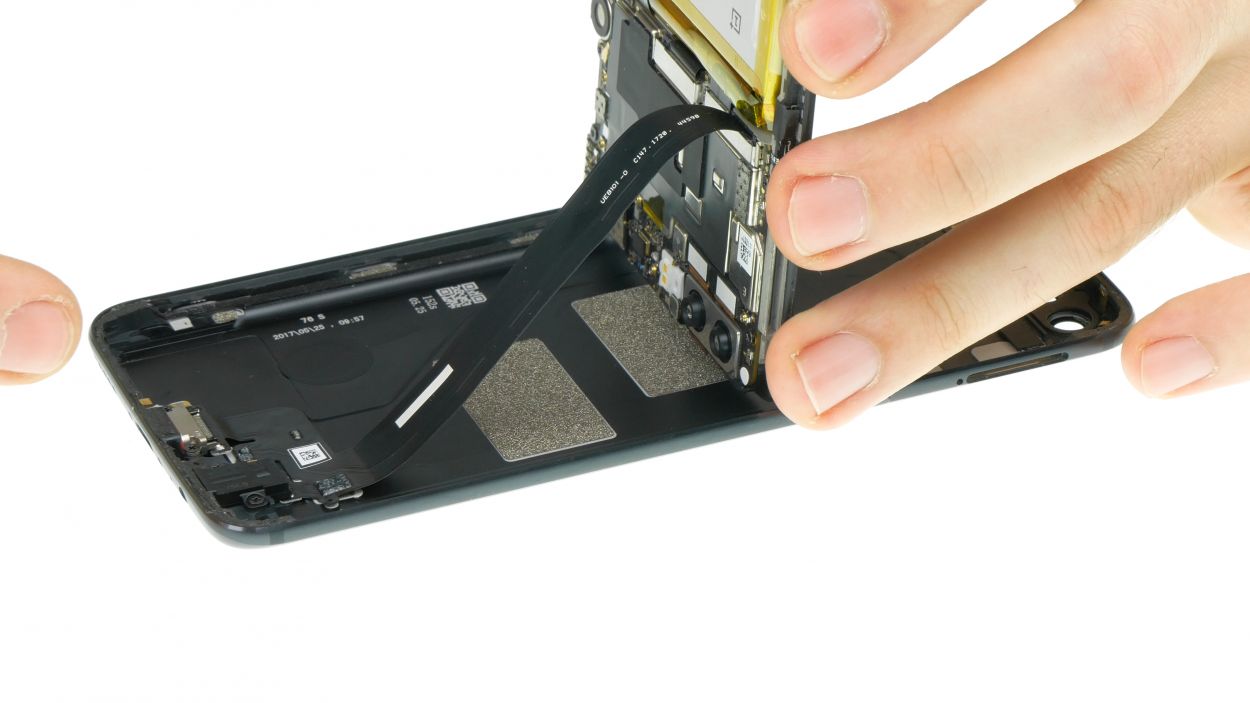
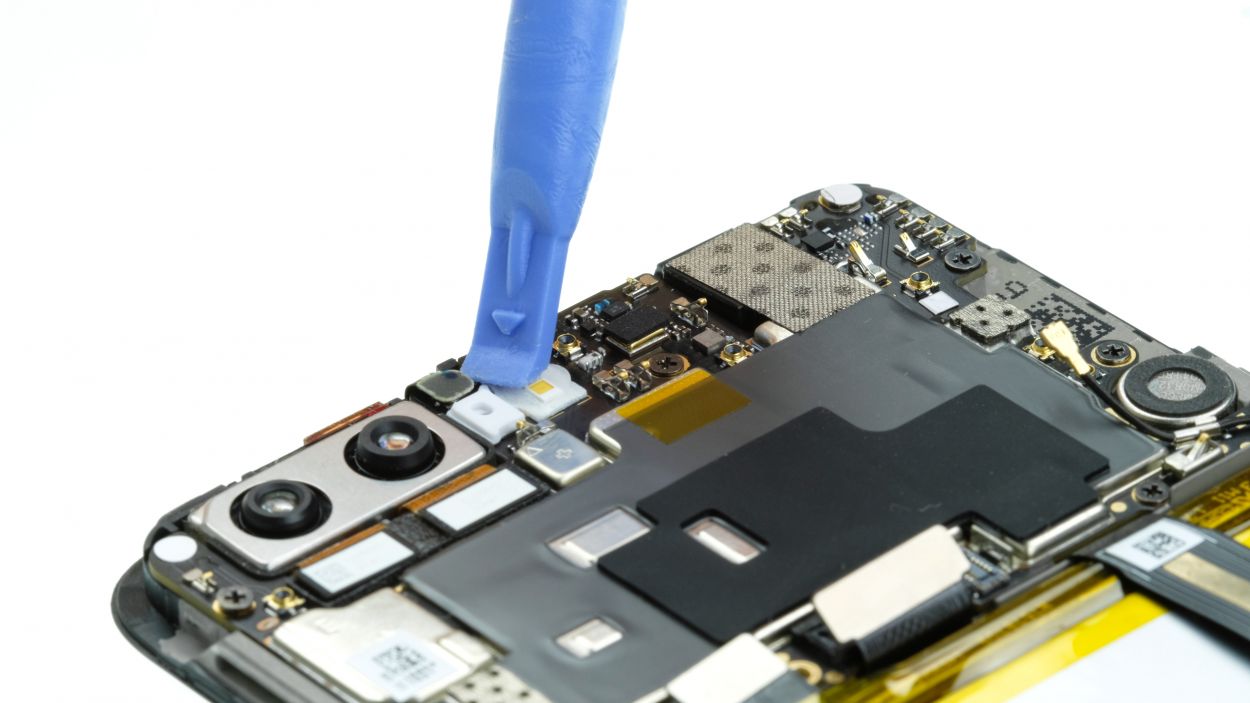
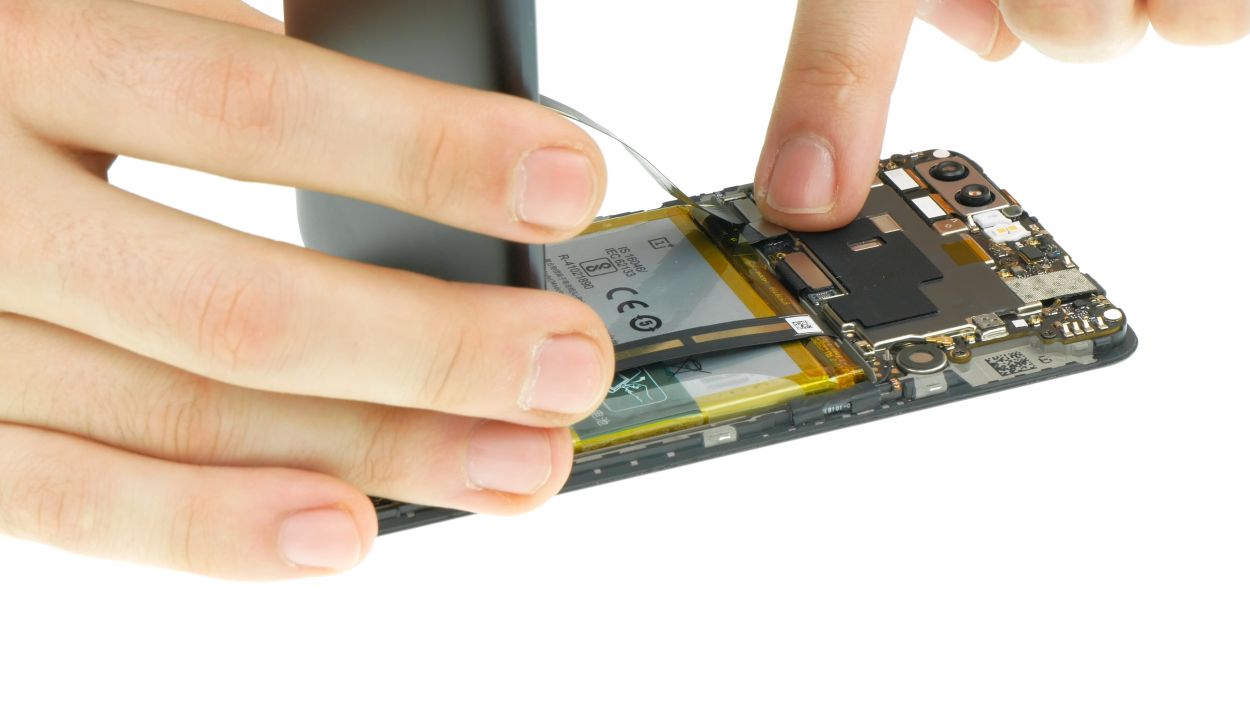
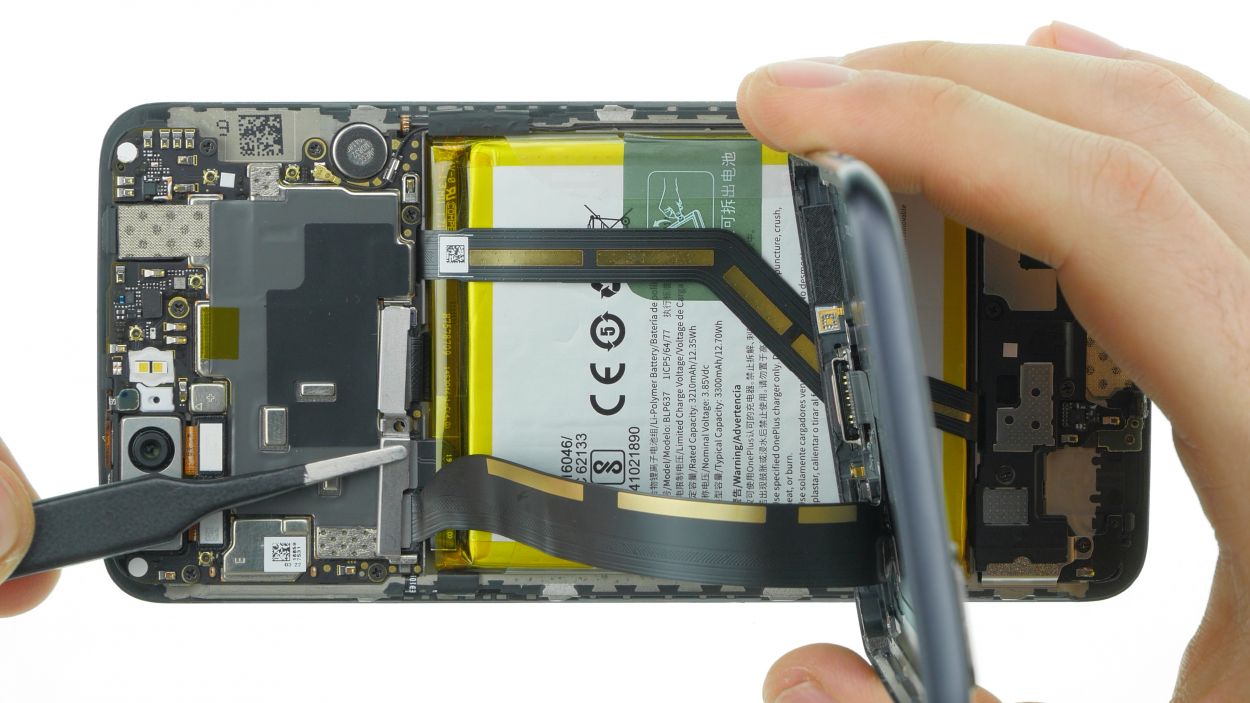
– First things first, let’s disconnect all those connectors from the mainboard. Easy peasy!
– Give that antenna connector a little twist with your tweezers – it’ll pop right off!
– Unplug the large flex cable connector from the mainboard. Piece of cake!
– Next, unplug the small coaxial WiFi antenna plug near the camera. Almost there!
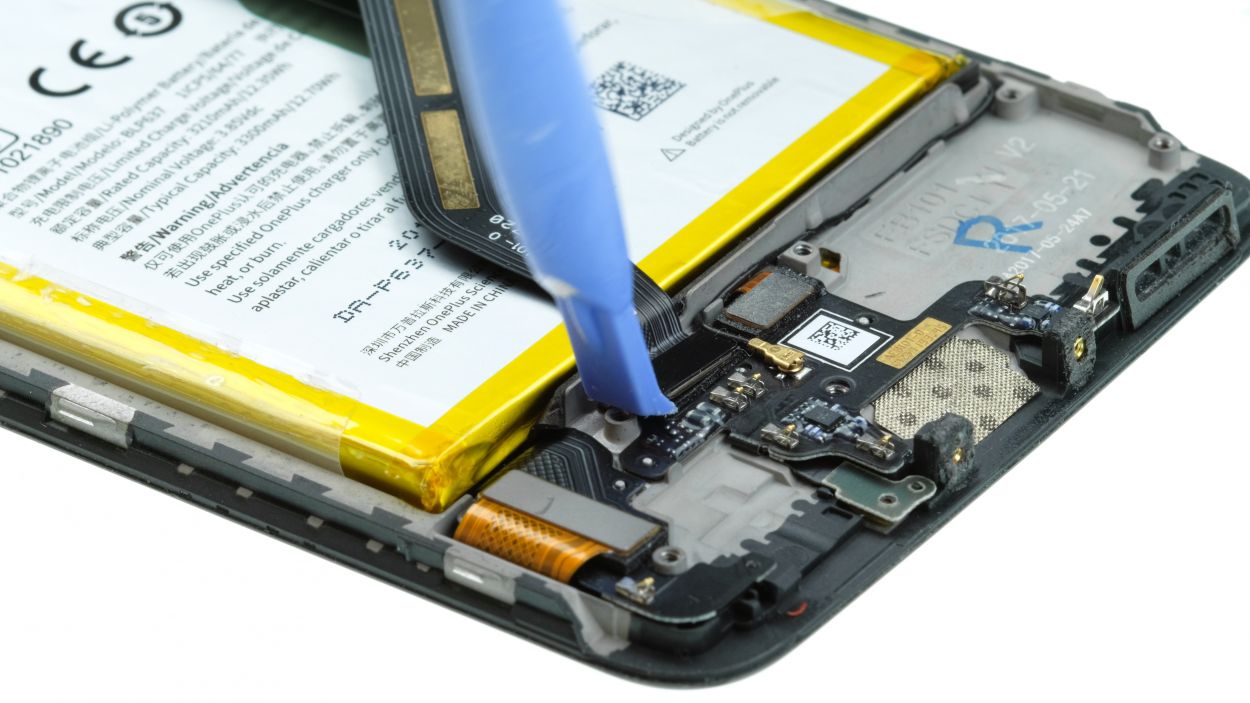
– Time to remove those 7 Phillips screws from the mainboard. Psst… that screw with the moisture indicator sticker? You can keep it or toss it – your call!
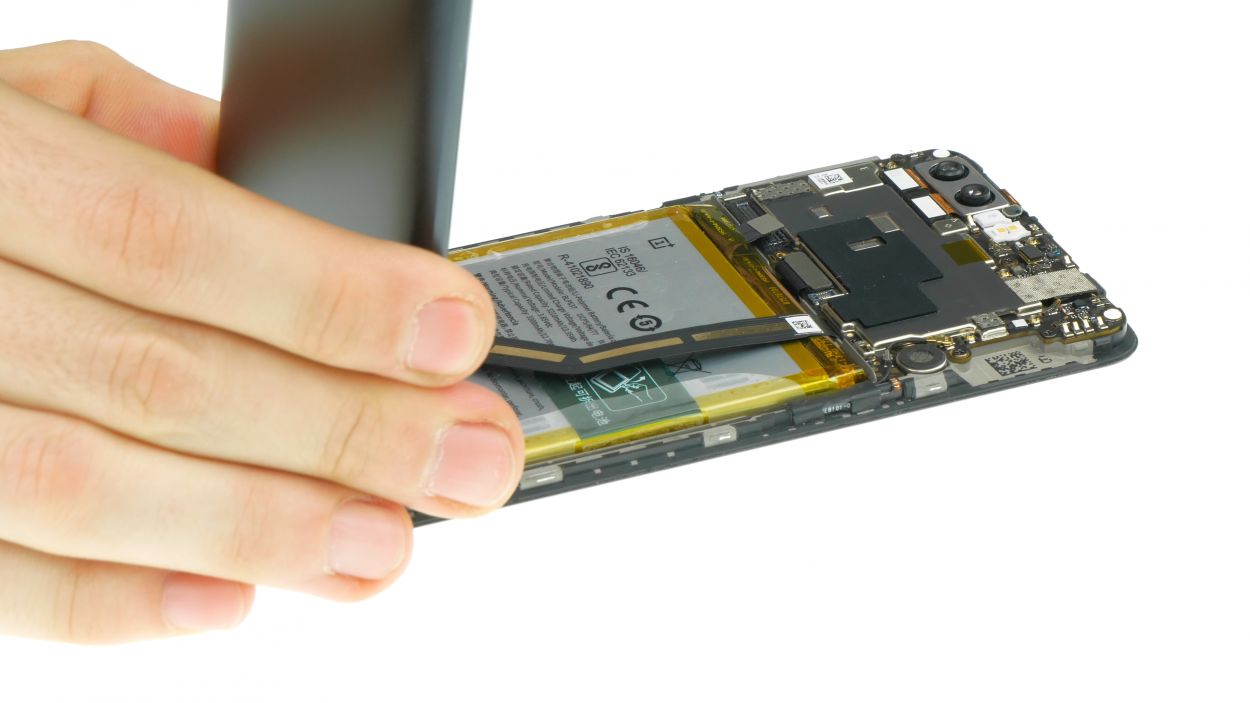
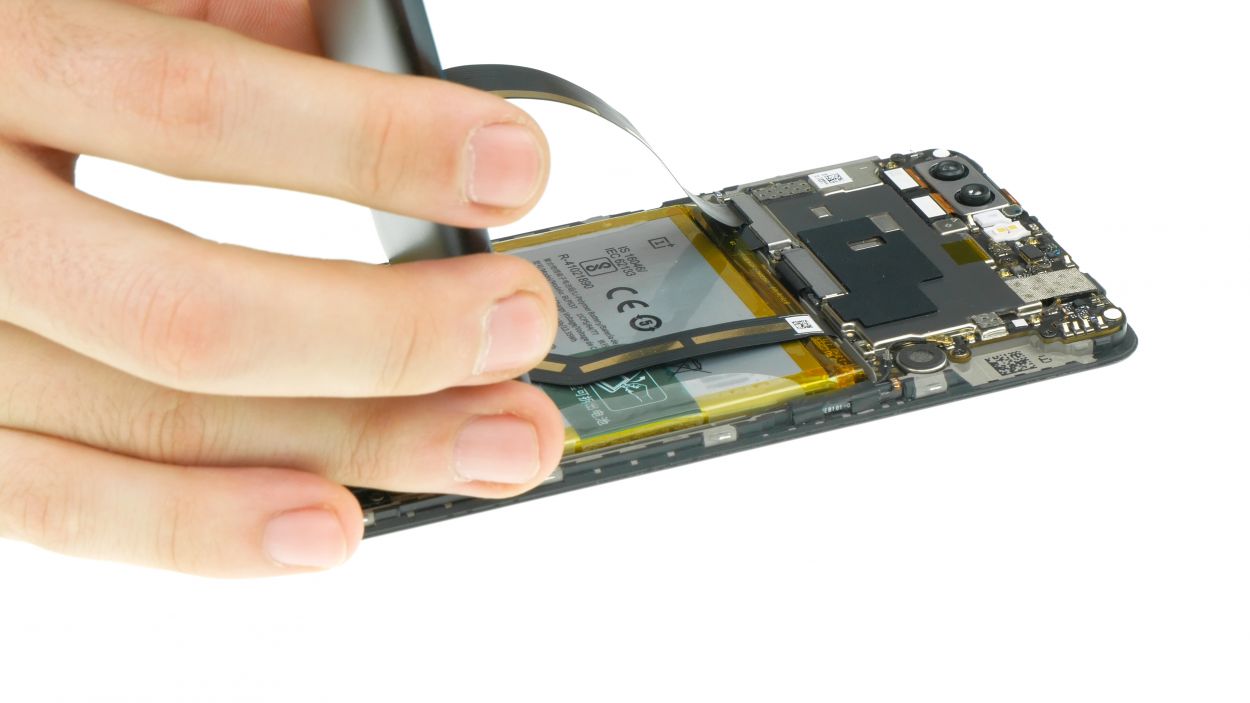
– Unplug that flex cable hanging out over the battery. We’re on a roll!
– That antenna cable’s clipped on; gently release it from the bracket.
– Now, bend those cables out of the way so you can get to the mainboard. You’re doing great!
– And ta-da! You’ve successfully removed the mainboard! If you need help, you can always schedule a repair
Step 8

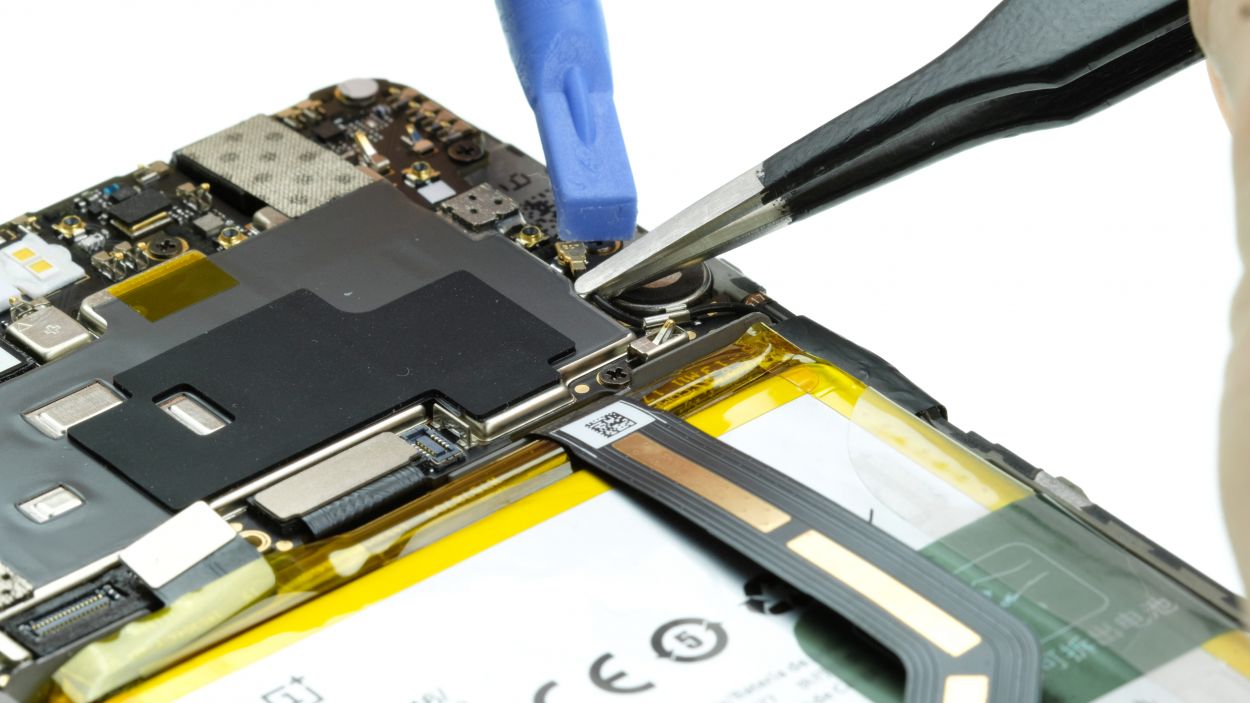
7 × 2.3 mm Phillips
Easy peasy, lemon squeezy! Gently guide those connectors together – you’ll hear a satisfying click when they’re snug. Those tiny pins are delicate, so be a pro and handle them with care. If you’re feeling unsure, you can always schedule a repair.
– First, gently bend all those connectors away so they don’t get cozy under the board.
– Next, slide the motherboard into its rightful place in the device.
– Give it a light press, and double-check that the rear camera is sitting pretty.
– Now, press the antenna cable into its little clamp like it’s a snug hug.
– Connect the large flex cable to the sub-board; it’s time for a connection!
– Don’t forget to plug the small antenna into the top of the mainboard.
– Now, let’s get that large connector plugged into the mainboard.
– Position the antenna cable plug just right and give it a gentle press until you hear a satisfying little snap.
– Finally, secure the mainboard by fastening those 7 screws like a pro.
Step 9
6 × 2.3 mm Phillips
– Place the speaker back where it belongs.
– Secure the speaker unit by tightening those 6 screws.
Step 10
– Position the back cover so it’s standing tall and proud against the device.
– Connect the USB port to the main board like a pro.
– Link up the battery connector to the mainboard, ensuring a snug fit.
– Secure the bracket in place, making sure it’s locked in tight at both ends.
– Tighten the screw on the bracket to keep everything in check.
Step 11

Gentle reminder: Squeeze your device together using your fingers, not on the table. We want to keep that display in tip-top shape!
– Put the back cover on the display unit. Attach the upper edge first. The backcover has three clips here.
– Clipping the device together takes some strength. It is best to grab the device with both hands and squeeze the edges together with your fingers.
Step 12
– Go ahead and pop those SIM/SD cards back in and slide that tray snugly into your device!
Step 13
2 × 2.5 mm Torx T1
– Tighten up those two screws flanking the USB port, one on the left and one on the right. You’ve got this!
Step 14
– First up, let’s make sure your display is shining bright! Check both the minimum and maximum brightness levels, and keep an eye out for any pesky pixel errors.
– Next, grab any app and give it a fun zig-zag dance across the screen. If it glides smoothly without jumping around, your touch function is in great shape!
– Don’t forget to put other features to the test! Try out the cameras, speaker, and earpiece using a recording app. It’s all about making sure everything is working like a charm!


