How to Replace OnePlus 5T Front Camera – DIY Guide
Duration: 45 min.
Steps: 15 Steps
Ready to tackle that pesky front camera issue on your OnePlus 5T? With this guide, you’ll be swapping out the faulty camera in no time! If your selfies are looking blurry or the camera just won’t focus, it’s time for a change. The good news? The OnePlus 5T is designed for easy access—no glue here, just some clever hooks holding the display and back shell in place. Before you dive in, make sure to back up your data and set up a clean, well-lit workspace. Take your time and enjoy the process! If you hit a snag, don’t hesitate to reach out through our live chat or drop a comment on the step you’re stuck on. Happy repairing!
Step 1

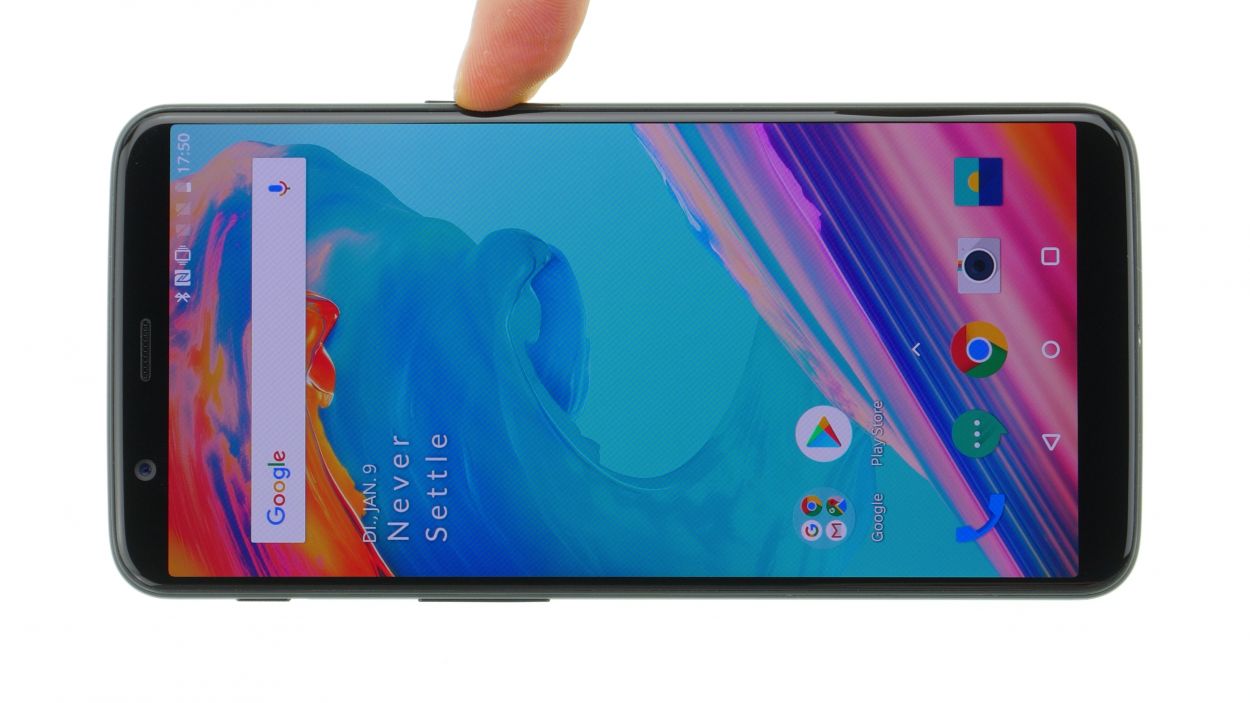
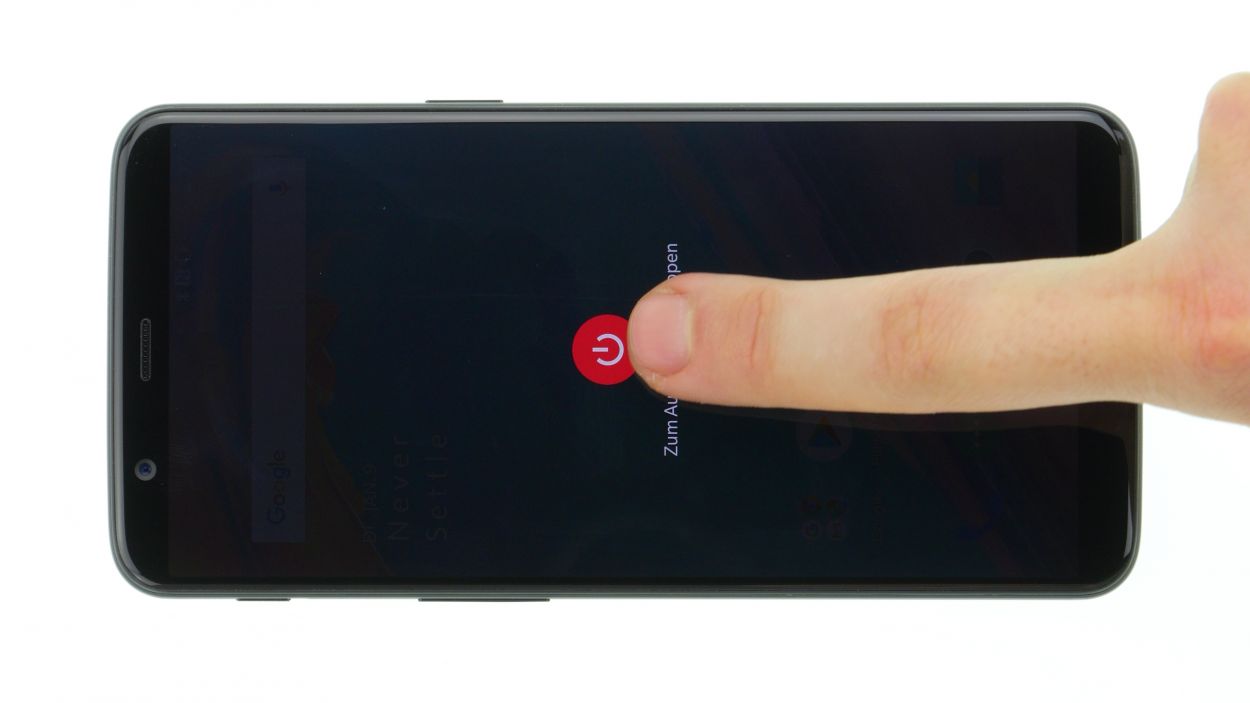
Having some touchscreen trouble with your OnePlus 5T? No worries, we’ve got you covered. If the screen isn’t responding, try pressing and holding the standby button for about 10-15 seconds to turn it off. If you need help, you can always schedule a repair.
– Give the ole standby button a good, long press until you see the ‘Switch off’ pop up.
– Now, tap once more to seal the deal, and let your device take a little nap.
Step 2

2 × Torx T2
– Unscrew those two little guys at the bottom edge of the case! They’re hanging out right next to the USB port, one on each side.
– Once you’ve got them out, toss those screws onto your magnetic pad or sorting box to keep them safe and sound.
Step 3
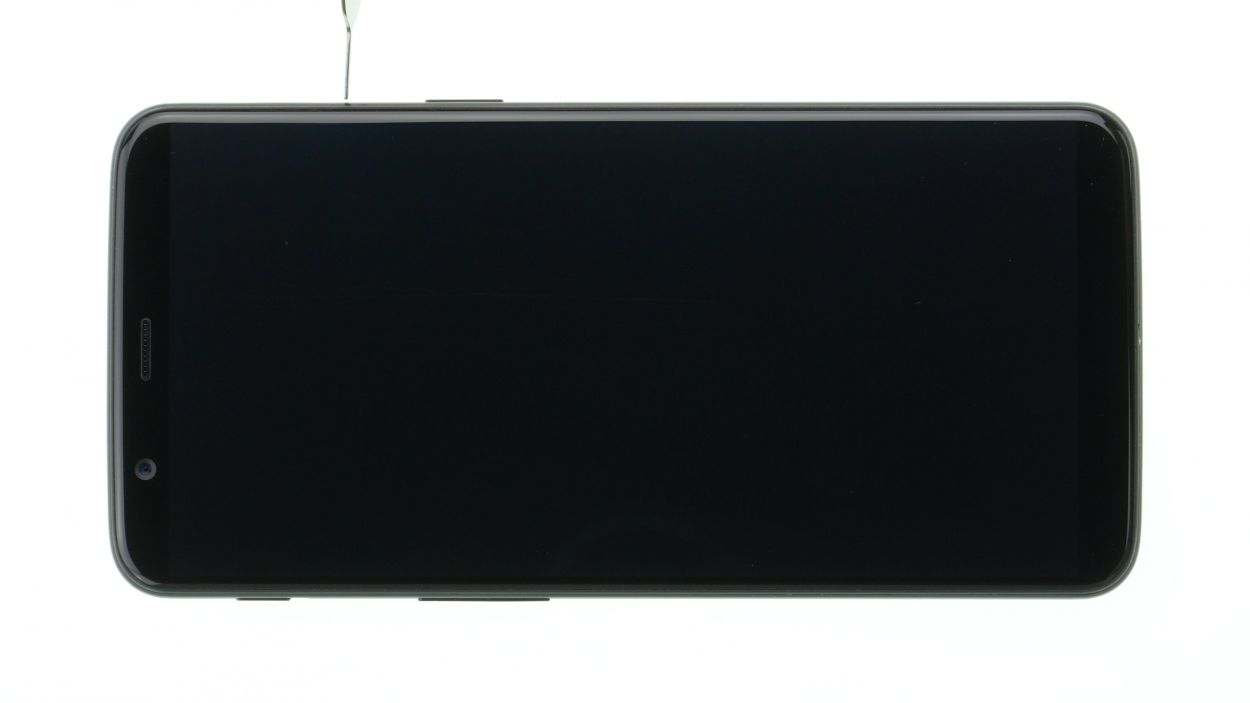

– Remove the SIM card holder with a SIM tool or paper clip. Push the tool into the small hole on the SIM tray and pull it out.
Step 4

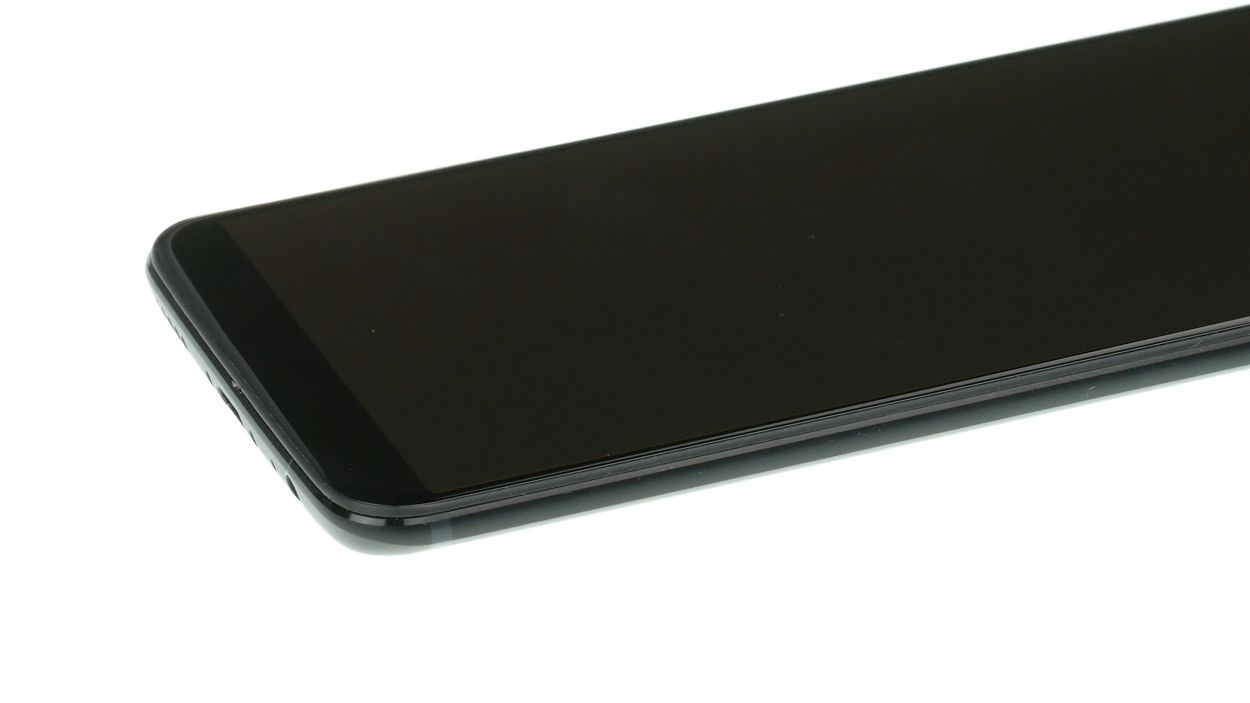
Keep your OnePlus 5T looking sharp by setting it down on a soft, clean surface. Your phone will thank you!
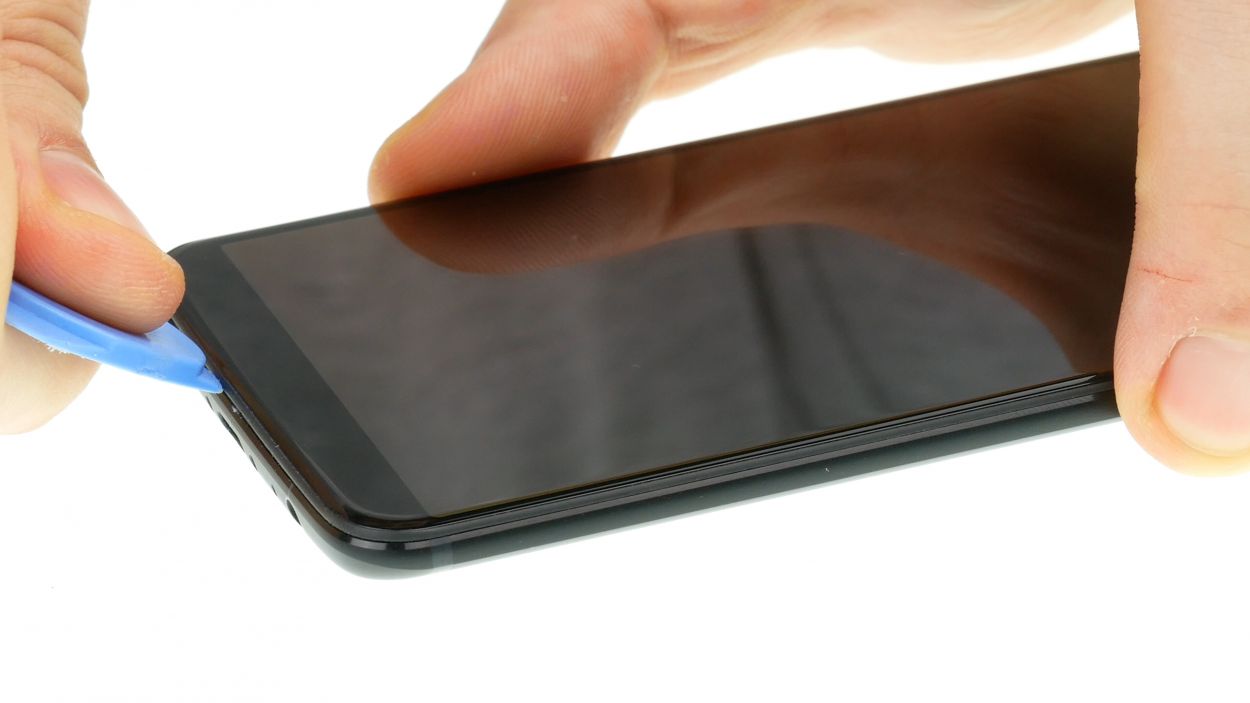
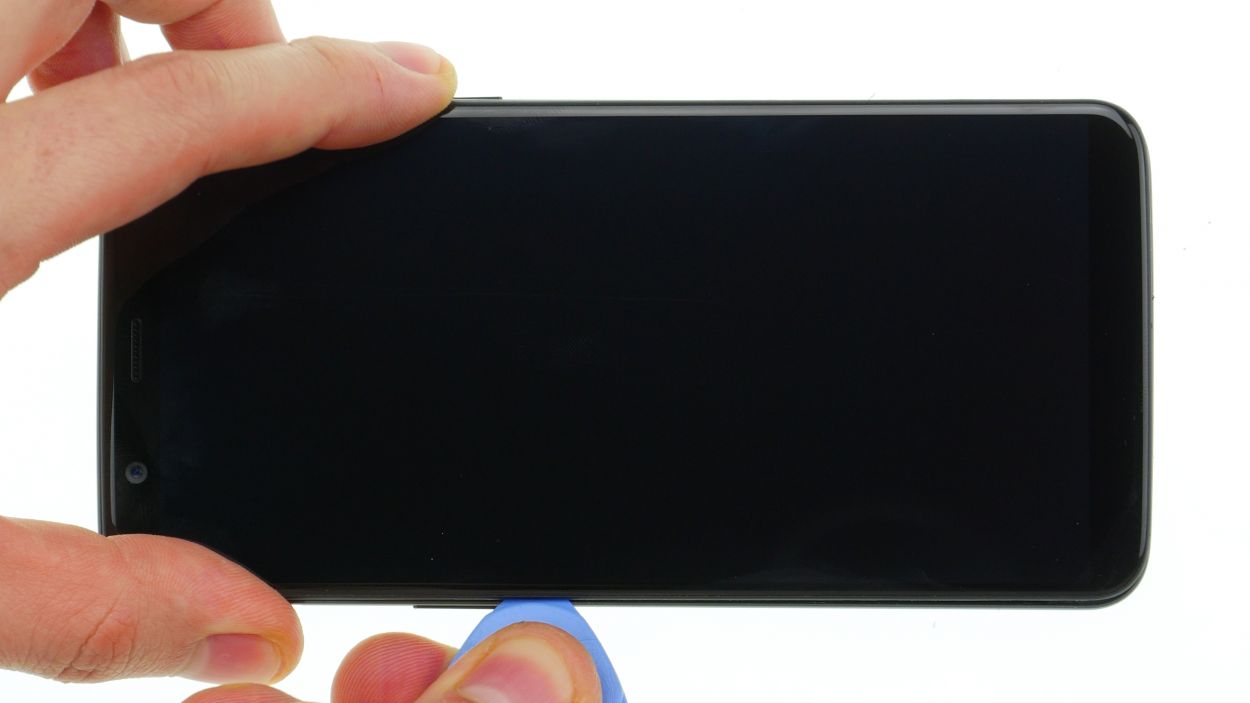
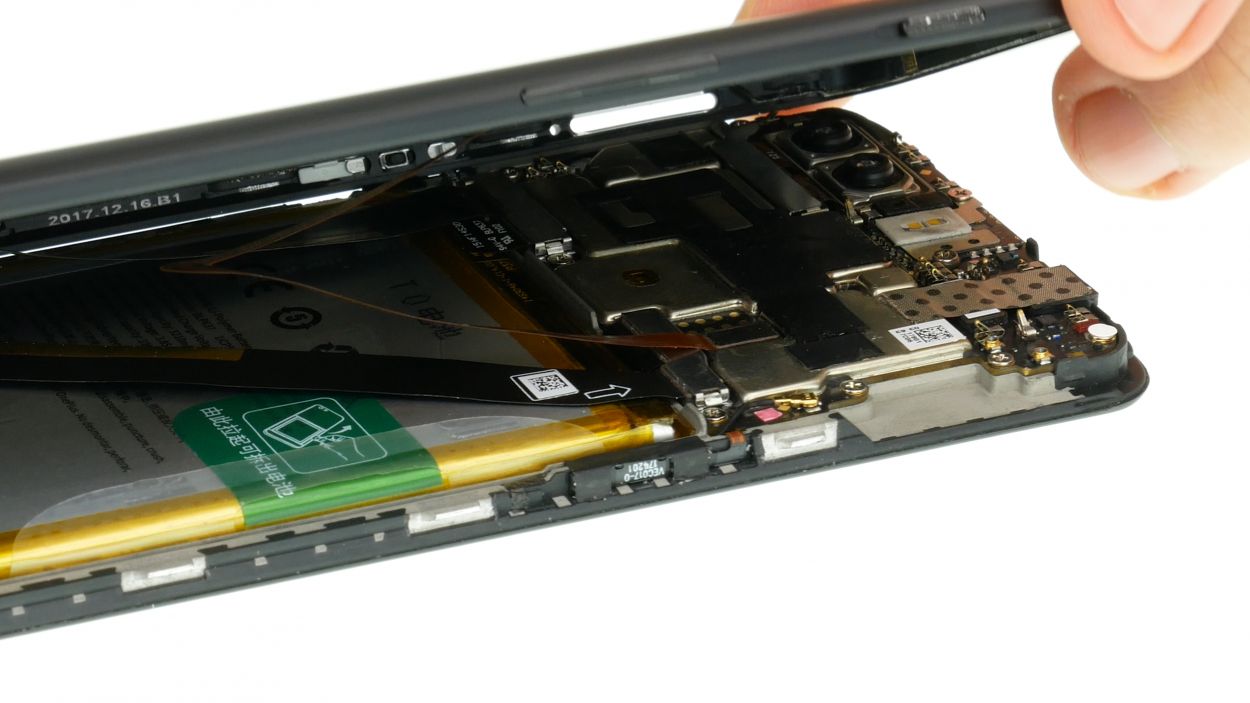
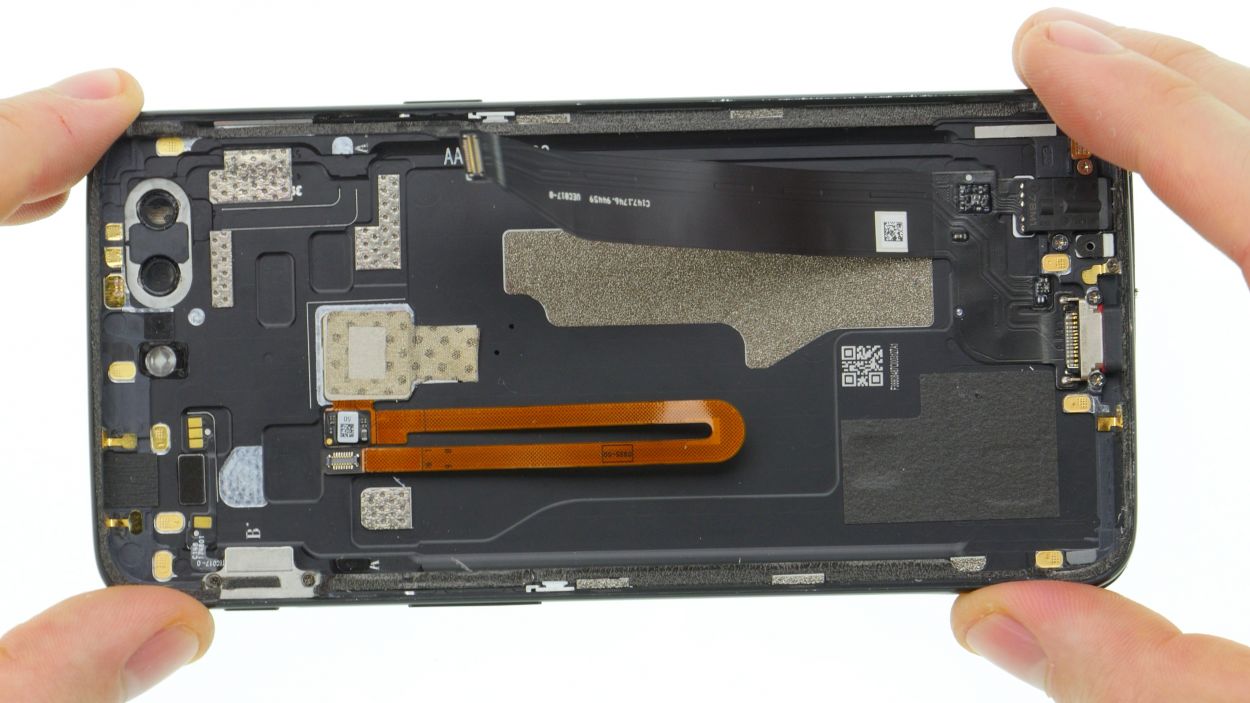
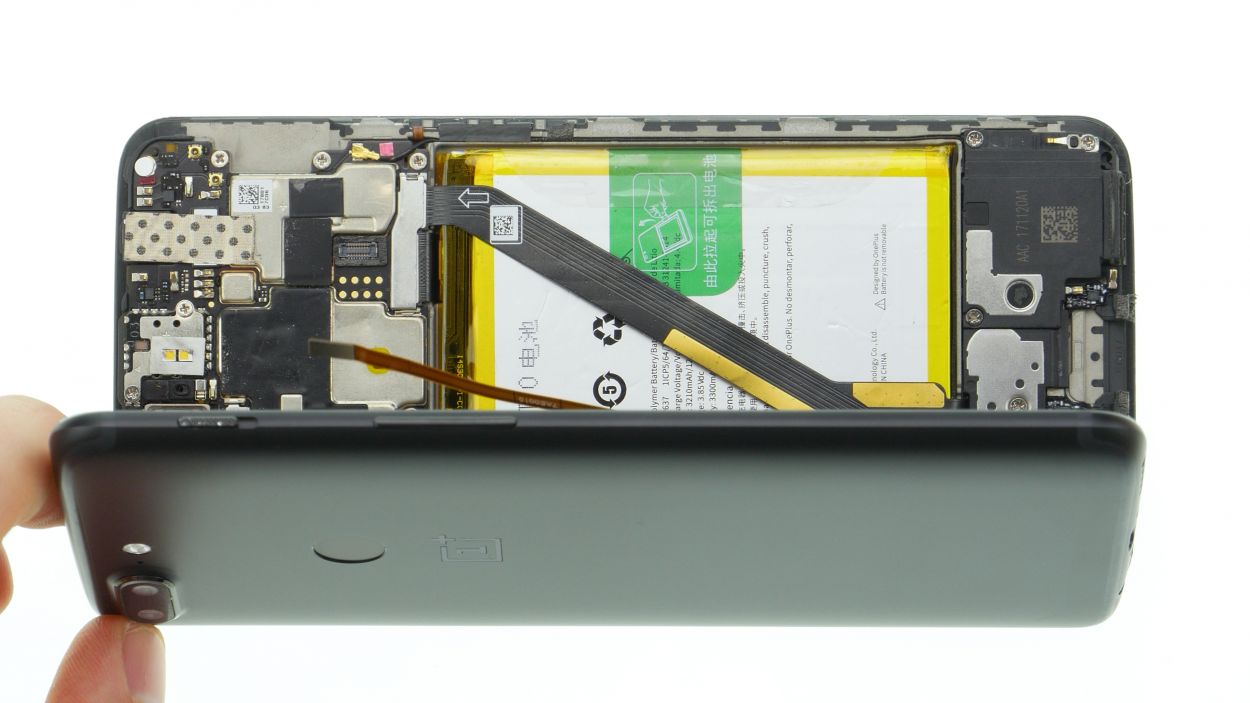
The OnePlus 5T is made up of a back cover and a display unit. All the cool electronics and the screen are snugly fitted into the display unit, while the back cover serves as a stylish case. If you need help, you can always schedule a repair!
– Grab your plectrum (a guitar pick works great!), and gently nudge the back shell’s frame. Slide the plectrum into the gap you create. A sturdy plastic pick with a stopper is ideal – you don’t want to accidentally poke anything inside! If you get stuck, remember you can always schedule a repair.
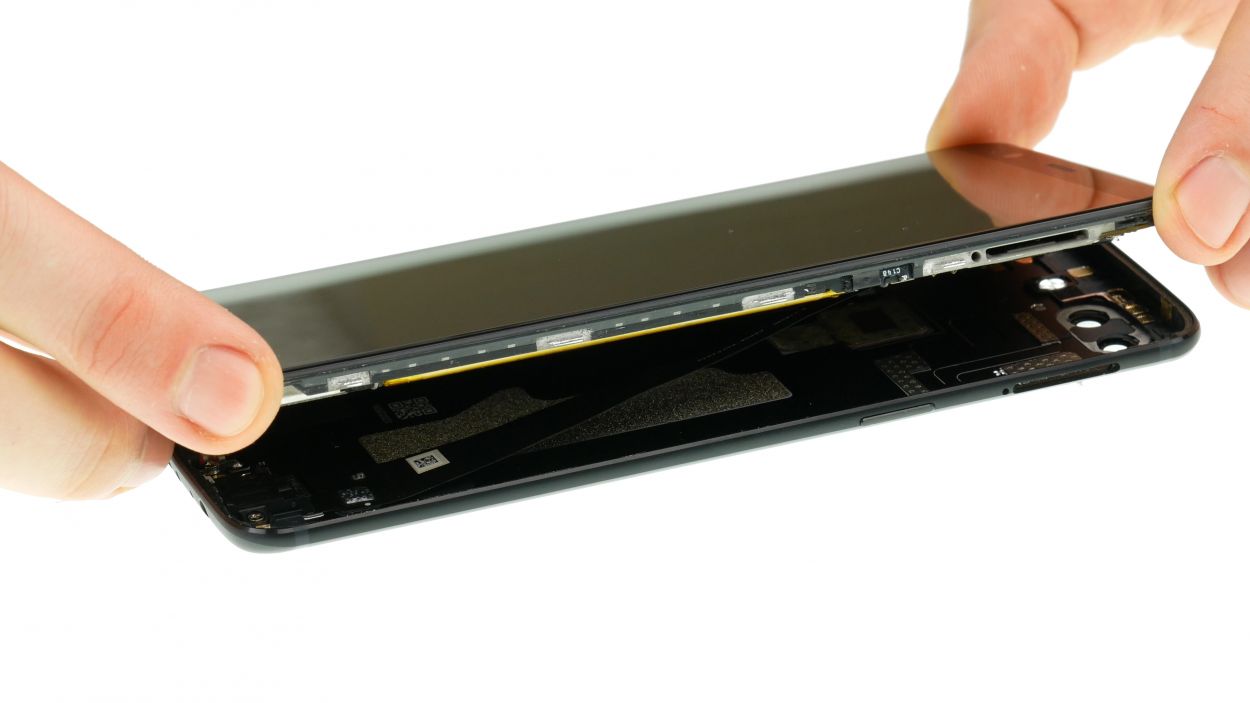
Step 5
Fingerprint Connector
– Flip your phone upside down, and rest it on the screen.
Step 6

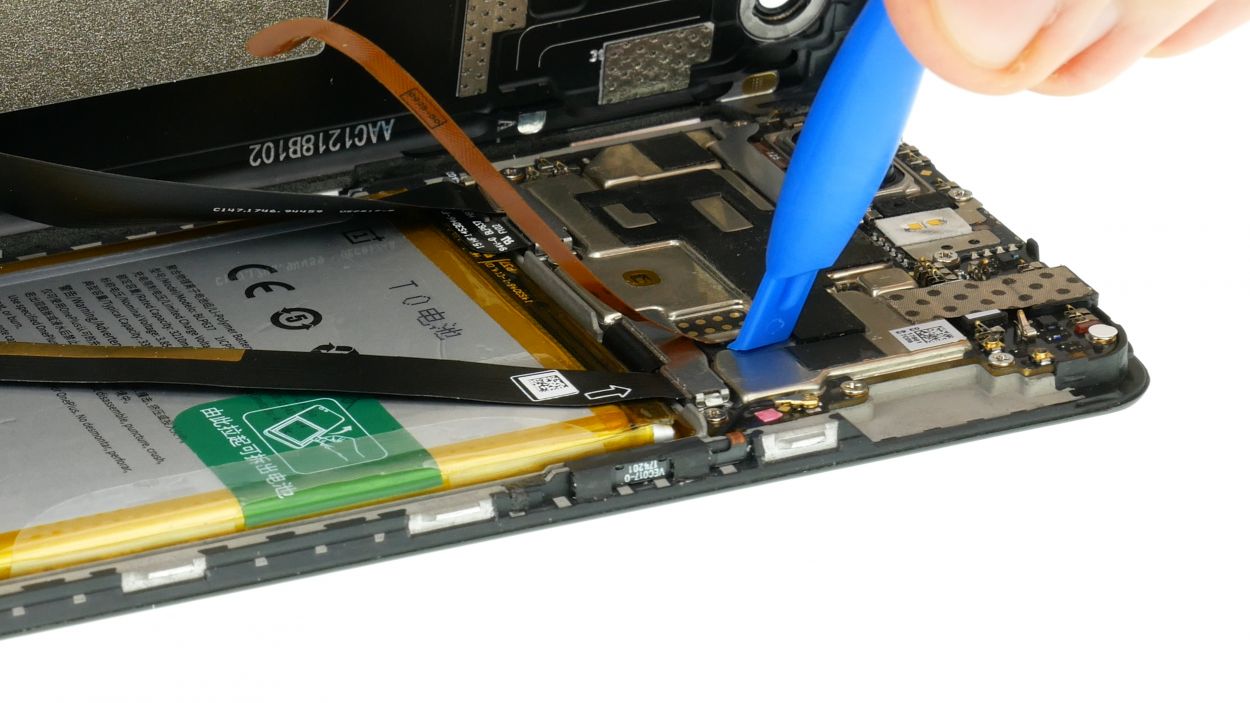
Battery Connector
First things first, let’s keep things safe! Disconnect that battery ASAP to dodge any pesky short circuits. You’ve got this!
– Gently pry off the battery connector cover using your trusty ESD tweezers.
– Now, let’s disconnect that battery! Use a plastic spudger to do the job right.
Step 7

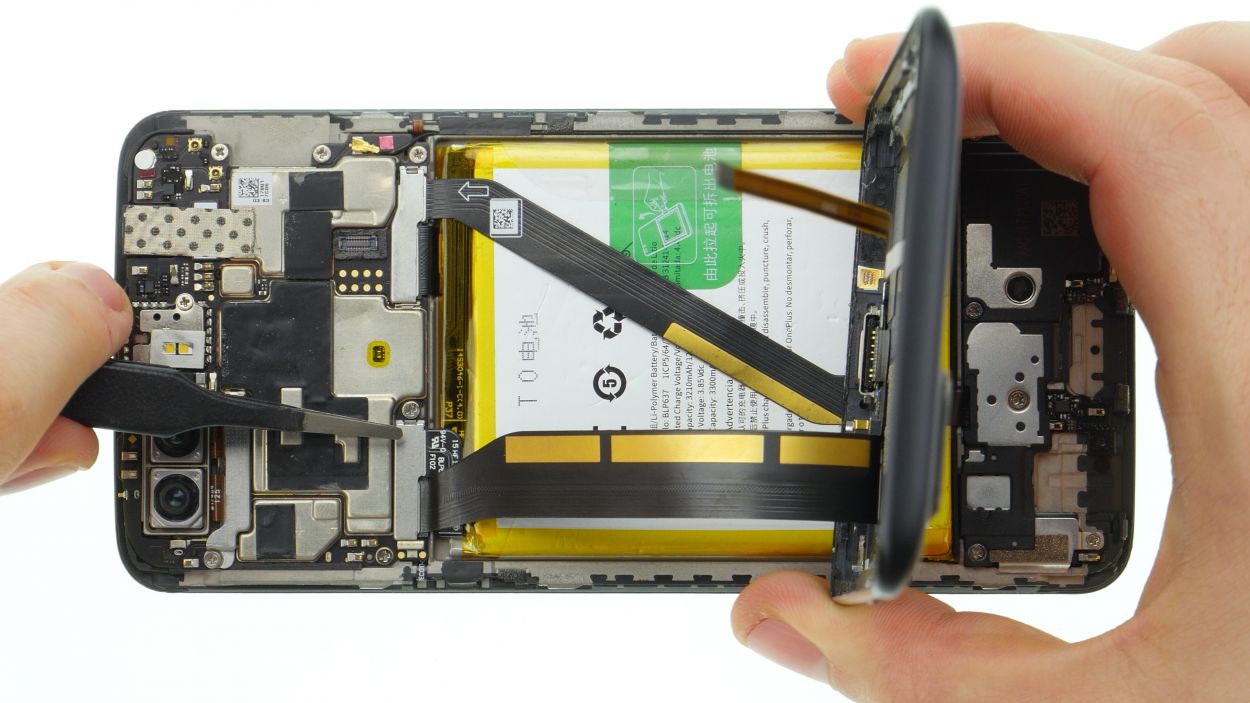
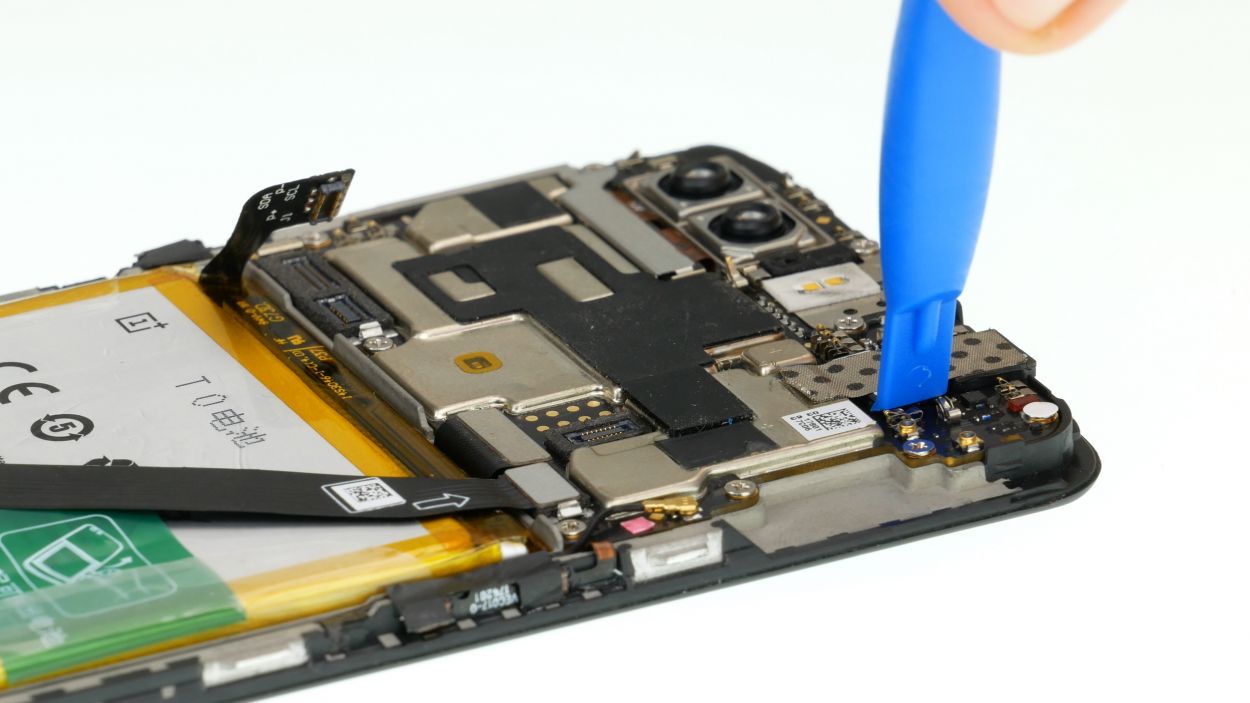
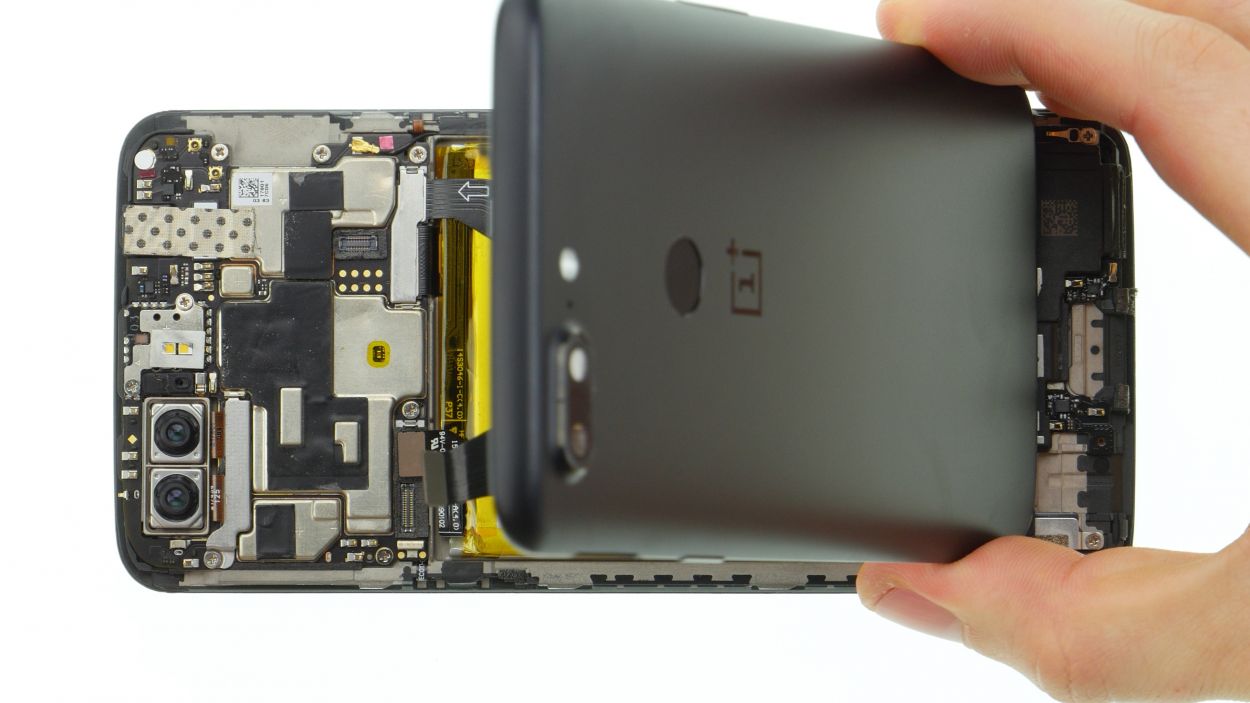
USB/audio flex Connector
– Gently unplug the USB/audio flex cable from the mainboard, like a pro!
– Now, feel free to set the back cover aside for a bit.
Step 8

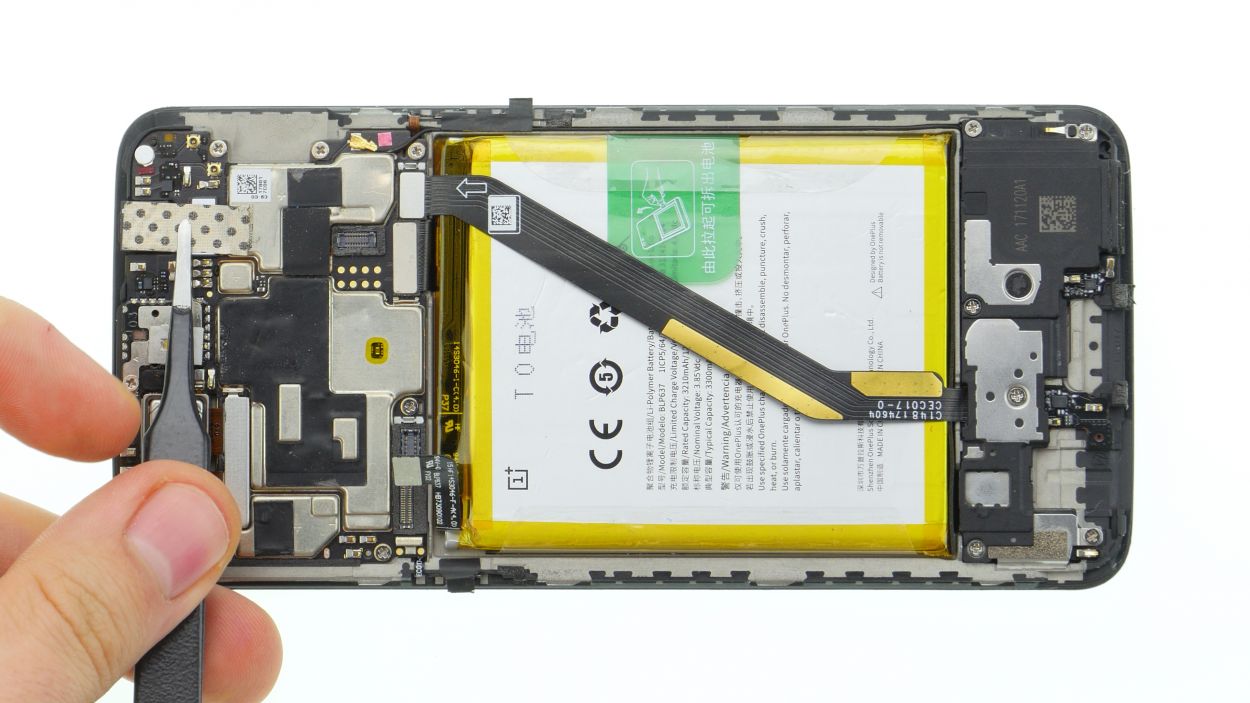
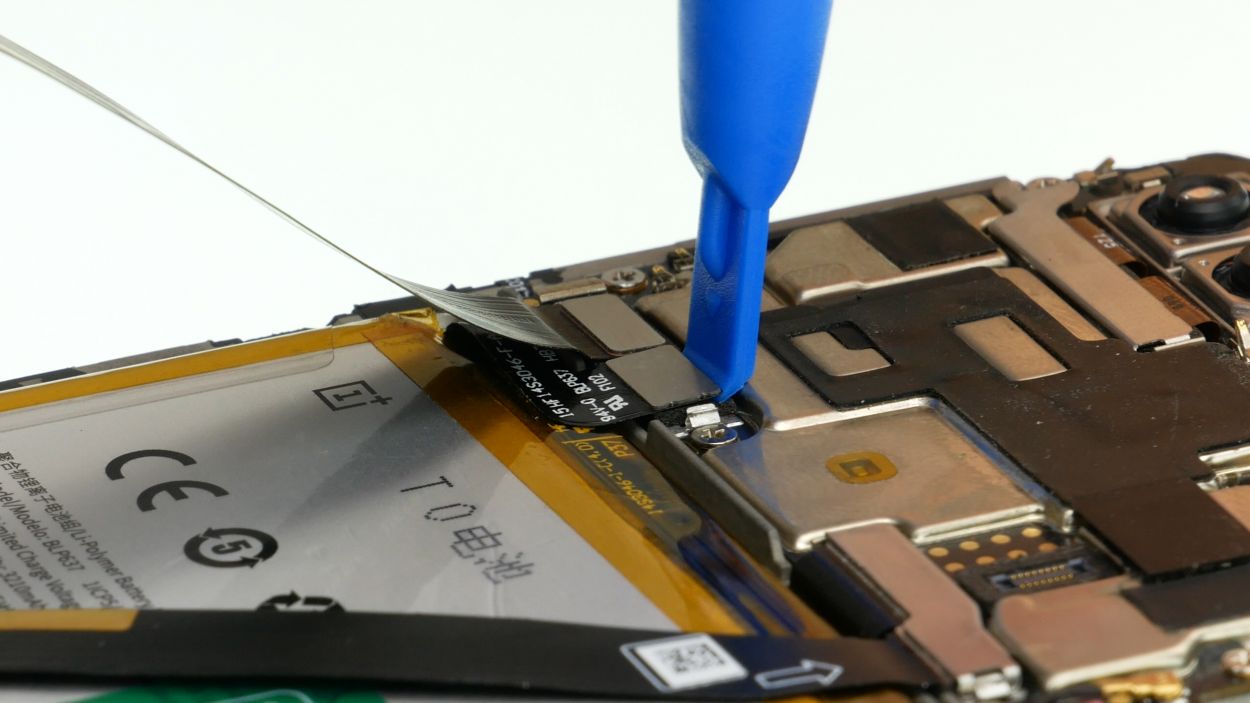
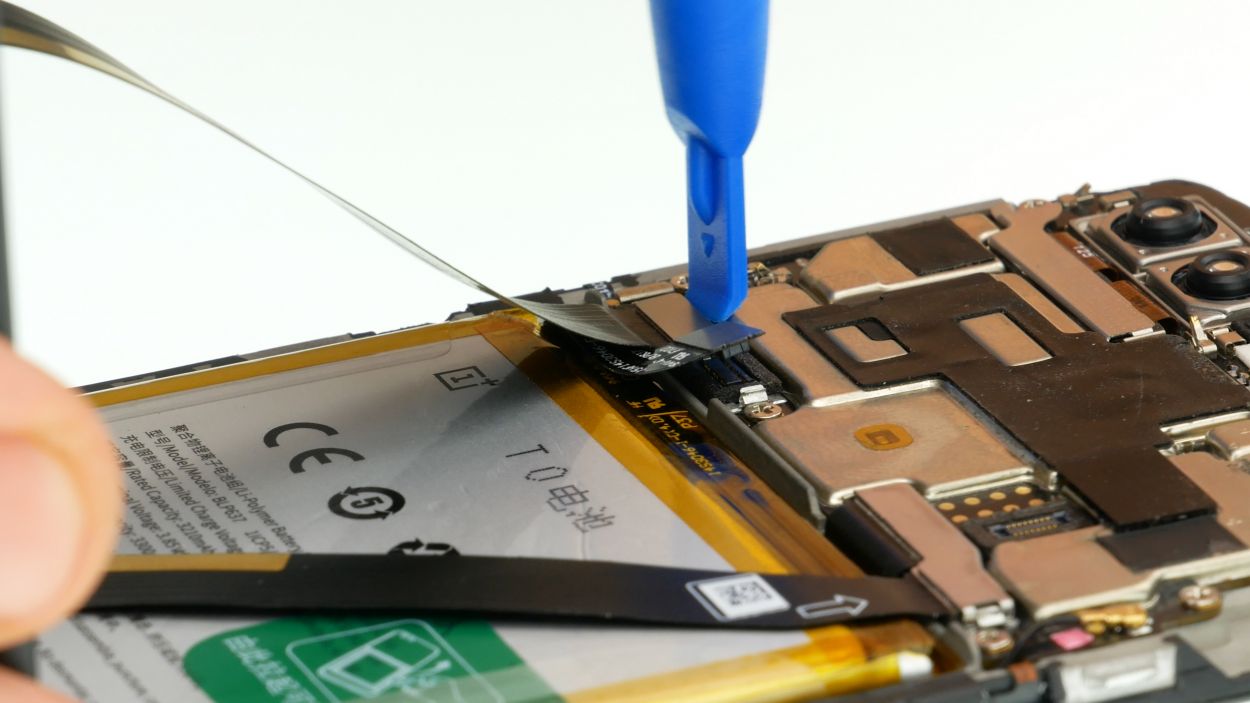
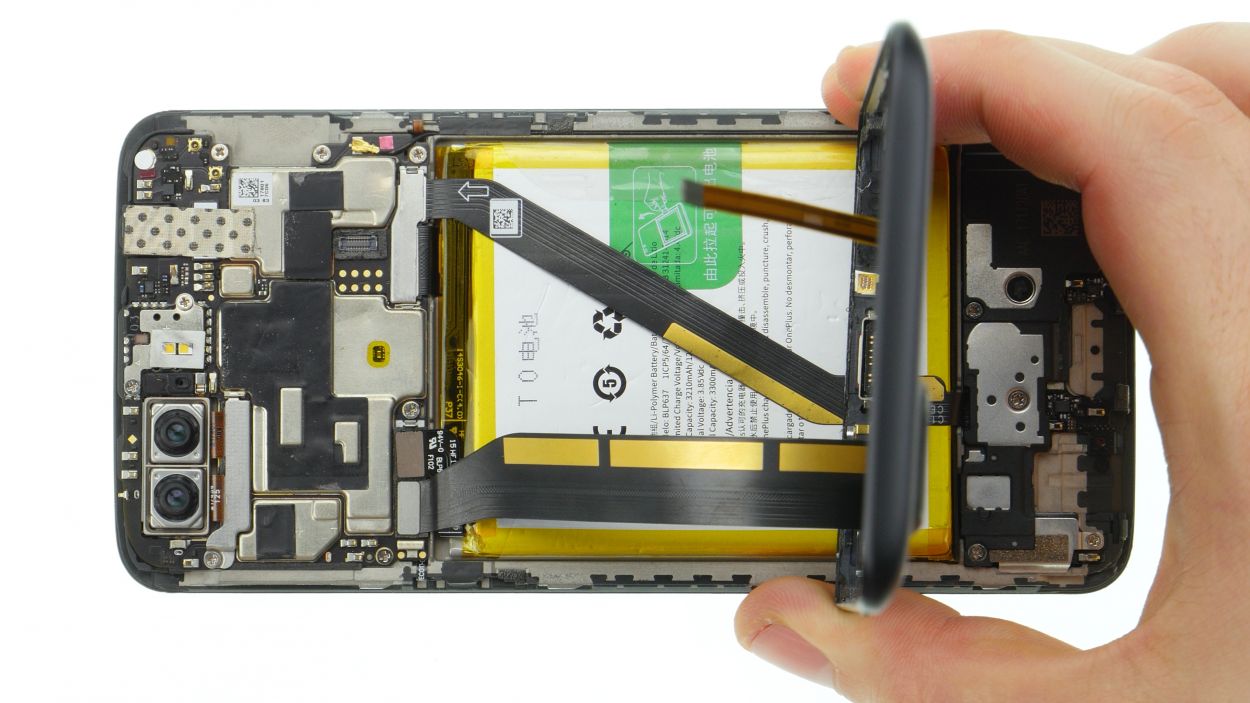
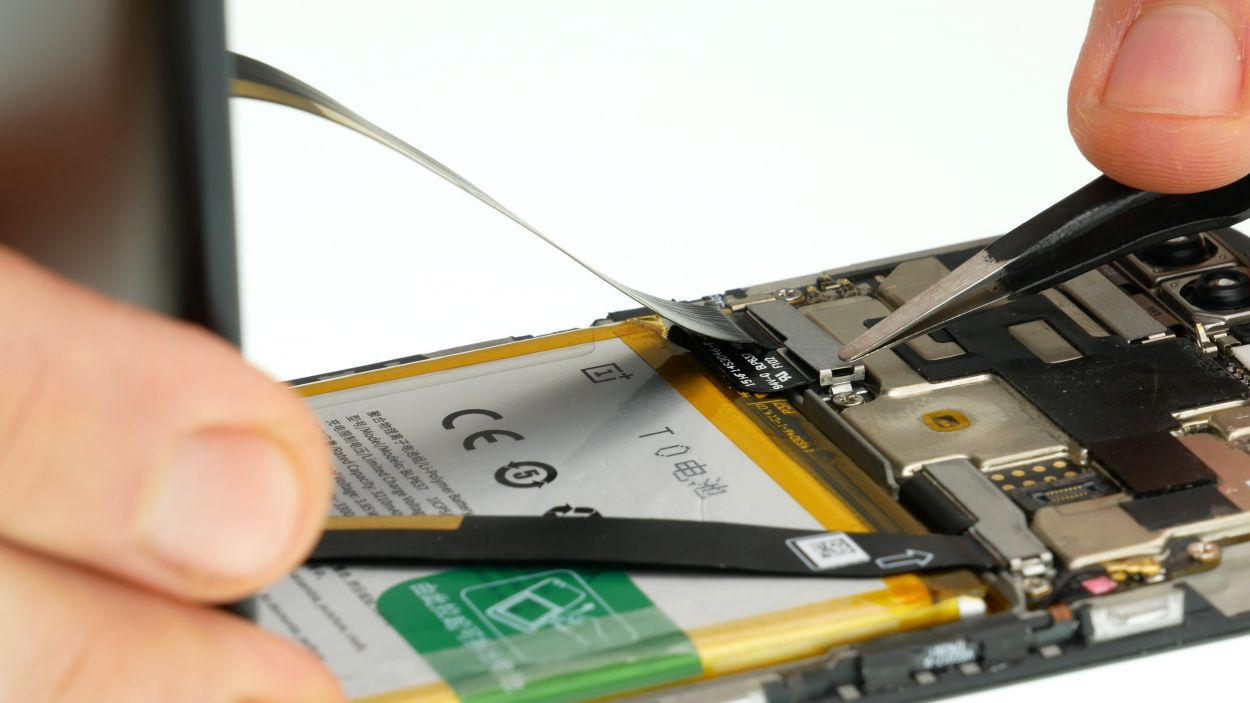
Front Camera Connector
The camera is snugly fastened to the back of the Logic Board with a trusty adhesive strip. If you need help, you can always schedule a repair.
– Use a spudger to gently detach the front camera connector from the logic board. You’ve got this!
Step 9


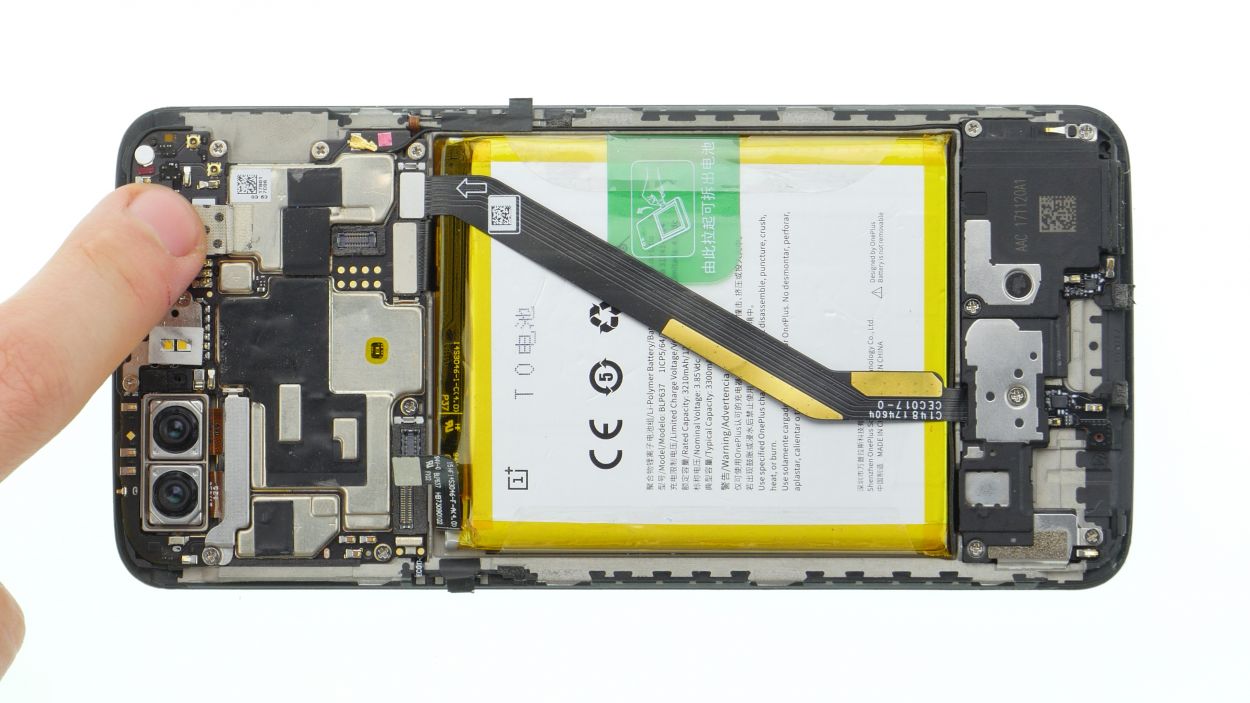
Front Camera Connector
– Carefully place the shiny new camera in its cozy spot on the mainboard.
– Reconnect the connector and secure it with the tape, just like before!
Step 10

– Connect the USB/audio flex cable to the mainboard.
Step 11
– Time to plug that battery back in!
– Carefully place the cover back over the battery and the USB/Audio Flex connectors.
Step 12

– Grab those tweezers and gently position the plug just right.
– Now, give it a snug press with your fingers to make sure it’s nice and secure.
Step 13
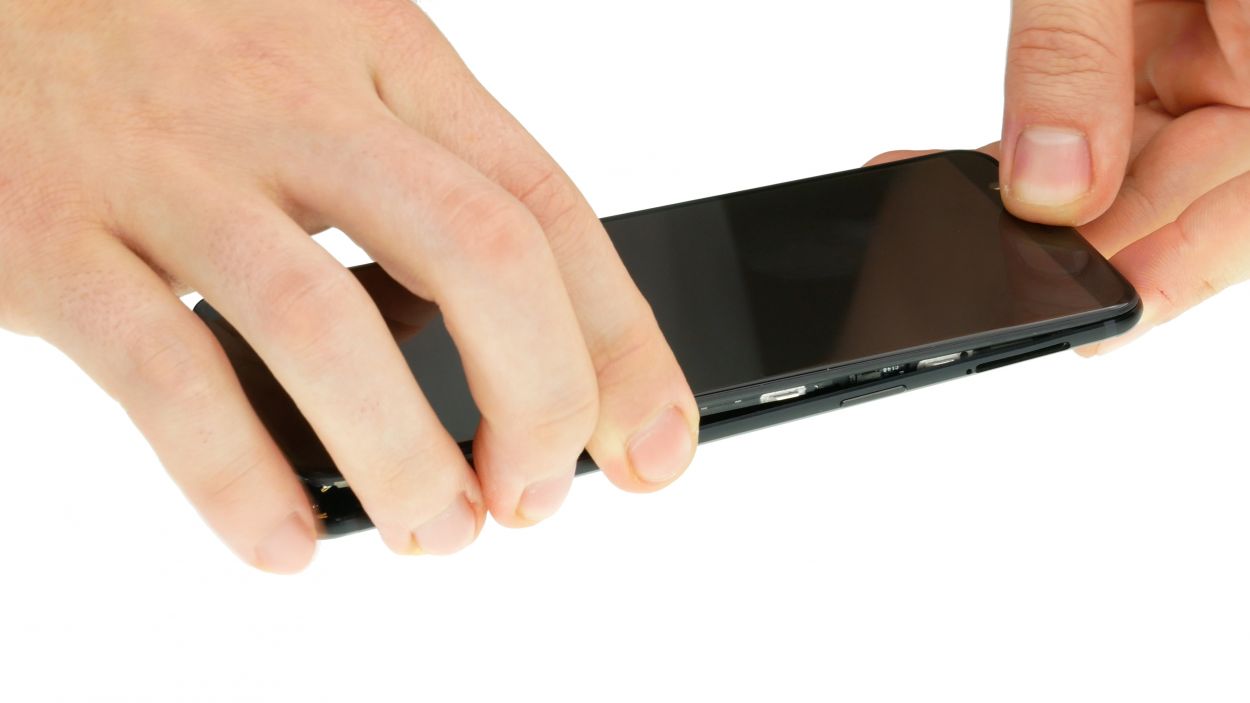
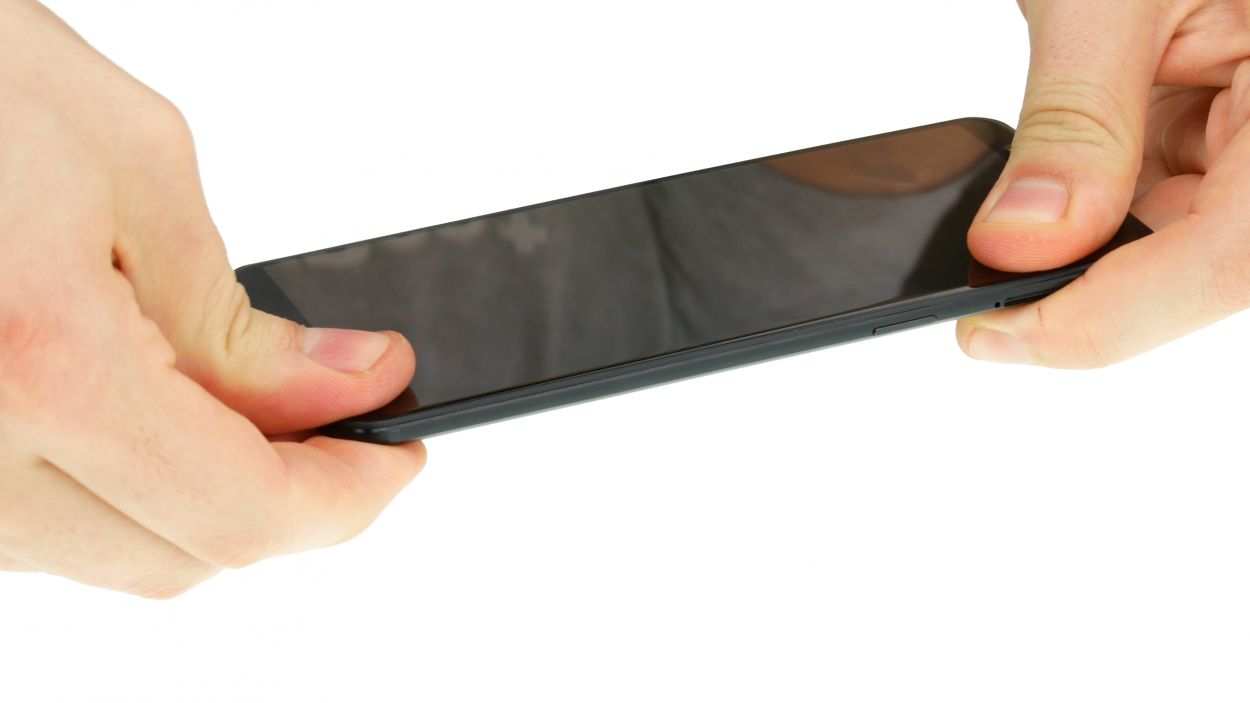
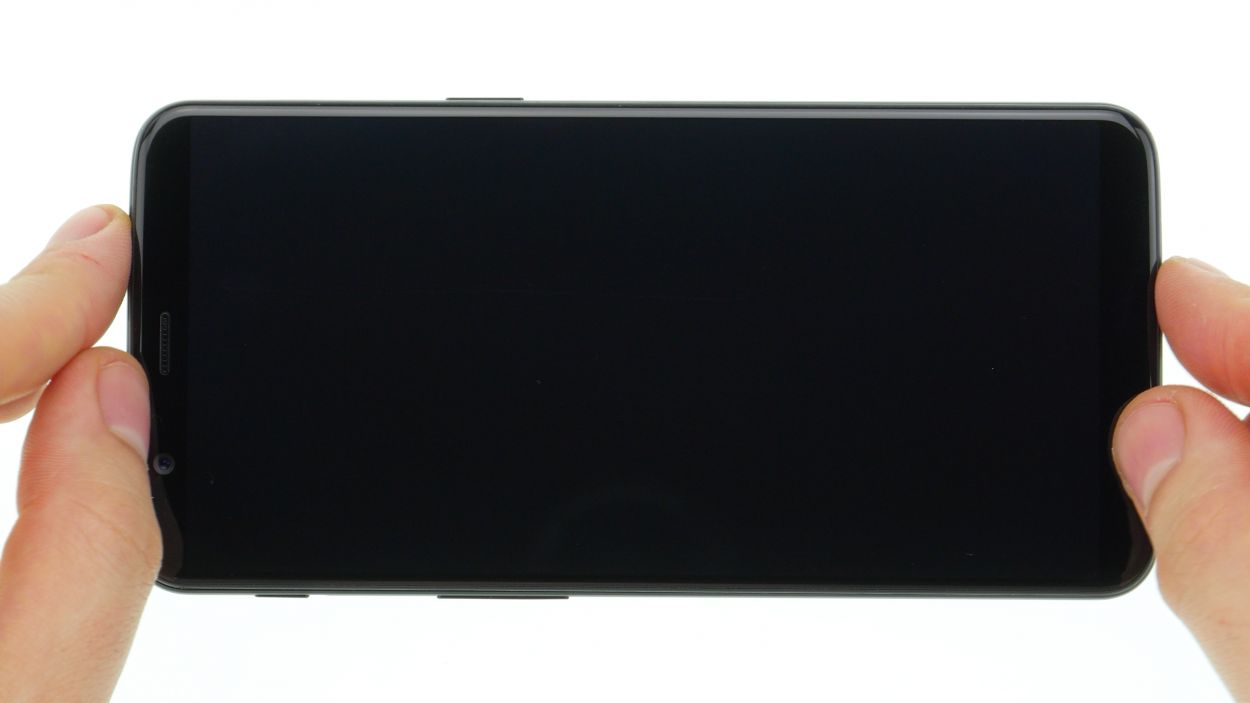
– Time to get hands-on. Hold the device firmly and gently push the display unit back into the back cover.
– Start with the upper edge – that’s where the back cover’s three clips are waiting to be secured.
– Now, it’s time to bring everything together. Grab the device with both hands and squeeze it gently but firmly until it clicks into place. If you need help, you can always schedule a repair.
Step 14
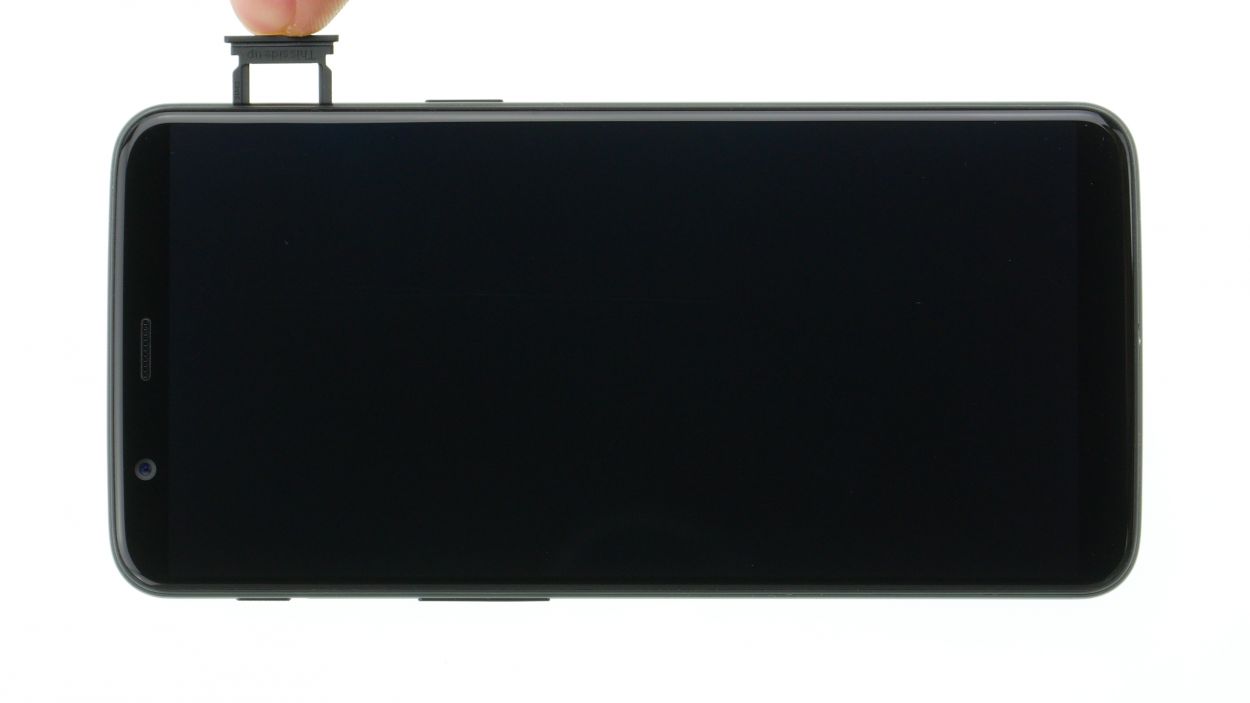
– Pop in those SIM/SD cards and slide that tray back into your device like a pro!
Step 15
2 × Torx T2
– Tighten up those two screws on either side of the USB port and get ready to rock!