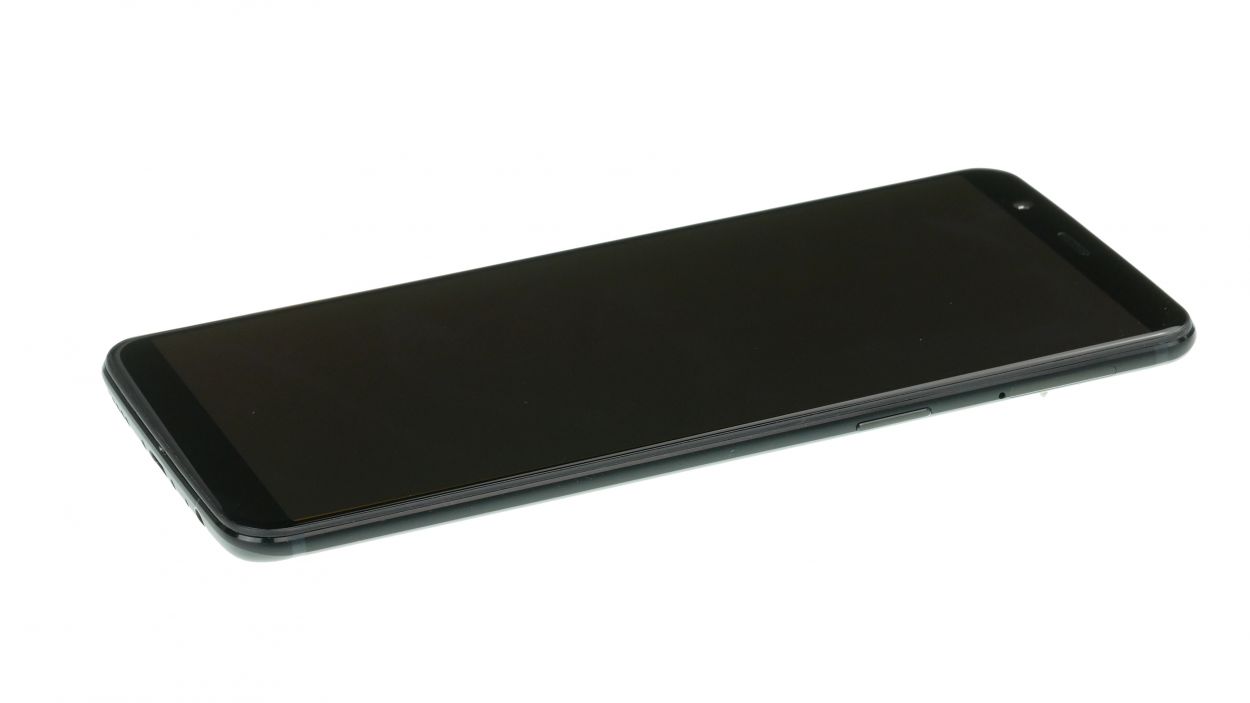
OnePlus 5T Battery Replacement Guide: Step-by-Step Tutorial
Duration: 45 min.
Steps: 15 Steps
Ready to give your OnePlus 5T a little boost? Follow this easy-peasy step-by-step guide to swap out that tired battery! If your battery is draining faster than you can say ‘charge me up’ or your device is crashing like it’s auditioning for a drama, it might be time for a new battery. Don’t worry, this repair is a breeze since the display and back shell are just hooked on, not glued down. Before diving in, make sure to back up your data—better safe than sorry! Set up a clean, well-lit workspace and take your time; there’s no rush here! If you hit a snag, just drop us a message in the live chat or comment on the step where you’re stuck, and we’ll be right there to help you out!
Step 1


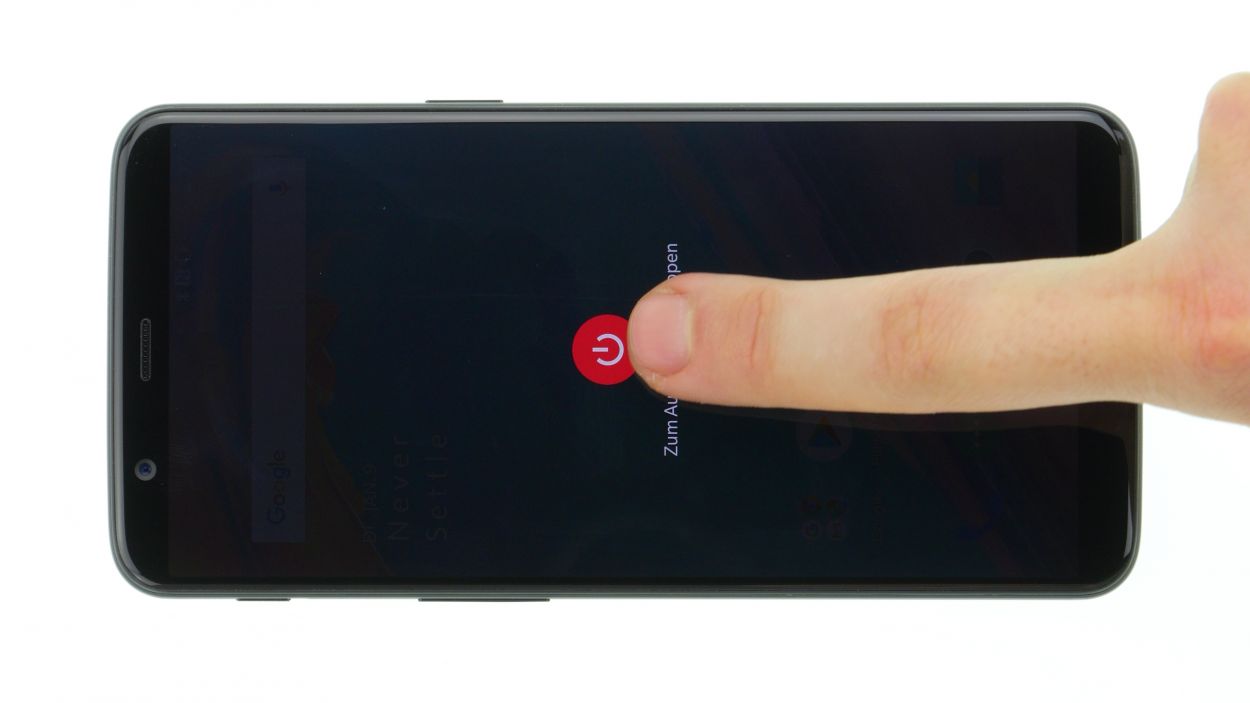
If the touchscreen of your OnePlus 5T acts up even after a reboot, you can also turn it off by holding that convenient standby button for 10-15 seconds.
– Press and hold the standby button until the “Switch off” option appears.
– Tap again to confirm.
Step 2
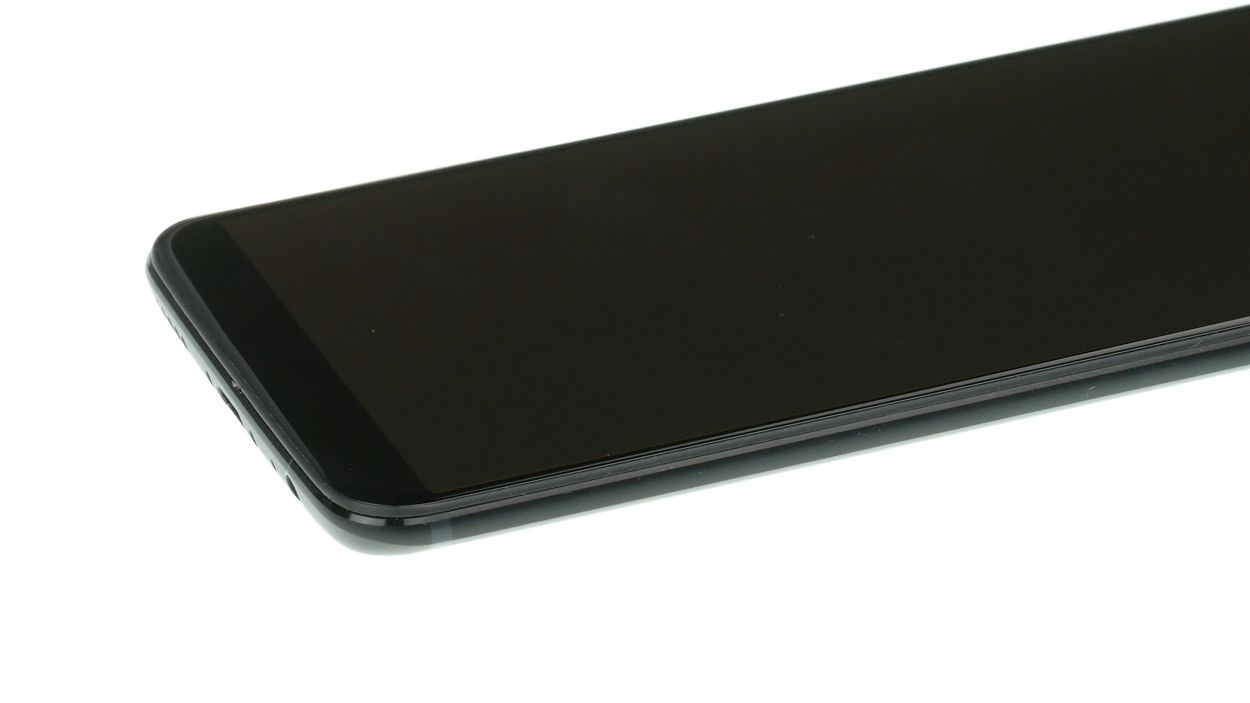

2 × Torx T2
– Remove both screws on the bottom edge of the case. They are located to the right and left of the USB port.
– Place the screws on one field of the magnetic pad or sorting box.
Step 3

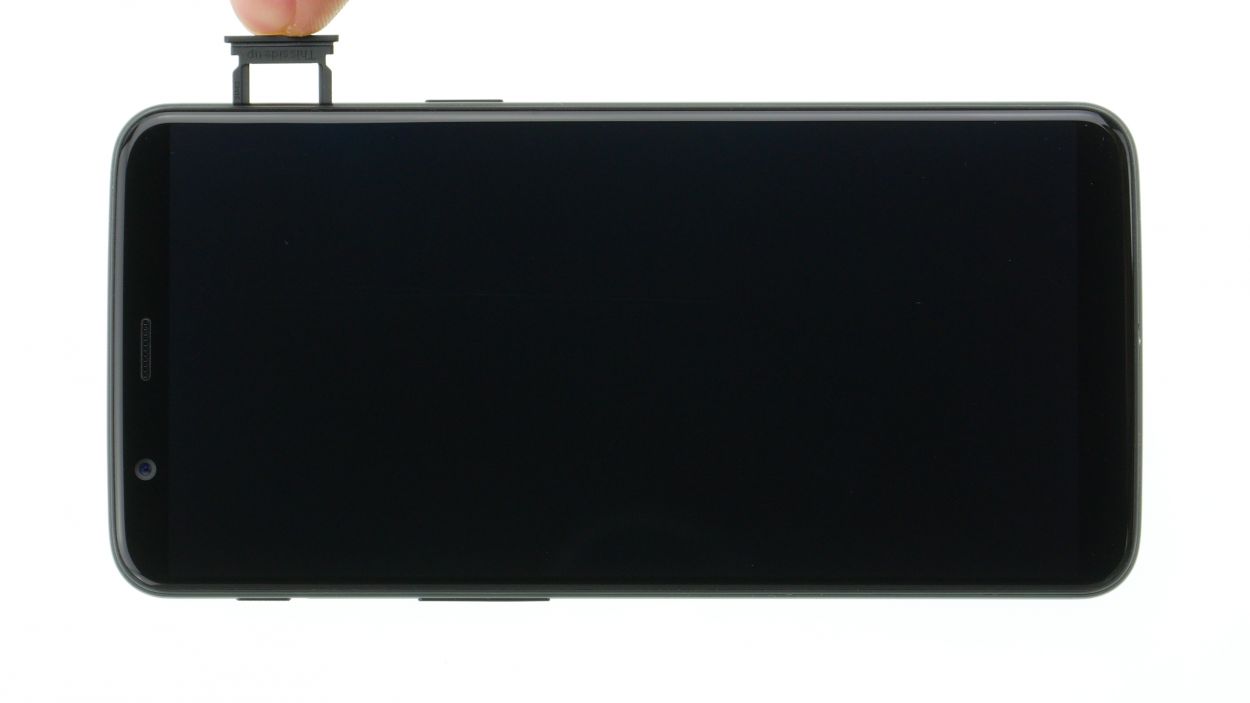
– Remove the SIM card holder with a SIM tool or paper clip. Push the tool into the small hole on the SIM tray and pull it out.
Step 4
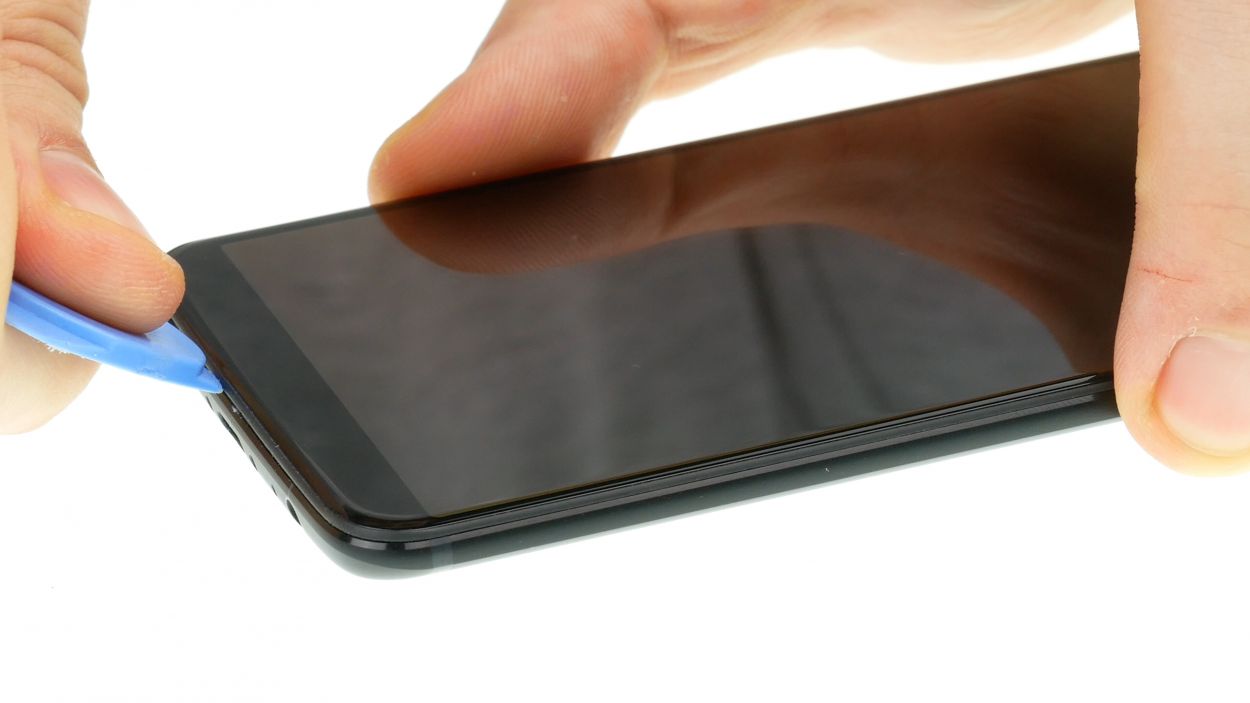

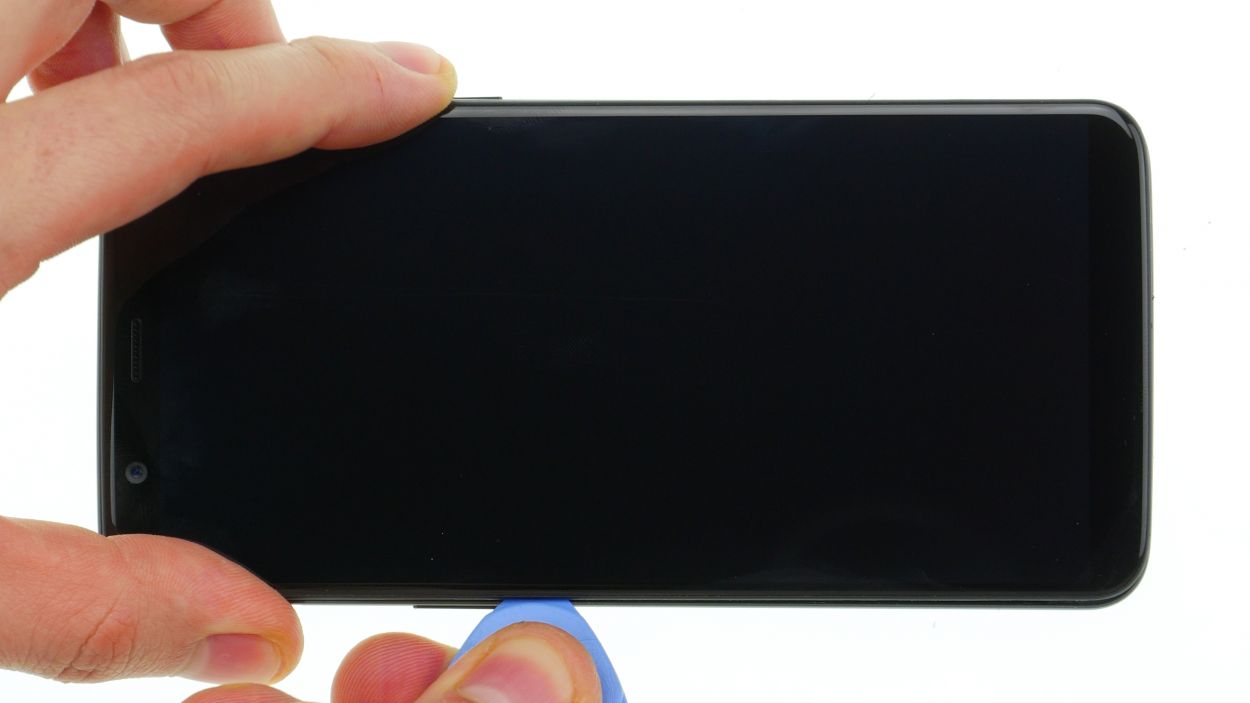
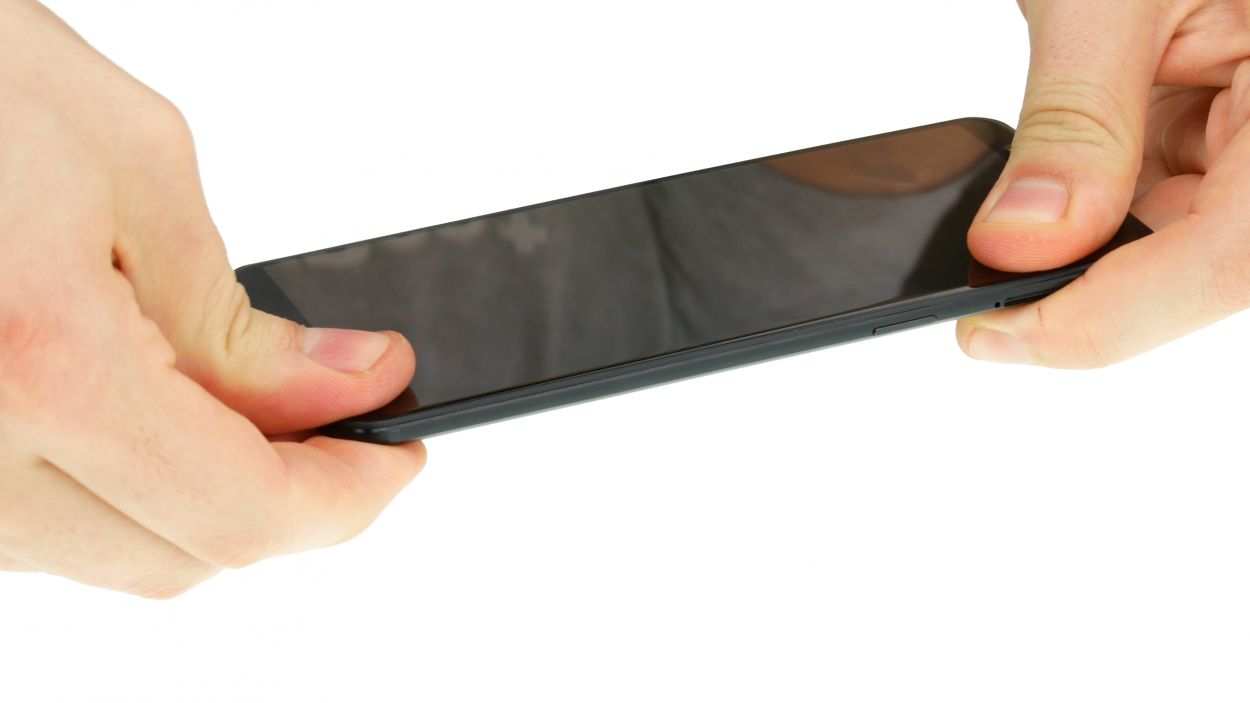
– Gently nudge the back shell’s frame with a plectrum’s tip, creating a tiny gap. A sturdy plastic plectrum with a stop is your best bet – that way, it won’t wander too far and cause mischief inside! If you need help, you can always schedule a repair
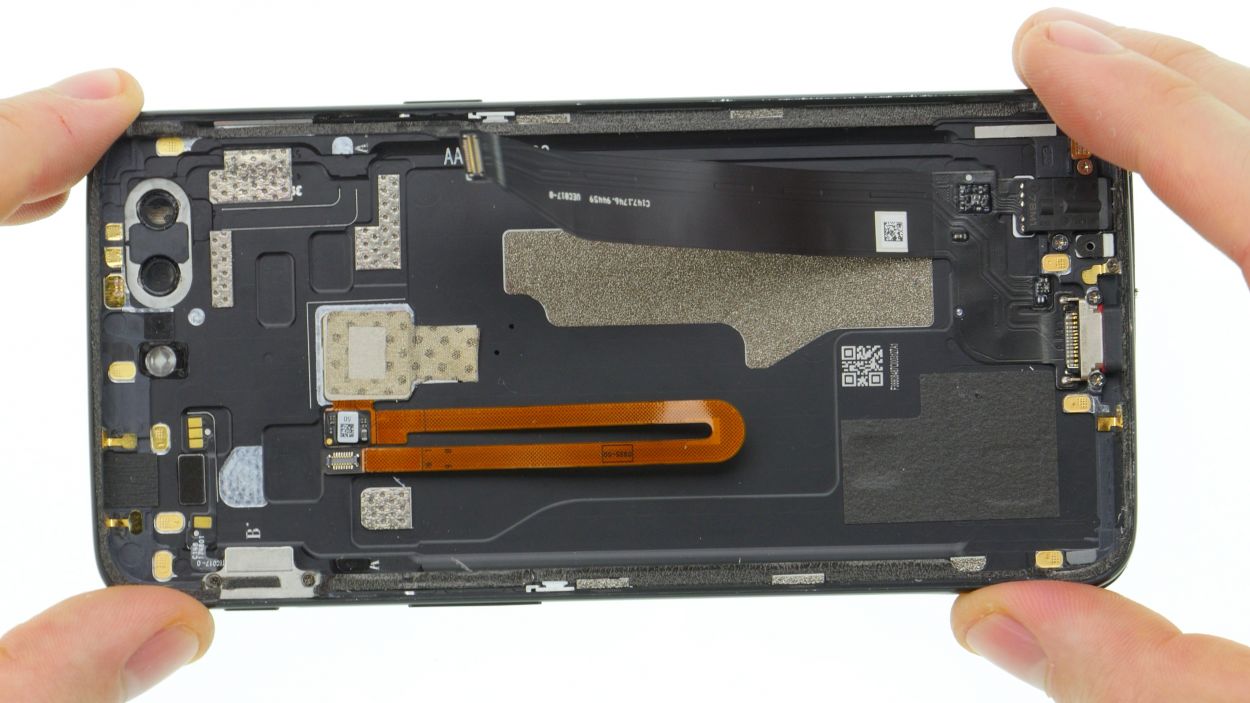
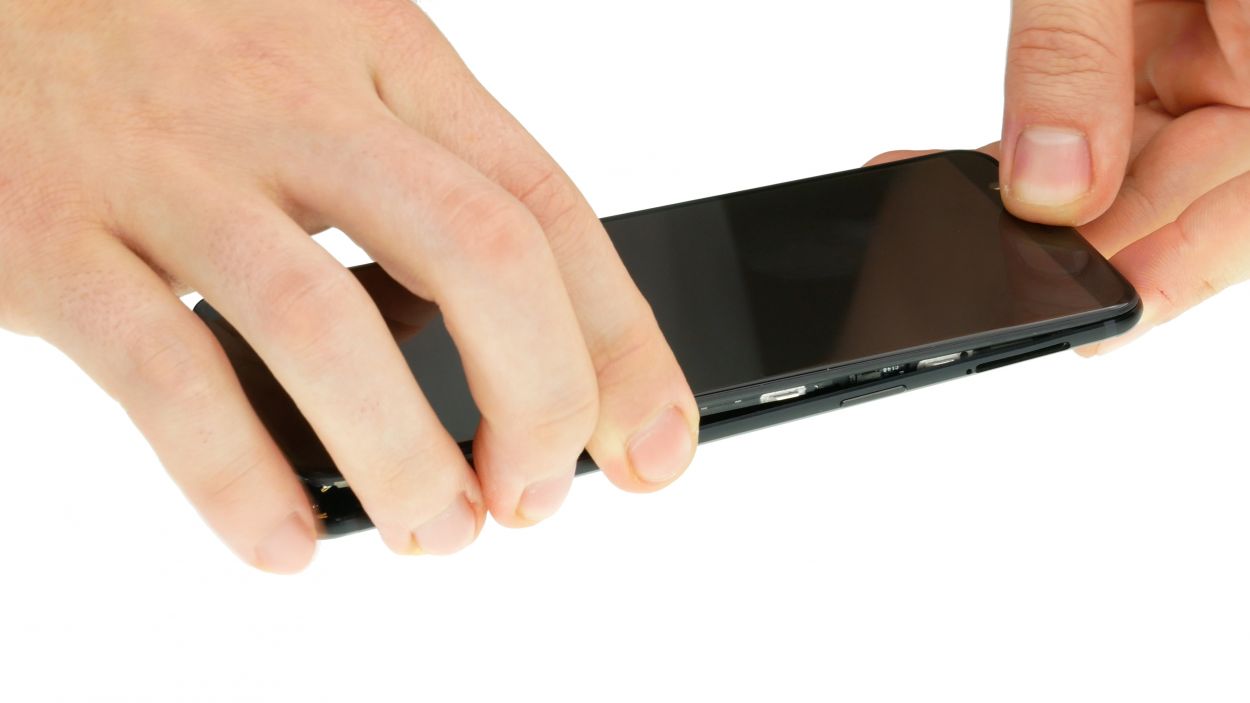
Okay, let’s get the protective shields down and have some fun! Avoid rough rides, dude, and place your OnePlus 5T on a soft, clean surface. Trust us on this one. It’ll save your device (and your wallet) a world of trouble! If you need help, you can always schedule a repair
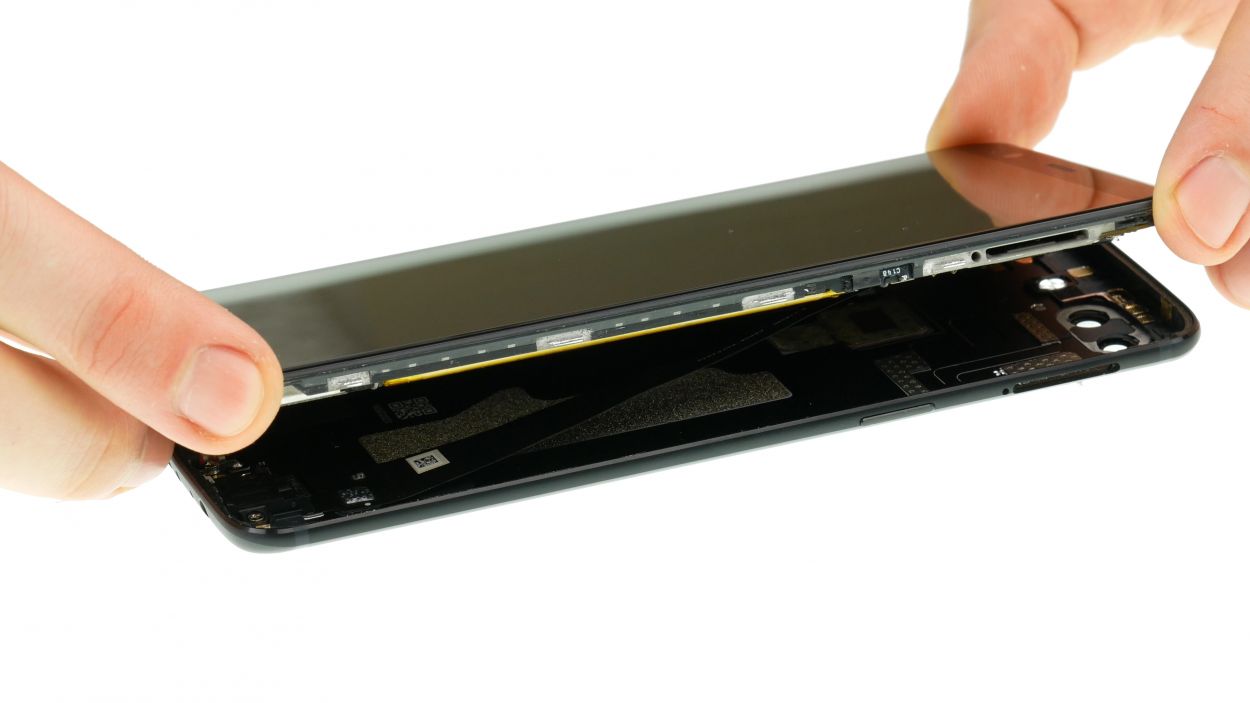
Alright, let’s crack this OnePlus 5T! It’s basically two main parts: a snazzy back cover and the display unit, which is where all the techy bits and the screen live. Think of the back cover as a super stylish case. Ready to get started? If you need a hand, you can always schedule a repair
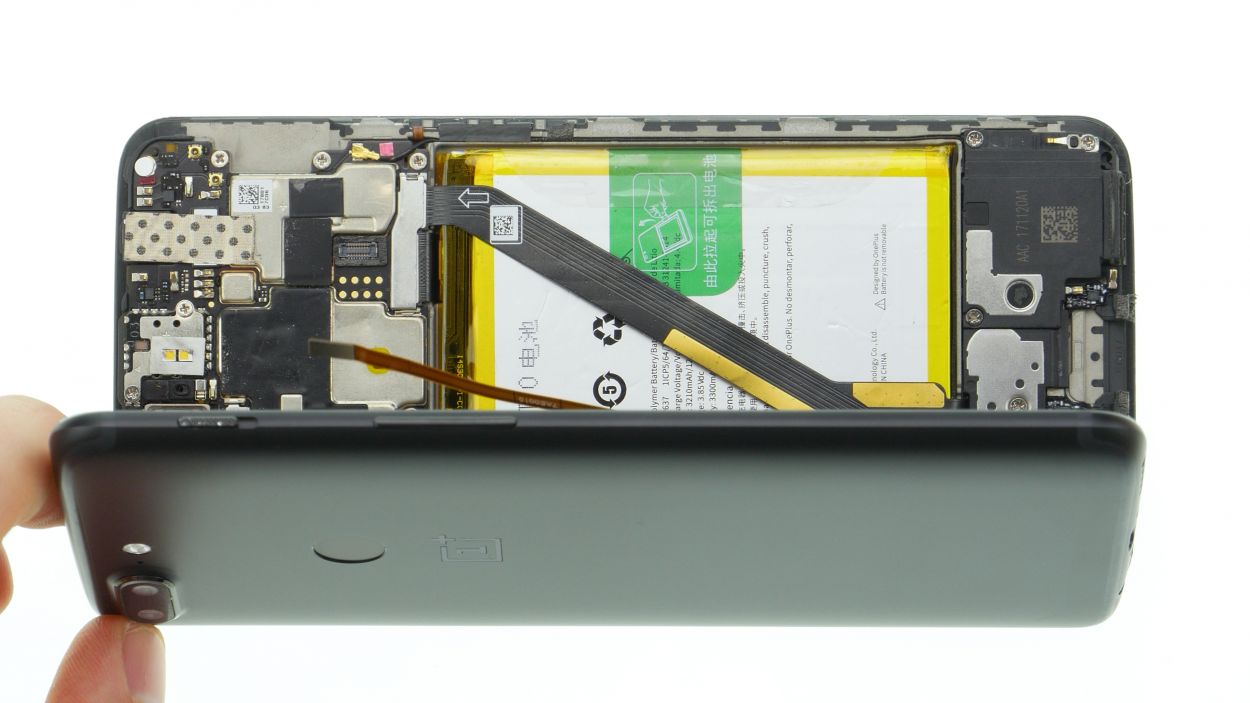
Step 5
Fingerprint Connector
– Flip your device over and give that screen a comfy rest!
Step 6

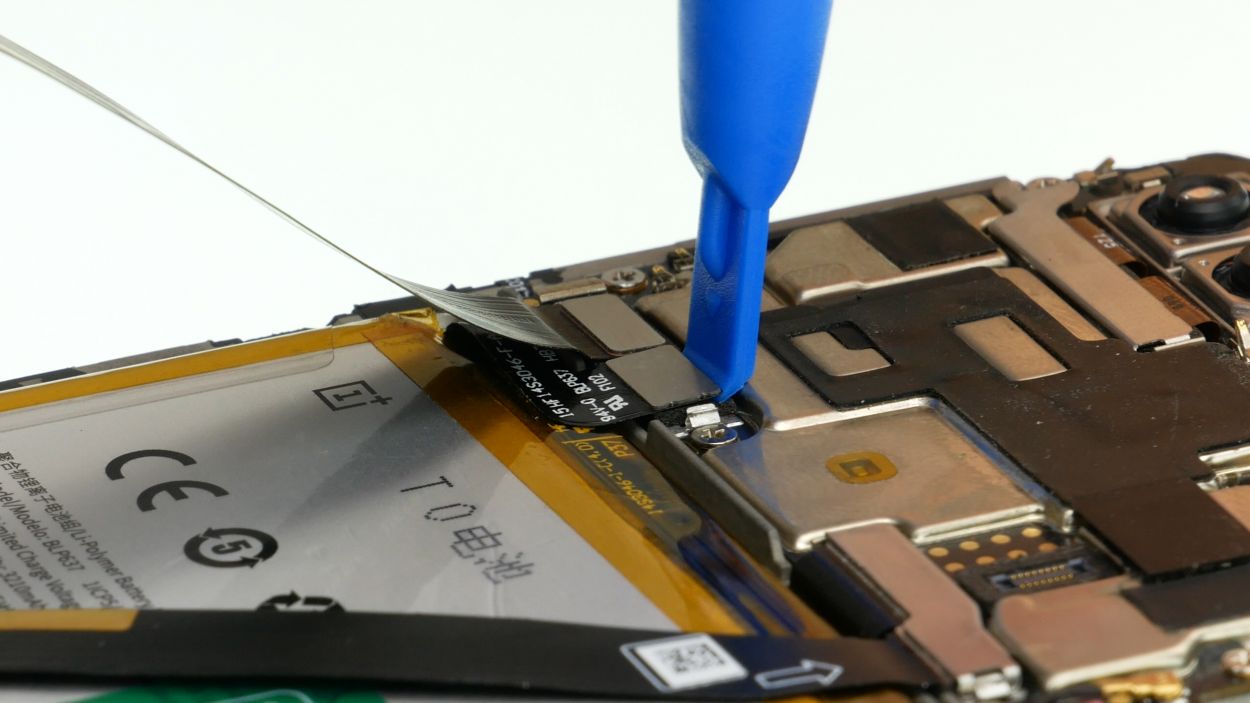
Battery Connector
In general you should disconnect the battery as soon as possible to avoid short circuits.
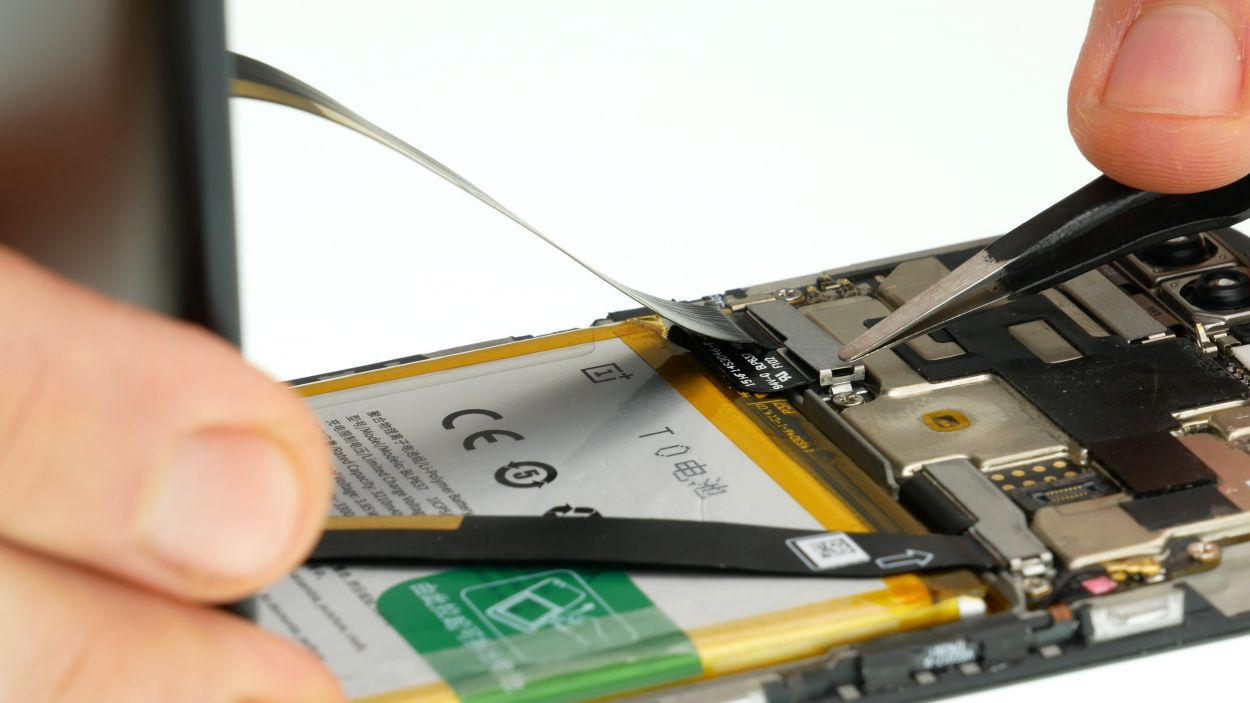
– Gently lift off the cover protecting the battery connector using your trusty ESD tweezers.
– Next up, carefully disconnect the battery with a plastic spudger. You’ve got this!
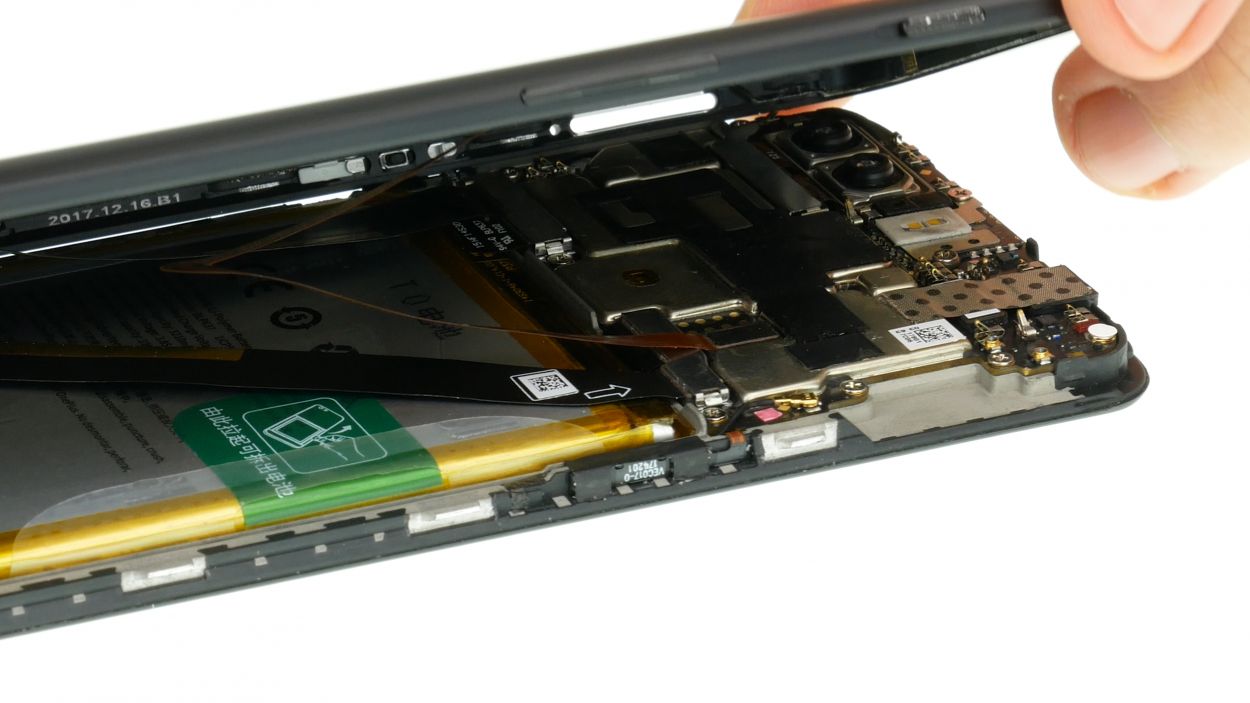
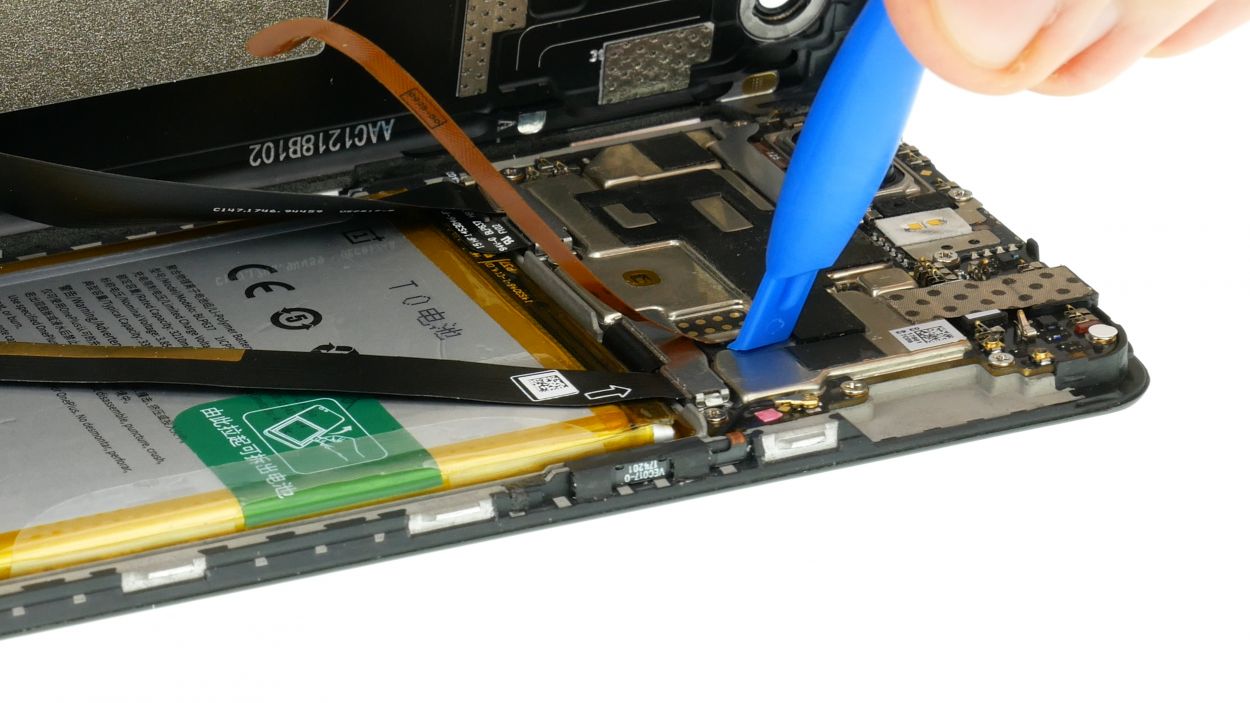
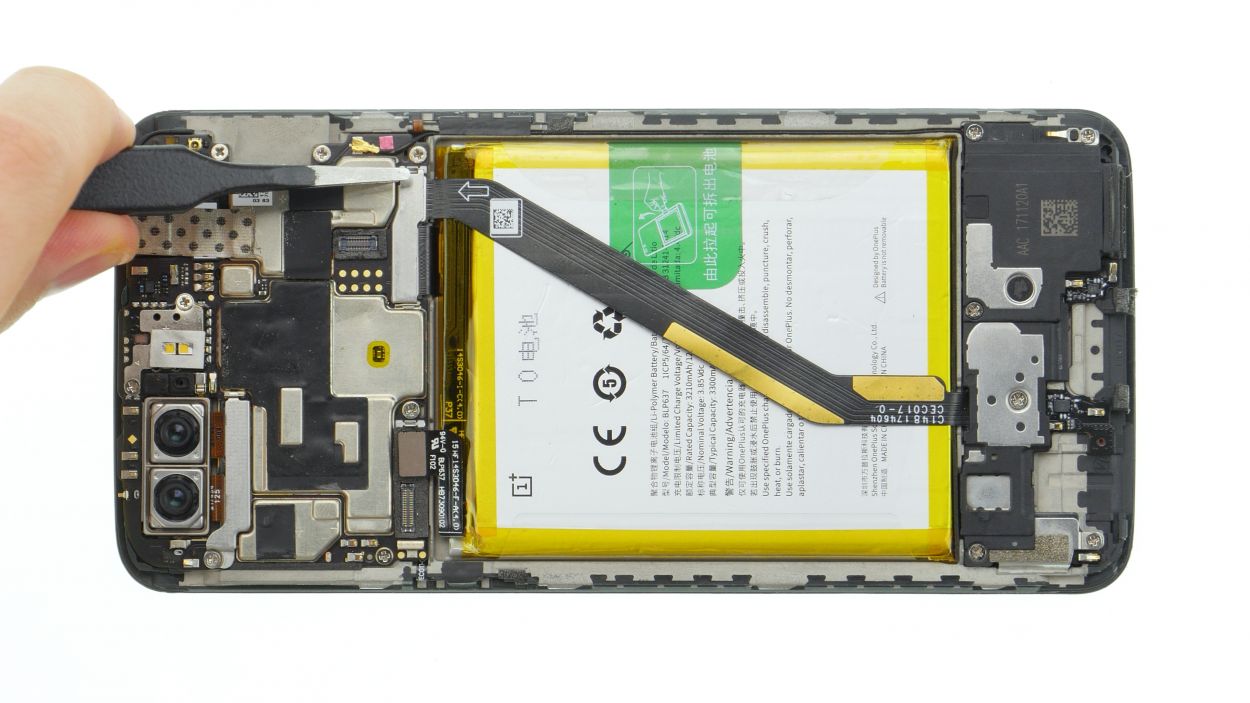
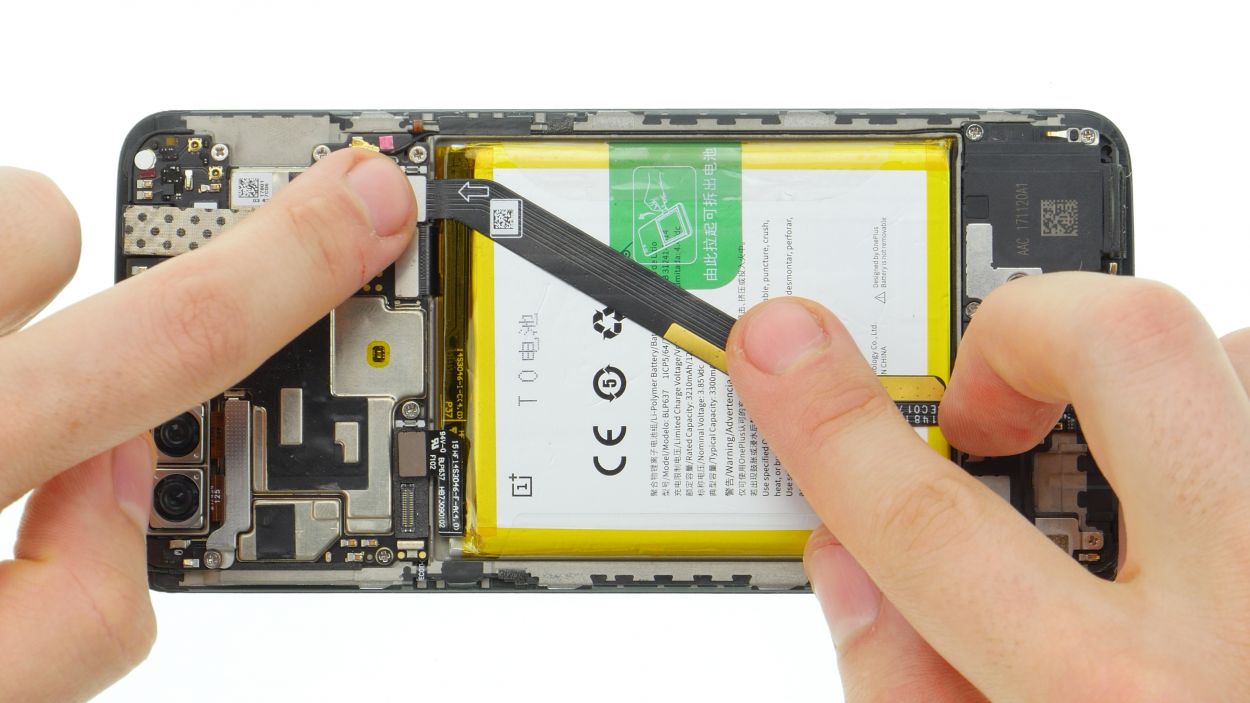
Step 7

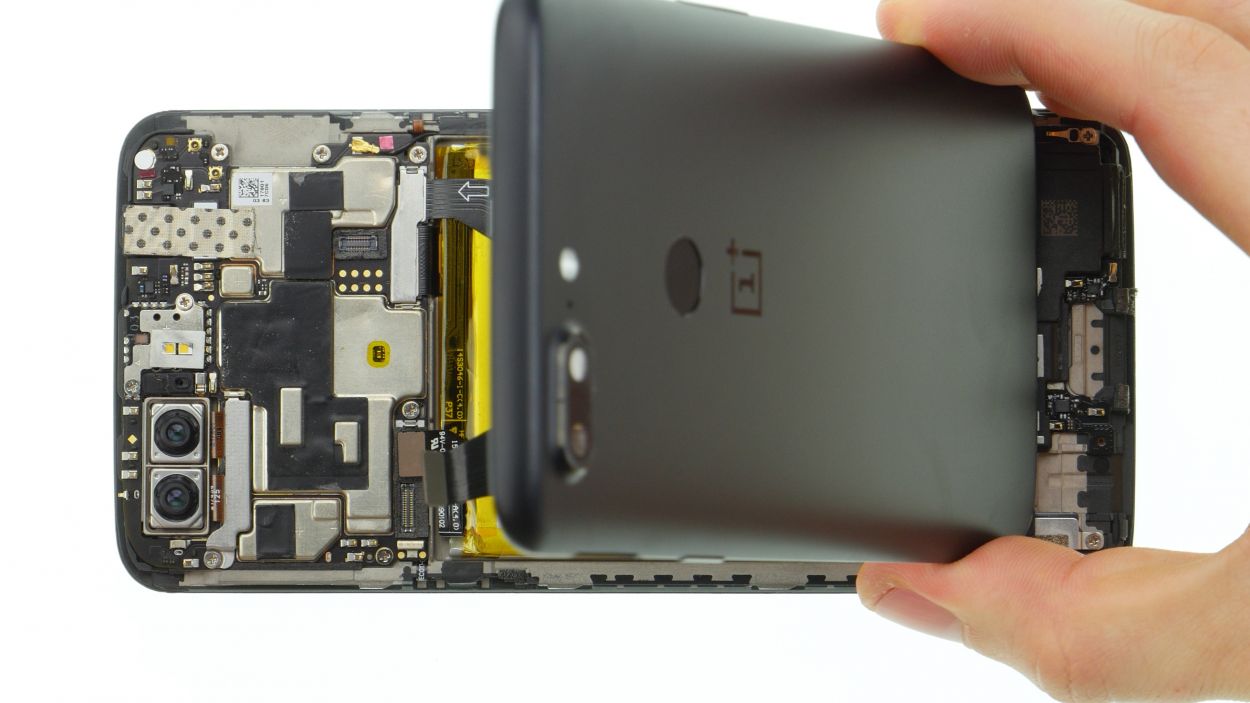
USB/audio flex Connector
– First, gently disconnect the USB/audio flex cable from the mainboard. It’s as easy as pie!
– Now, go ahead and set that back cover aside. You’re making great progress!
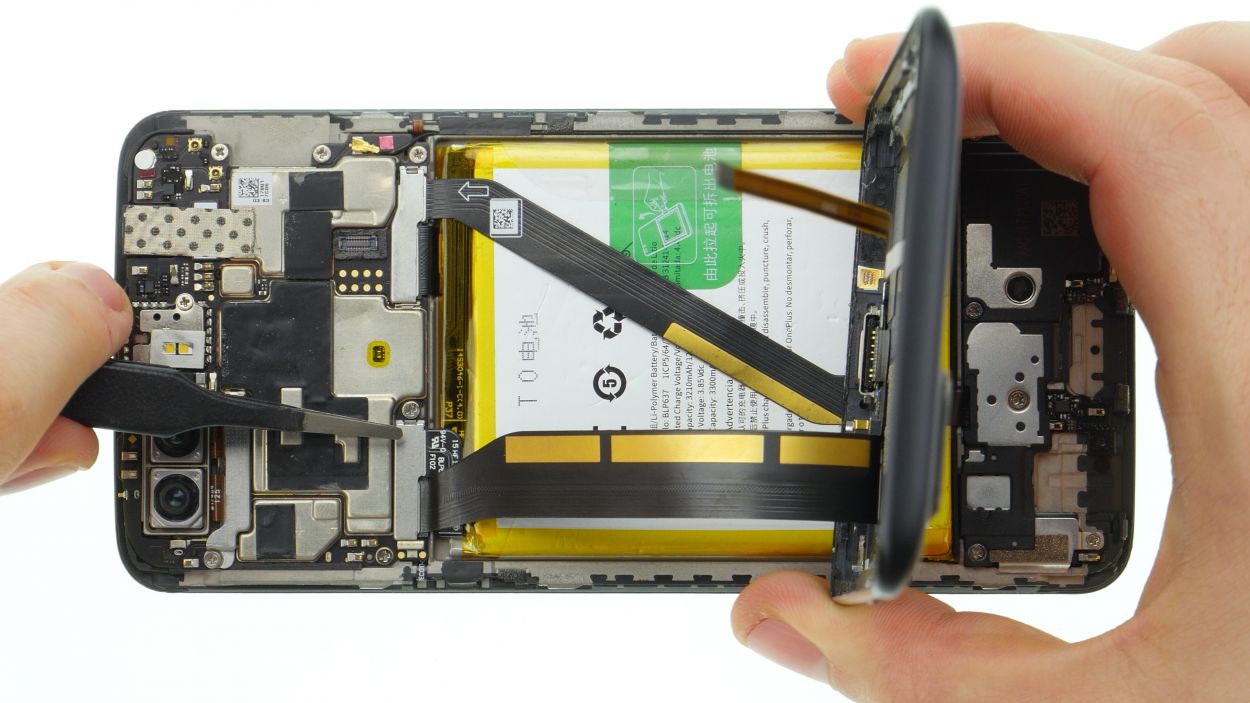
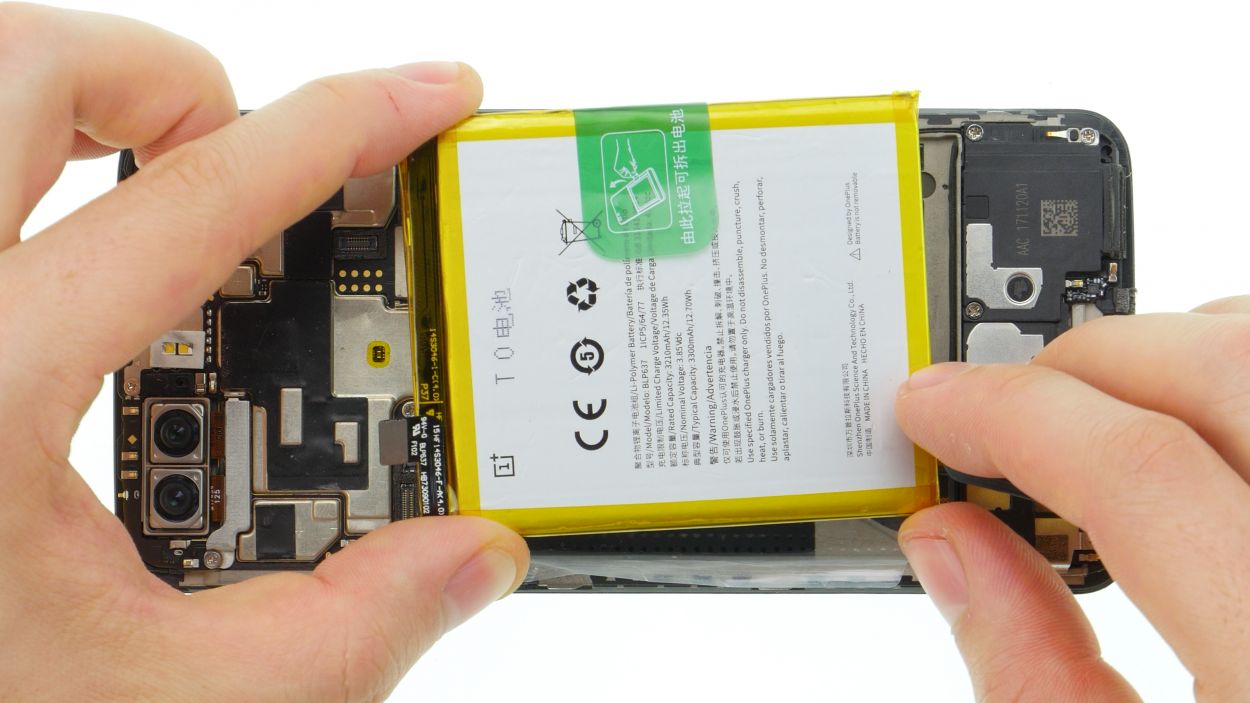
Step 8
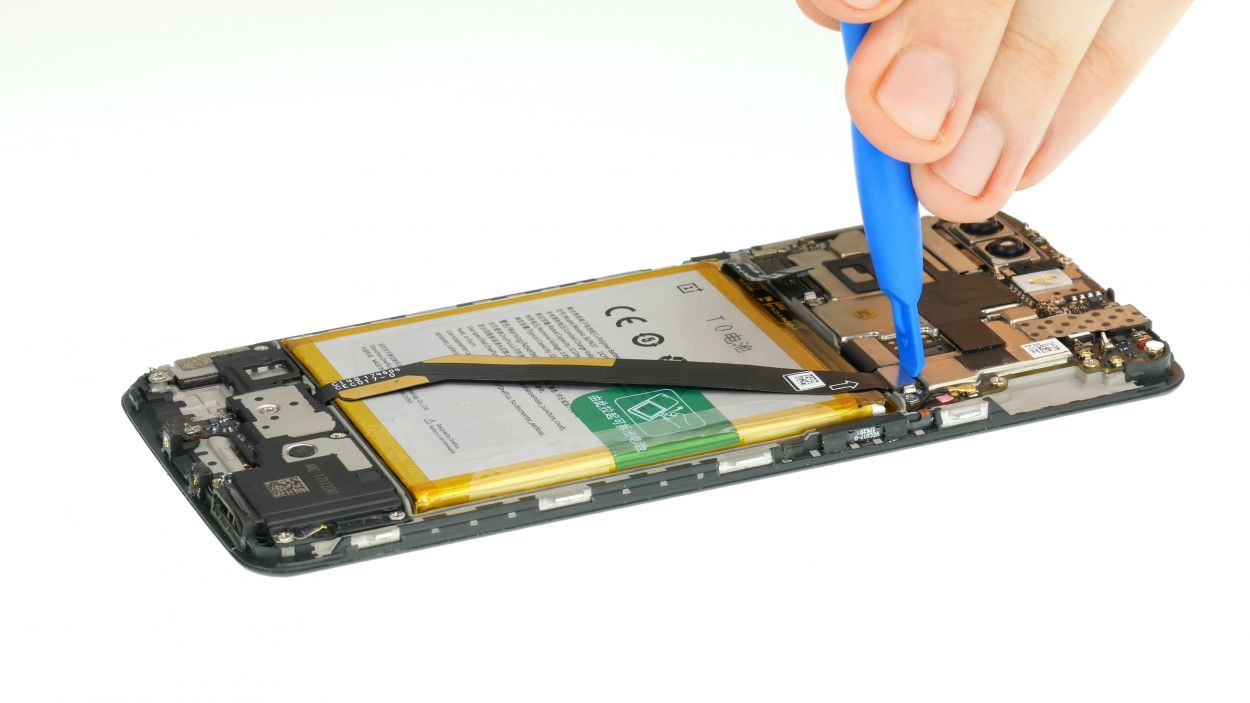
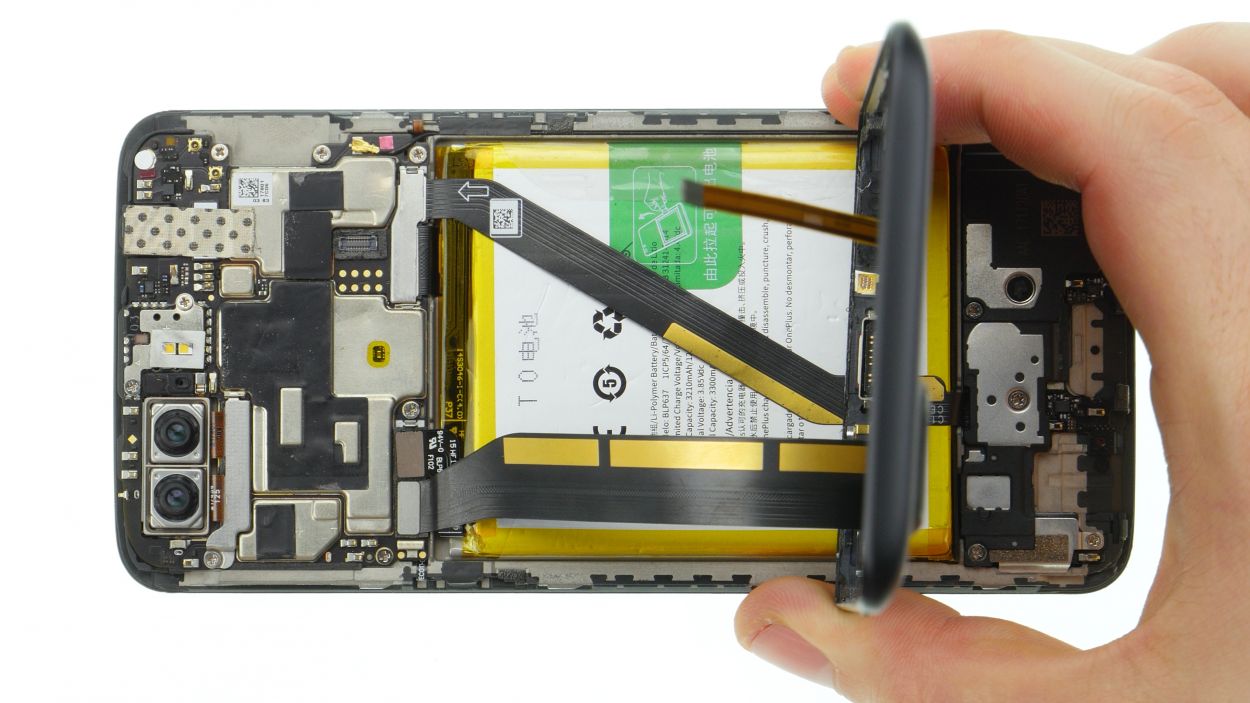
Hey there! Gently does it with that battery – we don’t want any accidental bends! The battery’s adhesive might be a bit shy, but if it’s giving you a hard time, a little heat on the display side should loosen things right up. If you need a hand, you can always schedule a repair.
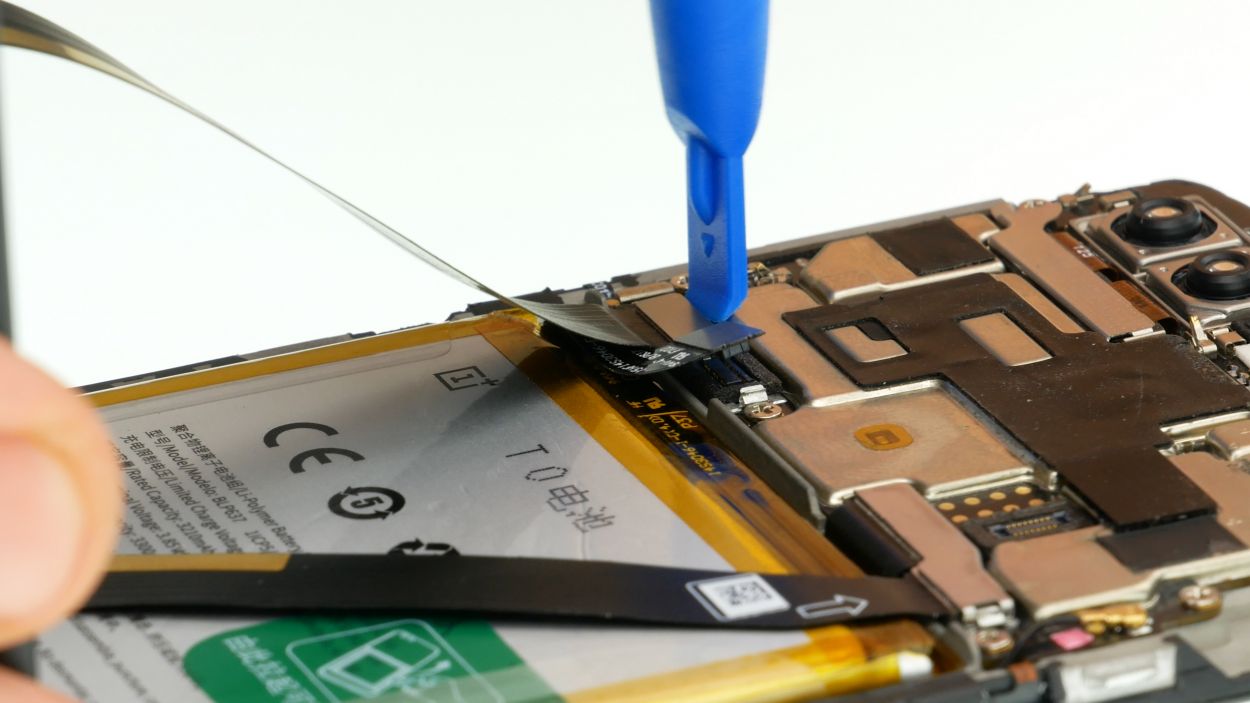
– Loosen the cover over the flex cable and disconnect the right connector.
– Unstick the two transparent adhesive tabs on both sides of the battery.
Step 9
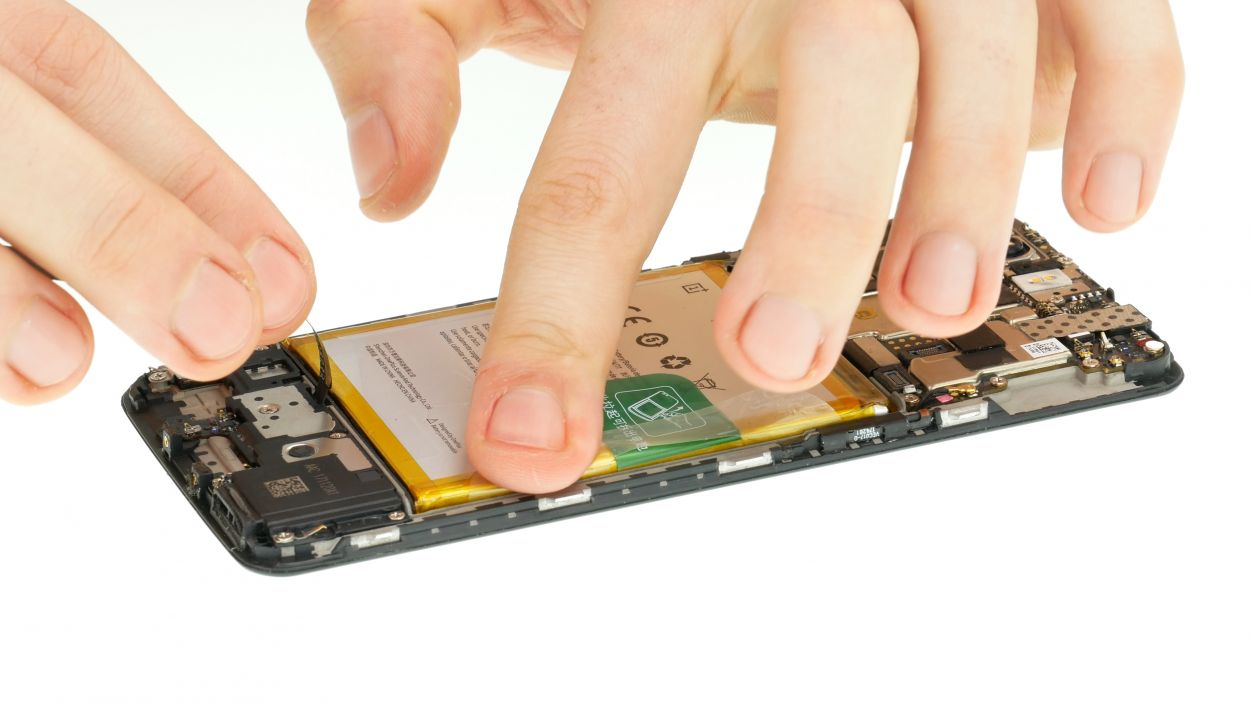
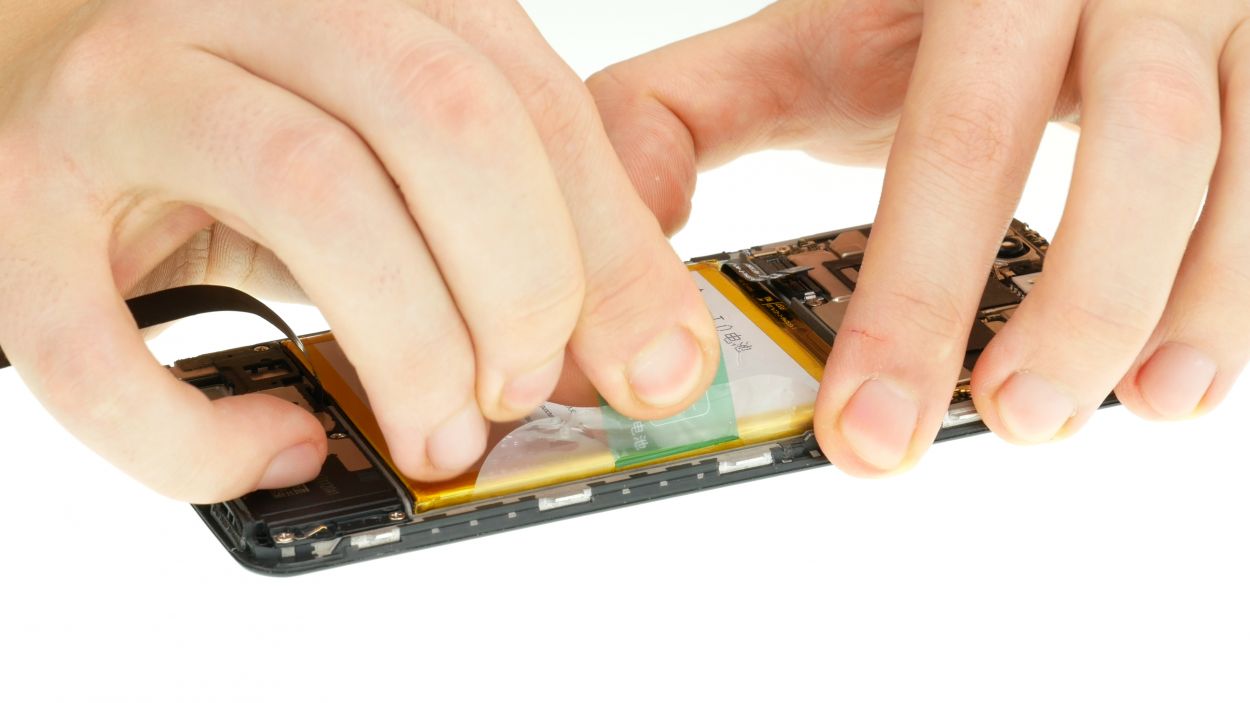
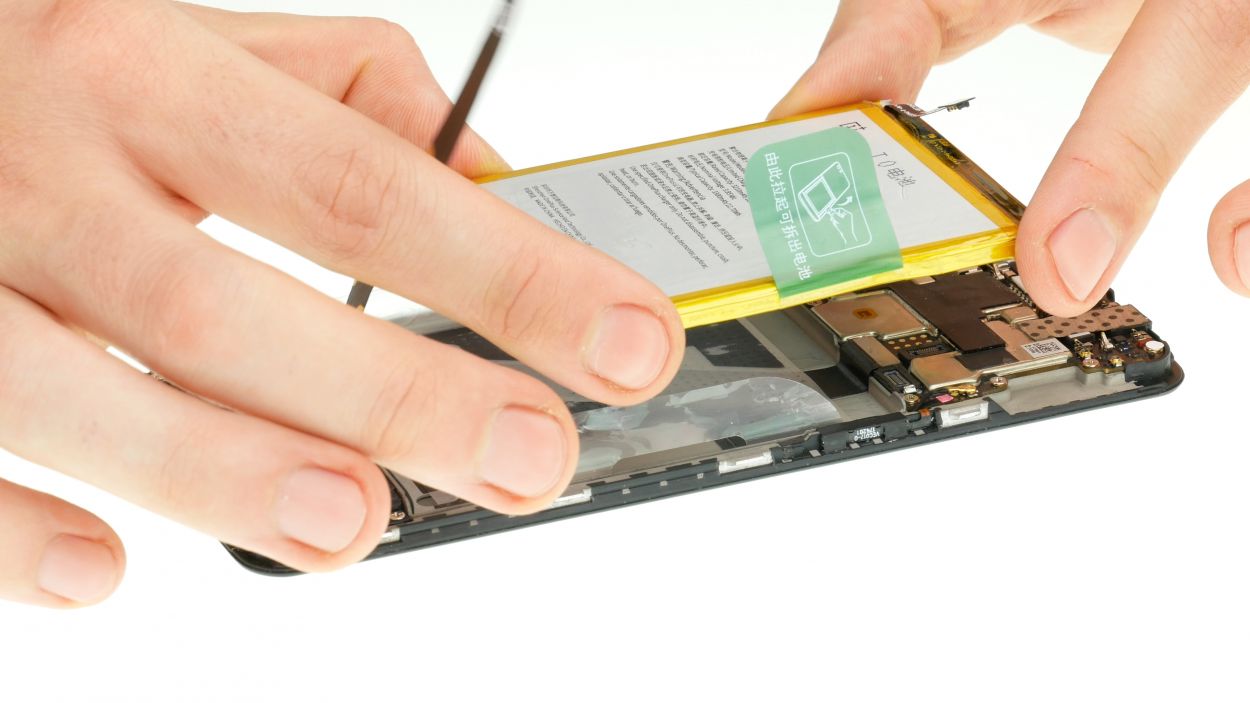
– Time to drop in that fresh new battery! Give it a snug fit.
– Press down firmly on those adhesive tabs to make sure your battery is stuck in place like a champ.
– Reconnect that flex cable connector – easy peasy! Then, pop the cover back on. You’re golden!
Step 10

– Connect the USB/audio flex cable to the mainboard.
Step 11
– Now reconnect the battery.
– Reinsert the cover over the battery and USB/Audio Flex connectors.
Step 12

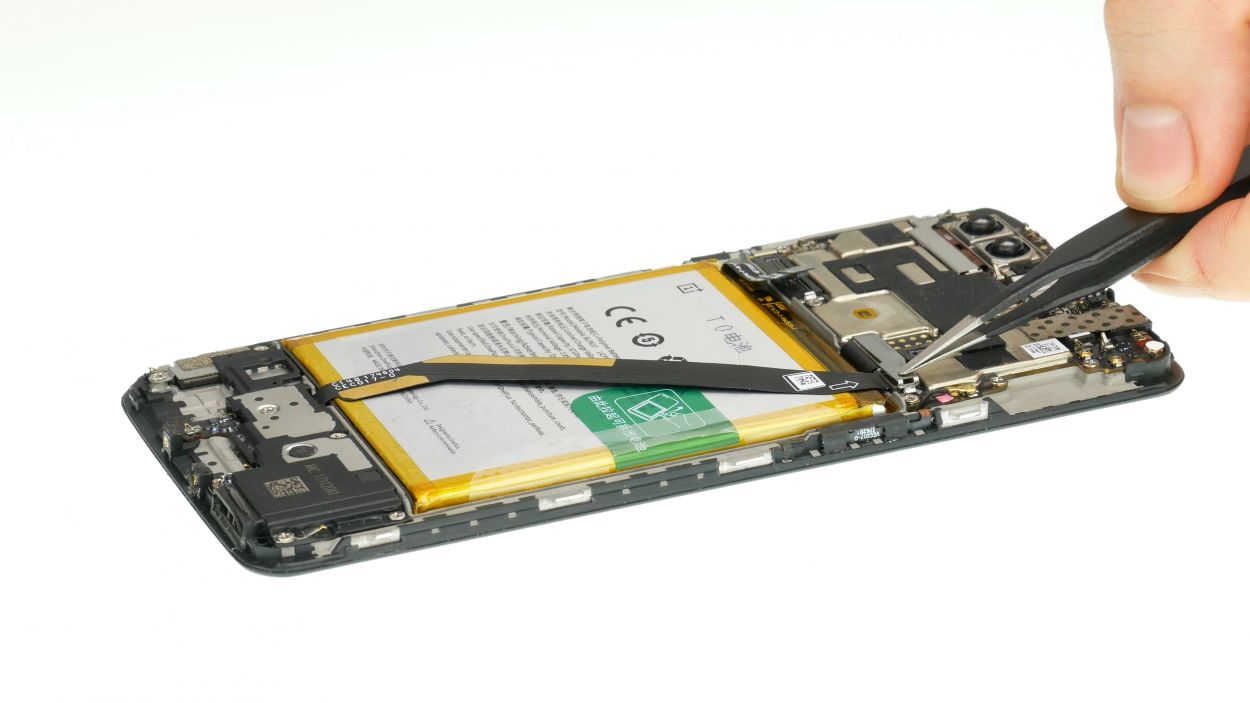
– Grab those tweezers and gently position the plug just right.
– Give the plug a nice firm press with your fingers to secure it.
Step 13
– Alright champ, grab that device and gently but firmly push the display back into the back cover.
– Start with the top – that’s where the back cover’s three trusty clips are waiting.
– Need a little extra oomph? Use both hands and give it a good squeeze. You got this!
Step 14
– Insert the SIM/SD cards and slide the tray back into the device.
Step 15
2 × Torx T2
– Fasten the two screws to the left and right of the USB port.