DIY Guide: Replace OnePlus 6 Back Cover Step-by-Step
Duration: 60 min.
Steps: 14 Steps
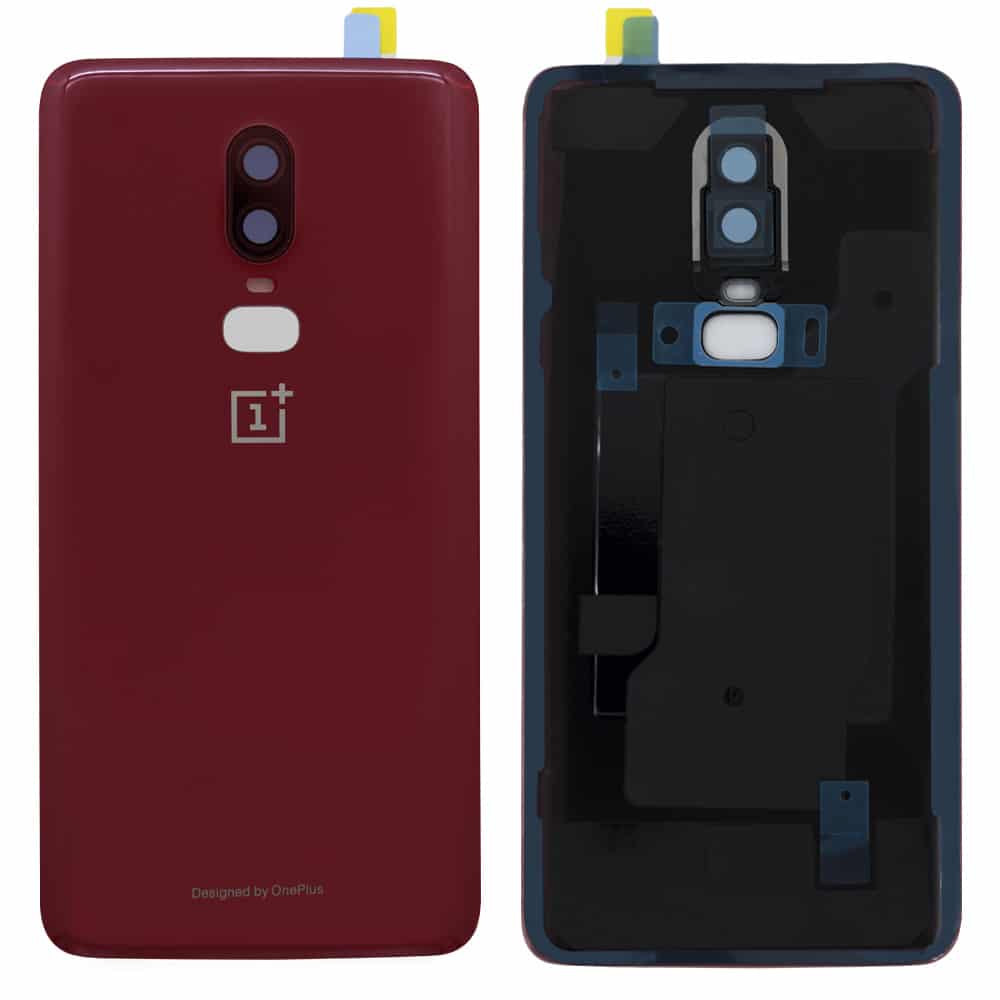
Ready to give your OnePlus 6 camera a fresh new look? This guide’s got you covered! Before you dive in, quickly check your replacement part for any hiccups. Spot something amiss? Reach out to your supplier ASAP. This repair’s a bit trickier than usual because we’re tackling that glass back cover. Smart move: back up your data first! Find a clean workspace and set aside some chill time. Having second thoughts? No worries! Hit up our live chat or leave a comment – we’re here to help! If you need help, you can always schedule a repair
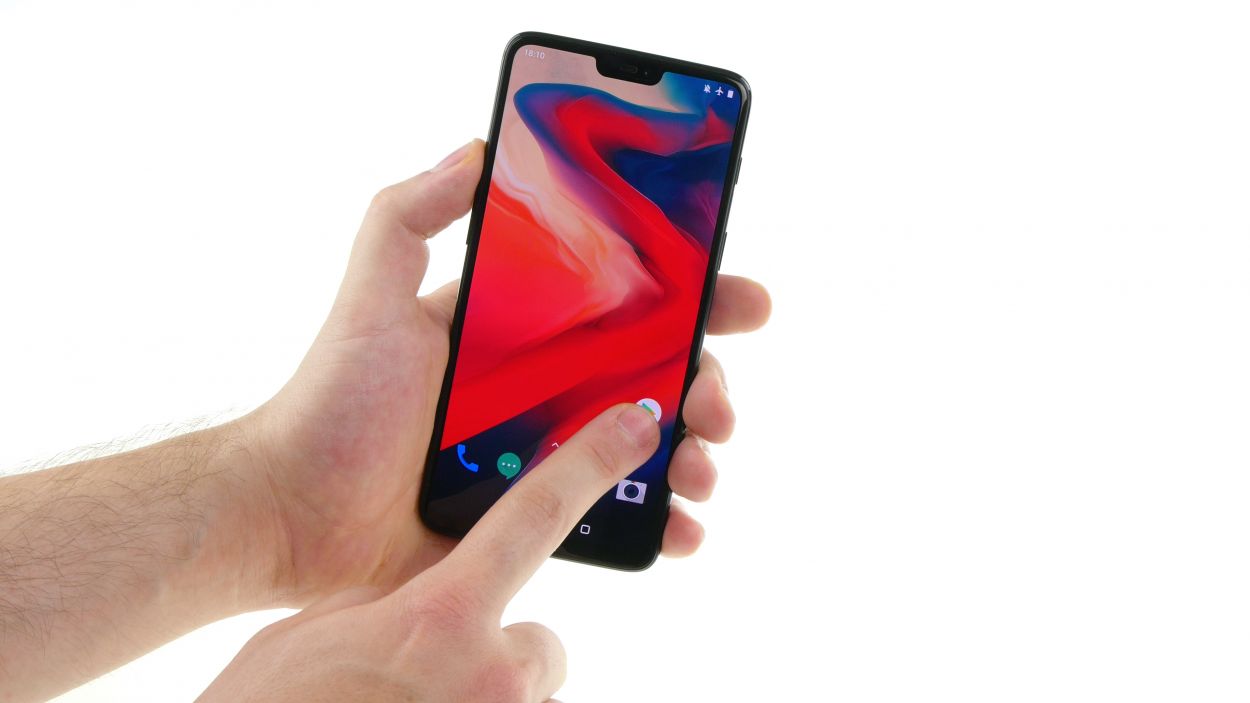
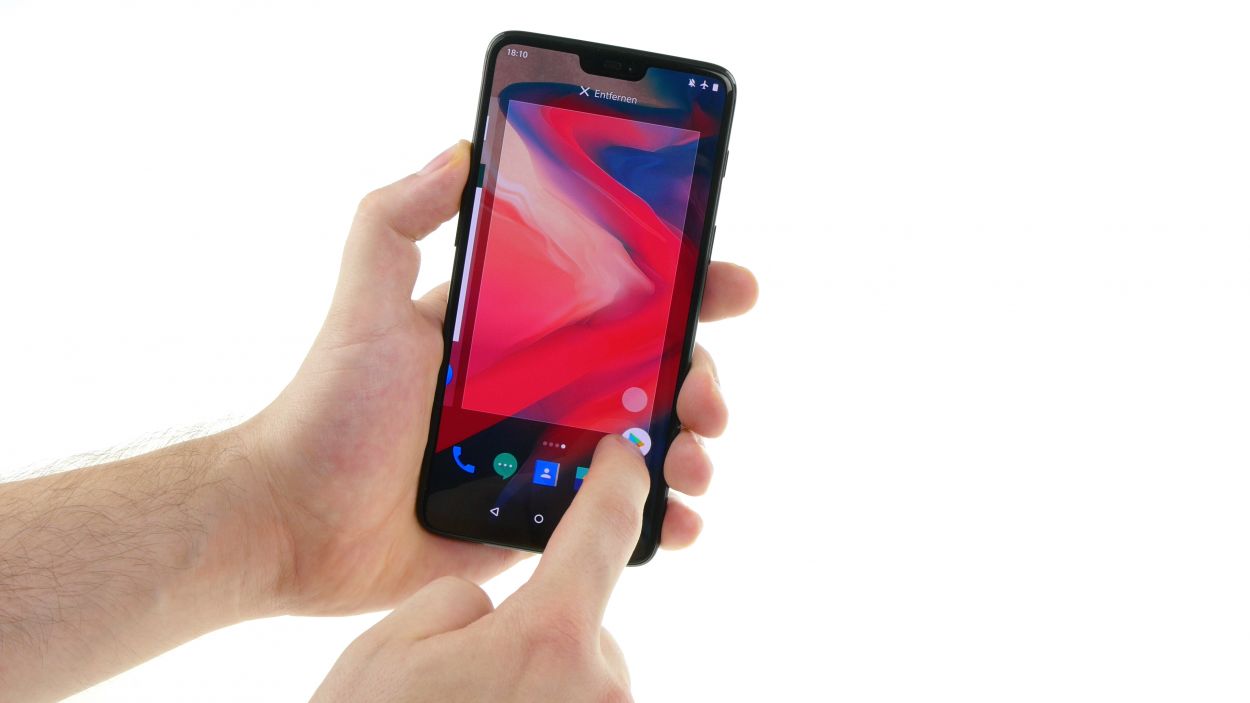
Step 1

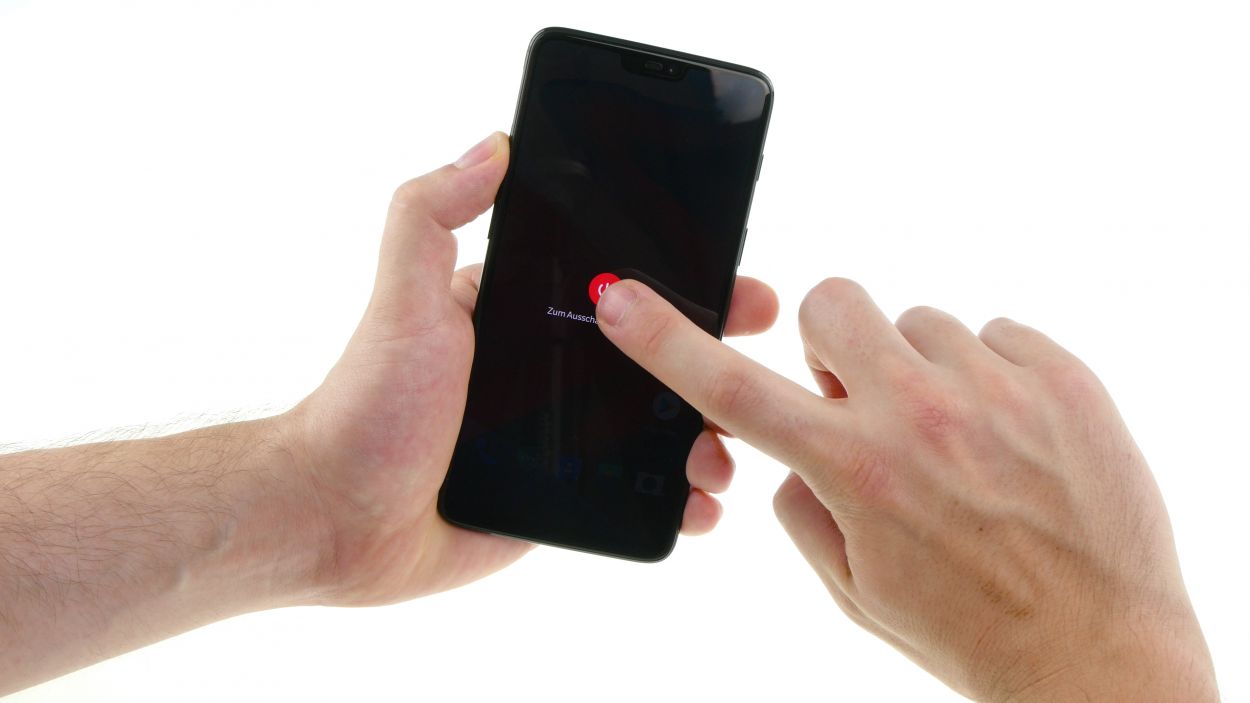
– Hold down the power button until you see the ‘Power Off’ option – it’ll pop up!
– Give it a second tap to confirm and say goodbye to the screen for a sec.
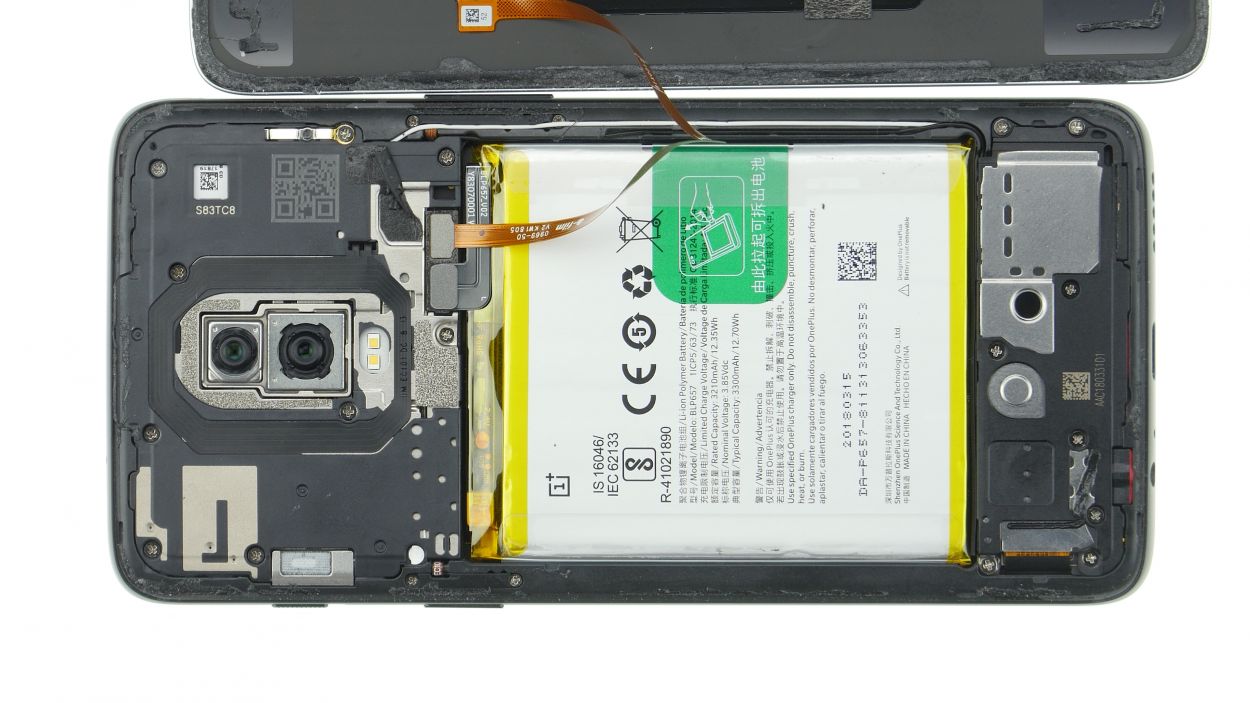
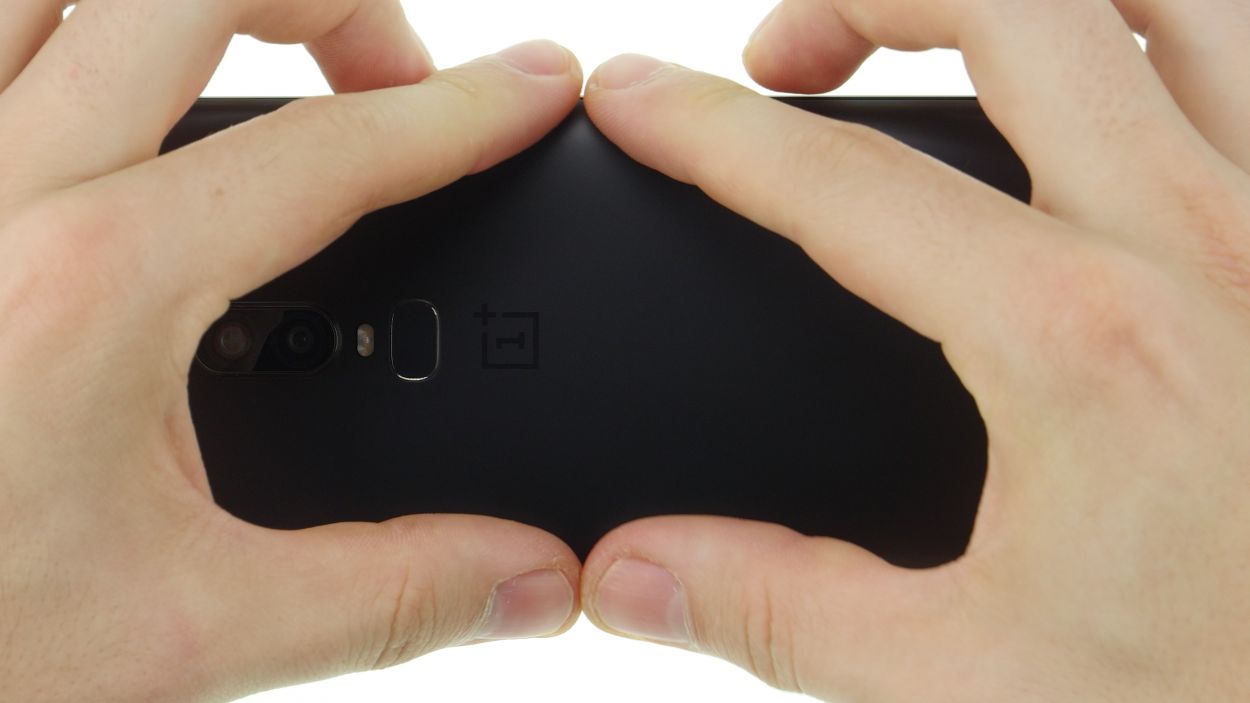
Step 2
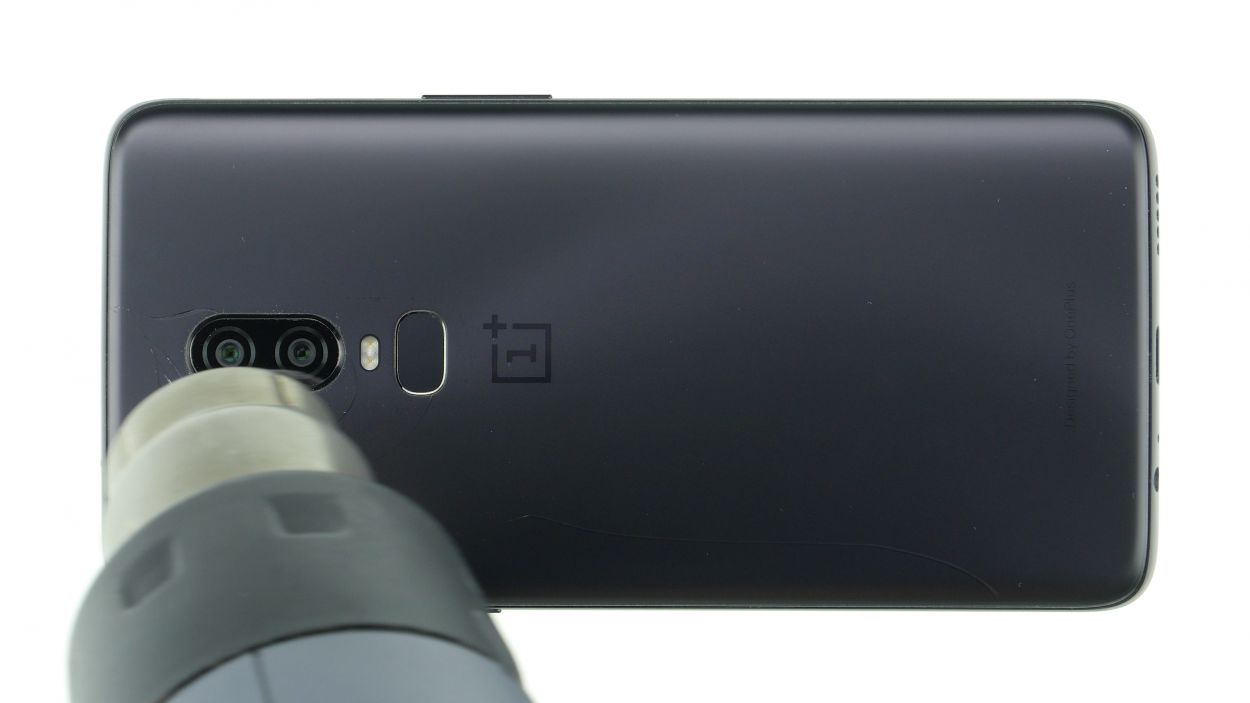
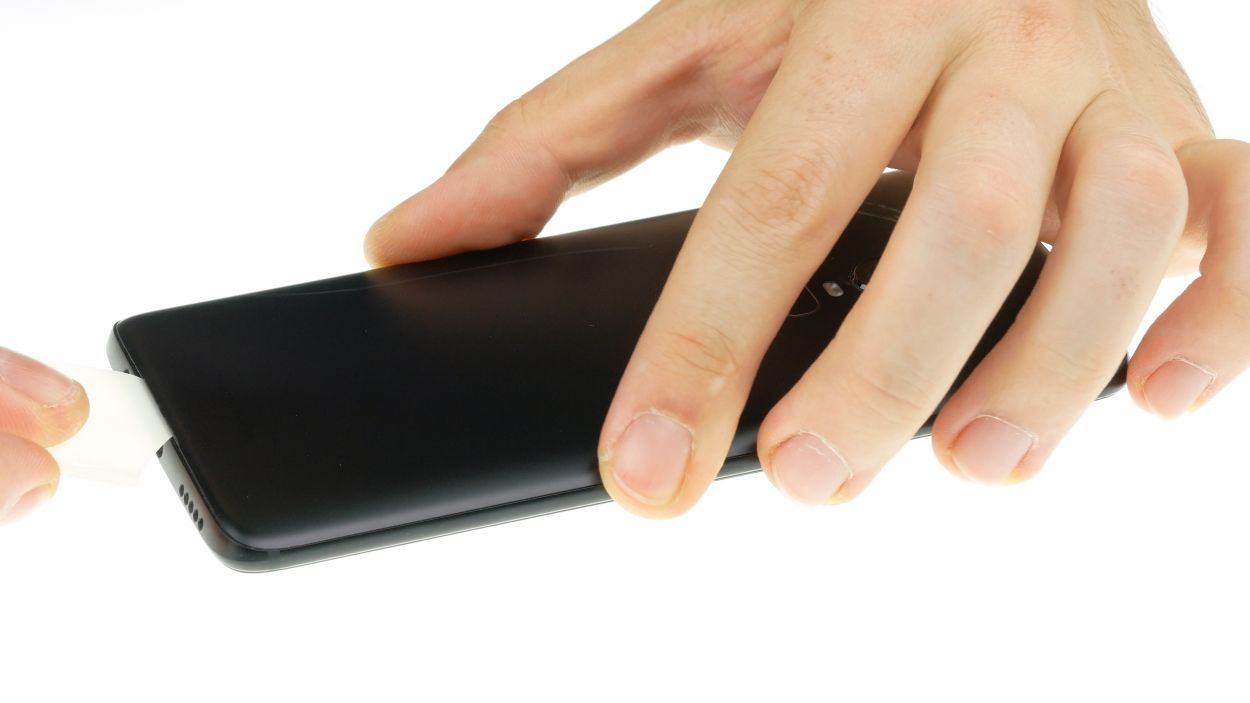
– Warm up the area where you’re diving in to get things started.
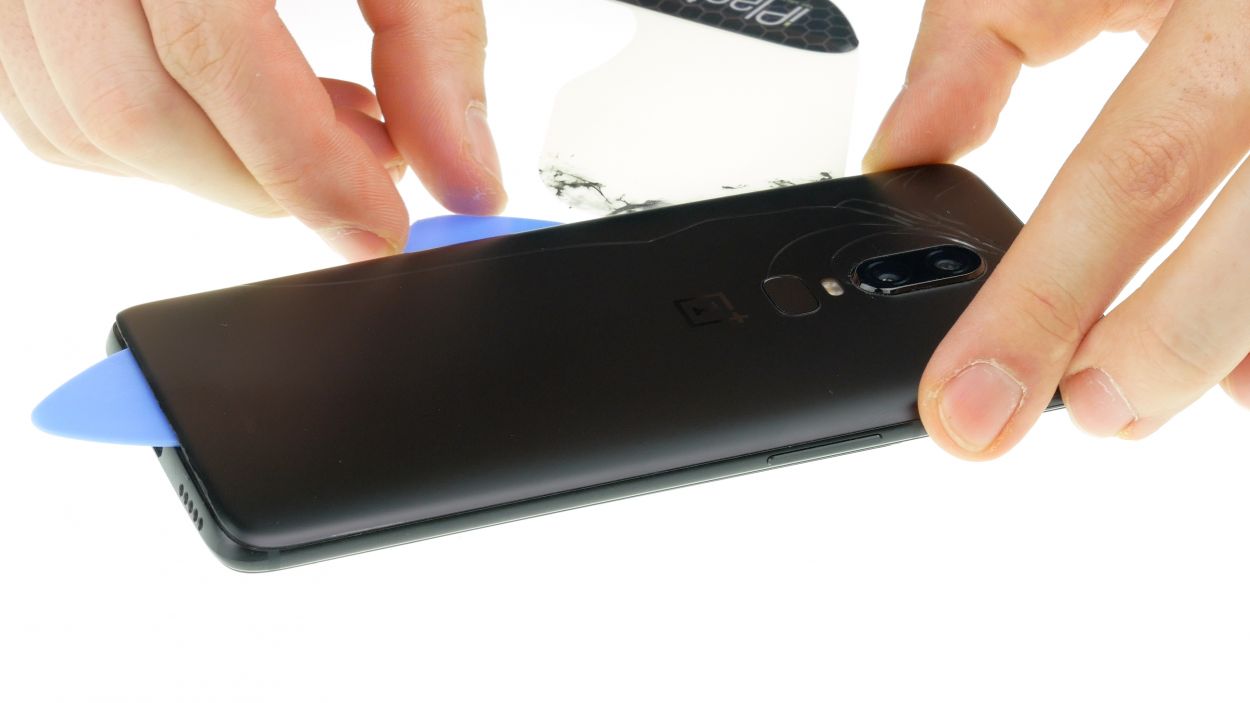
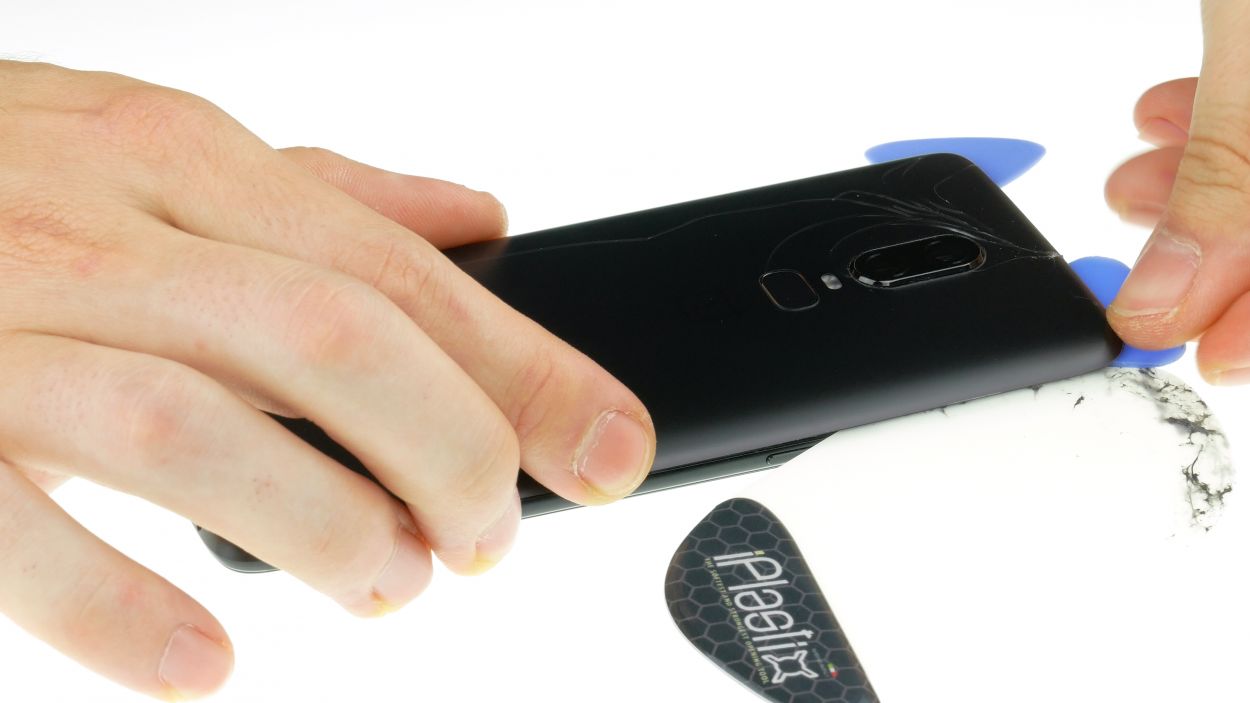
– Gently slide a flat tool between the back cover and the frame to start the magic.
Hey there! This back cover is a bit of a diva, so be gentle! It might take some time (think 30 minutes, tops) and a few tries with the heat gun. No worries if it takes a little longer—better safe than sorry! Take your time and you’ll be golden. If you get stuck, you can always schedule a repair.
The iPlastix tool is plastic, so it’s super gentle on your device. However, its soft nature means it might be a bit finicky to get in place. Don’t worry, you got this! If you need a hand, you can always schedule a repair.
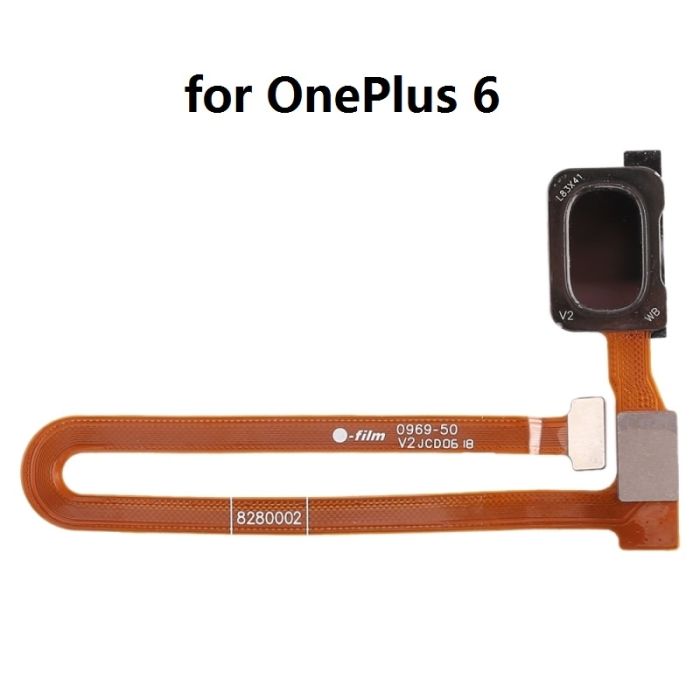
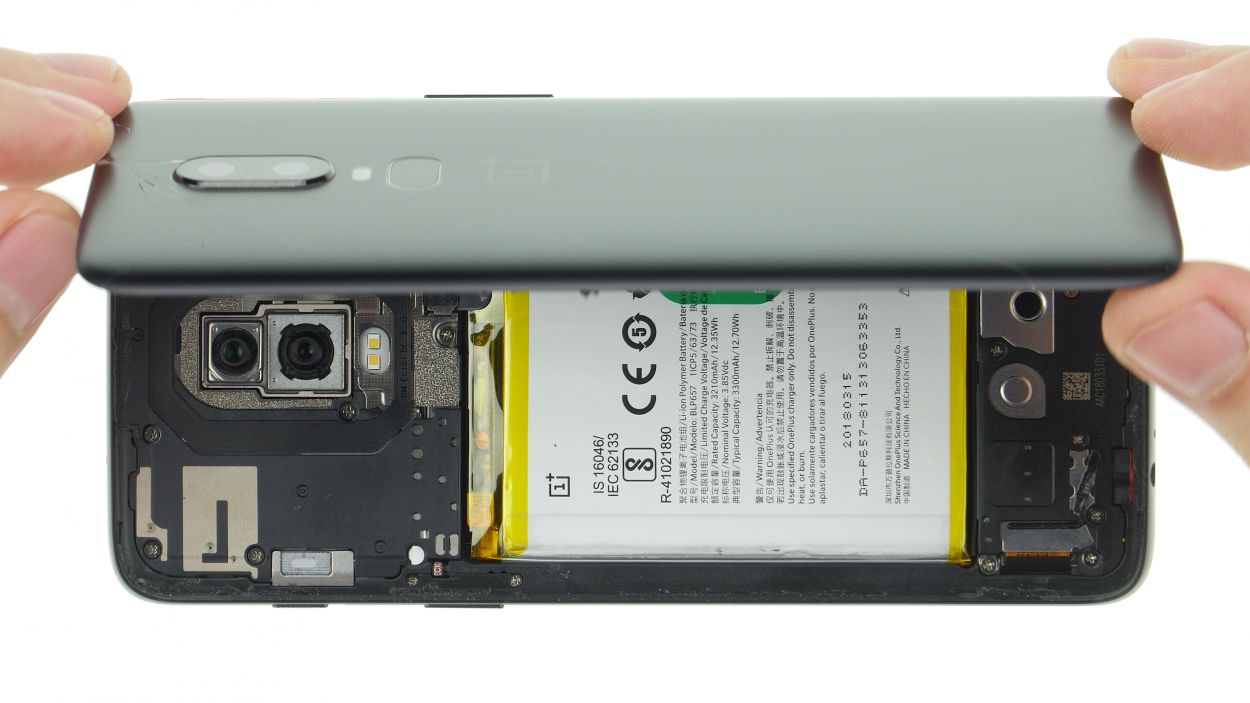
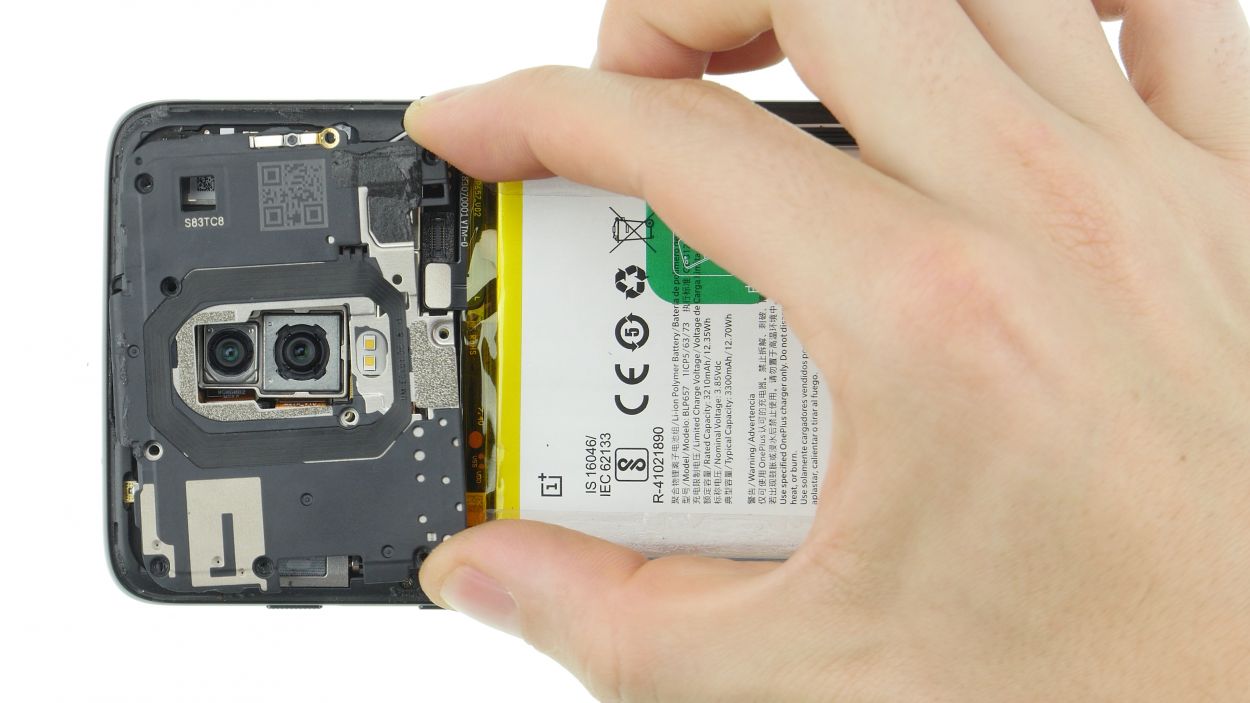
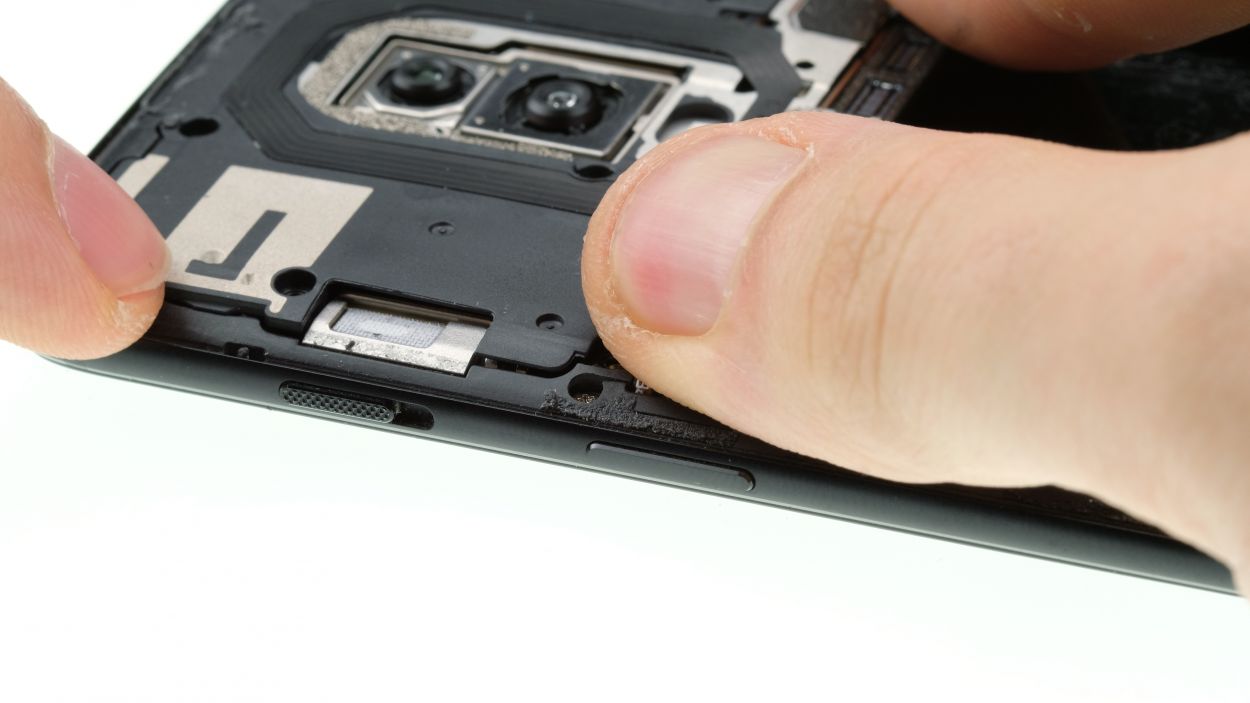
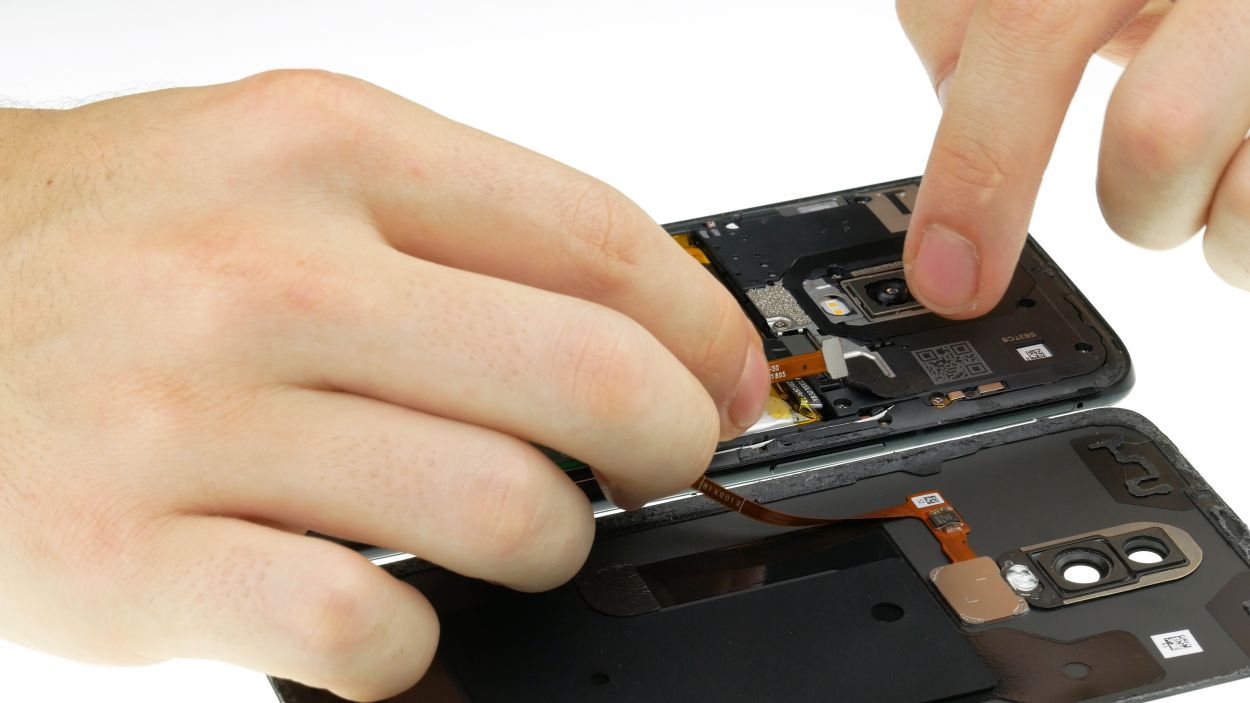
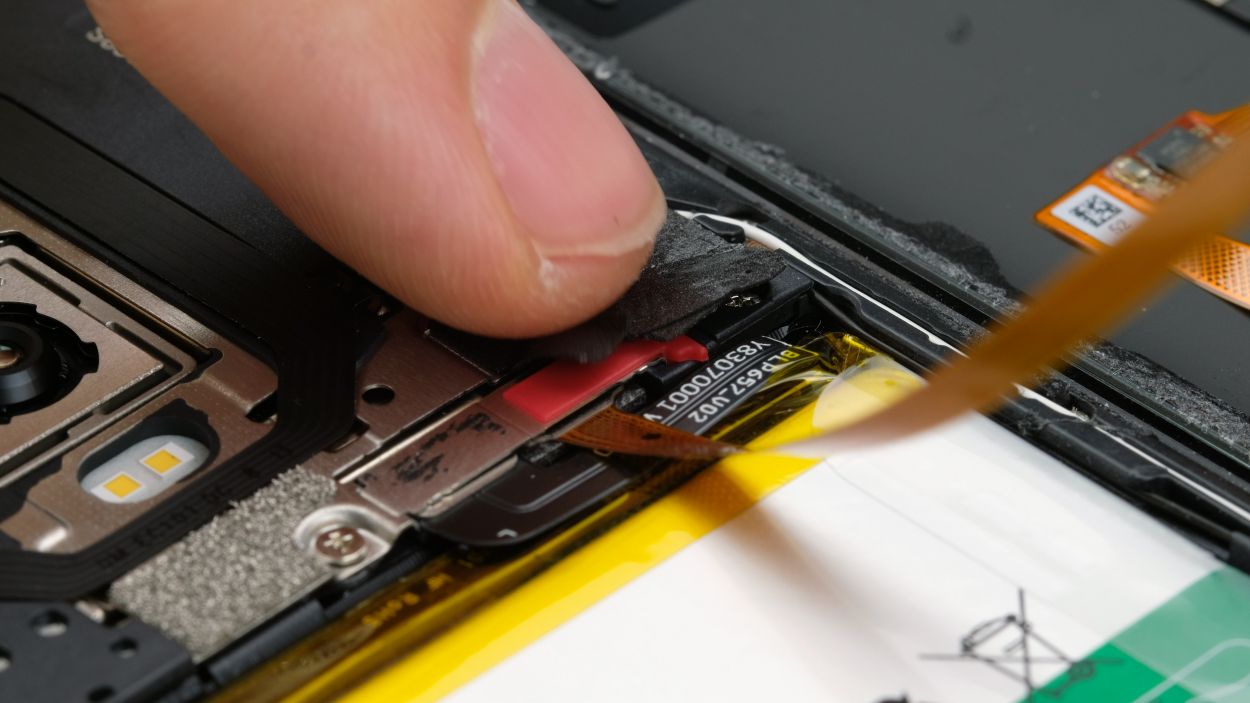
Step 3
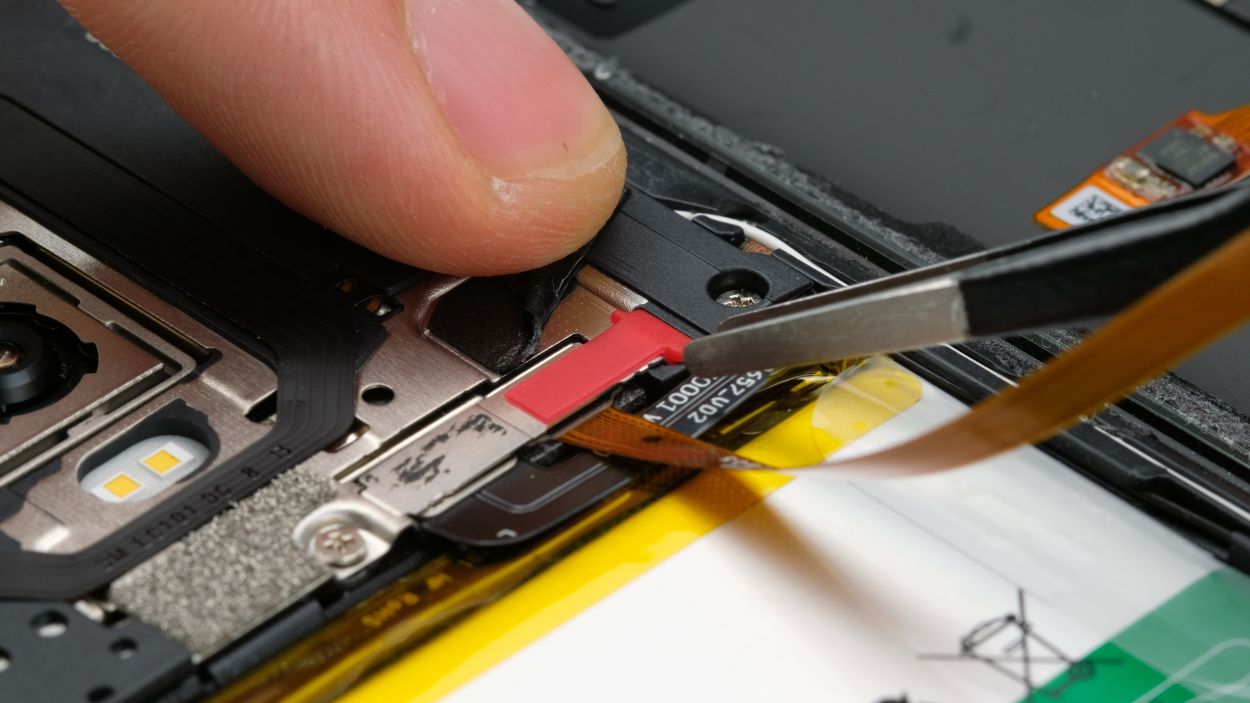
Fingerprint Connector
– Gently lift that back cover you’ve worked on and let it rest on the side like it’s taking a break.
– Loosen up that stubborn adhesive strip clinging to the cover plate.
– Use tweezers or your fingers to carefully remove the cover hiding the connector.
– Now, with a spudger or your trusty fingernail, delicately disconnect the connector and say goodbye to the back cover!
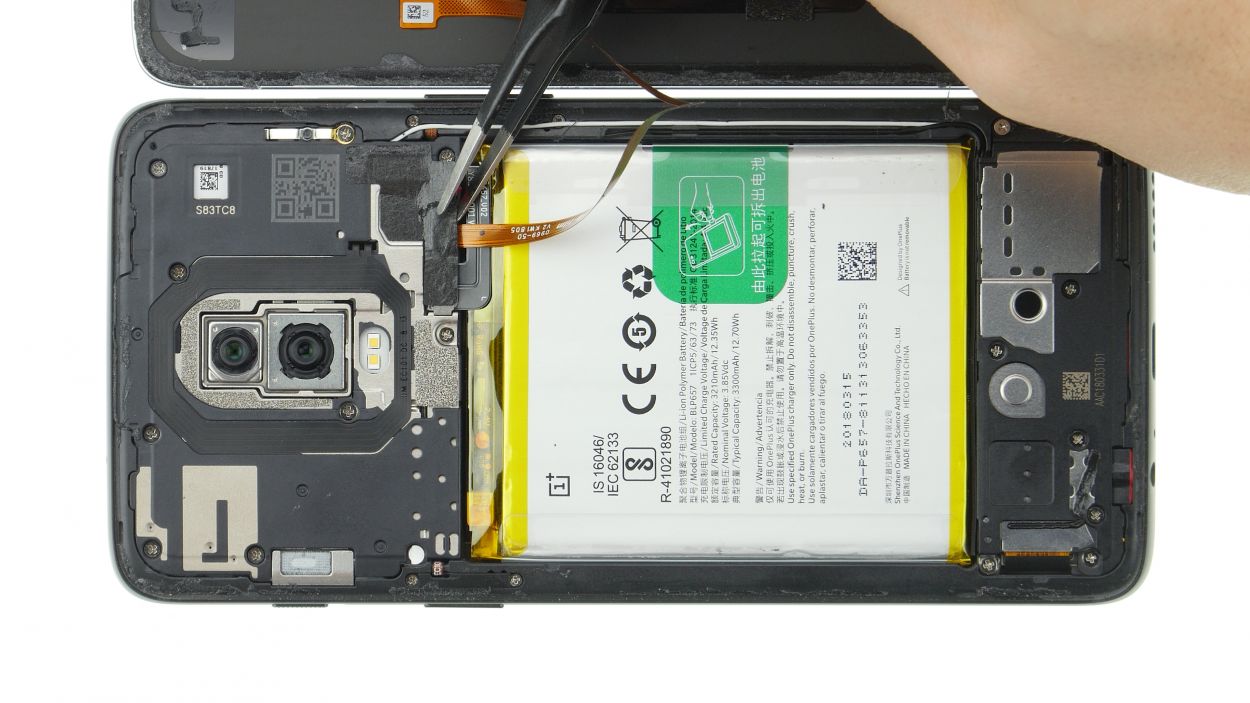
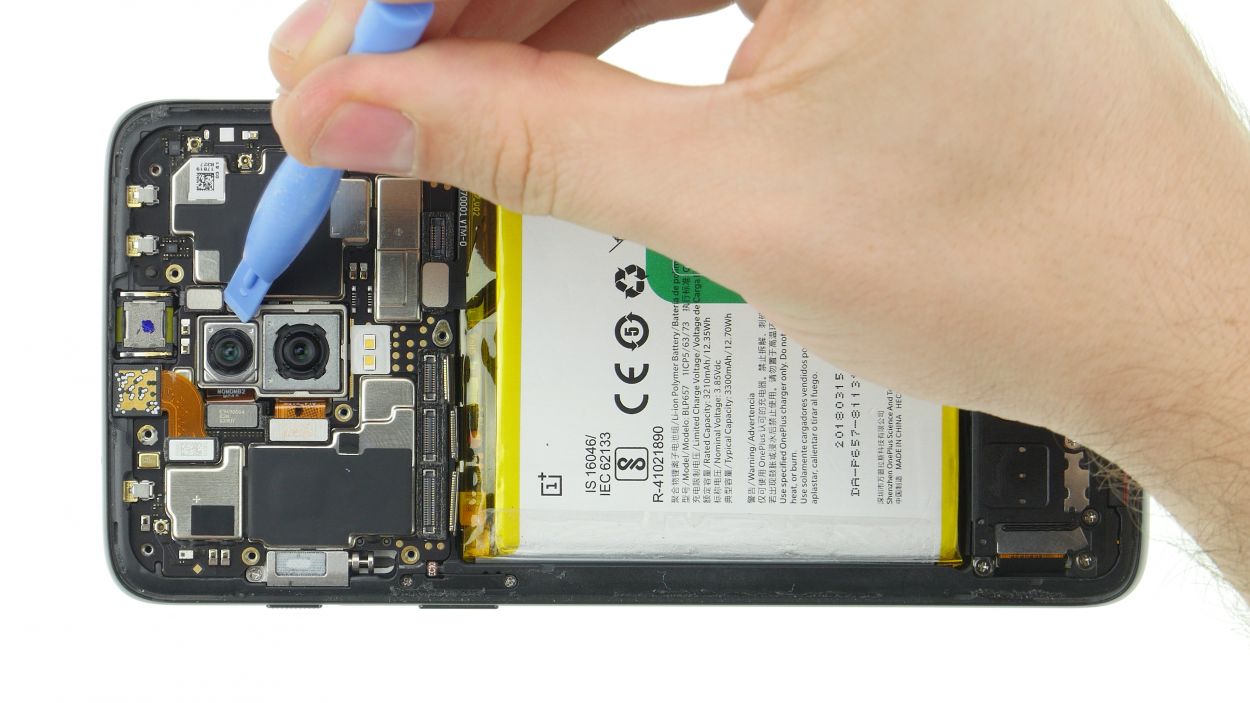
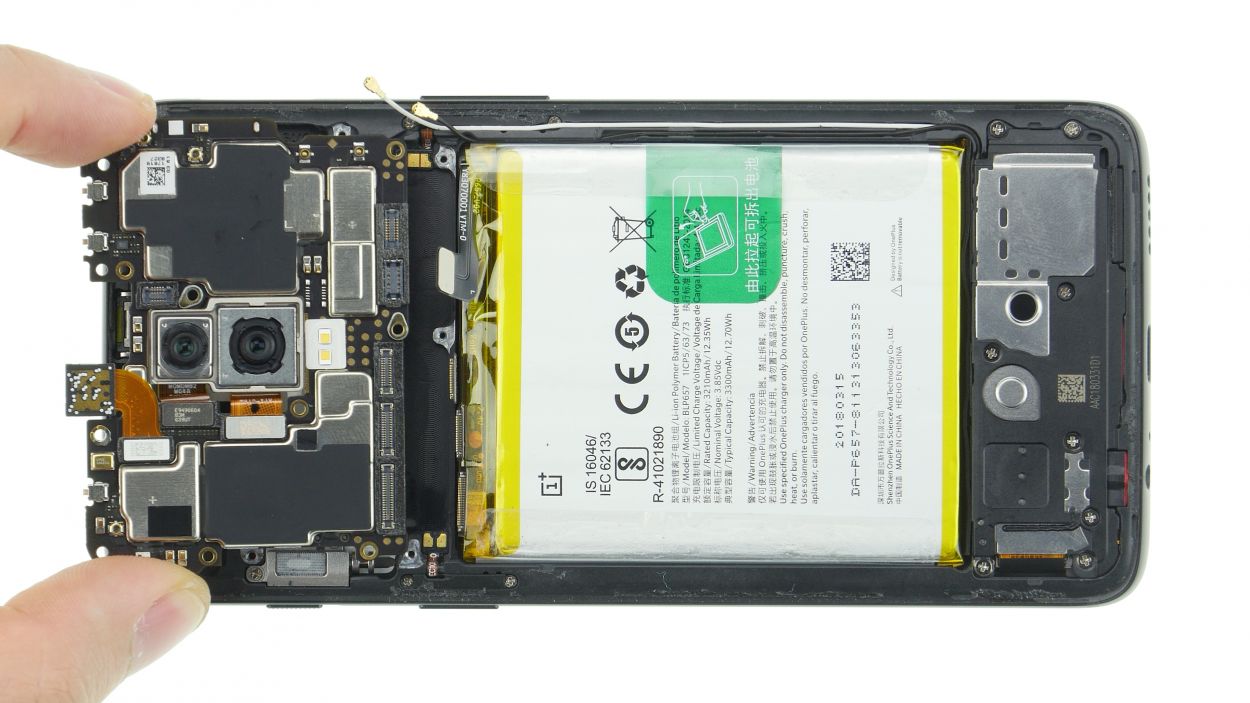
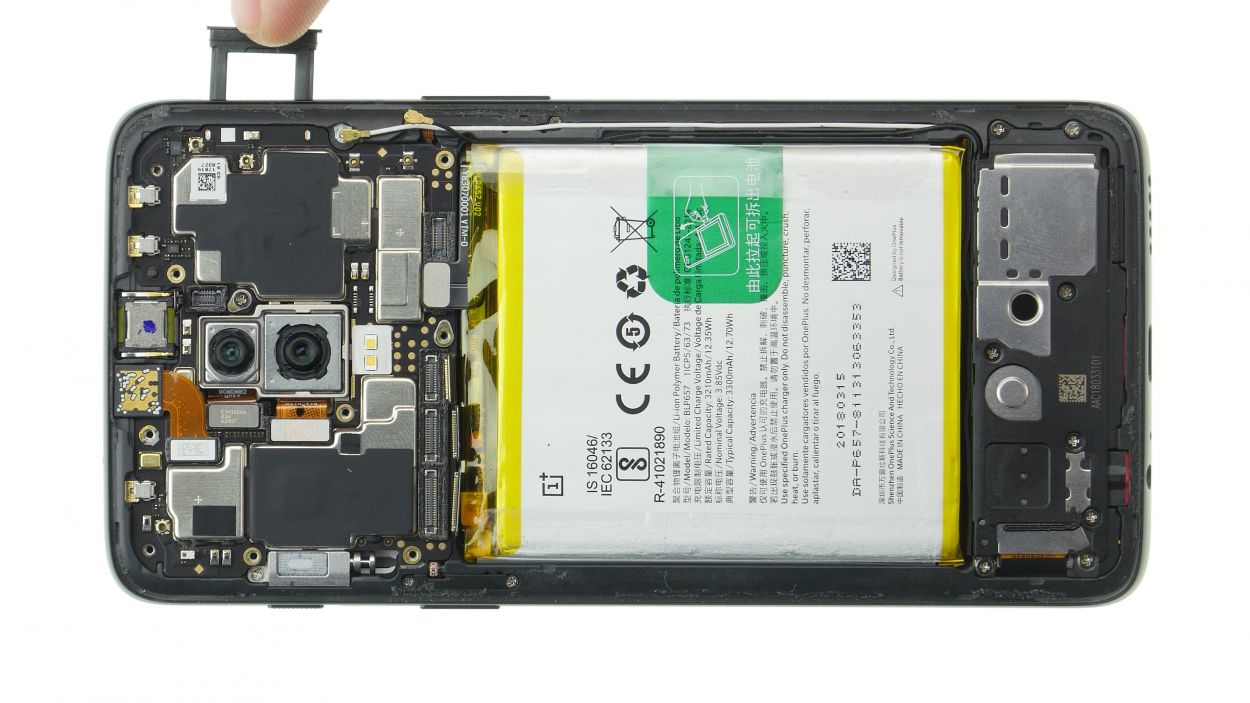
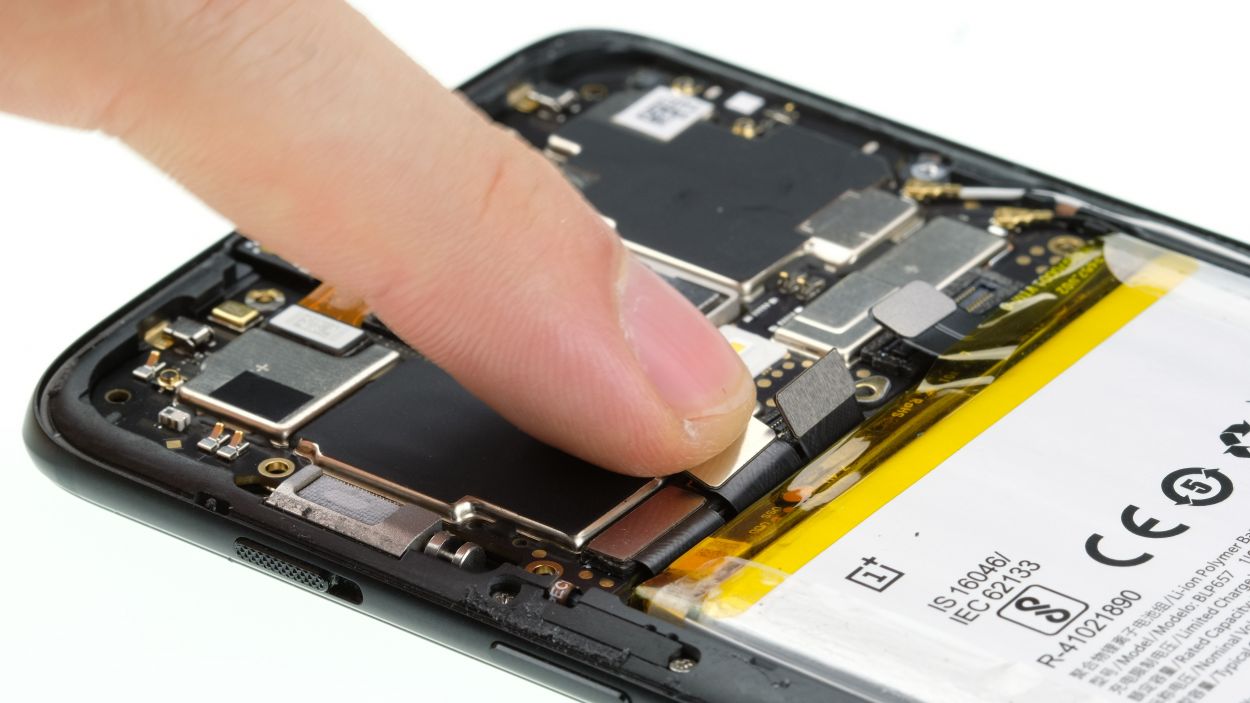
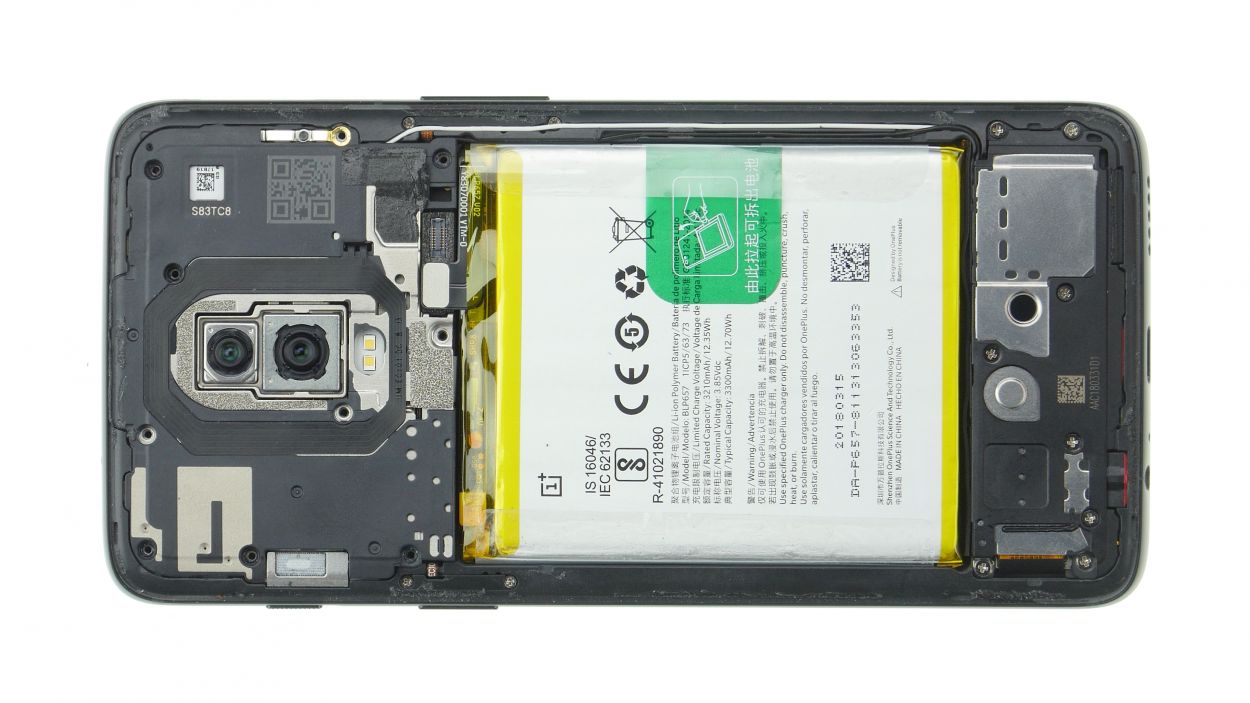
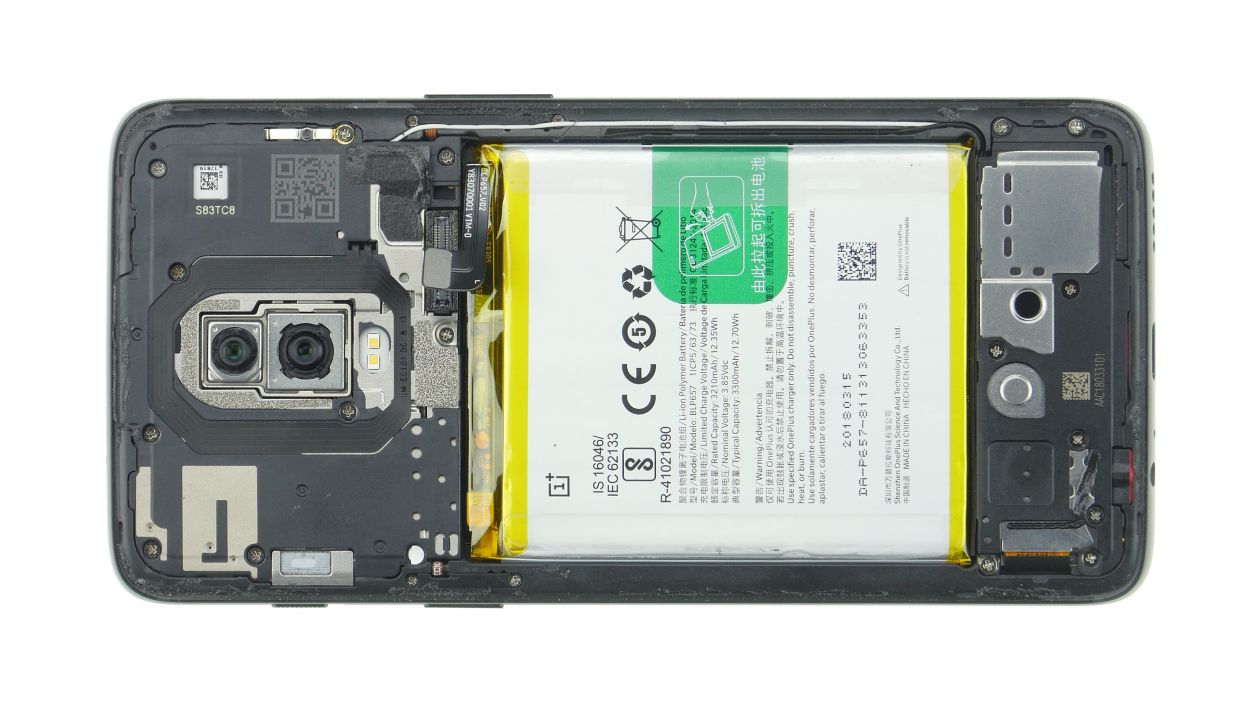
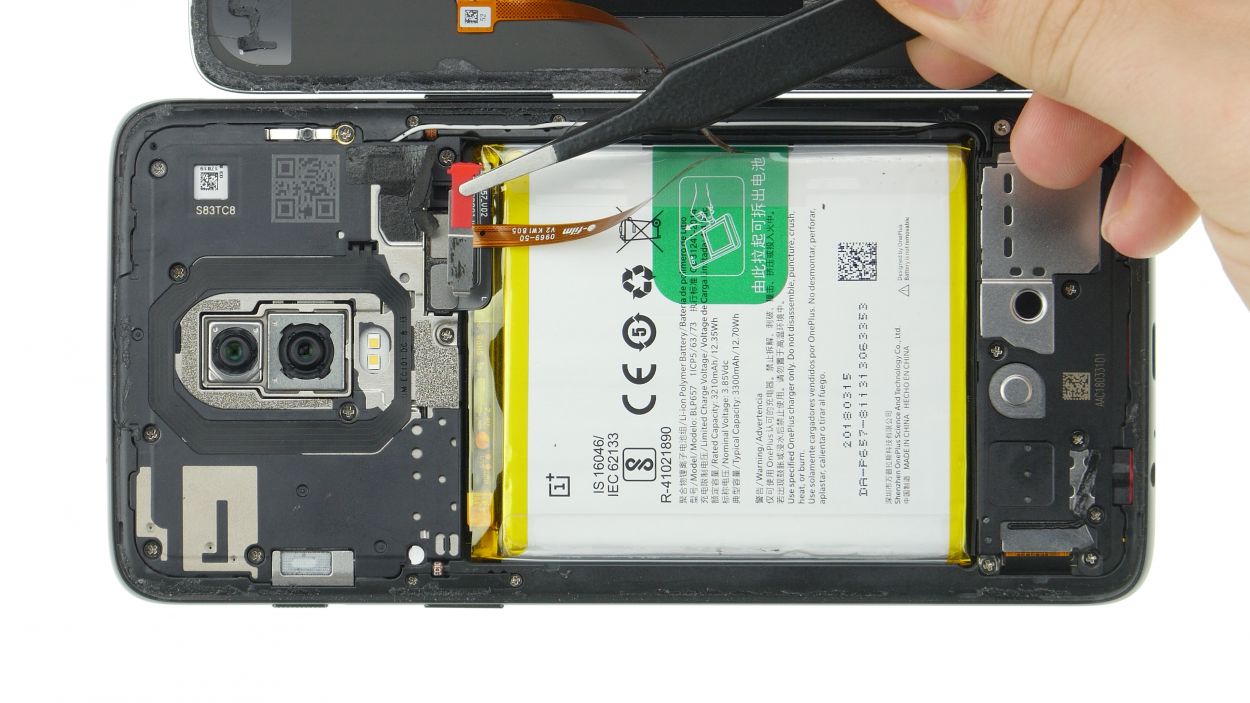
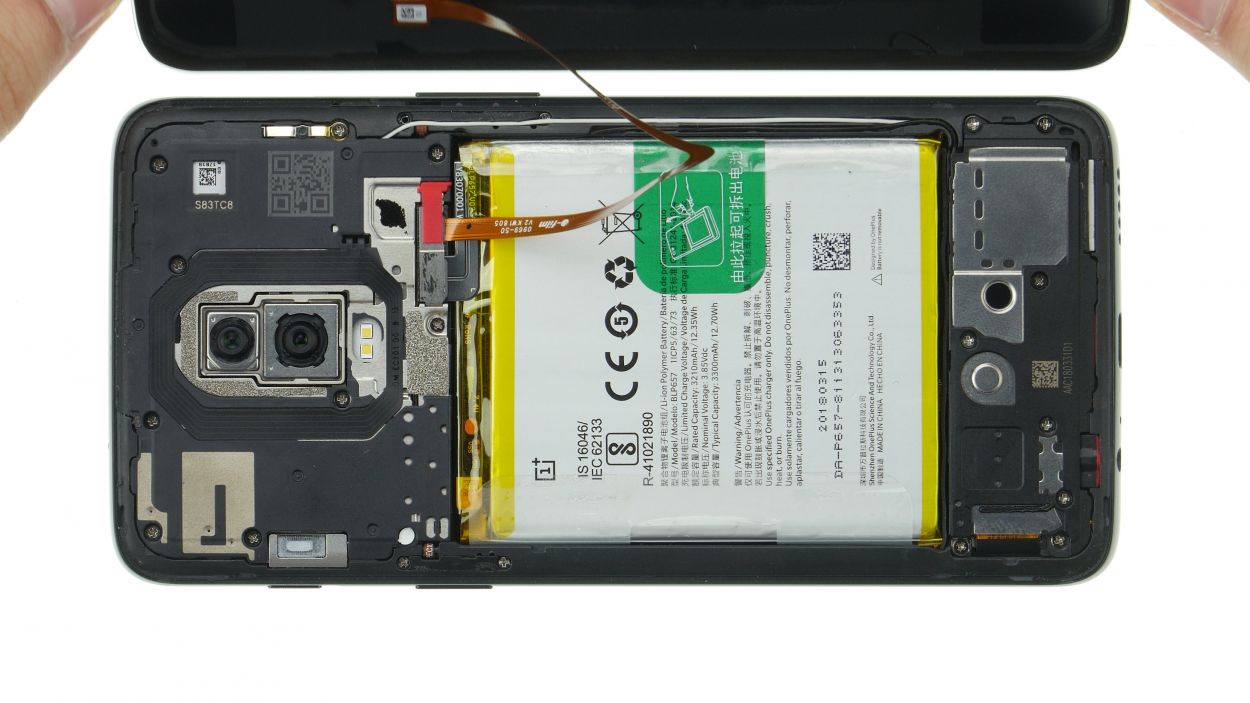
Step 4

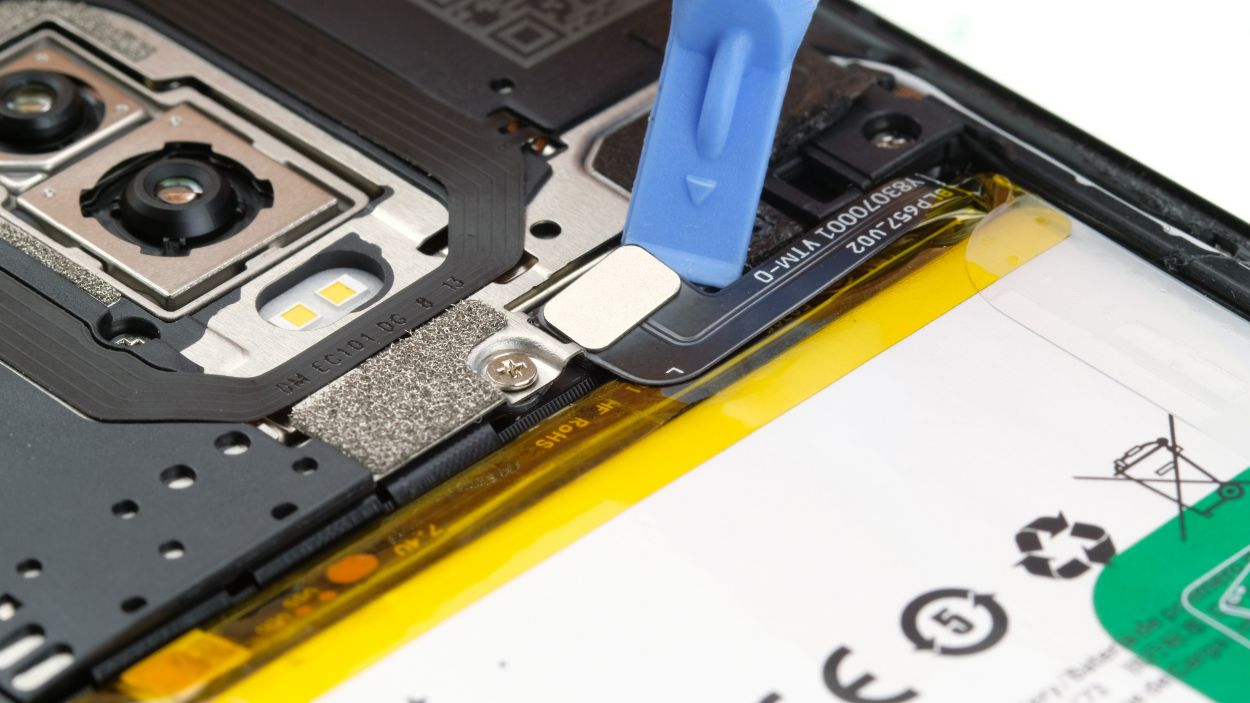
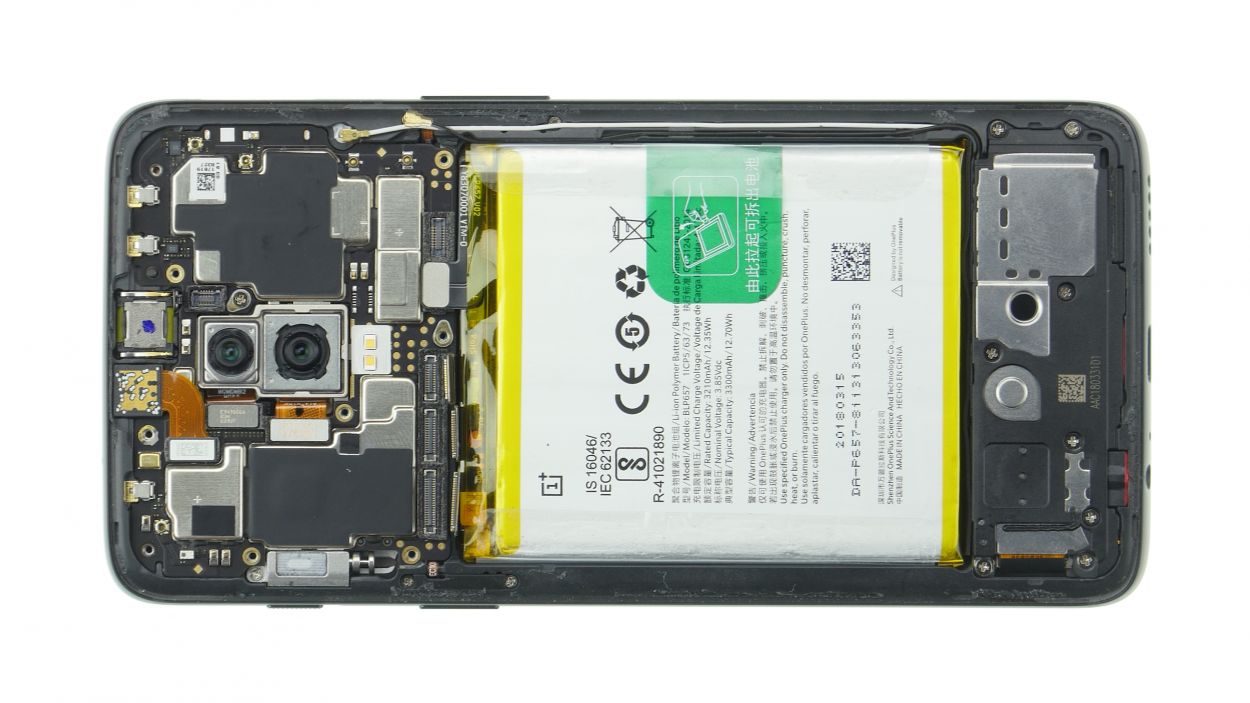
Battery Connector
– Take a deep breath, you’ve got this!
– Disconnect the battery to make things easier and safer.
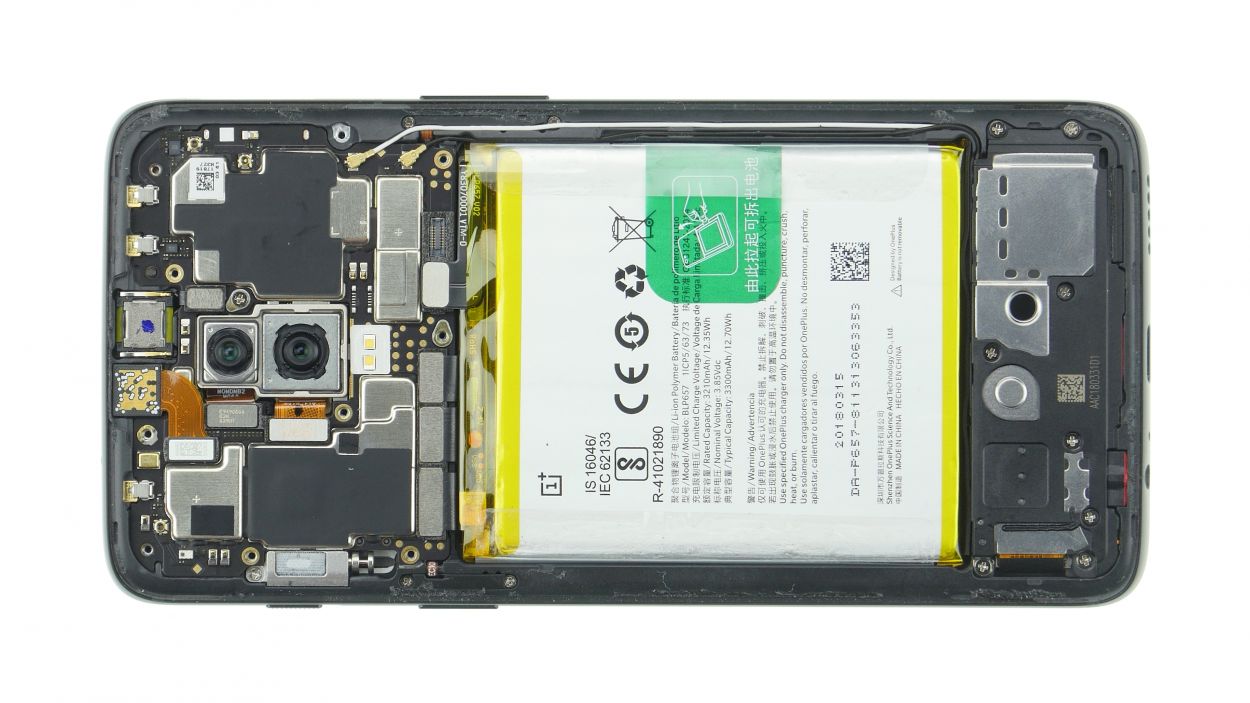
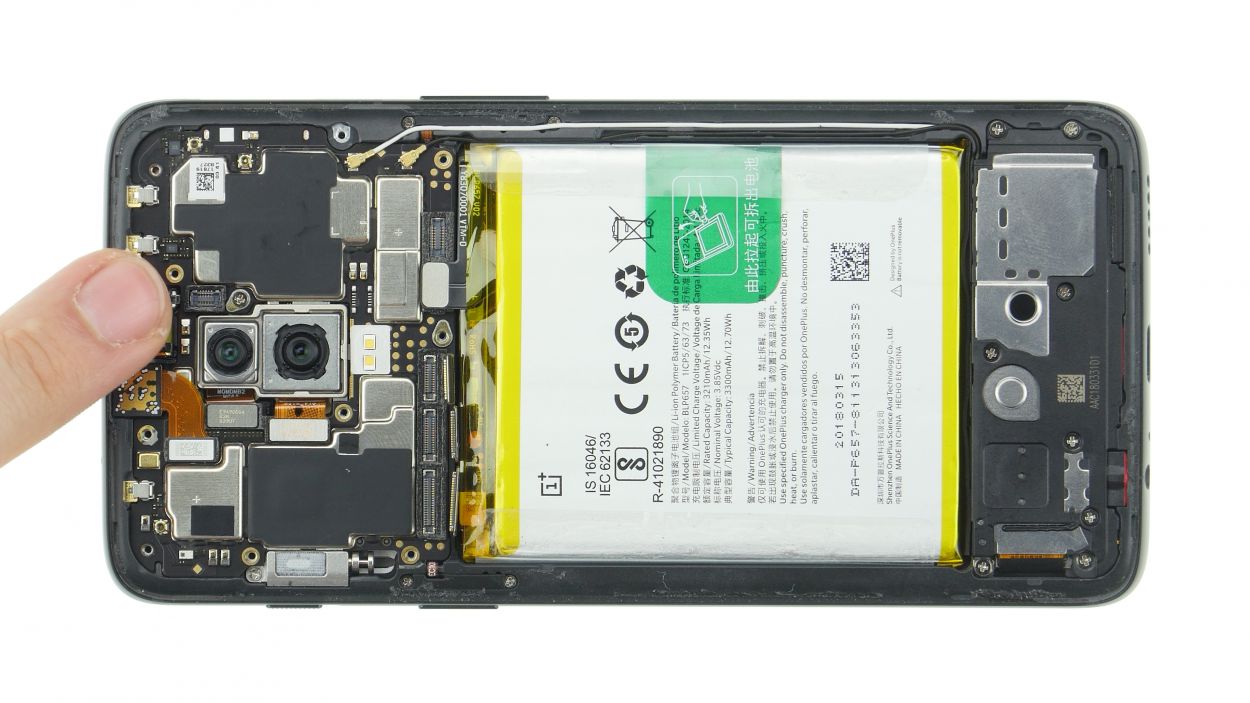
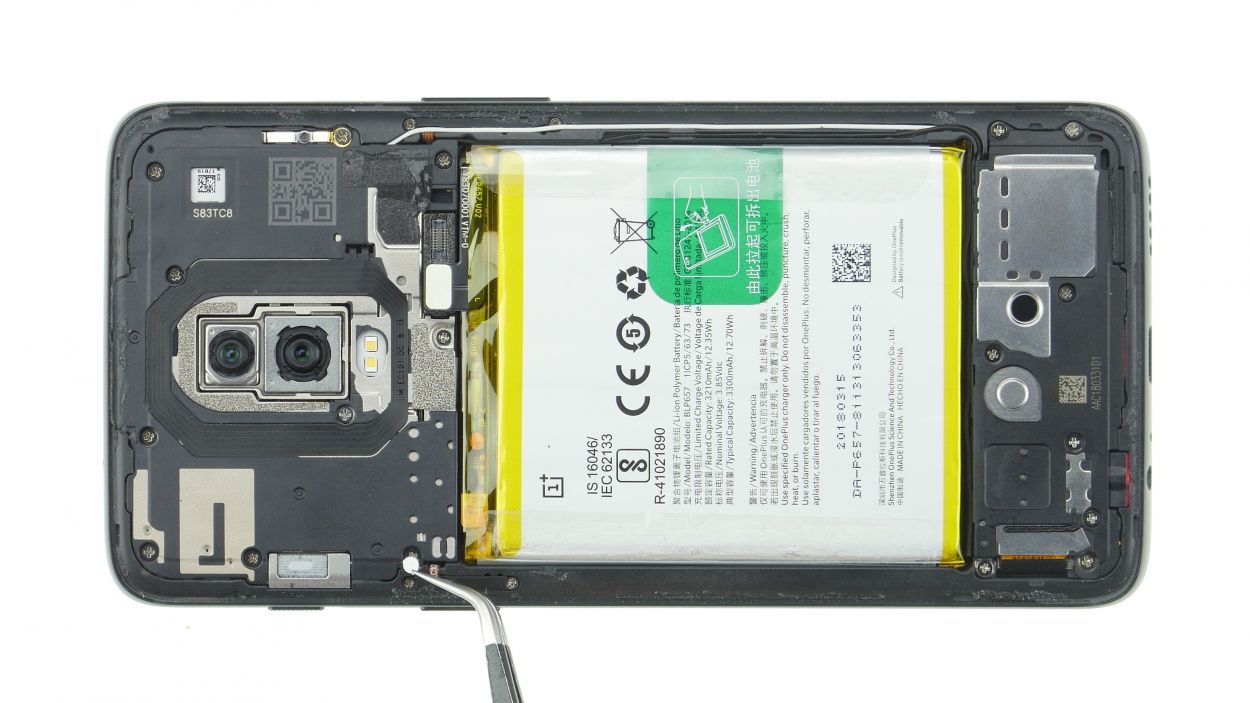
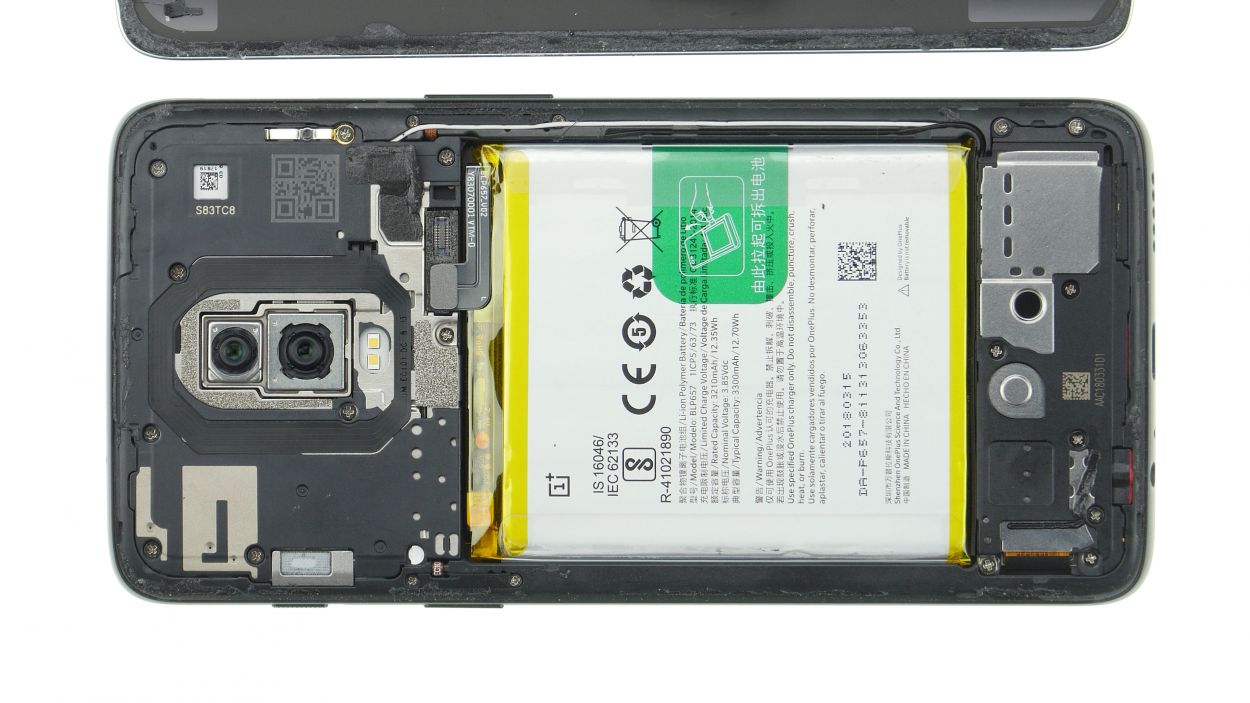
Step 5
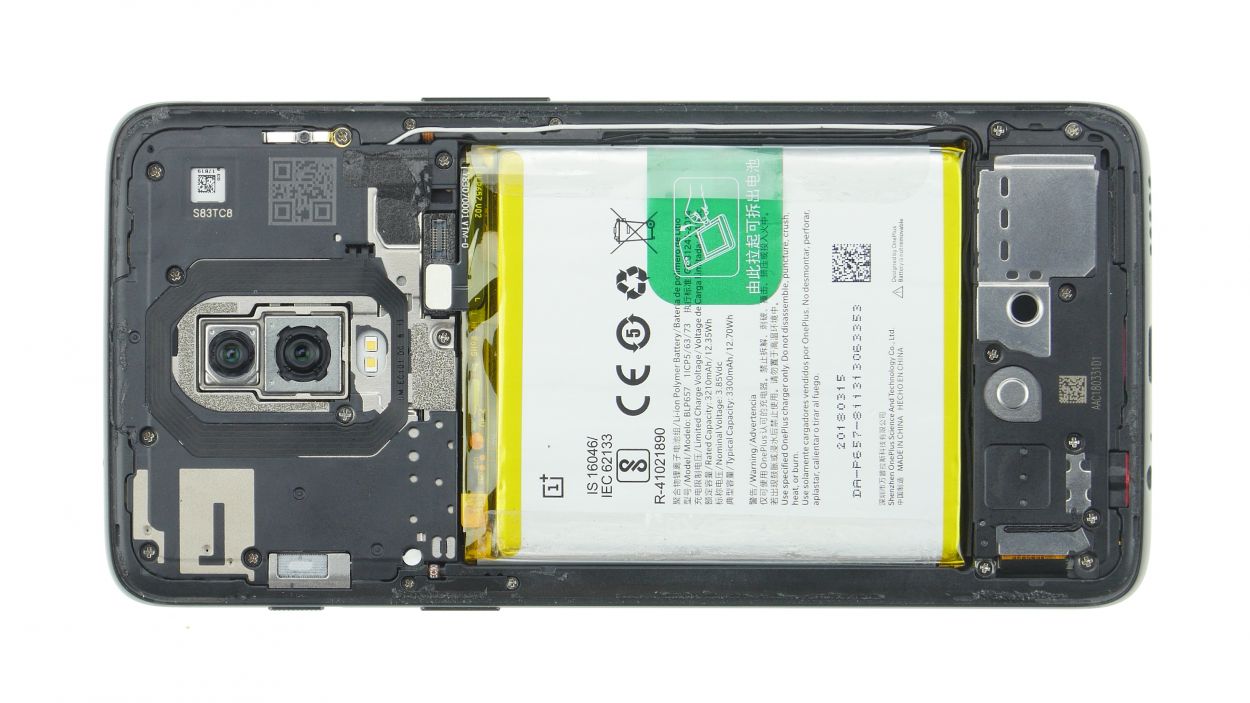

10 × 3,0 mm Phillips
If the screws get stuck, you can use a pair of tweezers to remove them. Stuck screws can be super frustrating! Don’t worry, we’ve got a trick for you. Try using a pair of our trusty tweezers, available at any hardware store!
– Gently take out the moisture indicator so you can pop it back in later.
– Loosen those Phillips screws with a smile!
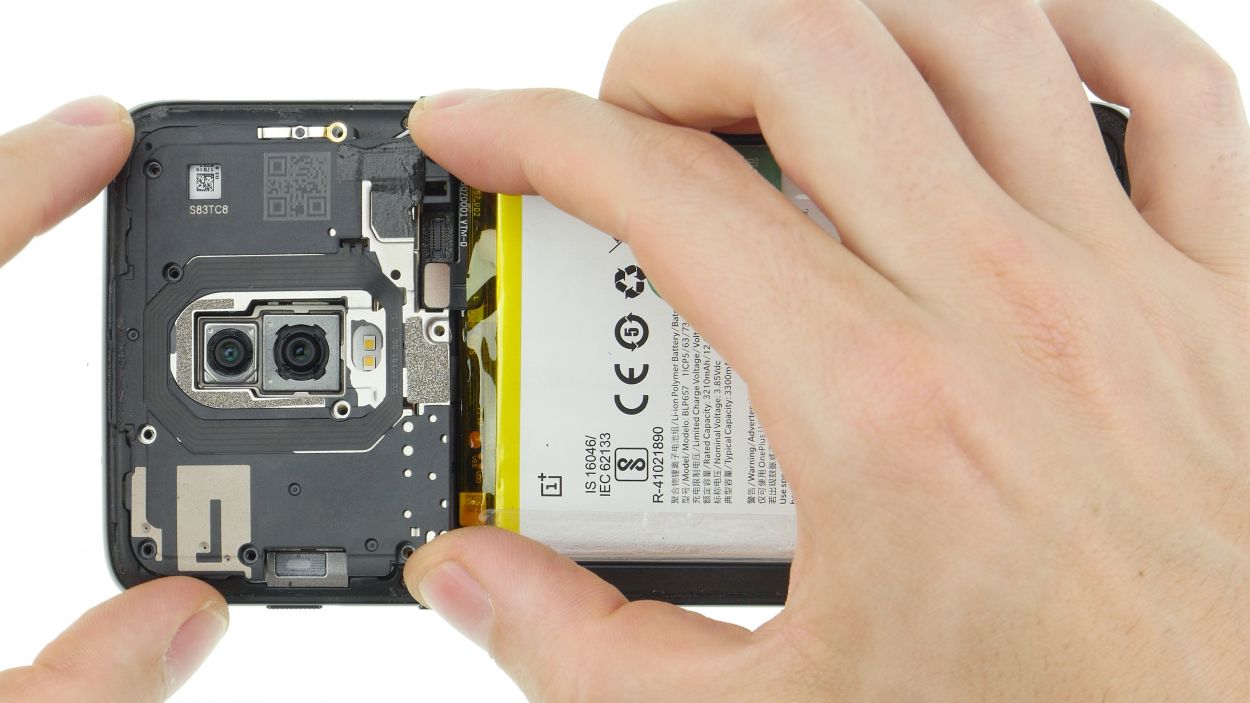
Step 6


1 × 3,0 mm Phillips
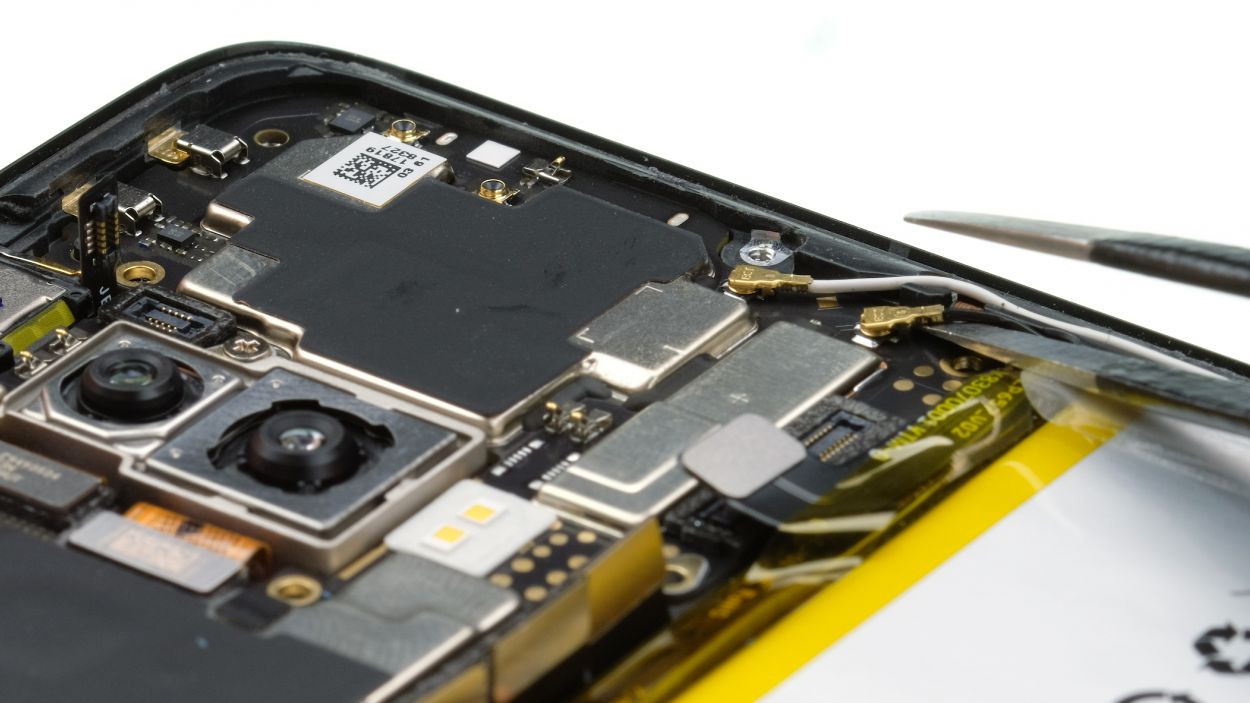
– First things first, let’s disconnect all those connectors from the mainboard. Easy peasy!
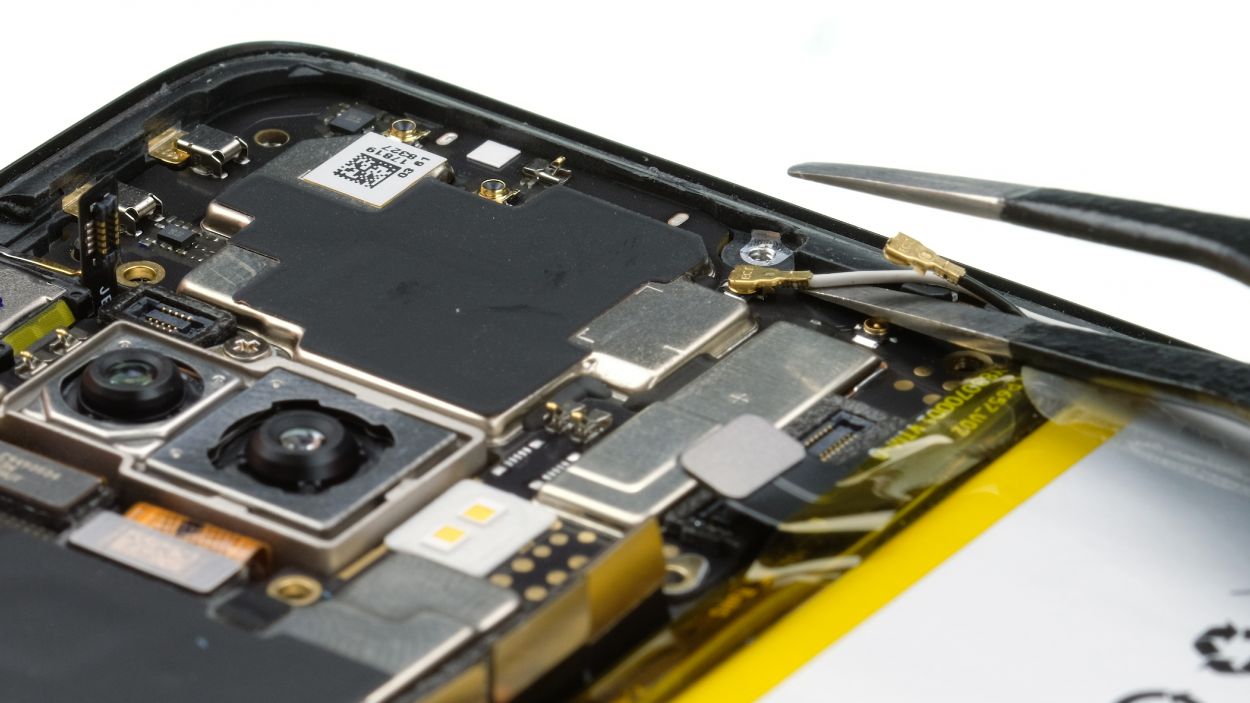
– Next up, gently twist those antenna connectors with your tweezers. Just a little rotation will do the trick—be careful not to mess up the sockets!
– Time to remove the SIM holder! Grab a SIM tool or a trusty paper clip and get it out of there.
– Now, loosen that single Phillips screw holding the mainboard in place. You’ve got this!
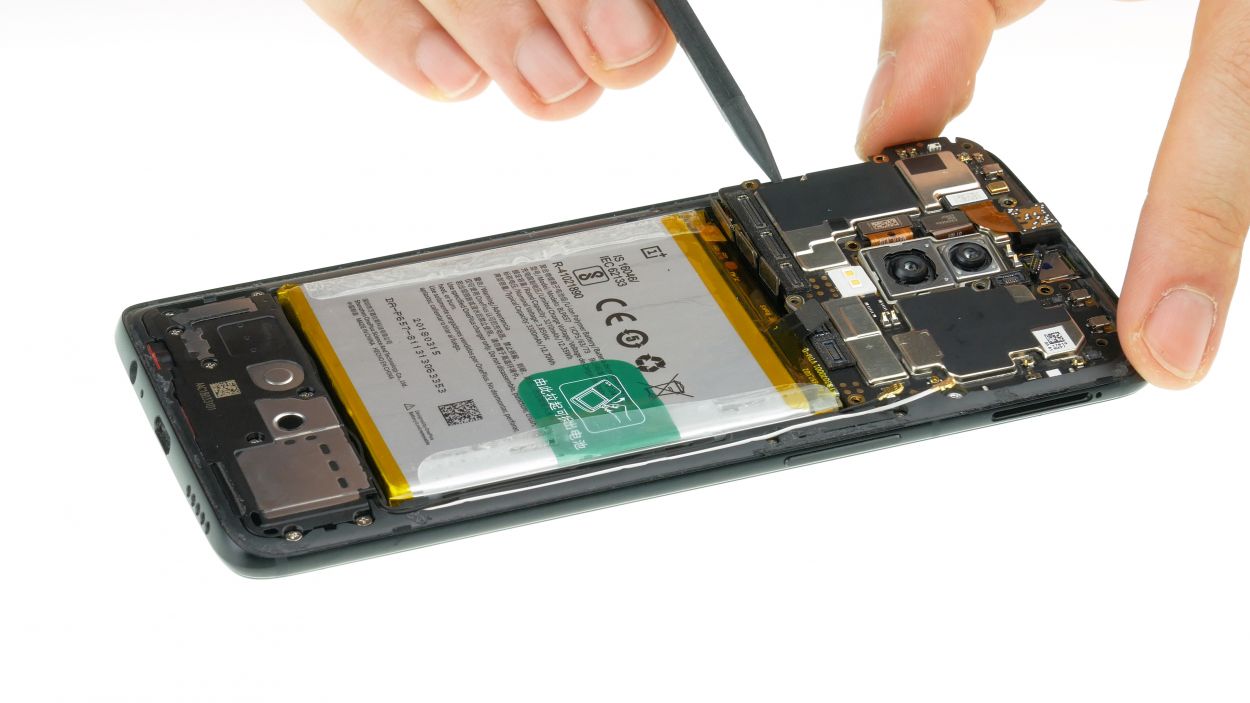
– Bend those cables to the side so you can easily slide the mainboard out. Make some room!
– And voilà! You can now lift the mainboard out of the device. You’re doing great!
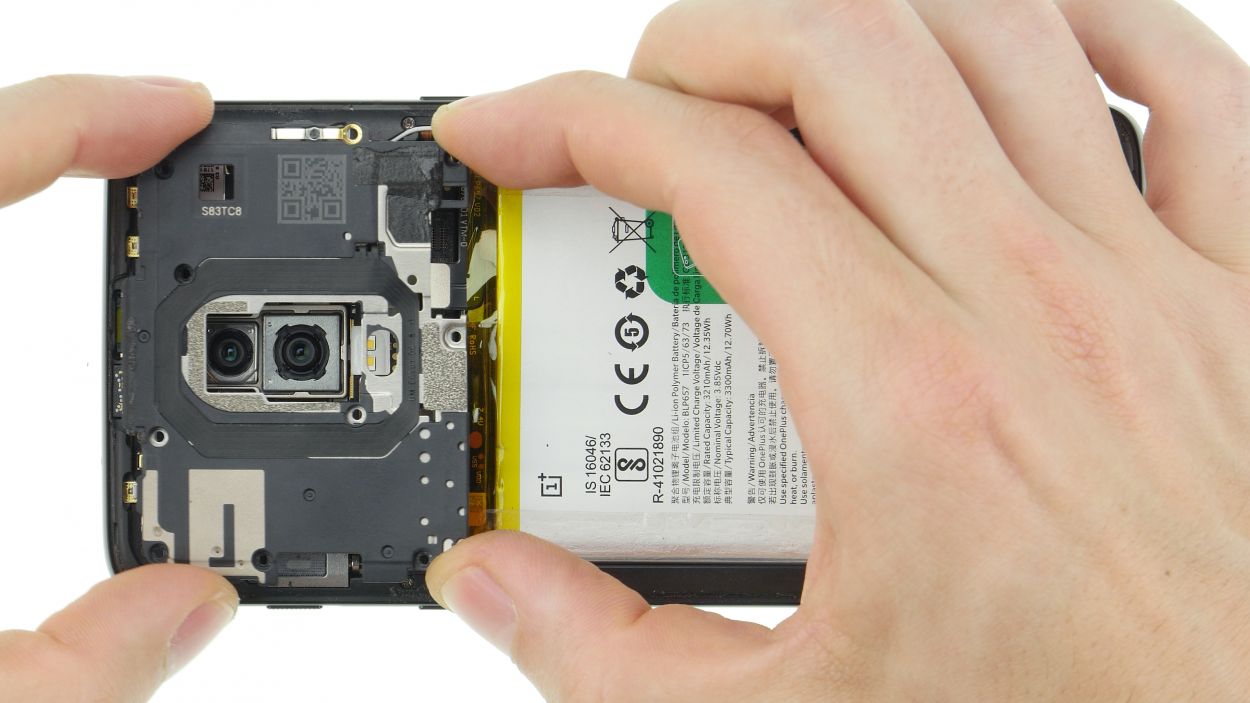
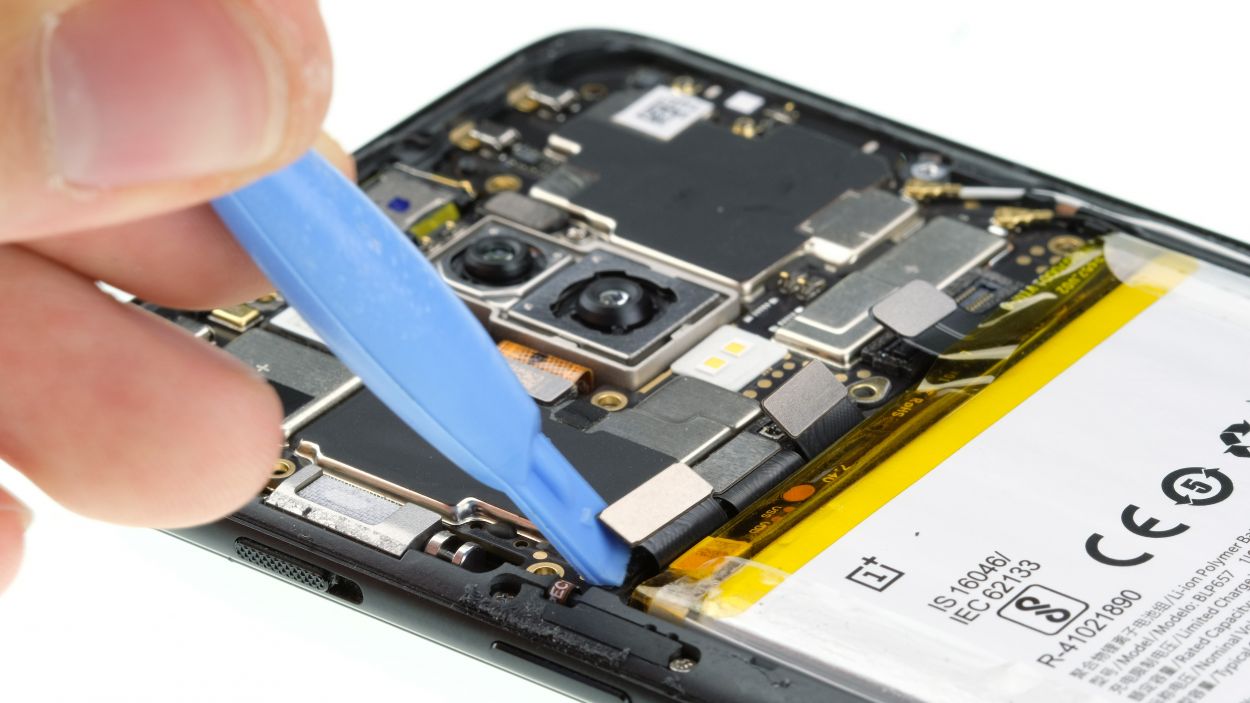
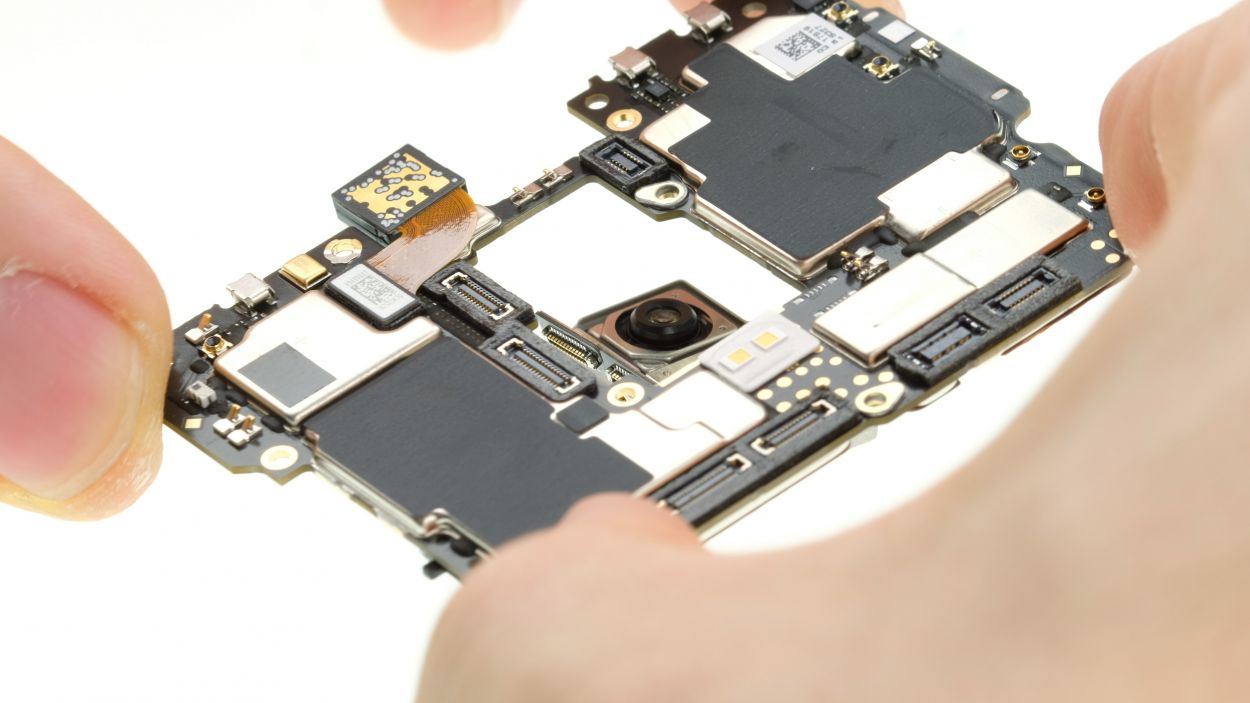
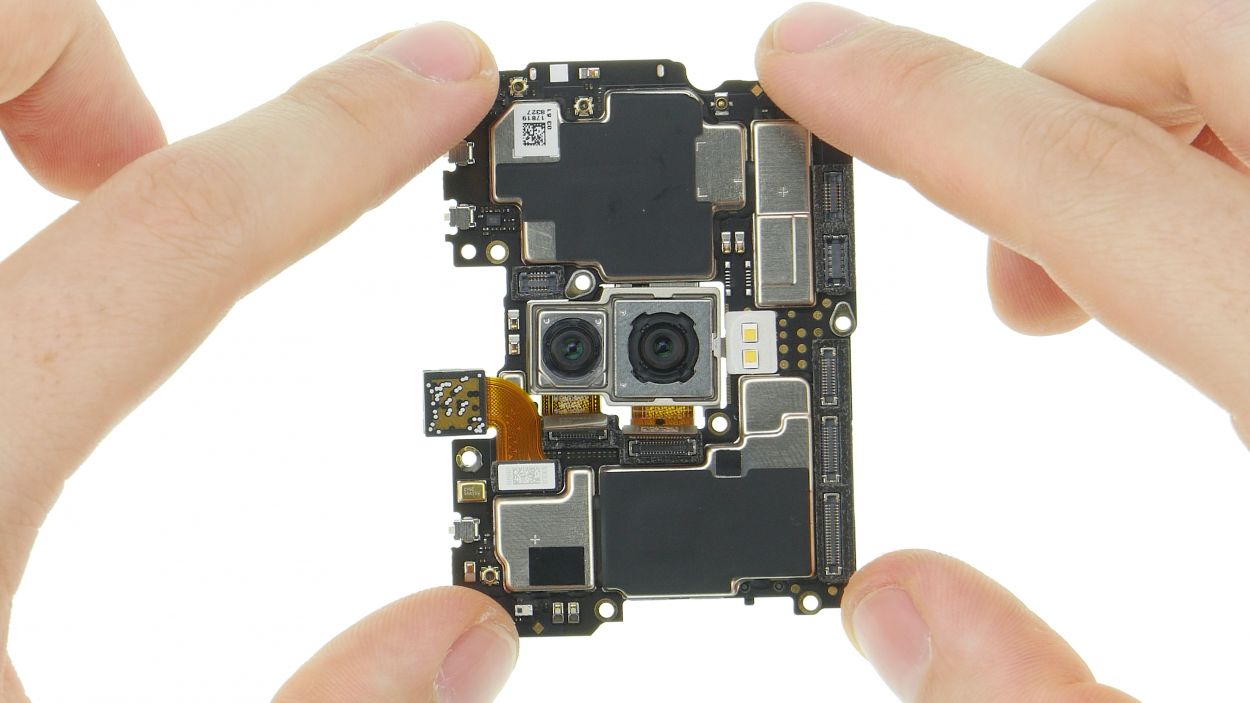
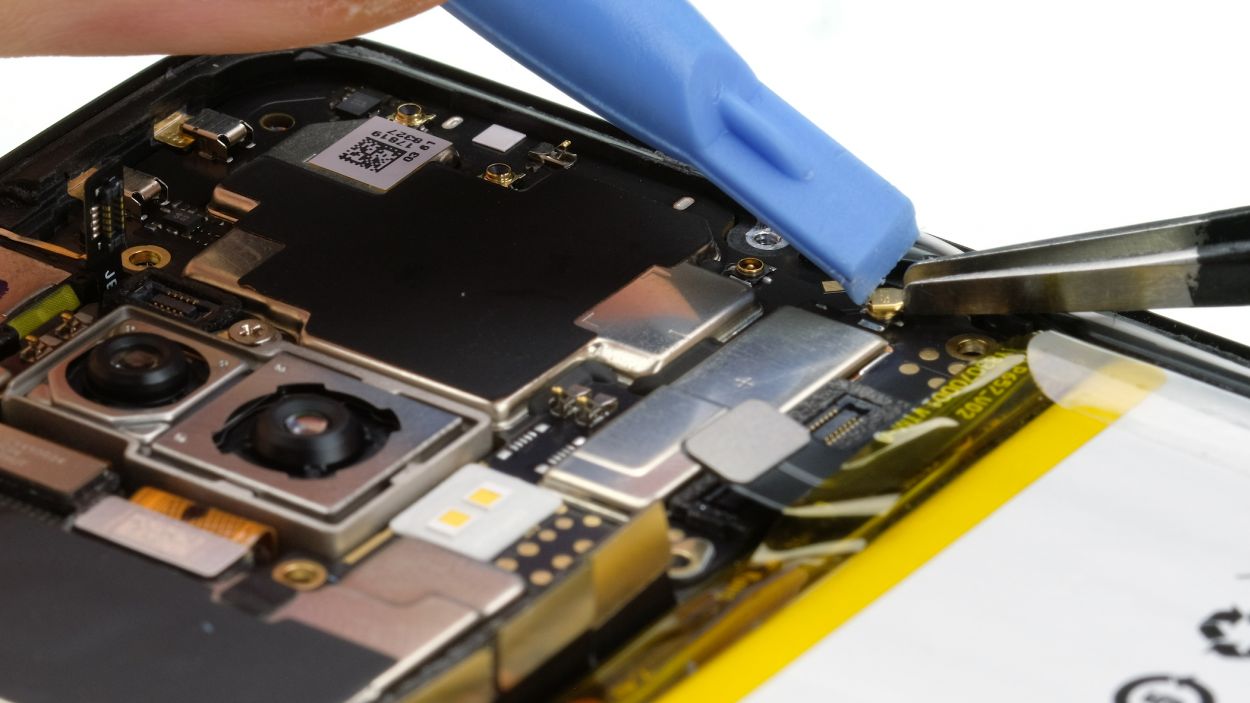
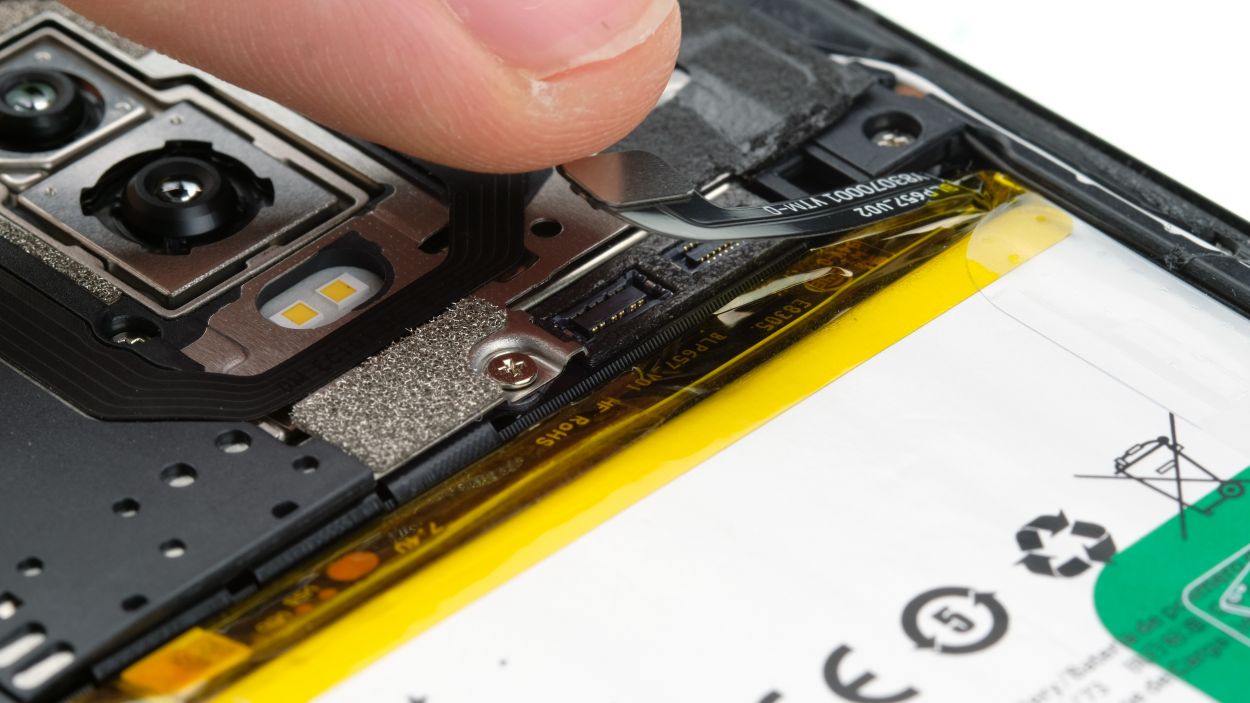
Step 7
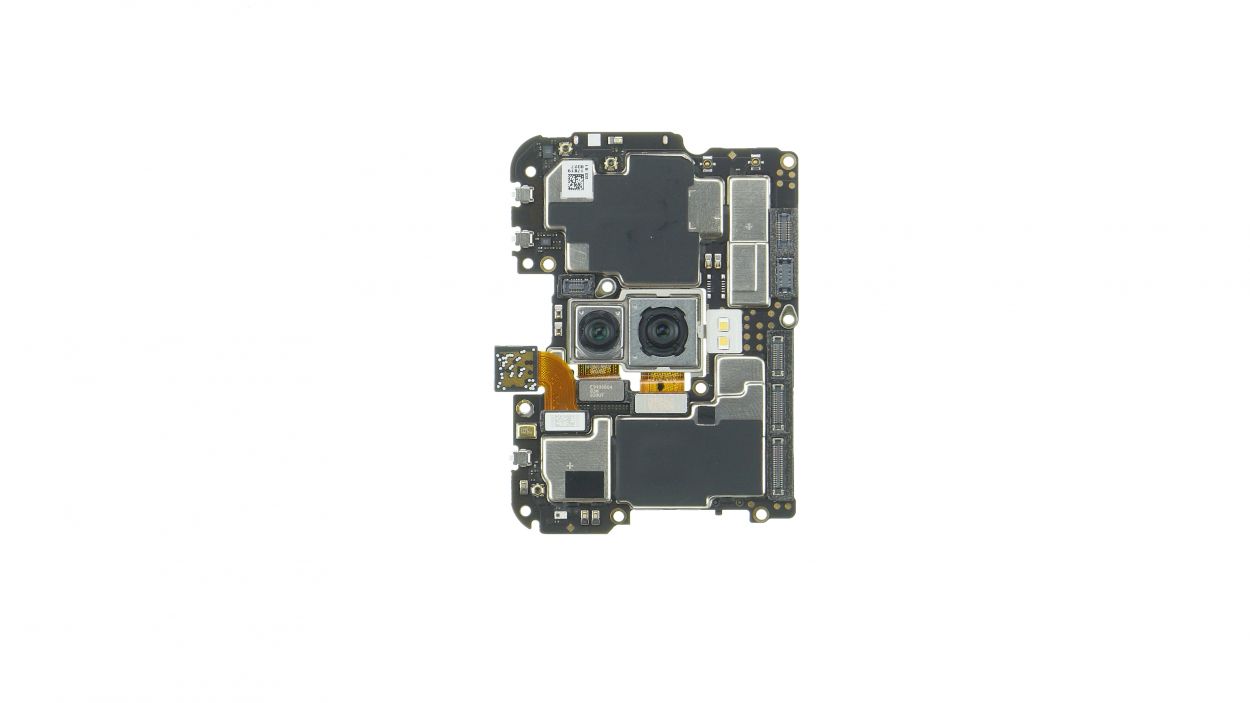
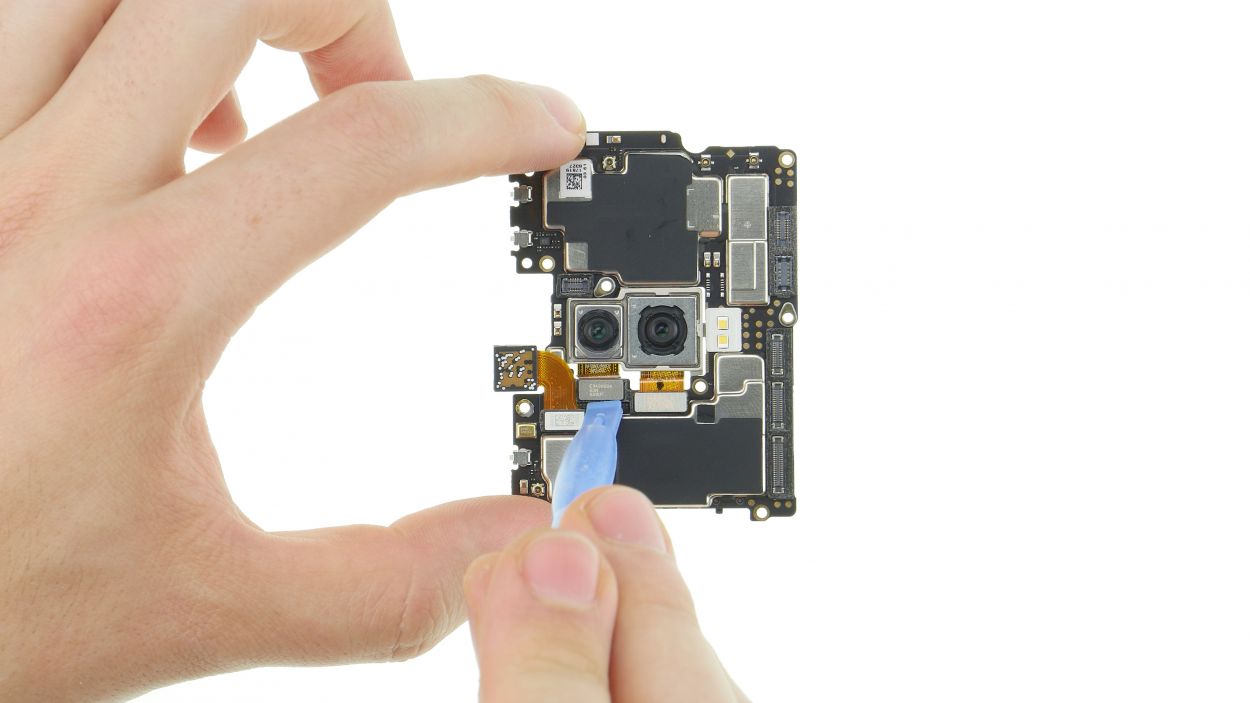
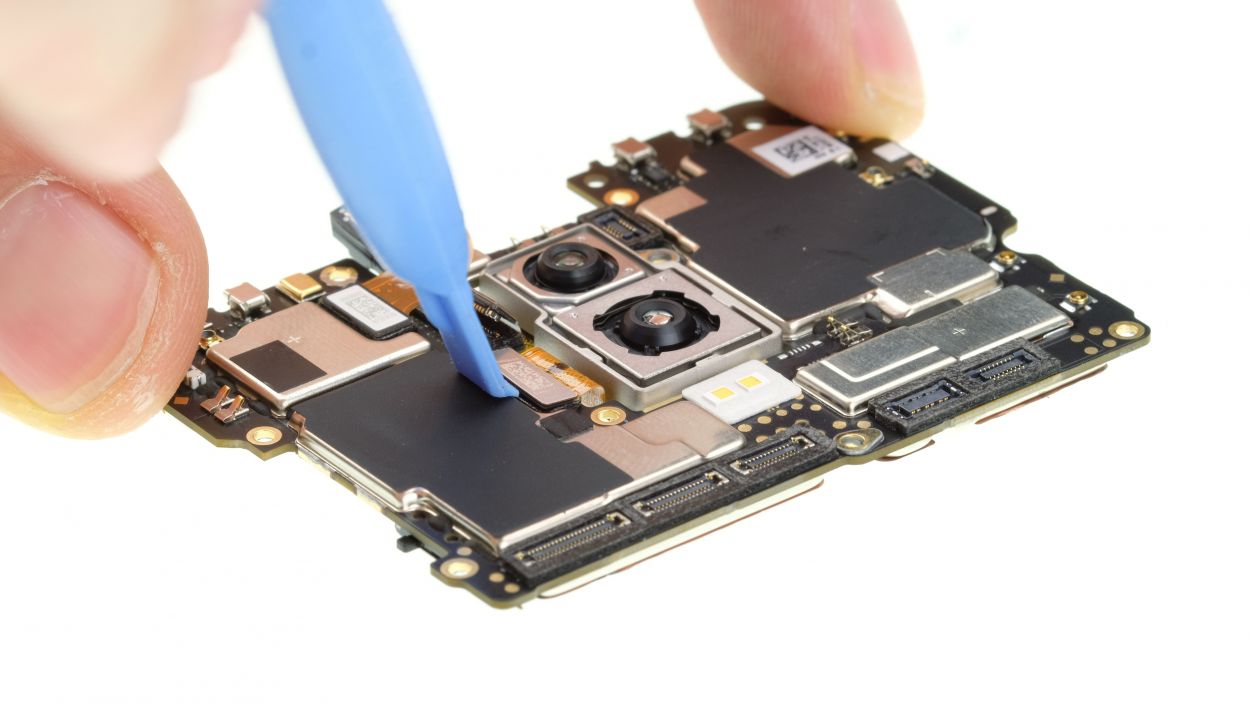
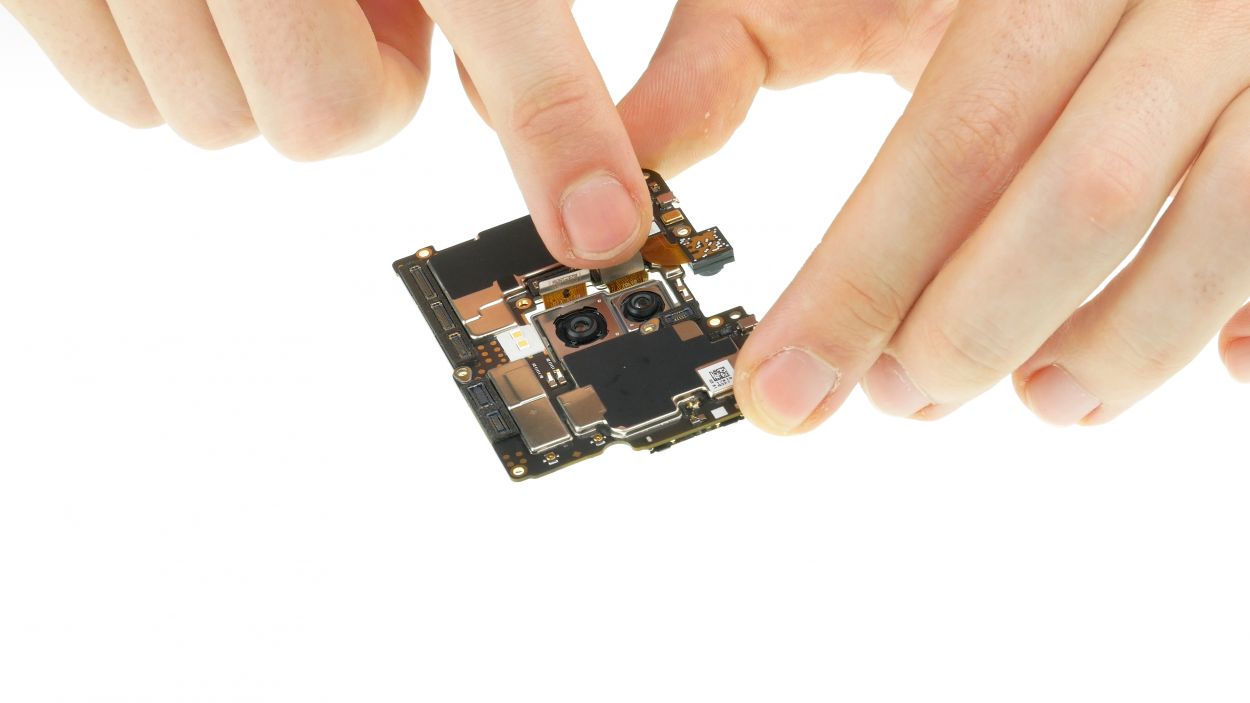
Camera Connector
– Grab the mainboard and gently loosen the two camera contacts.
– Now, just slide that camera right out through the opening like a pro!
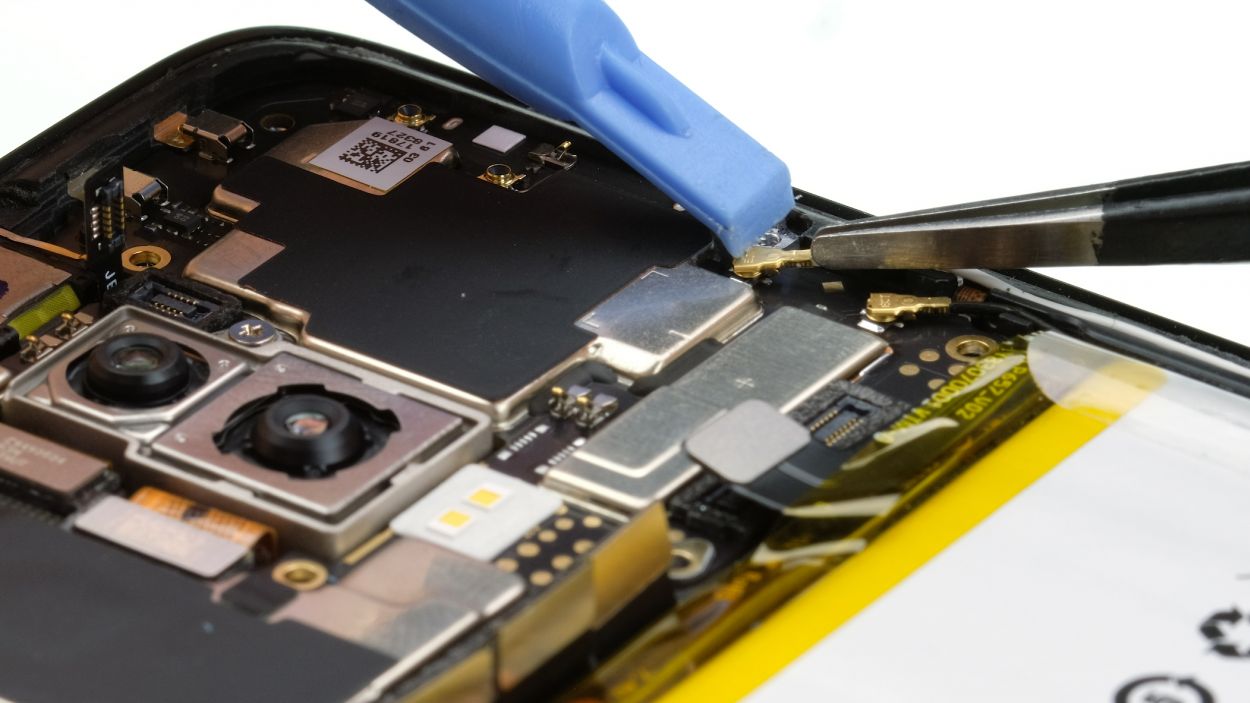
Step 8
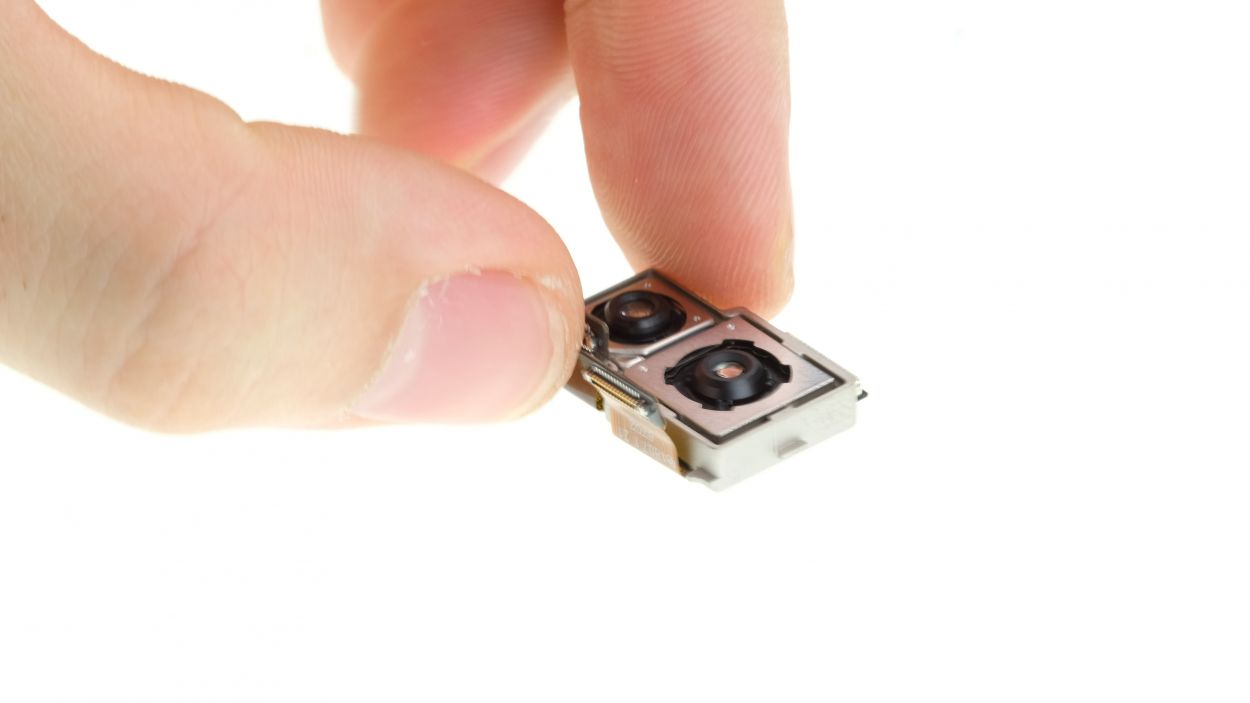
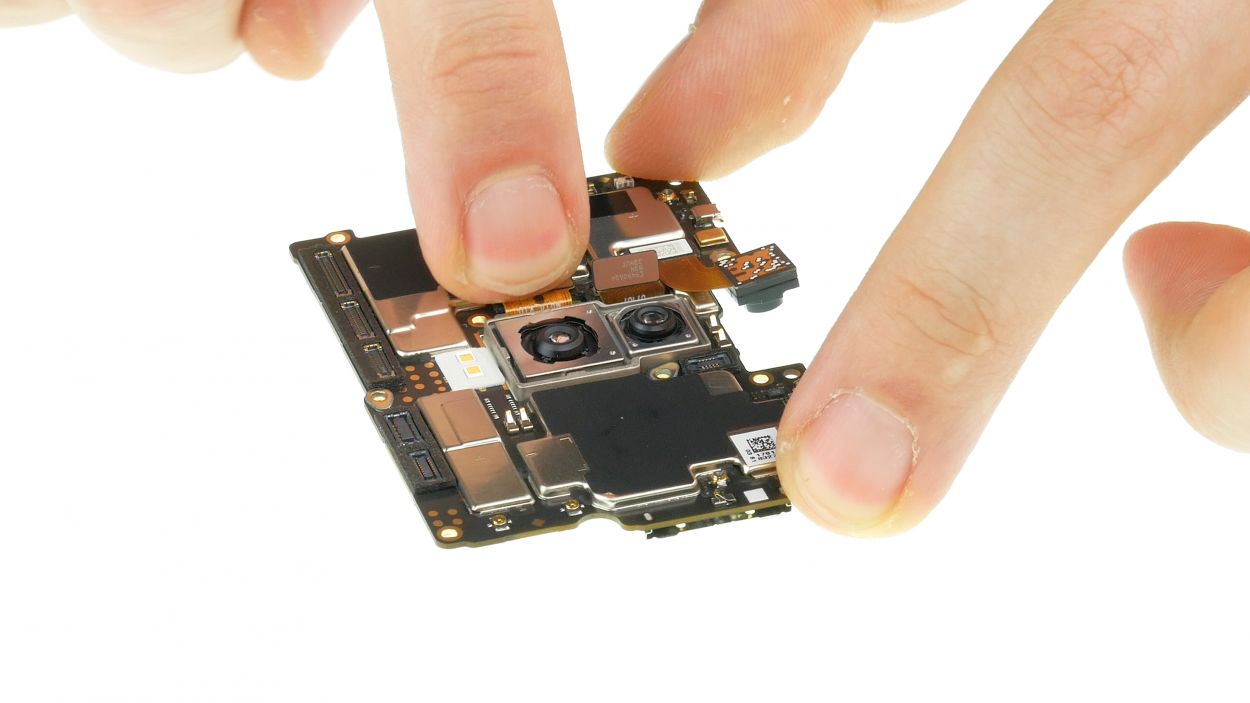
Camera Connector
– Gently pop the new camera into the mainboard like it’s settling into a cozy chair.
– Make sure to connect both contacts snugly and double-check that the cameras are sitting pretty in their spots.
Step 9

1 × 3,0 mm Phillips
If the SIM holder is feeling a bit stubborn and isn’t sliding in just right, it might be a sign that the mainboard isn’t snugly in place yet. No worries, just give it a little adjustment!
Step 10
10 × 3,0 mm Phillips
– Pop that cover onto the top edge and give it a good press to secure it in place.
– Double-check that the little tabs on the sides are snugly tucked inside the frame and not peeking out.
– Secure the cover with those trusty Phillips screws to keep everything in place.
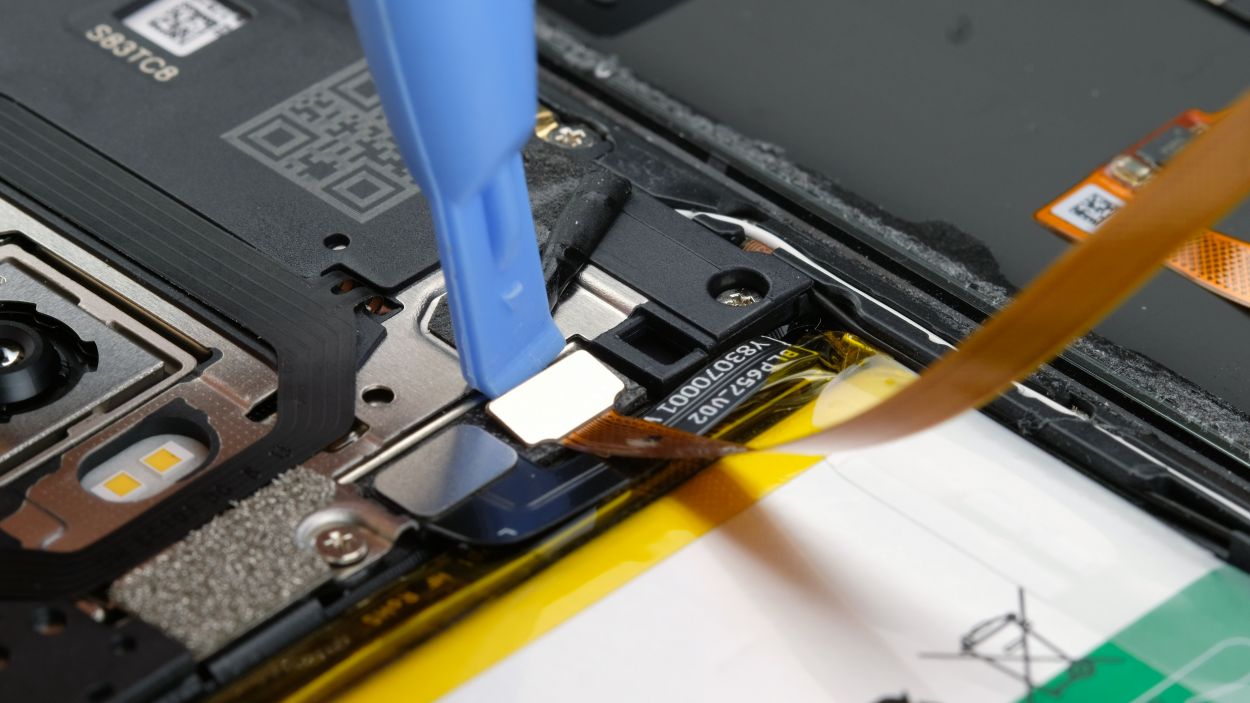
Step 12
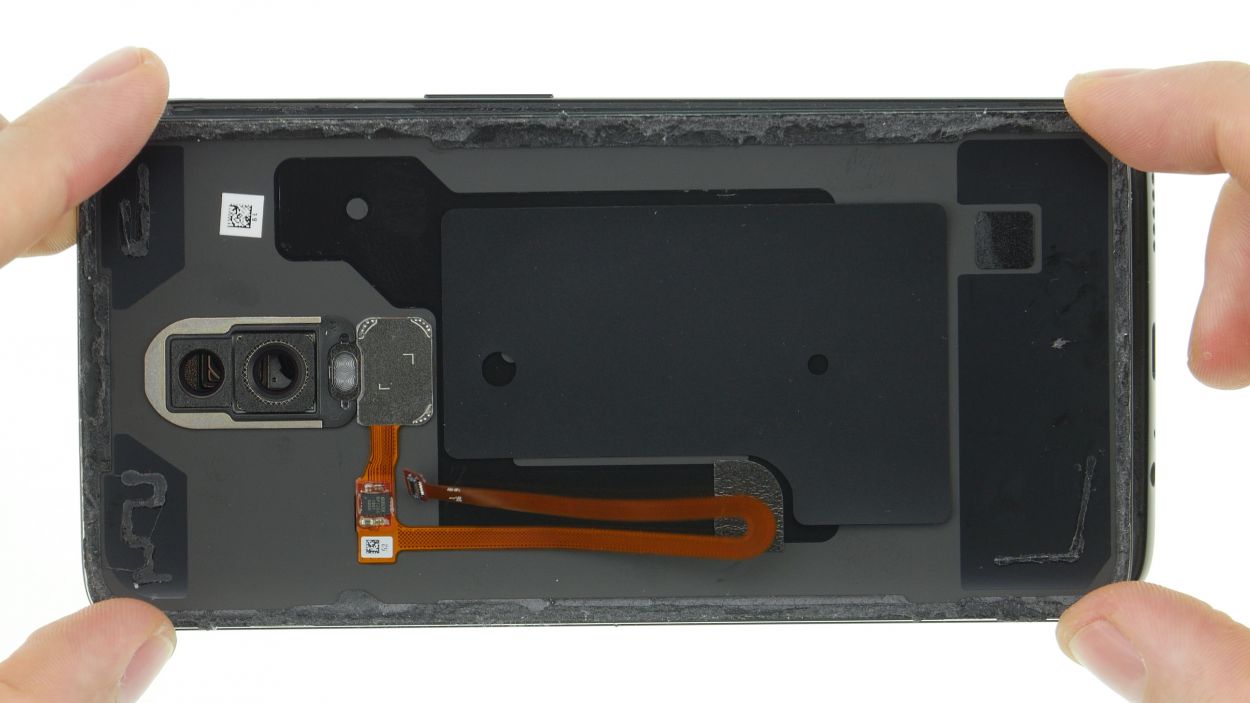

Fingerprint Connector
– Grab that back cover and set it right next to your device, ready for action!
– Carefully lay the fingerprint sensor cable over its mainboard contact and give it a nice little connection.
– Now, pop on the cover with the red rubber piece and don’t forget to reattach that black glue like a pro!
Step 13

– First things first, power up your device and give that screen a good look!
– Next, slide an app along the edge and zigzag it across the display to ensure the touchscreen is responding like a champ at every spot.
– Don’t forget to check out the brightness levels—test both the dimmest and the brightest settings.
– Time to put those cameras to the test! Check out the front and rear cameras along with the flash.
– Make a call to a friend and see how the microphone and earcup are doing.
– Finally, mute your phone and give that vibration motor a little workout!
Step 14

If you aren’t feeling totally cool with DIY repairs, no worries! Use books as a temporary stand-a-thon – just clamp that device between ’em for a while until the glue gets a chance to become BFFs with that metal. Trust us, it will work out fine.
– Give your device a little heat therapy to loosen up that stubborn glue on the back cover.
– Once it’s nice and warm, press the back cover snugly onto the device frame for a secure fit.