DIY Guide to Replace OnePlus 6 Headphone Jack
Duration: 60 min.
Steps: 11 Steps
In this repair guide, we show you how to replace your OnePlus 6 defective headphone jack on your own. You need this repair if you can’t hear any sound through your headphones anymore or your headset microphone stops working.The repair is somewhat more difficult because the OnePlus 6 has to be opened via the glass back cover.
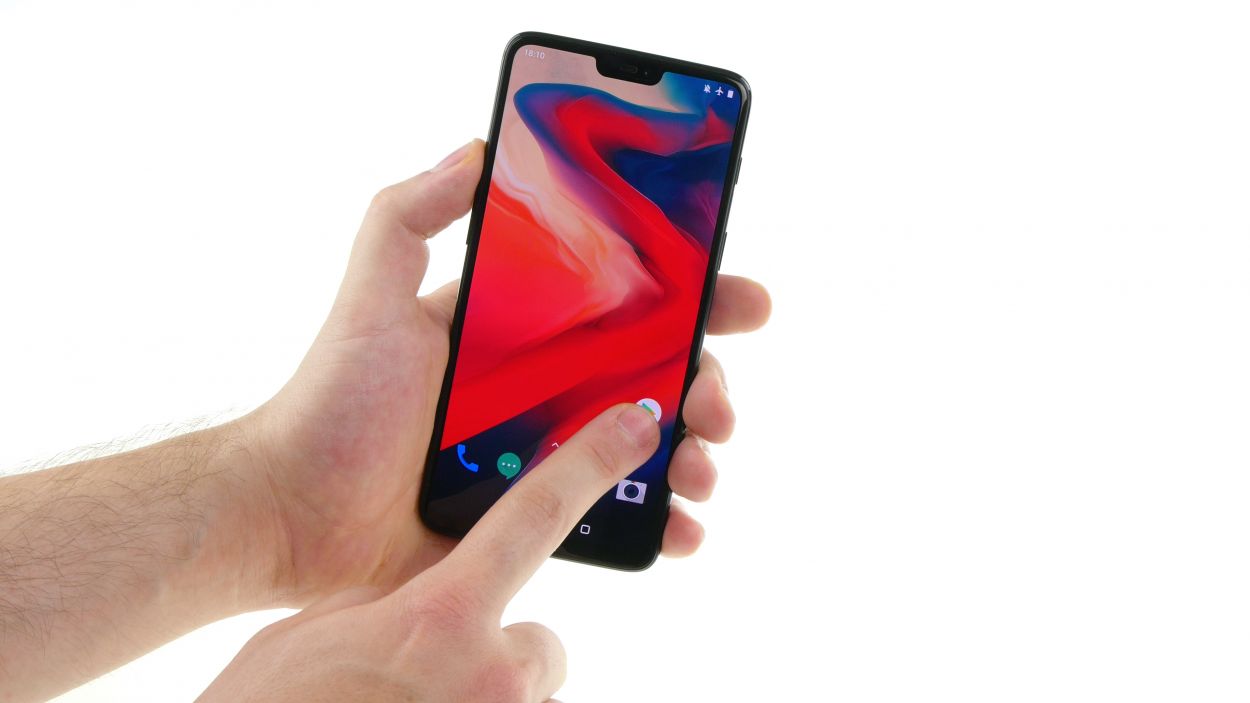
Step 1

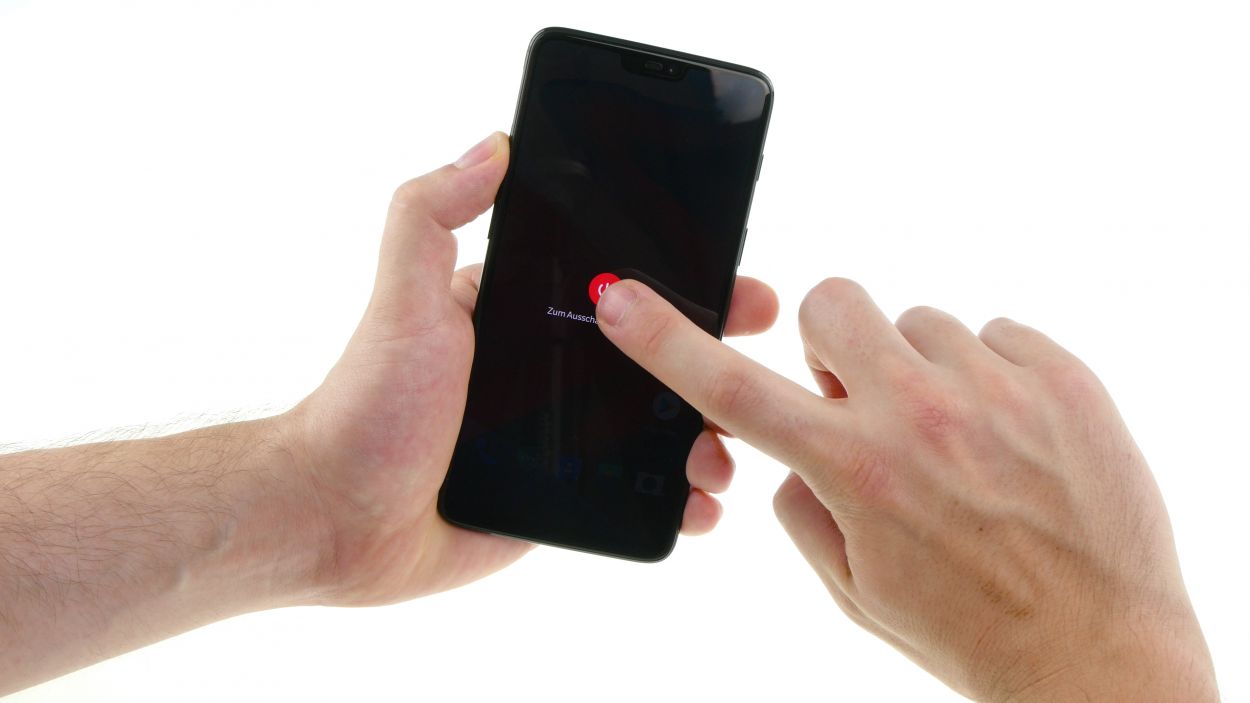
– Hold down that power button until you see ‘Turn off’. Easy peasy!
– Tap it again to confirm. You’re doing great!
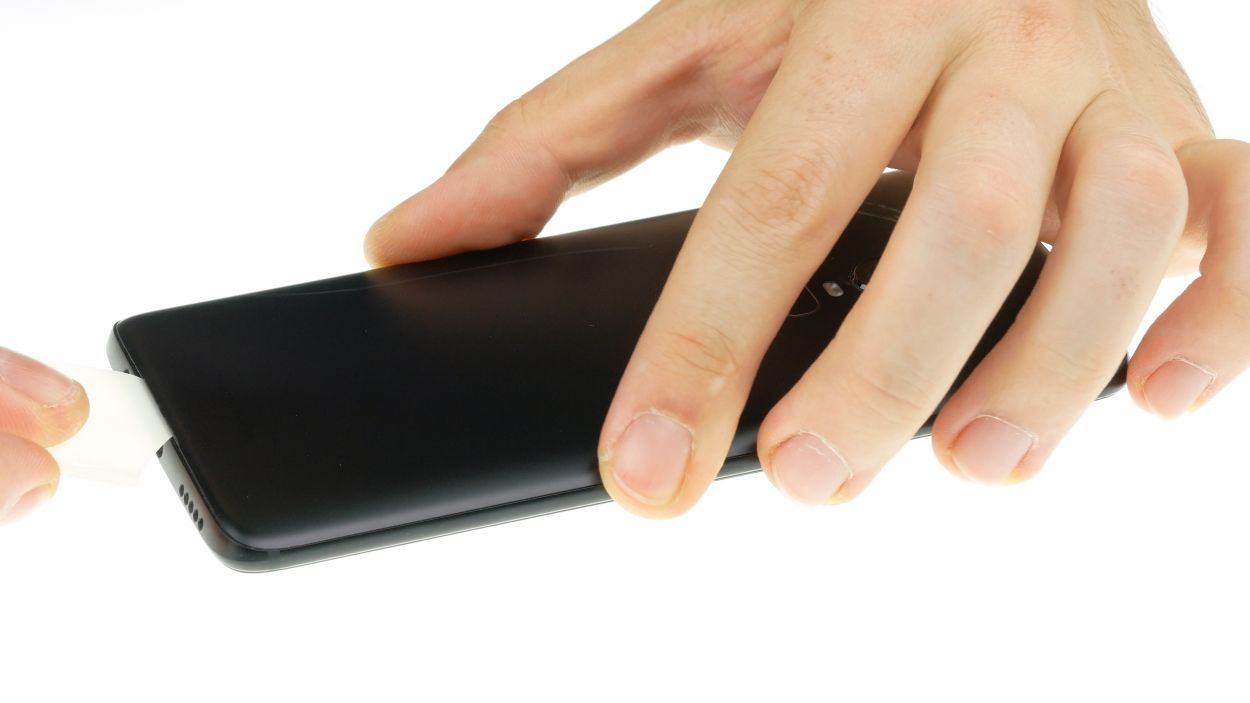
Step 2
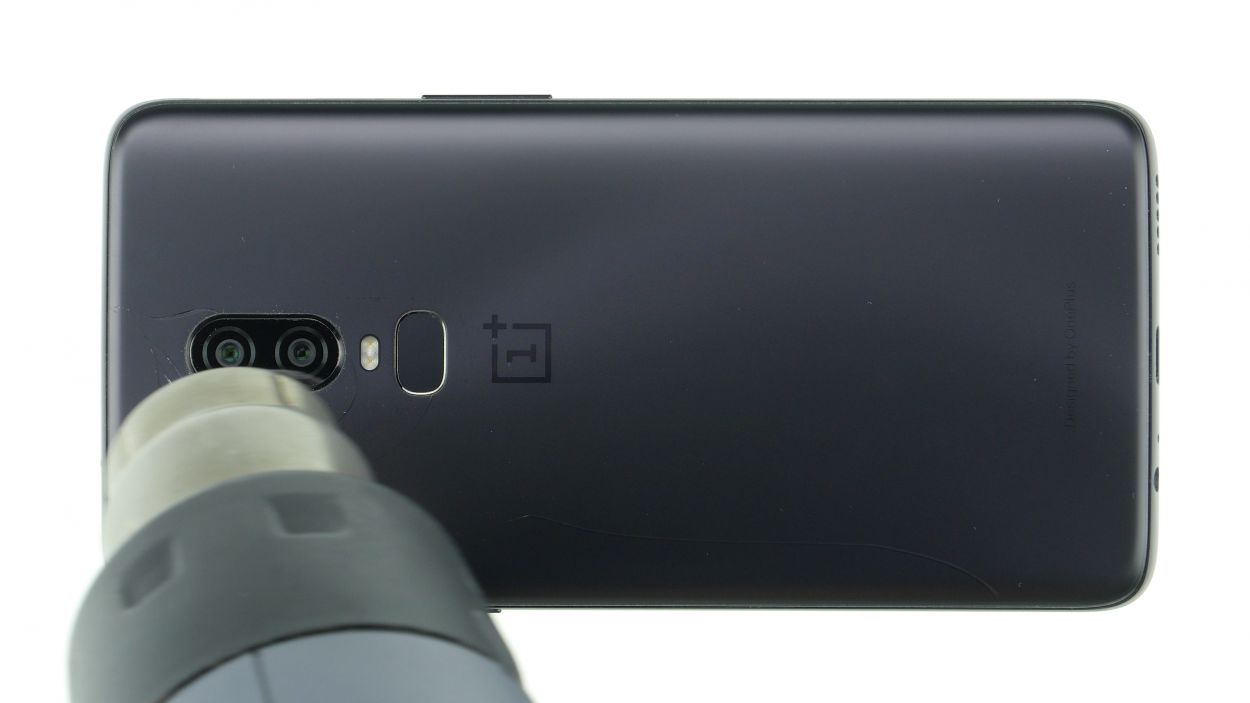
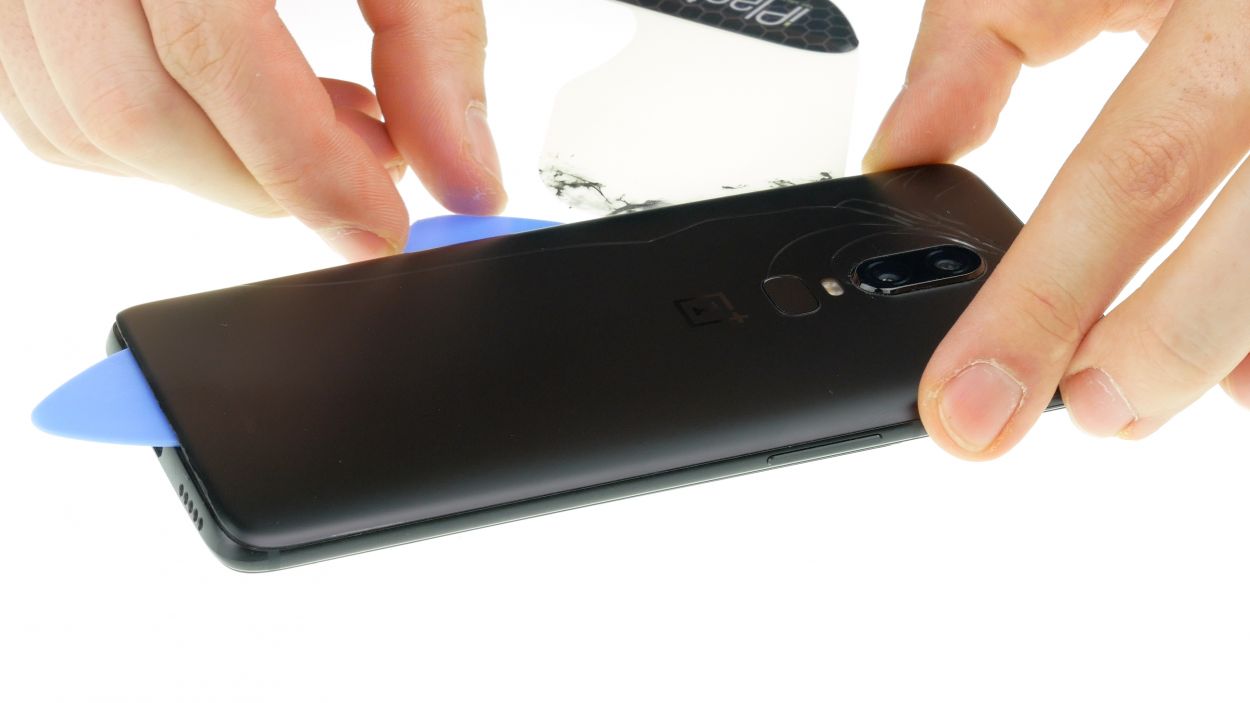
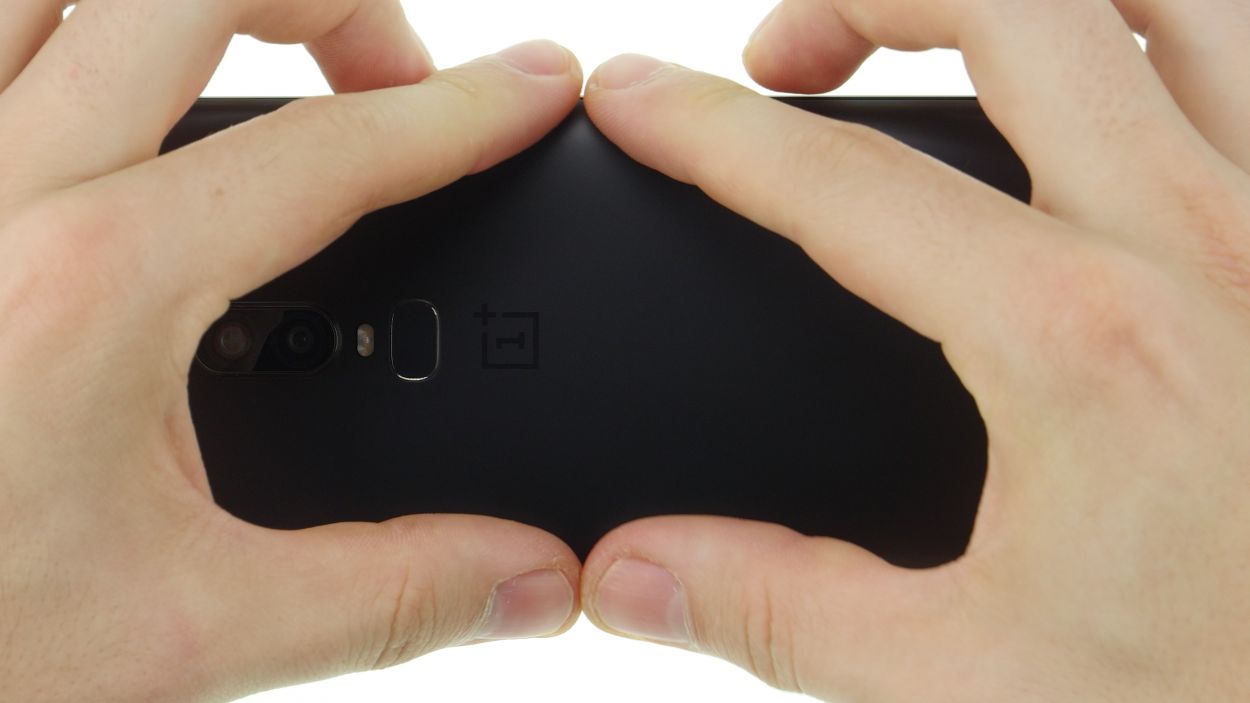
– Warm up the area where you’re going to start. A little heat goes a long way!
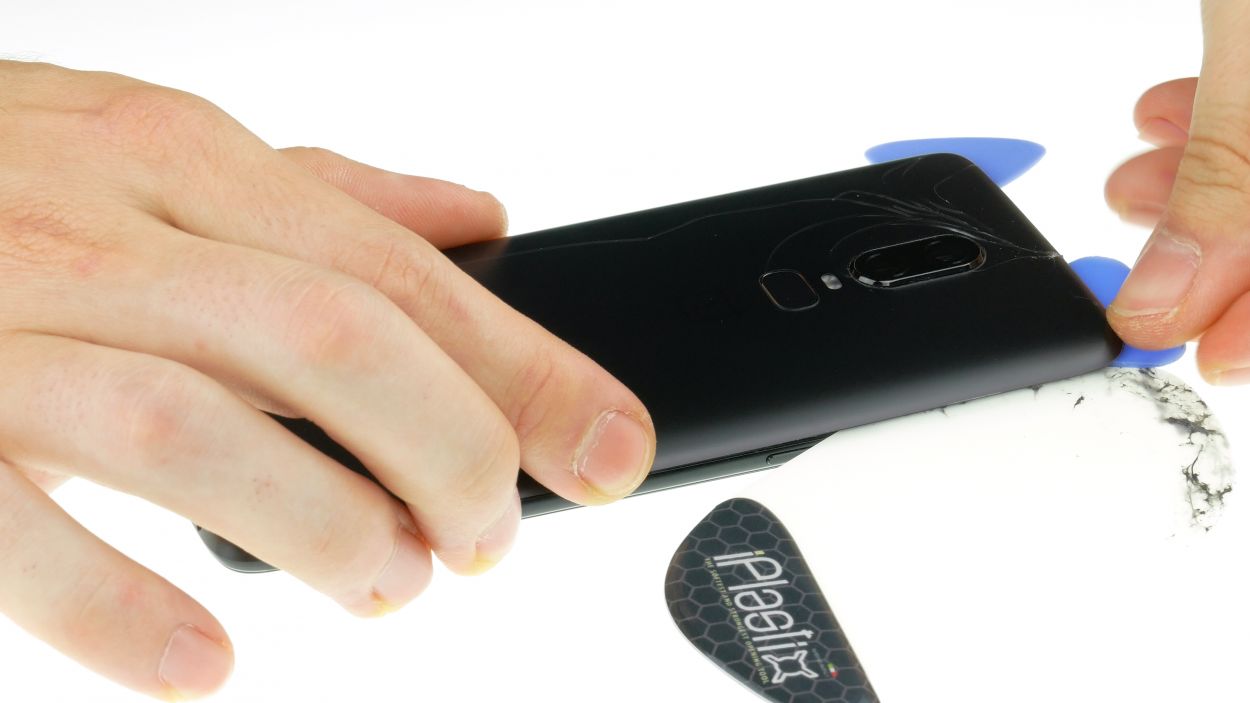
– Gently slide a flat tool between the back cover and the frame. You’re doing great!
Hey there! Just a friendly reminder to handle that back cover with care—it’s a bit fragile! If it’s giving you a hard time, don’t hesitate to warm it up a few times and give it another go. Remember, taking your time is key; it might take around half an hour, but being patient will help you avoid any mishaps. You’ve got this!
Some tools are made of plastic so they won’t scratch your slick device. On the other hand, these tools can be soft and it may be difficult to insert. If you’re having trouble, schedule a repair!
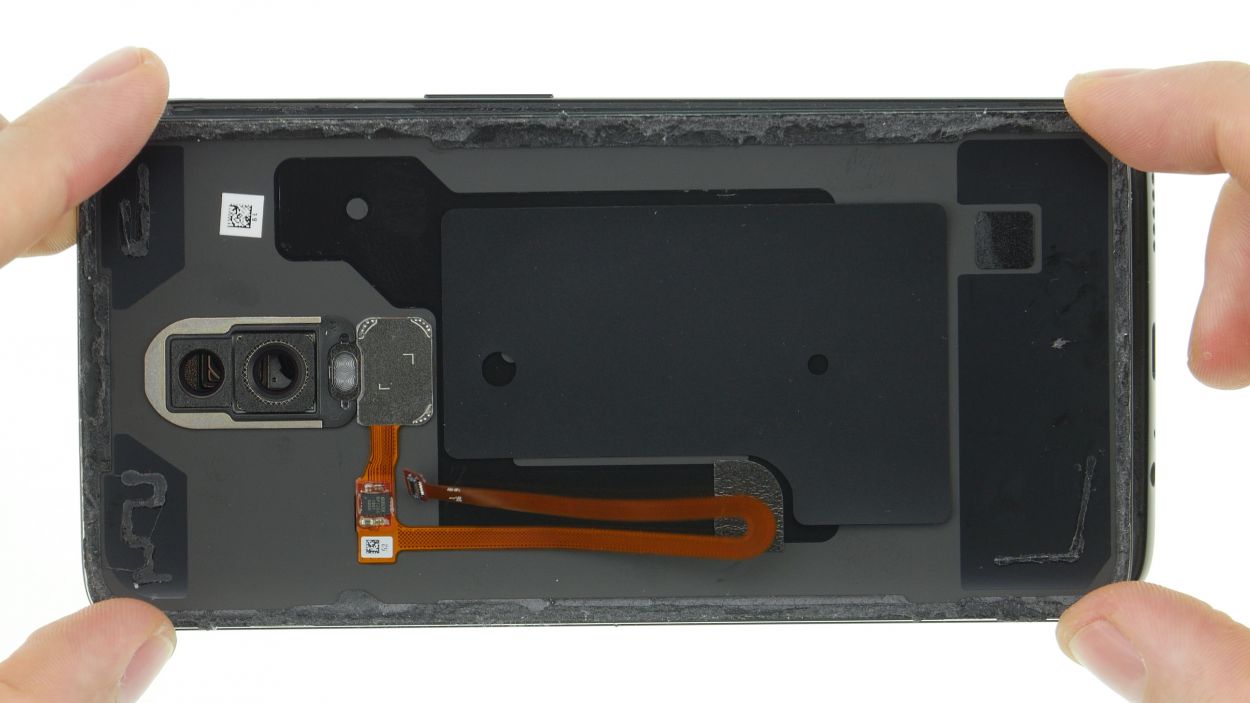
Step 3
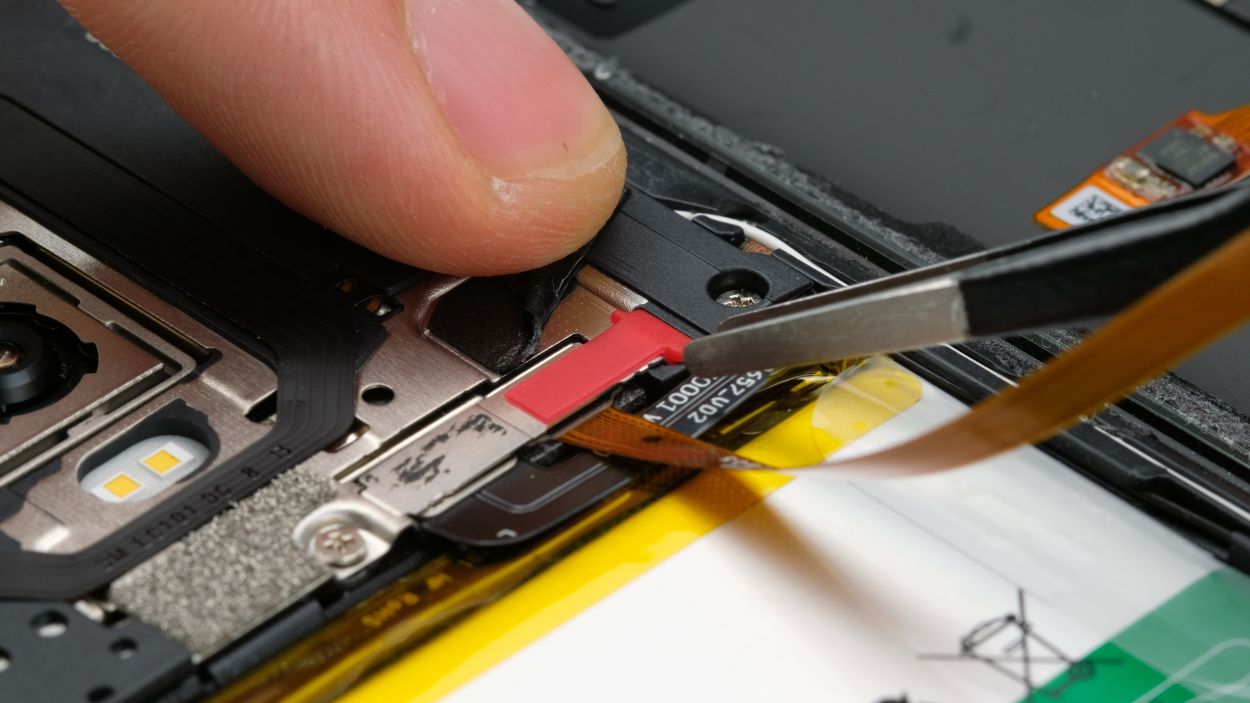
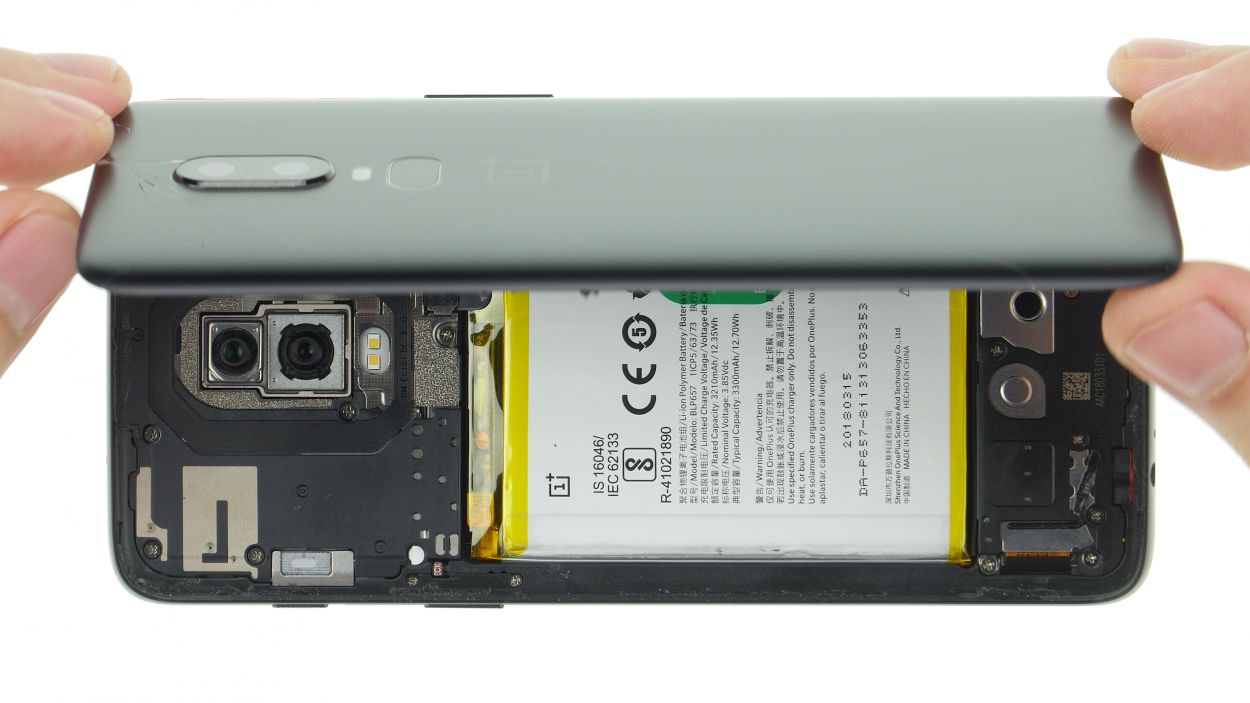
Fingerprint Connector
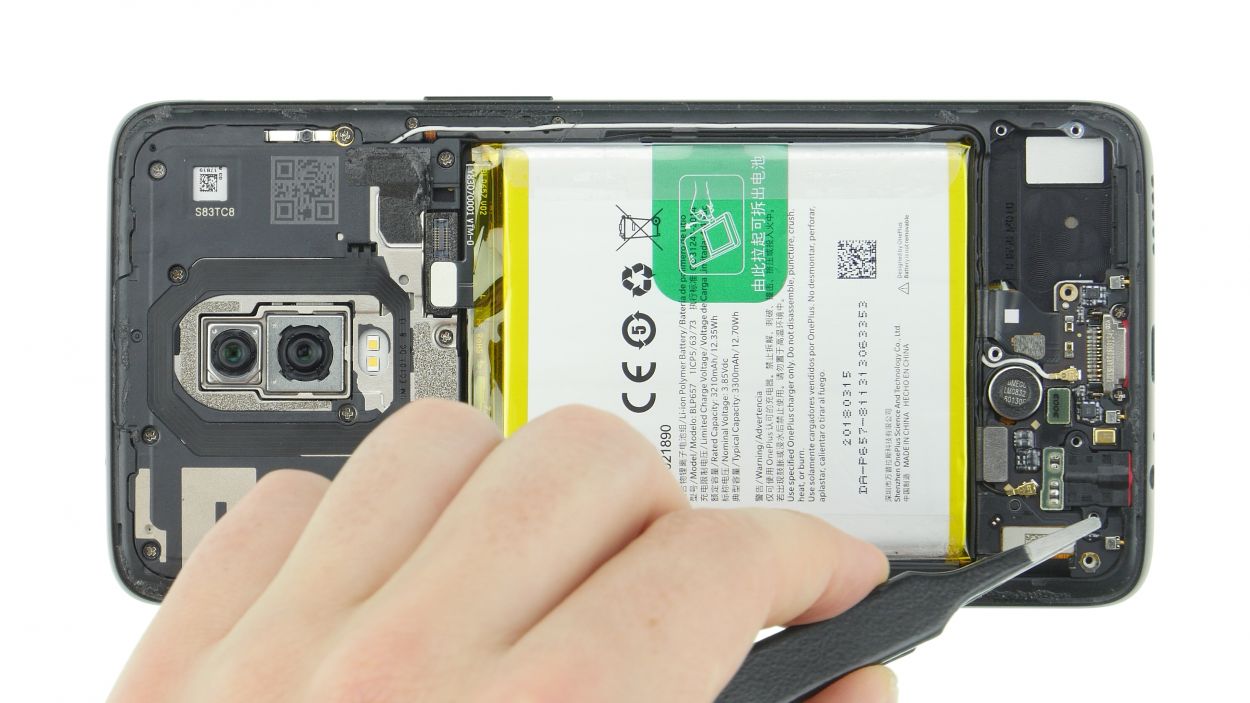
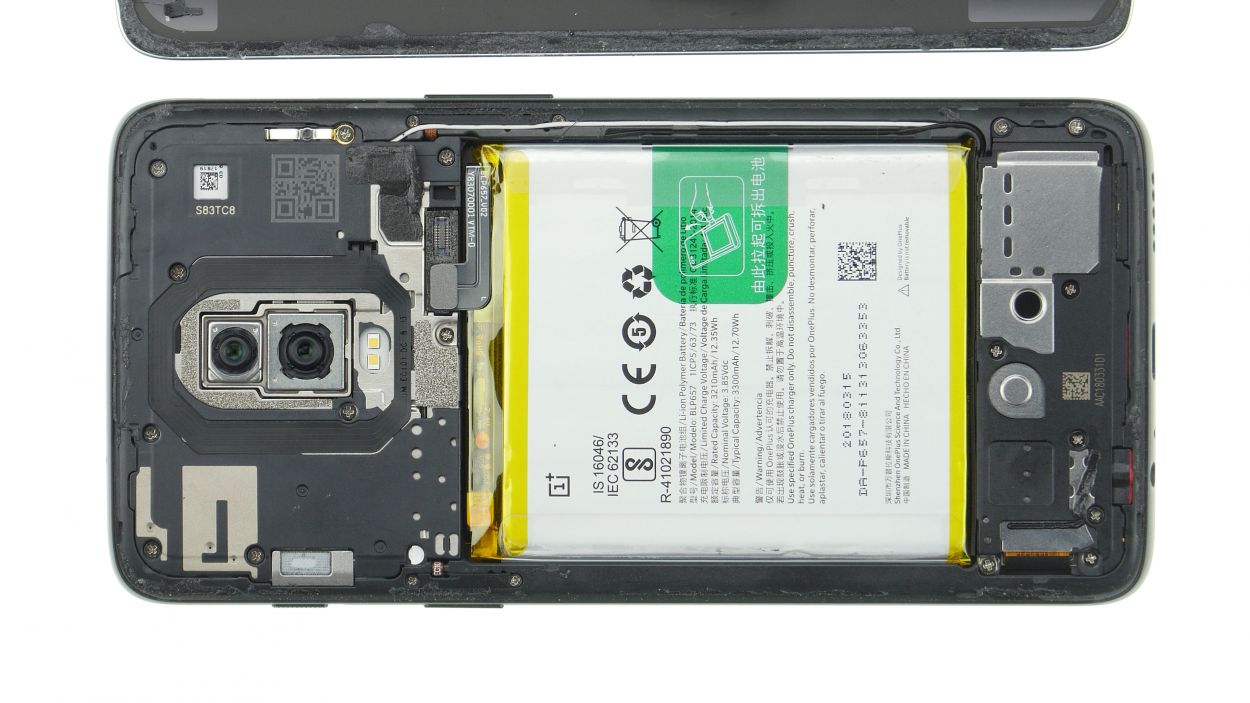
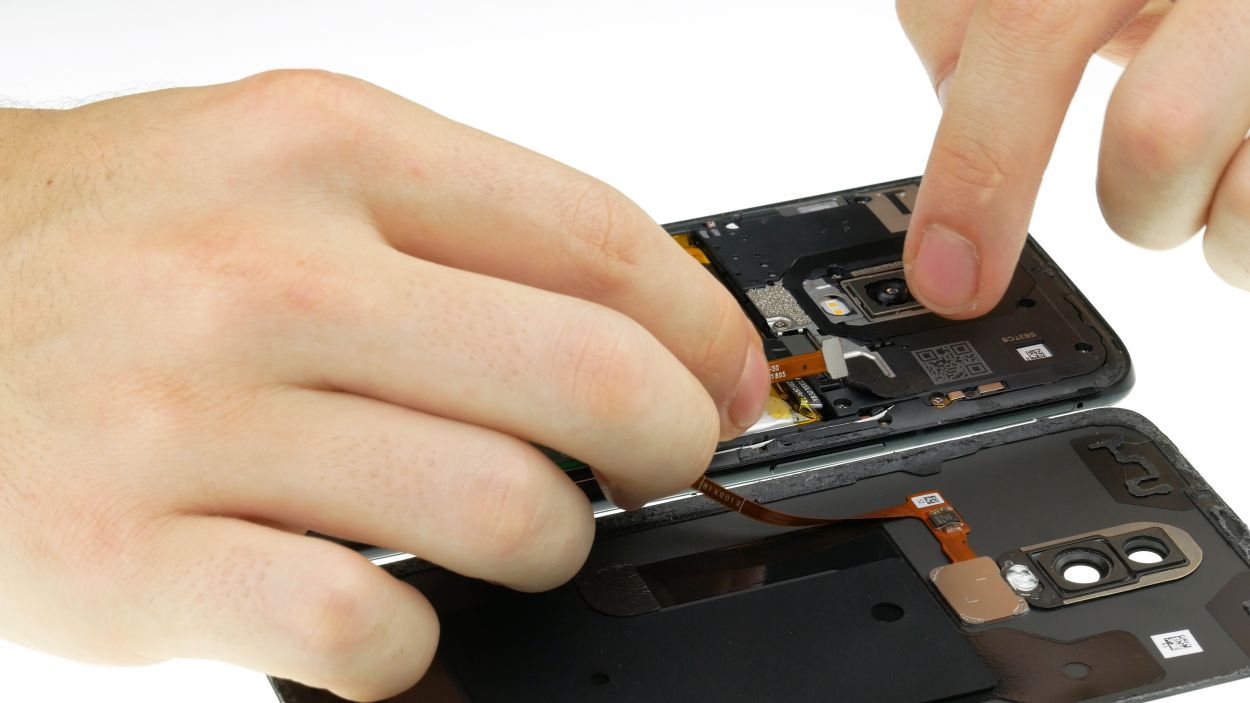
– Gently lift the back cover that you’ve just loosened and let it rest comfortably to the side.
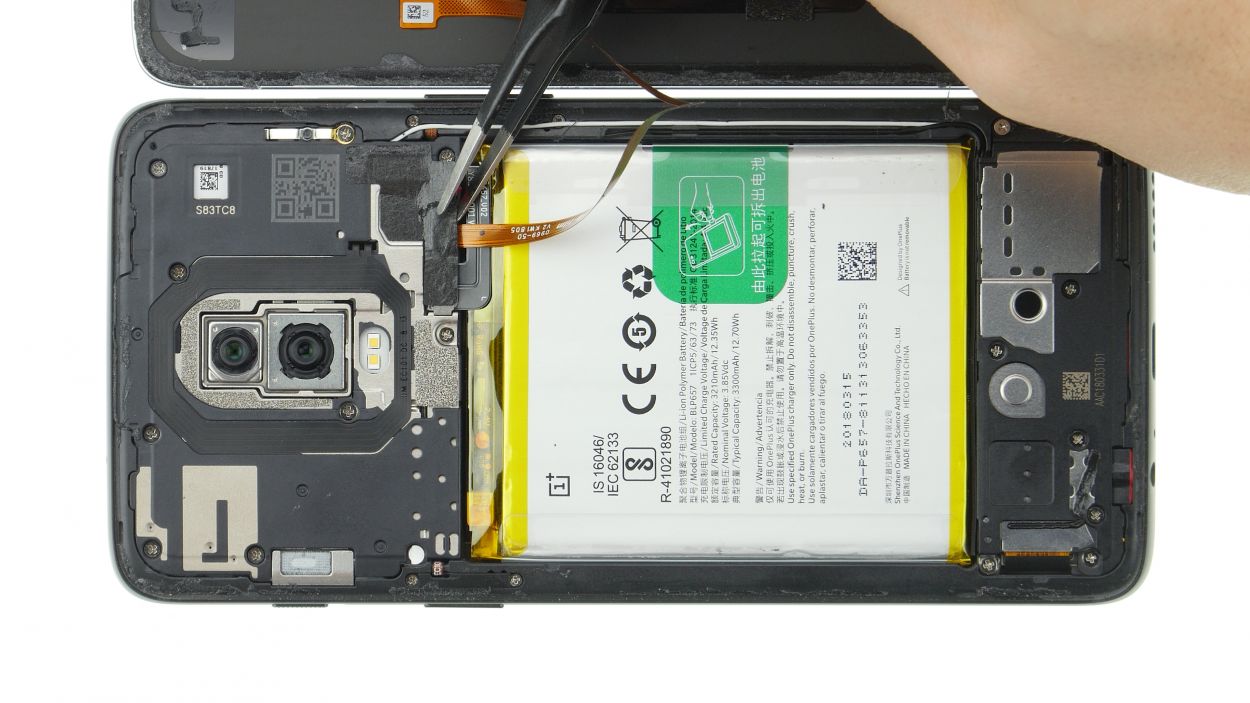
– Carefully peel back the adhesive strip that’s holding the cover plate in place.
– Using tweezers or your fingers, take off the cover that’s sitting over the connector.
– Now, with a spudger or your trusty fingernail, disconnect the connector and remove the back cover with ease.

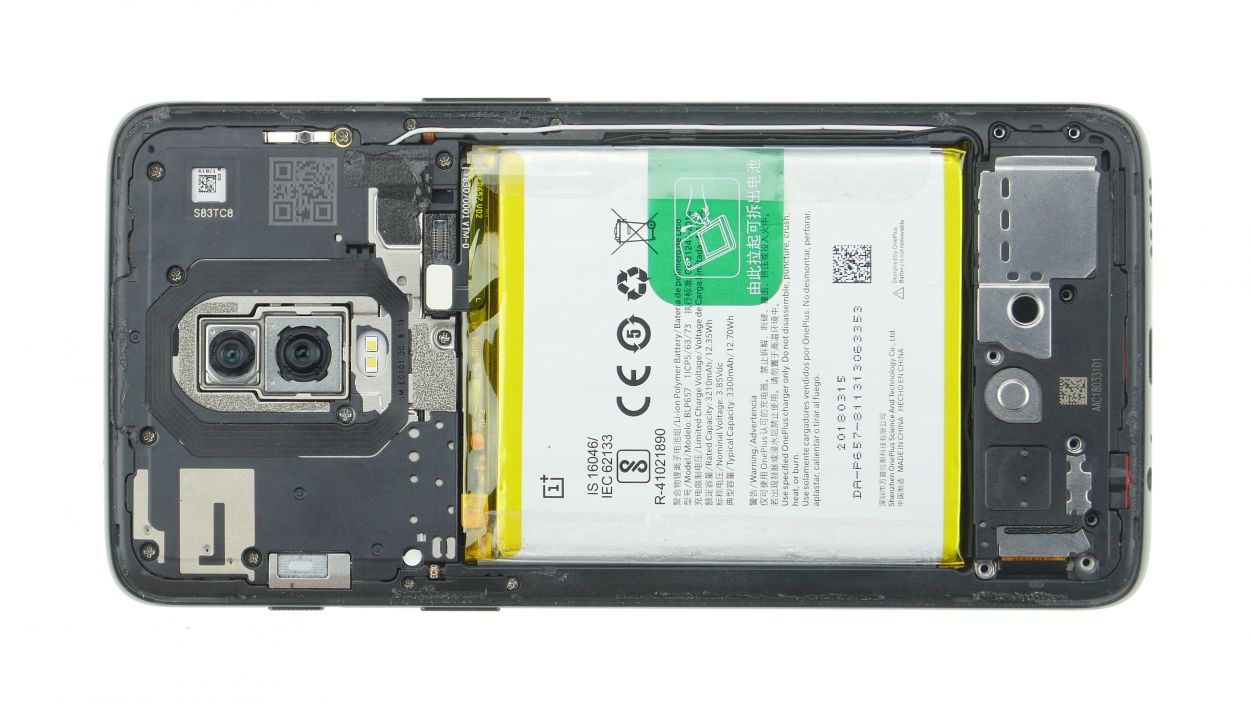
Step 5
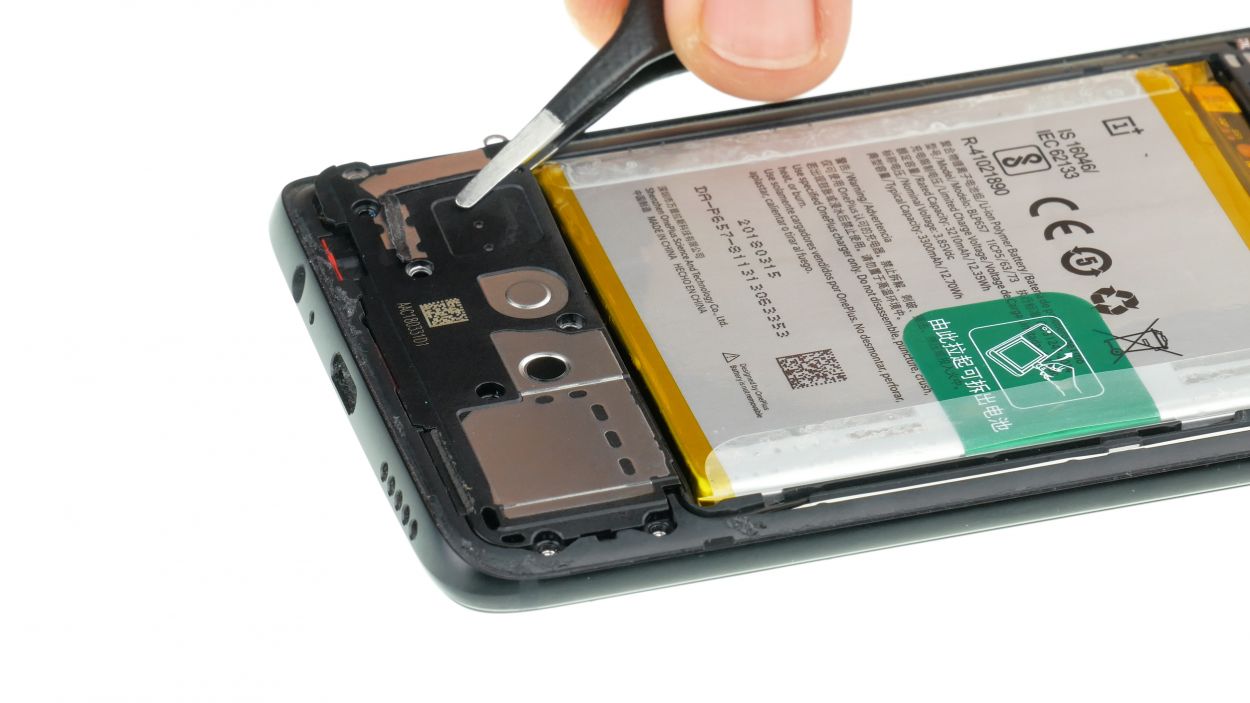
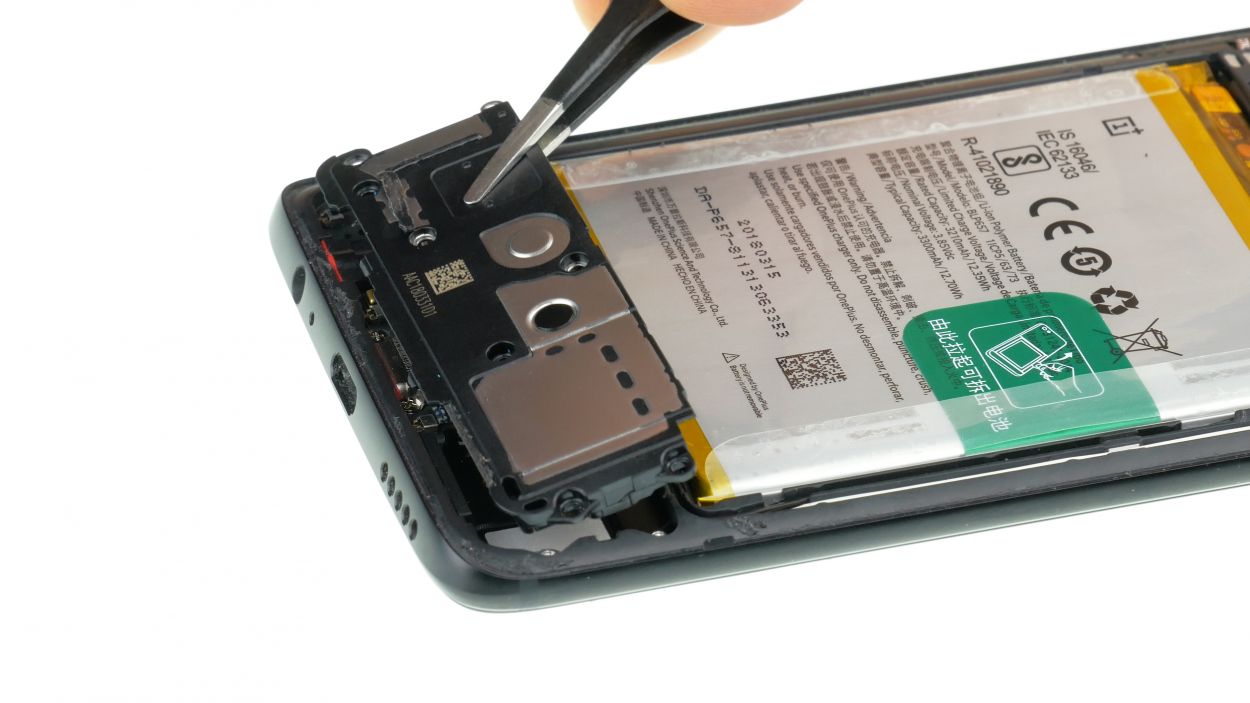
8 × 3,0 mm Phillips
– First, let’s get those marked screws loosened and removed. You’ve got this!
– Next up, gently use your tweezers to lift off the cover. Just a heads up, the speaker is snugly tucked in there with the cover.
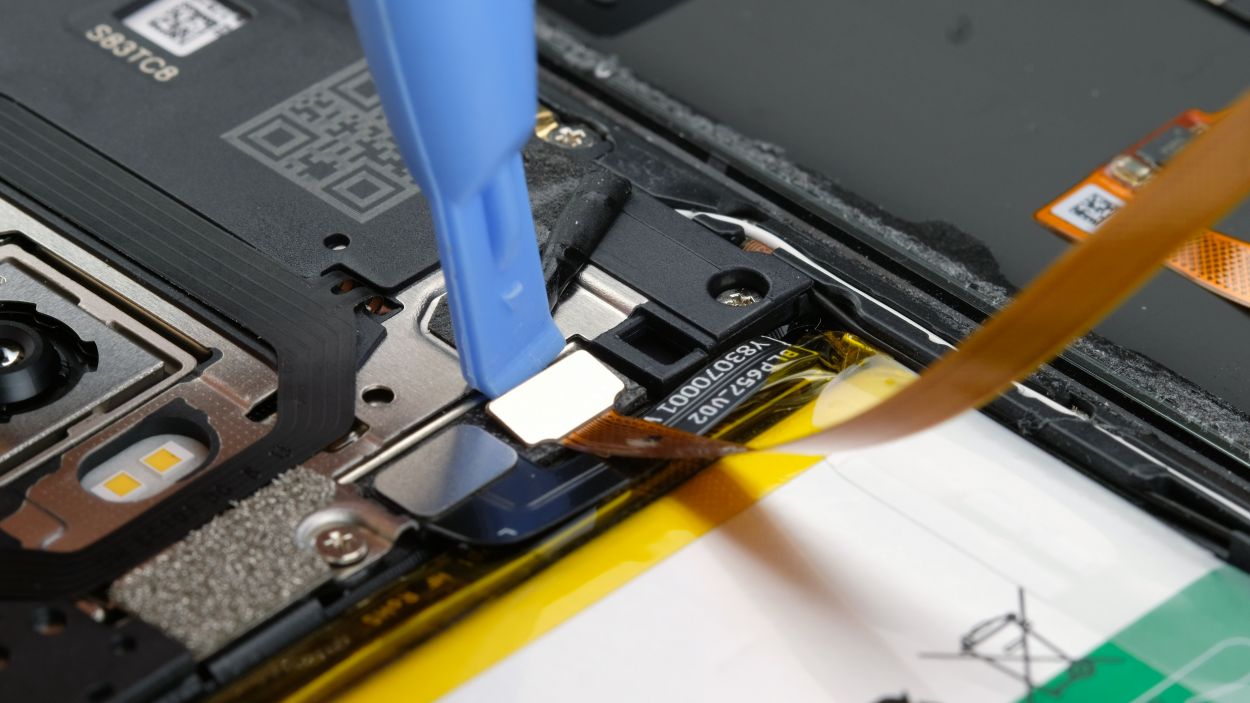
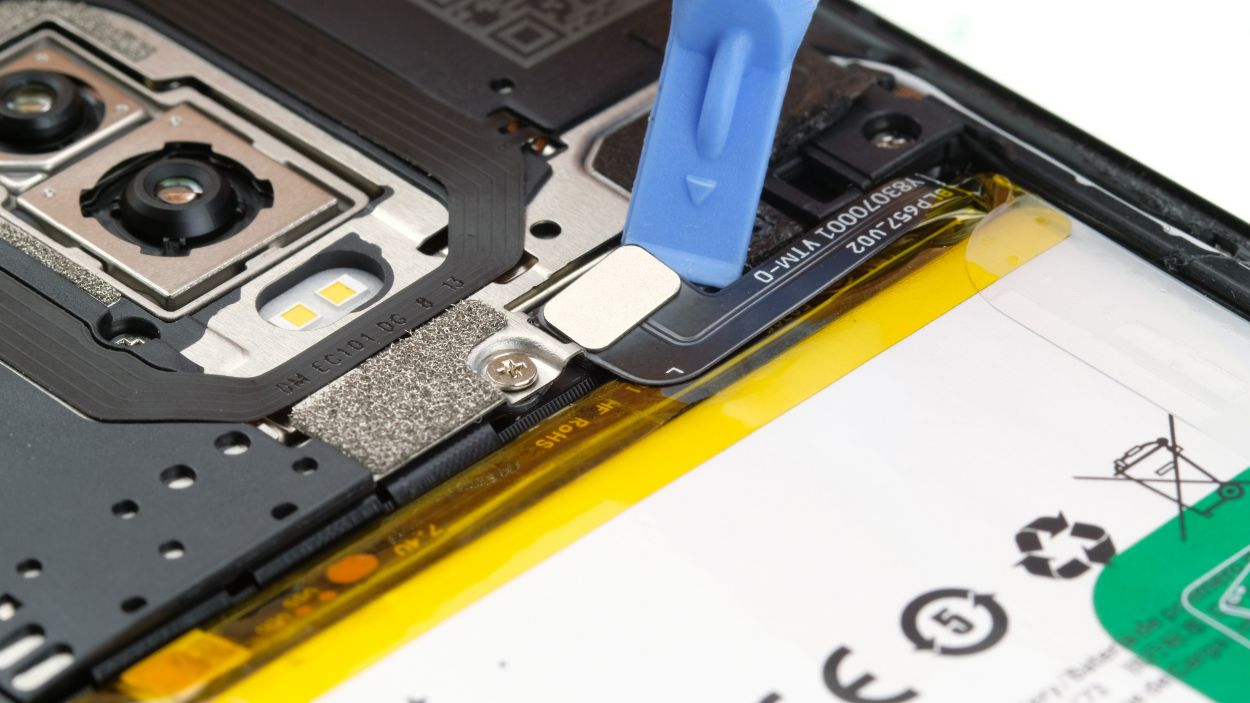
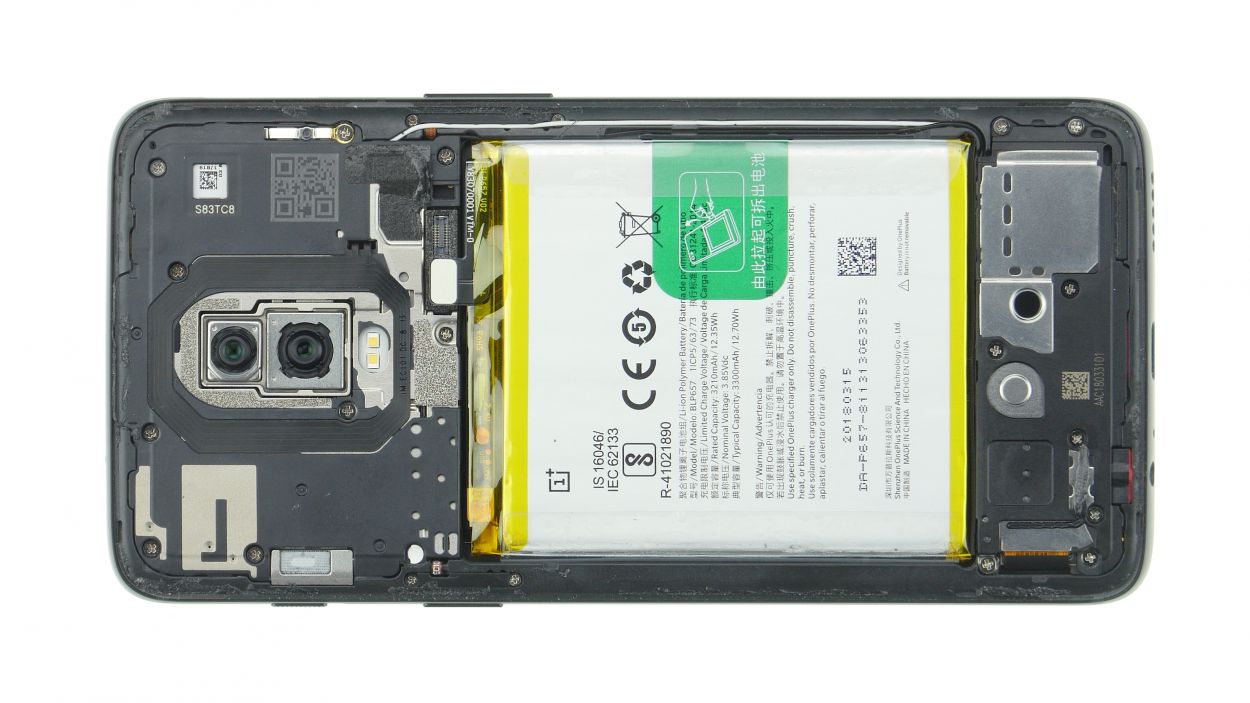
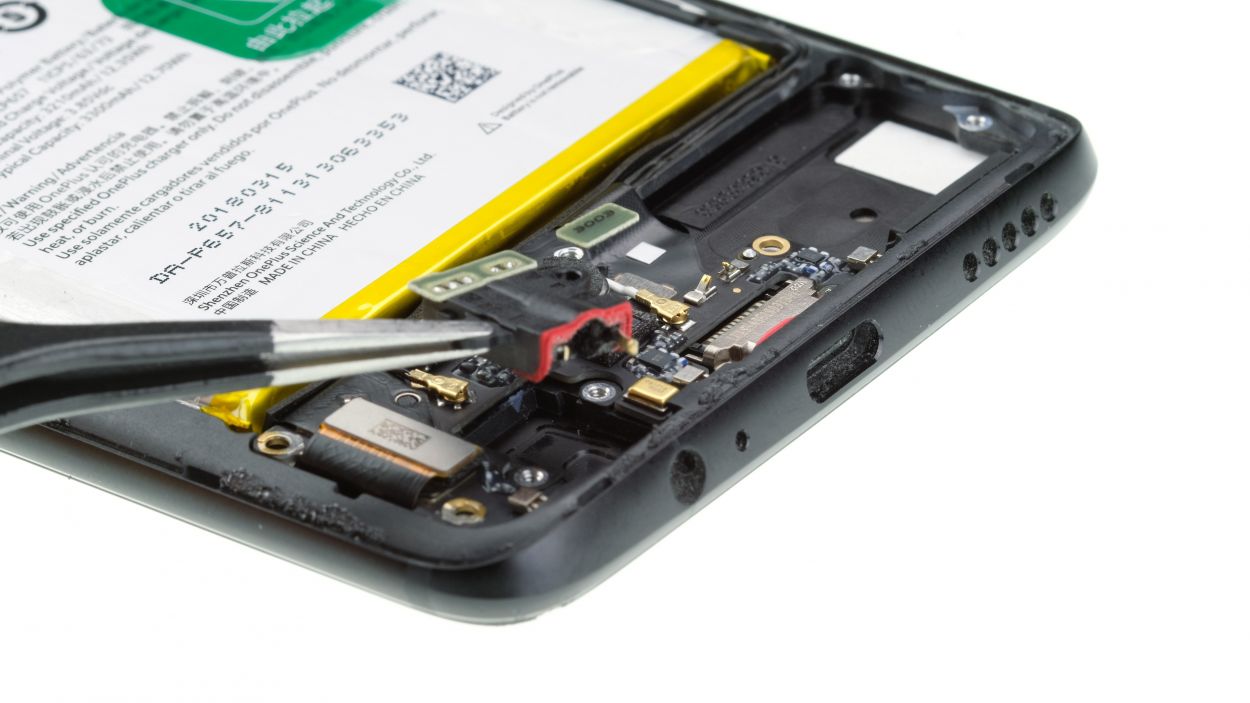
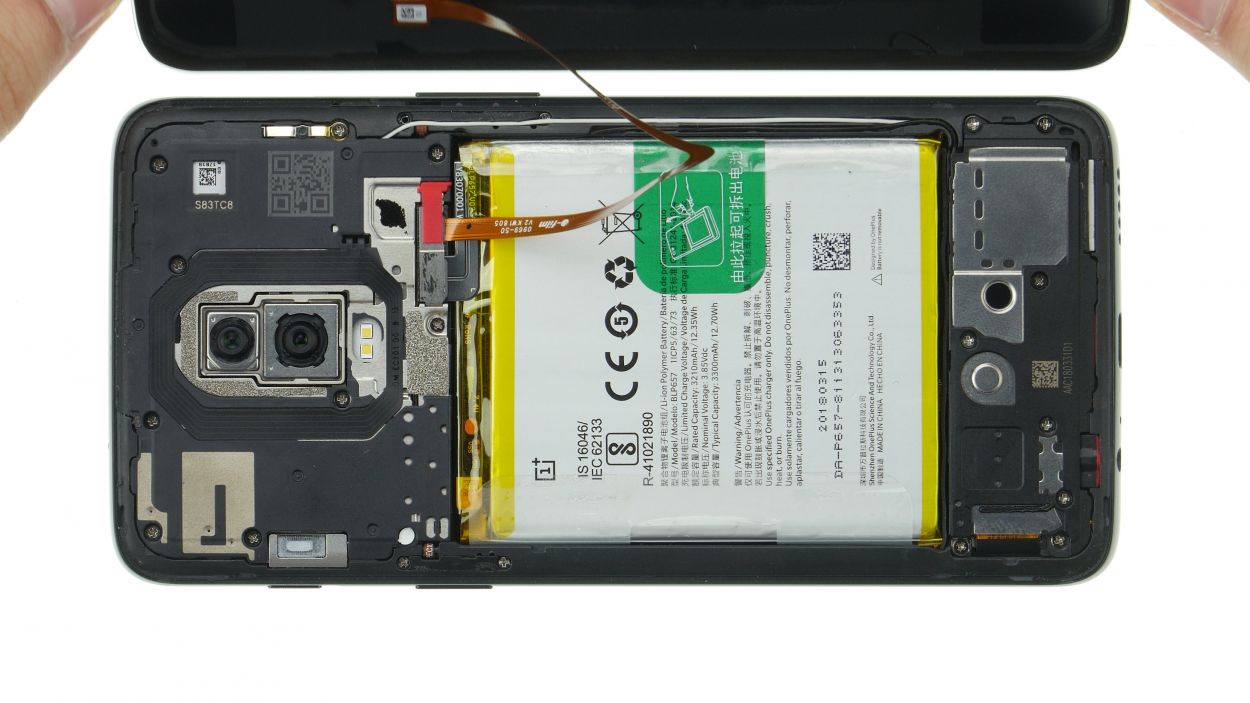
Step 6
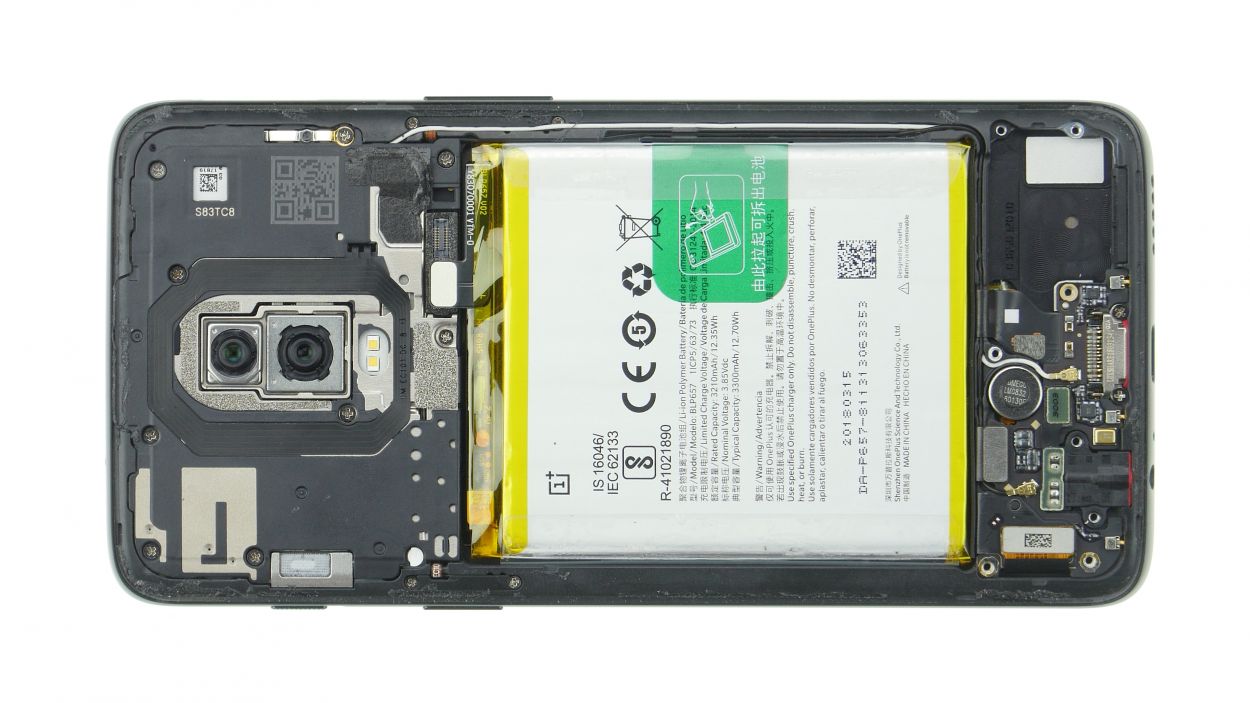
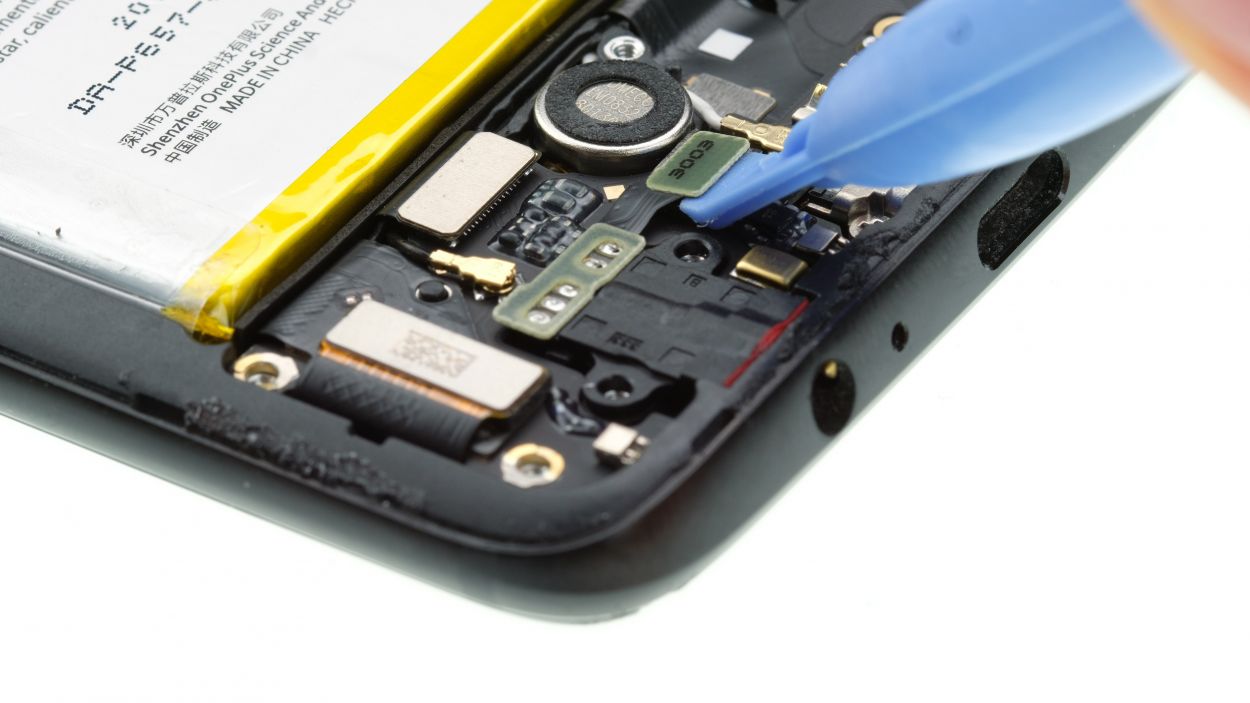
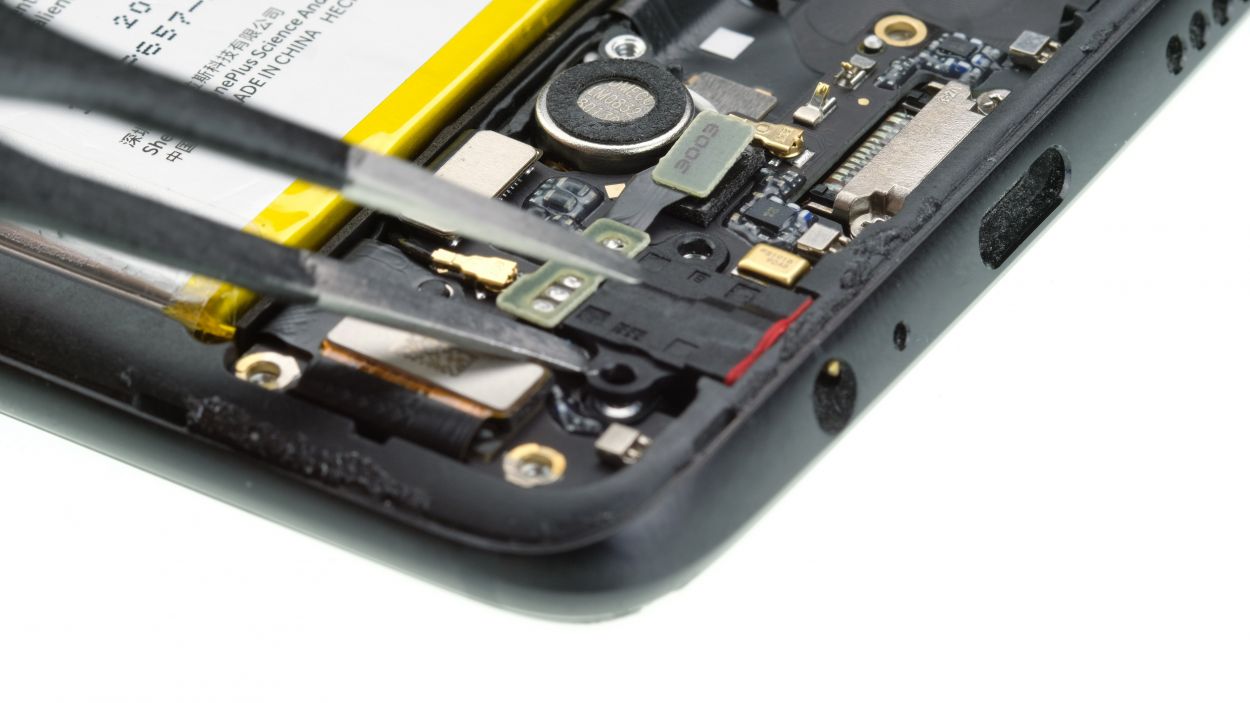
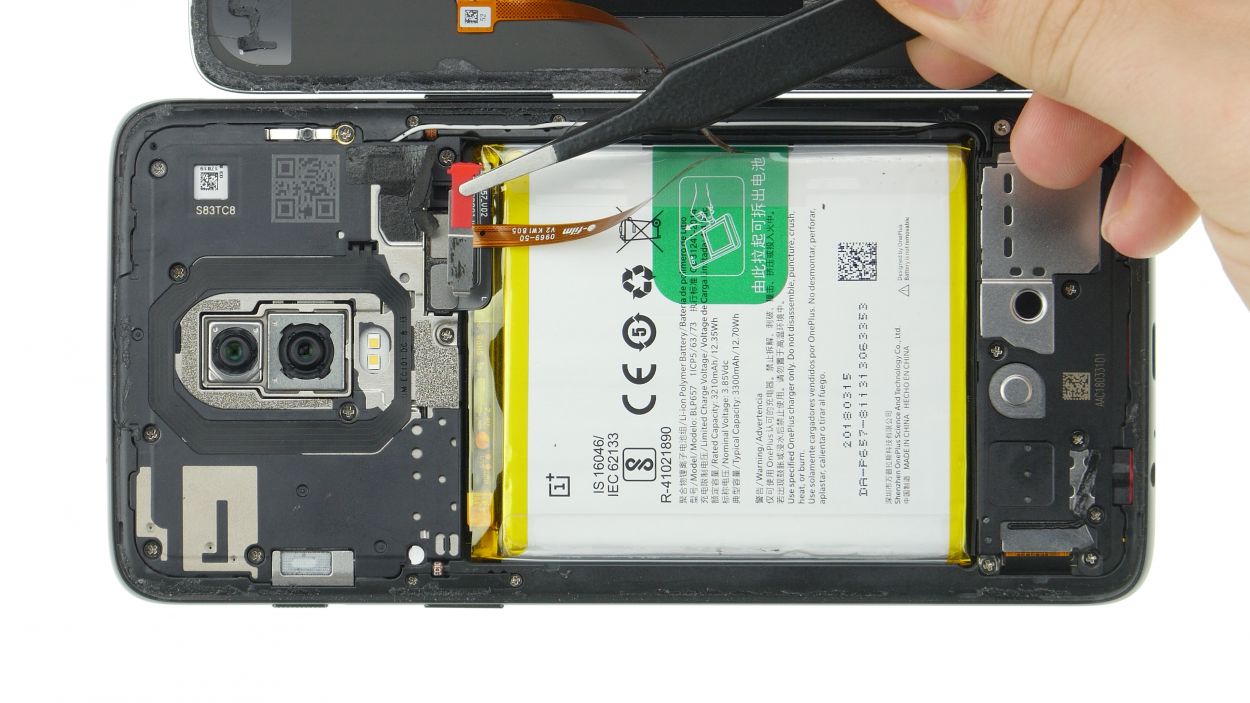
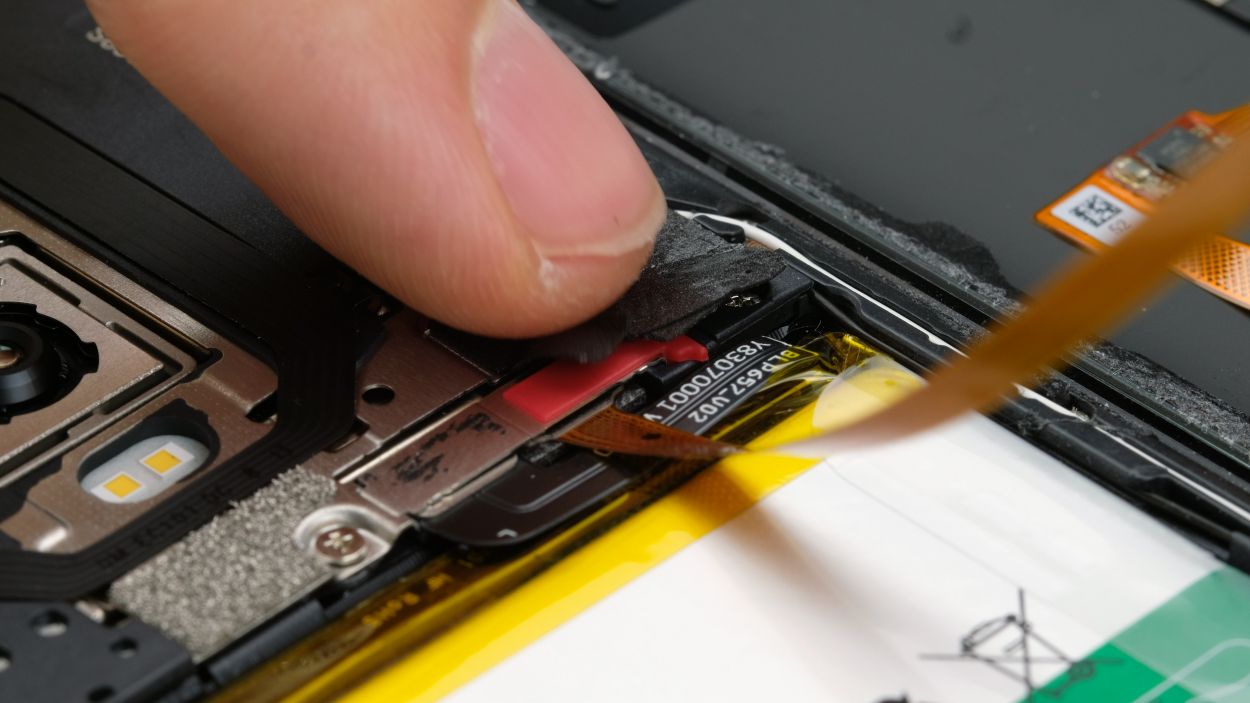
– Loosen the connector of the headphone jack with a spudger.
– Now you can remove the headphone jack with tweezers.
Step 7

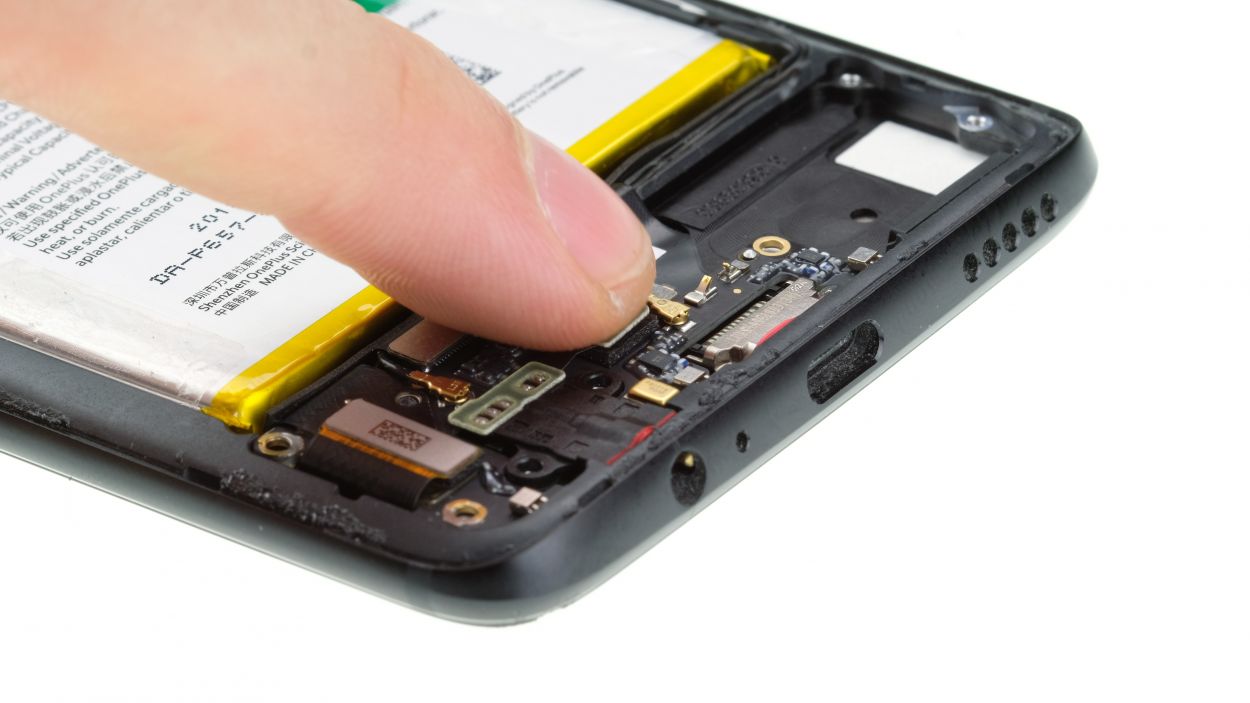
– Gently place the headphone jack back where it belongs, making sure that the shiny golden pin slides through the hole just right.
– Give the jack a nice firm push and connect that connector like a pro!
Step 8


8 × 3,0 mm Phillips
– Pop that speaker onto the lower edge and give it a good press until it clicks into place.
– Secure the speaker with those trusty Phillips screws for a snug fit!
Step 9

Fingerprint Connector
– Grab that back cover and set it right next to your device, ready for action!
– Carefully lay the fingerprint sensor cable over its mainboard buddy and give it a nice connection.
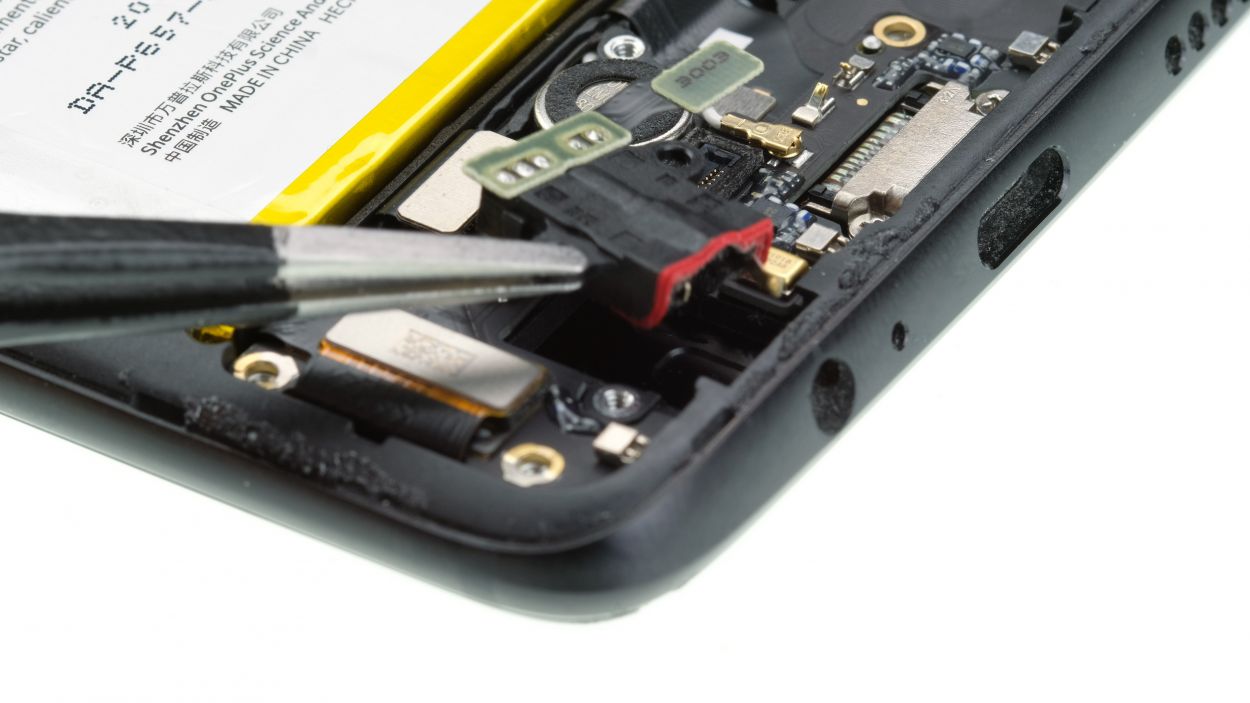
– Now, let’s put on that cover with the snazzy red rubber piece and seal the deal with the black glue.
Step 10
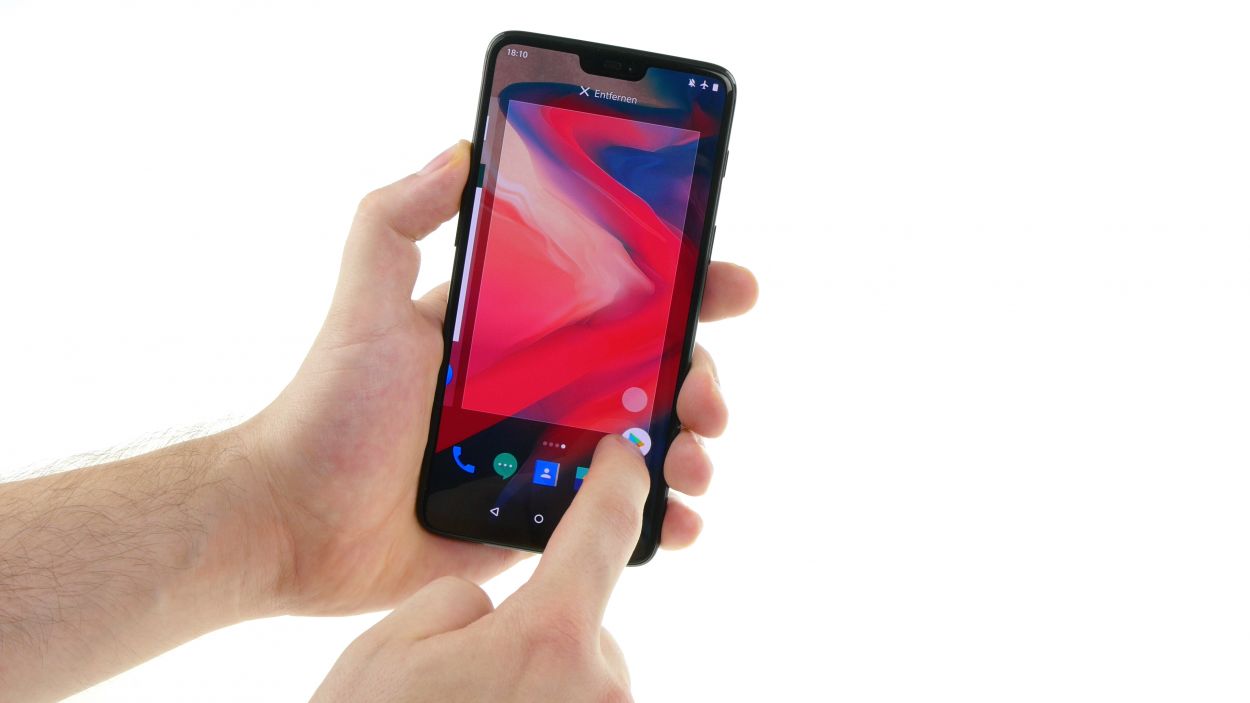
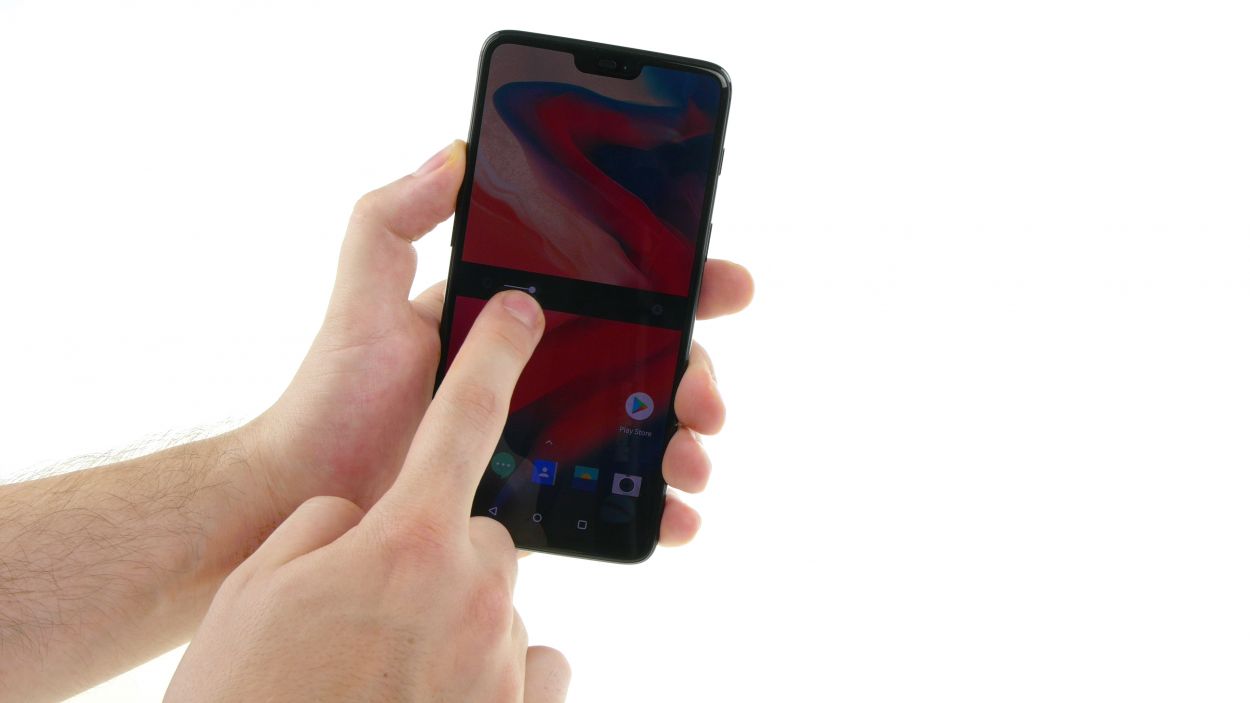

– Turn on the device and check the screen first.
– Slide an app along the edge and zigzag it across the display to make sure the touchscreen responds correctly at all points.
– Also test the minimum and maximum brightness.
– Test the front and rear cameras and the flash.
– Call someone to test the microphone and earcup.
– Mute the phone to test the vibration motor.
Step 11

Clamp the device between a few books for example and give the glue an hour to set.
– Give your device a little extra heat to loosen up that stubborn glue on the back cover.
– Once it’s nice and warm, press the back cover snugly against the device frame and make it feel at home!


