DIY Guide to Replace Google Pixel 2 XL Rear Camera
Duration: 45 min.
Steps: 13 Steps
In this guide, we’re here to help you swap out the faulty rear camera on your Google Pixel 2 XL. If your rear camera is acting up, your photos are coming out fuzzy, or it just won’t focus, this repair is for you! Keep in mind, this task can be a bit tricky since the screen is glued in place. So, only dive into this if you’re feeling confident about removing the screen without causing any damage. And don’t forget, you’ll need an adhesive frame to seal everything up nicely once you’ve opened your device. If you need help, you can always schedule a repair!
Step 1
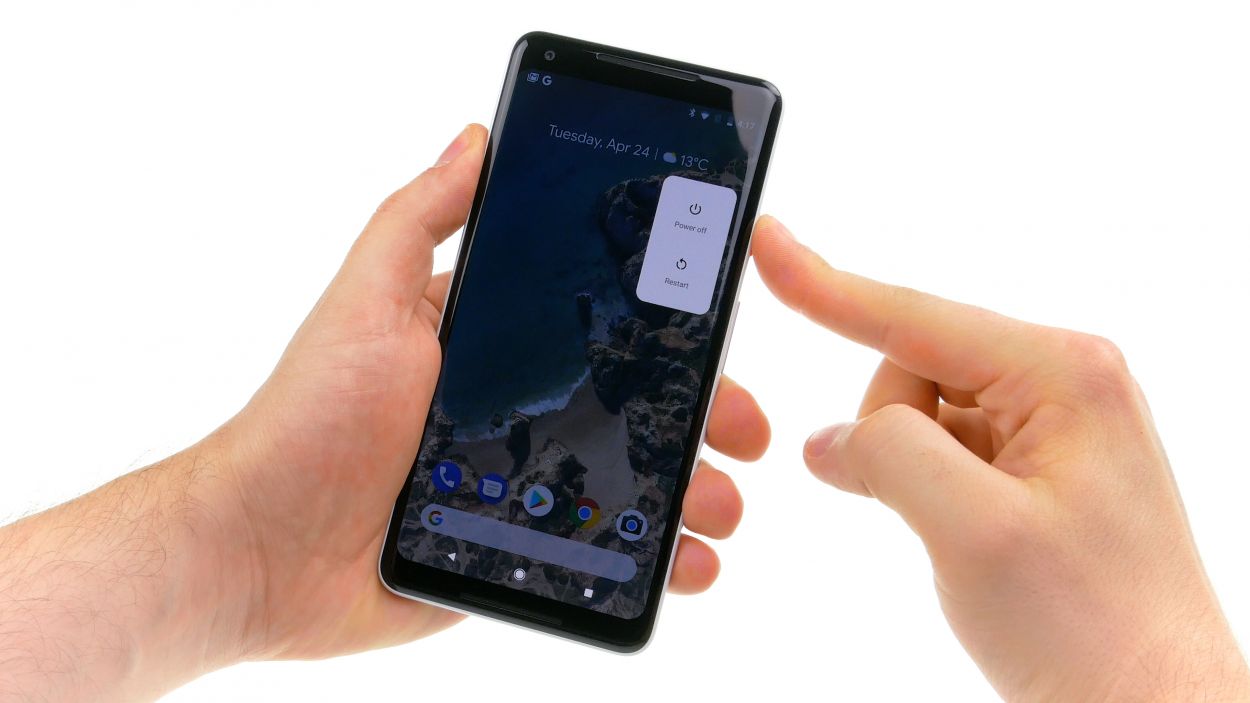
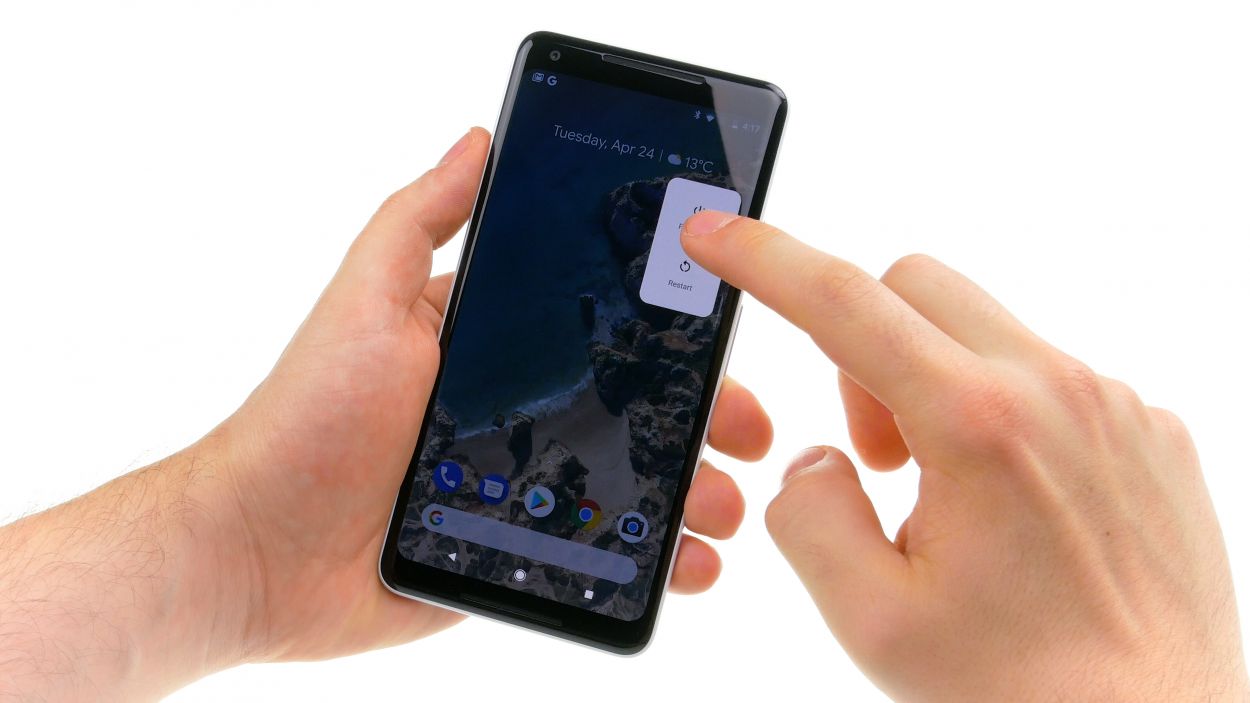
– Give that standby button a solid press and hold until you see “Power off” pop up on your screen.
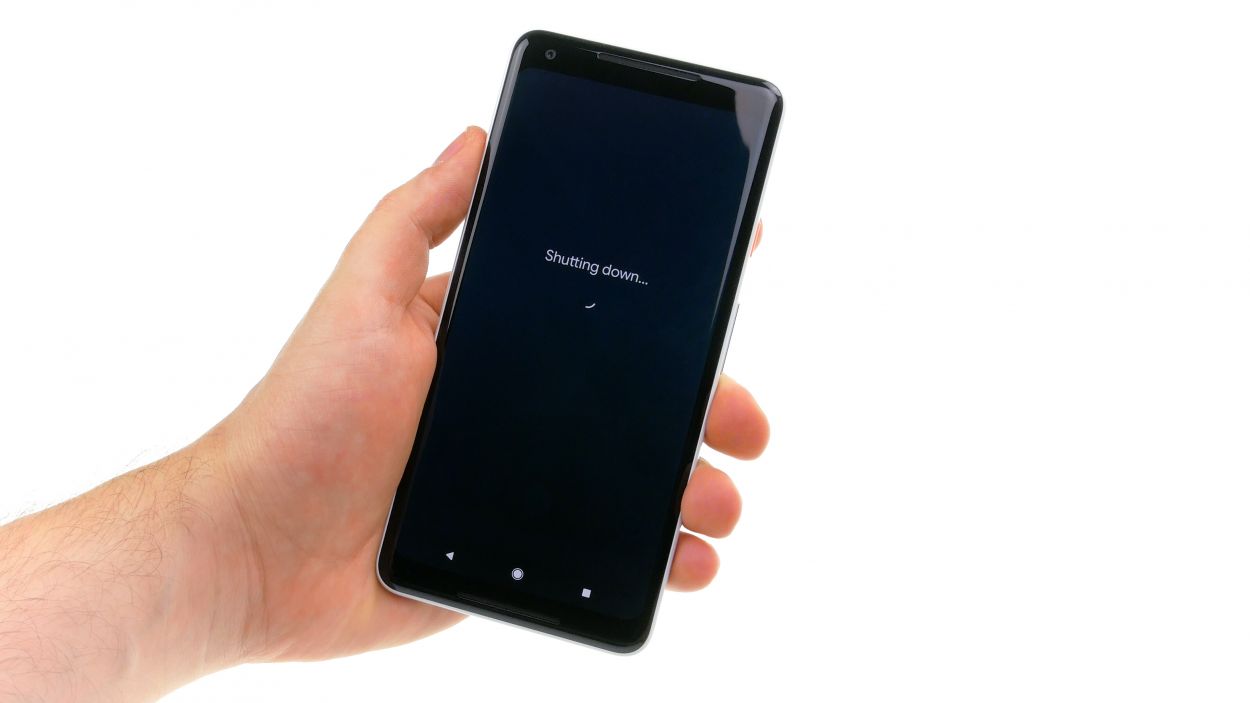
– Tap it once more to seal the deal and hang tight while your device powers down.
Step 2
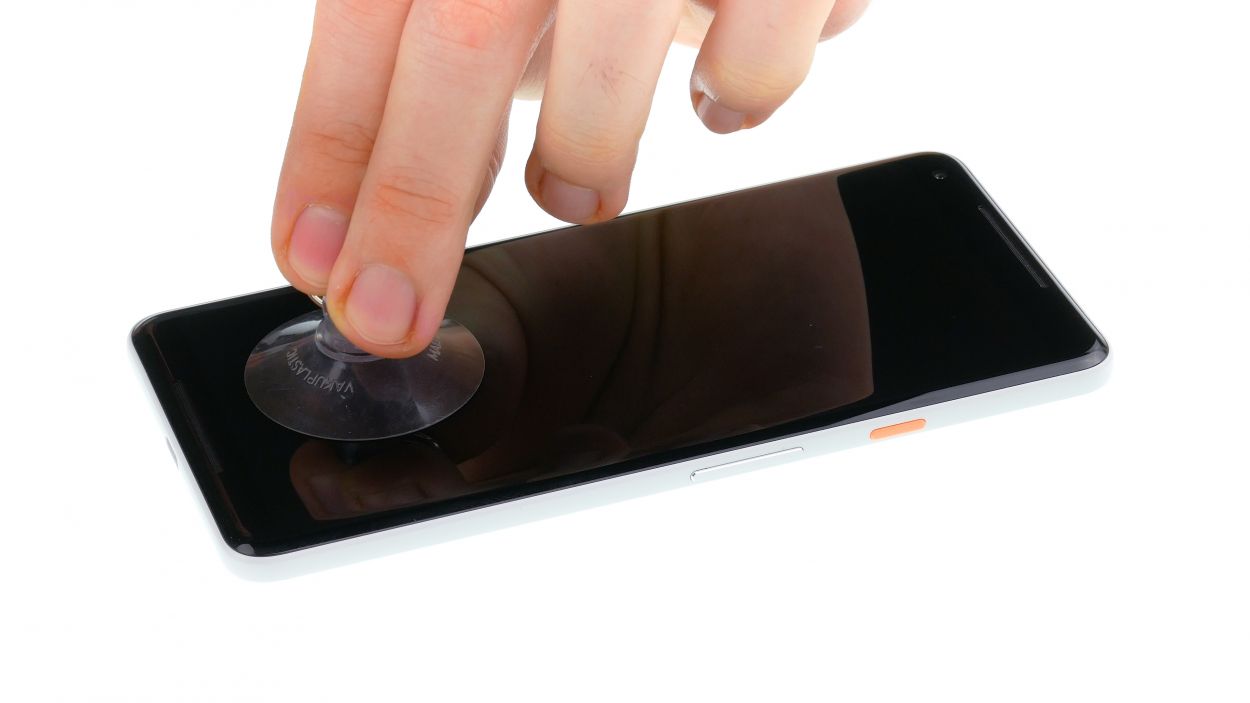

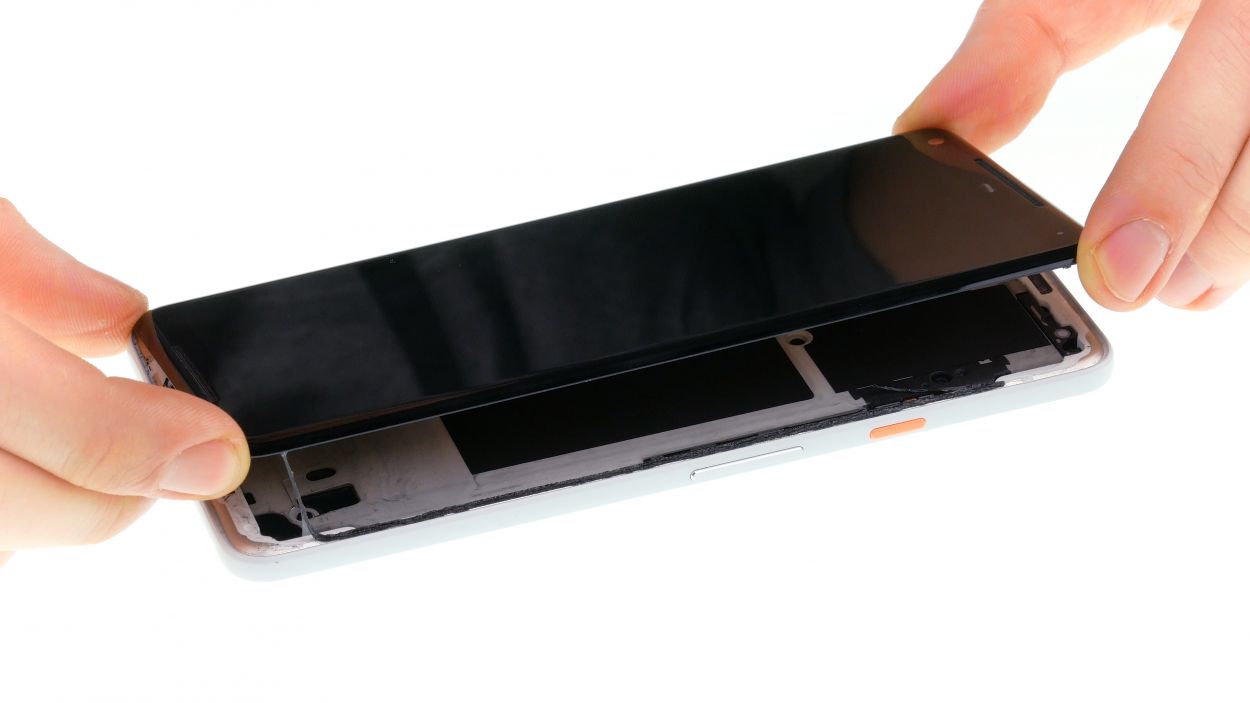
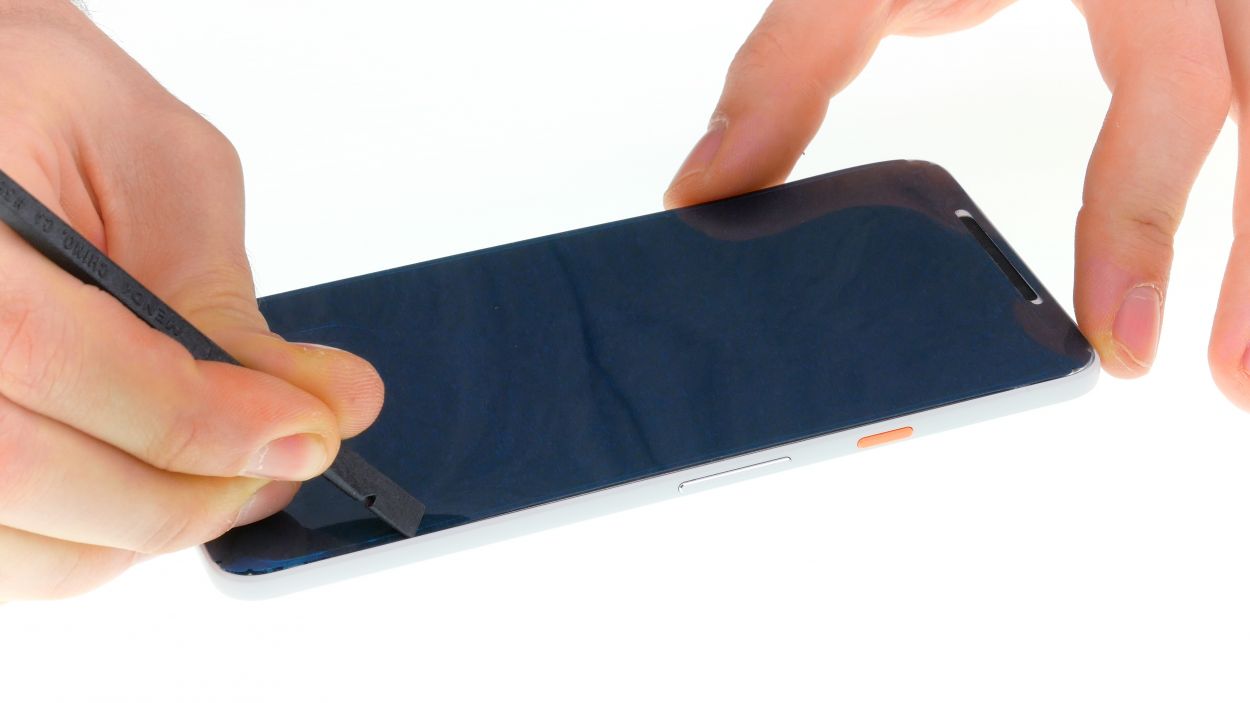
– Start by warming up the glue around the edges with a hot air tool until it reaches about 60°C. Give it another go and heat the display just enough so it’s almost too hot to touch.
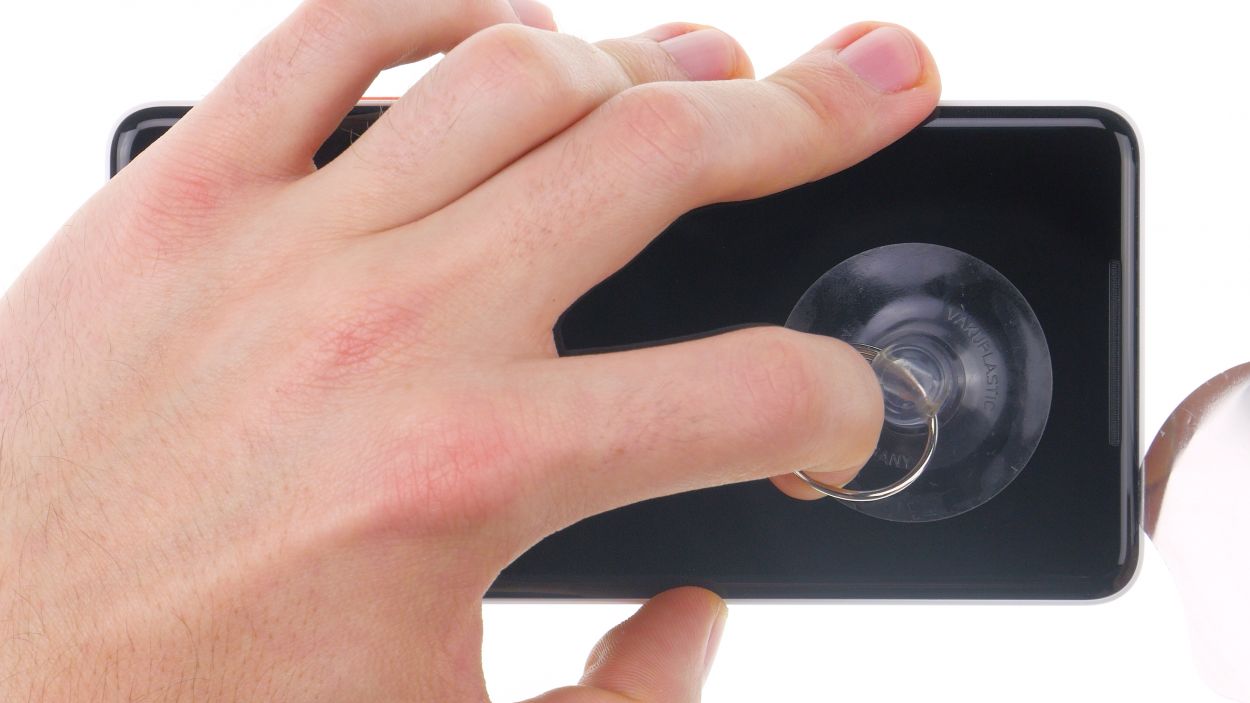
– Next, grab a suction cup and place it at the bottom of the display, right over the USB connector, then give it a gentle pull.
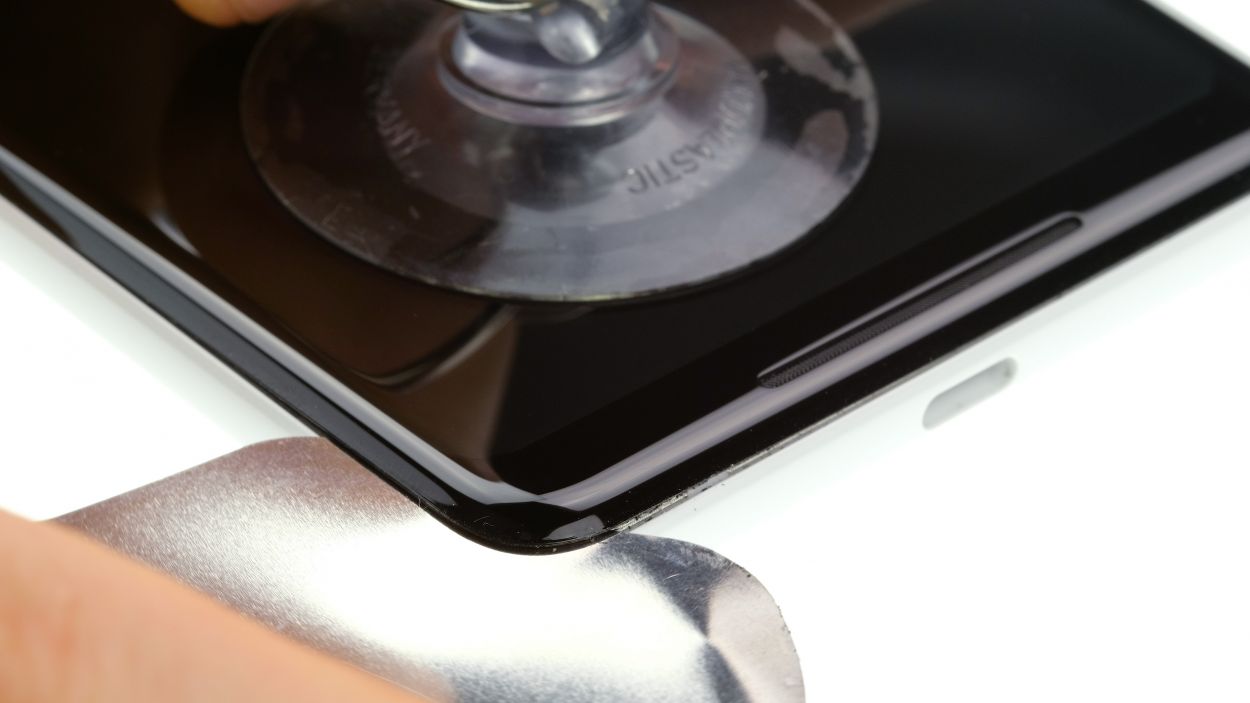
– Now, take a super thin, flat tool and slide it between the display and the frame, moving it around the edge to pop one corner of the display loose.
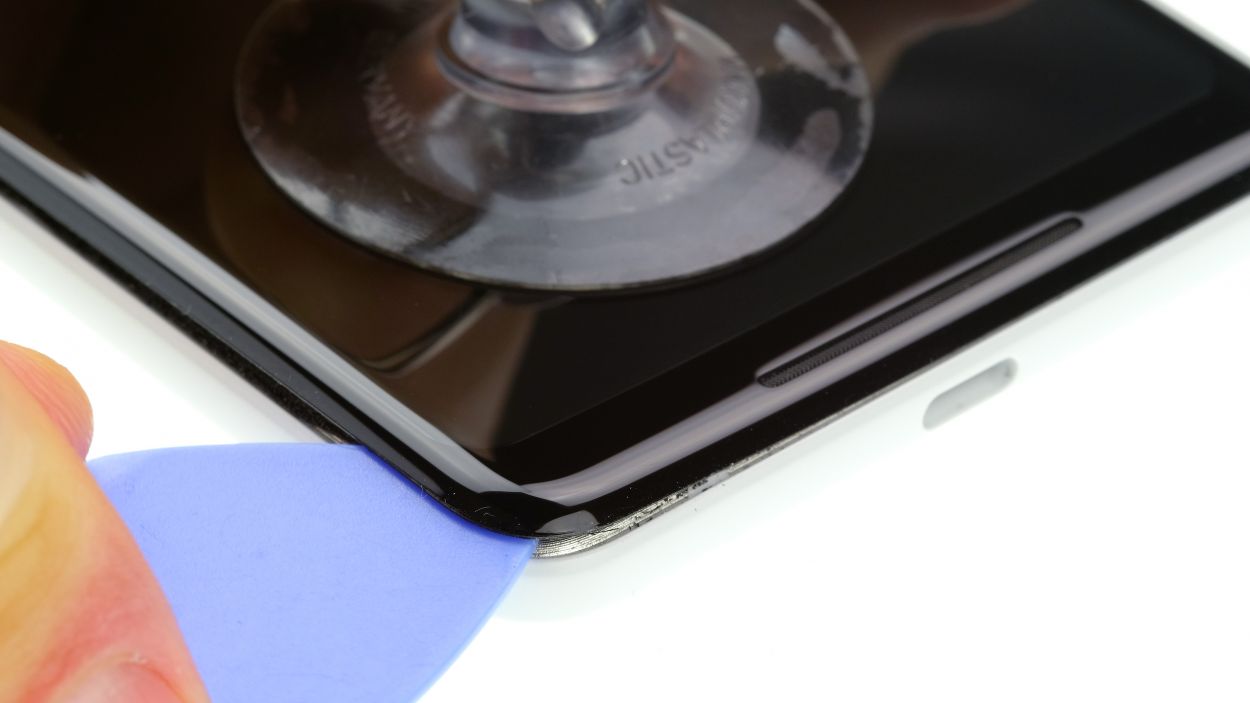
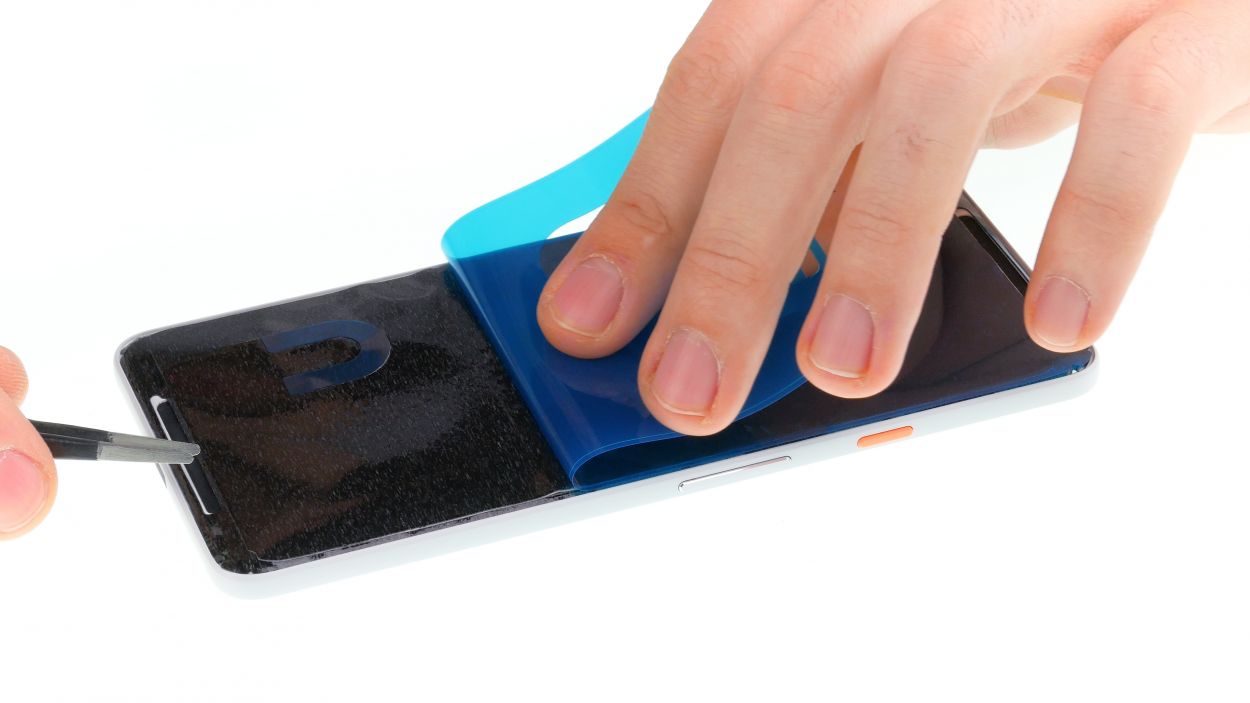
– Slide a pick in between the frame and the display. Feel free to use additional picks to help lift the display all around. Just remember, no tool should go deeper than 5 mm!
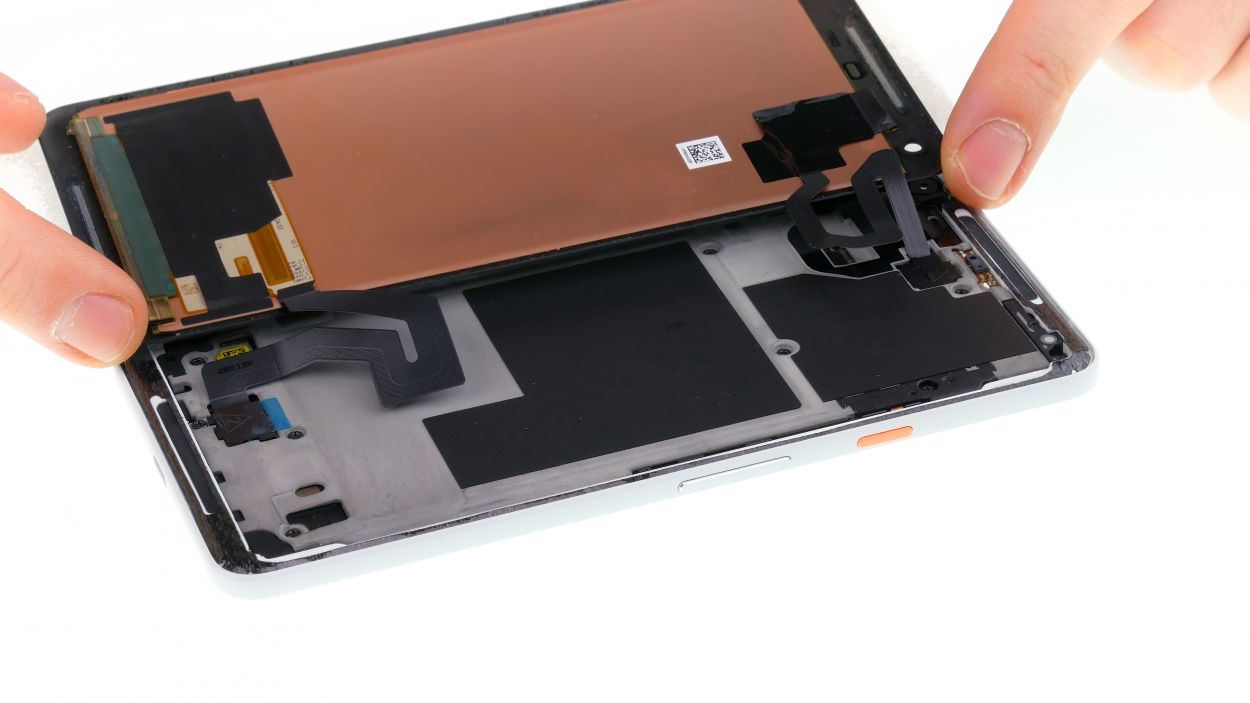
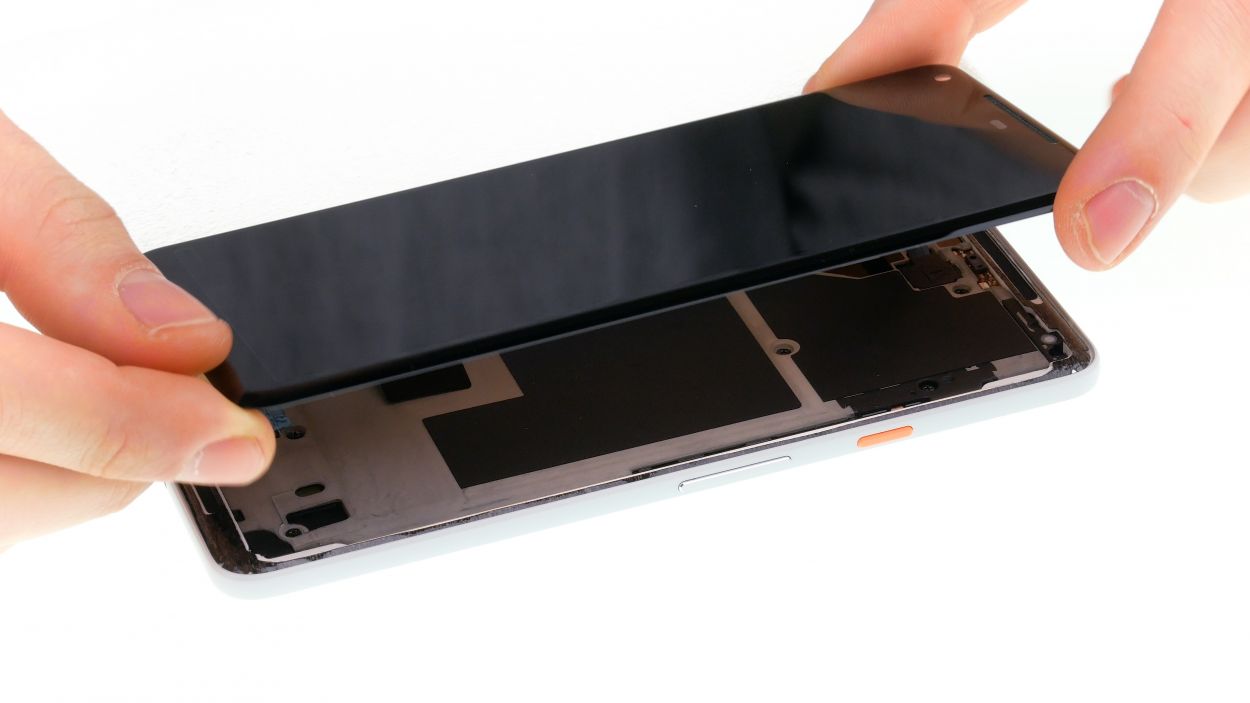
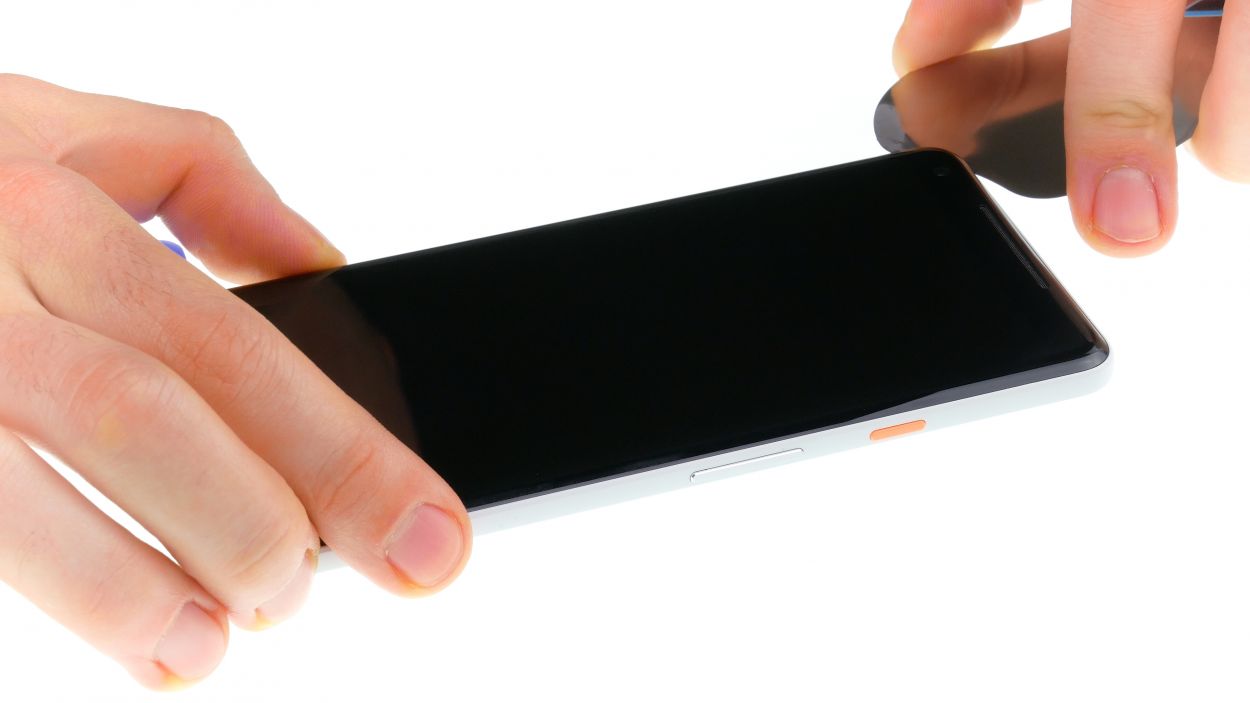
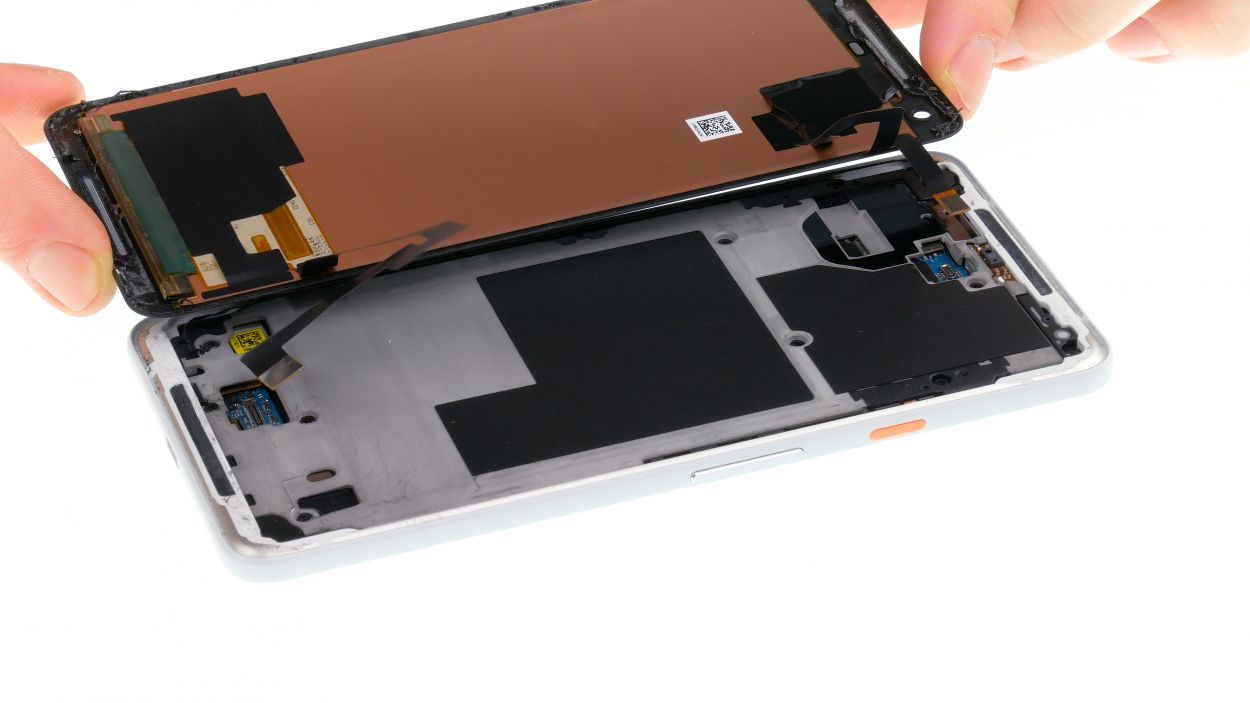
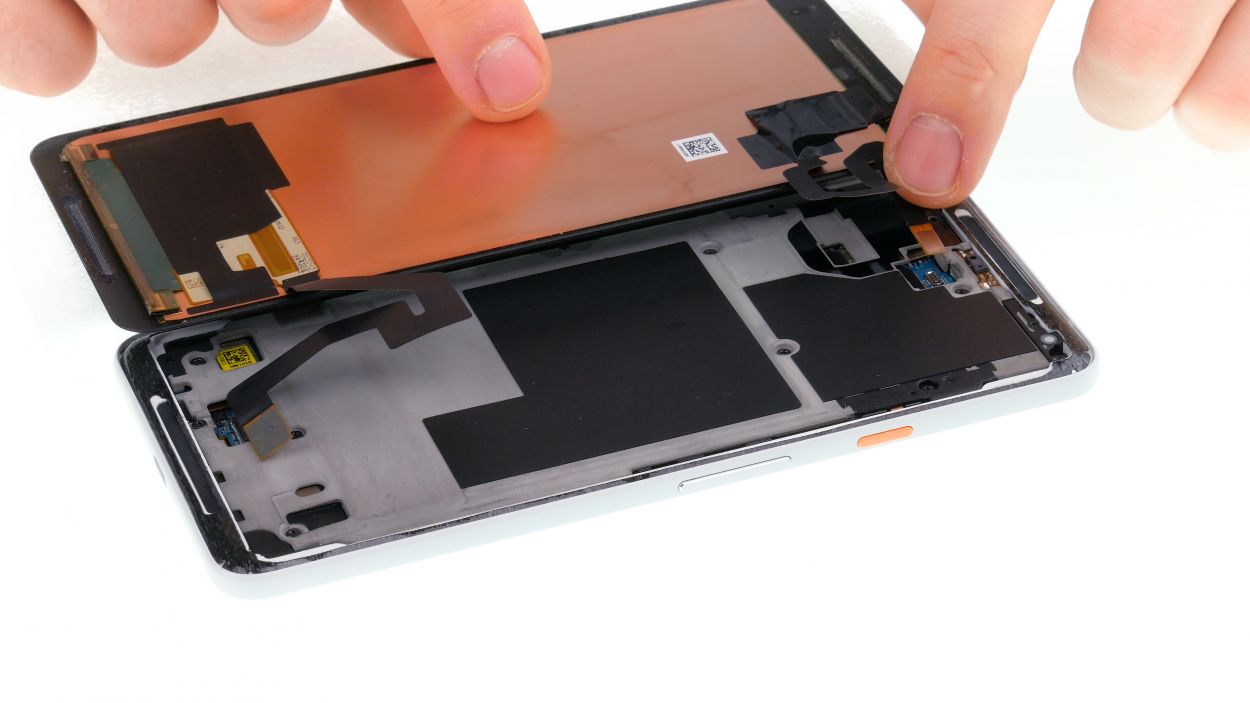
– Once the glue is free all around, you can carefully lift the display off. Gently fold it back towards the top (just like in the picture), but watch out for those two flex cables still attached!
Heads up! Screens are super fragile. If your display’s already kaput, tackling the battery is totally doable. Otherwise, better safe than sorry! If you need a hand, you can always schedule a repair
The display is quite delicate, so let’s handle it with care. If you’ve got a seriously shattered screen, you’ll need to gently remove it from the frame piece by piece. Be sure to clear out any glass shards left behind using a flat metal tool—safety first! If you need help, you can always schedule a repair.
Step 3
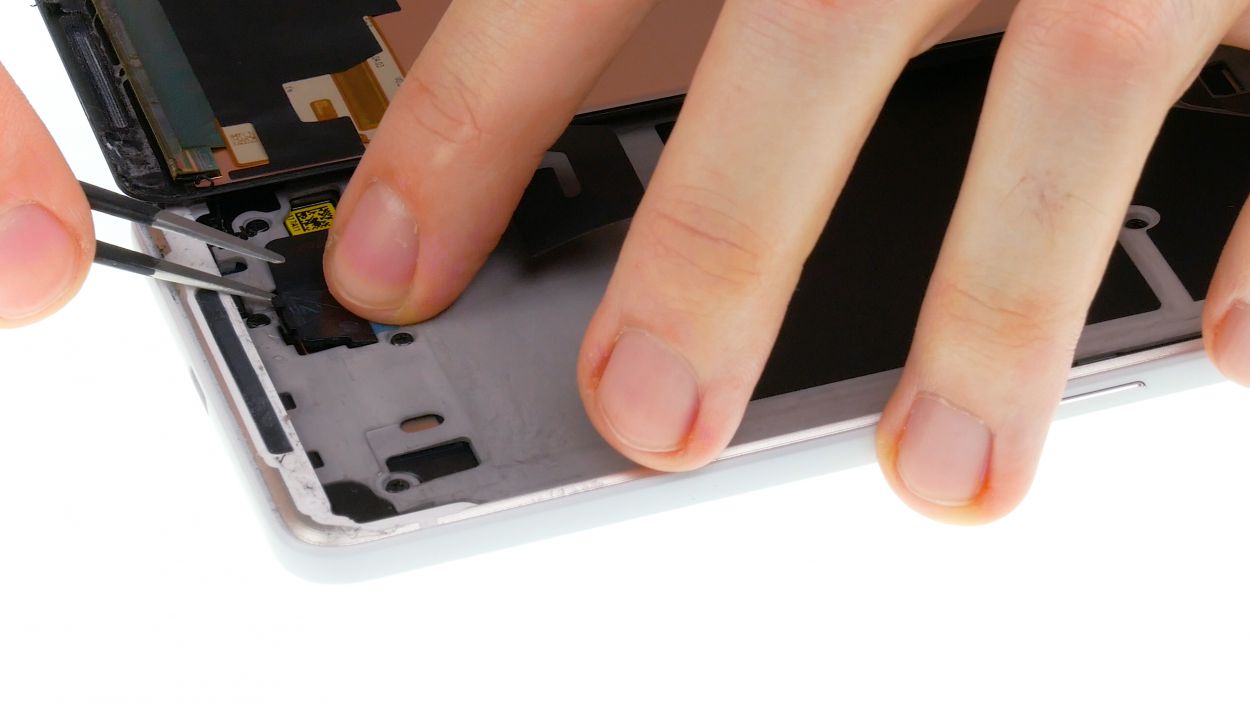
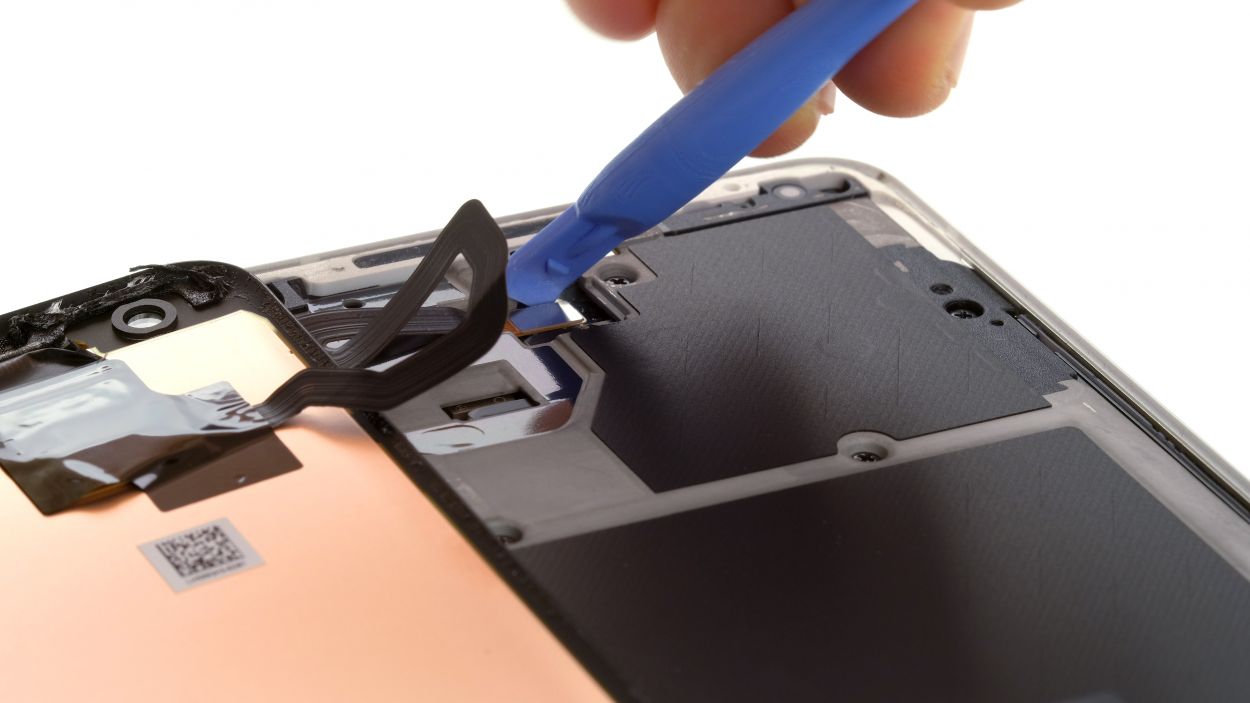

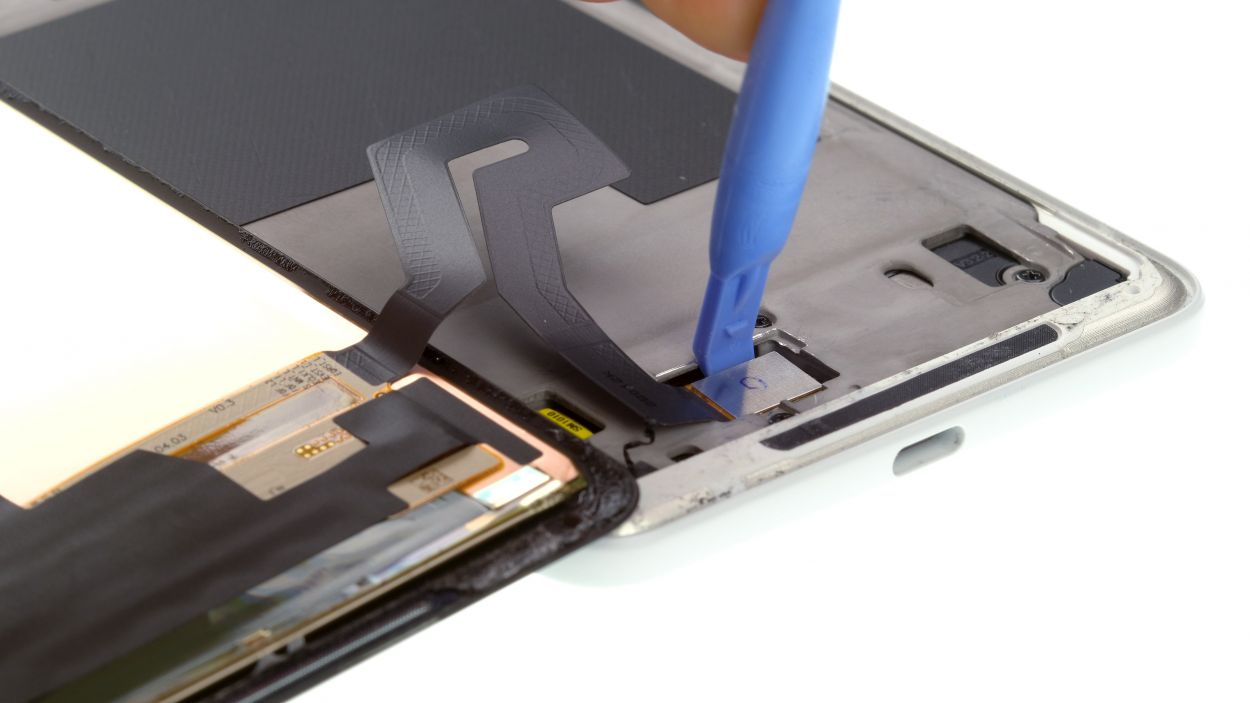
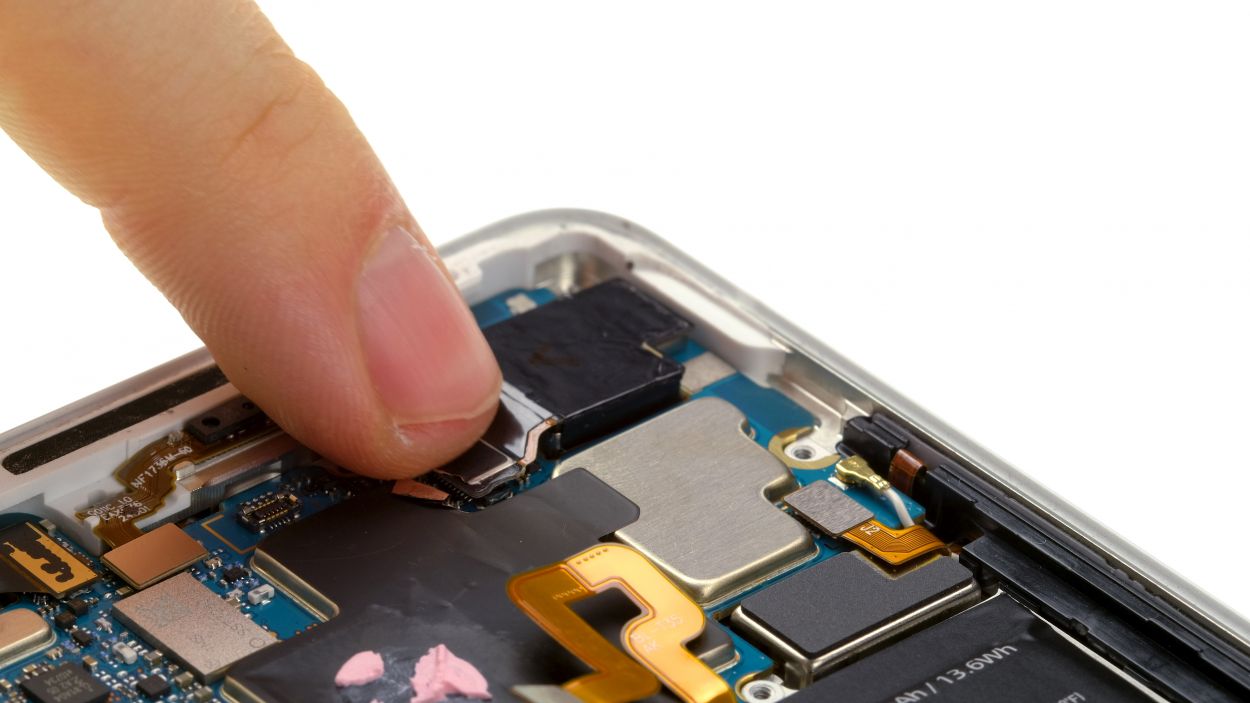
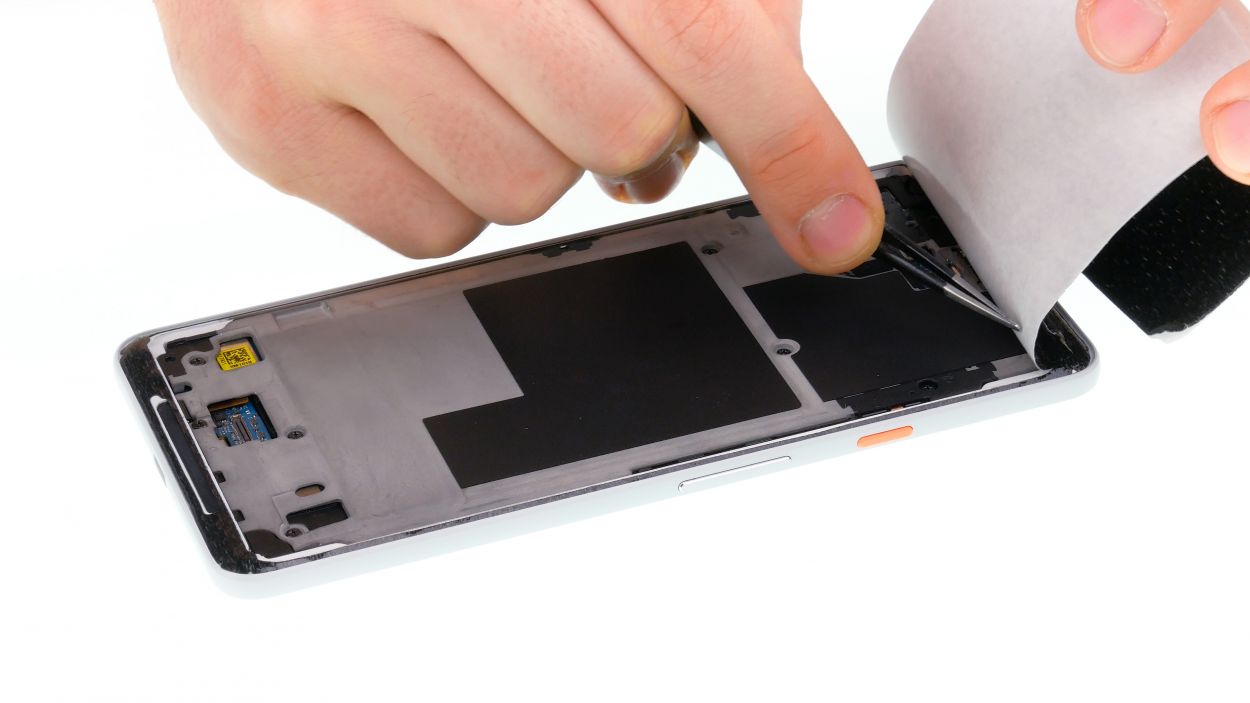
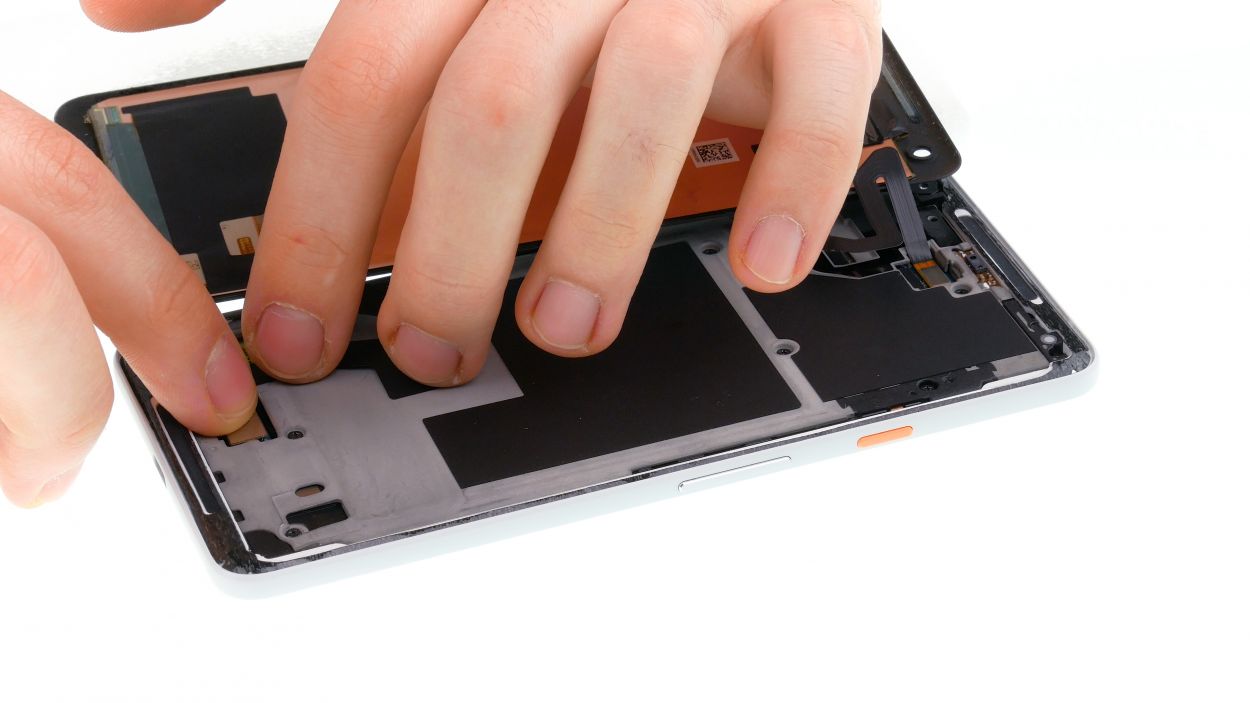
Be very careful with the lower contact. Next to the connector, there are components on the circuit board that can easily be damaged.
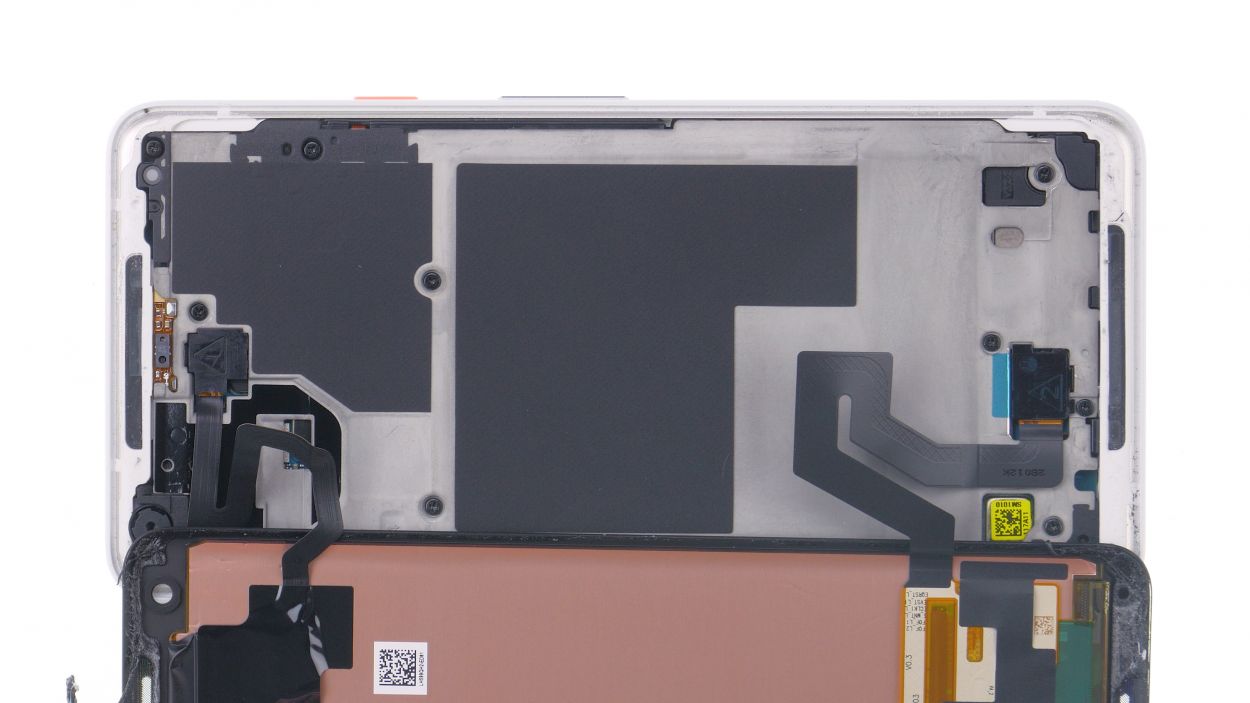
– Gently lift the display up—there are two fragile flex cables hiding underneath, and we don’t want to put them through any unnecessary stress.
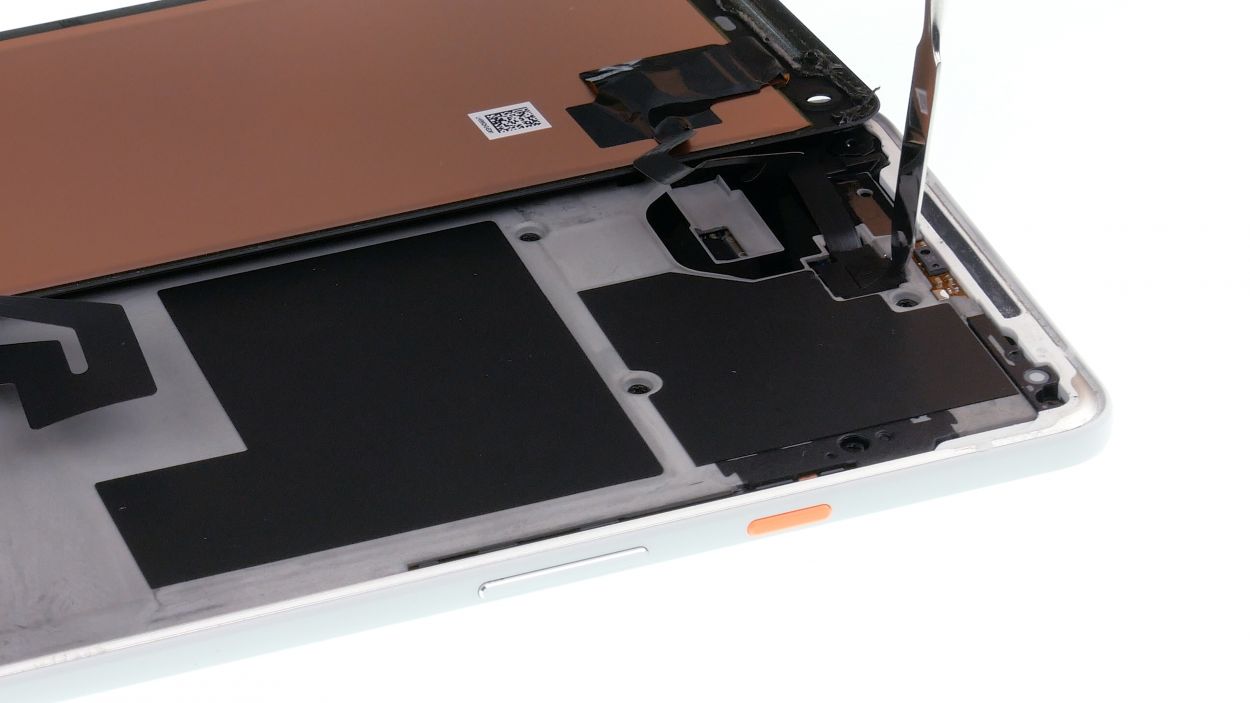
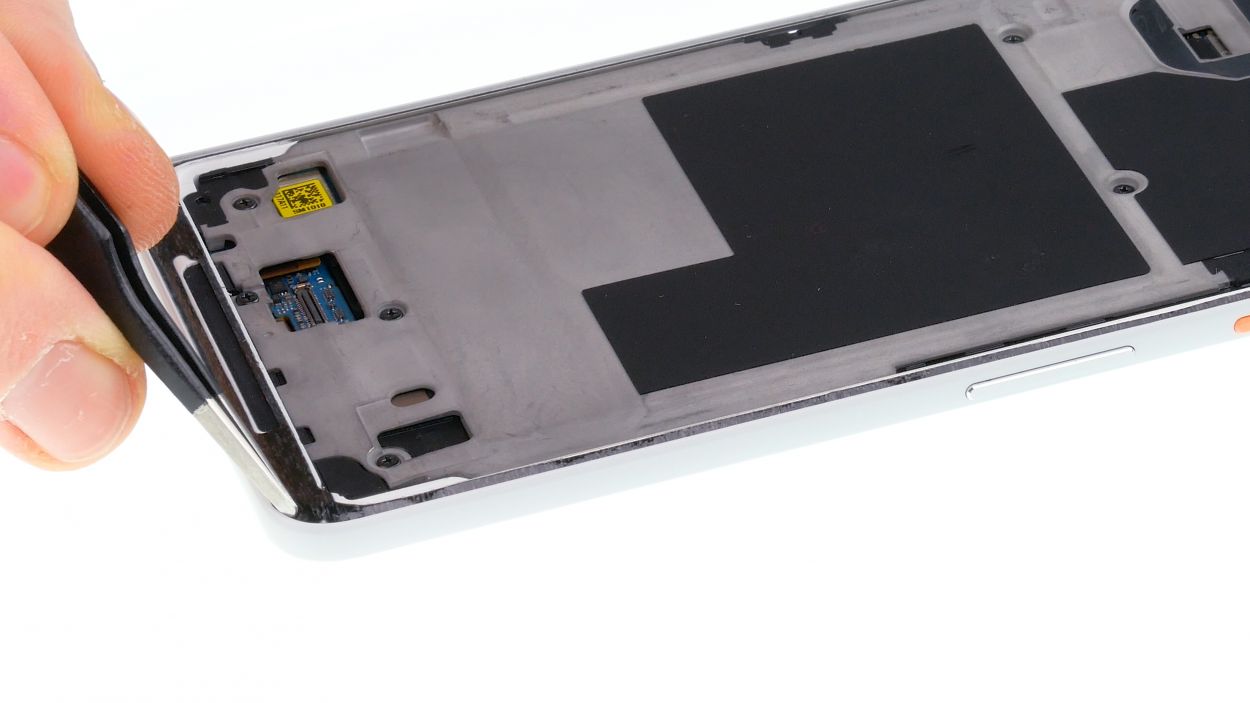
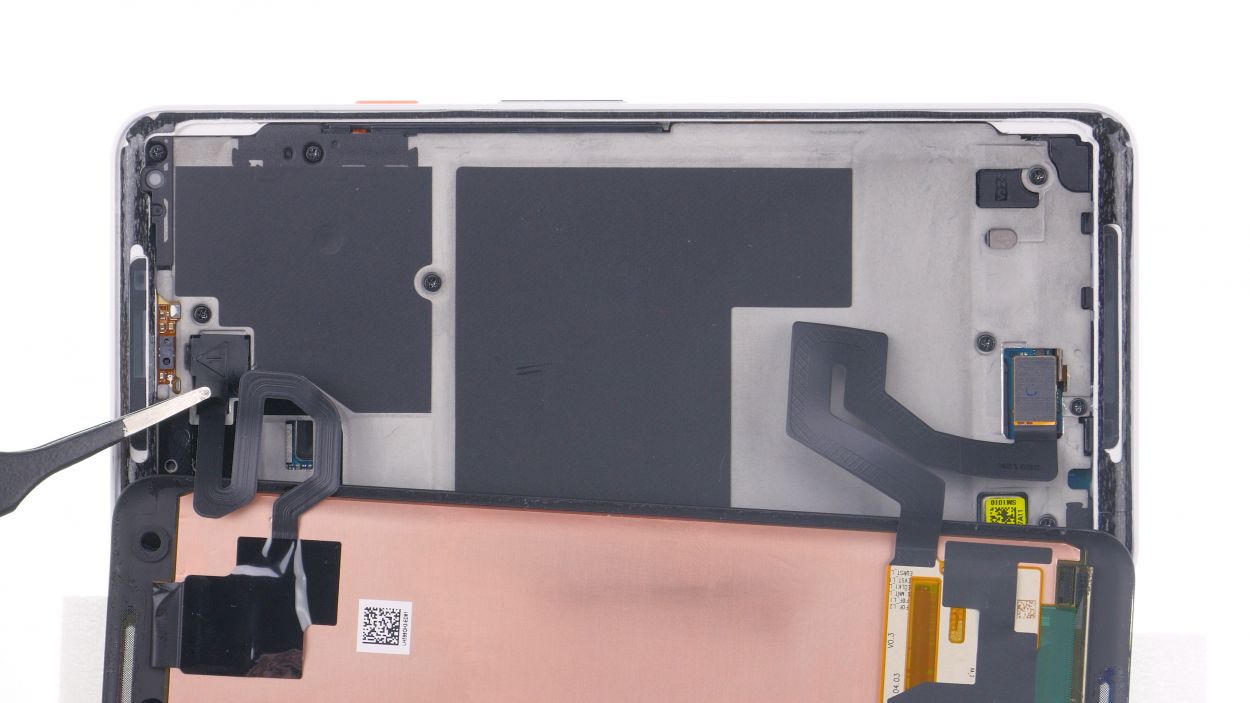
– Next up, it’s time to tackle the plastic cover marked with ‘1.’ Grab a flat tool, slide it into the gap, and pry it out like a pro!
– Now, on to cover number 2! It has a little tape strip that you’ll need to carefully detach—let’s not leave it hanging.
– Finally, use a spudger to unplug both connectors. Easy peasy!
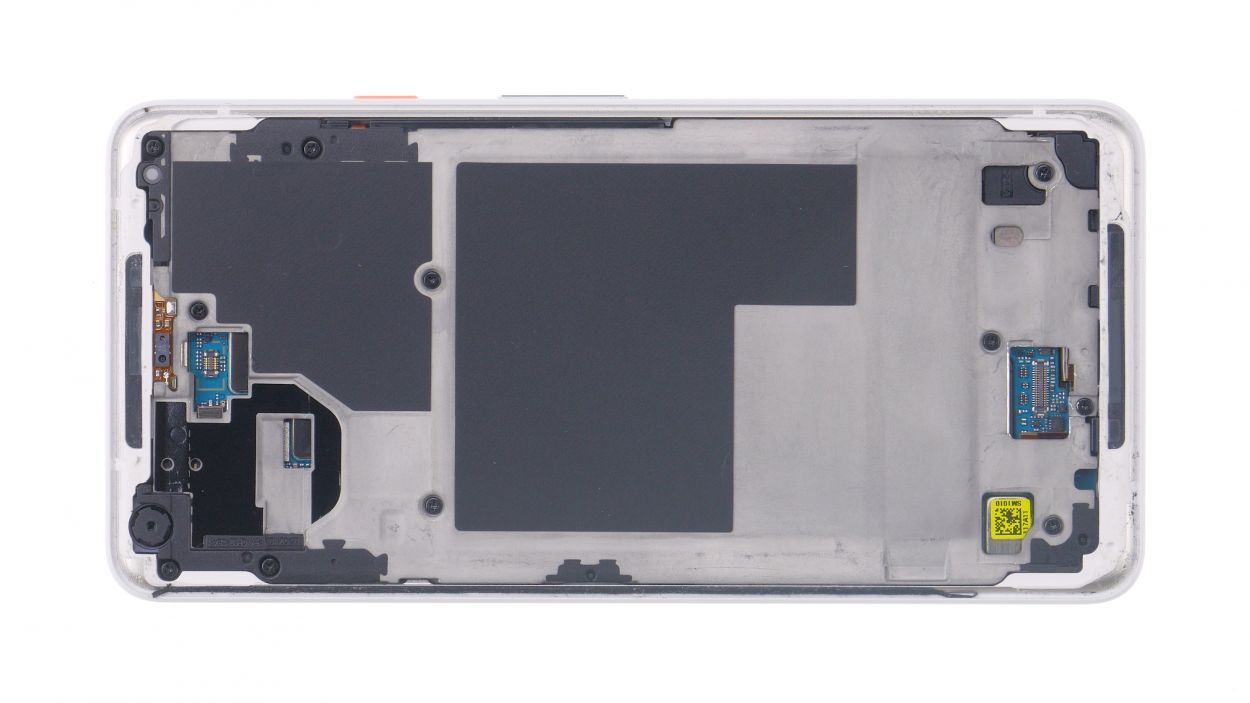
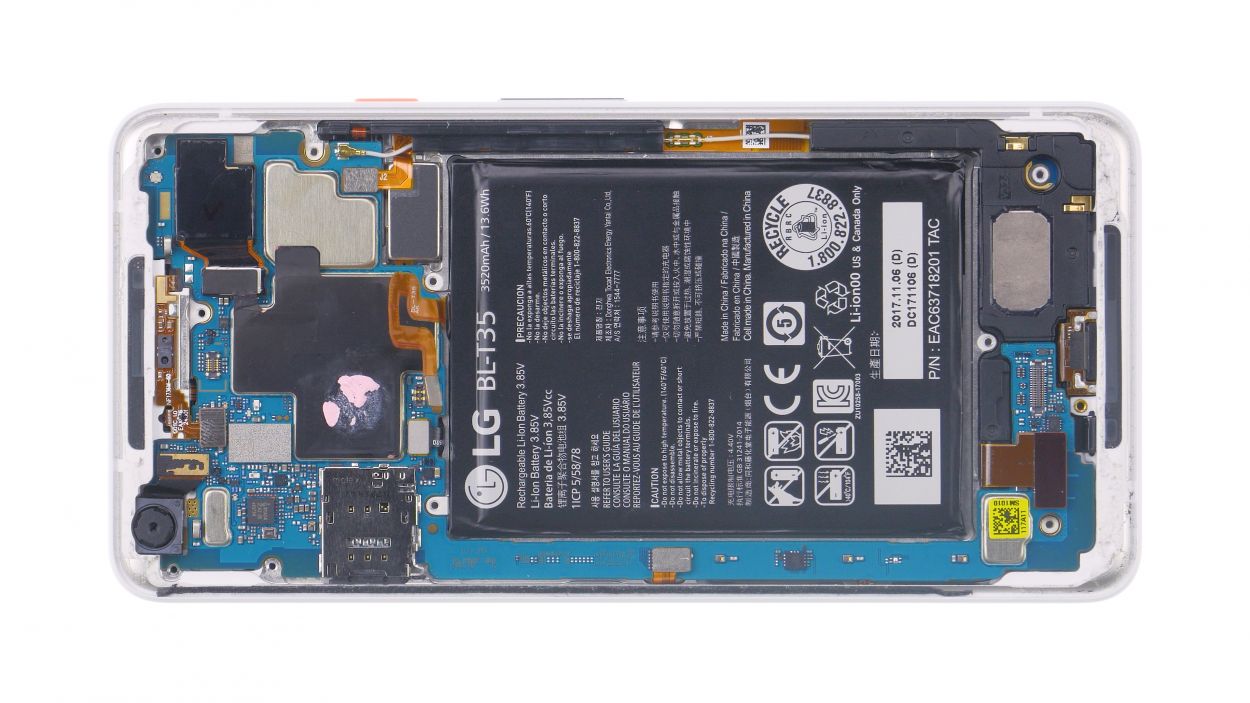
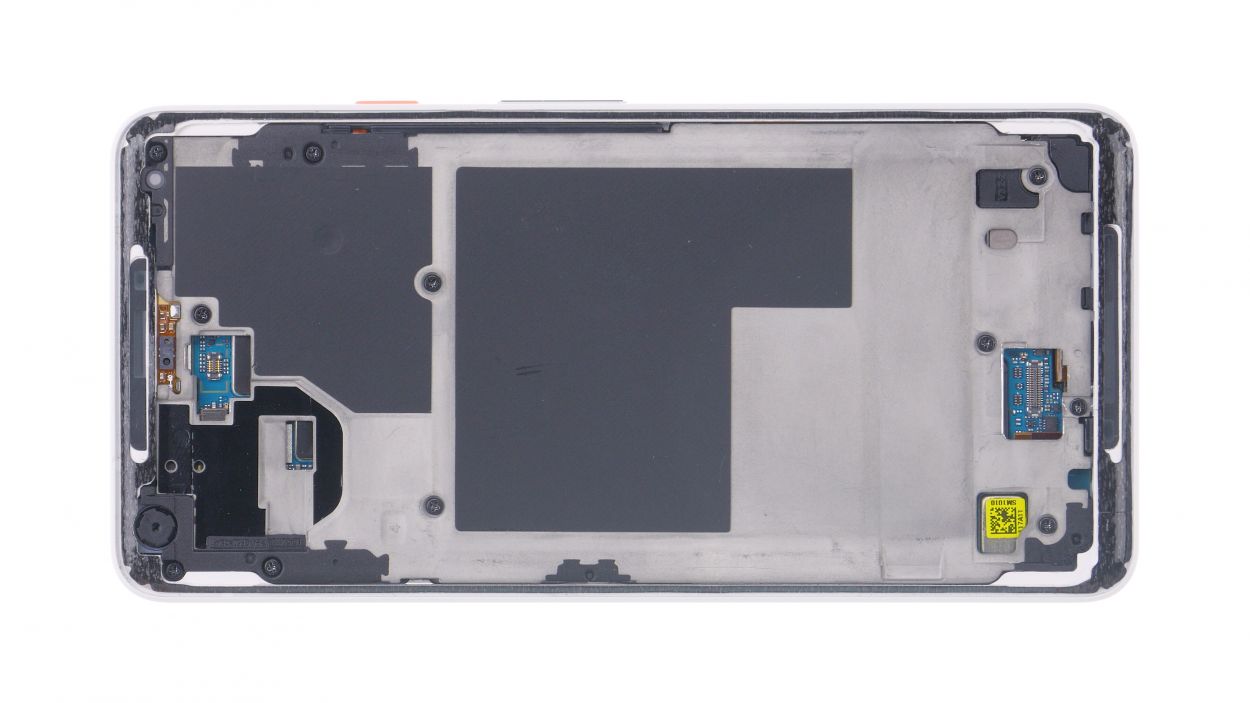
Step 4
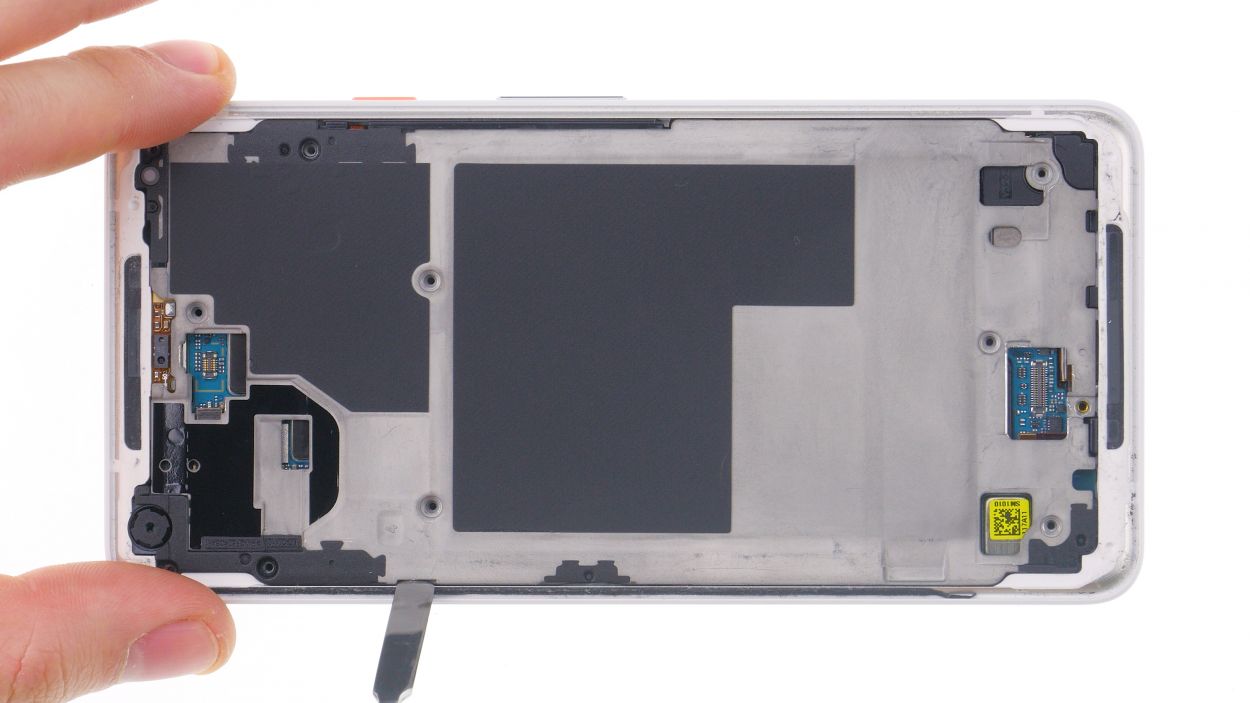
11 × 2.7 mm Phillips
– Grab your trusty screwdriver. Show those screws who’s boss! Just remember to keep them in check. They’re all chill like that.
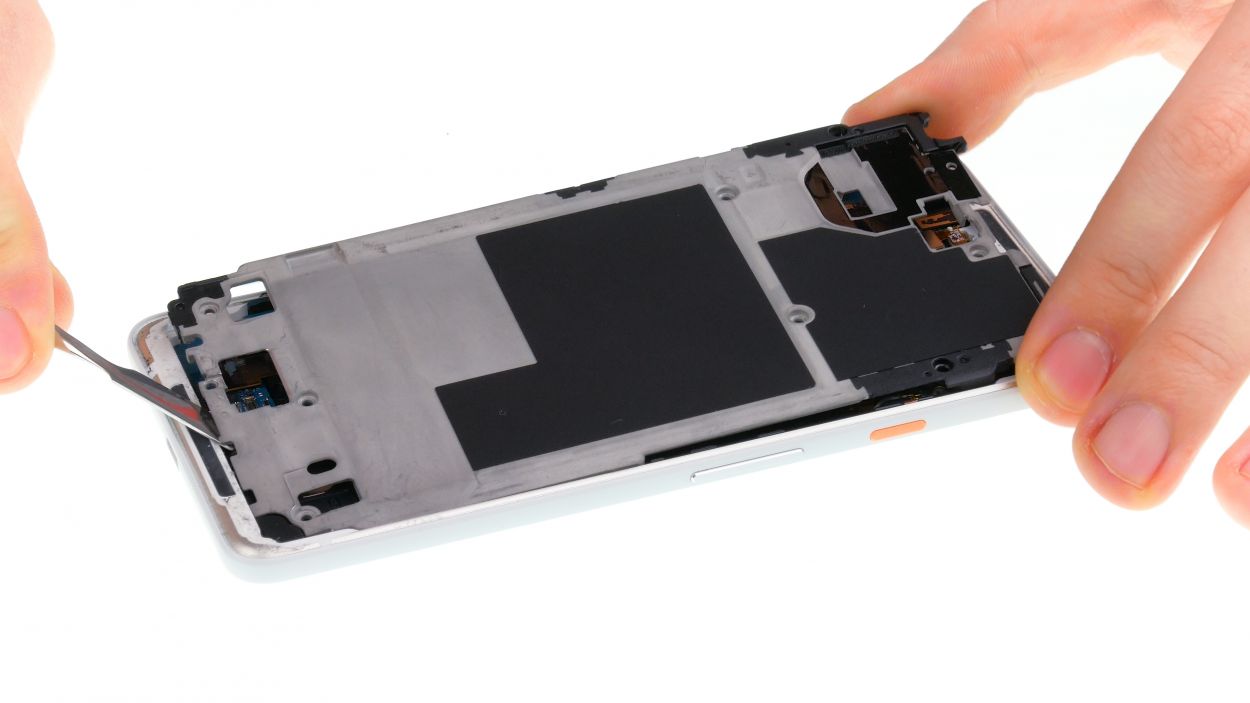
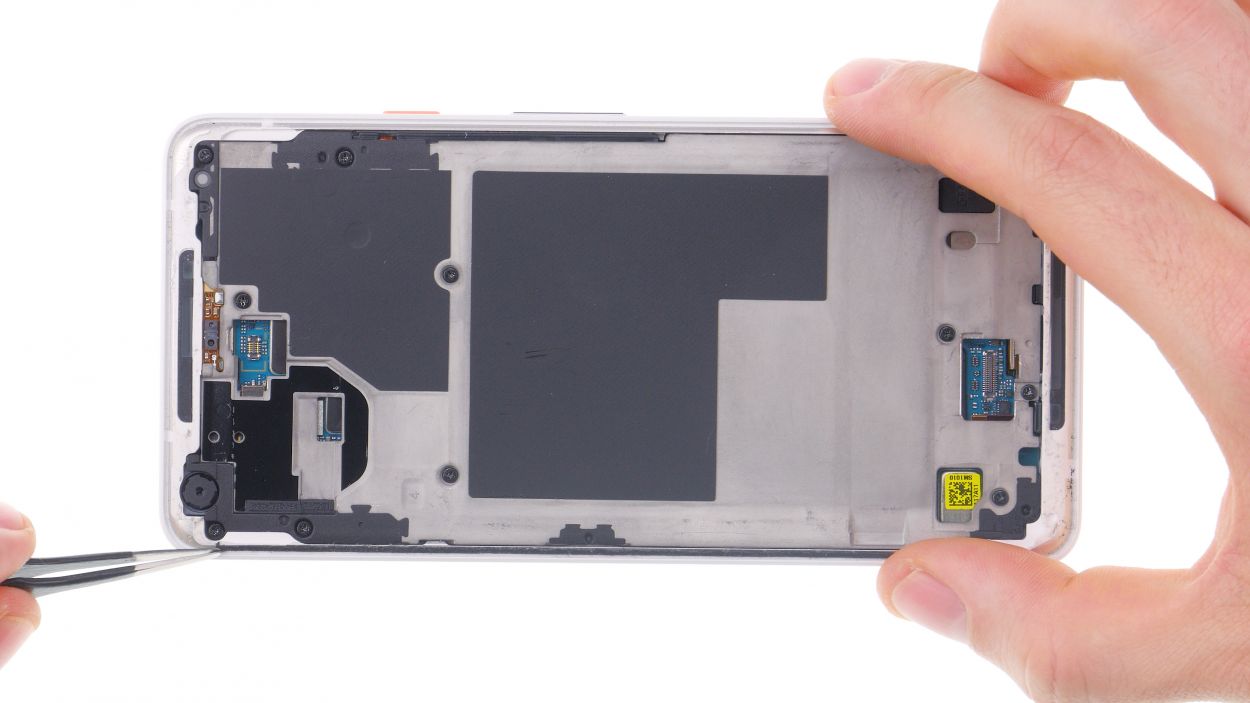
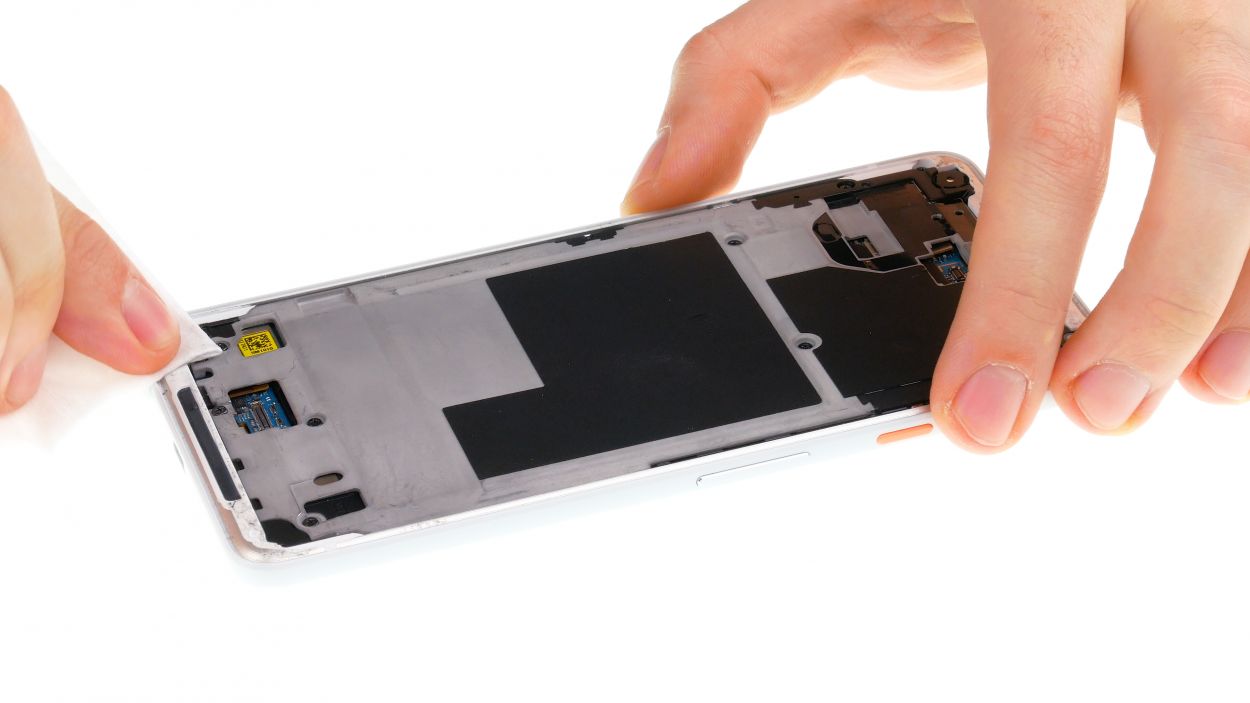
– Now, let’s get our Groove On! Slide that plastic tool into that tiny slot like a pro. It’s like a treasure hunt for geeky pirates!
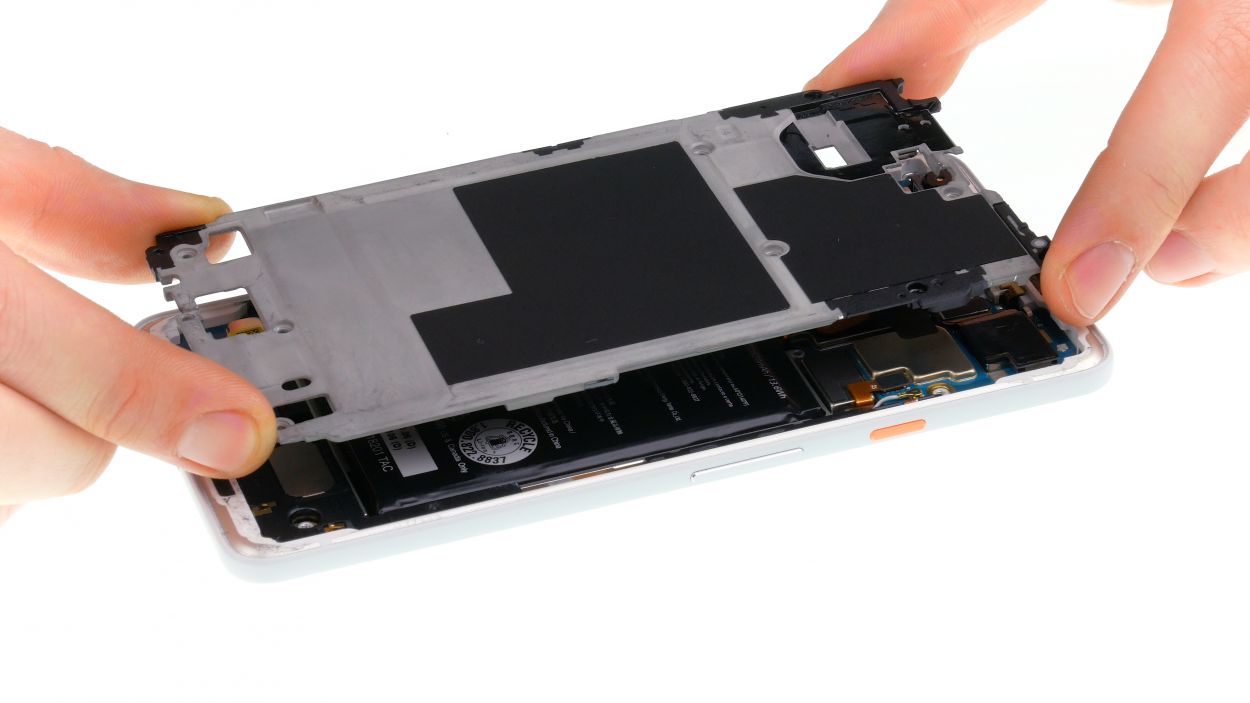
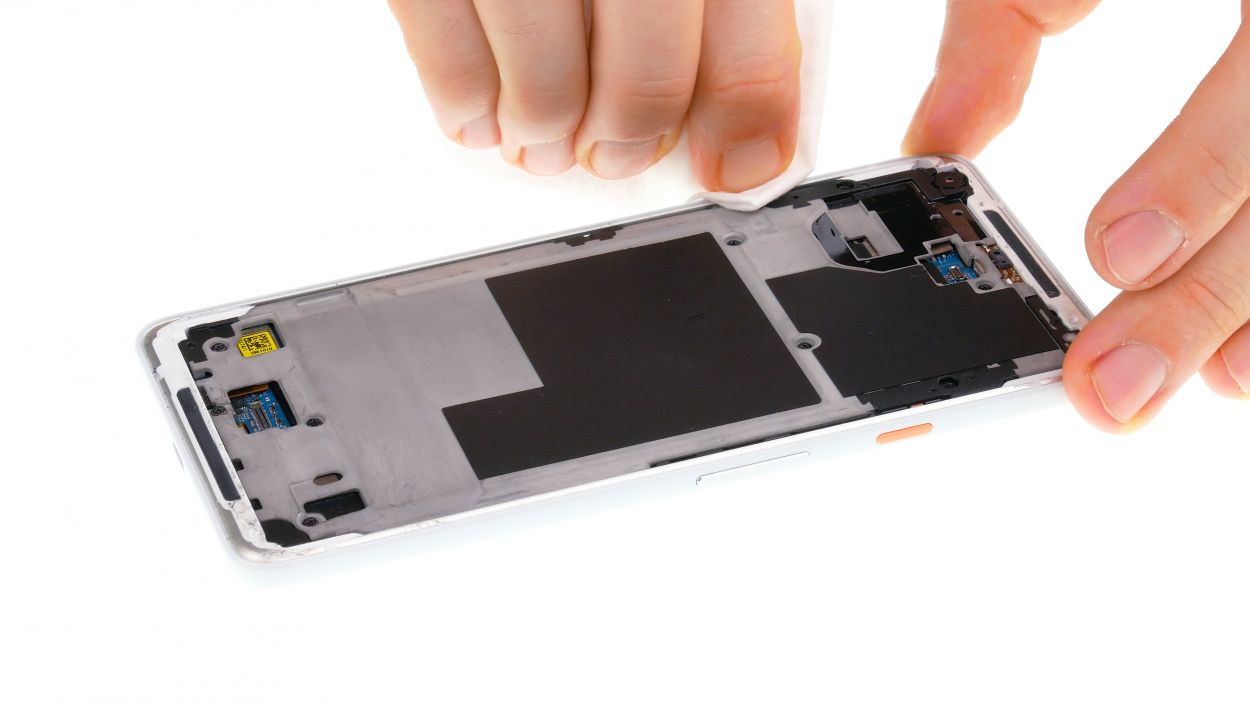
– Time for a little shimmy! Wiggle that tool around like you’re hitting a funky beat. Soon, that midframe will be dancing off the device.
– Boom! Feeling the rhythm? Those clips will disengage with a satisfying clickety-clack. Let’s get that midframe out of here and into the sunshine!
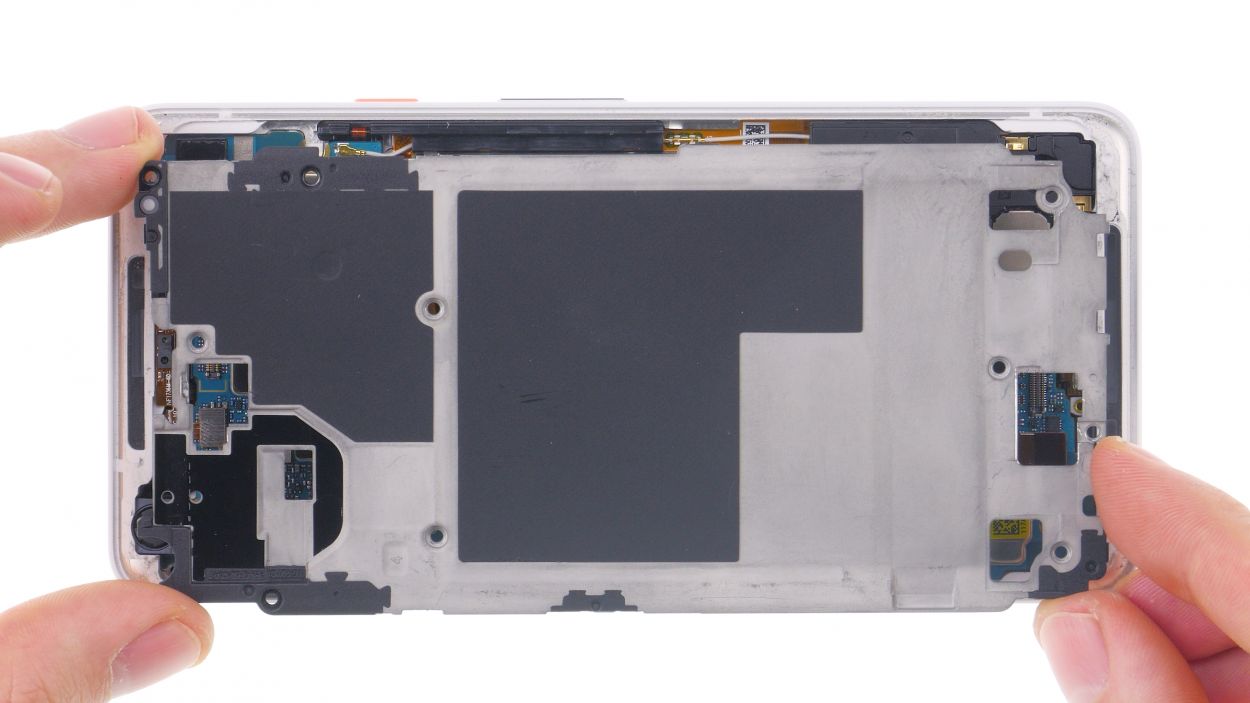
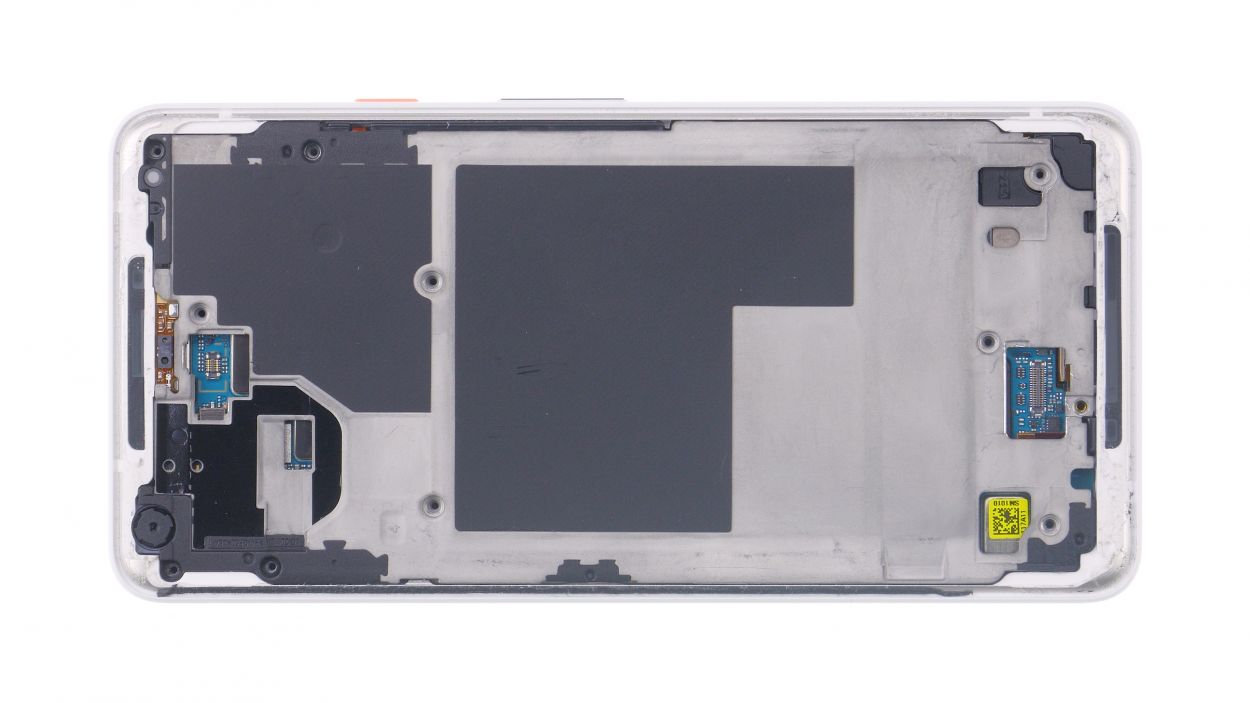
Step 5
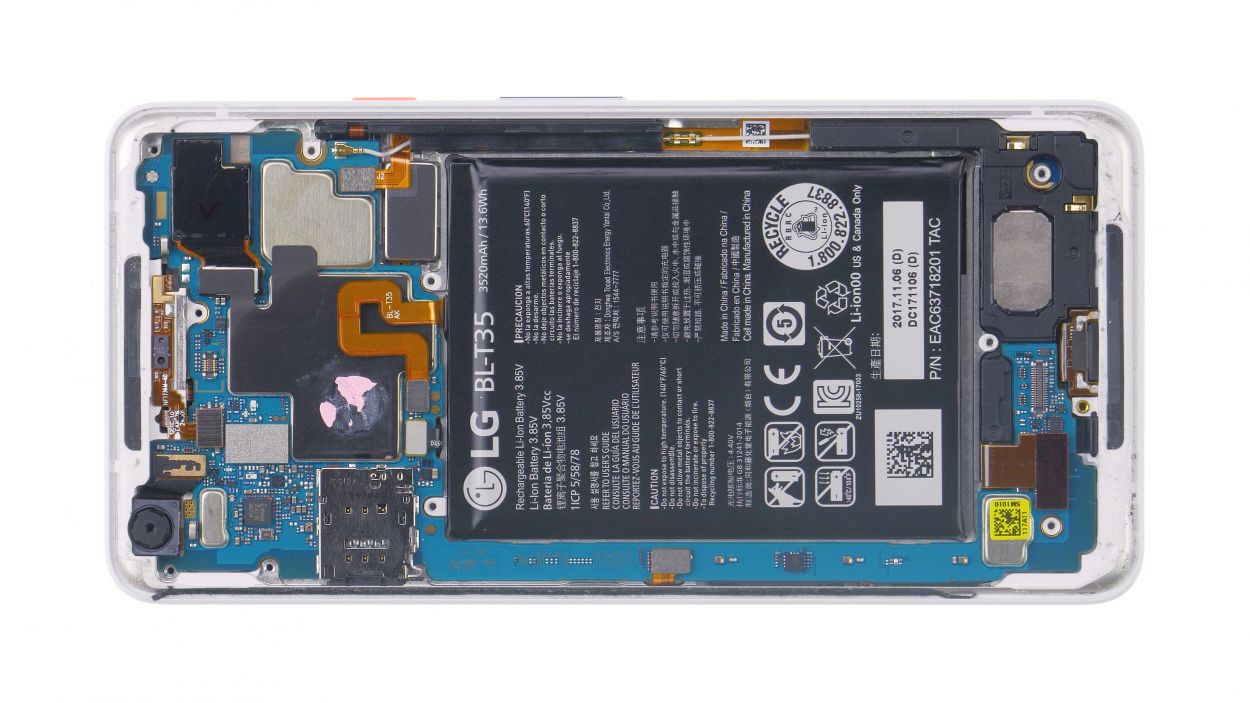
Grab those trusty plastic tools when working on electrical parts! Metal can be a bit of a troublemaker, scratching contacts and potentially causing short circuits. Keep it cool and safe!
Step 6
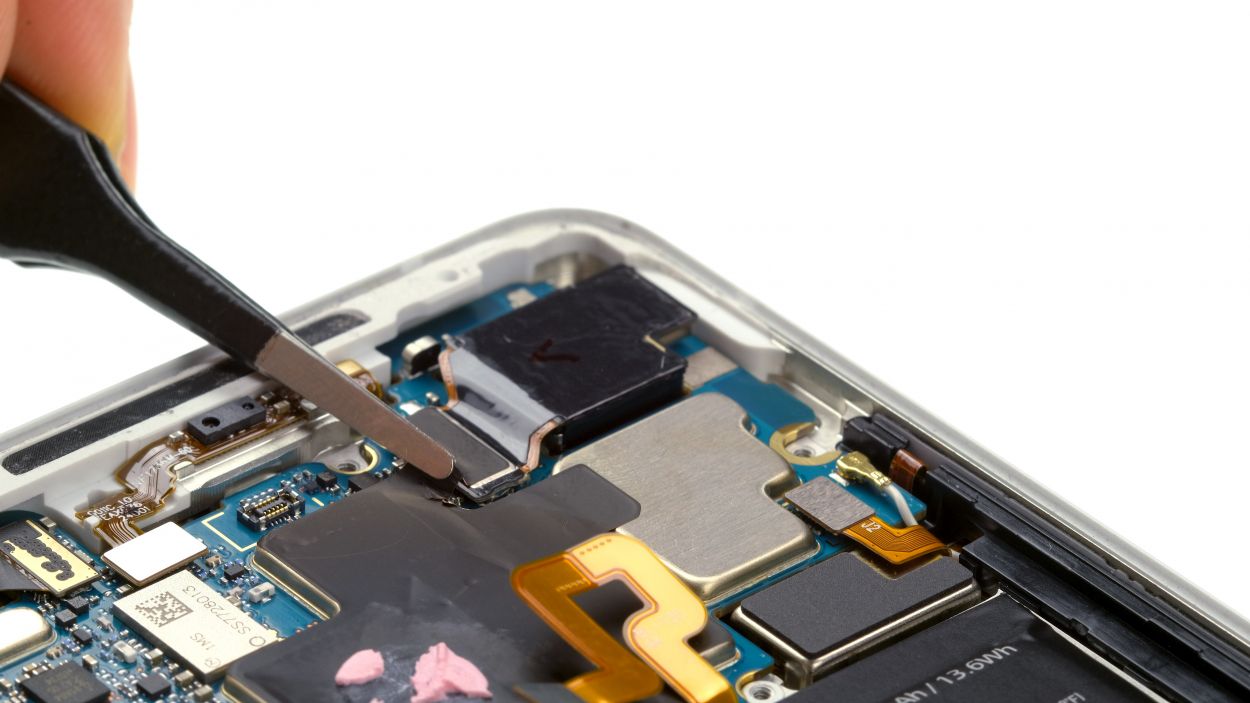
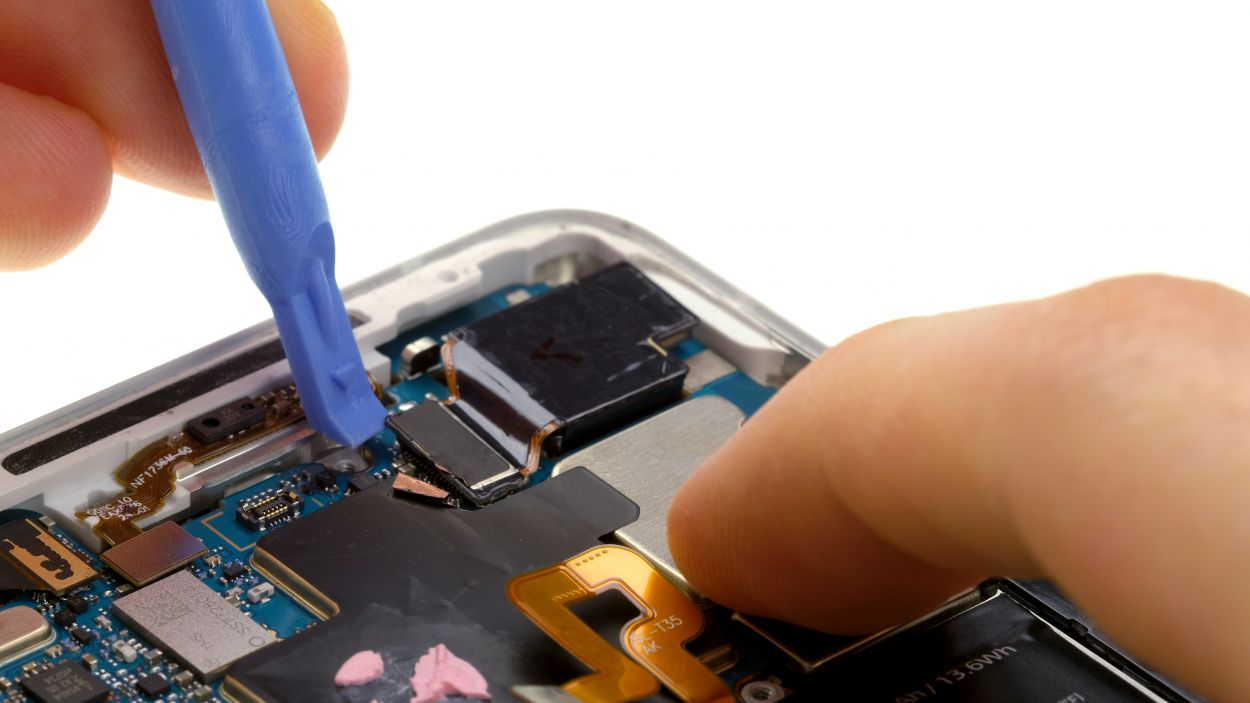
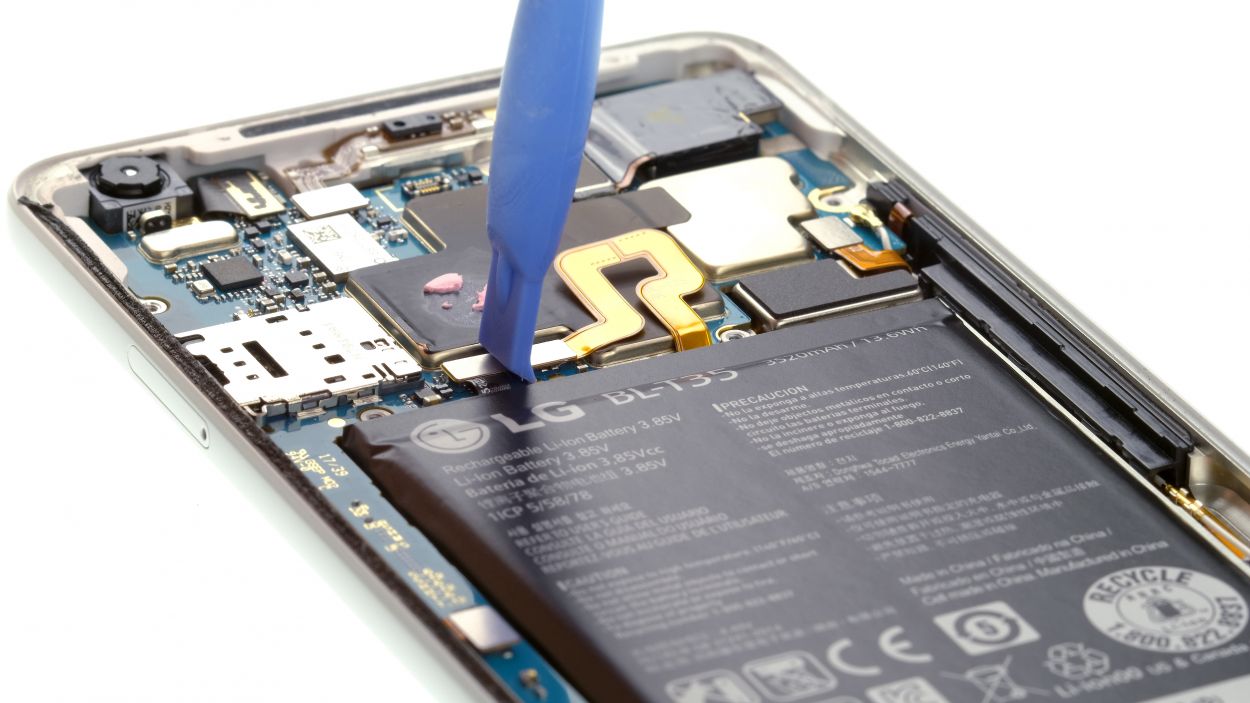
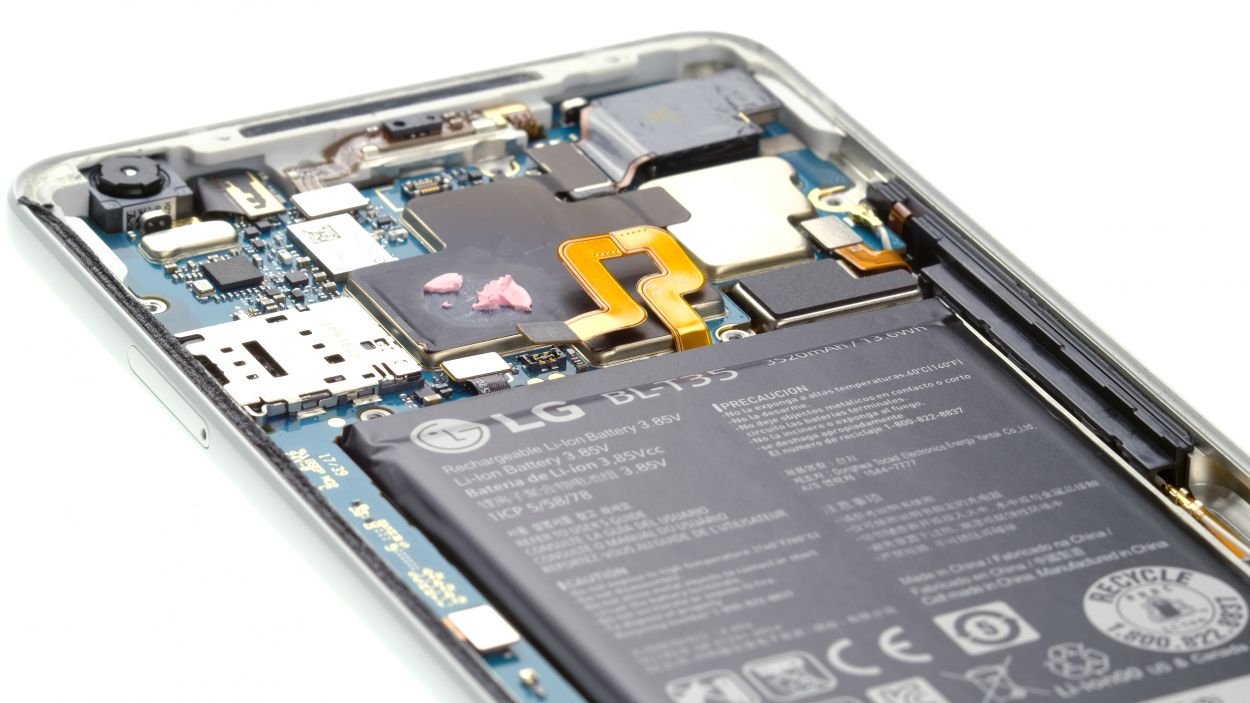
– First, let’s peel off that sneaky little tape strip from the camera connector.
– Next, gently disconnect the camera’s connector. You might want to give the mainboard a little support.
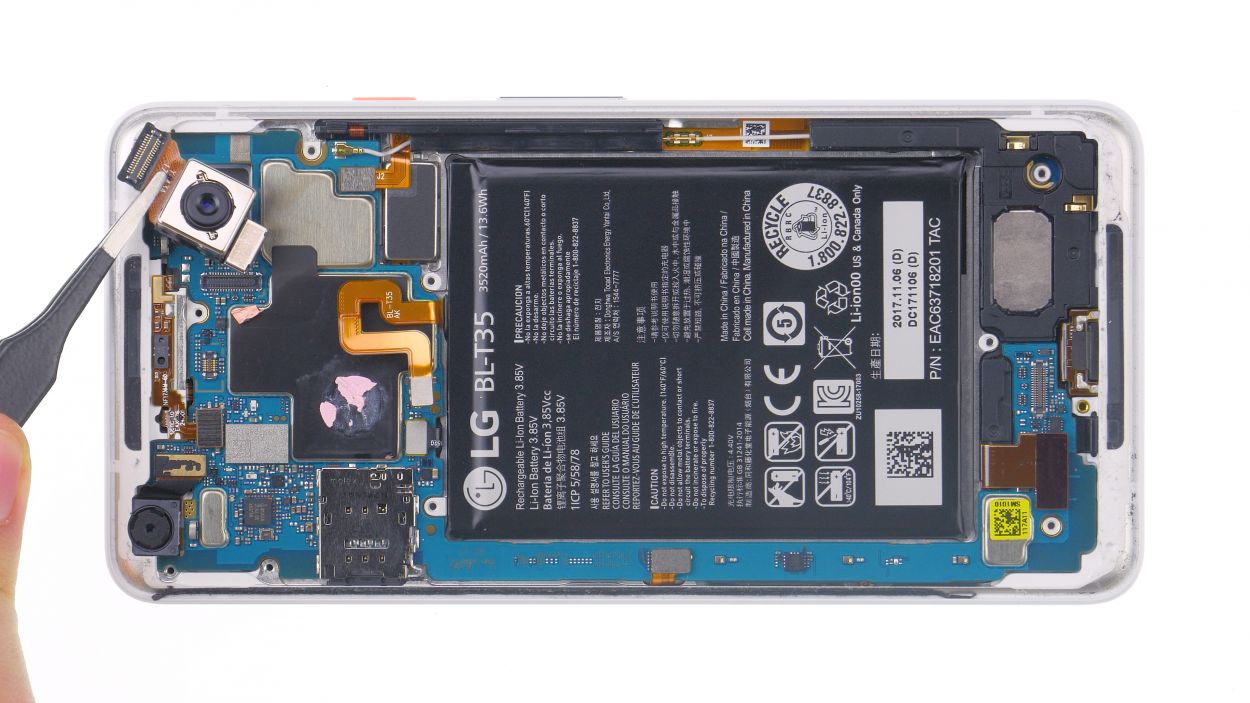
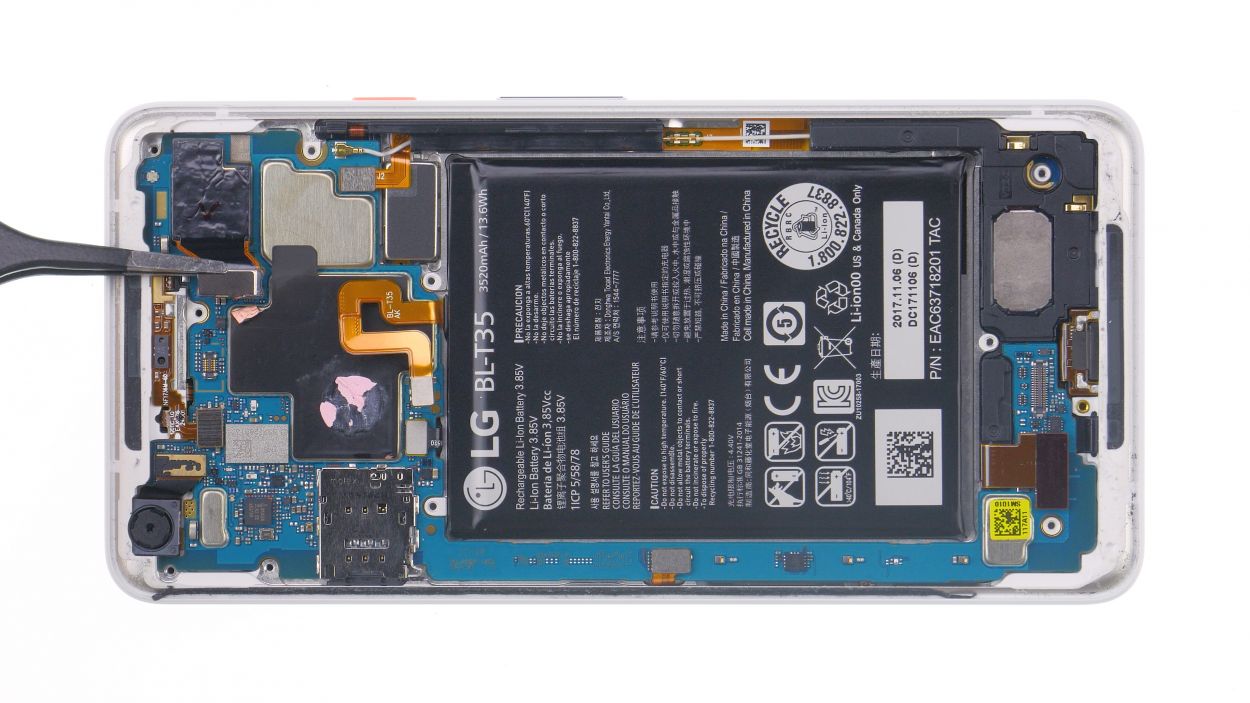
– Now, it’s time to carefully remove the camera from the device.
Step 7
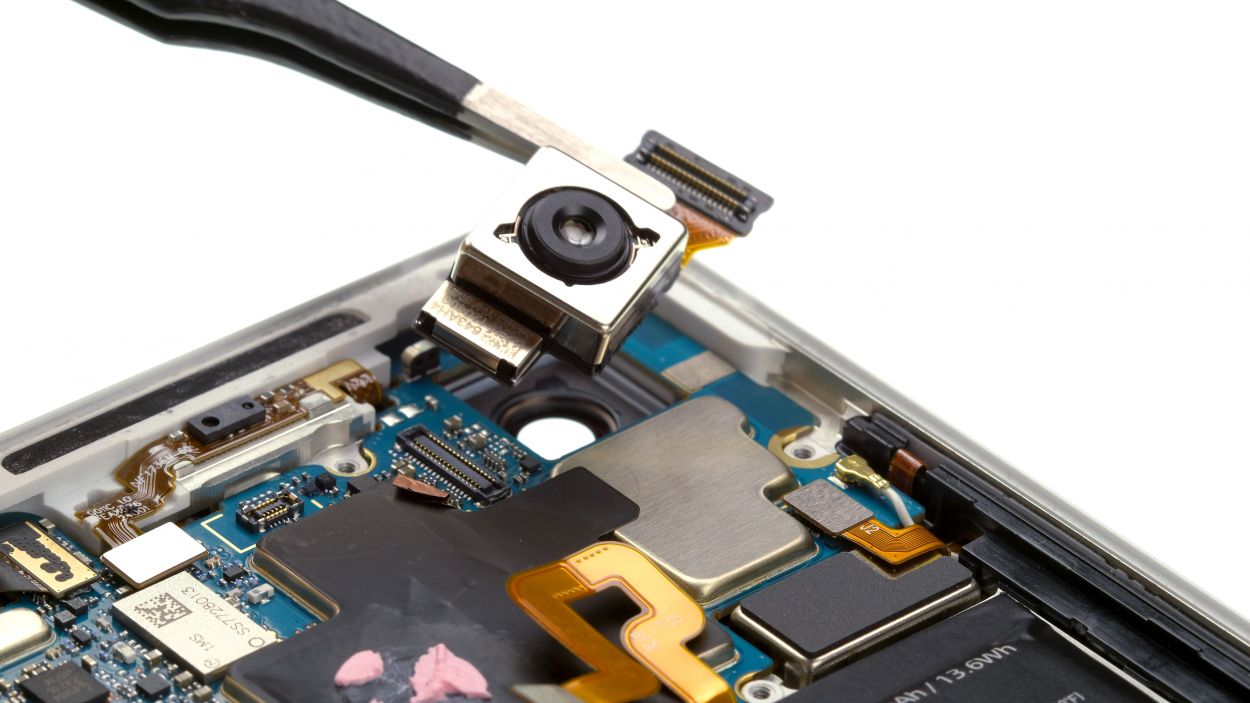
– Put the rear camera in its opening.
– Position the connector and press it on.
– Stick the small tape strip to the connector.
Step 9
11 × 2.7 mm Phillips
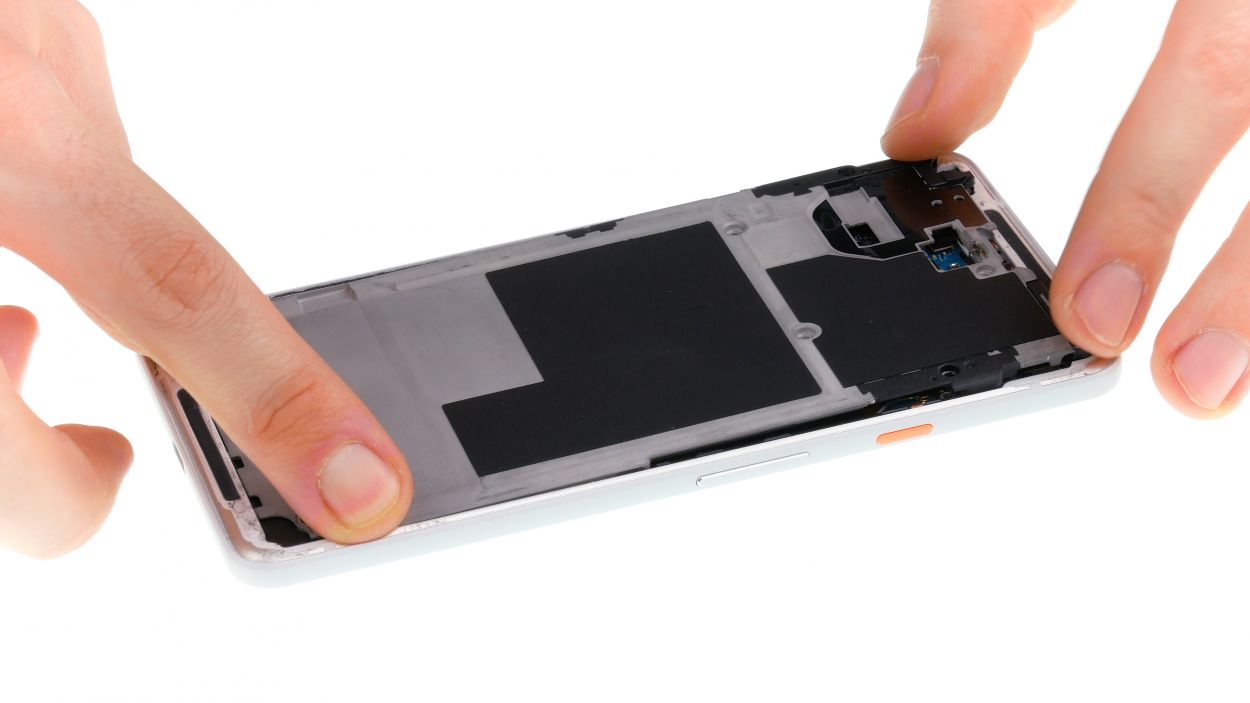
– Gently pop the midframe into the device and give it a little press to secure it.
– Next up, grab those Phillips screws of the same length and fasten them all snugly.
Step 10
Stay safe out there! Remember to keep your digits intact and throw on some gloves if you’ve got them handy.
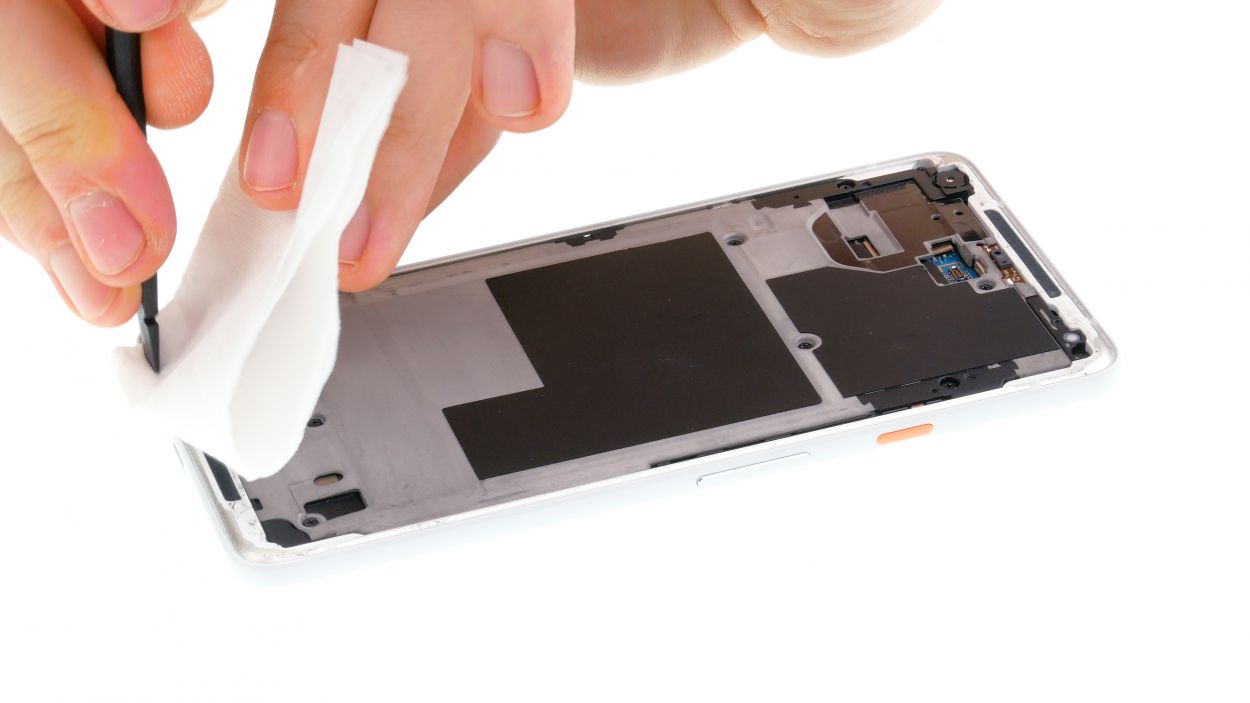
– It’s time to go all glass detective! Grab a magnifying glass or your best detective hat and carefully search for any remaining glass shards. Let’s make sure we get rid of every sneaky little piece so you can get back to using your device without any surprises.
Step 11
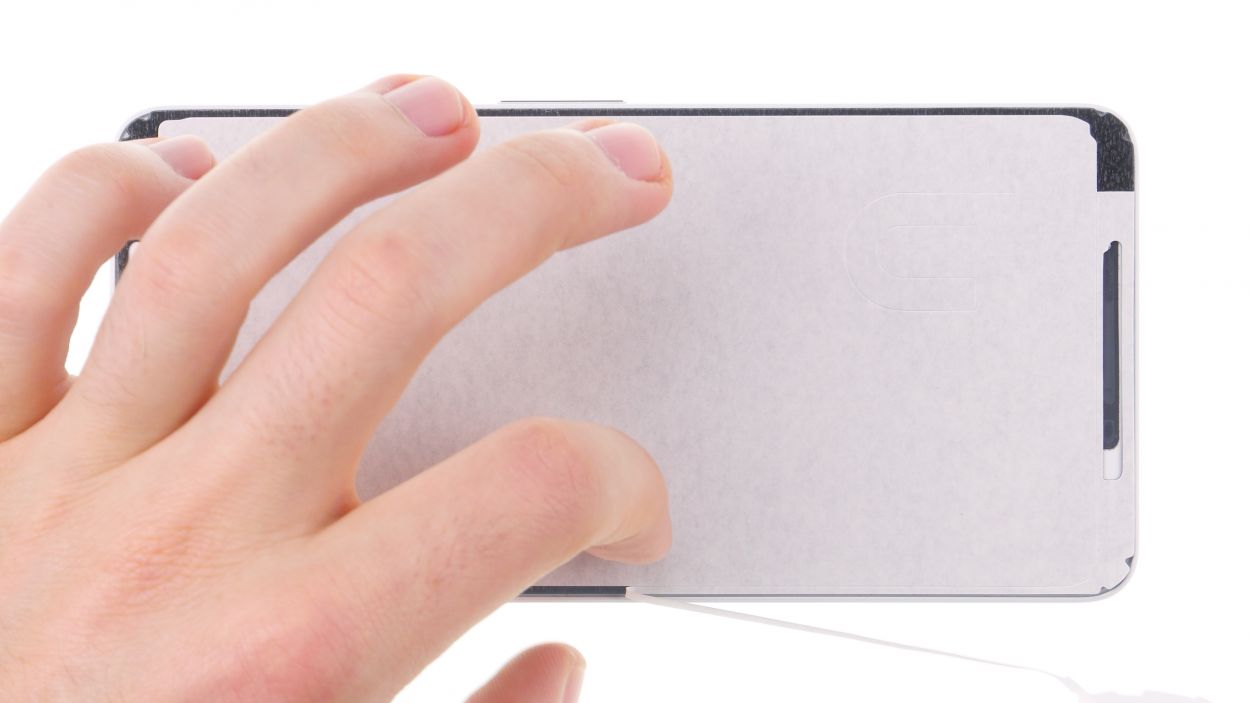
– Start by placing the frame sticker on the display while keeping the backing film on—this helps you check the alignment like a pro!
– Look for the hole for the front camera; it’s your guide to ensure the adhesive frame is facing the right way.
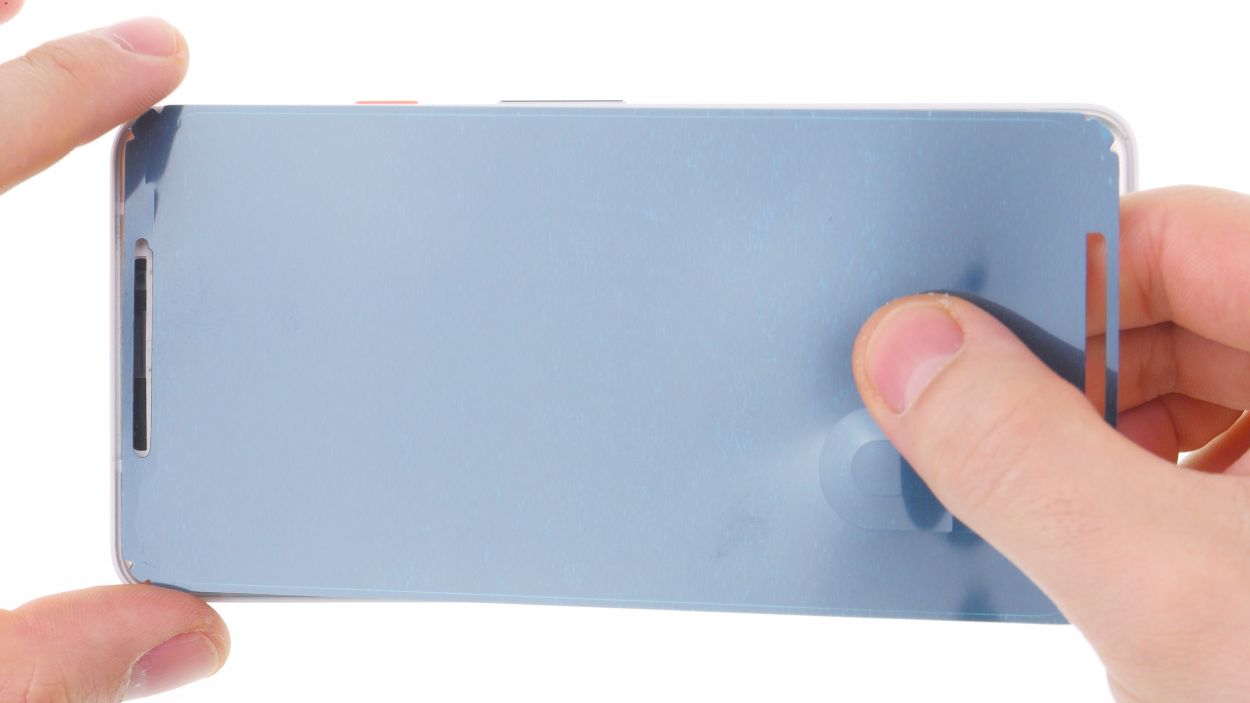
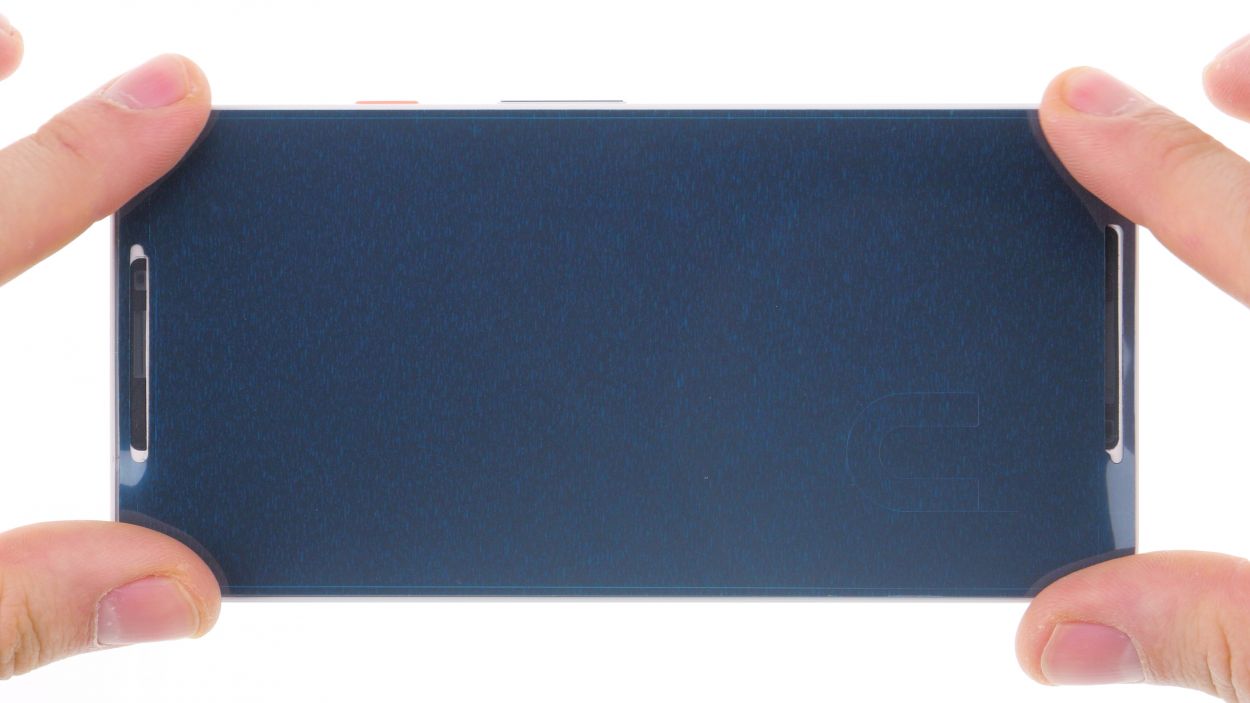
– Now, peel off that outer backing film and stick on the frame sticker, making sure the blue film is facing up. You’re doing great!
Step 12

Display connector
– Reconnect those display connectors! Gently press them onto the motherboard until you hear that satisfying click. You’ve got this!
– Next, pop those two plastic covers back in place and give them a little press. Don’t forget to tape down the second cover like a pro!
Step 13