DIY Guide to Replace Battery in Google Pixel 4
Duration: 90 min.
Steps: 17 Steps
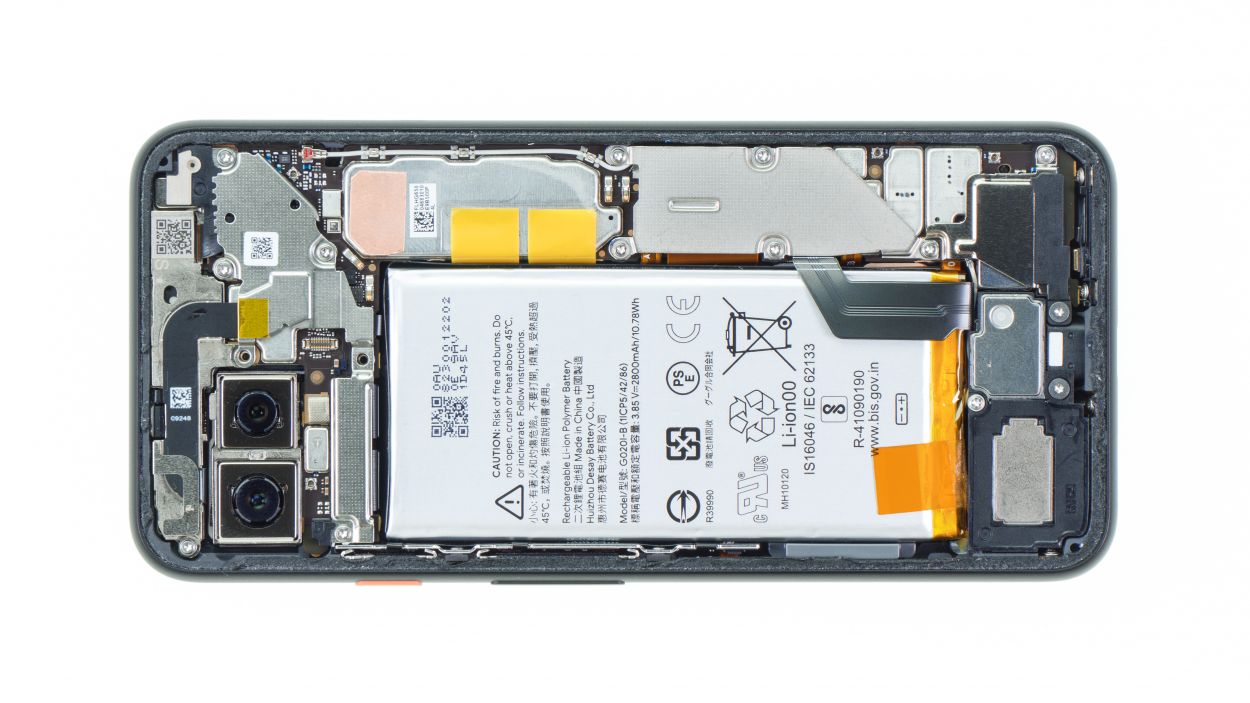
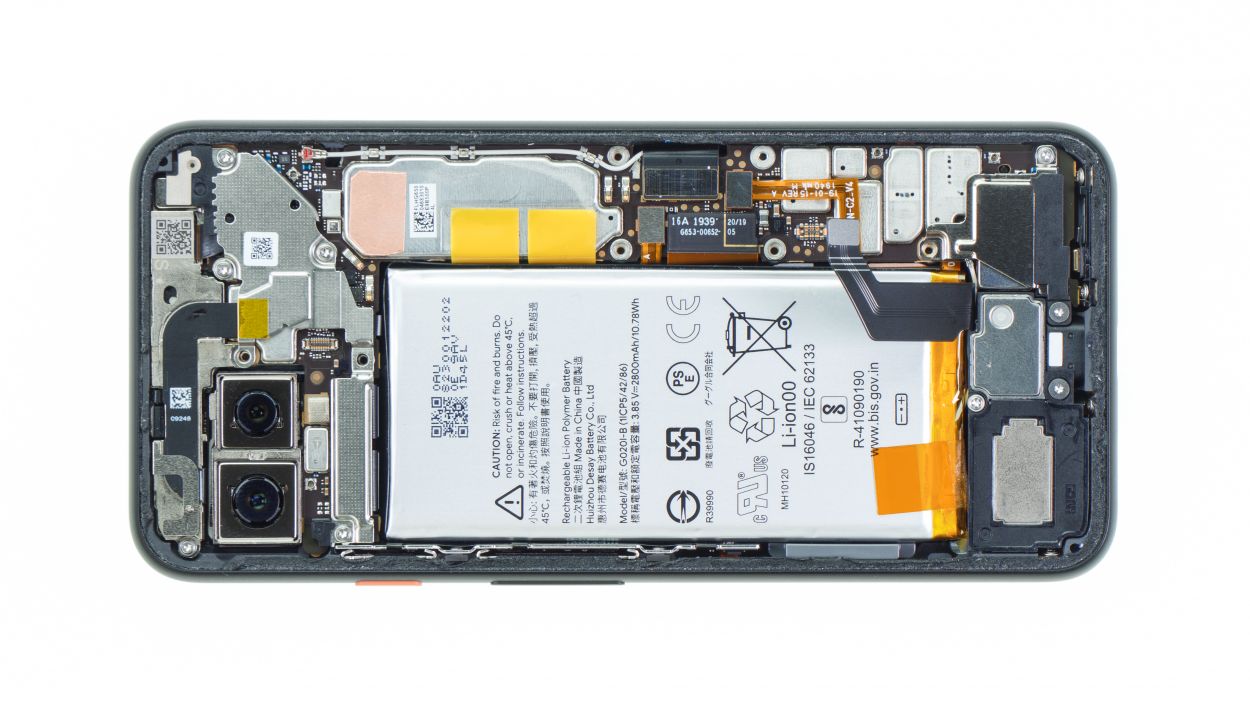
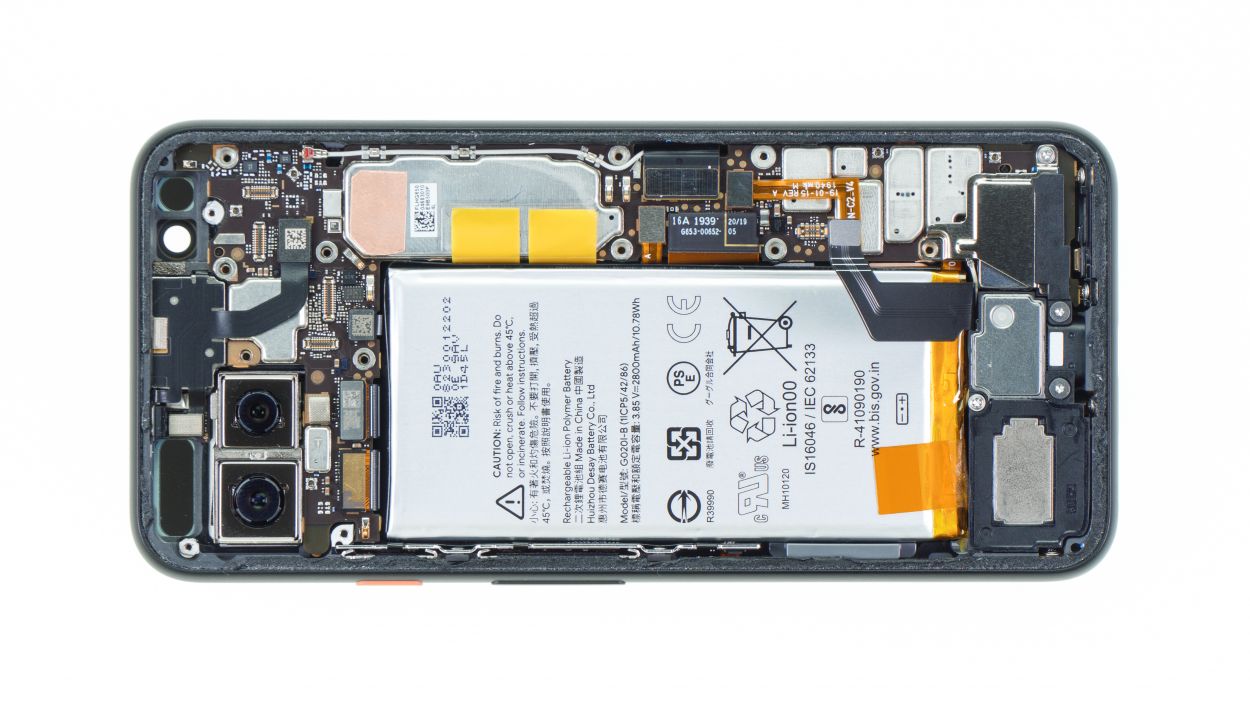
Get ready to boost your Google Pixel 4 with a fresh battery! If your trusty device is giving up when the action gets heavy, won’t power up or charge, or can’t last a day without clinging to the charger, it’s time for a battery swap. No need to be a tech whiz; all you need is a sprinkle of patience. Peeling off the snug glass backcover might be a sticky affair due to the strong adhesive, and yes, a few tiny components will need a switcheroo. But fear not! Grab some snacks, this guide, and dive in. With our crisp macro shots and easy-peasy instructions, we’ll march through the fix together. If you hit a snag, you can always schedule a repair with us.
Step 1
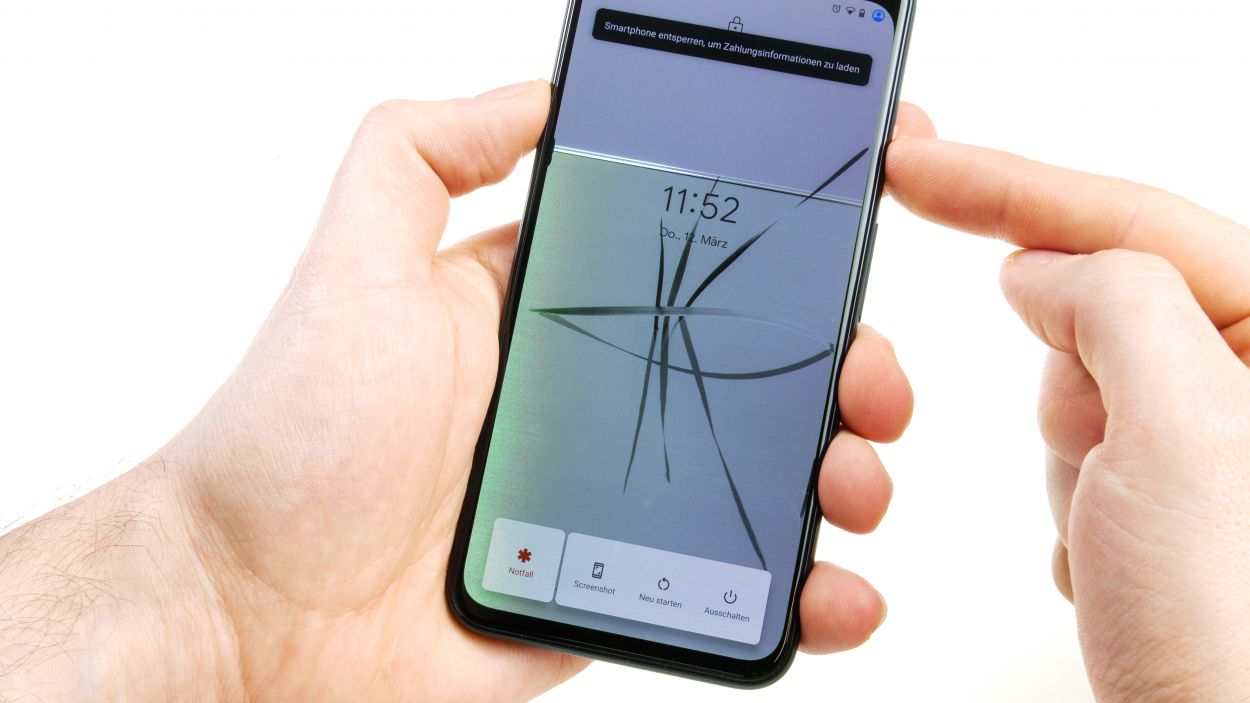
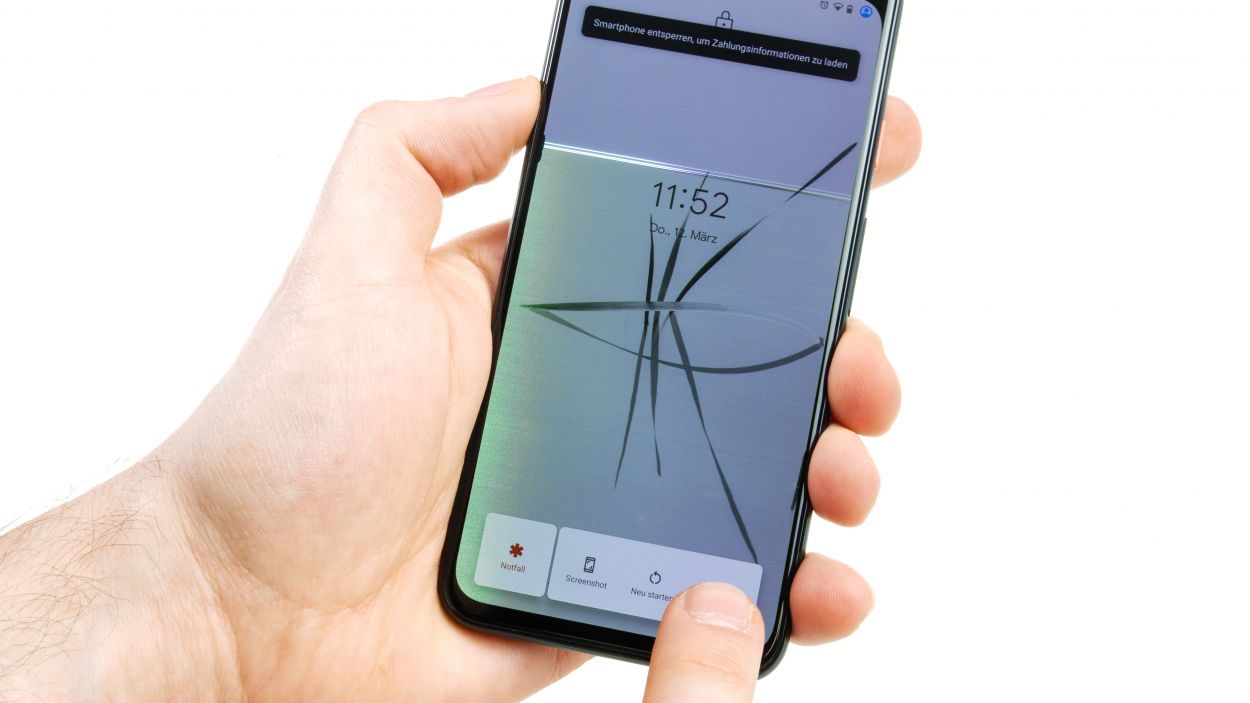

– Press and hold the standby button on the right—hold it like you mean it! After a few seconds of pressing, a message will pop up on the screen asking if you really want to turn off your device. Go ahead and tap confirm to give it a goodnight sleep.
Step 2
Ease up on the throttle there! Gently does it with the tools to keep the insides of your device happy and unharmed.
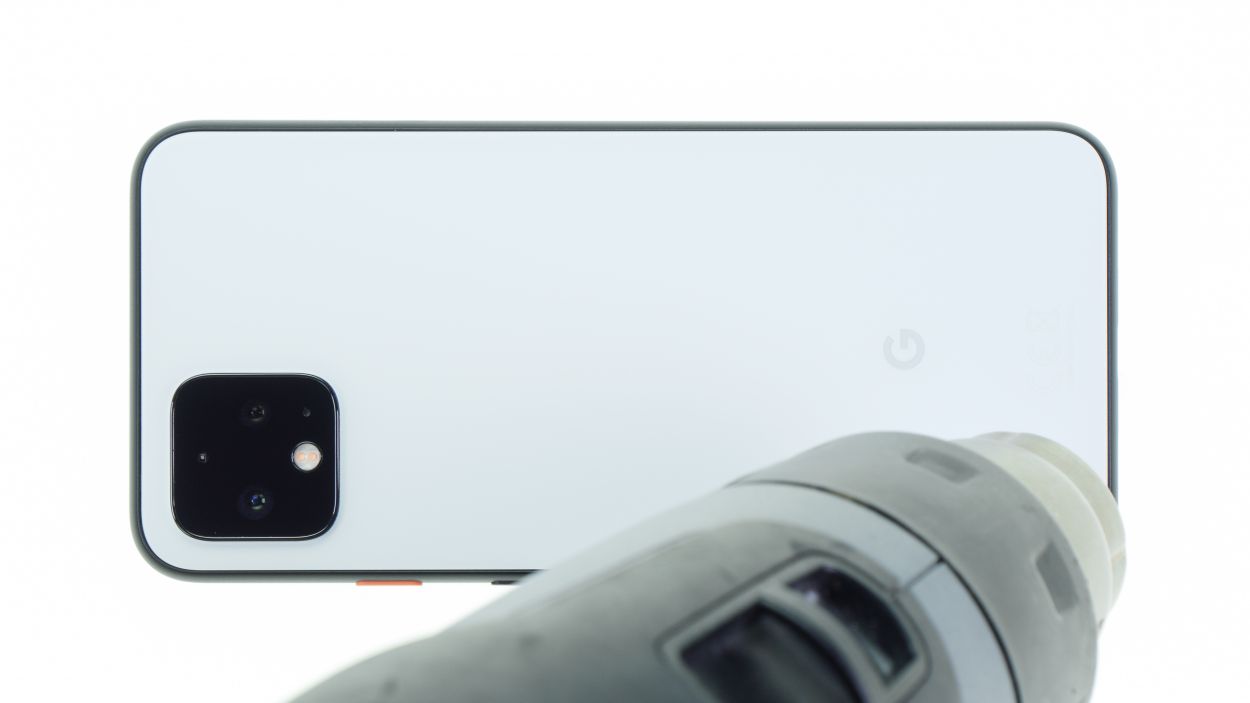
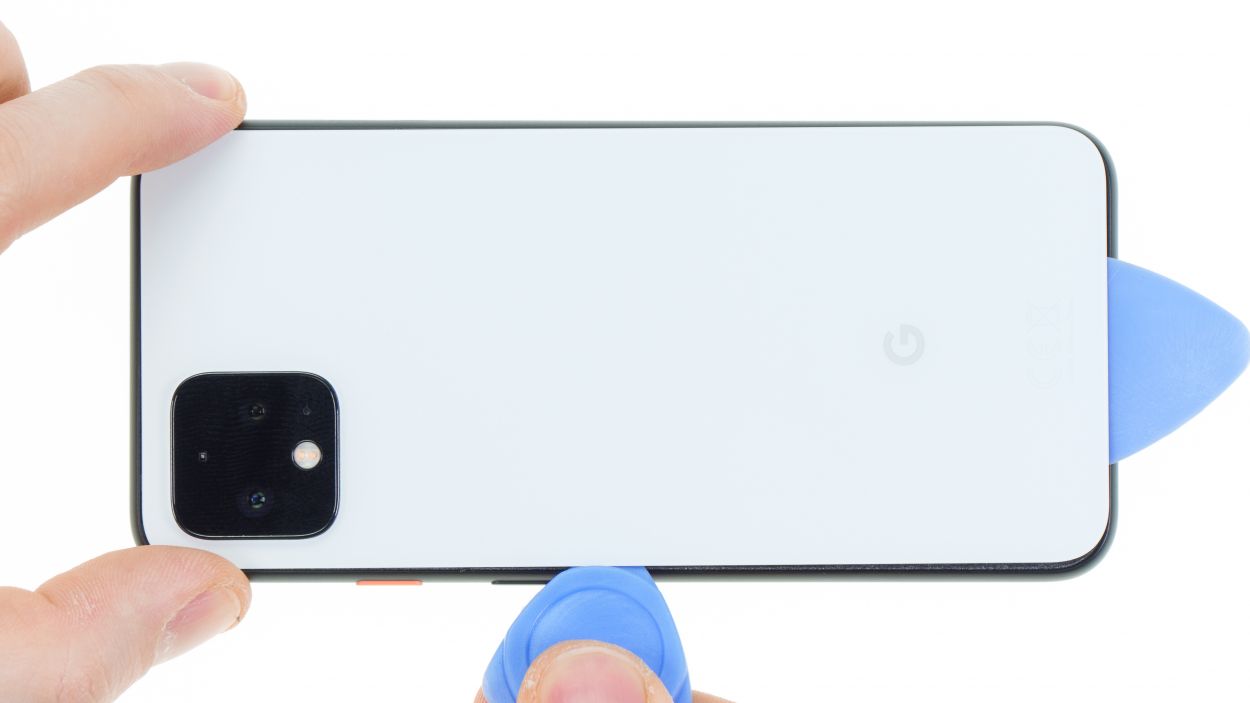
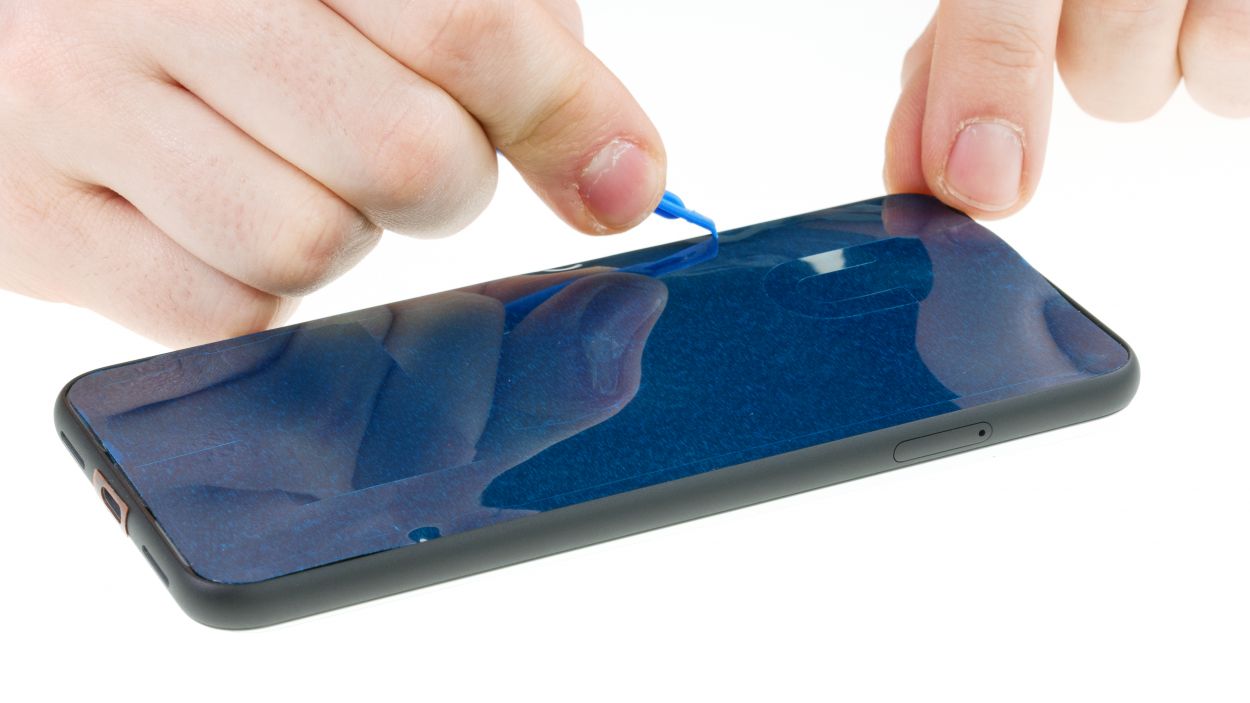
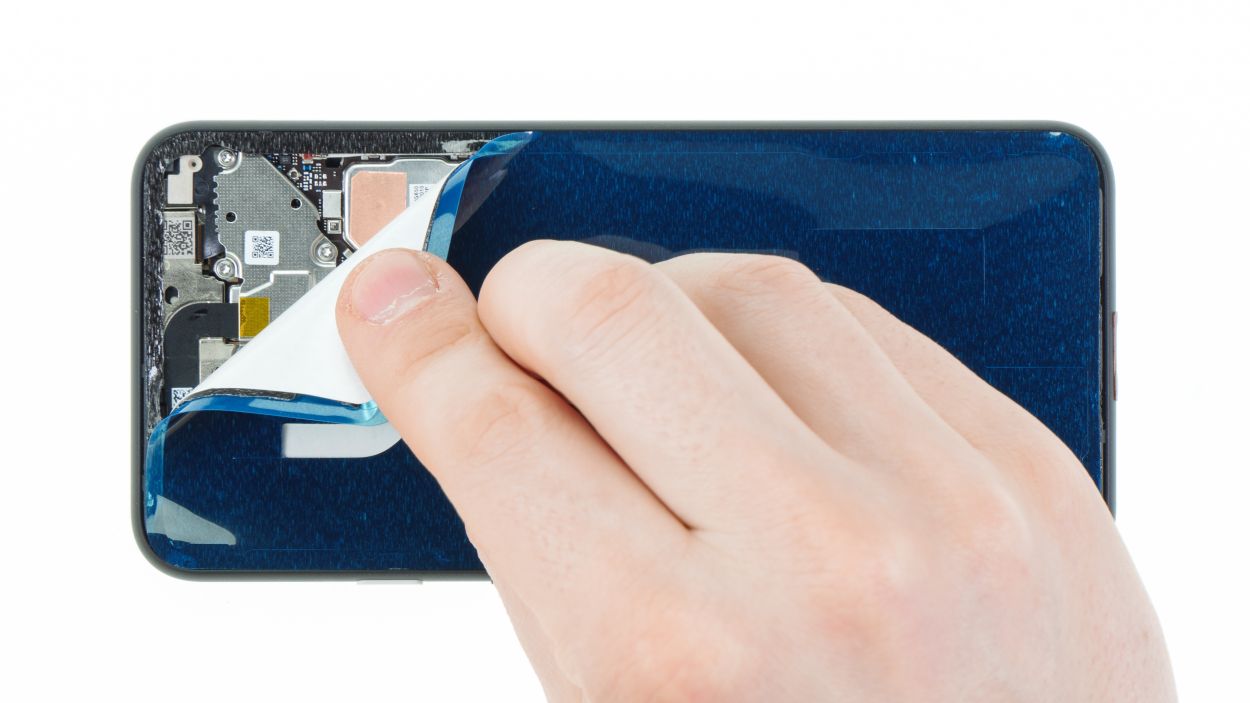
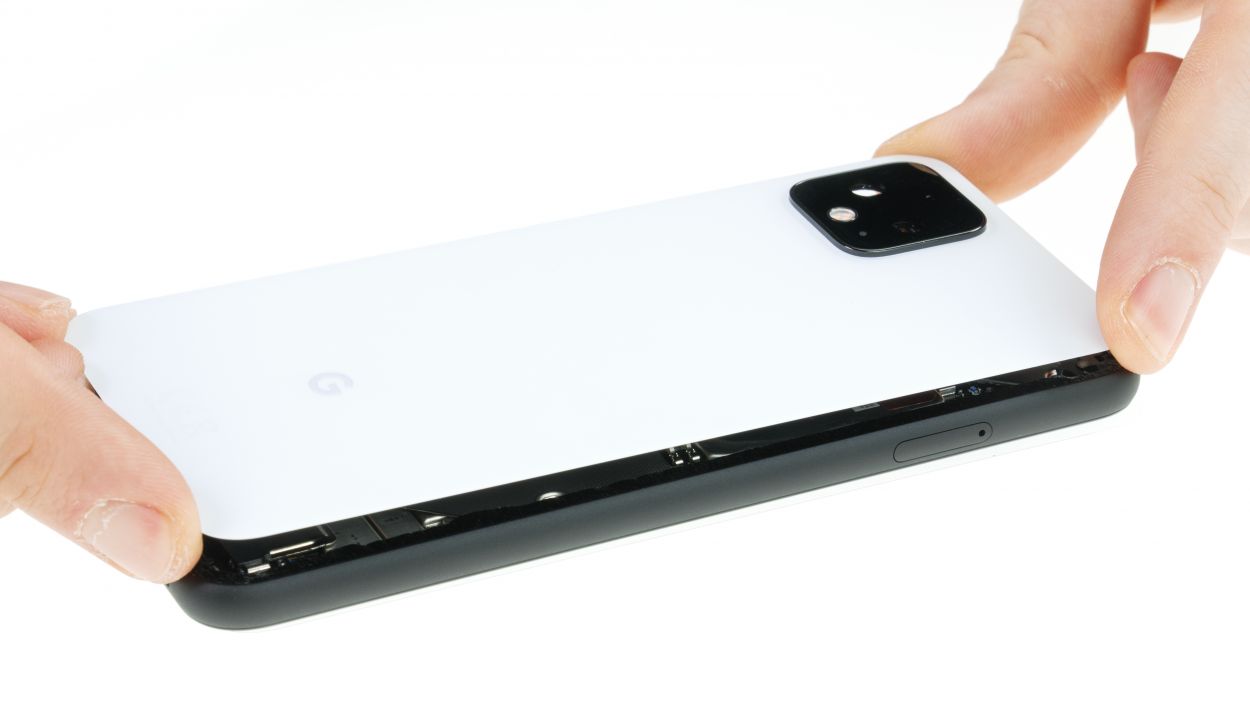
– Warm up the edges of your gadget with a heat gun or hair dryer to make the adhesive easier to tackle. Be gentle and keep it toasty—just mild enough not to singe your fingertips! Focus on the perimeter rather than the center to protect that precious battery.
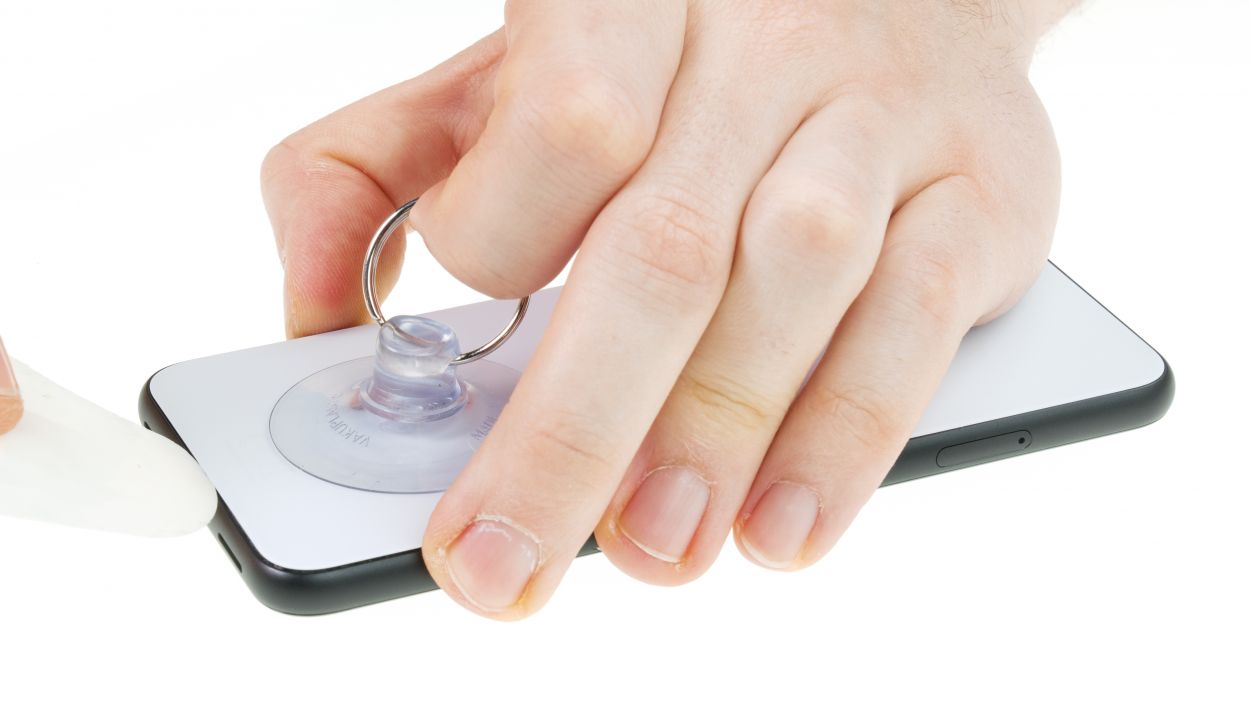
– Pop a suction cup on the bottom of the back cover and give it a nice pull while gently holding down the device. It’s like opening a jar with a little more tech savvy!
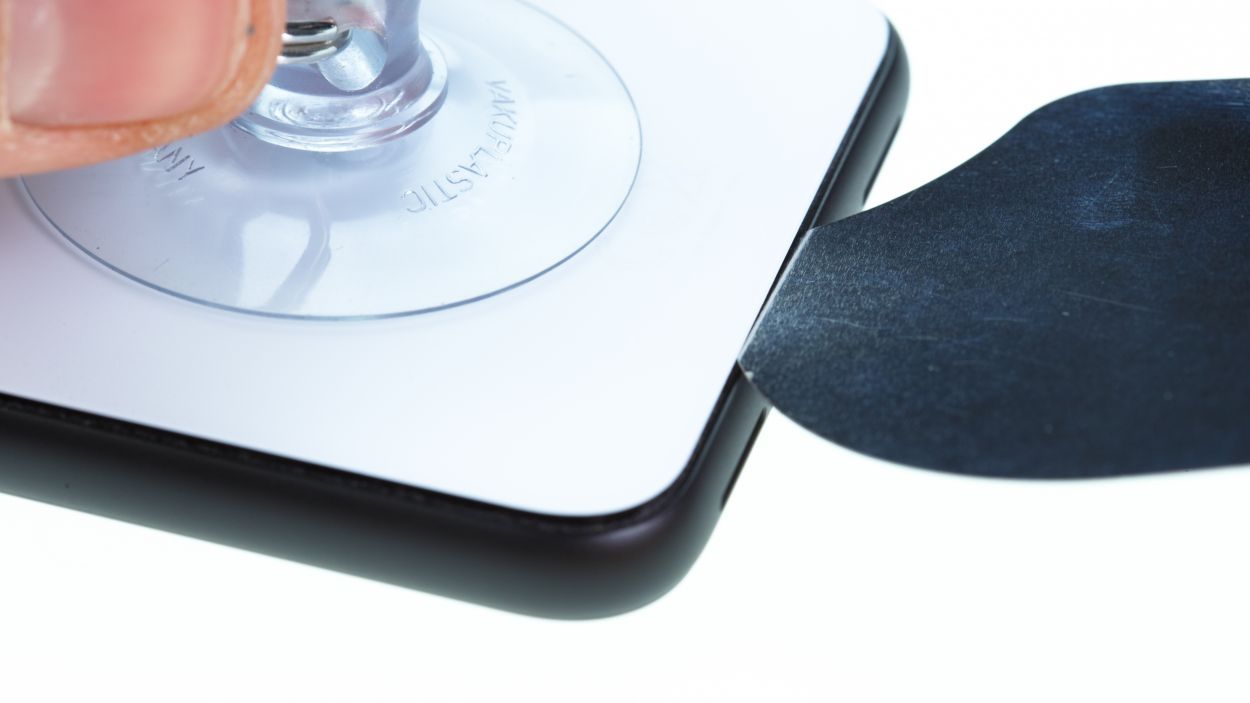
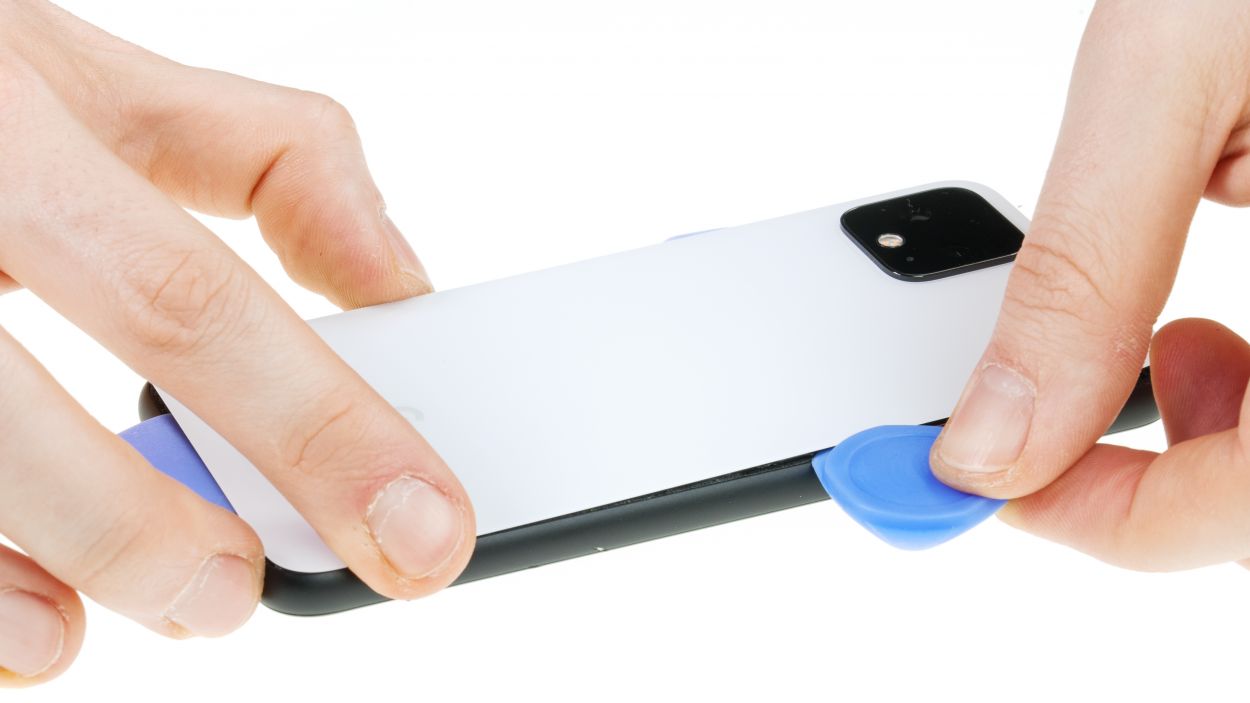
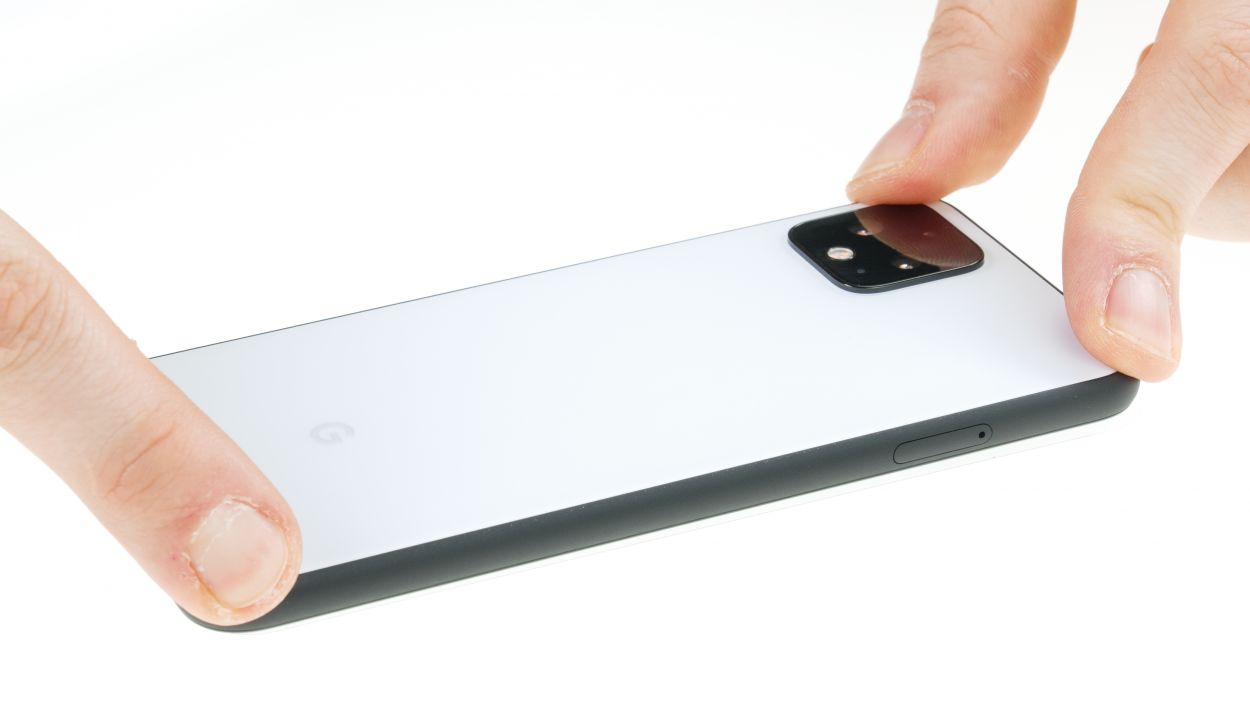
– Slide a tool into the newly formed opening between the back cover and the frame. If a plectrum doesn’t fit, whip out a specialized tool like the iFlex, but watch out—don’t nick the frame or the back with the sharp edges.
– Reheat all around the edge and gracefully glide the plectrum or iFlex along, easing the glue loose bit by bit. It’s like spreading butter on toast, but a bit stickier!
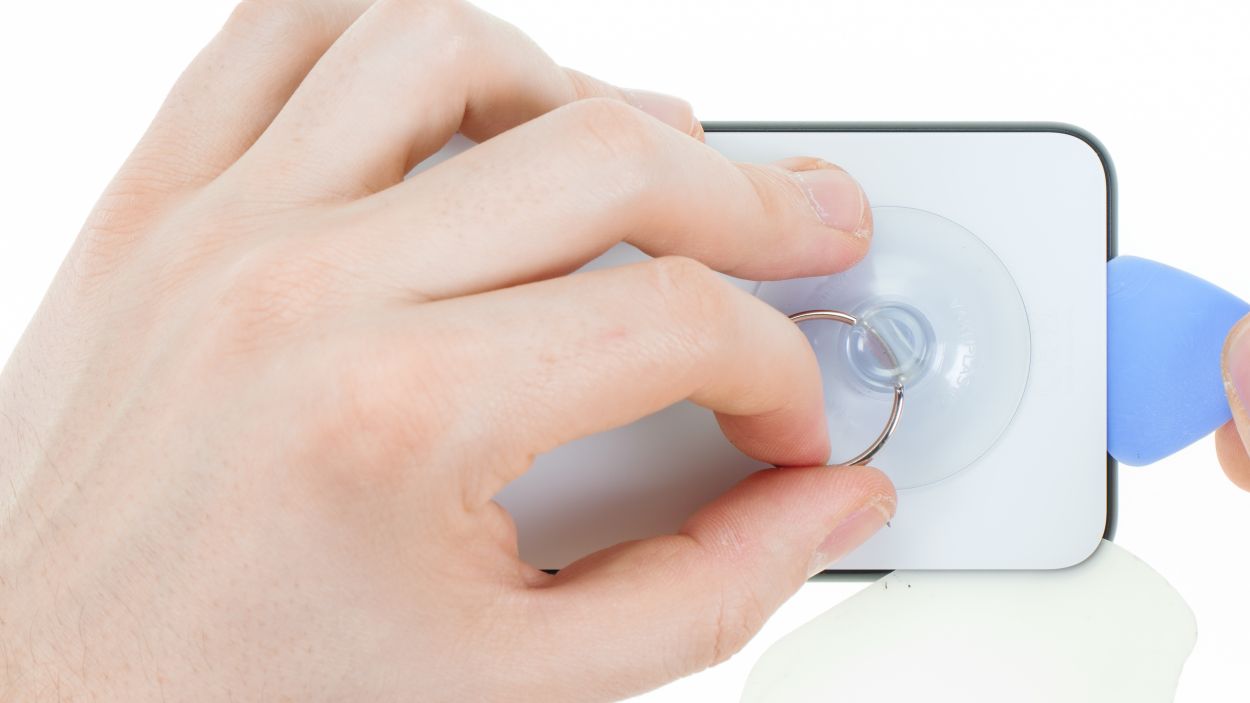
– Keep a few picks in place to stop the glue from getting any reattachment ideas in spots you’ve already freed up. Keep those edges liberated!
Tools Used
- heat gun to heat parts that are glued on so they’re easier to remove.
In most cases, you can also use a hairdryer.” rel=”noopener”>Heat gun - screen and the frame. The practical iFlex is made of stainless steel and sits comfortably in the hand. This makes it the perfect assistant for every smartphone repair.” rel=”noopener”>iFlex Opening Tool
- VAKUPLASTIC Suction Cup
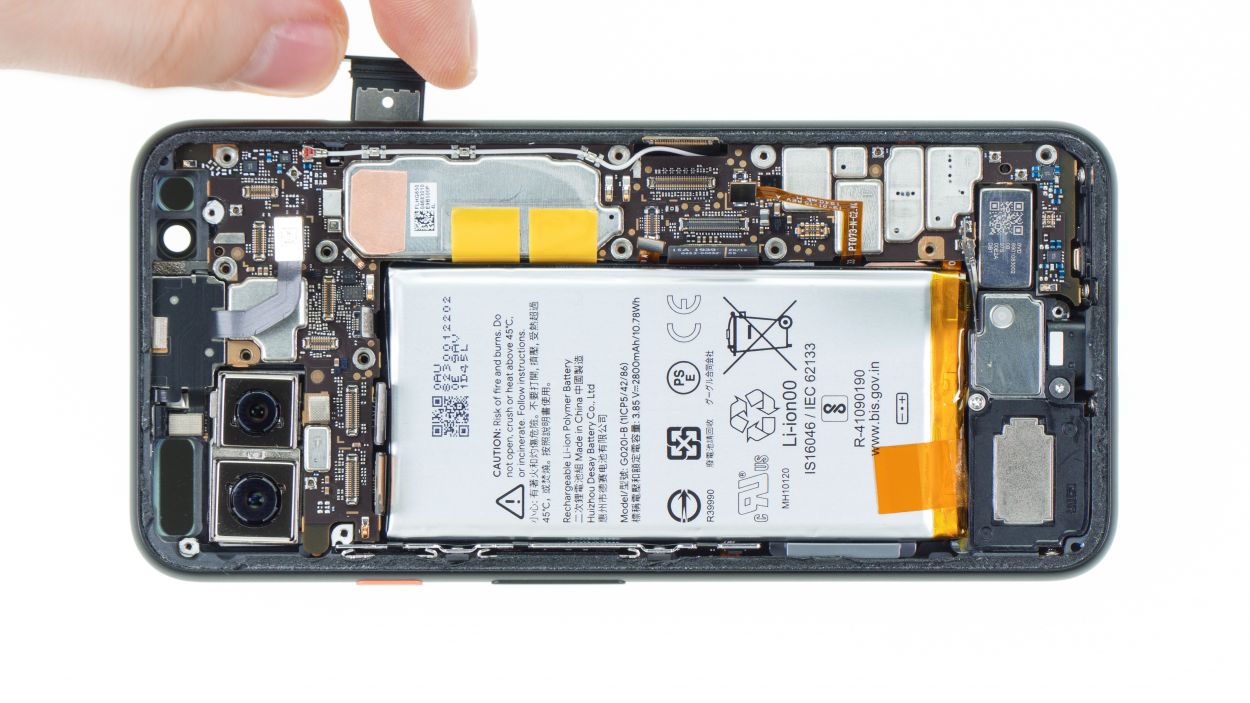
Step 3

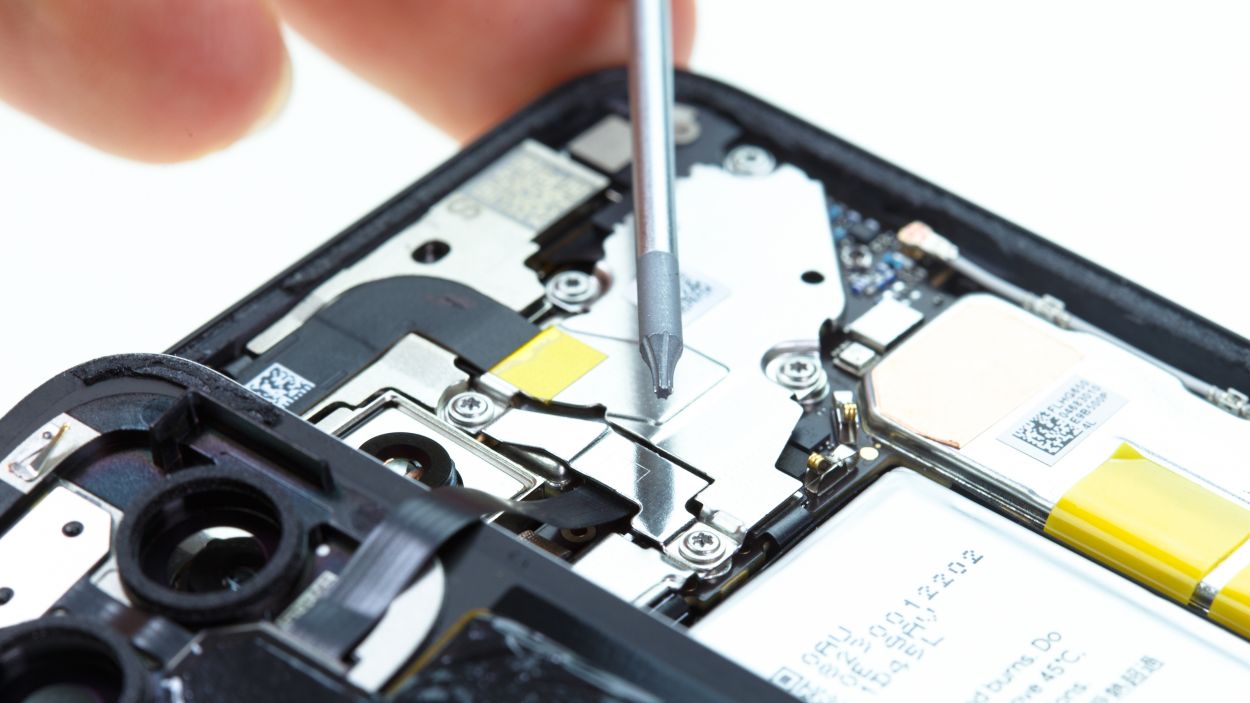

2 × 4,0 mm Torx T3
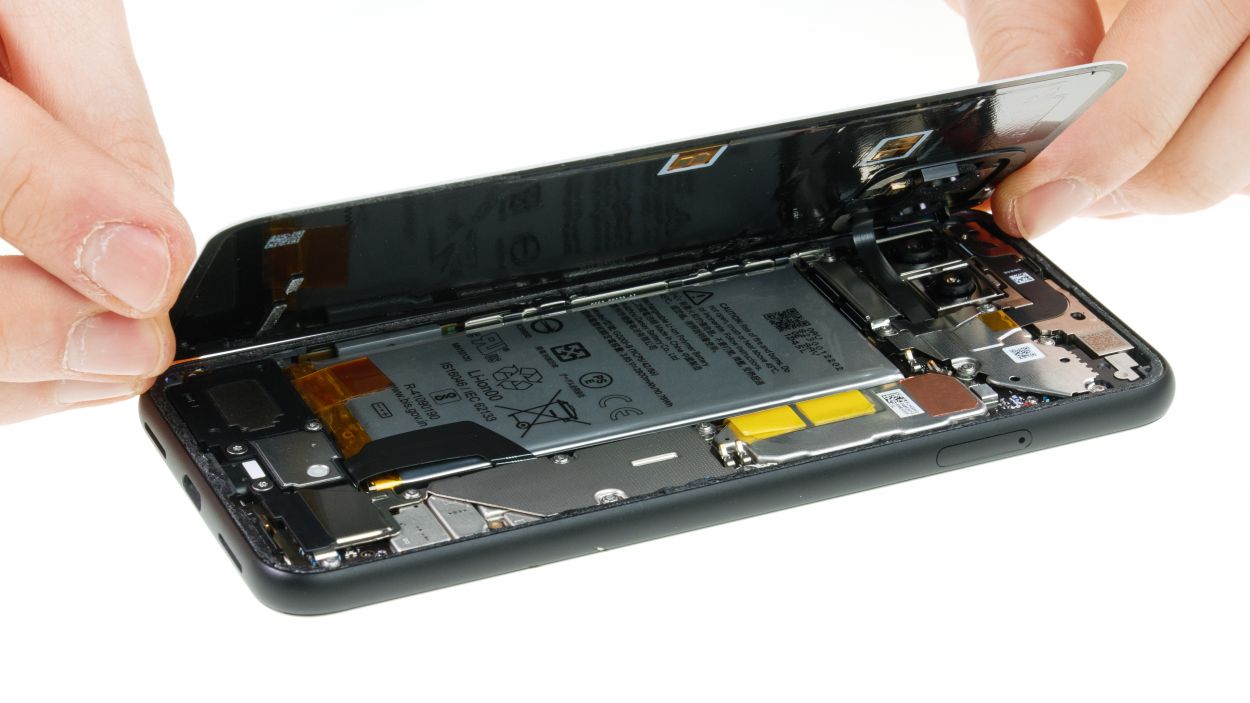
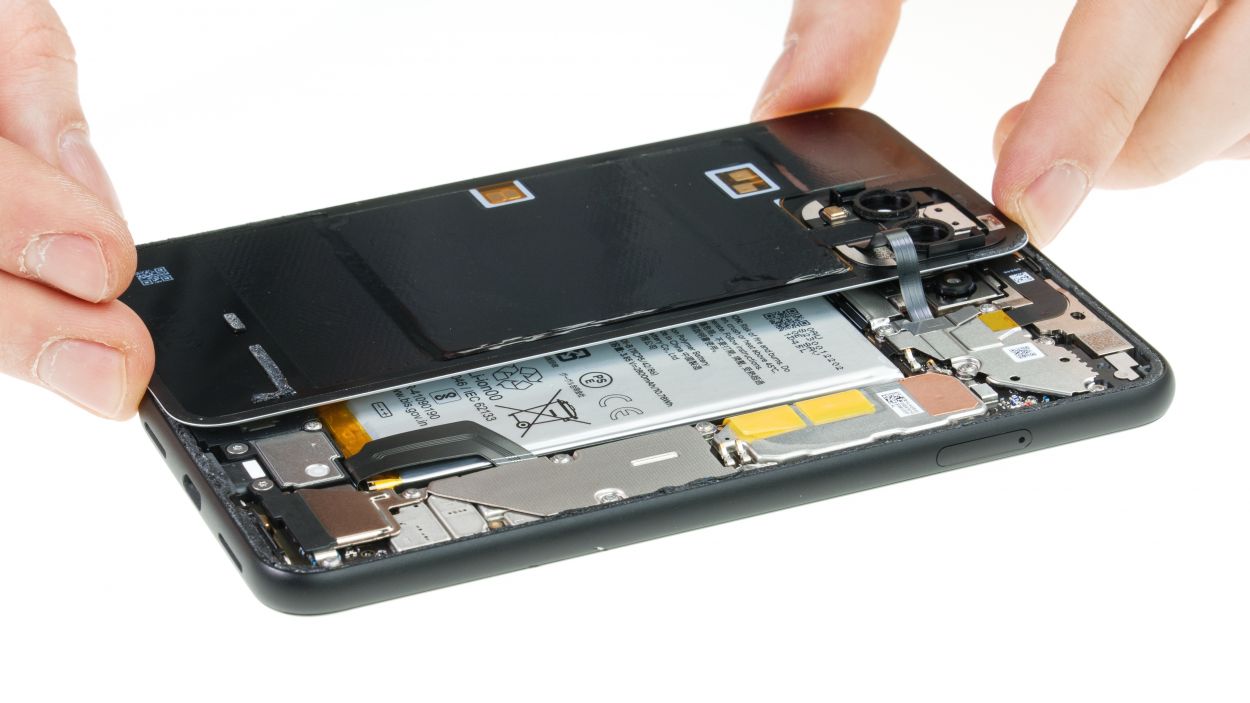
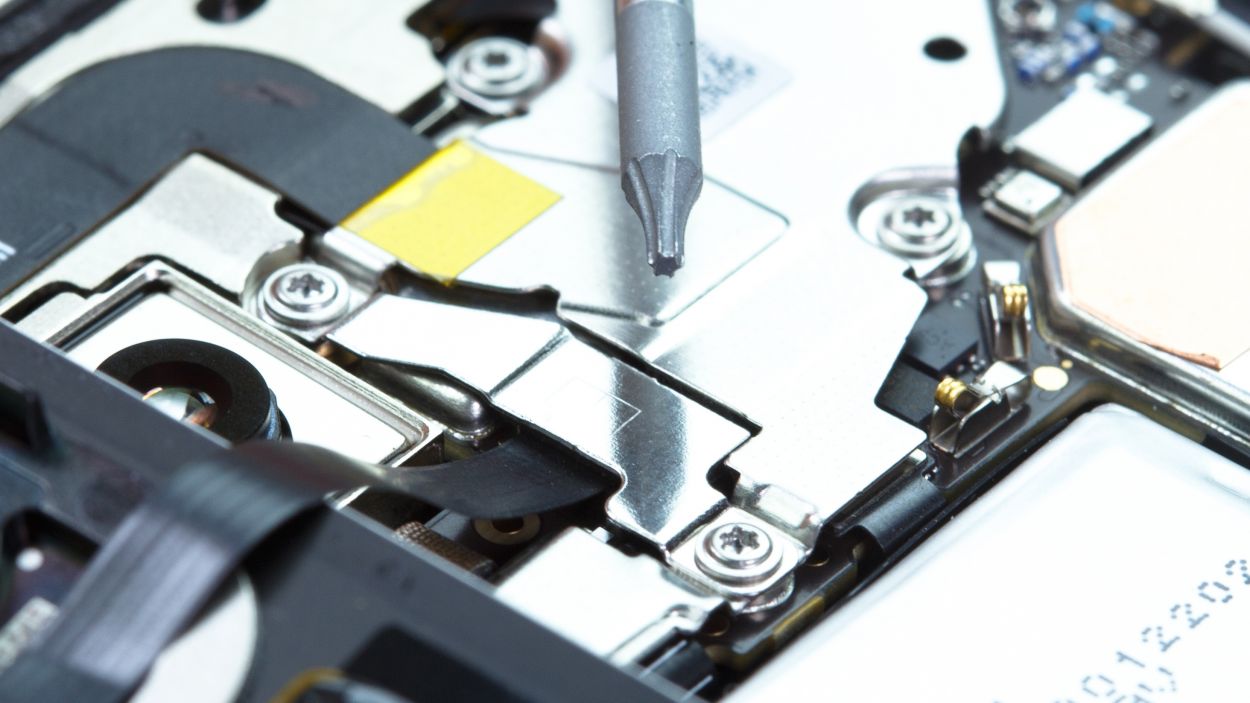
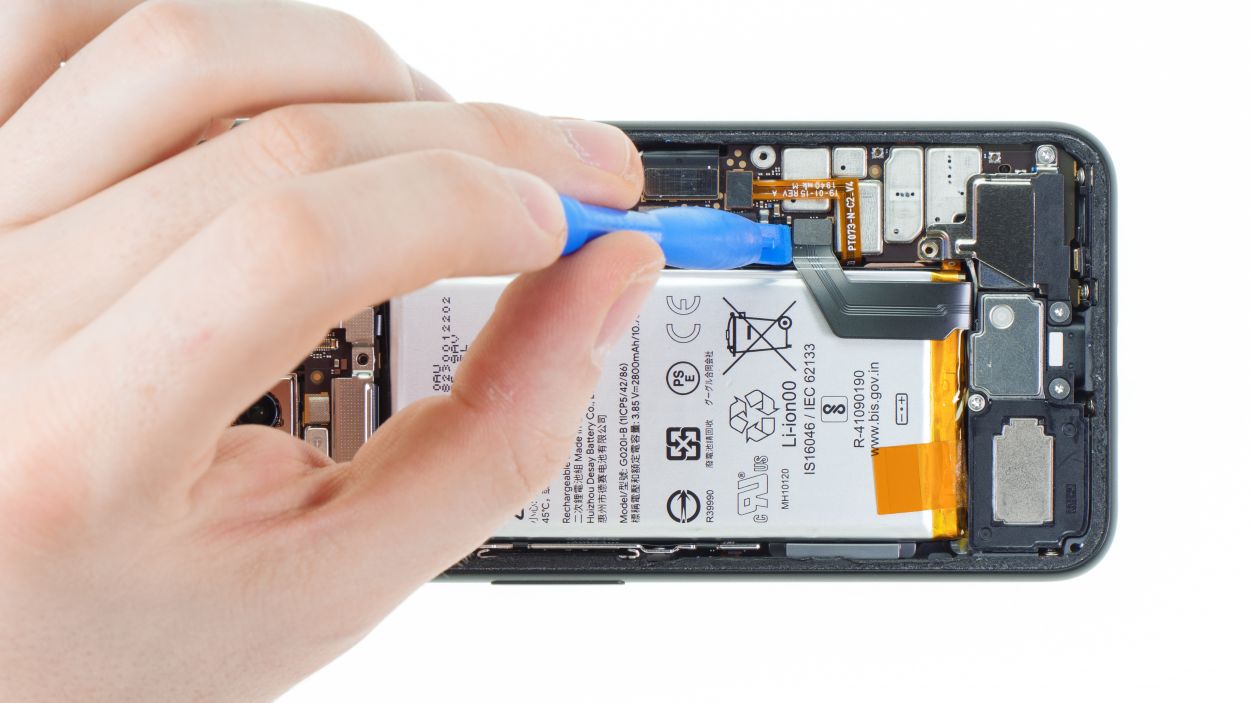
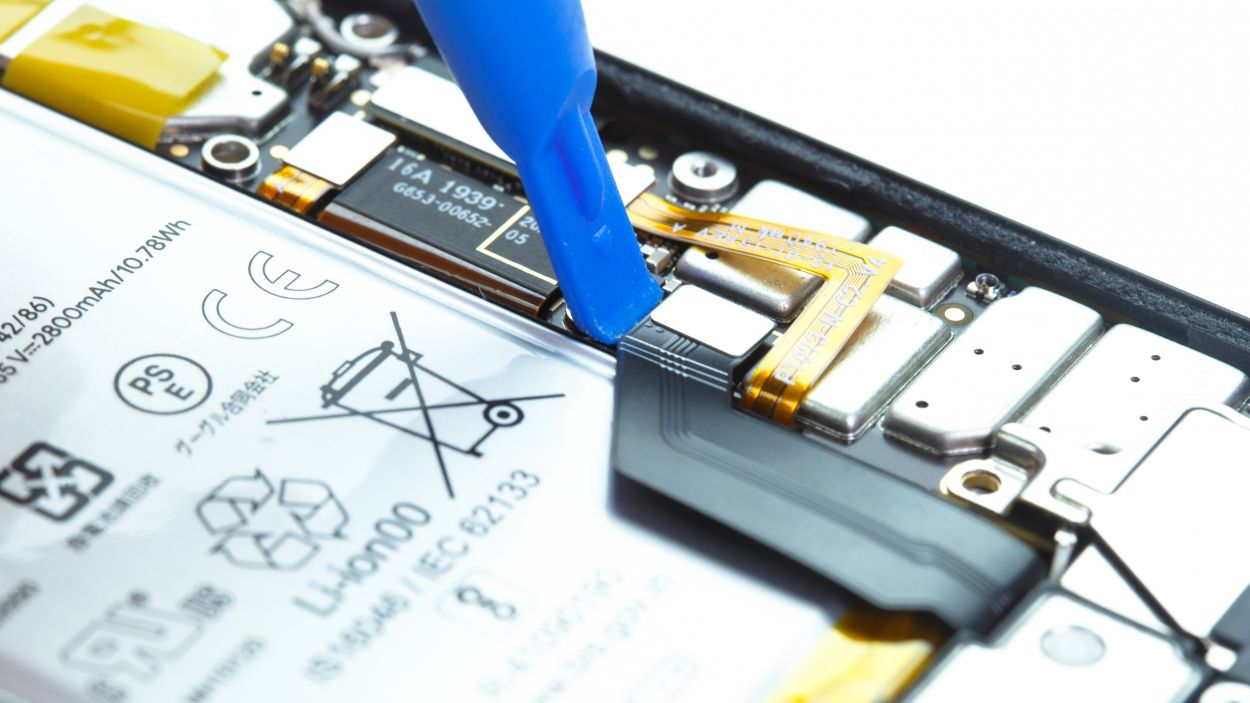
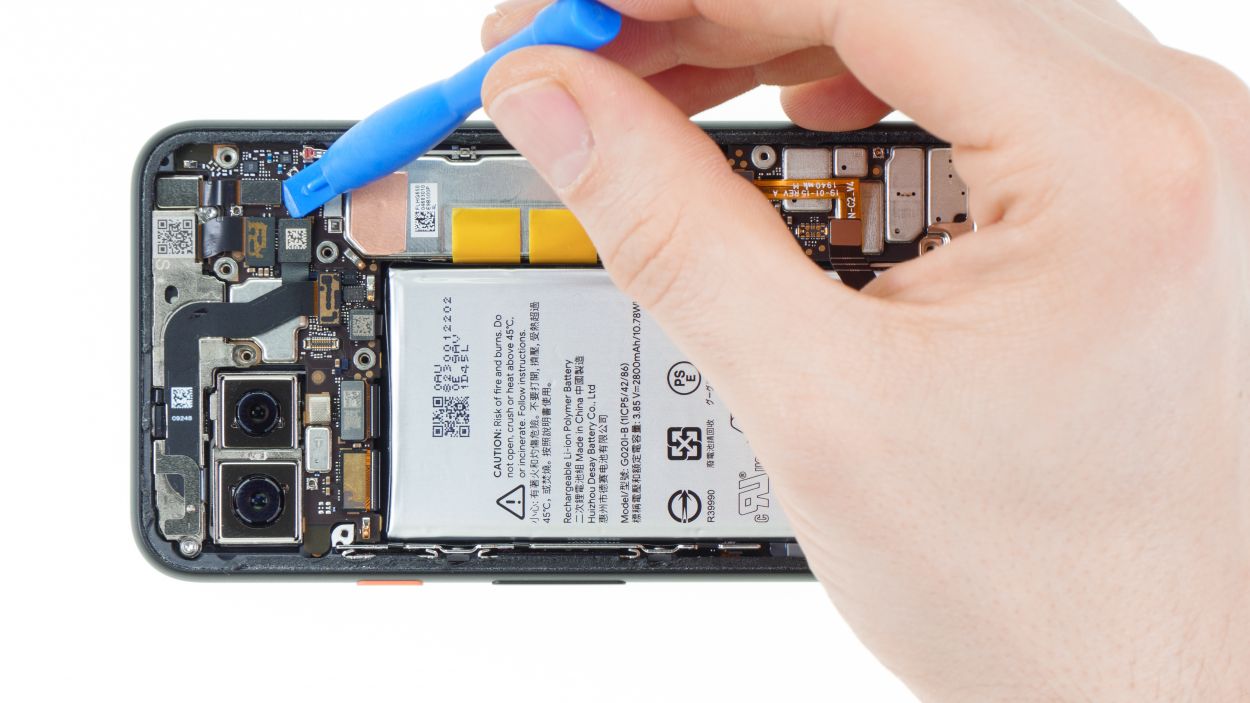
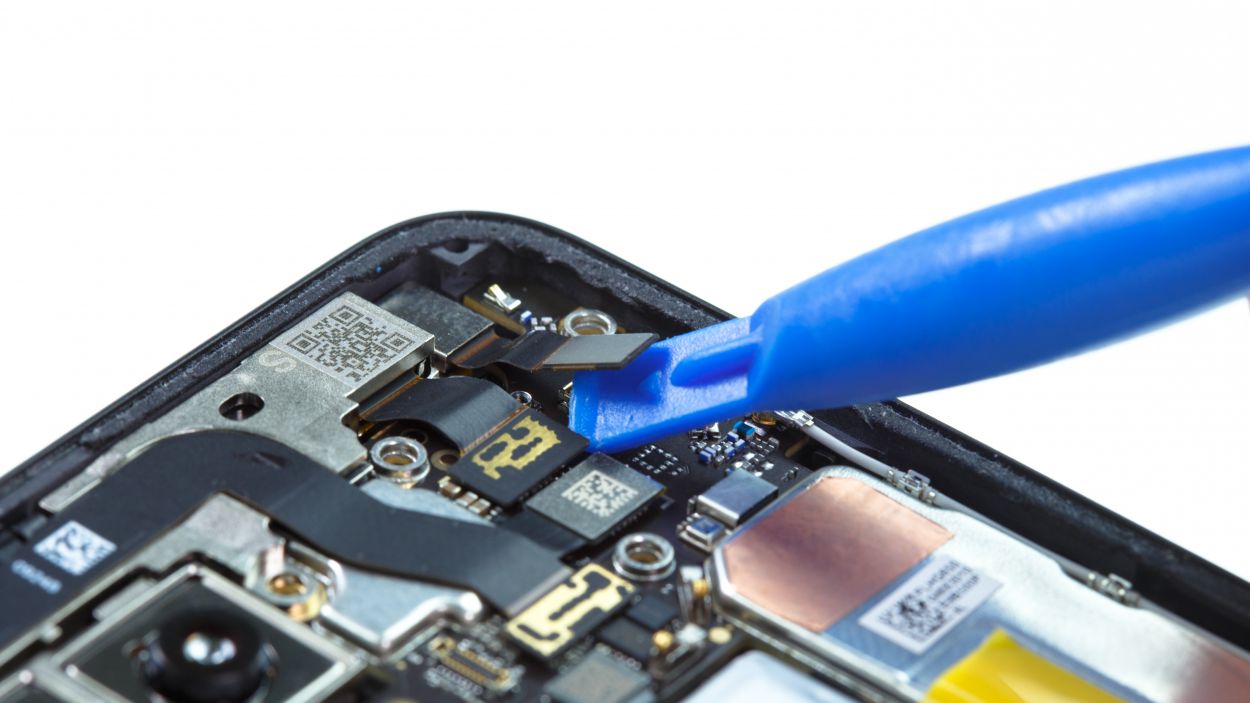
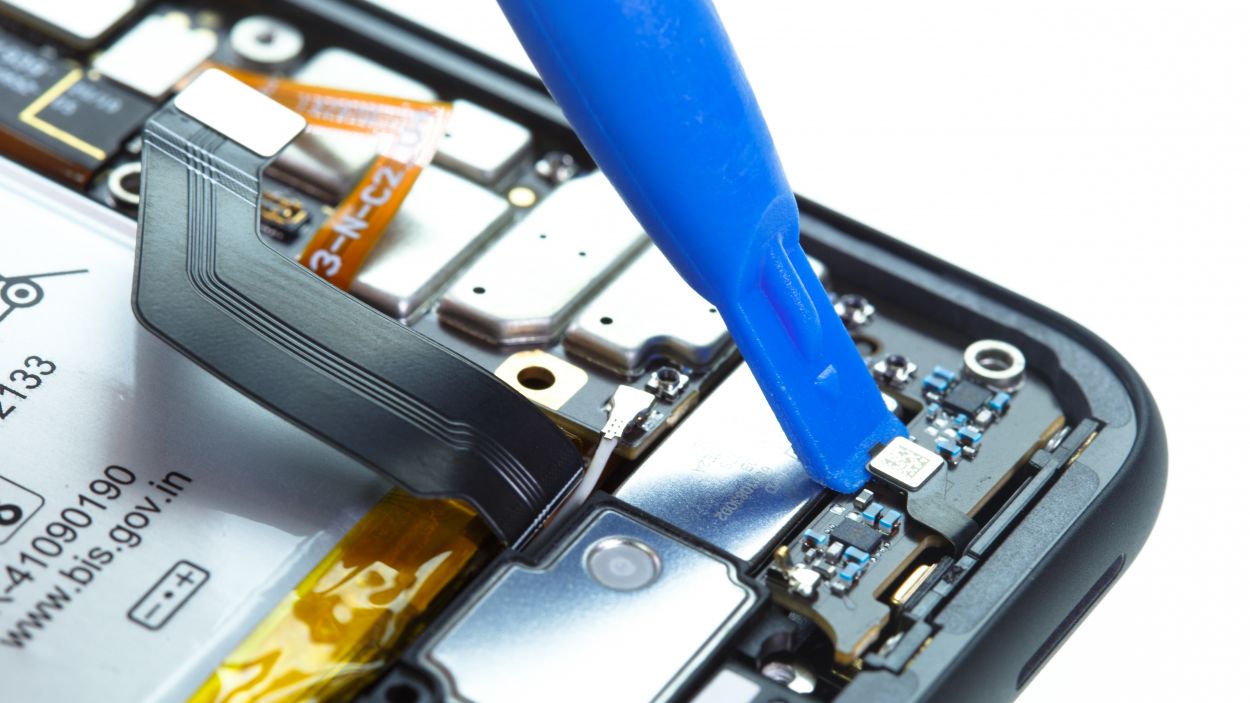
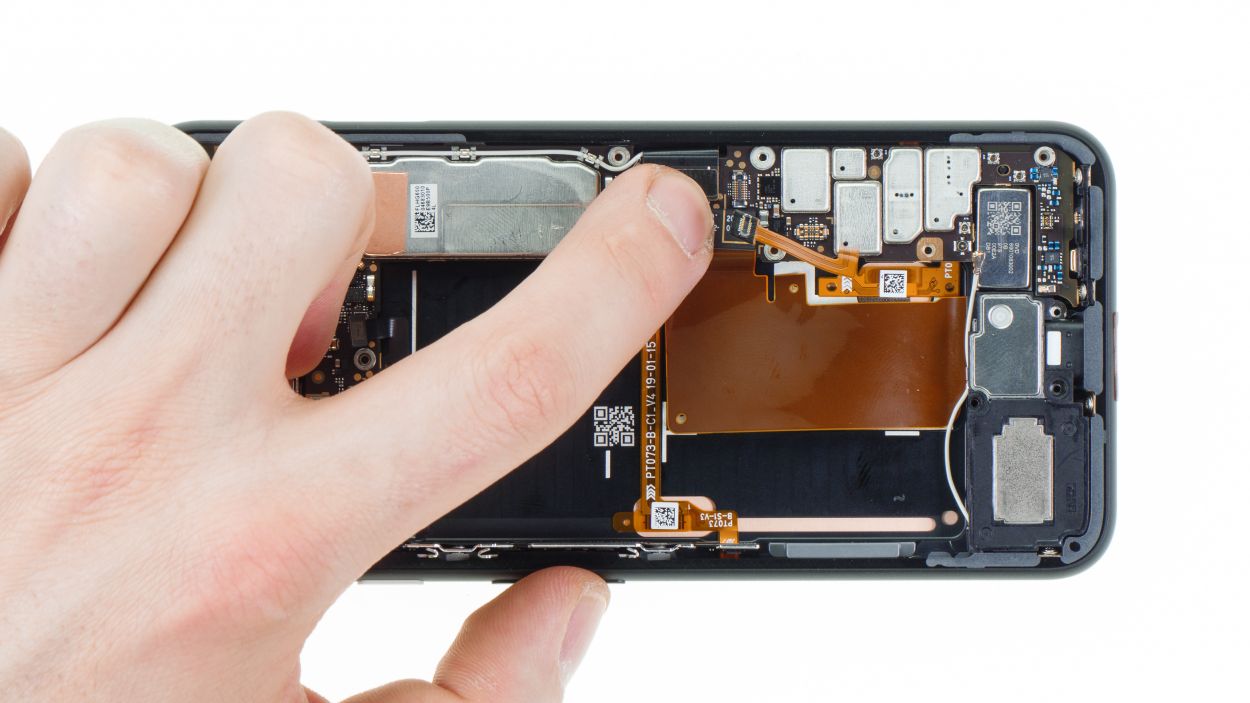
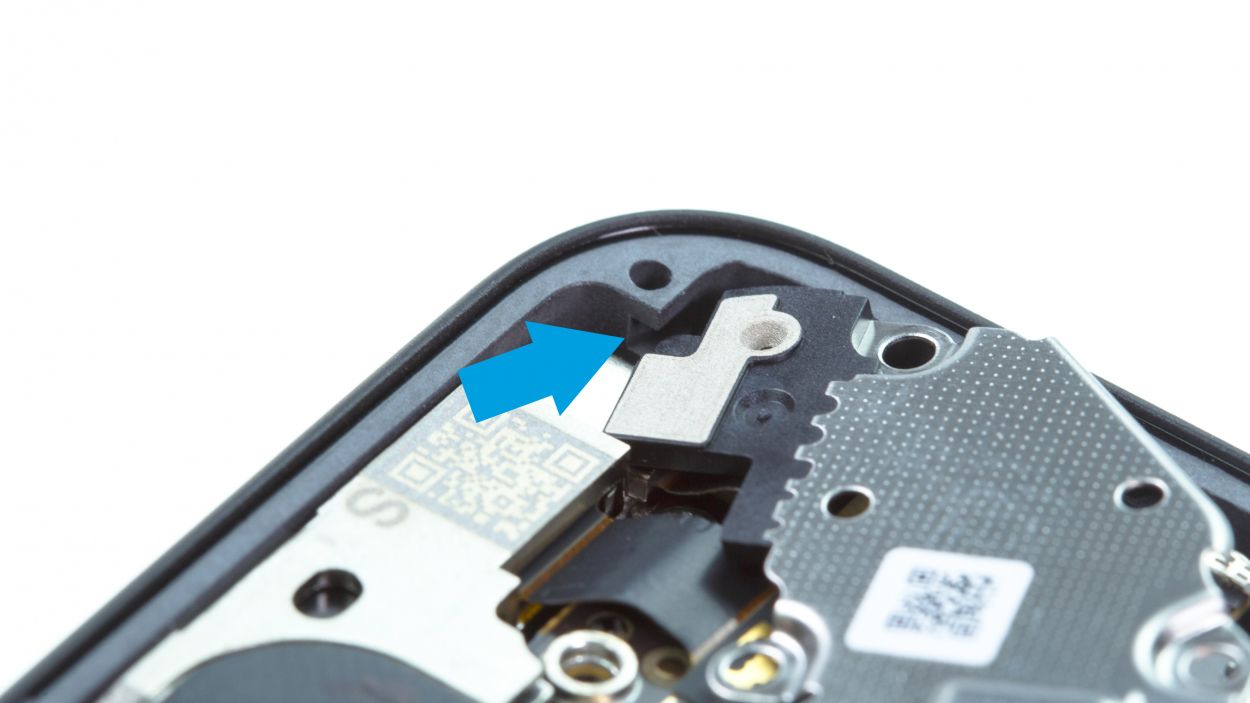
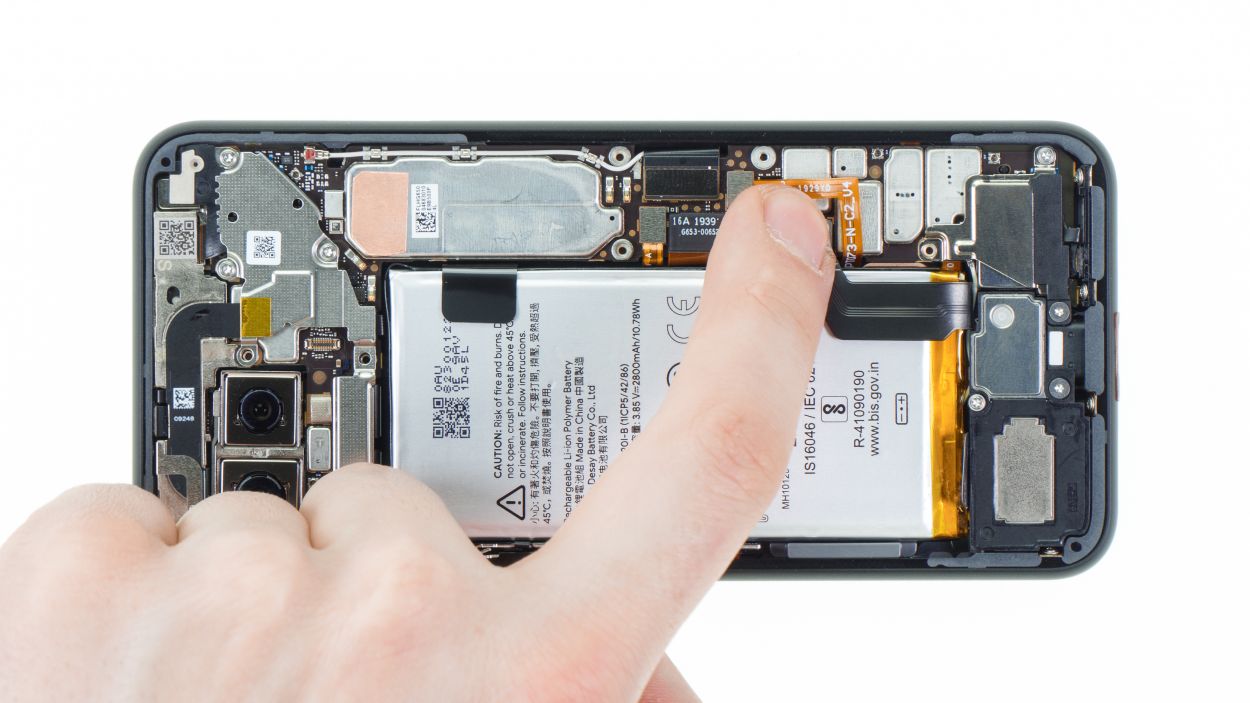
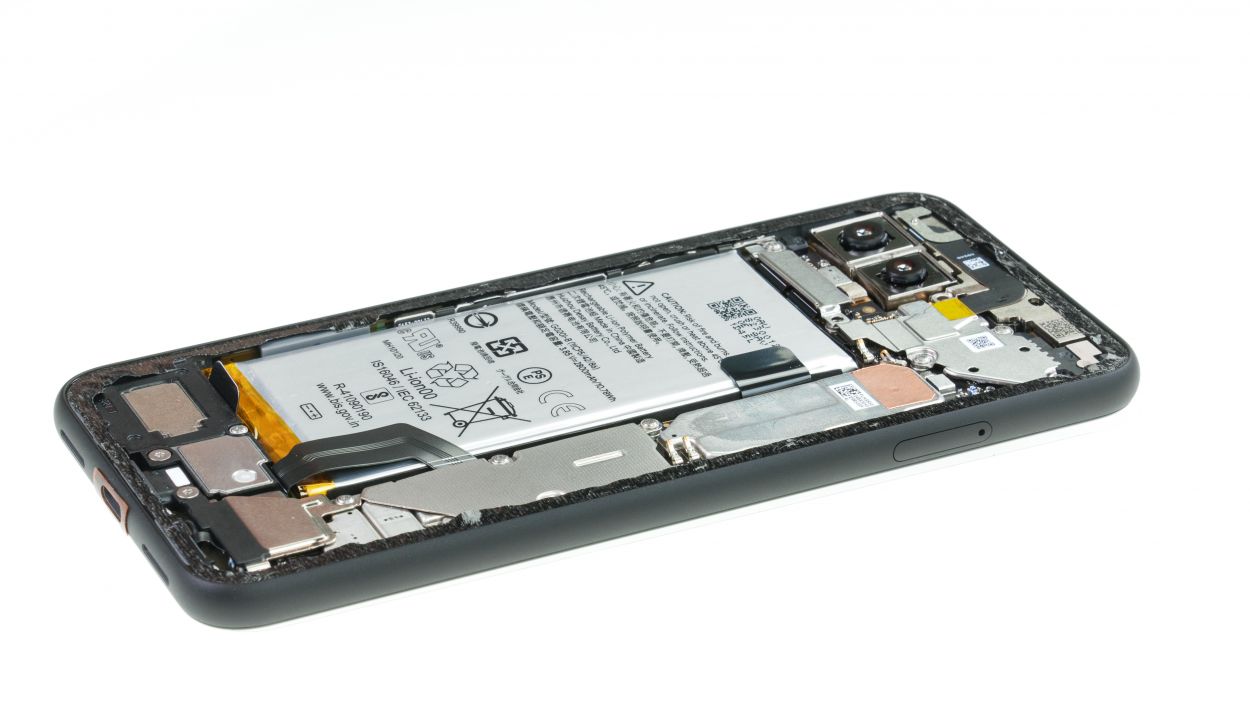
Before you wiggle those connectors free from the motherboard, zoom in and eyeball the neighborhood—they’re not alone! Tiny pals like capacitors might be hanging out right next to them. When prying, choose a spot away from these mini friends to dodge any unwanted mishaps. Keep it safe and cool, you’ve got this!
– Loosen the two screws and take off the cover plate with ease.
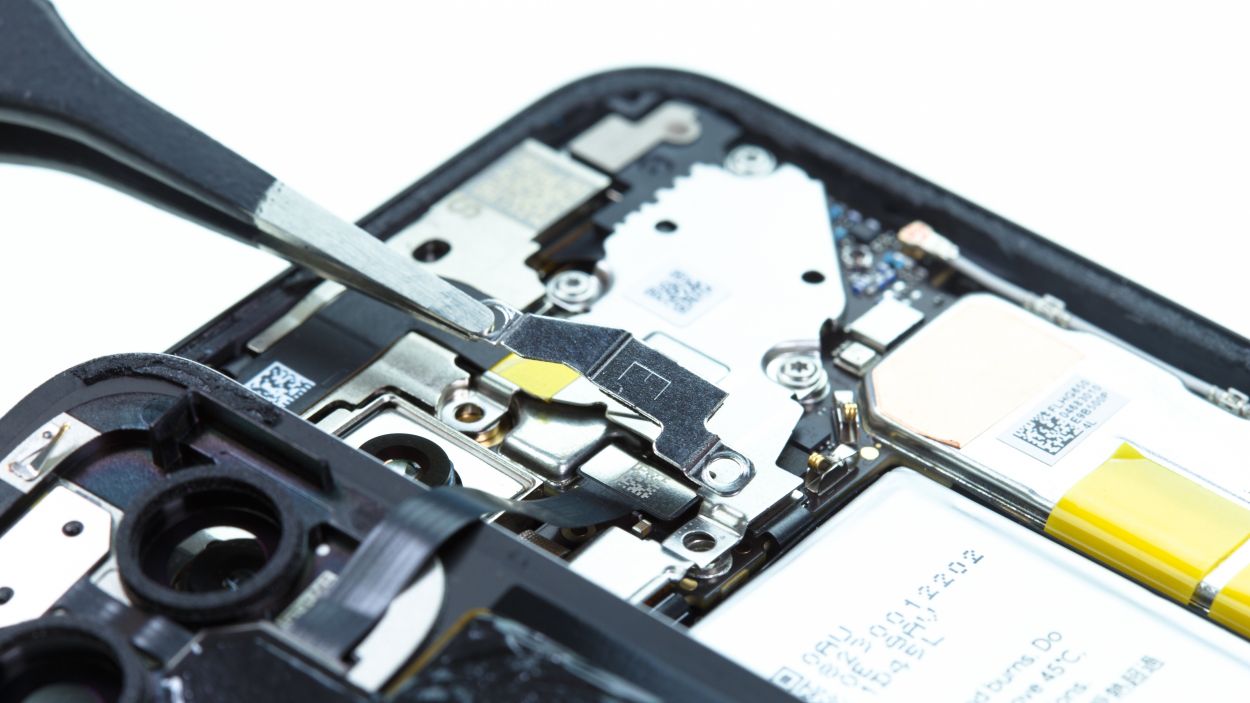
– Gently separate the connector using a spudger, like a pro.
4 × 4,0 mm Torx T3
1 × 2,0 mm Torx T3
Battery connector
The screws come in various lengths, so keep an eye on them to avoid mixing them up or confusing them with other screws from your device. A great way to stay organized is by using a magnetic mat. Just place the screws and the cover plate on the mat as you remove them from the device. Thanks to the magnetic magic, the screws will stay put and won’t wander off on you!
Tools Used
Step 5


4 × 4,0 mm Torx T3
2 × 2,3 mm Torx
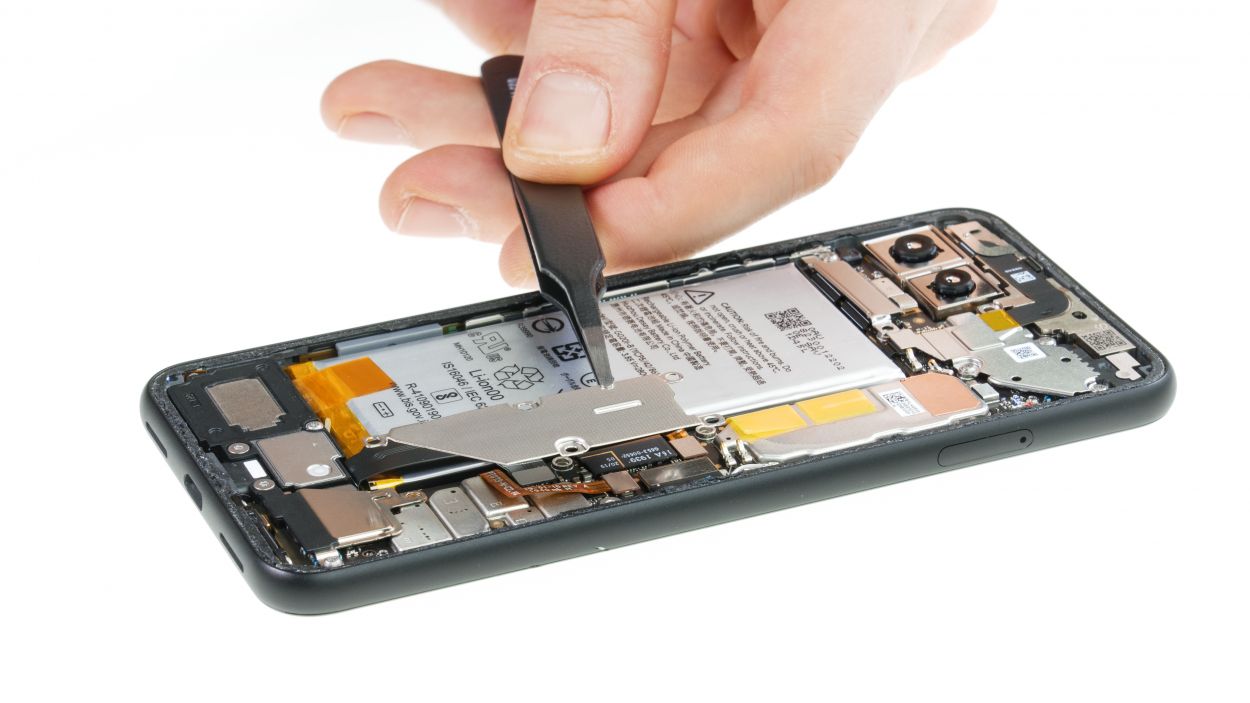
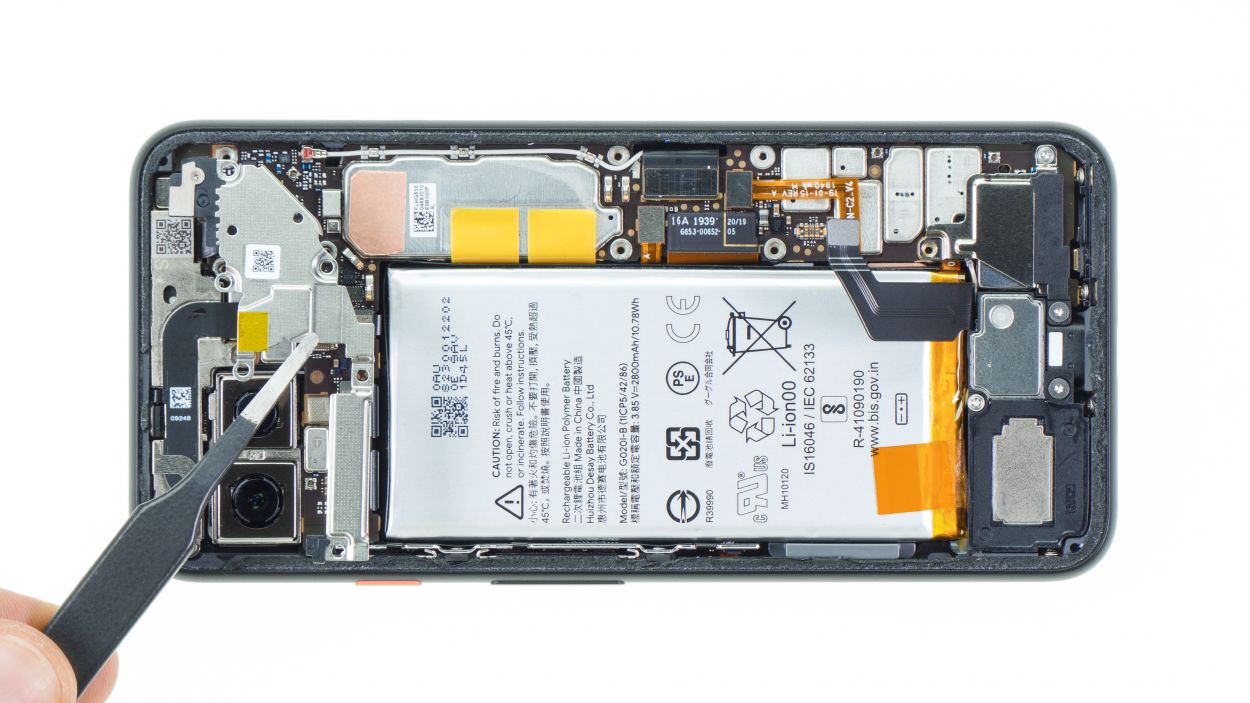
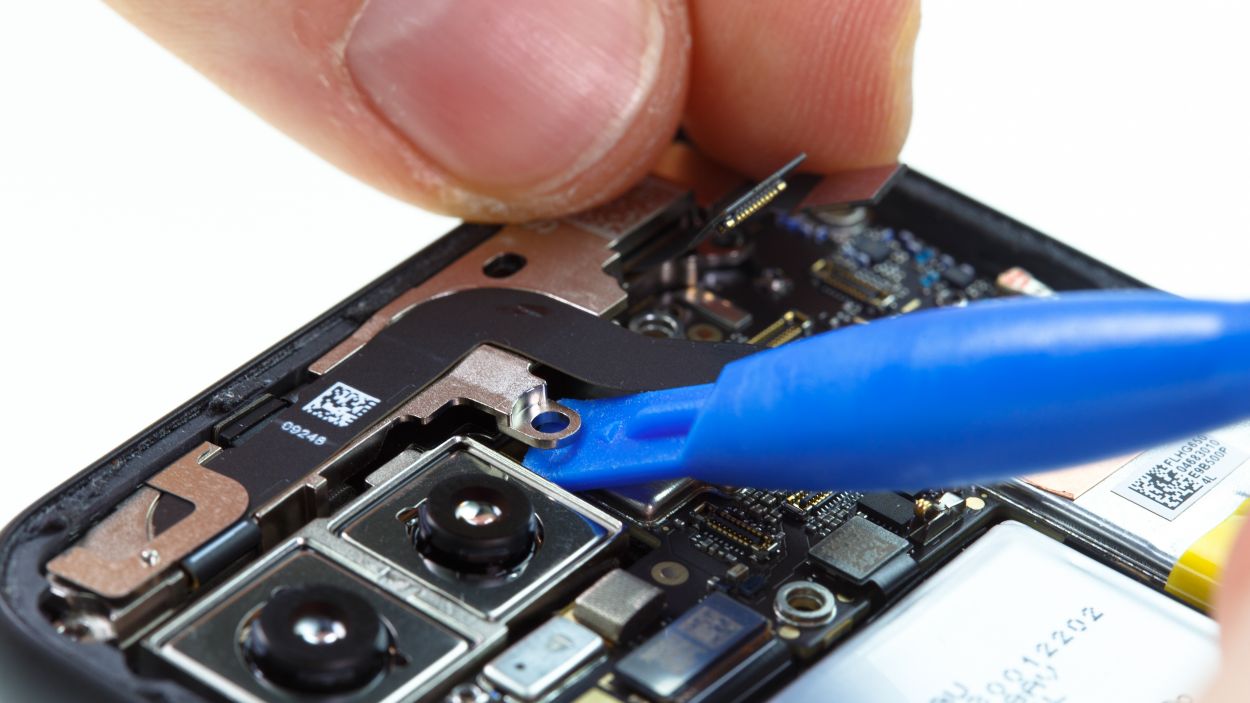
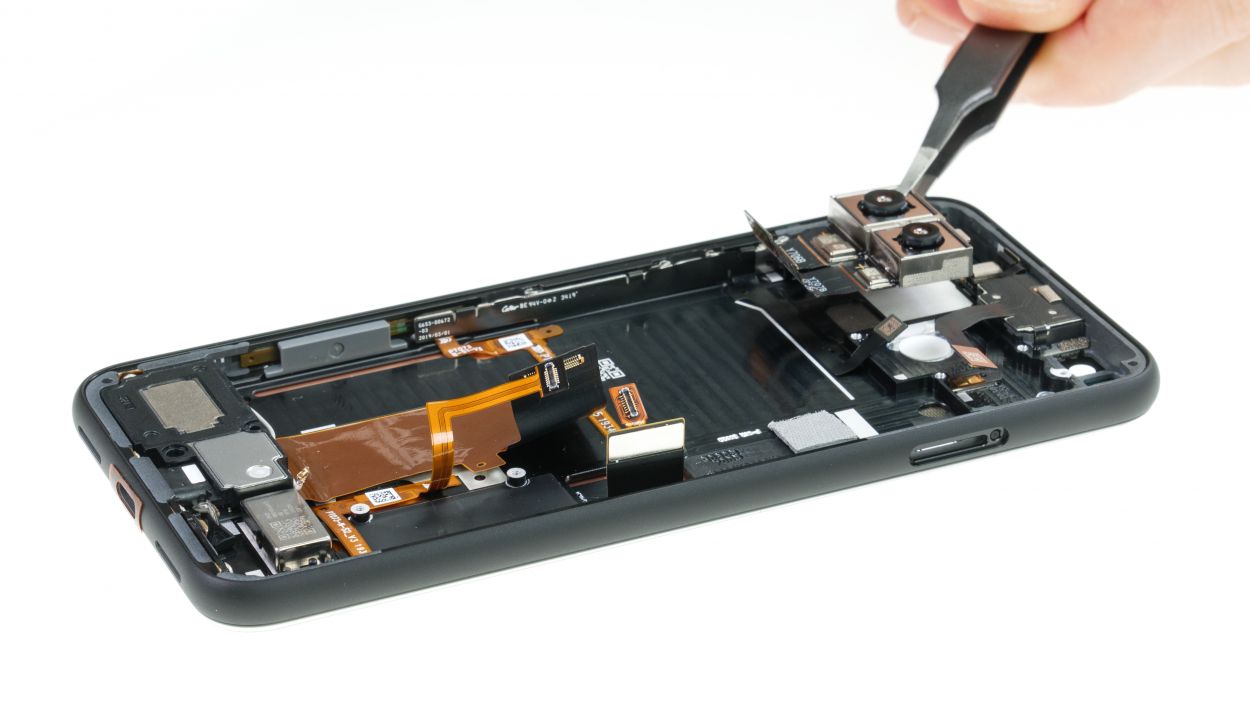
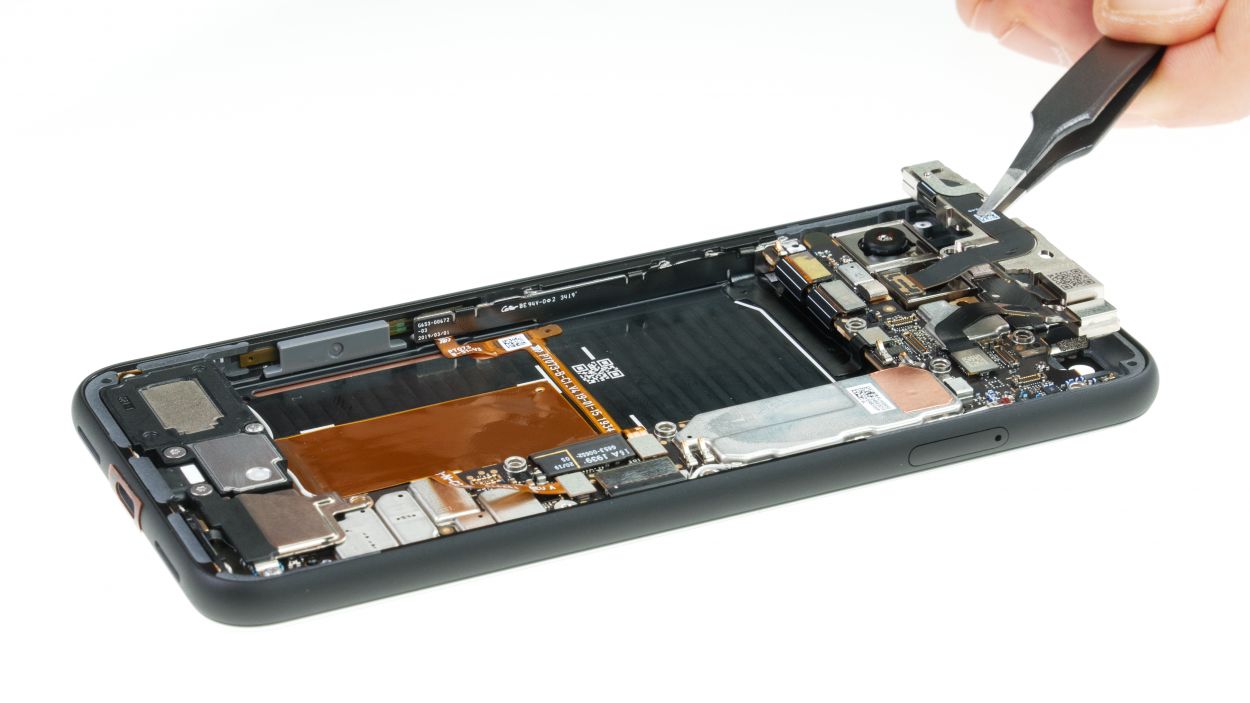
– Start by loosening those four screws on the cover plate above the front camera and sensor module. Once they’re free, pop that plate off like a champ!
– Next up, grab your trusty spudger and gently wiggle it to disconnect the three connectors from the main board. Take your time—you’ve got this!
– Now, let’s tackle those two screws holding the entire module in place. Unscrew them, and keep moving forward!
– Finally, give it a gentle nudge in several spots until you can lift the module out. Pat yourself on the back; you’re doing great!
Step 6


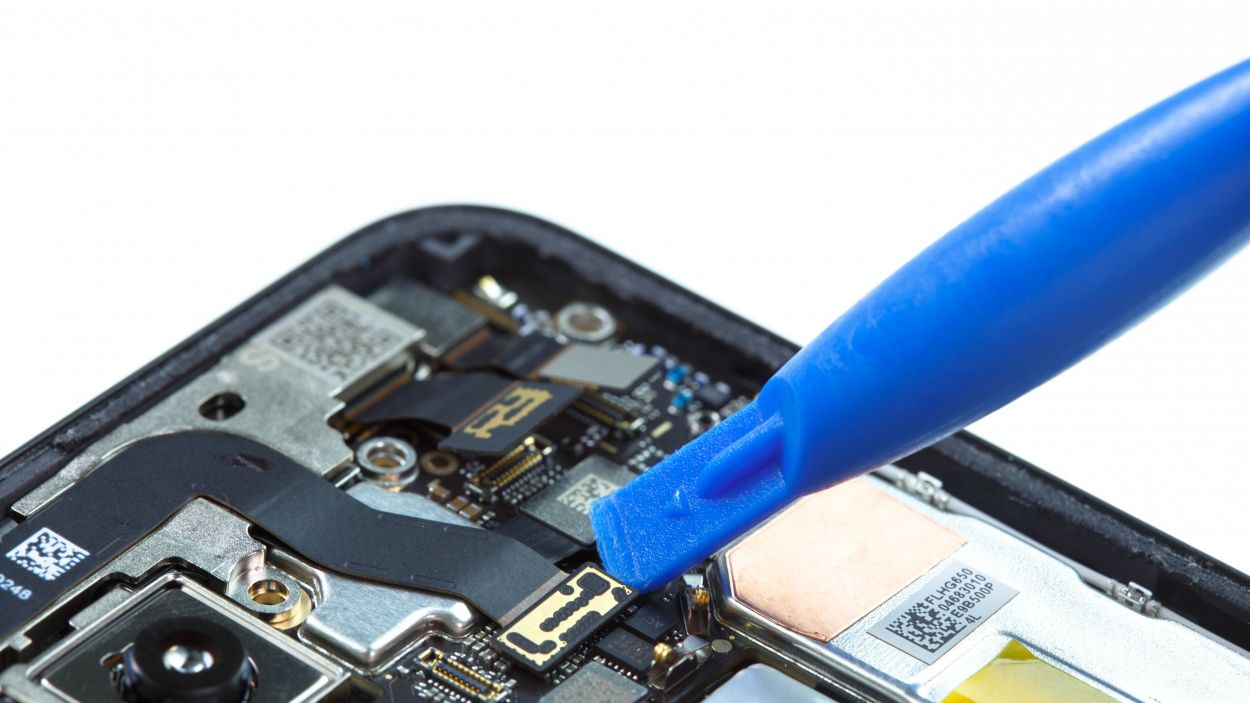
– Let’s loosen those two tiny Torx T3 screws holding the lower cover plate – easy peasy! Then, gently remove the plate.
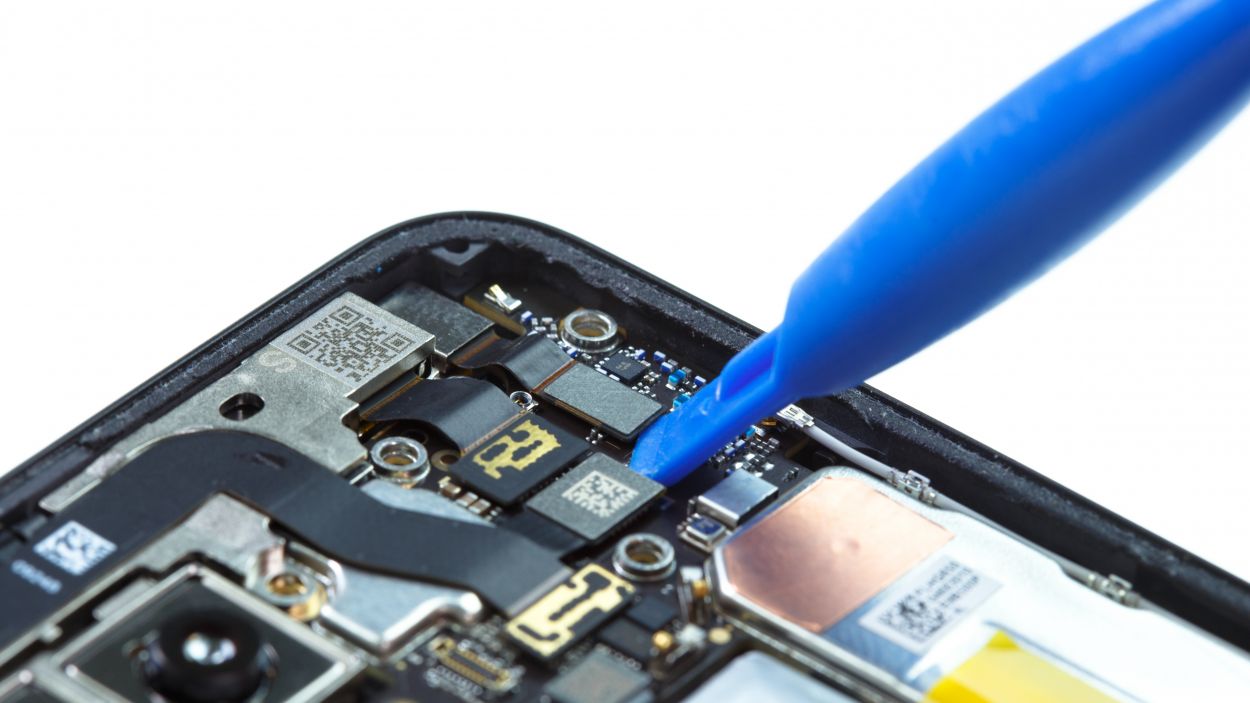
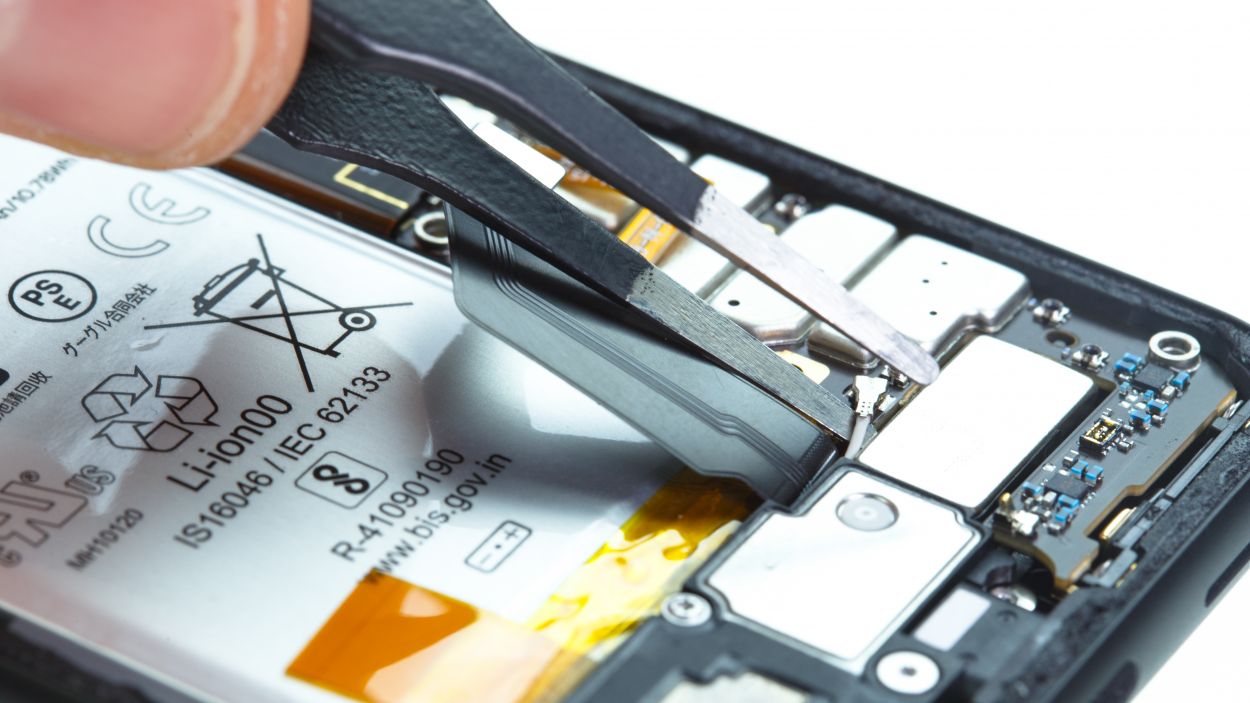
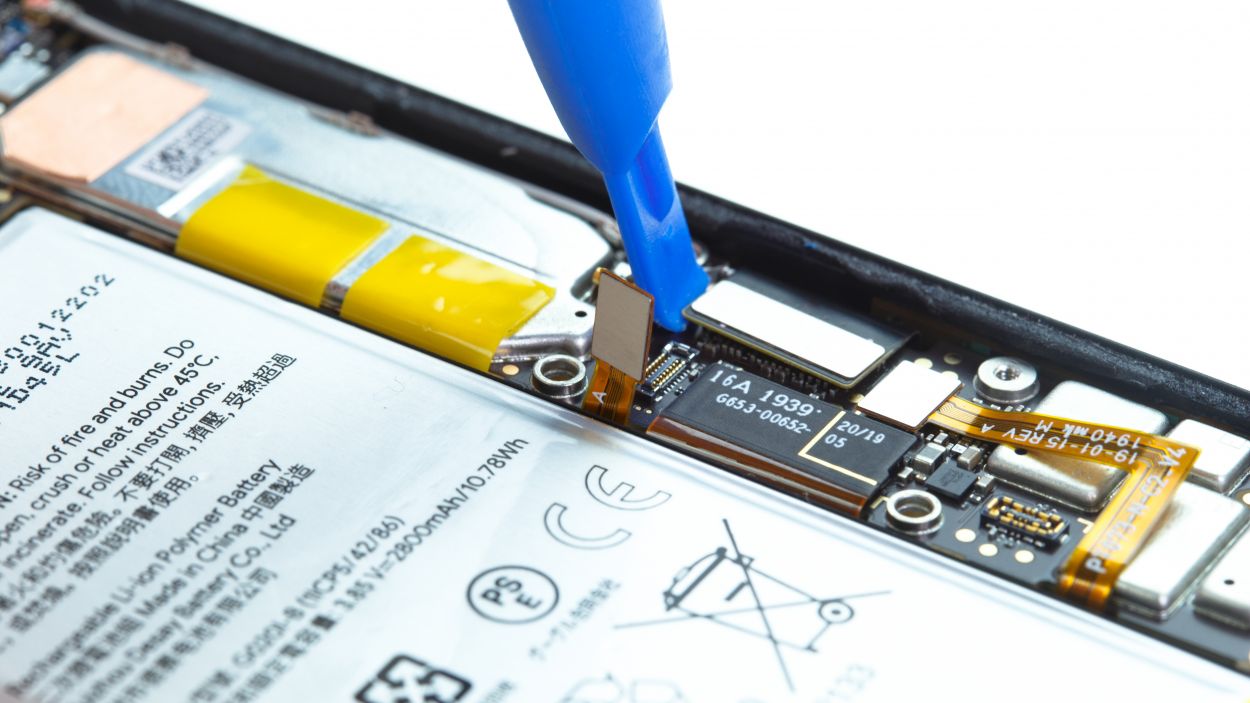
– Time to disconnect the connectors and antenna cable from the mainboard. It’s like a tech puzzle, and you’re about to solve it!
1 × 4,0 mm Torx T3
1 × 4,4 mm Torx T3
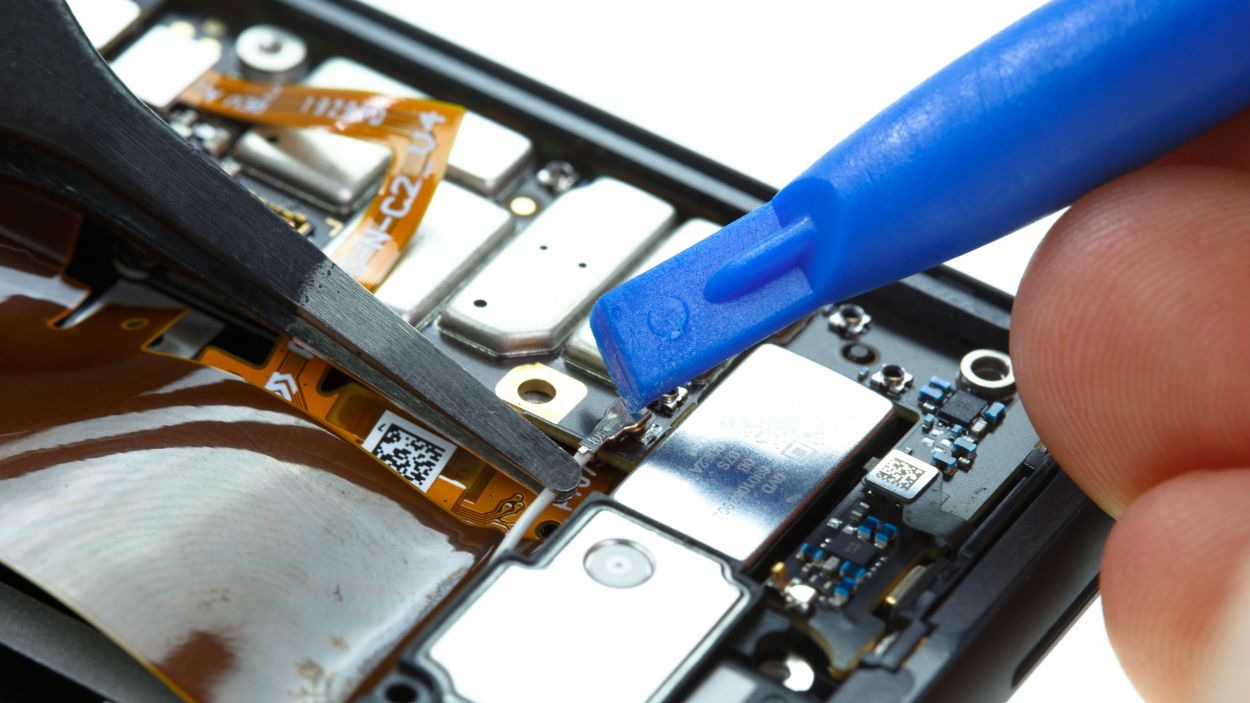
Hey there, champ! Let’s gently loosen those connectors. Use your spudger to carefully pry where it’s safe to do so – avoid any tiny parts on the board. Unplug those connectors with the finesse of a ninja; we don’t want to hurt the main board! If you need a hand, you can always schedule a repair.
Tools Used
Step 7
1 × 4,0 mm Torx T3
1 × 4,4 mm Torx T3
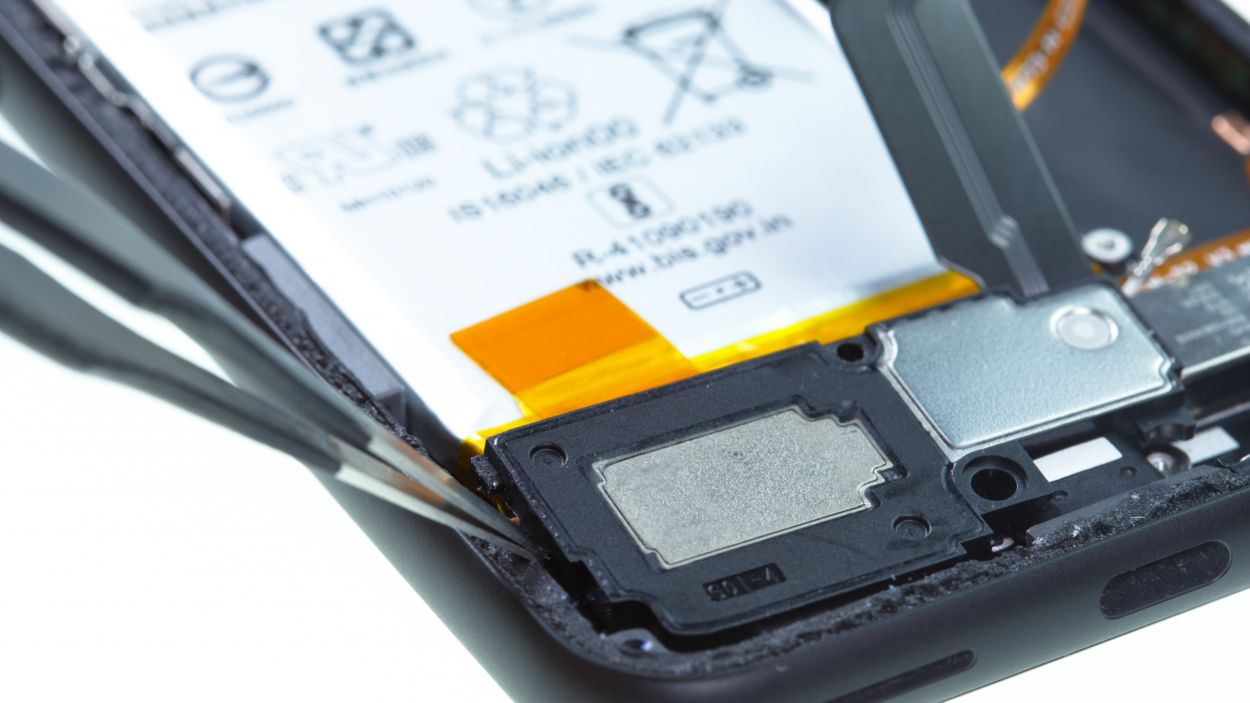
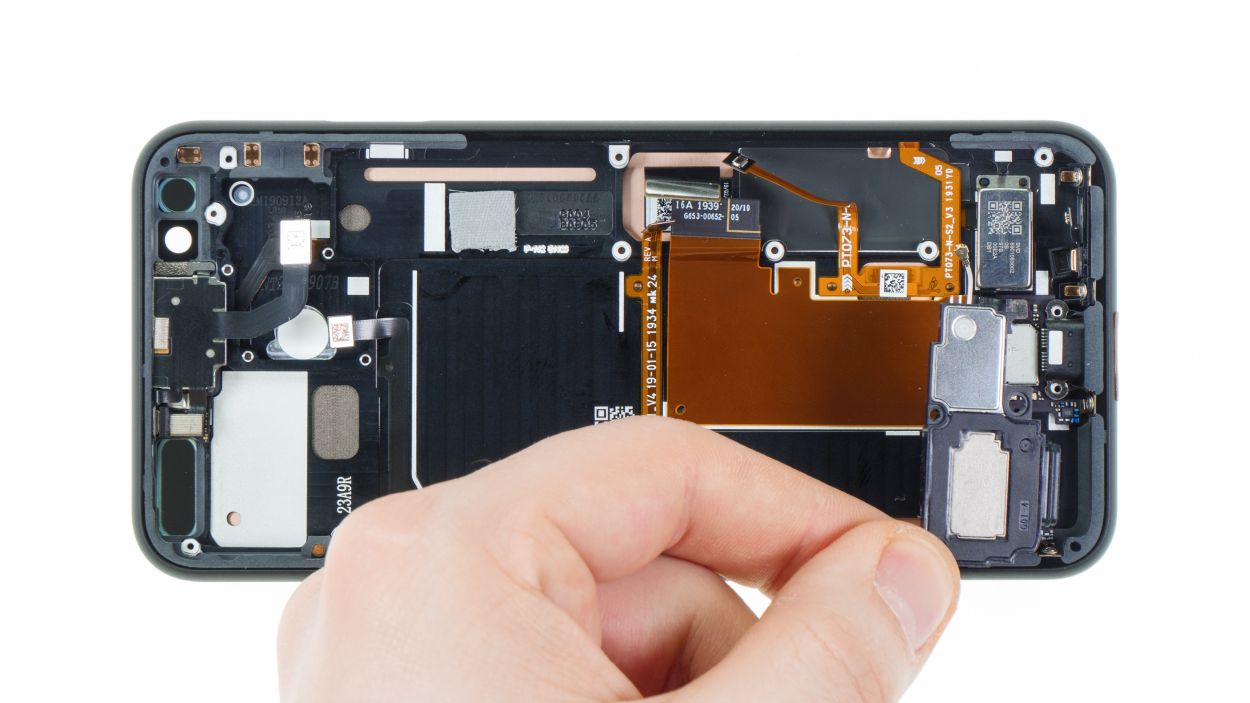
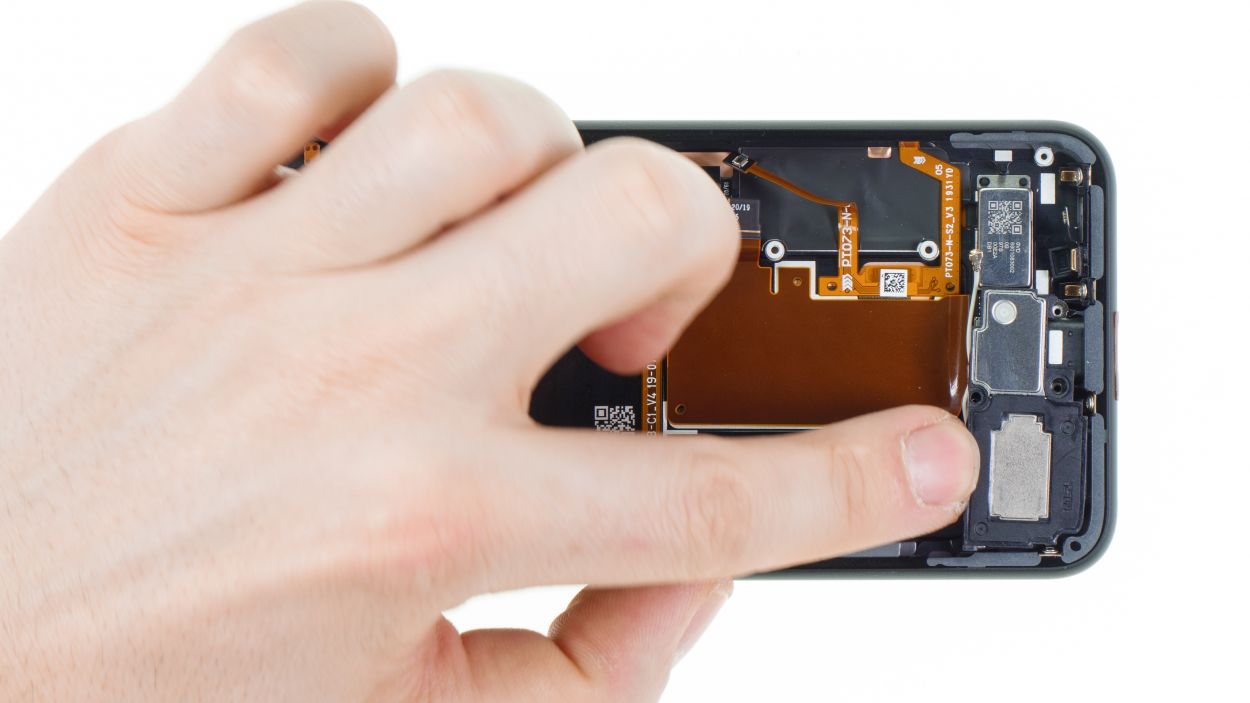
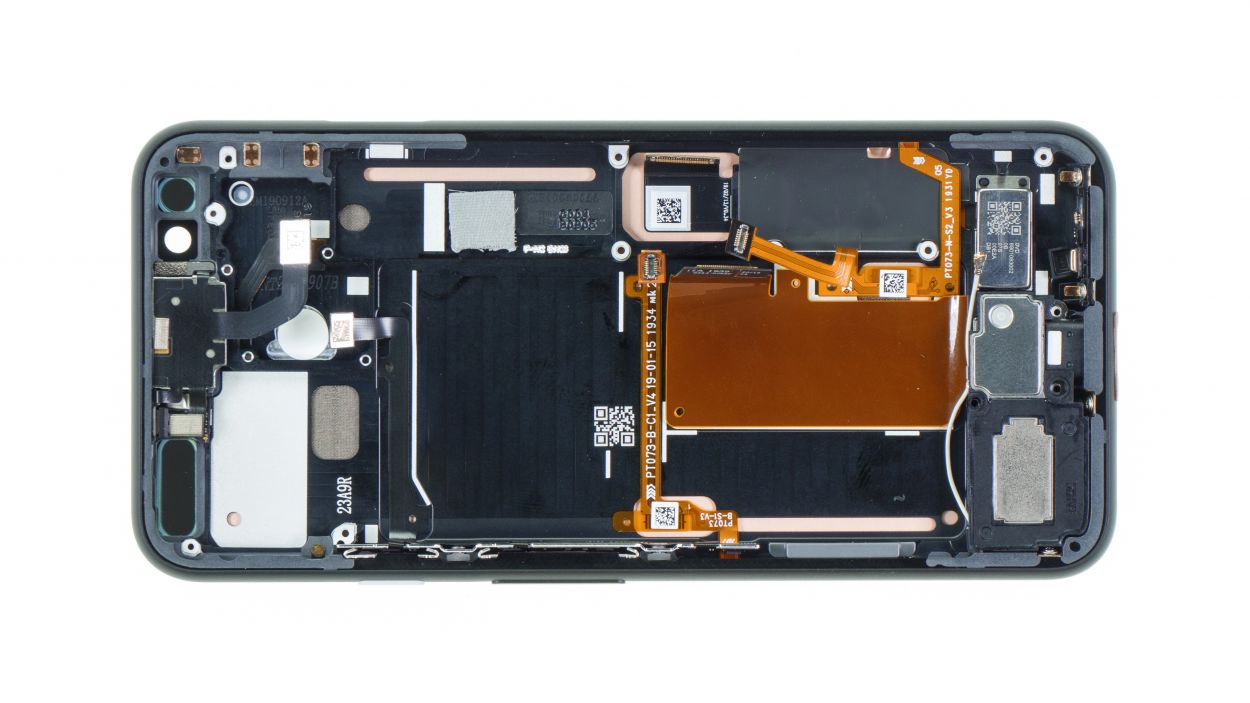
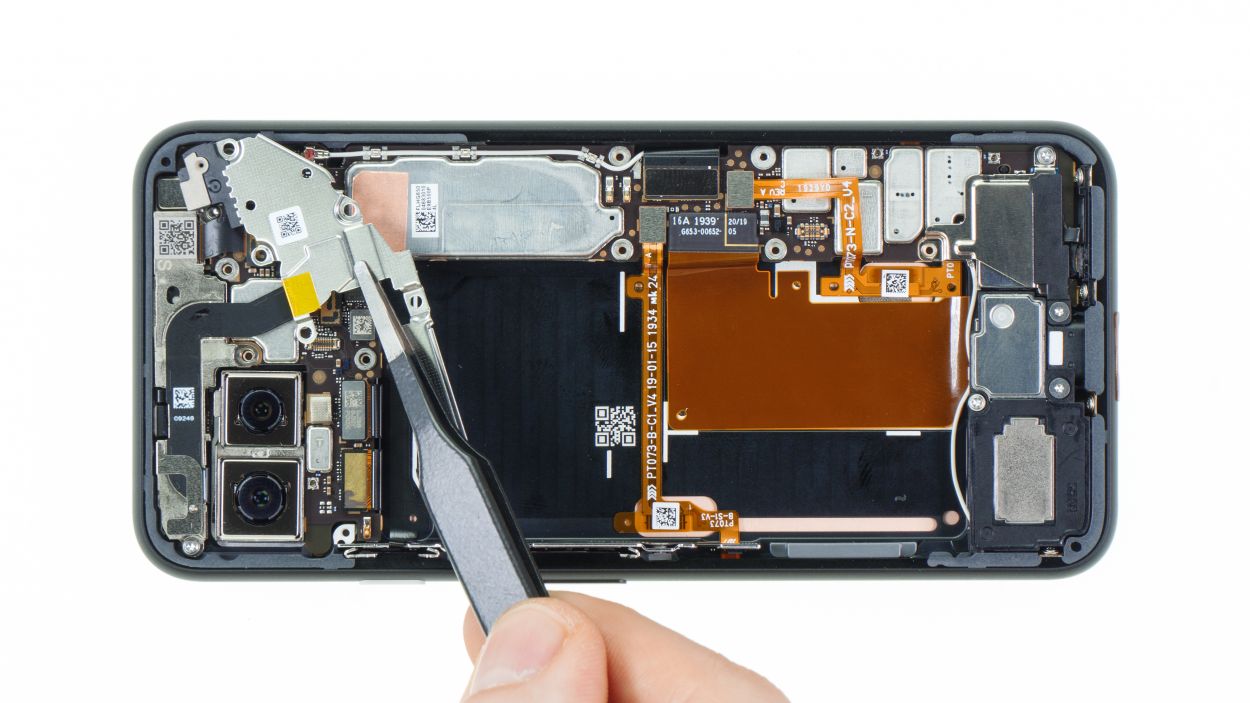
– Time to get this speaker out. Start by removing the two screws that hold it in place.
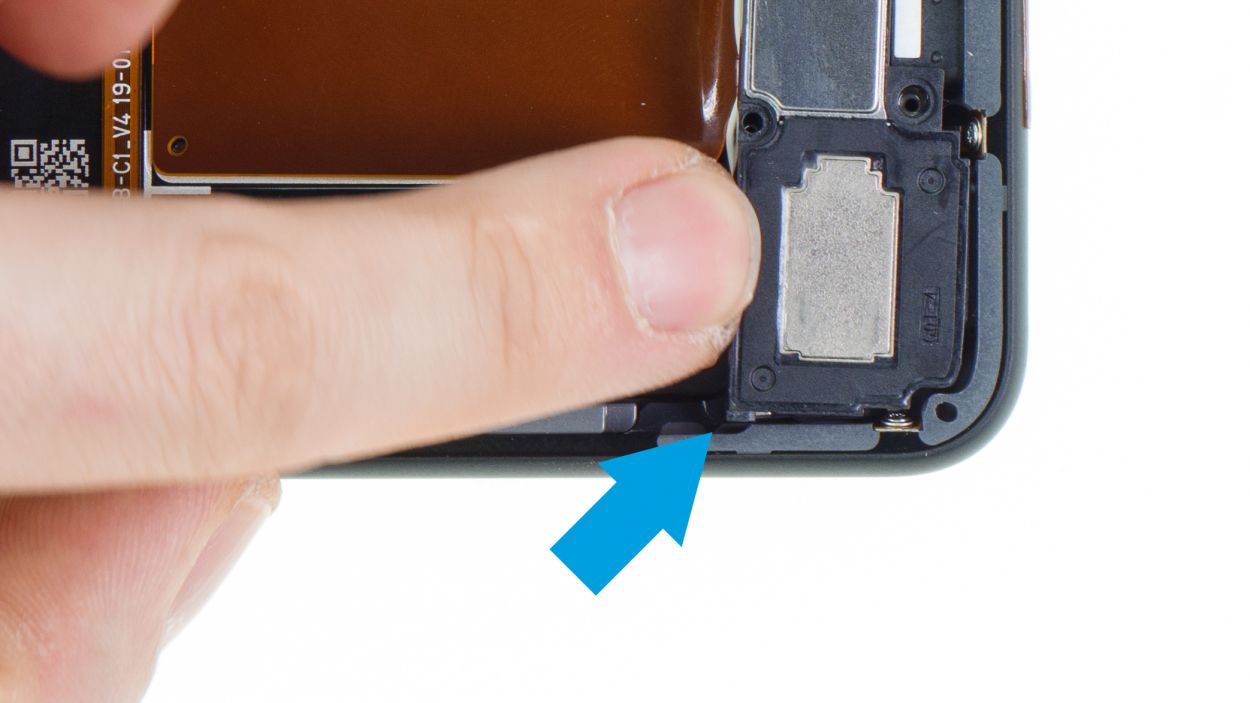
– The speaker opening is tucked away at the bottom of the device, deep in the frame and hooked under the left side. Don’t worry, we’ve got this!
– Gently slide the speaker up and pry it loose from the side. Easy does it!
– Now, carefully lift the speaker out of the device. You’re doing great! If you need help, you can always schedule a repair.
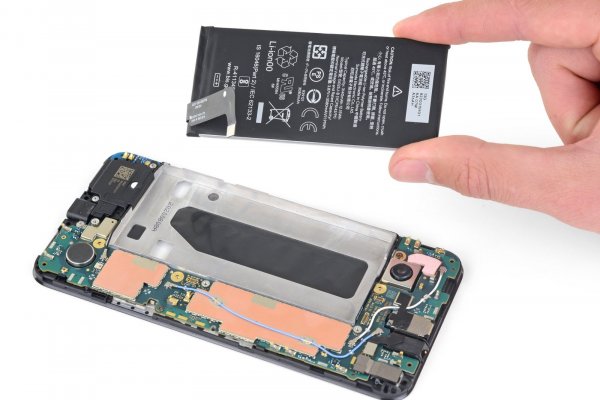
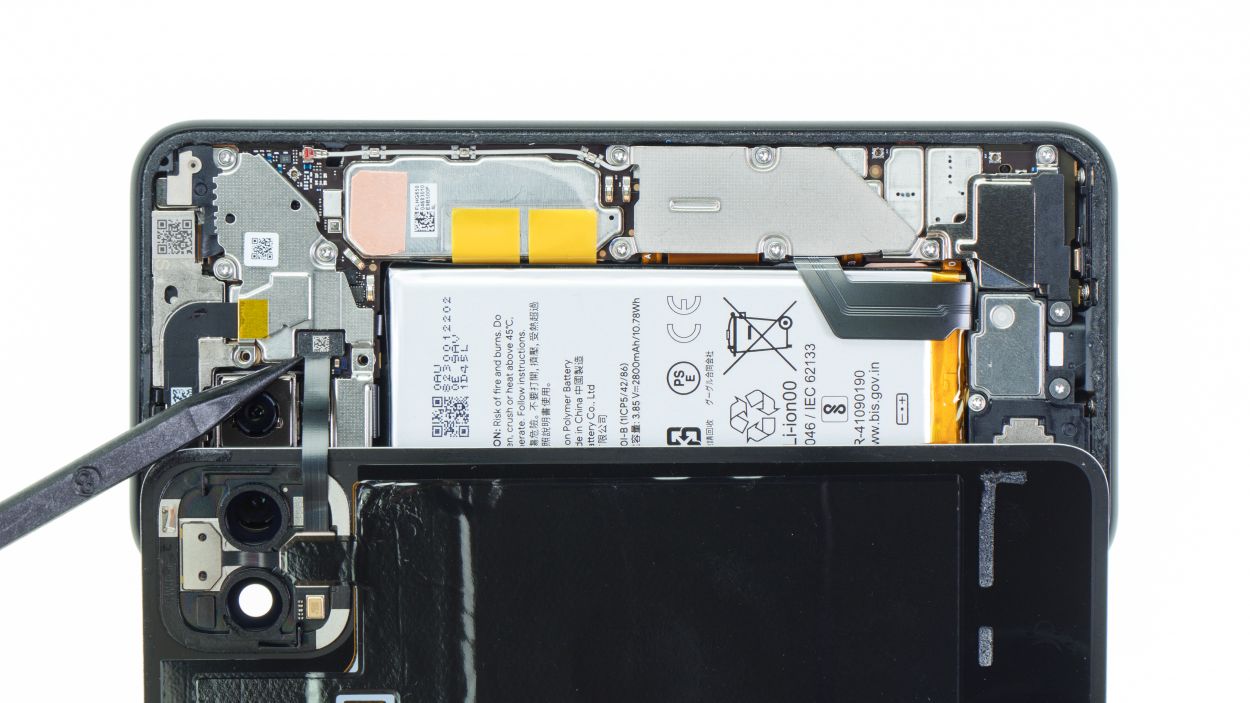
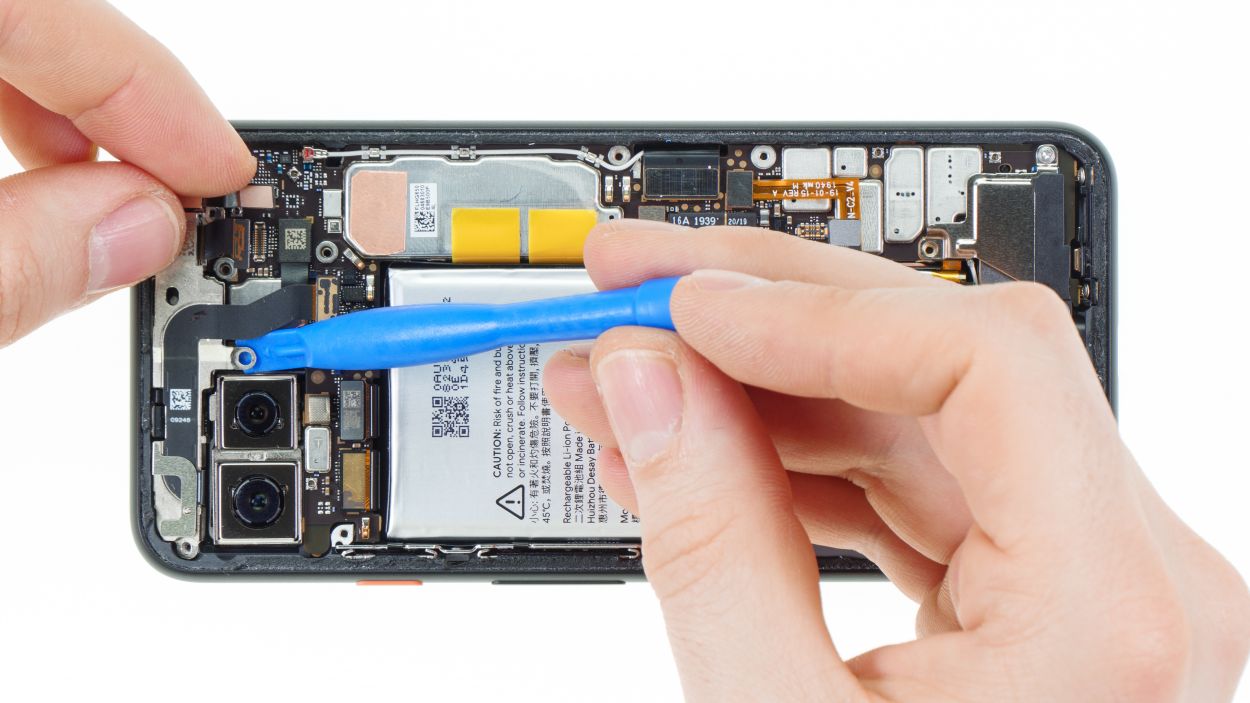
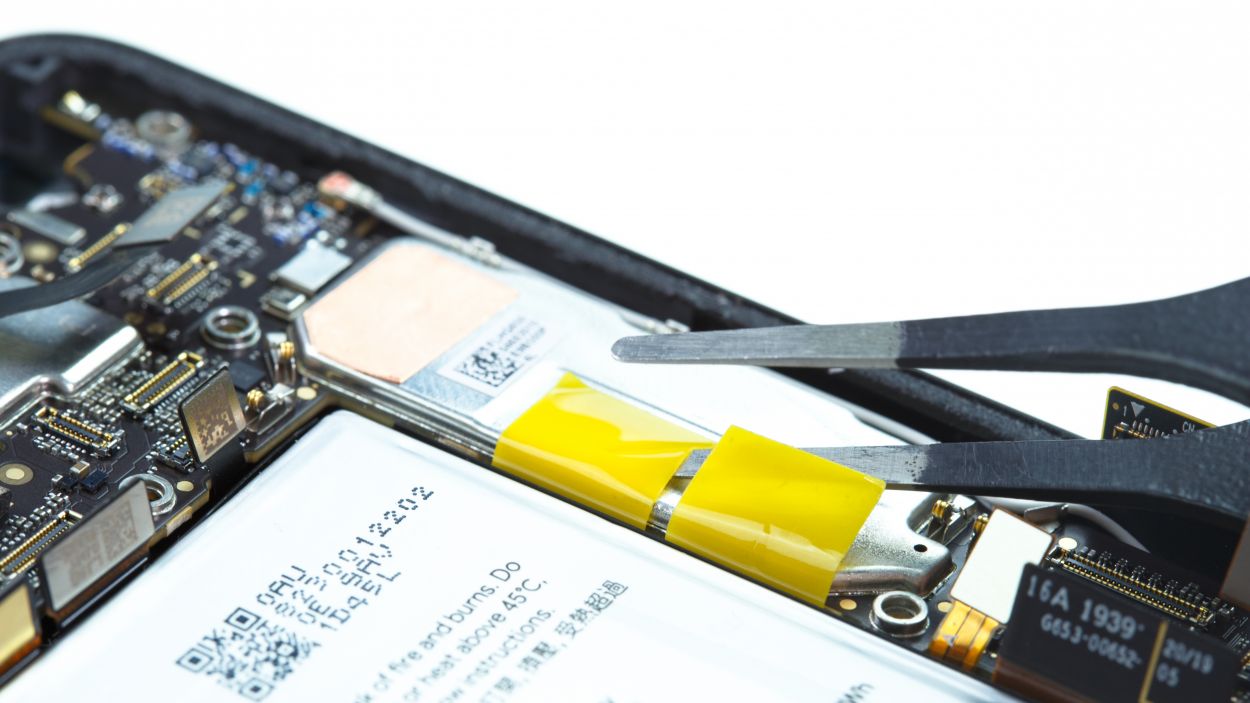
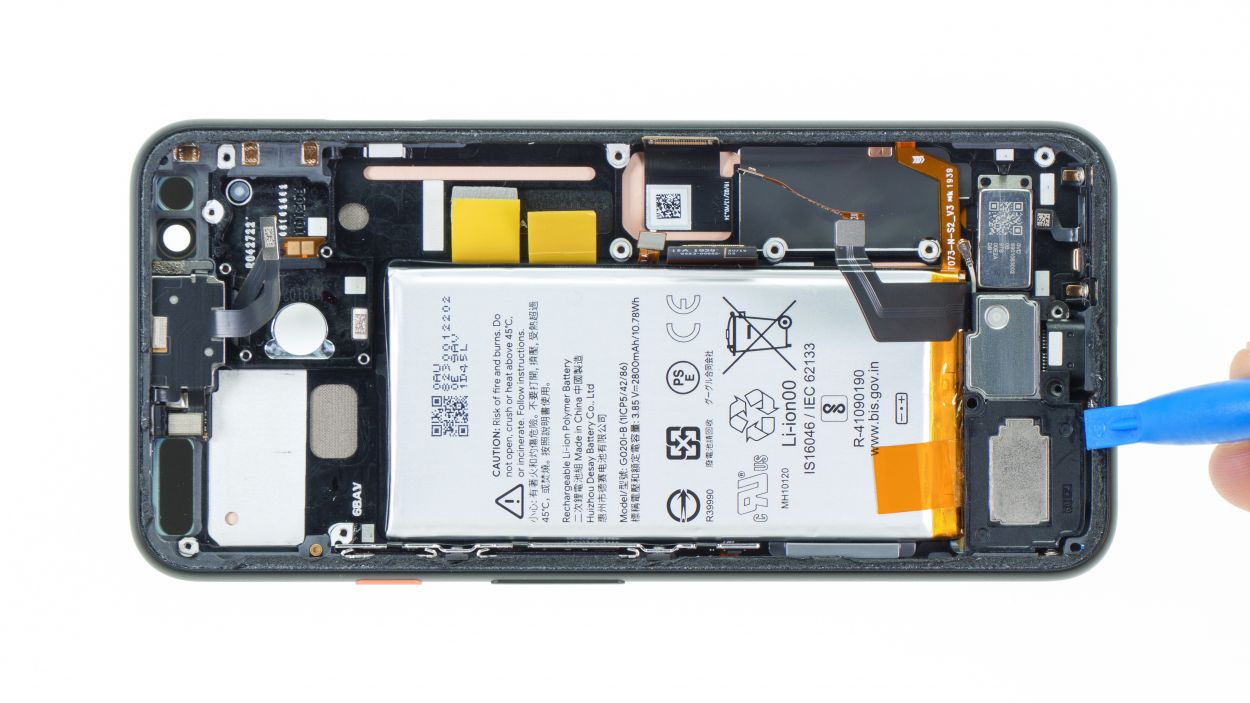
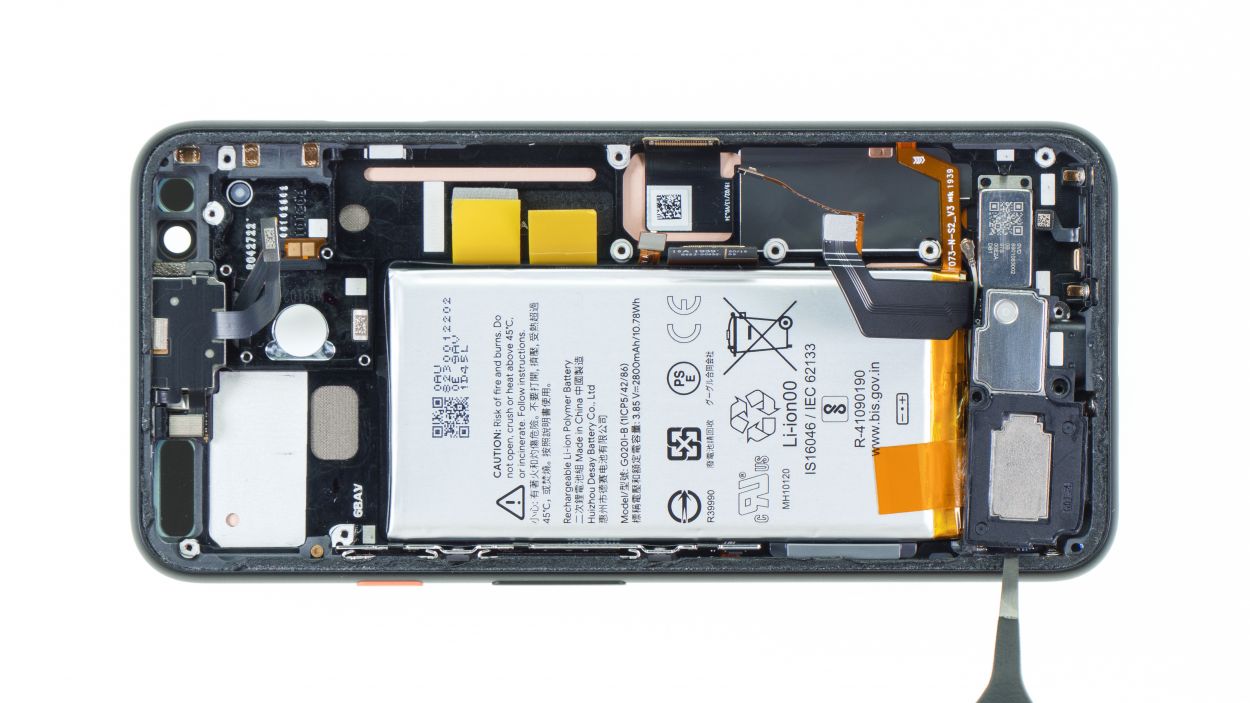
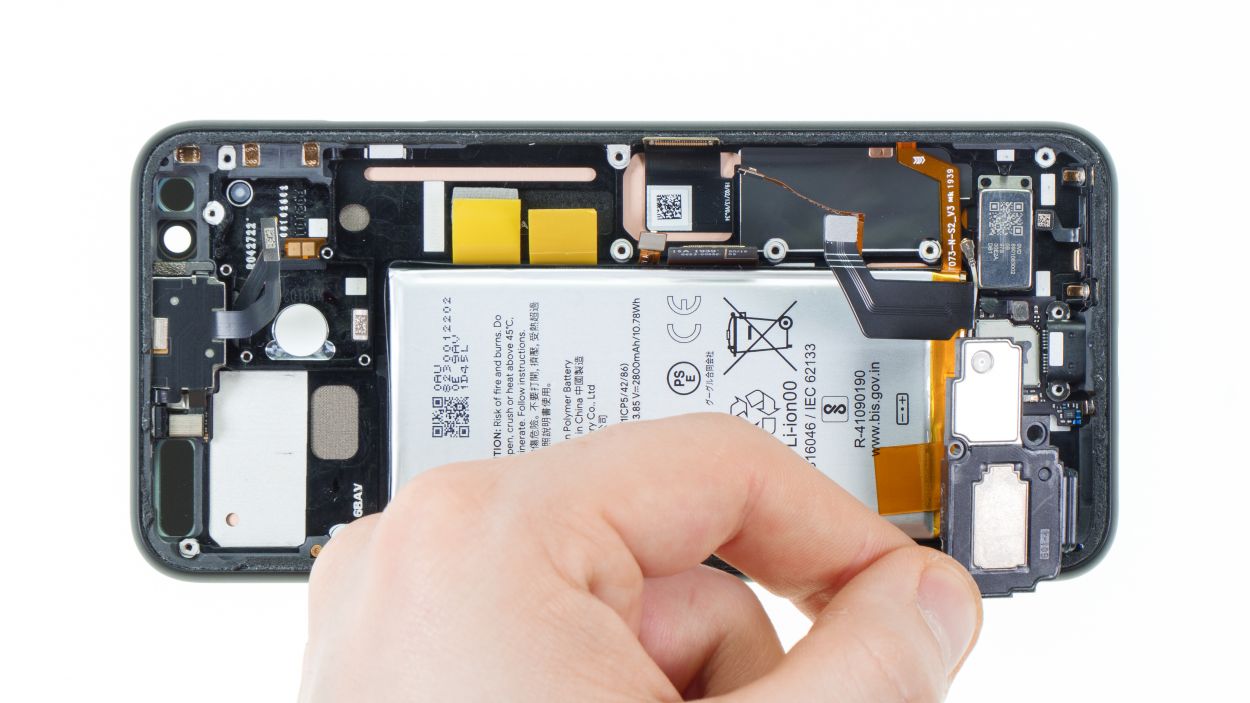
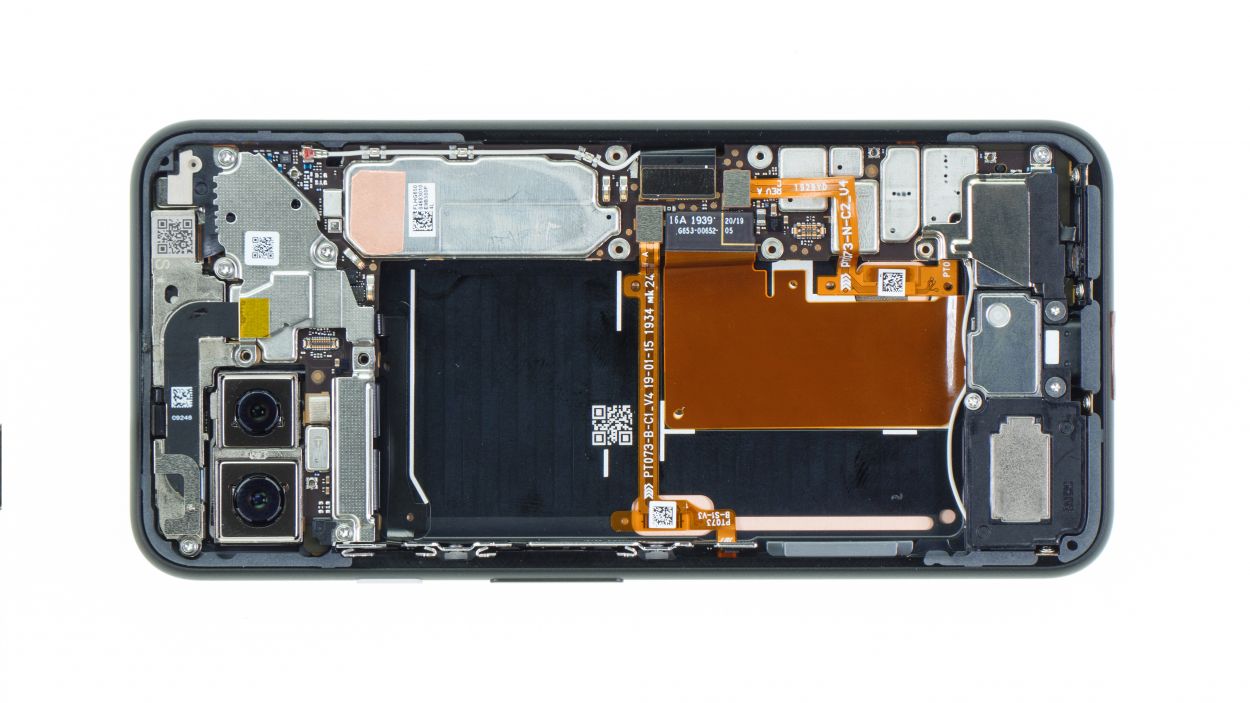
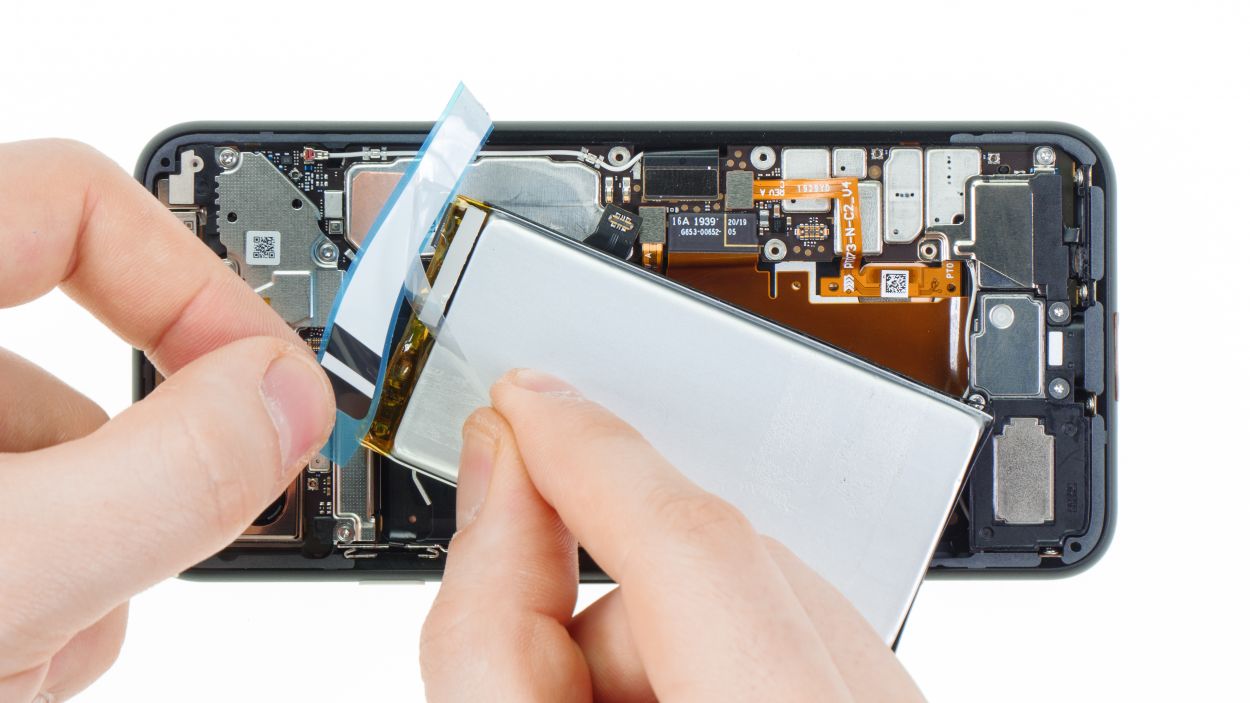
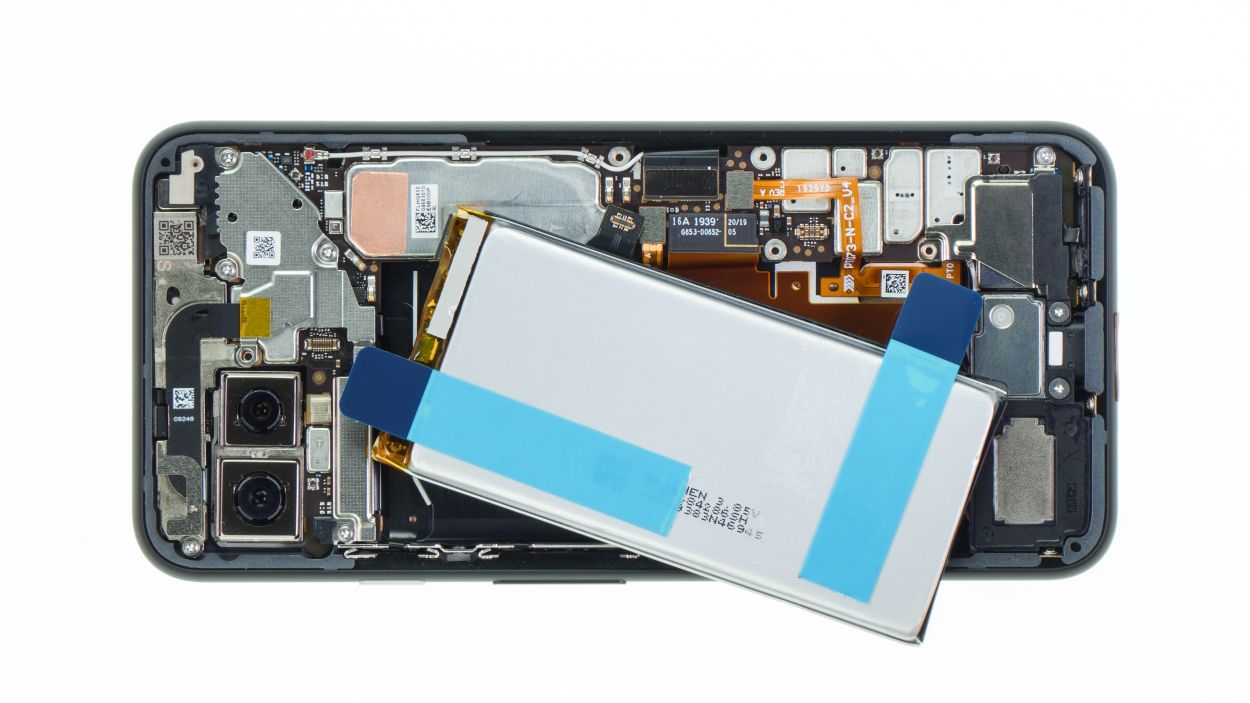
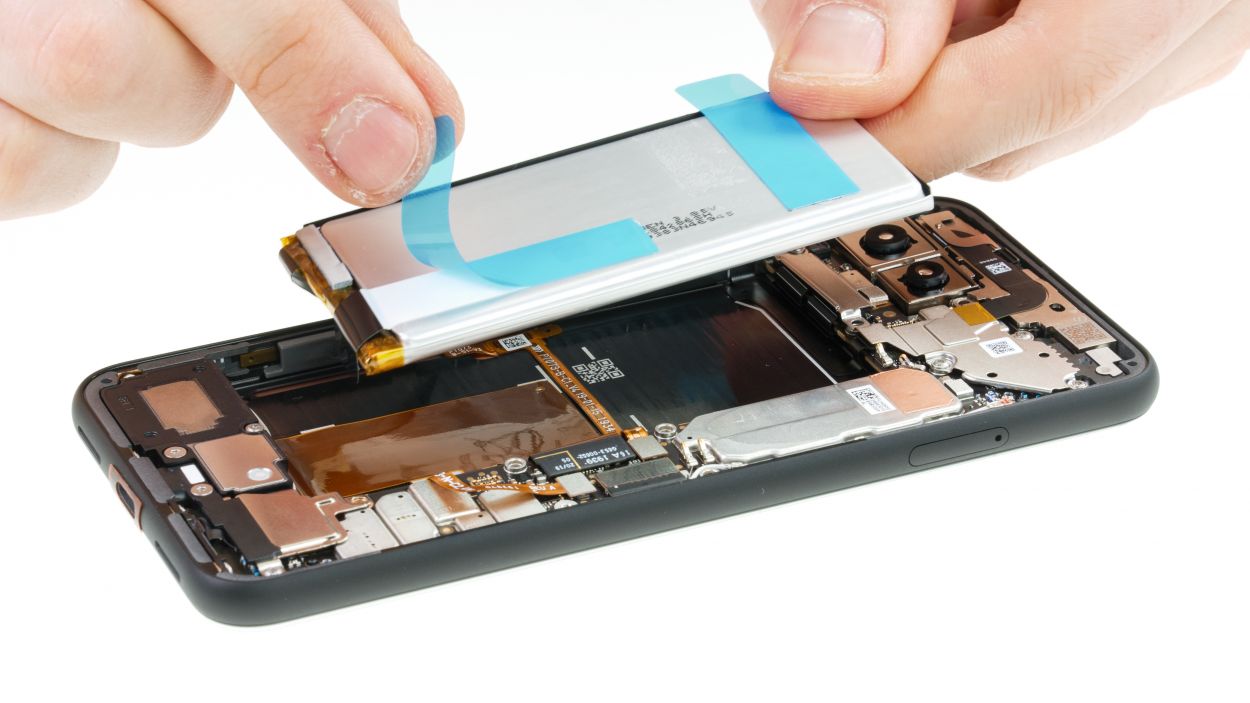
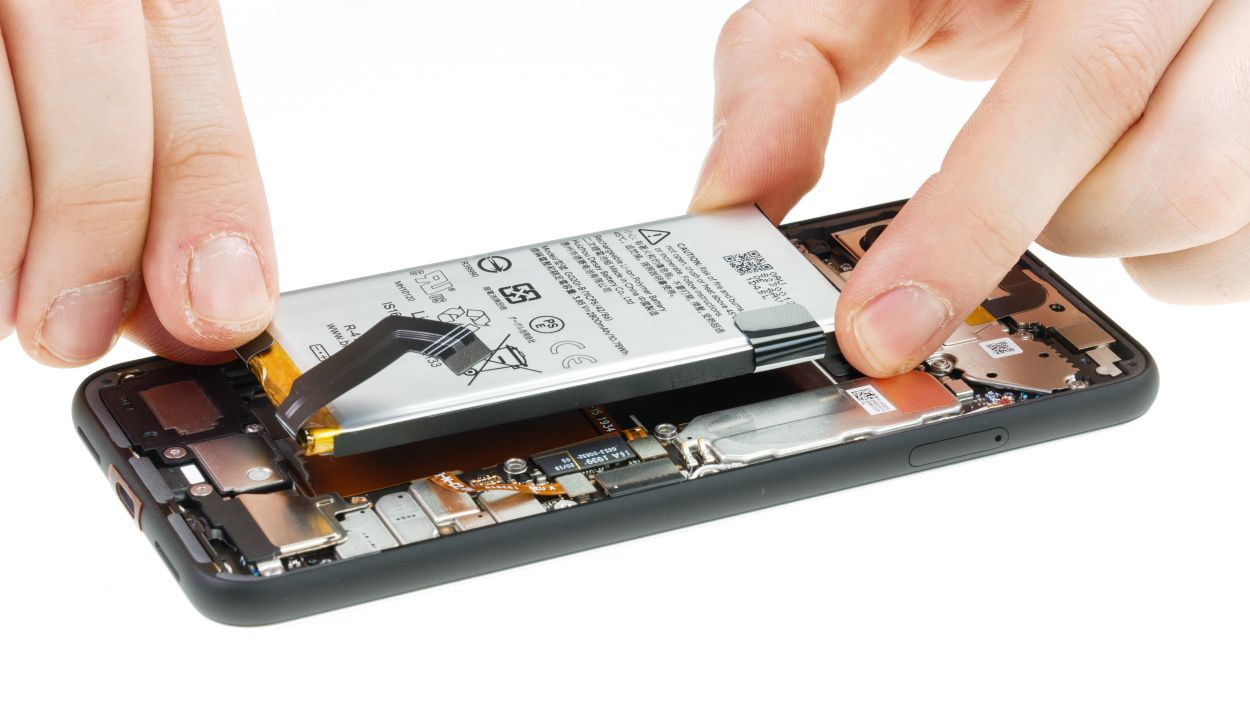
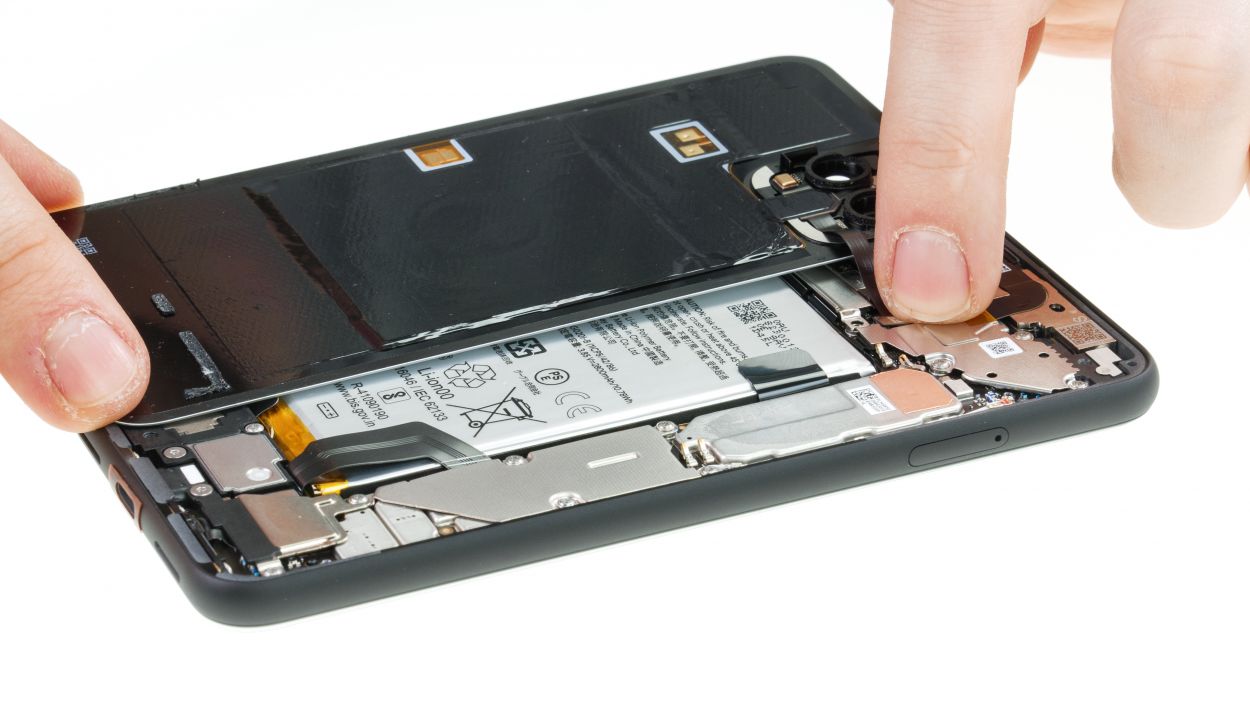
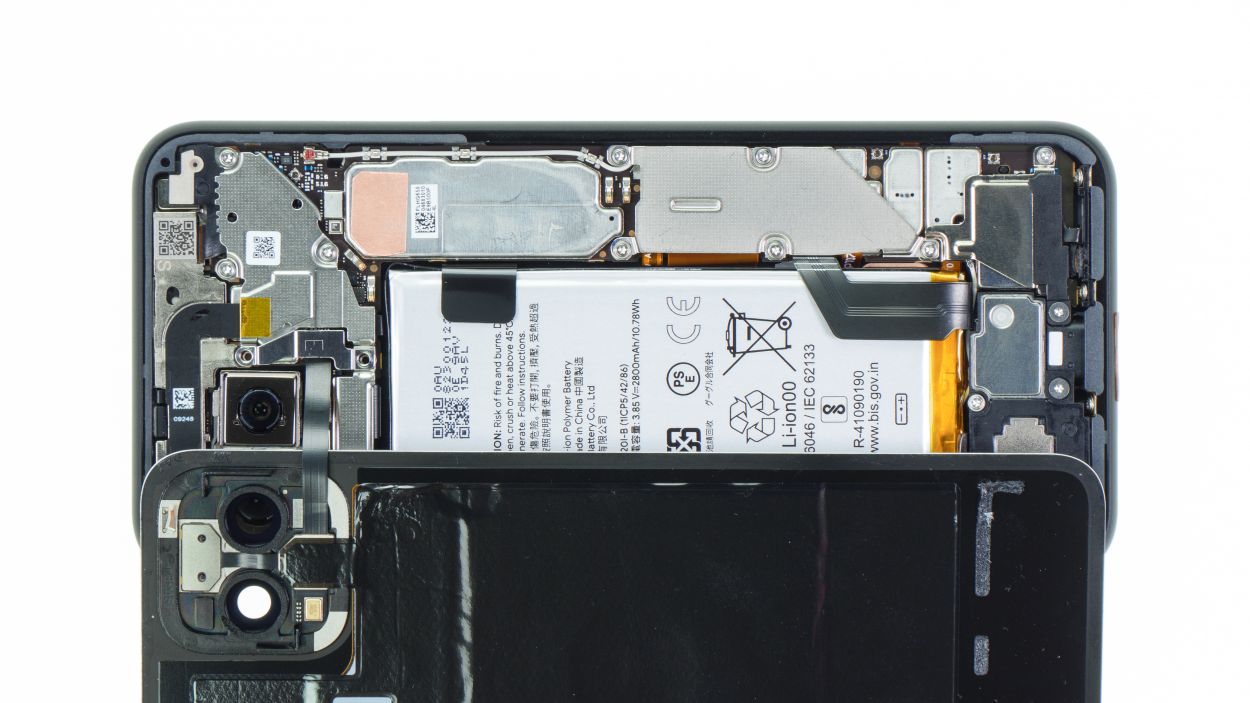
Step 8
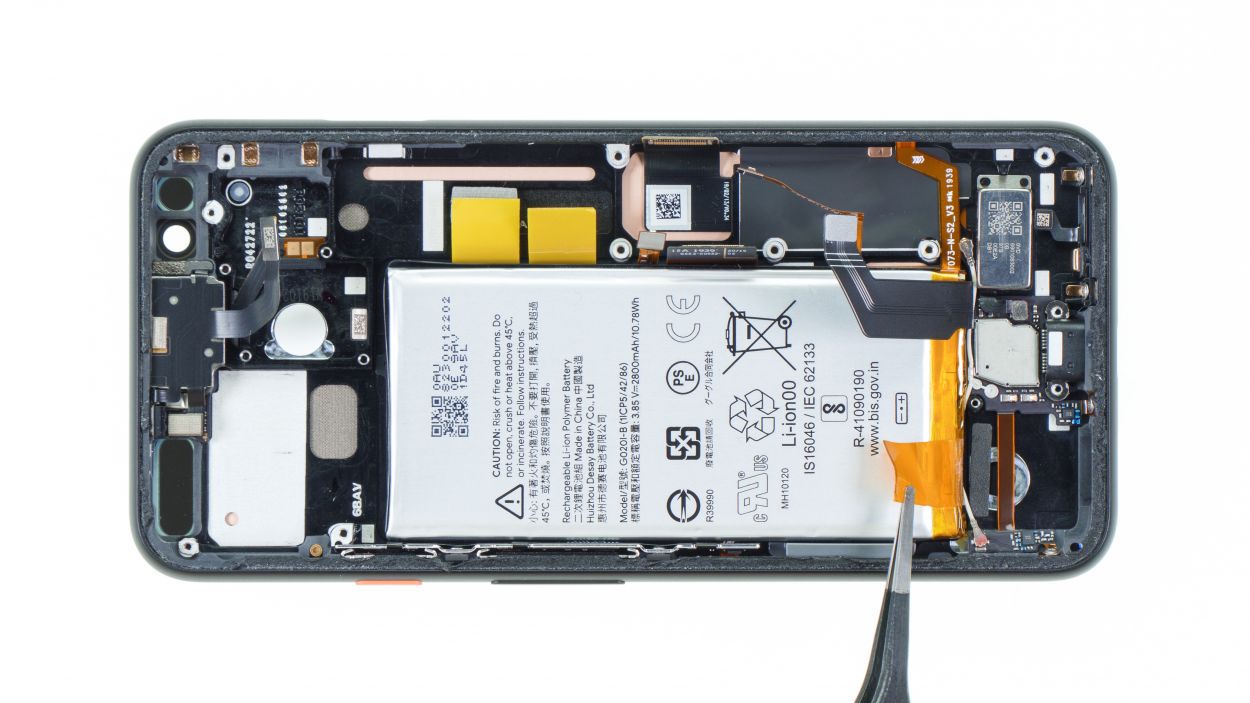
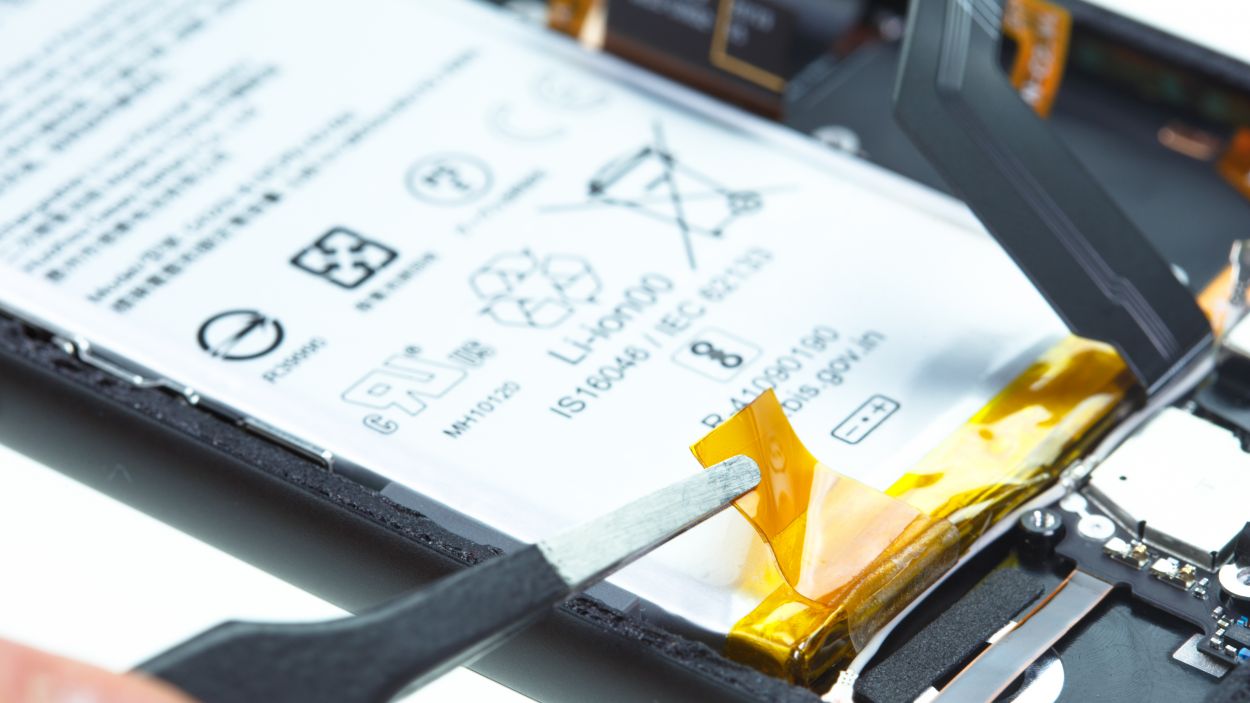
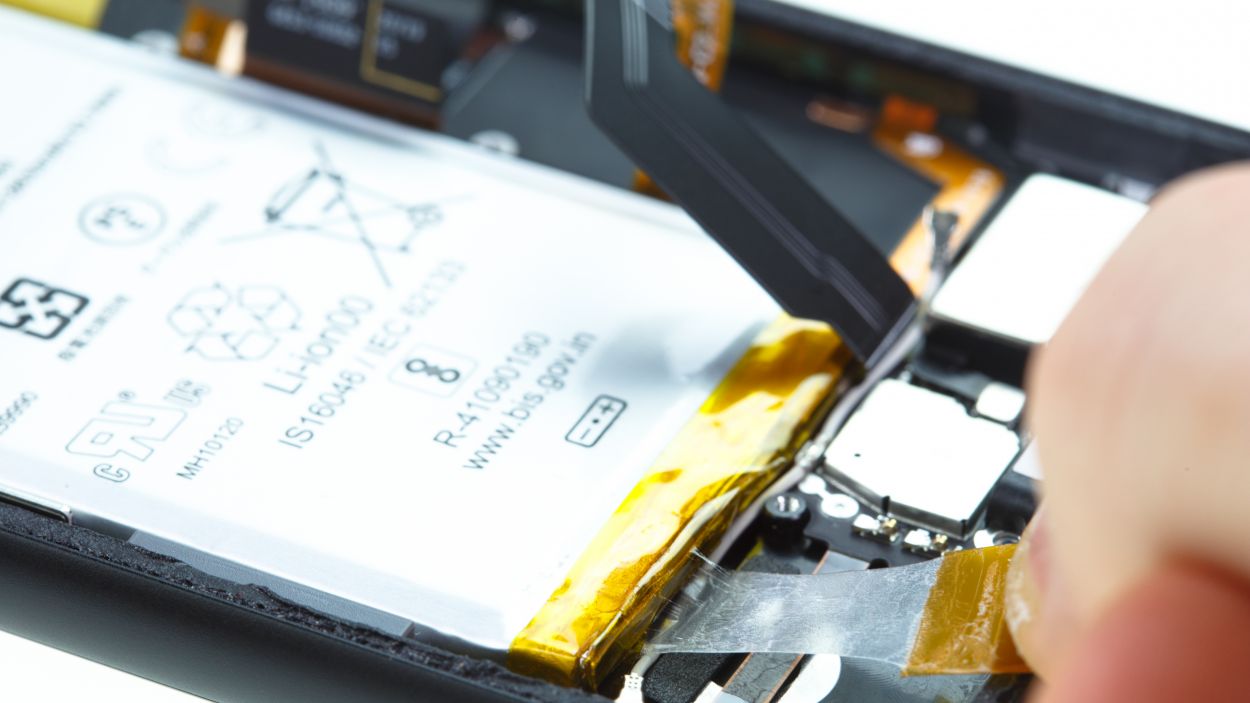
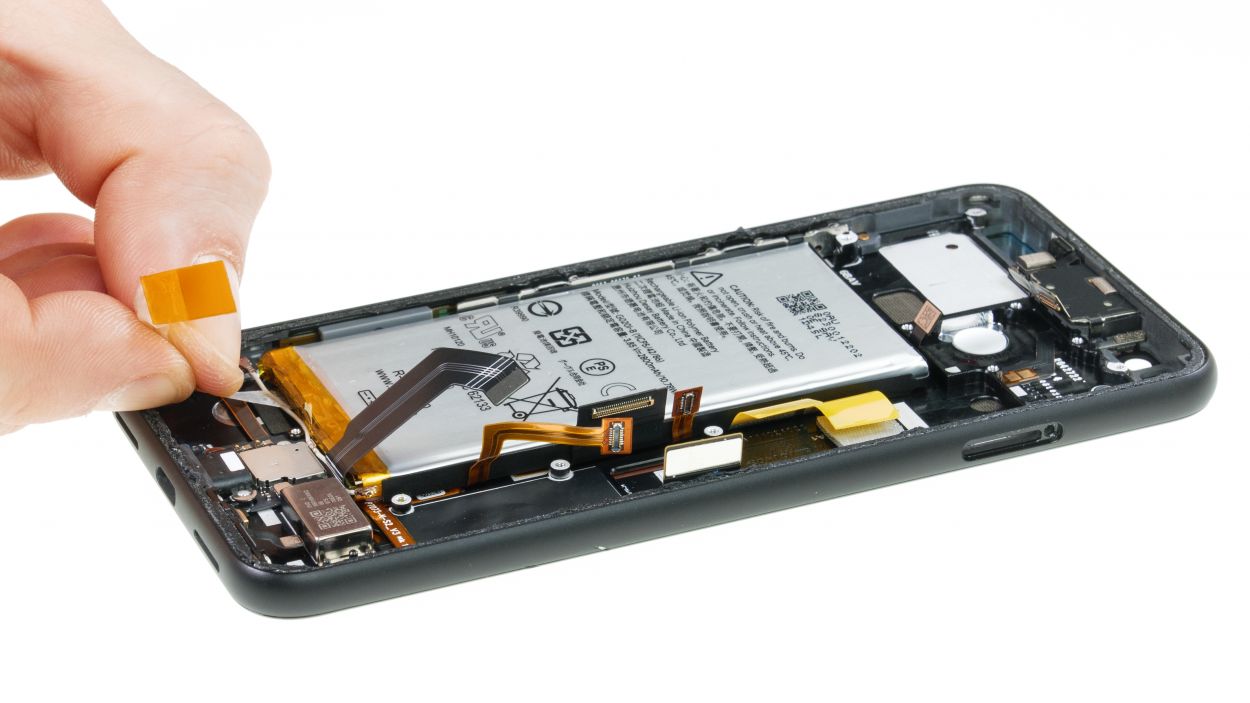
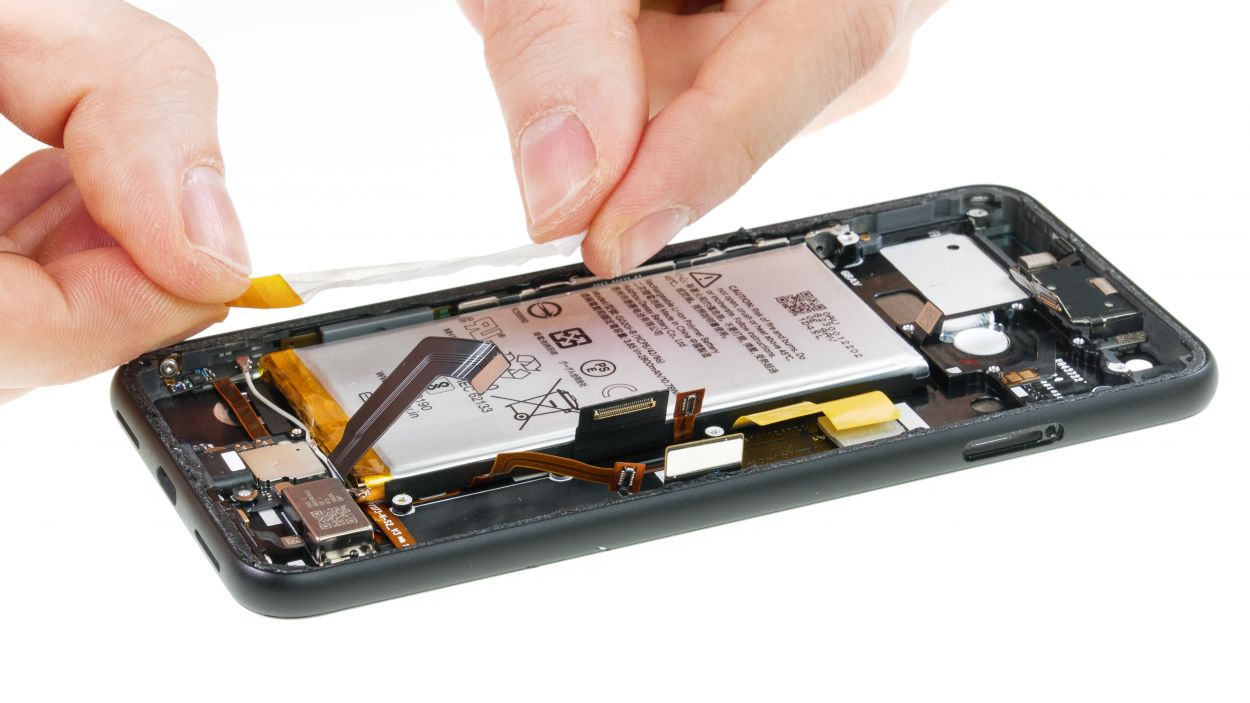
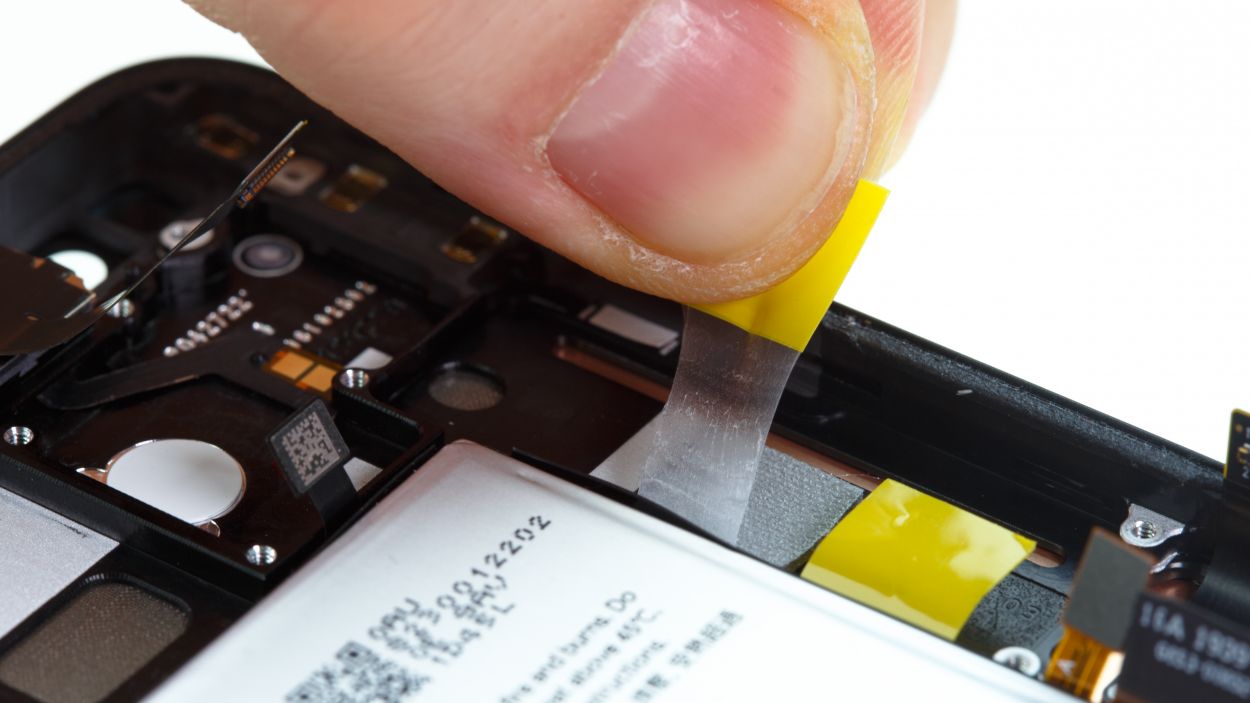
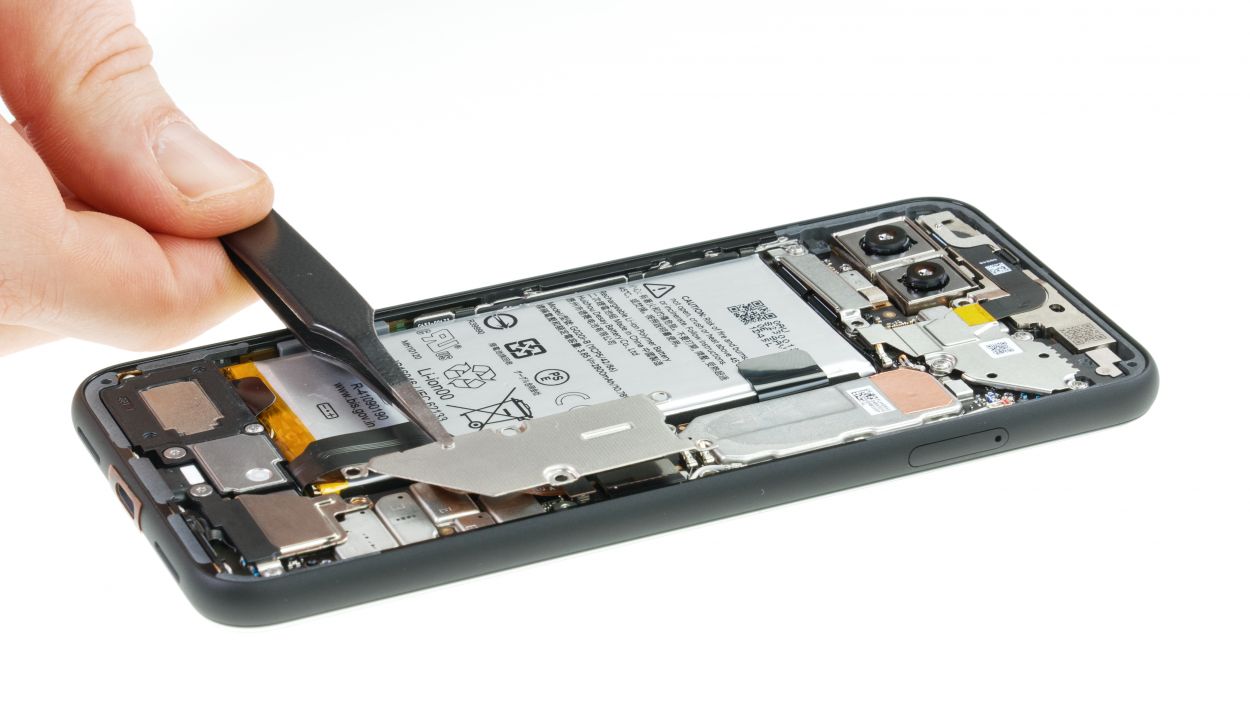
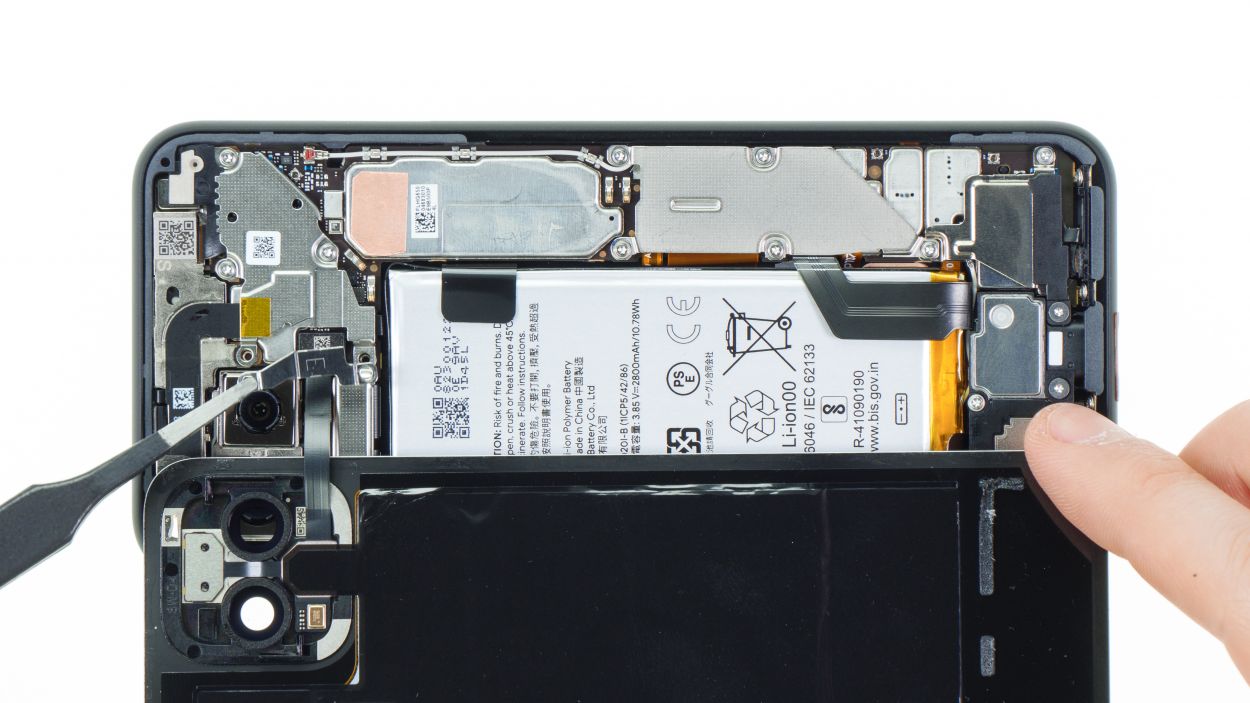
– Start by gently loosening the lower tab of the battery from the upper side and slide it out to the side. Remember to pull those adhesive+strips+Pixel+4&crid=1TJIMMAJSUJUZ&sprefix=repair+tools%2Caps%2C165&linkCode=ll2&tag=salvationrepa-20&linkId=c486487cf454ce8edd6f5beefab4110f&language=en_US&ref_=as_li_ss_tl’>adhesive strips nice and flat to keep them from breaking off too easily!
– If you happen to tear one of the strips, don’t panic! Focus on removing the other two strips as best as you can. If you’re feeling adventurous, grab some tweezers and give that torn strip a little tug. If that doesn’t do the trick, you may need to carefully lever the battery out.
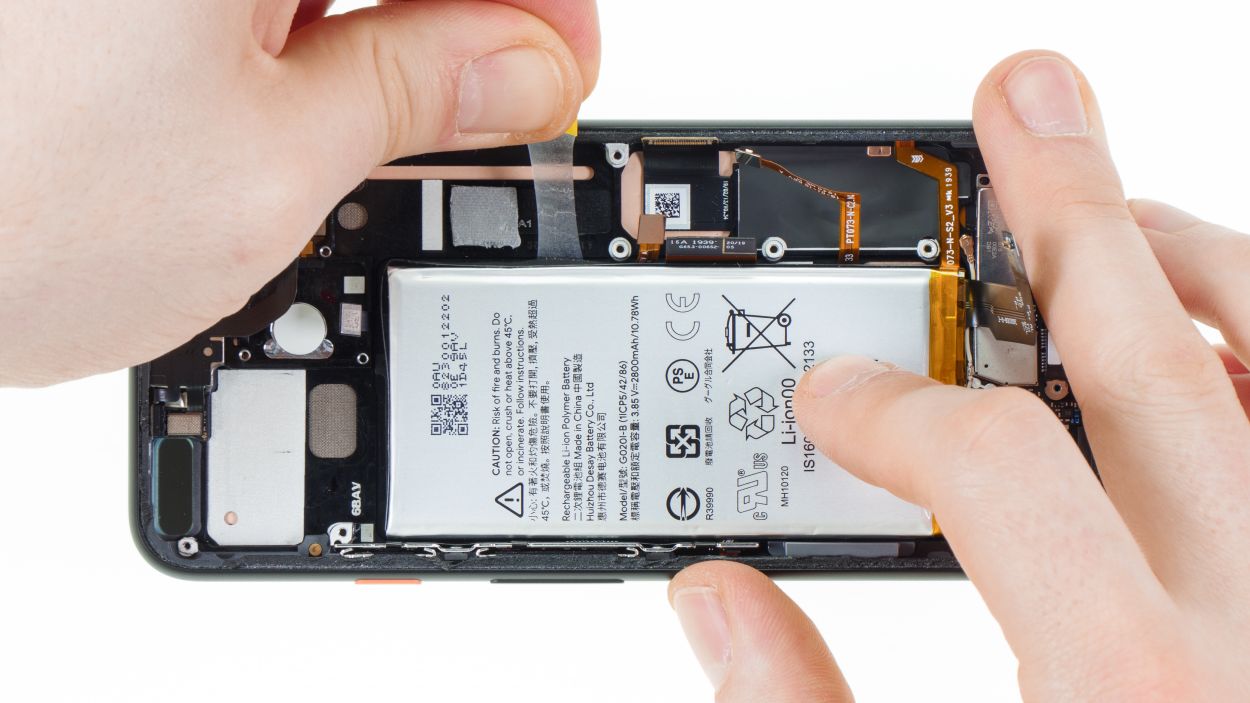
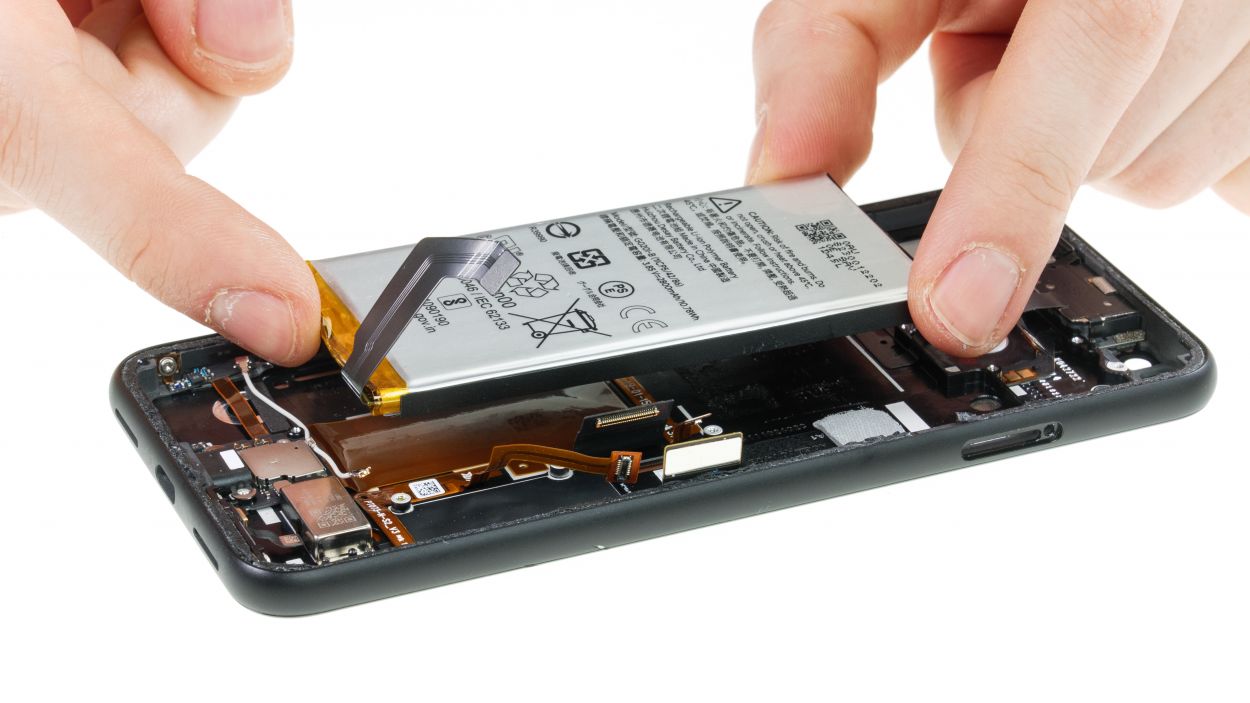
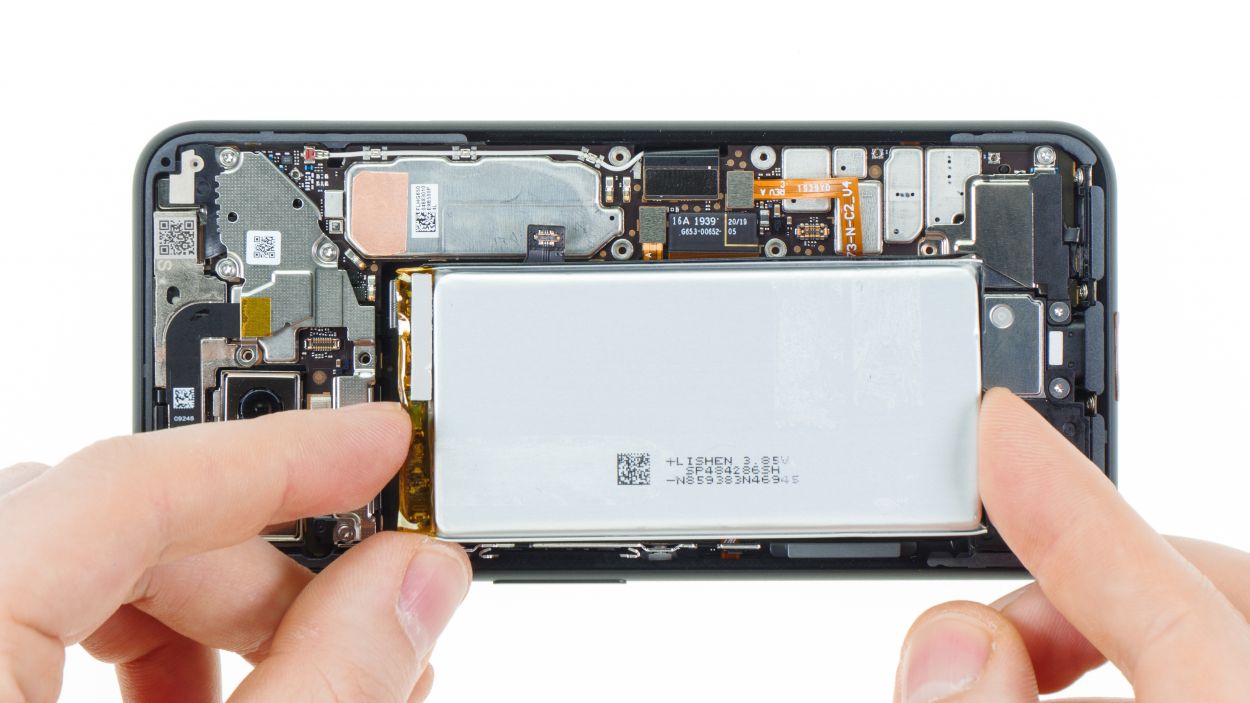
– Next up, it’s time to get the glue warmed up. Just a heads up, don’t heat the battery directly—treat your device to a gentle warm-up from the side of the display instead.
– Now, grab a wide tool like a battery spudger or an iSesamo and gently lift the battery on all sides until it pops out. Just a friendly reminder—watch out for any flex cables hiding beneath the battery!
Tools Used
Step 9

1 × 4,0 mm Torx T3
1 × 4,4 mm Torx T3
– That speaker’s got a little black plastic nose on the wider end – kinda cute, huh? Hook that under the frame.
– Give that speaker a little tilt, then smoothly slide it into its home at the bottom of the frame. Make it snug!
– Once it’s all comfy and flush, secure it with those two Torx T3 screws (they’re different lengths, so pay attention!). Looking good!
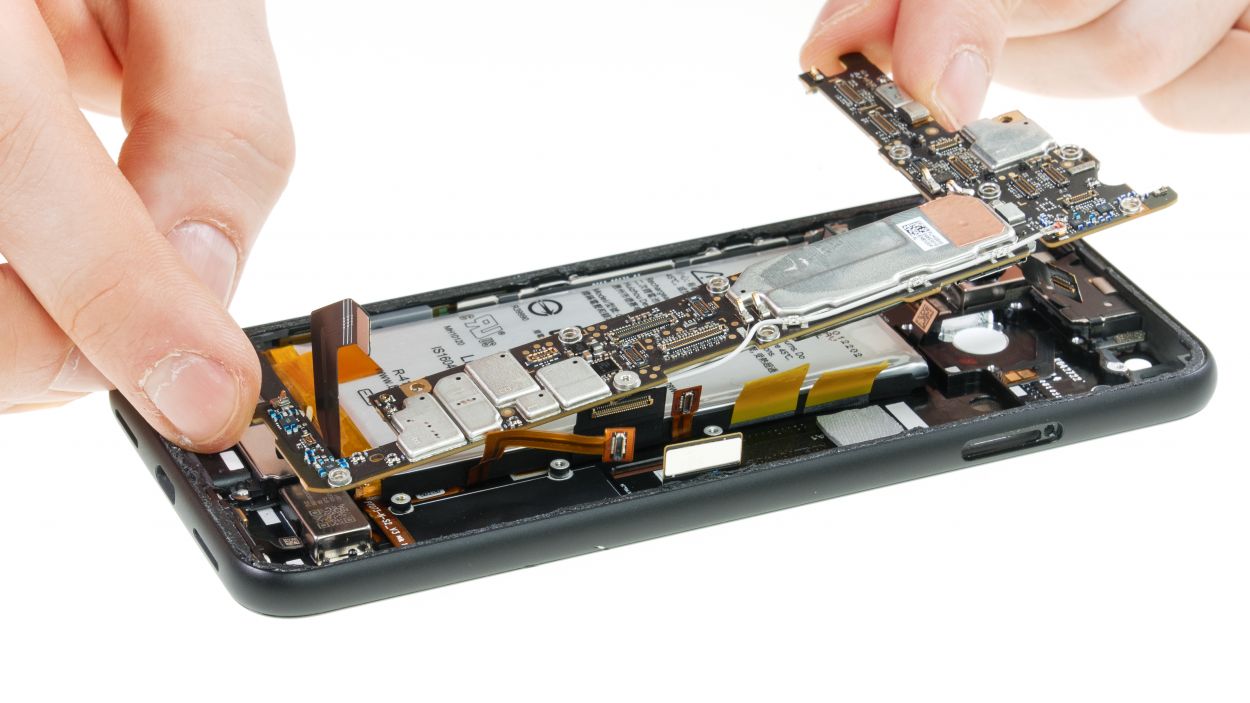
Step 10

Connectors
1 × 4,0 mm Torx T3
1 × 4,4 mm Torx T3
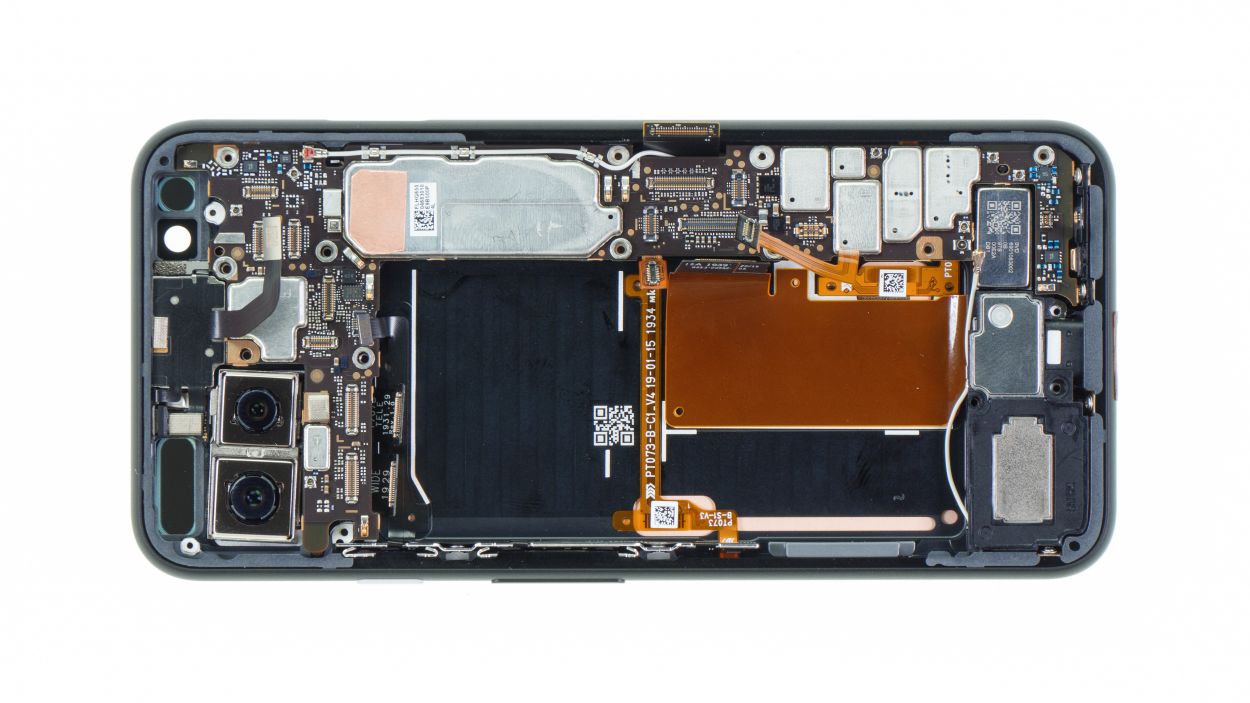
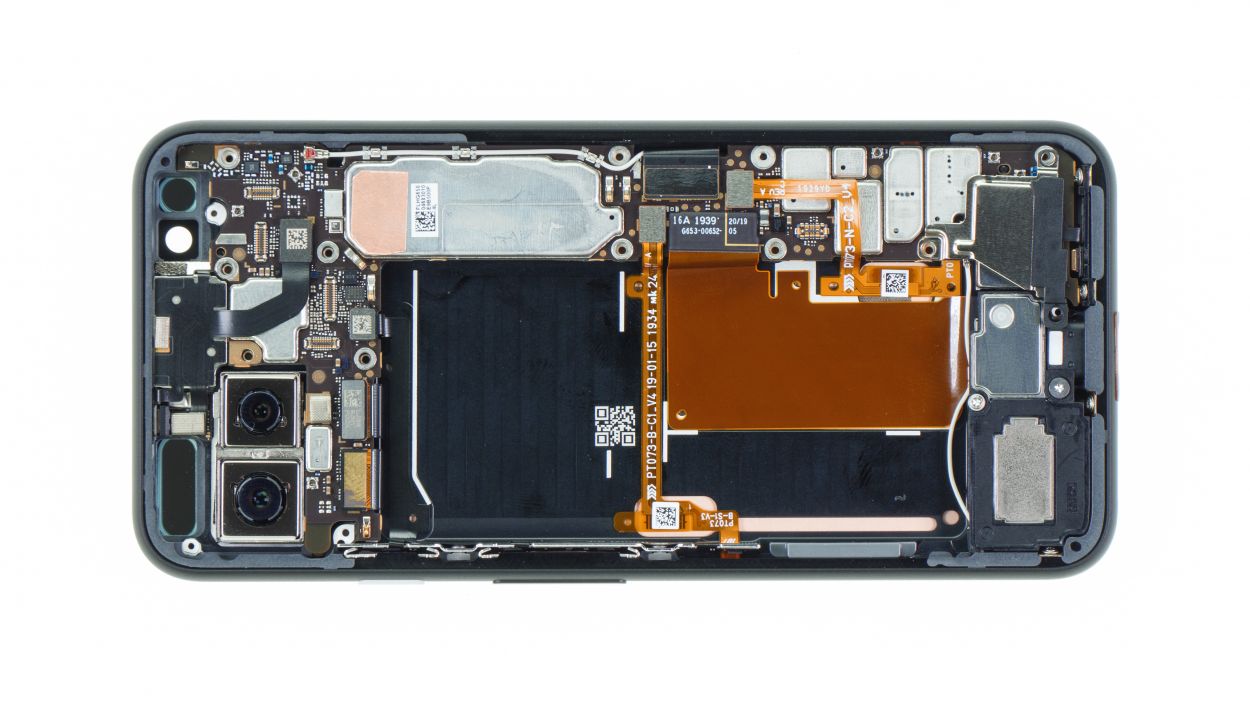
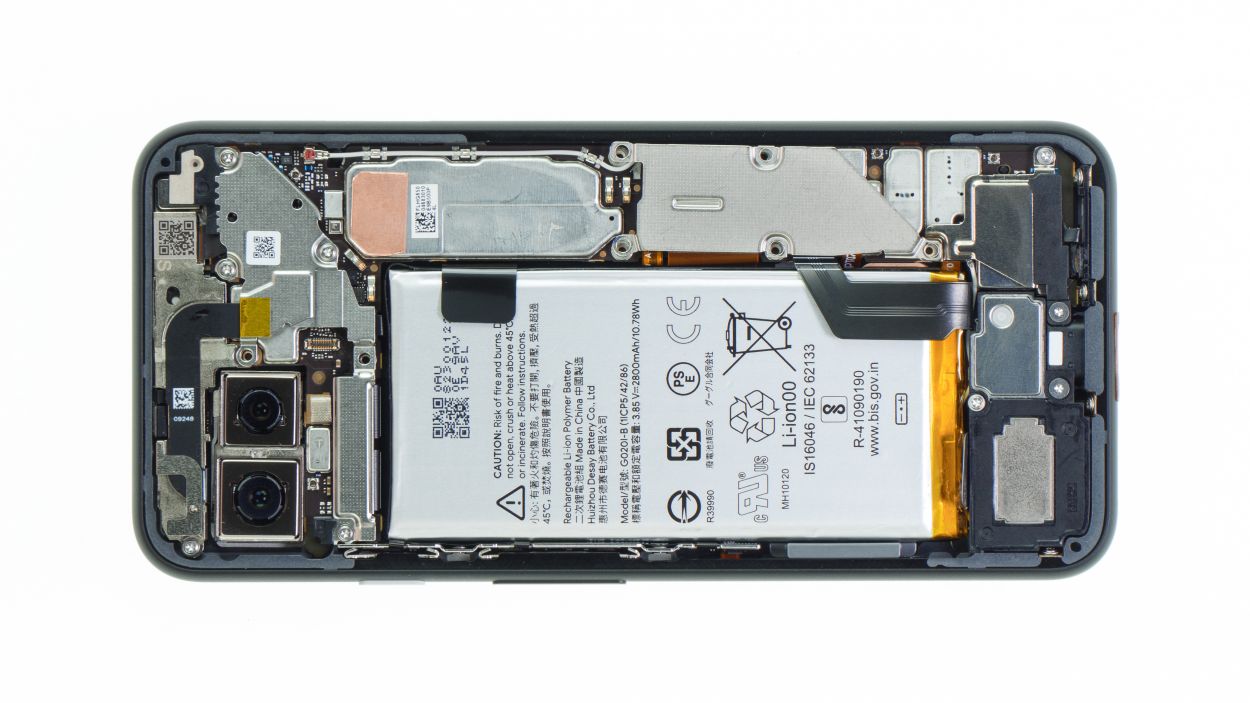
Before you plug in all those connectors, just double-check that the PCB is sitting pretty in its rightful spot. A little positioning love goes a long way!
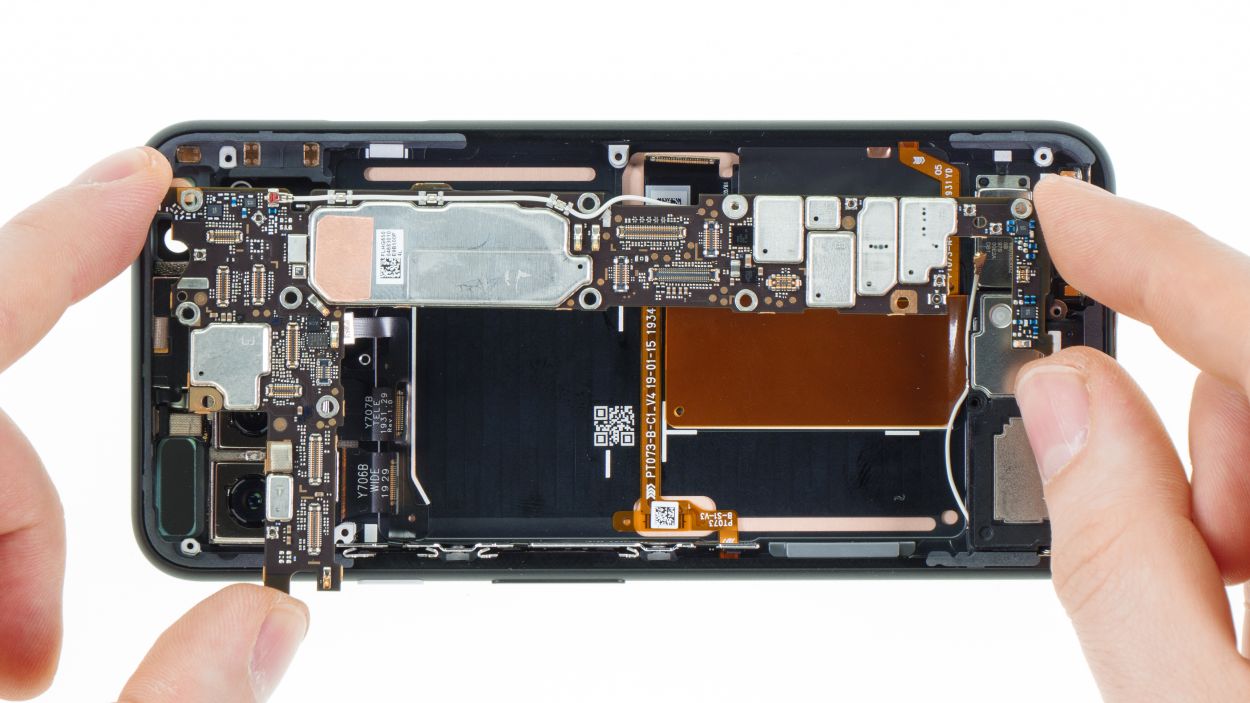
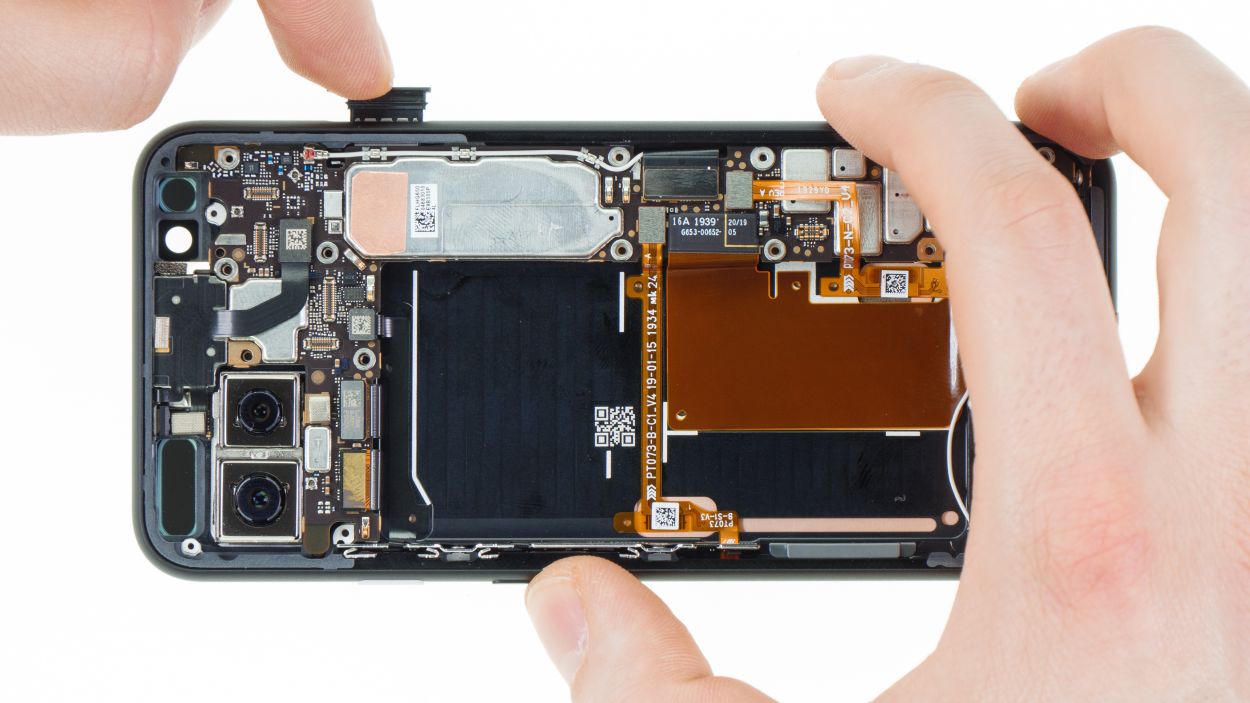
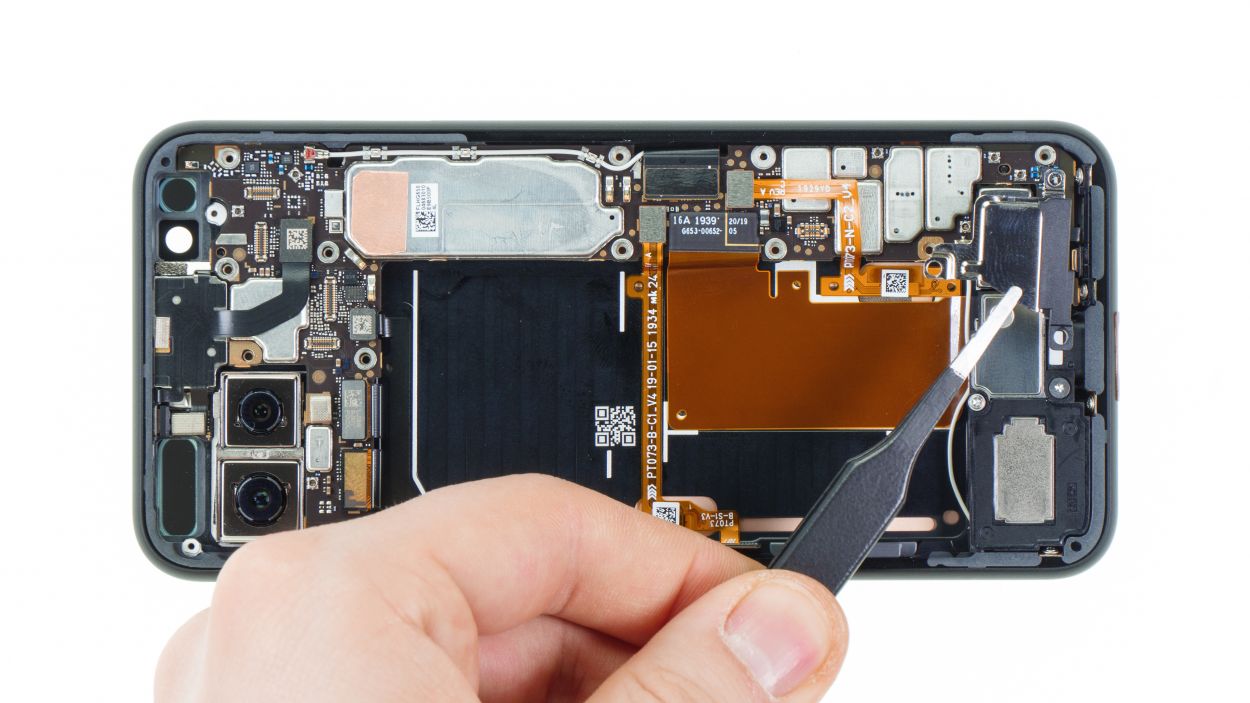
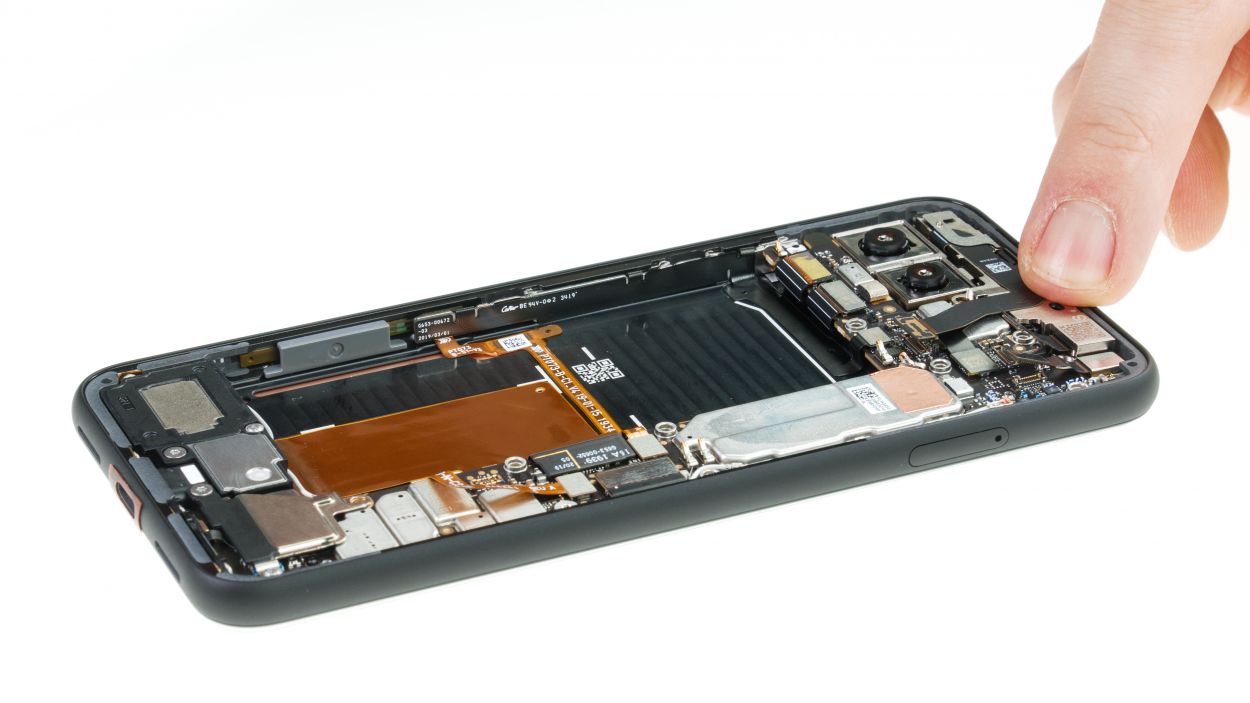
– First, gently place the dual camera onto the white surface inside the device. Easy peasy!
– Next, give those flex cables a little bend to the side. We don’t want to accidentally squish any of them while putting in the main board!
– Now, slowly slide the main board in, making sure it goes past all the cables. Take your time!
– Get it started at the bottom and then smoothly push it into the frame from the side. You got this!
Step 11
4 × 4,0 mm Torx T3
Give that front camera/sensor unit a little love! Make sure it’s dust-free and that the inside of your device is sparkling clean. A clear view is the key to capturing all those great moments!
– Gently slide the front camera/sensor module into its cozy spot in the device.
– Give it a little press until it feels right at home.
– Next, reconnect all three connectors to bring everything back to life.
– Finally, place the cover plate on top and secure it with screws to keep it all snug.
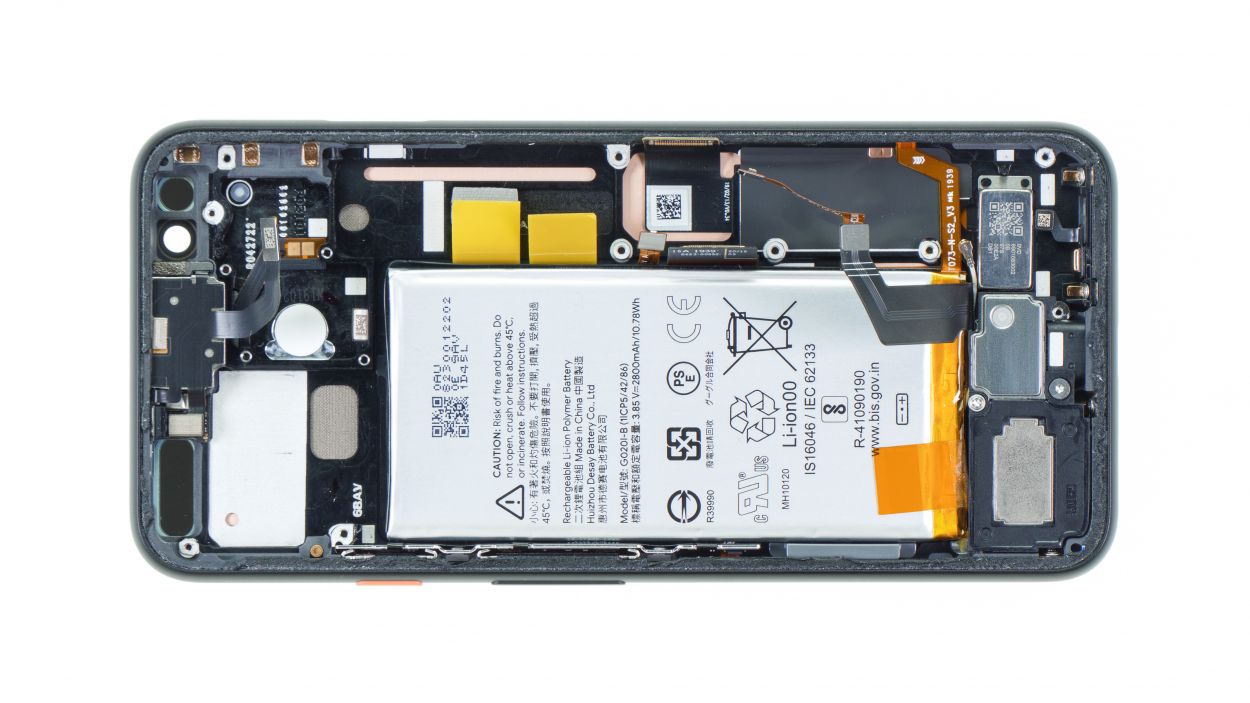
Step 12
– First things first, let’s make sure there’s no sticky adhesive residue hanging out on the back of the battery or inside your device.
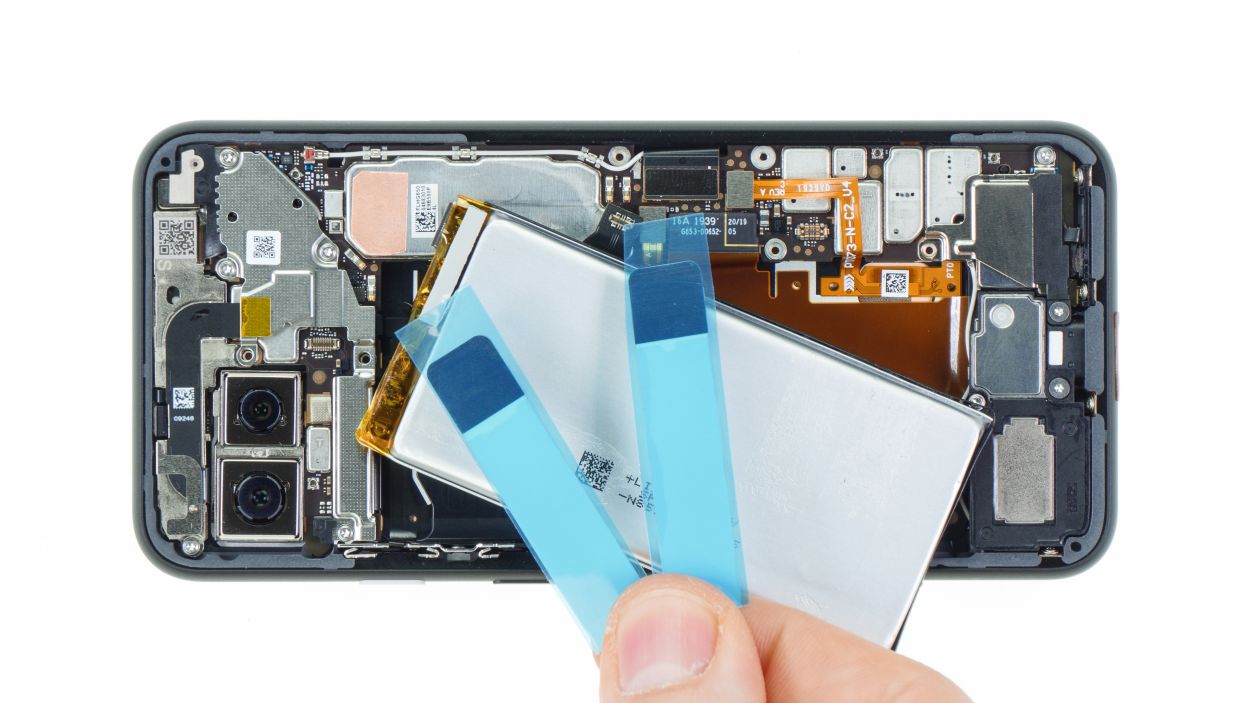
– Next up, peel off that clear protective foil from the adhesive+strips+Pixel+4&crid=1TJIMMAJSUJUZ&sprefix=repair+tools%2Caps%2C165&linkCode=ll2&tag=salvationrepa-20&linkId=c486487cf454ce8edd6f5beefab4110f&language=en_US&ref_=as_li_ss_tl’>adhesive strips and stick them onto the battery. Just a heads up, the black tabs should be sticking out a bit.
– Now, fold those black tabs down and secure them to the top of the battery.
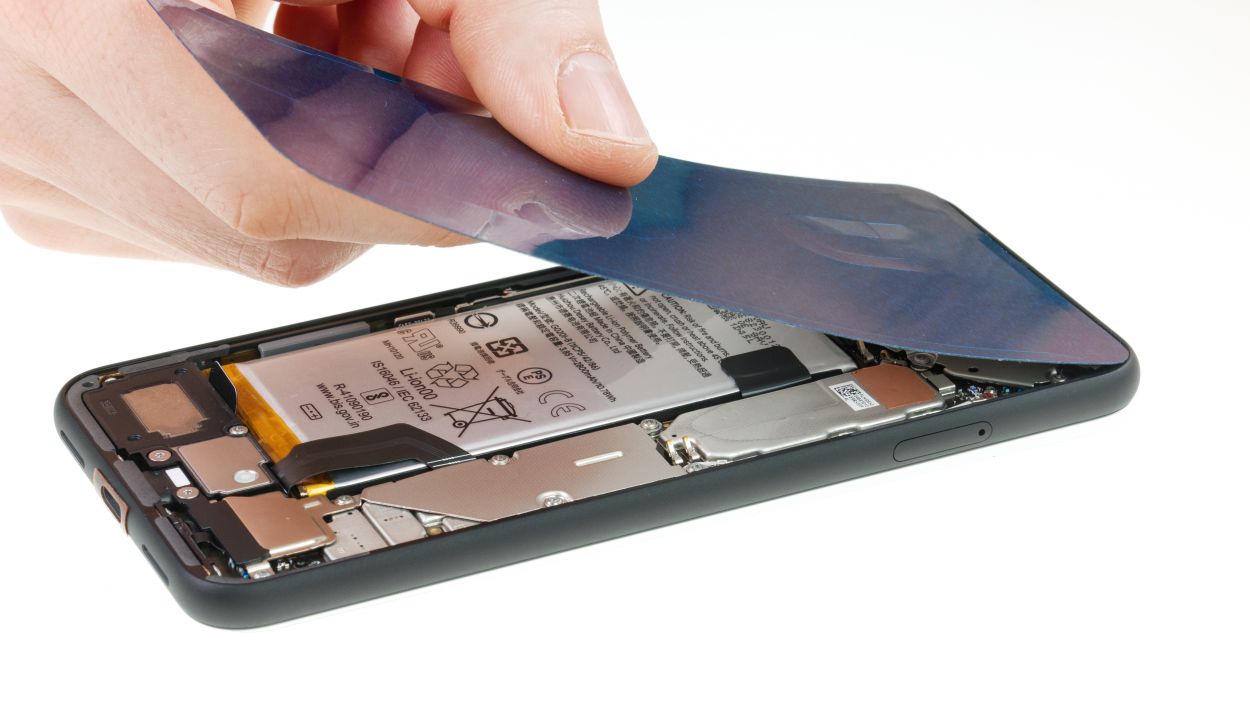
– Once that’s done, go ahead and remove the blue protective film and gently place the battery back into your device.
– Double-check that there’s plenty of space all around and that nothing is getting squished. The battery contact should be sitting right above its connector on the main board.
Ready to stick it like a pro? Cut those adhesive+strips+Pixel+4&crid=1TJIMMAJSUJUZ&sprefix=repair+tools%2Caps%2C165&linkCode=ll2&tag=salvationrepa-20&linkId=c486487cf454ce8edd6f5beefab4110f&language=en_US&ref_=as_li_ss_tl’>adhesive strips to size and position them just like the originals. Just a heads up: steer clear of placing them over any flexible cables in your smartphone’s housing. Keep everything neat and tidy for a successful repair! If you need help, you can always schedule a repair.
Step 13
4 × 4,0 mm Torx T3
1 × 2,0 mm Torx T3
One of the screws is a bit of a lightweight! Just keep an eye on it and make sure it doesn’t get mixed up with its taller buddies!
– First things first, connect that battery contact! Just ensure it’s snug and secure before pressing it down—no sliding it around like it’s a dance partner at a wedding!
– Now, let’s get that cover plate back on and screw it in tight. You’re almost there!
Step 14
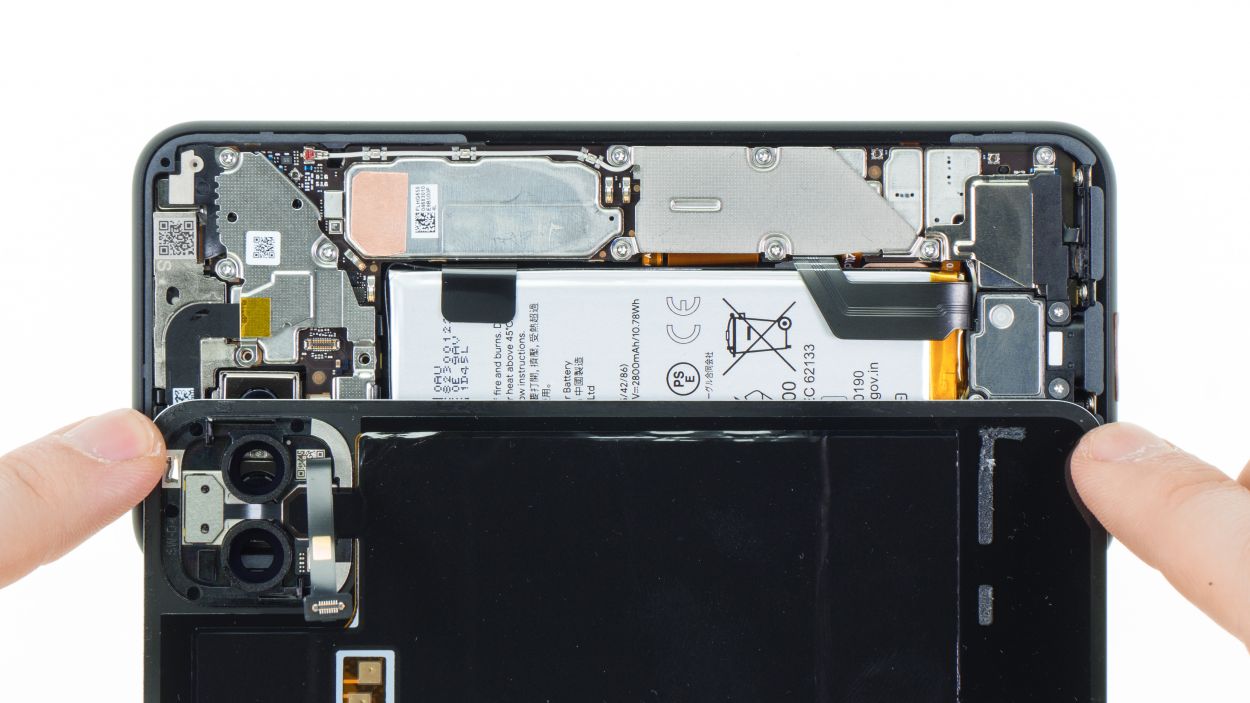

– Get that back cover on your device and plug in the flexible cable connector—it’s like a cozy blanket for your tech!
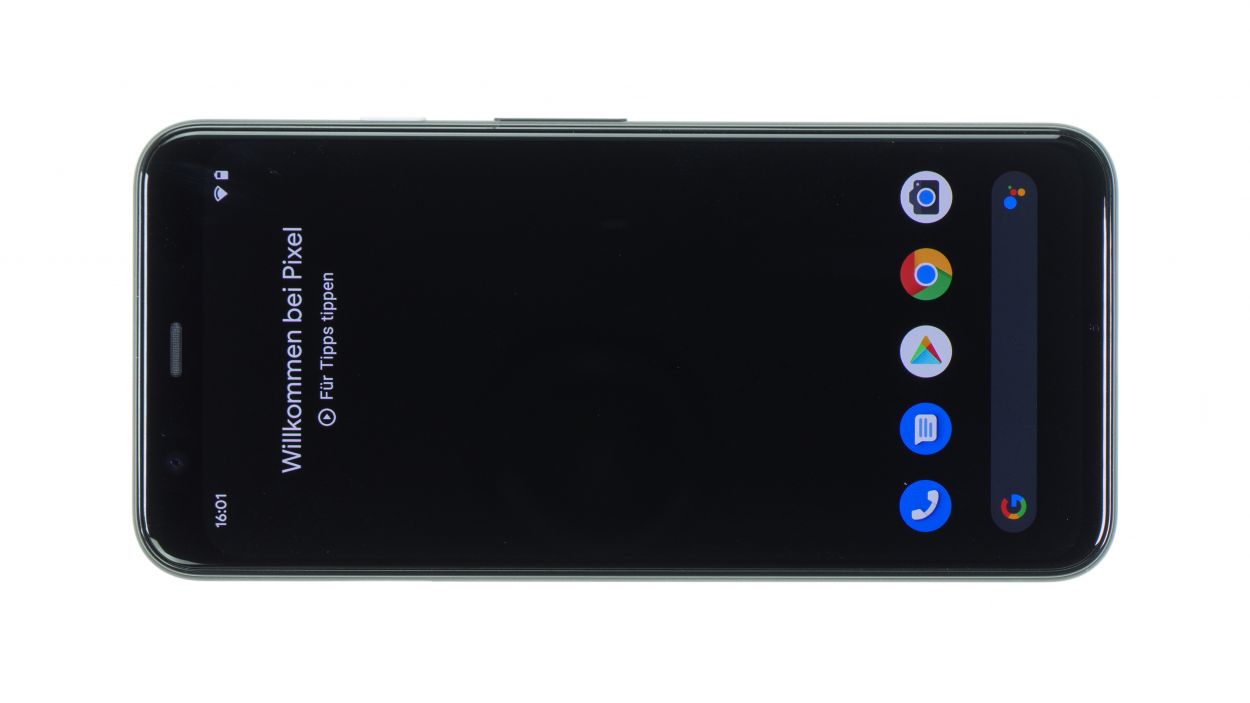
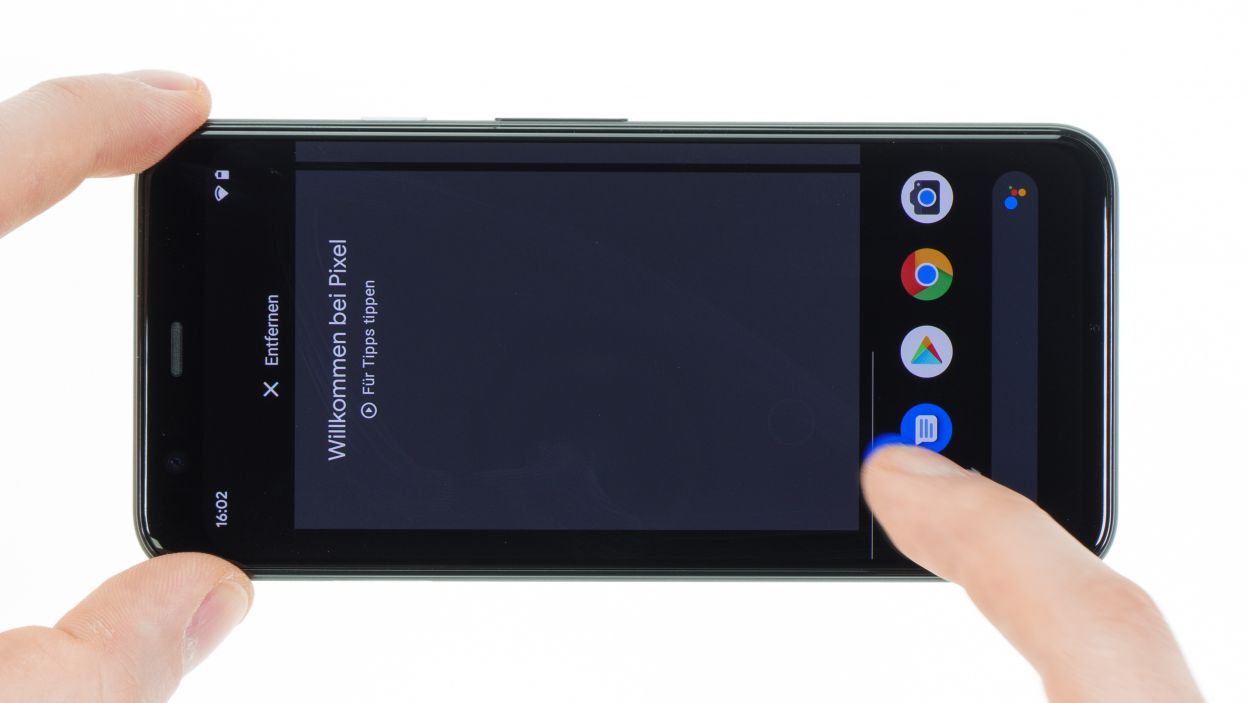
– Snap the back cover shut and power on your device. Let’s see that beauty come to life!
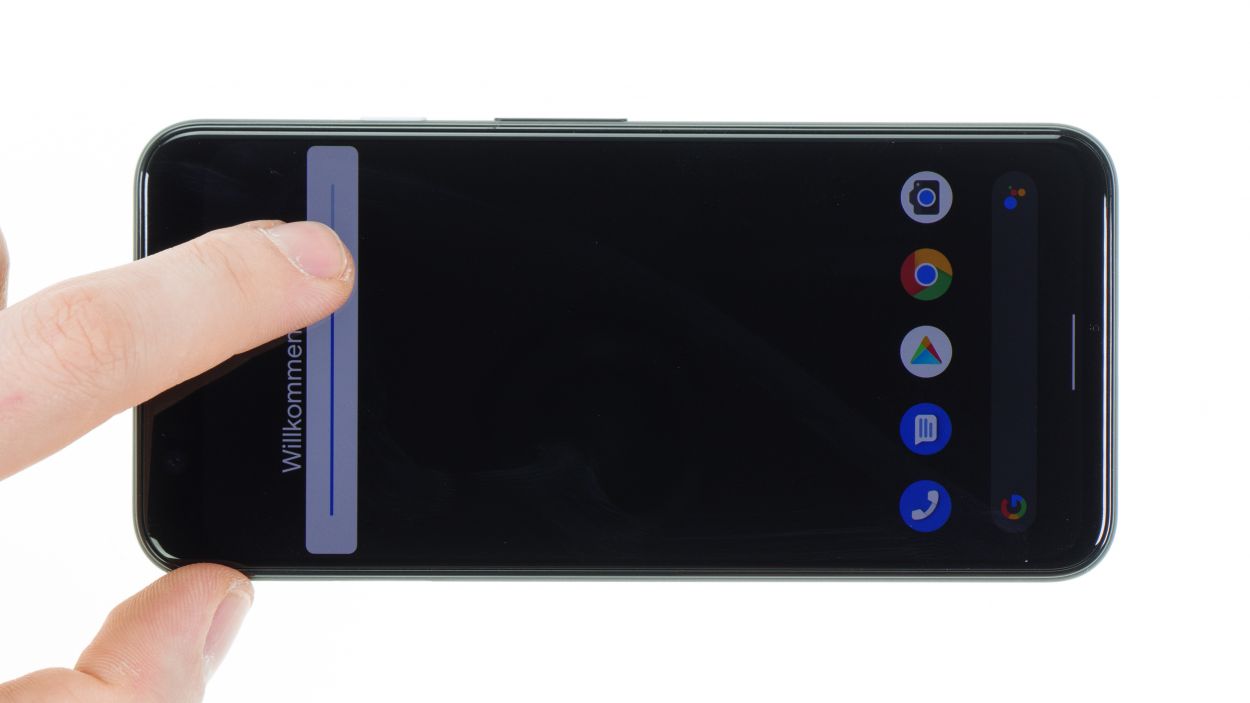
– To give the touchscreen a little workout, glide an app along the edges and zigzag across the screen. If it keeps up with your finger like a loyal puppy, you’re all set—no glitches in sight!
– Give the screen a little love by checking its brightness, contrast, and sharpness. A happy screen makes a happy device!
Step 15
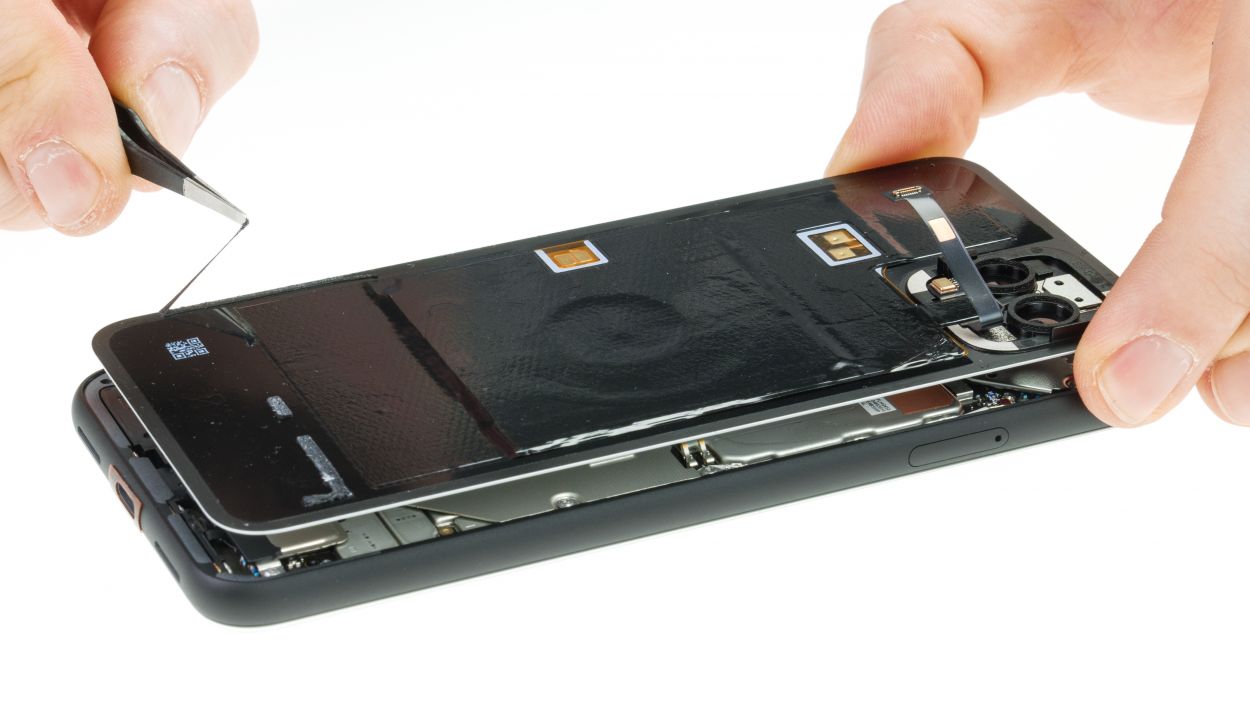

– First things first, let’s get rid of all that old glue gunk on the back cover and the frame. A clean start is key!
– Next up, find the perfect spot for your adhesive frame by giving it a little test fit in the unit. Check out those camera openings and the edges to make sure everything lines up just right.
– Now, peel off that white protective film from the edges and carefully place the adhesive frame on one side of the frame.
– Gently let the adhesive frame slide into place all around the frame, keeping an eye out to ensure it’s sitting pretty and not sticking out anywhere.
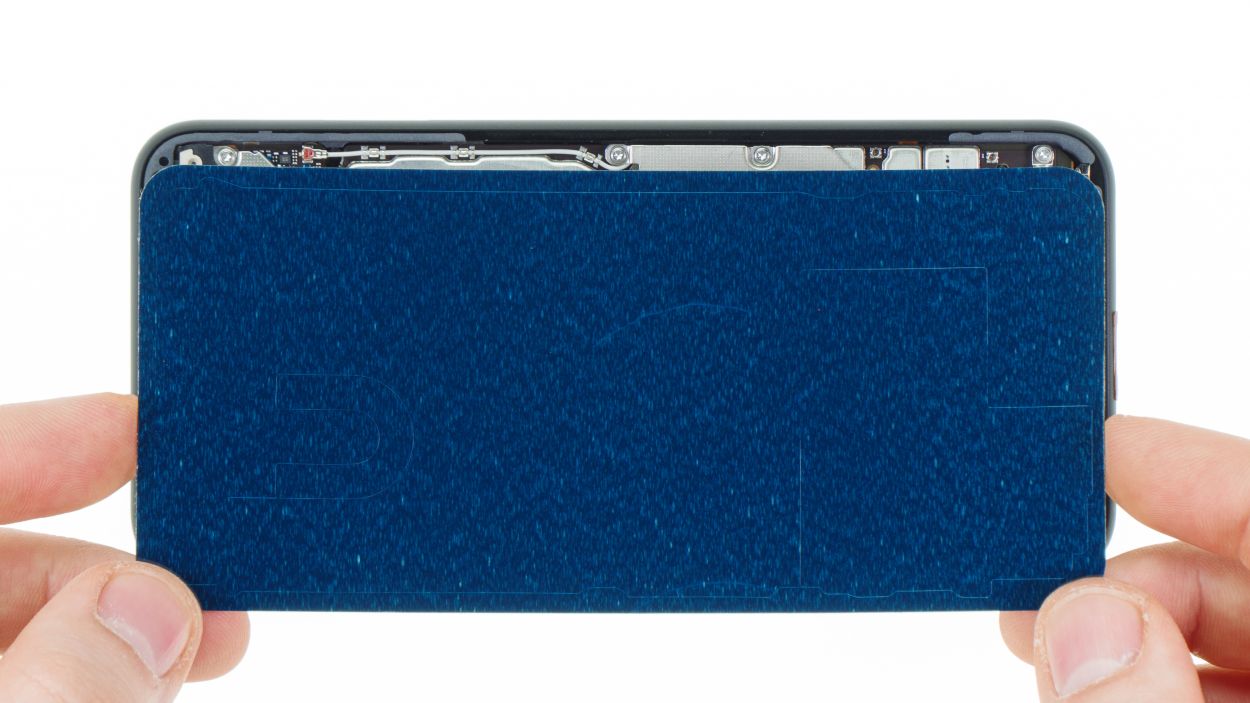
– Once it’s in place, give that adhesive a good press along the edge of the frame. A spudger can be your best buddy here—just run it along the entire edge to make sure it’s secure.
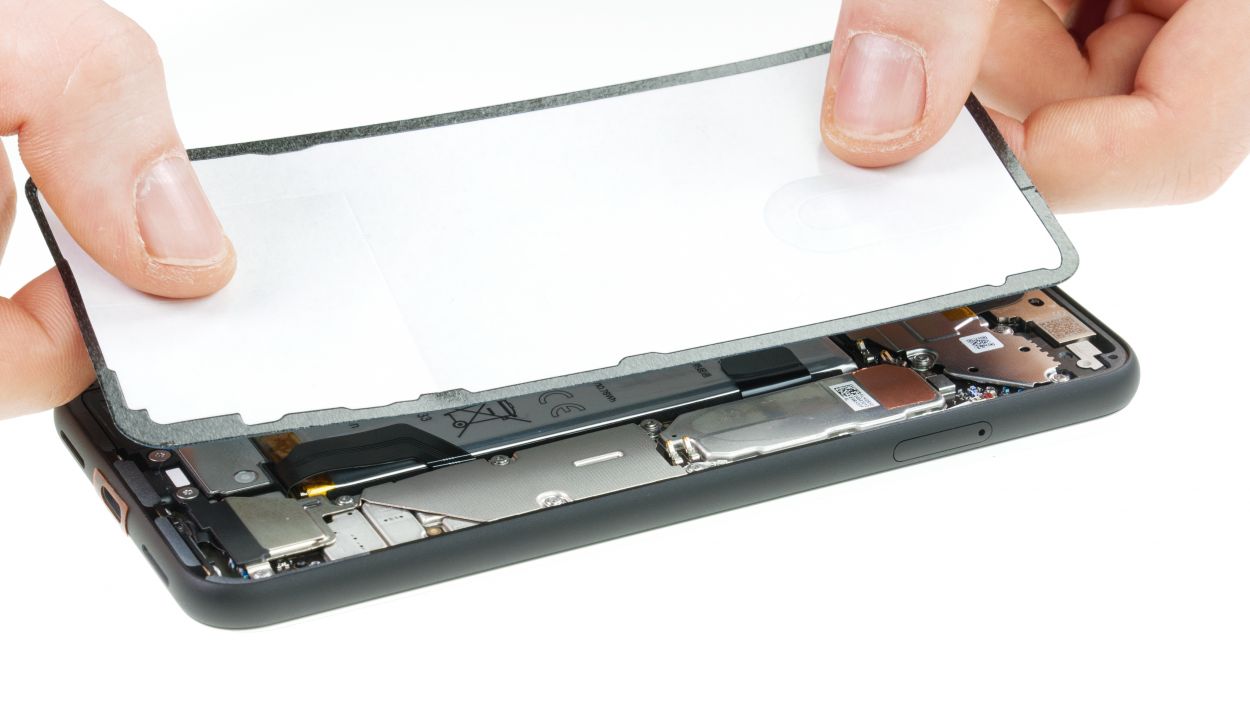
– Time to remove the rest of the protective film and the middle carrier layer. Let’s keep it clean!
– Finally, take a moment to double-check that the glue is sitting just right. It shouldn’t be sticking out or wrinkling at all. If you spot any trouble spots, feel free to adjust the adhesive as needed.
Step 16


2 × 4,0 mm Torx T3
– Snap the back cover onto your device – easy peasy! Then, connect that flexible cable connector.
– Time to put the cover on and secure it with those screws. Almost there!
Step 17
– Gently fold the back cover over, getting it ready to meet its frame soulmate.
– Hold up! Don’t let it get cozy with the frame and glue until it’s perfectly centered – we’re aiming for a match made in tech heaven!
– Now, press that back cover along the frame’s edge like you mean it. Let’s get that adhesive bonding action happening!
– Last step! Give your device a little warm hug (with a hairdryer, not your actual hug!), then weigh it down with some books or use clamps for about 30 minutes. This helps the glue get super comfy and secure. If you need help, you can always schedule a repair