DIY Guide: Replace Screen in Huawei Nova
Duration: 45 min.
Steps: 15 Steps
Ready to tackle that troublesome display on your Huawei Nova? We’re here to guide you through repairing it with ease! If you’re dealing with a cracked screen, an unresponsive touch, or a flickering LCD, you’ve come to the right place. Let’s get your device looking and working its best again. If you need help, you can always schedule a repair.
Step 1
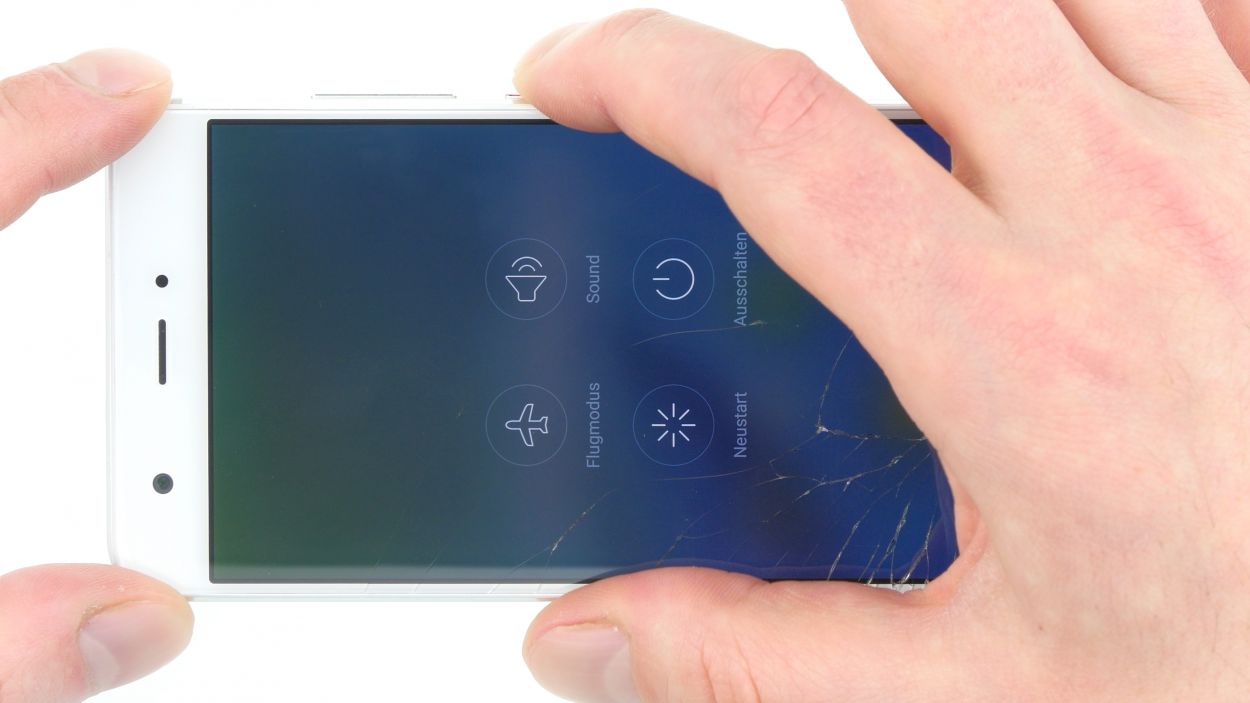

– First things first, let’s give your device a little break! Press and hold that power button until you see a menu pop up. Then, go ahead and choose ‘Power off’ and hit it one more time to confirm. Easy peasy!
Step 2
2 × Pentalobe
Grab yourself a Pentalobe PL1 screwdriver – it’s also what you’ll need for those iPhones of yours! Get ready to dive into this repair adventure, and remember, if you need help, you can always schedule a repair.
– Time to get those pockets ready! Start by carefully unscrewing and popping off the two pentalobe screws located at the bottom of your device. They’re the ones keeping the cover snug and secure, so let’s help them say goodbye.
Step 3
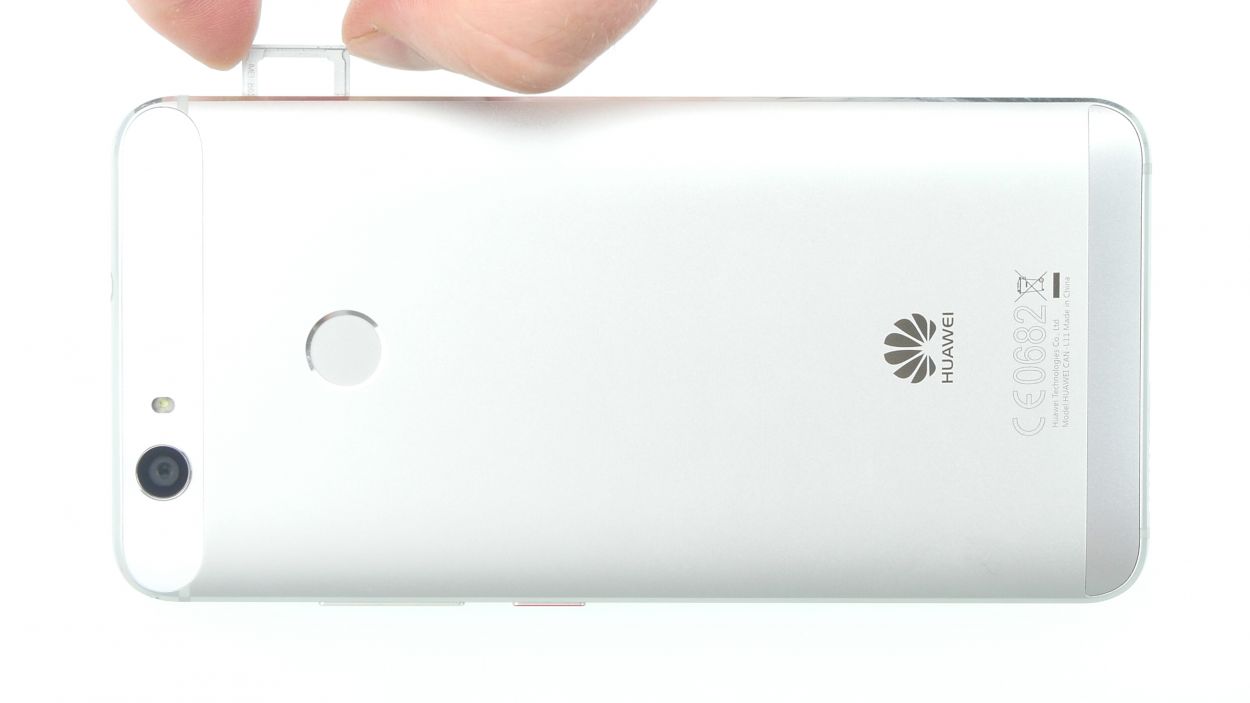
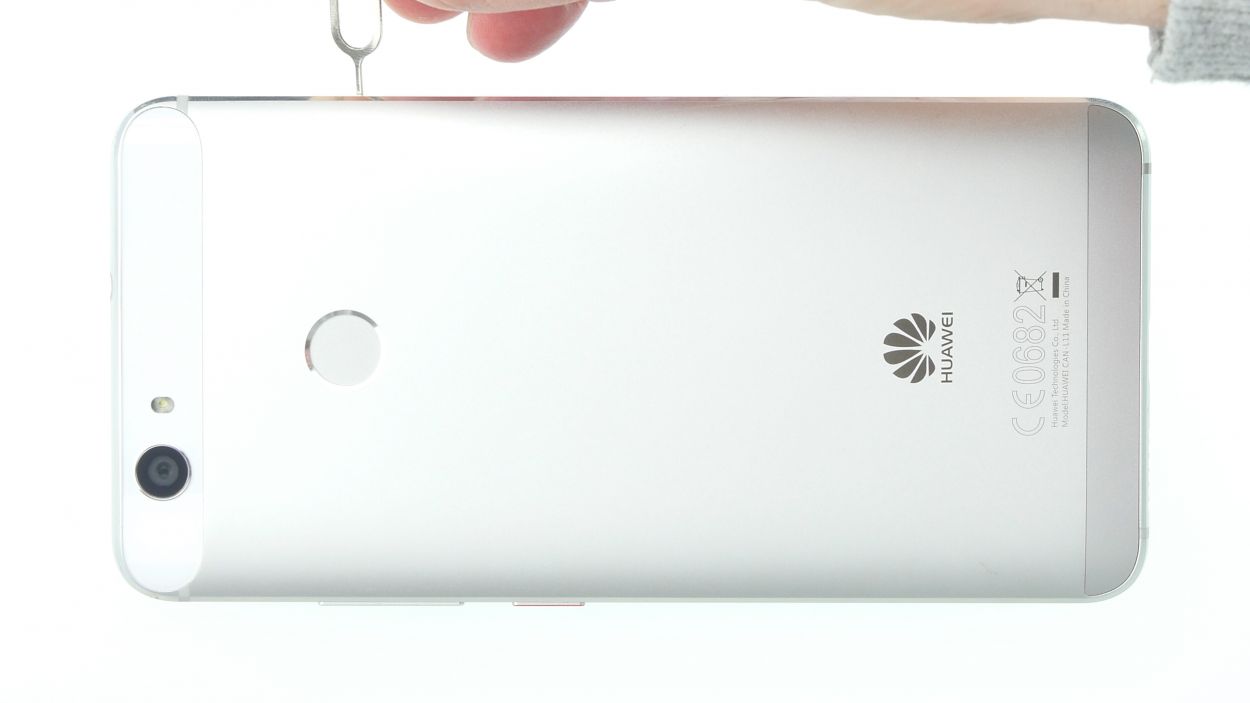
– Pop your SIM tool into that tiny hole on the tray to give it a little nudge and unlock it.
– Gently pull out the tray along with any SIM or microSD cards hanging out.
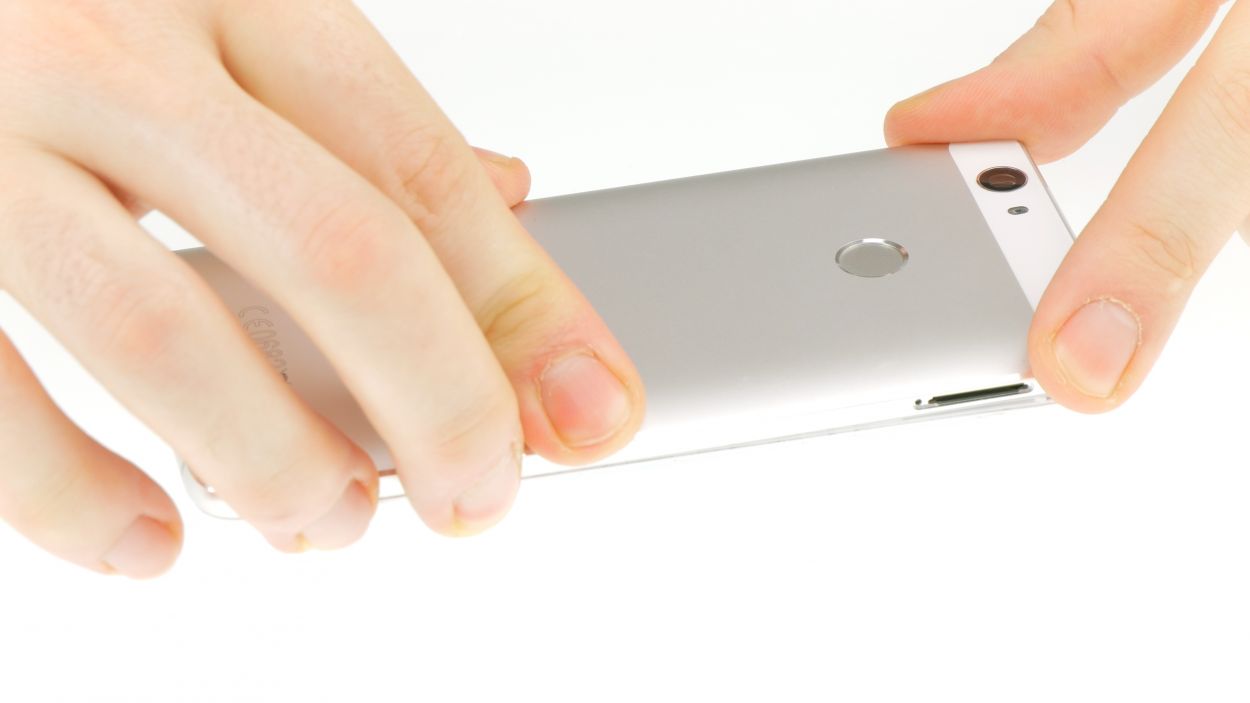
Step 4
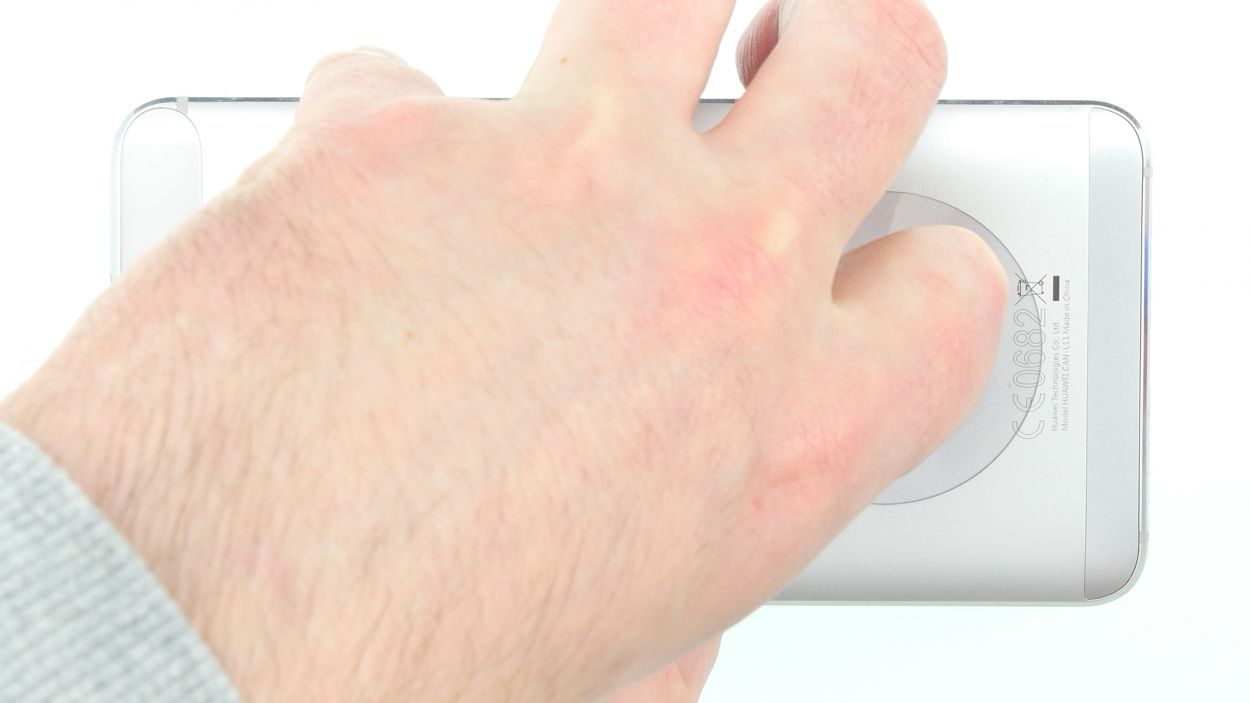
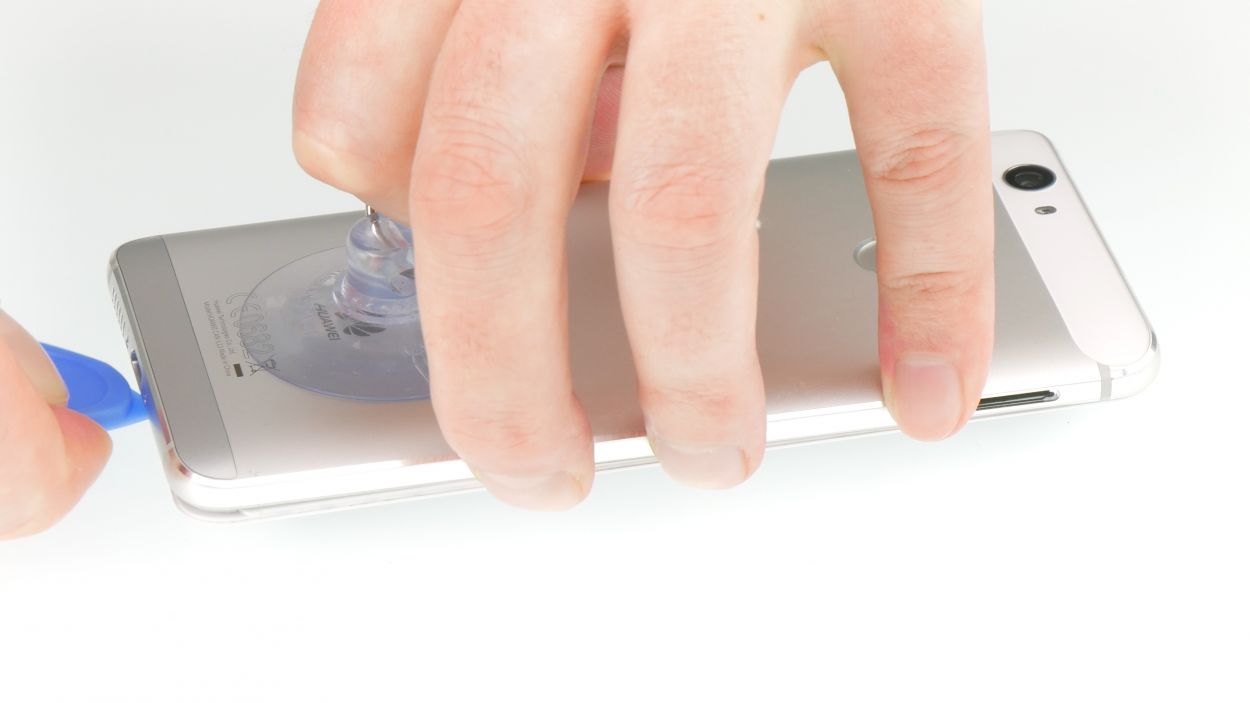

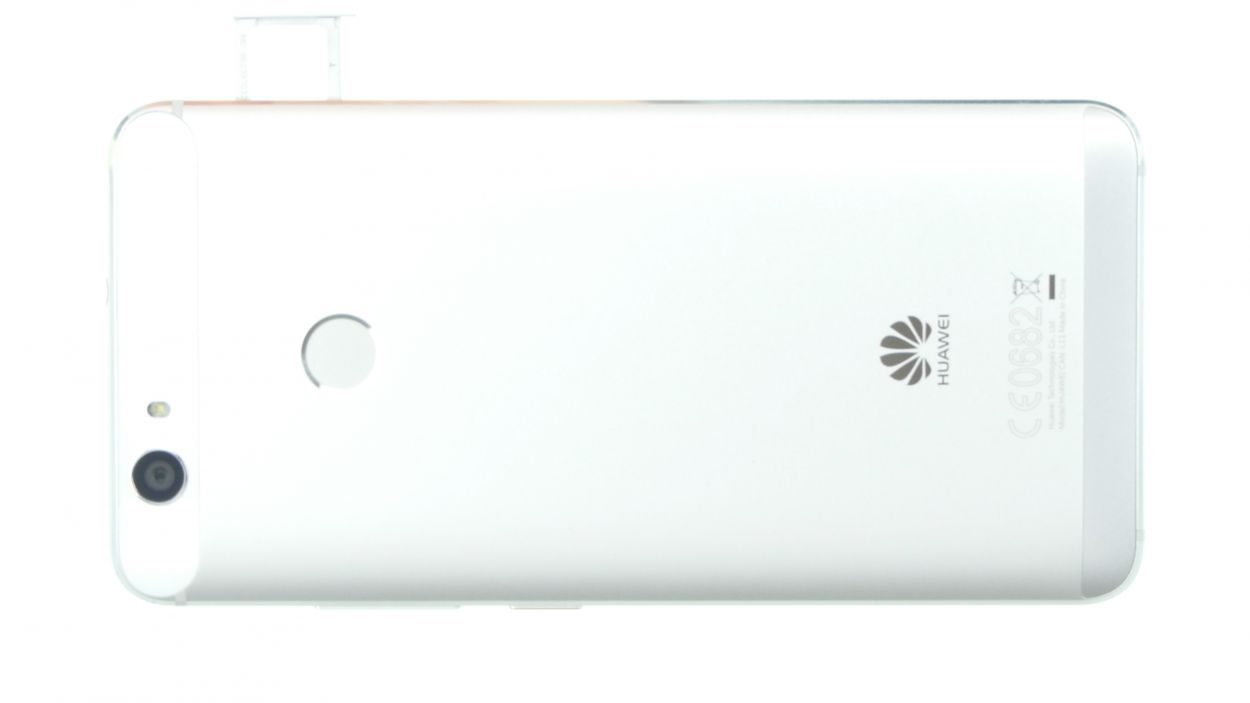
– Position the suction cup low on the back cover, like right over the ‘Huawei’ logo. Let’s get that cover popped off!
– Give that suction cup a good pull while you use the pick to gently nudge the display down against the table. Once you spot that glorious gap forming between the display and the back cover, slide the pick in carefully.
– Slide your pick along the edges to free up the back cover from the sides, all the while keeping a gentle pull on the suction cup to maintain progress.
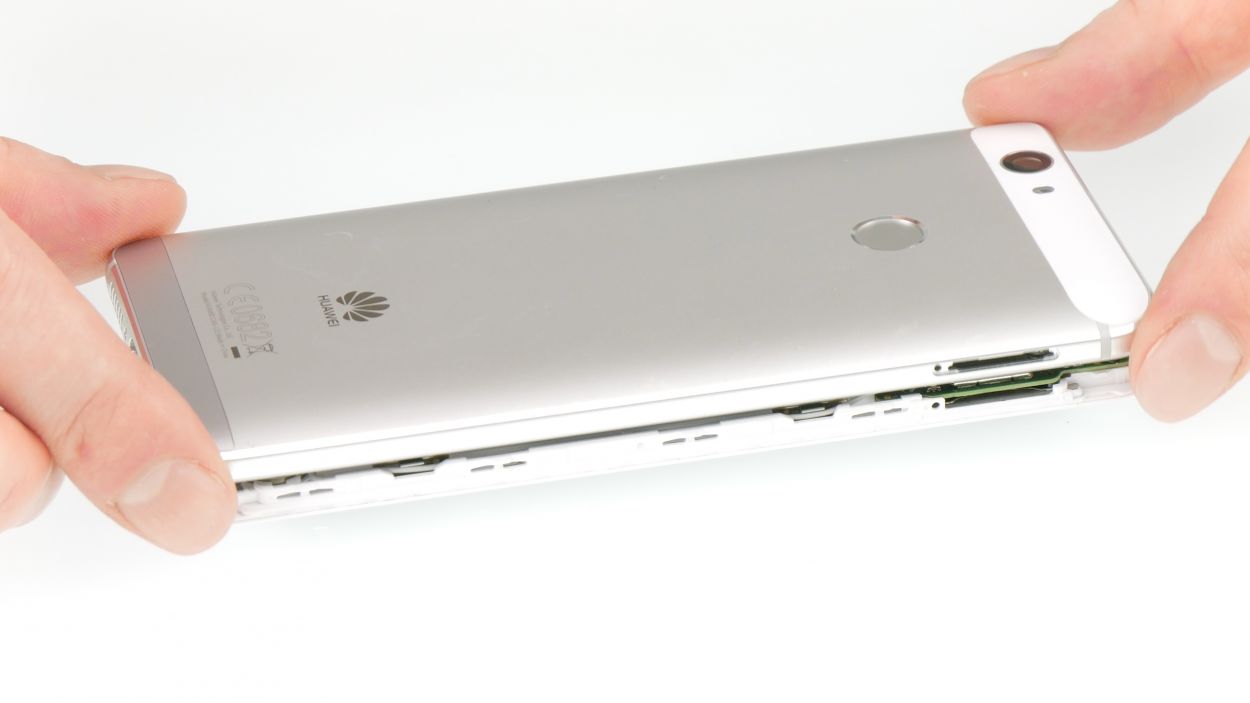
– Now, let’s gently lift that back cover! Open the device slowly at the upper edge like you’re flipping the pages of a good book. Ta-da! You should now be looking at the fingerprint sensor flex cable.
Hey there, champ! That fingerprint sensor’s chillin’ on the back cover, linked to the motherboard with a little flex cable. Gently remove the display – you don’t want to accidentally give that cable or board a boo-boo! If you need a hand, you can always schedule a repair.
Take it easy during this step. Your attention to detail is key here, so be sure to proceed with care. If you need help, you can always schedule a repair.
Step 5
1 × Phillips
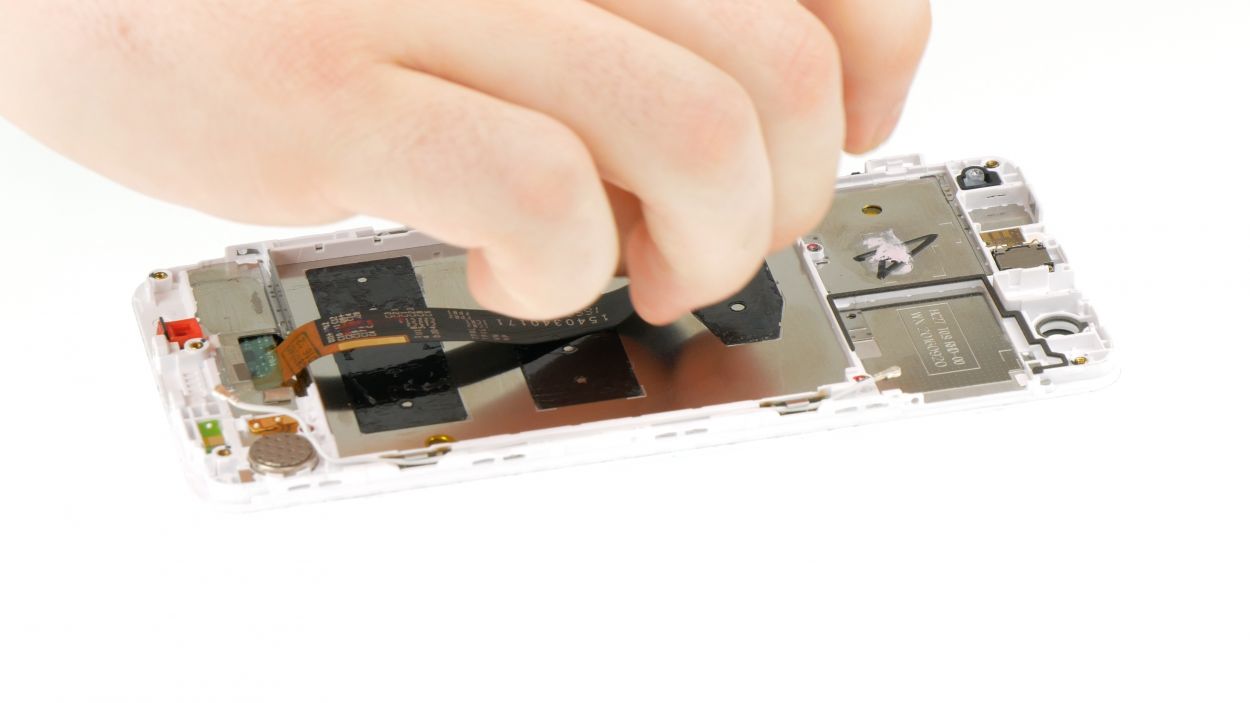
– Hey there, before we dive in, you’ll notice a little round sticker hiding the screw that secures the plate over the display connector. Go ahead and peel that sticker off with care.
– Now that the sticker is gone, unscrew the screw and gently lift off the plate. You’ll find that the connector is conveniently attached to the cover and comes along for the ride!
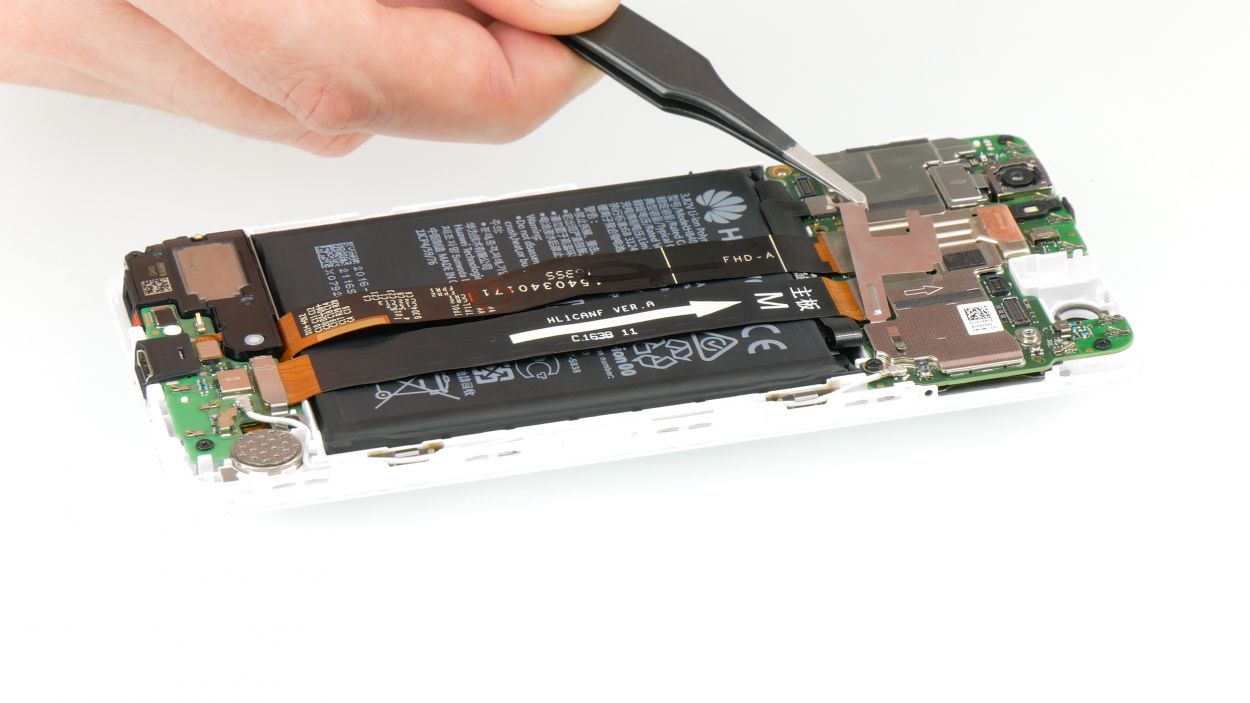
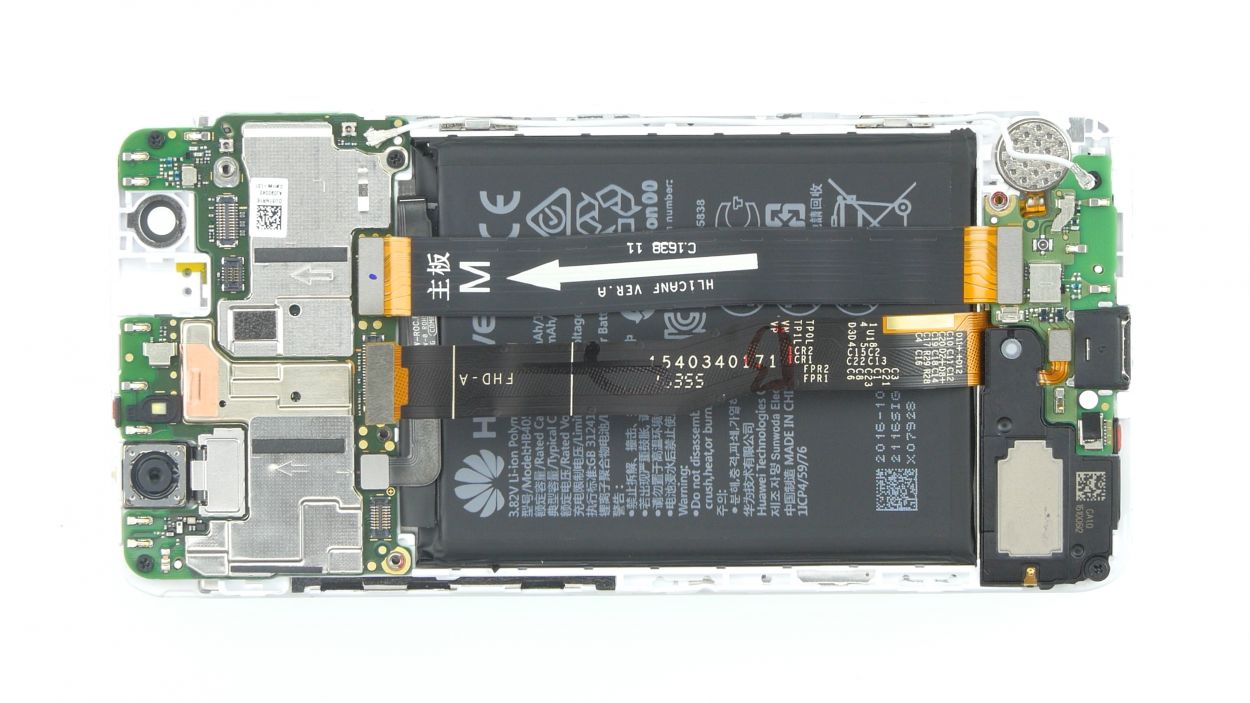
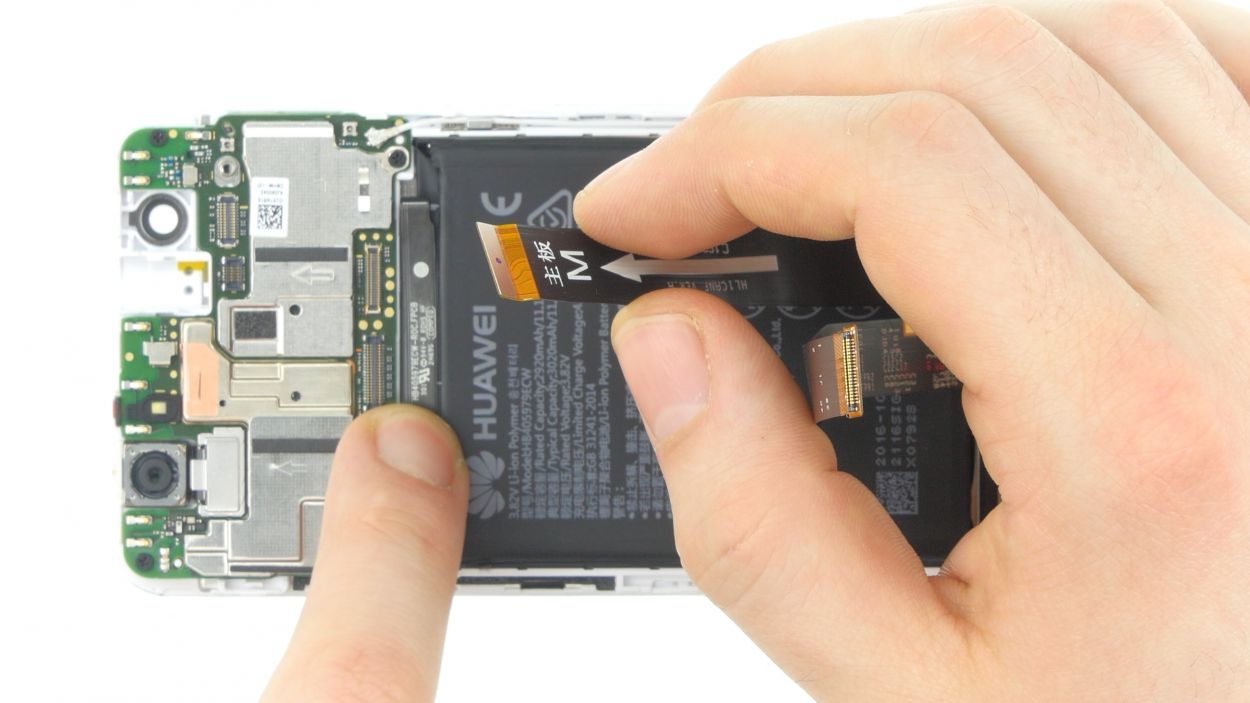
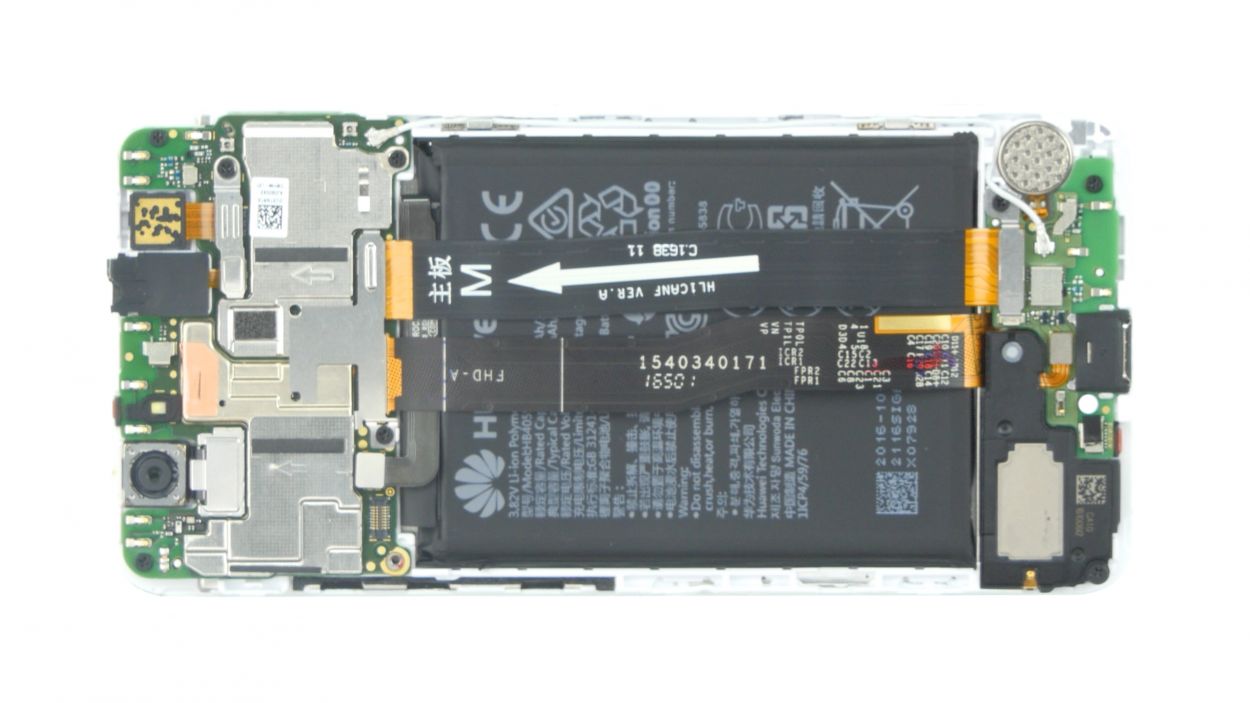
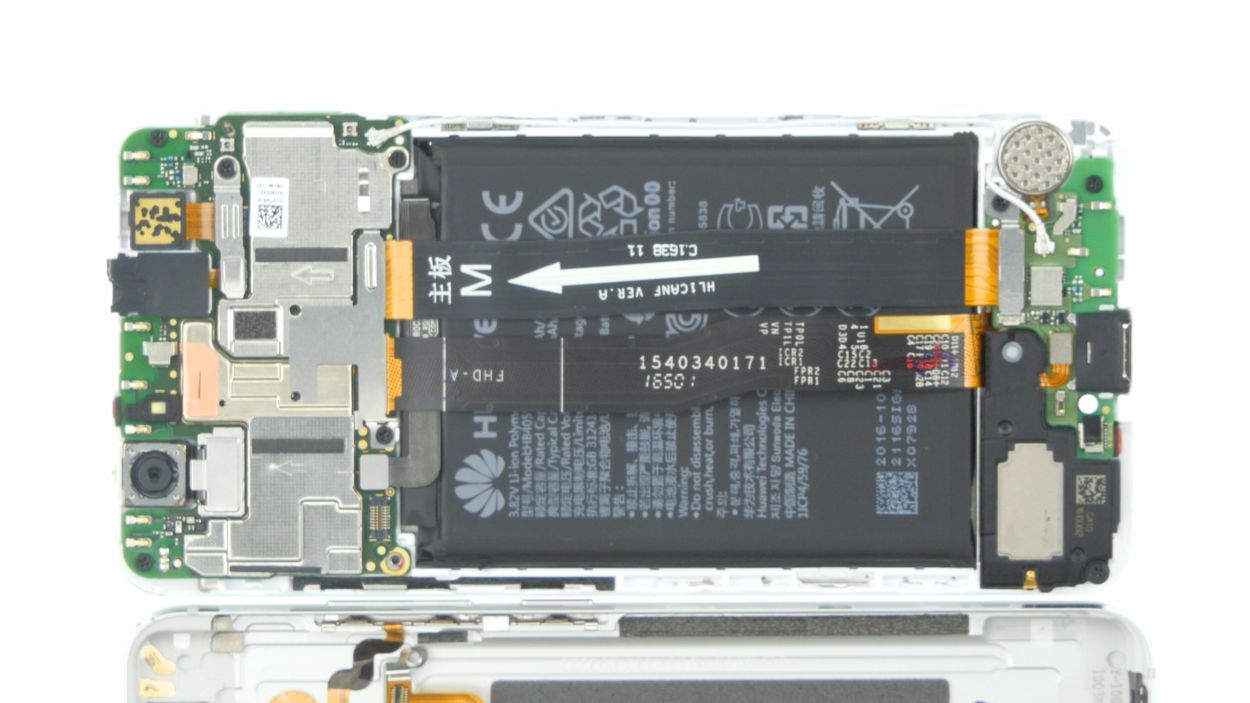
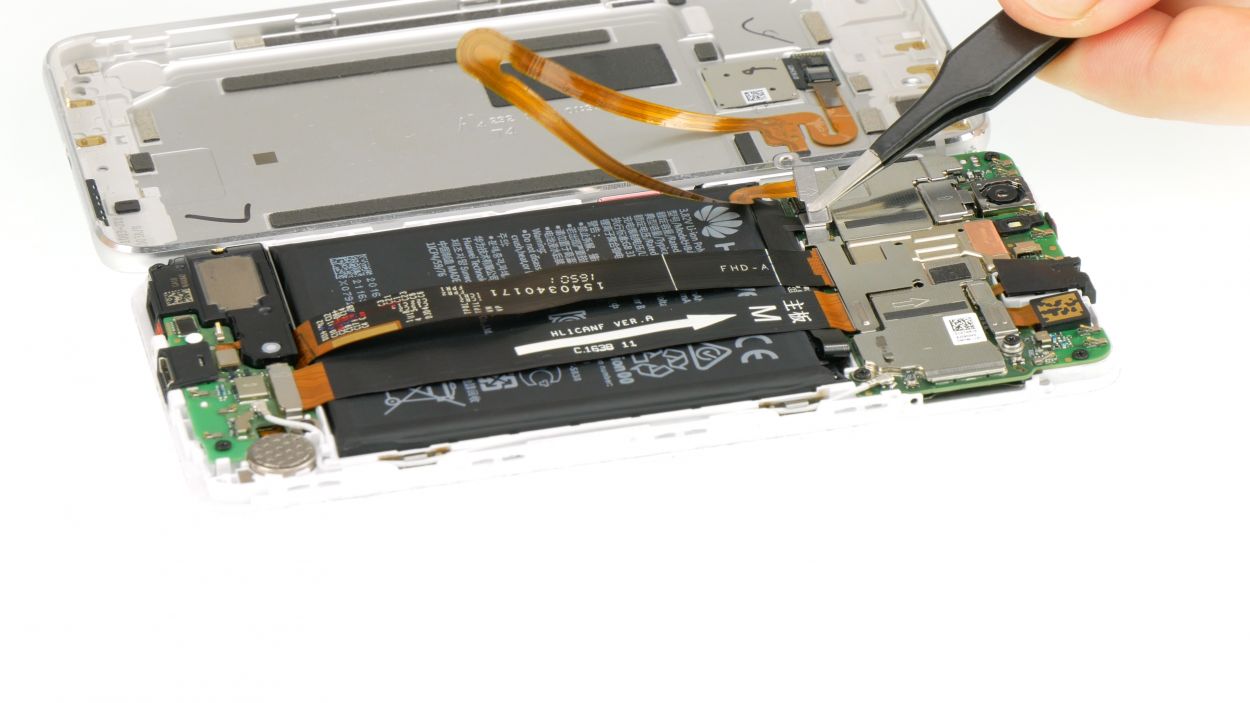
Step 6
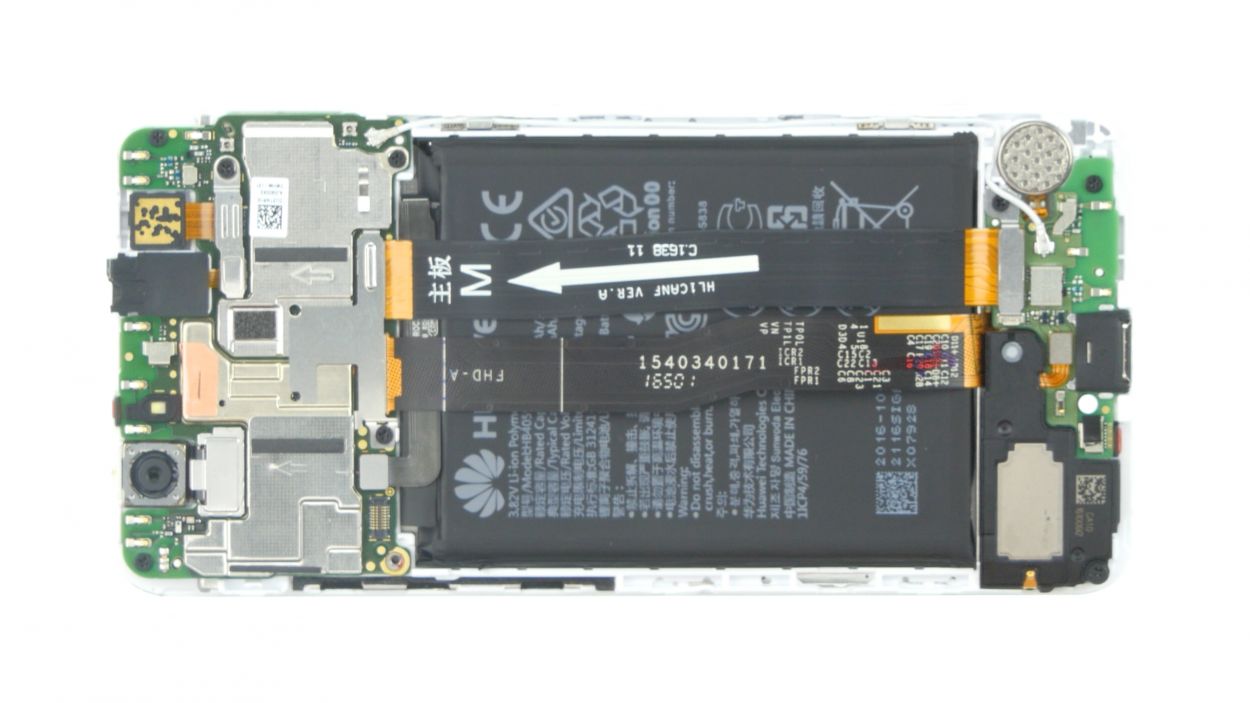
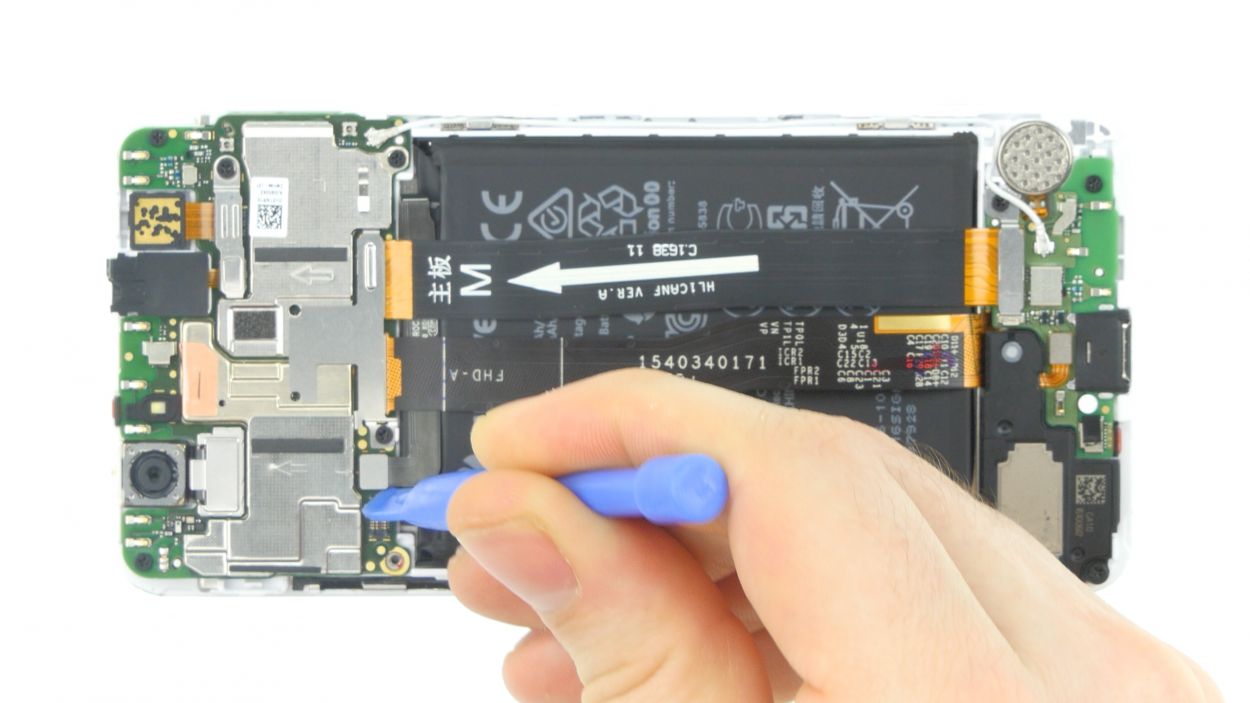
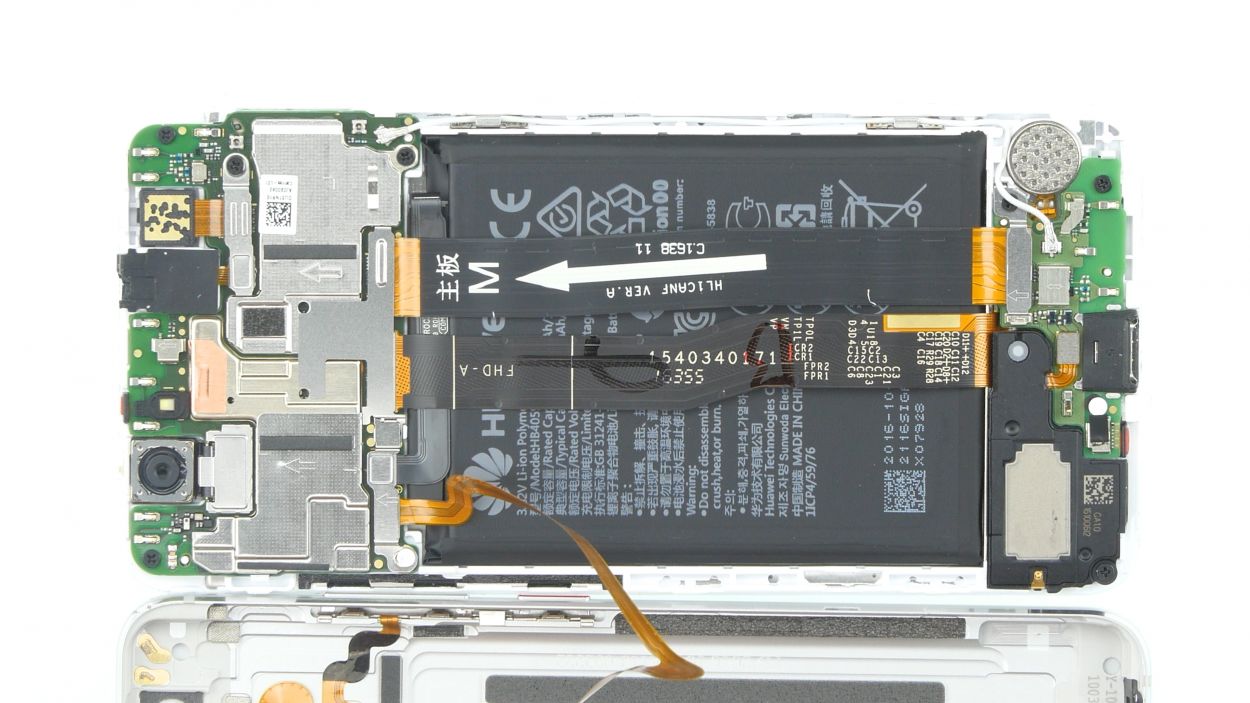
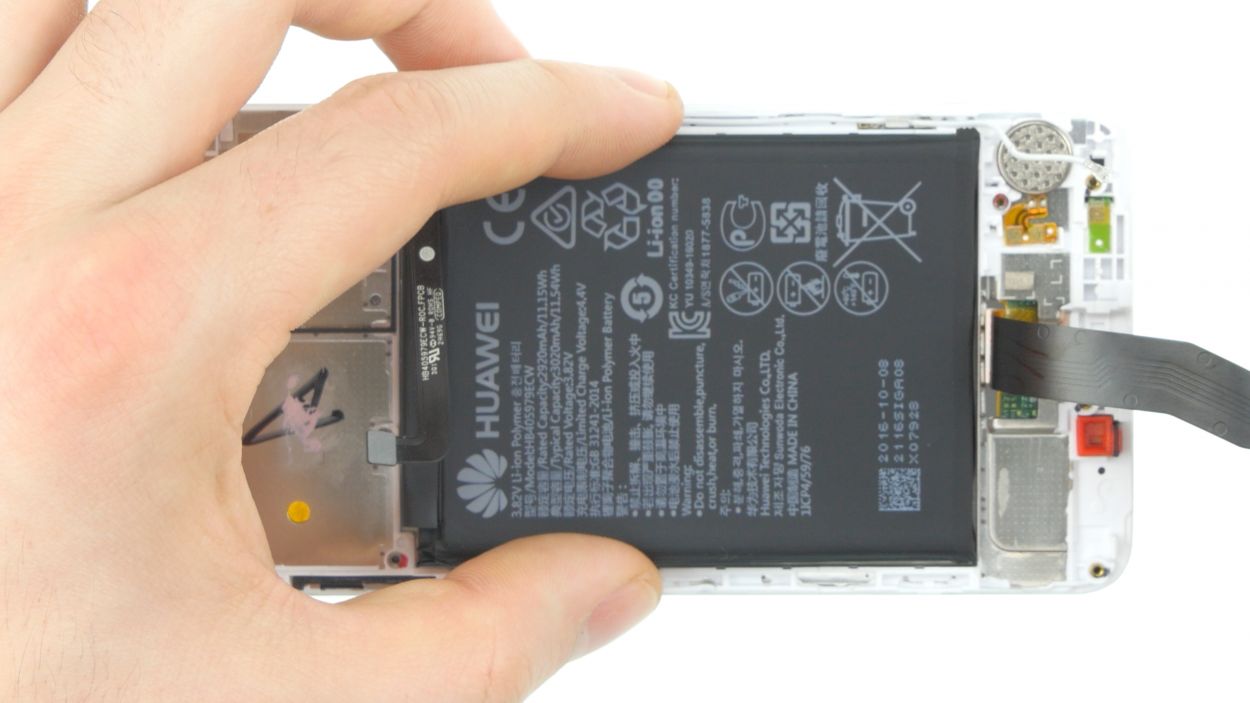
Battery Connector
– Using a flat tool, gently disconnect the connector of the black flex cable that’s giving life to your battery. You’ve got this!
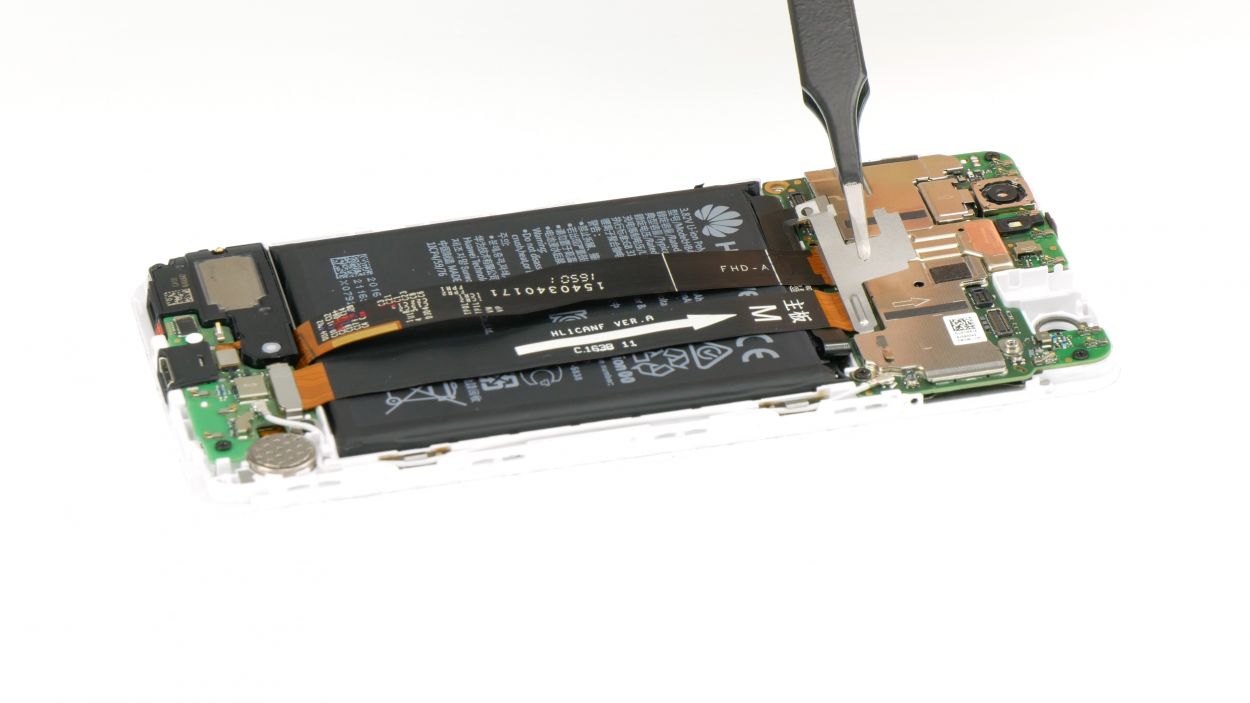
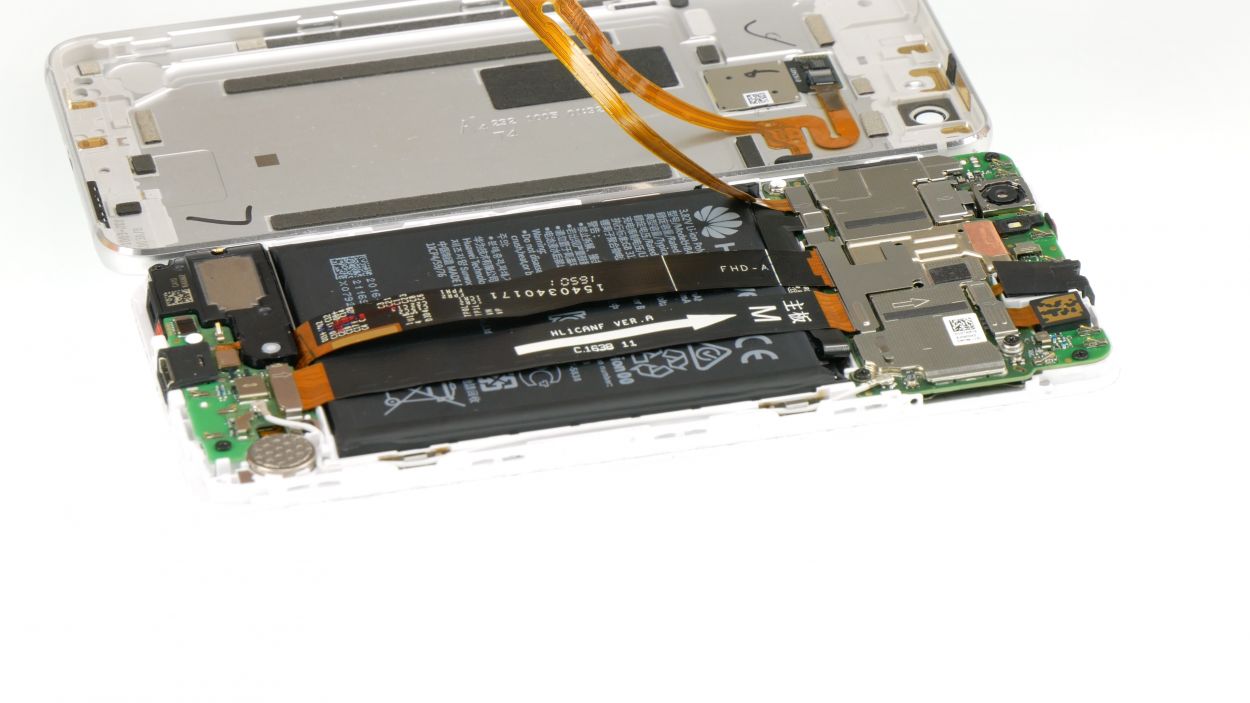
Step 7
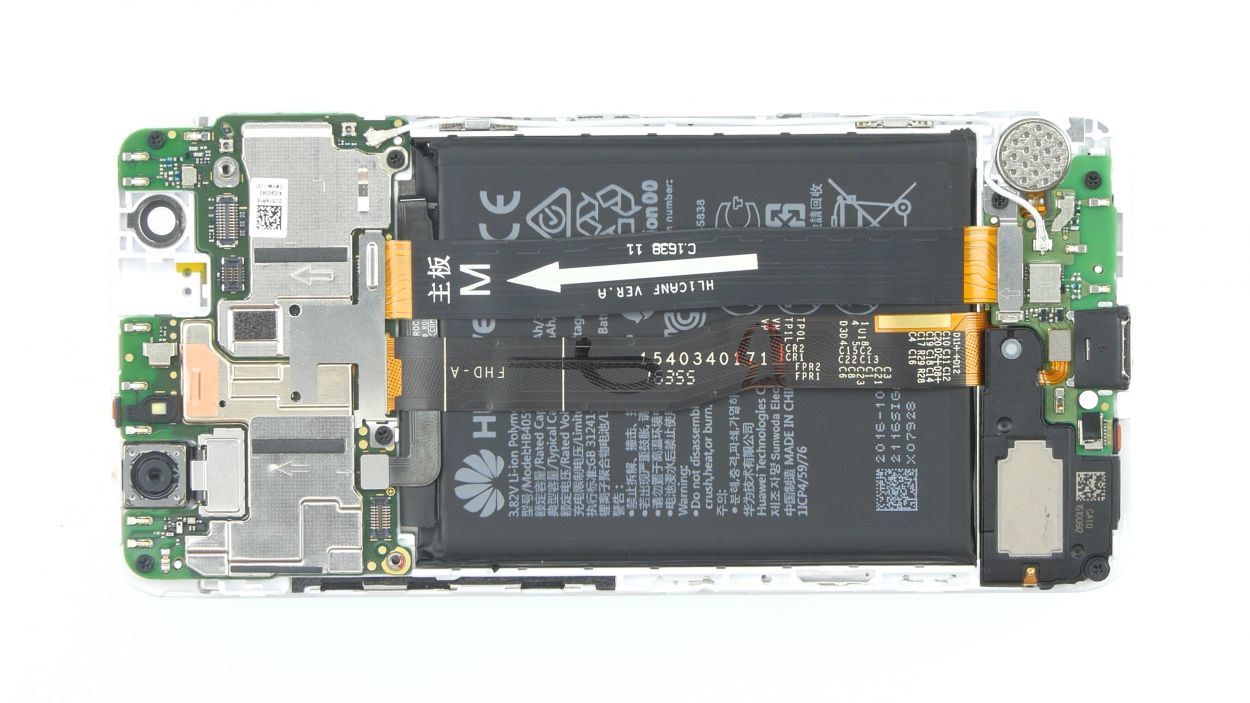
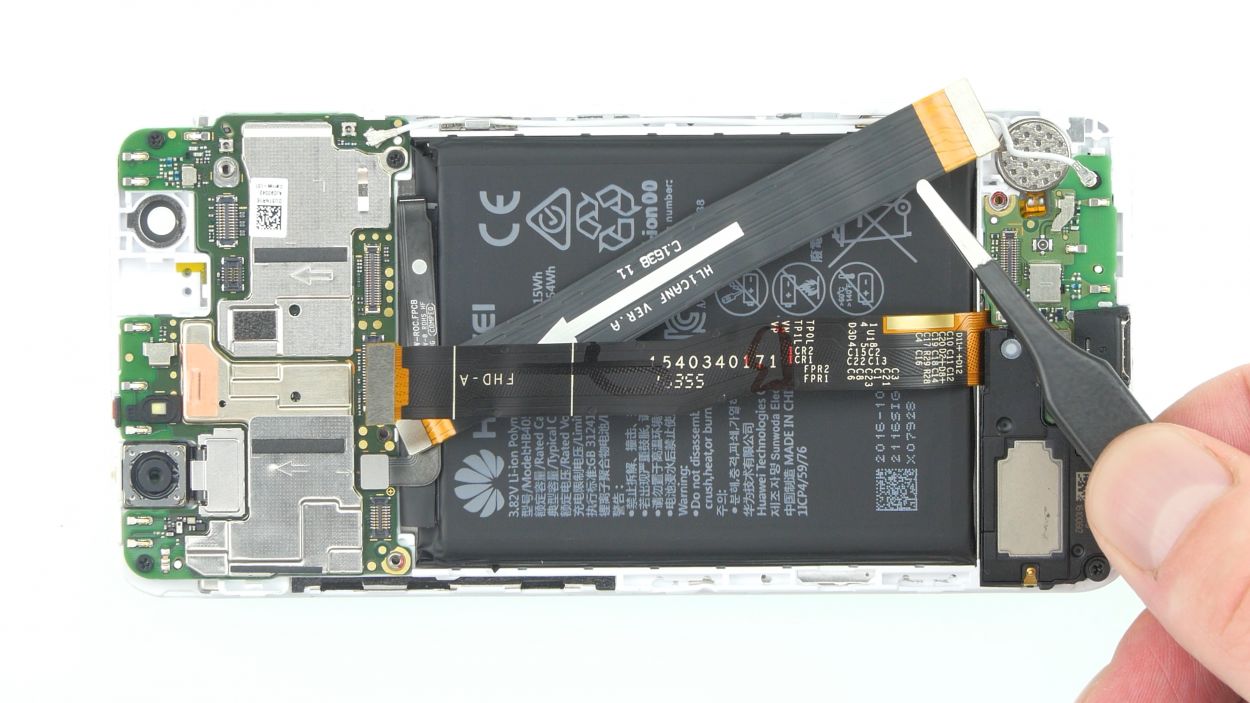
1 × Phillips
Flex cable 1
Flex cable 2
Antenna cable
1 × Phillips
Flex cable 3
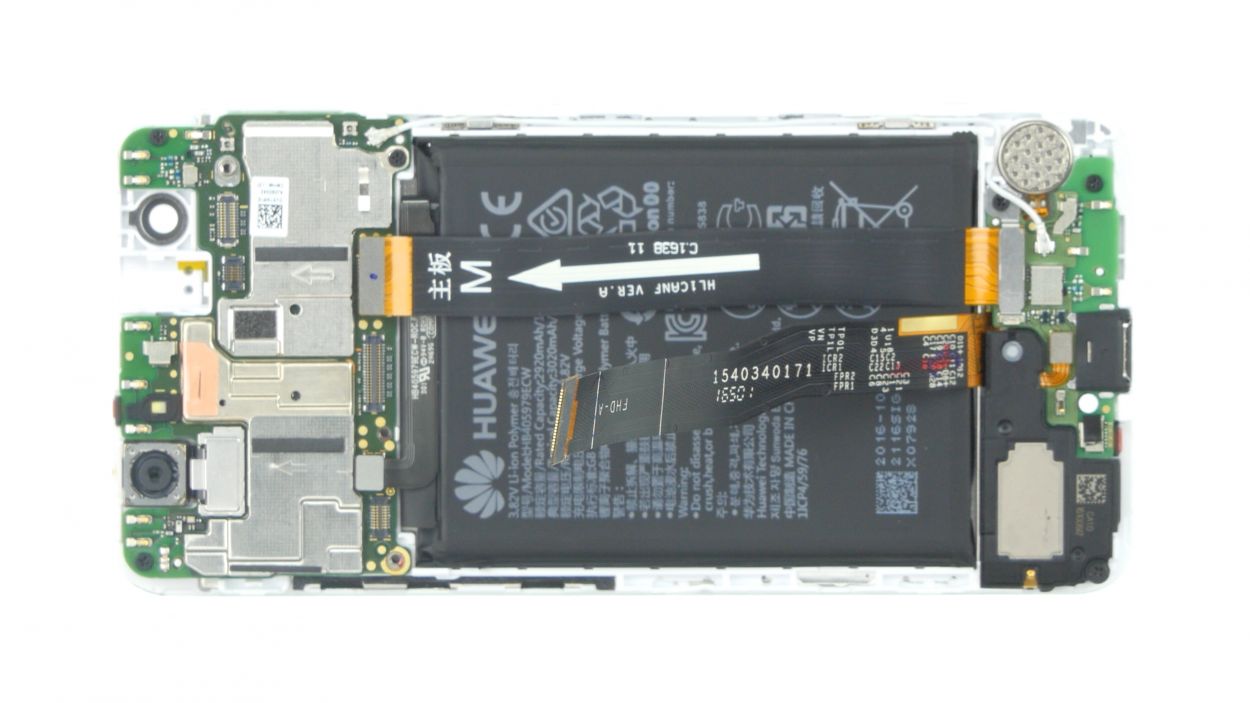
– First things first, grab your trusty screwdriver and unscrew the plate that’s keeping those two large flex cables under wraps. Once that’s done, gently lift off the plate.
– Next up, take your spudger and carefully disconnect the two flex cable connectors from the motherboard. You’ve got this!
– Now it’s time to tackle the antenna cable. Disconnect its connector on the lower circuit board, and just like that, you’ll have access to the screw for the lower plate that covers the connector of the large flex cable marked with an arrow.
– Unscrew that lower plate and set it aside. You’re making great progress!
– Finally, use your spudger again to disconnect the connector and remove the flex cable. Look at you go!
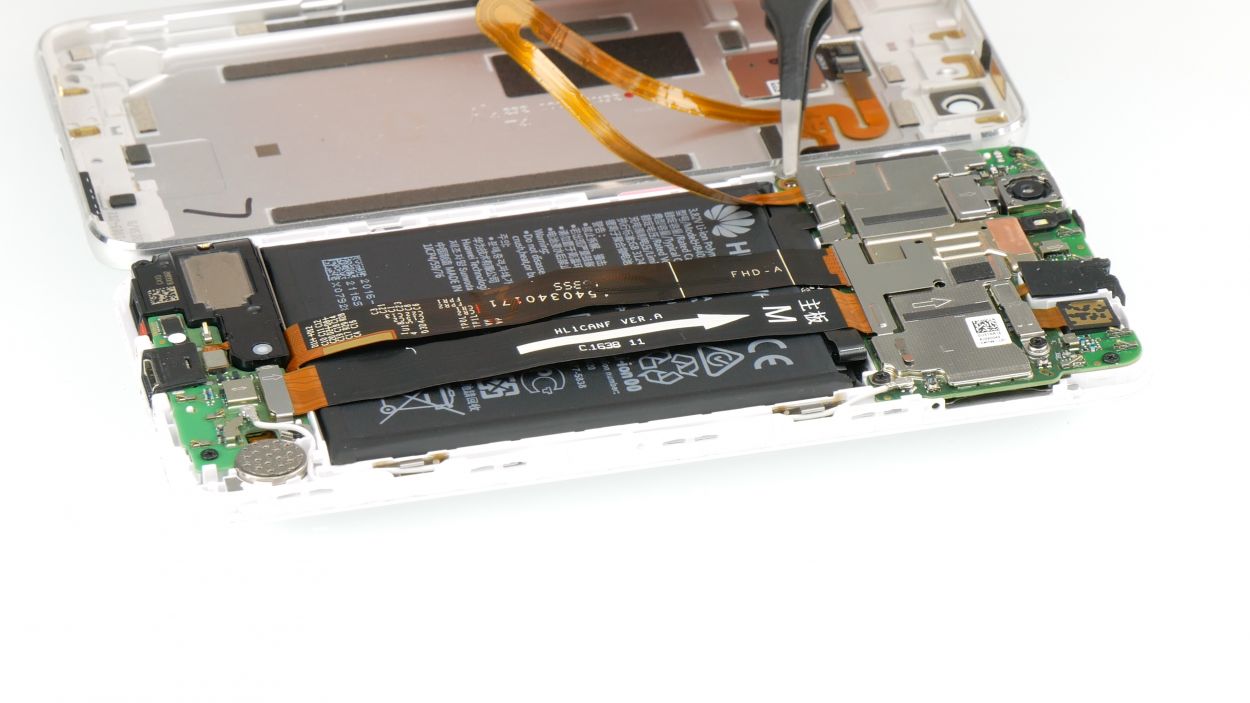
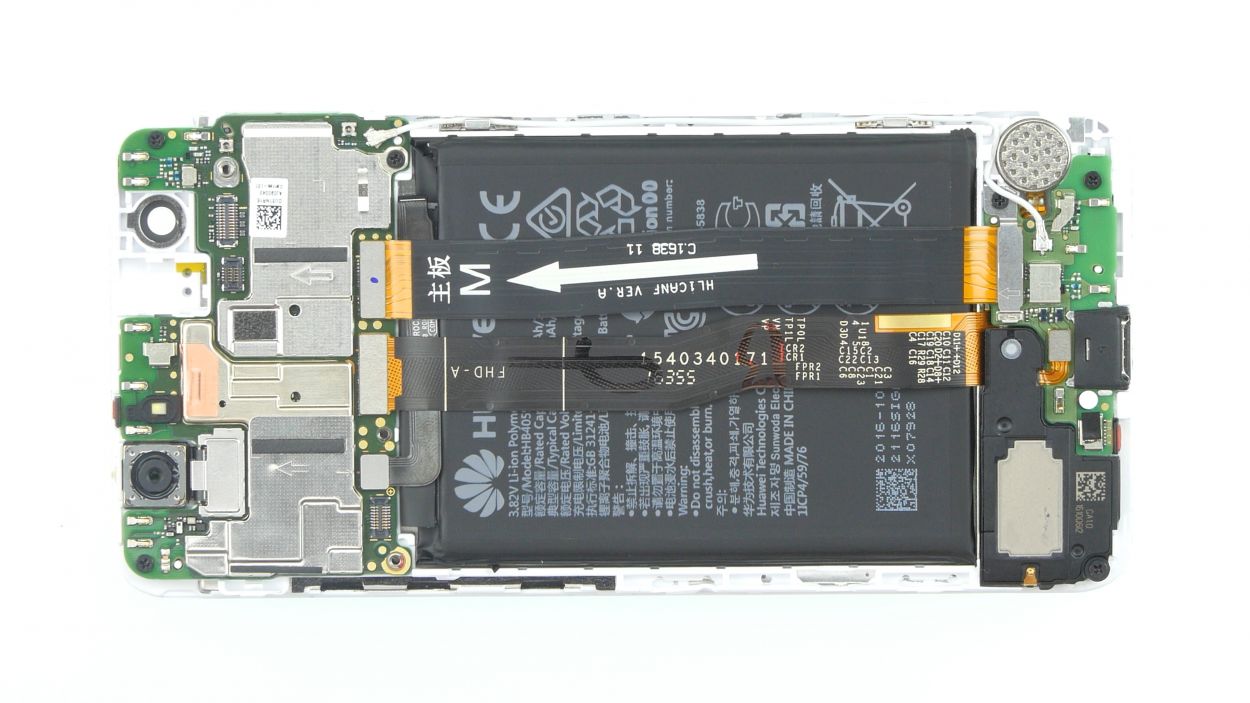
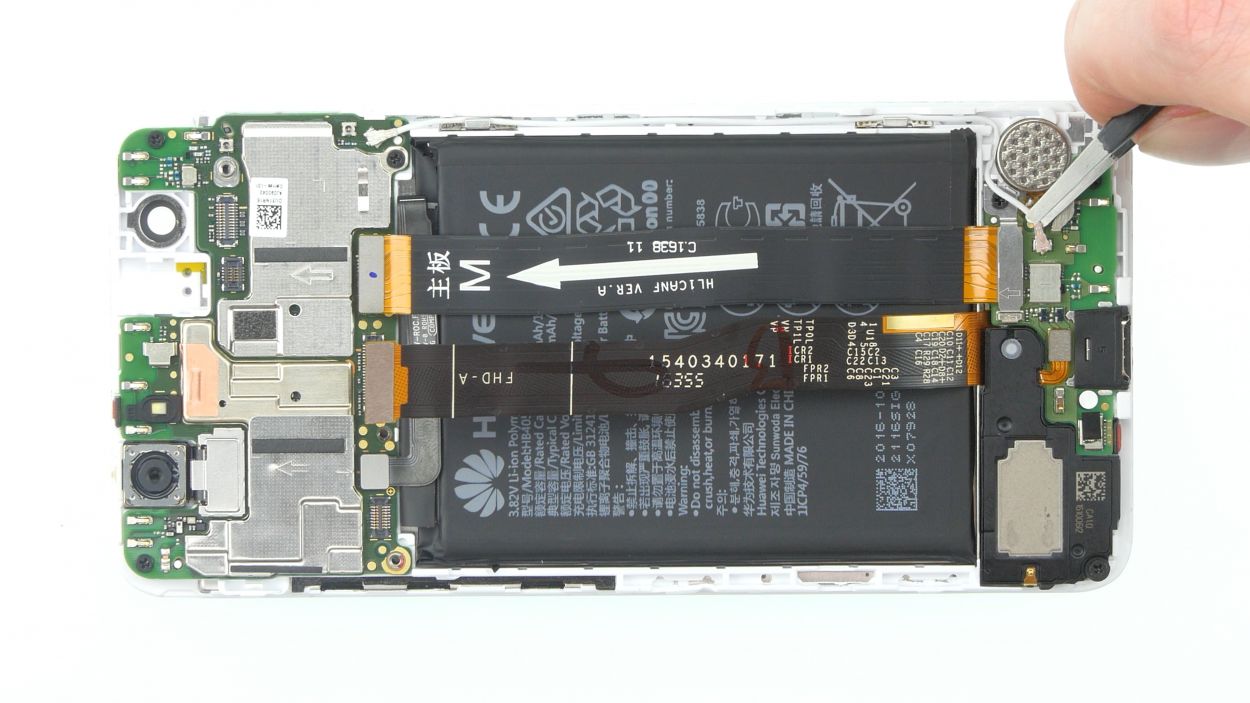
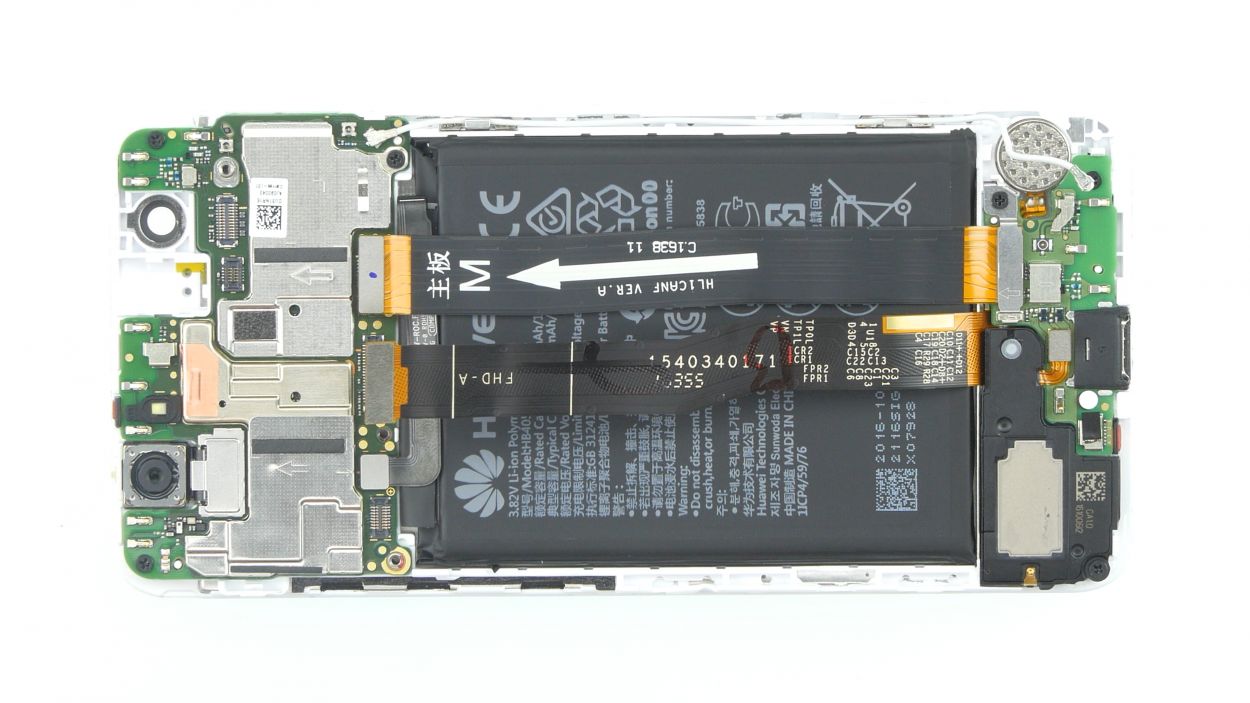
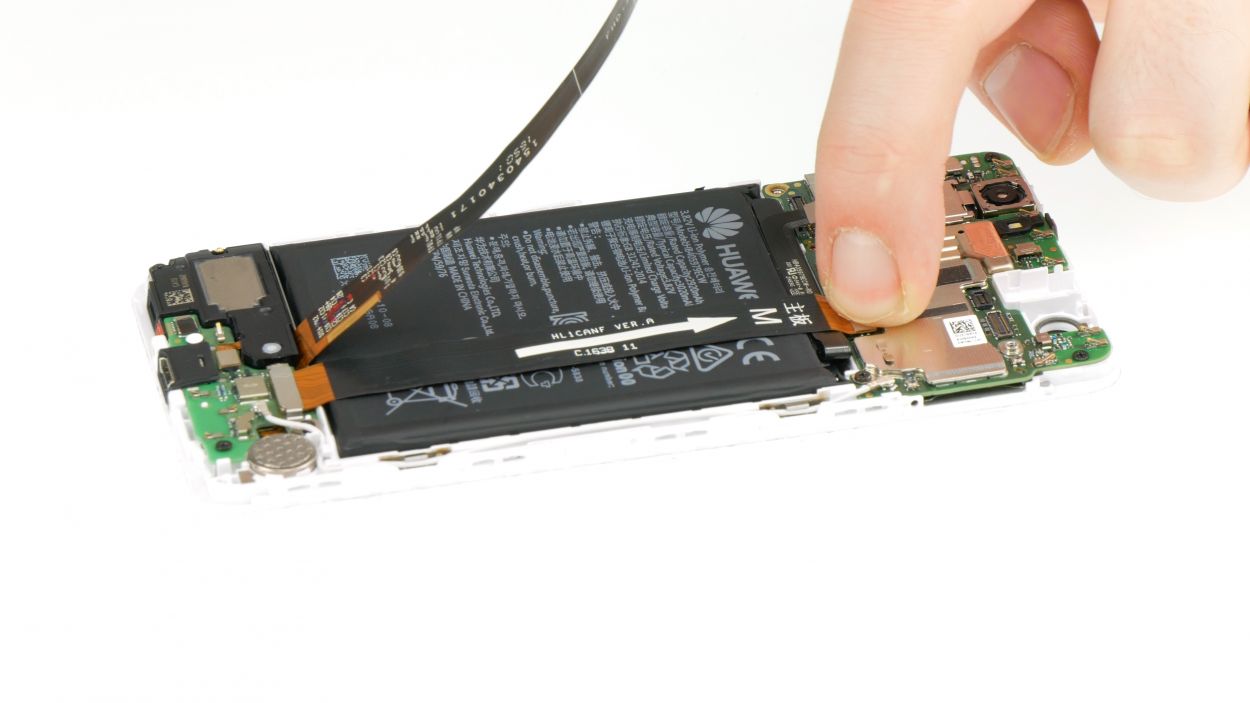
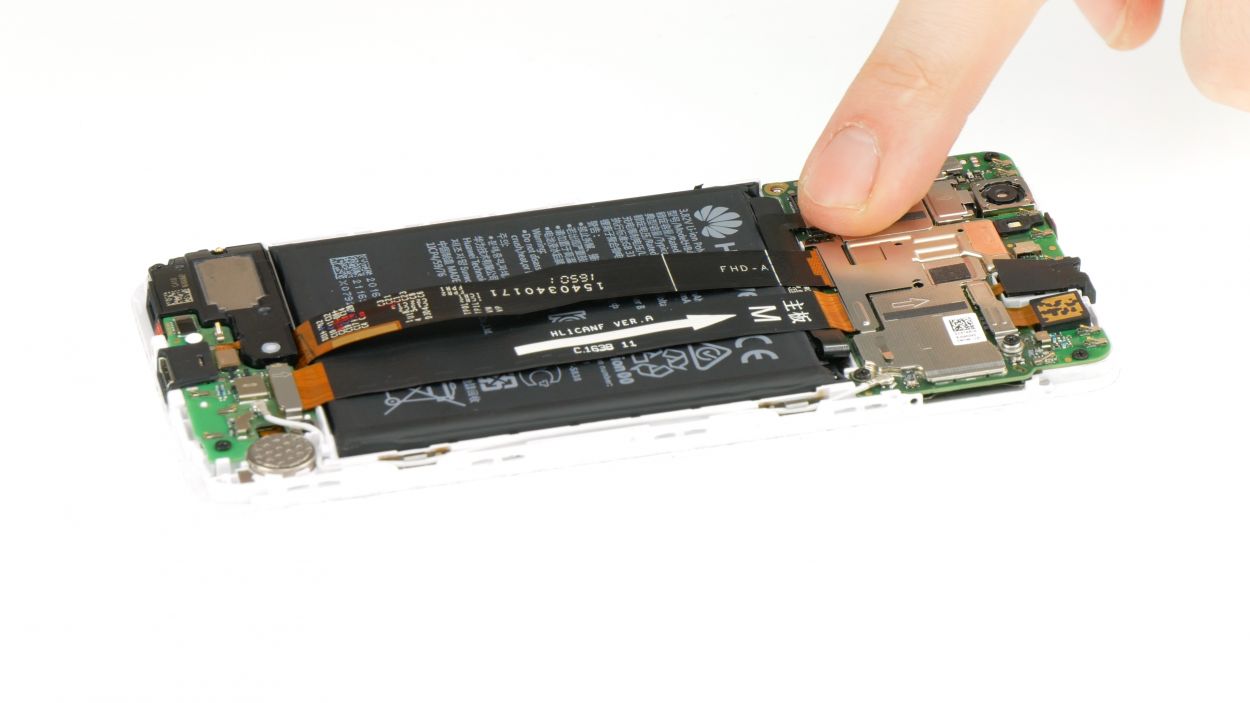
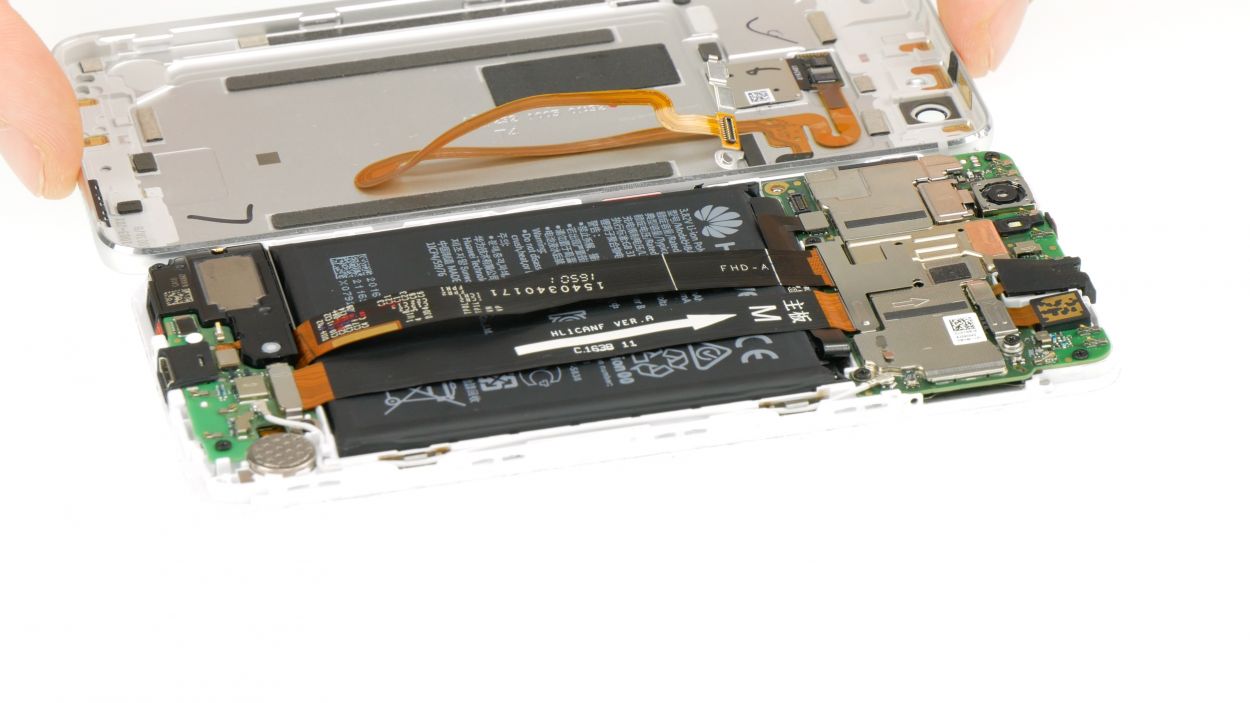
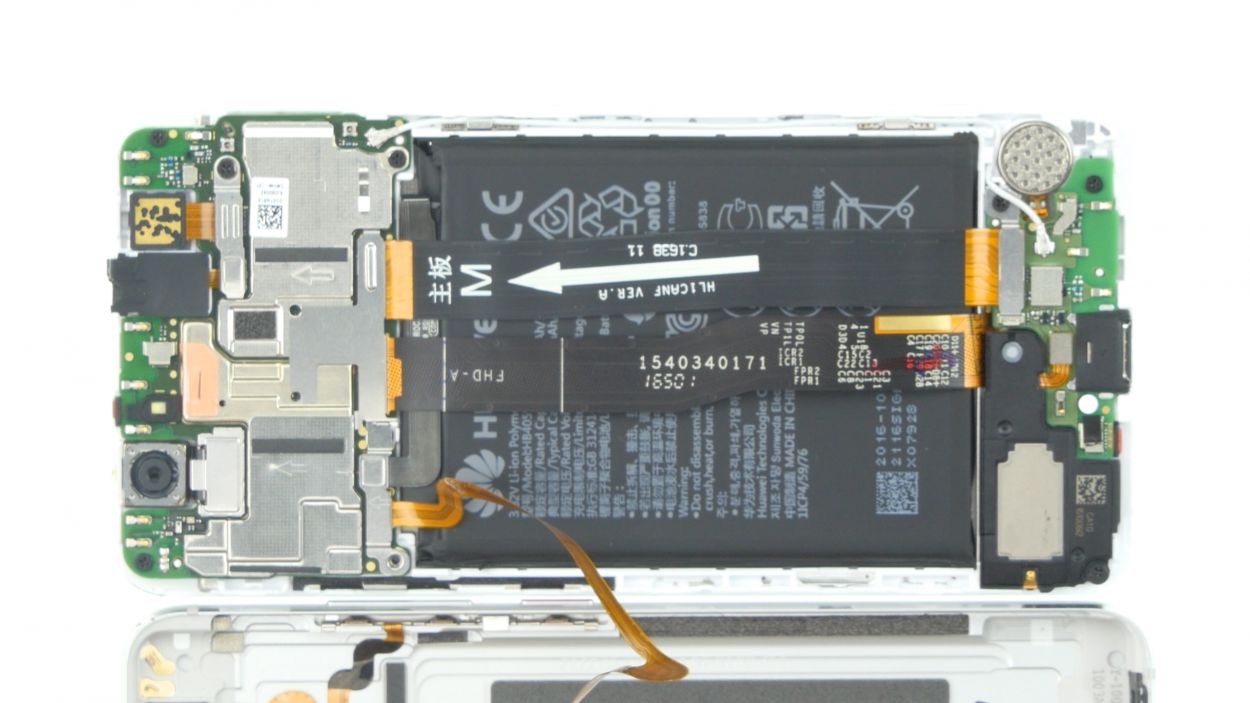
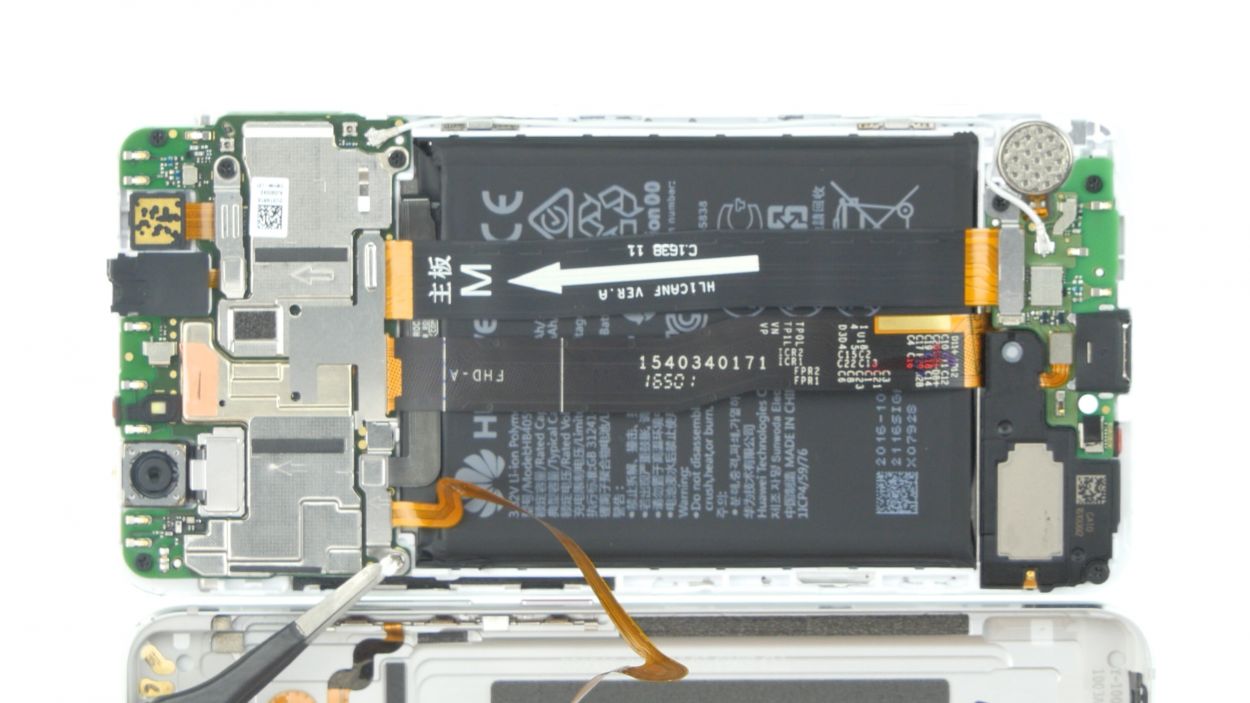
Step 8
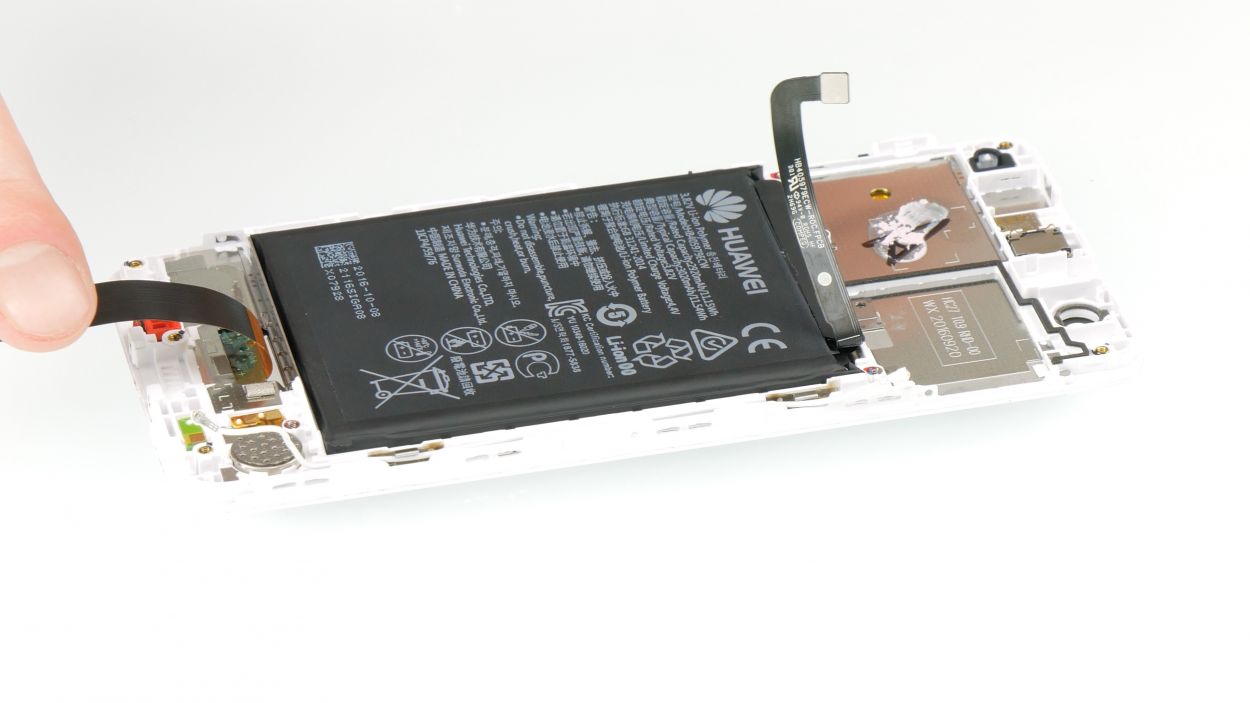

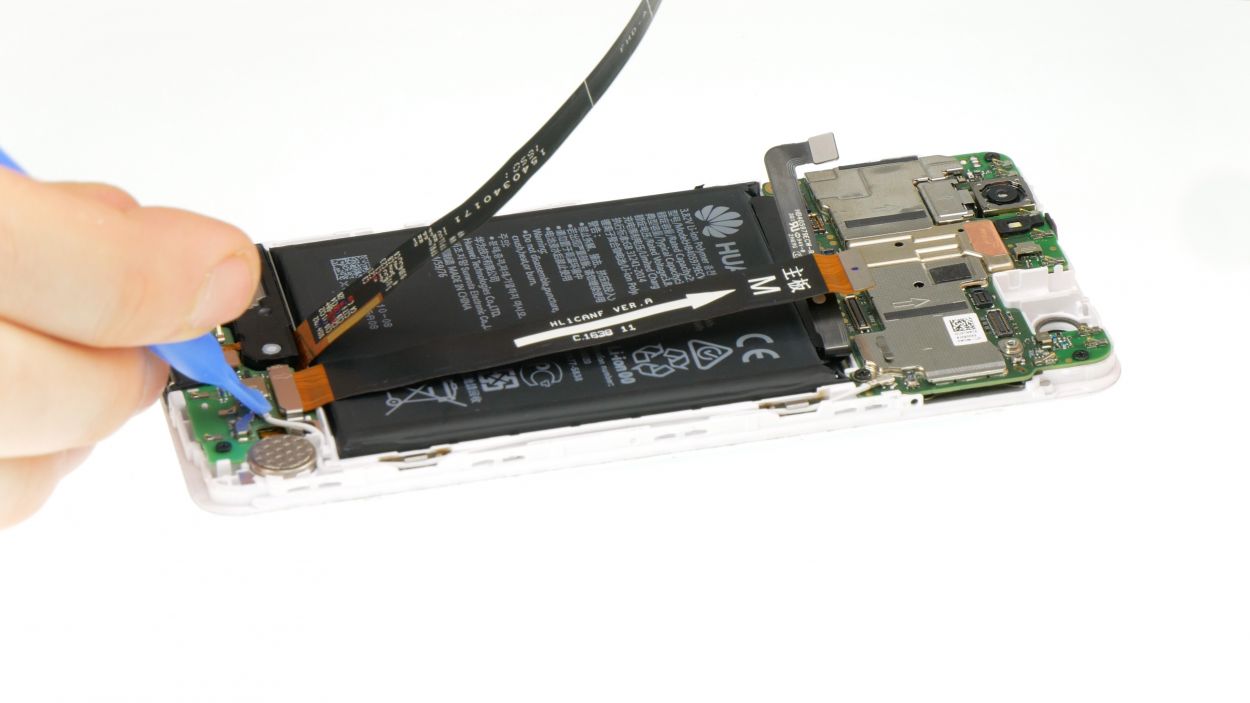
– Time to get this battery out! Use your finger to gently bend the remaining flex cable out of the way. Now, grab your trusty heat gun and carefully warm up the glue underneath the battery. This will help loosen the adhesive and make it easier to remove.
– Take your broad spudger and carefully pry the battery out from all sides. Don’t force it, just gently rock it back and forth until it comes out easily. If you need help, you can always schedule a repair with the pros at Salvation Repair.
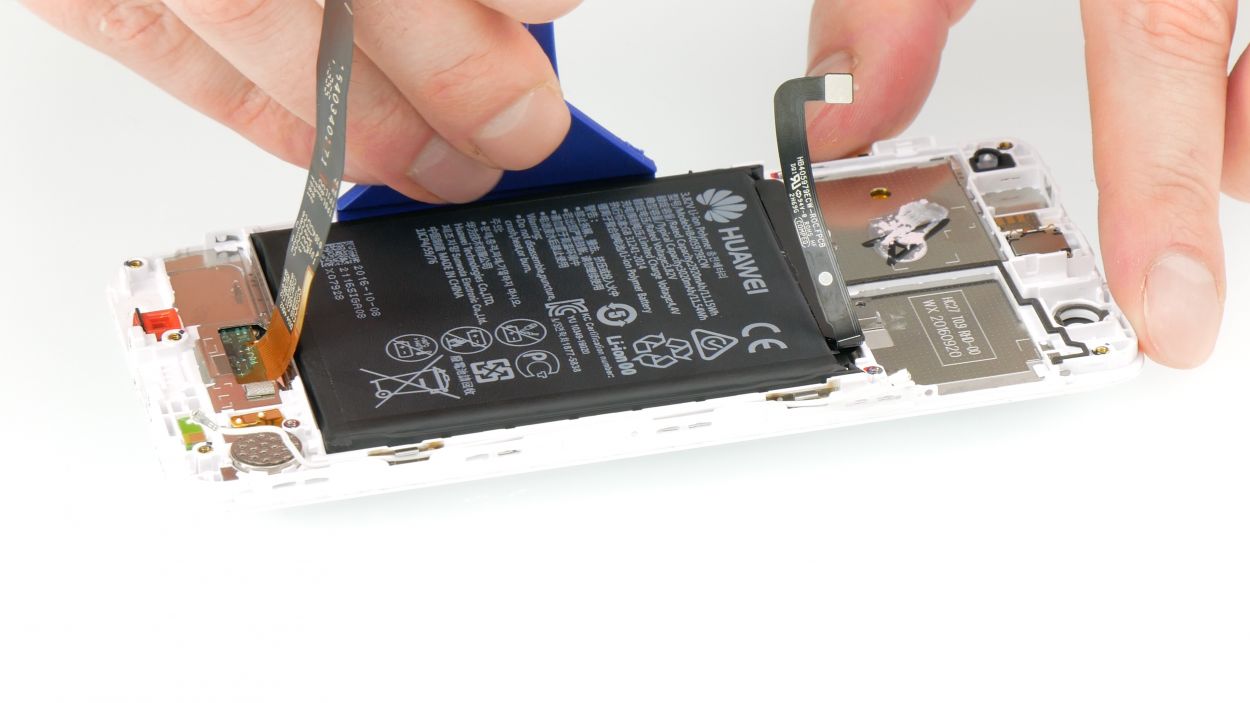
Step 9
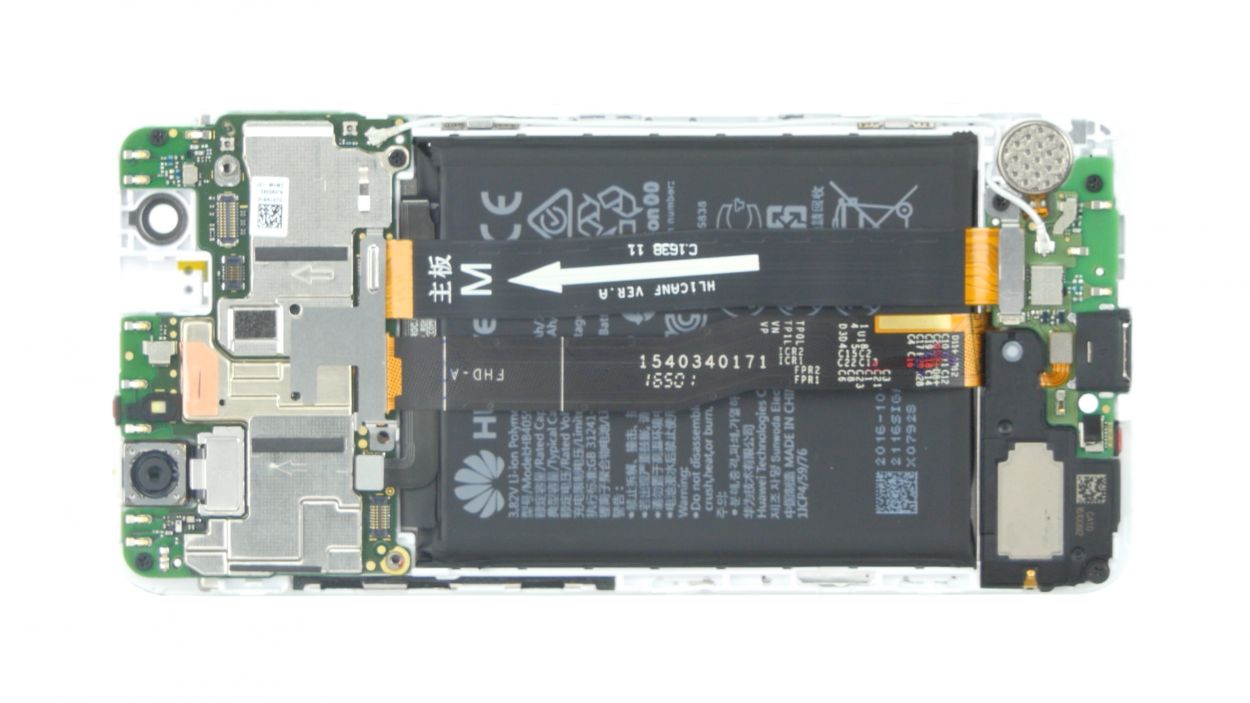
Hey! Don’t forget to transfer any tiny parts (like seals!) from your old screen to the new one. And peel off those protective films – they’re hiding your awesome new display! If you need a hand, you can always schedule a repair.
– Gently lift the flex cable to make way for the battery as you slide it into the shiny new display.
– Give the battery a little press down onto those sticky adhesive+strips+Huawei+Nova&crid=1TJIMMAJSUJUZ&sprefix=repair+tools%2Caps%2C165&linkCode=ll2&tag=salvationrepa-20&linkId=c486487cf454ce8edd6f5beefab4110f&language=en_US&ref_=as_li_ss_tl’>adhesive strips to make sure it’s snug as a bug.
Step 10


Antenna cable
Flex cable 1
Flex cable 2
1 × Phillips
Make sure all your connectors are snug and cozy before you give them a gentle press. If they aren’t settled in just right, they could end up a bit worse for wear!
– First things first! Place the big ol’ flex cable with the arrow right between those two circuit boards.
– Now, let’s connect the connector to the bottom circuit board. Make sure the arrow is pointing up towards the motherboard – it’s like a little signal to keep things on track!
– Next, grab that bracket plate and place it over the connector. Lock it in place, and then give it a little TLC by fastening it with a Phillips screw.
– It’s antenna time! Connect the antenna cable to the lower circuit board, but be sure to wrap it around the vibration motor first. Then, aim that plug straight over its socket and press down with your spudger until you hear it snap into place. (If the other end of the antenna cable needs some love, go ahead and repeat this step!)
– Now, gently press down the black battery flex cable to make it stick like a champ. But hold your horses, don’t connect the battery just yet!
– Connect that hefty flex cable with the arrow to the motherboard like a pro.
– And while you’re at it, connect the middle flex cable to the motherboard too.
– Finally, place that bracket plate over the connectors of the two large flex cables, latch it on, and secure it tightly with the Phillips screw. You’re almost there!
Step 12
Finger print sensor connector
1 × Phillips
– Alright, let’s connect that display! The connector is nestled beneath a metal plate, so let’s give it a gentle nudge to latch it in place and press down to secure it.
– Now, grab that trusty Phillips screwdriver and fasten the metal plate with one screw. You’ve got this!
– If you happen to have a round moisture indicator sticker lying around, now’s the time to put it on the screw to keep things dry and show you’re a pro at handling repairs!
Step 13

– Start by lining up the back cover at the top edge, right by the camera, and gently place it over the display. You’ve got this!
– Now give it a gentle press all around the back cover until you hear that satisfying snap. It’s like giving your device a hug!
Step 14
– Insert the SIM tray and any cards back into your device. Make sure the tray is positioned properly.
Step 15
2 × Pentalobe
Grab yourself a Pentalobe PL1 screwdriver—it’s the trusty tool that also lends a hand to iPhones. You’re going to do great!
– Tighten up those two pentalobe screws at the bottom of your device to keep that cover snug and secure!


