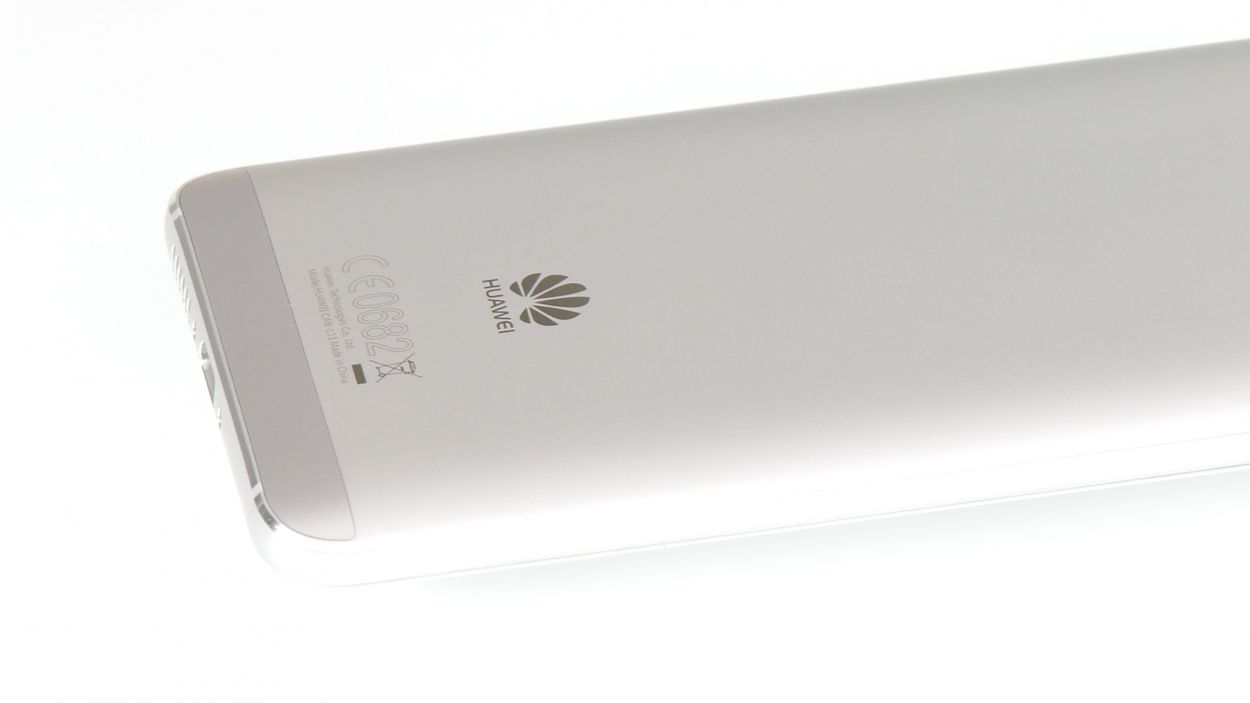
How to Replace the Back Cover of Huawei Nova – Step-by-Step Guide
Duration: 15 min.
Steps: 9 Steps
This guide will walk you through replacing your Huawei Nova’s back cover if it’s scratched, bent, or you’re just looking to switch up the color! Let’s make your phone look sharp again. If you need help, you can always schedule a repair.
Step 1
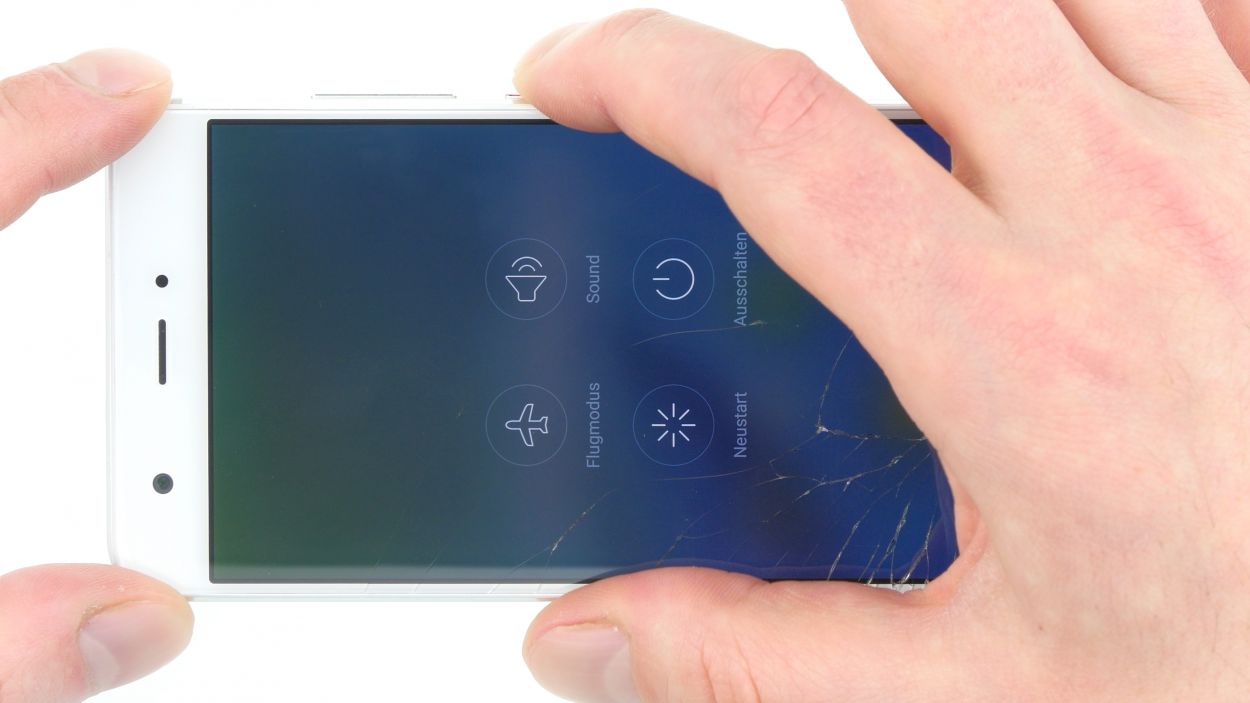

– Turn off your device, my friend! Just press and hold that power button until a menu pops up. Then, go ahead and select ‘Power off’, and give it another tap to confirm. Easy peasy!
Step 2
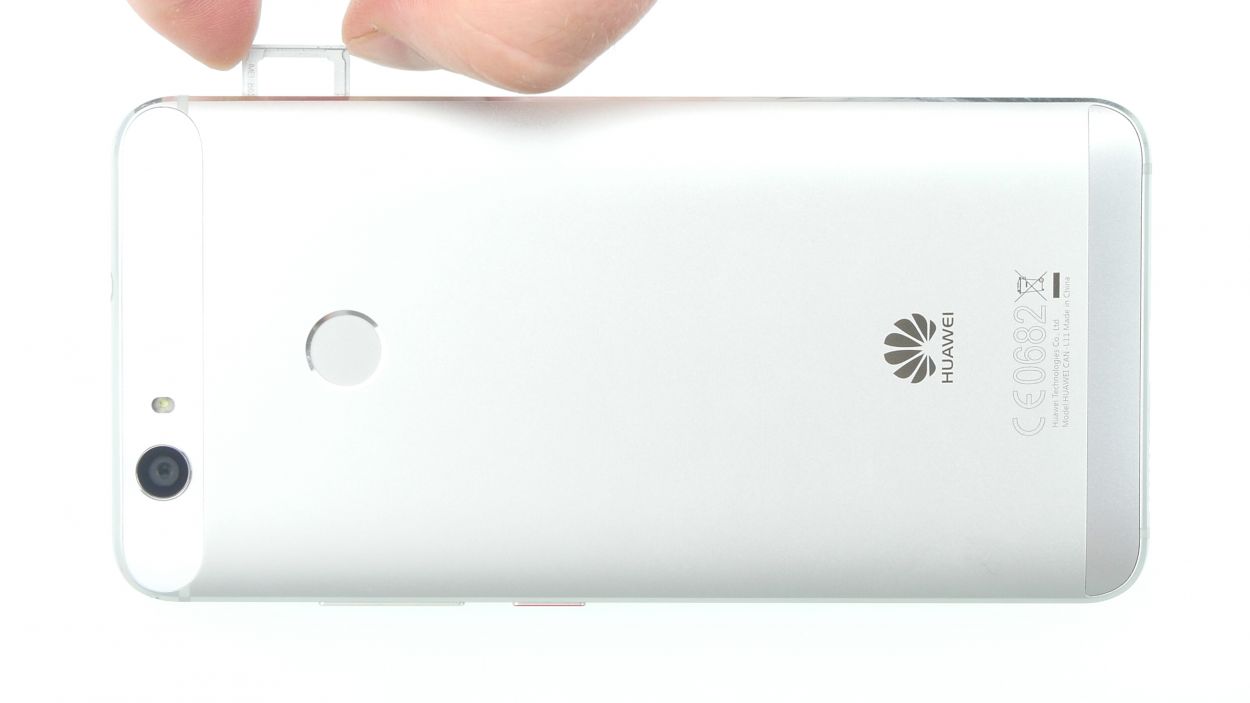
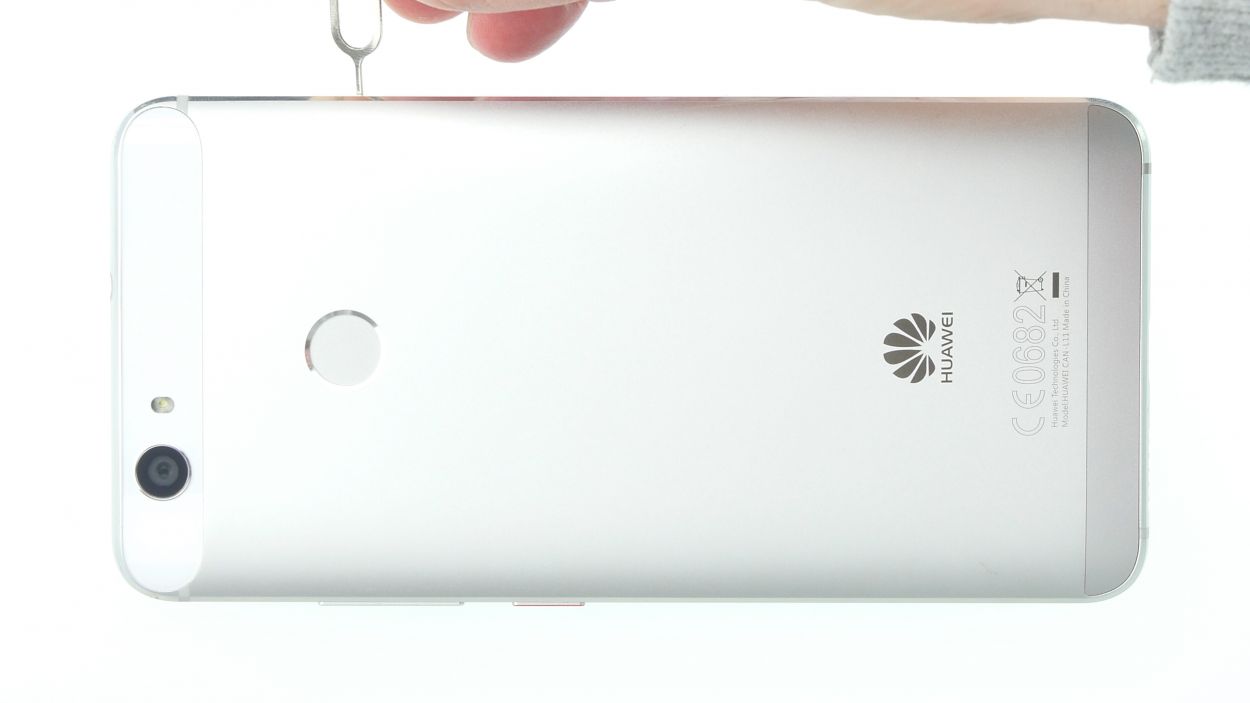
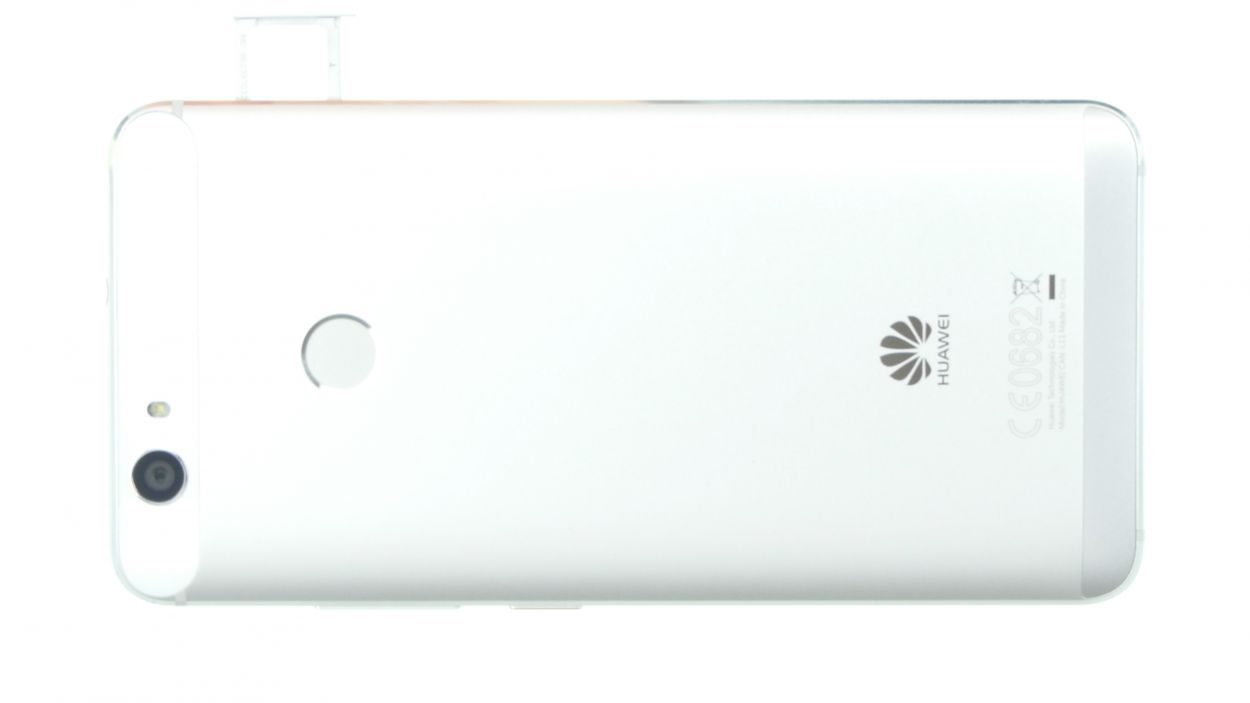
– Pop that SIM tool into the tiny hole on the tray to give it a little nudge and unlock it.
– Gently pull out the tray along with any SIM or microSD cards that are hanging out.
Step 3
2 × Pentalobe
Grab yourself a Pentalobe PL1 screwdriver – it’s the same trusty tool that’s found its way into the world of iPhones too! If you need help, you can always schedule a repair.
– Grab your trusty screwdriver and let’s get busy! Start by unscrewing those two pentalobe screws at the bottom of the device that keep things snug and cozy under the cover. Let’s do this!
Step 4
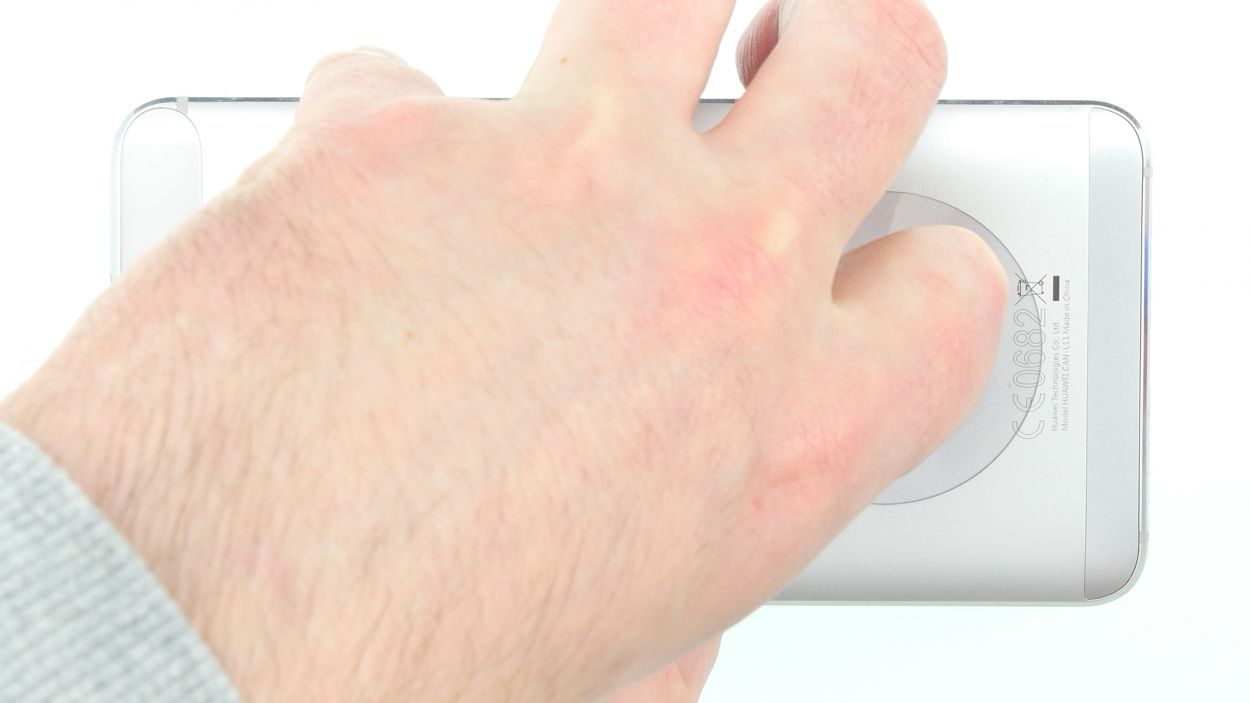

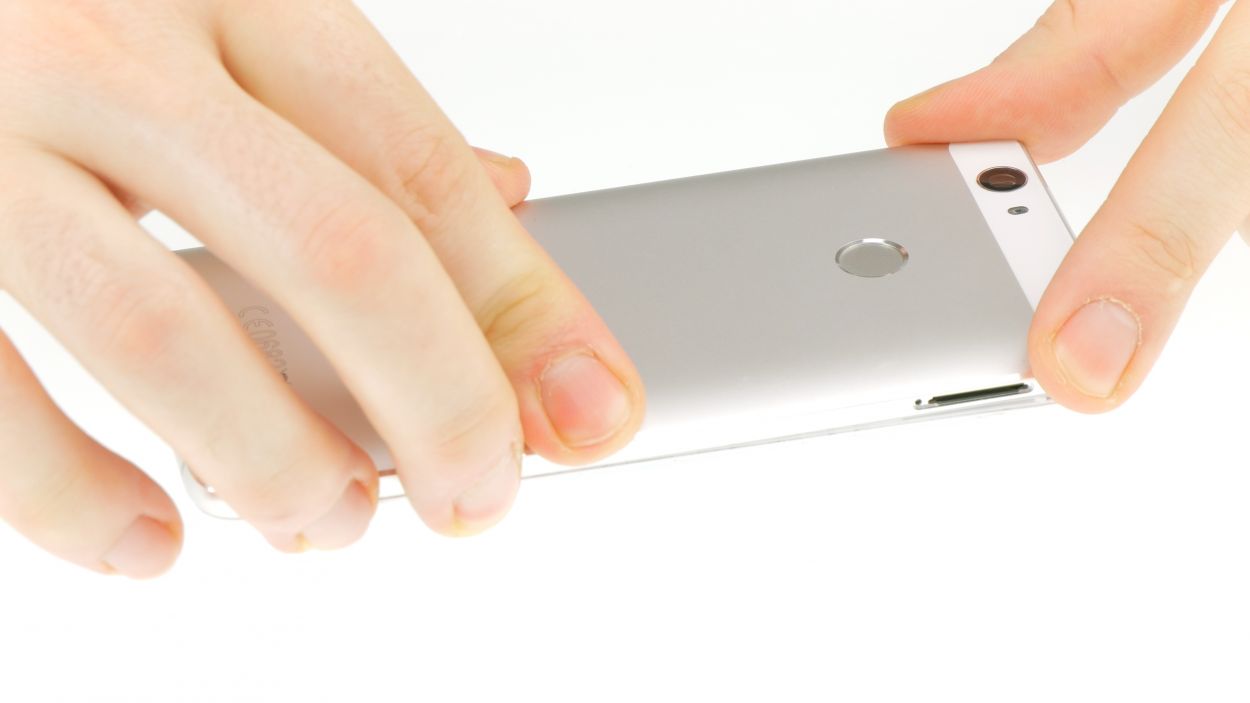
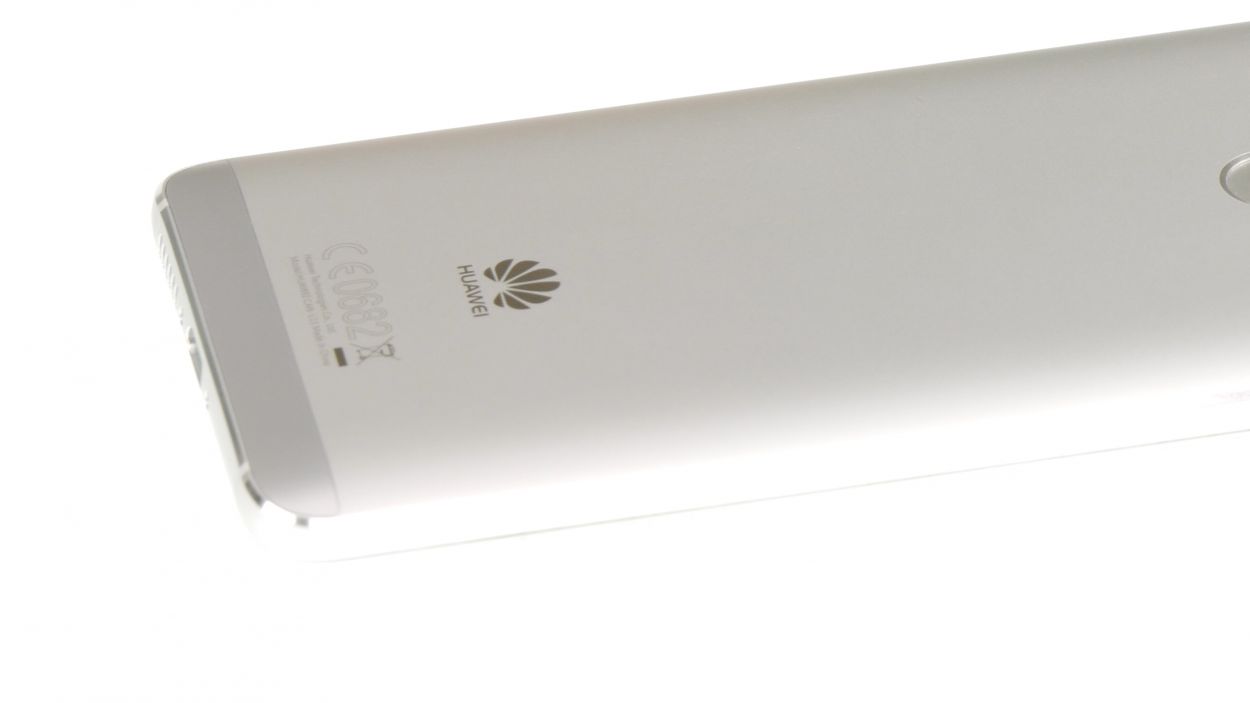
– Start by placing the suction cup near the lower edge of the back cover, right around the ‘Huawei’ logo. That’s the sweet spot!
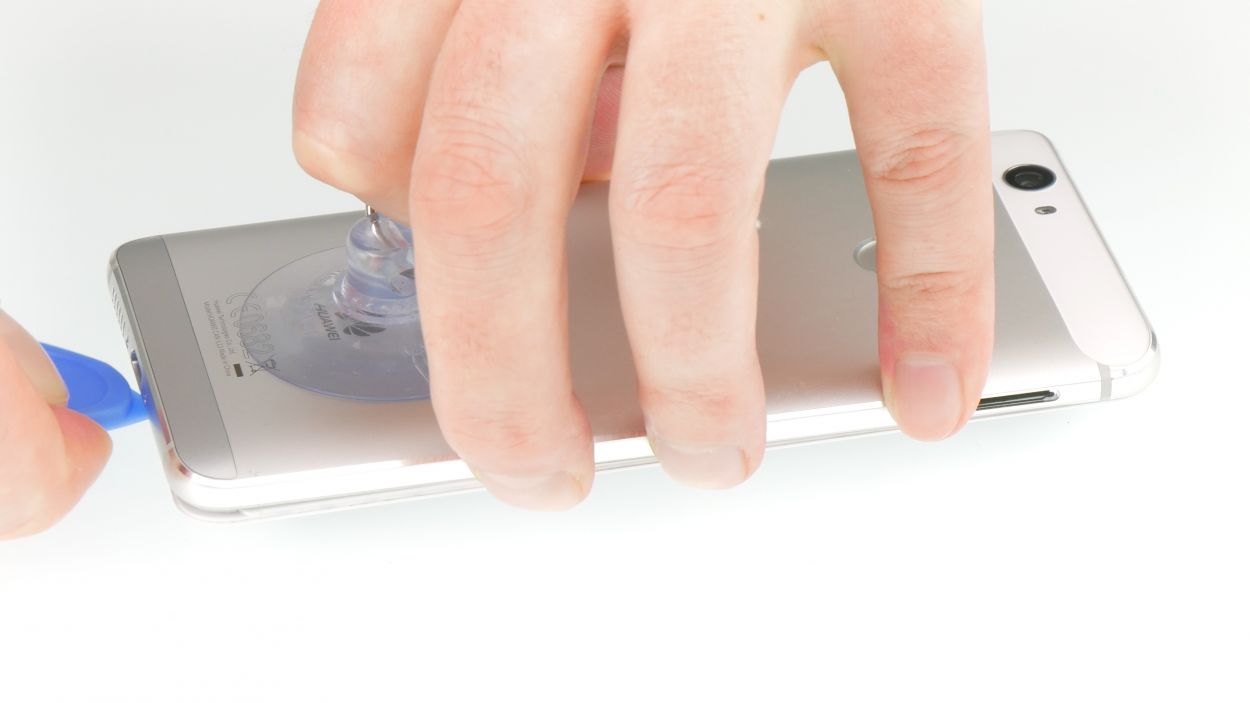
– Give that suction cup a gentle pull while you use the pick to nudge the display down against the table. Once you see a little gap between the display and the back cover, delicately slide the pick in there.
– Now it’s time to glide that pick along the edges to loosen up the back cover from the sides. Keep gently pulling on the suction cup as you go!
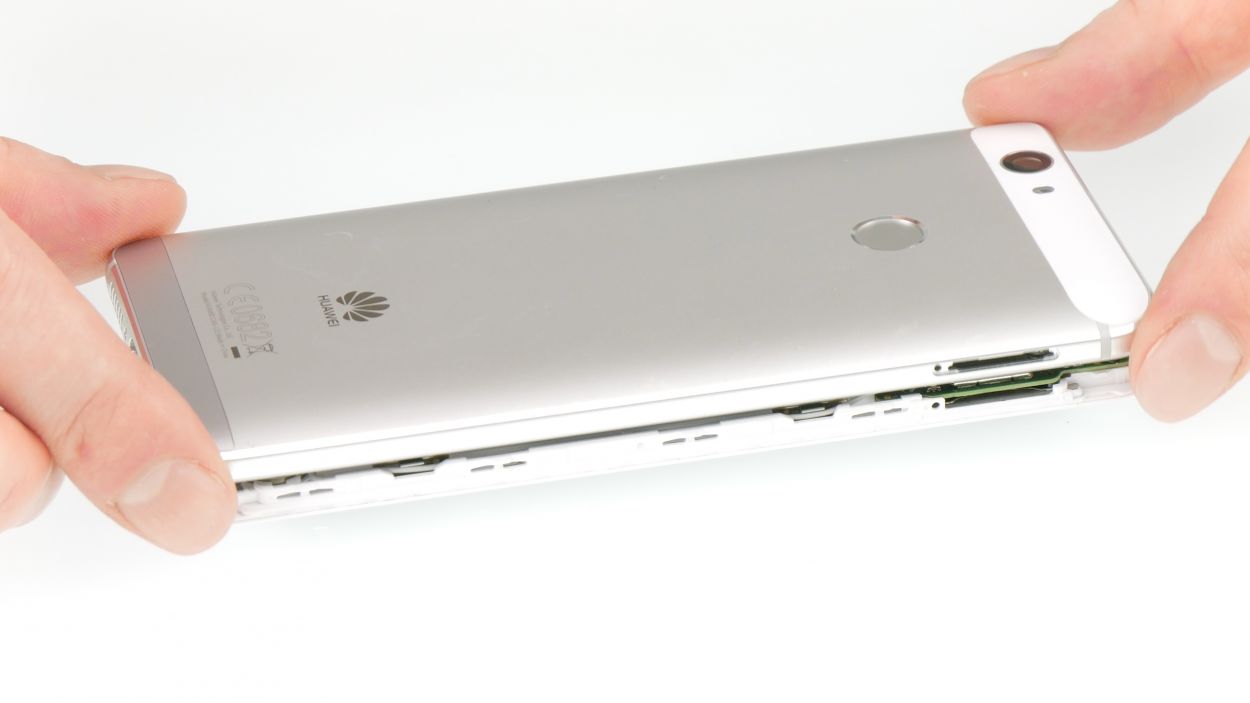
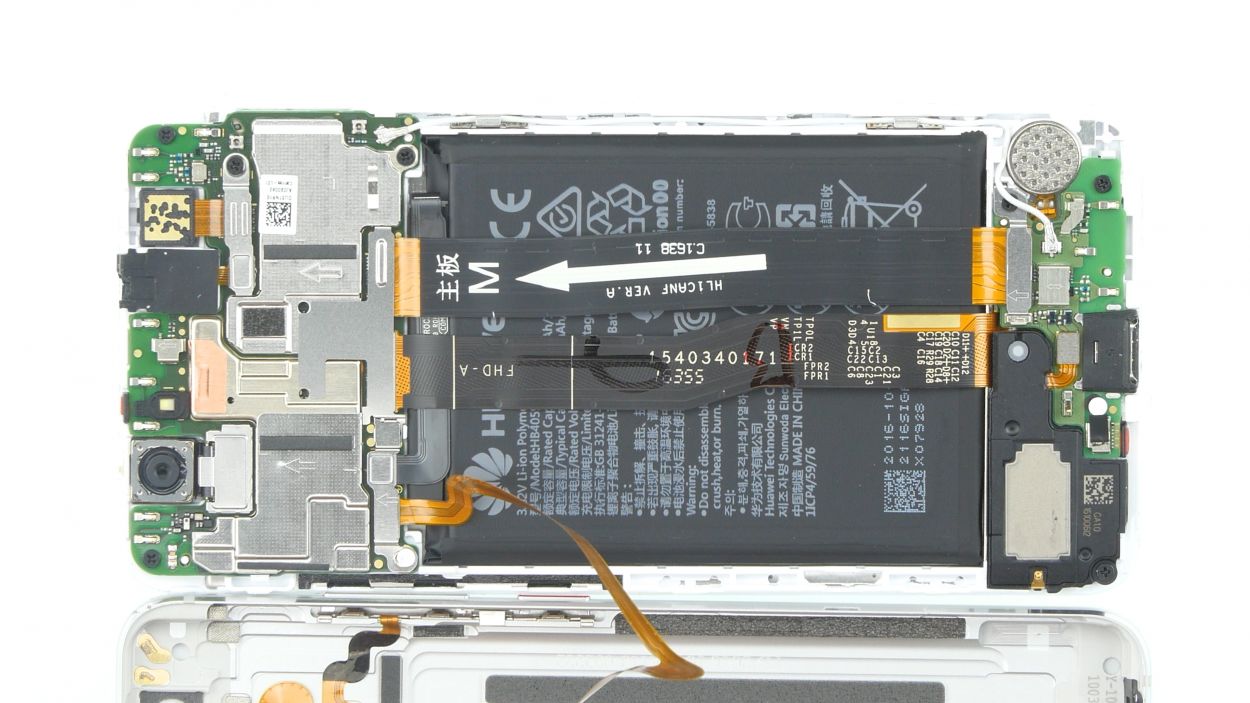
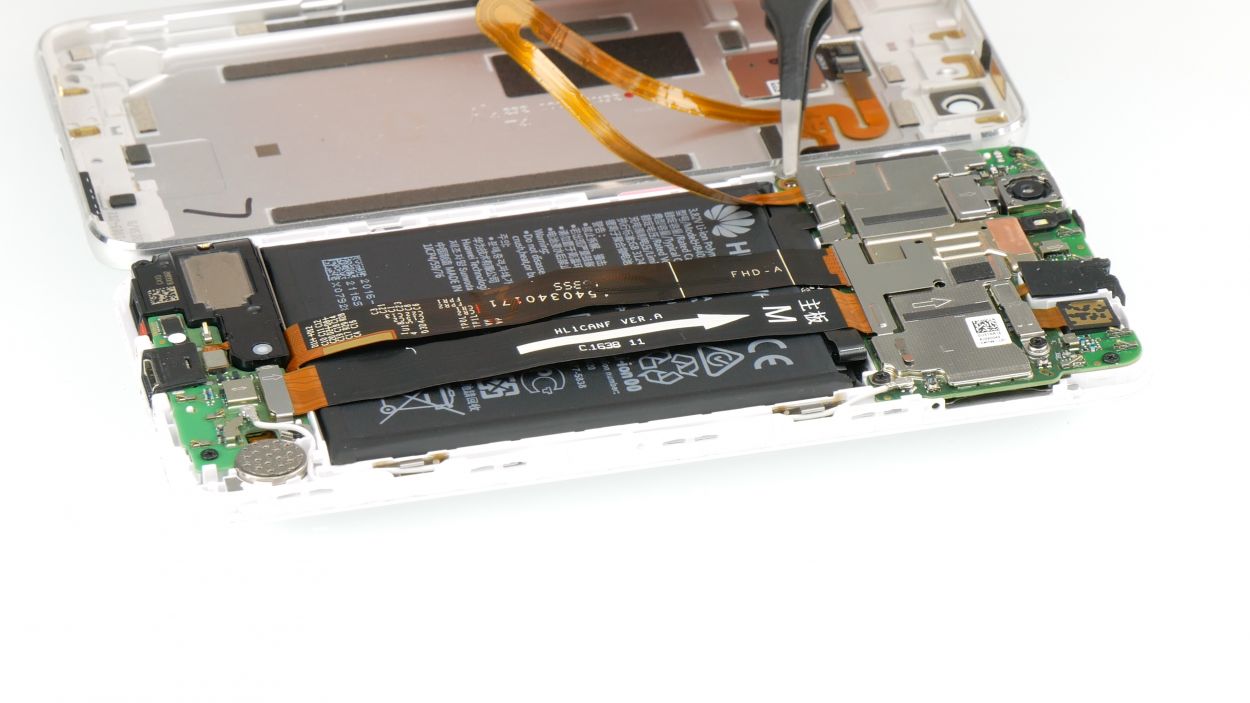
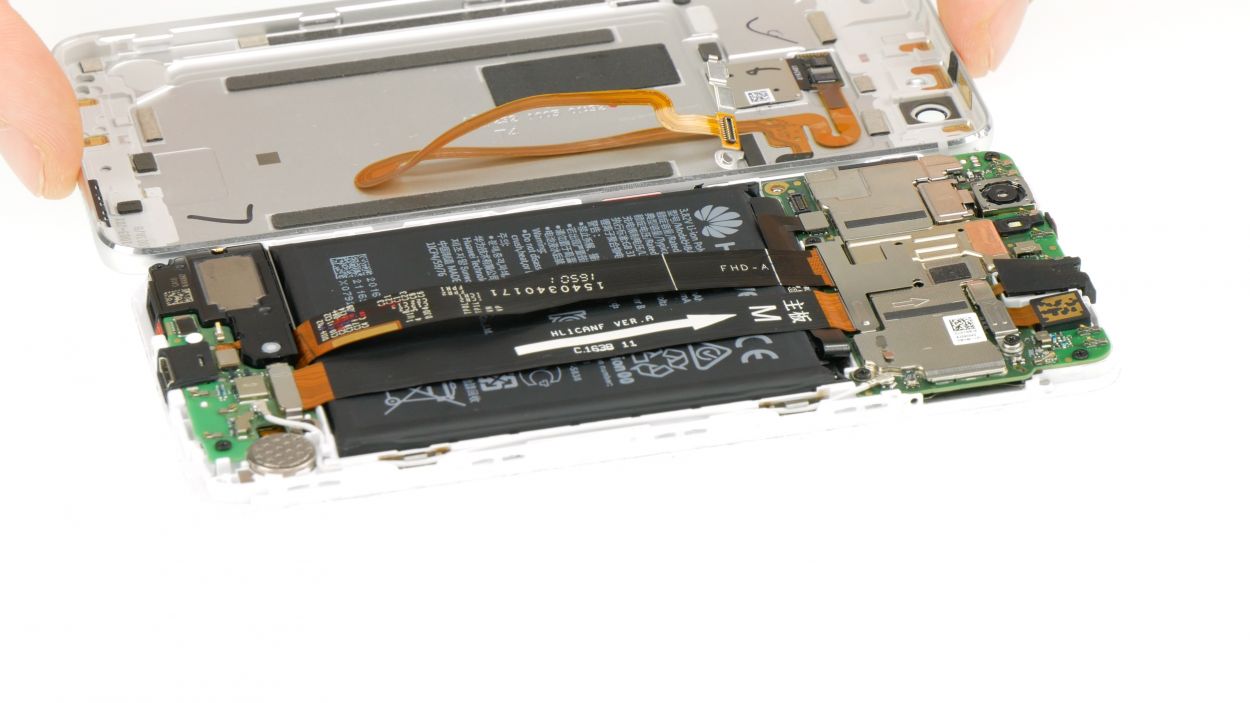
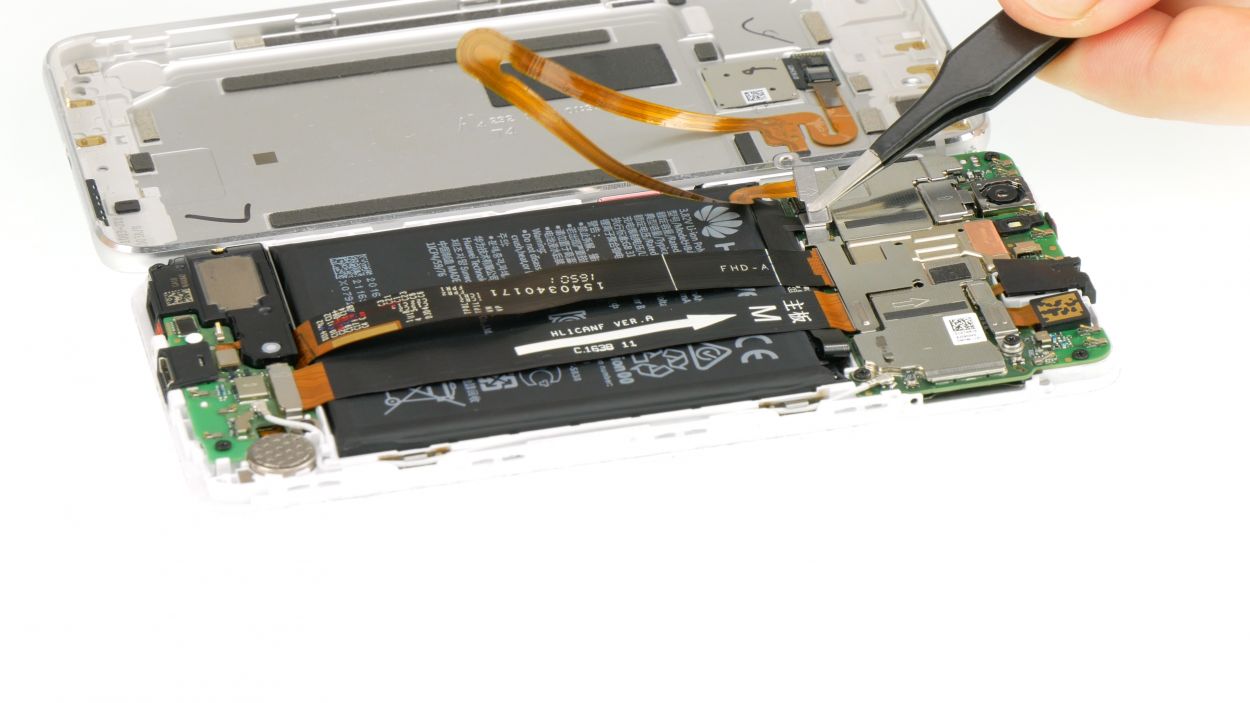
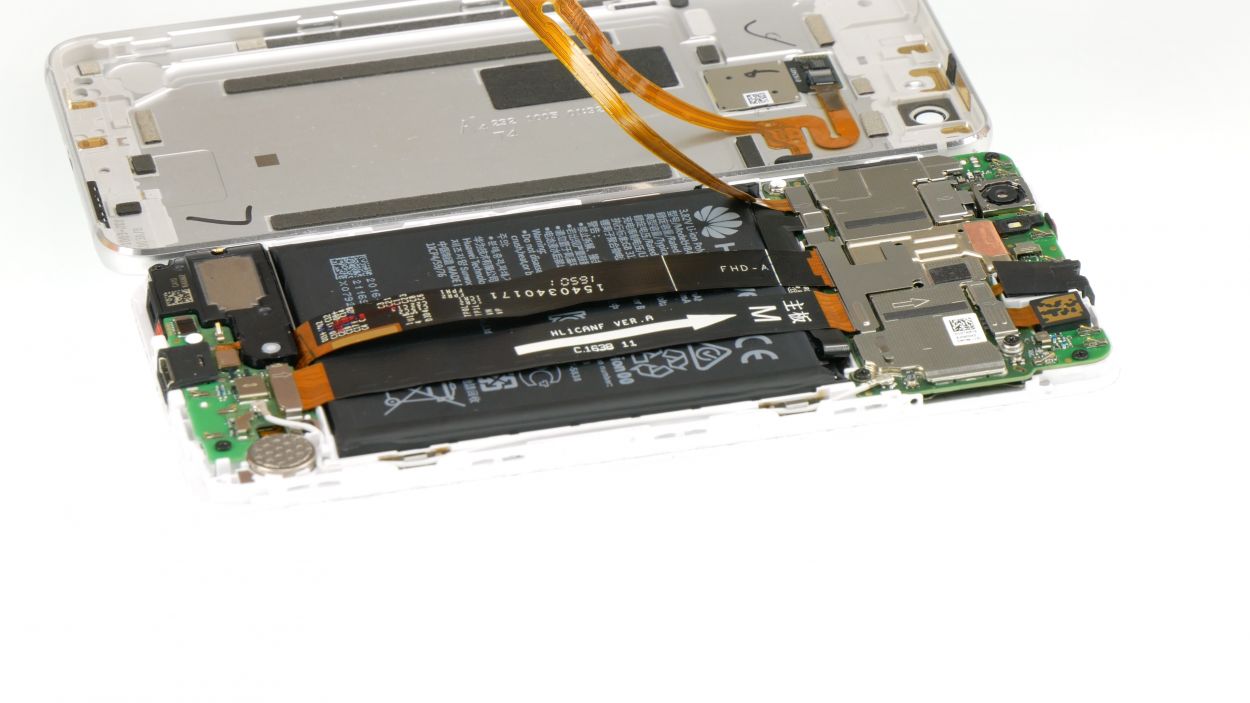
– Carefully lift the back cover open. Slowly flip the device open at the top like you’re reading a book. Voila! You’re now staring at the fingerprint sensor flex cable.
The fingerprint sensor is cozy tucked into the back cover, and it’s connected to the motherboard via a flex cable. When you’re removing the display, just remember to tread lightly so you don’t accidentally mess up the cable or the board. You’ve got this!
Take it easy and stay sharp during this step. Your attention to detail will make all the difference!
Step 5
1 × Phillips
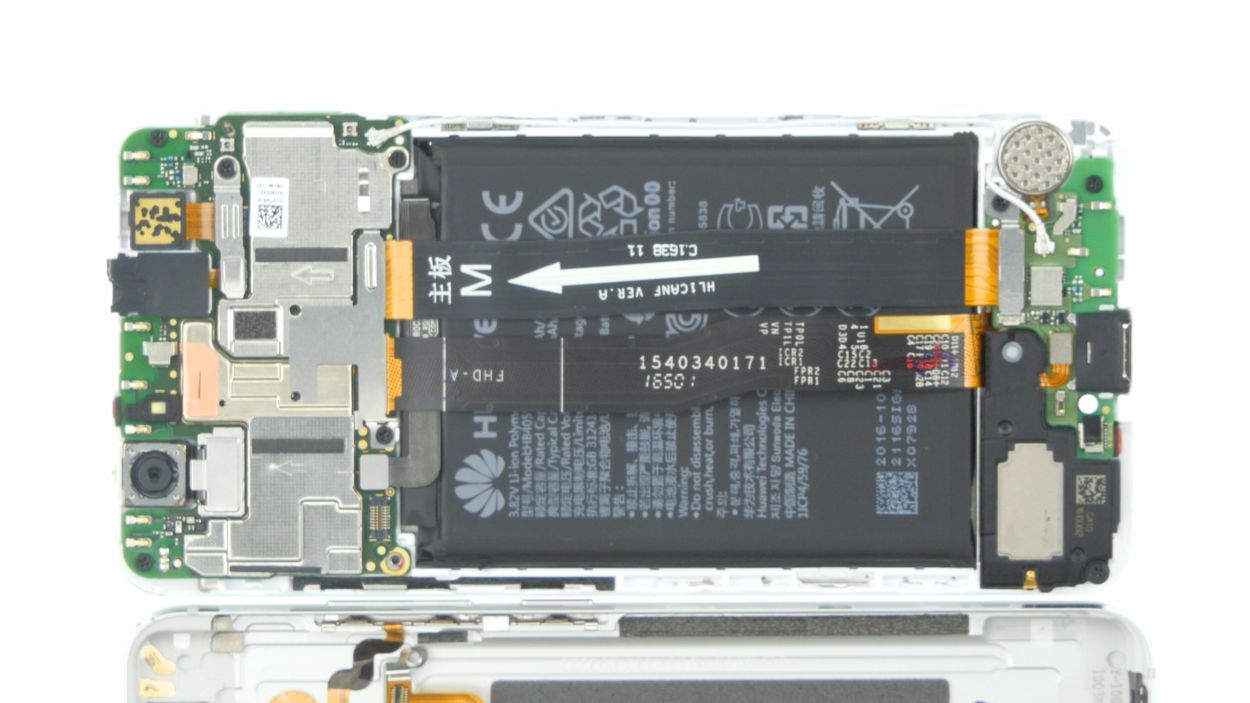
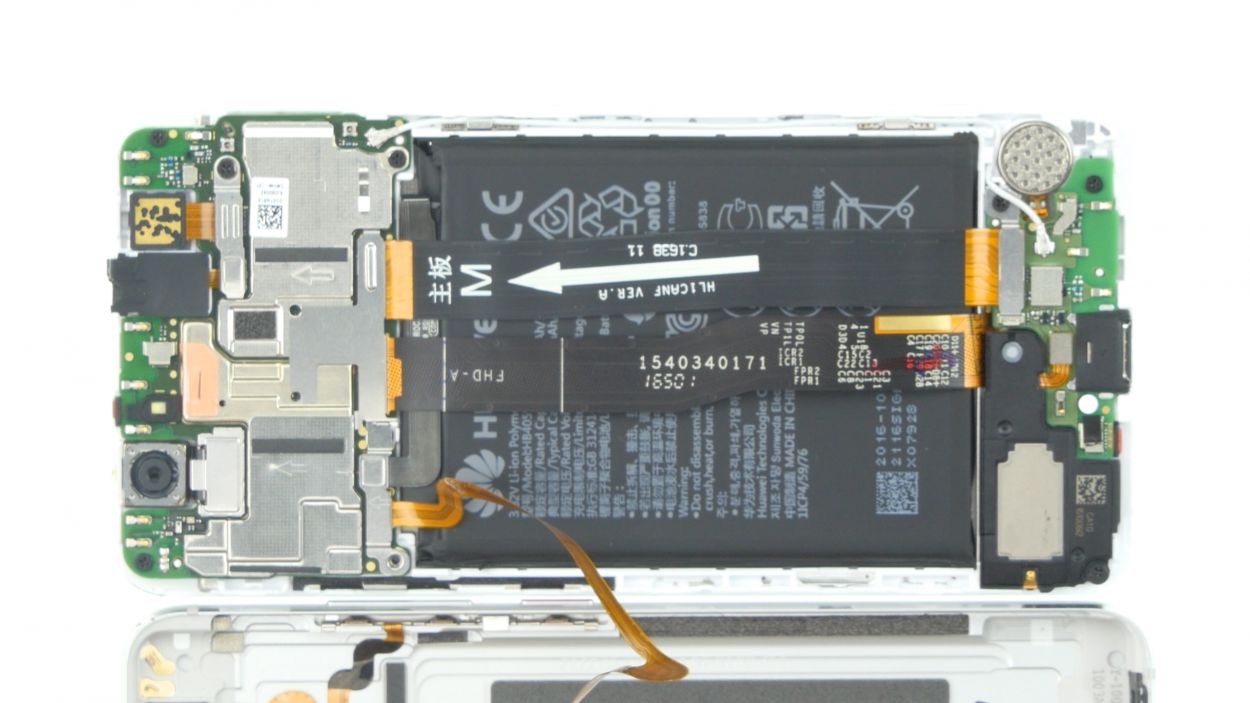
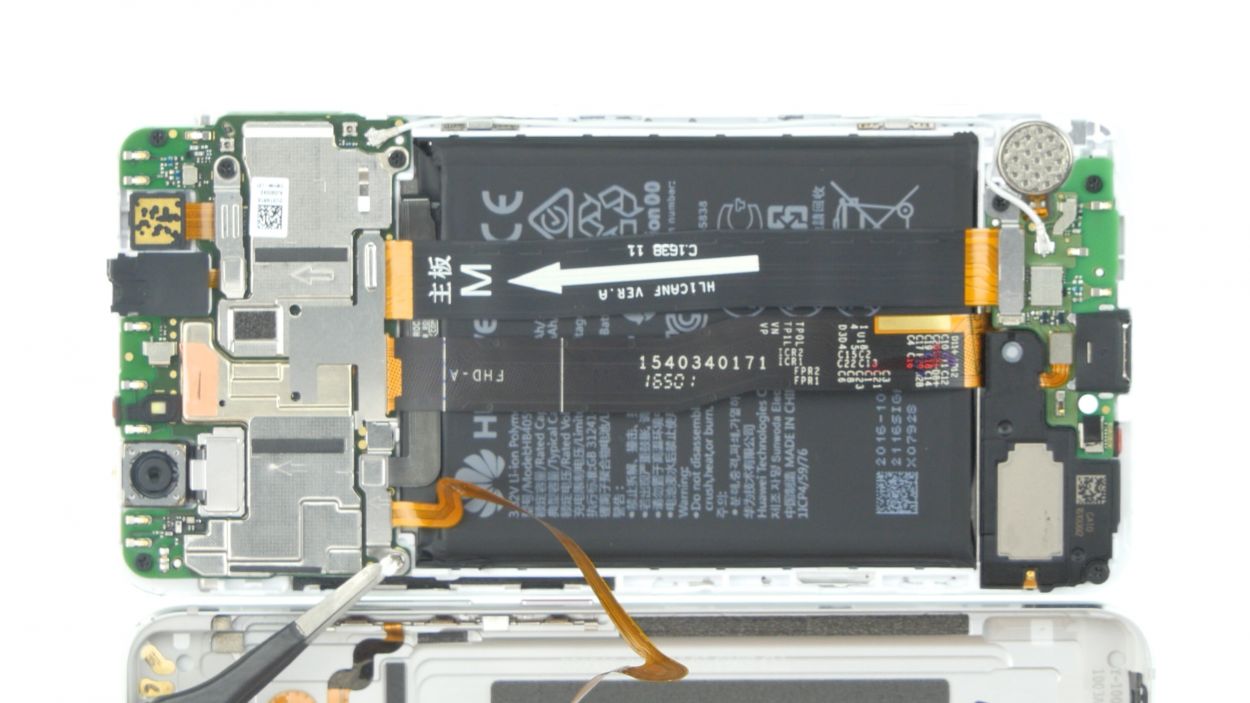
– First up, you’ll notice a round sticker hiding the screw that keeps the plate snug over the display connector. Go ahead and peel that sticker off!
– Next, grab your trusty screwdriver and unscrew that screw to lift off the plate. The connector is cozy with the cover, so it’ll come off together with it!
Step 6
Finger print sensor connector
1 × Phillips
– First up, let’s connect that display connector to its trusty metal plate. Just latch it in and give it a gentle press down to secure it.
– Next, grab your Phillips screwdriver and tighten that metal plate with one screw. You got this!
– If you have it handy, stick that round moisture indicator onto the screw for a little extra protection.
Step 7

– Kick things off by securing that back cover at the top edge near the camera, and then gently rest it on the display like a pro.
– Now, give that back cover a friendly press all around to help it snap snugly into place.
Step 8
– Slide the SIM tray and any cards back into your device. Just make sure the tray is snug and properly lined up. You’re almost done!
Step 9
2 × Pentalobe
Grab yourself a Pentalobe PL1 screwdriver; it’s the trusty sidekick for tackling those iPhones too!
– Secure the two pentalobe screws at the bottom of your device to keep that cover snug as a bug!


