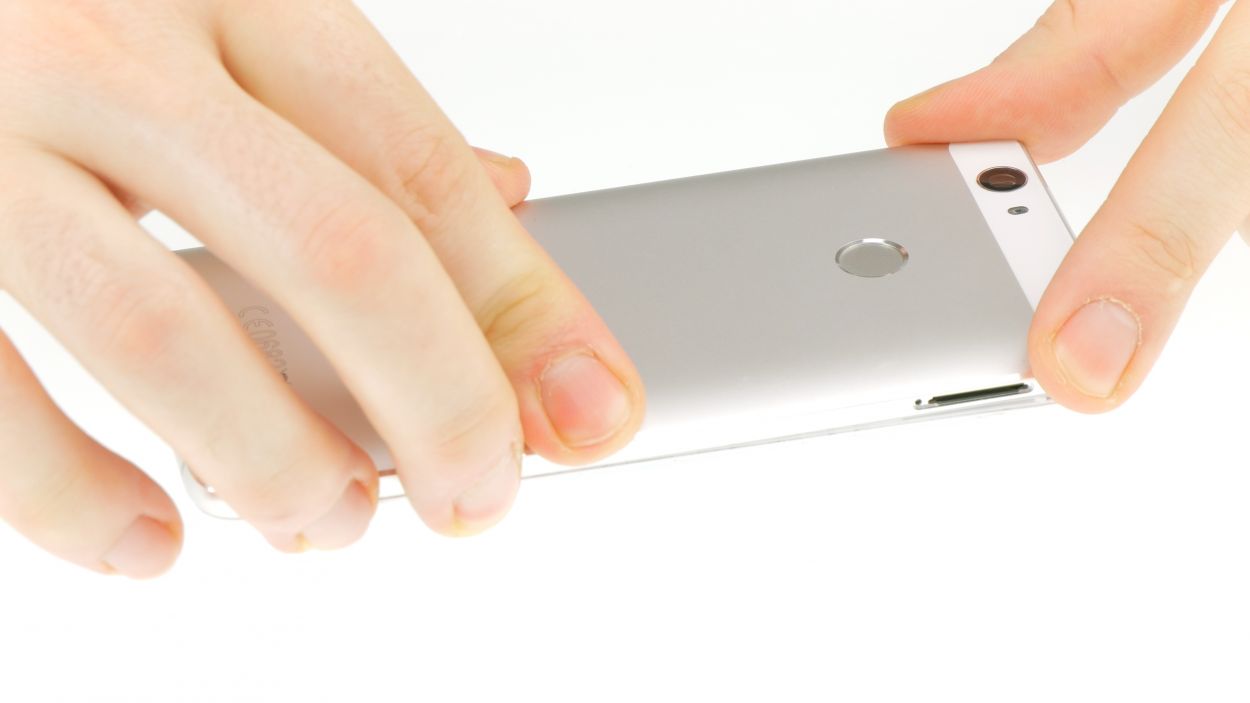
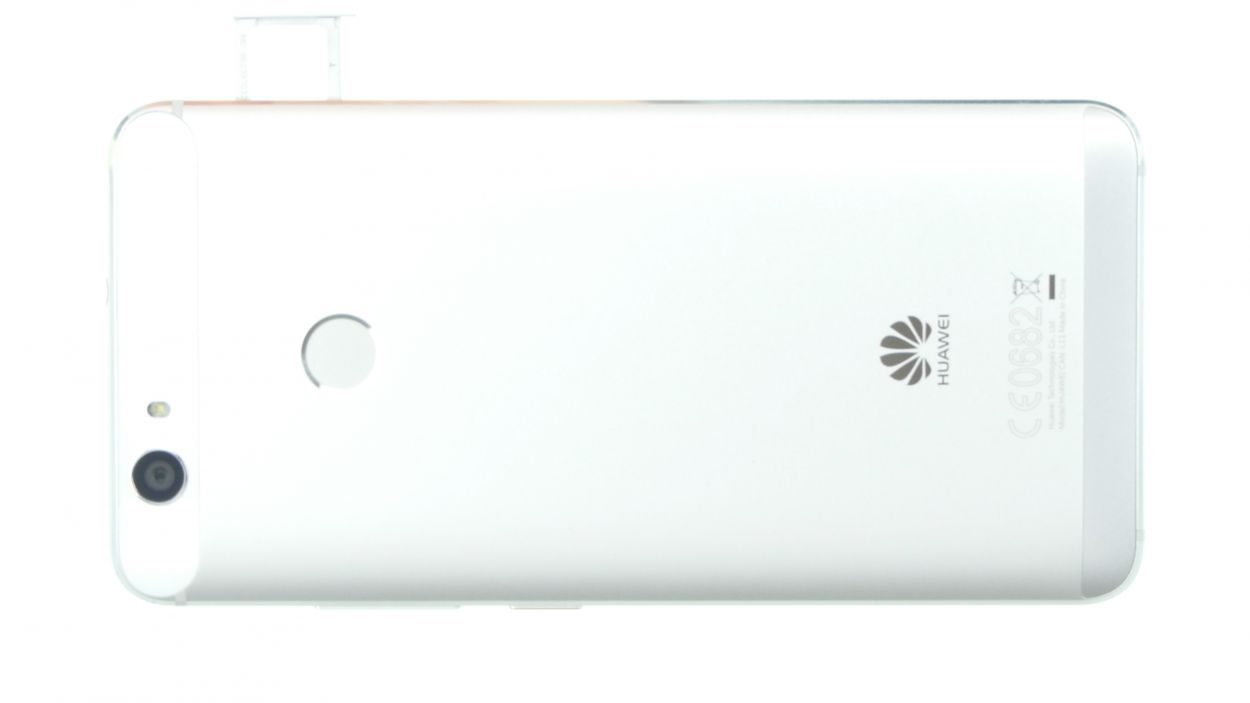
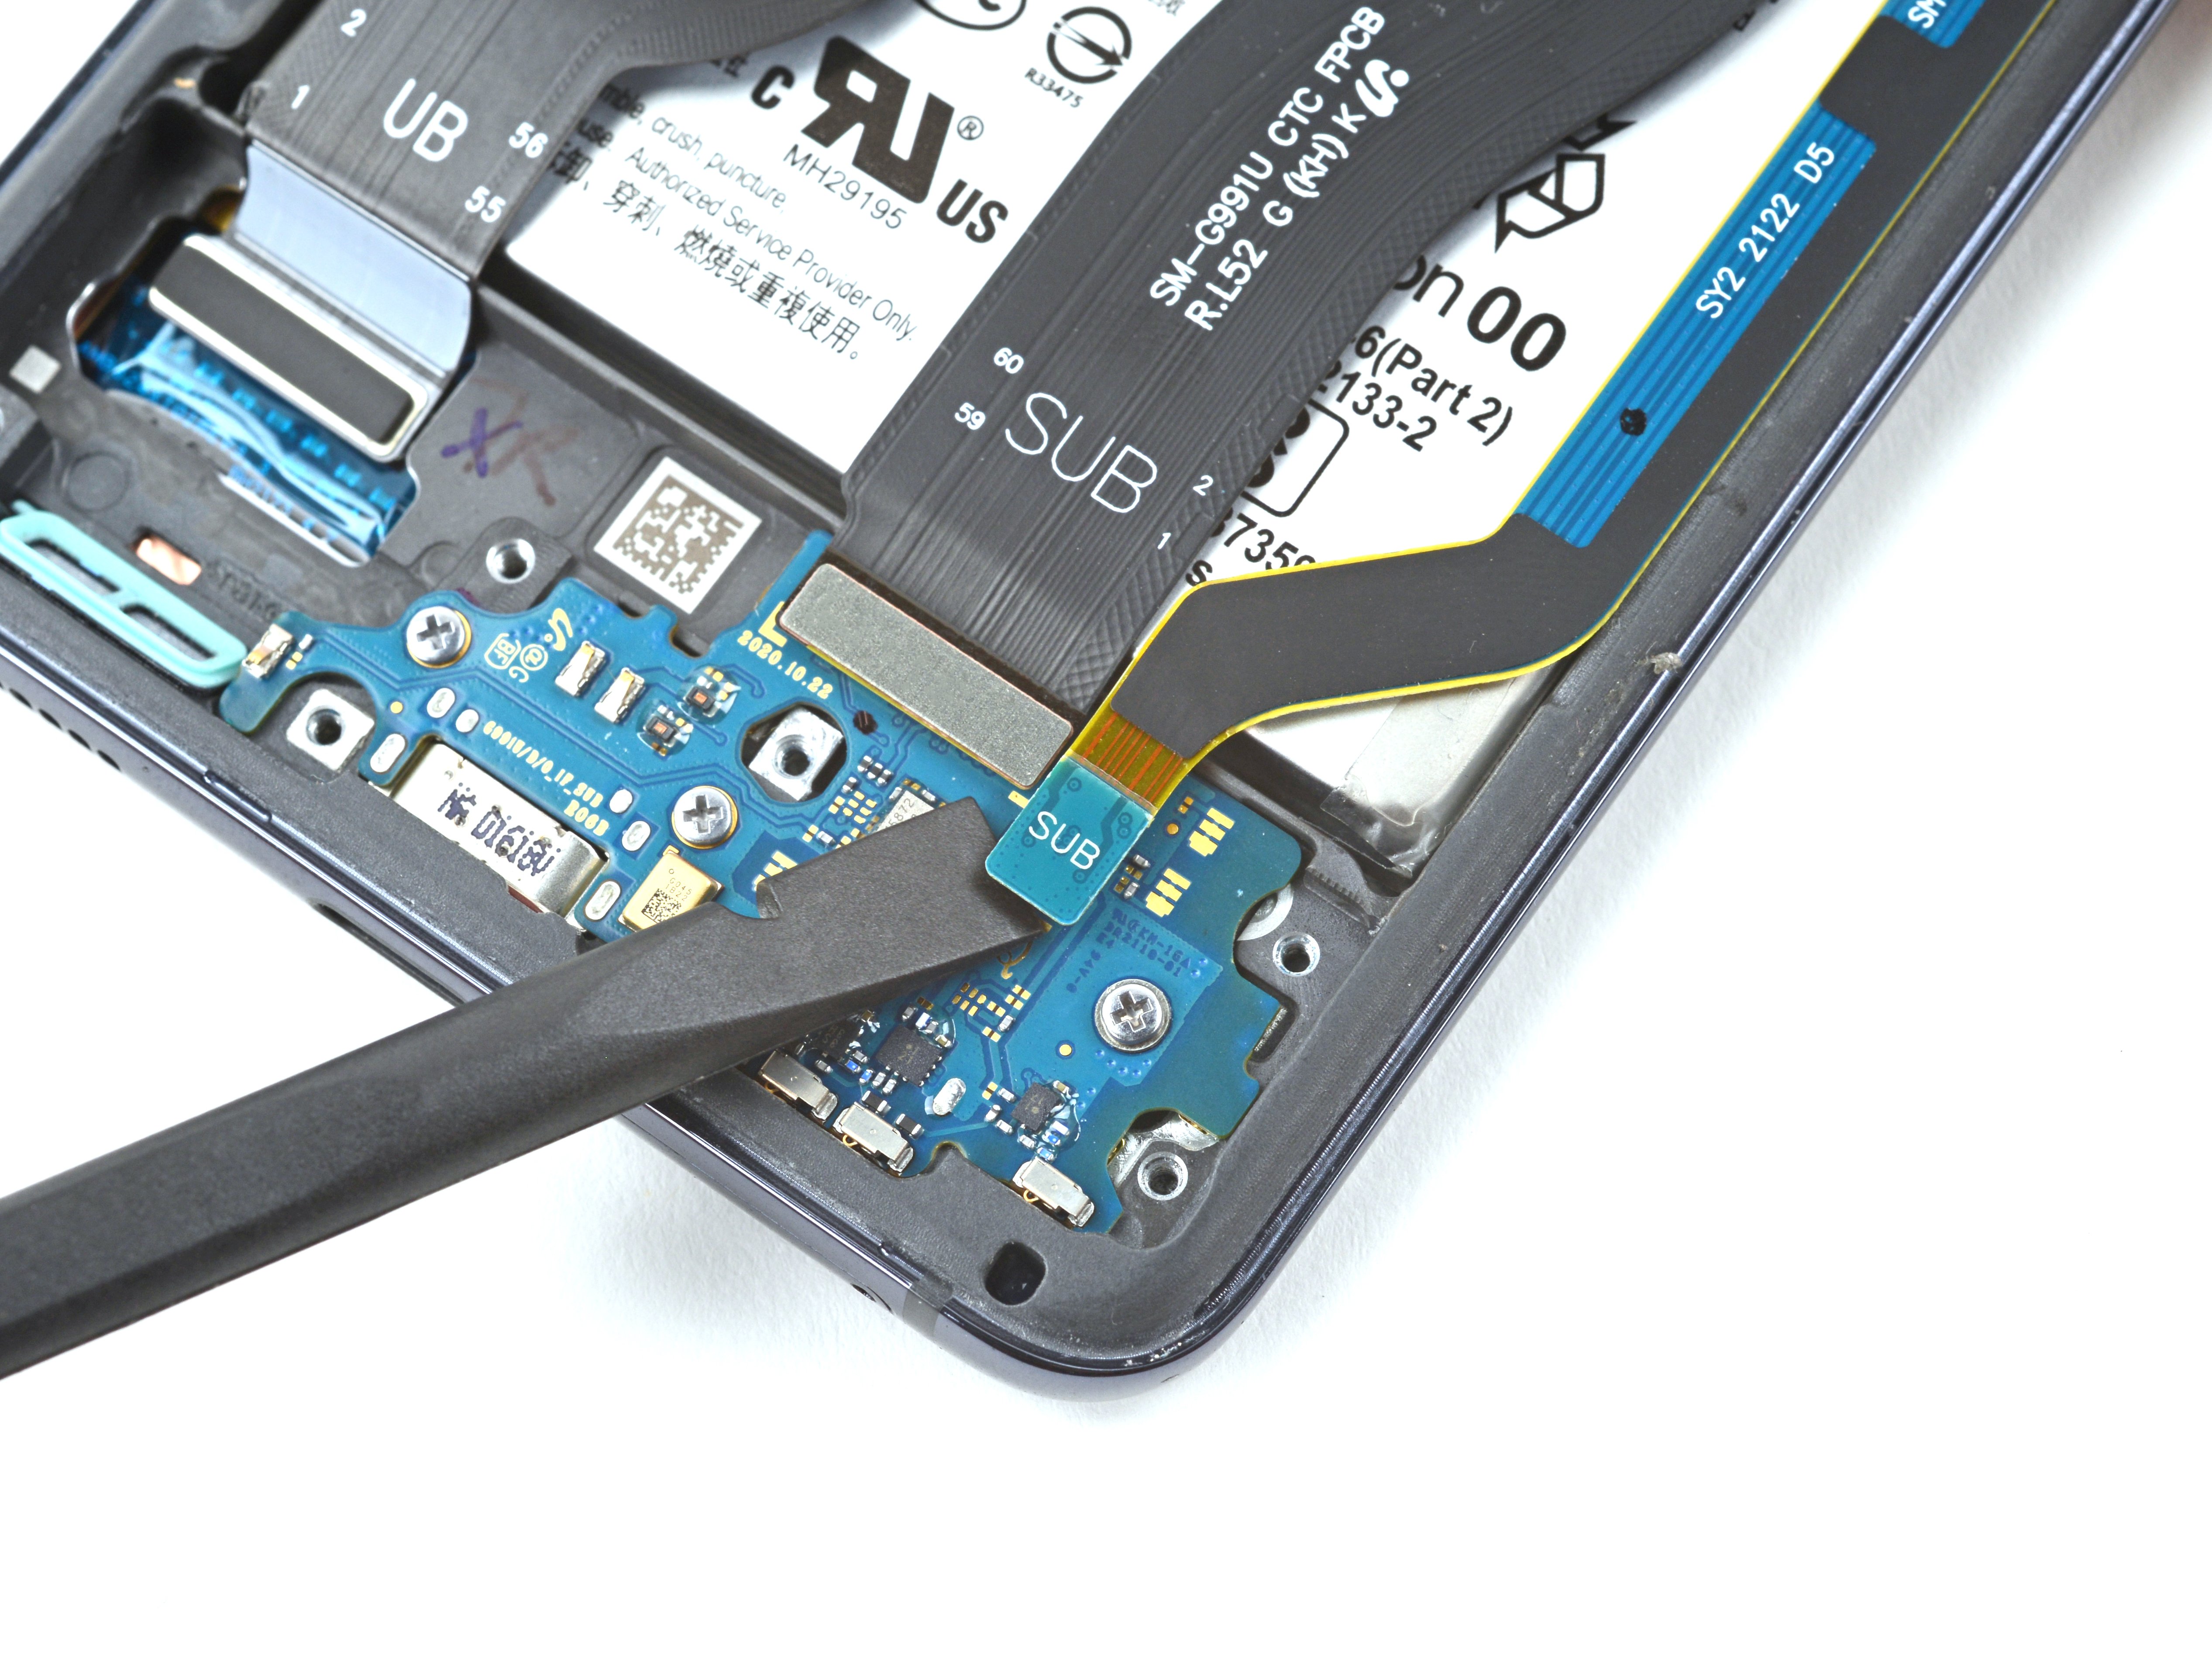
DIY Guide to Remove Circuit Boards from Huawei Nova
Duration: 45 min.
Steps: 23 Steps
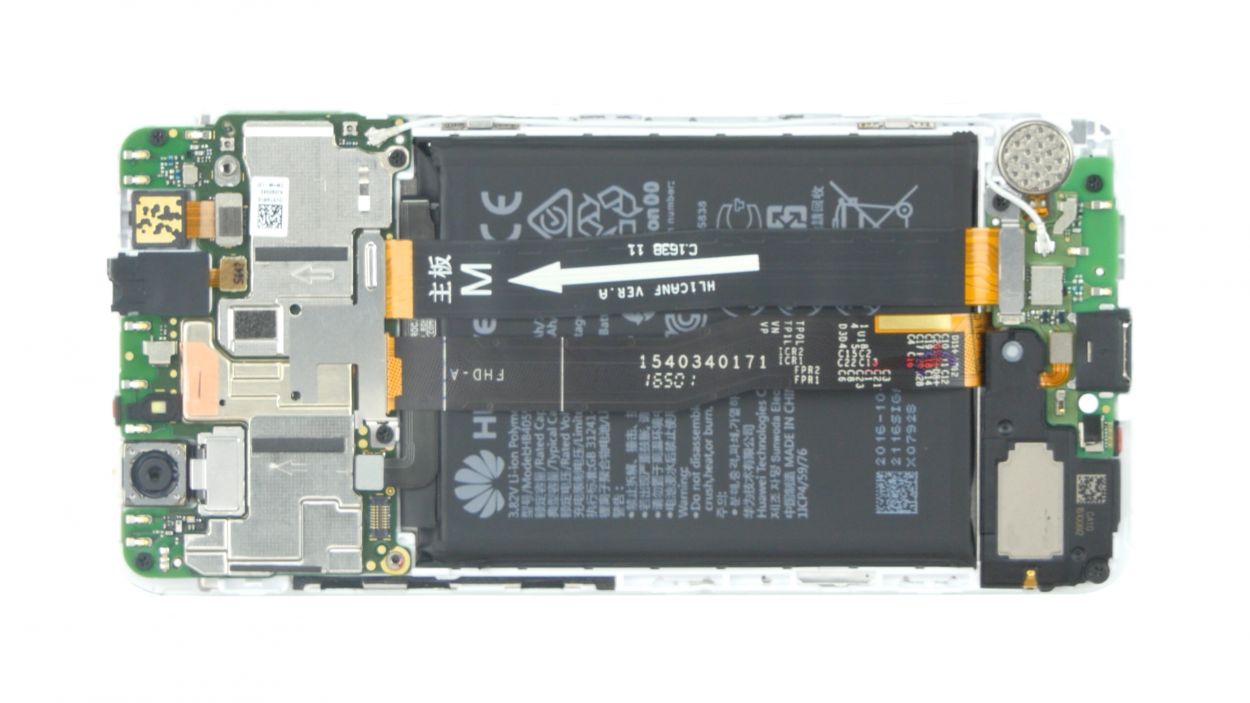
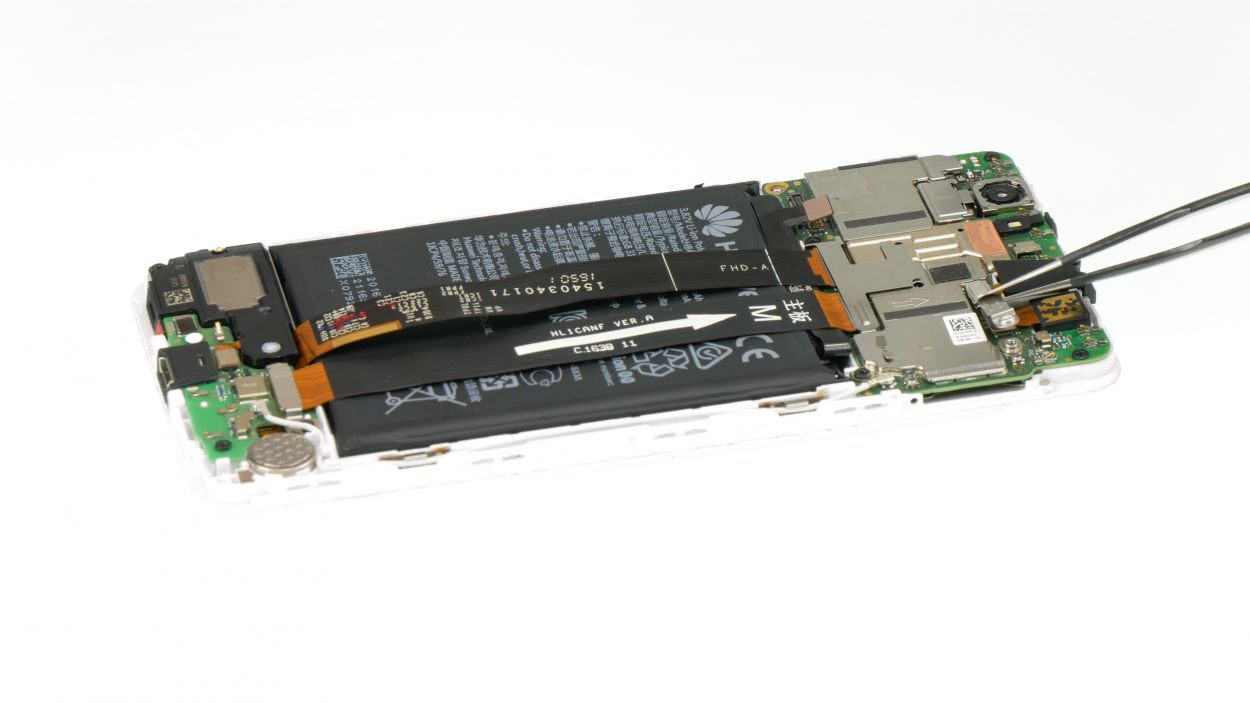
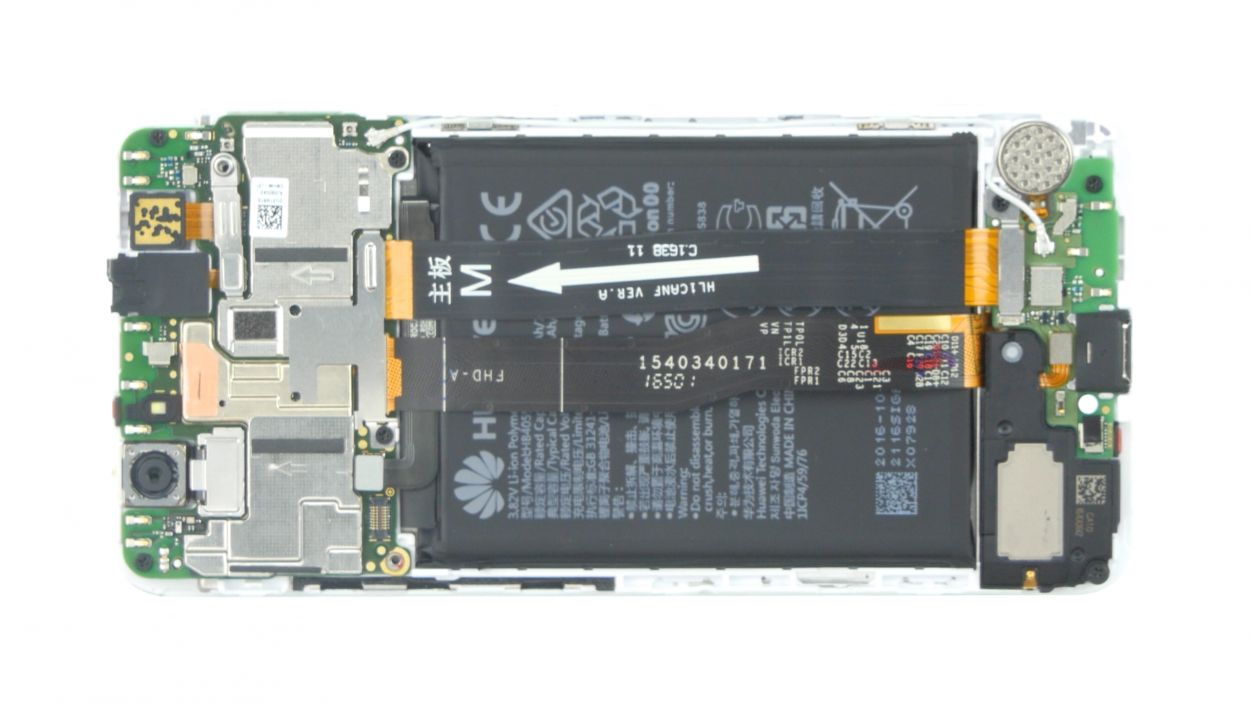
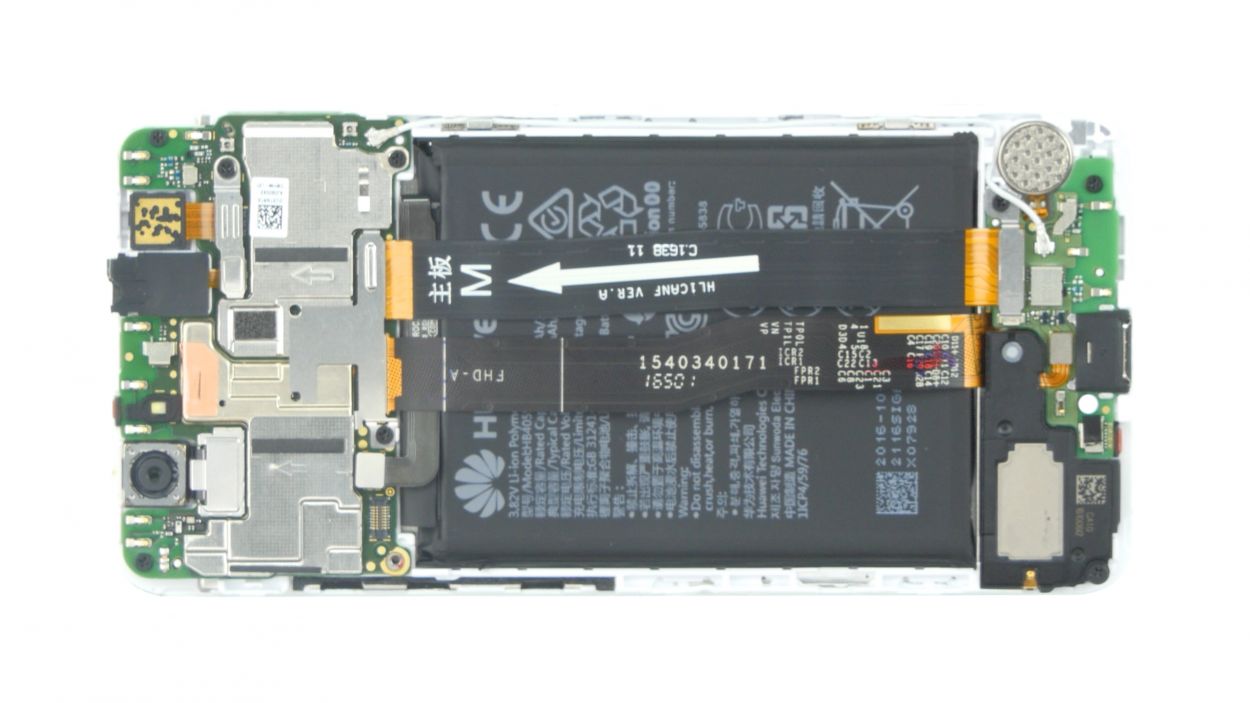
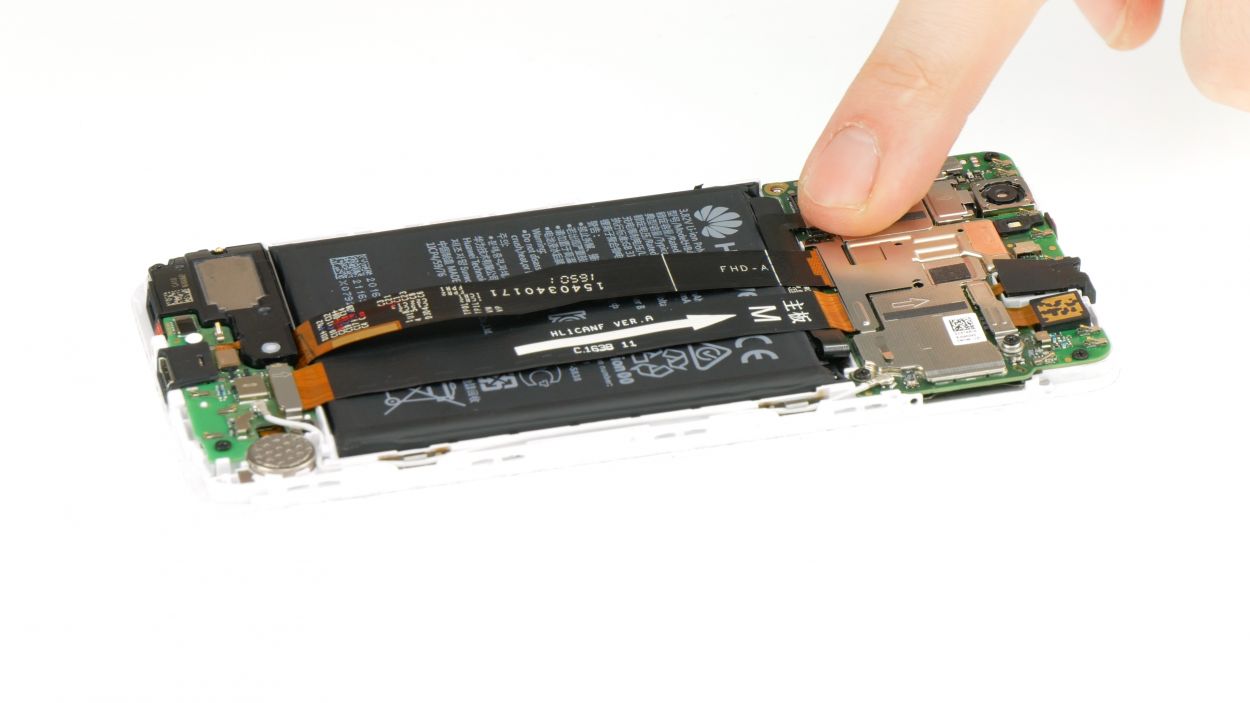
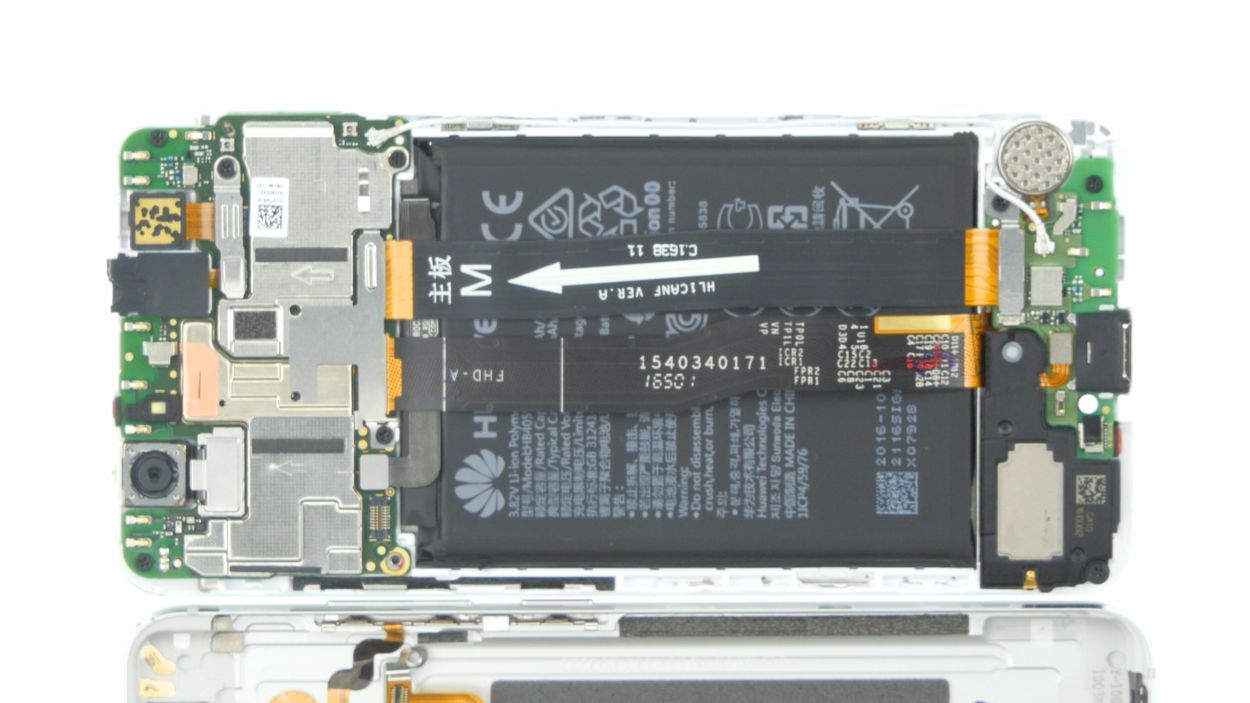
In this guide, we’re going to walk you through the process of popping out your Huawei Nova’s two circuit boards all on your own. If your device has taken a dive into water, removing those circuit boards is a must for a good clean-up!
Step 1
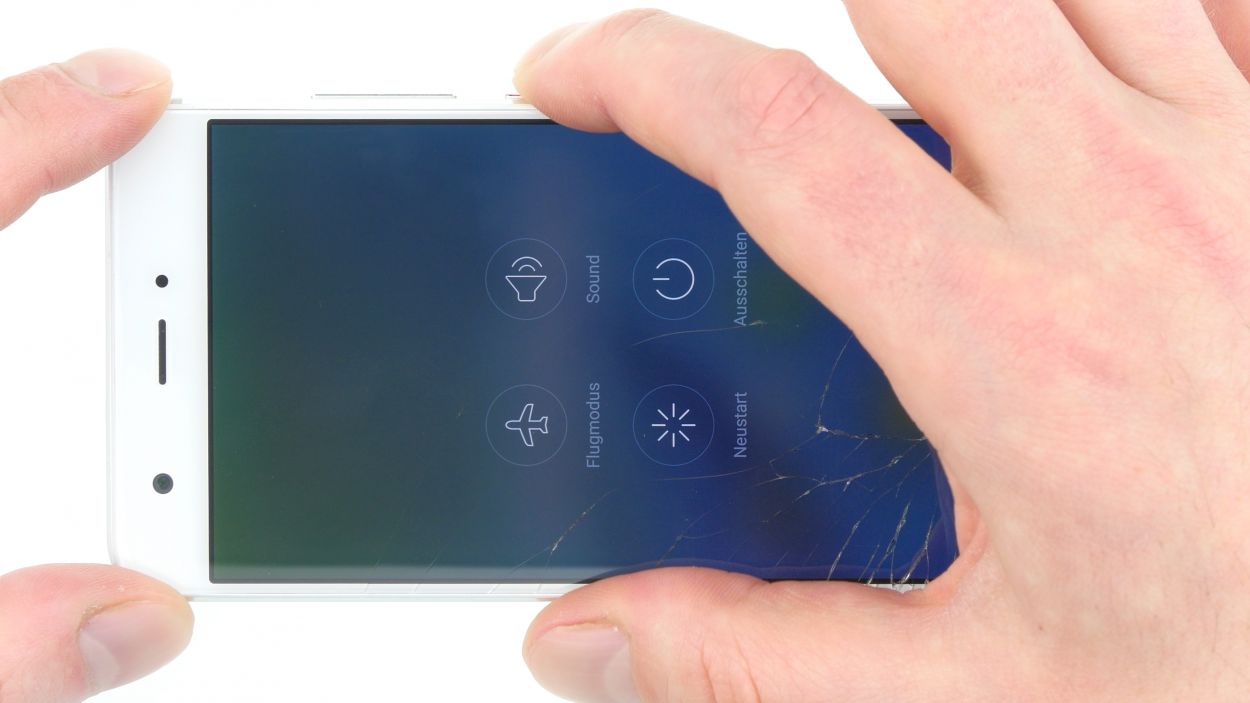
– First things first, power down your device. Just press and hold that power button until the menu pops up. Once it’s there, choose ‘Power off’ and give it a little tap to confirm. Easy peasy!
Step 2
2 × Pentalobe
Grab yourself a Pentalobe PL1 screwdriver, the trusty sidekick for iPhones! It’s the perfect tool to help you on this journey. And remember, if you need help, you can always schedule a repair.
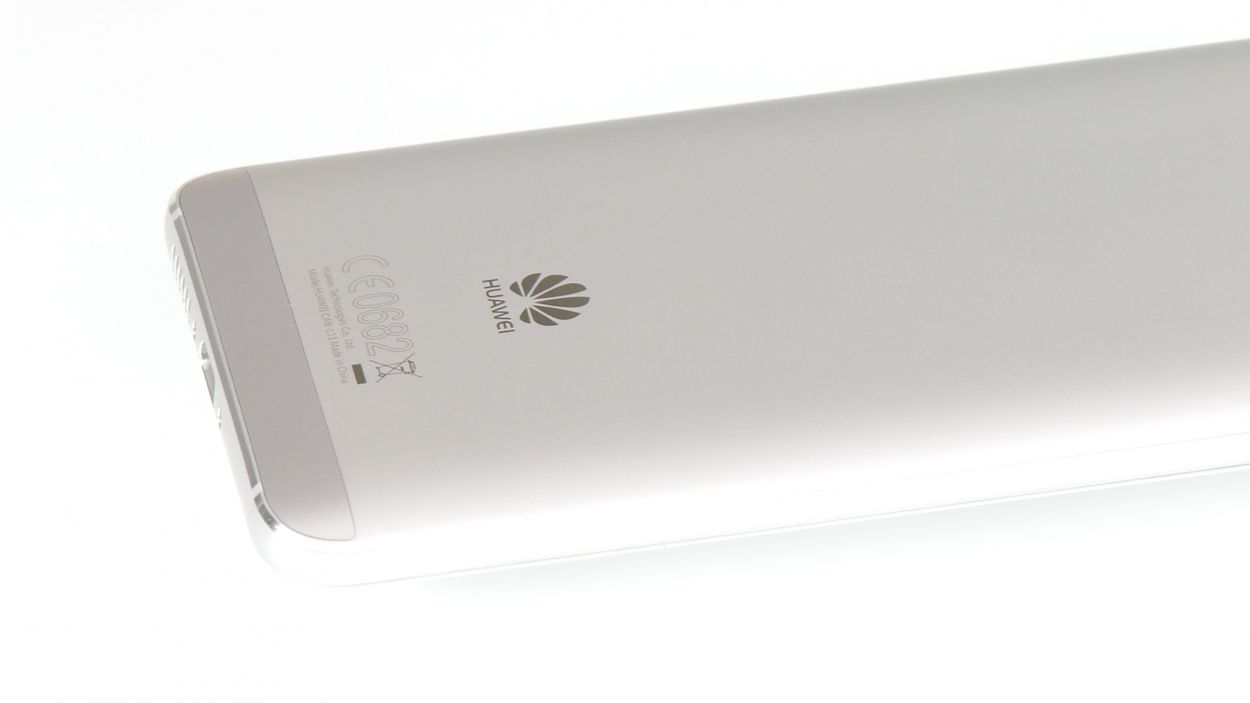
– Pop off those two pesky pentalobe screws at the bottom of your gadget to free the cover. You got this!
Step 3
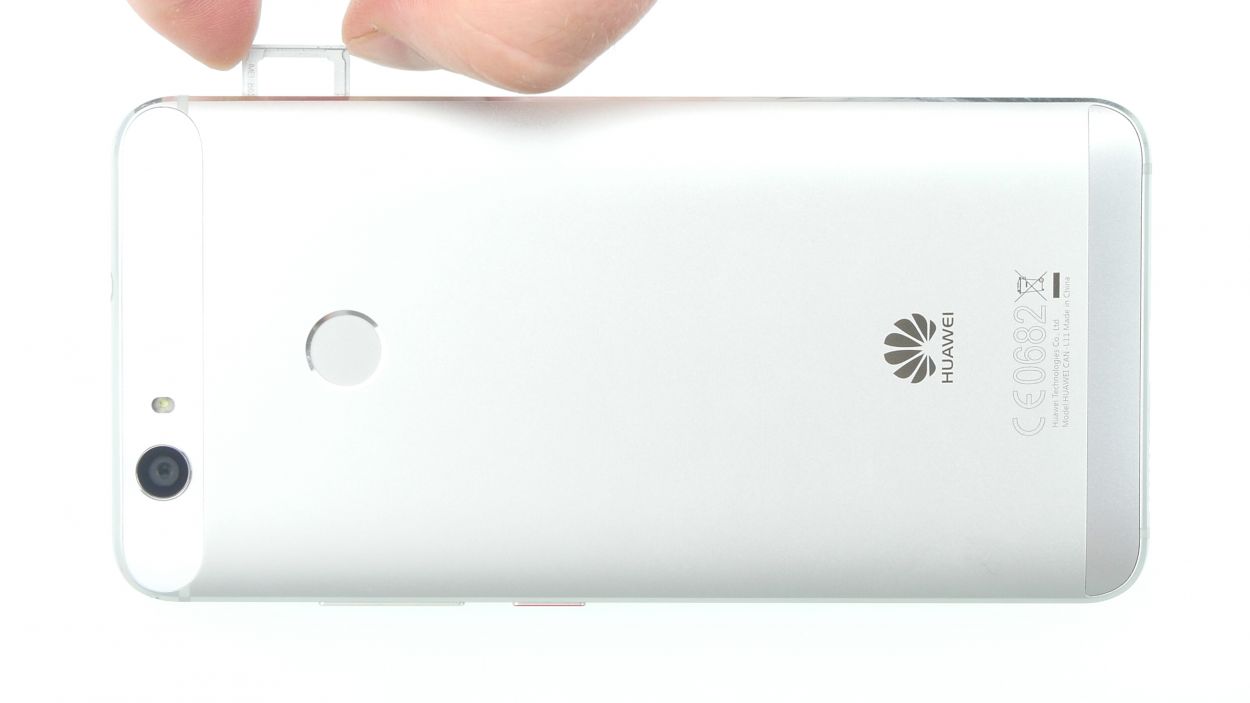
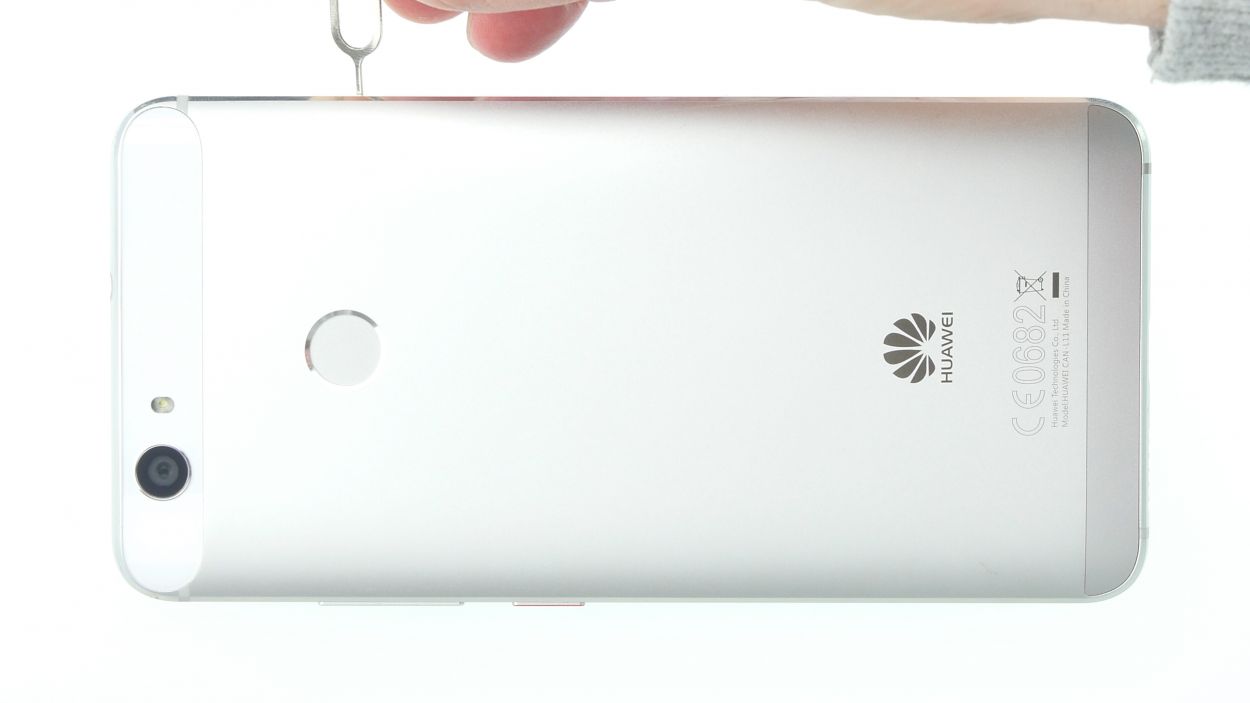
– Time to get that SIM tray out! Grab your trusty SIM tool and gently poke it into the tiny hole on the tray to unlock it. You’ve got this!
– Once the tray is loose, carefully pop it out along with any SIM or microSD cards that might be hanging out in there. Keep it all safe!
Step 4
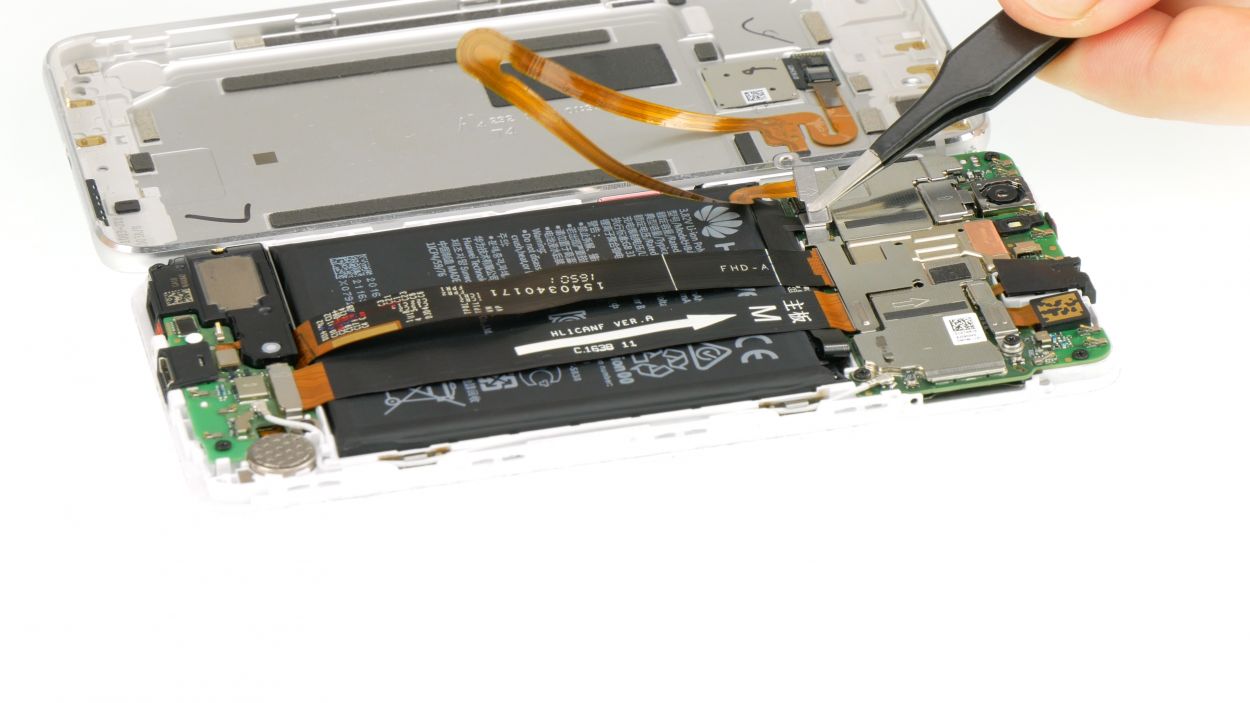
Heads up! The fingerprint sensor hangs out on the back cover and is connected to the motherboard by a delicate flex cable. When you’re removing the display, just take your time and be extra gentle to keep that cable and board safe and sound.
Take it easy during this part, alright? It’s important to handle everything with a bit of care.
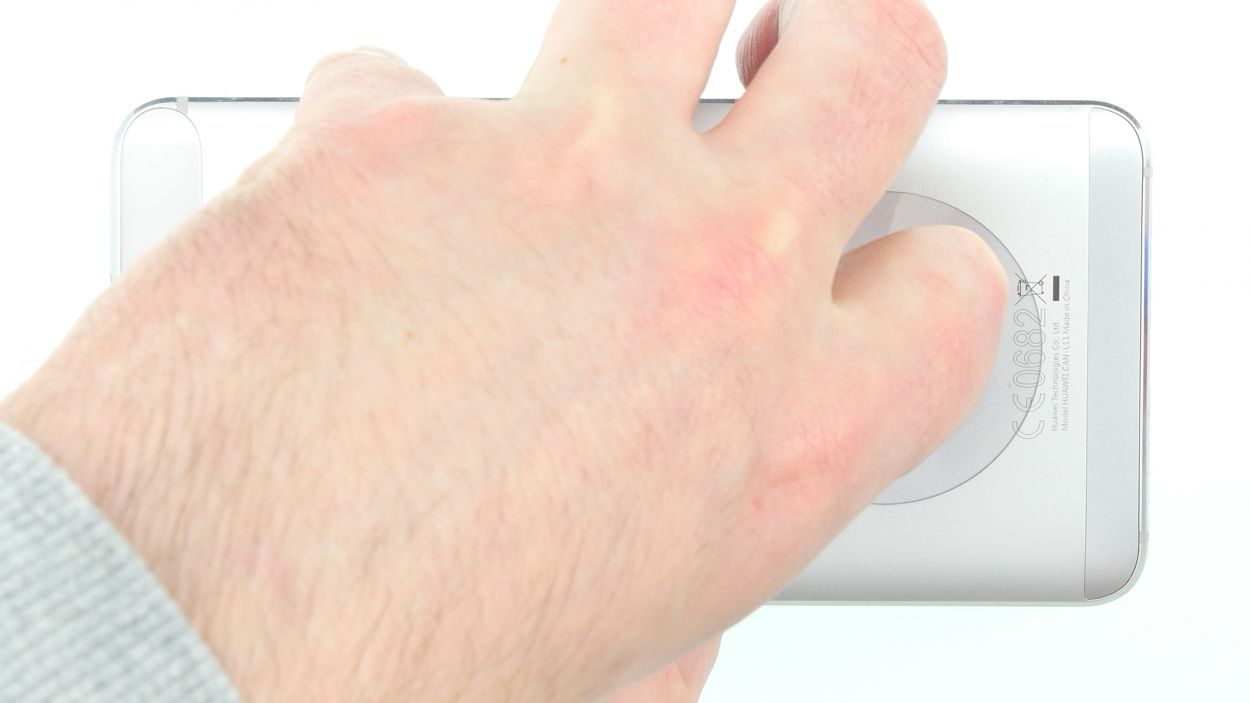
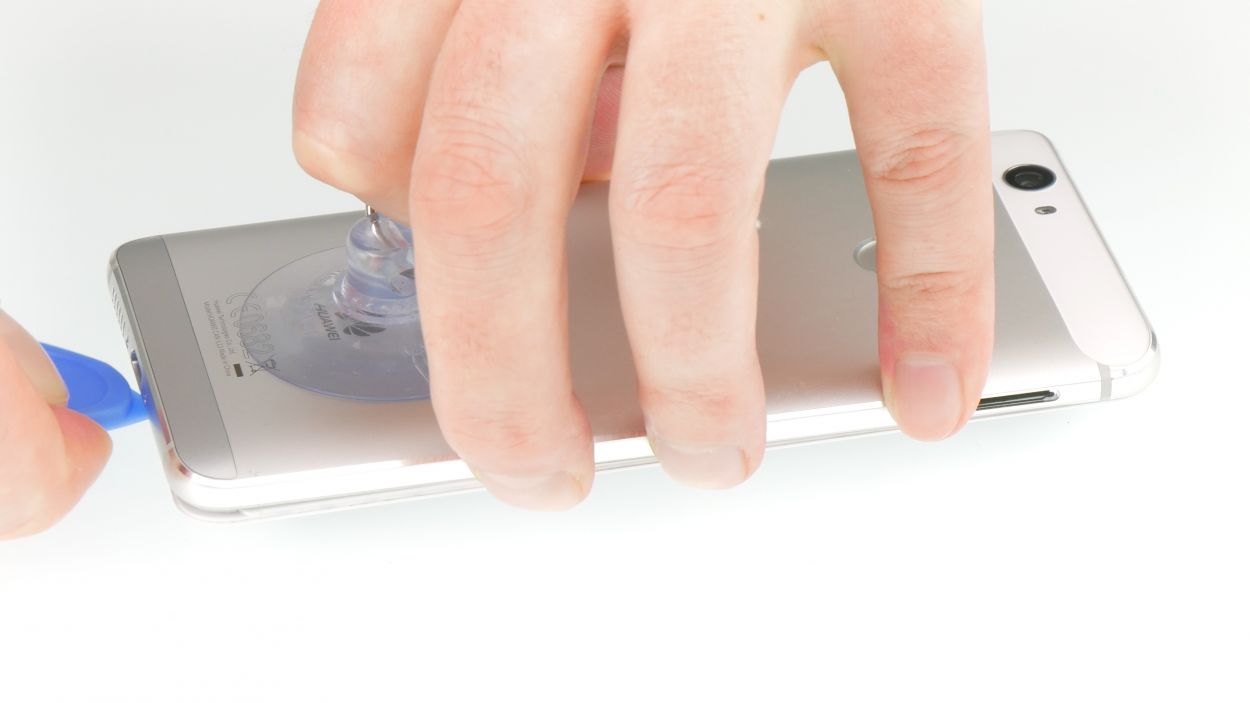
– Start by placing the suction cup low on the back cover, right where it says ‘Huawei.’ It’s like giving your device a little hug!
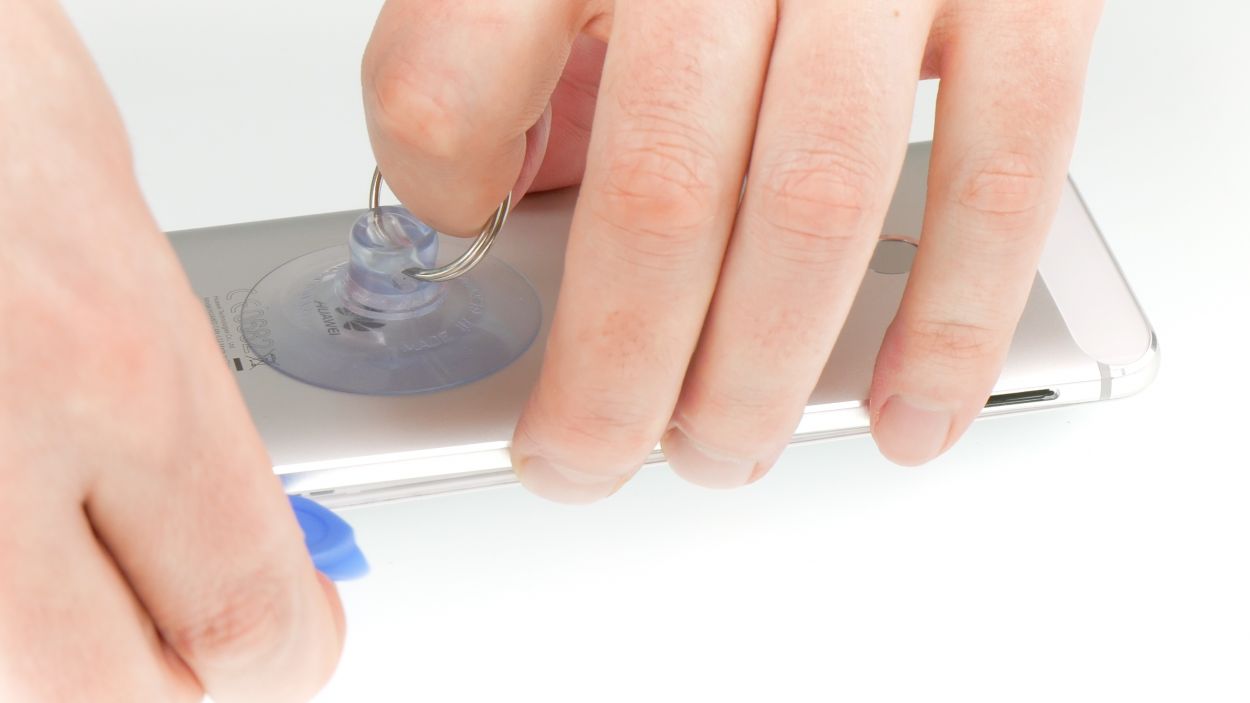
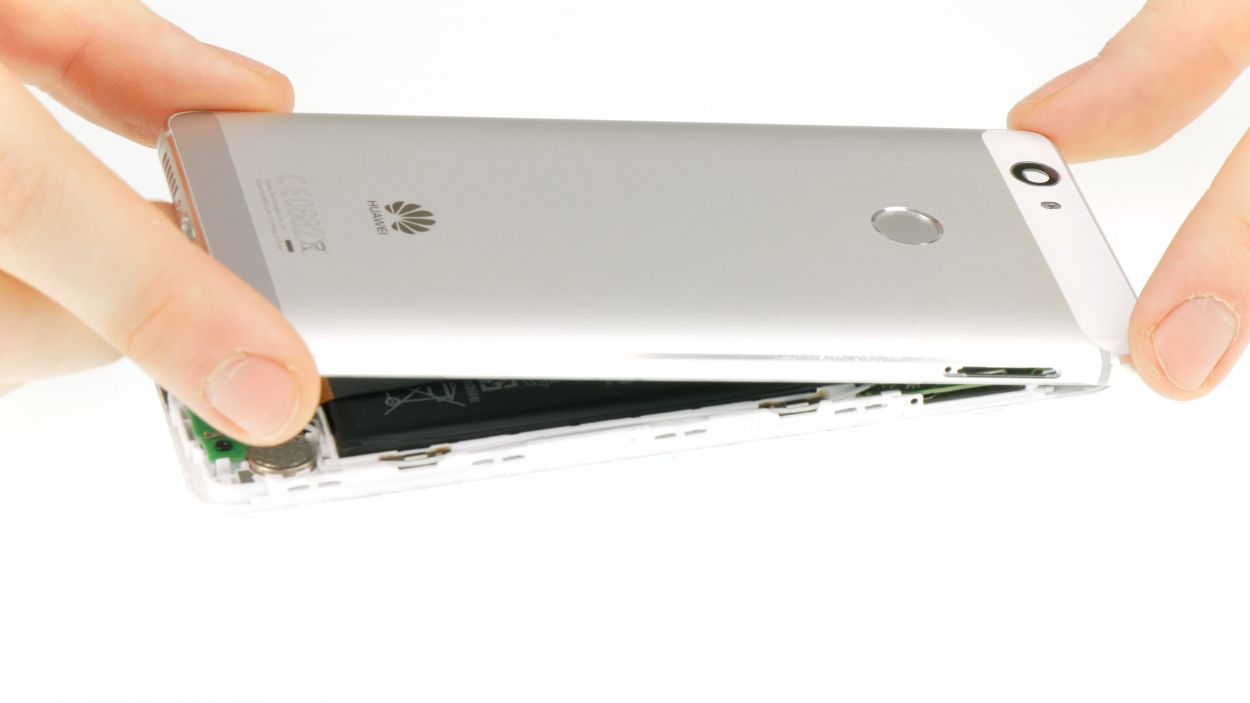
– Gently pull on the suction cup while using the pick to nudge the display down towards the table. Once you spot a little gap between the display and the back cover, slide that pick in with care.
– Now, glide the pick along the edges to gently separate the back cover from the sides. Keep that suction cup pulling, but remember to be gentle!
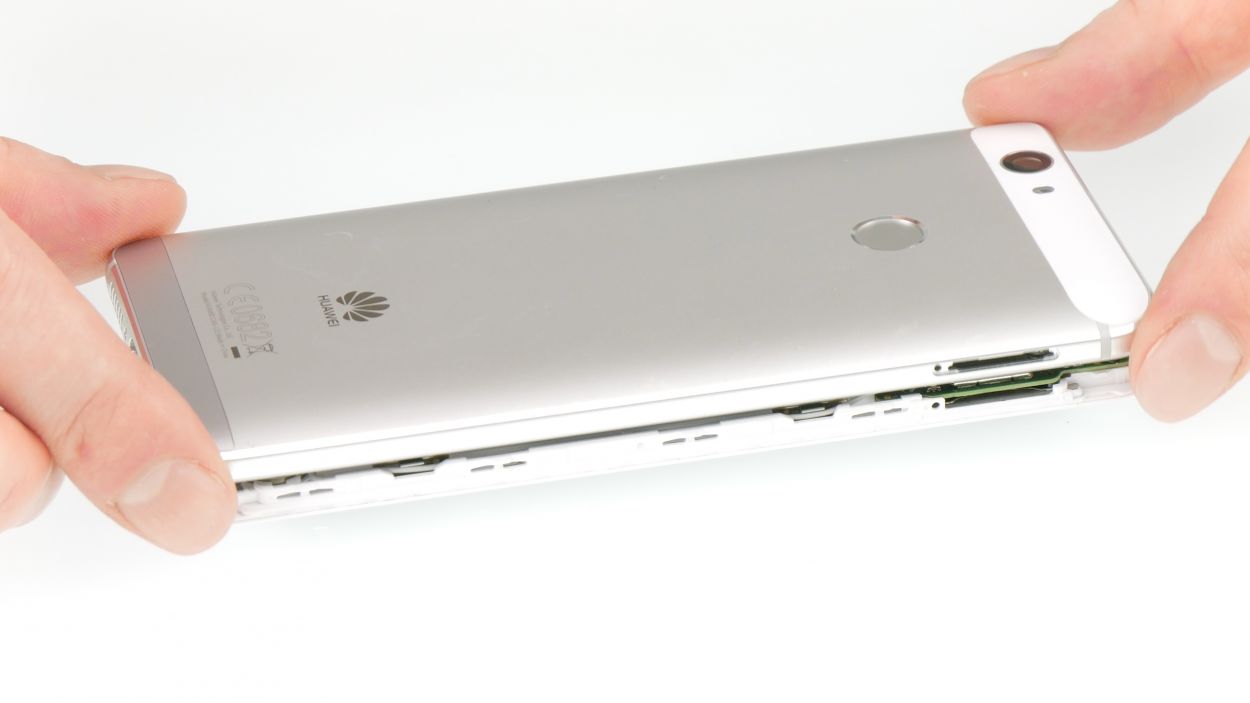
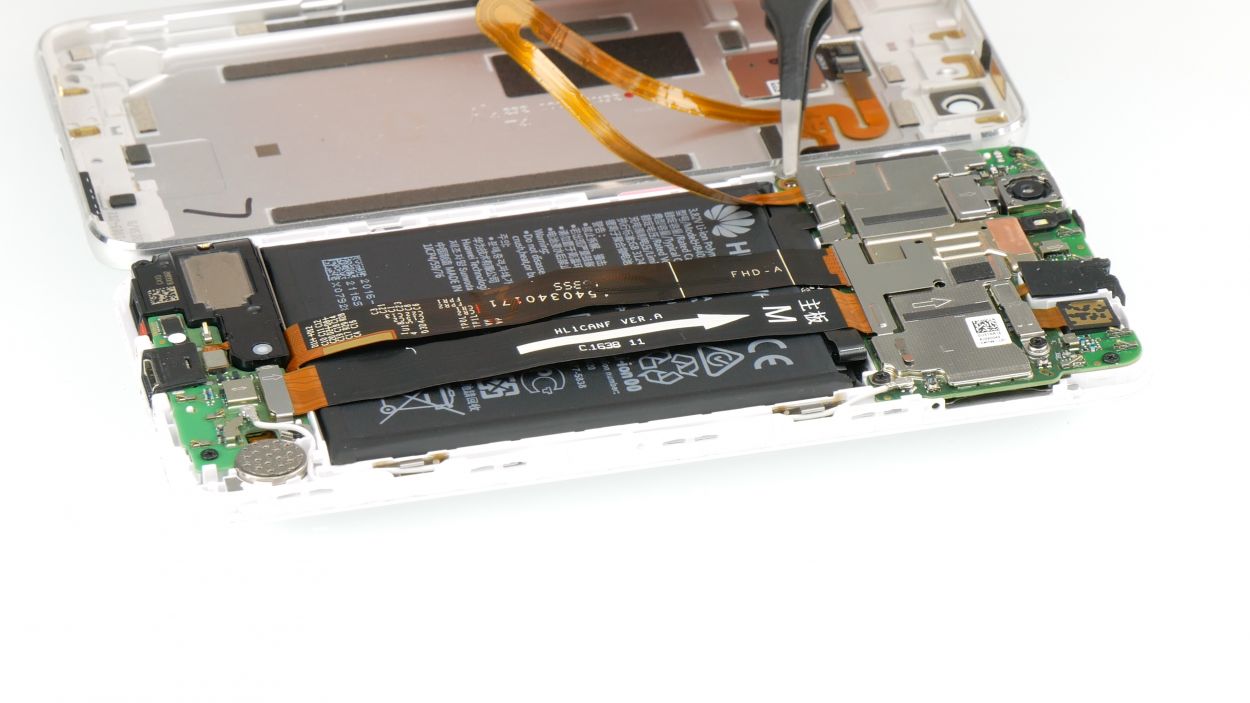
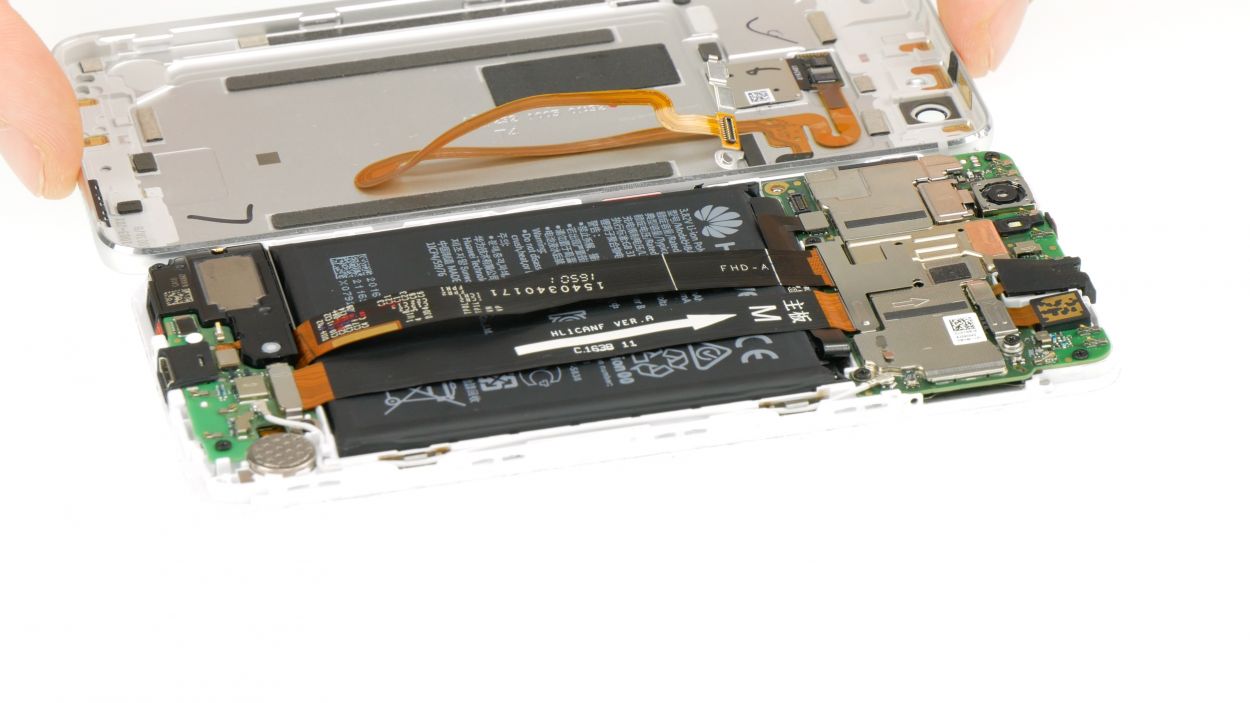
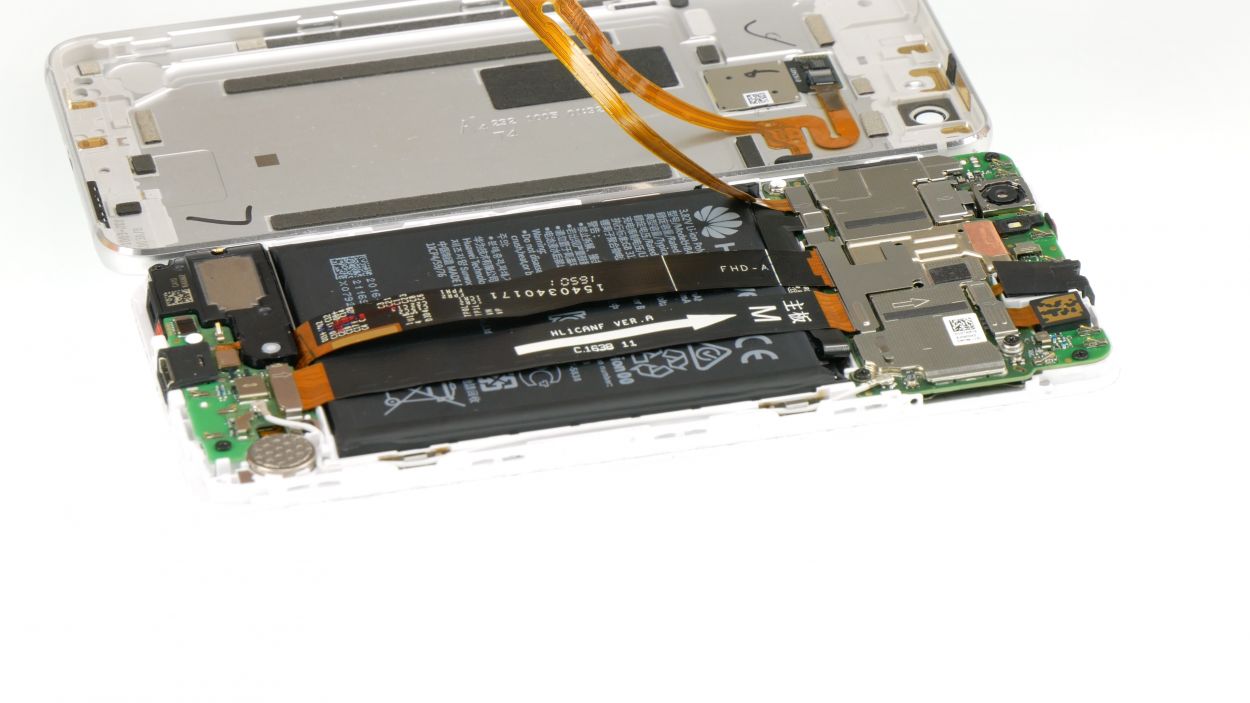
– Carefully lift the back cover. Open the device slowly at the top edge like you’re flipping through a book. Ta-da! You should now see the fingerprint sensor flex cable.
Step 5
1 × Phillips
– Psst… there’s a tiny sticker hiding a screw that holds the display connector plate in place. Let’s give it the boot!
– Time to unscrew and remove that plate! The connector’s attached, so it’ll come off with it. Easy peasy!
Step 6
Battery Connector
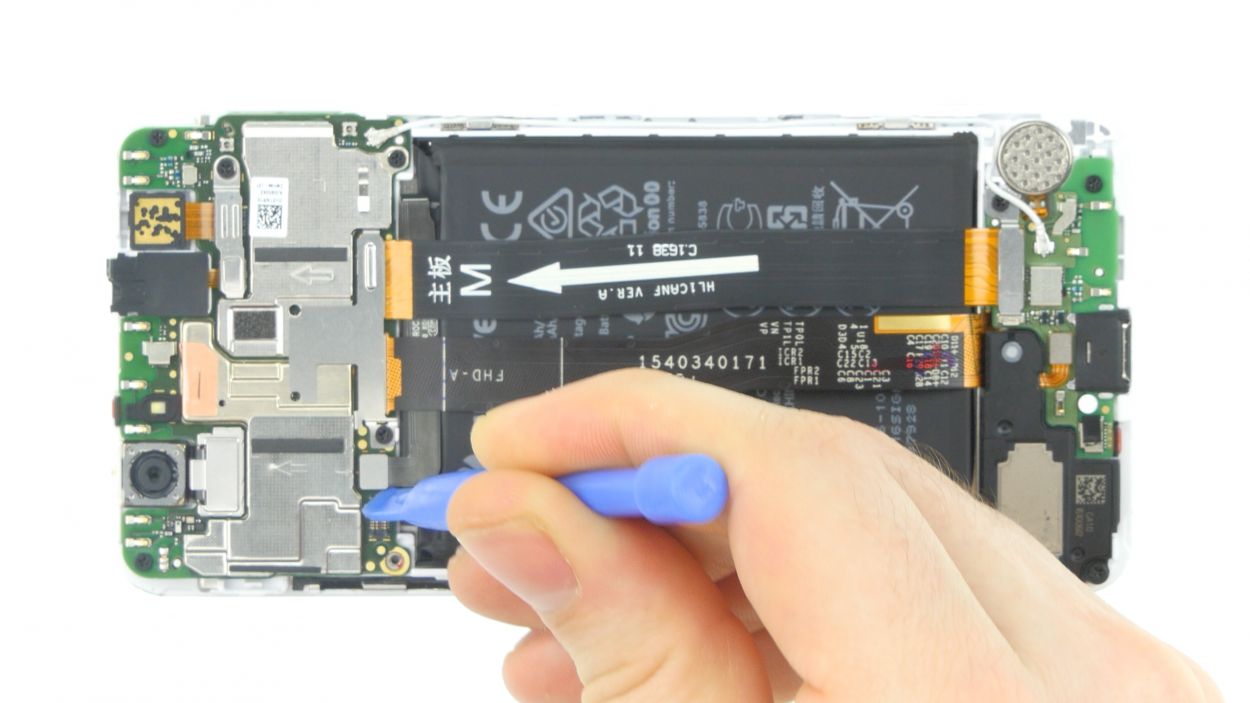
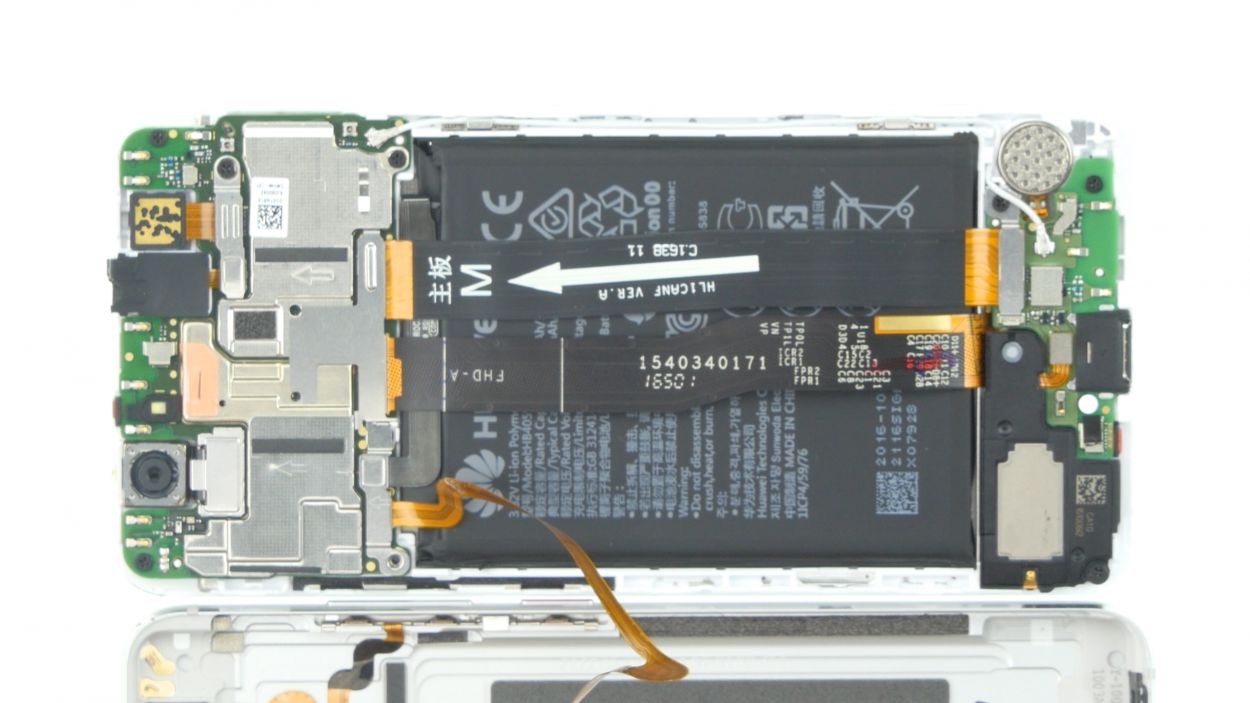
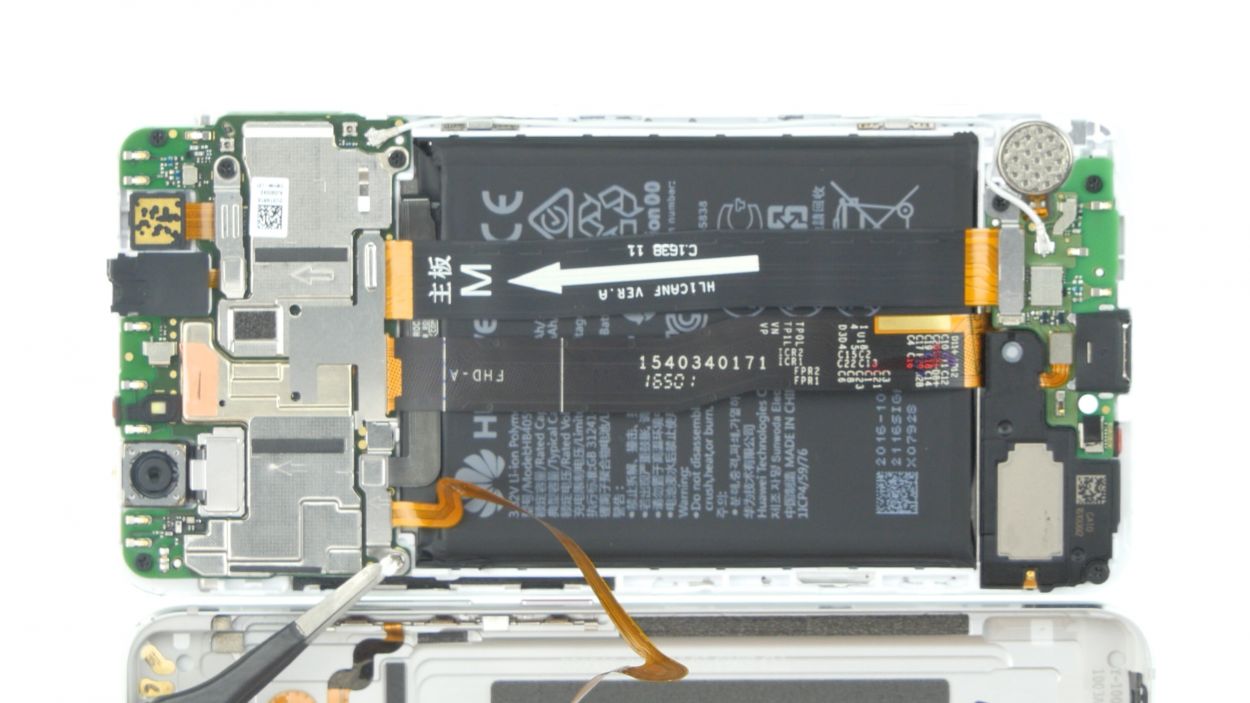
– Using a flat tool, gently detach the connector of the black flex cable that connects to the battery. You’ve got this!
Step 7
1 × Phillips
Front camera connector
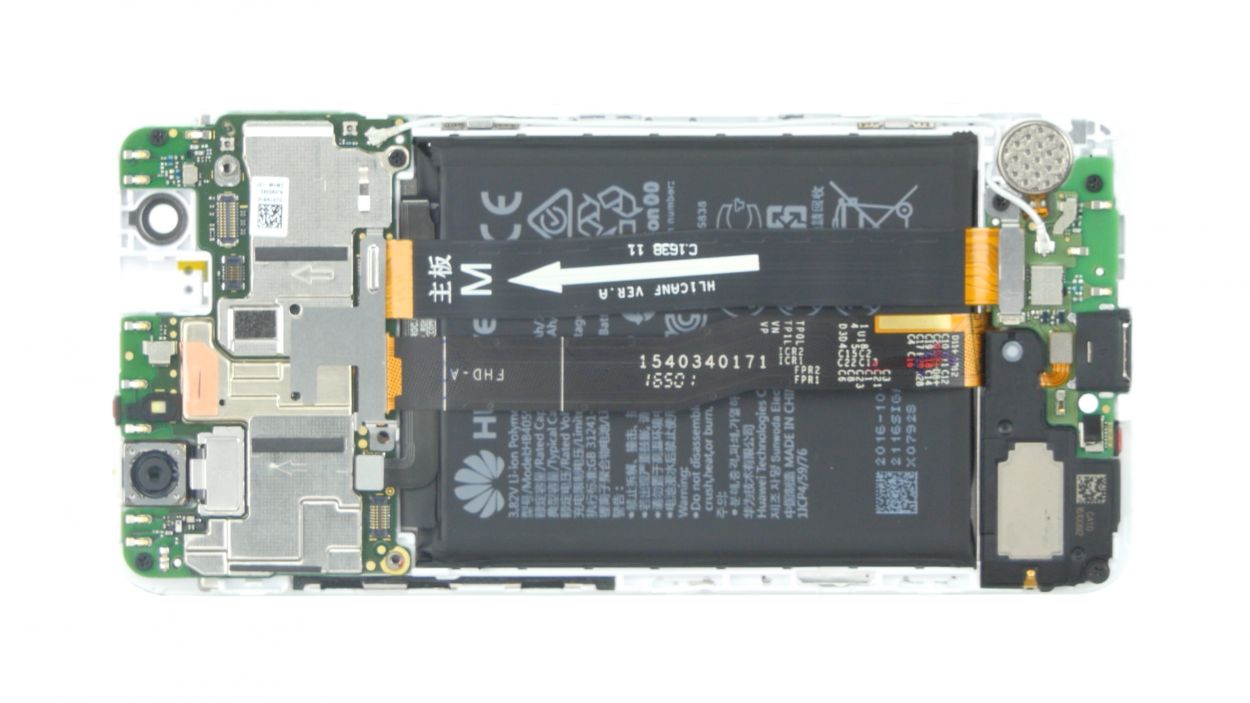
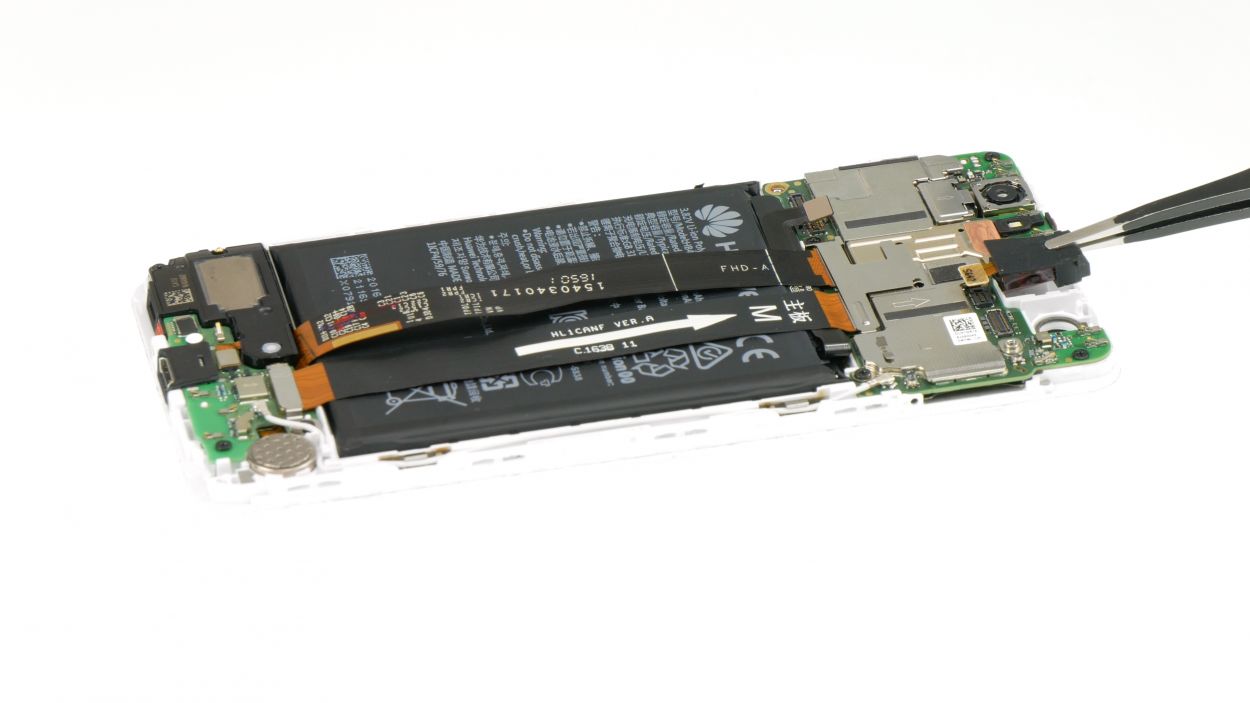
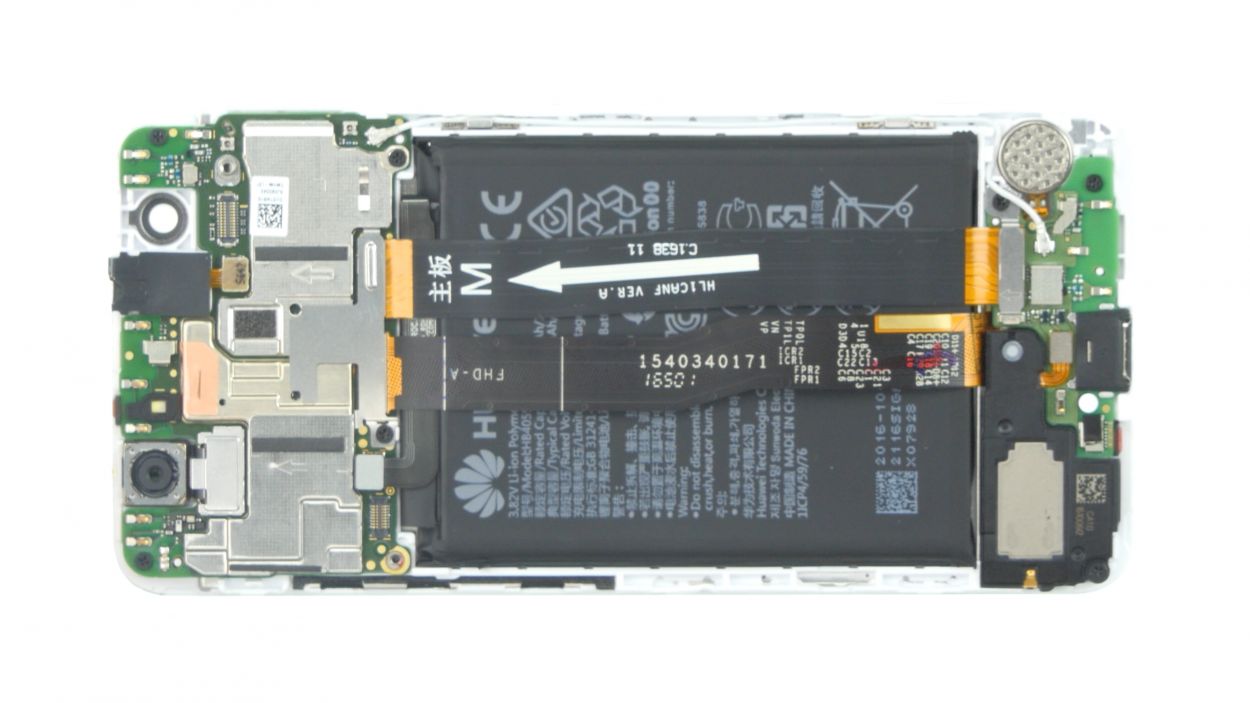
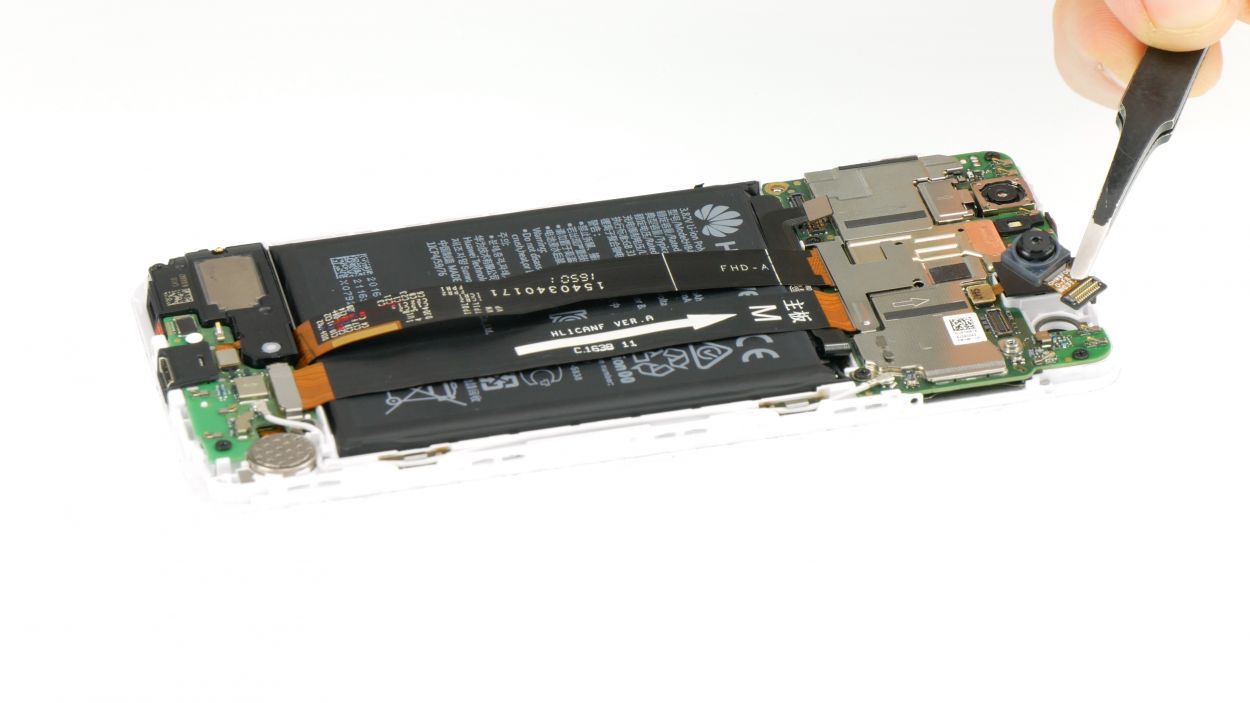
– Let’s kick things off by unscrewing that little screw holding down the metal plate over the front camera connector.
– Once that’s done, gently lift off the plate like it’s a lid on a surprise!
– Now, with a spudger in hand, carefully disconnect the connector. We want to be gentle here!
– Finally, pop the front camera out of its cozy bracket. You’re doing great!
Step 9
1 × Phillips
Flex cable 1
Flex cable 2
Antenna cable
1 × Phillips
Flex cable 3
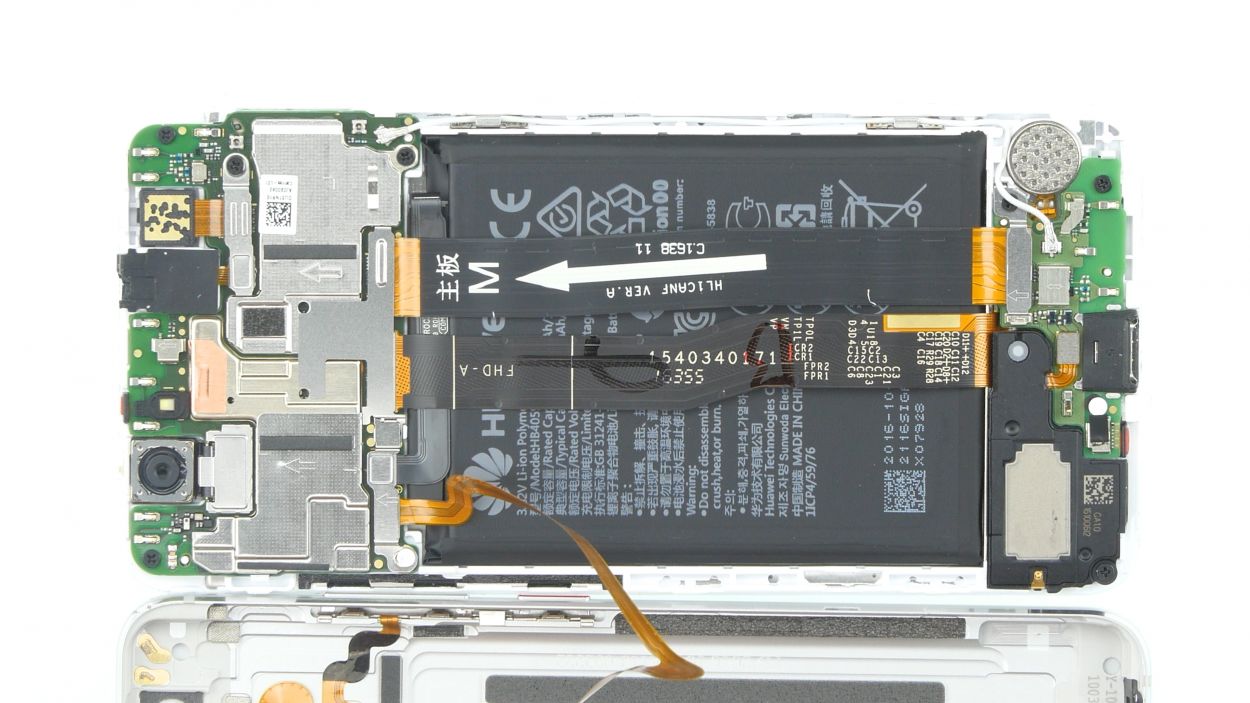
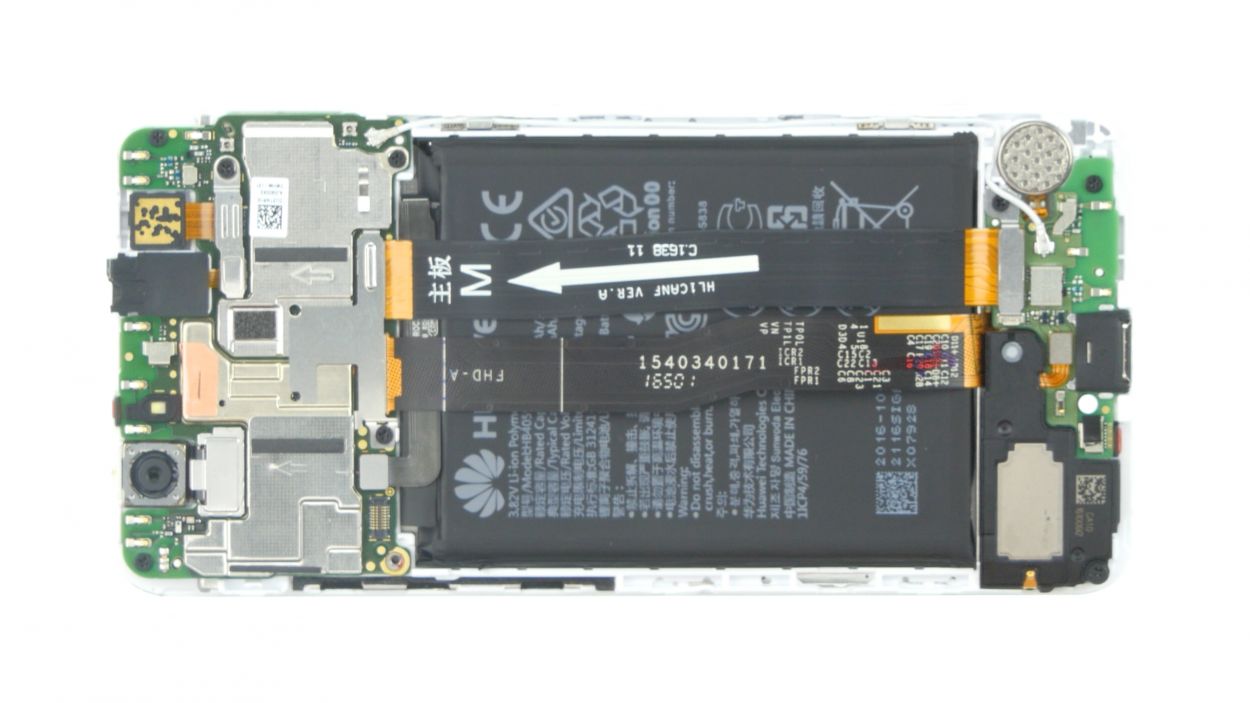
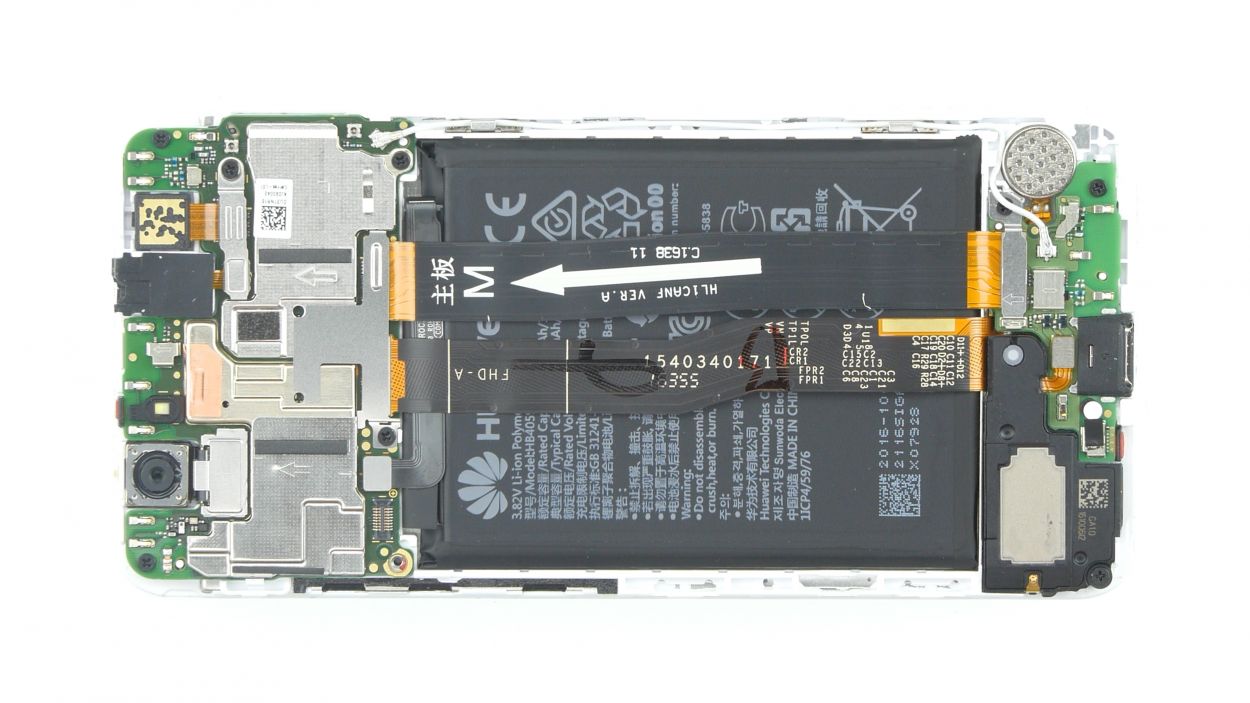
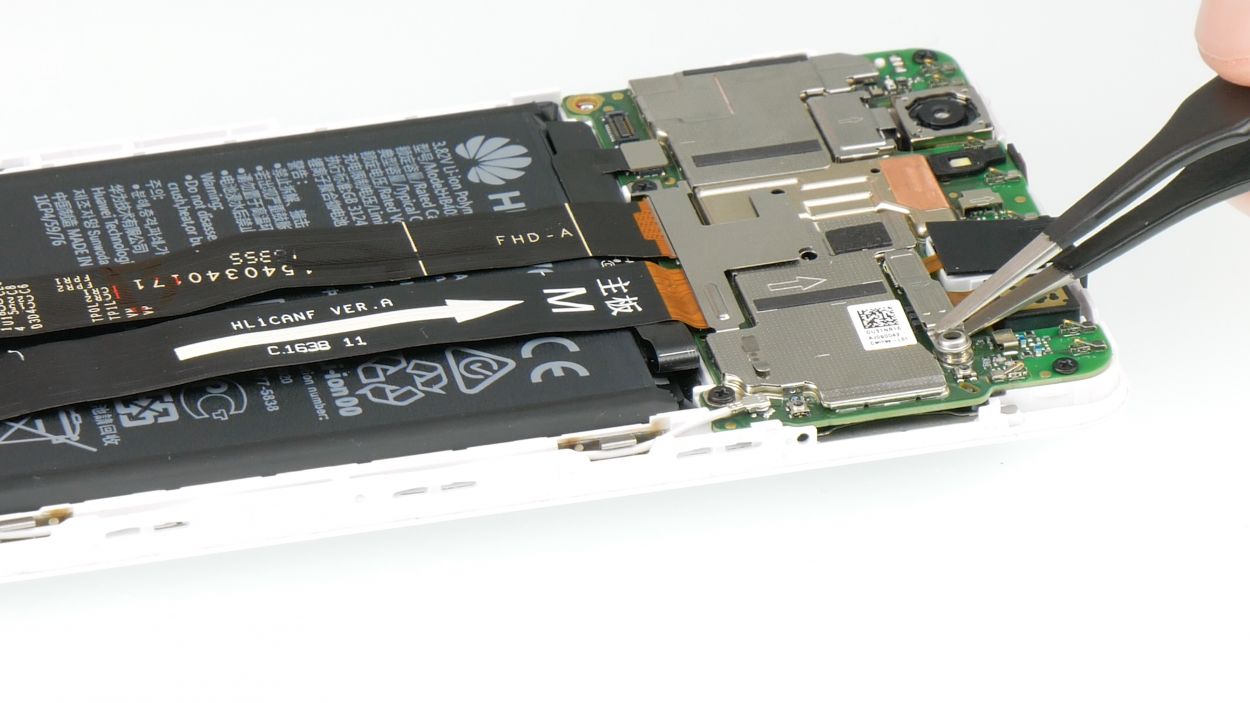
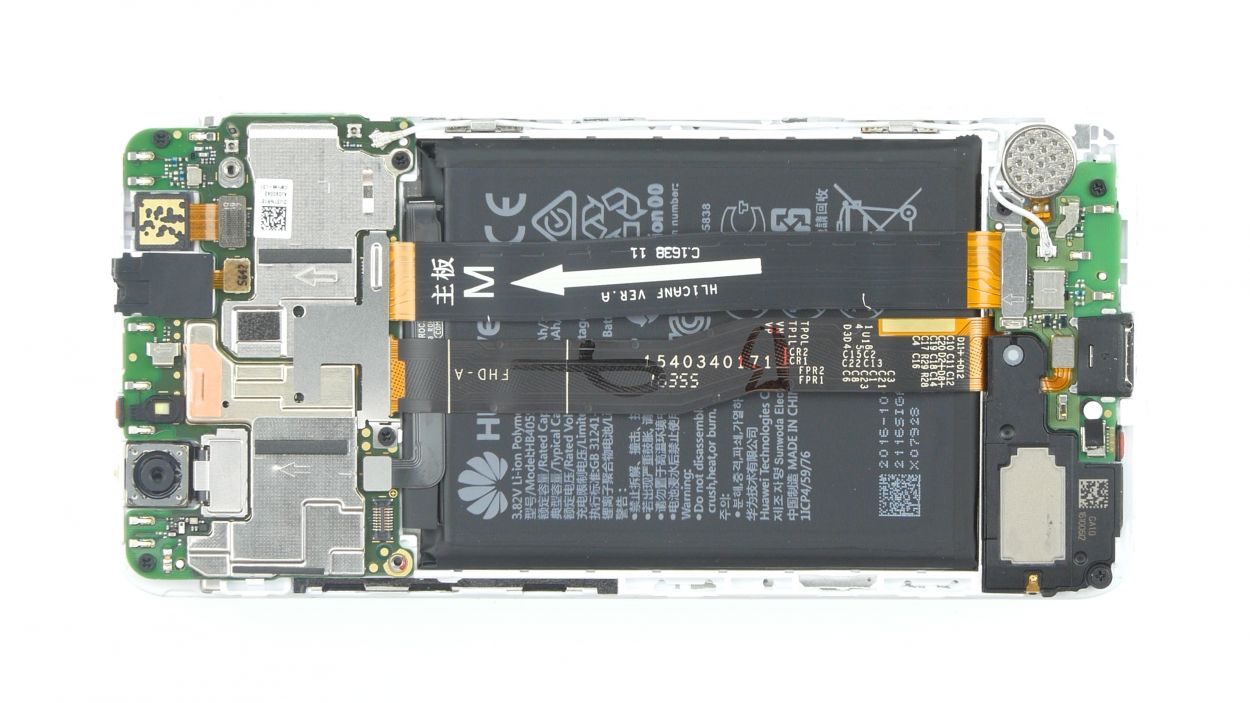
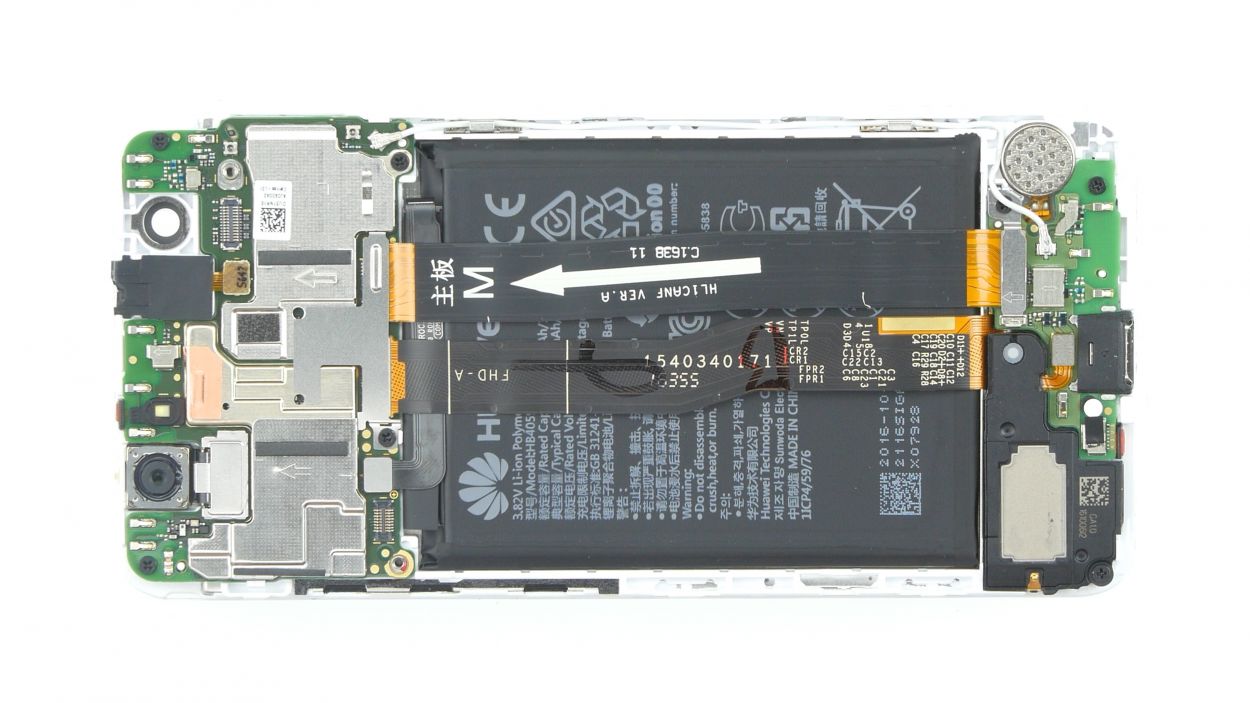
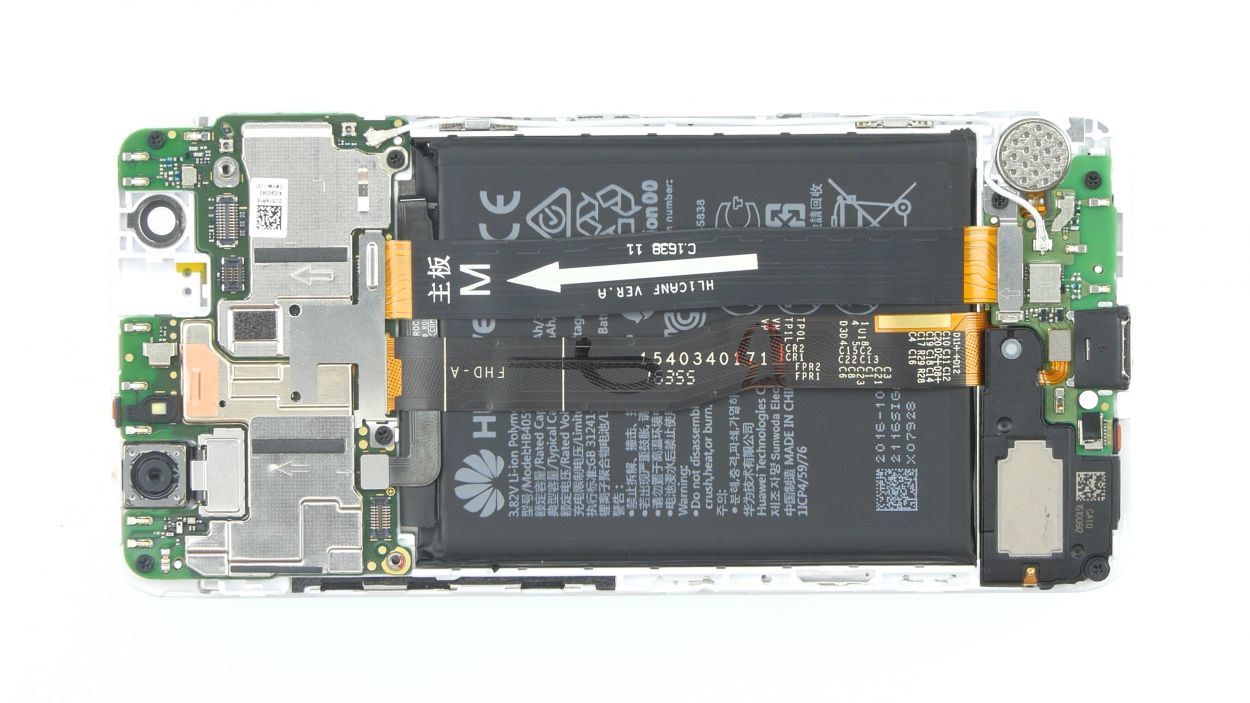
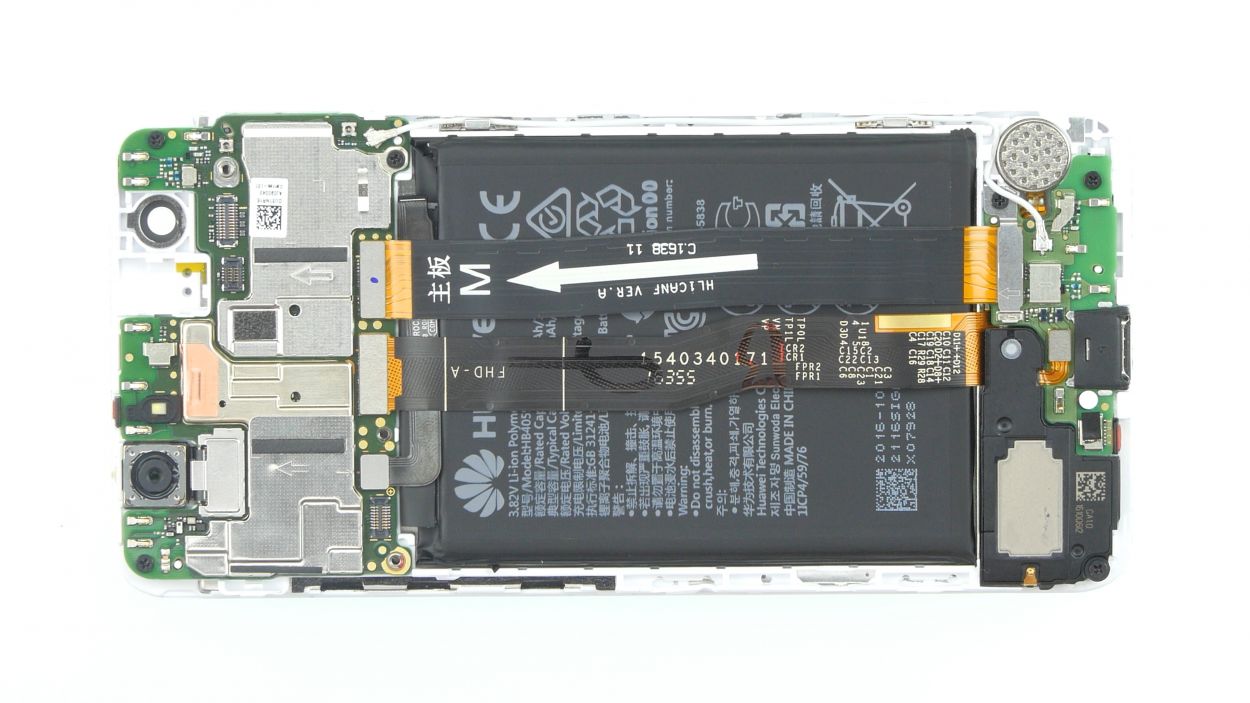
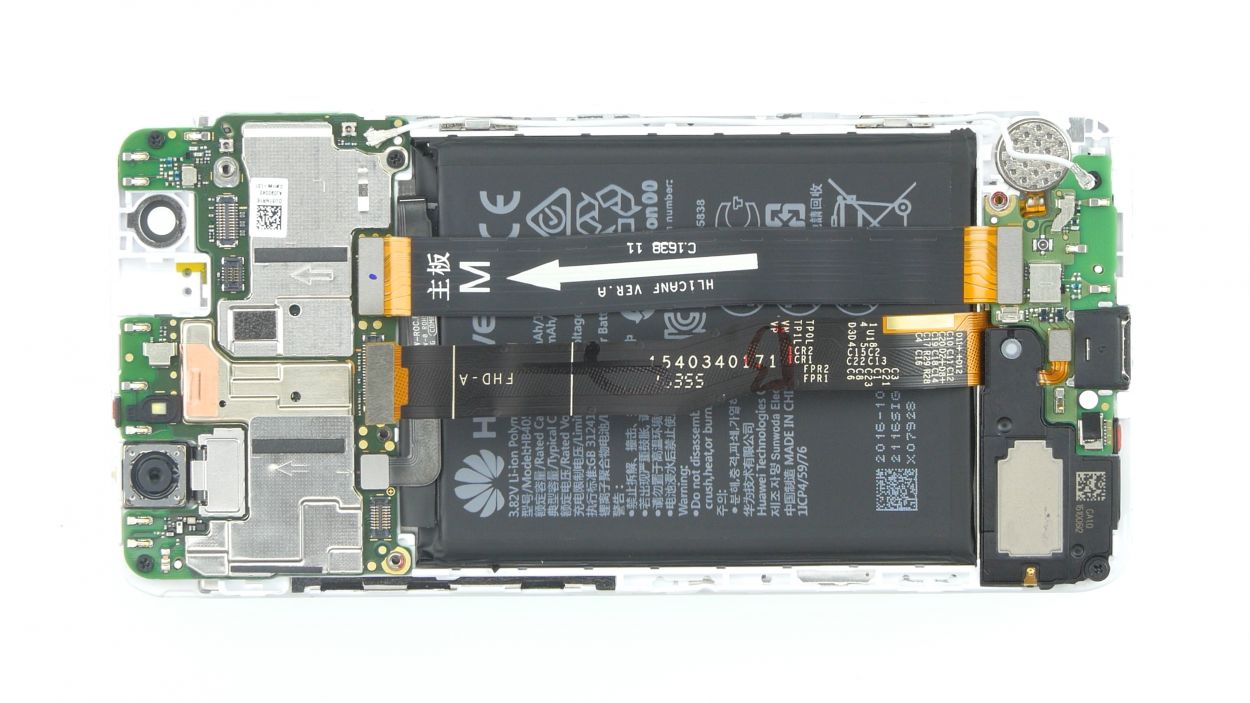
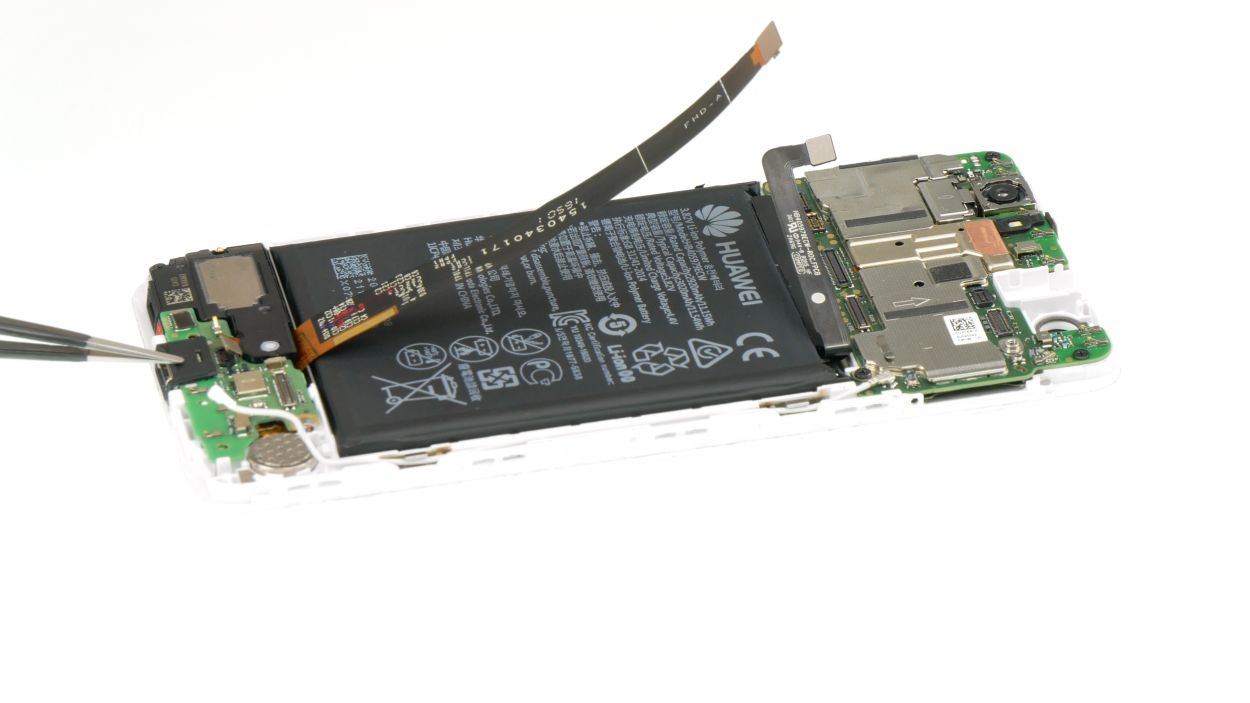
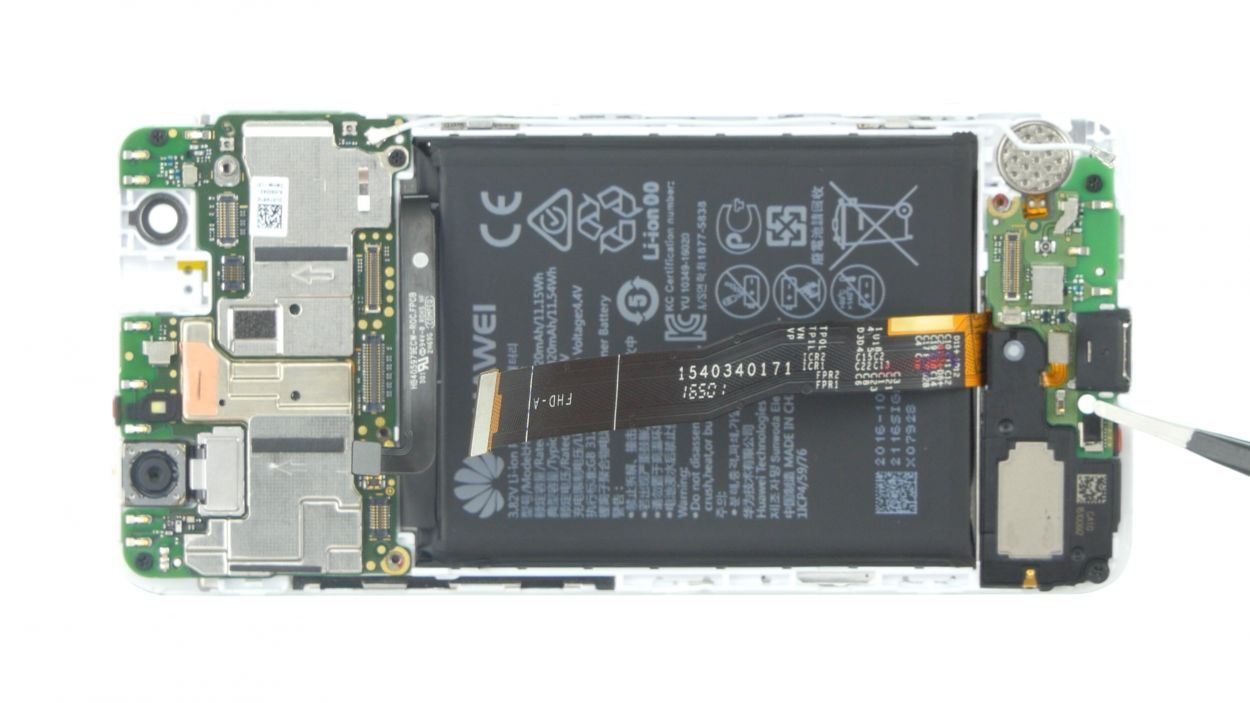
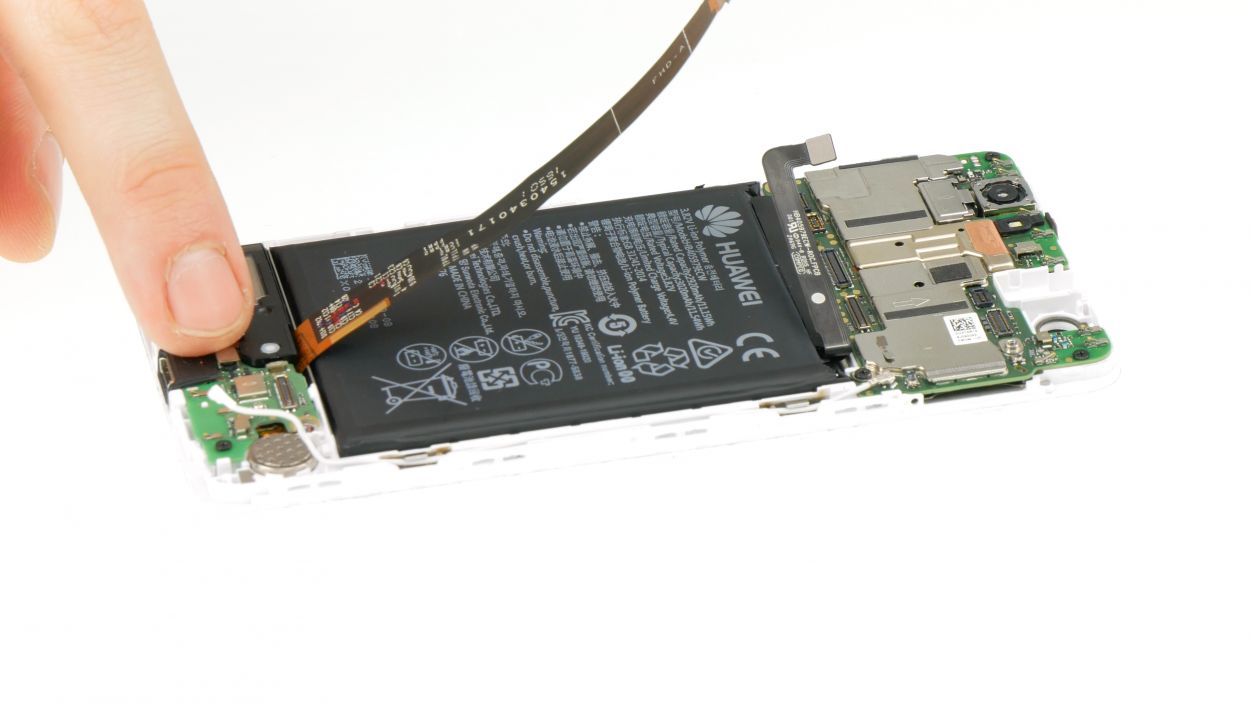
– First things first, grab your trusty screwdriver and unscrew the plate that’s covering the connectors of those two big flex cables. Once that’s done, gently lift off the plate.
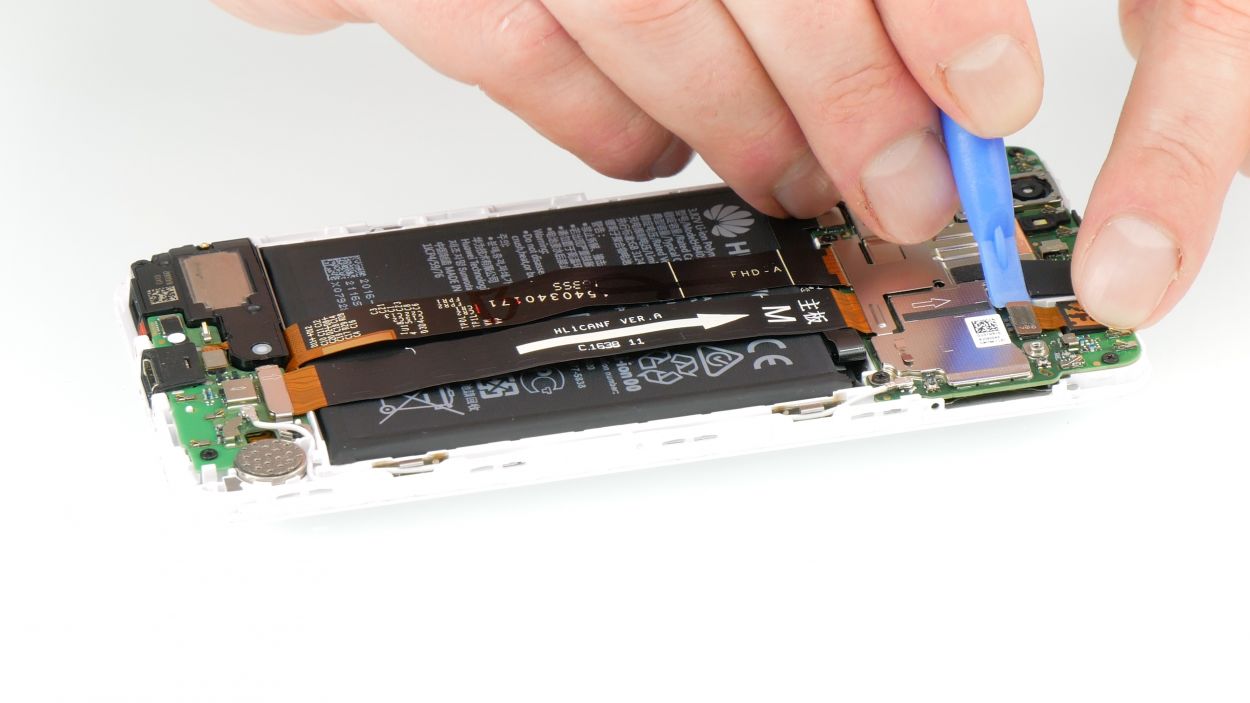
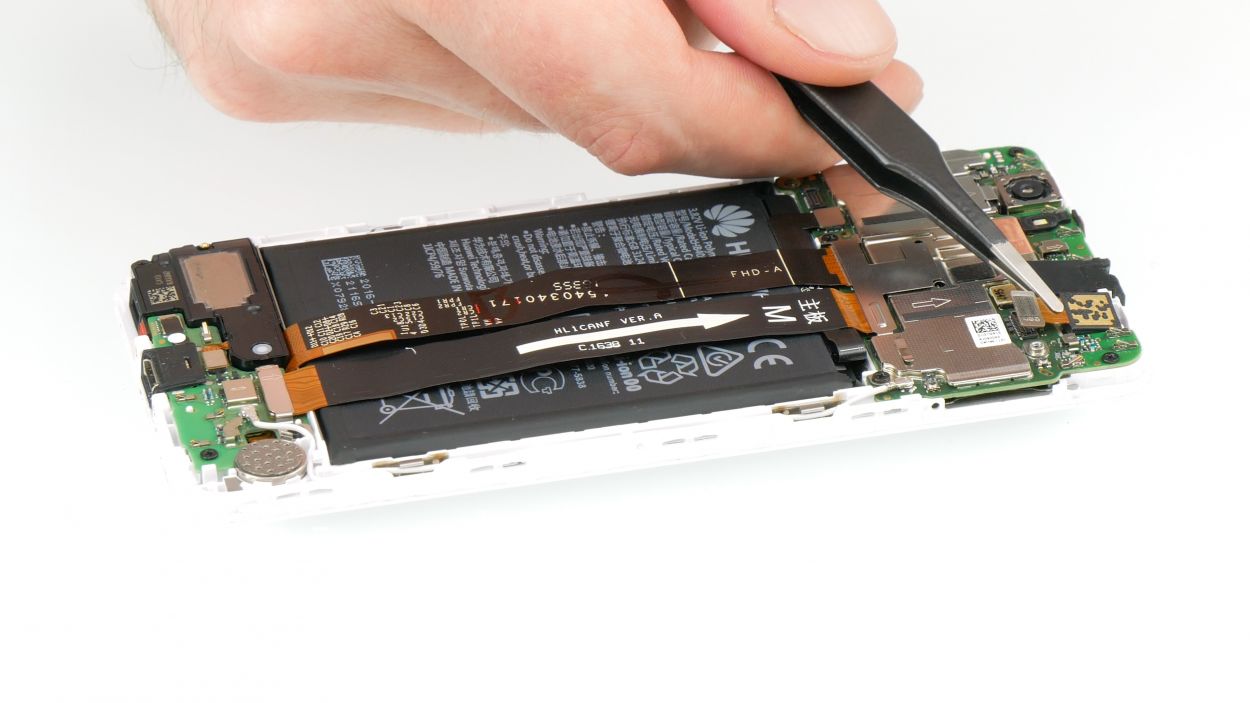
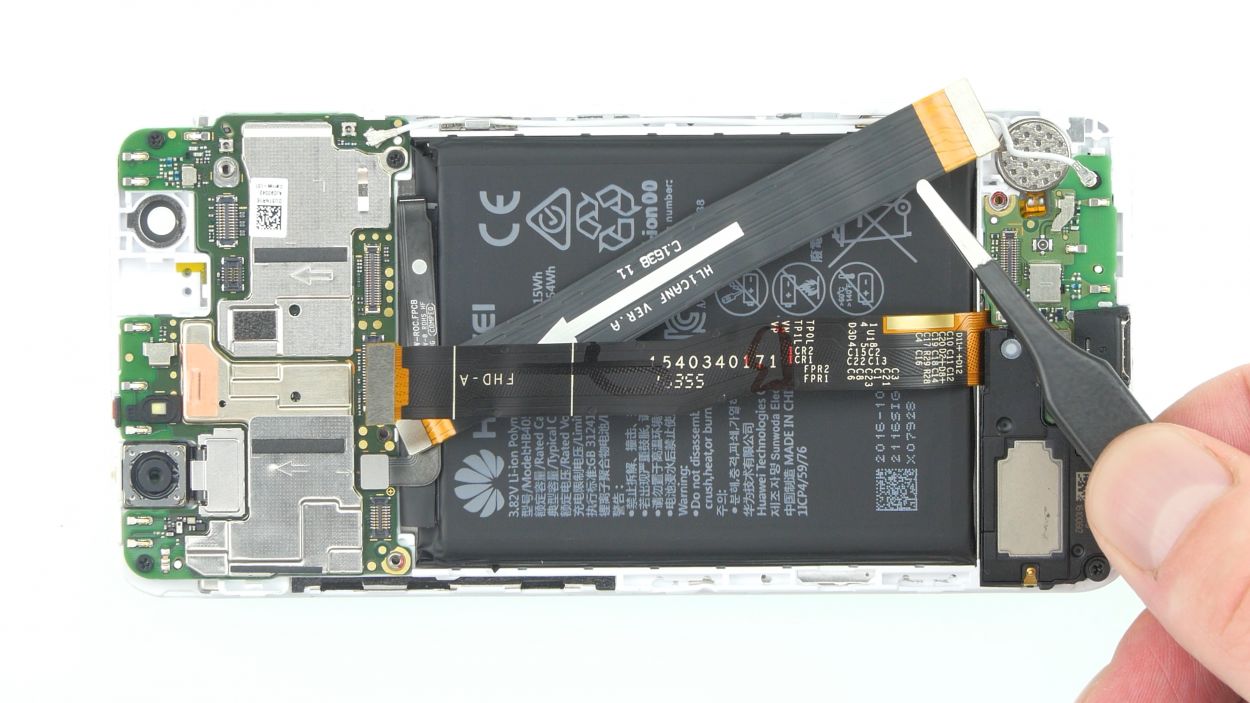
– Next up, take your spudger and carefully disconnect the two flex cable connectors from the motherboard. You’ve got this!
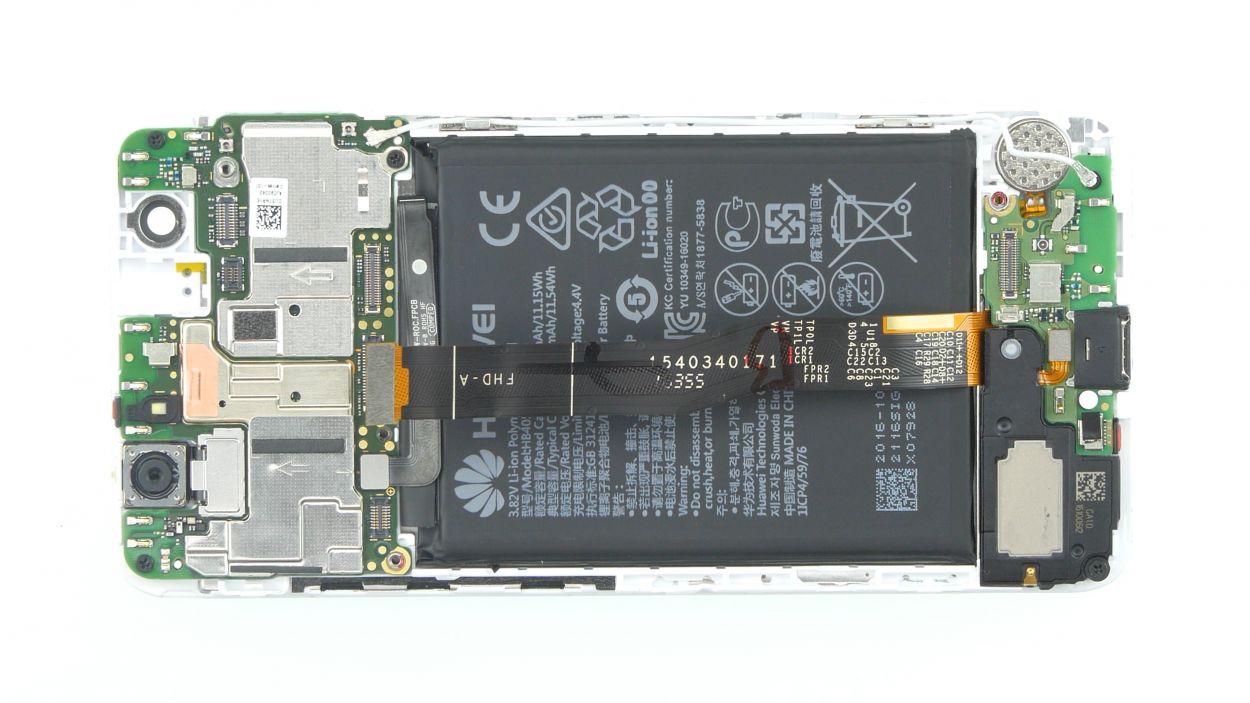
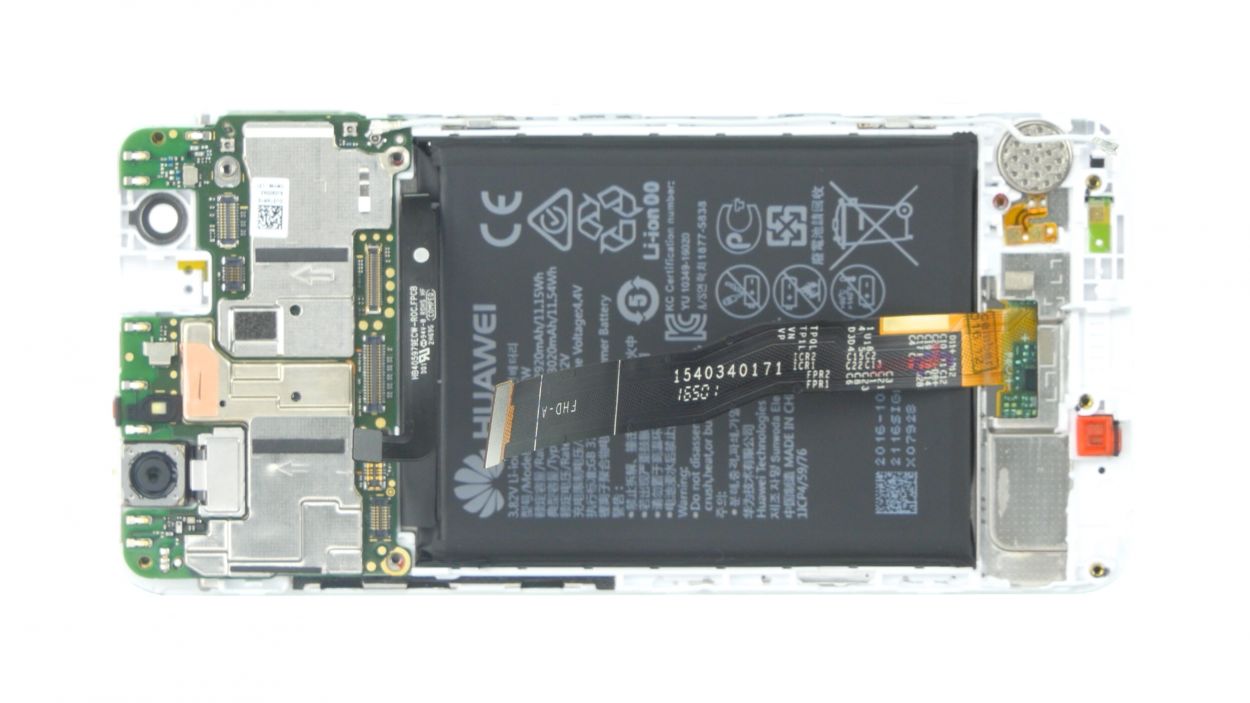
– Now, let’s tackle the antenna cable. Disconnect its connector on the lower circuit board, and voilà! You’ll now have access to the screw for the lower plate that’s hiding the connector of the large flex cable marked with an arrow.
– Unscrew that lower plate and set it aside. Almost there!
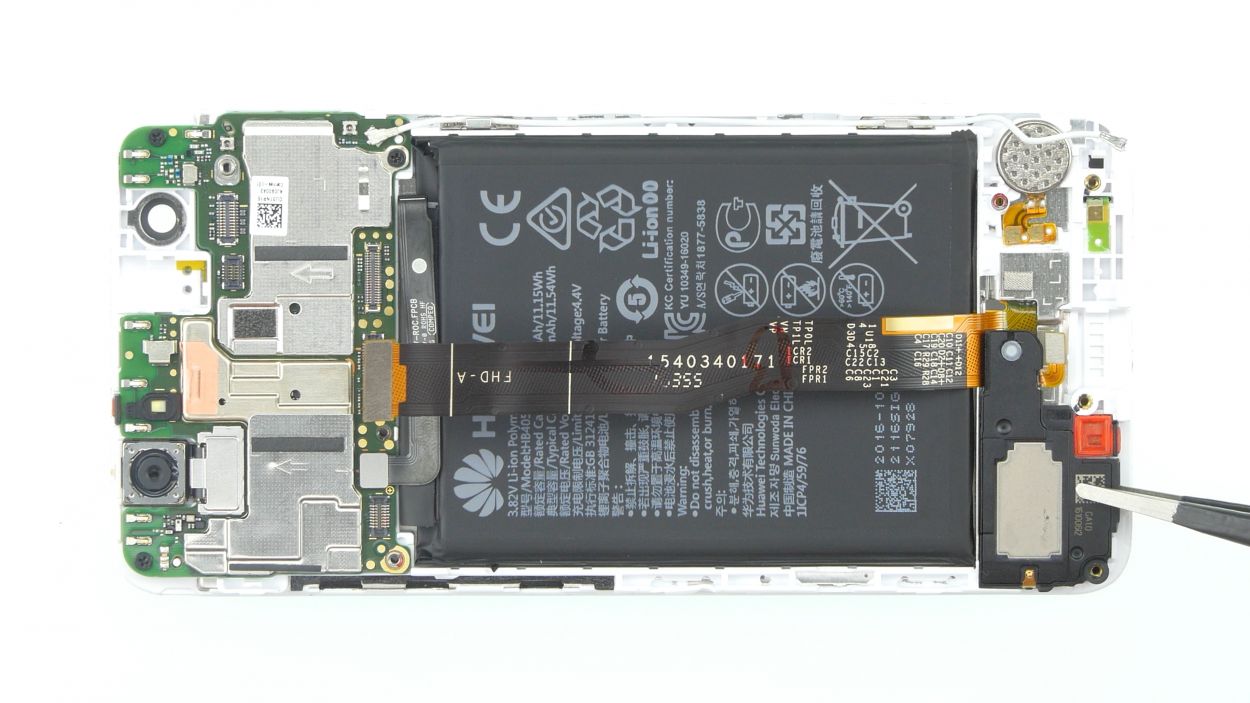
– Finally, use your spudger to disconnect the last connector and remove the flex cable. You’re doing great!
Step 10
1 × Phillips
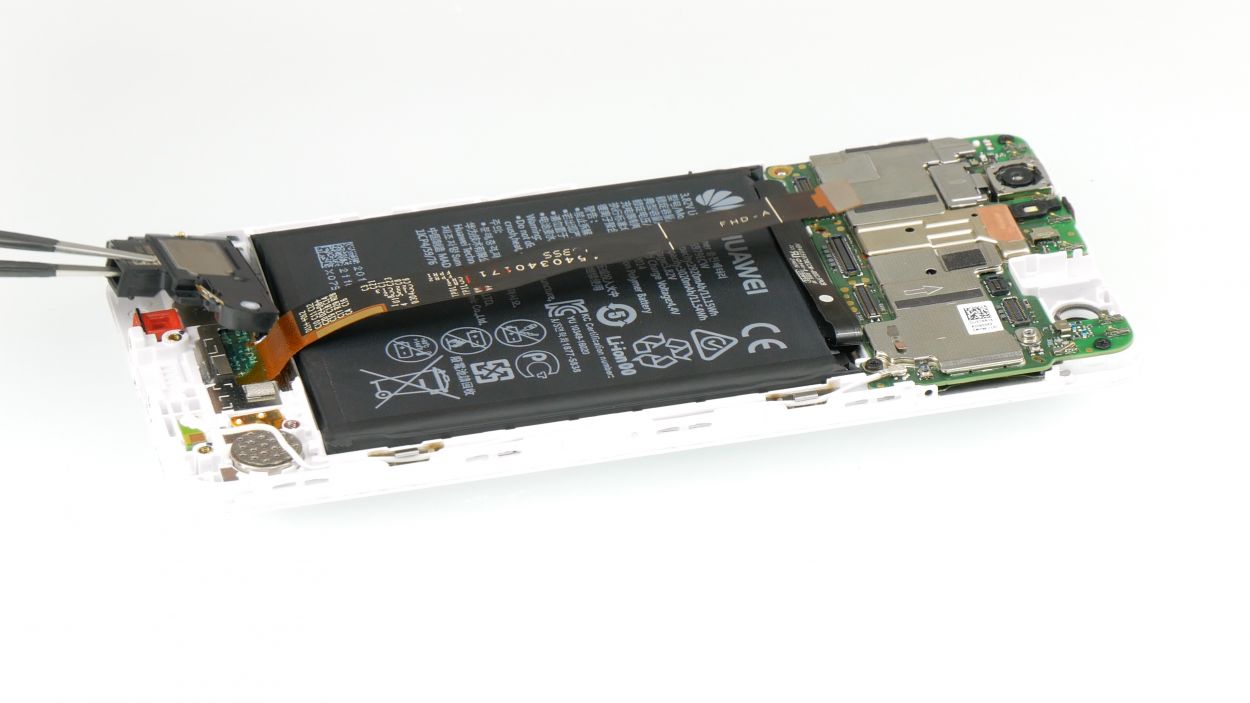
The speaker is just a little stuck on there, so grab a flat tool and gently pry it off. You got this!
– First up, grab your trusty screwdriver and loosen that screw holding the speaker in place.
– Now, gently pop out the speaker and set it aside. You’ve got this!
Step 11
Speaker connector
2 × Phillips
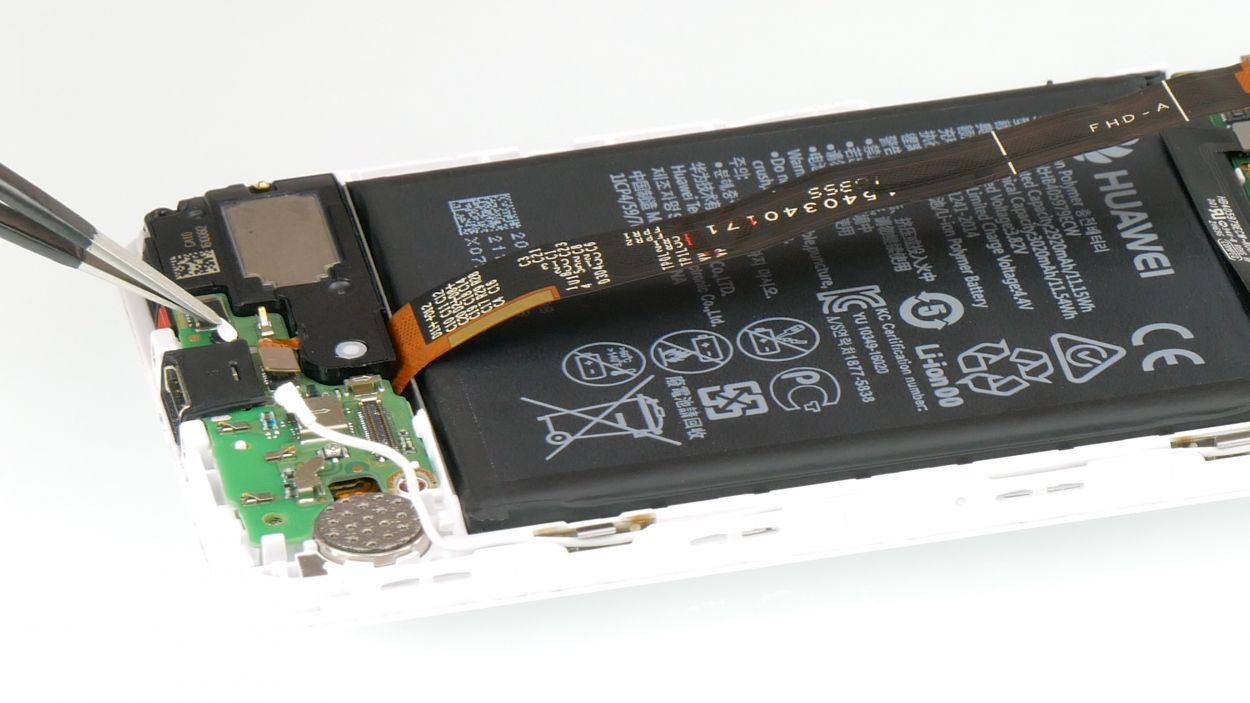
– Time to disconnect that pesky speaker connector! Use a spudger to gently pry it loose.
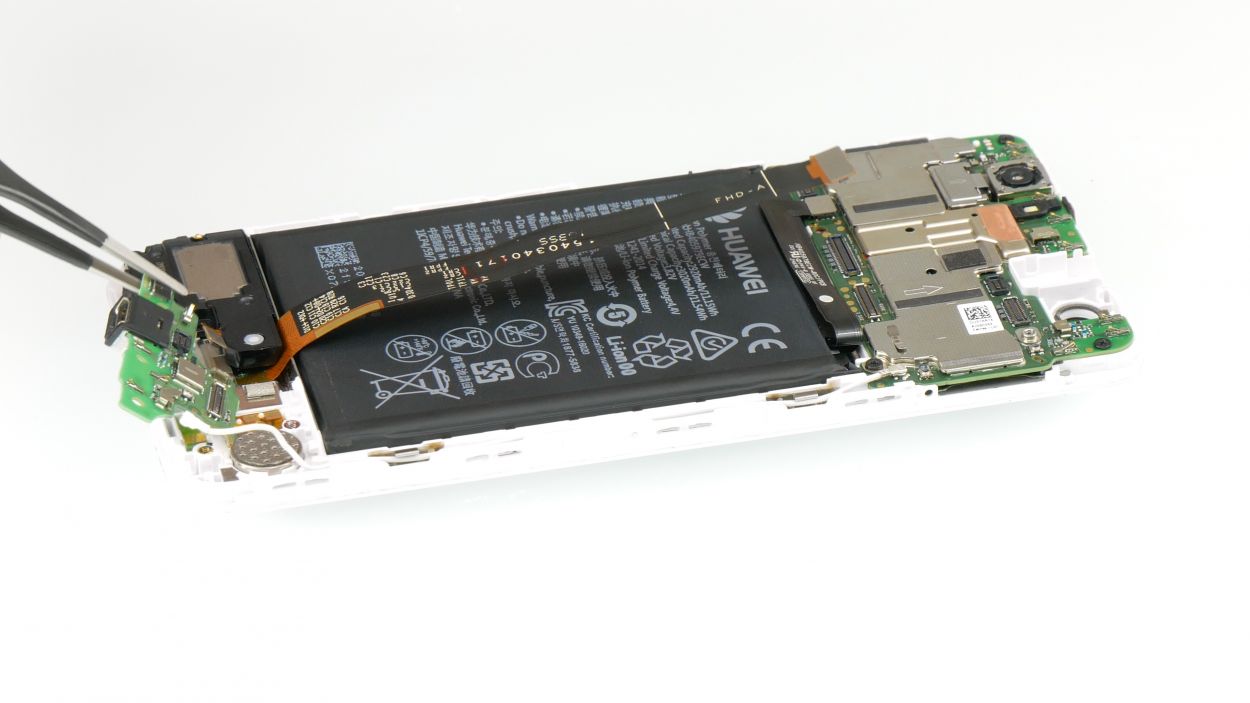
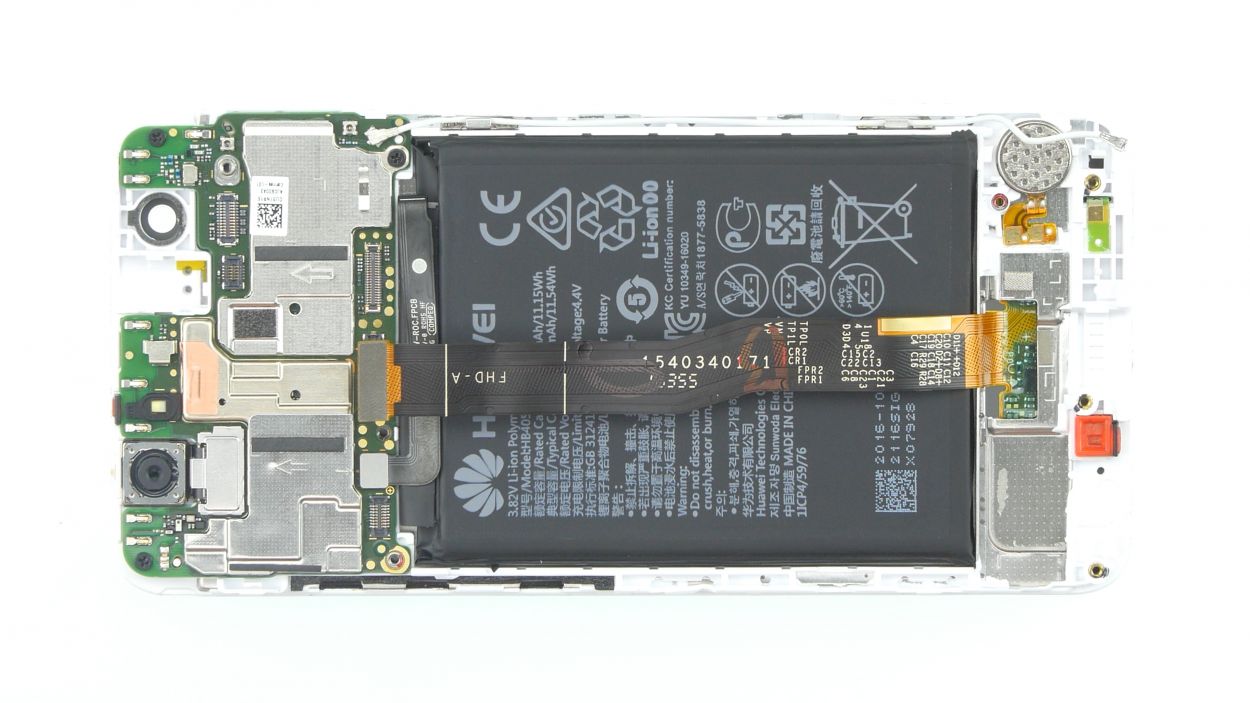
– Next up, grab your screwdriver and let’s take out those two screws holding down the lower circuit board. Just a quick heads-up, for the lower screw, you’ll want to peel off the round sticker first.
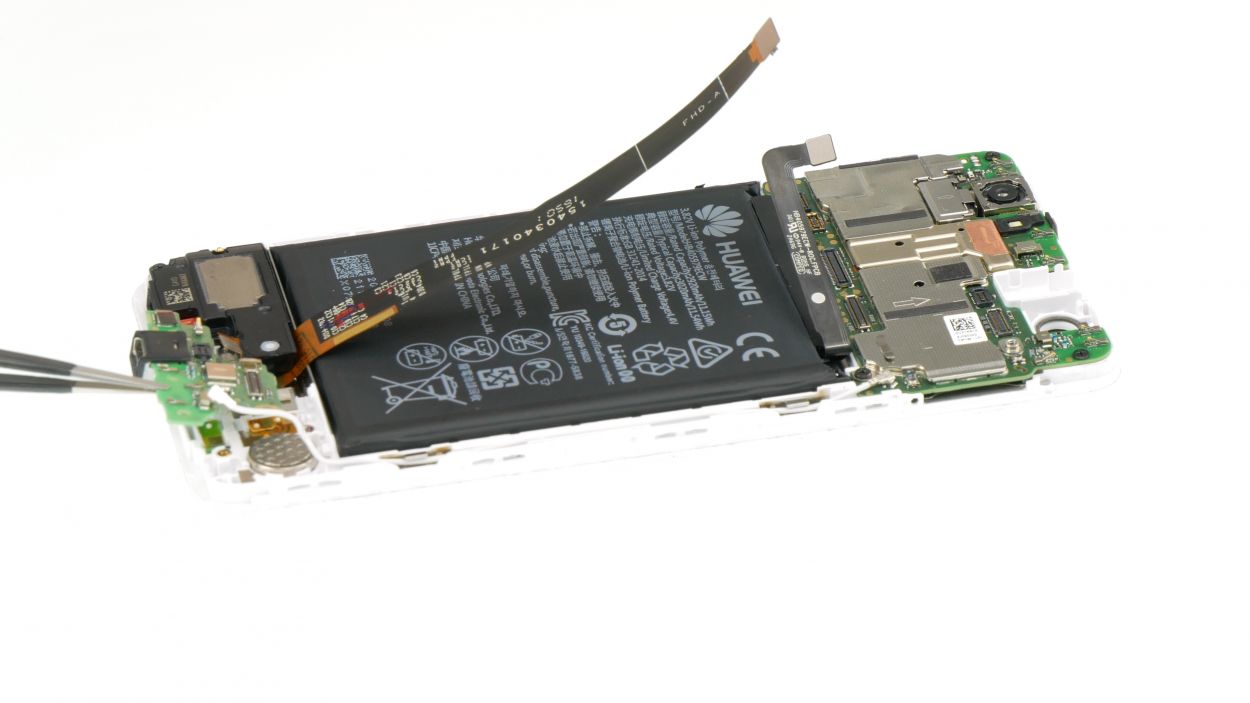
– You’ve got this! Now it’s time to lift away the lower circuit board.
Step 12
3 × Phillips
Antenna cable
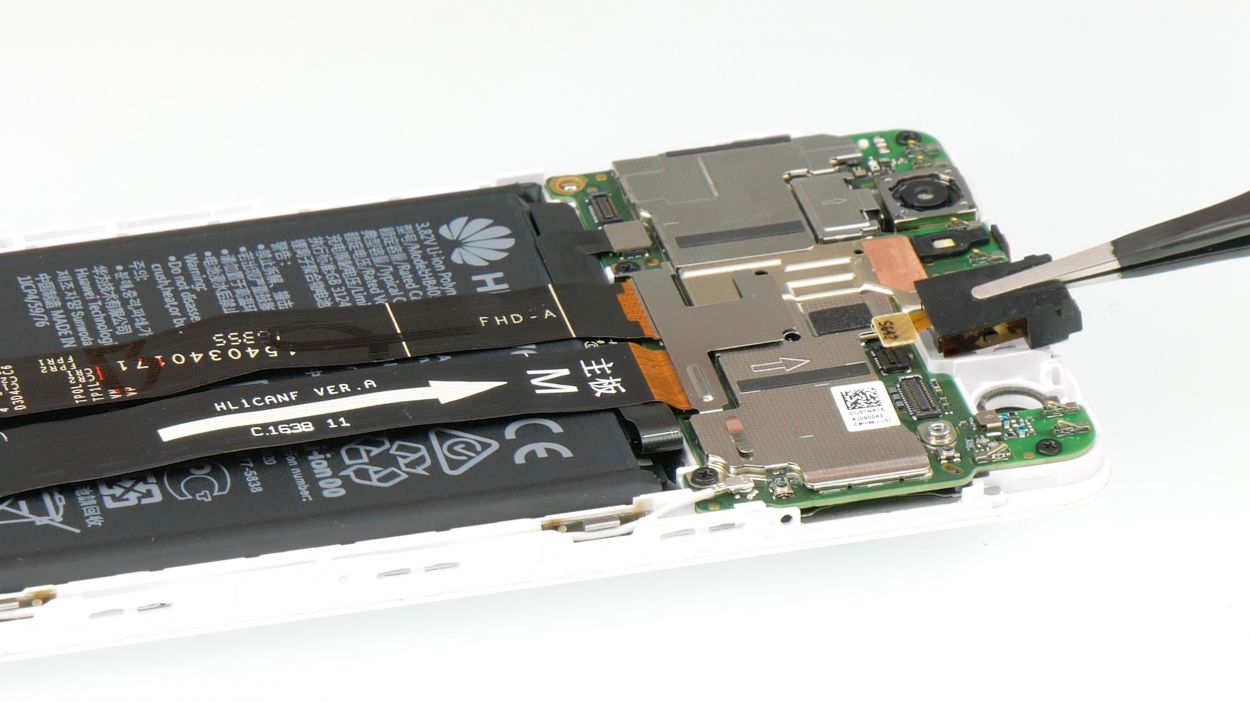
– Unplug that antenna cable with a gentle tug on the connector.
– Say goodbye to those last three motherboard screws—let’s get them out of there!
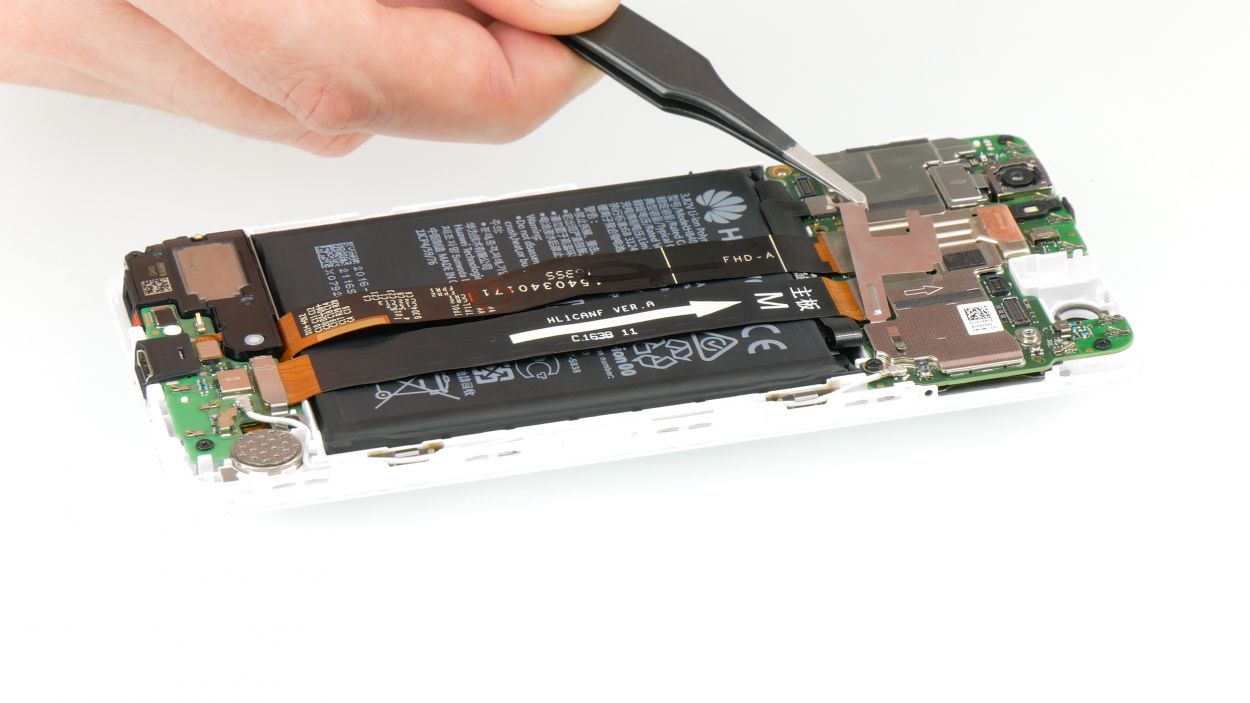
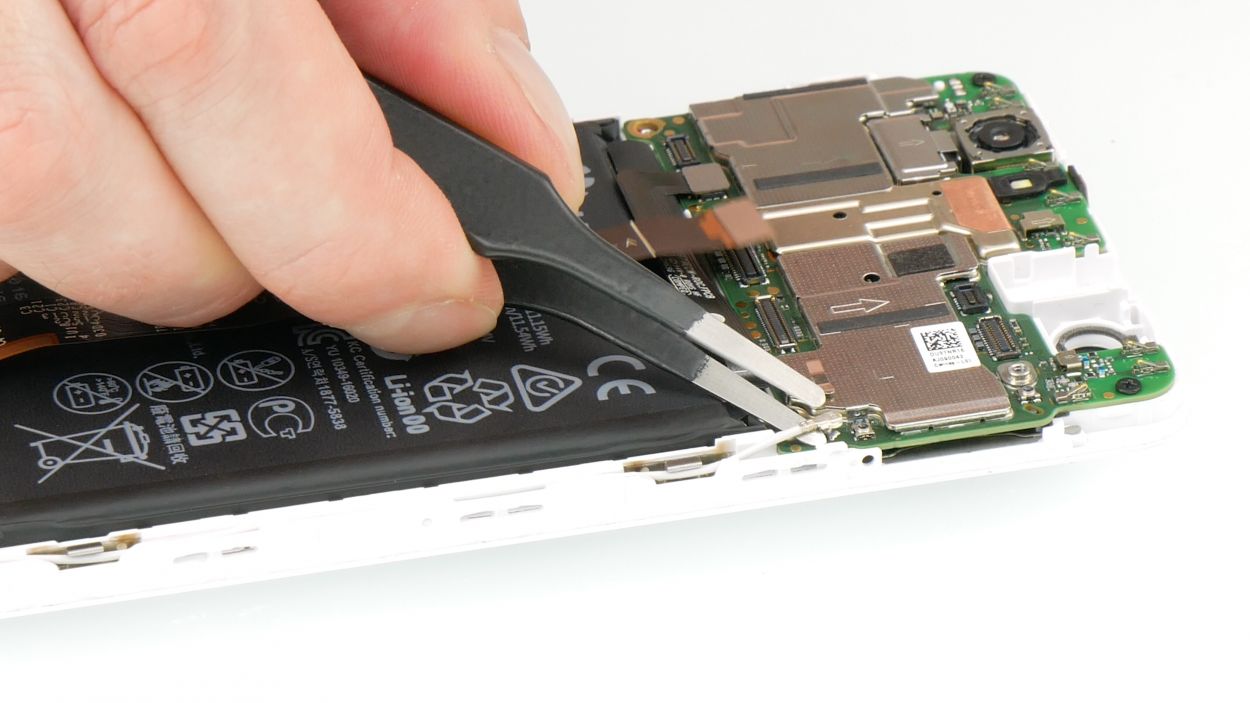
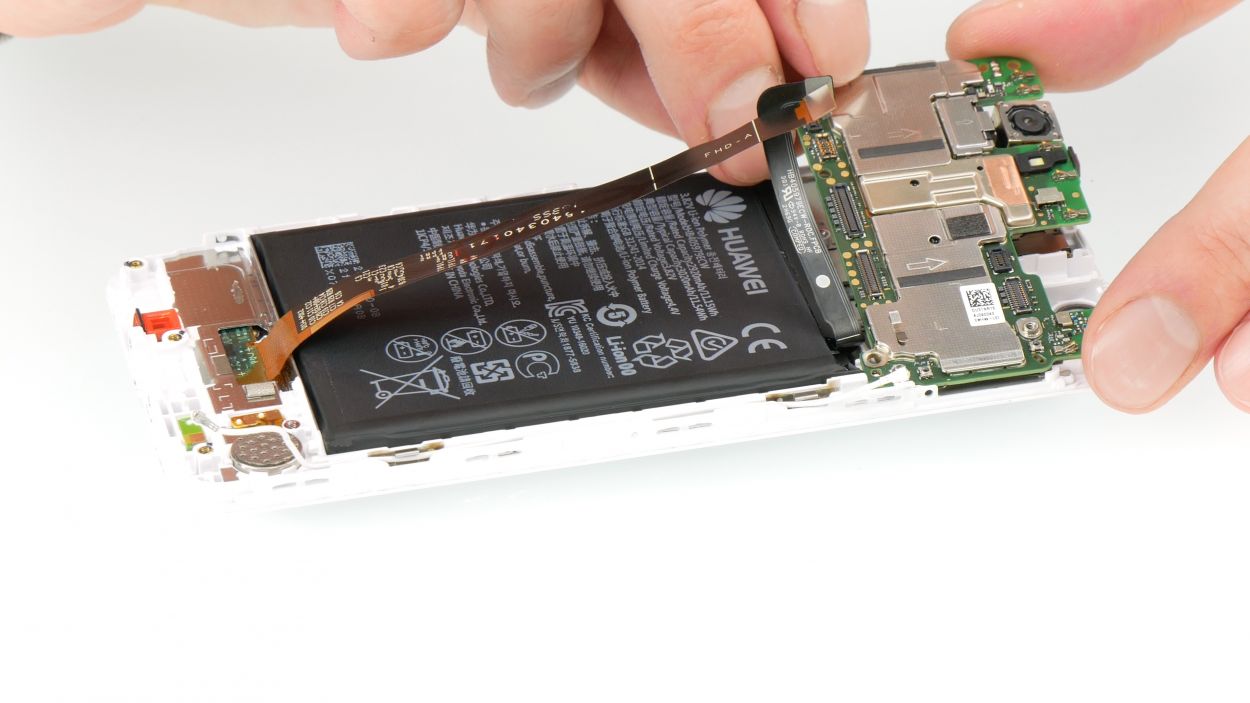
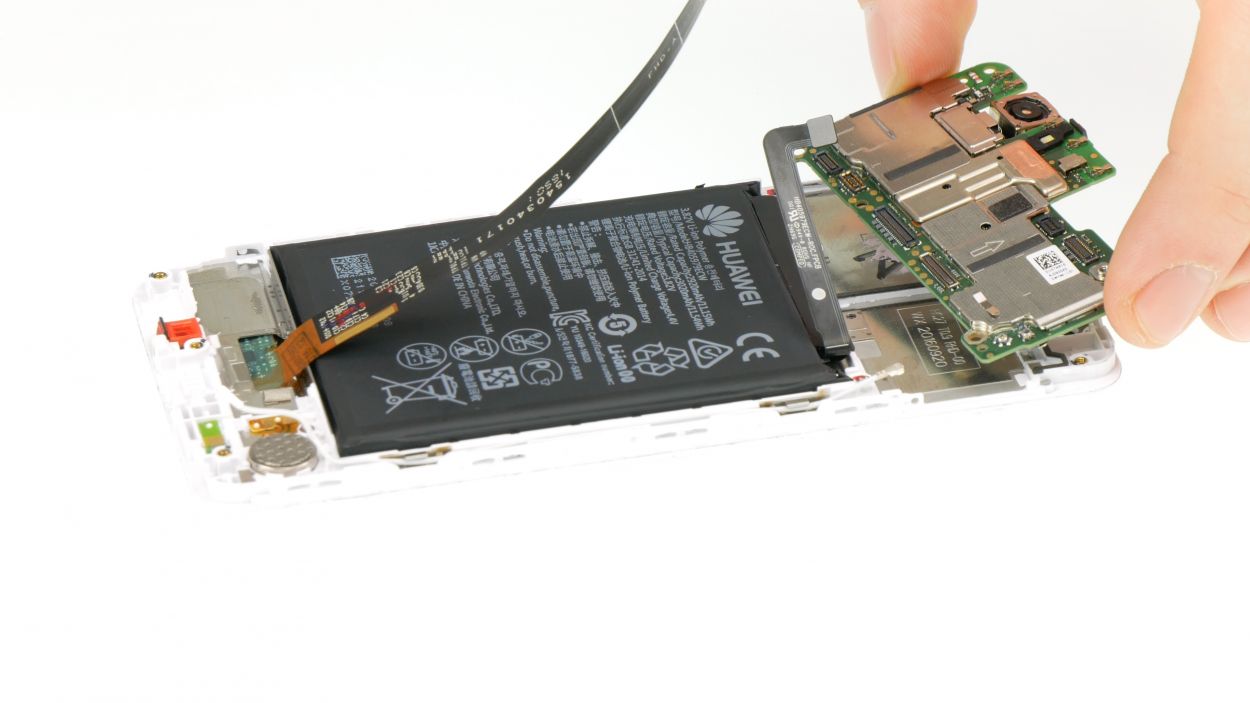
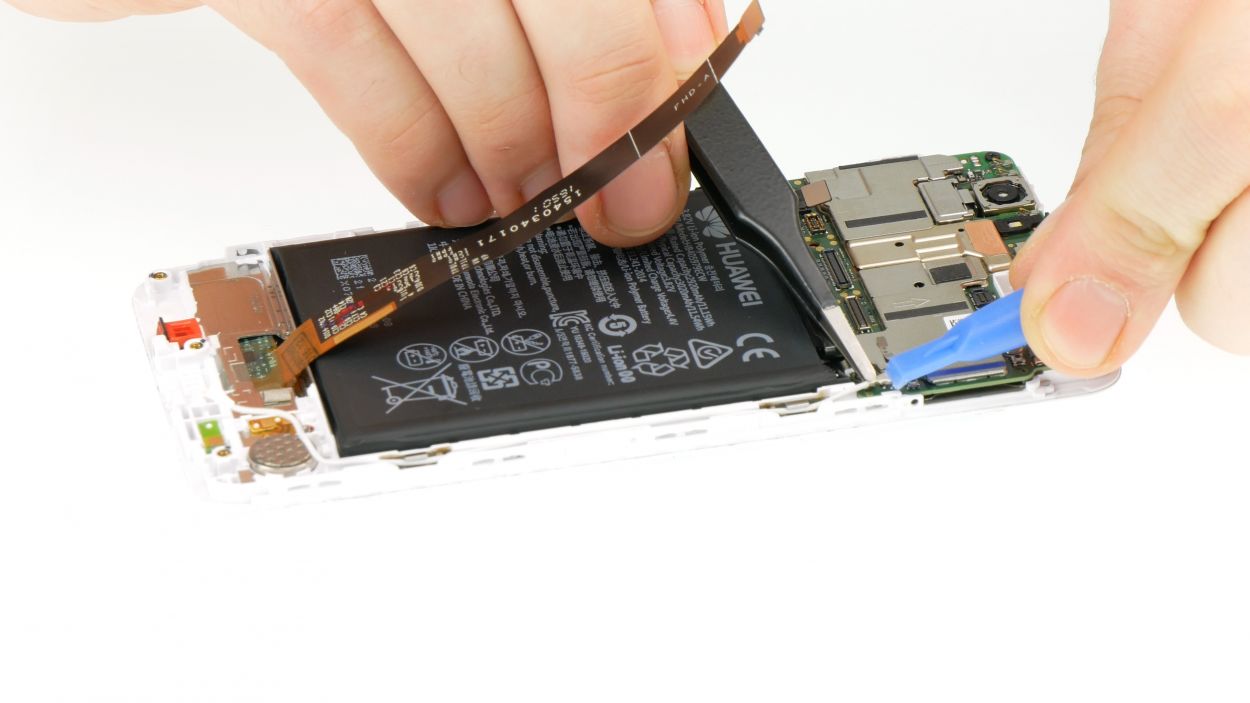
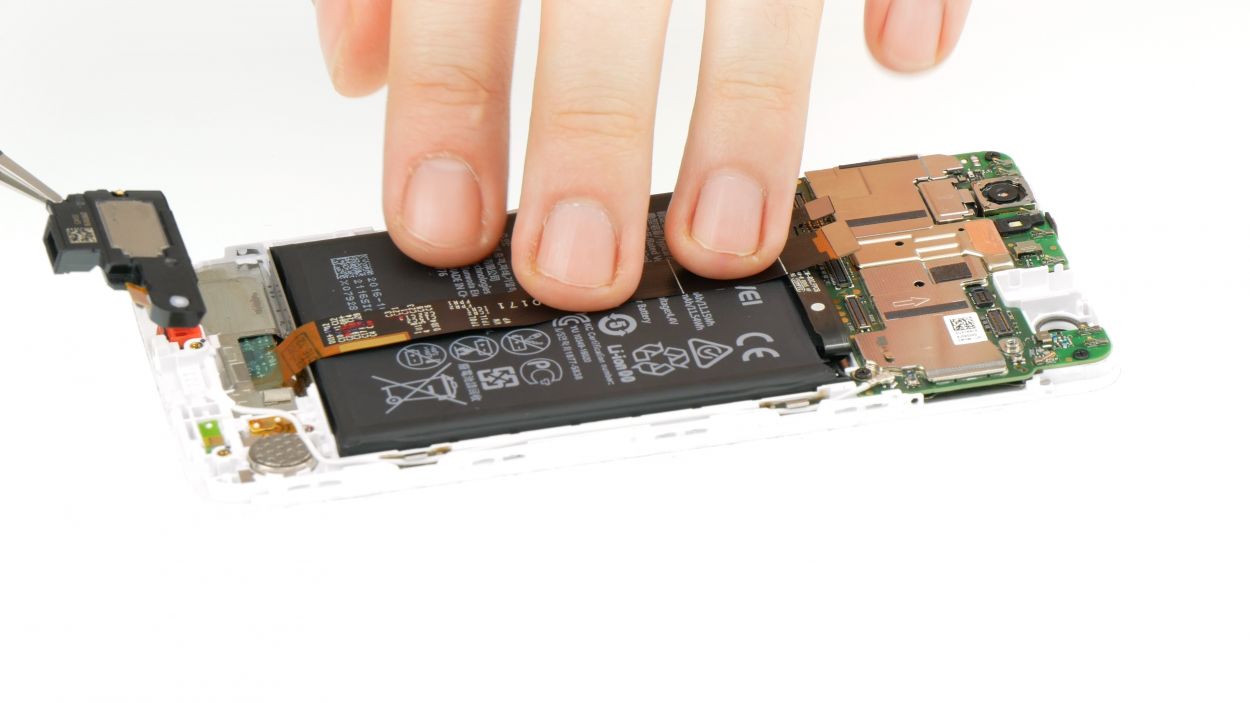
– Carefully lift the battery flex cable as if you’re unwrapping a delicate gift.
– Now it’s time to release the entire motherboard, including the main camera—let’s set it free!
Step 13
3 × Phillips
Antenna cable
– Nestle that motherboard snugly into the brand-new display. Just make sure the main camera finds its cozy spot in the bracket.
– Grab your trusty Phillips screwdriver and pop in those three screws at the corners of the motherboard. Leave that lower right corner hole open for now; it’s taking a little break.
– Reattach the antenna cable to the motherboard. First, hover the connector right above its socket. Then, gently press down until you hear that satisfying snap as it locks into place.
Step 14
1 × Phillips
– Give your speaker a warm hug and gently nestle it into its rightful place, making sure it feels comfortable and at home.
– Use your trusty Phillips screwdriver to securely fasten the speaker, snugged up just like a cozy little bug in a rug.
Step 15
2 × Phillips
Speaker connector
– Carefully slide that lower circuit board back into its cozy spot. Just be sure to keep the flex cable connector for the speaker nice and uncovered.
– Grab your trusty Phillips screwdriver and tighten up those two screws on the lower edge of the circuit board. But hey, leave the one for the battery hole alone for now!
– Give a gentle push to the speaker’s connector to secure the connection. You’ve got this!
– Slap that round sticker on the screw next to the speaker. It’s simply a little moisture monitor, and if it gets a bit cranky and breaks, no worries — just leave it be!
Step 16
Antenna cable
Flex cable 1
Flex cable 2
1 × Phillips
Give those connectors a little love and make sure they’re all snug before you push them down, or they might not like it very much!
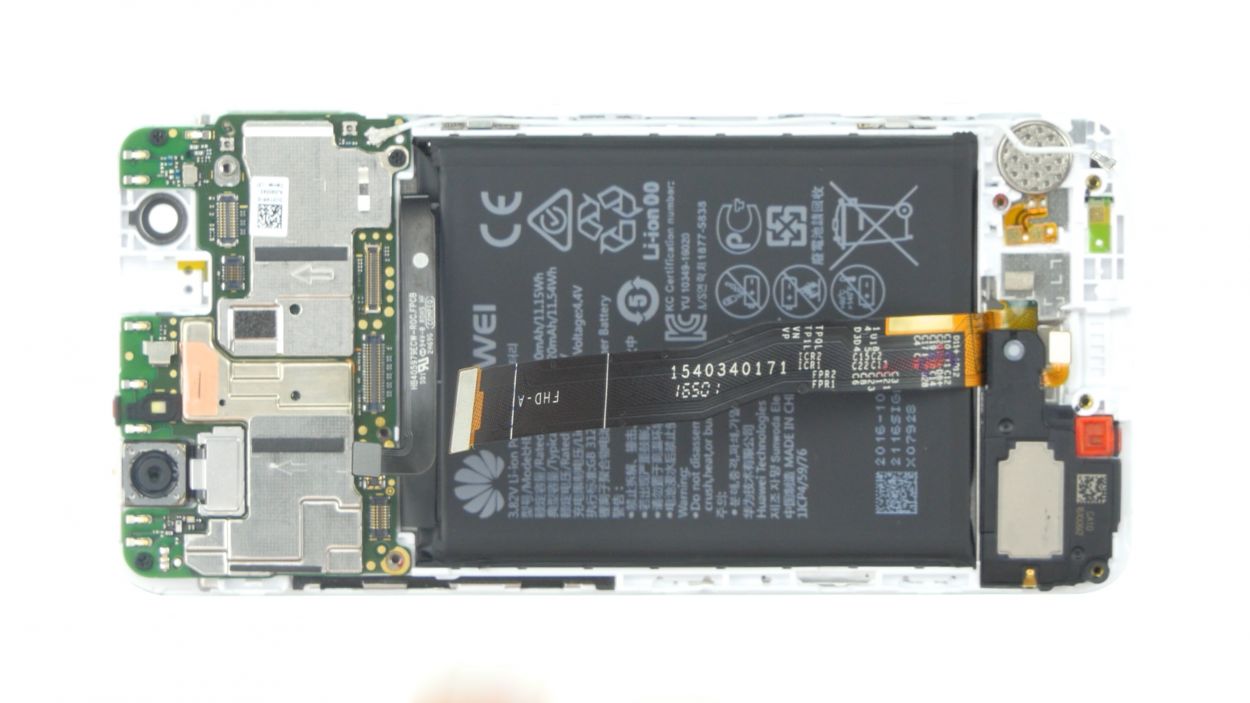
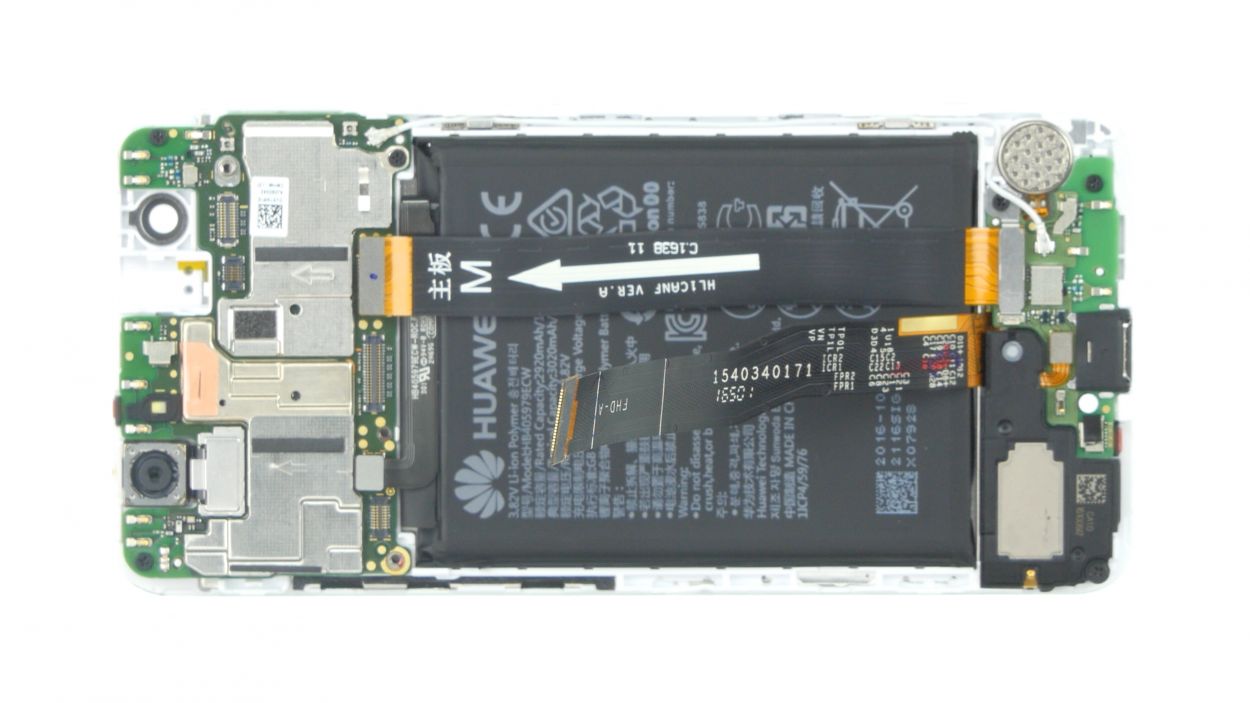
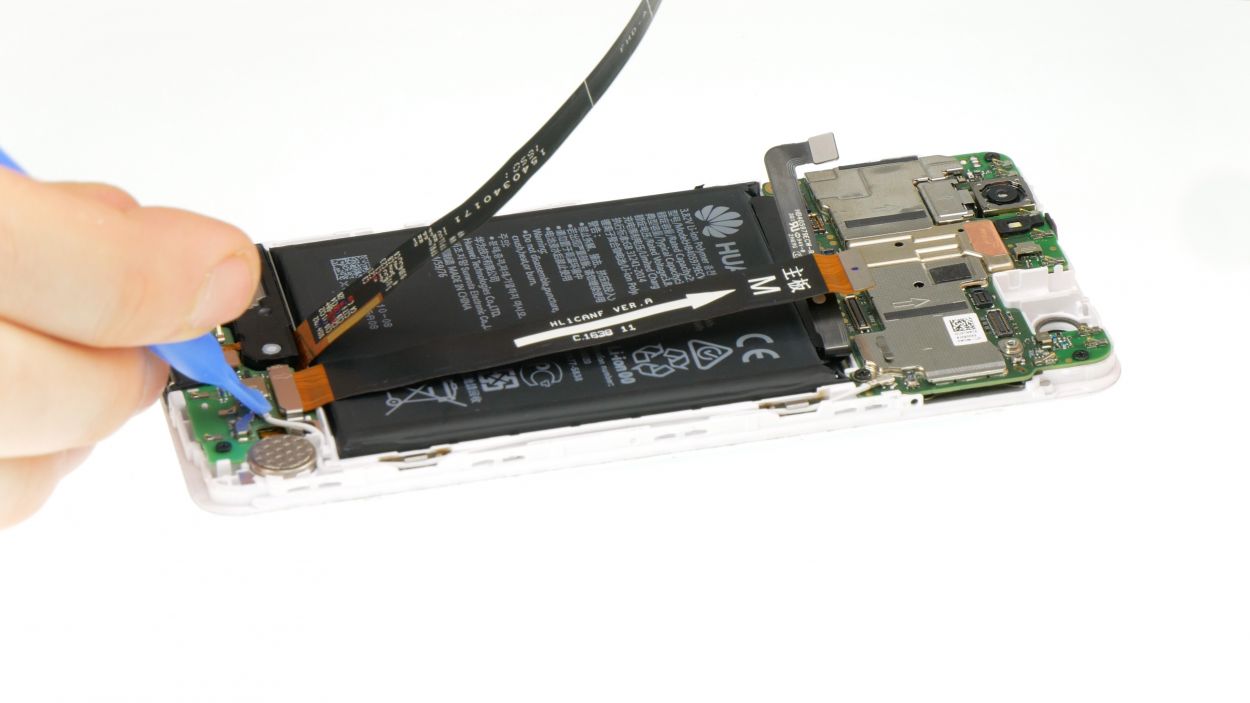
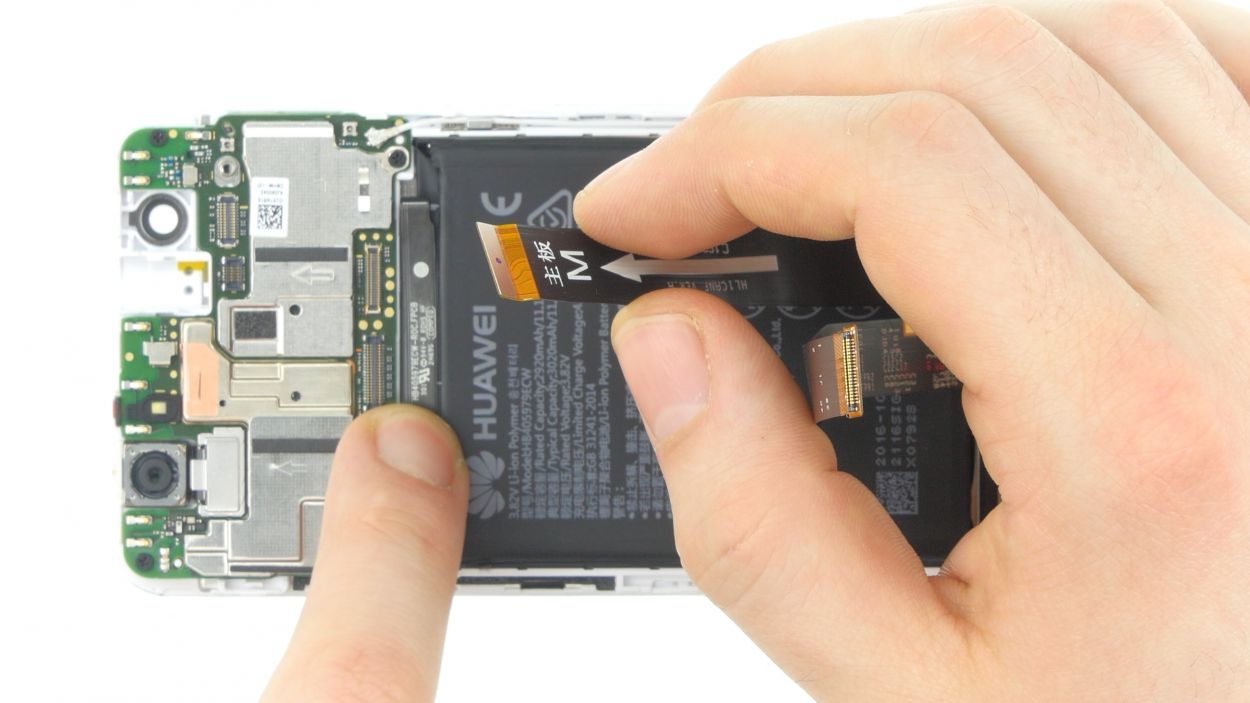
– First things first, grab that large flex cable and line it up with the arrow pointing between the two circuit boards. You’re doing great!
– Now, let’s connect the connector to the lower circuit board. Make sure that arrow is showing up towards the motherboard. You’re almost there!
– Time to cover that connector with the bracket plate. Latch it in place and secure it with a Phillips screw. Nice work!
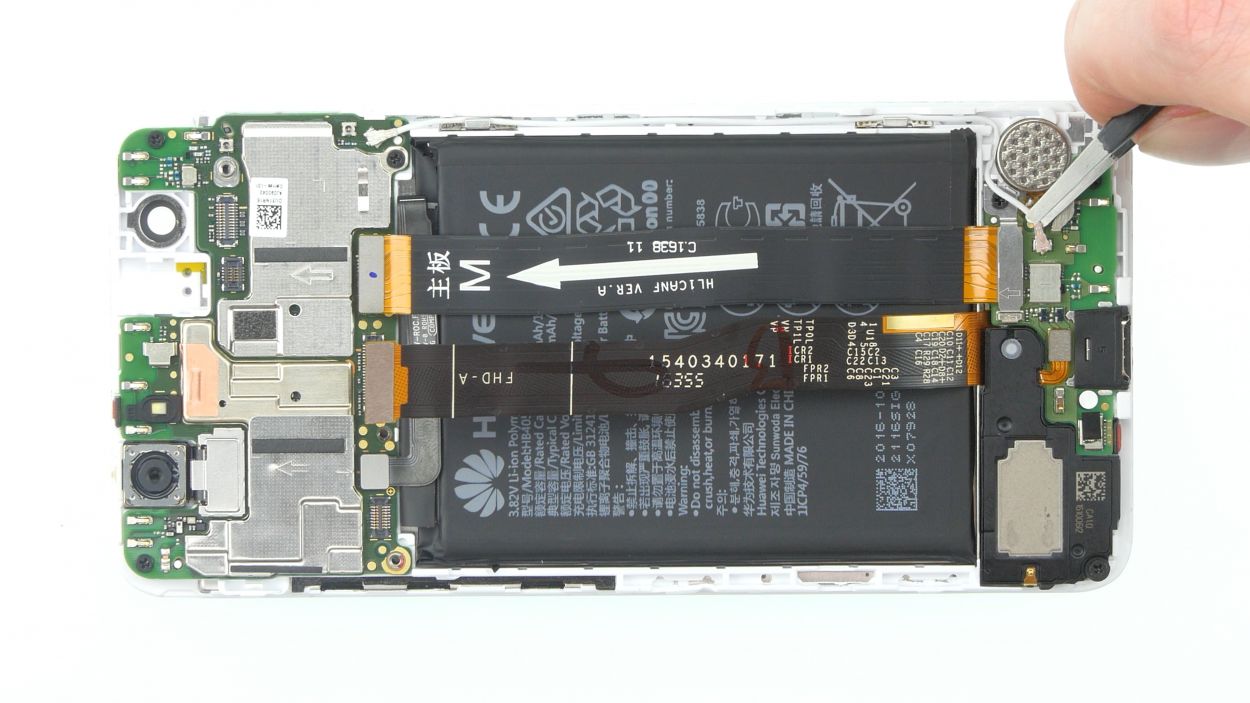
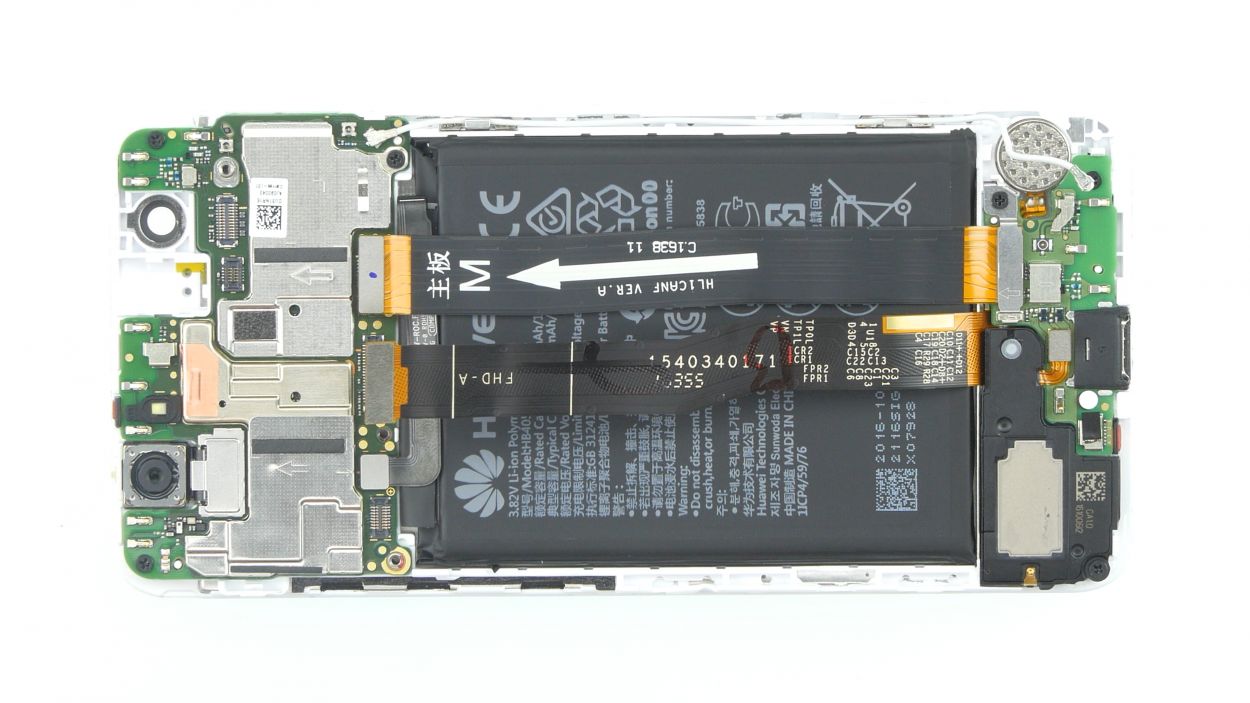
– Next up, connect the antenna cable to the lower circuit board. Start by guiding it around the vibration motor, then align the plug directly over its socket. Give it a little press down with a spudger until you hear that satisfying snap! (Don’t forget to check the other end of the antenna cable if it’s not connected yet.)
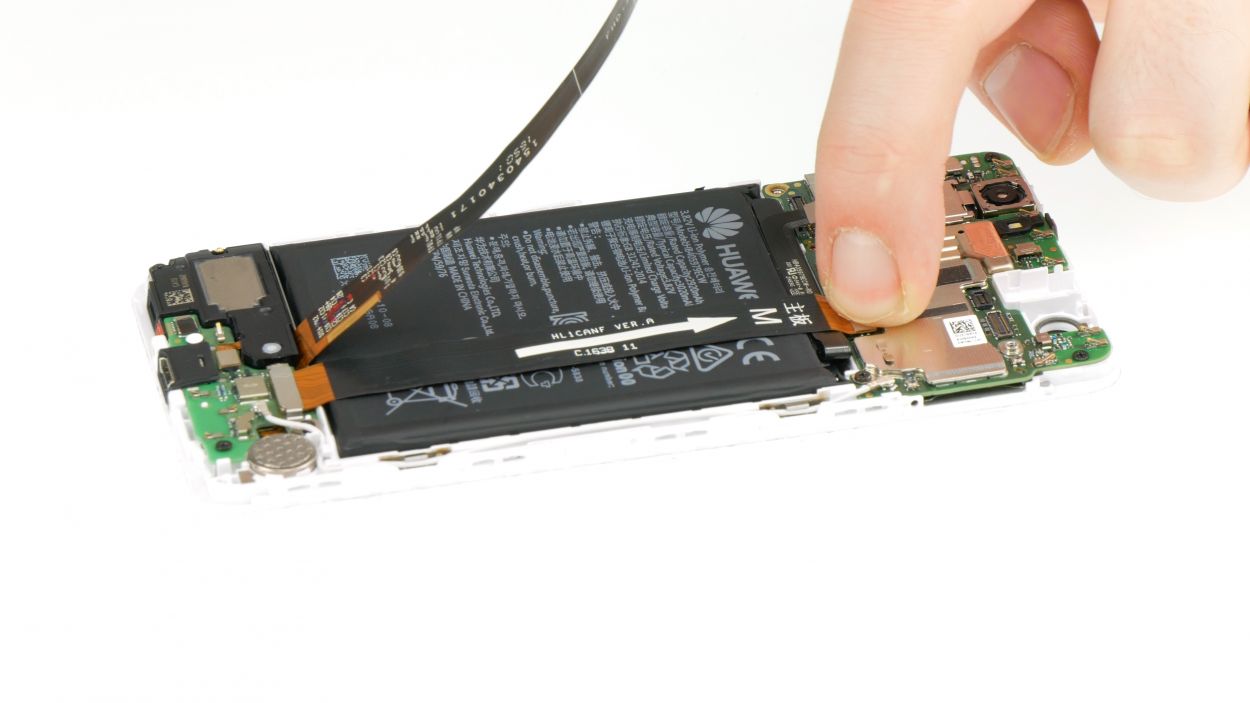
– Now, press down the black battery flex cable to make it stick. Just a heads up—hold off on connecting the battery for now!
– Connect that large flex cable with the arrow to the motherboard. You’re on a roll!
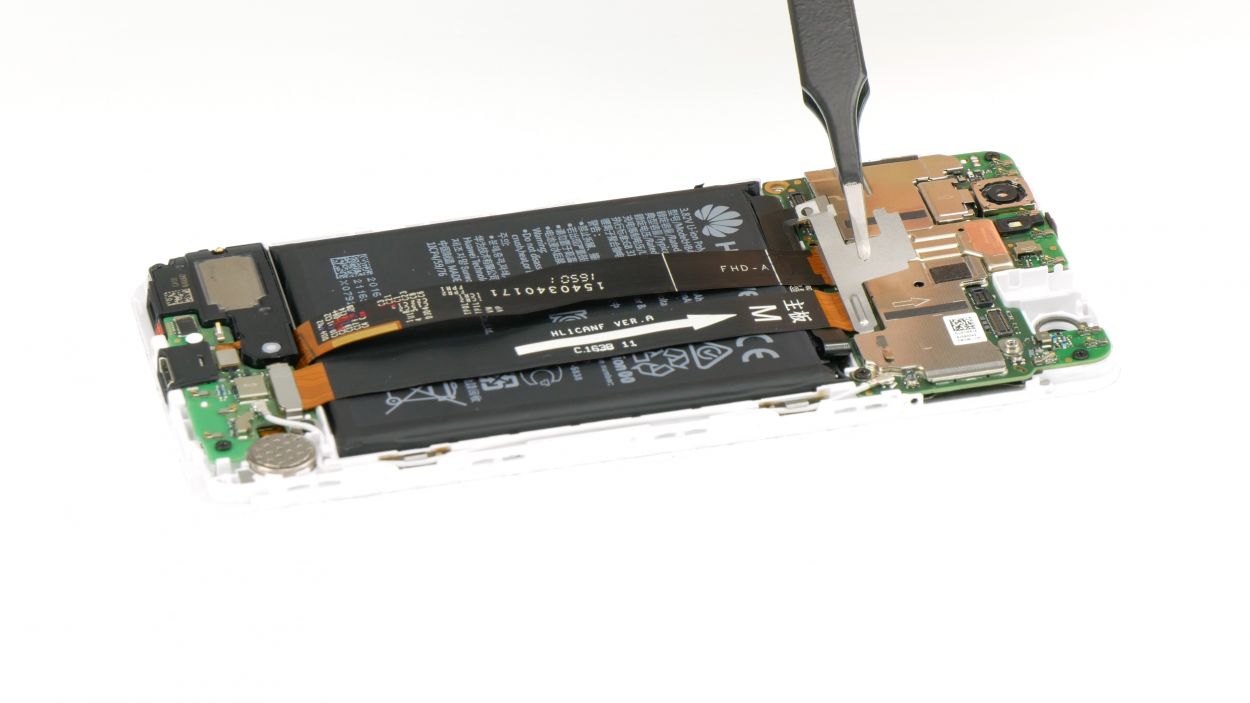
– Next, it’s time to connect the middle flex cable to the motherboard. Almost done!
– Finally, place the bracket plate over the connectors of the two large flex cables, latch it in, and tighten it up with the Phillips screw. You’re a pro!
Step 17
Audio port connector
– Pop that audio port right into the display like a pro!
– Now, let’s connect the audio port’s connector to the motherboard and make some sweet sounds happen.
Step 18
Front camera connector
1 × Phillips
– Gently slide the front camera into its cozy spot in the display.
– With care, connect the front camera’s connector to the motherboard like a pro.
– Now, place the plate over the earpiece and front camera connectors, secure it snugly, and fasten it down with the Phillips screw.
Step 20
Finger print sensor connector
1 × Phillips
– First up, we’ve got the display connector snugly attached to a metal plate. Give that metal plate a little love by latching it in place and pressing down the connector.
– Next, it’s time to secure the metal plate with a Phillips screw – just one will do the trick!
– And if you’ve got that round moisture indicator handy, go ahead and stick it onto the screw. It’s a great way to keep things in check!
Step 21
– Start by securing the back cover at the top edge near the camera, then gently lower it onto the display.
– Give the back cover a little love tap all around to ensure it clicks snugly into place.
Step 22
– Pop that SIM tray and any cards back into your device. Just make sure it’s sitting snugly in its spot!
Step 23
2 × Pentalobe
Grab yourself a Pentalobe PL1 screwdriver, the trusty sidekick of iPhones! If you need any assistance, don’t hesitate to schedule a repair.
– Secure the two pentalobe screws at the bottom of your device to keep that cover snug and secure.
