DIY Guide to Replace Back Cover on P9
Duration: 15 min.
Steps: 7 Steps
In this guide, we’re here to help you swap out that worn-out back cover on your P9. Whether it’s got scratches, a little bend, or you’re just feeling a new vibe with a fresh color, we’ve got you covered! If you need help, you can always schedule a repair.
Step 1
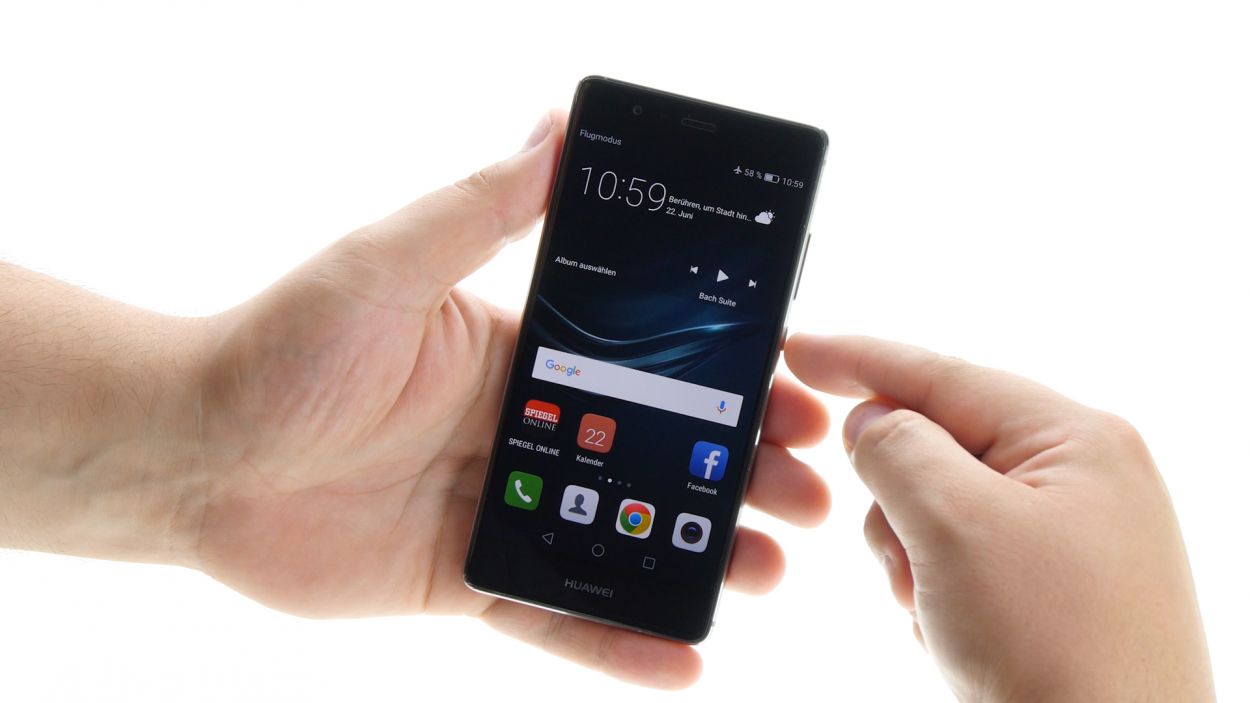
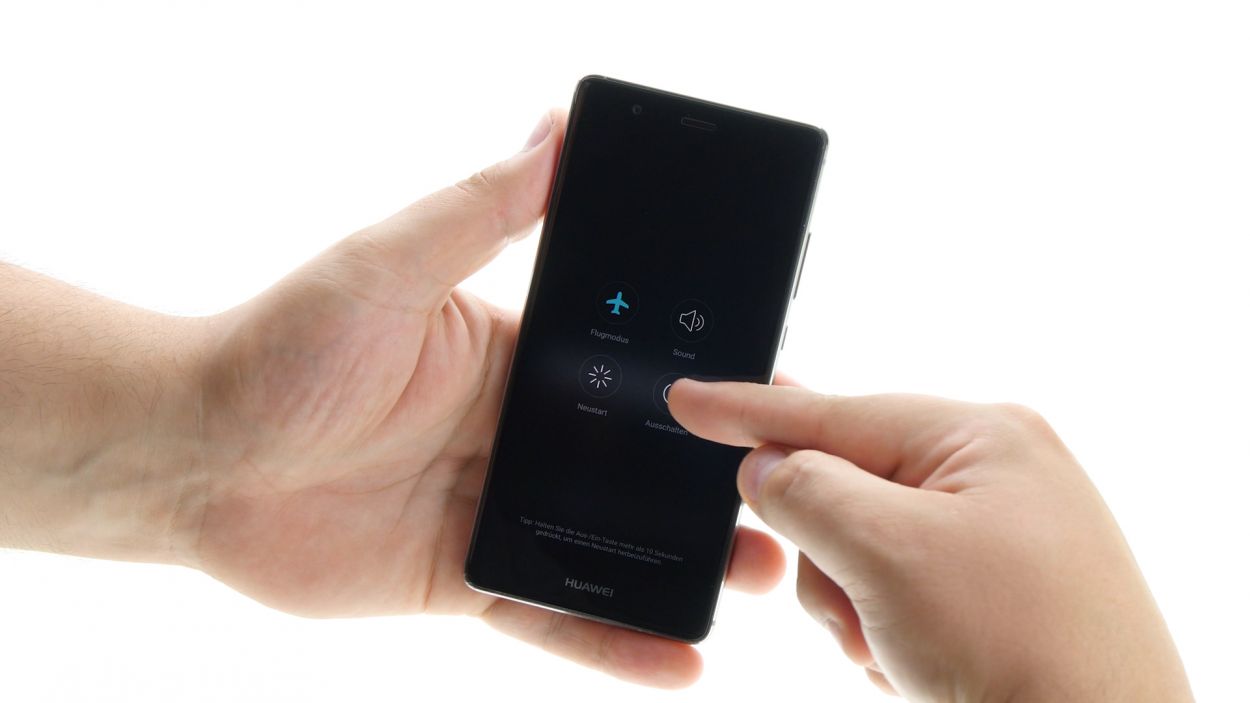
– First things first, let’s give your device a little nap! Press and hold that power button until you see a menu pop up. Then, select ‘Power off’ and give it a gentle tap again to confirm. You’ve got this!
Step 2
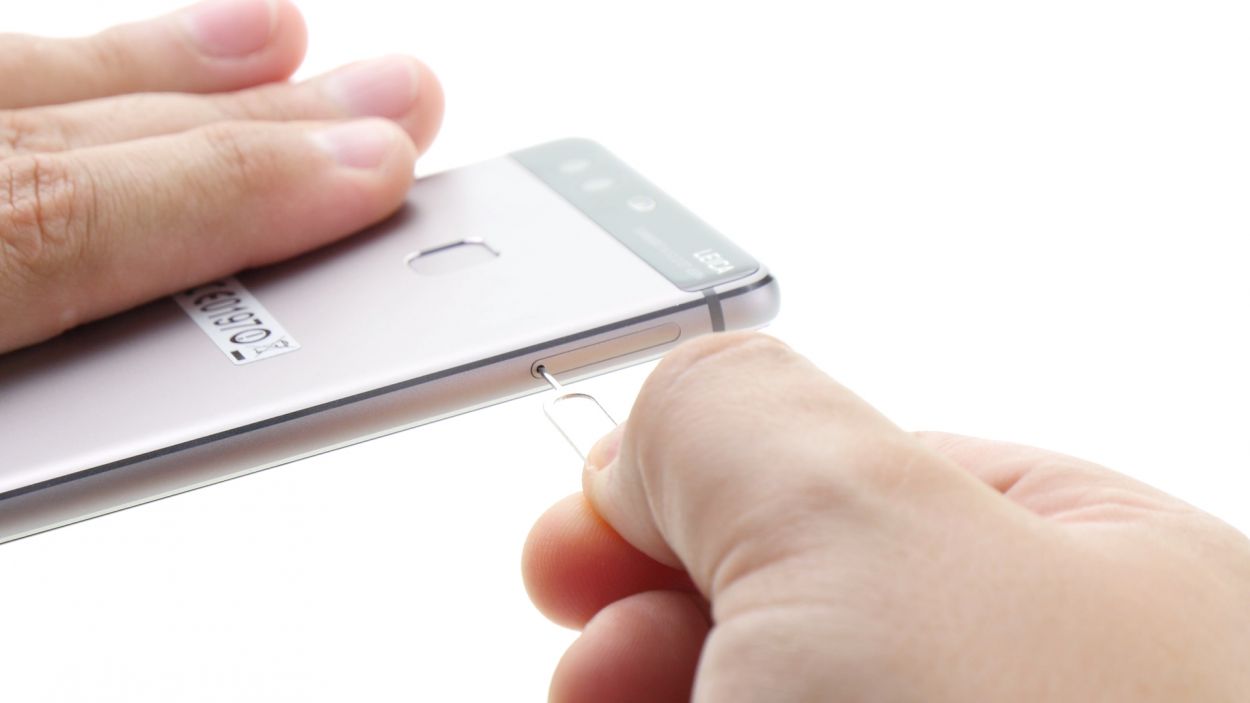
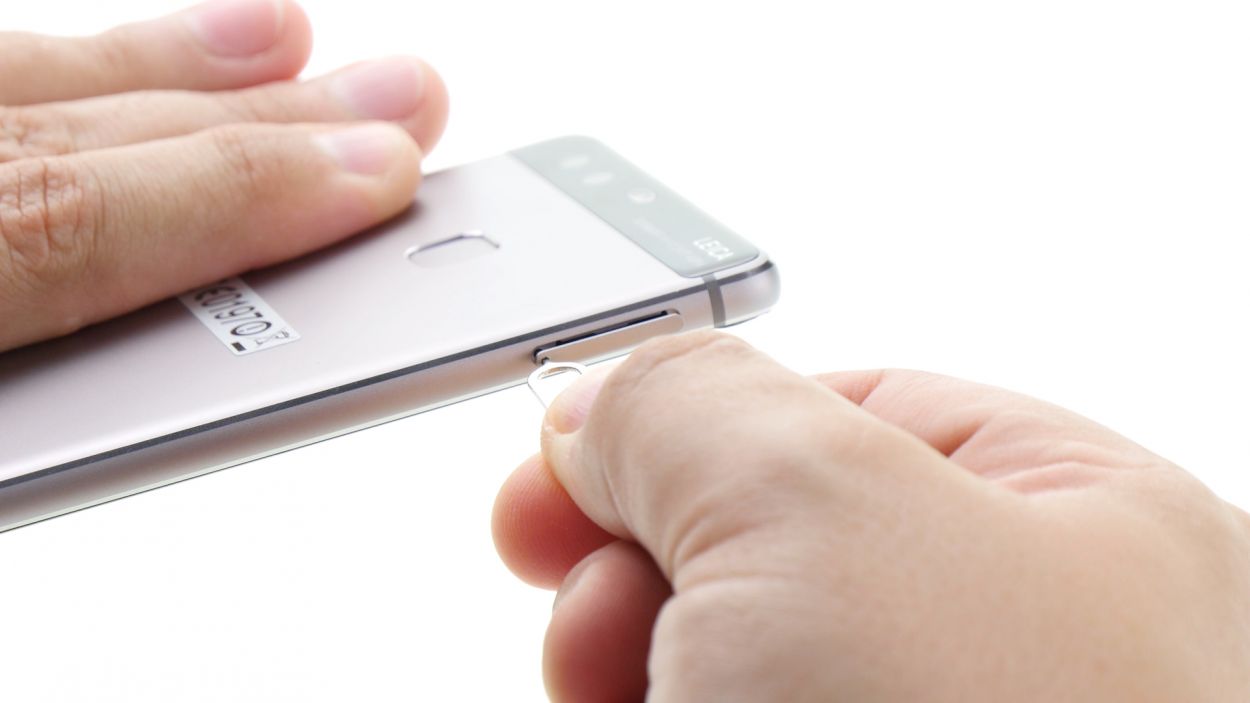
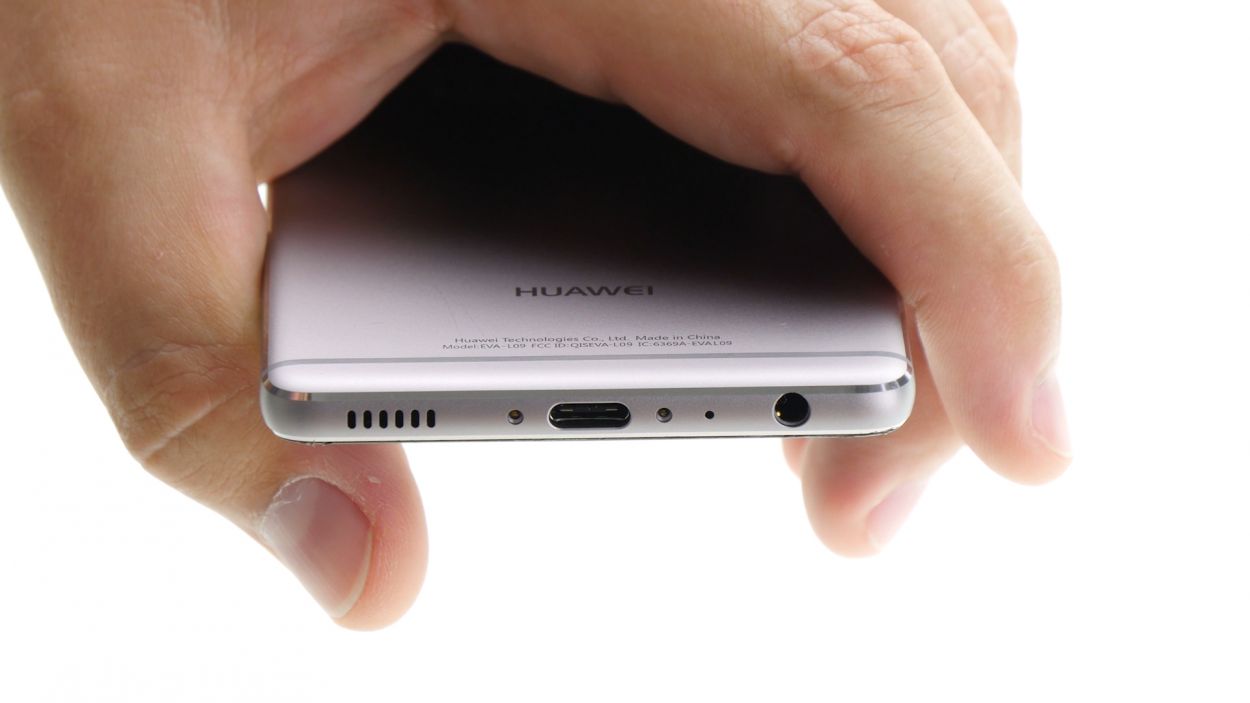
– Grab your trusty SIM tool and gently slide it into the tiny hole on the tray to pop it open.
– Carefully take out the SIM tray, and if you have them, remove the SIM and microSD cards too.
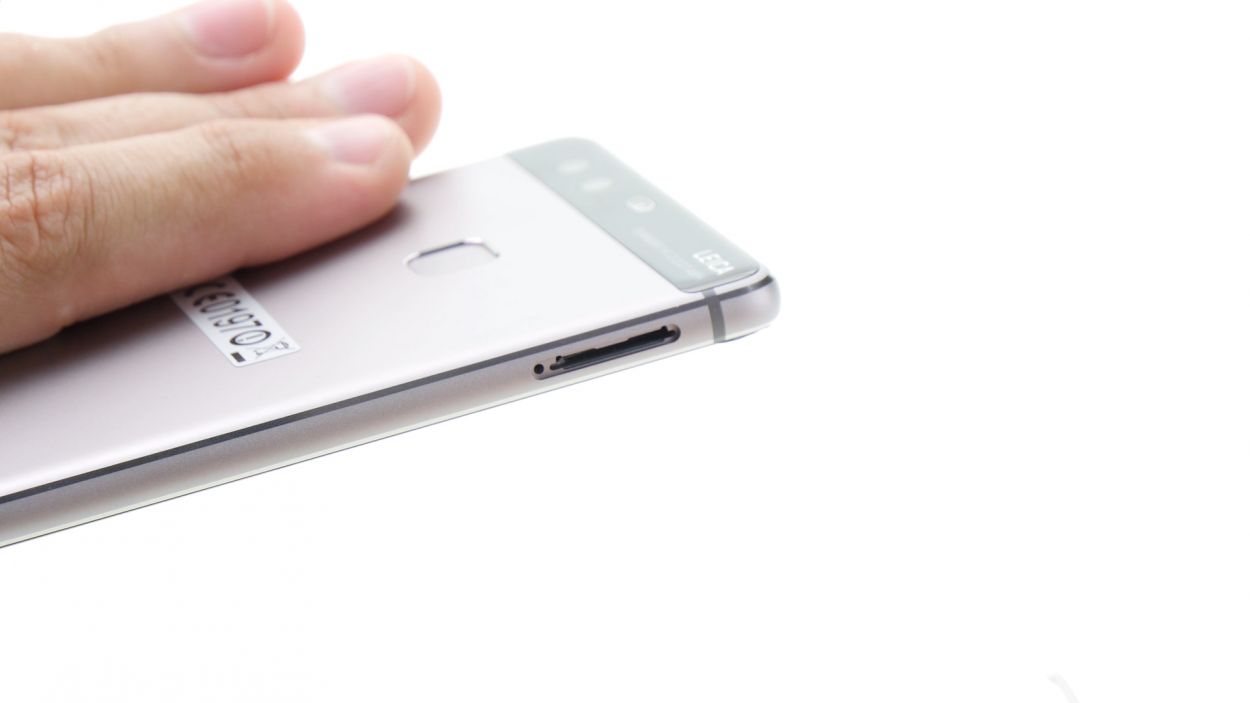
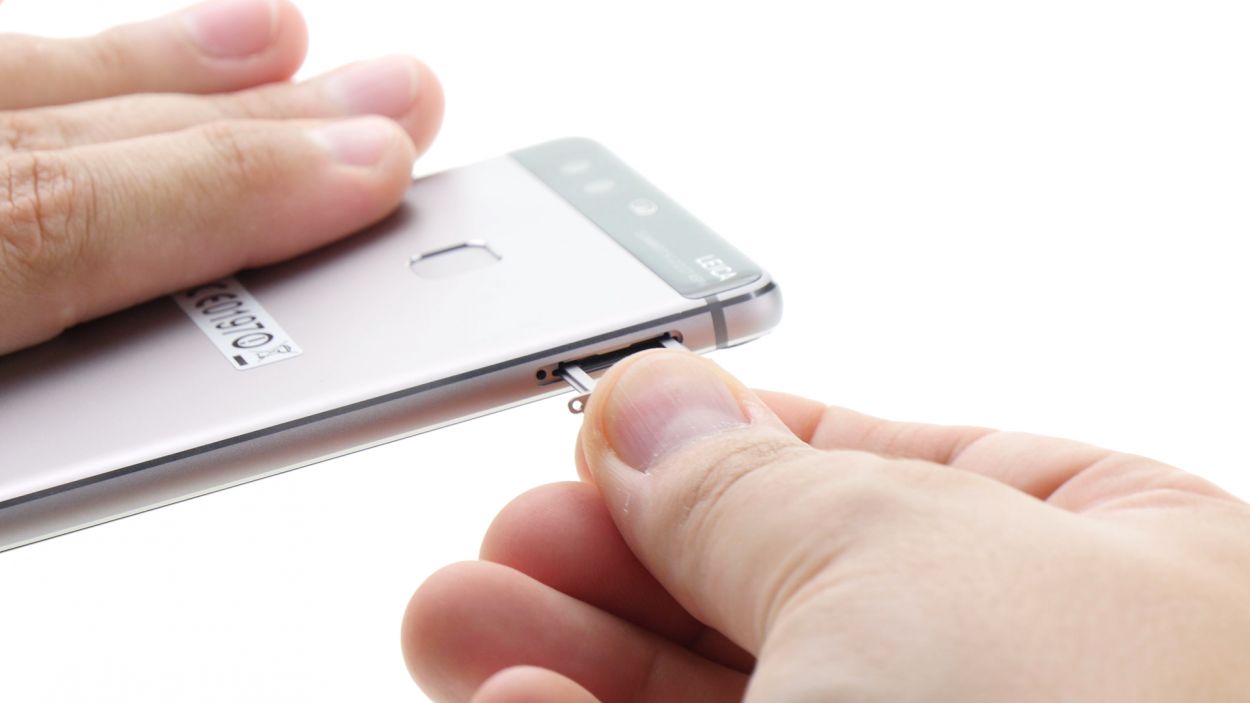
Step 3
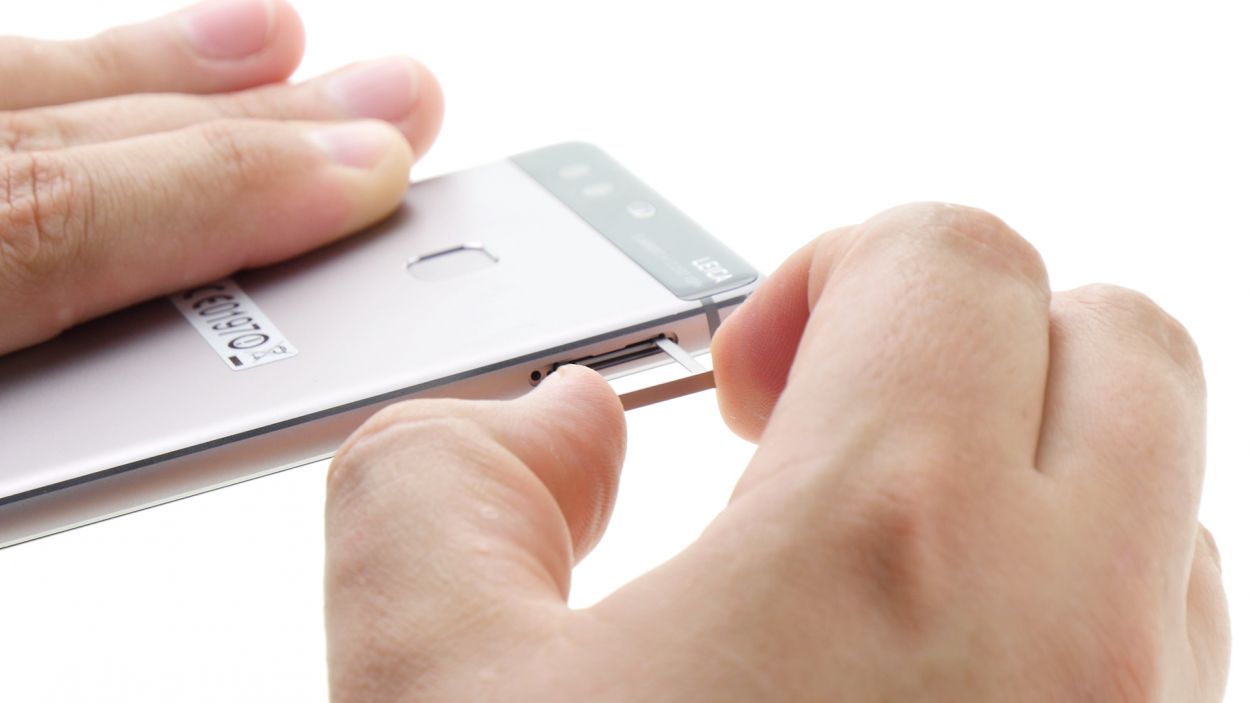
2 × 2,8 mm P1 Pentalob-Schrauben
– Pop off those two screws at the bottom of your device that are keeping the enclosure snug as a bug. You’re doing great!
Step 4
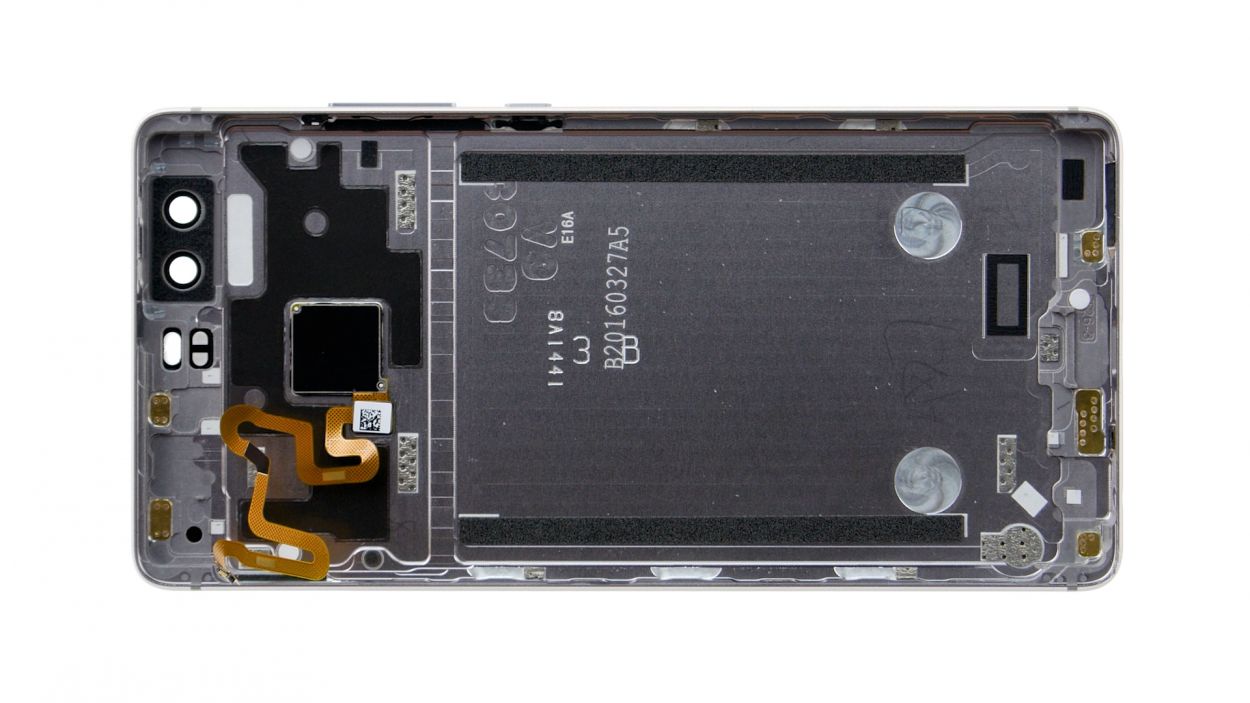
The fingerprint sensor is snugly tucked away in the back cover, connected to the motherboard by a flexible flat cable. When you’re removing the display, just take a moment to be gentle with that cable and board—no need for any unexpected surprises!
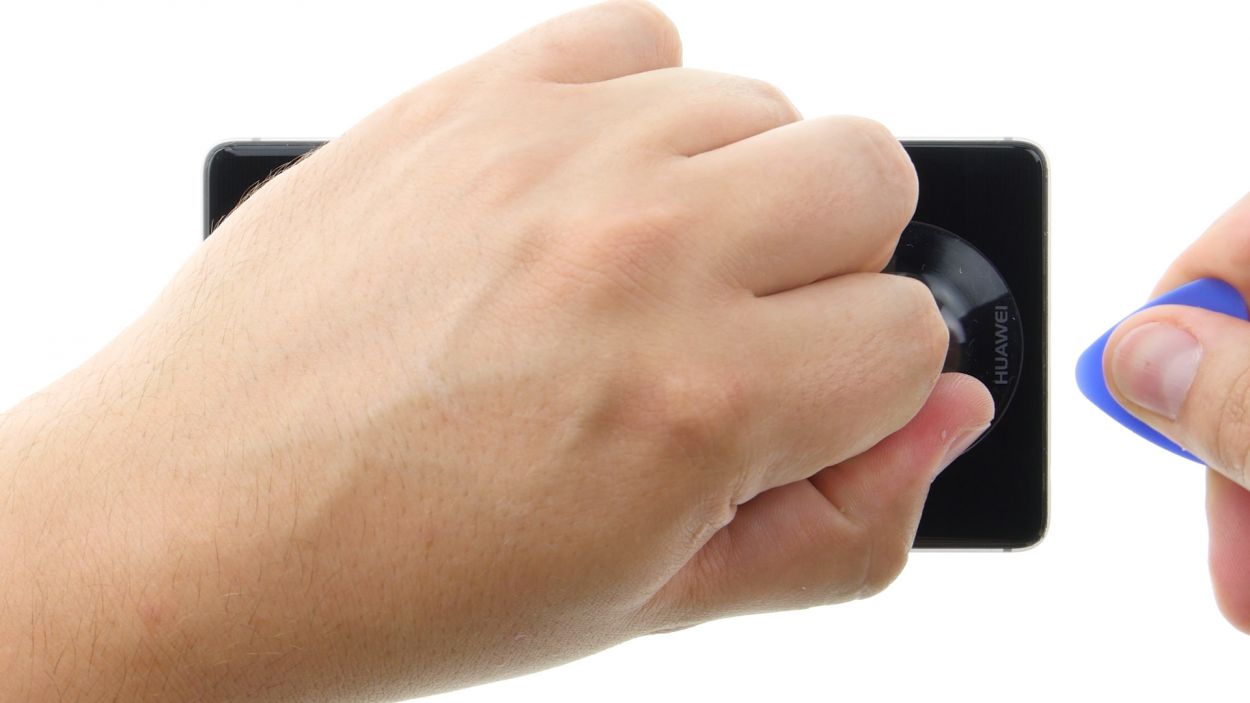
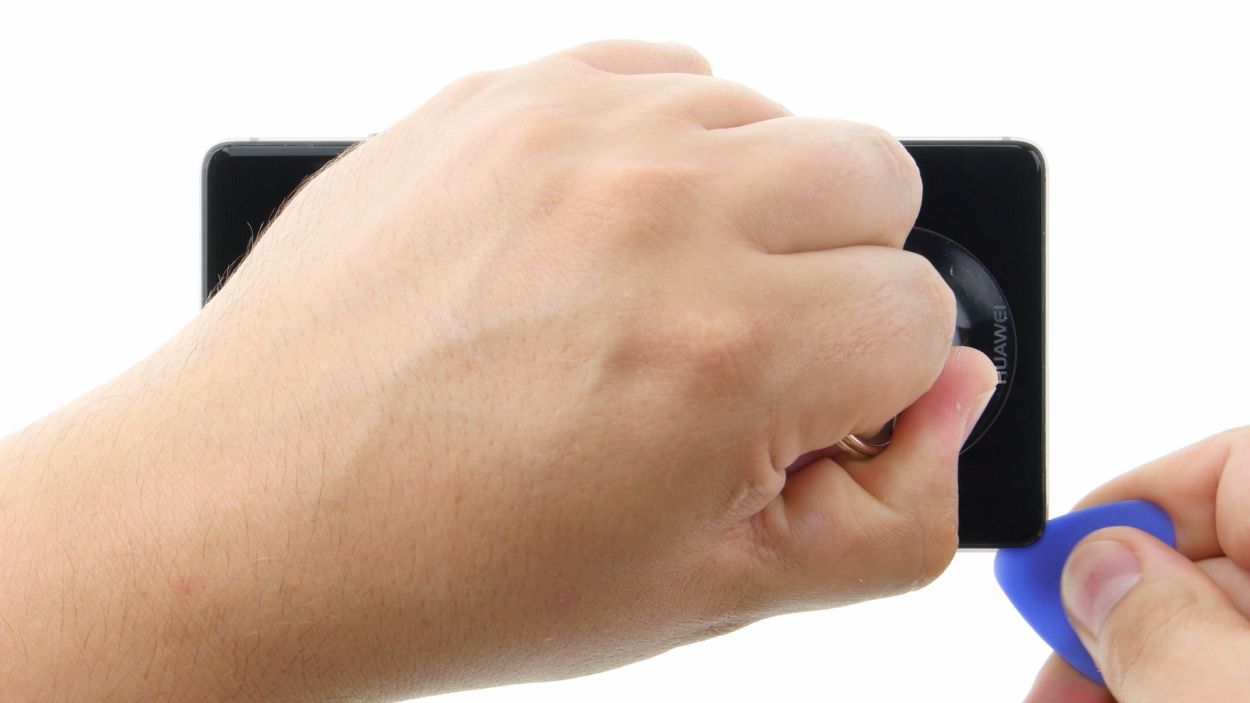
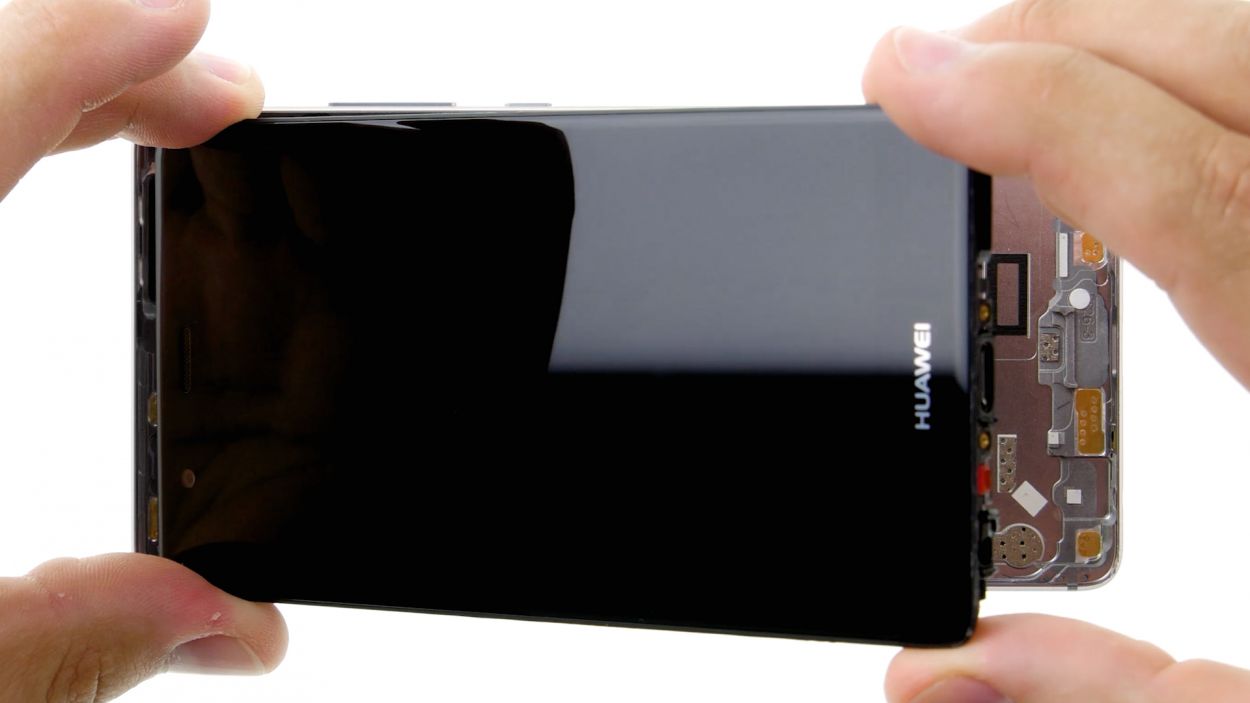
– Place the suction cup as low as you can on the display, like right where it says ‘Huawei.’ If the glass is too shattered to create a vacuum, no worries! Just cover the screen with some tape.
– Gently pull on the suction cup while using the pick to push the back cover down onto the table. Once you see a little gap between the display and the casing, carefully slide the pick in there.
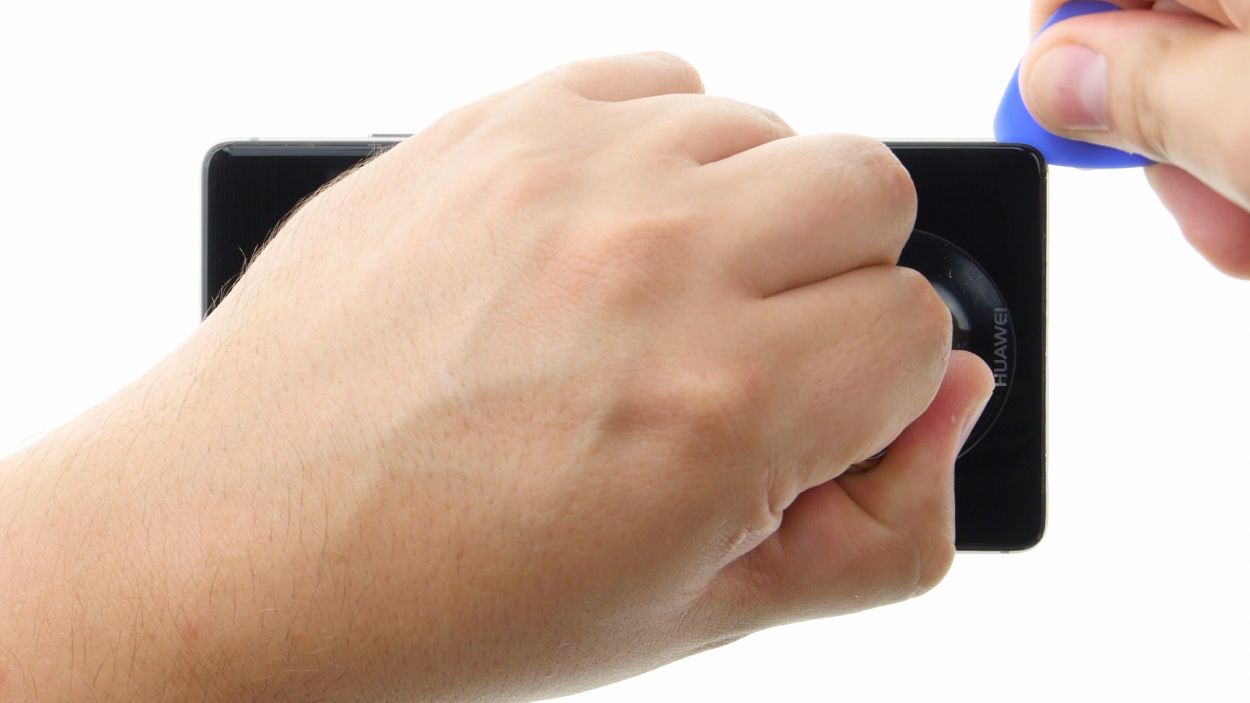
– Keep that pick moving along the edges to unstick the display from the sides. Remember to keep pulling gently on the suction cup.
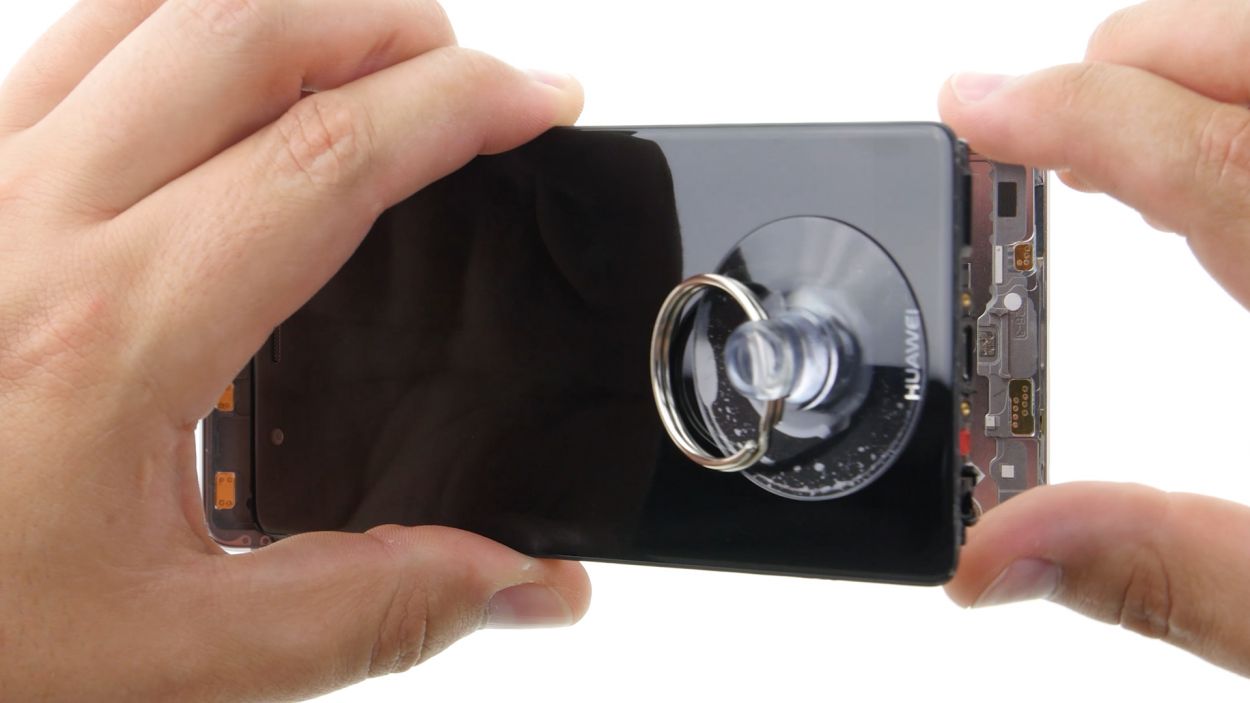
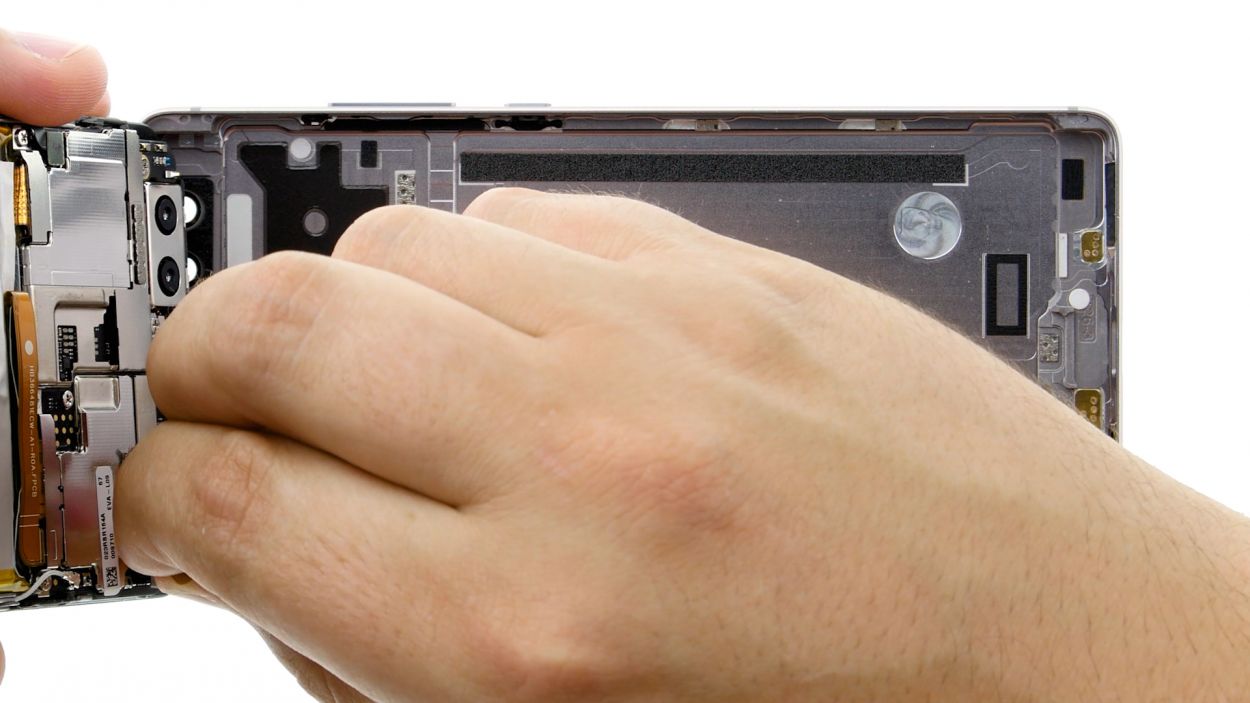
– Now, with a steady hand, lift the display. Open the device slowly at the short upper edge like you’re flipping through a book. You should now spot the connection cable.
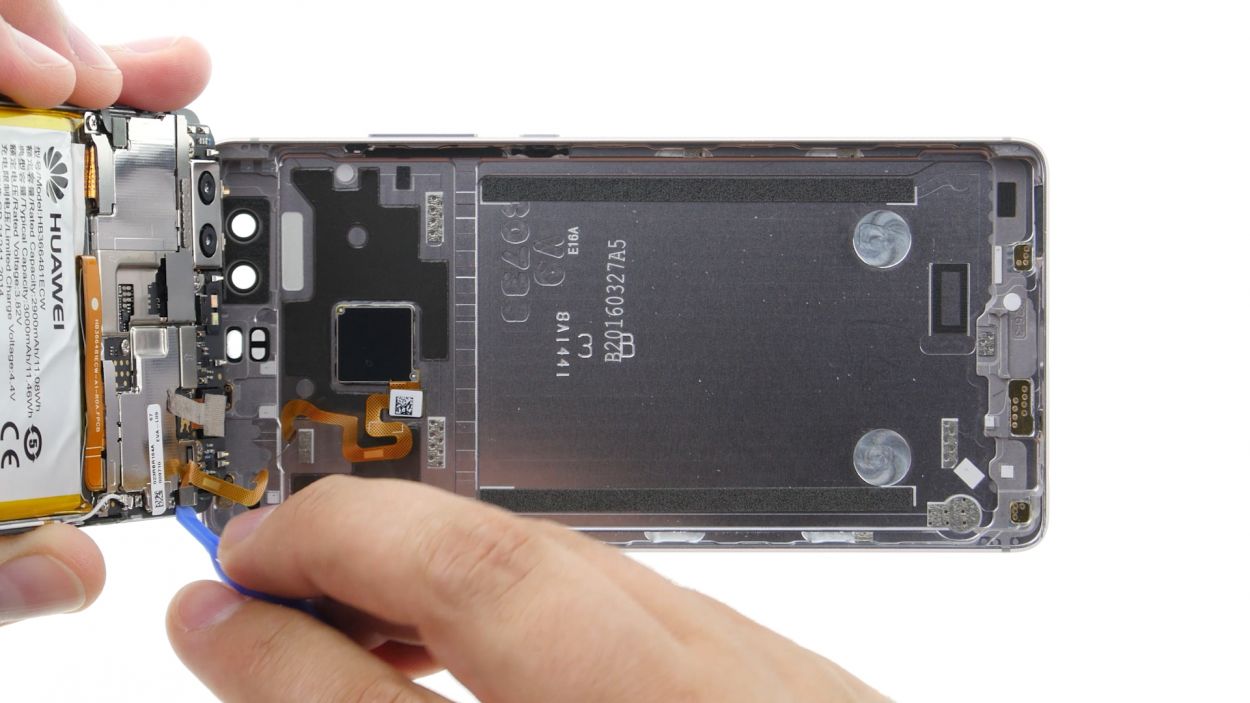
– To disconnect the cable from the motherboard, carefully slide the spudger underneath the contact and pop it off. Easy peasy!
Step 5
– Start by placing the back cover at the short upper edge of the display and gently connect the fingerprint sensor’s contact. Listen for that satisfying click—it’s like a little victory!
– Now, close up your device by folding down the back cover and giving the display a gentle press. You’re almost there!
Step 6
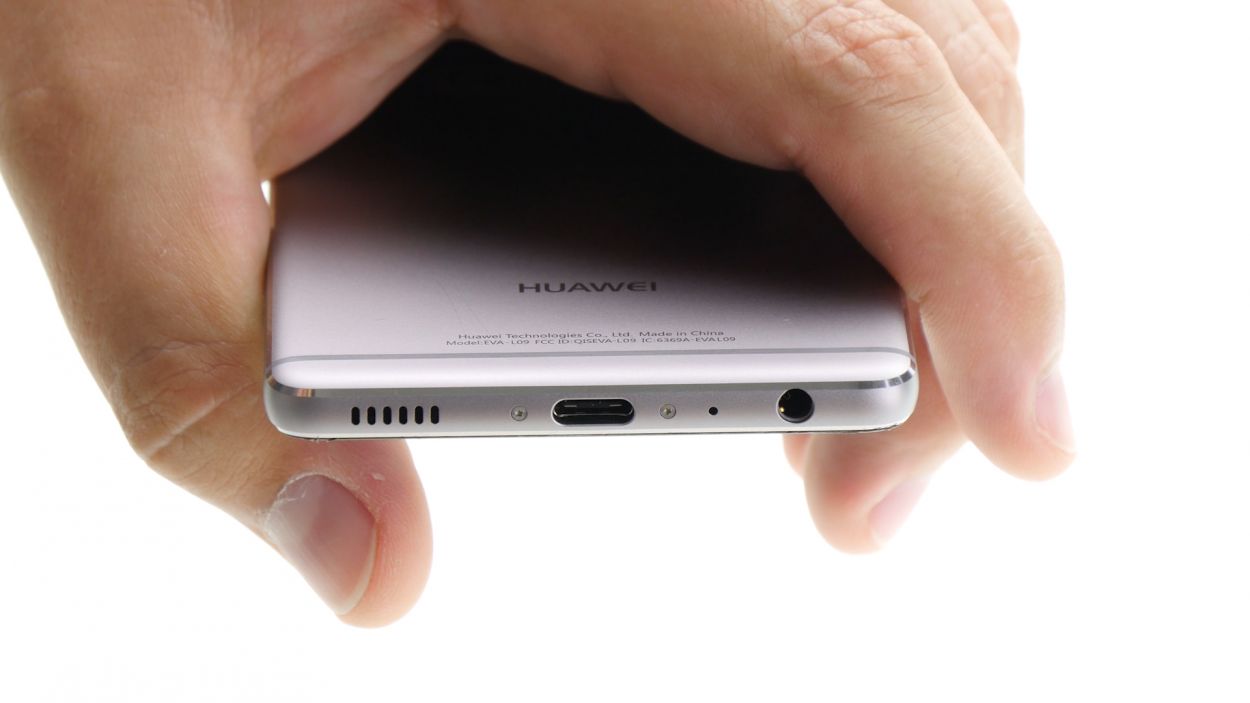
2 × 2,8 mm P1 Pentalob-Schrauben
– Grab those two screws hanging out at the bottom of your device and give it a good twist to seal it up tight!
Step 7
– Time to get your device back in working order! Put the SIM tray and any cards back where they belong, making sure it’s properly aligned. You got this! If you need help, you can always schedule a repair.