DIY Guide to Replace Huawei P9 Lite Battery
Duration: 45 minutes
Steps: 16 Steps
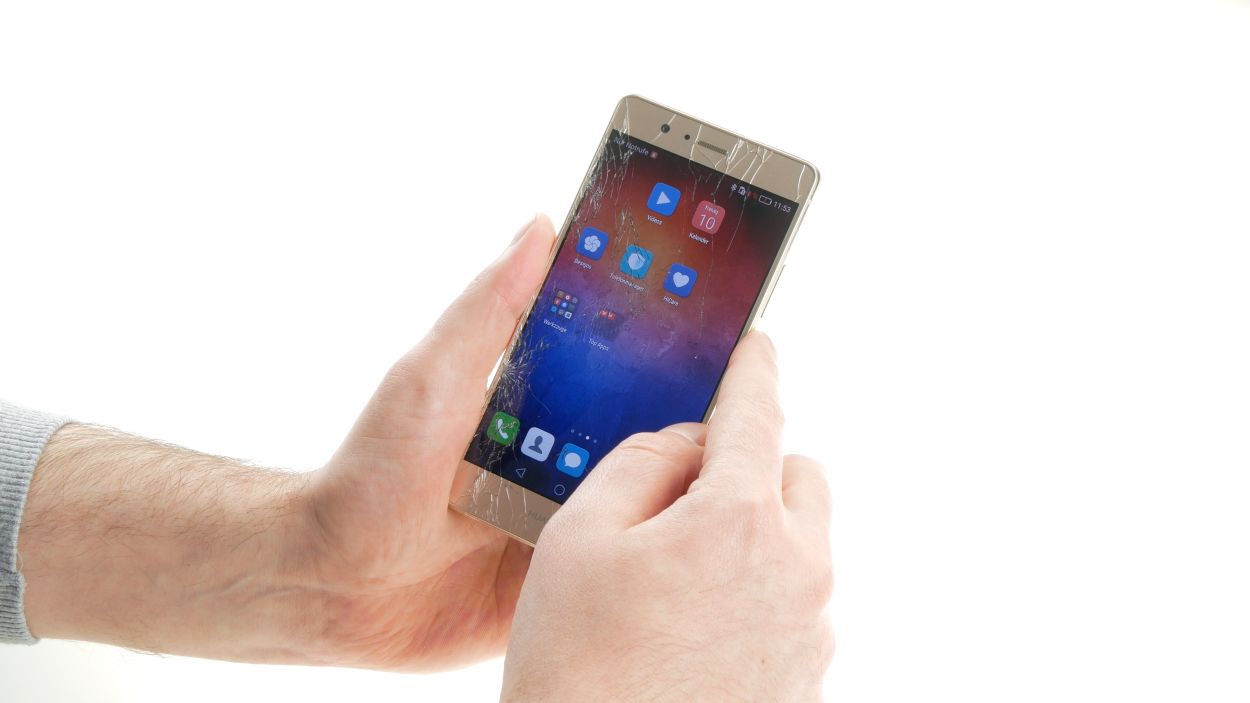
Ready to tackle the challenge of replacing your P9 lite’s battery? You’ve come to the right place! If your P9 lite is acting up during those intense gaming sessions, refusing to charge, or just running out of juice way too fast, it’s time for a battery swap. Before you dive in, make sure to back up all your important data, and give yourself a little static zap relief by touching something metal, like a radiator. Let’s get started on this repair adventure together!
Step 1
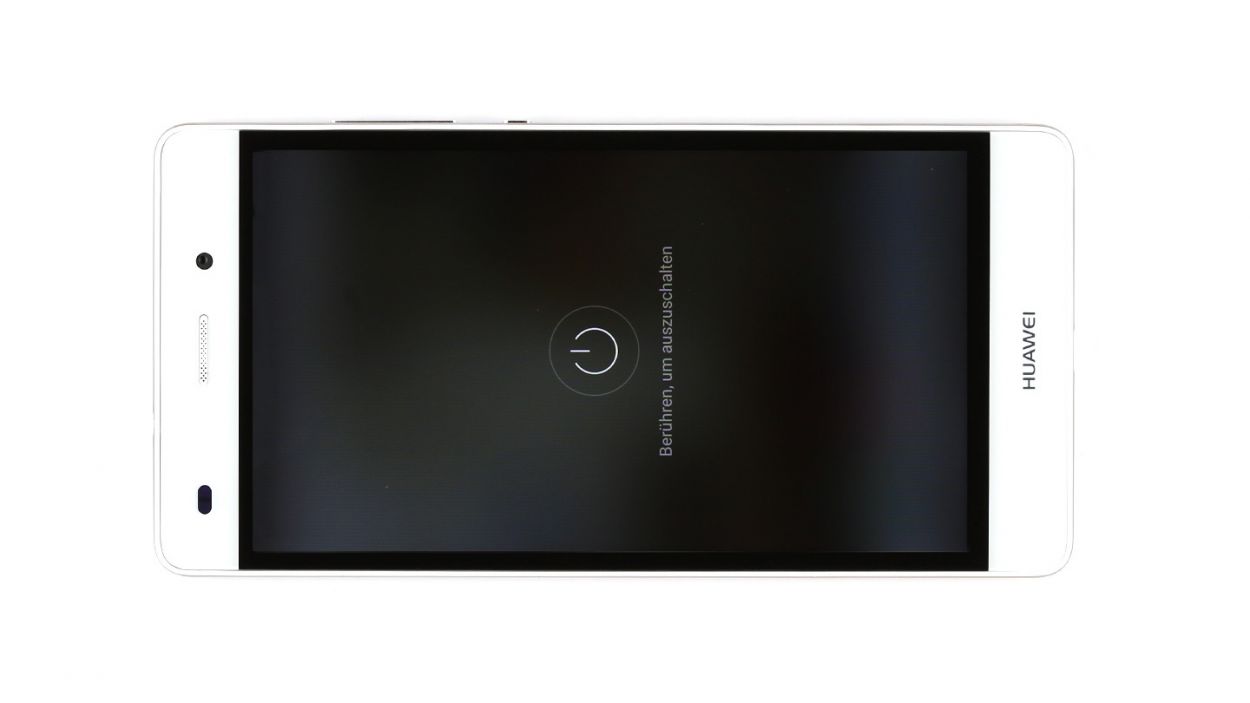
– Give that standby button a good press and hold until you see the shutdown dialog pop up on your screen.
– Go ahead and tap to confirm your choice.
Step 2
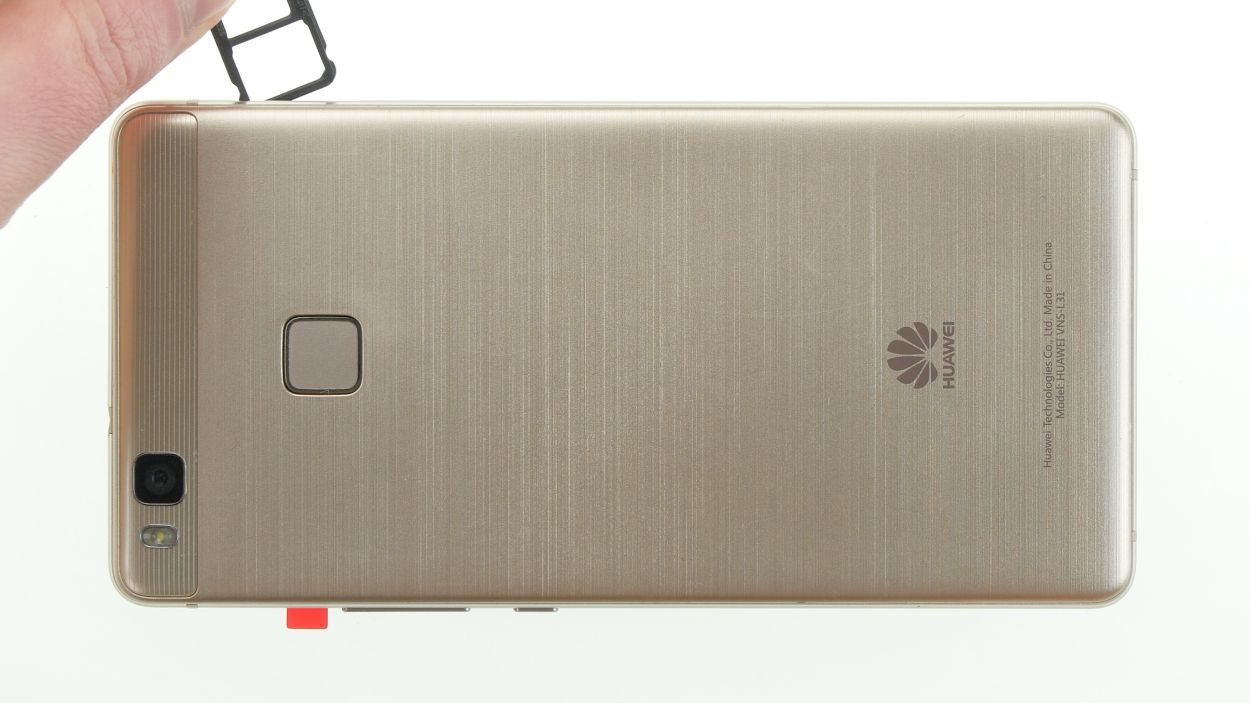
– Pop in your SIM tool into the tiny hole on the tray to give it a little nudge and unlock it.
– Gently pull out the tray along with any SIM or microSD cards that might be hanging out.
Step 3
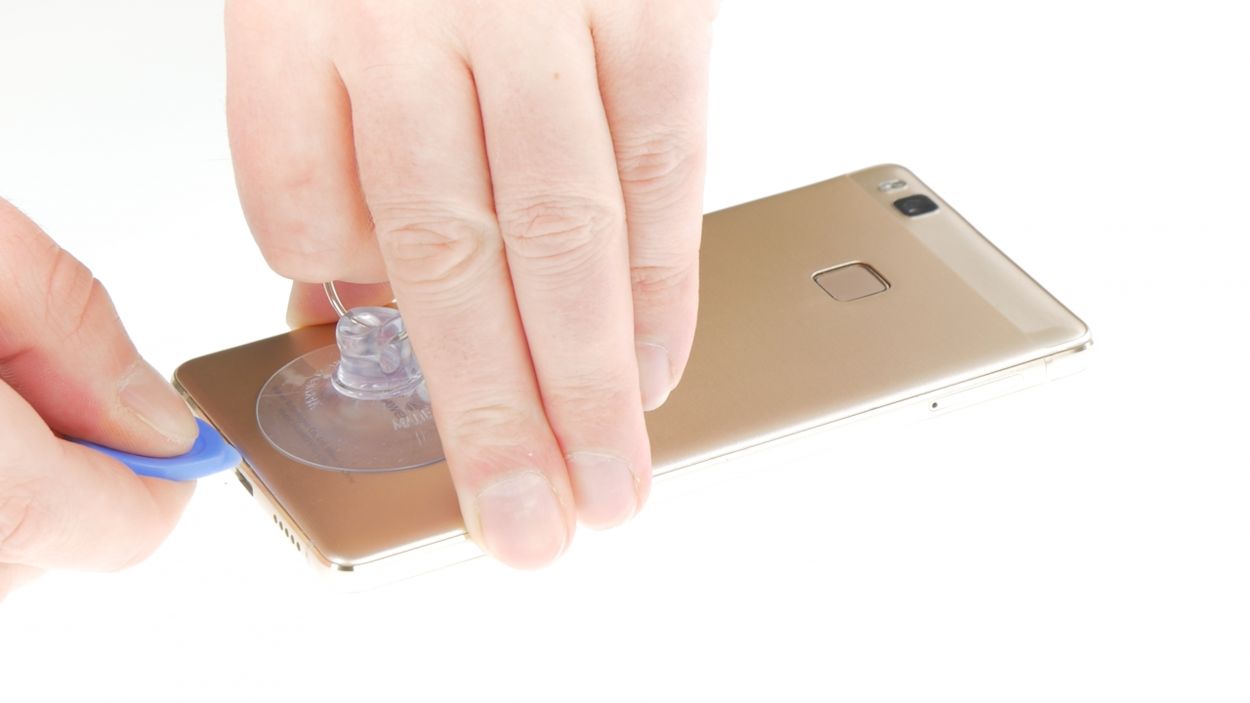
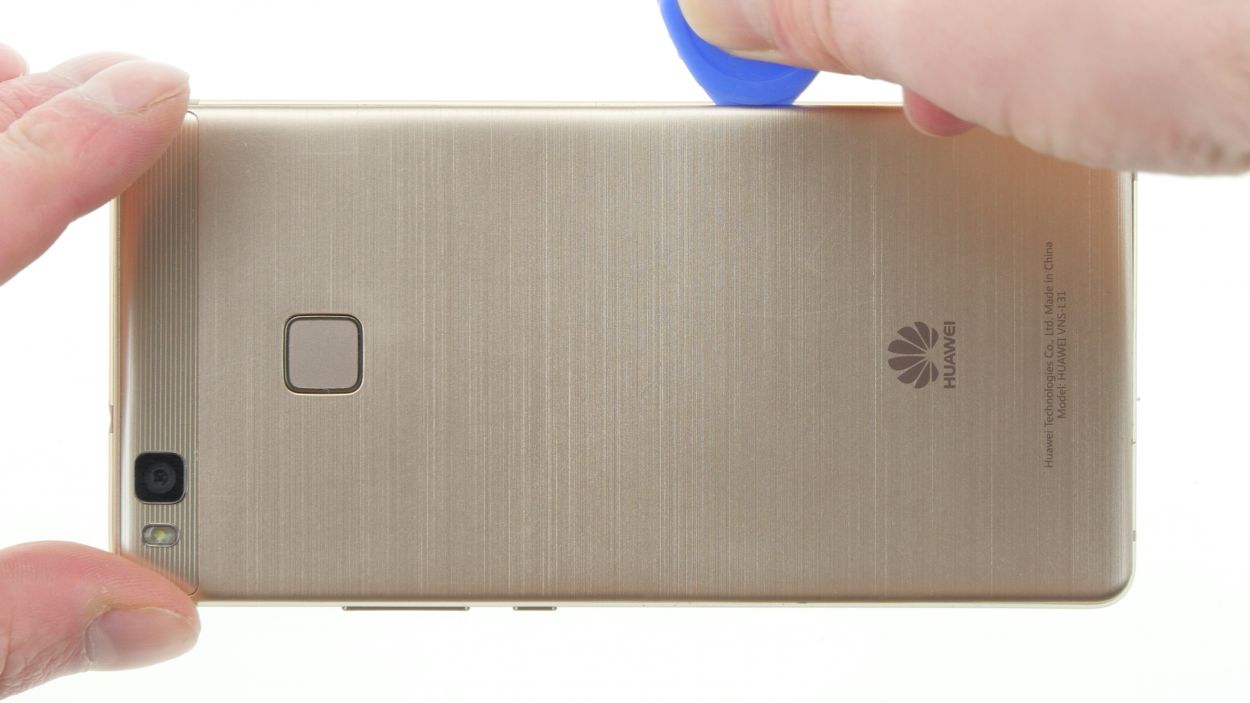

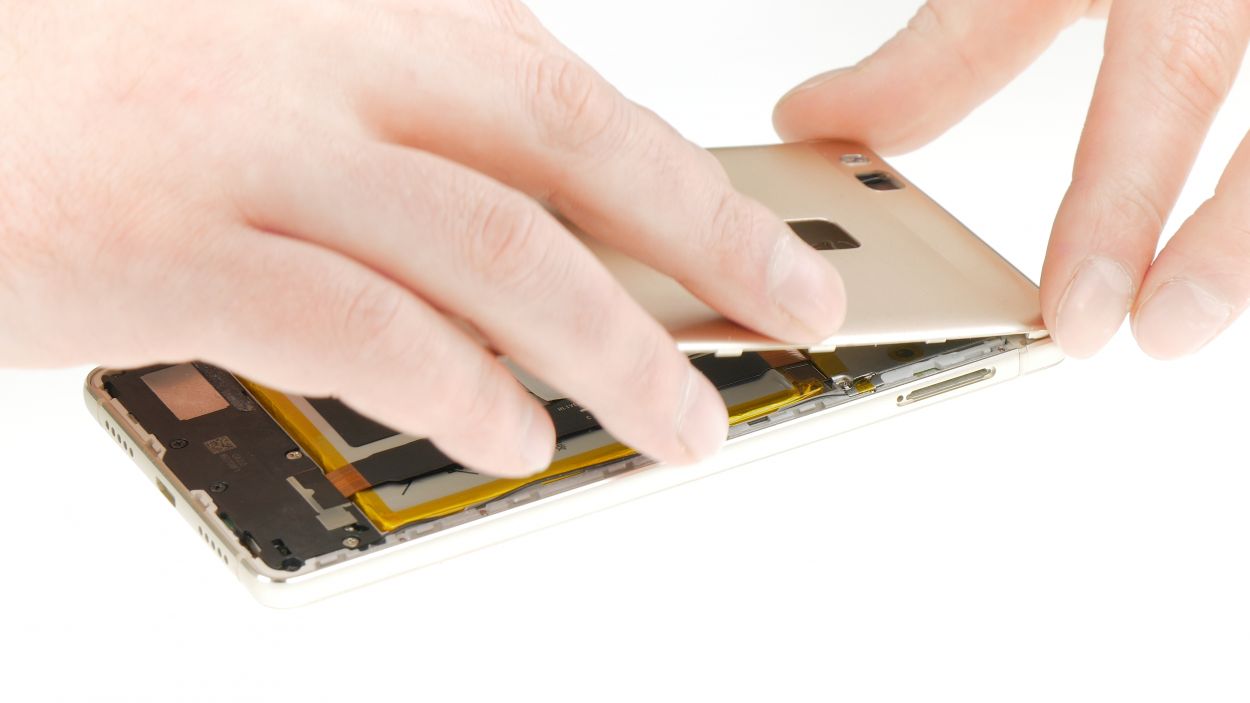
– First up, grab that suction cup and place it a bit lower on the back cover. Give it a gentle pull to start lifting that cover off.
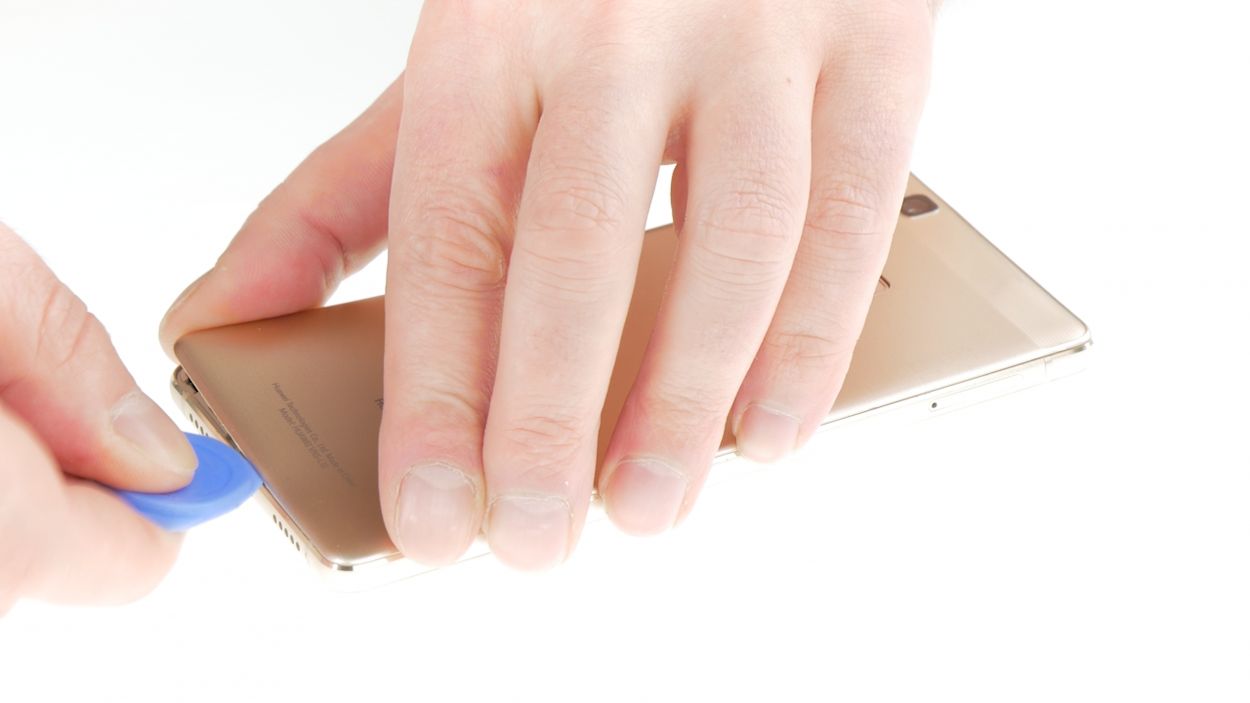
– Next, slide the pick between the display unit and the back cover and give it a little nudge to separate them.
– Don’t forget to release the back cover clips that go all around your device. If it’s being stubborn, feel free to use a second pick or give it a bit more tug with your fingers.
– Keep in mind that the back cover is glued to the fingerprint sensor. A little warmth from a heat gun can help soften that glue, making it easier to remove.
– Once all the clips are free, you can simply lift off the back cover and reveal what’s inside!
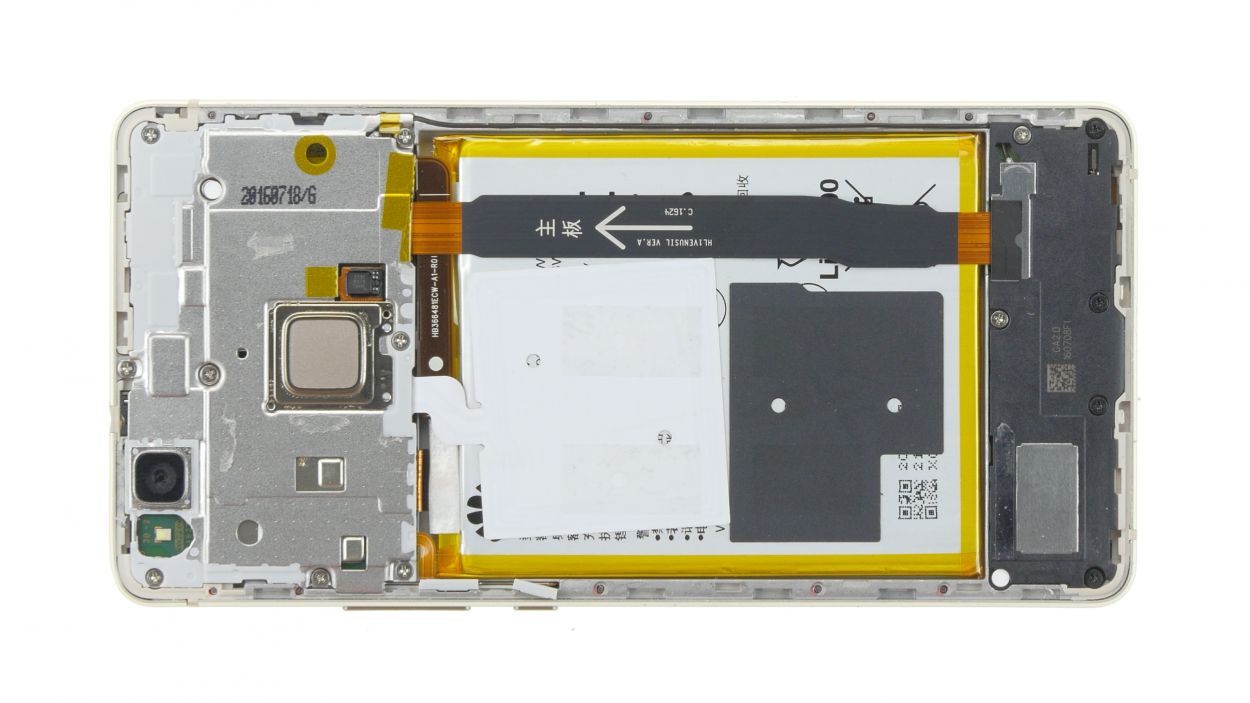
Step 4

– First things first, let’s tackle those Phillips screws holding the cover in place. Unscrew them all and keep them safe—trust us, you’ll thank yourself later!
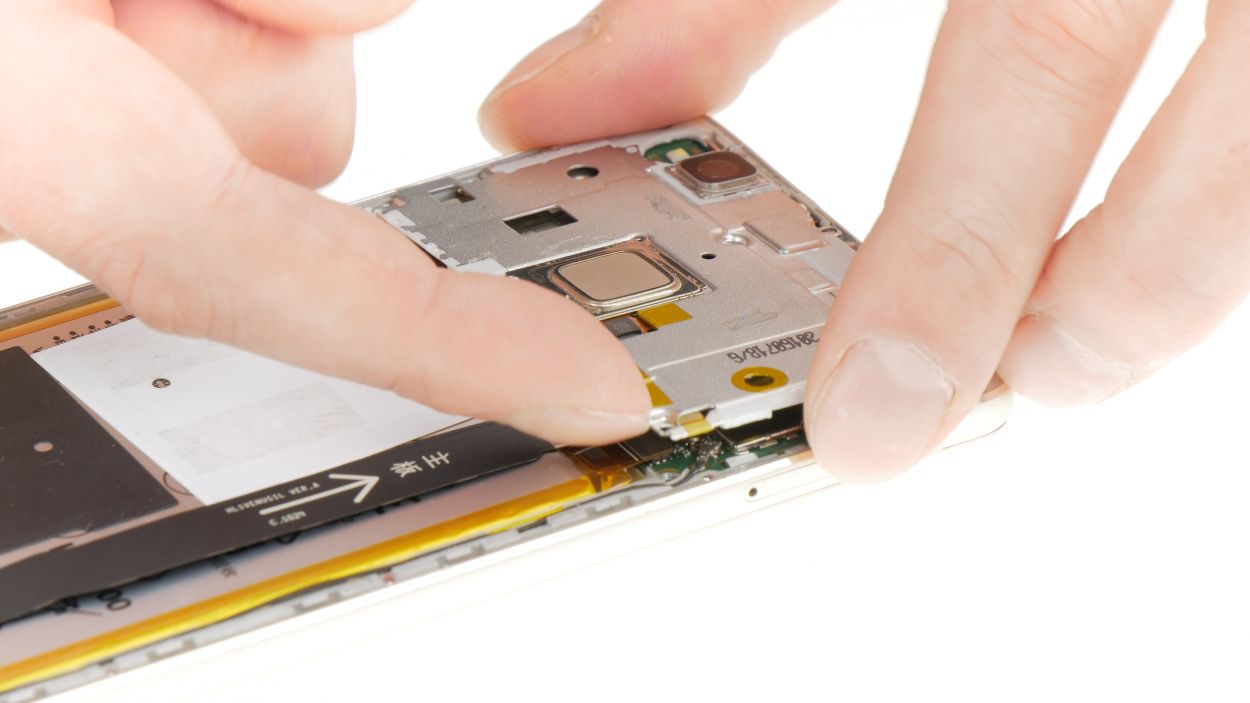
– Now, give the cover a little lift. Just a gentle nudge will do!
– The cover has some sneaky clips—one near the camera and another on the side. Gently wiggle the cover to release those clips, then swing it open to the side like a pro.
– Grab your trusty spudger and carefully pry off the connector for the fingerprint sensor flex cable. You got this!
– Time to remove the glued contact of the NFC antenna. If it’s being stubborn, warm it up a bit with a heat gun, then gently pry it off with a spatula. Easy peasy!
9 × Phillips
Fingerprint sensor
NFC connector
Heads up! There are a bunch of cables hanging out underneath, so keep an eye on them!
There’s a sneaky humidity indicator hanging out near one of the screws. You could try to take it off and put it back later, but let’s be real—it often ends up breaking. So, why not give it a little poke with a screwdriver instead? It’s a quick fix!
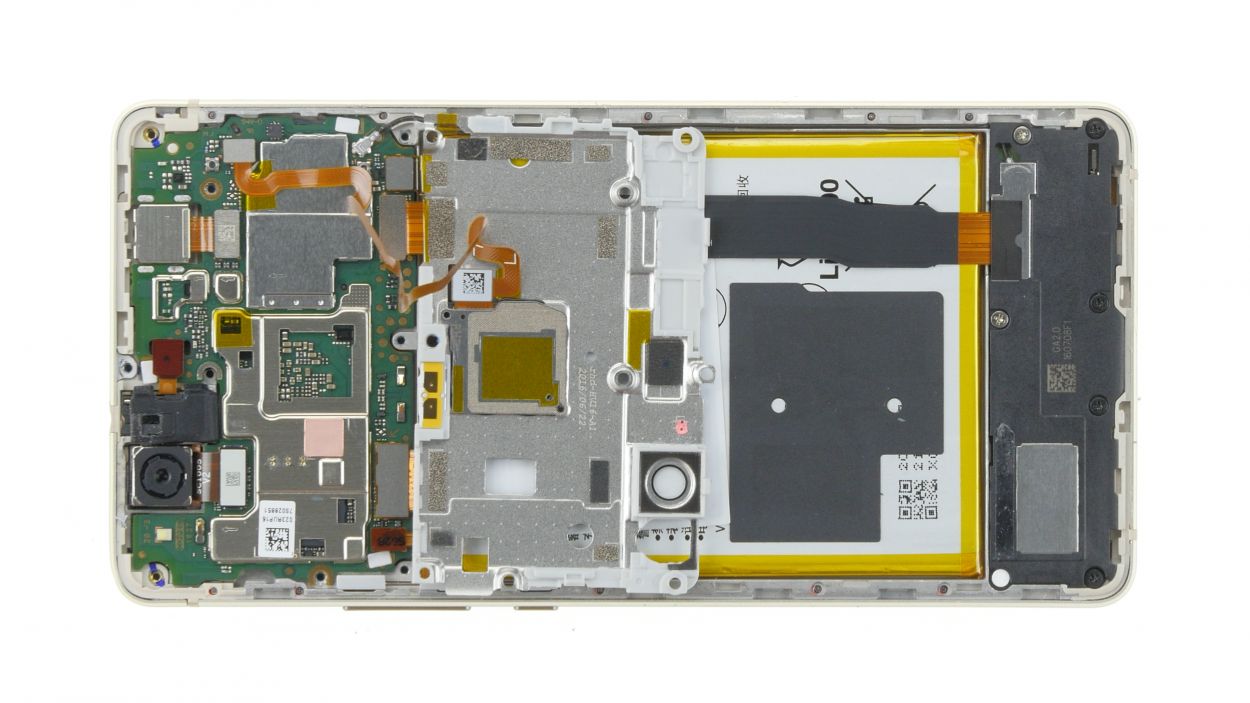
Step 5

Battery connector
– Use a spudger to carefully pry off the connector of the battery flex cable.
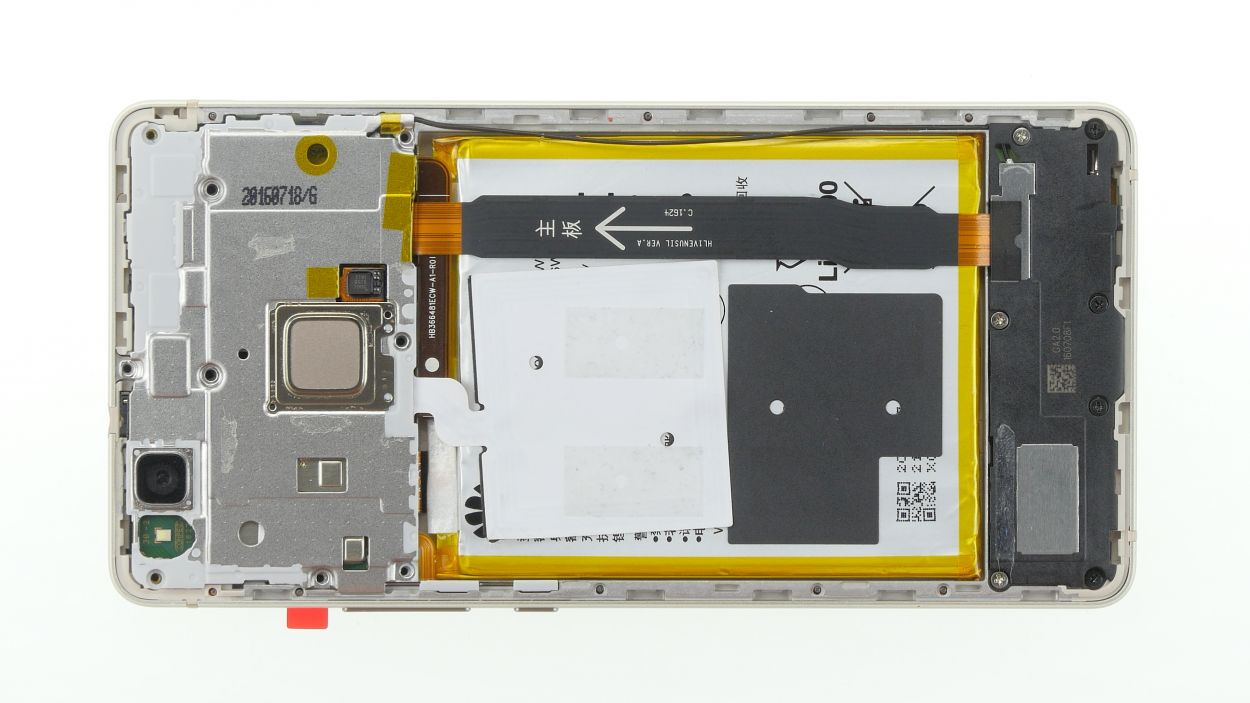
Step 6
3 × 2.9 mm Phillips
4 × 3.8 mm Phillips
Hey there, repair rockstar! Just a heads up: these screws come in two different lengths, so be sure to store them separately. That way, you can insert them correctly later on. If you need help, you can always schedule a repair
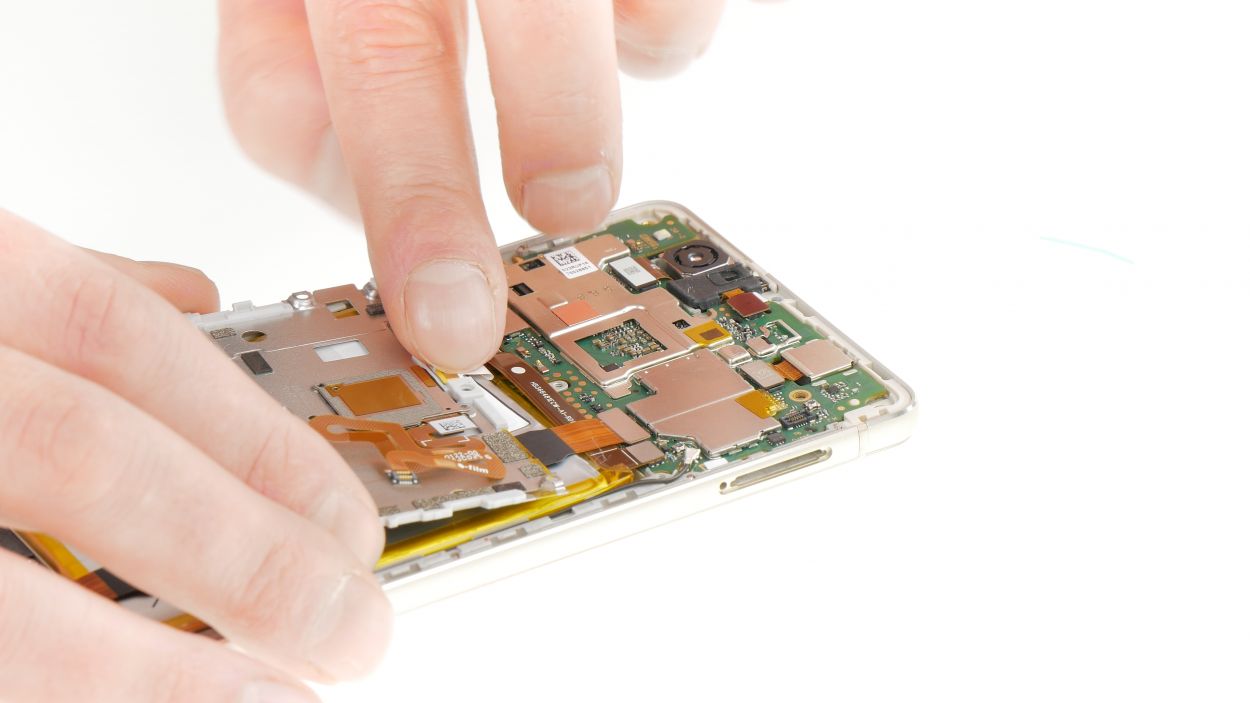
– Let’s kick things off by unscrewing those Phillips screws holding the plastic cover in place.
– Next up, gently coax the speaker and its cover out of their snug little home: slide a slim tool into the gap at the bottom edge of the device and carefully pry the speaker free.
– And just like that, the speaker is all yours to take out!
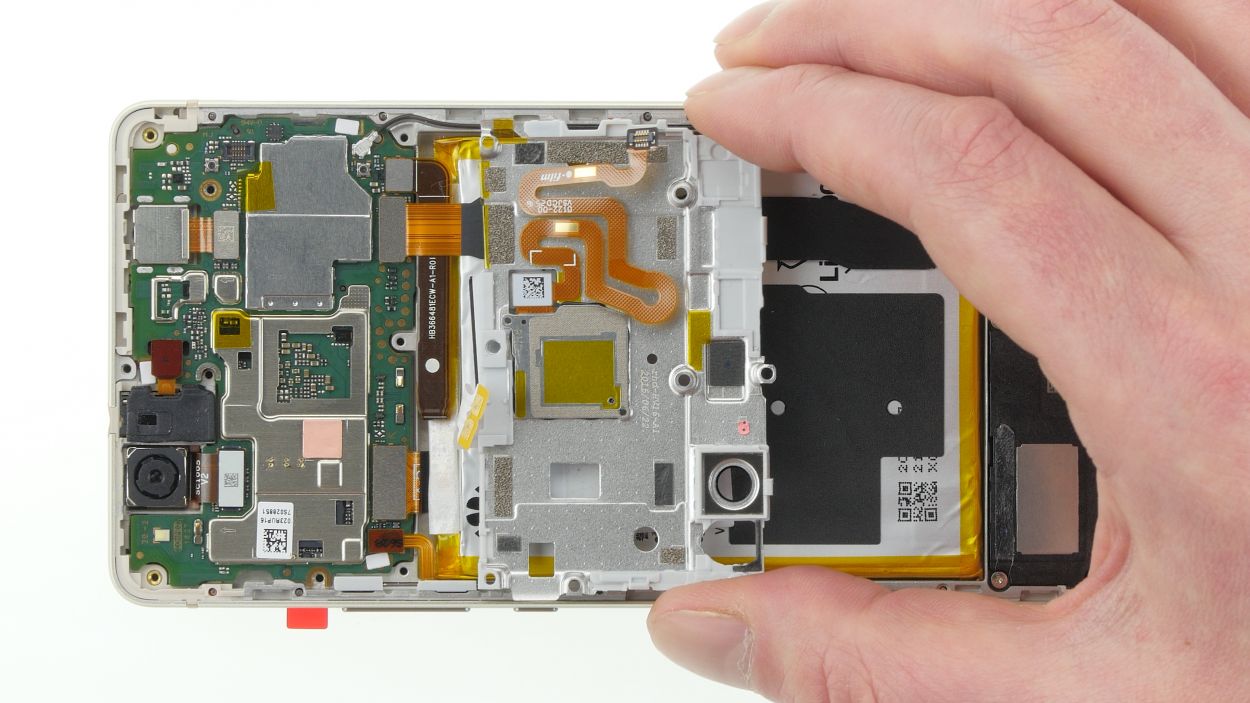
Step 7
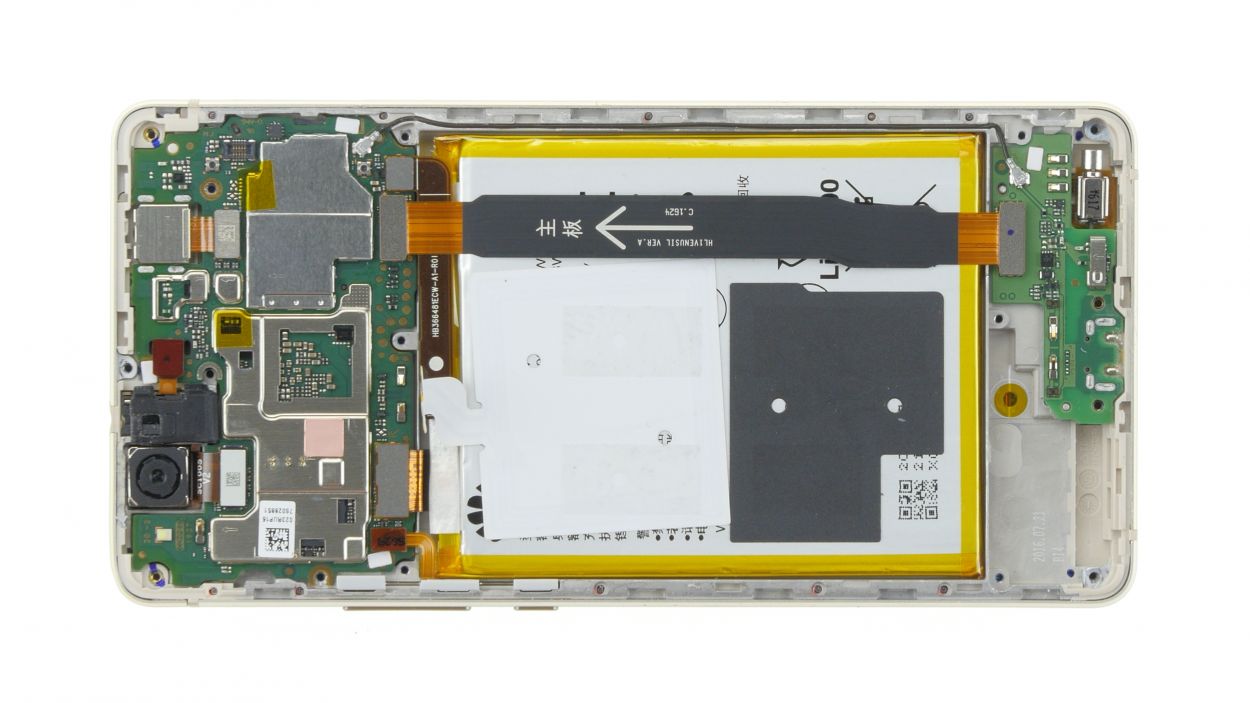
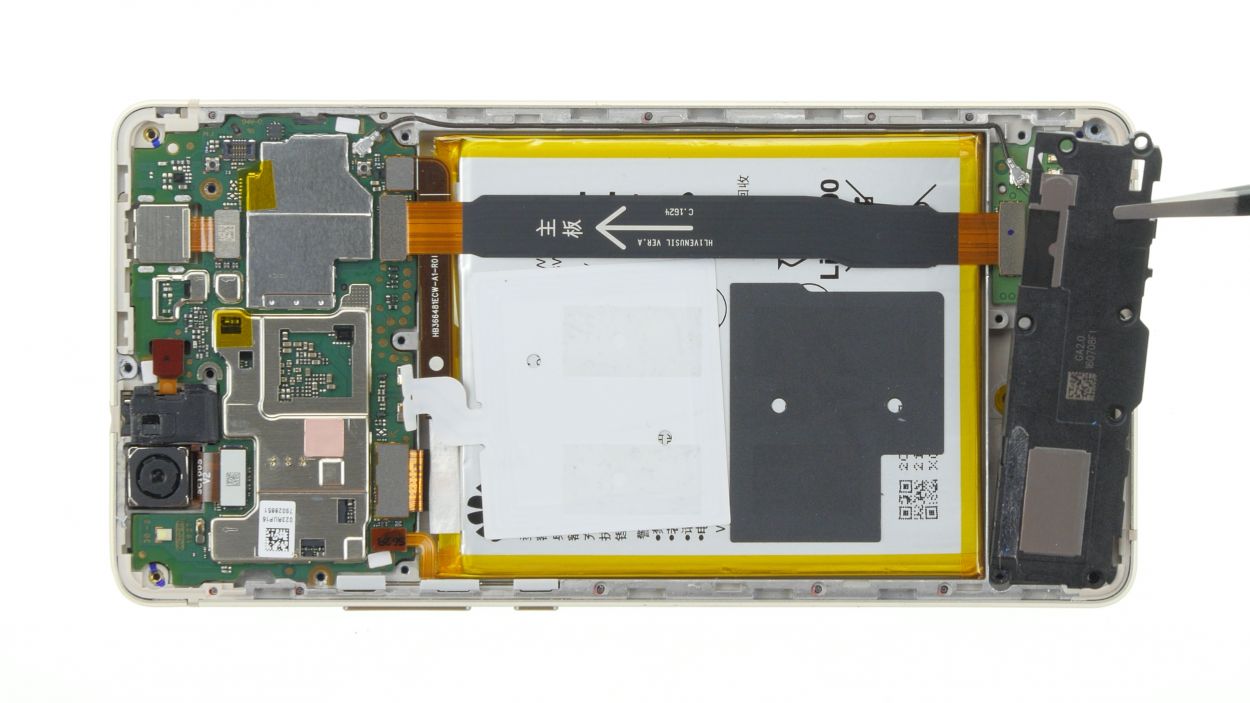
Flex cable connector
2 × Antenna plug
Pry with care, or you might accidentally pull the sockets off the PCBs! Keep it gentle!
No need to stress about the black antenna when swapping out the battery. It’s all good, just leave it in place and keep cruising through your repair!
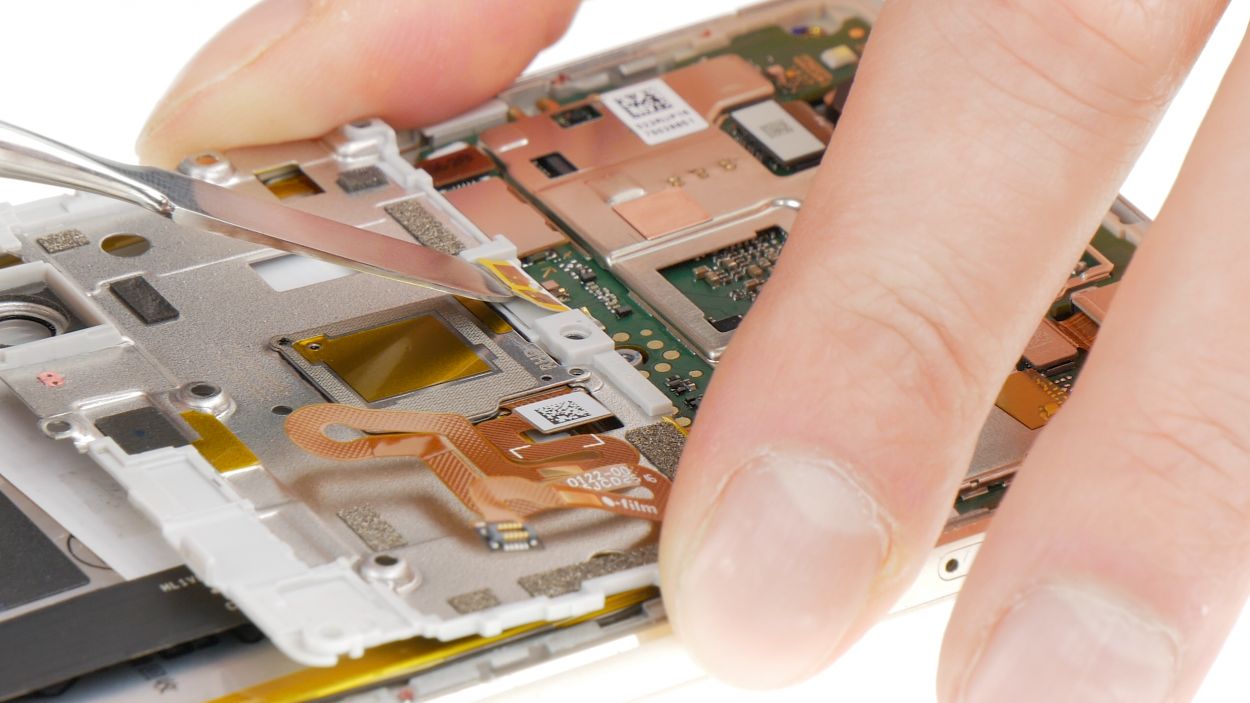
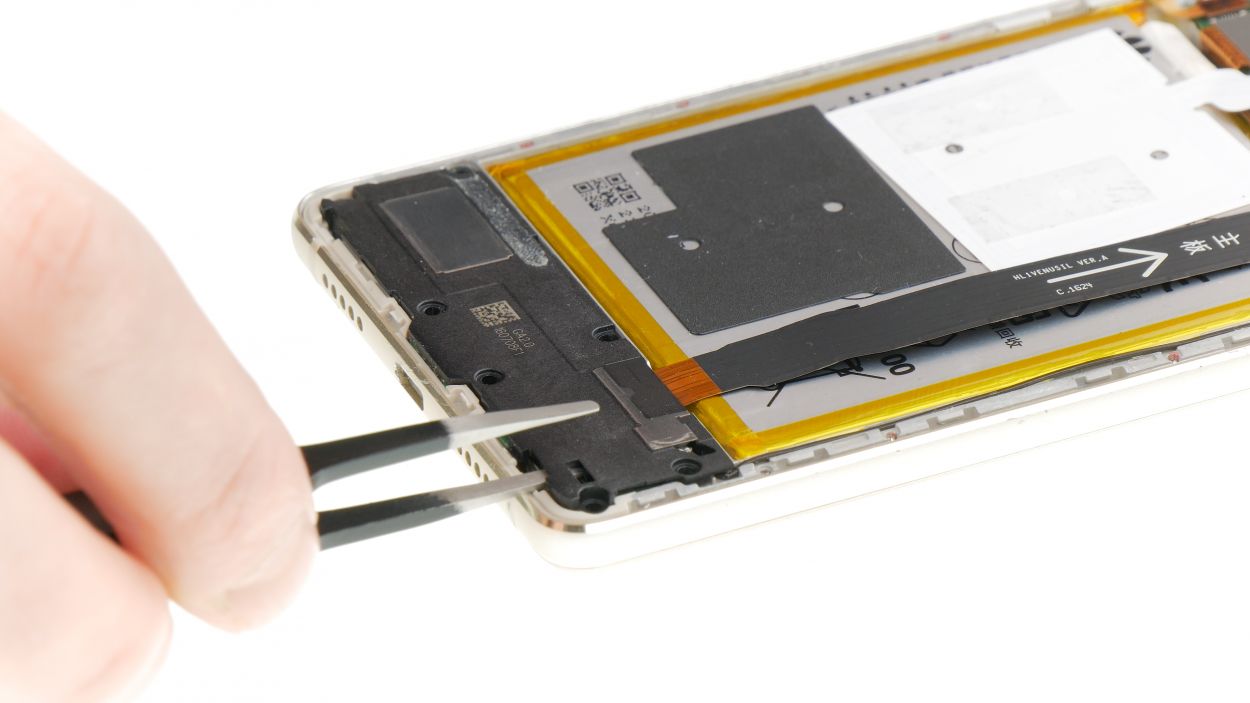
– Grab your trusty spudger and gently wiggle off the plugs on both sides of the antenna cable. You’ve got this!
– Now, go ahead and remove that antenna cable like a pro.
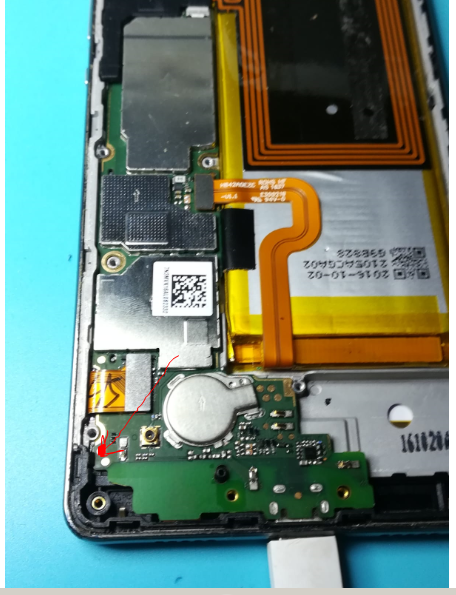
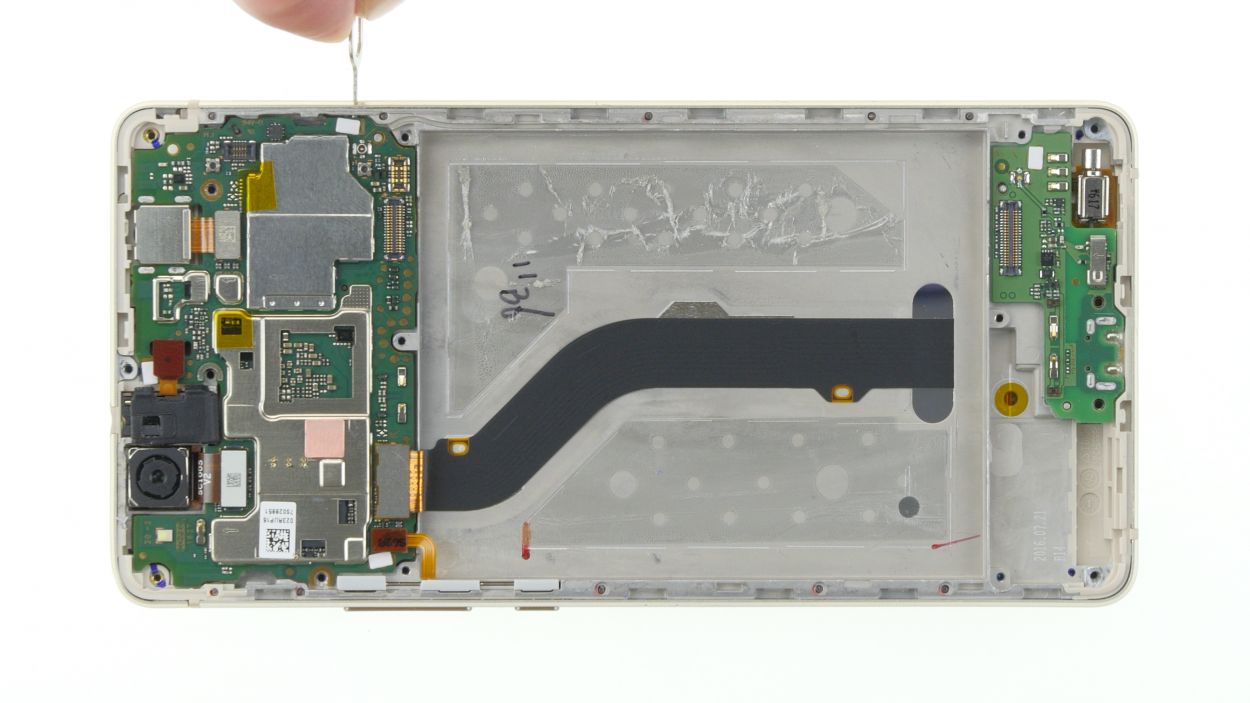
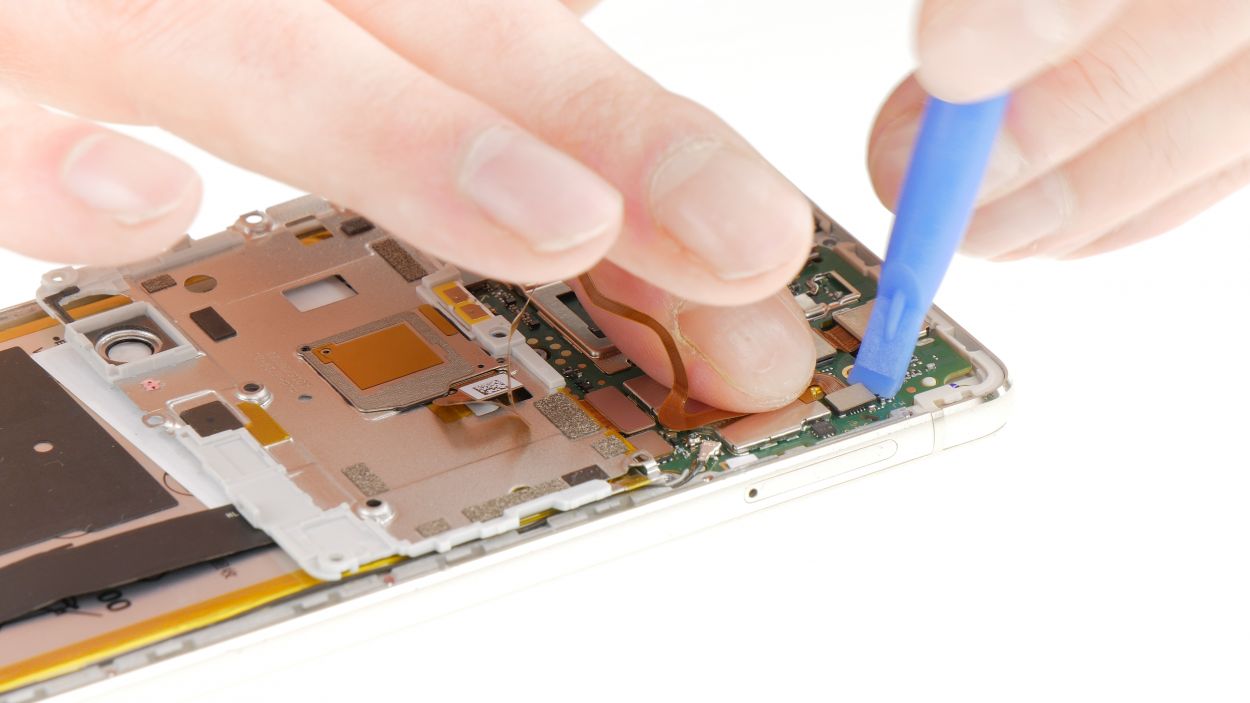
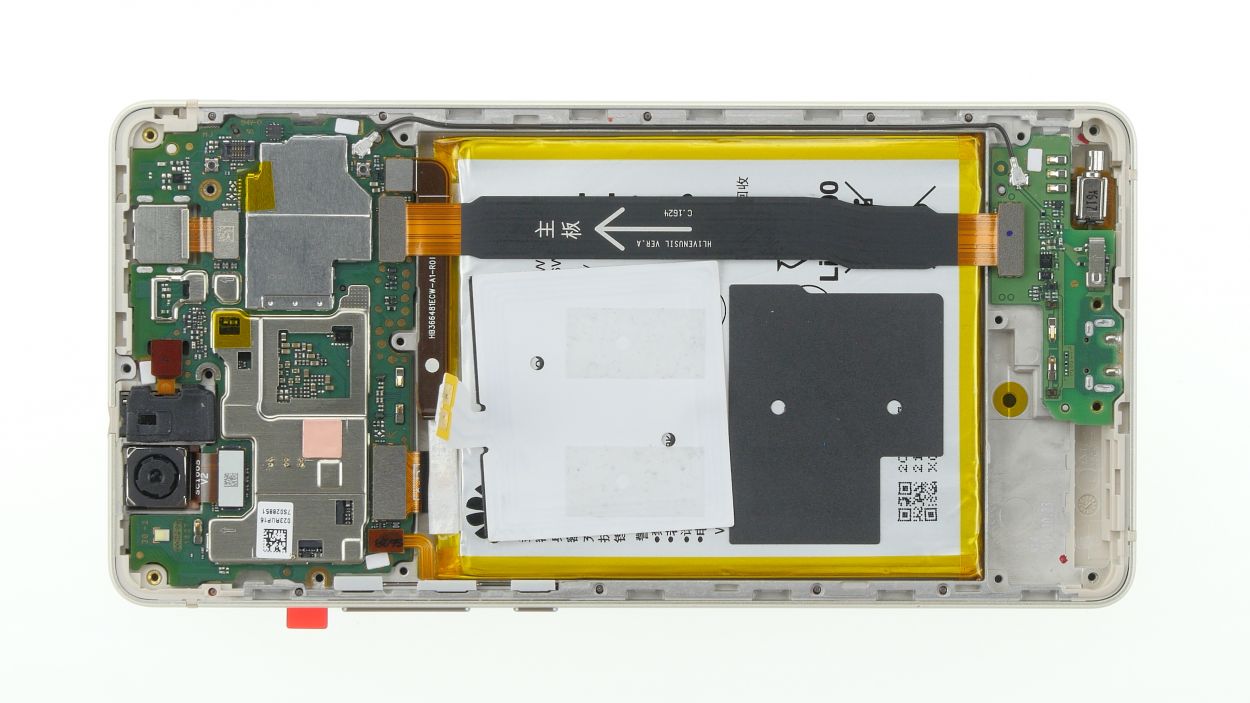
– Next up, use that spudger again to carefully pop off the connectors on both sides of the large flex cable marked with the arrow. Easy peasy!
– Finally, it’s time to remove the flex cable. You’re doing great!
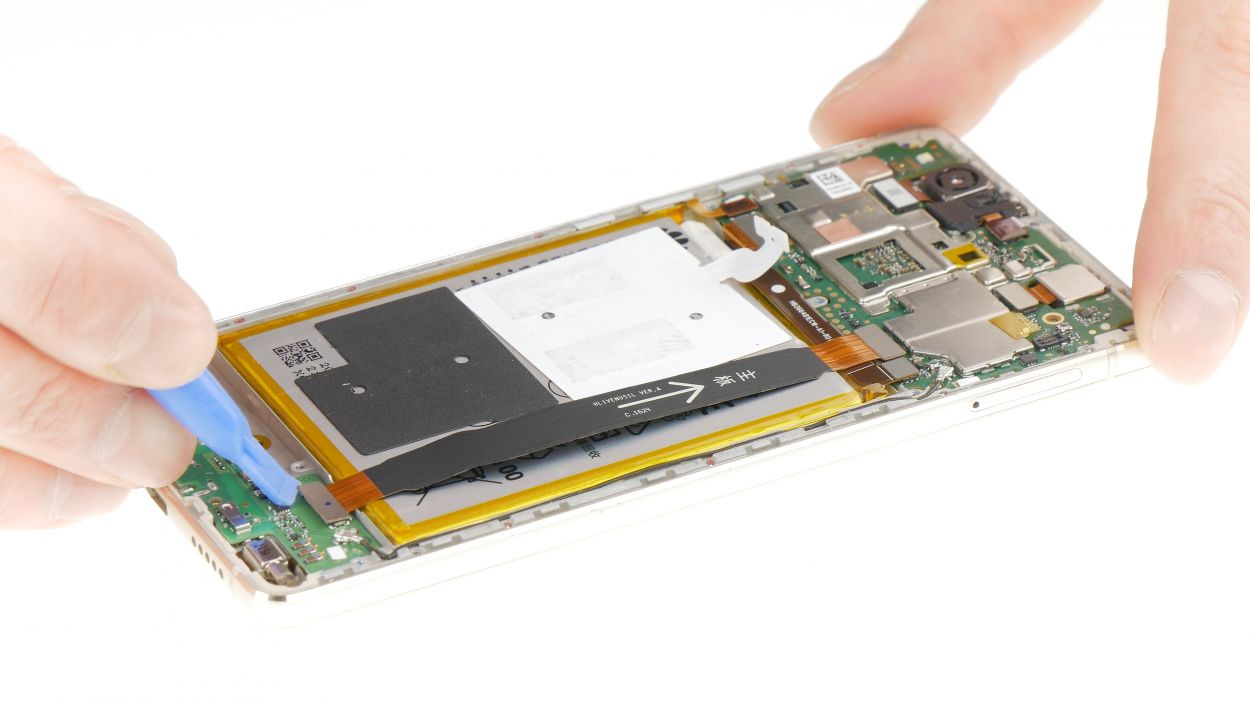
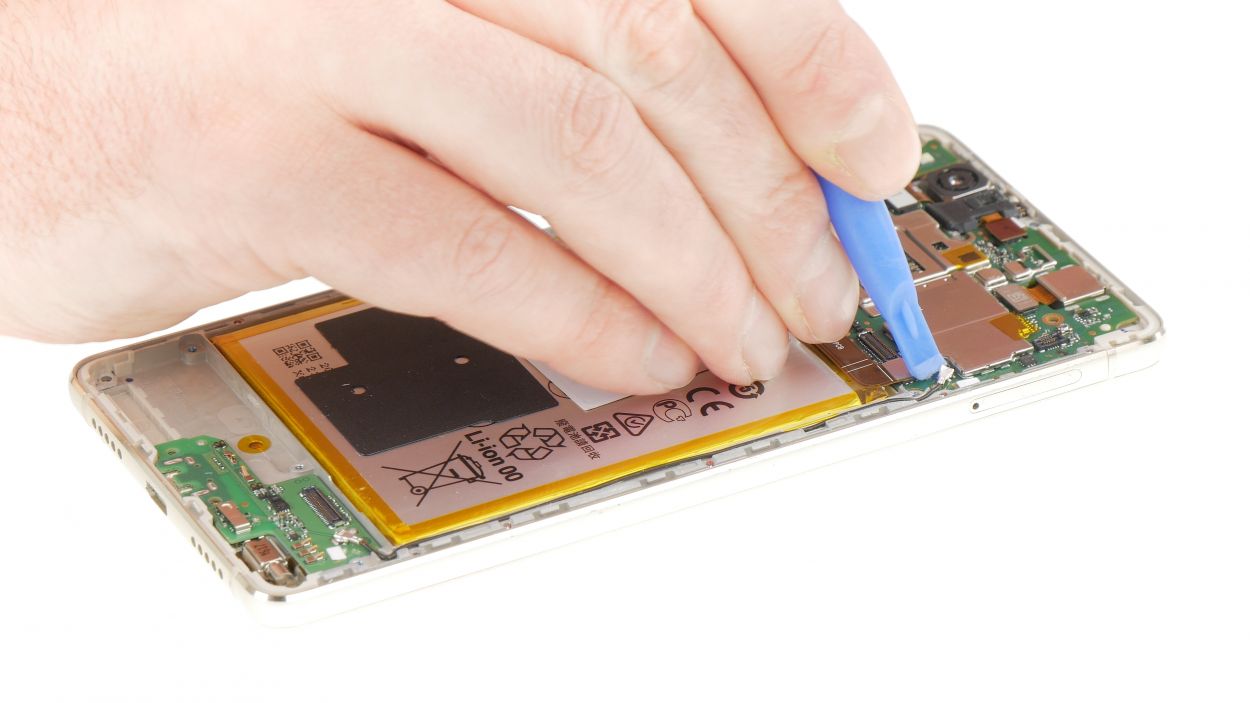
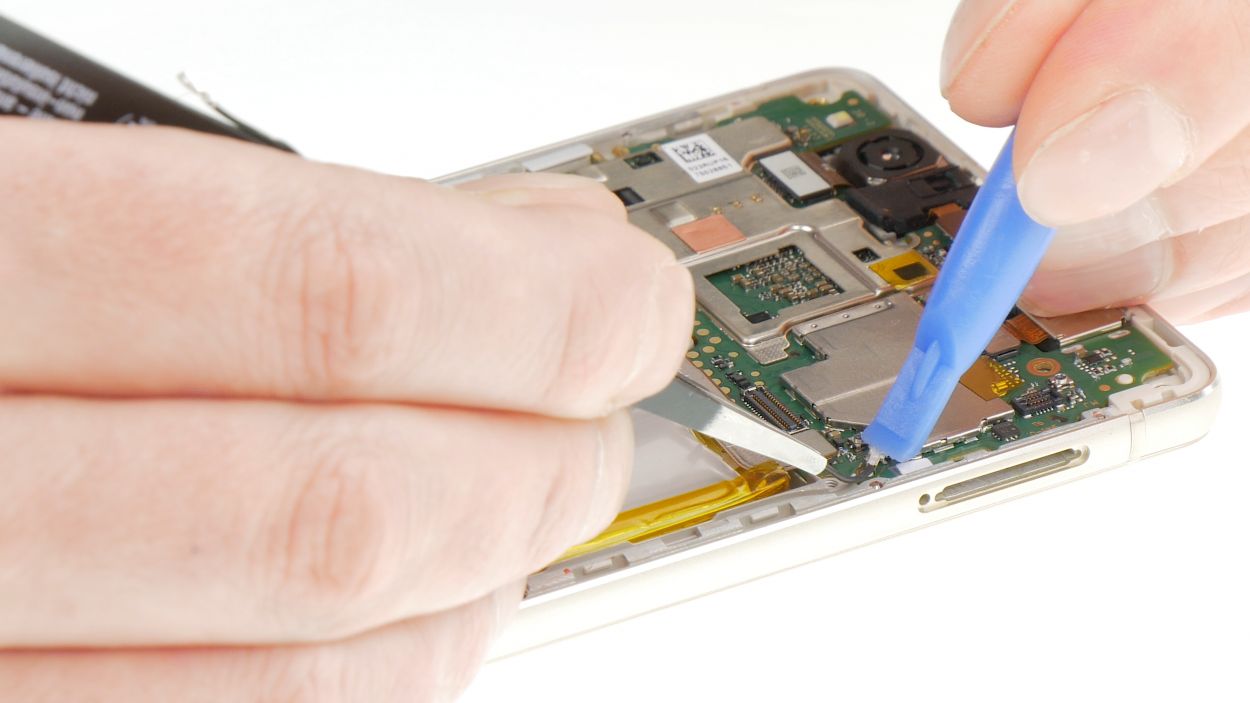
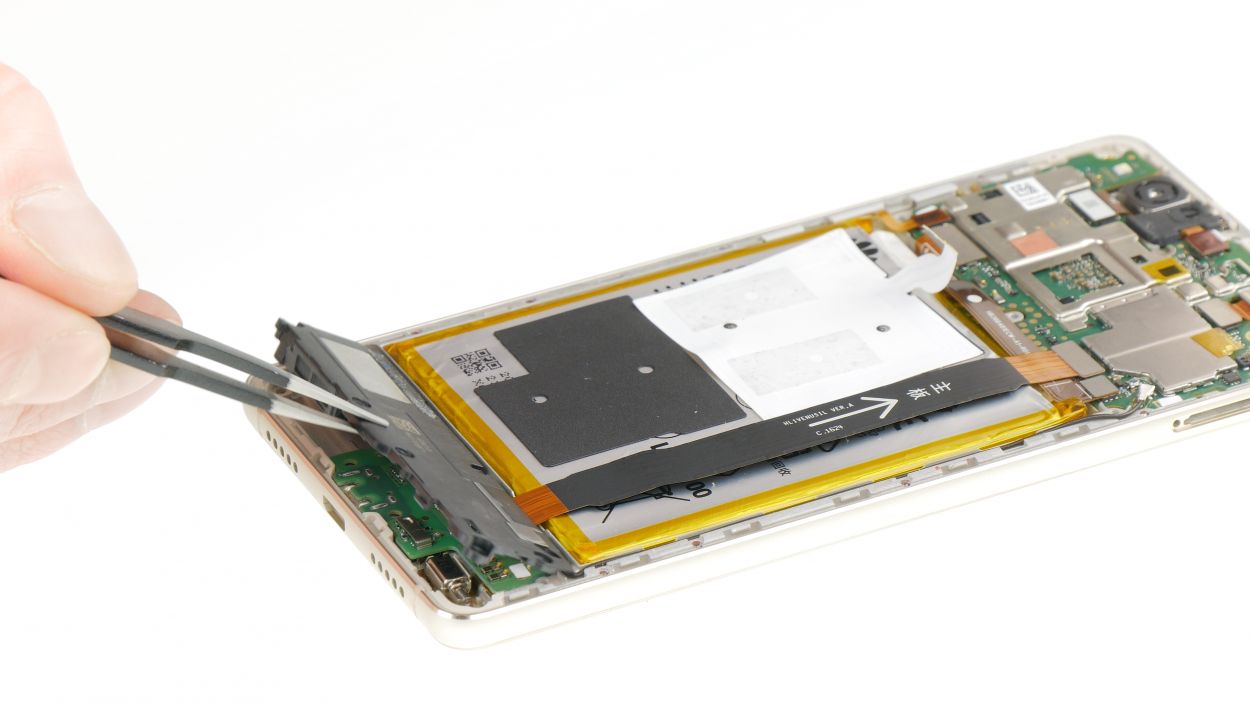
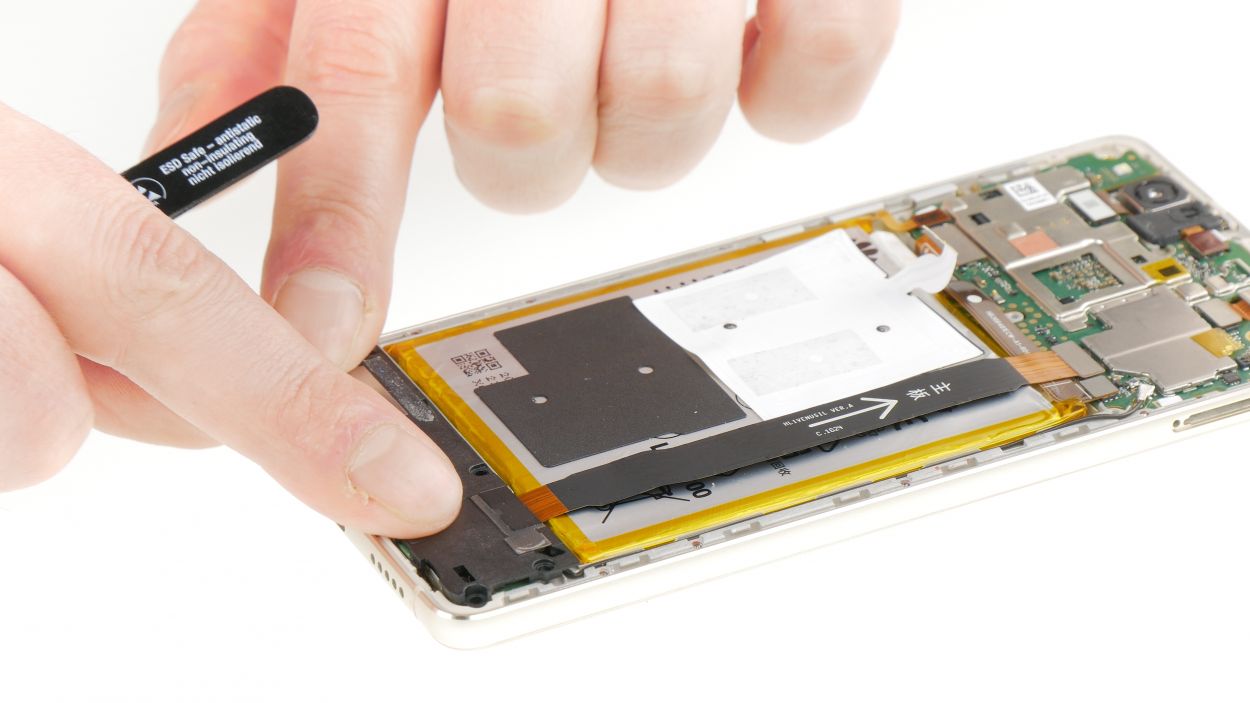
Step 8
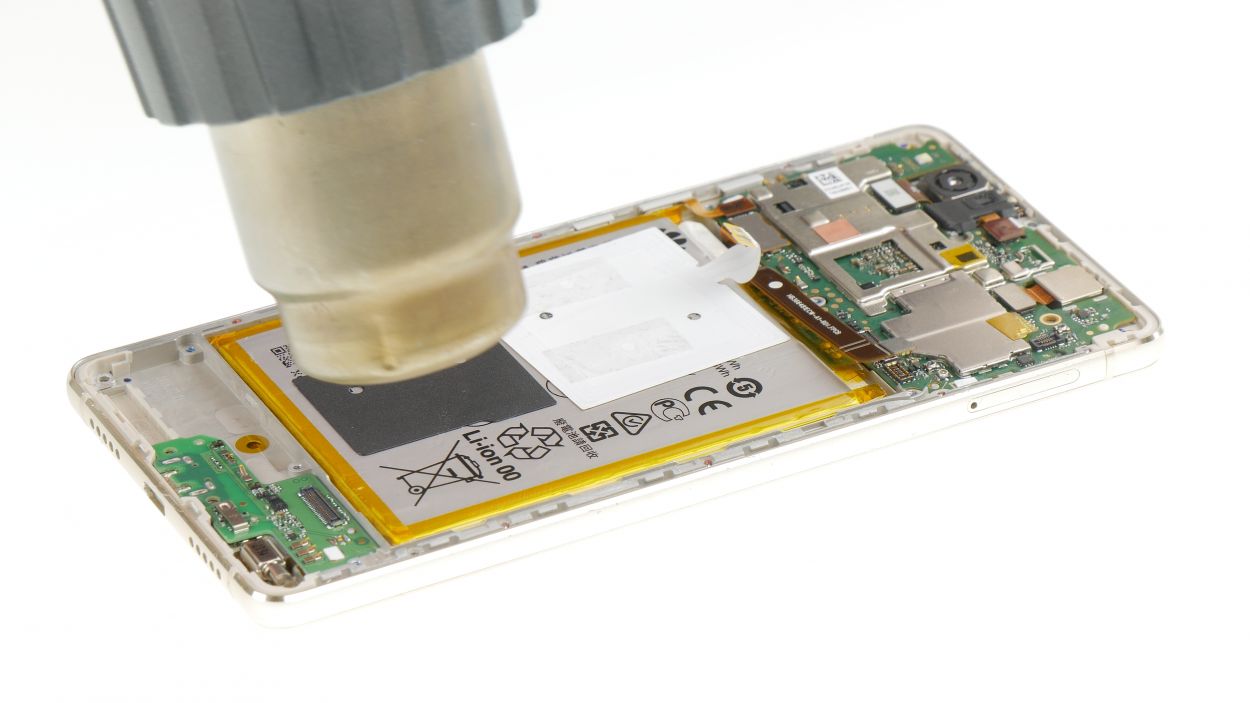

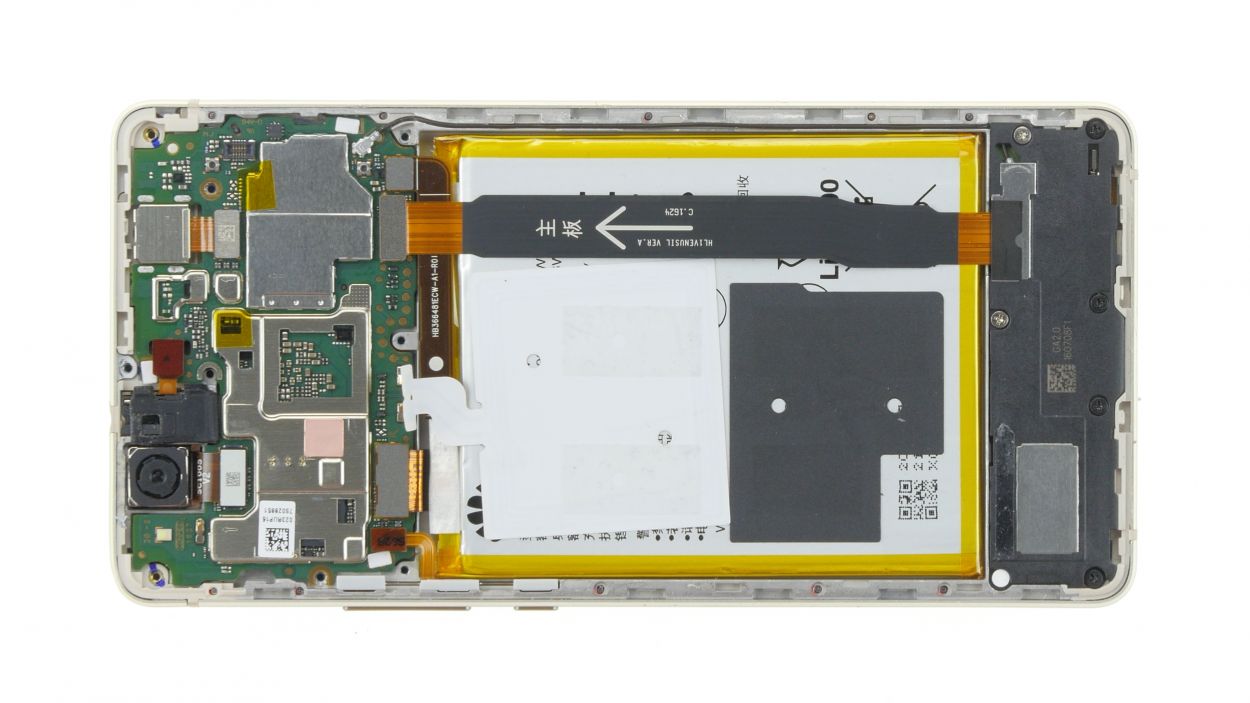
Spread that hot air around like you’re giving a warm hug to your device! Heat the same spot multiple times to avoid giving the battery a hot flash. And remember, gentle is the name of the game with the spudger—no need to go all Hulk on it! Prying from just one side? That’s a recipe for bending and breaking the battery. Keep it balanced and steady!

Step 11


Flex cable connector
2 × Antenna plug
– Let’s get that antenna cable snugly fitted into the display unit!
– Now, it’s time to connect those antenna cable plugs to both circuit boards. Just hover each plug above its socket and give it a gentle press until you hear that satisfying click.
– Next up, slide the large flex cable back between the two circuit boards, making sure it’s cozy in there.
– Finally, connect the connectors to each circuit board with care. Remember, the two connectors are unique, so make sure the arrow is pointing towards the mainboard (that’s the top!).
Step 12
3 × 2.9 mm Phillips
4 × 3.8 mm Phillips
– Gently place the plastic cover with the speaker into the display unit and give it a little press until you hear that satisfying click.
– Now, it’s time to secure those seven Phillips screws! Just a heads up: they come in two different lengths, so keep an eye on that.
Step 13
Battery connector
– Carefully connect the battery flex cable. Make sure the connector is aligned correctly before you press it on. It should click into place. If not, repeat this step.
Step 14

9 × Phillips
– Start by flipping the cover upside down and gently place it on the battery, making sure to pop the NFC antenna contact back into its cozy spot. Use the handy tab on the contact to guide it into place.
– Next up, with a gentle touch, connect the fingerprint sensor flex cable to the mainboard. It’s like giving it a little handshake!
– Now, fold that cover back onto the mainboard and give it a good press. Time to secure everything with those nine Phillips screws! Don’t worry, they’re all the same length, so no need to stress about which one goes where.
Step 15
– 1. Gently set the back cover onto the display unit and give it a little press all around until you hear that satisfying snap. It’s like a little high-five for your device!
Step 16
– Pop in those SIM or SD cards into the tray like a pro!
– Slide that SIM card tray back into its cozy little slot.