DIY Guide to Replace Galaxy Note Edge Logic Board
Duration: 45 min.
Steps: 18 Steps
Ready to dive into a little tech surgery? In this repair guide, we’re going to walk you through the exciting journey of removing the logic board from your Samsung Galaxy Note Edge! This step is crucial if you’re planning to give your device a nice cleaning after it took a little swim. Let’s get this show on the road!
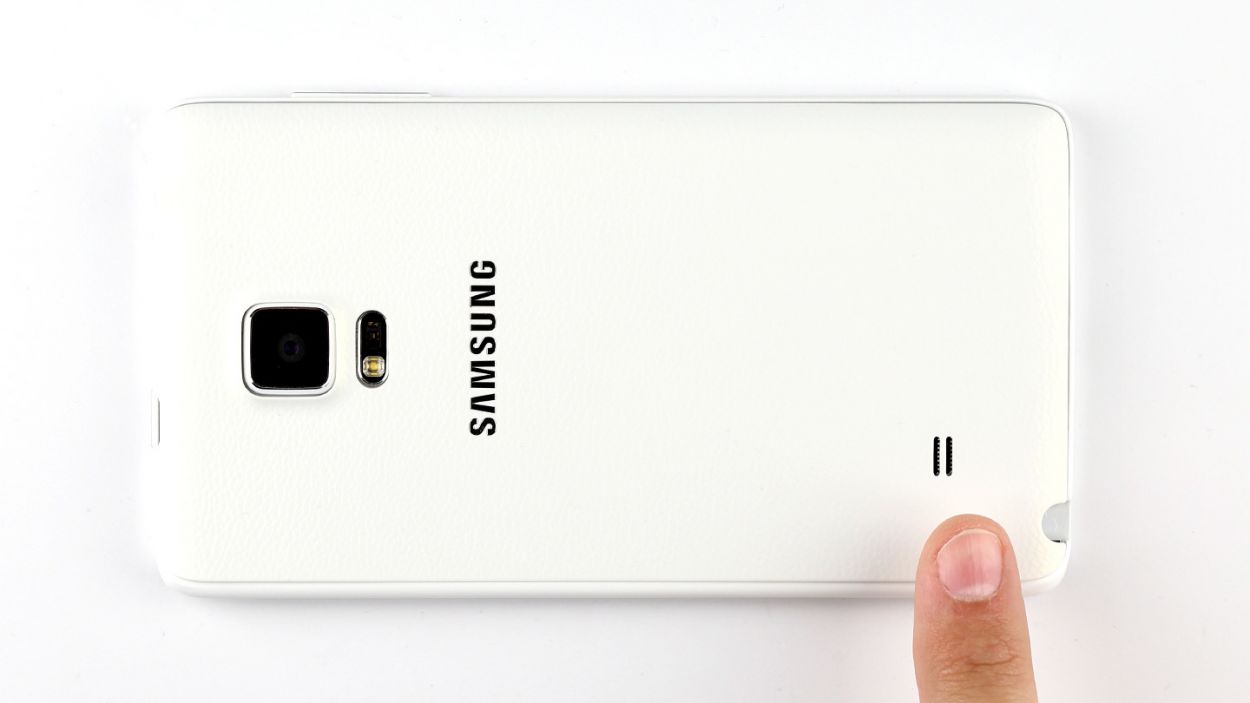
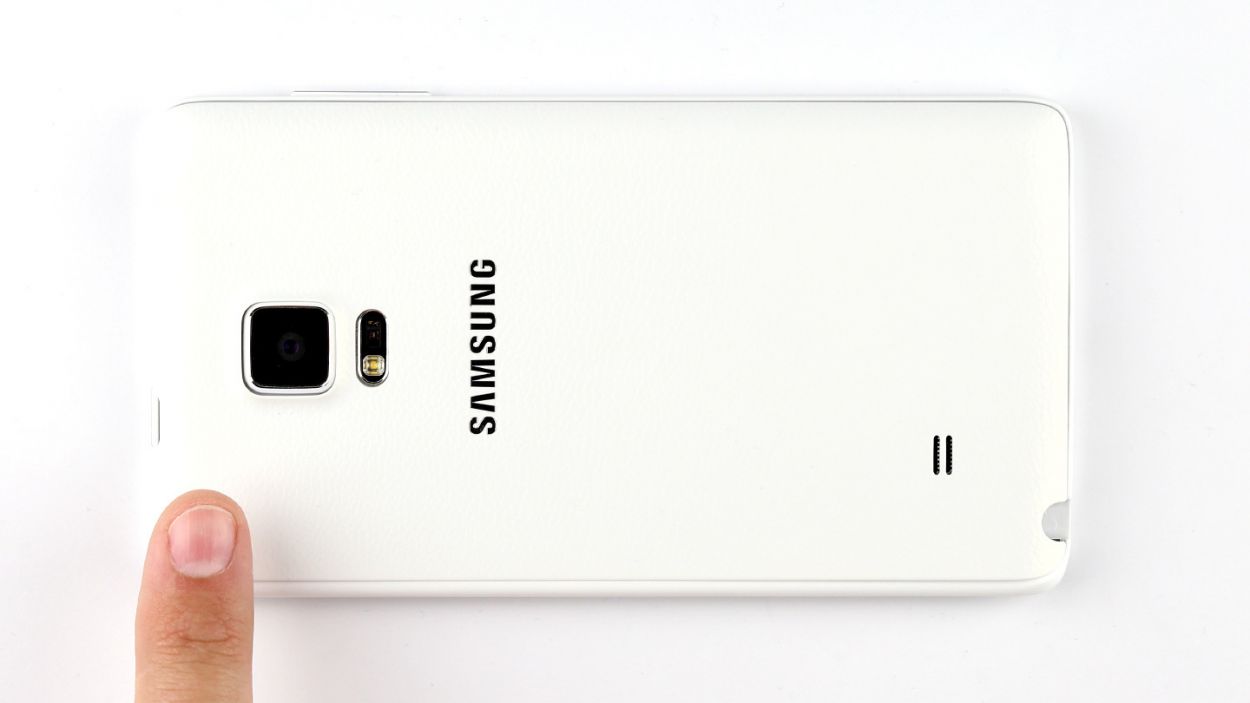
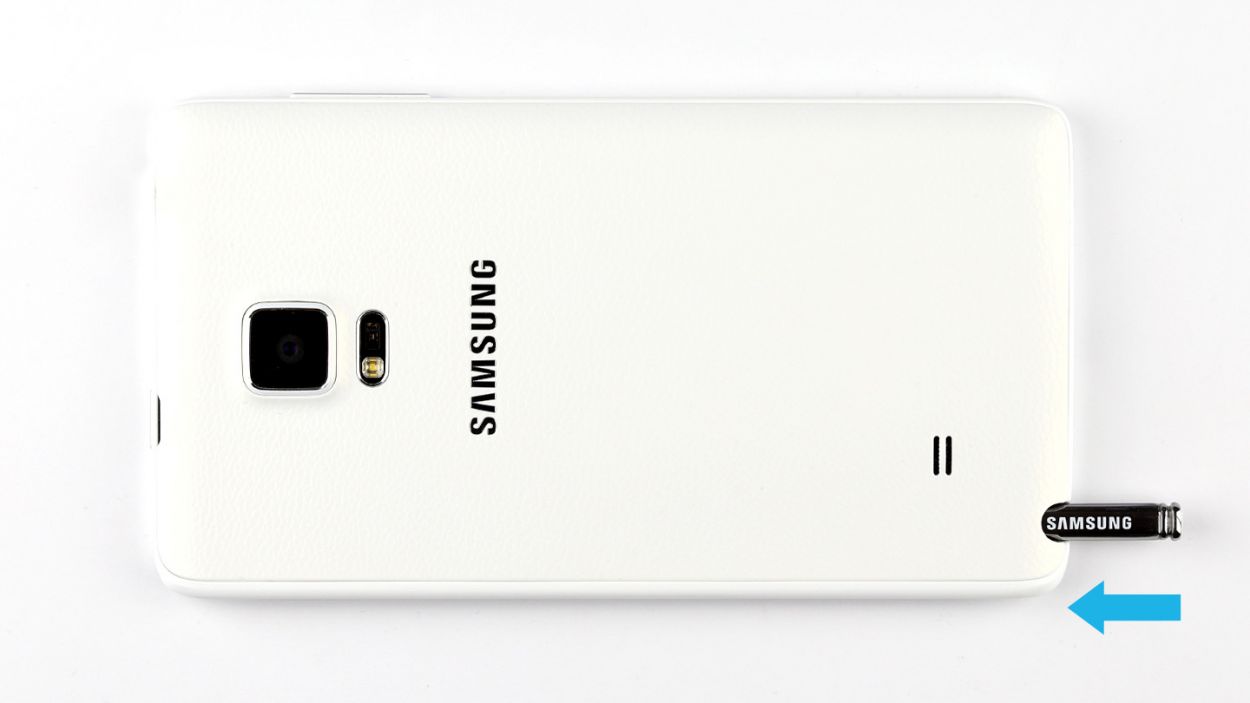
Step 1

– Give your Galaxy Note Edge a little love tap with your finger and gently pull out the stylus. It’s like giving your phone a high five!
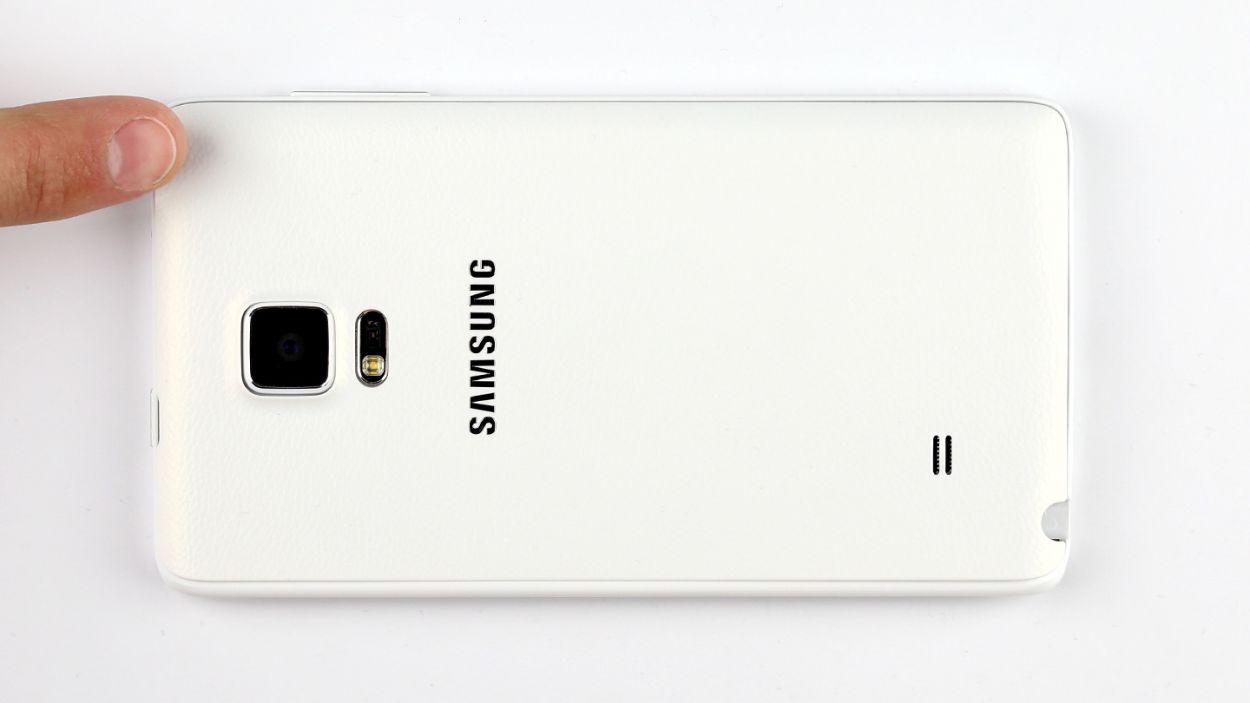
Step 2
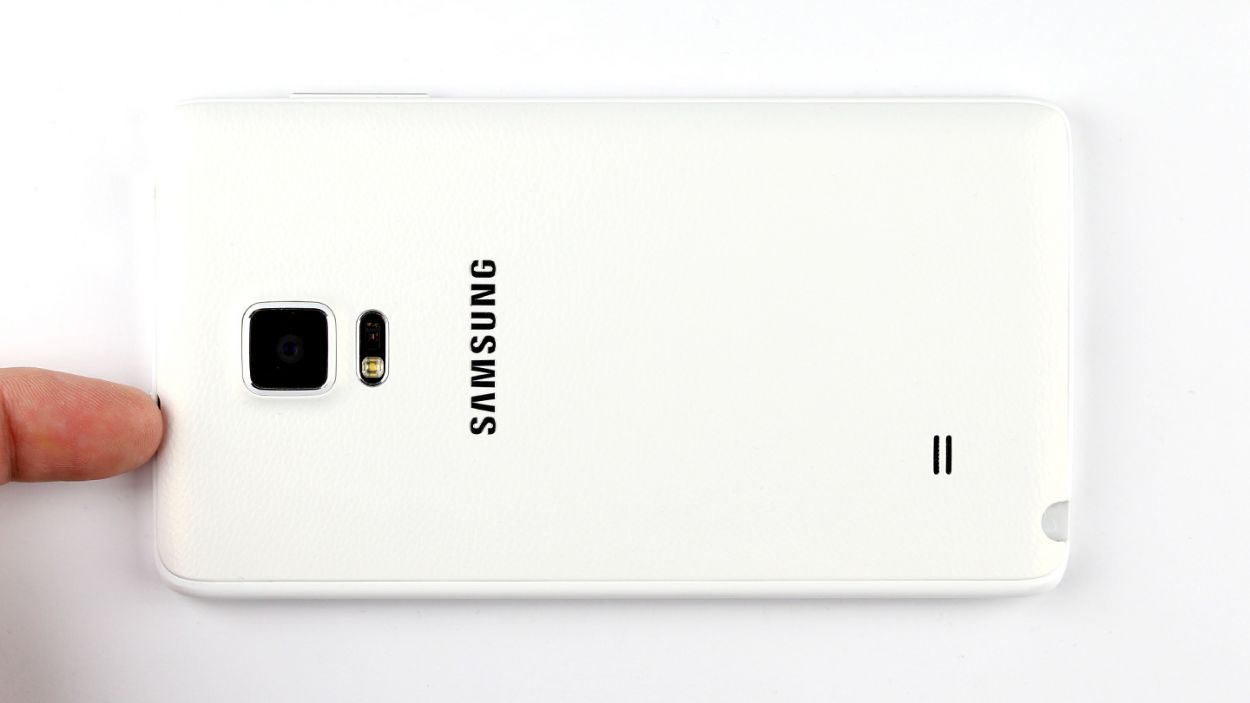
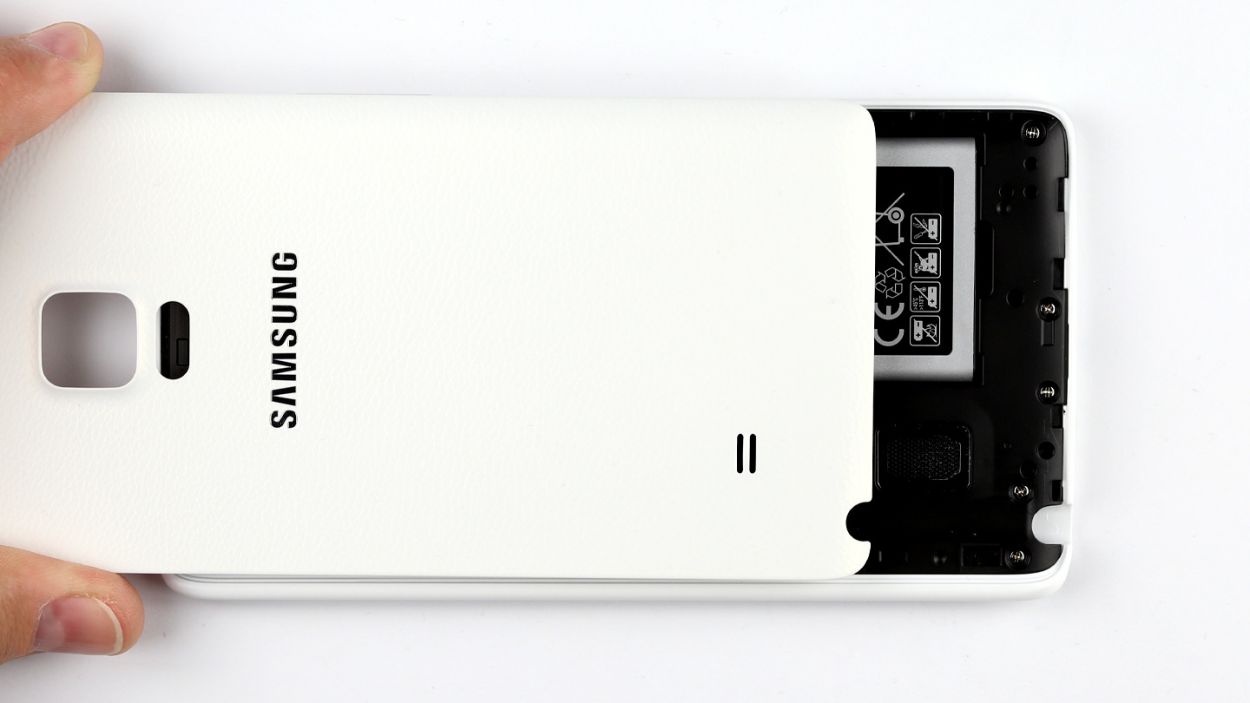
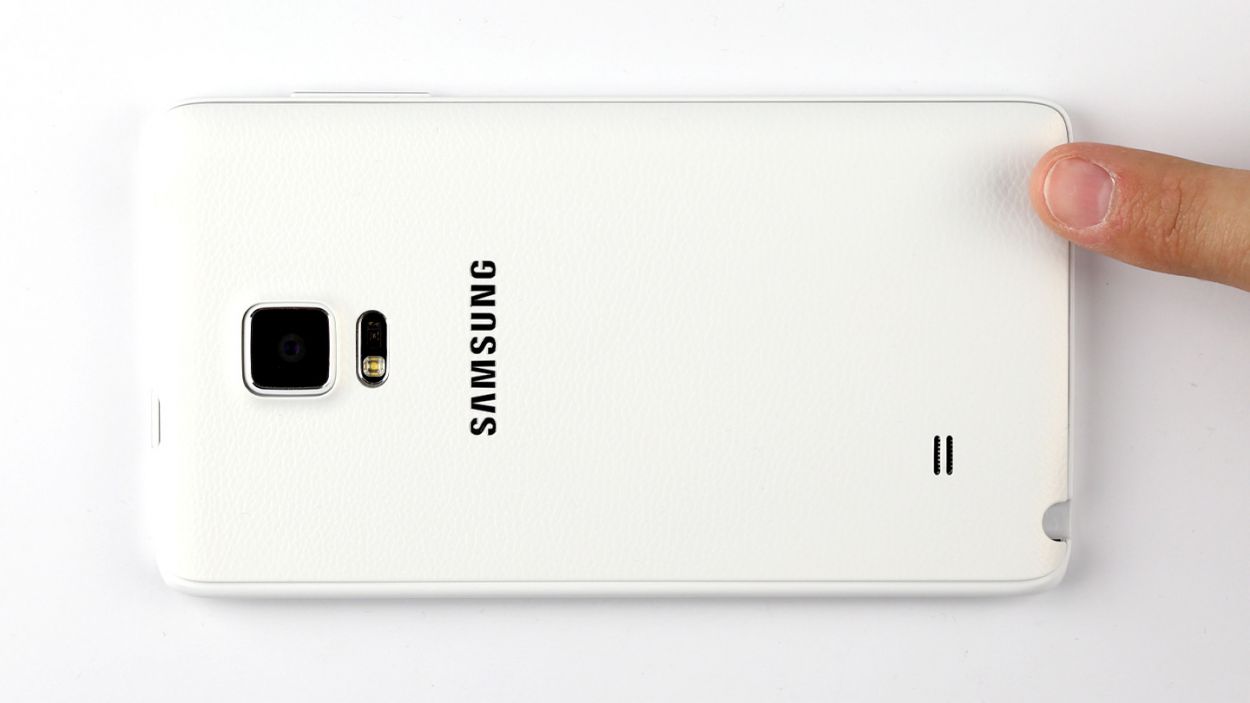
– First up, let’s get that back cover off your device! Look for the little indentation at the top of your Galaxy Note Edge – that’s your golden ticket! Stick your fingernail in there and give it a gentle pry. Remember, the back cover is secured at several points, so you might need to wiggle your finger around a bit before you can pull it off carefully.
– Now, go ahead and remove the back cover.
Step 4

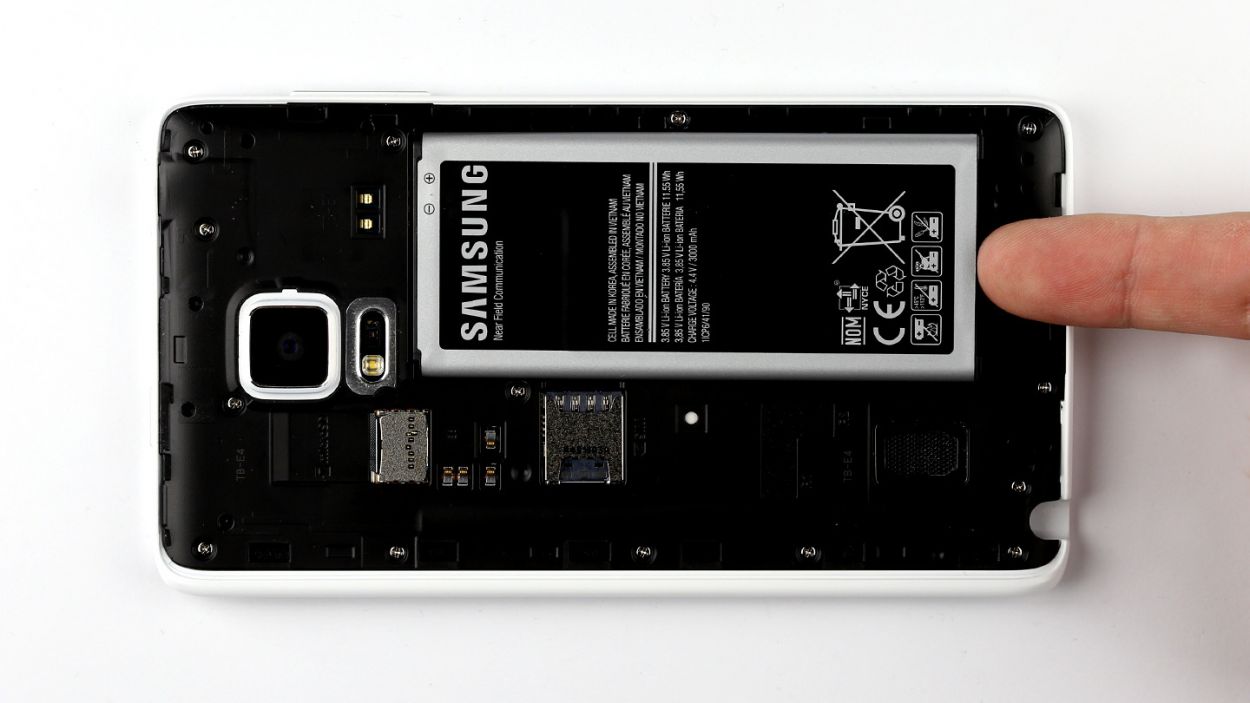
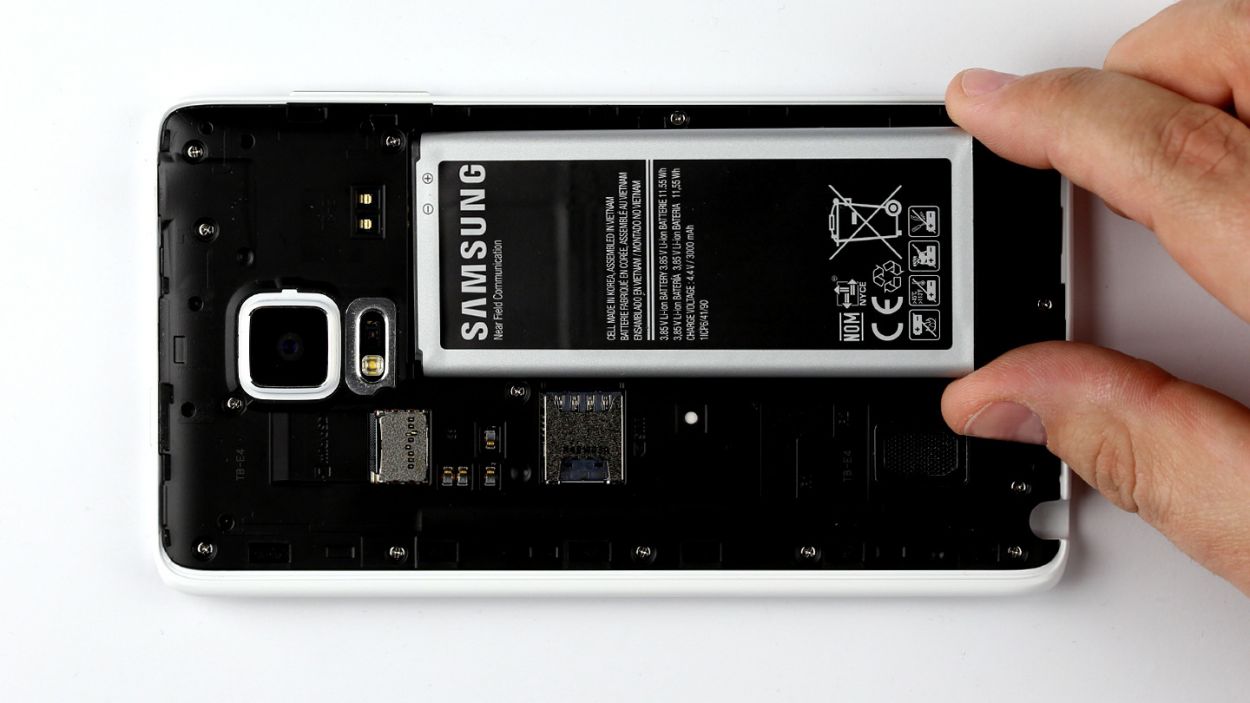
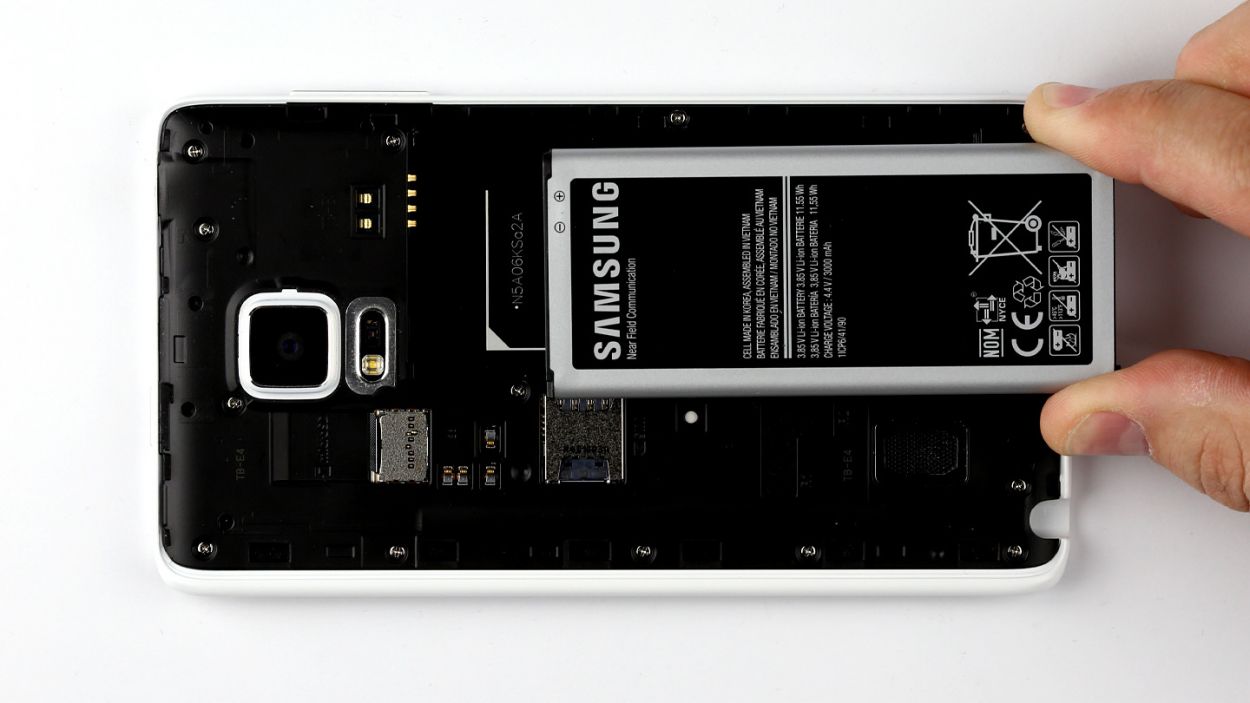
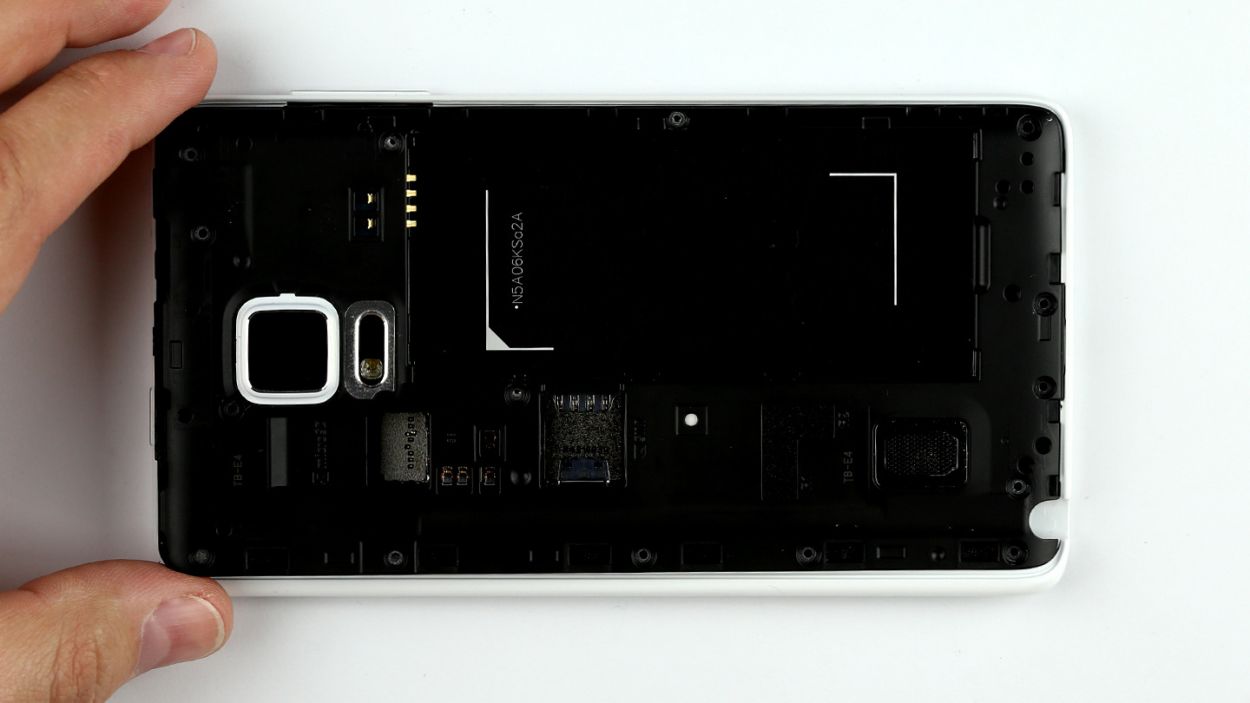
– Give that SIM card a little nudge with your finger and pop it out of its cozy slot.
– Gently slide out the microSD card from its snug little home.
Step 5
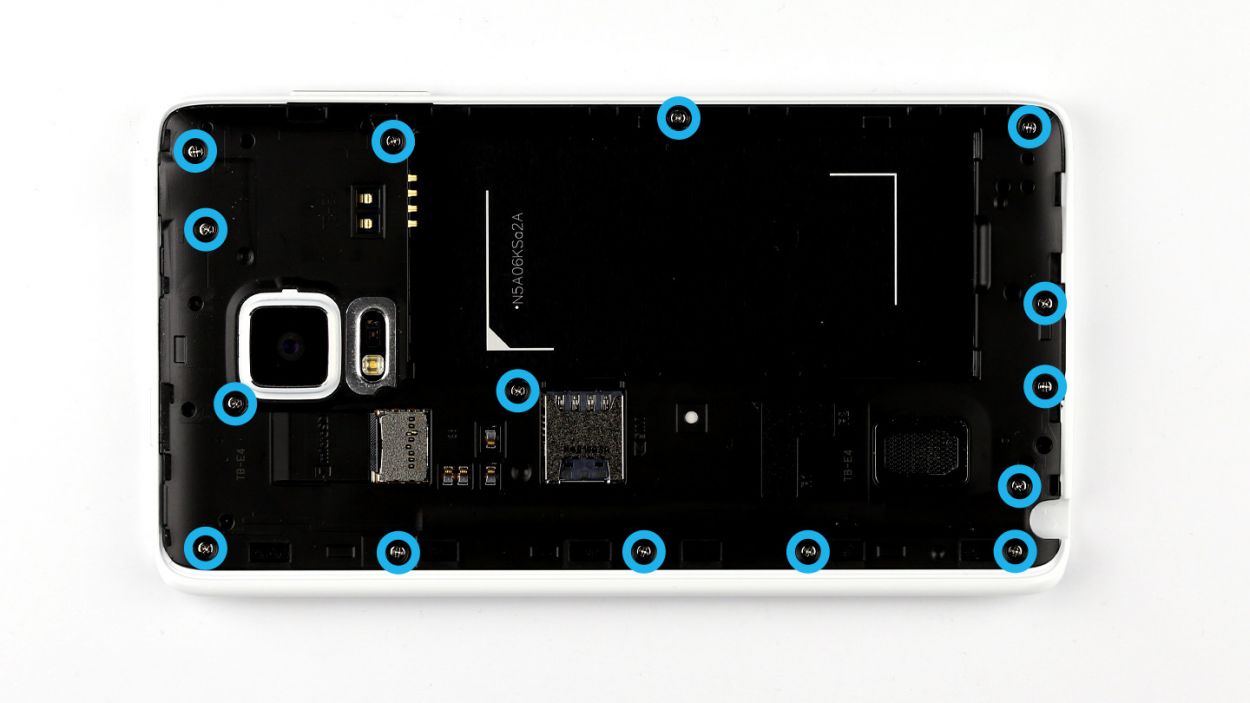


– Time to get those screws out! Unscrew the fifteen screws that are keeping the chassis snug as a bug. We’re talking about 15 x 4.0 mm Phillips screws here.
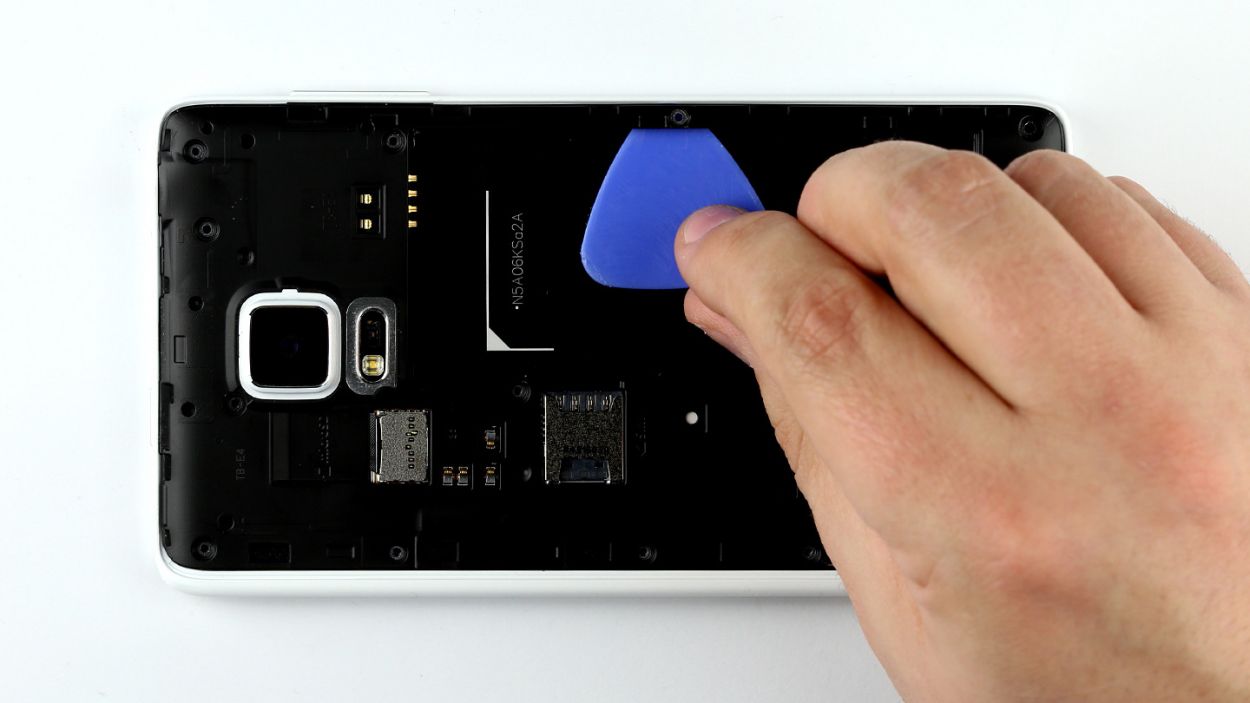
– Next up, the chassis is having a little dance with the display frame. To break up this duo, slide your pick between them and gently unhook the chassis. Start at the battery’s cozy little recess.
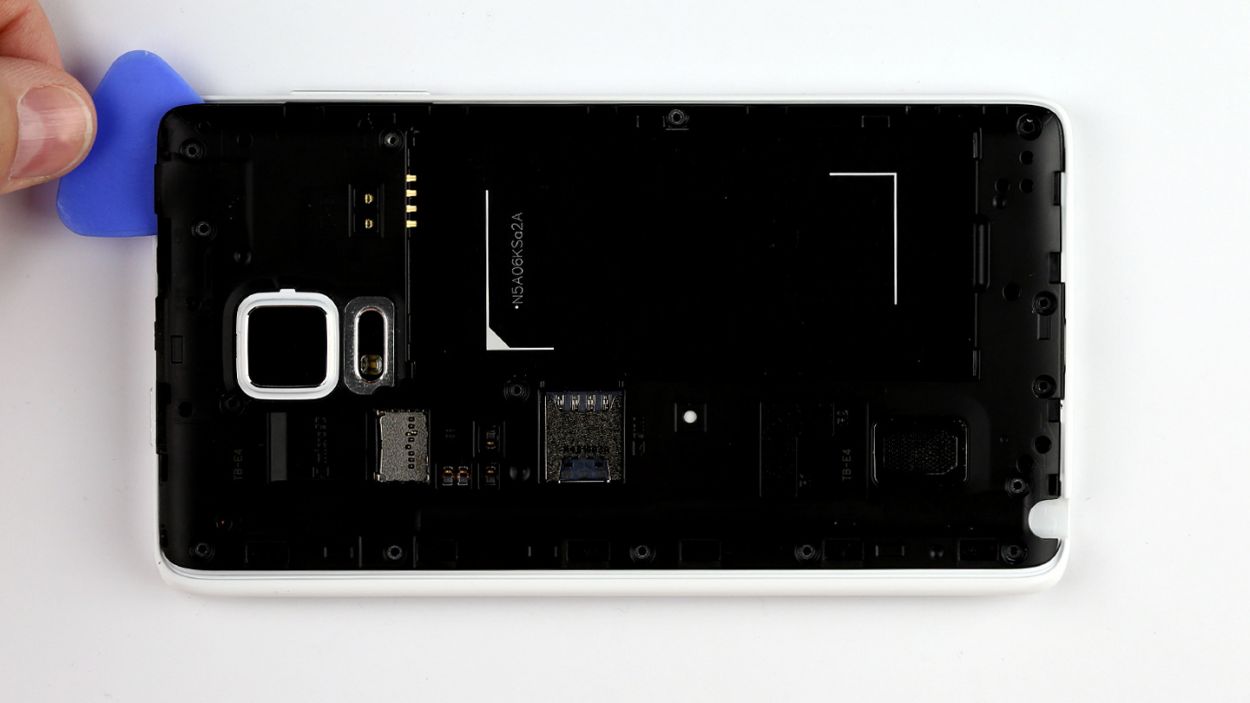
– Now, take your pick for a stroll around the device, making sure to disconnect the frame from the chassis all the way around. It’s a teamwork effort!
– Finally, lift that chassis like a champ and give it a good removal. You got this!
Step 6
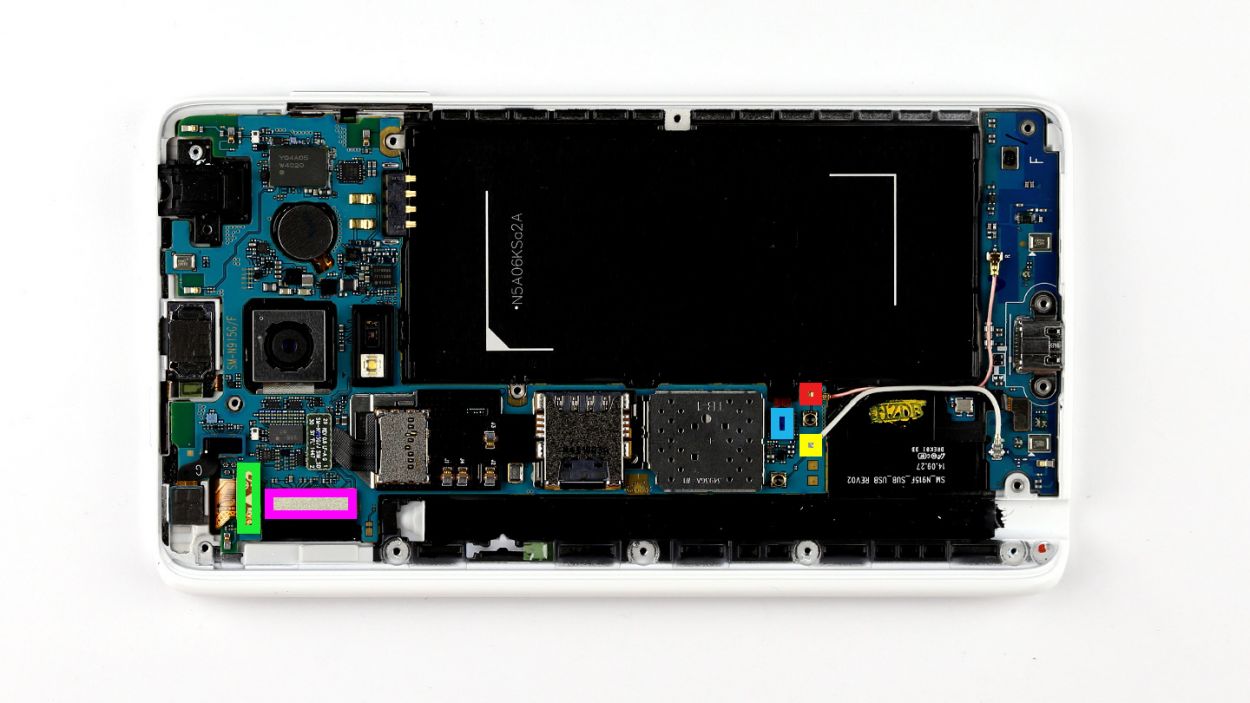
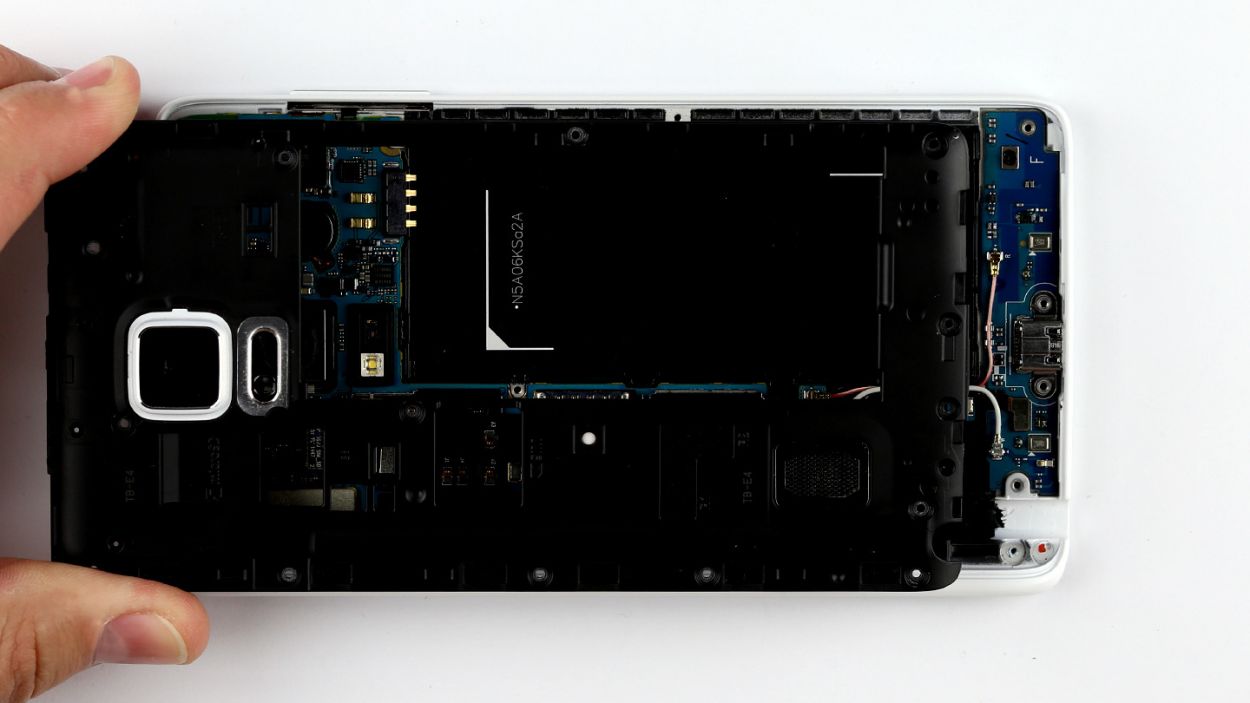
– Time to get your hands dirty! First things first, disconnect all the connections to the logic board in the order below: Touchscreen, LCD, Home button/fingerprint sensor, Wi-Fi antenna cable, and Bluetooth antenna cable. Easy peasy!
– Now, grab that trusty spudger and use its pointed tip to gently disconnect the plug contacts. Slide the spudger underneath the connector and give it a little nudge to pry it off the logic board. You’ve got this!
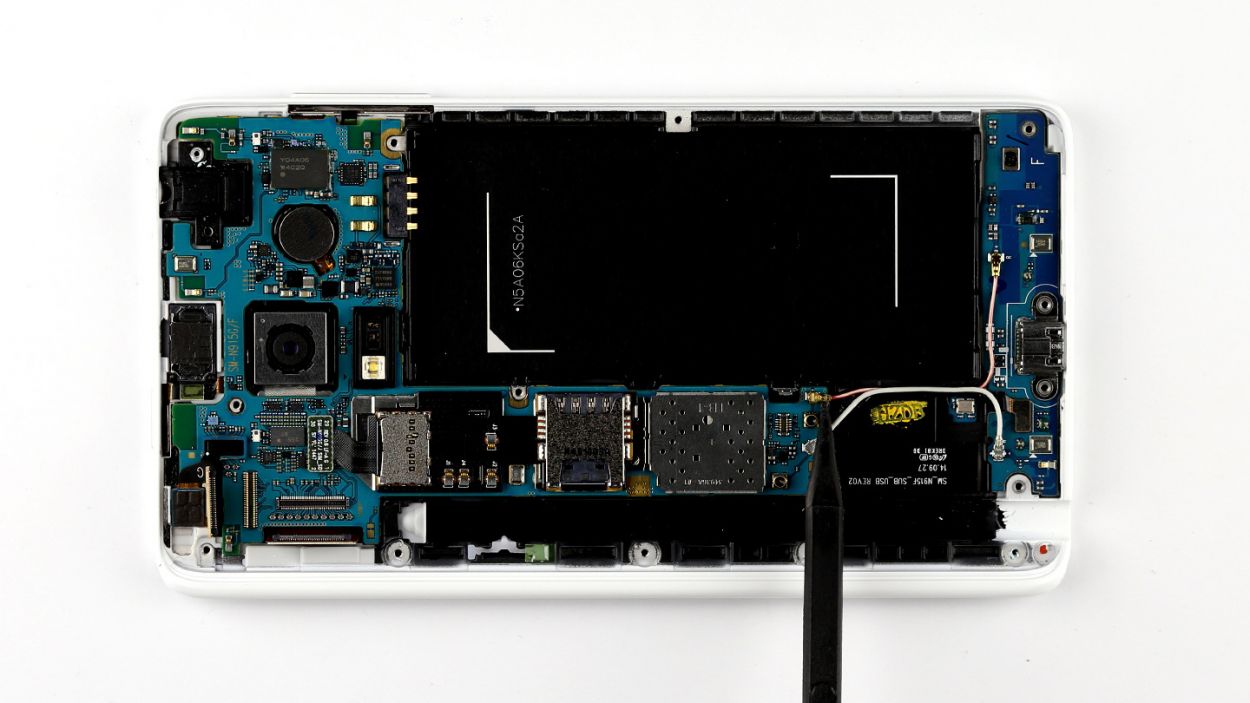
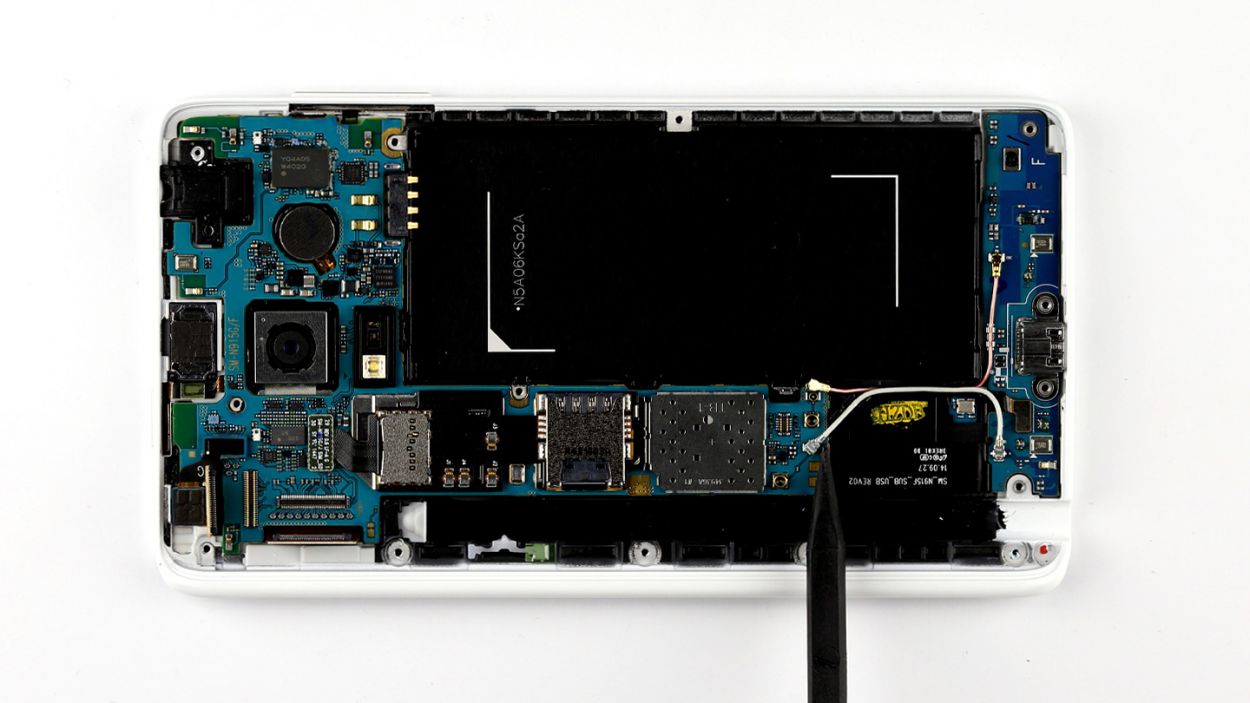
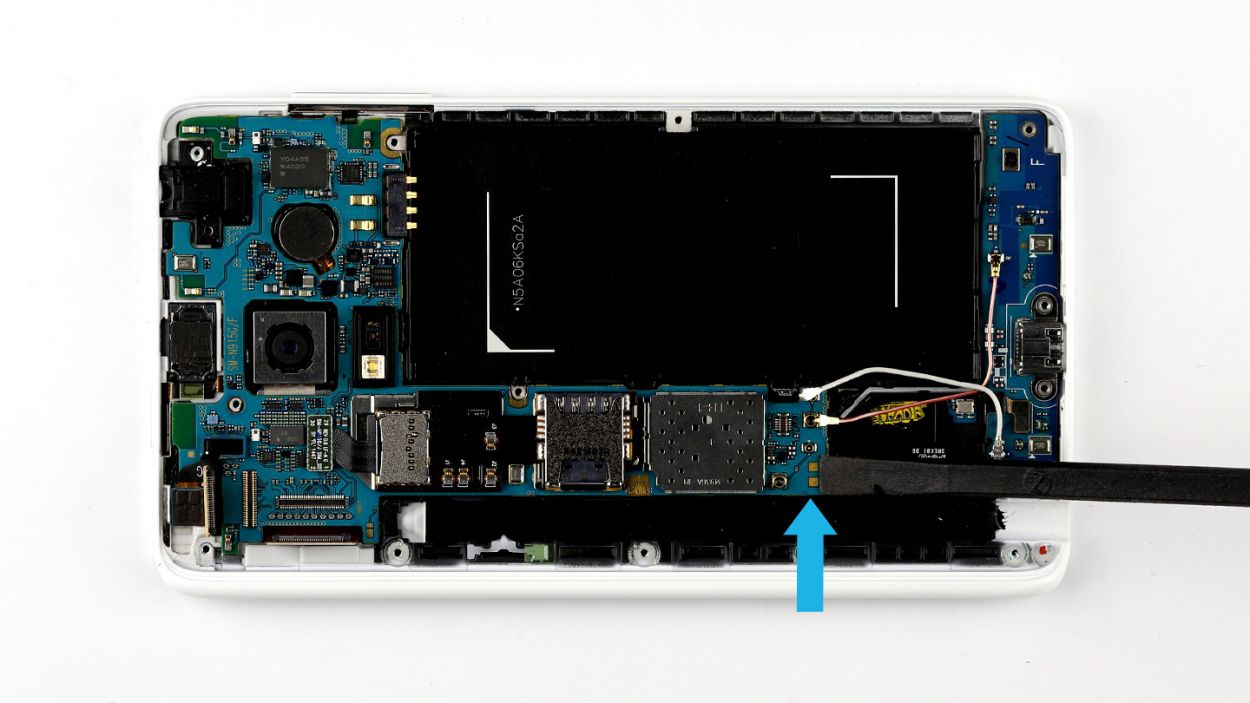
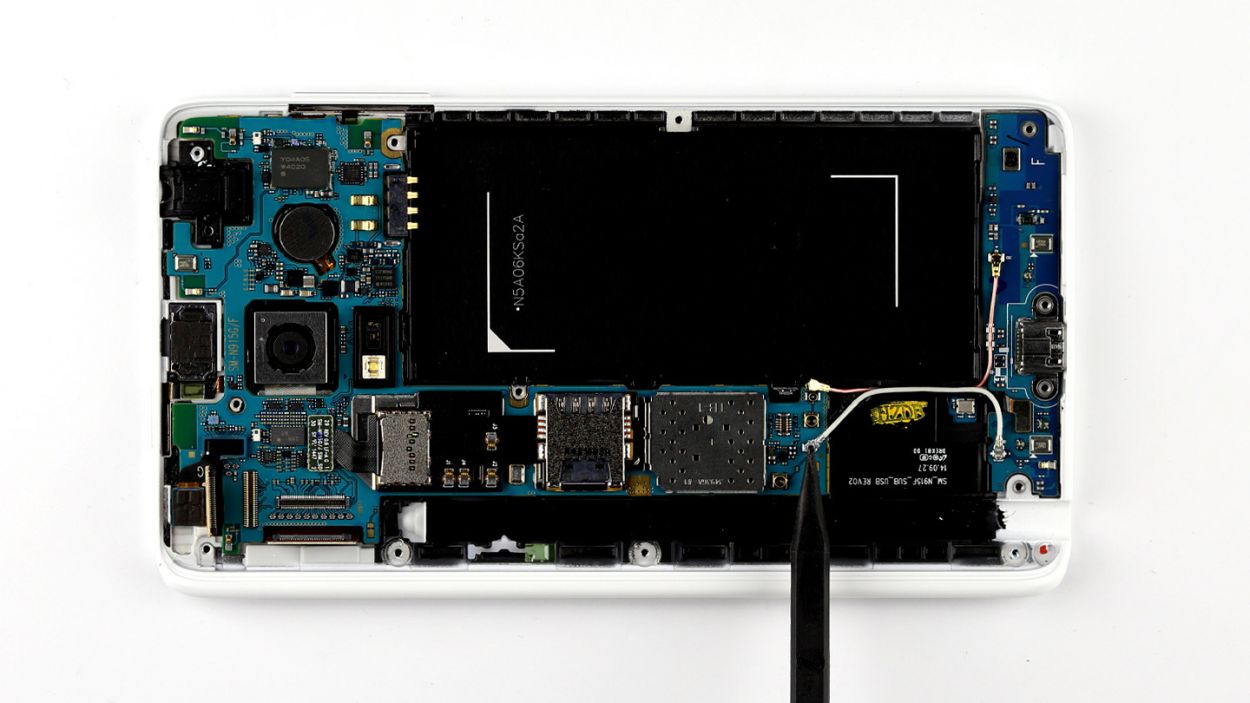
Step 7


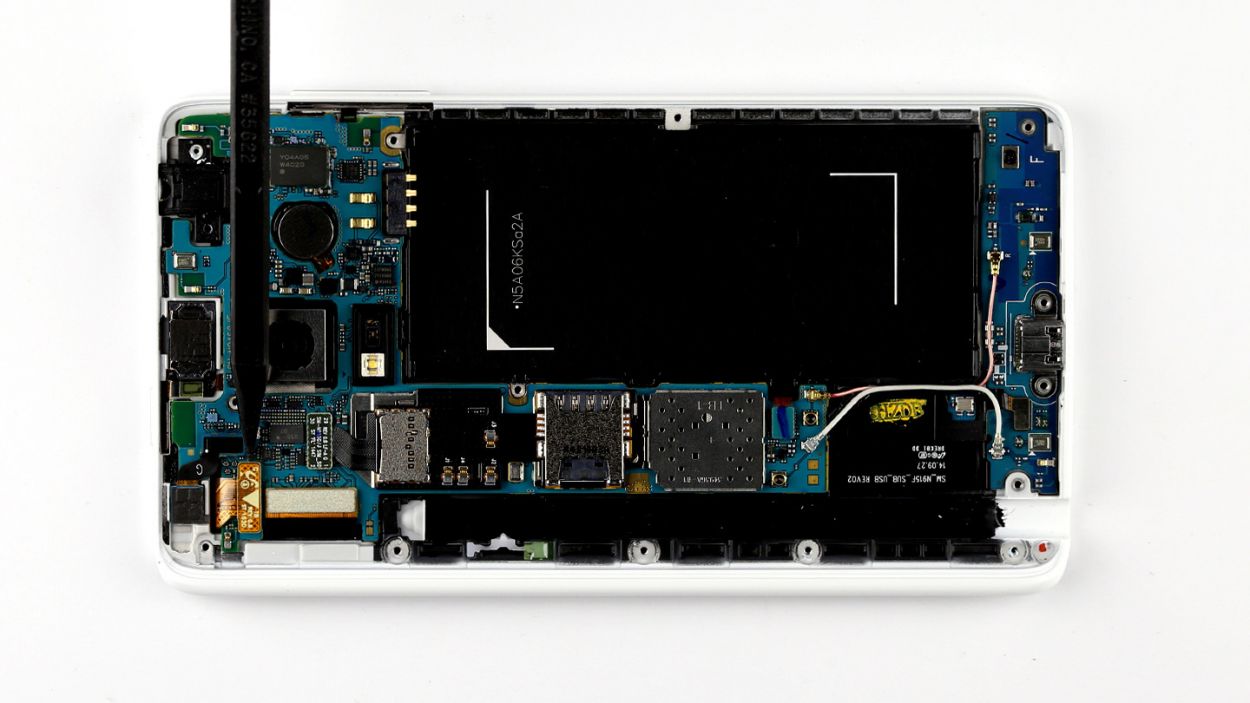
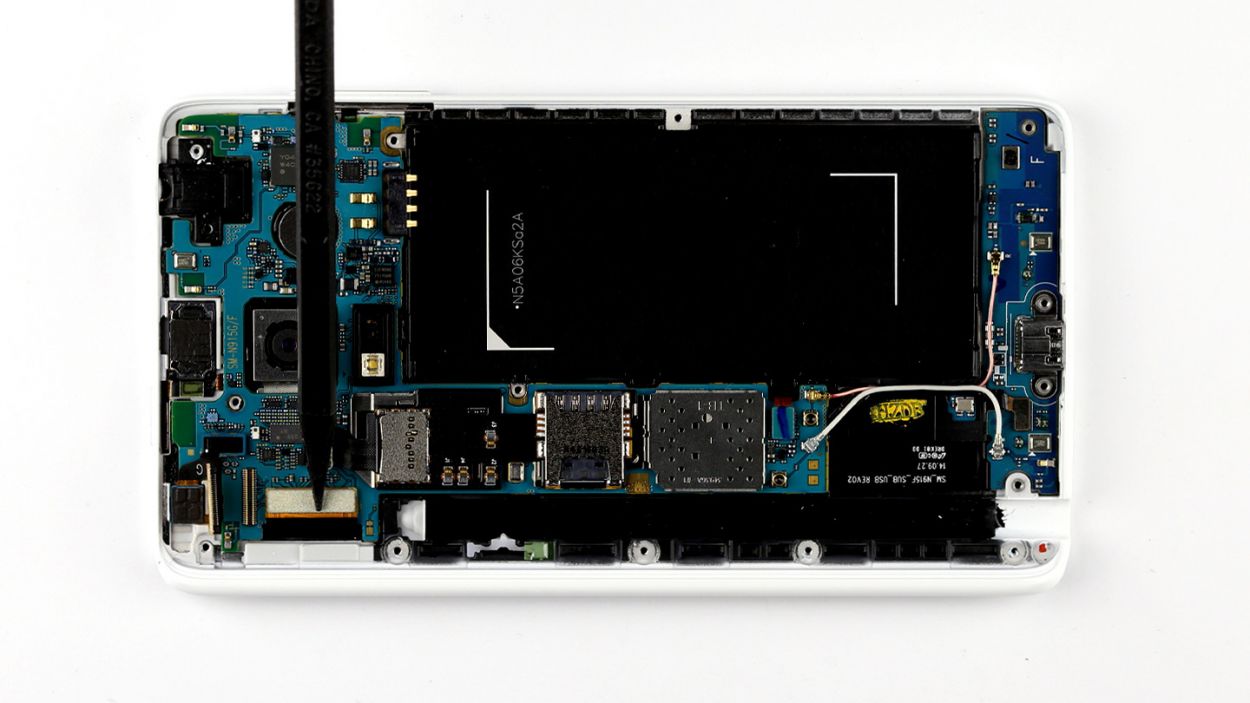
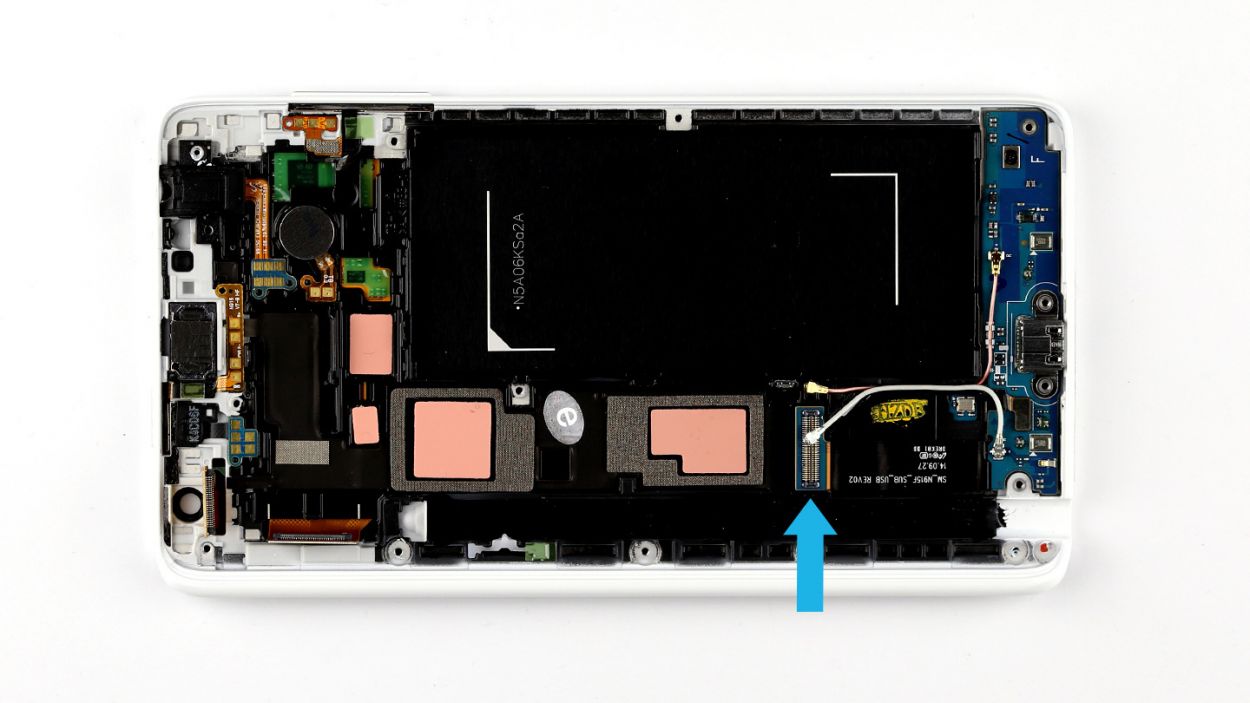
– Hey there, tech whiz! See that connector (blue arrow) holding the logic board to the sub-board? Time to gently persuade it to part ways. Use your spudger’s flat end to carefully slip between the logic board and the enclosure, freeing that connection. Be super gentle with the sub-board’s delicate flat cable – no harsh treatment allowed!
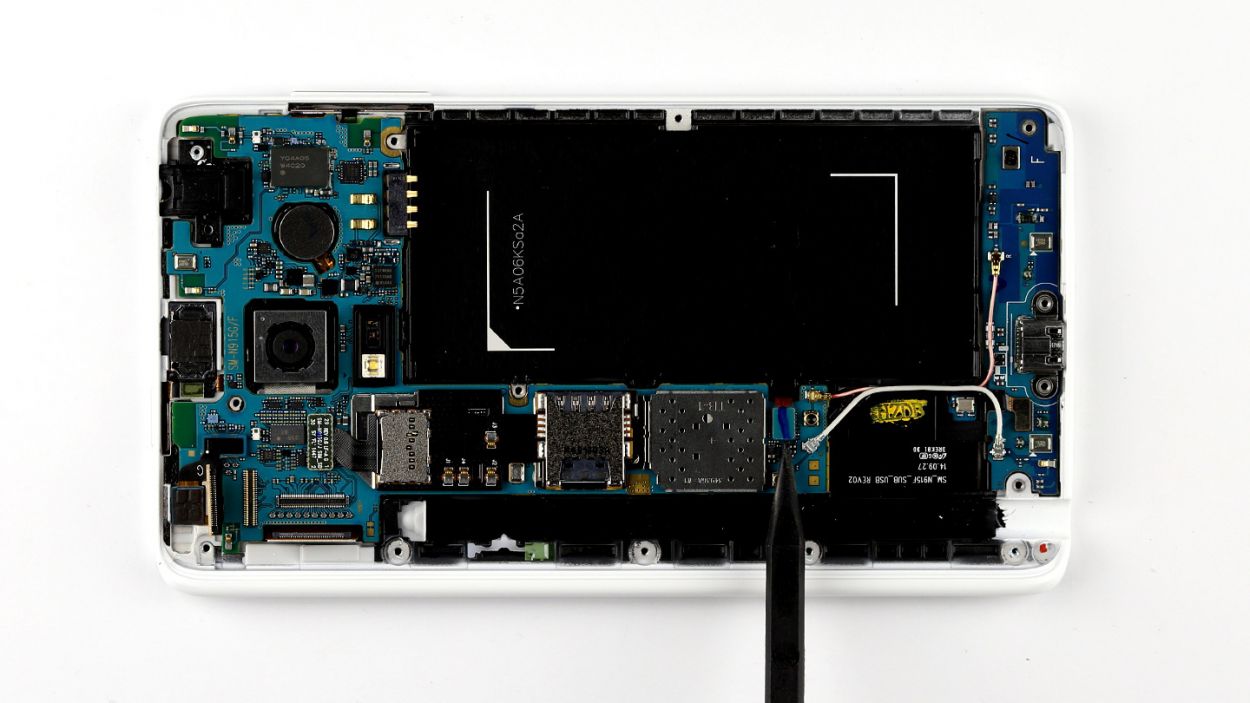
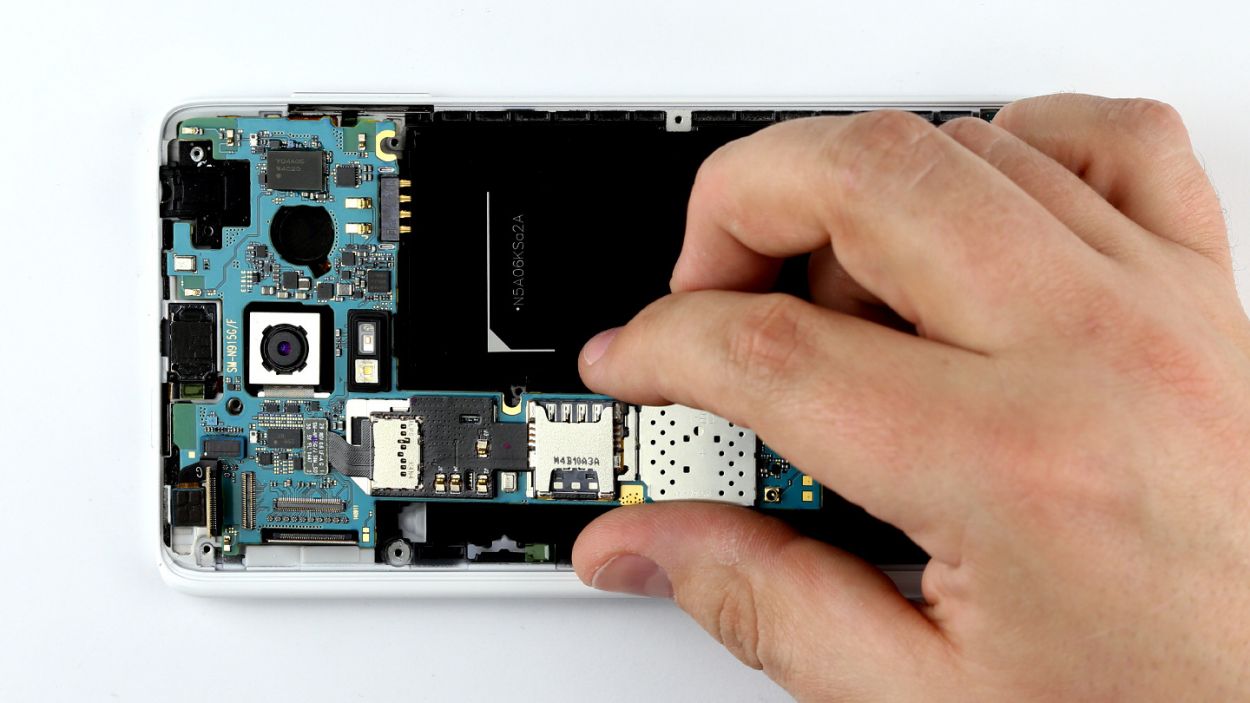
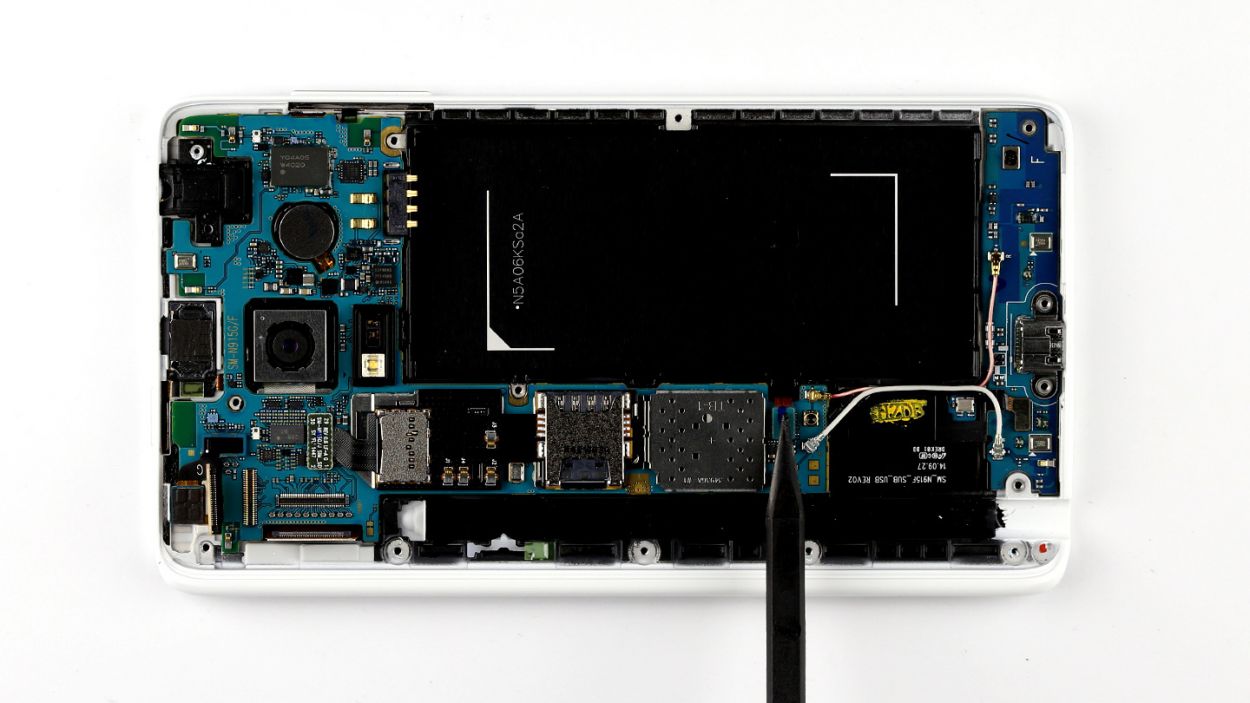
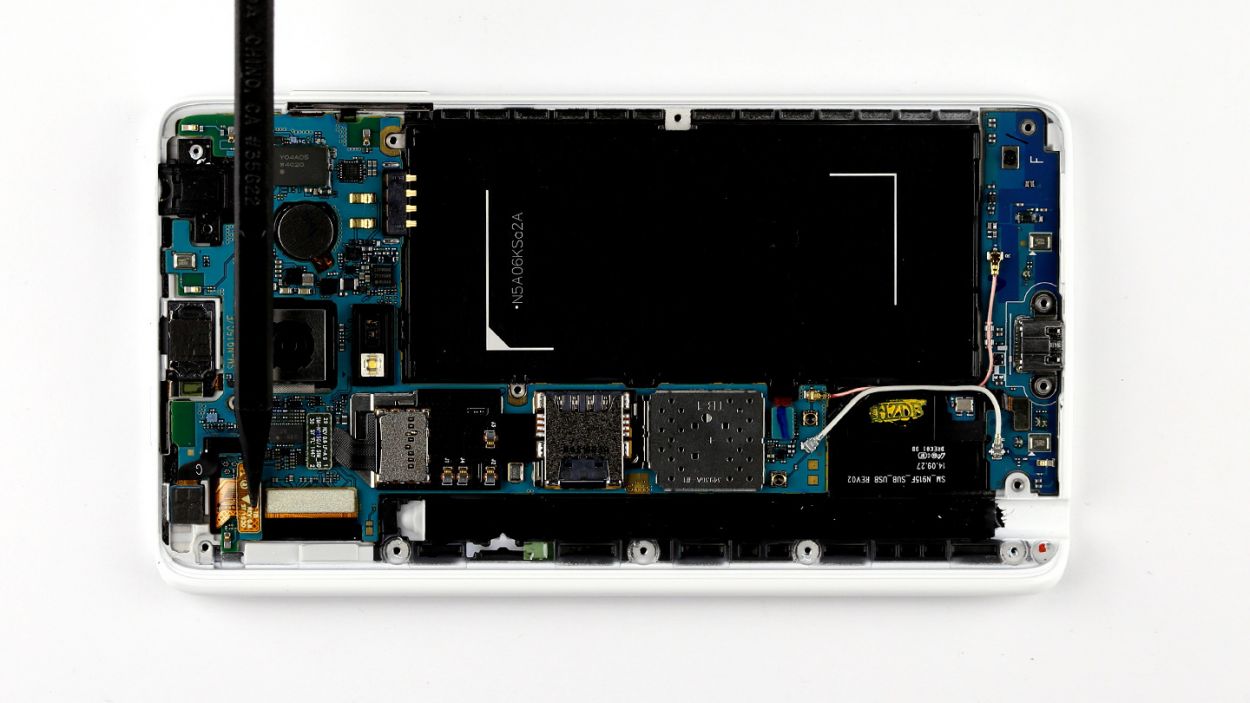
– Now for the grand finale! Give the logic board a little nudge, tilting it upwards near the thin end to get it out of the enclosure. Easy peasy, right?
Step 8
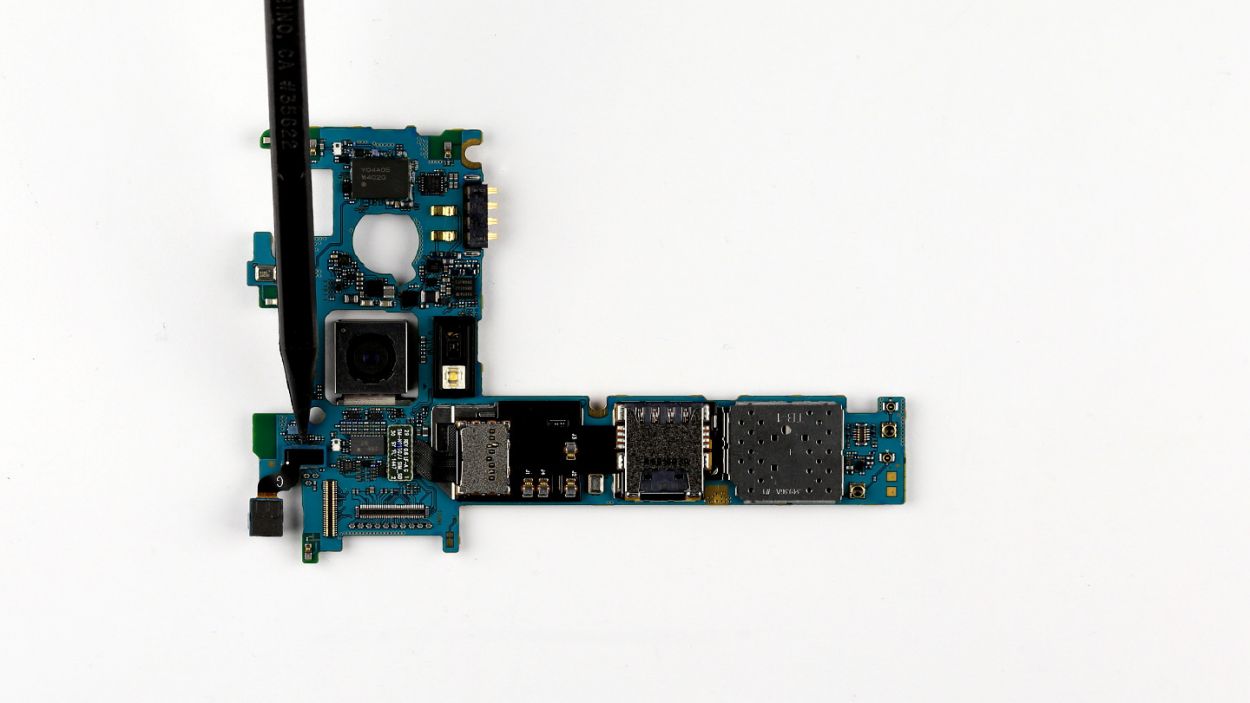
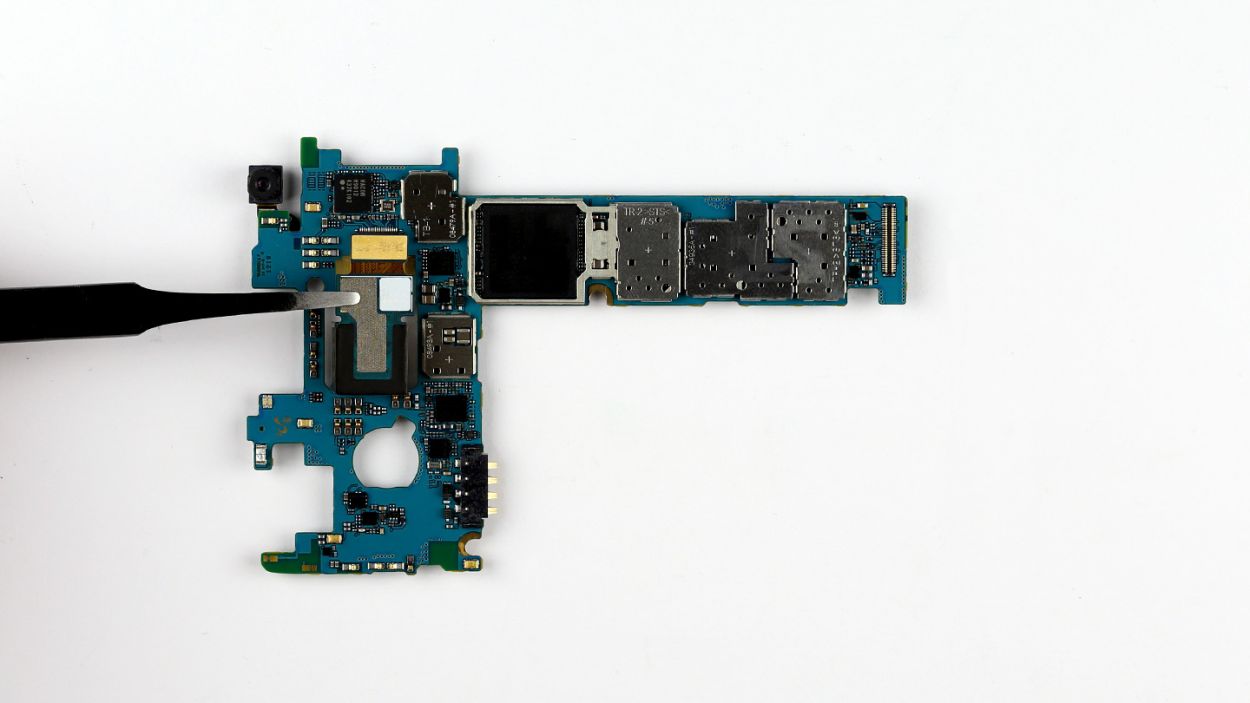
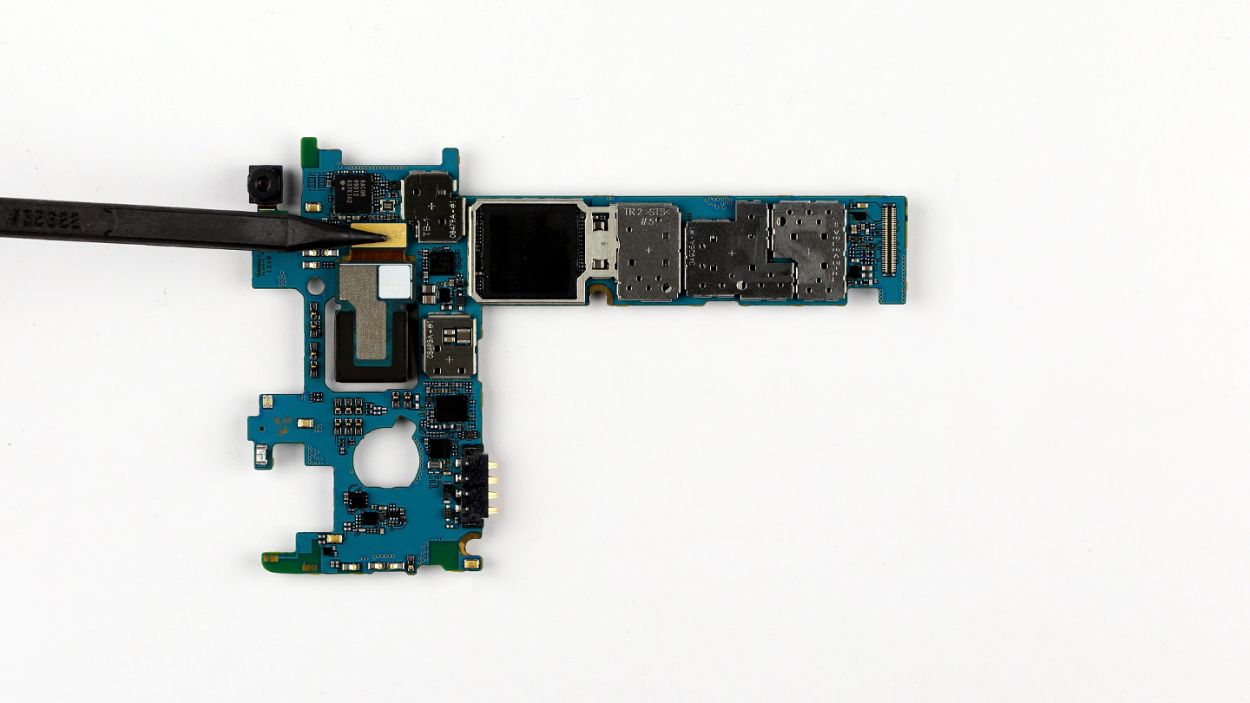
– Lay down your toolkit and let’s get this camera cascaded DIY party started! First things first, carefully unplug the front camera from that shiny logic board. Time to show that spudger who’s boss – use it to gently pry that plug contact off the board. Easy peasy!
Step 9

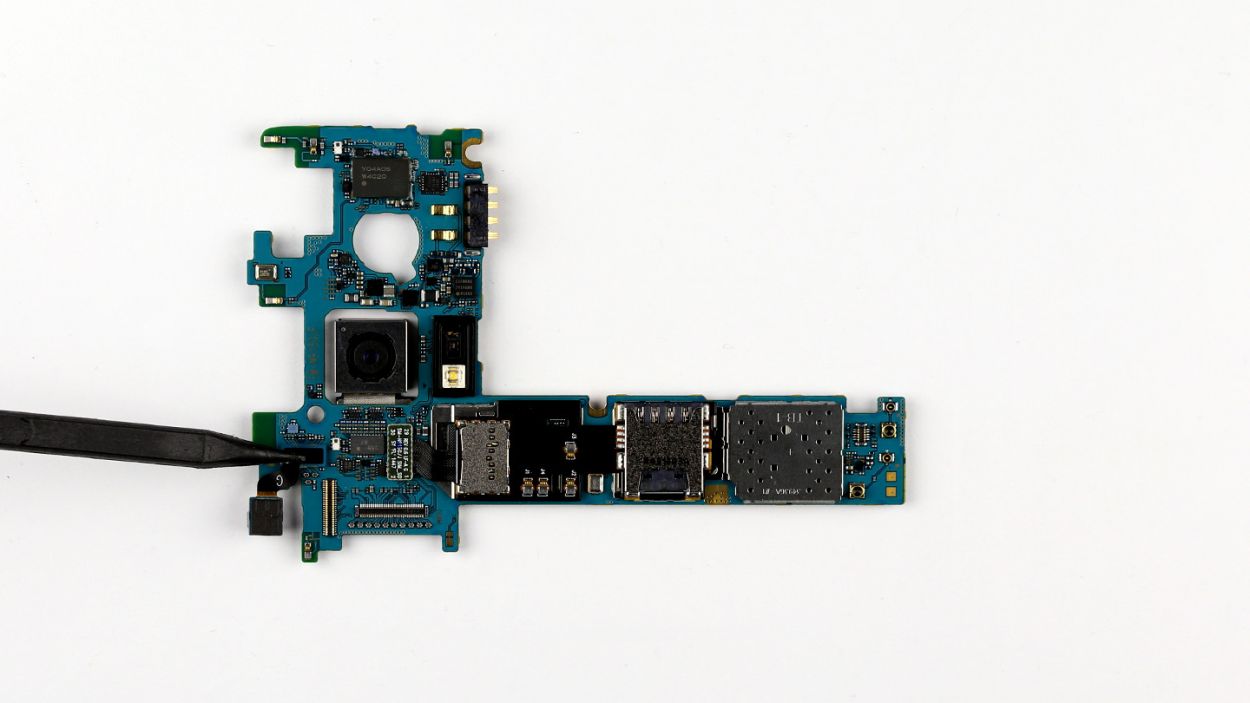
– Flip that logic board over so the rear camera connection is at the top, then gently disconnect the rear camera from the logic board.
– Now, it’s time to lift the rear camera straight up! Just remember, the camera’s enclosure is snugly routed through the logic board, so a steady hand is key.
Step 10

– Carefully place the rear camera back onto the logic board, making sure to lower it straight down. Remember, you need to guide the camera’s enclosure through the logic board like a pro!
– Now, connect the rear camera connector to the logic board. Listen for that satisfying soft click when it locks into place. You’re doing great!
Step 11
– Connect the front camera to the logic board. Gently place the connector in position and give it a little nudge to secure it. You should hear a light click as it locks into place, letting you know it’s all set!
Step 12


– Alright, when you’re popping in that logic board, remember to connect the sub-board to it. Look for the connector (it’s marked with a blue arrow) at the bottom of the logic board—it’s your buddy here!
– Now, give the logic board a slight tilt and position it at the top of the display frame. Gently lower it down and listen for that satisfying click when the sub-board’s connector snaps into place. You got this!
Step 13


– Connect all the connectors to the logic board in the order shown below:Bluetooth antenna cableWi-Fi antenna cableHome button/fingerprint sensorLCDTouchscreen
– Position each connector over its corresponding part on the logic board and connect the two parts by pressing gently on the connector.
Step 14

– Time to get your chassis back in its cozy spot on the display frame! Gently press down on the entire surface of the chassis until you hear that satisfying click, letting you know it’s snug in its enclosure.
– Now, grab those fifteen screws and let’s secure the chassis to the display frame. Use the 15 x 4.0 mm Phillips screws to make sure everything stays put!
Step 15
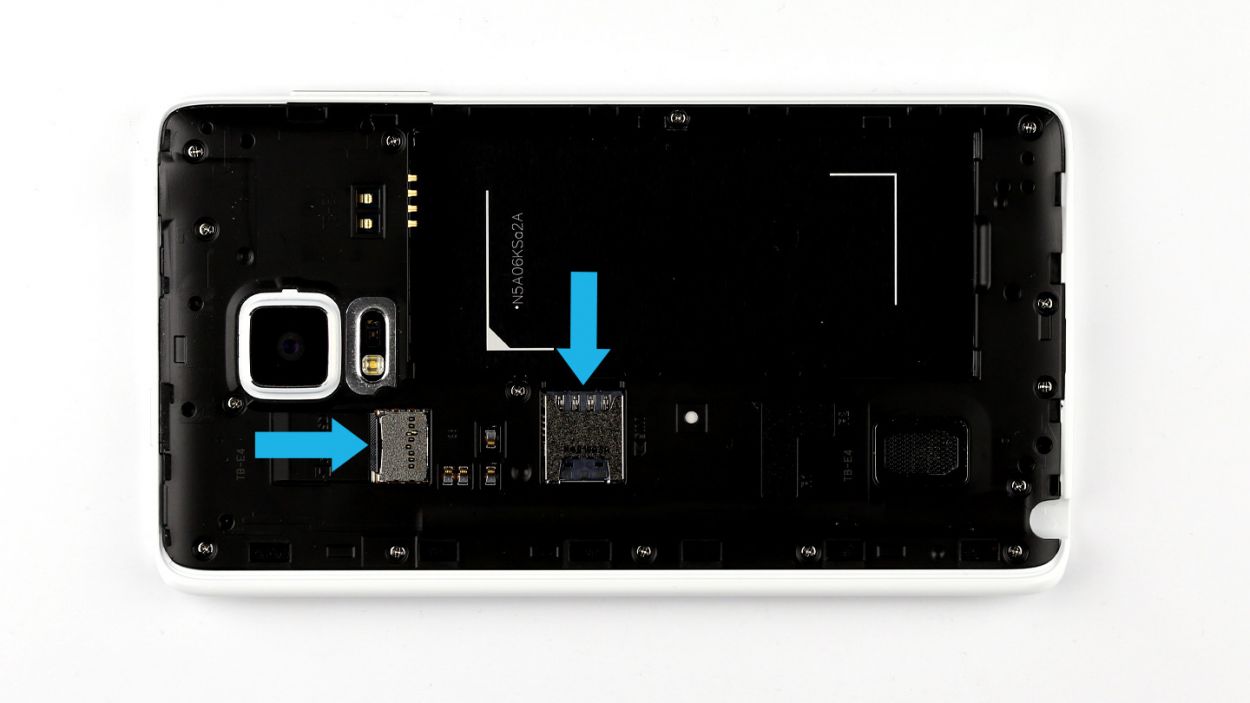
– Slide that microSD card right into its cozy little slot and make sure it’s sitting pretty.
– With a gentle nudge from your finger, pop the SIM card into its spot and ensure it’s all lined up perfectly.


Step 17

– Time to get that back cover back on your Galaxy Note Edge! Just line it up and make sure it’s sitting pretty in the right spot.
– Now, give that back cover a good press all around your smartphone. You want to hear those clips snap into place like a perfect puzzle piece!
Step 18
– Gently slide the stylus back into your device by pushing it into the slot at the bottom of the case until you hear that satisfying click. You’ve got this!


