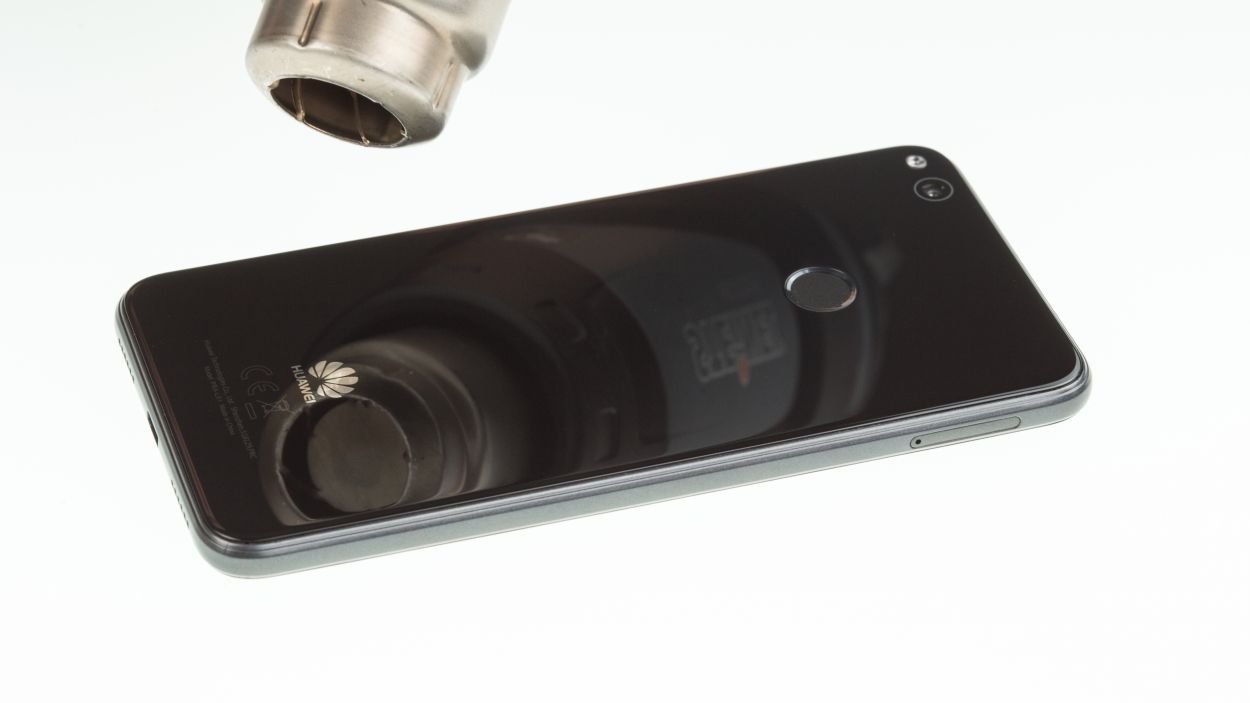
DIY Guide to Replace Huawei P8 Lite (2017) Back Cover
Duration: 60 min.
Steps: 8 Steps
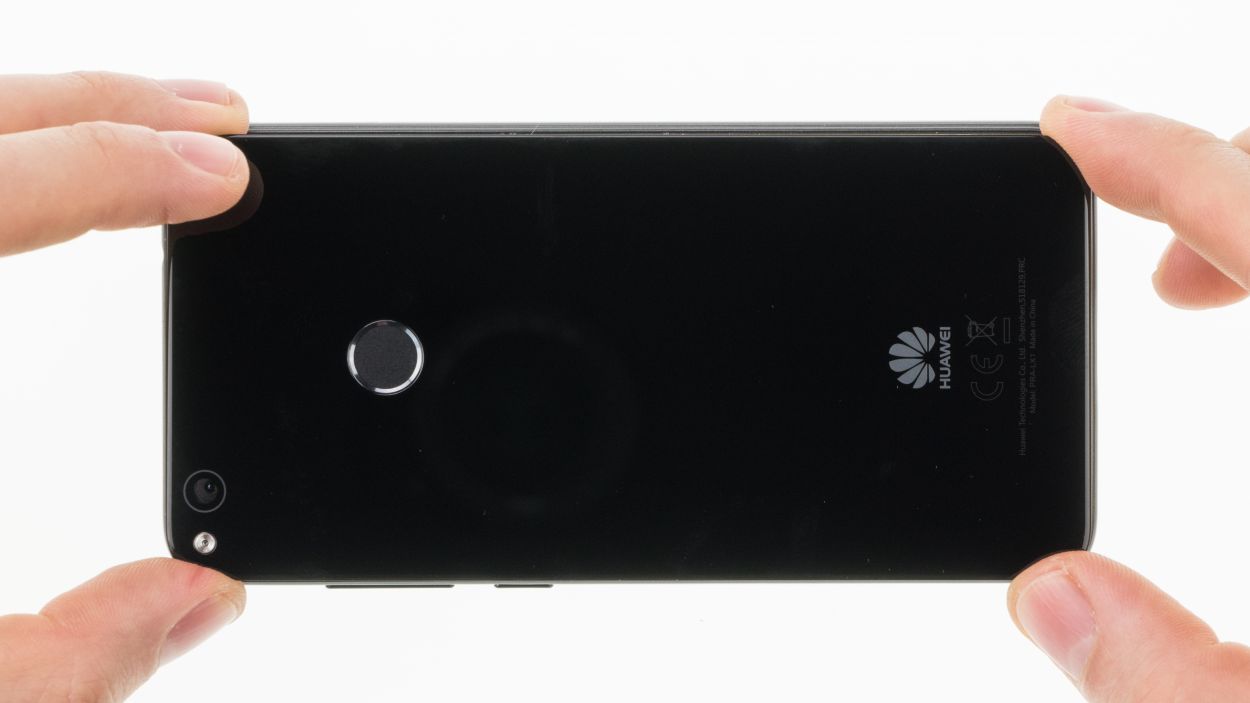
Is your rear glass looking a bit worse for wear? No worries, fixing your P8 Lite (2017) is a breeze! Each step comes with clear photos to help you along this screen replacement journey. We’ll just be removing the rear glass, and depending on the spare part you’ve got, you might need to keep the fingerprint sensor or the flex cable. Remember to back up your data before diving in, work on a clean surface, and take your time. Also, give your spare part a once-over before you install it. If you spot any issues, don’t hesitate to reach out to your vendor first! Got questions? Feel free to use the live chat on our website or drop us a comment. Happy repairing!
Step 1
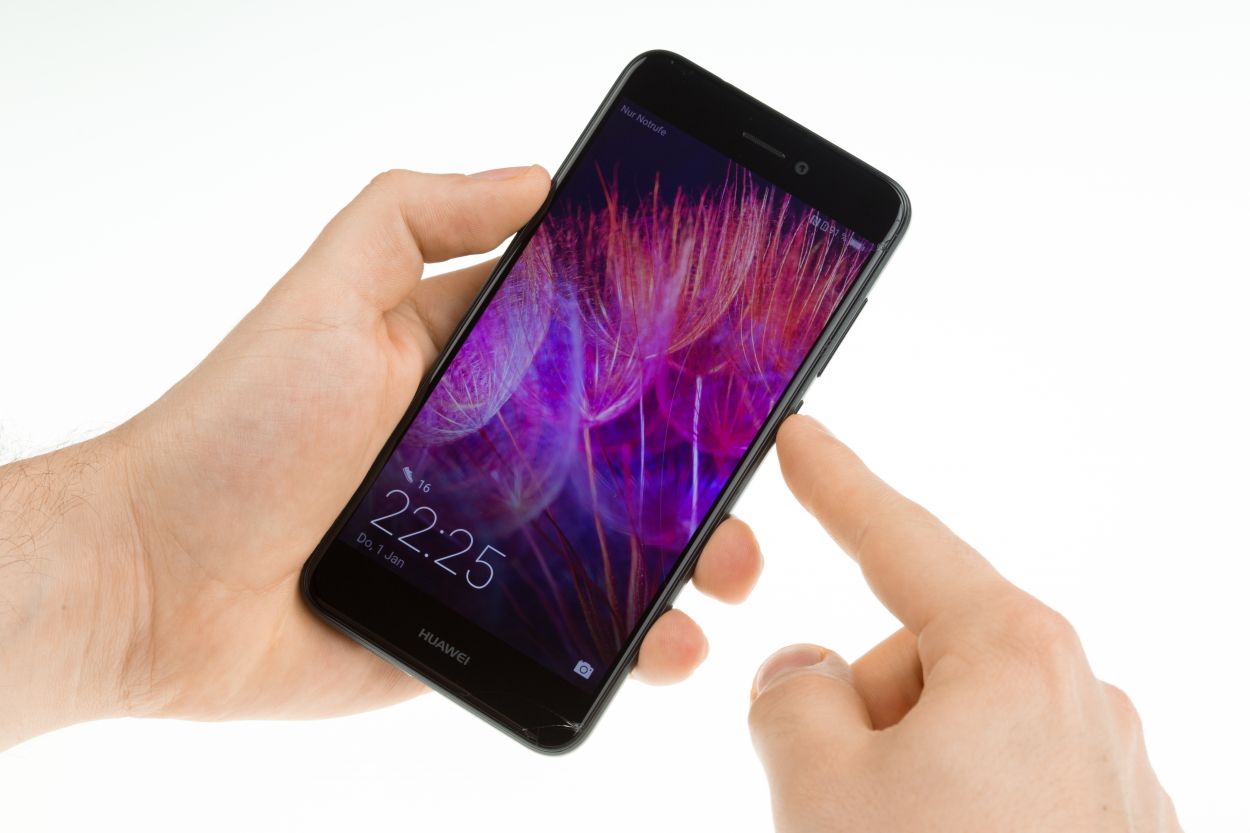
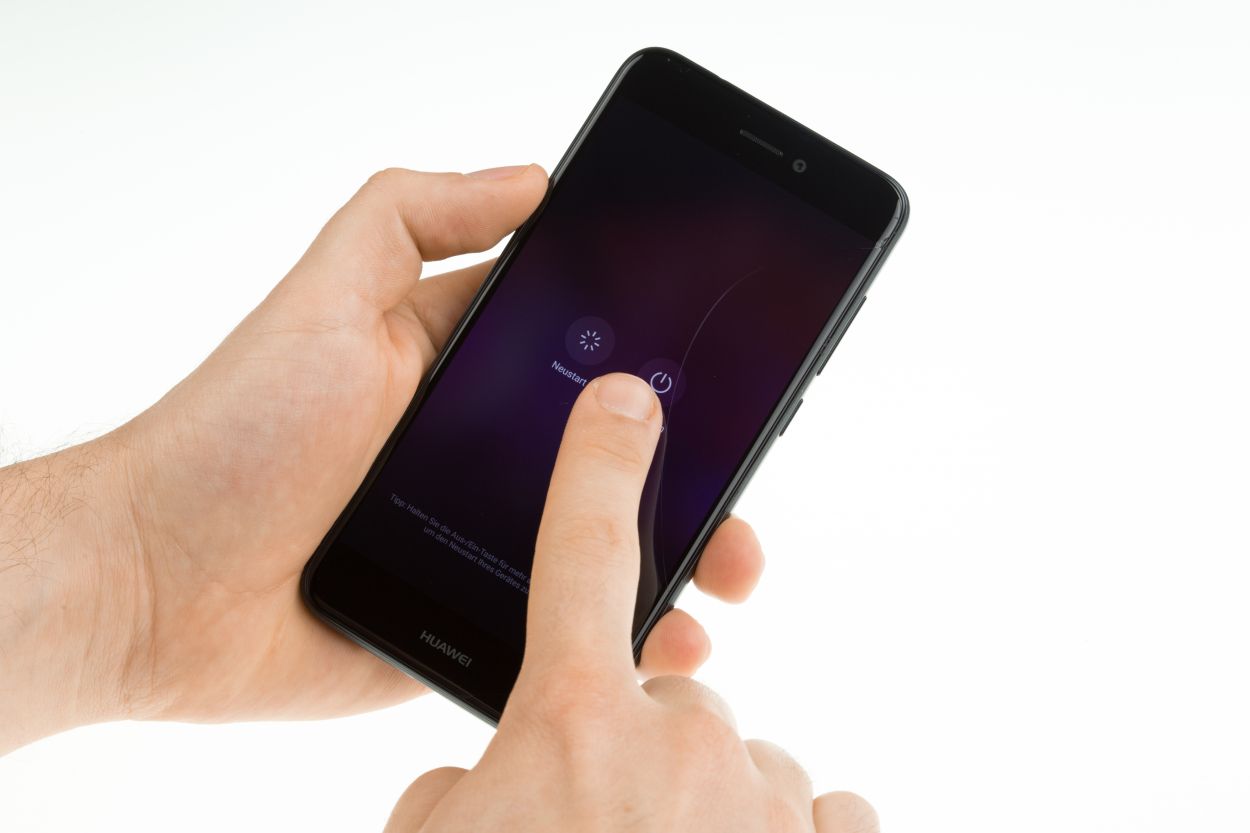
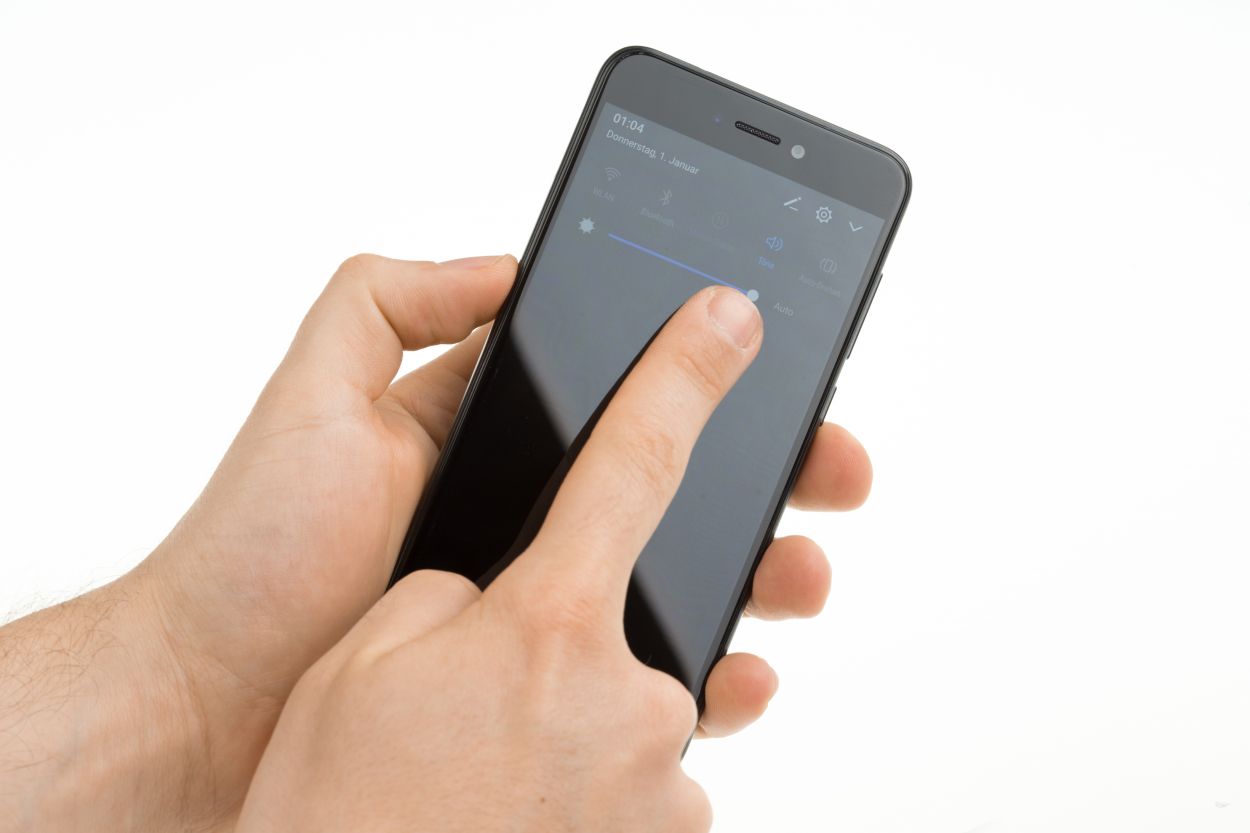
– Before diving into the repair adventure, make sure to power down your device by pressing and holding the standby button until the shutdown dialog pops up on the screen. Safety first, right?
– Go ahead and tap to turn off your device.
Step 2
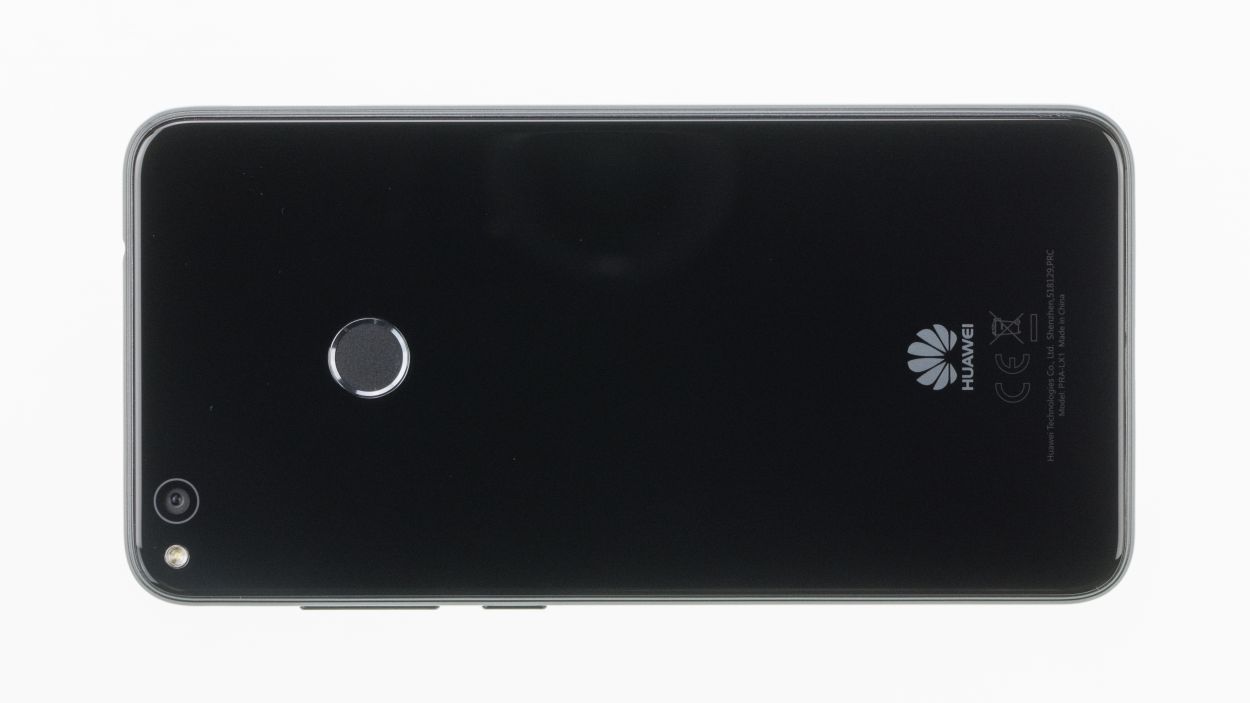
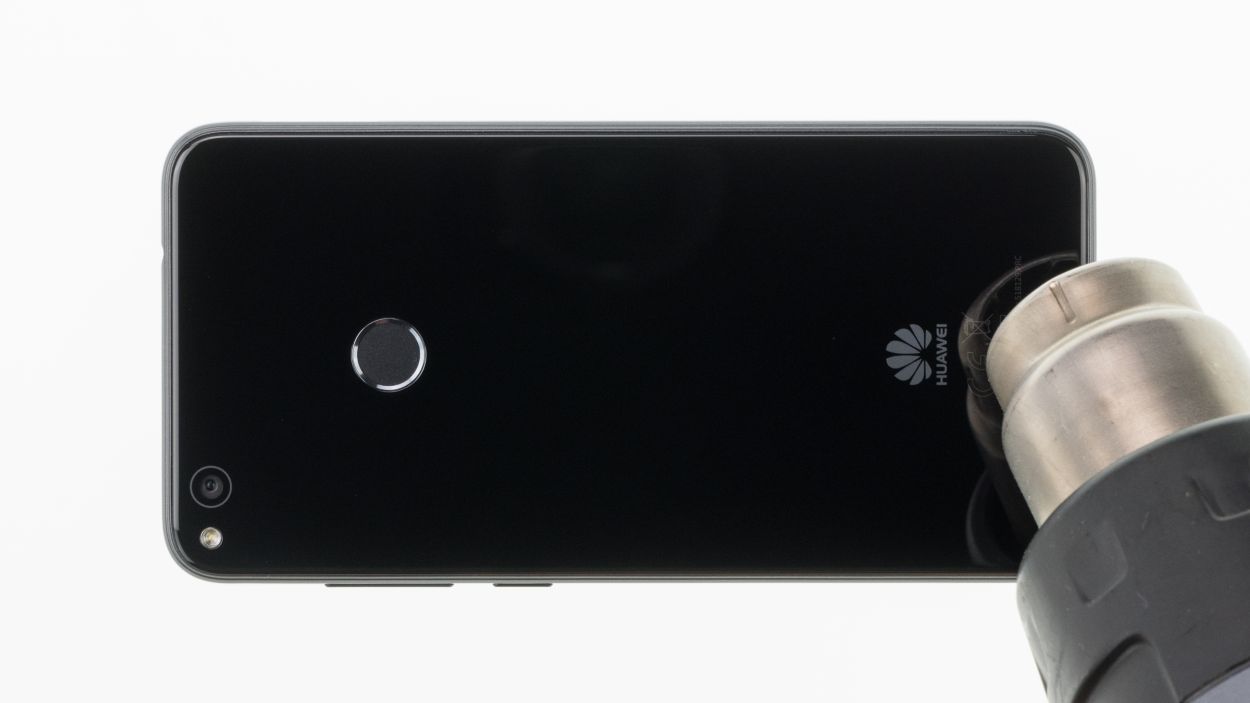


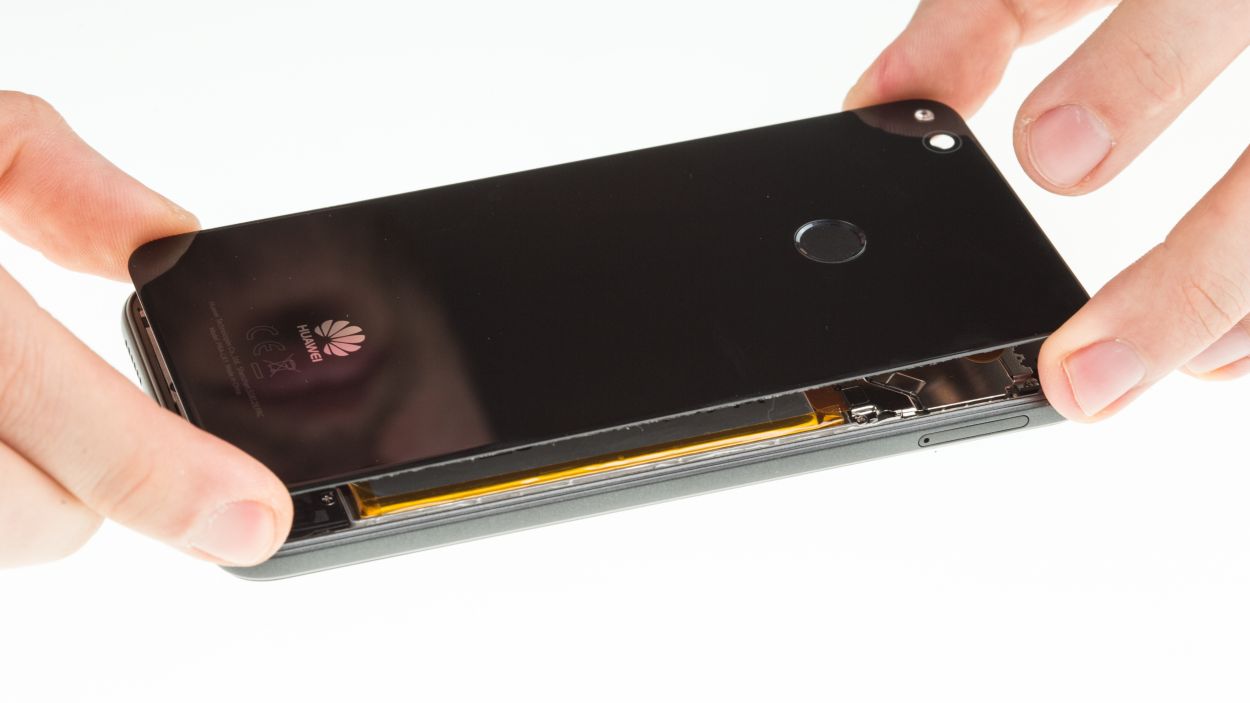
If you encounter some resistance while removing the back cover, give it a little heat love a few times before resorting to force. It’s all about keeping things intact!
– First, let’s warm up that glue around the edges with a hot air tool until it reaches a cozy 60°C. Give it a little love, and heat the back cover until it’s just warm enough to handle.
– Next, grab a super thin, flat tool like the iFlex and gently slide it between the back cover and the frame. Wiggle it around the edge to pop one corner of the back cover free.
– Now, slide in a pick. Feel free to use additional picks to help lift the back cover all around, but remember: no tool should go deeper than 5 mm!
– Keep sliding the iFlex around those edges to break the glue loose everywhere.
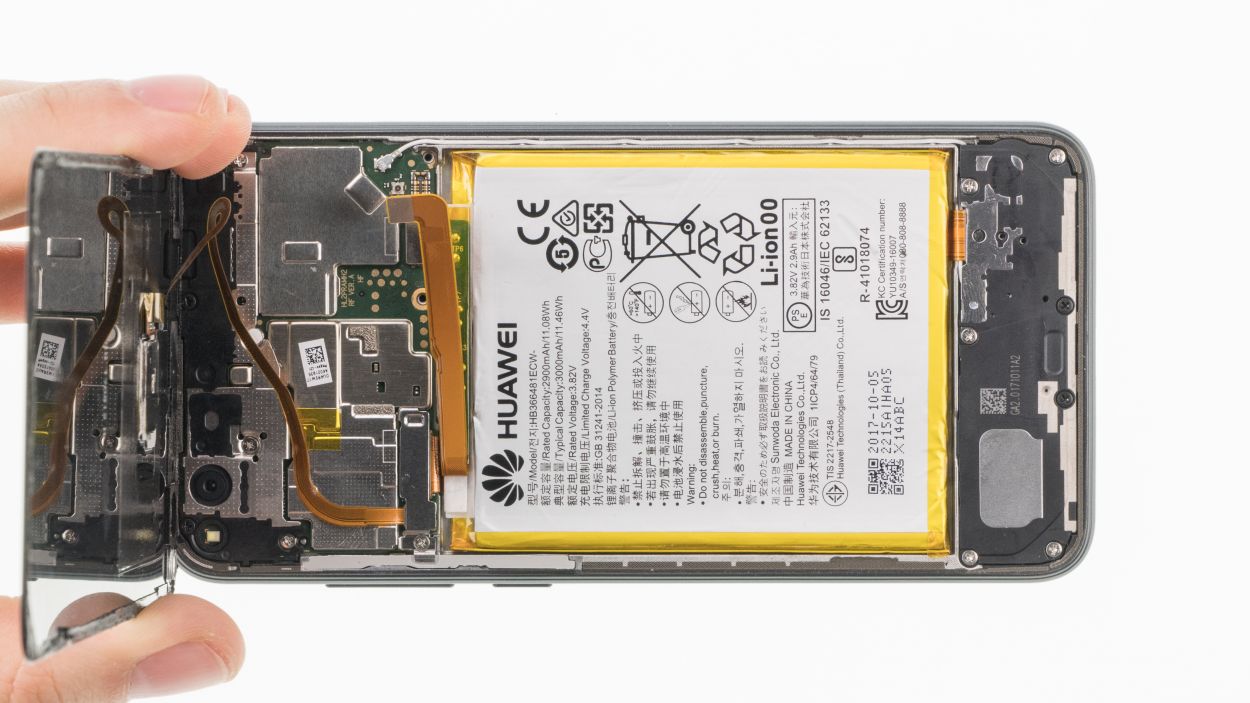
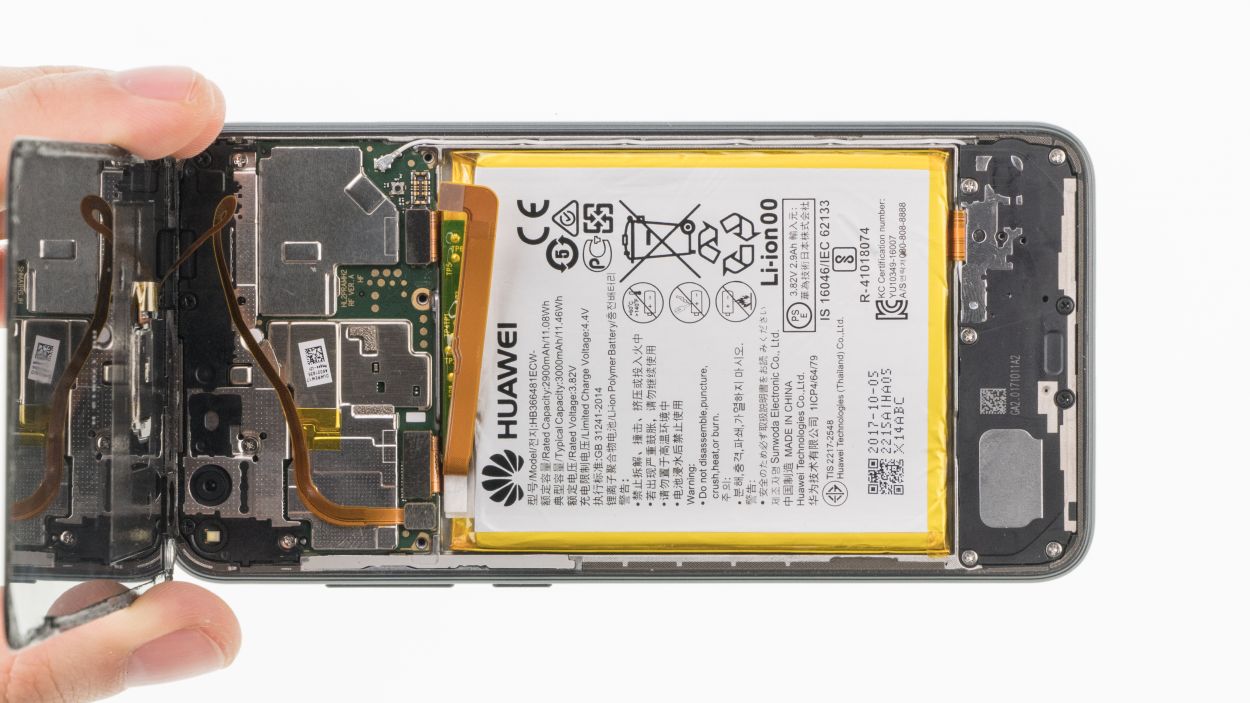
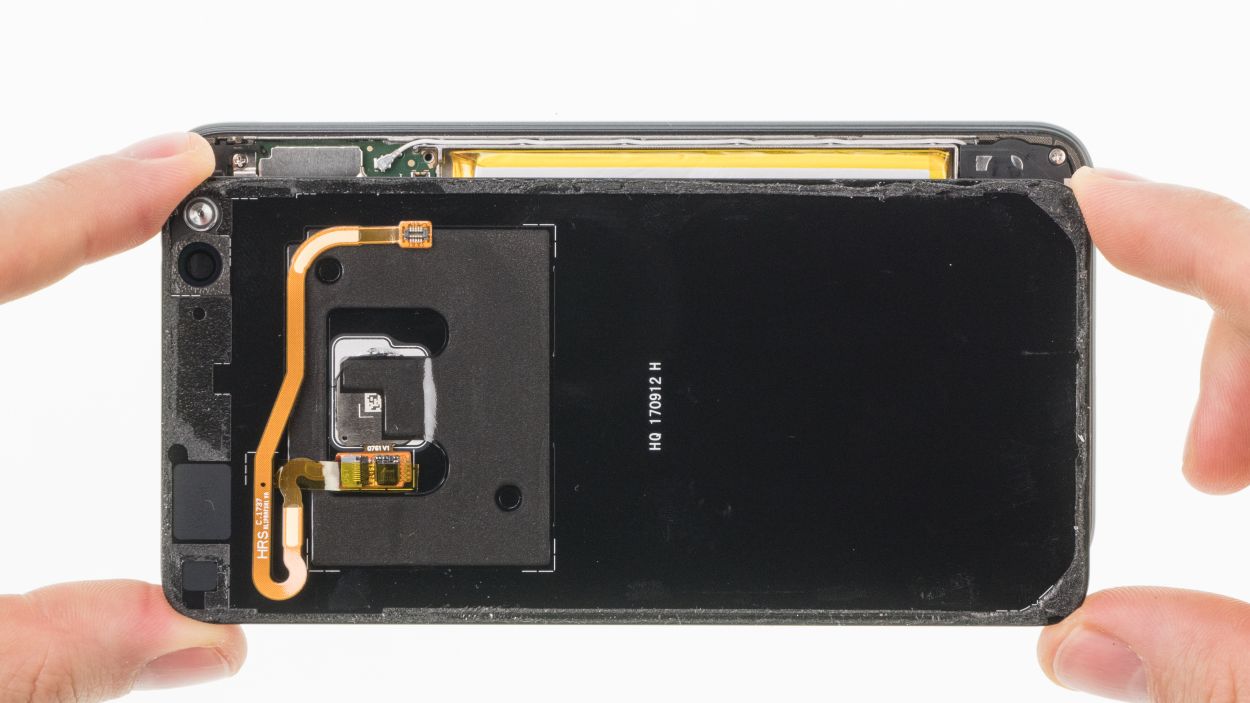
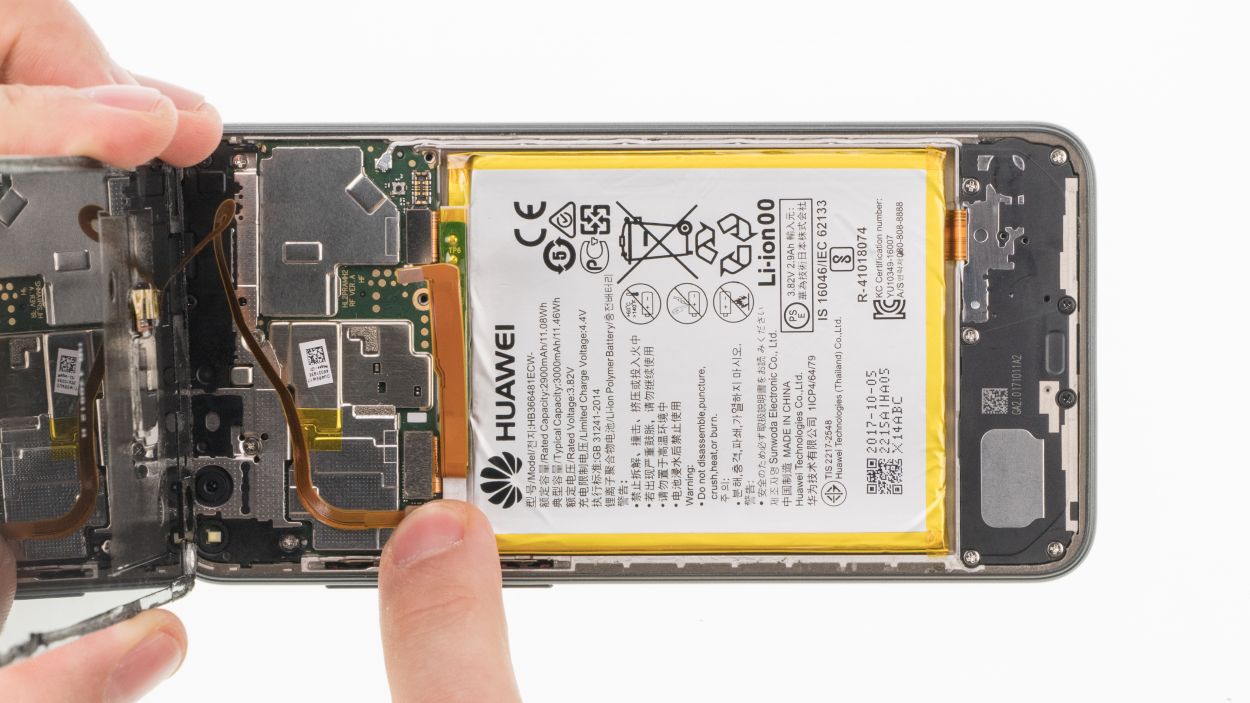
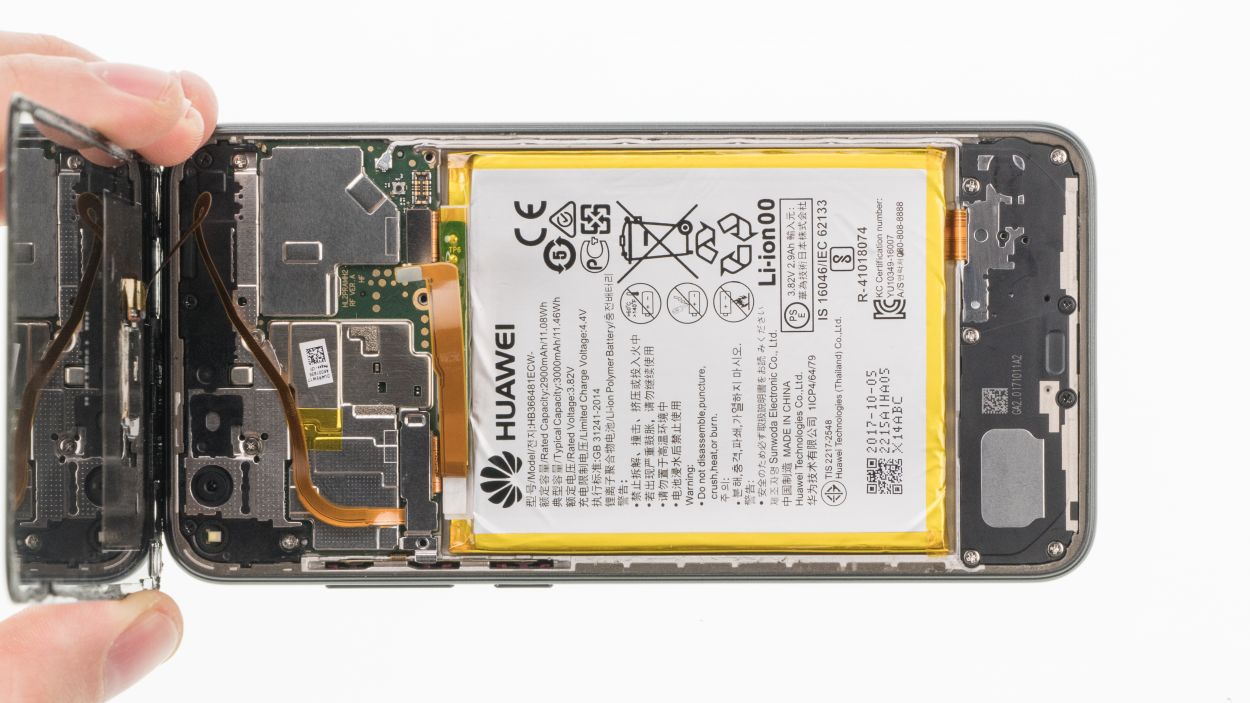
– Once the glue is all detached, you can carefully lift the back cover off. Just be gentle when opening the device, as there’s still one flex cable hanging on.
Step 3
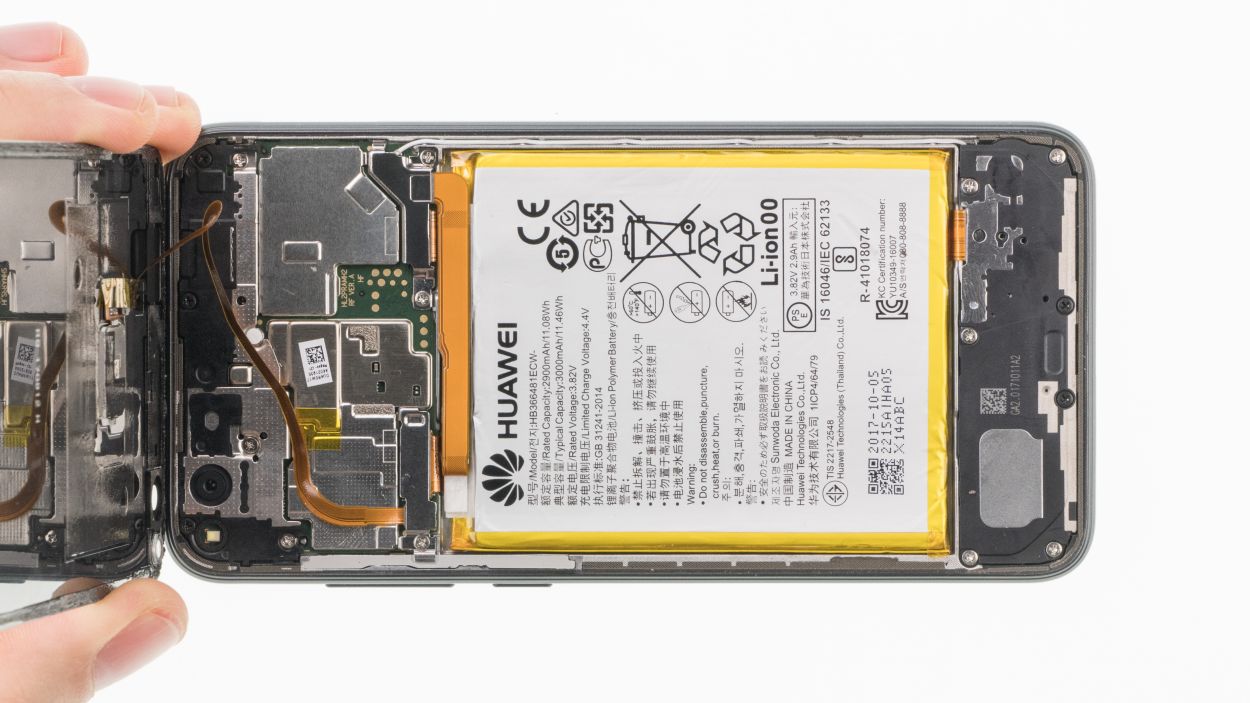

2 × 2.8 mm Phillips
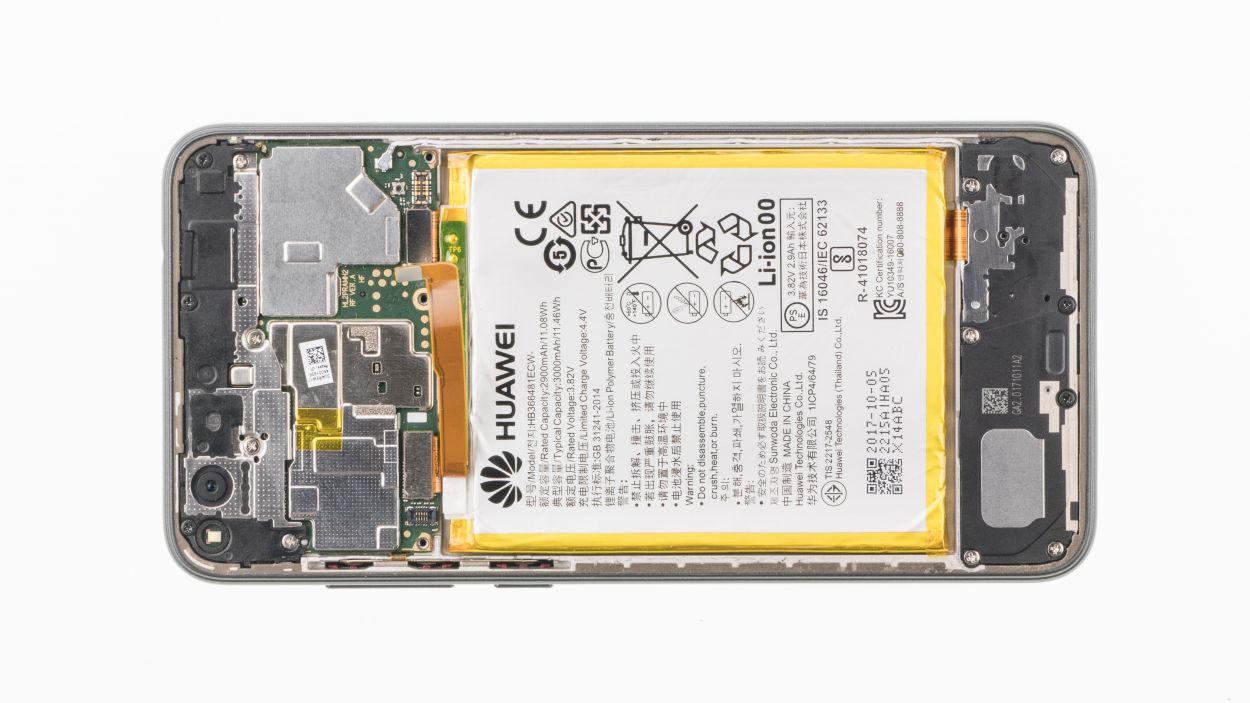
Battery connector
First things first, let’s keep your device safe! Unplug the battery to avoid any pesky short circuits. You’ve got this!
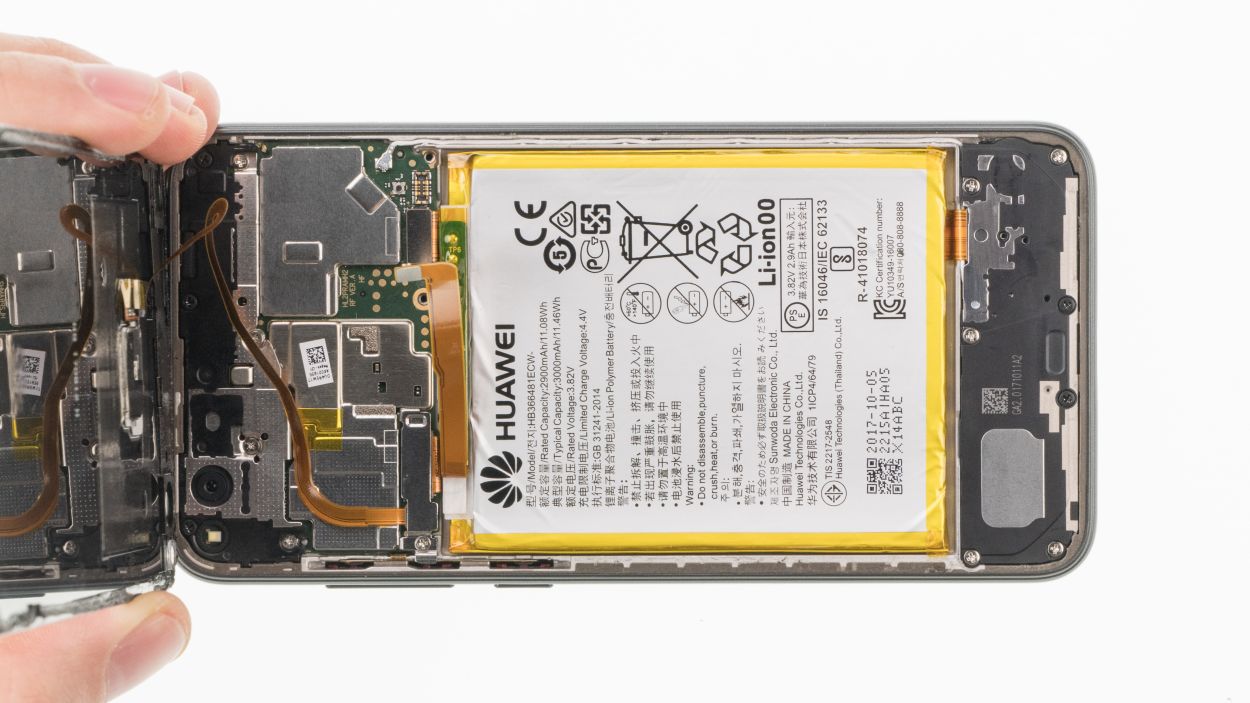
– Start by unscrewing those little screws on the bracket. You’ve got this!
– Next, gently lift out the bracket. It might be a bit snug at the top, but don’t worry, just wiggle it free.
– Now, grab a plastic tool and carefully unplug the connector. Easy peasy!
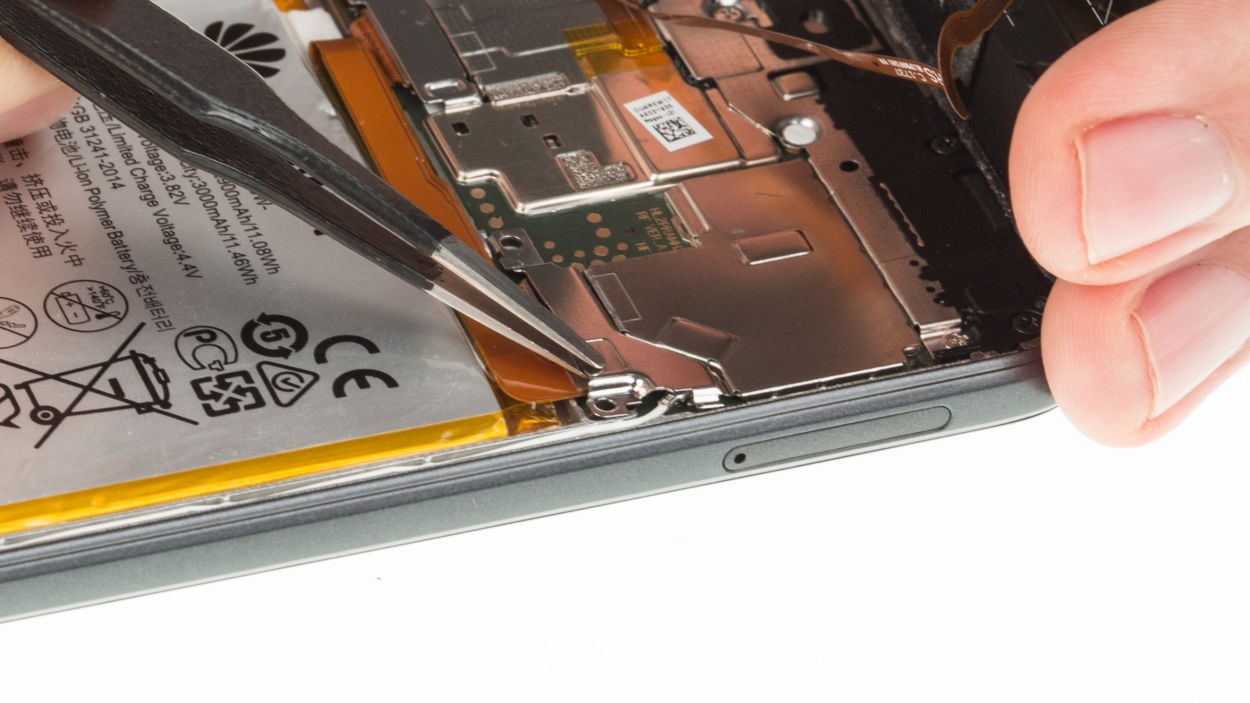
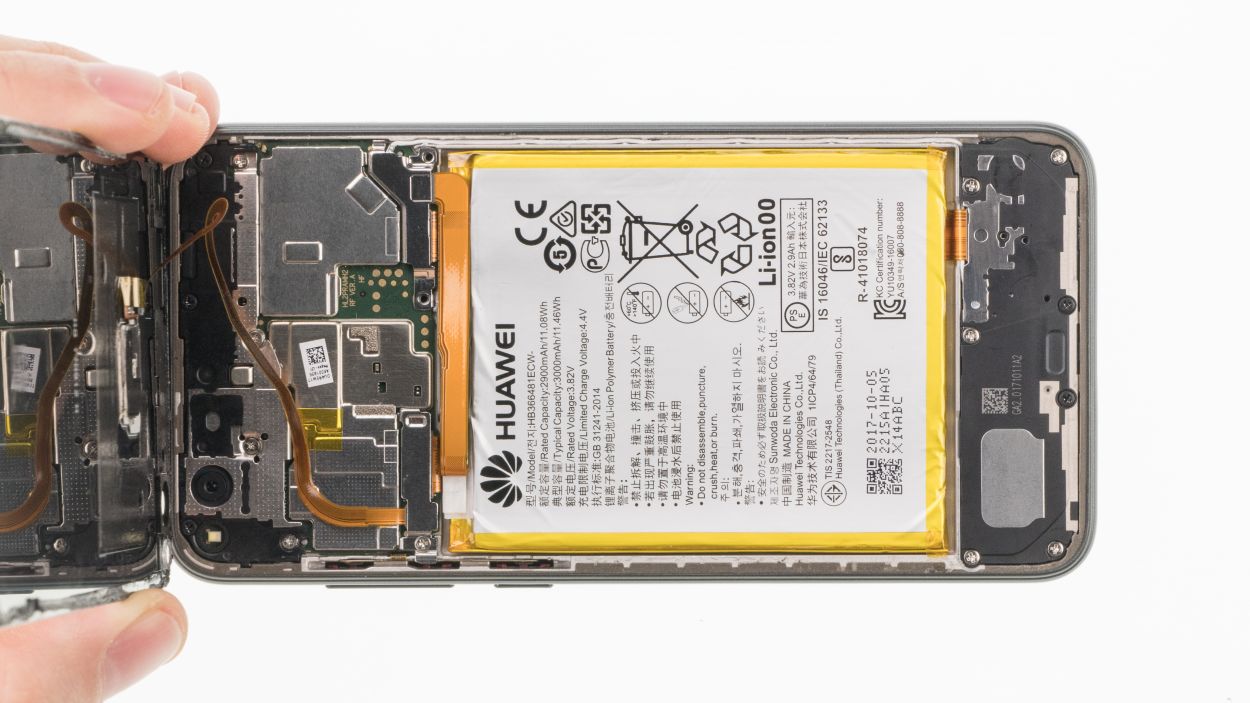
Step 4
1 × 2.8 mm Phillips
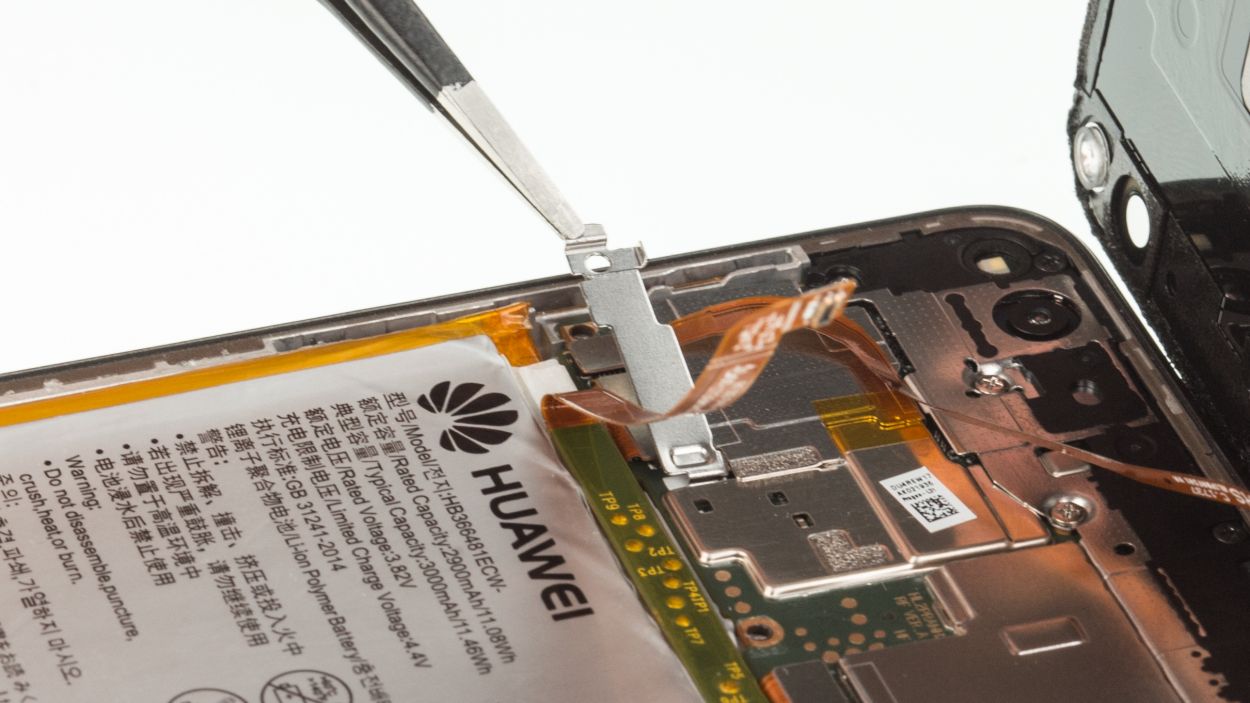
Fingerprint sensor
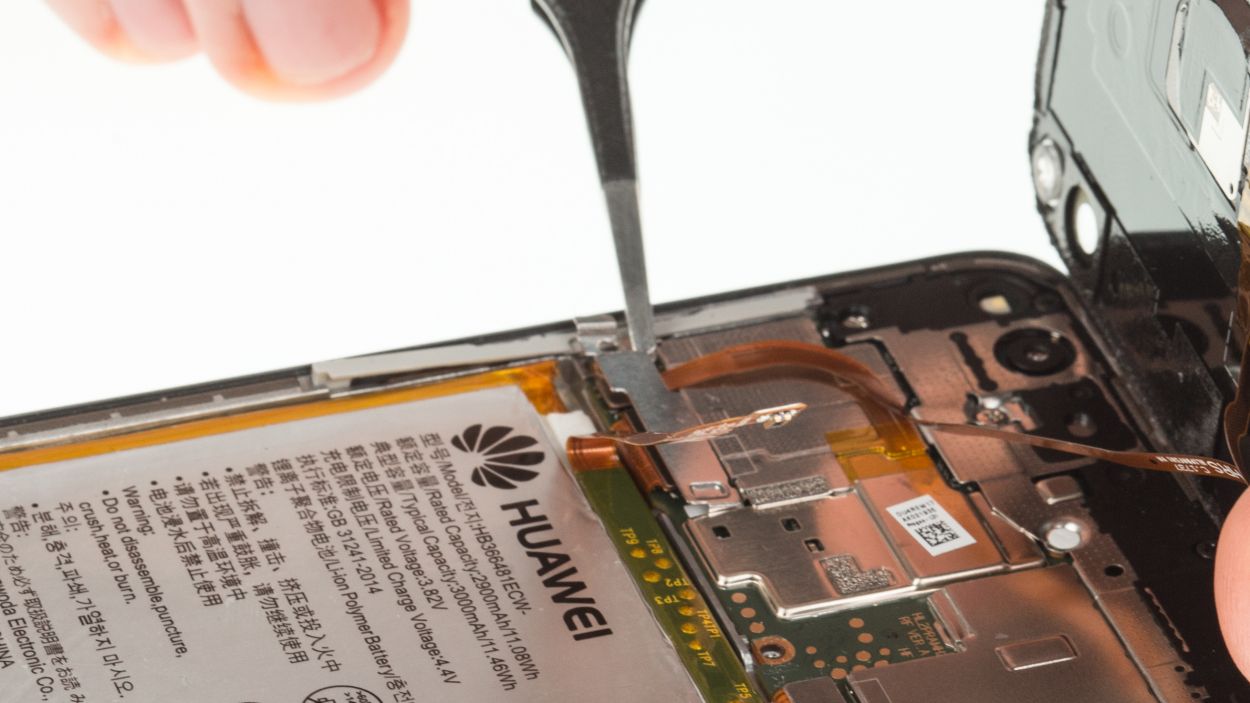
Let’s kick things off by gently removing the fingerprint sensor to pop off that back cover. You’ve got this!
– First up, let’s tackle that bracket screw and gently lift off the bracket. It’s got a little top latch, so give it a nudge!
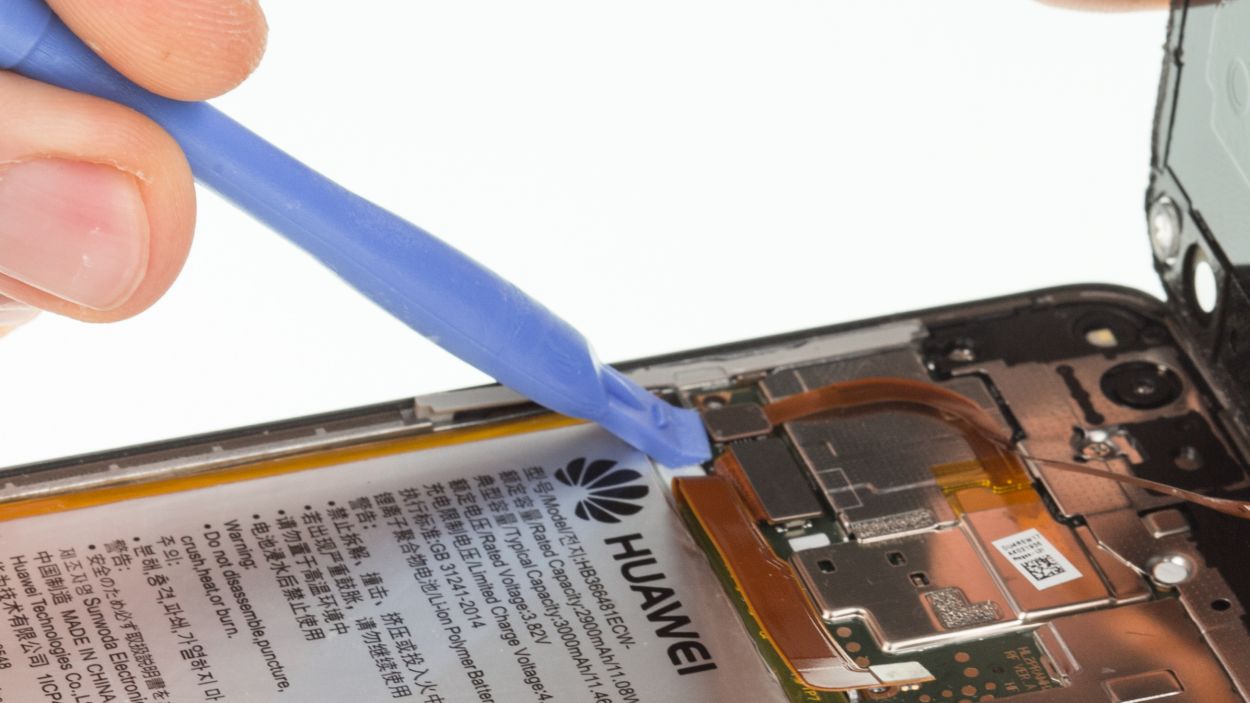
– Next, grab a plastic tool and unplug the connector with a bit of finesse.
– Now, it’s time to remove the back cover. You’ve got this!
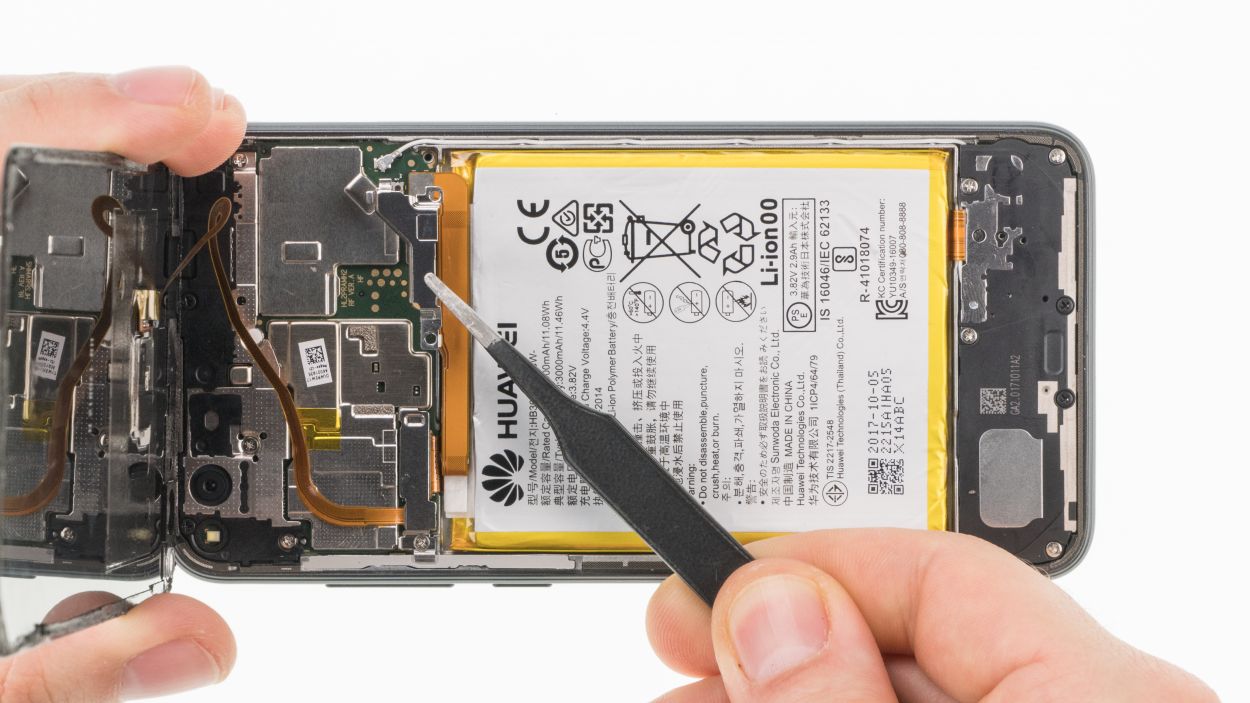
Step 5
1 × 2.8 mm Phillips
– Gently place the back cover along the edge of your device and connect the fingerprint connector like a pro.
– Secure the bracket in place, making sure it clicks in nicely, and then tighten that screw to keep everything snug.
Step 6


Battery connector
2 × 2.8 mm Phillips
– First up, attach that battery connector like it’s the coolest accessory in town!
– Next, slap on the bracket and make sure it’s secure, we don’t want any slip-ups!
– Lastly, fasten the bracket screws. Nice and tight, just like a well-kept secret!
Step 7
Hey there! Just a heads up: the fingerprint flex cable is super delicate. So, let’s keep it straight and avoid any twists, alright?
– Attach the back cover the right way around. Heat it again to make the glue softer and then press it on for a longer while so the glue can cool and bond.
Step 8
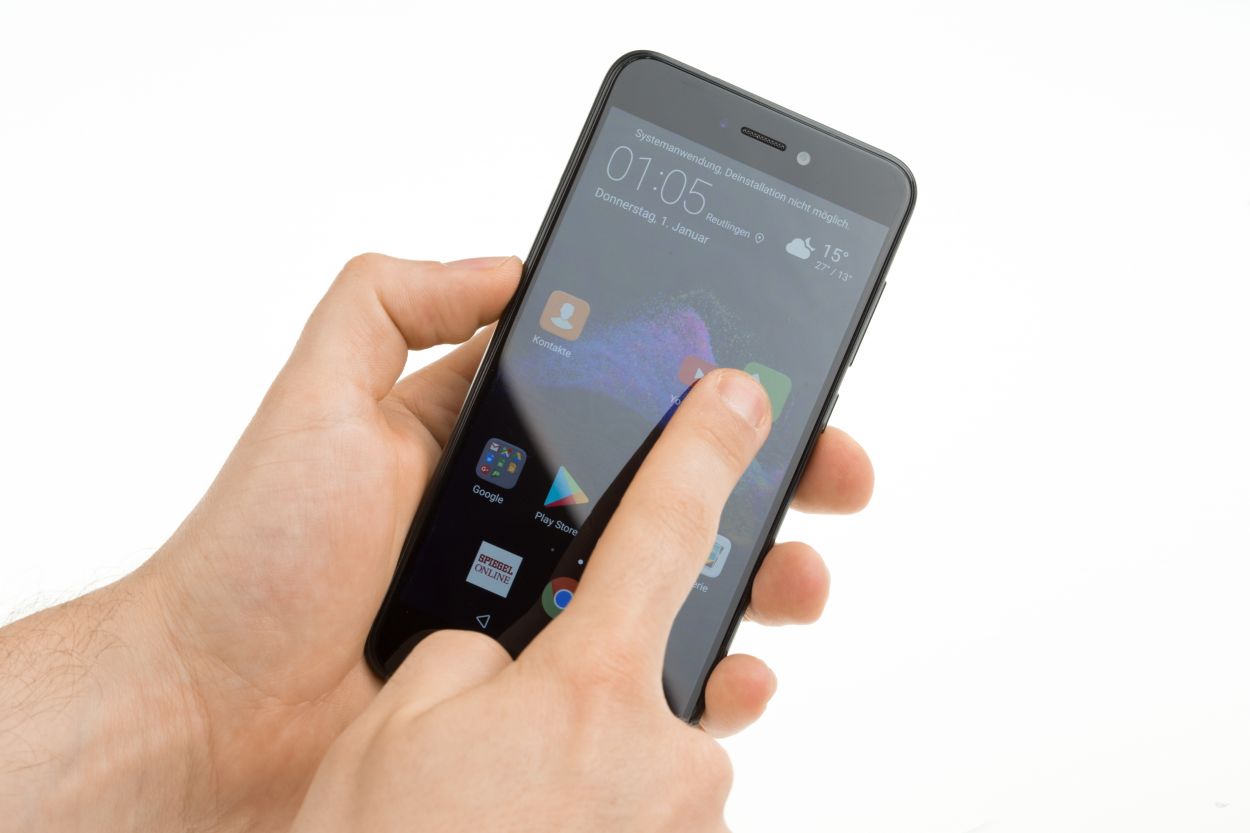
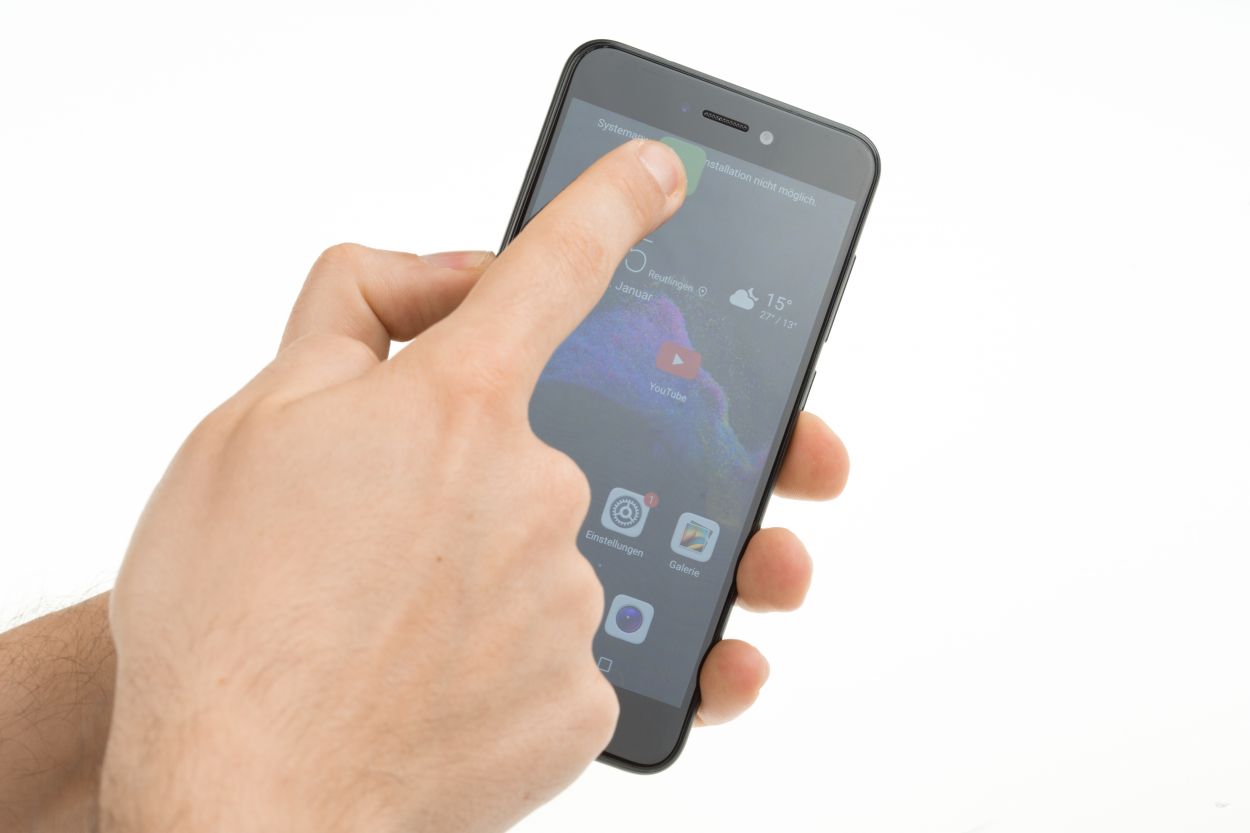
– Alright, time to power up your device and give it a whirl! Check out these key features:
– Touch/Brightness: Let’s see how bright your screen can shine! Test the brightest and dimmest settings. Try dragging an app around the screen in a fun zig-zag dance. If it follows your finger like a loyal puppy, you’re in good shape!
– Charging Function: Plug in that USB and see if your device is thirsty for power.
– Front/Back Camera: Give those cameras a quick snap to ensure they’re ready for your selfies and group shots.
– Vibration Motor: Give your device a little shake and see if it buzzes with excitement.
– Volume/Standby Buttons: Press those buttons and make sure they respond like they should.
– Earpiece/Speaker/Microphone: Test out the sound quality and make sure your device can hear and be heard.
– Flash: Check if your flash is ready to light up your life!