DIY Guide to Replace Huawei P10 lite Battery
Duration: 30 min.
Steps: 8 Steps
In this guide, we’ll walk you through the process of swapping out your P10 lite’s faulty battery all by yourself. If your P10 lite is crashing during those intense gaming sessions, refusing to charge, or just has a battery life that’s shorter than a snack break, this repair is for you! Before diving in, make sure to back up all your data and touch something metal, like a radiator, to zap away any pesky static charges. Ready? Let’s get to it!
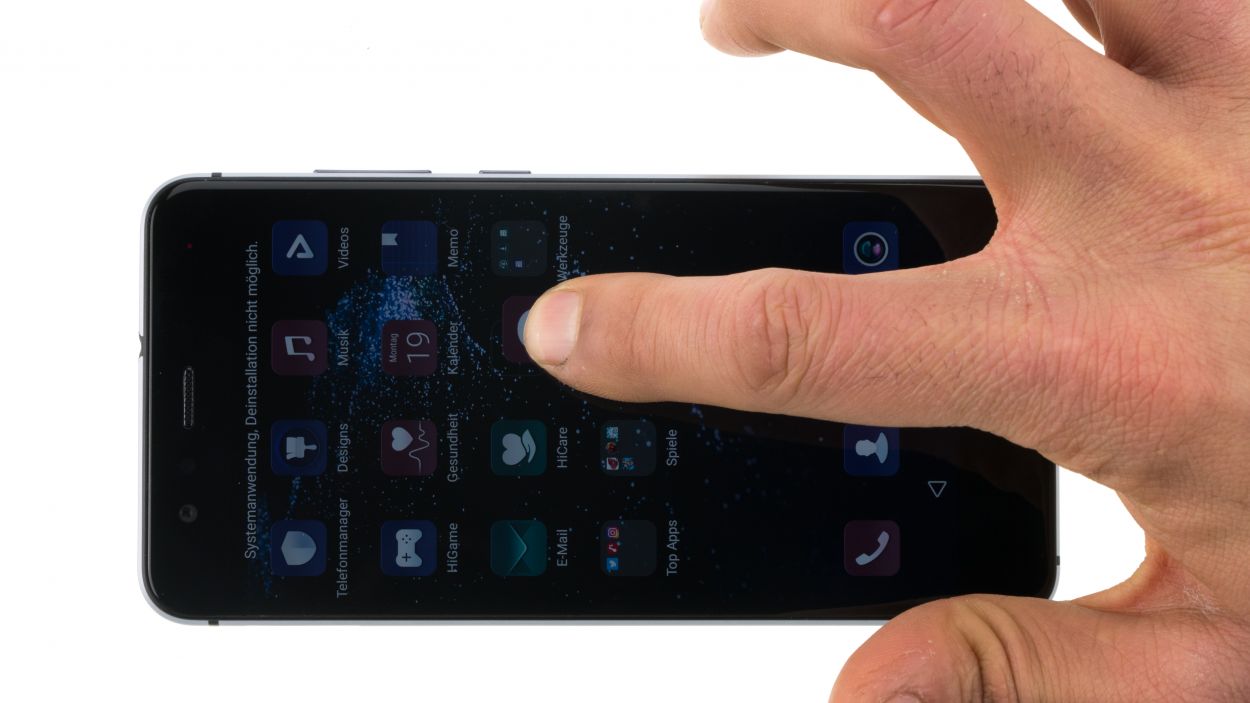
Step 1
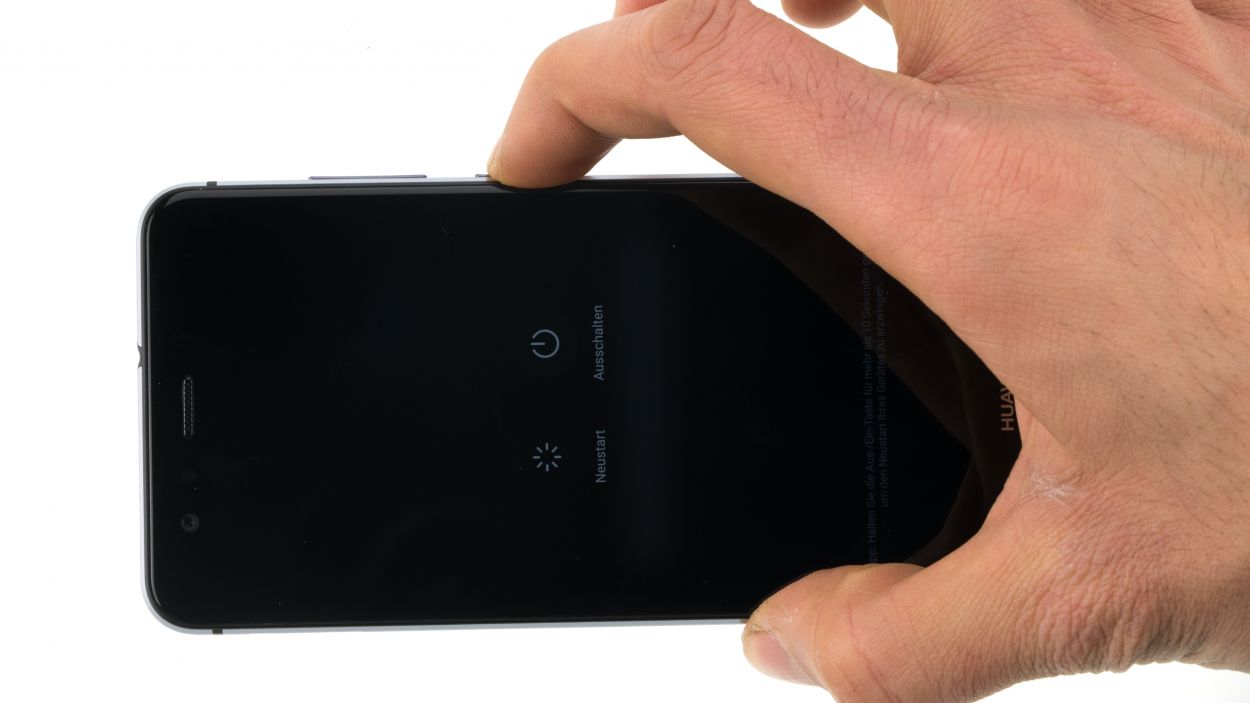
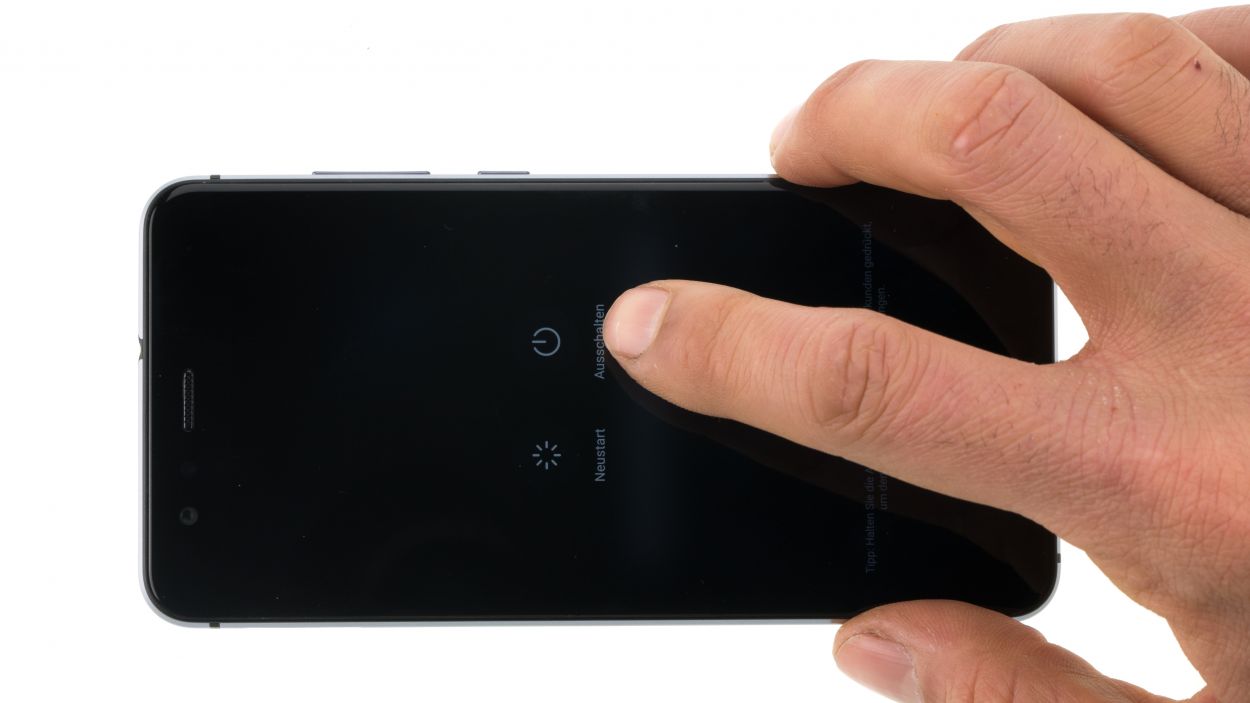
– Give that Power button a good press and hold until a menu pops up to say hello.
– Select the Power Off option and give it another tap to seal the deal.
Step 2
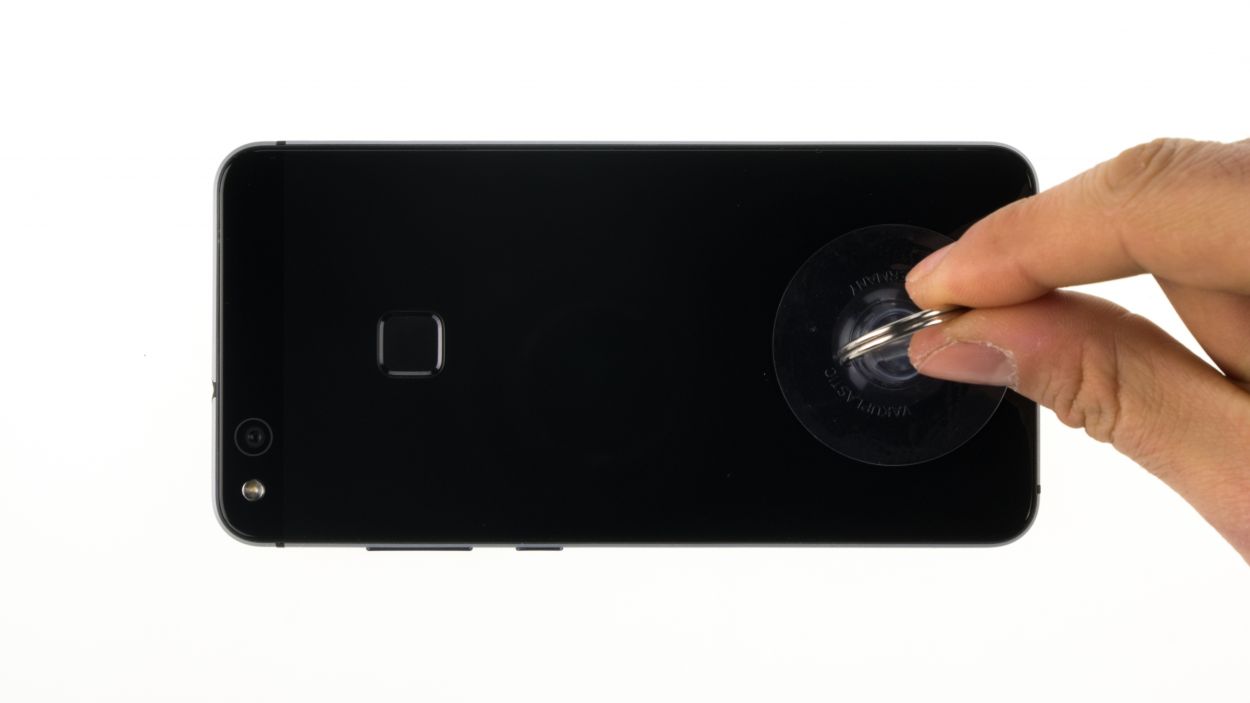
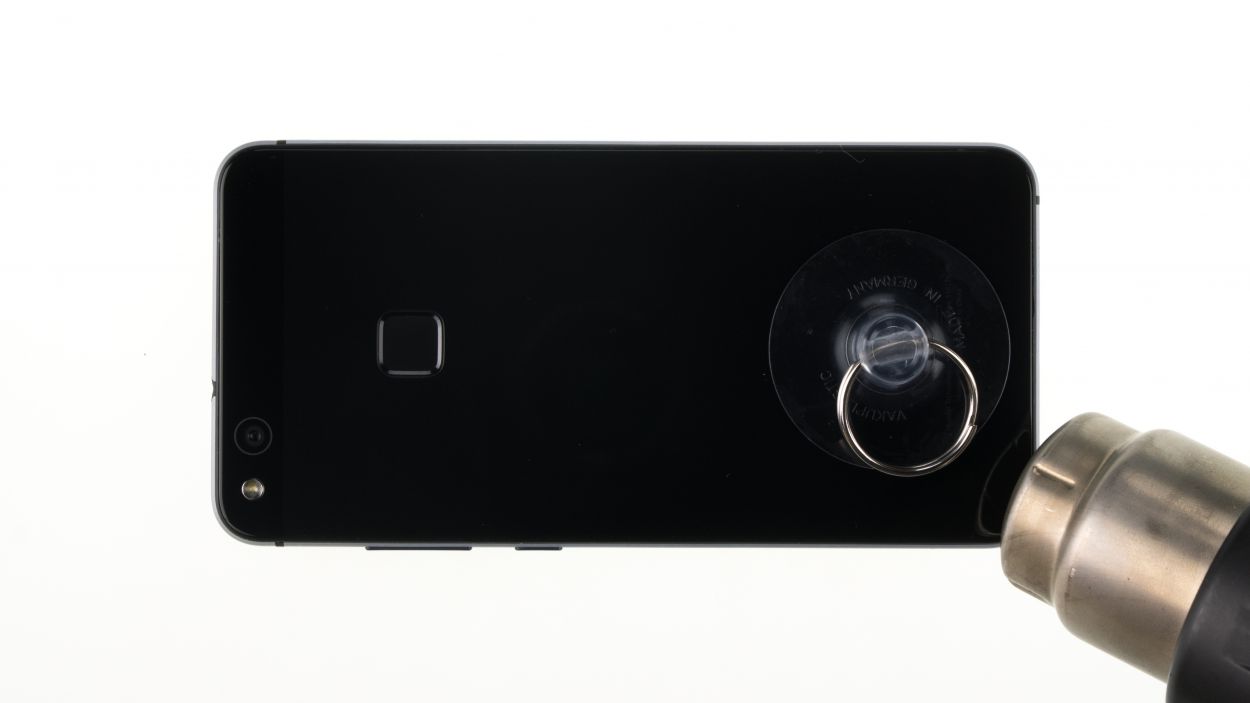


Take it easy with this step! Those tiny shards of glass can be sneaky and might give you a little poke. Stay safe and keep your cool!
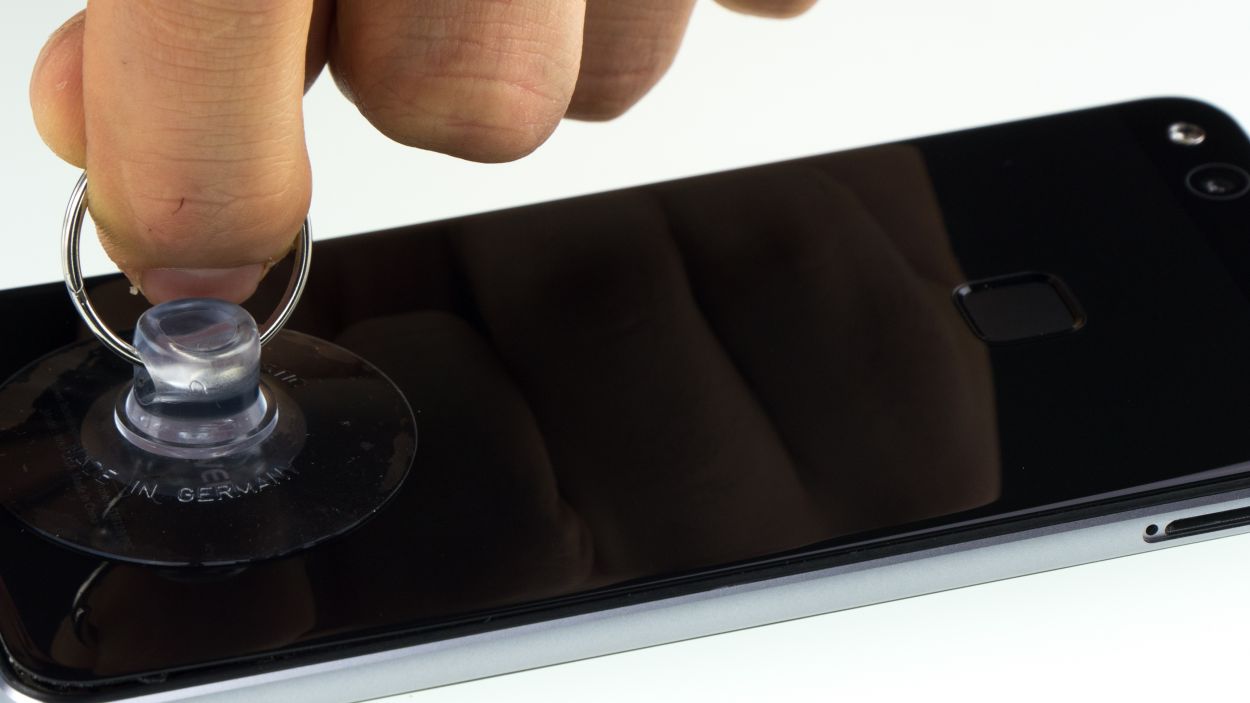
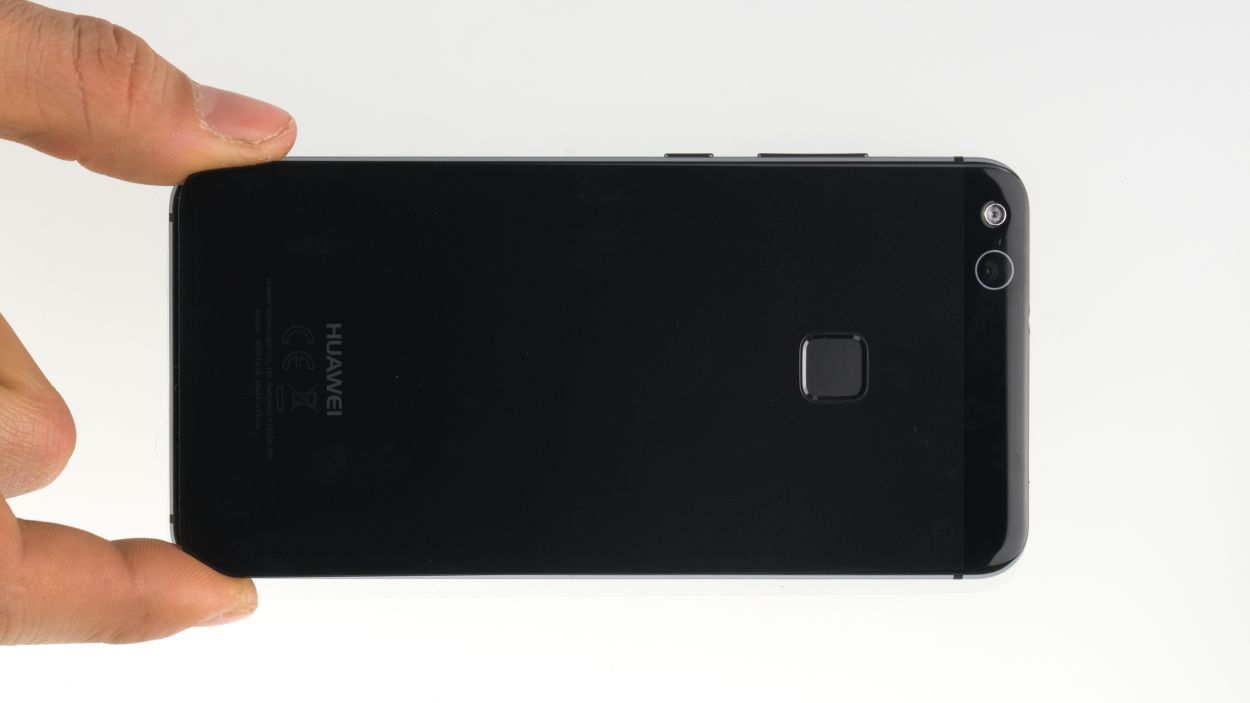
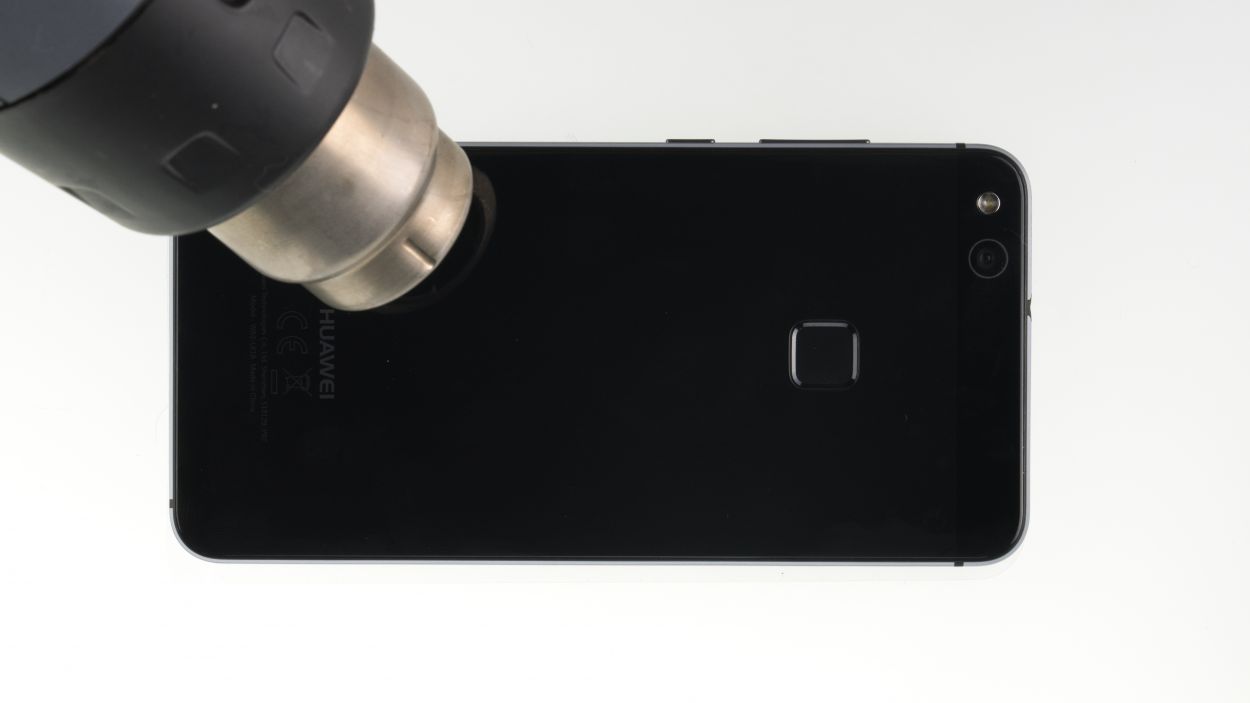
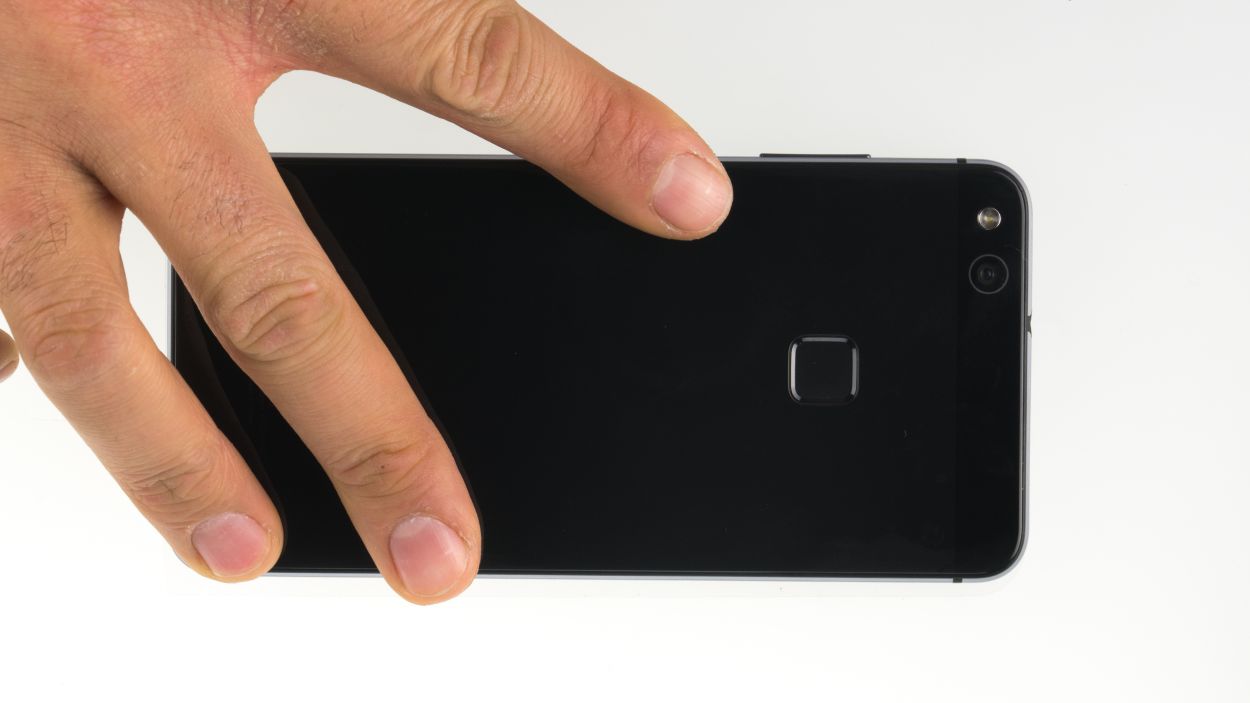
– Start by placing the suction cup as low as you can on the back cover, right over the text. Let’s get that cover off!
– While you pull on the suction cup, press the frame against the table using a pick. Once you see a little gap forming between the frame and the cover, gently slide your pick in there.
– Now, just glide that pick along the edges of your device to loosen the cover all around. You’re doing great!

Step 4
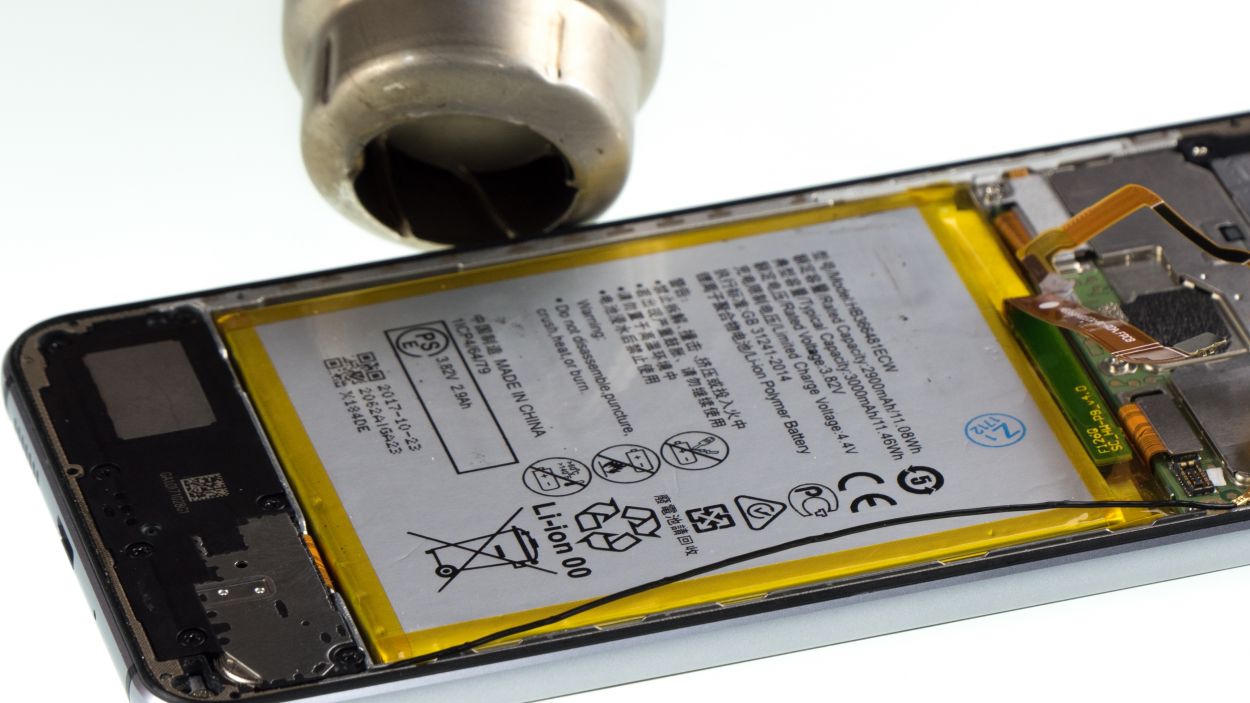
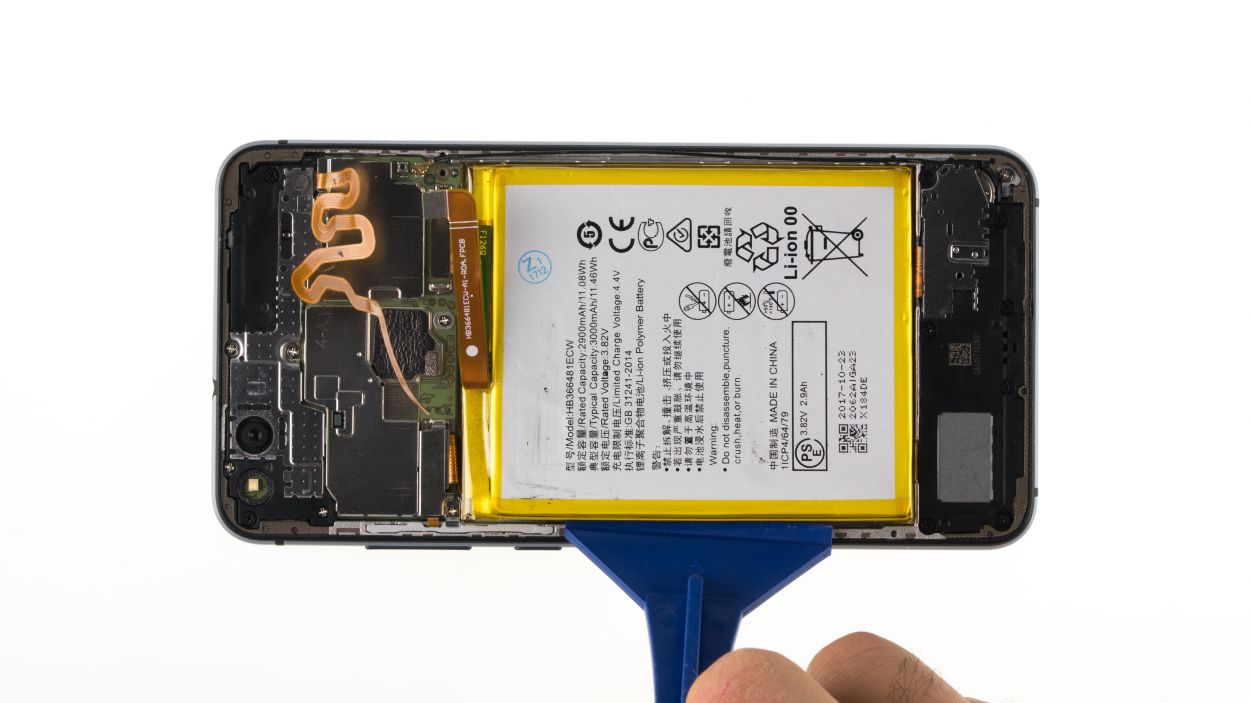
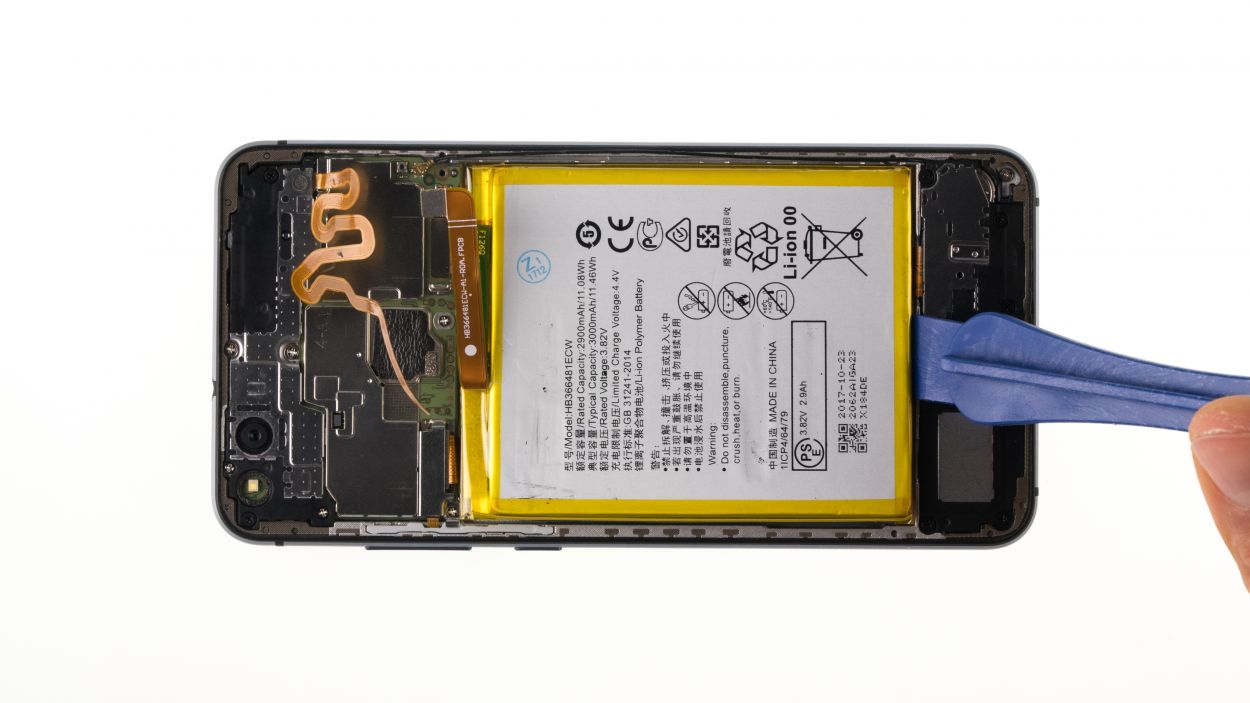
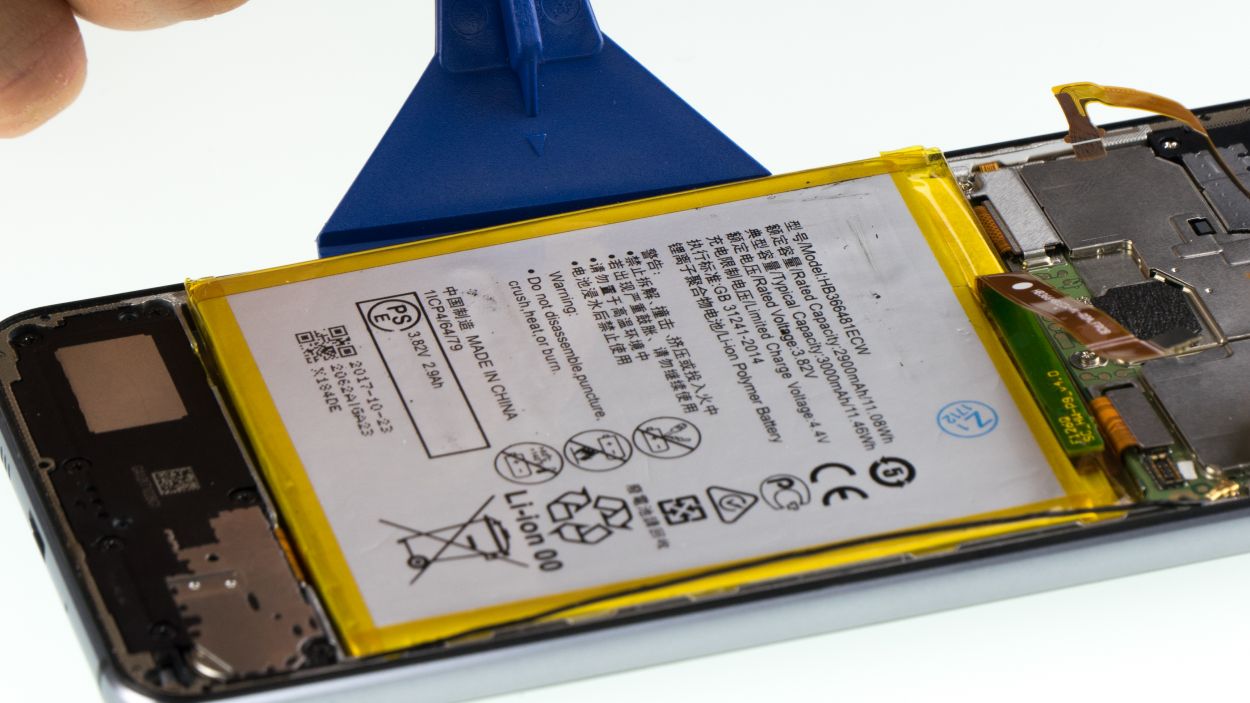
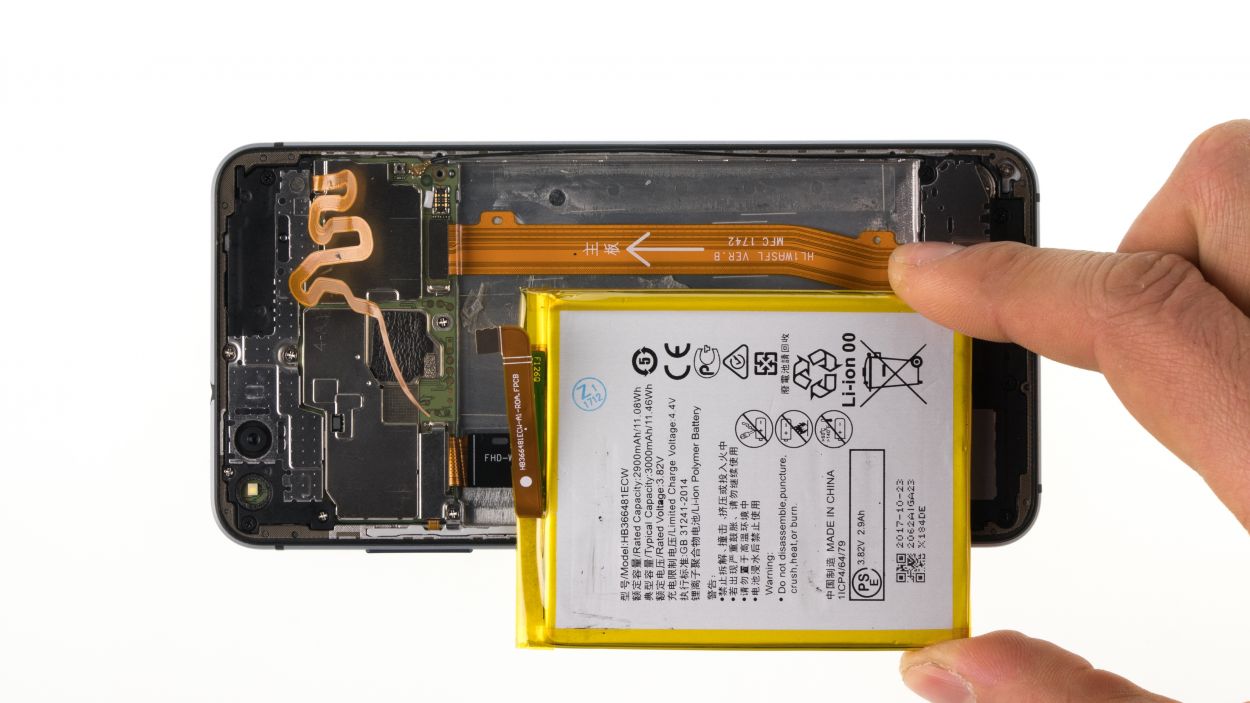
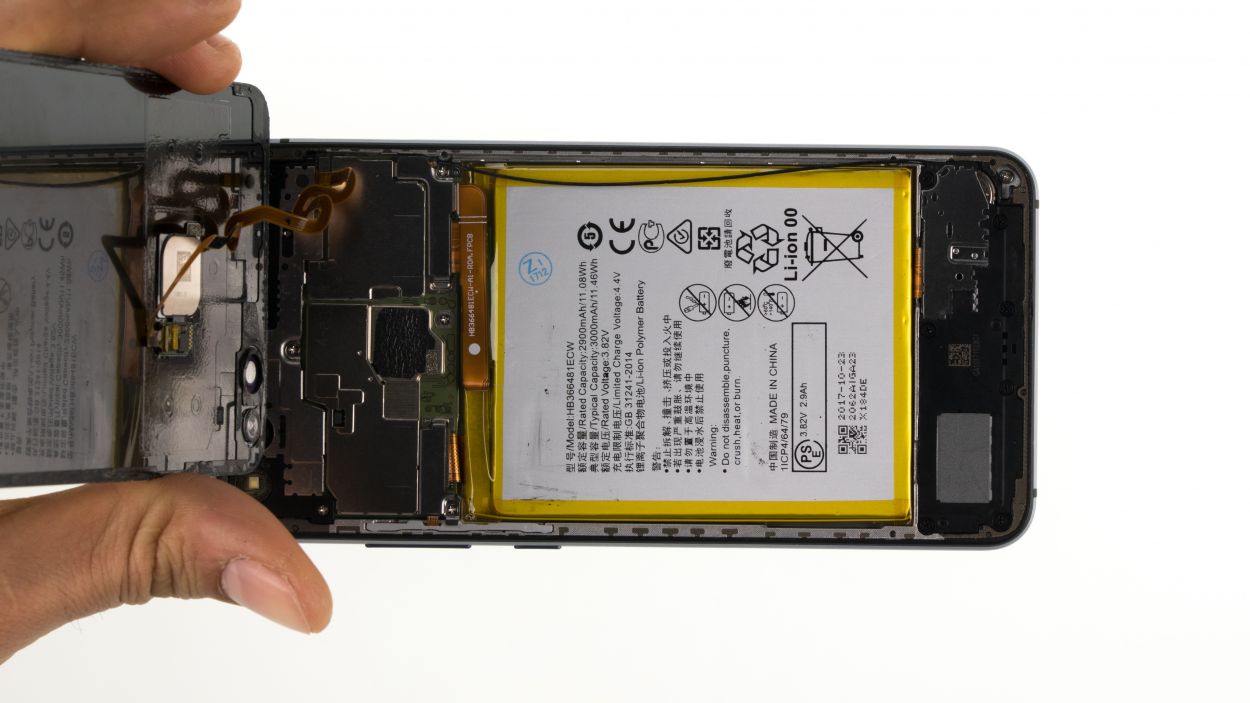
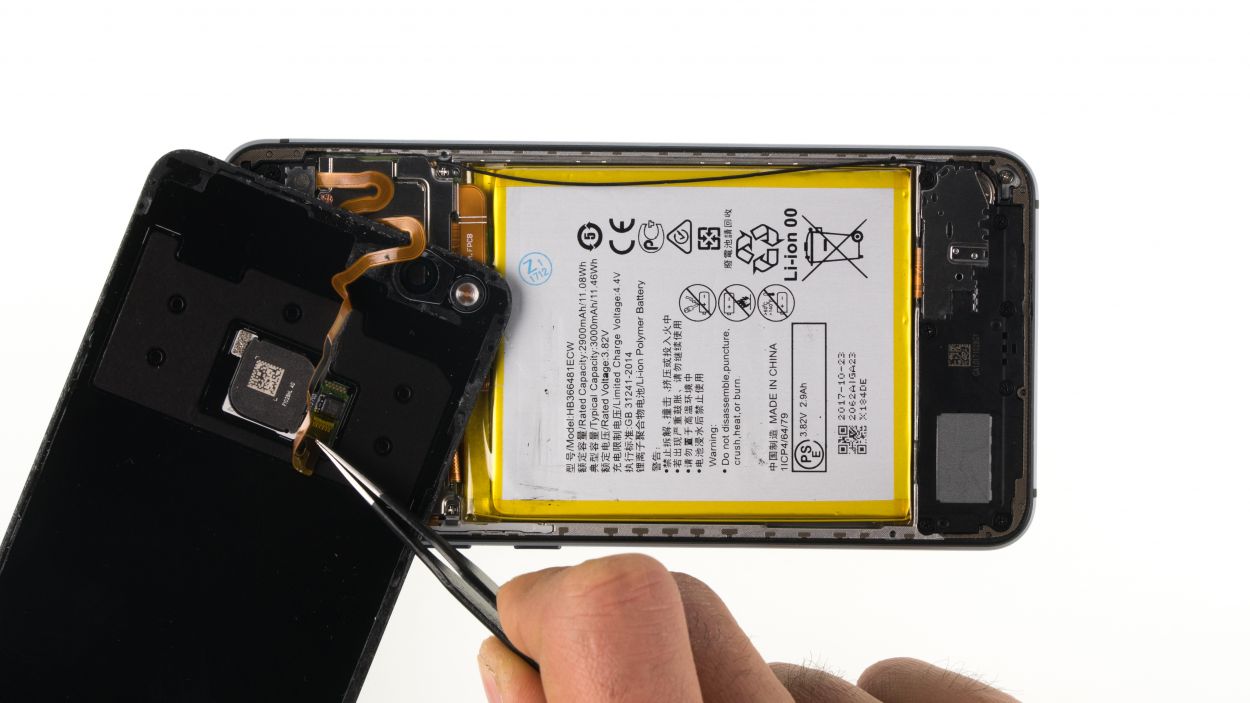
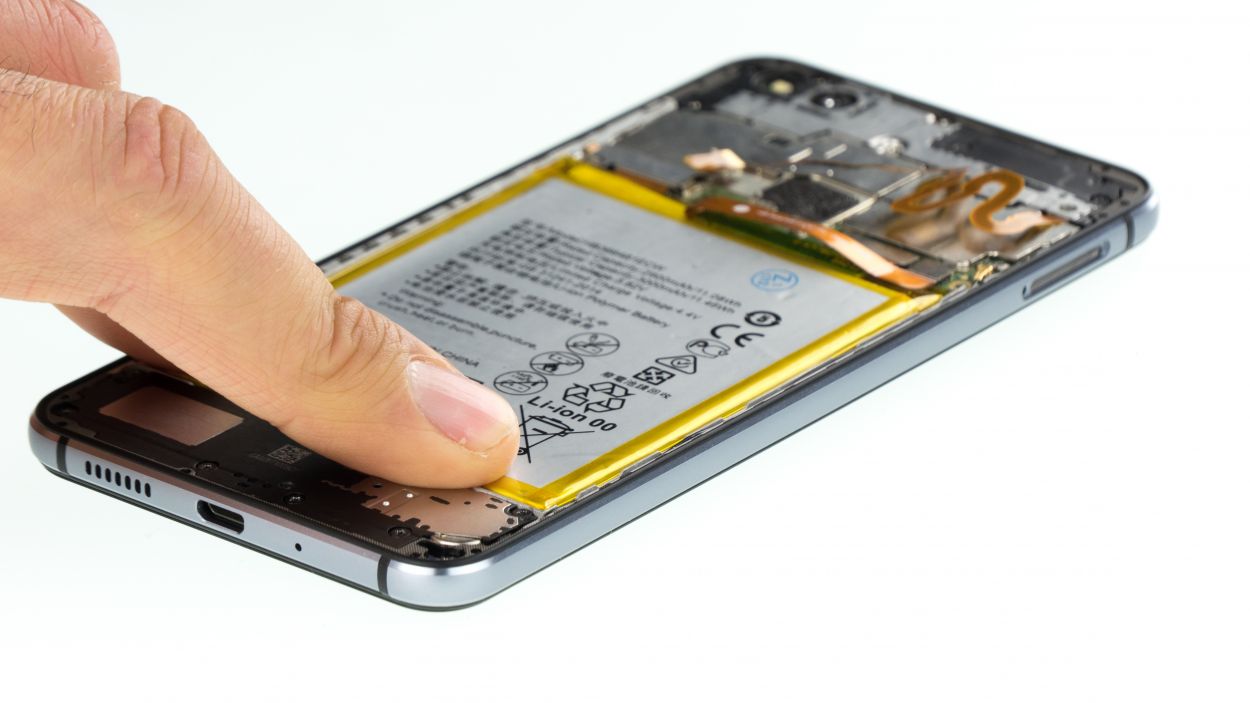
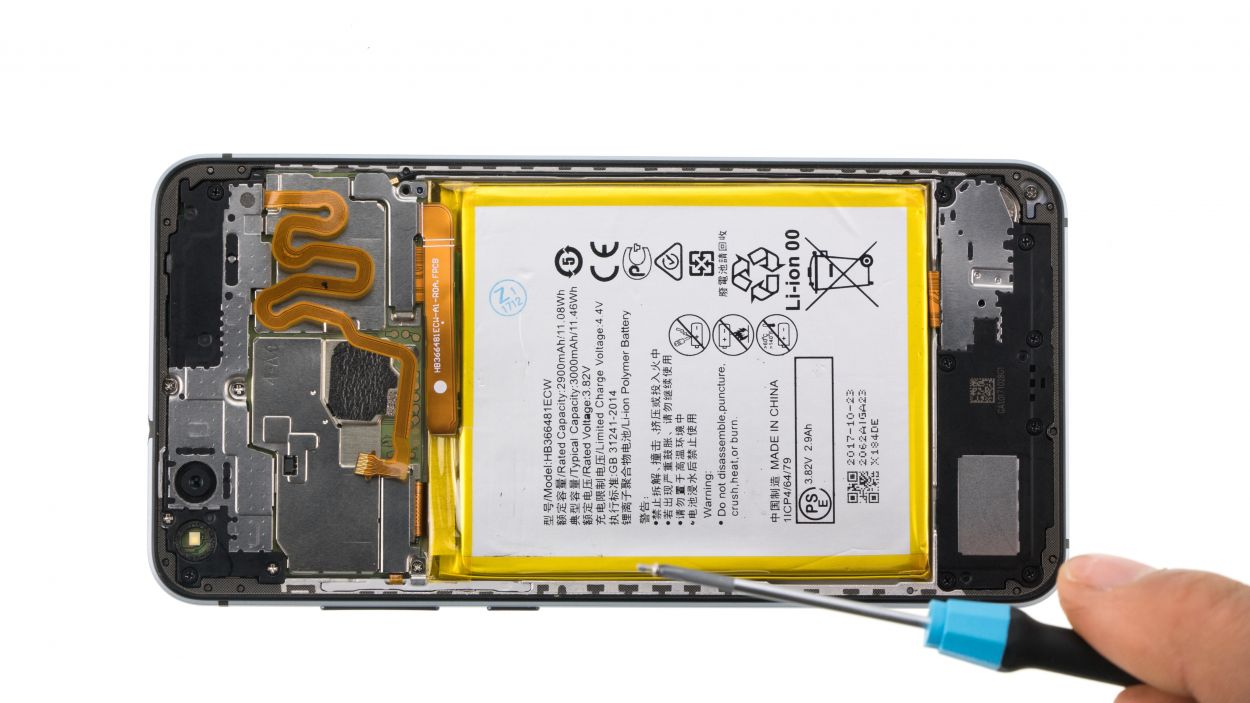
– That battery glue is no joke! To tackle it, warm up the device from the display side with a heat gun. Just remember, don’t aim that heat directly at the battery!
– Next up, take the broad end of your trusty battery spudger and slide it under the battery along the long, upper edge. You’ll find that the glue strip here is a bit more forgiving than on the other sides.
– Once you’ve loosened one side of the battery, feel free to gently pry around with the spudger to release the glue in the other areas.
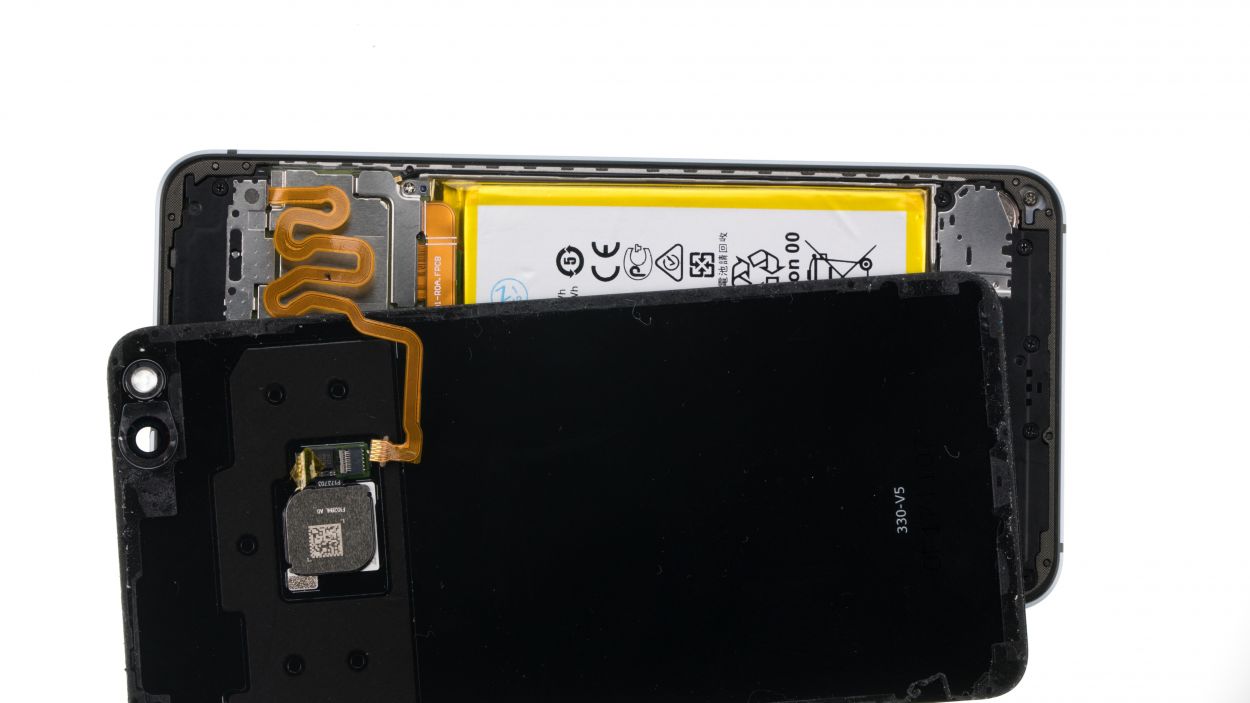
Hey there! Just a heads up: the battery is a bit of a diva and can bend super easily. So, let’s give that display some love – heat it up a few times until that glue gets nice and soft, making it easier for the battery to pop out. If the glue isn’t feeling too clingy, you can give it a gentle tug with a suction cup. And if all else fails, why not treat yourself to a shiny new battery along with your display and say goodbye to the old one? If you need help, you can always schedule a repair.
Step 5
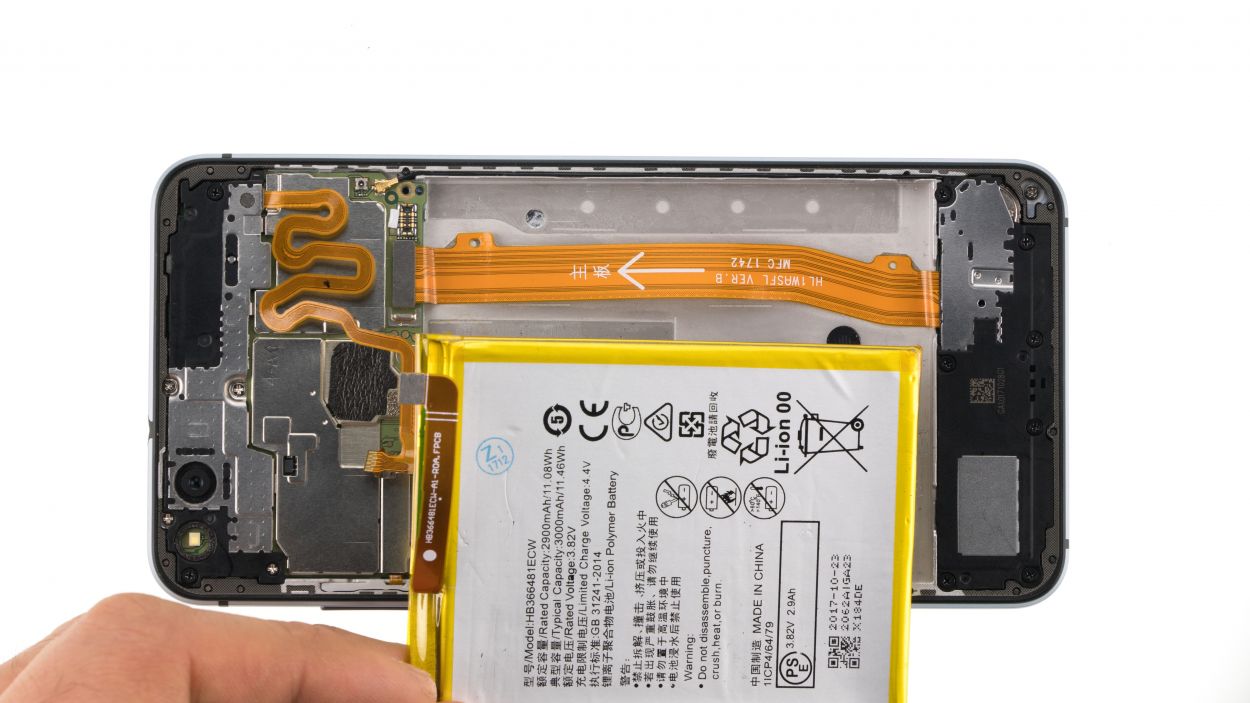
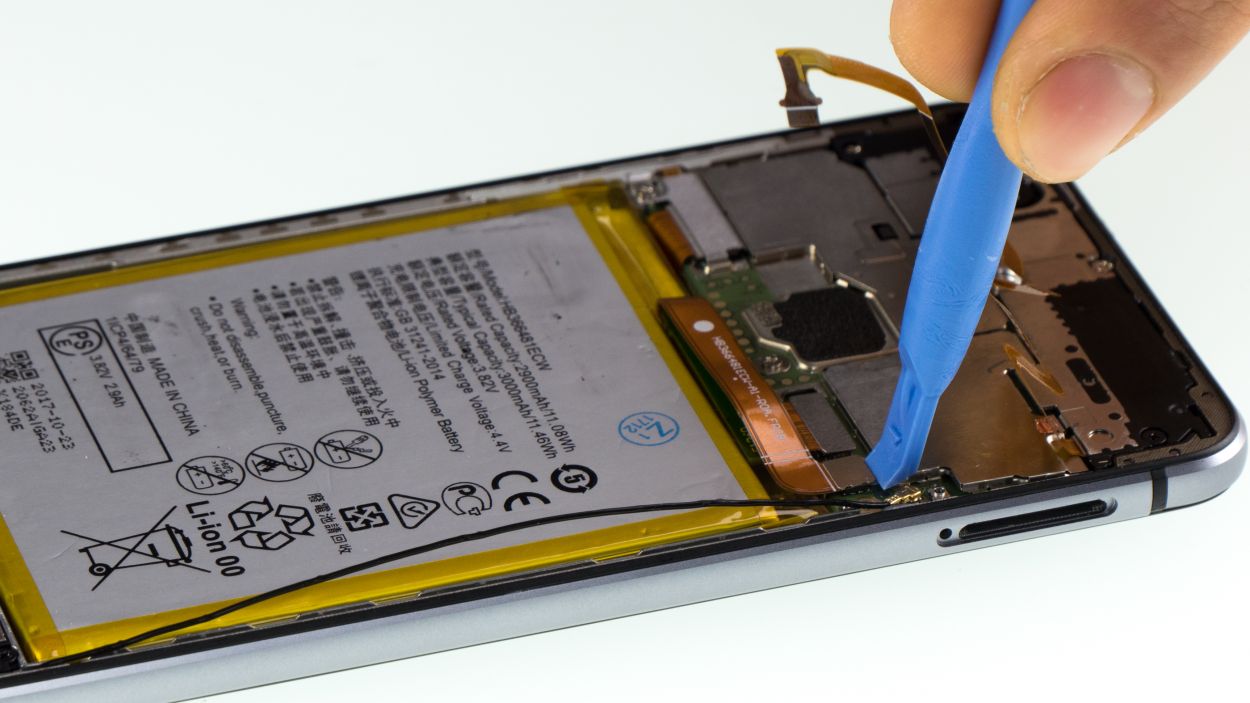
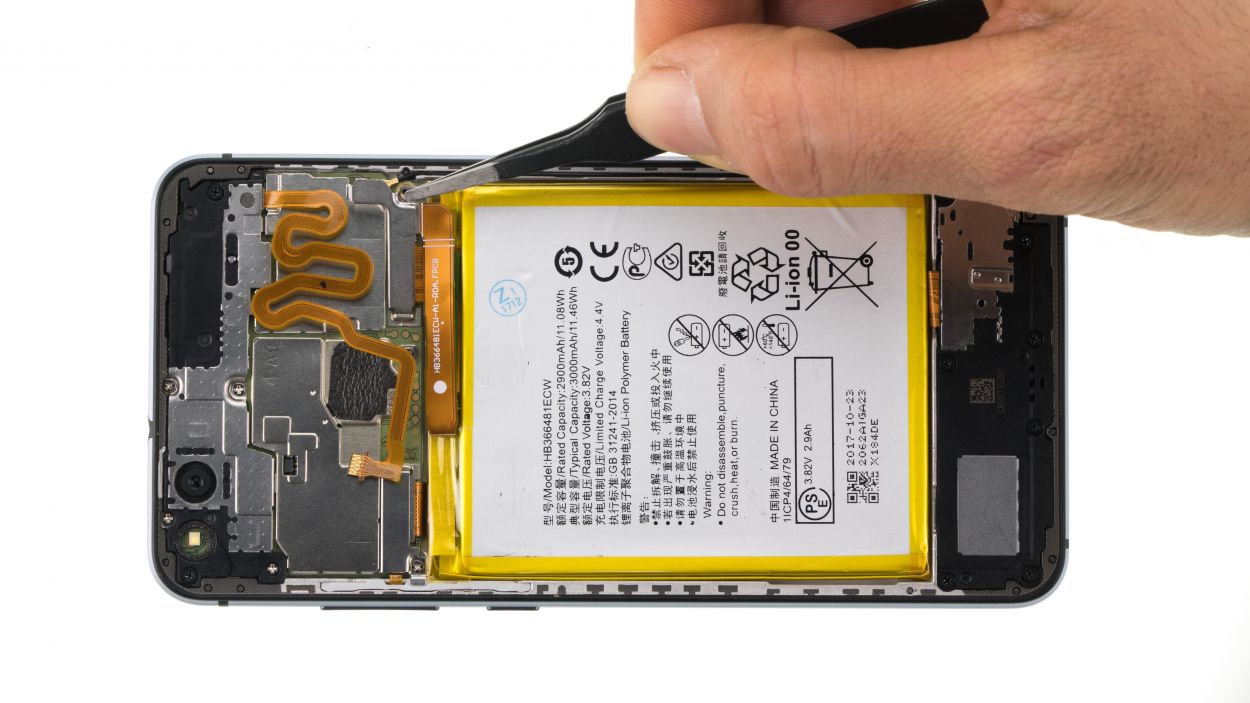
Make sure the connector is nicely lined up with its socket, so you can plug it in without a hitch!
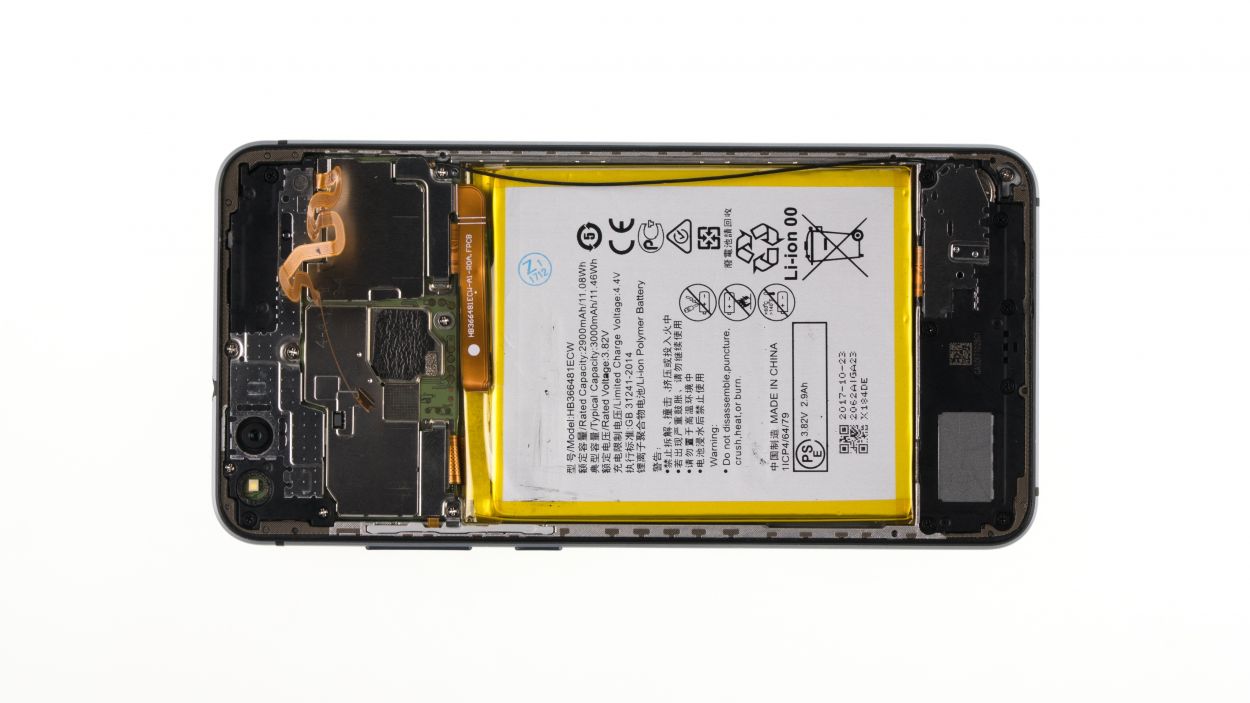
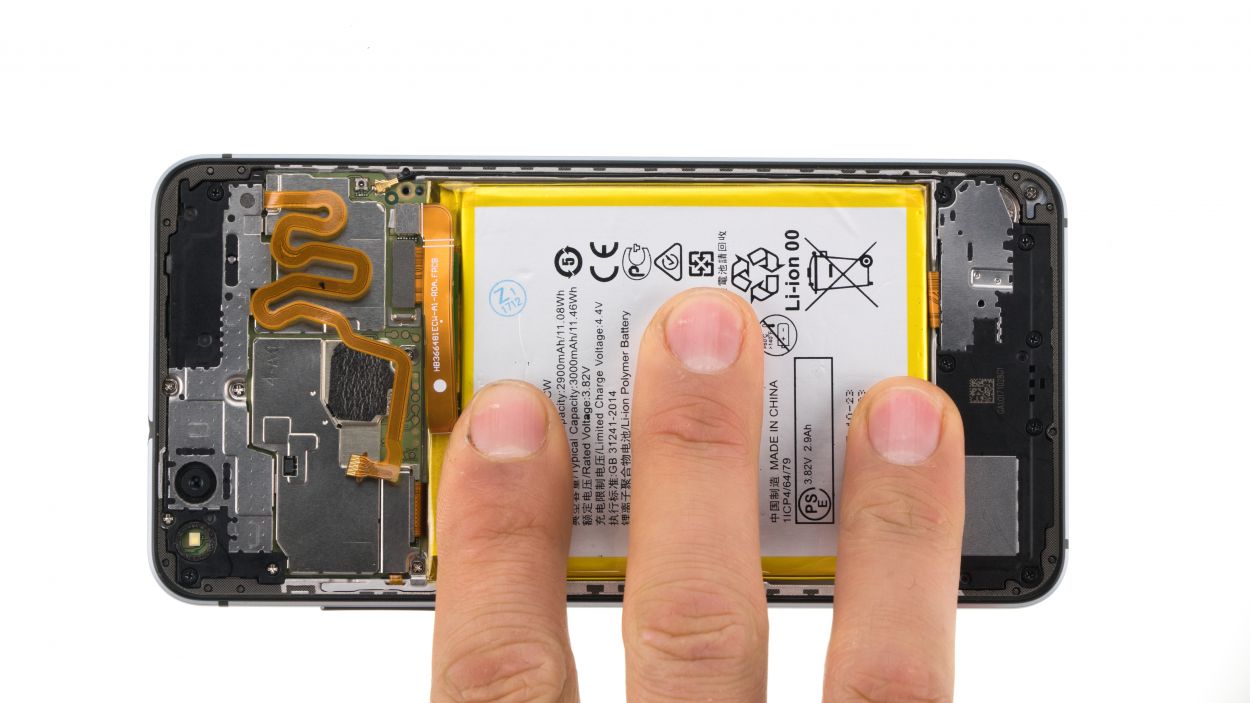
– Slide that battery right into your device! Just make sure it’s oriented correctly, and give it a good press all around to secure it in place.
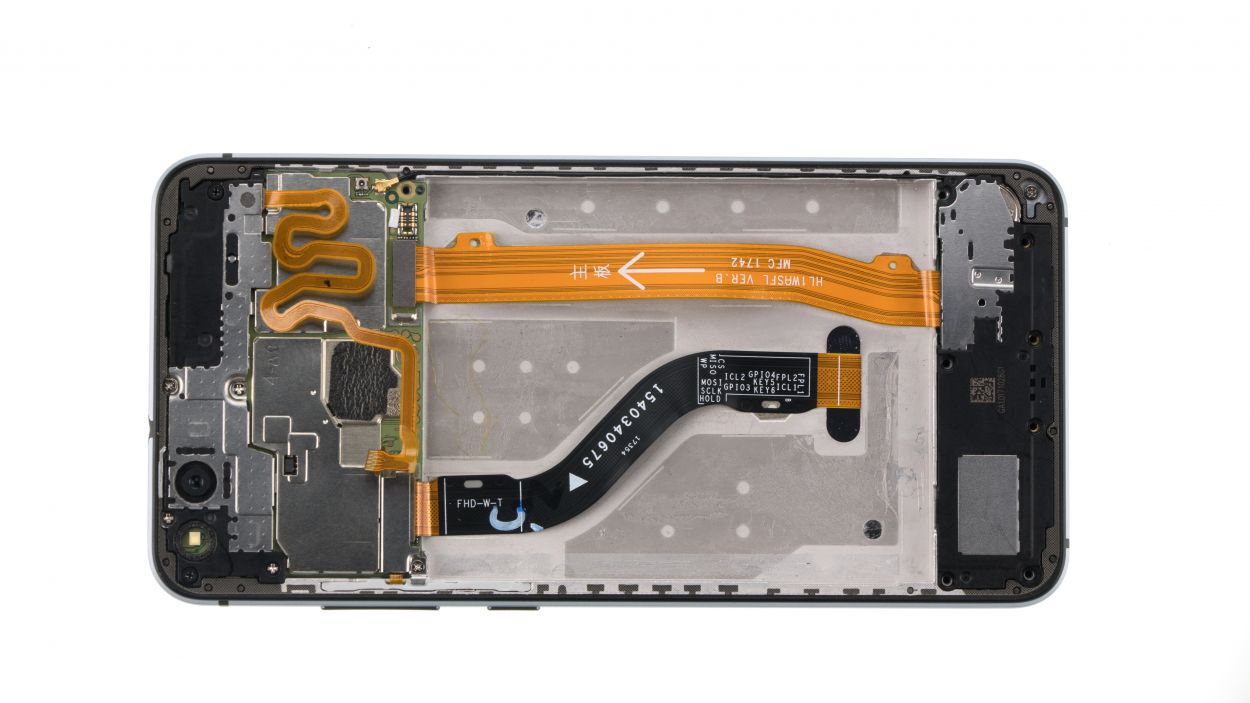
Step 7
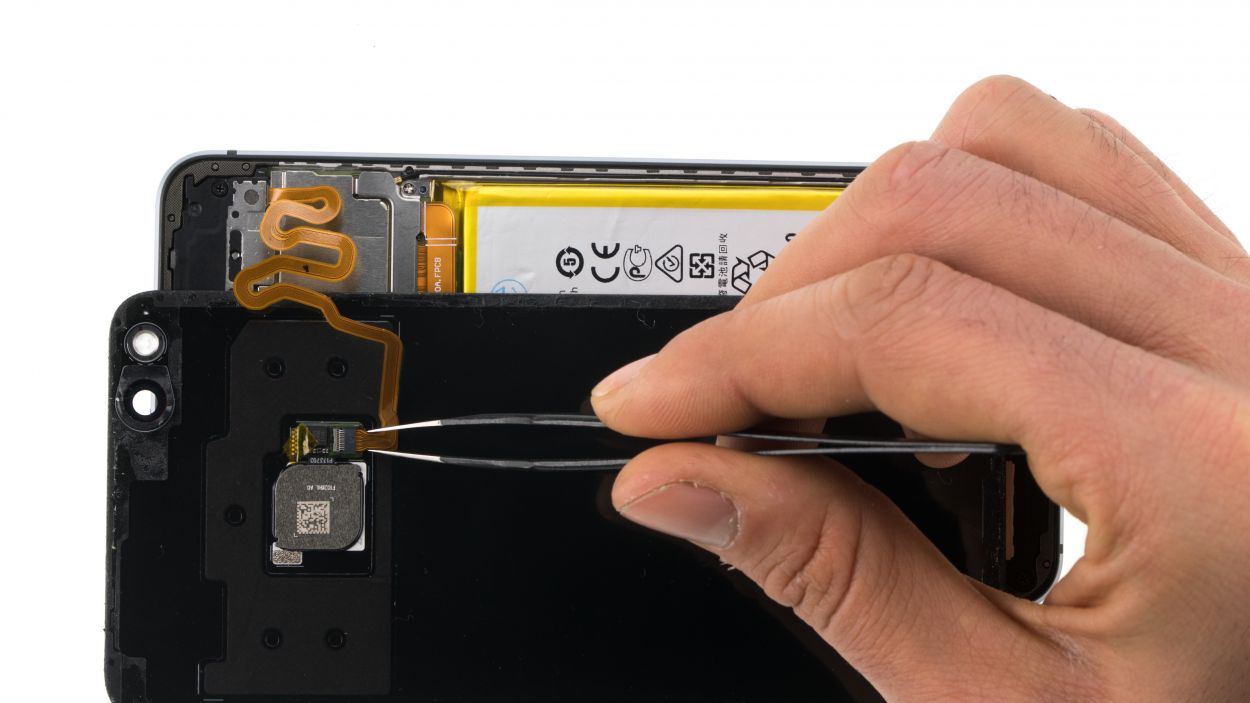
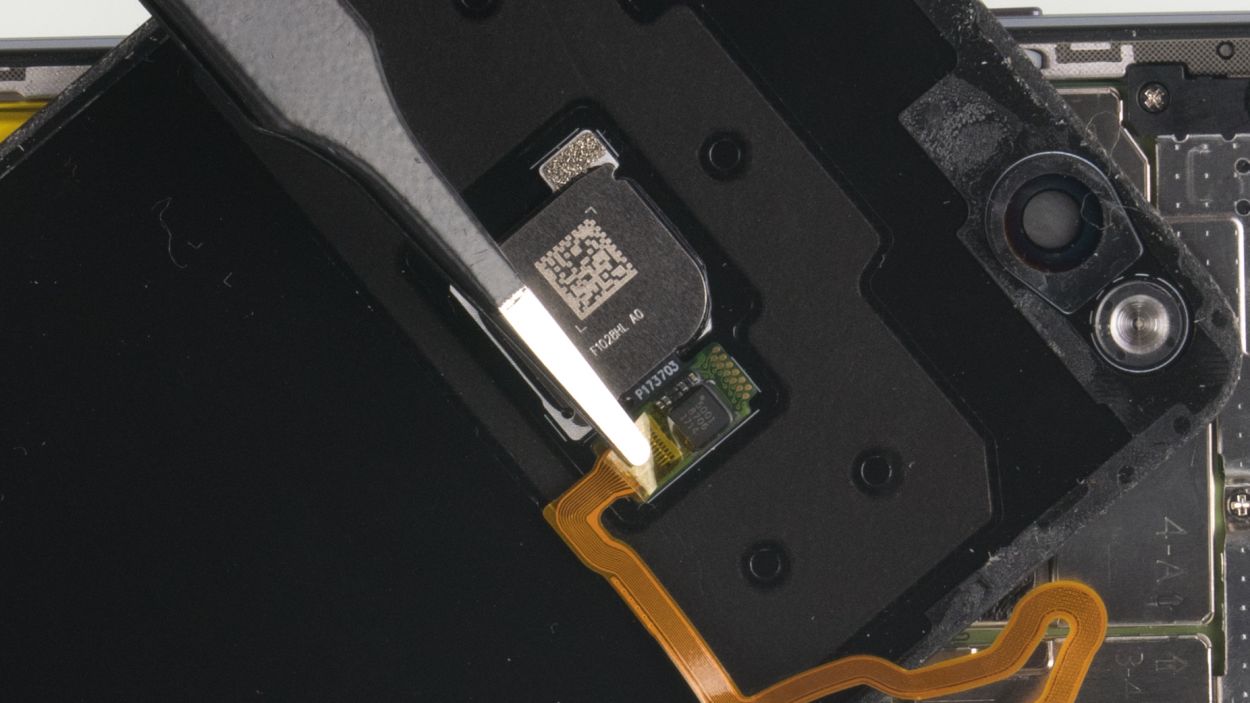
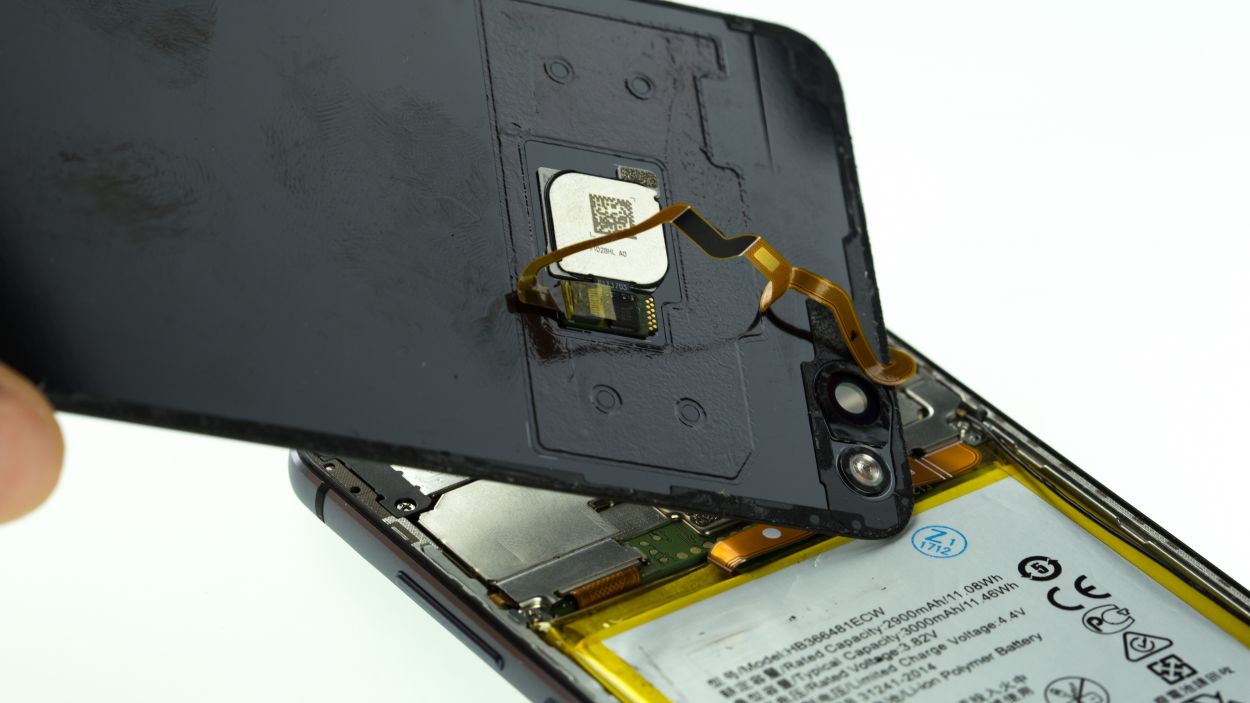
The flex cable is super delicate, so let’s keep it nice and straight—no twists allowed! Just follow the example in the images for the best way to connect it.
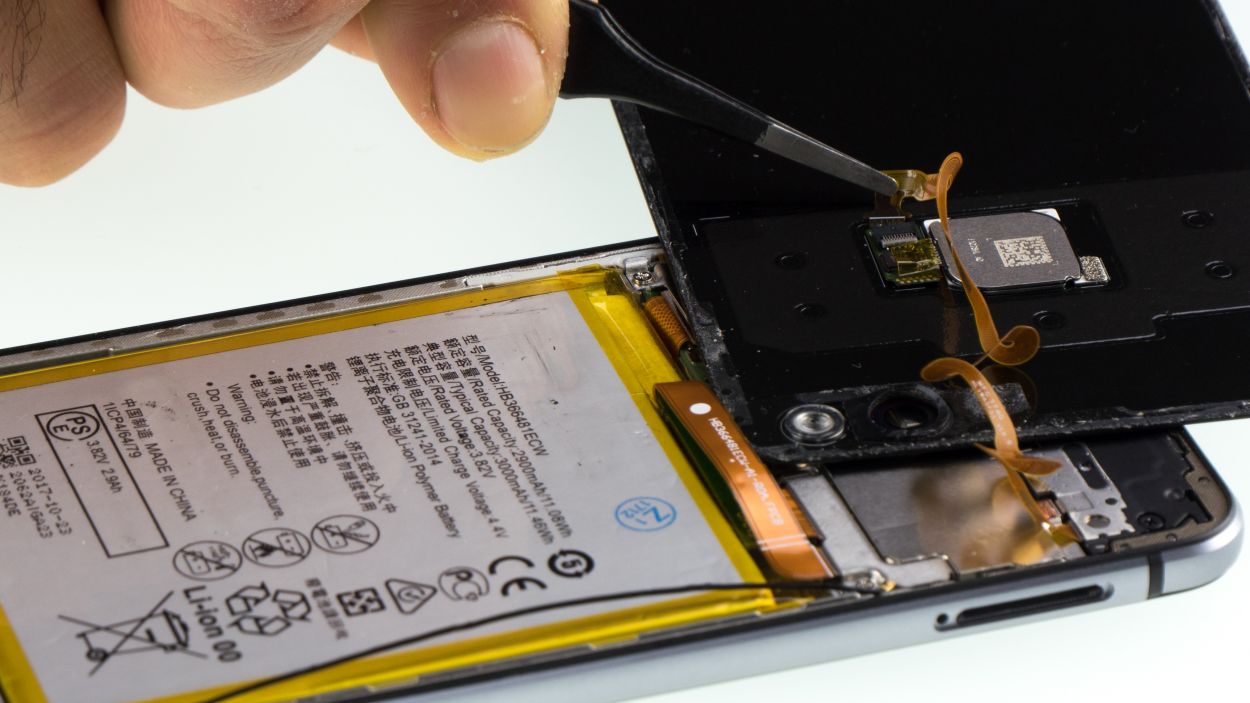
– Gently slide the fingerprint cable’s plug into its cozy little home on the back cover. You’ll notice two tiny tabs on either side of the plug; just keep sliding until it can’t go any further!
– Secure the plug with the trusty old tape patch or, if you’re feeling crafty, cut out a snazzy 2×2 mm square of tape to keep it snug.
– Now, let’s get that back cover on just right! Heat it up a bit to make the glue nice and soft, then press it down for a little extra time so the glue can cool and bond like best friends.
Step 8
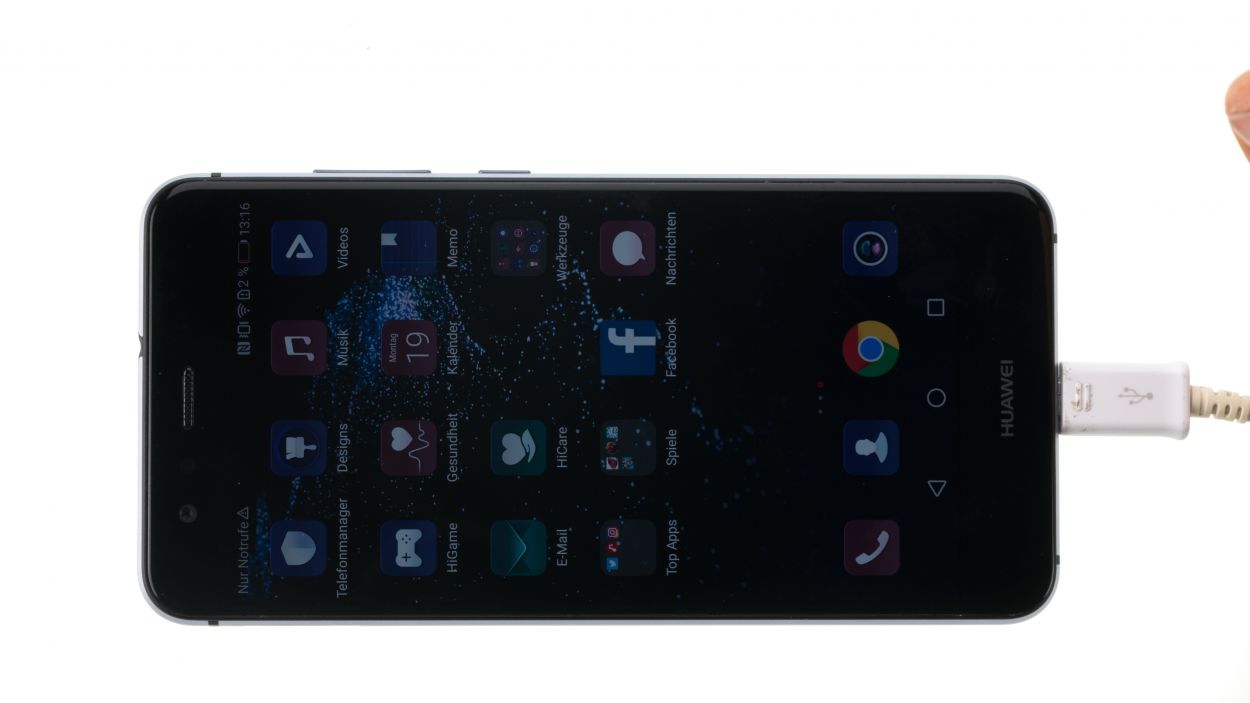
– Alright, let’s power up your device and give those essential functions a whirl:
– Touch/brightness: crank up and dial down that brightness to the max and min. Slide any app across the screen in a fun zig-zag dance. If the app keeps up with your finger, you’re golden!
– Charging function (connect USB)
– Front/back camera
– Vibration motor
– Volume/standby buttons
– Earpiece / speaker / microphone
– Flash