How to Replace Huawei P30 Lite USB-C Board: DIY Guide
Duration: 60 min.
Steps: 15 Steps
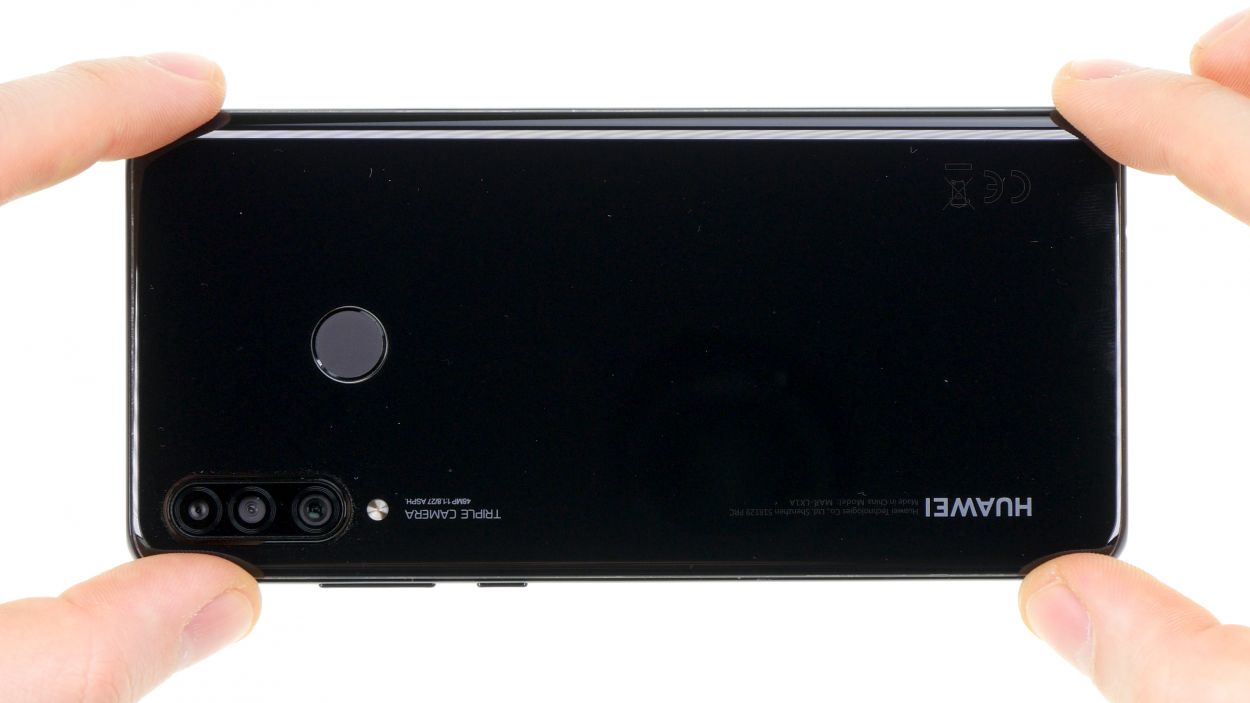
Down on the USB-C board, nestled in the lower section of your HUAWEI P30 lite, you’ll find all sorts of components working hard to keep your device running smoothly. By swapping out this lower board, you can bring back the magic of your charging and headphone jacks. If you need help, you can always schedule a repair!
Step 1
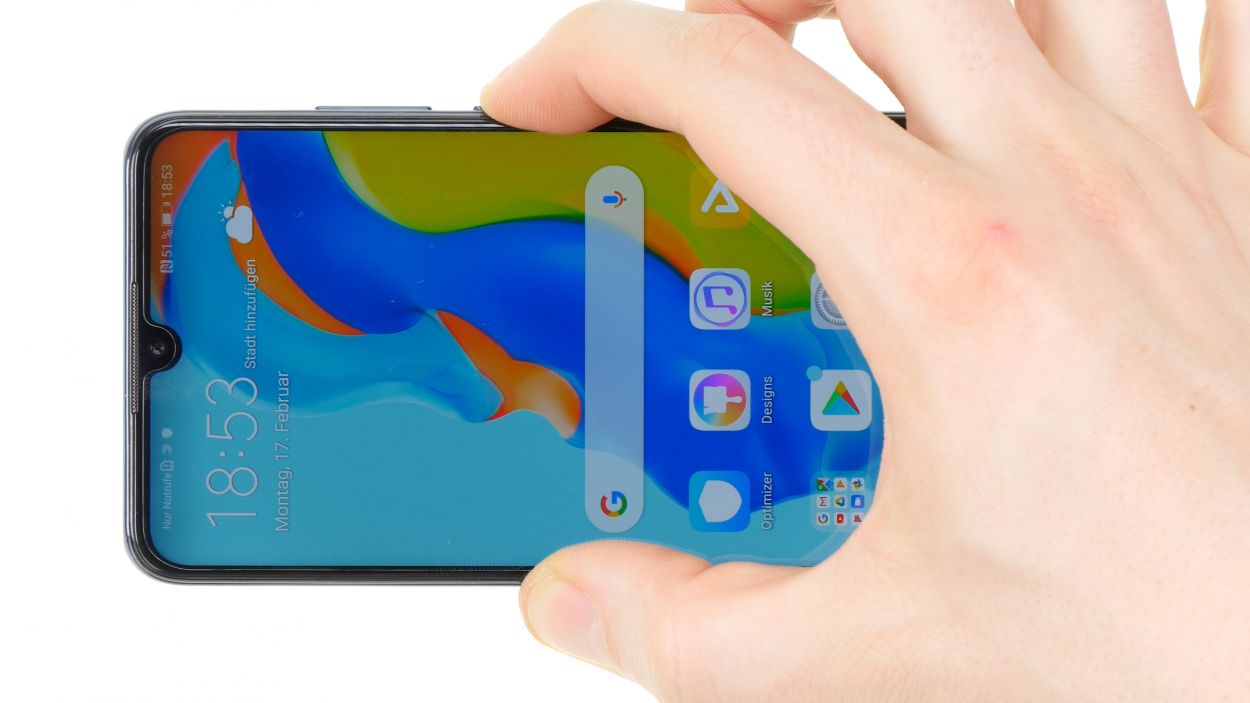
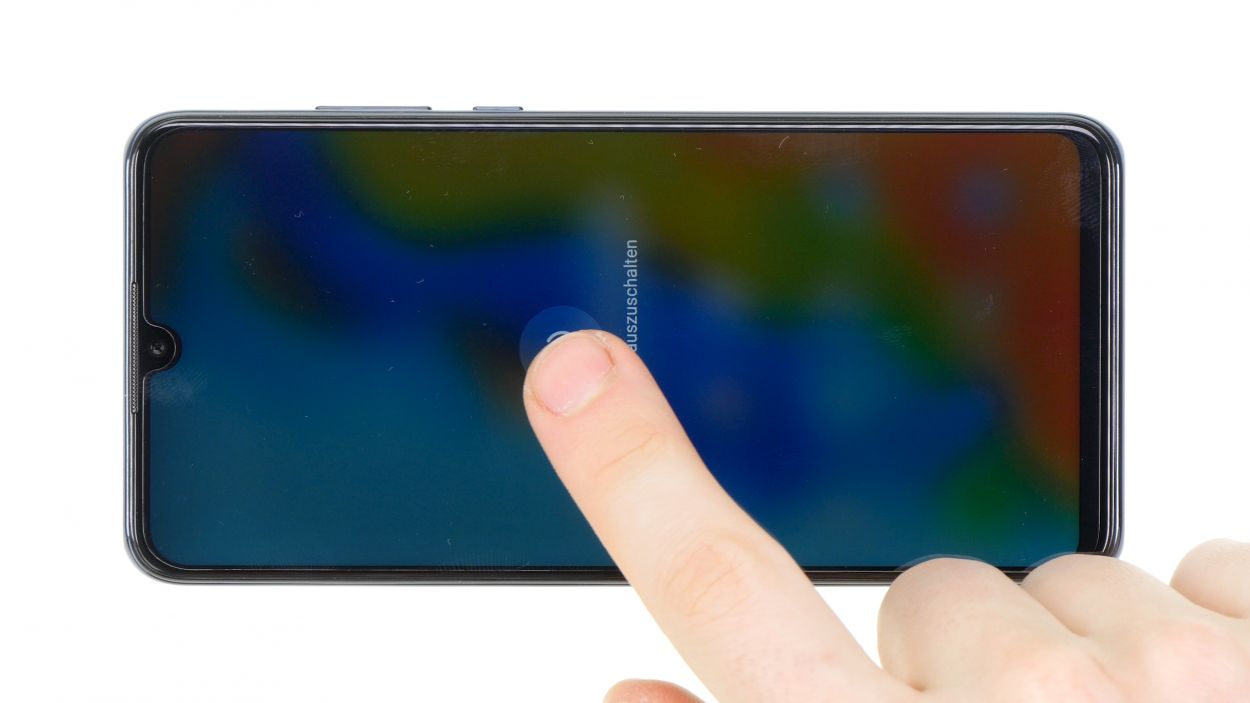
– Go ahead and power down your Huawei P30 lite by giving that power button a little press.
– Just confirm that it’s powering off, and hang tight until your device takes a little nap.
Step 2
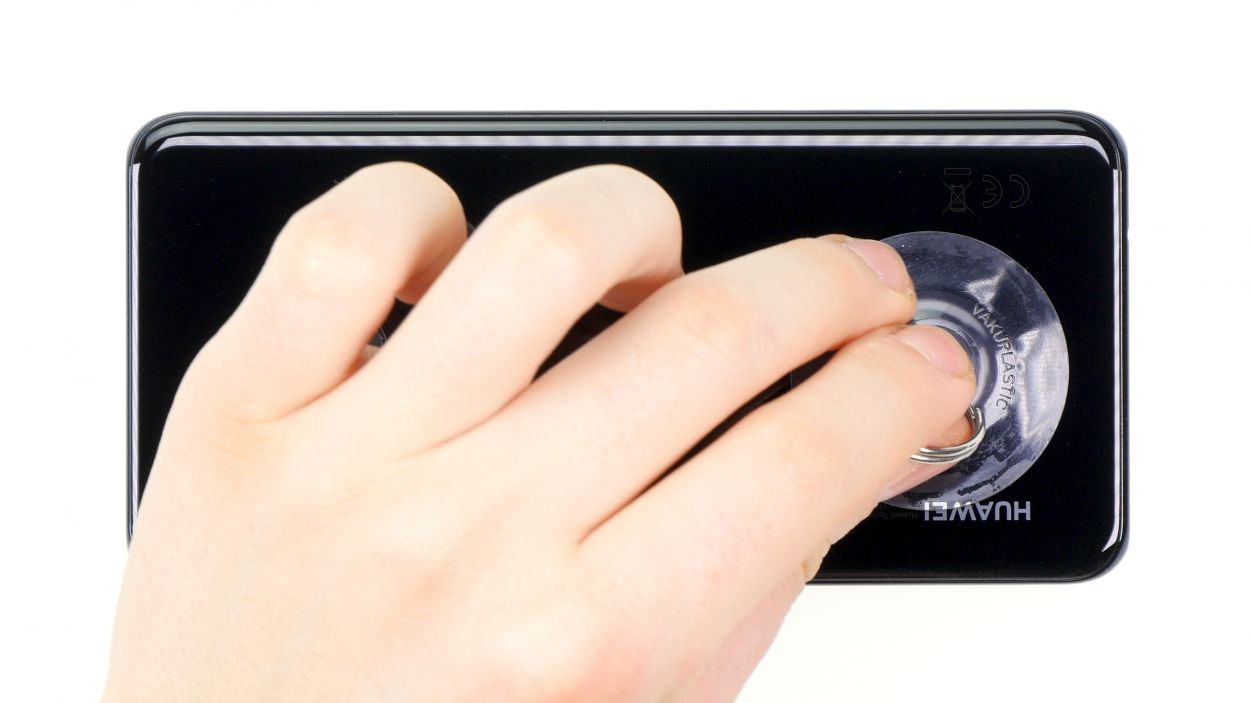
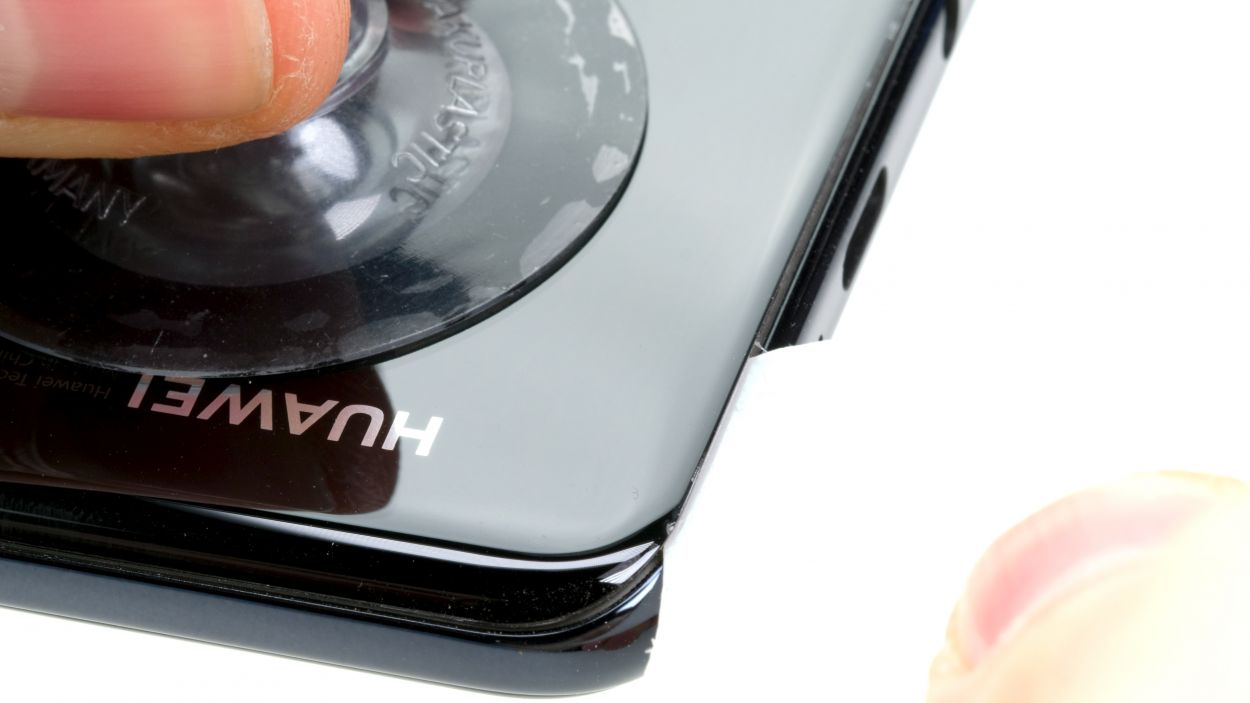
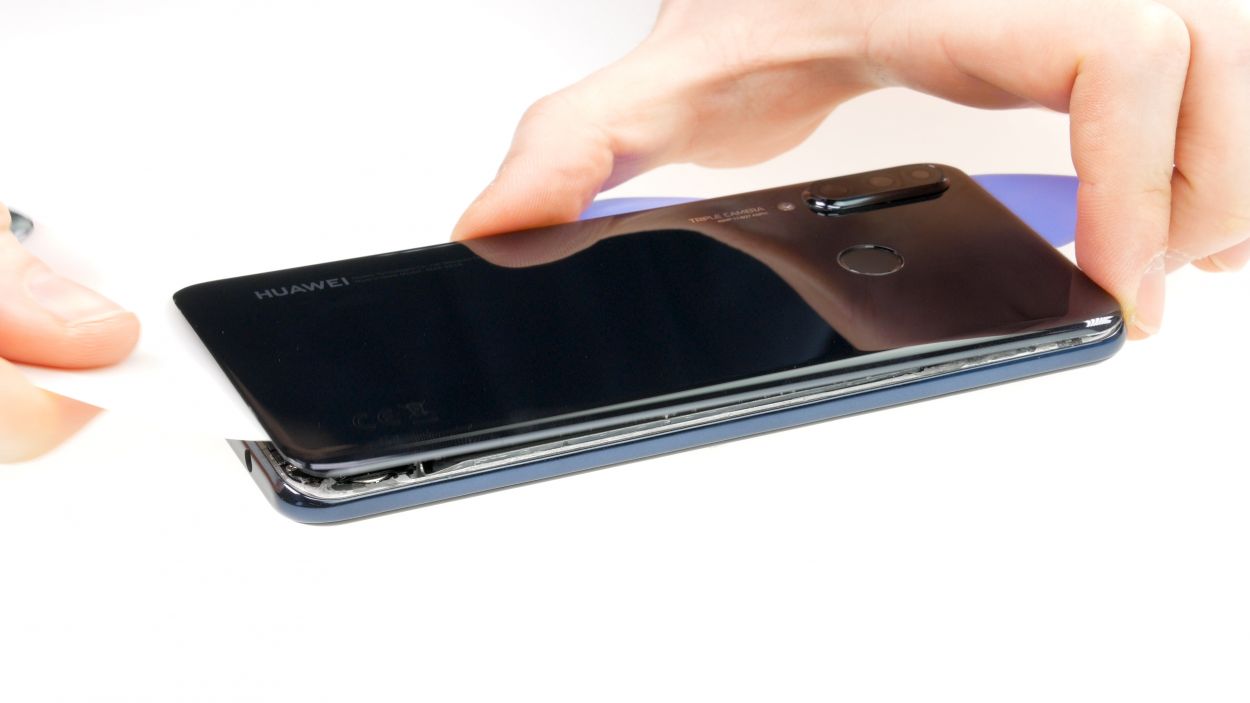
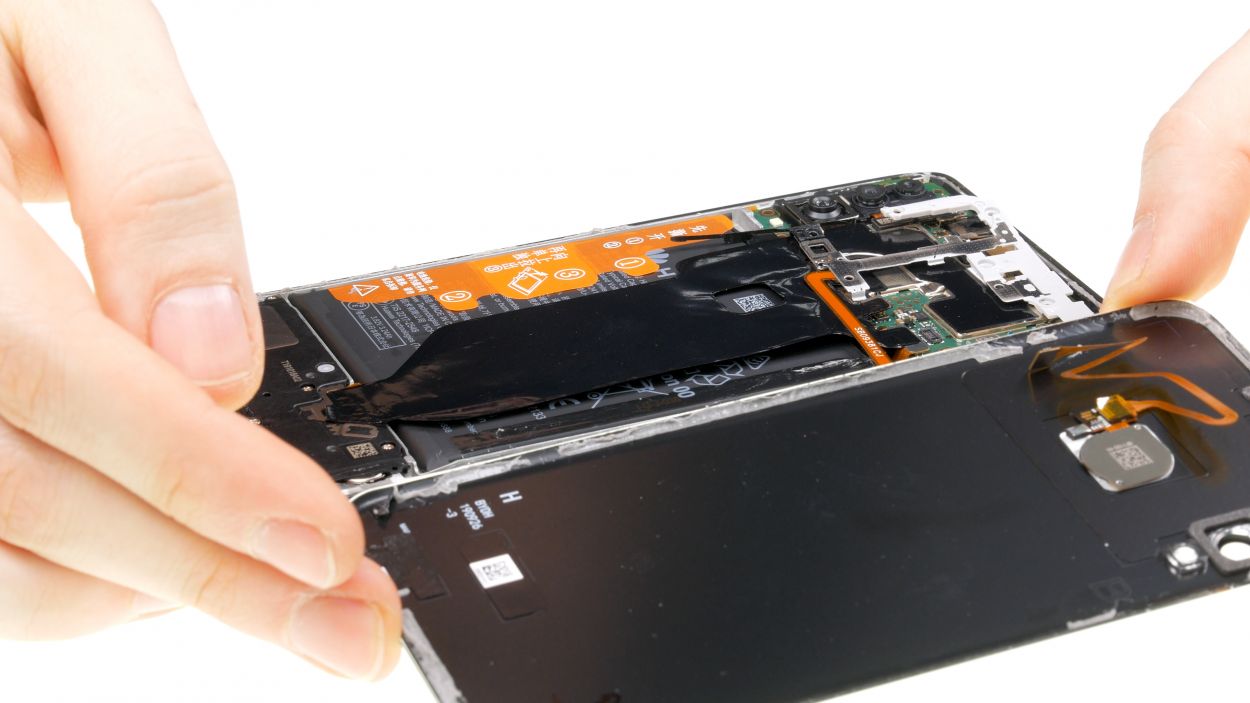
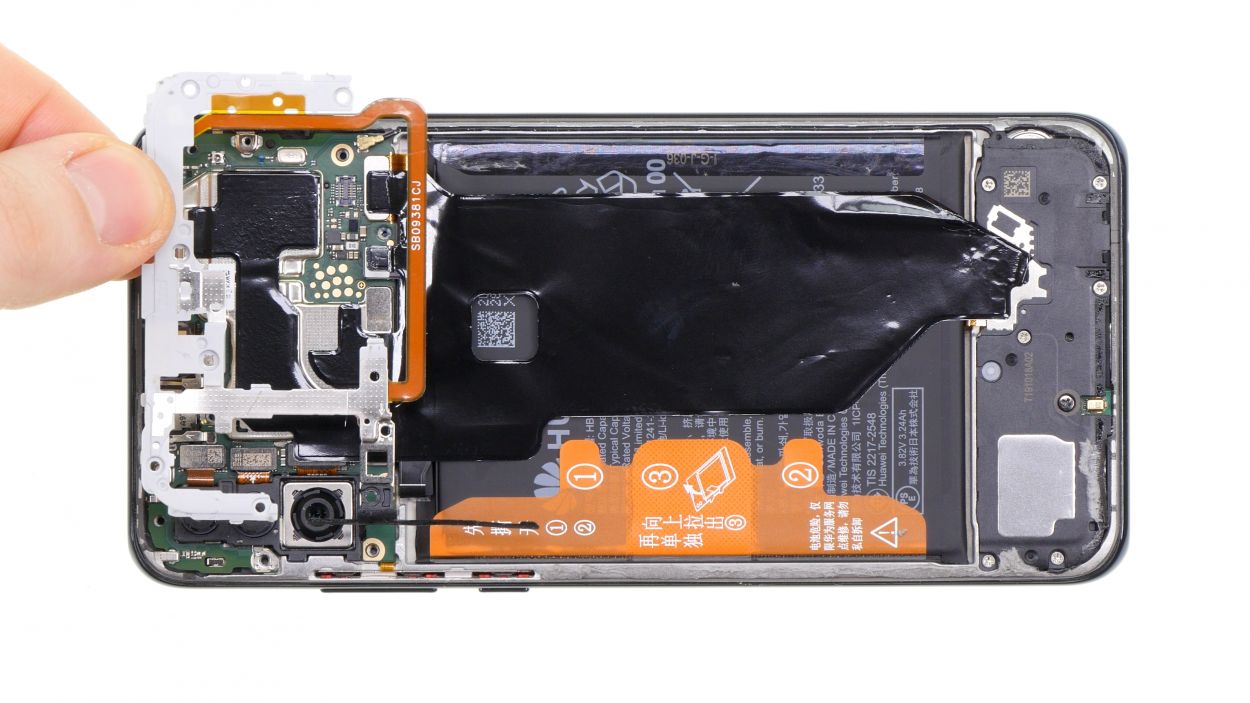
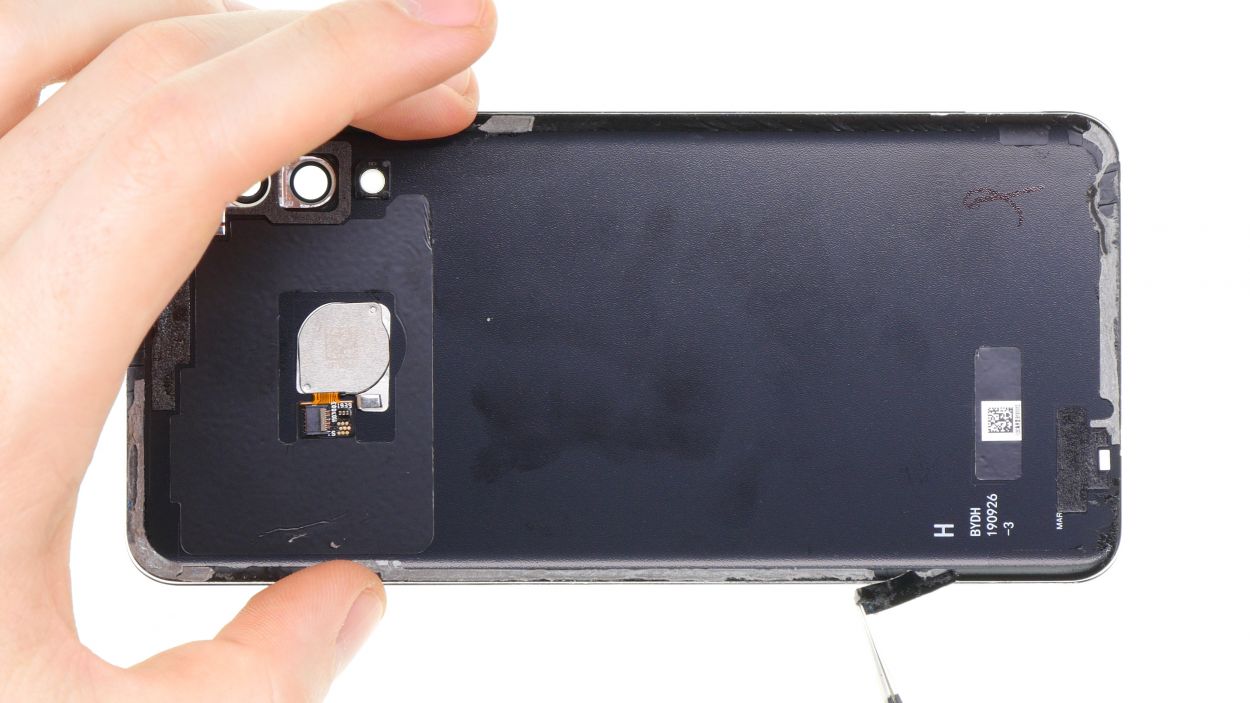
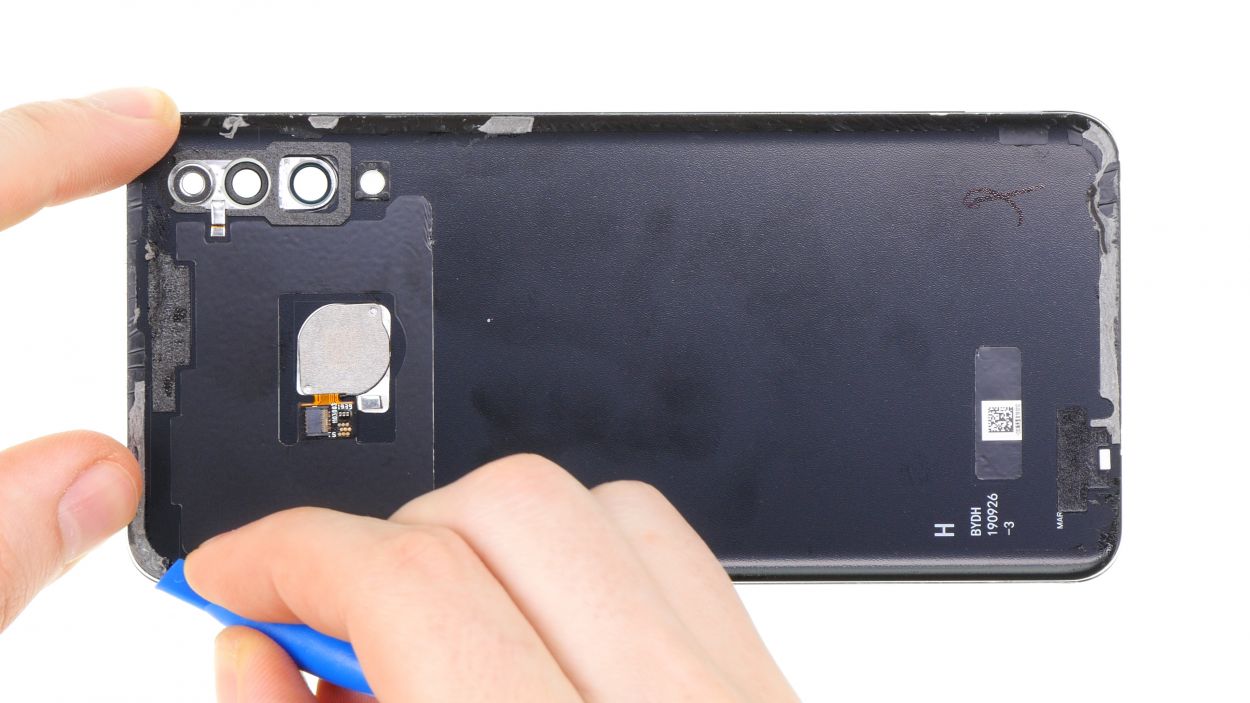
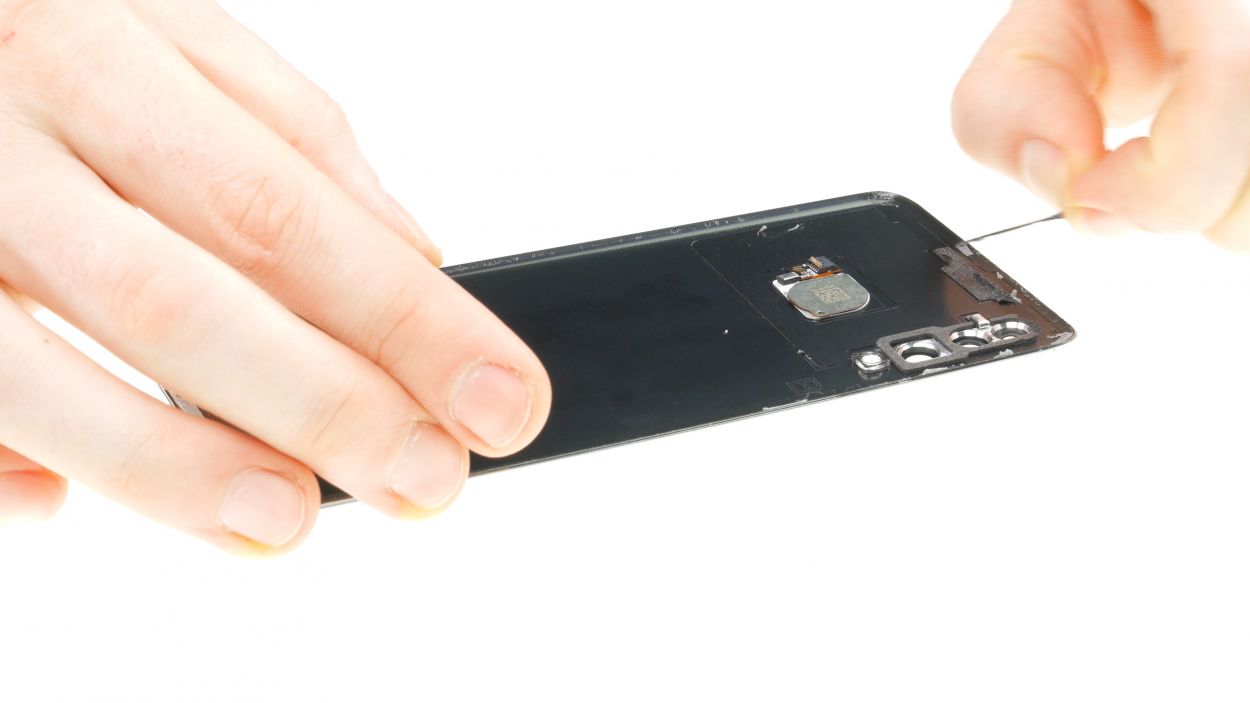
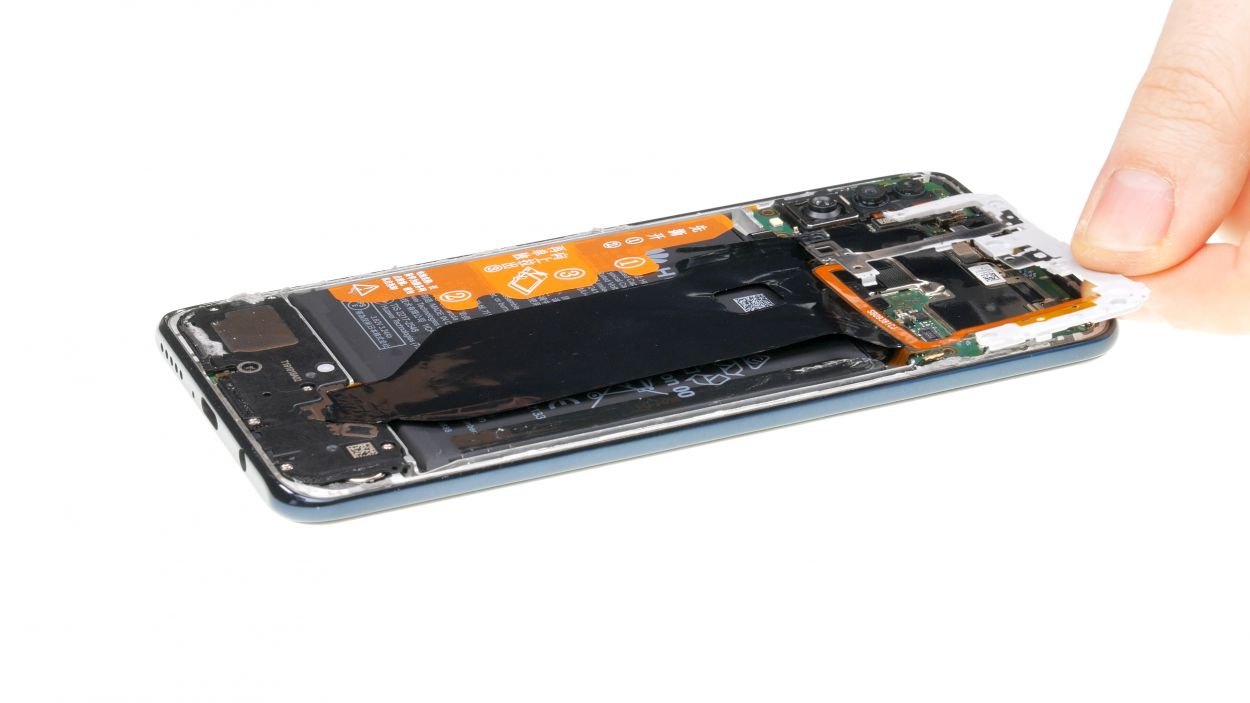
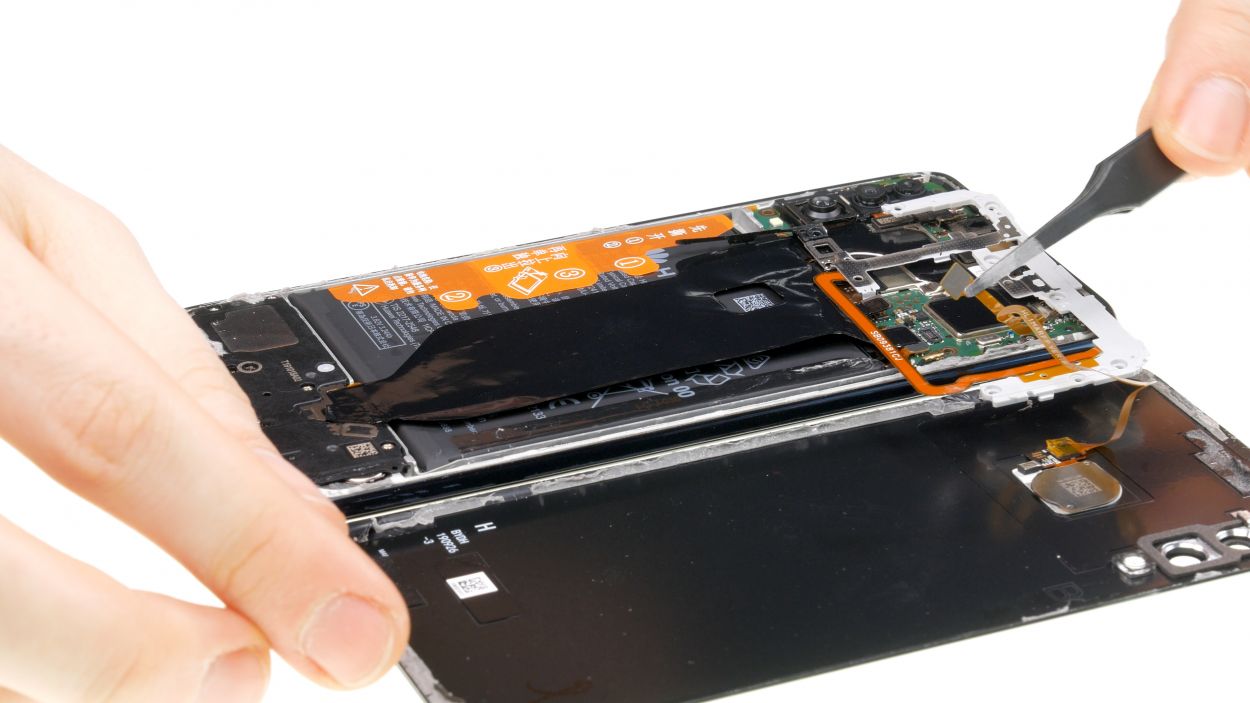
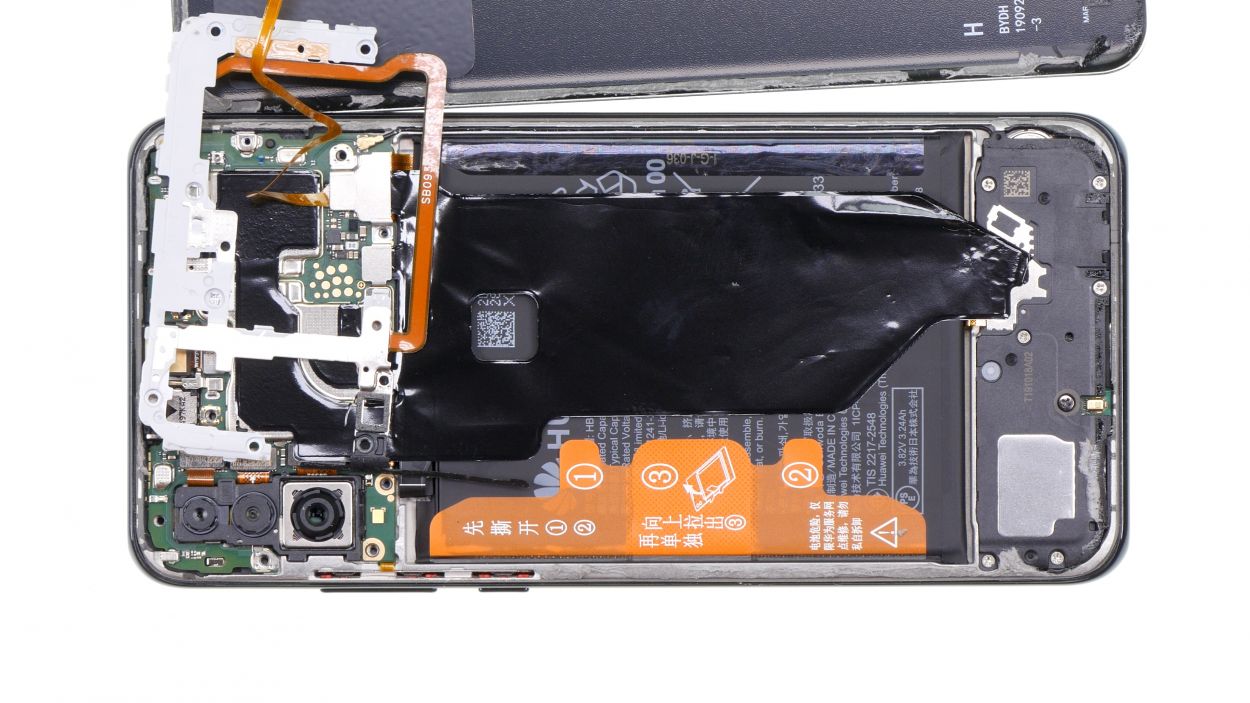
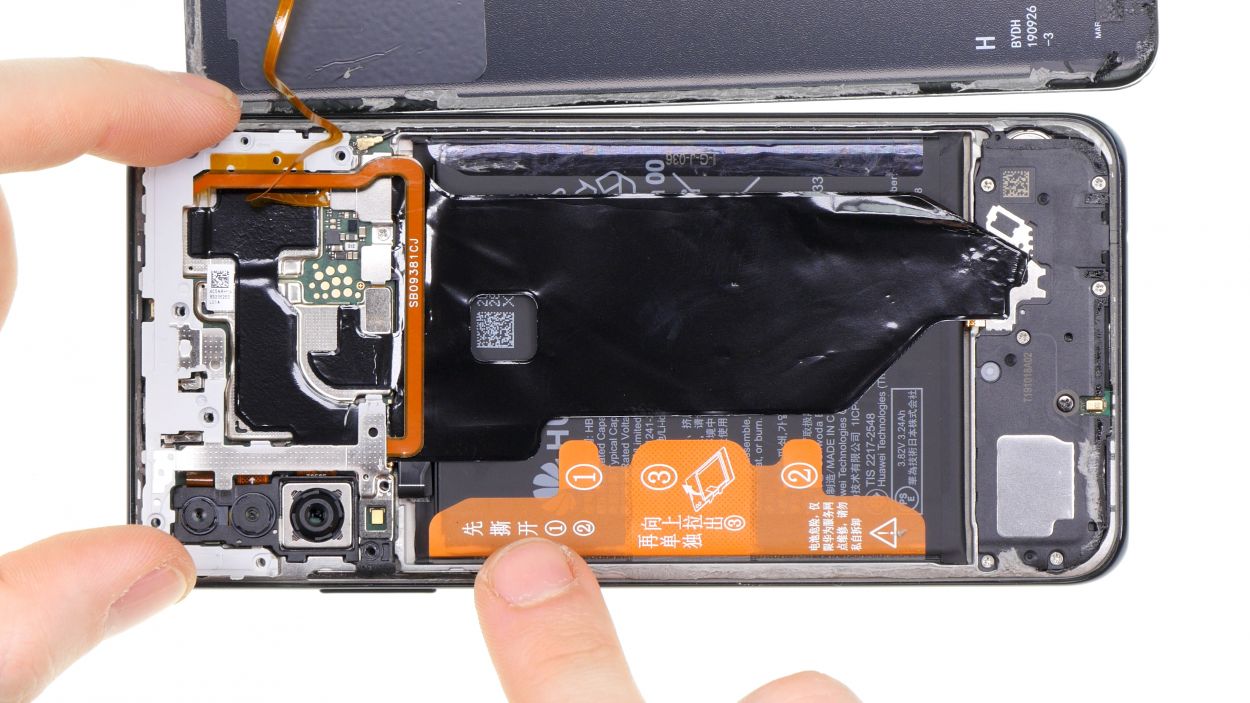
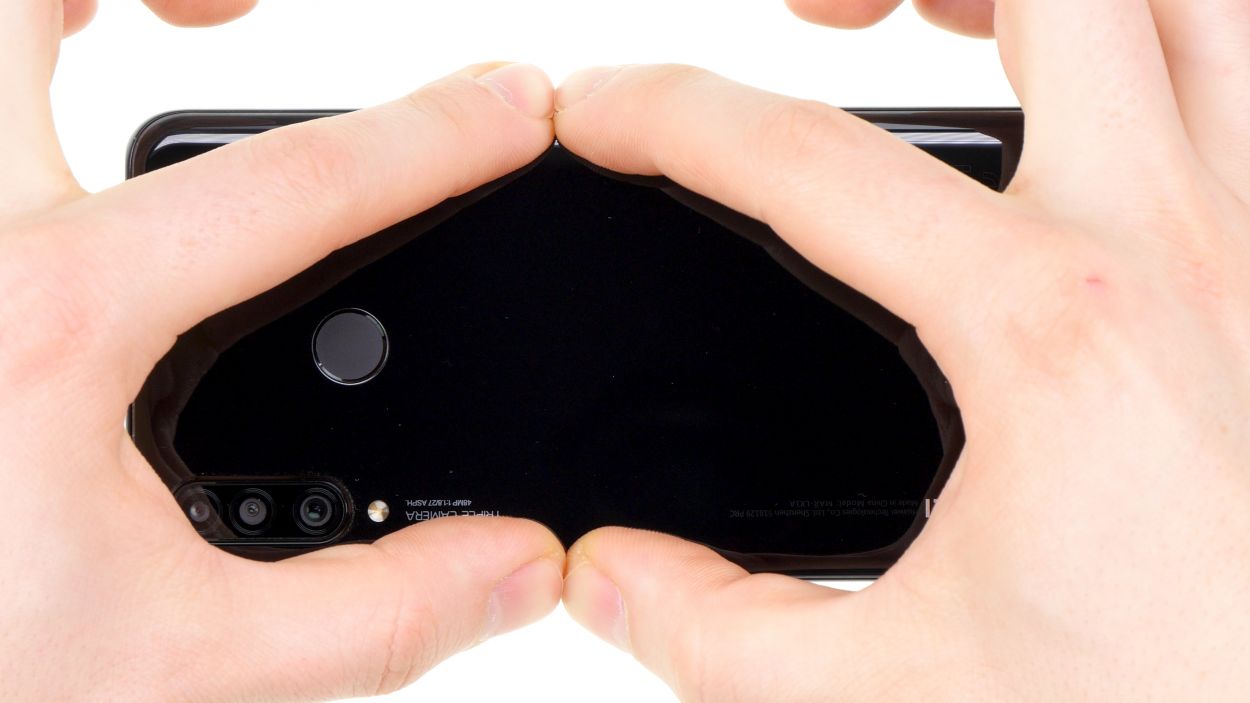
– First up, let’s warm things up a bit! Grab your hot air tool and gently heat the frame of your device to a cozy 60-80 degrees. This little trick makes it way easier to peel off that stubborn glue.
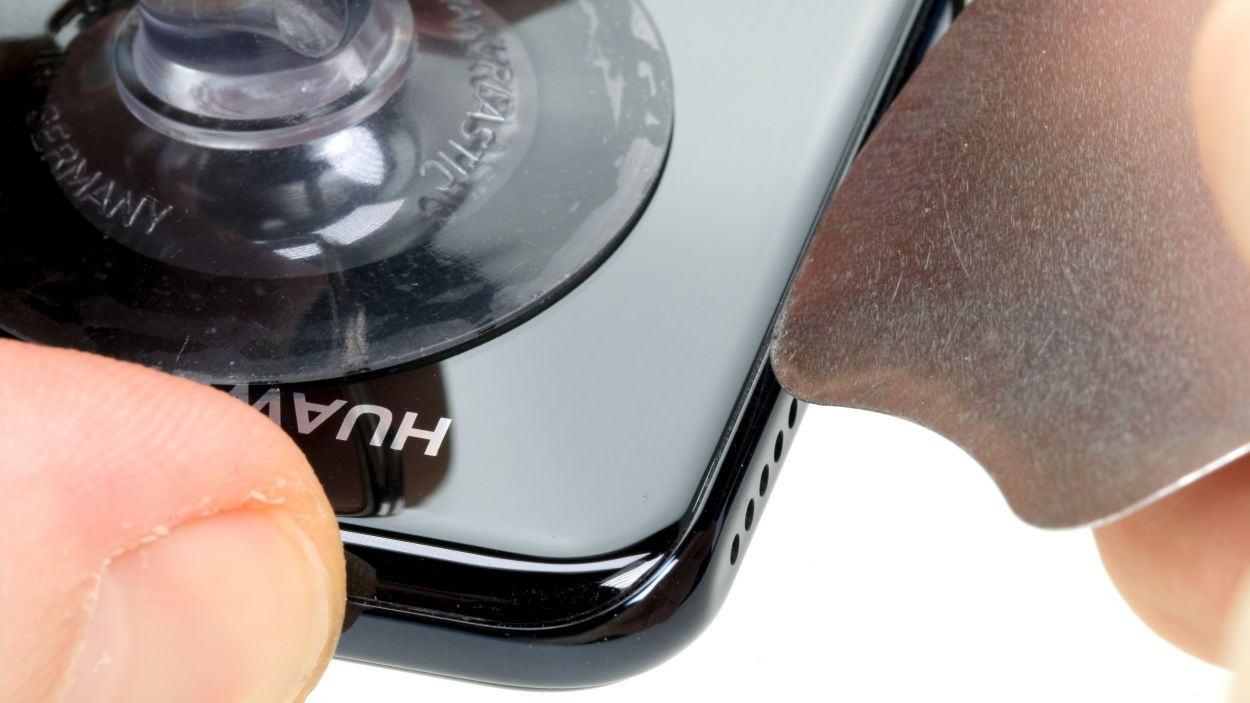
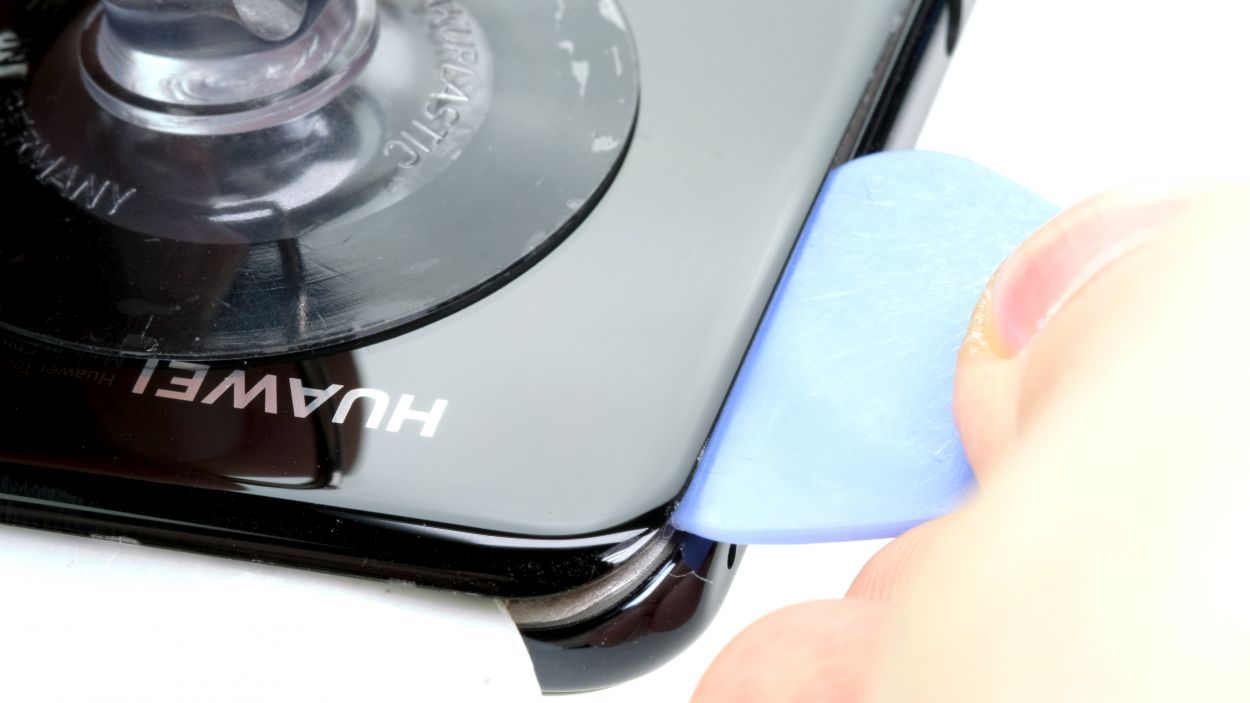
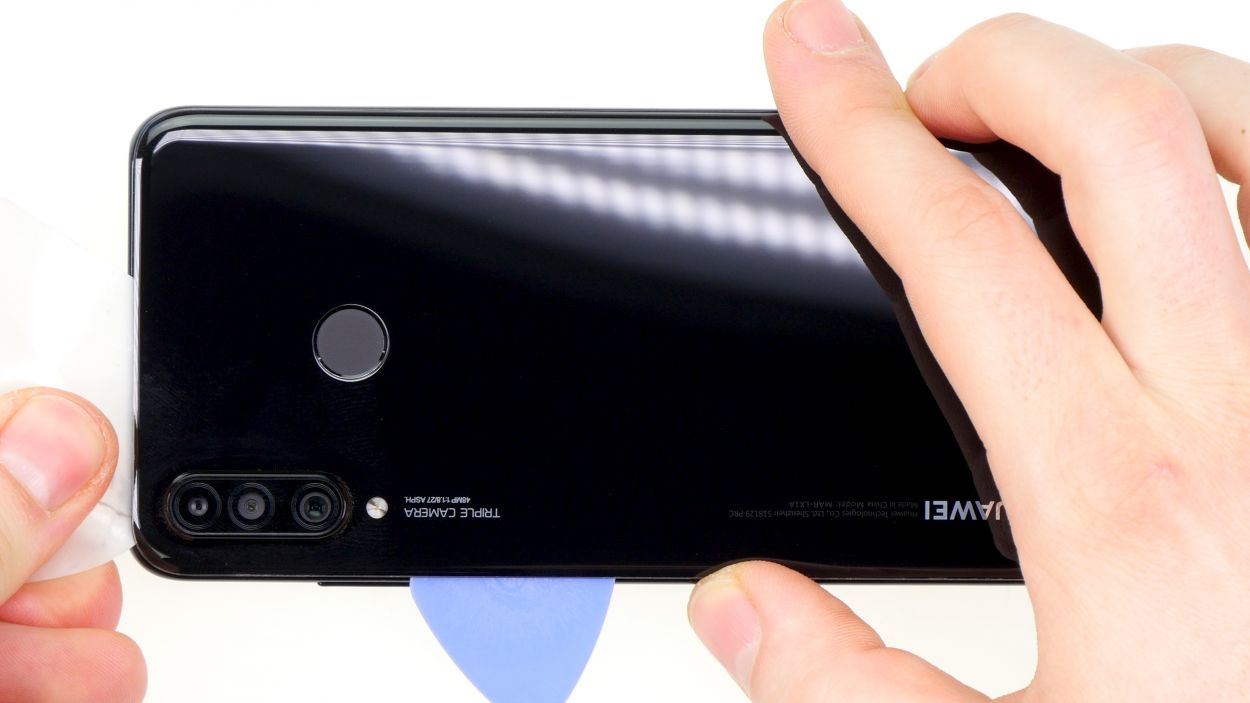
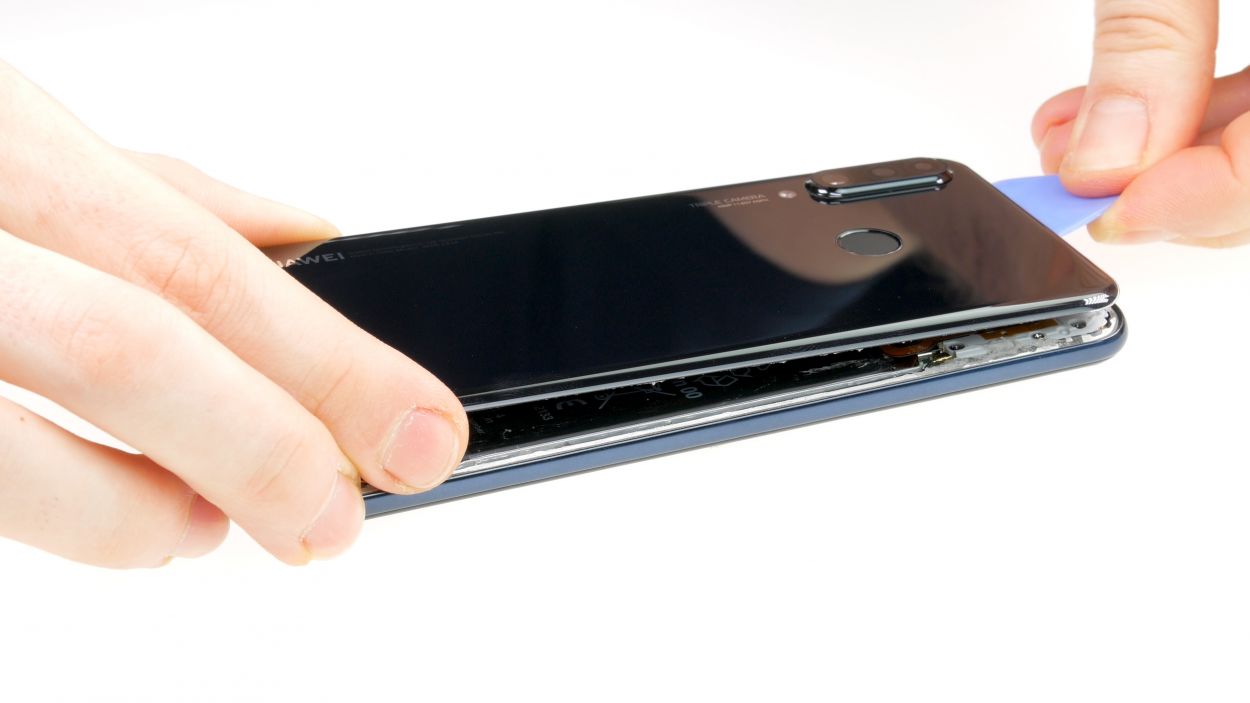
– Next, take a suction cup and stick it on the lower part of the back cover. Give it a good pull while you slide your opening tool into the gap you’ve created. Easy peasy!
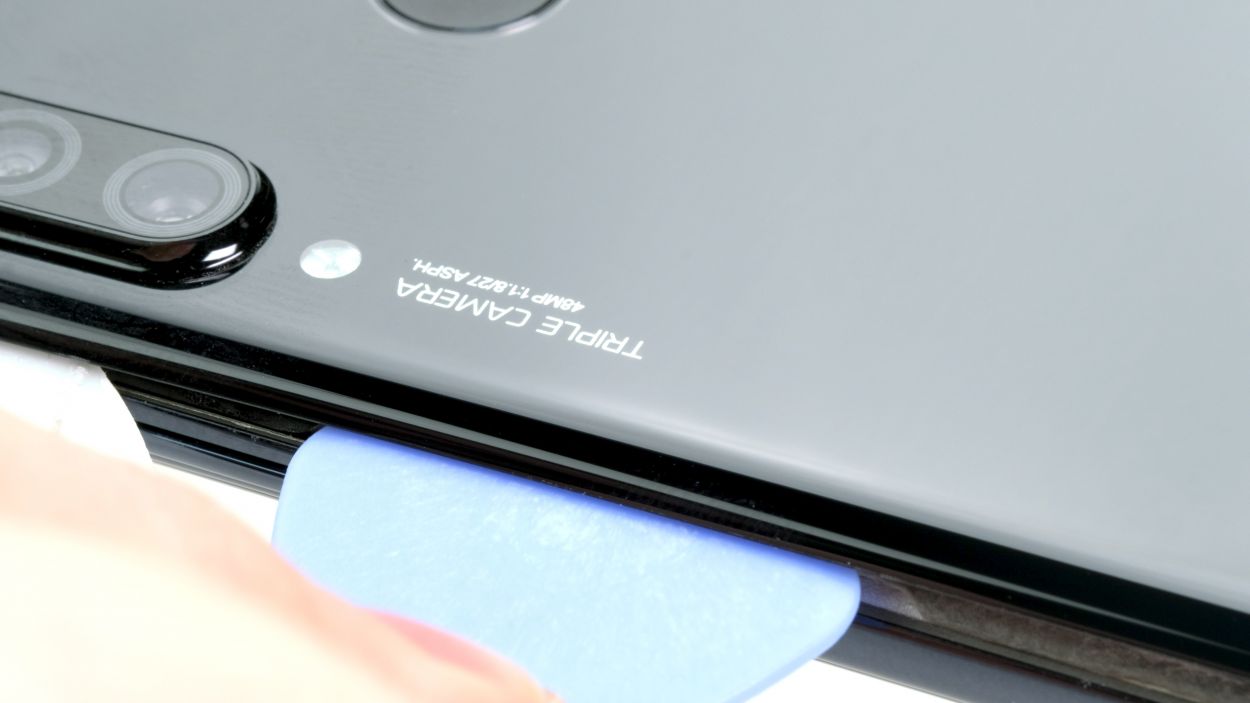
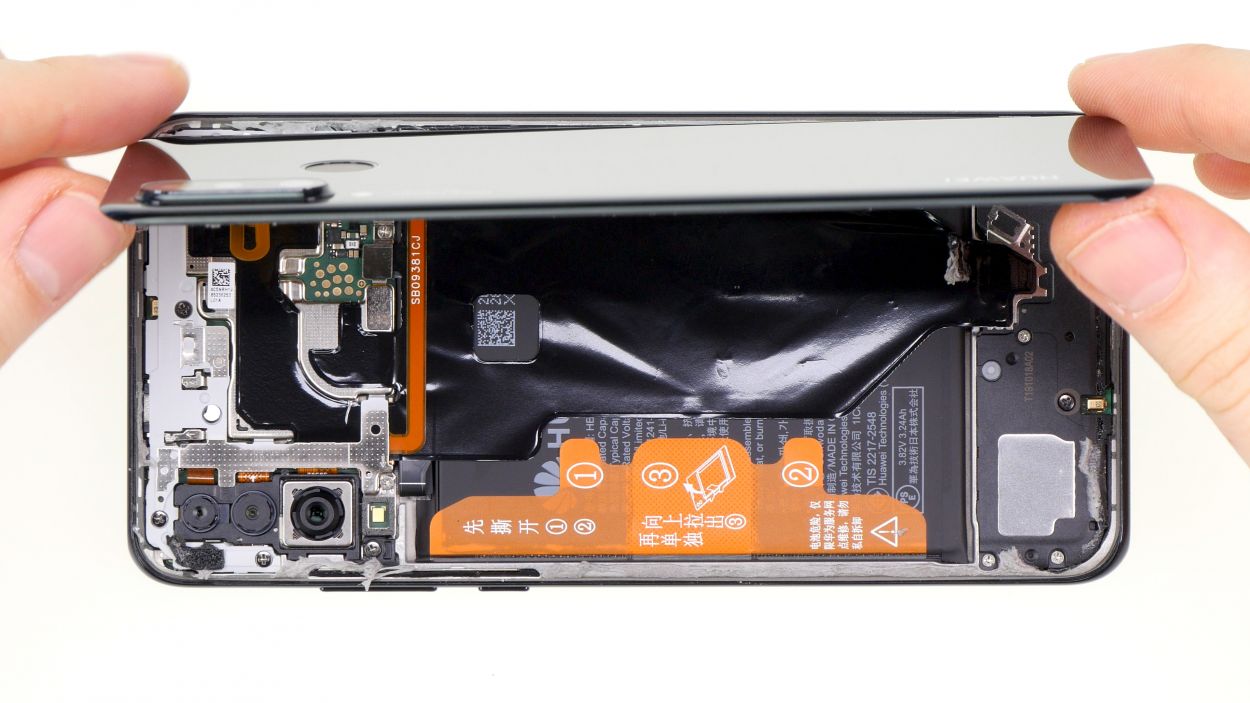
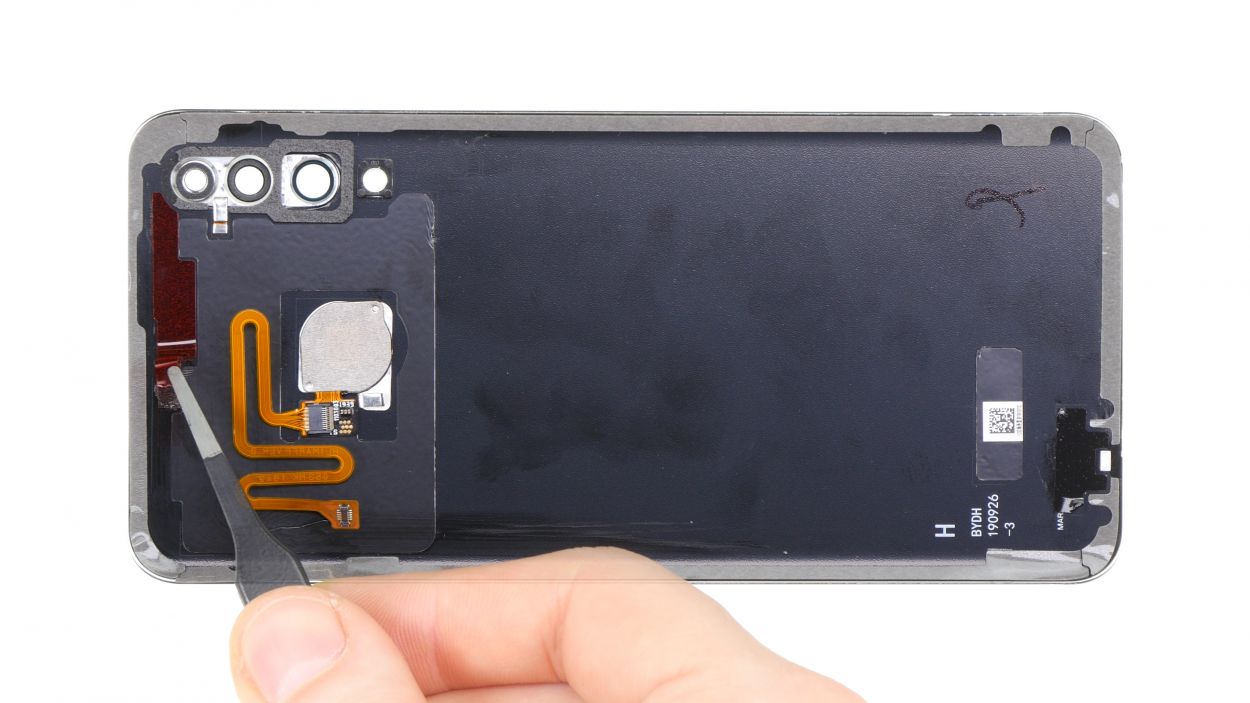
Hey there! Just a friendly reminder to keep your tool at a safe distance while you’re working inside the device. The cameras are hanging out on the left, and the flex cable for the fingerprint sensor is chilling on the right. Let’s keep everything safe and sound!
If you don’t have a suction cup handy, no worries! Grab an iSlack instead. It’s like having a trusty pair of pliers, but with suction cups on both sides to help you out.
Tools Used
- heat gun to heat parts that are glued on so they’re easier to remove.
In most cases, you can also use a hairdryer.” rel=”nofollow noopener”>Heat gun - Flat Picks
- screen and the frame. The practical iFlex is made of stainless steel and sits comfortably in the hand. This makes it the perfect assistant for every smartphone repair.” rel=”nofollow noopener”>iFlex Opening Tool
Step 3
2 × 2,7 mm Phillips
7 × 3,3 mm Phillips
To keep those pesky screws from getting mixed up, we suggest using a magnetic mat. It’s a neat little trick that helps you stay organized while you work your magic!
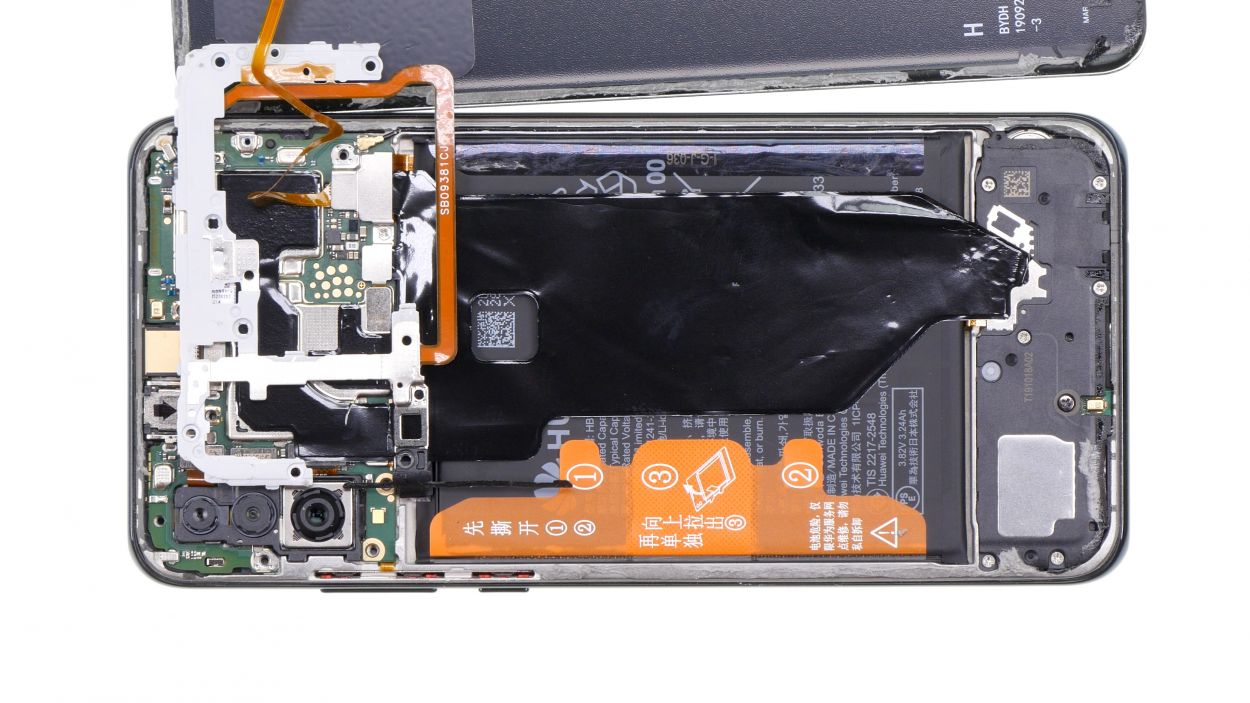
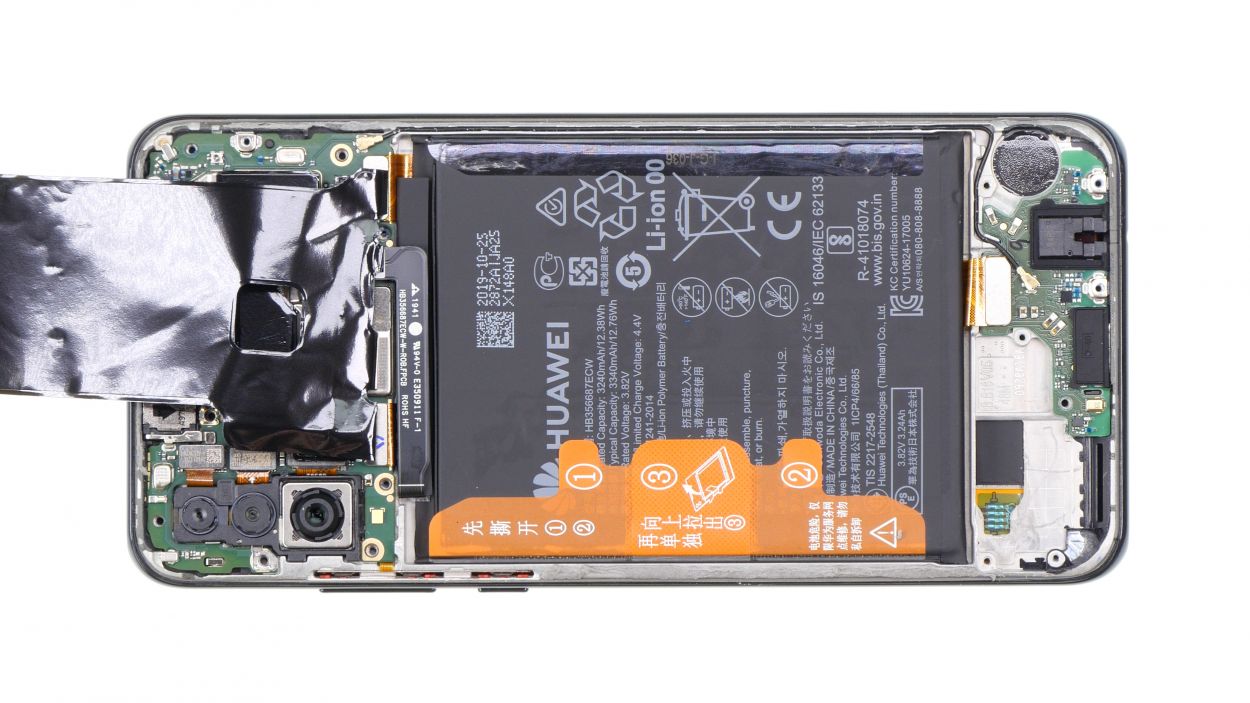
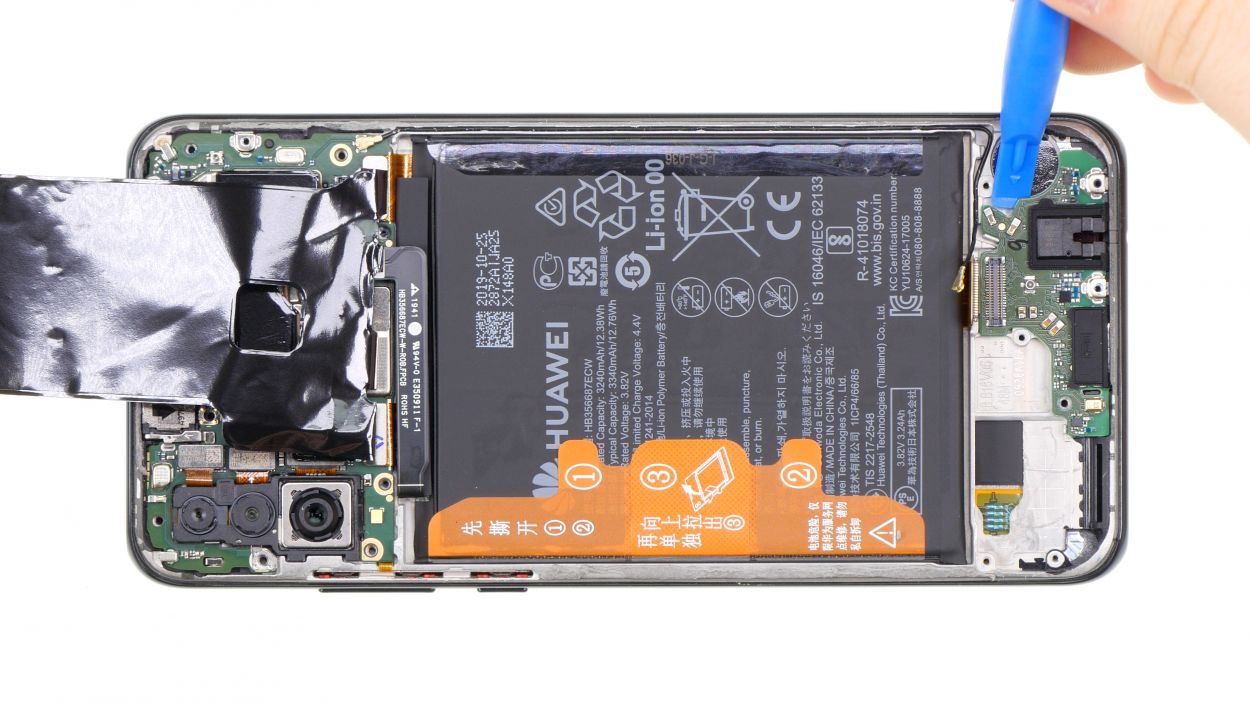
– Hey there! The motherboard and its connectors are snugly tucked away under a protective cover.
– Time to get your hands a little dirty! Carefully unscrew the screws holding that cover in place. Just a heads up: the black screws are a tad longer than the silver ones, so keep an eye on those lengths!
Step 4


1 × 2,7 mm Phillips
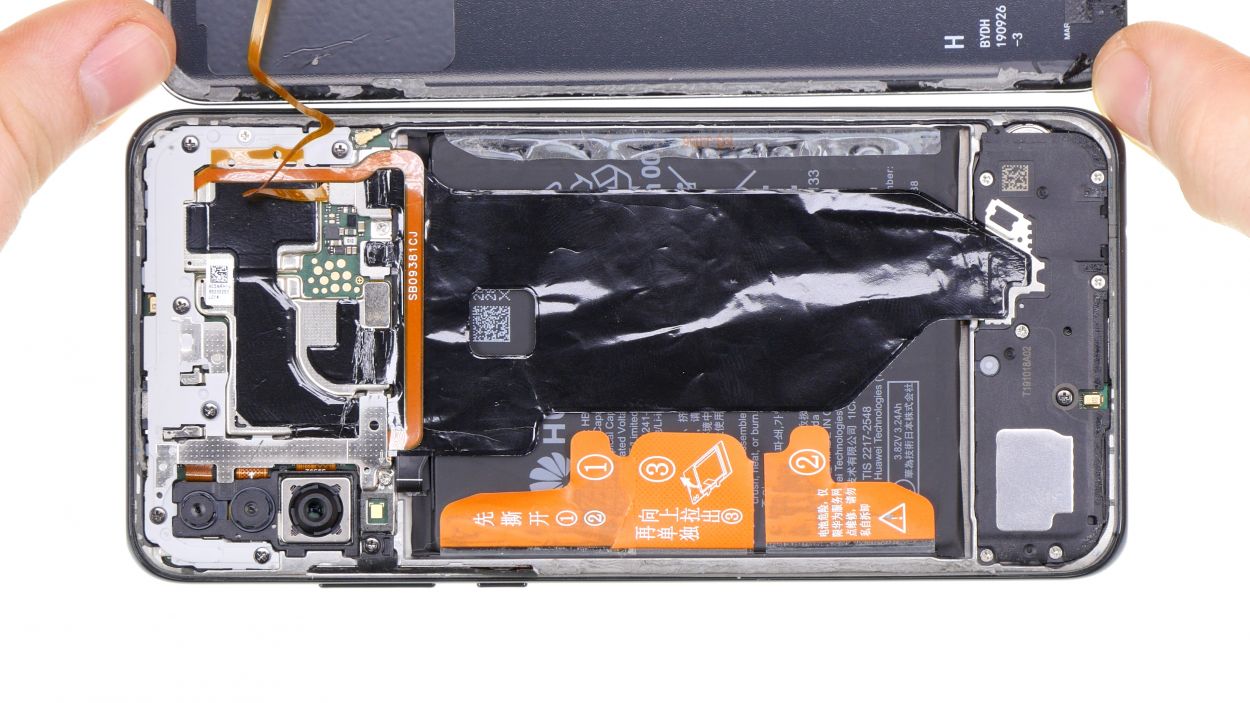
Battery Connector
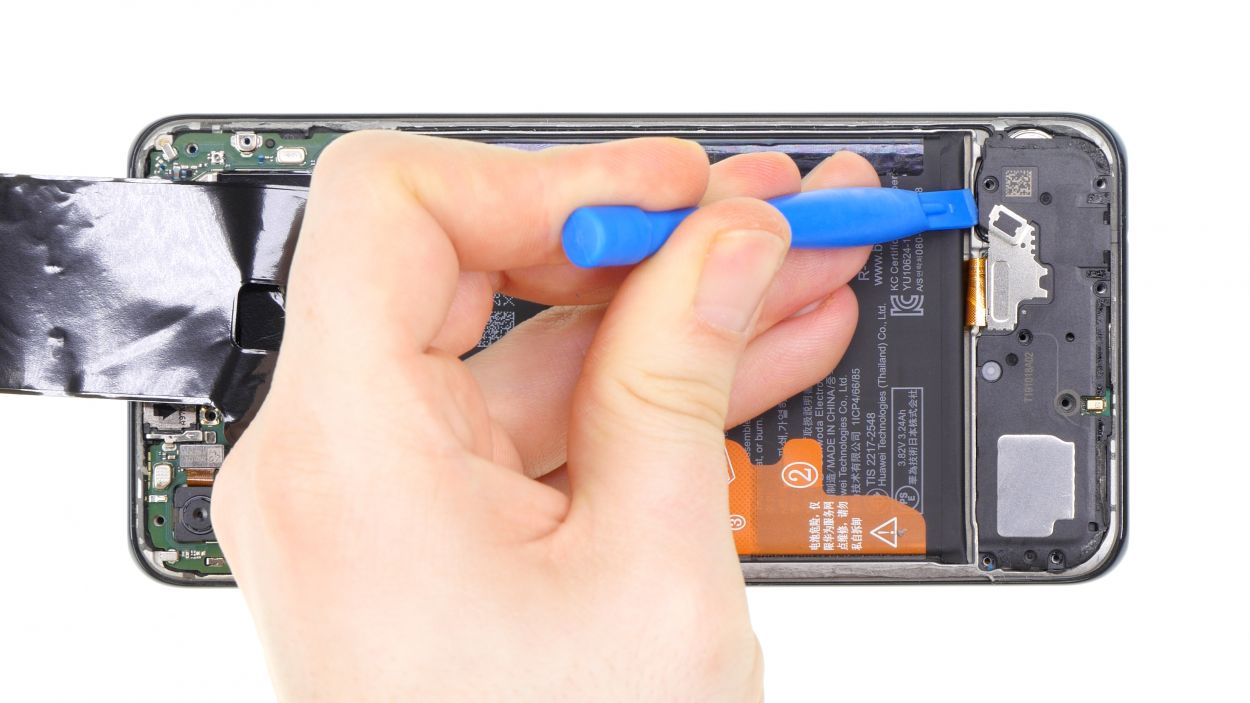
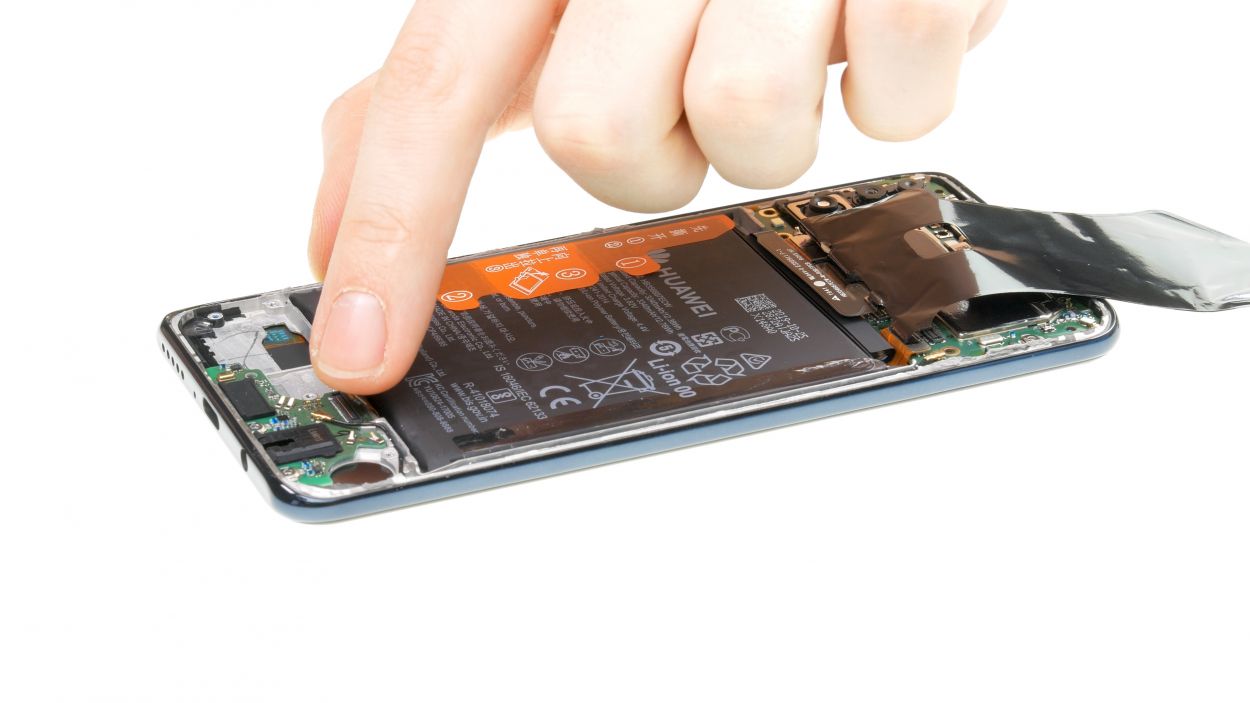
First things first, let’s keep things safe! Loosen that battery contact to stop any current from flowing through your device. This little step helps avoid any pesky short circuits while you work your magic on the repair!
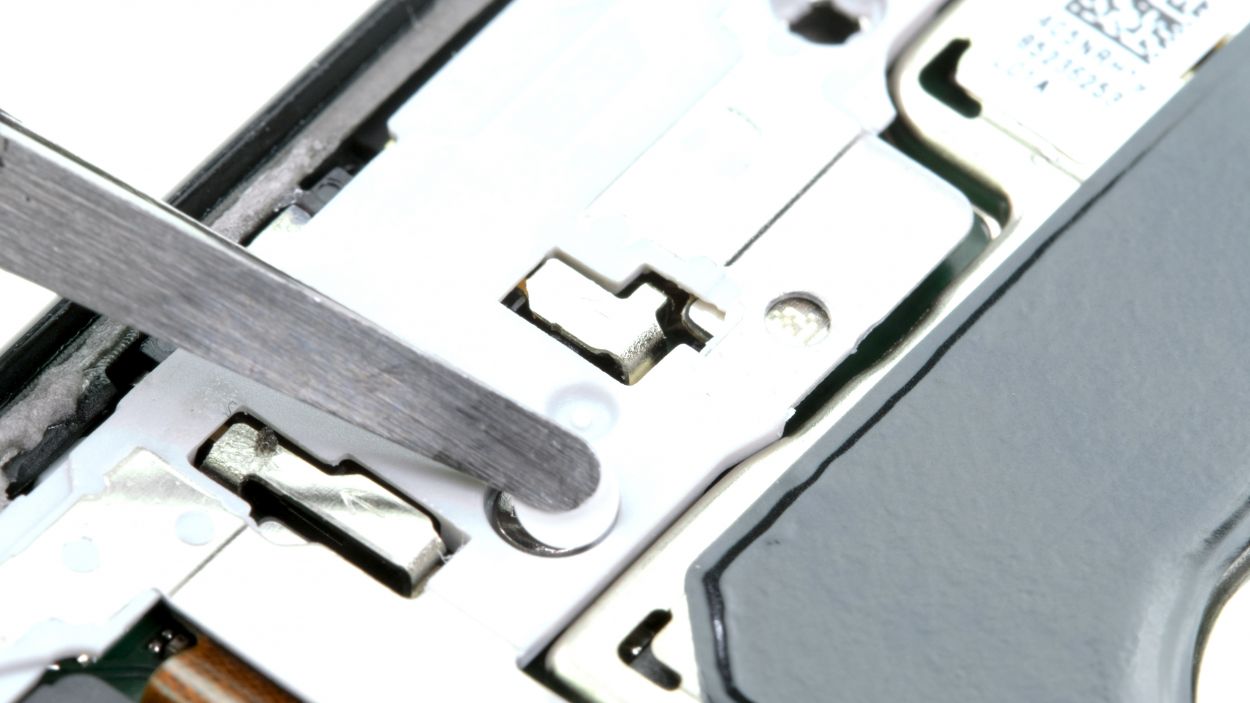
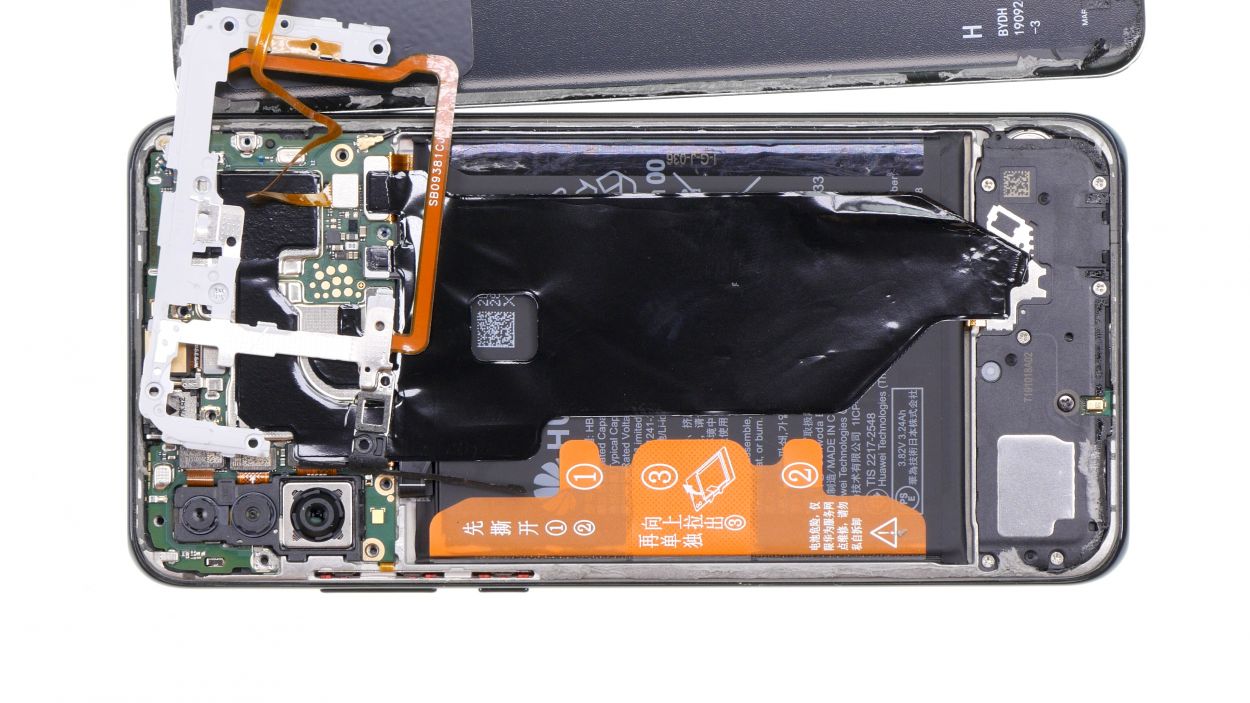
– Hey there! Just above the battery connector, there’s a little metal cover waiting to be removed.
– Grab your trusty screwdriver and take out that screw, then use some tweezers to gently lift the cover out of the device.
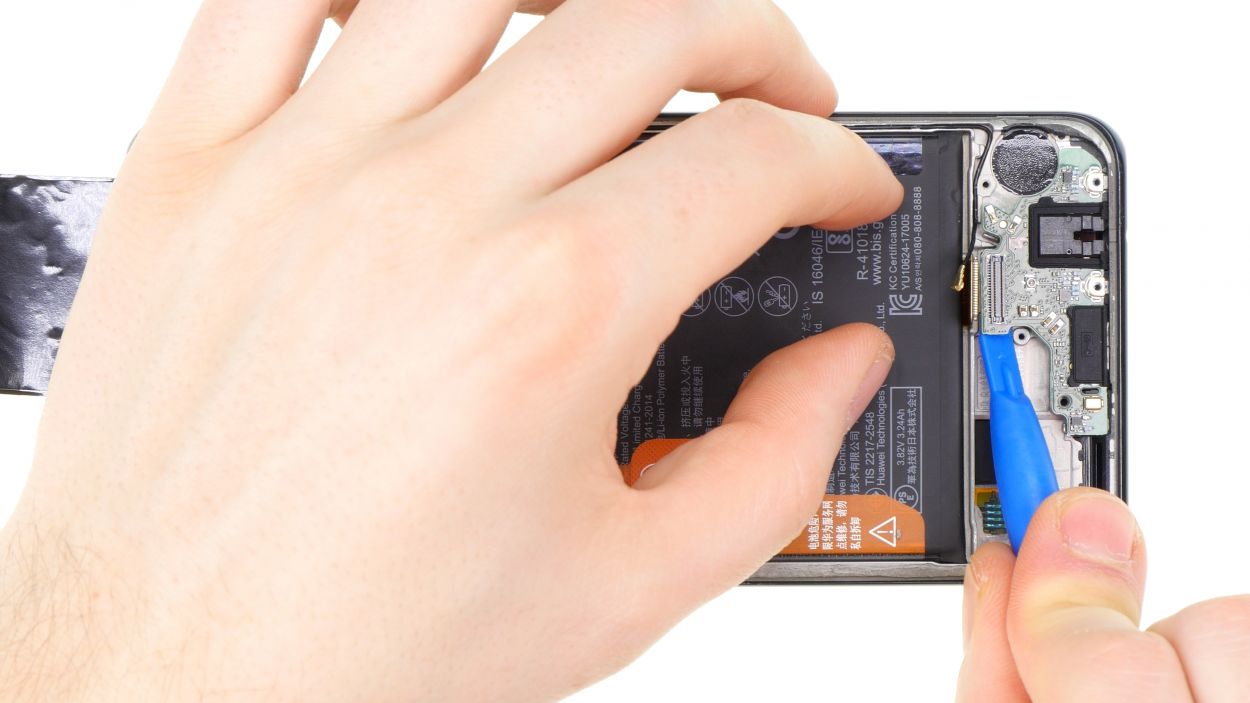
– Now that you’ve done that, the battery connector is all yours! Use a plastic spudger to carefully detach it.
Tools Used
Step 5
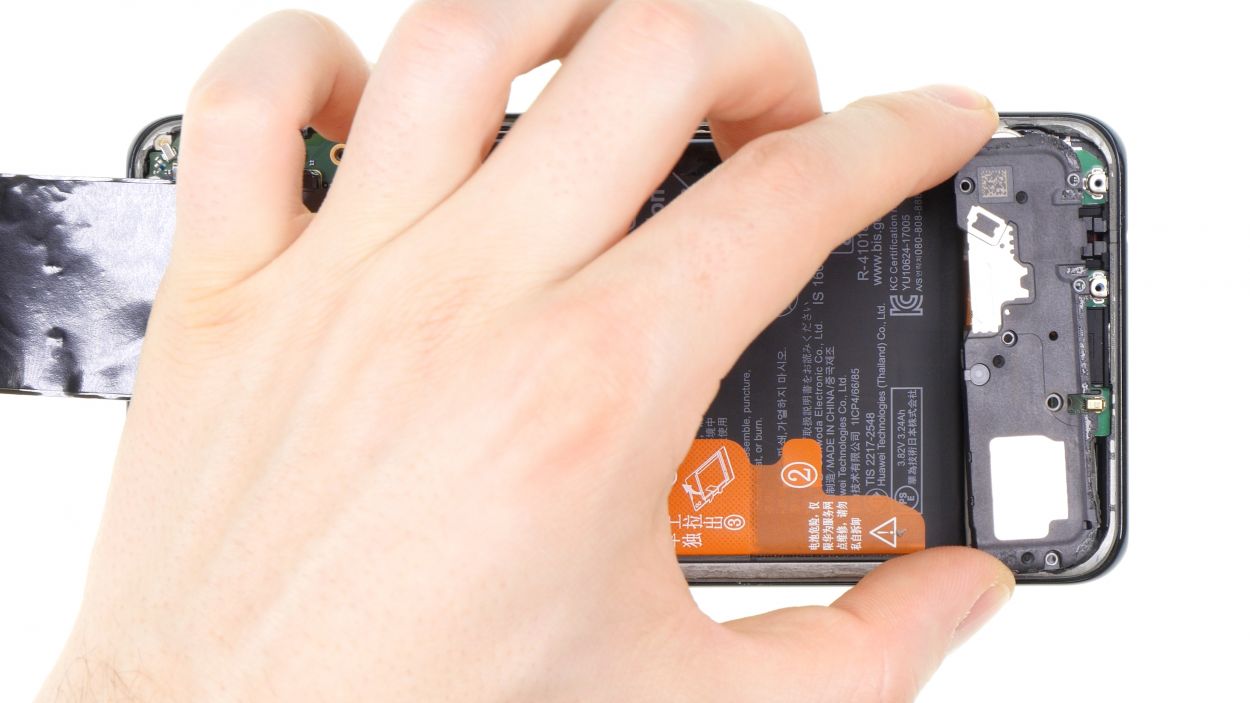
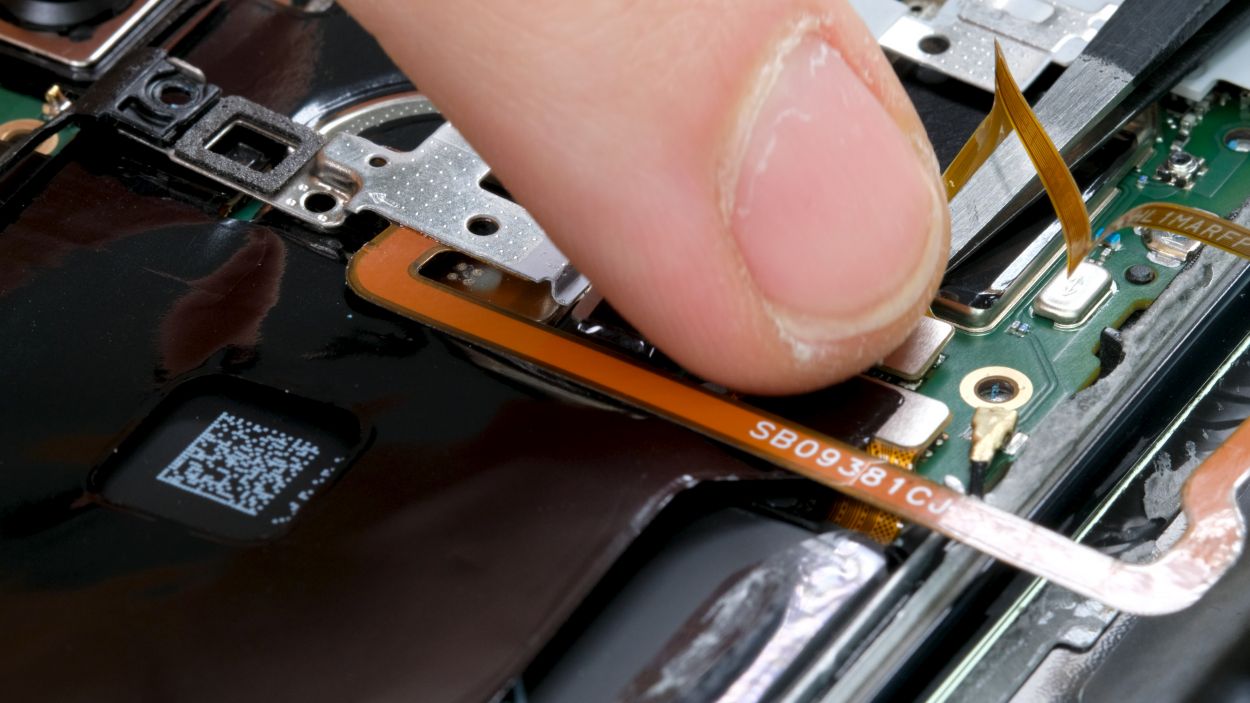
Fingerprint Connector
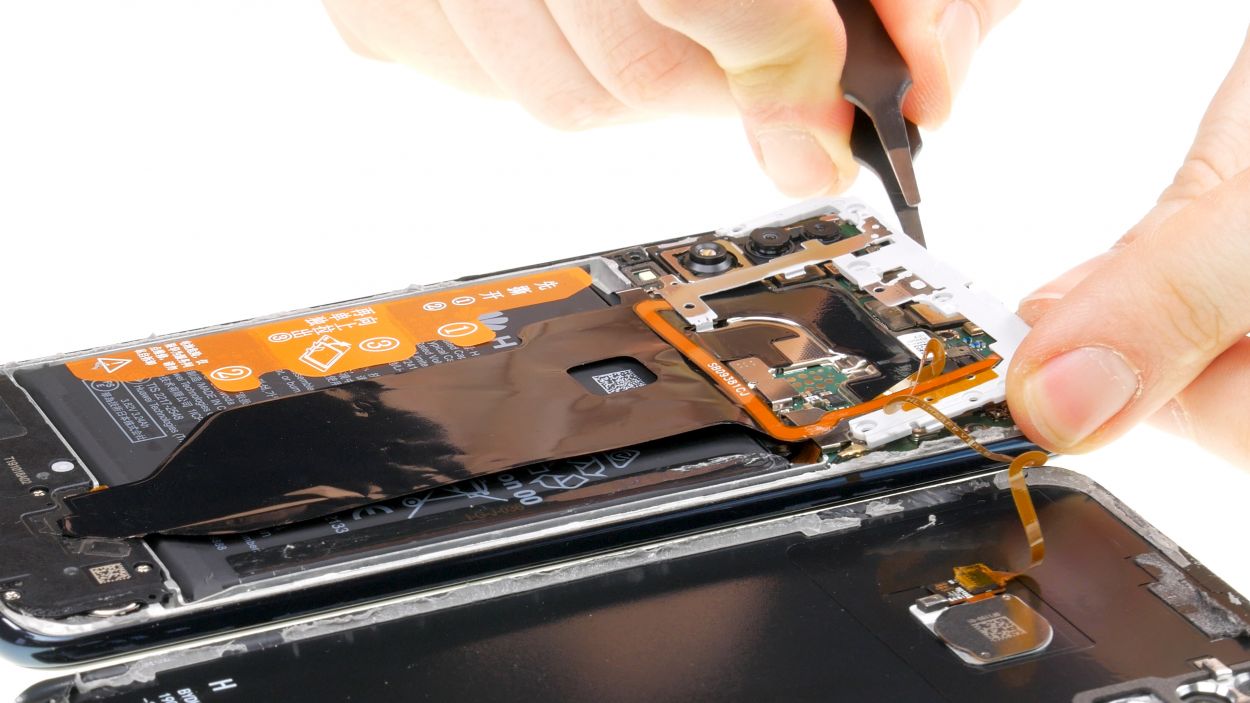
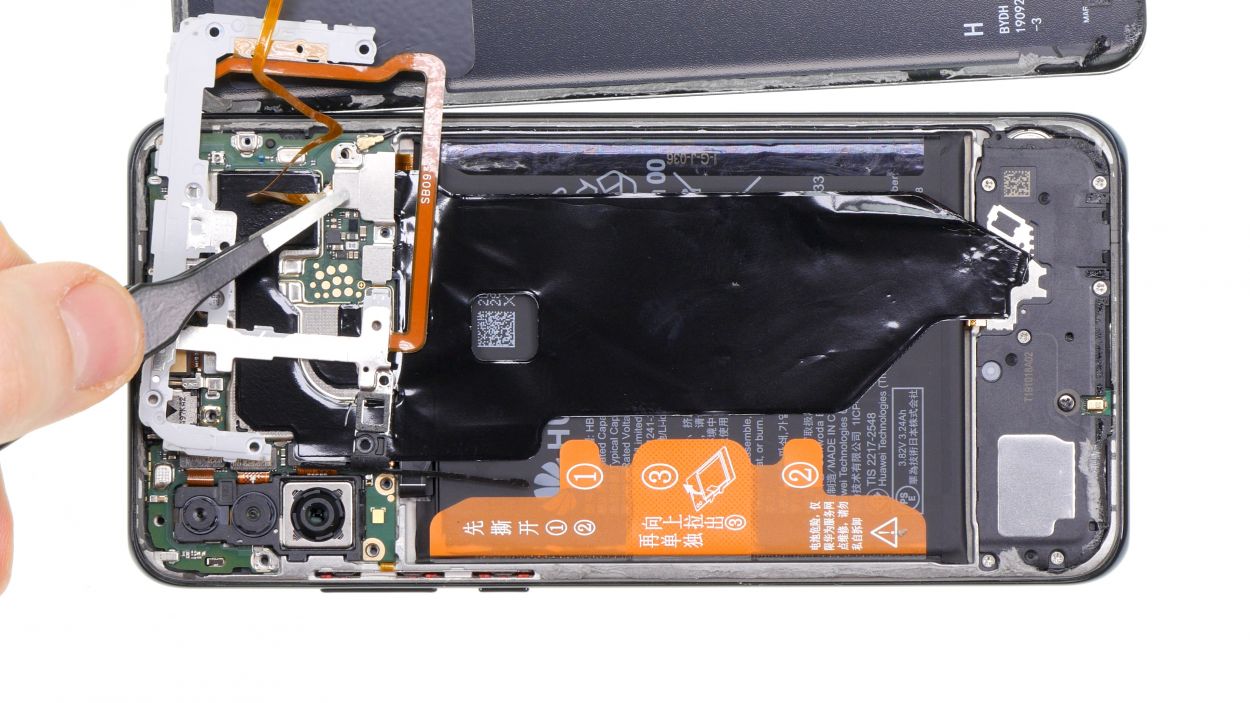
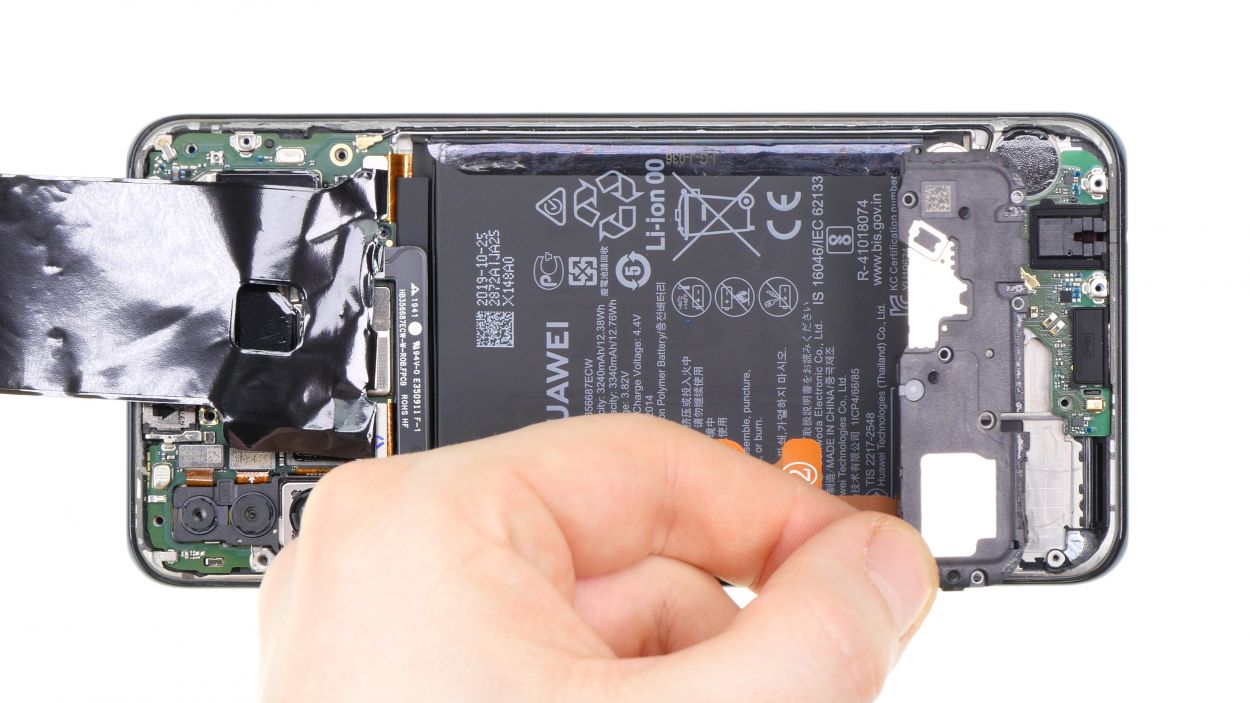
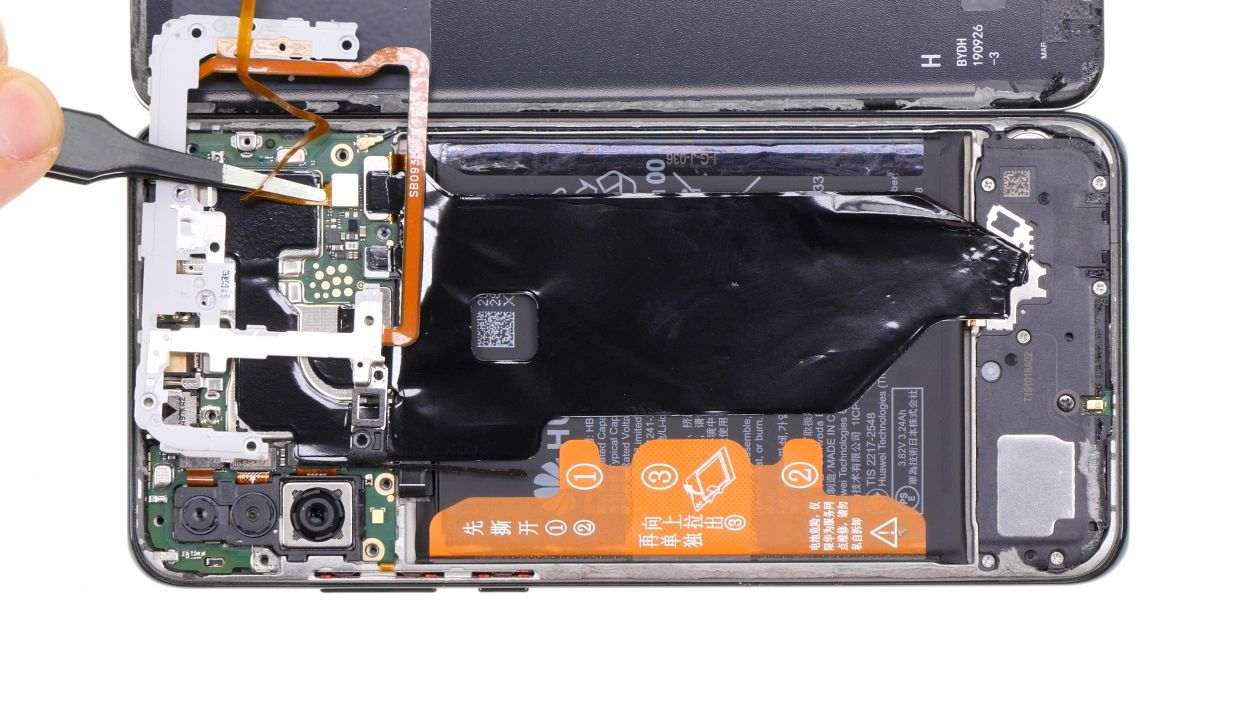
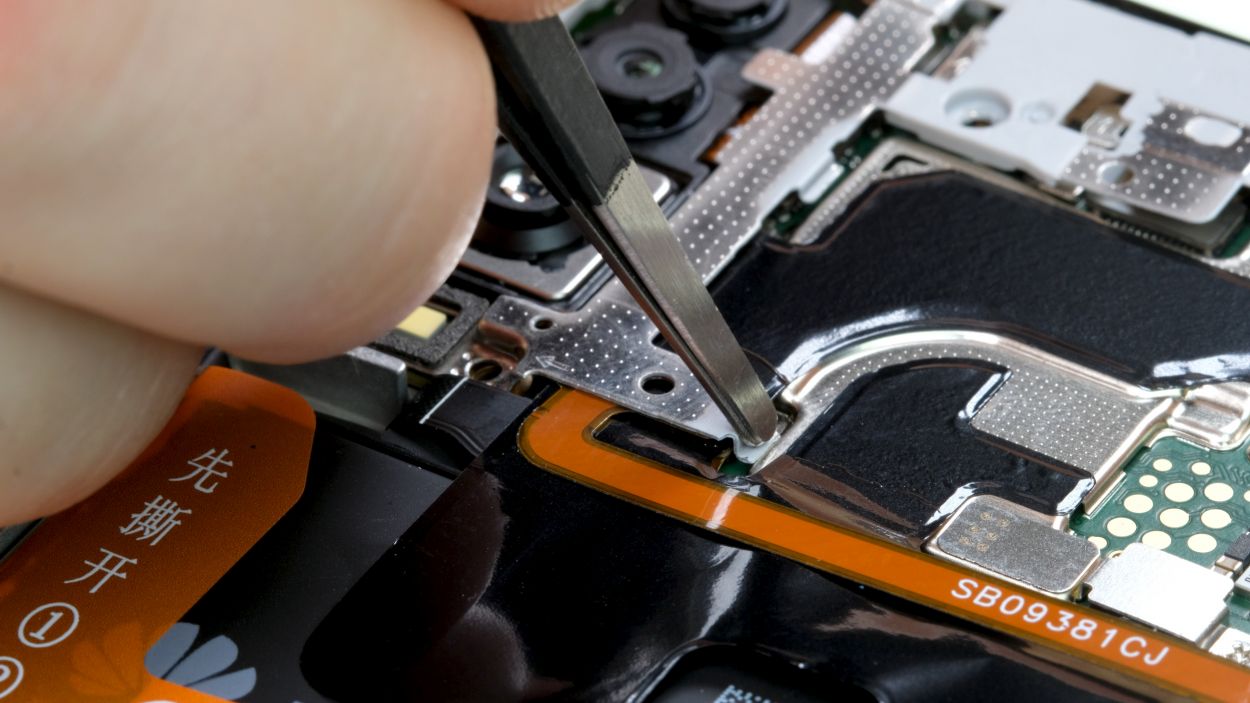
– First up, gently disconnect the fingerprint sensor’s connector from the motherboard. Easy peasy!
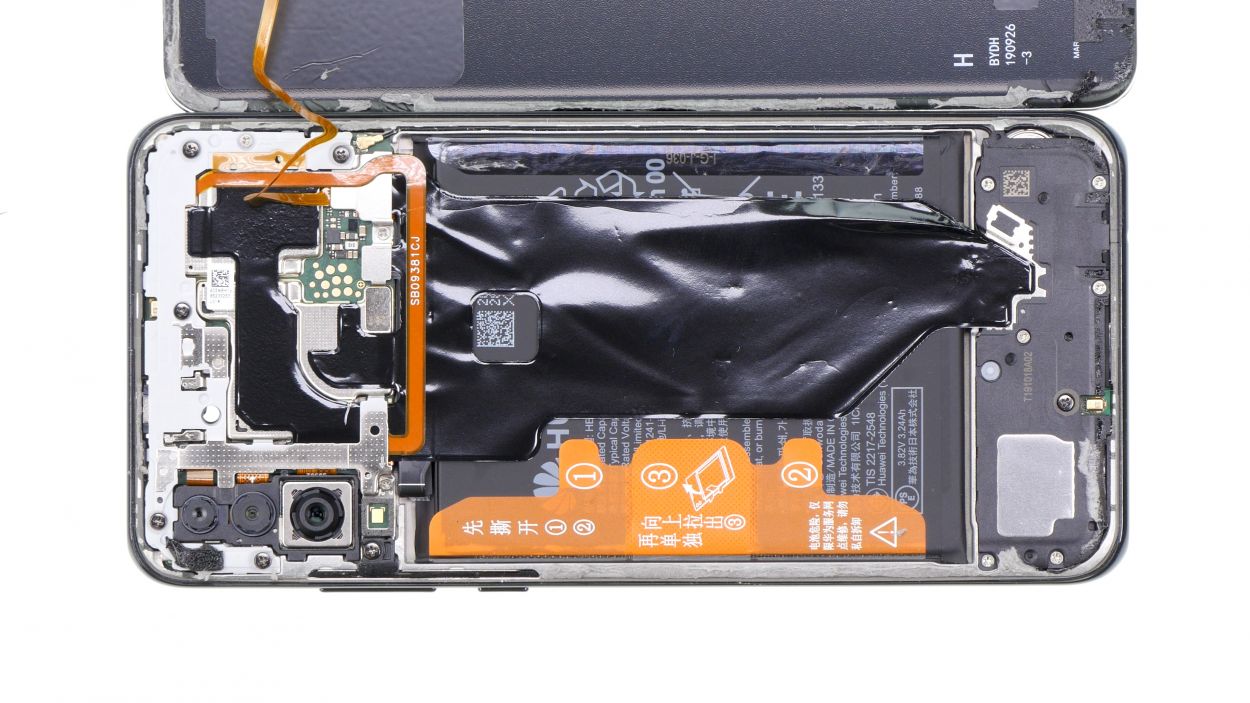
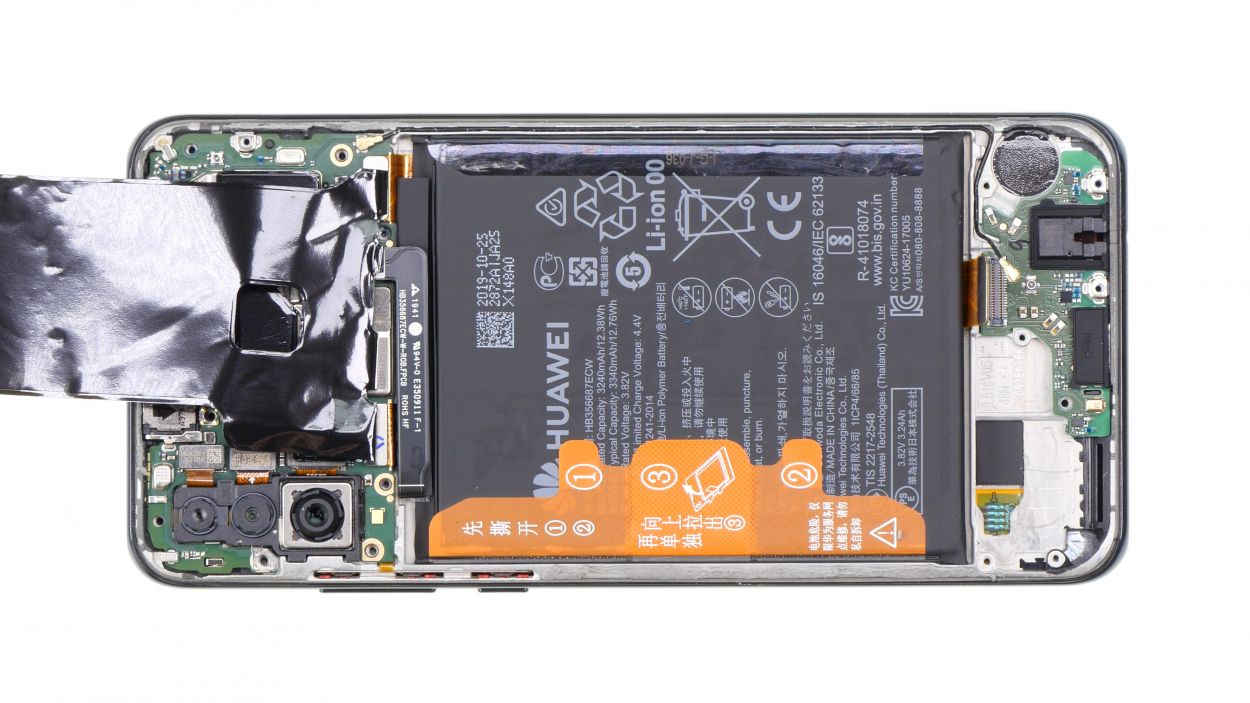
– Now, let’s set the back cover aside and carefully remove the board cover from the device. You’re doing great!
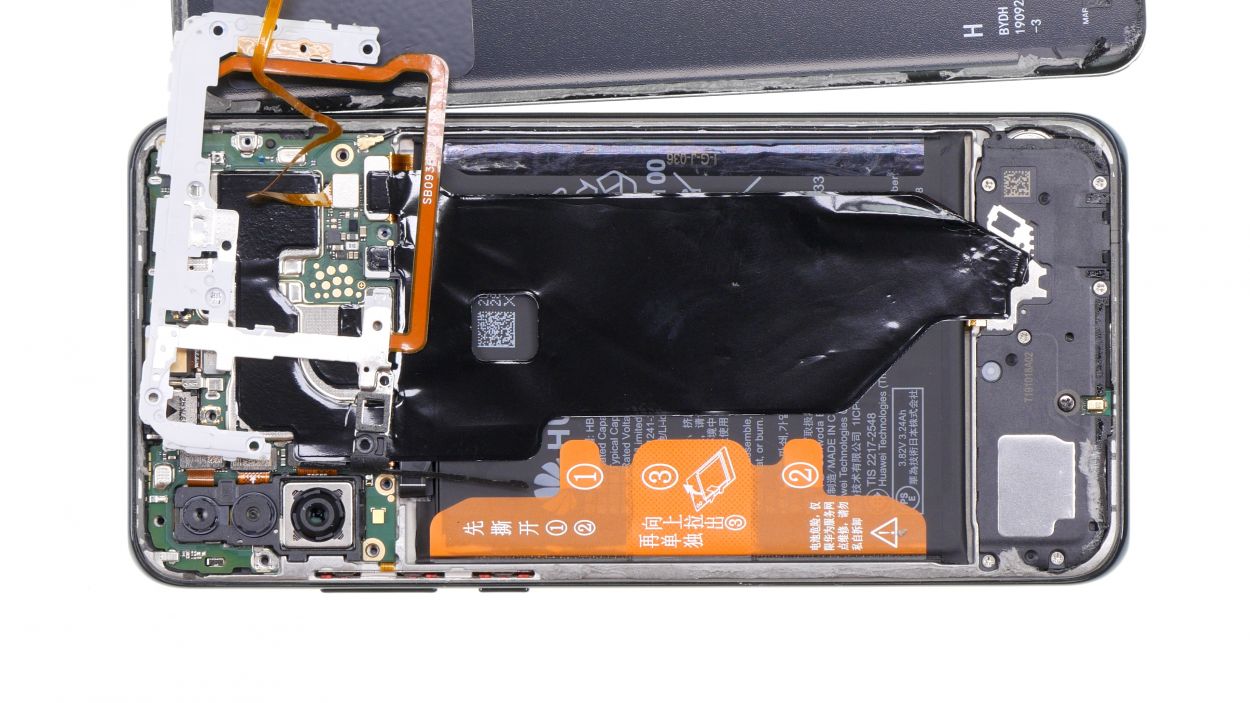
Step 6

1 × 3,3 mm Phillips
6 × 2,7 mm Phillips
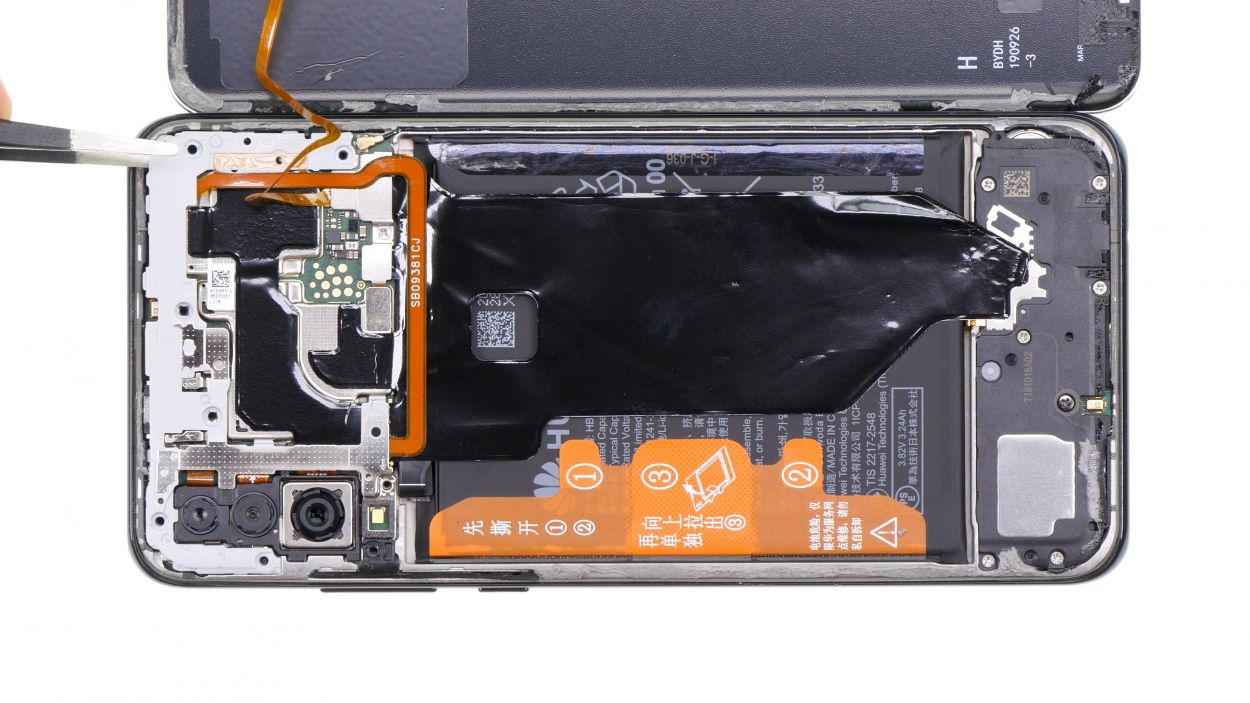
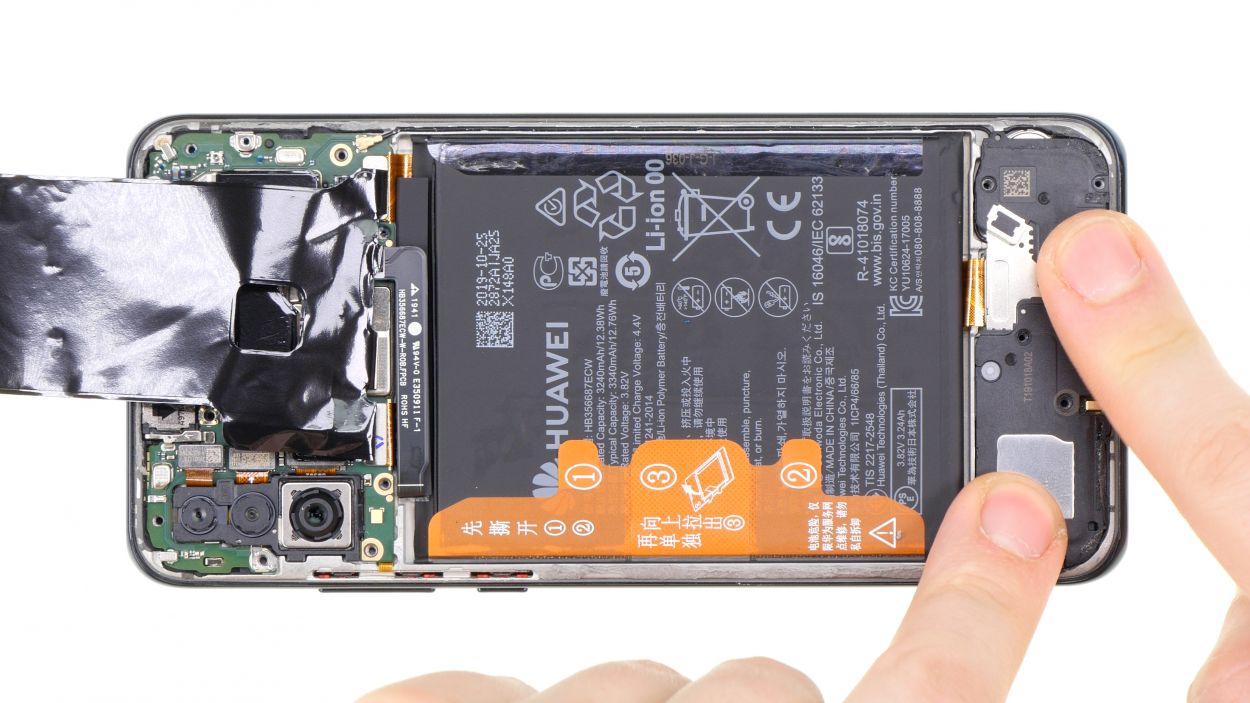
– Start by unscrewing those pesky Phillips screws that are keeping the speaker snug in its spot.
– Gently loosen the black foil at the bottom using tweezers and give it a little fold upwards.
– Grab a spudger and carefully lift the speaker just enough to wiggle it out of the device.
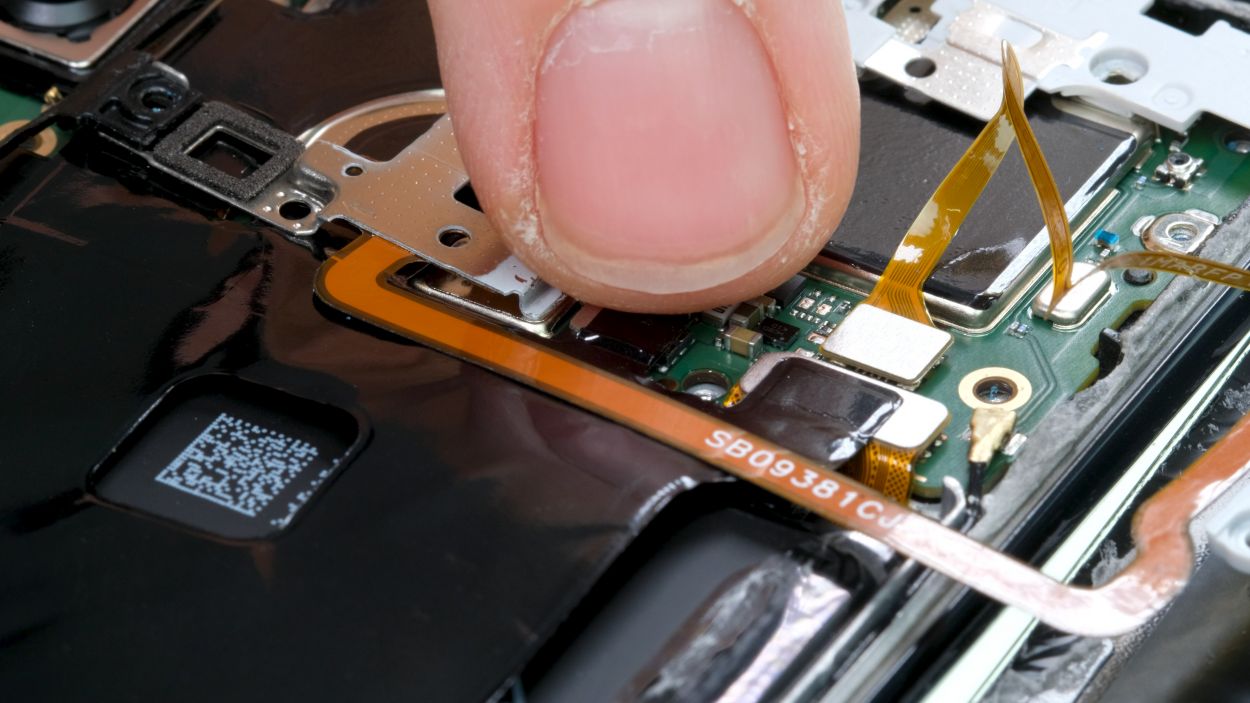
Step 7
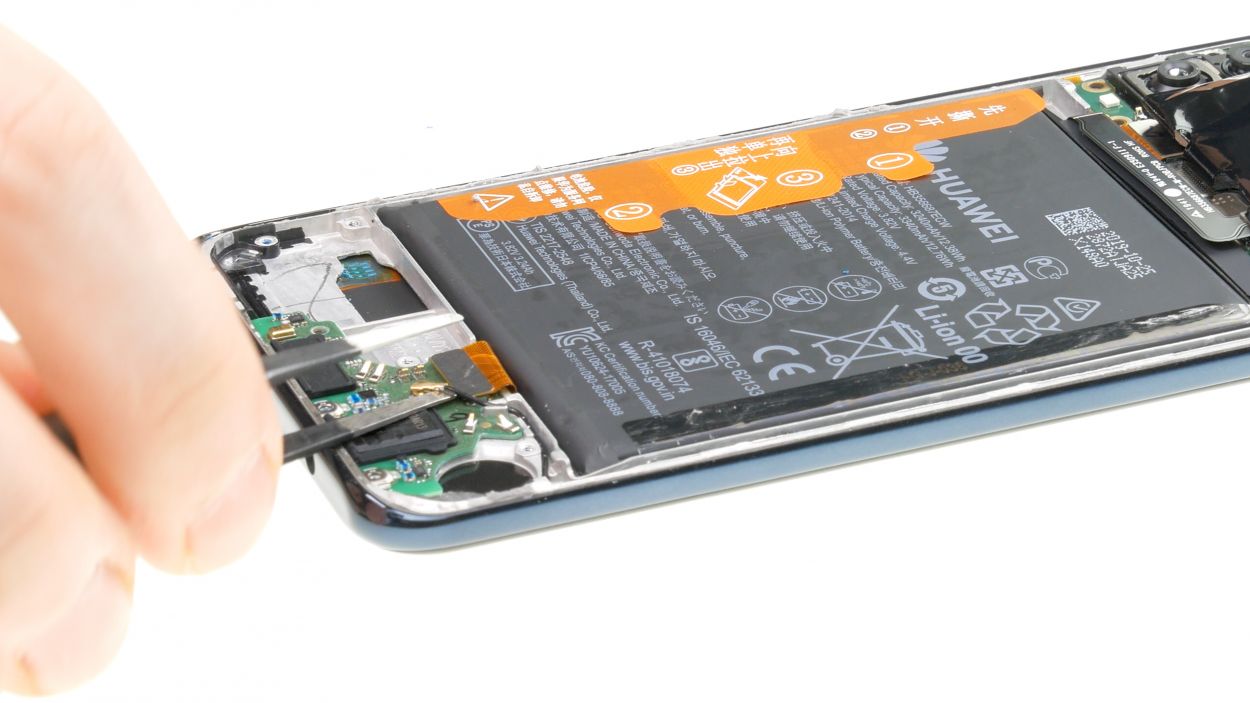
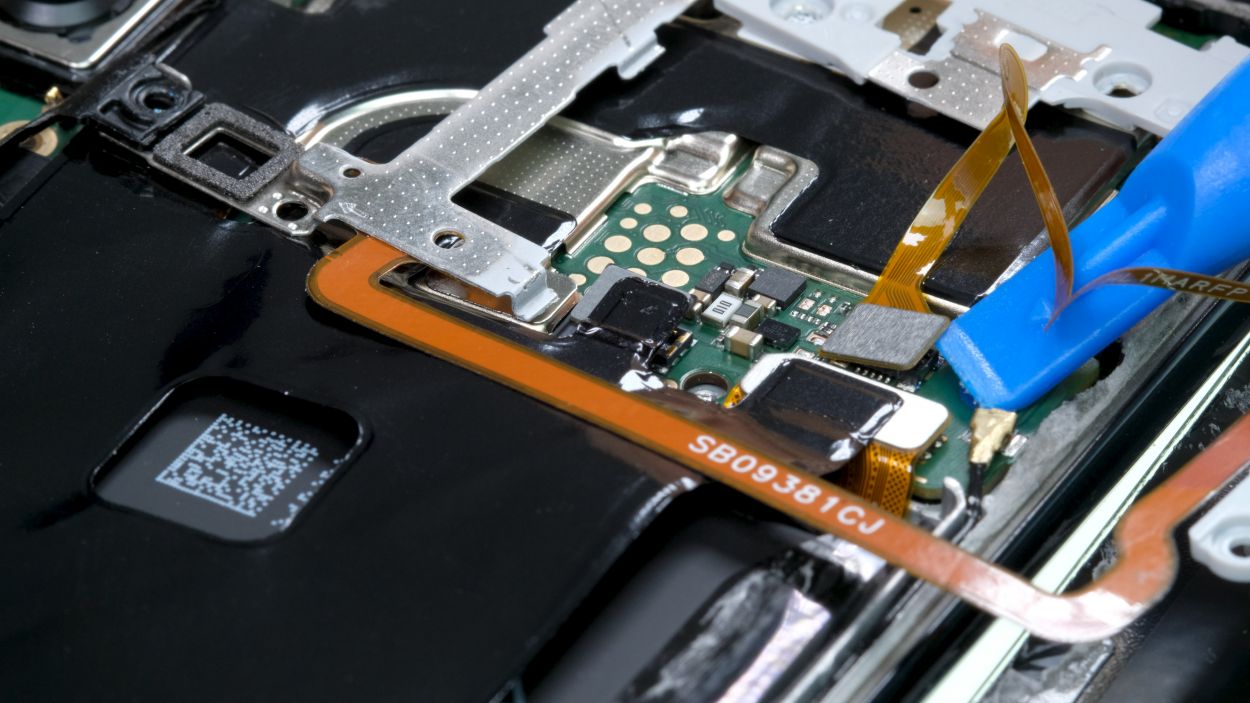
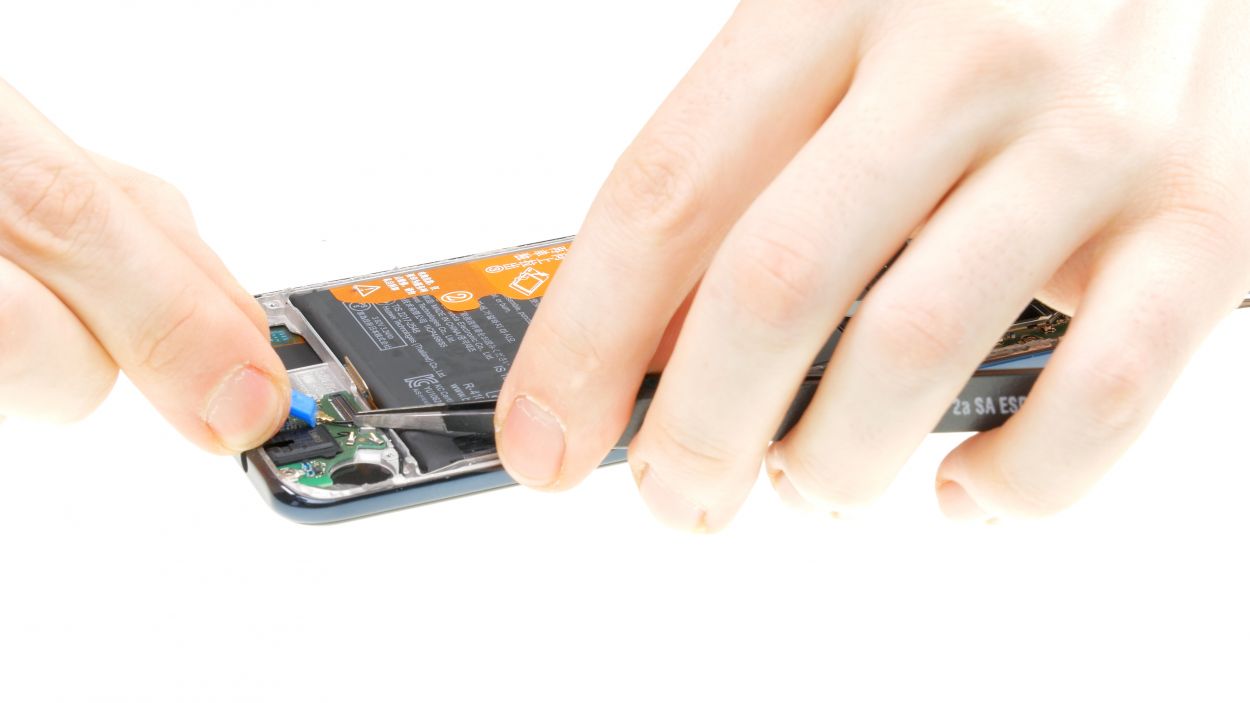
Antenna Connector
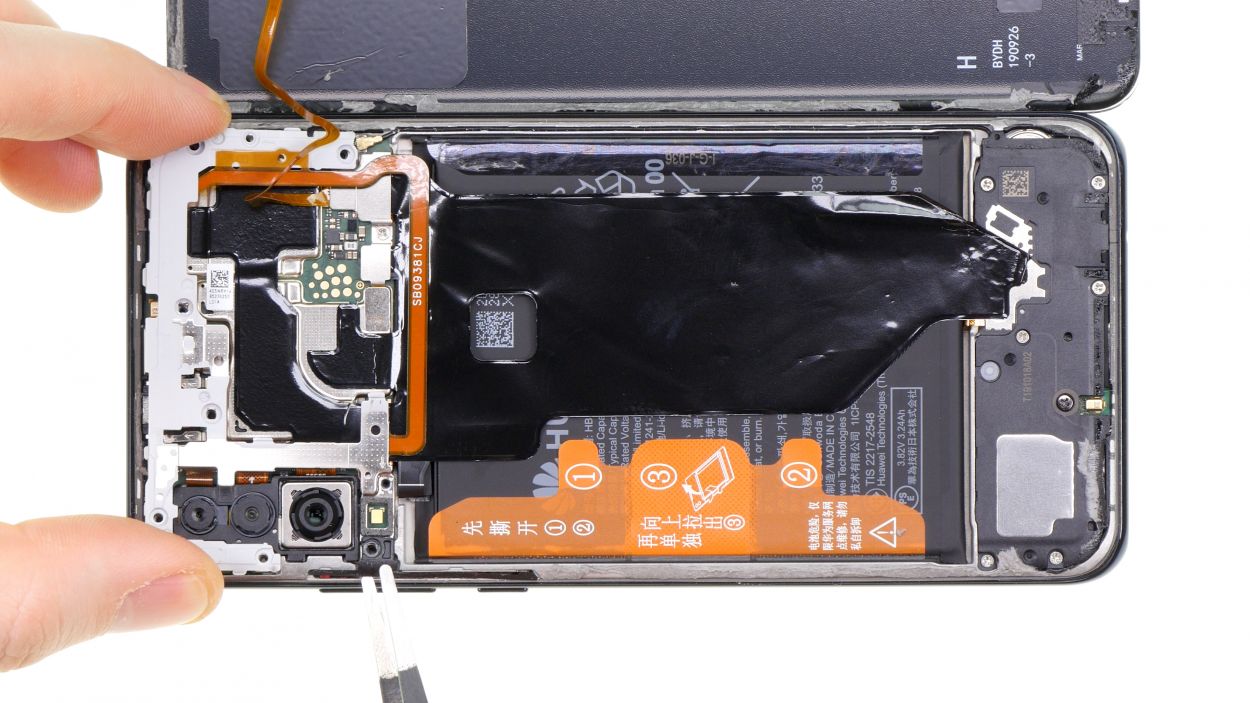
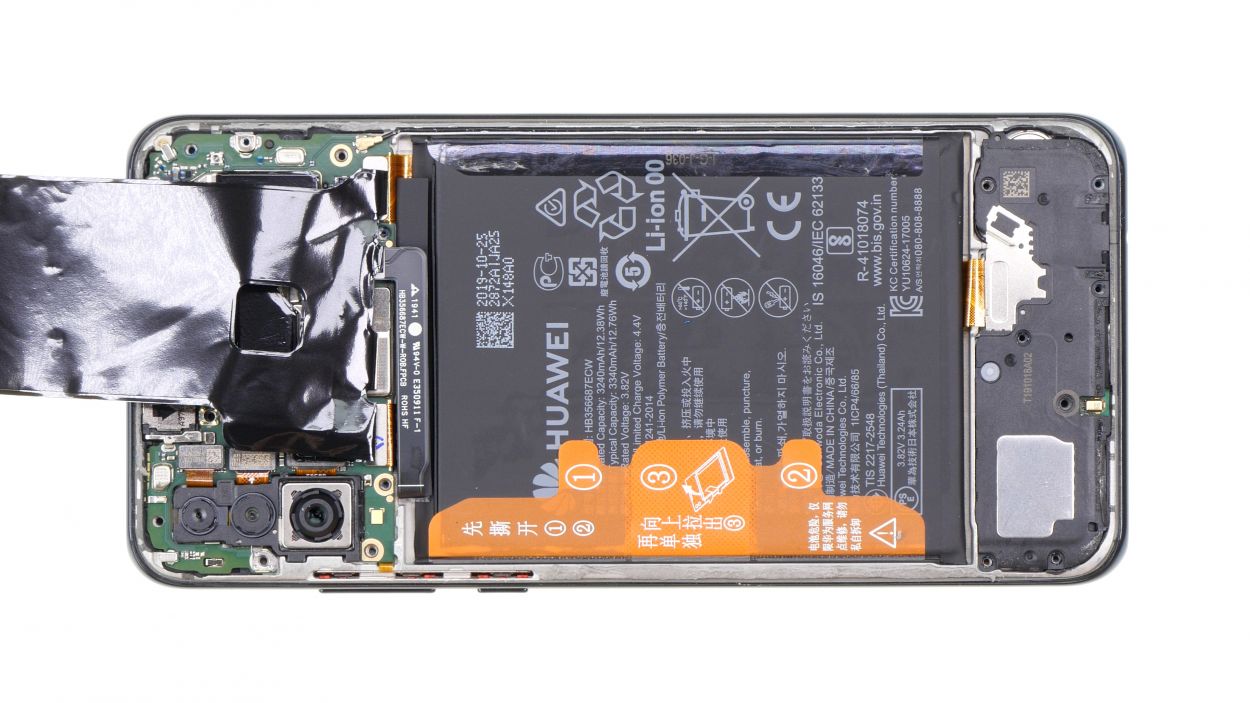
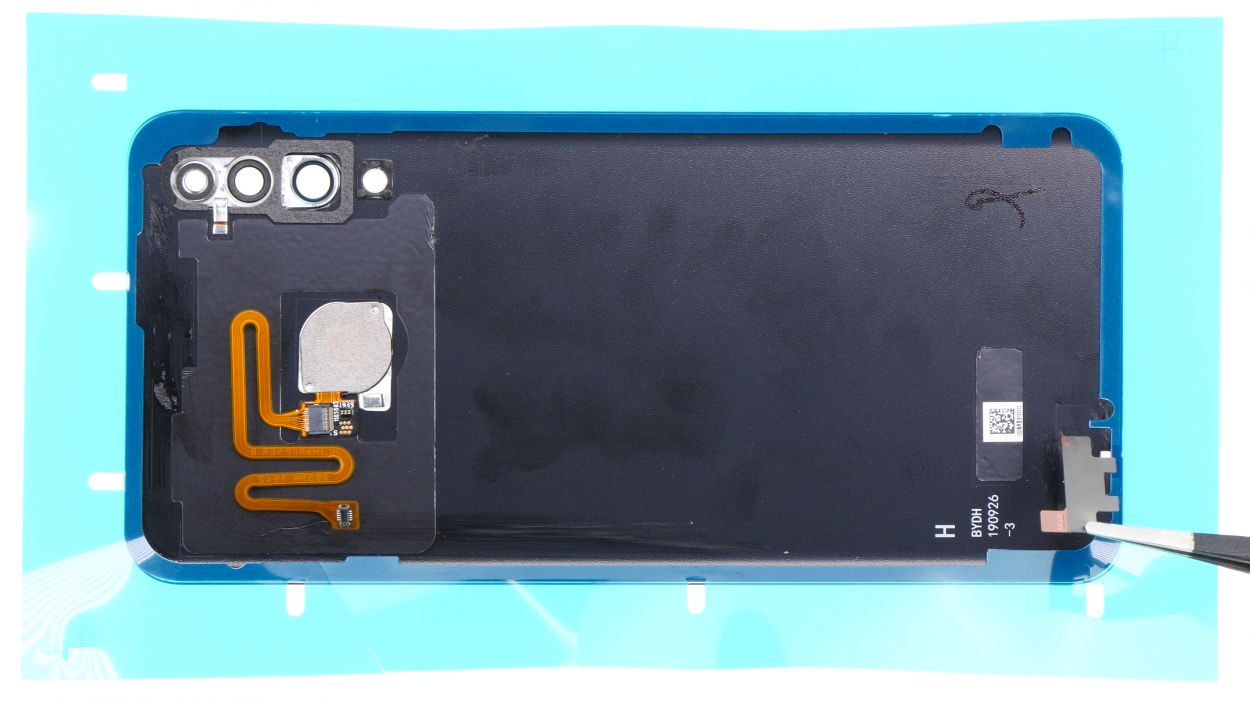
Right on this board, you’ll spot the charging socket and the headphone jack, your trusty companions for powering up and jamming out!
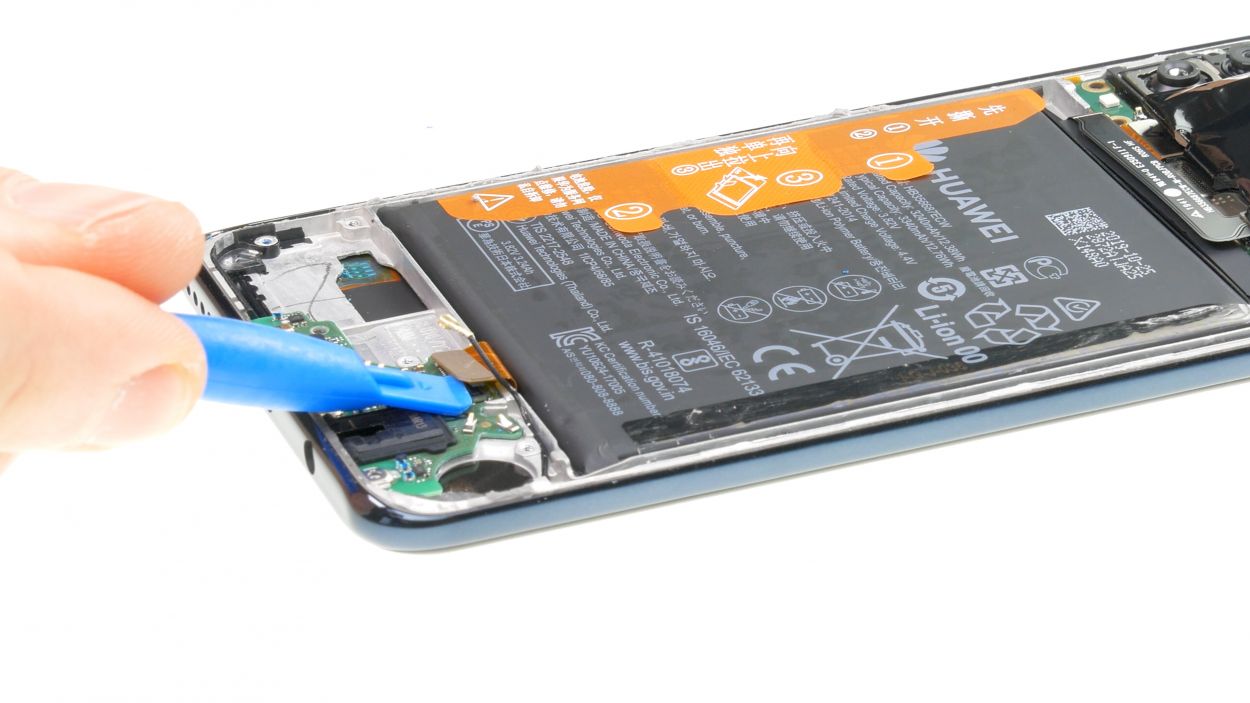
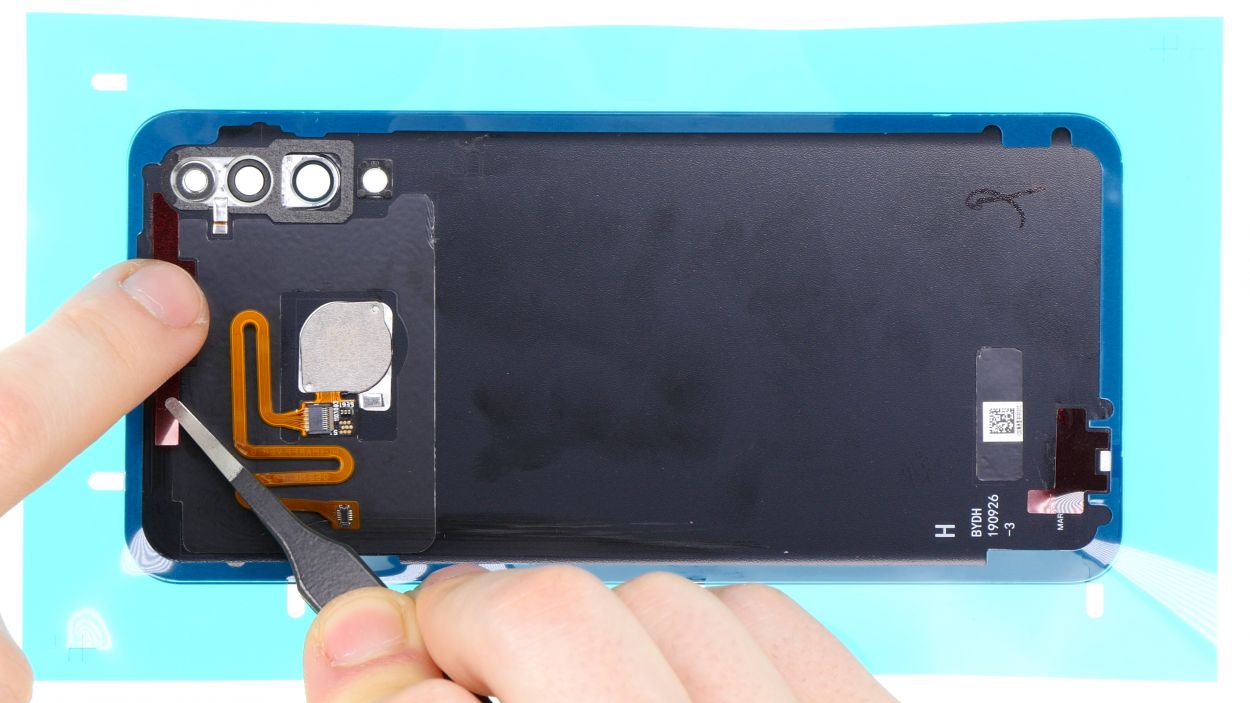
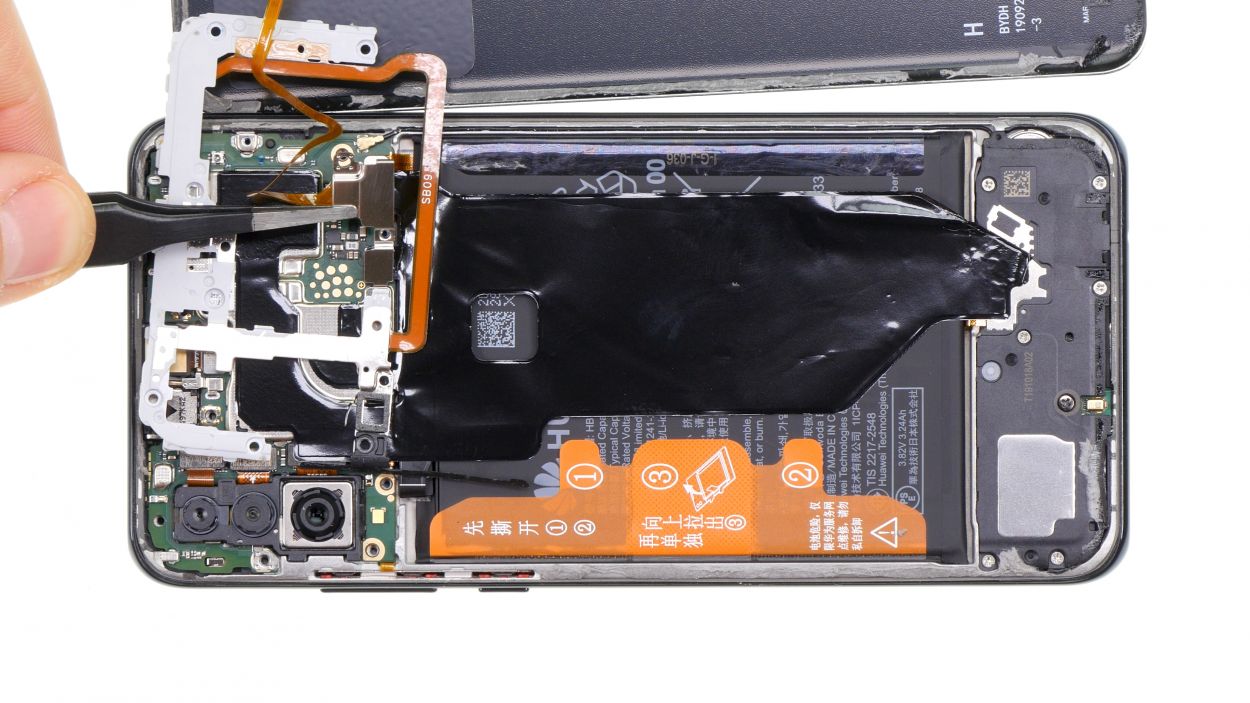
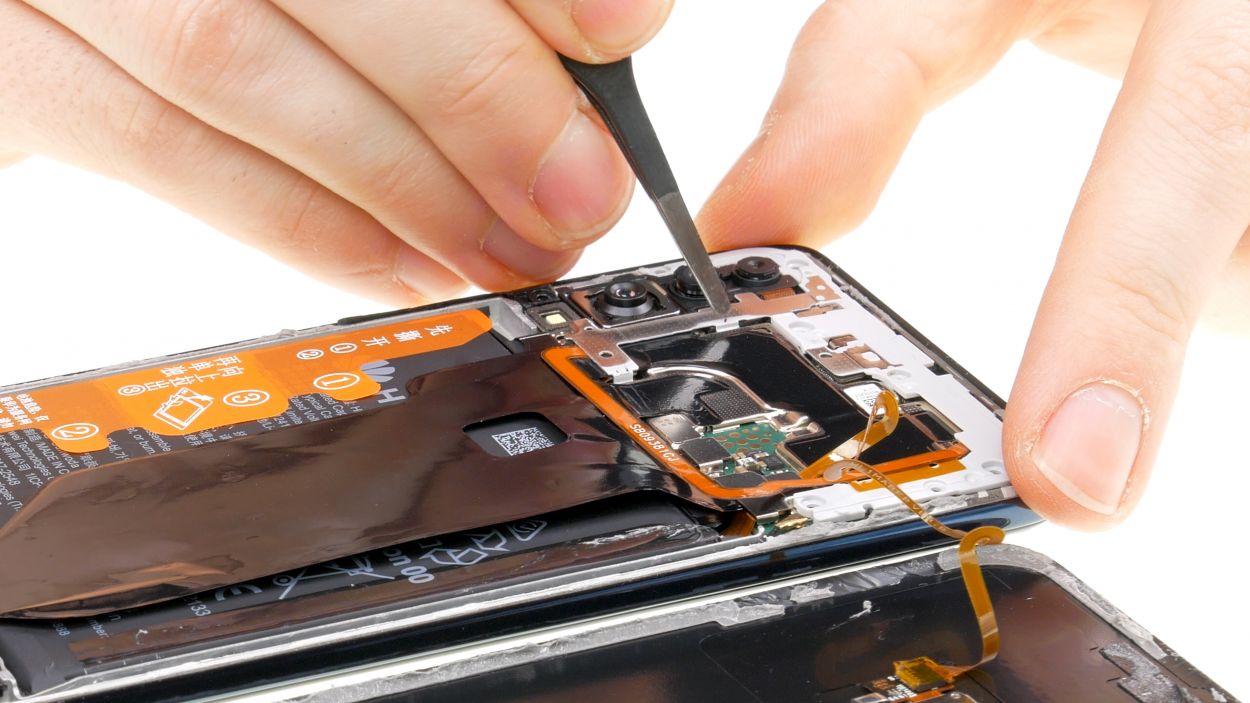
– First, gently unplug the flexible cable and antenna connection from the USB-C board. It’s like giving your device a little break!
– Next, use a plastic tool to carefully pry the board out of the device. Think of it as helping it stretch its legs!
Step 8


Antenna Connector
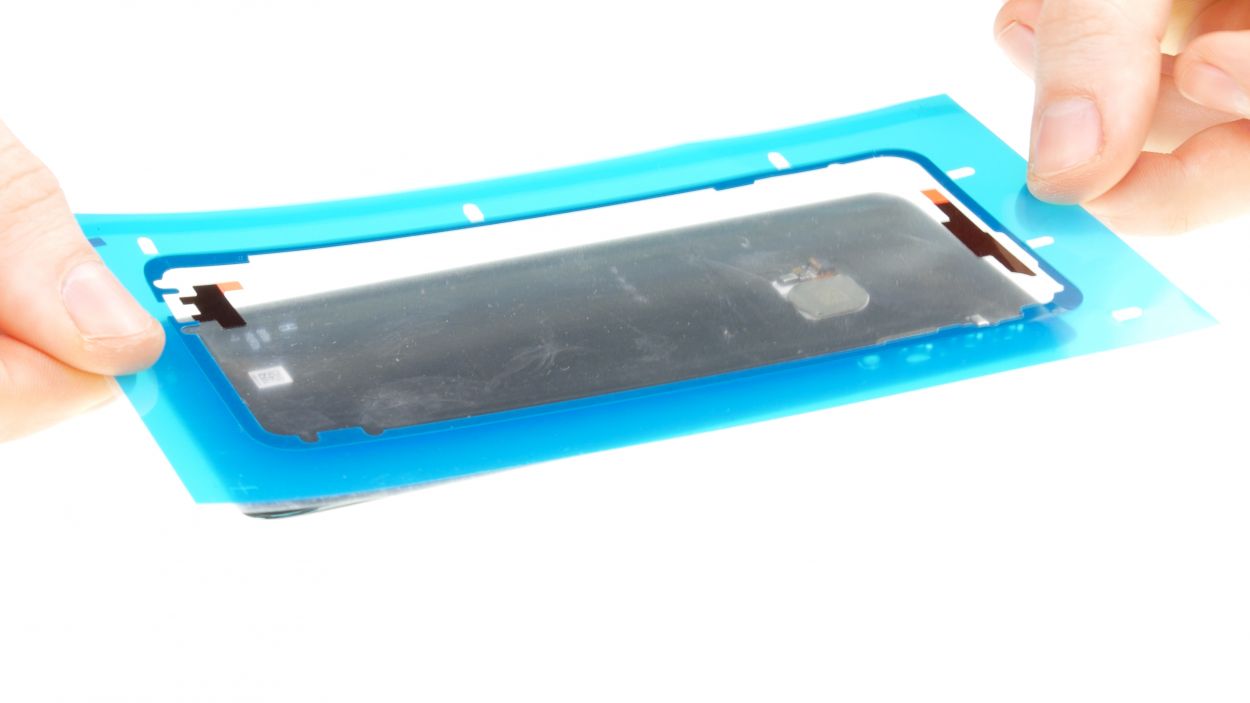
– First things first, let’s get that shiny new USB-C board ready by peeling off all those pesky protective seals.
– Next, gently place the USB-C board into your Huawei P30 lite and give it a light press to snug it in place.
– Now, it’s time to reconnect the flex cable connector—make sure it’s nice and secure.
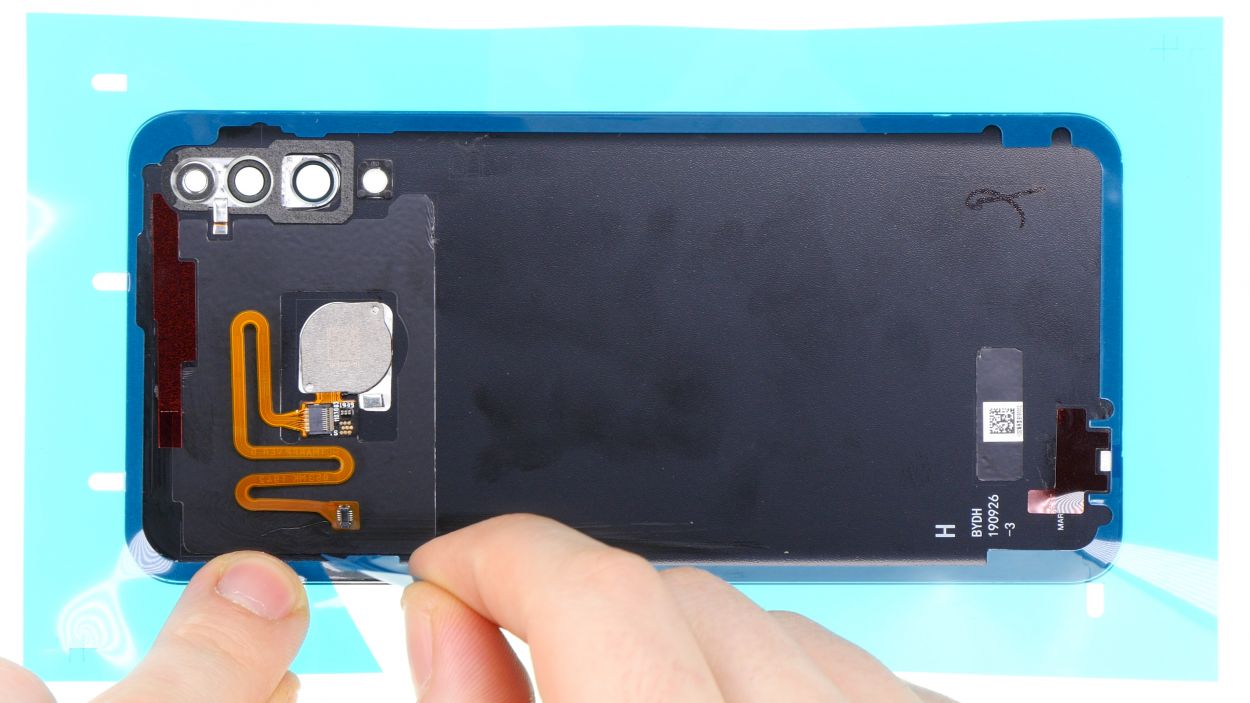
– Finally, grab some tweezers and carefully position the antenna contact over its connector on the board, then press it down with a plastic tool. You’re doing great!
Step 9
1 × 3,3 mm Phillips
6 × 2,7 mm Phillips
– Gently pop the new speaker back into its cozy spot in the unit and give it a little press to settle in.
– Next, grab those screws and fasten them back in to keep the speaker snug as a bug!
Step 10

– Ready to reattach that back cover? You can stick with the old glue or opt for a shiny new adhesive frame! Just a heads up, your device won’t be fully shielded from liquids and dust after this step.
– First, give that old glue a once-over. If it’s looking a bit lumpy in places, smooth it out for a cleaner finish.
– Thinking about a fresh adhesive frame? Time to say goodbye to the old glue! Carefully peel it off the back cover and frame.
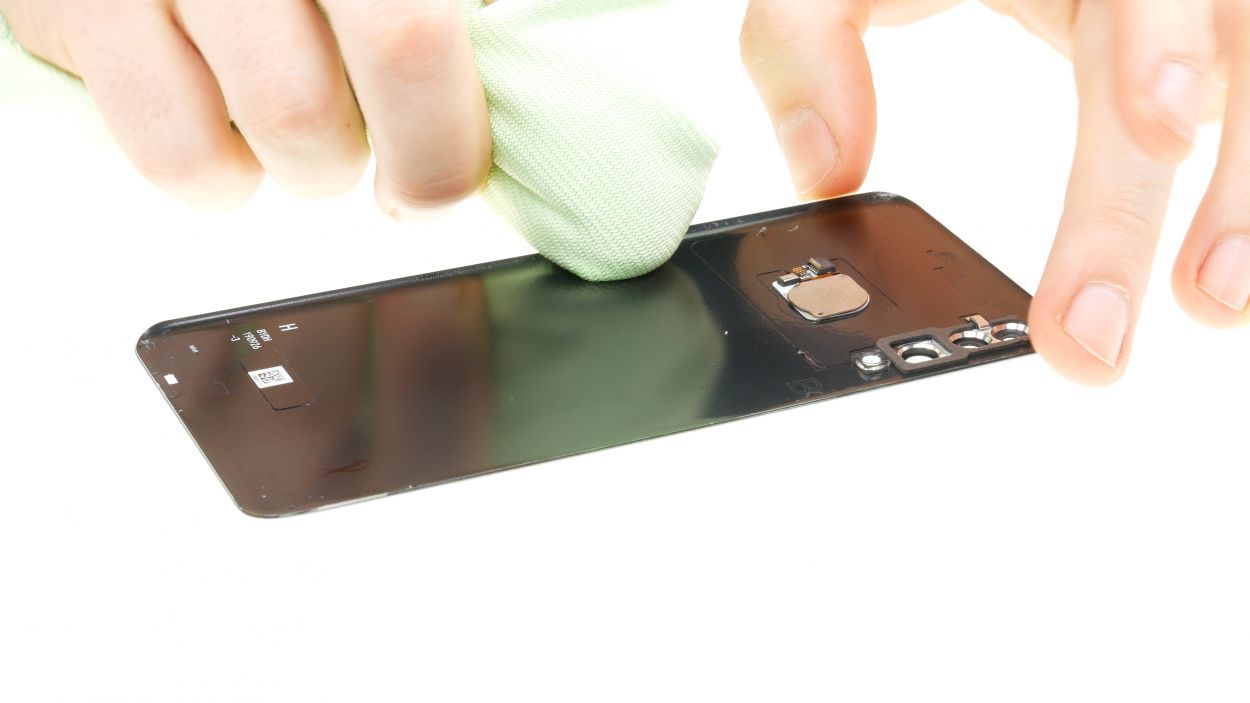
– Grab some tweezers and get to work! Gently pull off the glue and use a plastic tool to scrape away any leftover residue. A little rubbing alcohol on a lint-free cloth can help banish stubborn bits too.
– Next up, check the glue’s position. Peel off the first protective film from your new adhesive frame and place it on the back cover. Make sure it’s snug and not sticking out anywhere.
– Don’t forget about those two smaller adhesive spots! They need to be positioned just right on the back cover too.
– Give the adhesive a nice press to make sure it’s secure.
– Finally, peel off the protective foils from the adhesive surfaces and you’re all set!
Step 11
Fingerprint Connector
– First things first, let’s get that fingerprint sensor reconnected! Start by placing the plastic cover of the main board back into your device like a pro.
– Next, grab the back cover and lay it next to your device. Carefully align the contact over the connector on the mainboard, making sure that the flex cable is nice and straight—no twists allowed!
– Now, it’s time to make the connection. Go ahead and connect that contact!
Step 12
Battery Connector
1 × 2,7 mm Phillips
– Time to bring your device back to life! Start by reconnecting the battery contact to the main board.
– Now, gently place the metal cover back on the unit and secure it with that trusty Phillips screw. You’re almost there!
Step 13

2 × 2,7 mm Phillips
7 × 3,3 mm Phillips
– Now, let’s gently place the mainboard cover back where it belongs and give it a little push.
– Be sure those metal tabs on the cover click back into position like they own the place.
– Finally, secure the cover with those screws of varying lengths—it’s like a puzzle, and you’re the master builder!
Step 14
– Before sealing up your device, let’s make sure everything’s running smoothly!
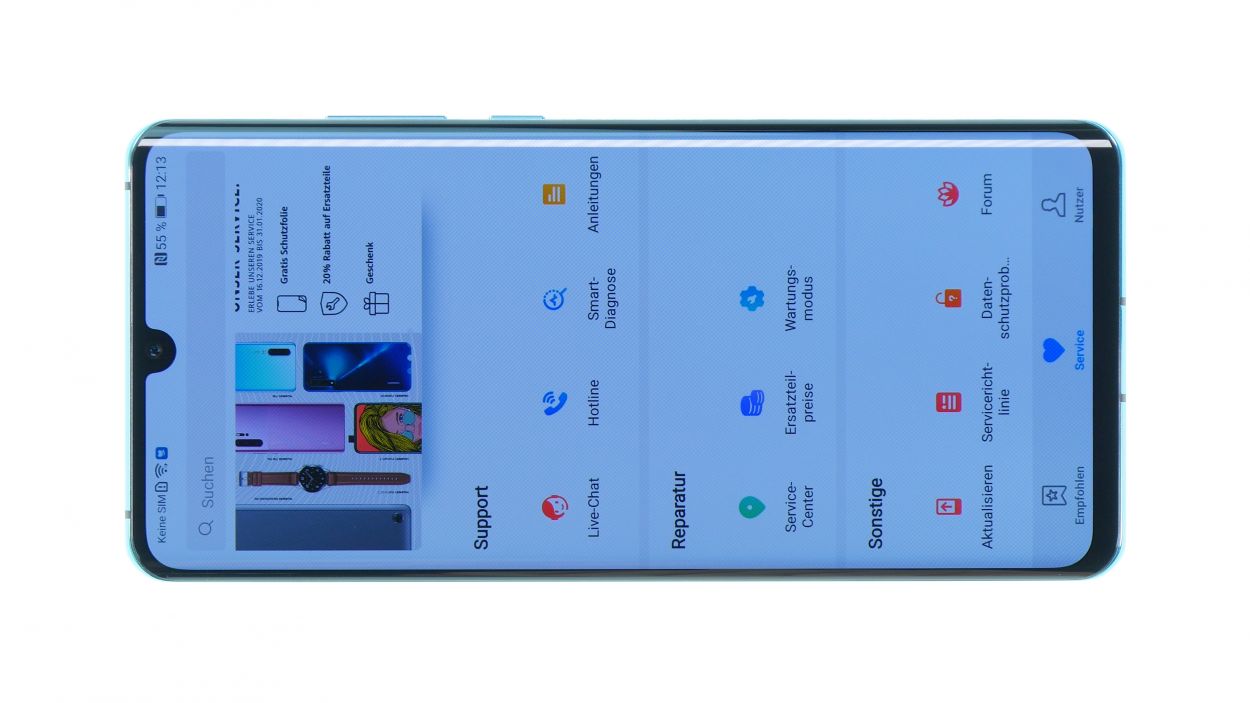
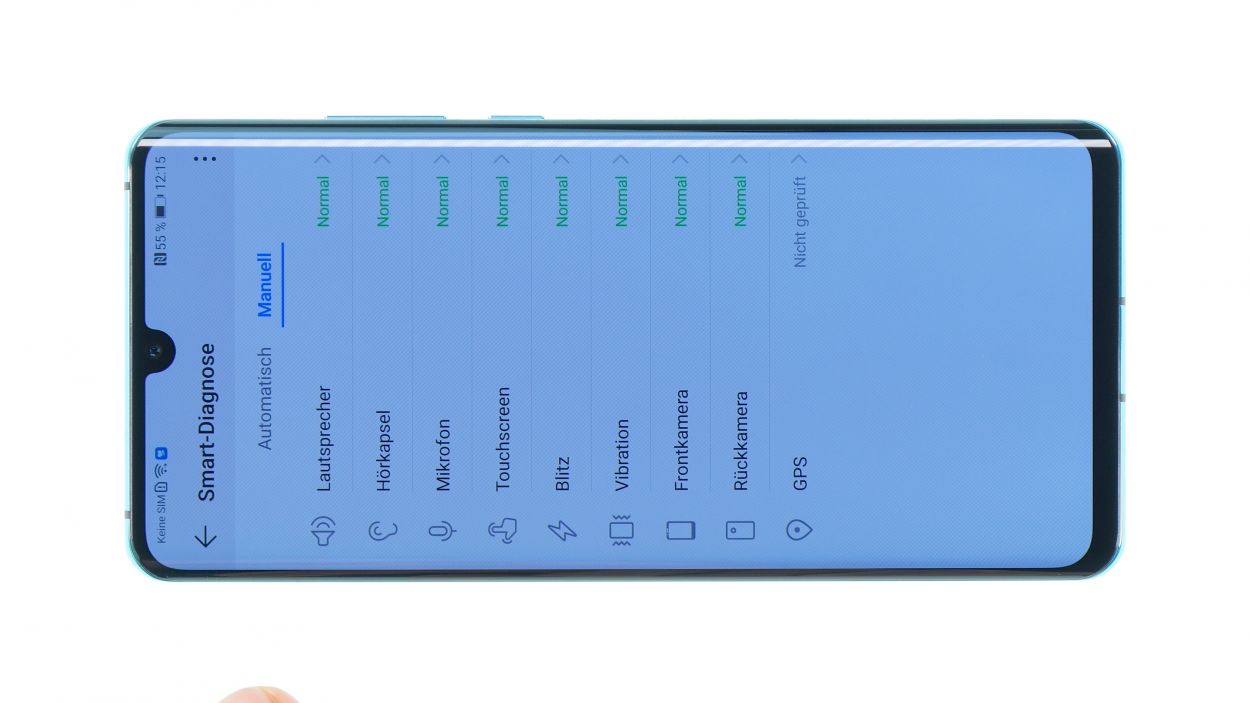
– Power up your smartphone and launch the “HiCare” app.
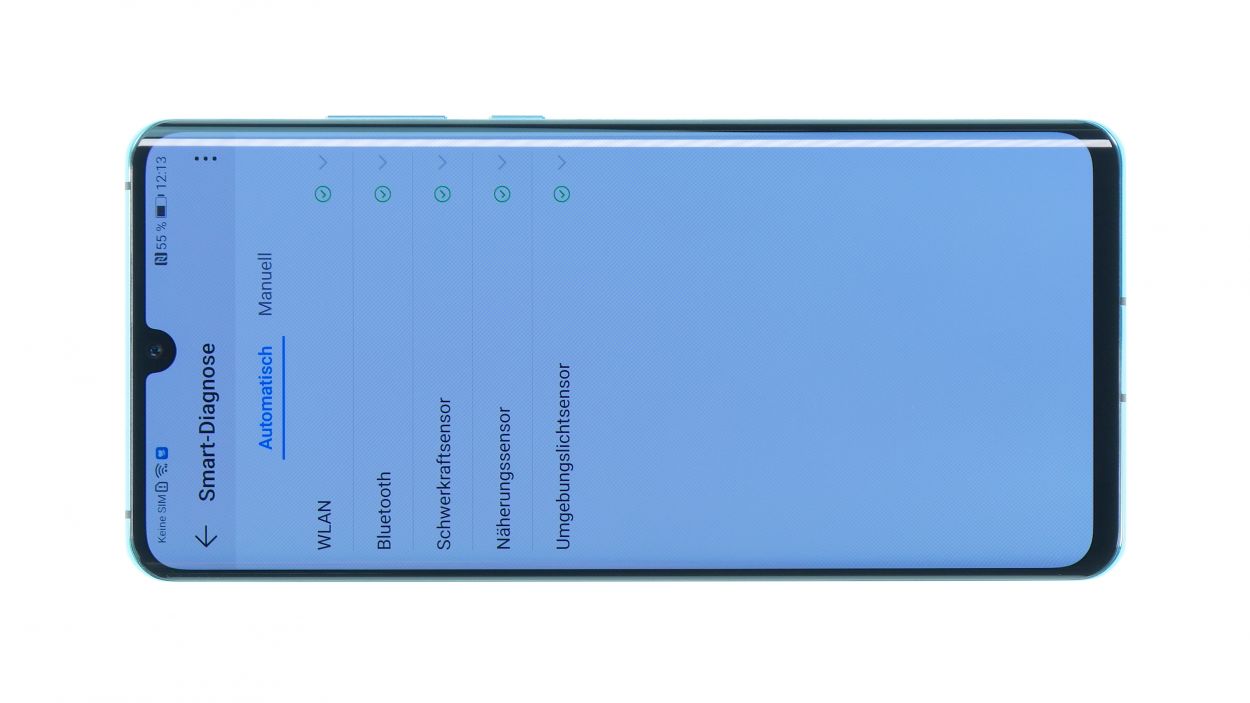
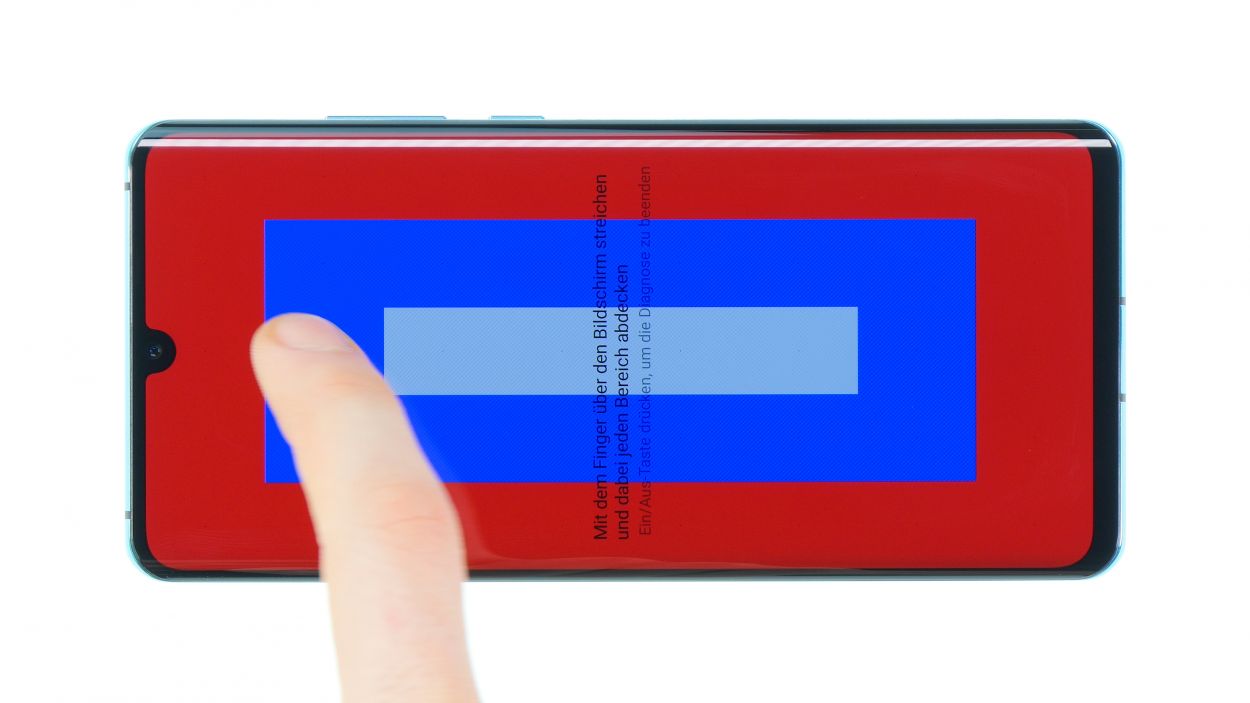
– Give the Smart Diagnostics feature a whirl. Some tests will run automatically, making it super easy!
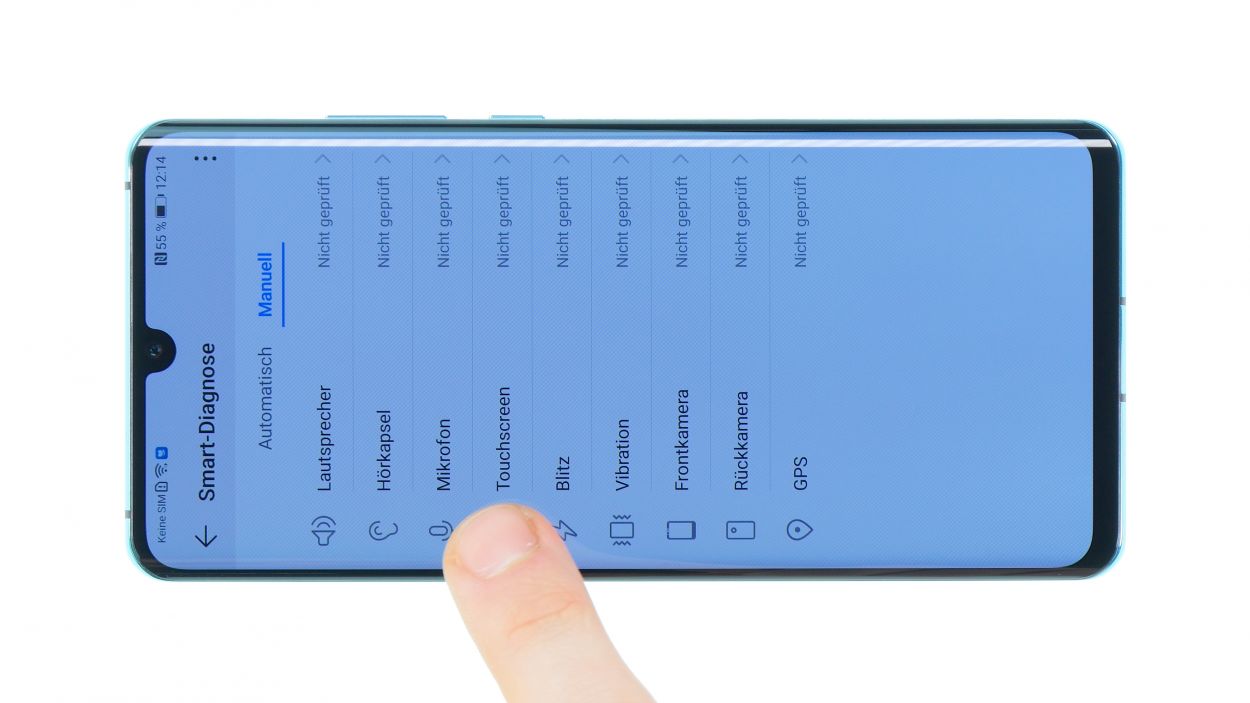
– In the “manual” section, you can check out other functions on your own. Go ahead and test the touch screen, microphone, speaker, and more.
– If something seems off, take a peek at the related component for any damage or connection issues.
– If all looks good, you’re ready to close up the device and celebrate your handy work!
Step 15
– Now, let’s get that back cover in place! Gently position it on your device and give it a little press down to secure it.
– Next up, let’s add some heat to the mix! Warm up the edges of your device with hot air again, then grab a few books and weigh down the back cover. This will help the glue stick like a champ!