DIY Guide to Replace Huawei P30 lite Battery
Duration: 60 min.
Steps: 13 Steps
Is your Huawei P30 lite feeling a bit sluggish, worn out, or just plain broken? It might be time to give that battery a fresh start! Dive into this repair guide and bring some pep back into your device! Oh, and if you’re thinking about swapping out the display on your Huawei P30 lite soon, now’s the perfect time to tackle both jobs together. Our original Huawei P30 lite replacement display comes with a new battery already installed, so you can save yourself the hassle of doing it twice! If you hit any bumps along the way, don’t hesitate to reach out. Our friendly team at Salvation Repair is here to help with any hiccups you might encounter. We love hearing your thoughts too! Now, let’s get started on that repair!
Step 1
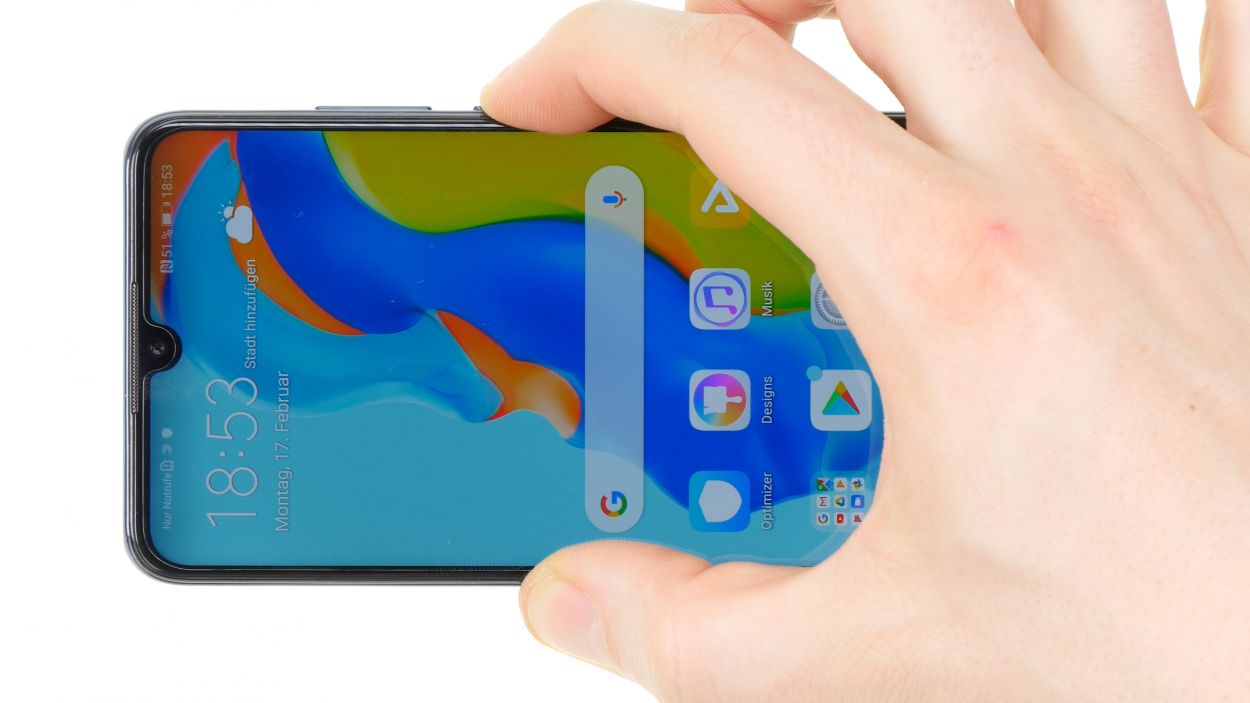
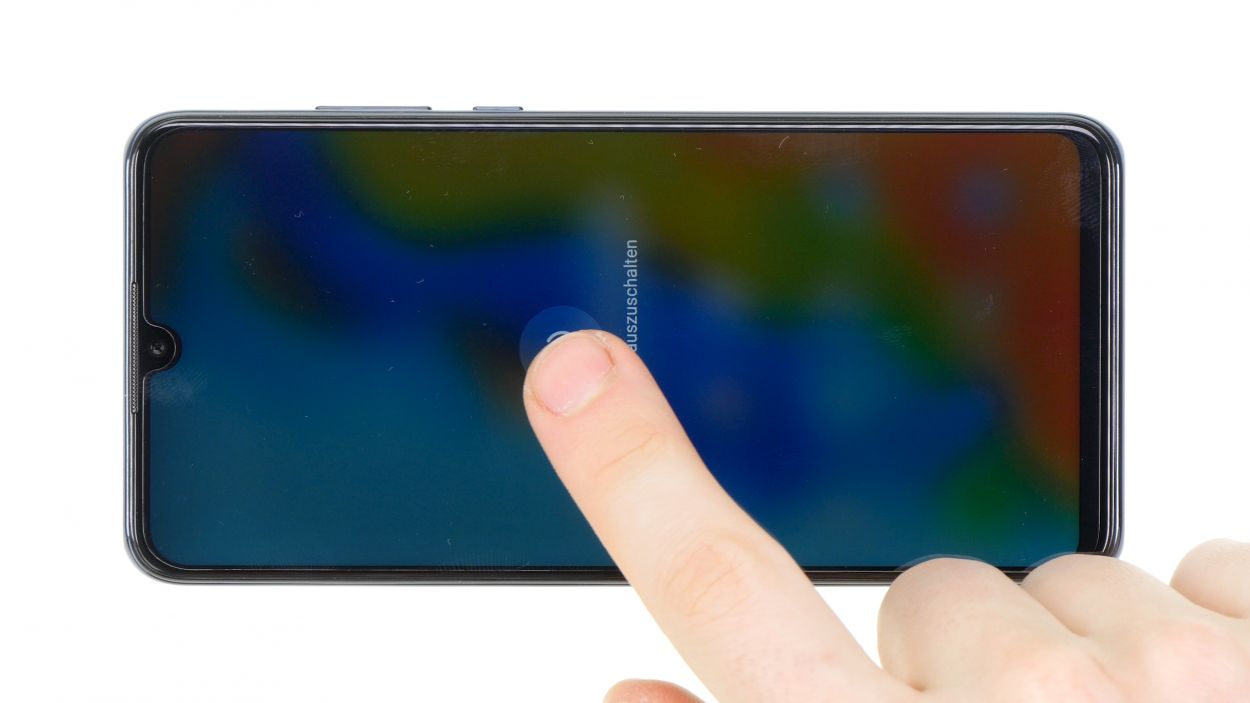
– First things first, let’s power down your Huawei P30 lite by giving that power button a good press.
– Once you’ve done that, just confirm it’s off and hang tight until your device is completely shut down.
Step 2
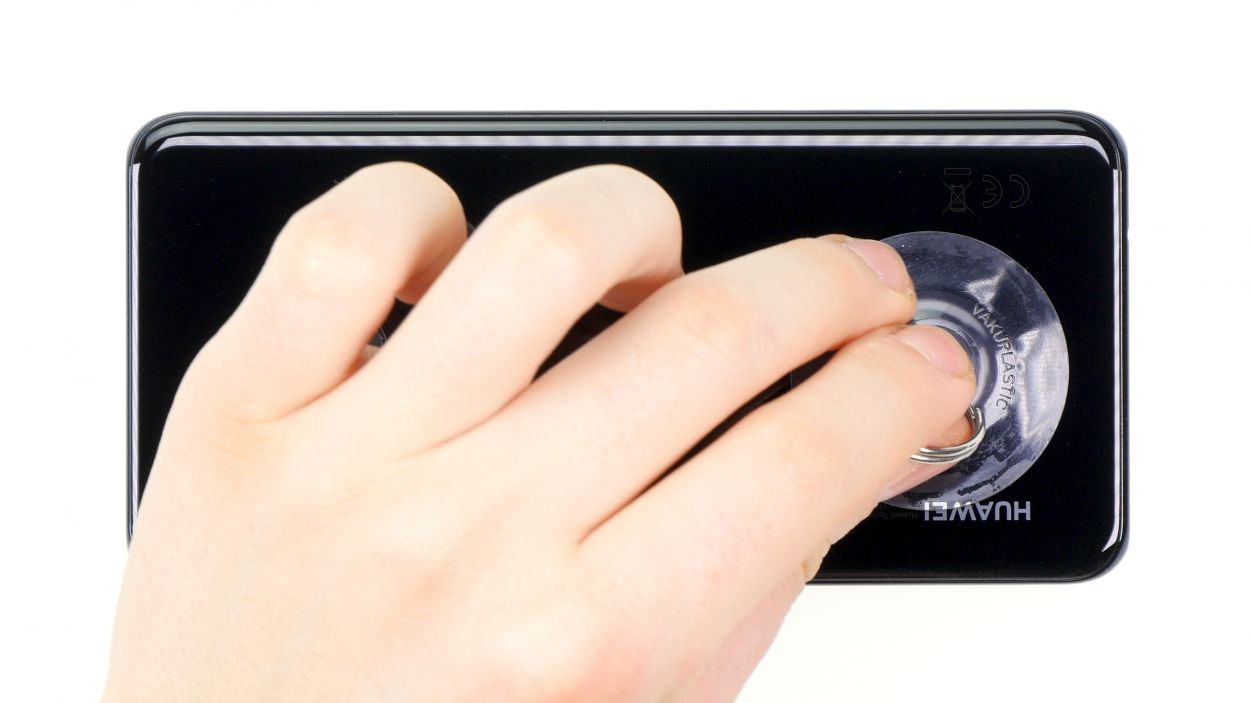
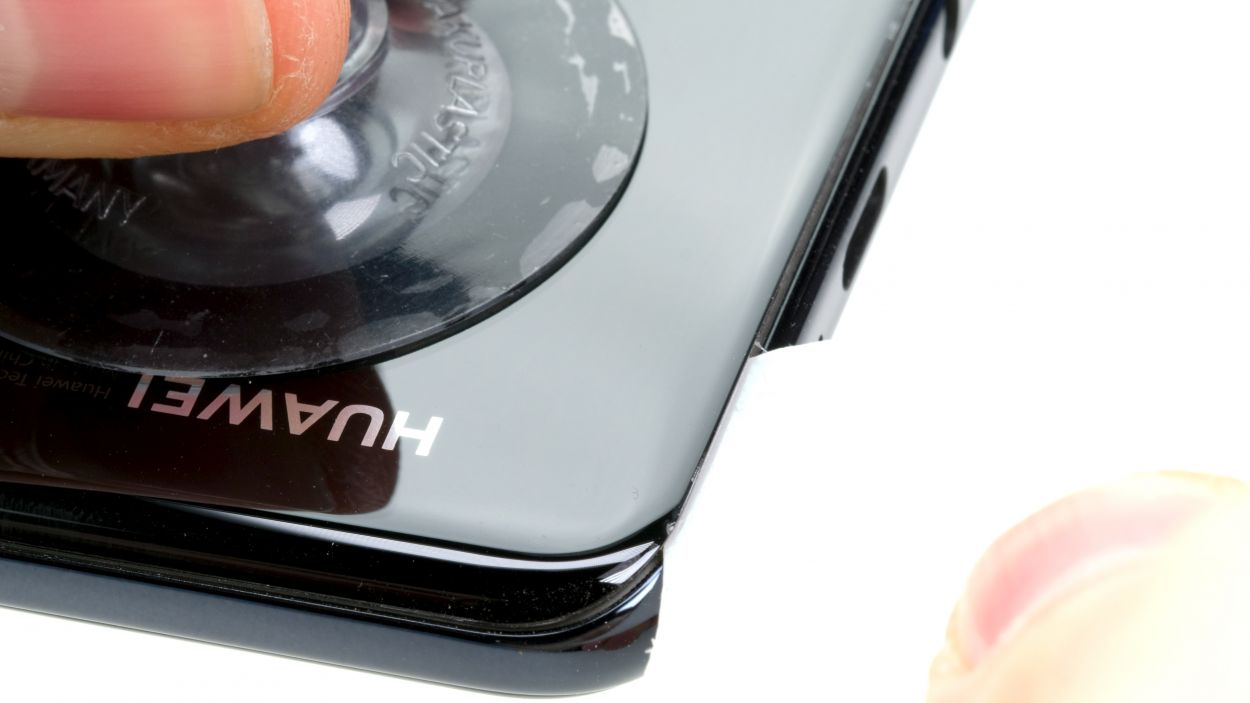
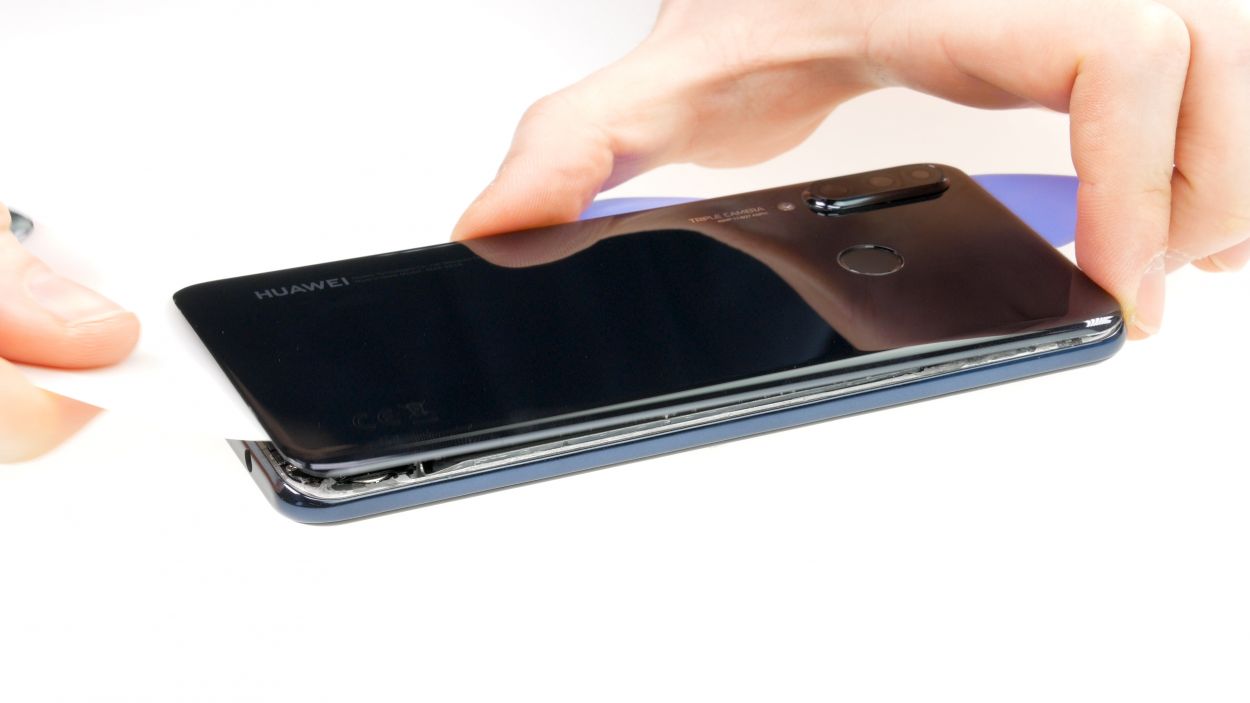
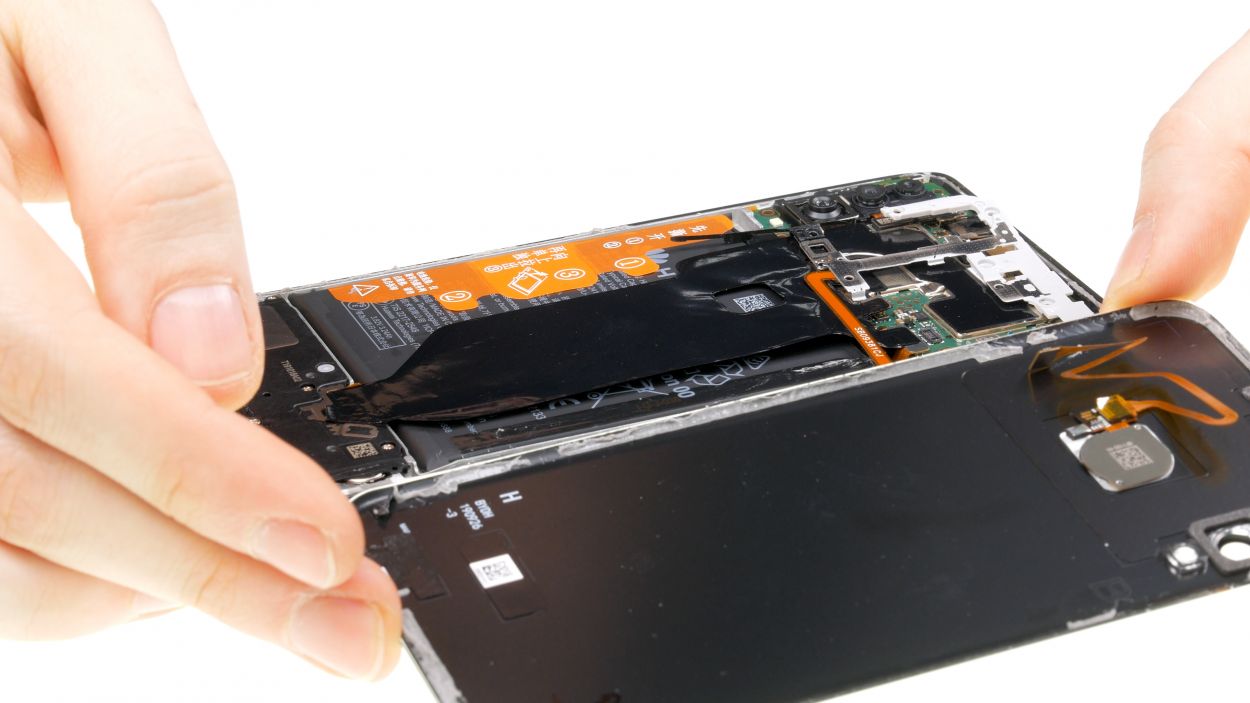
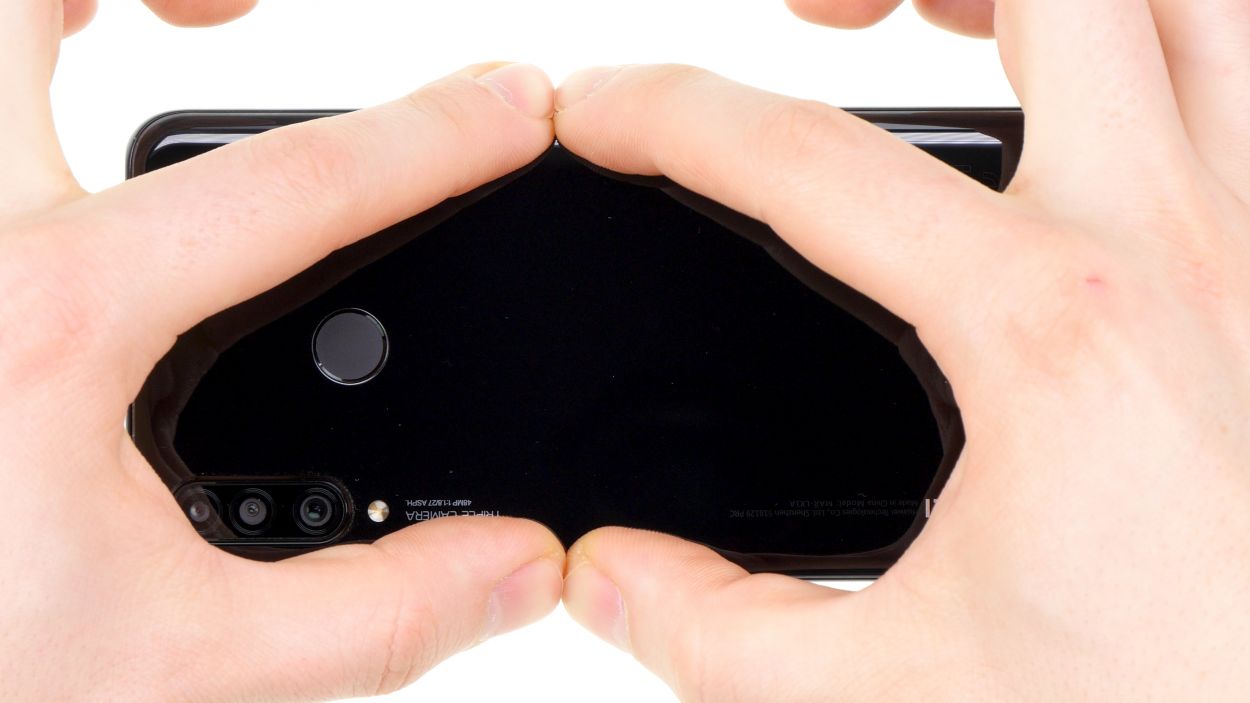
– Start by giving the frame a warm hug with some hot air. Aim for a cozy temperature of 60-80 degrees to help loosen that stubborn glue. Once it’s nice and toasty, the glue will be much easier to deal with.
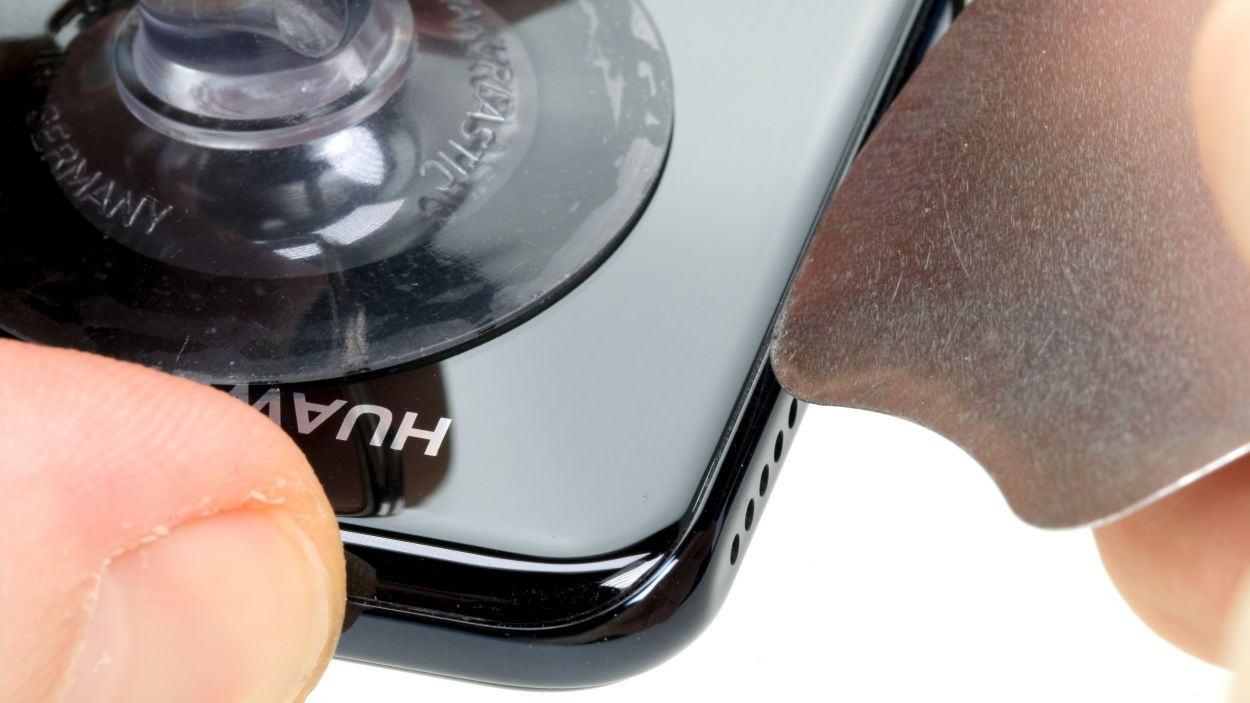
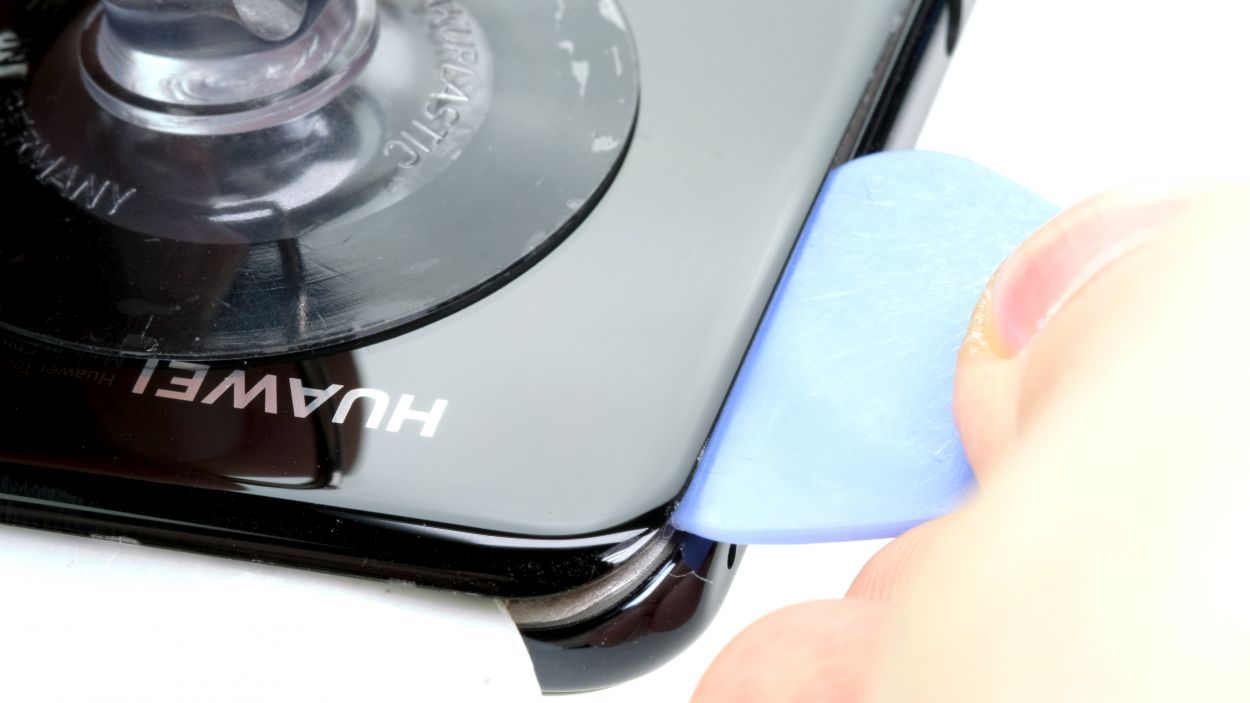
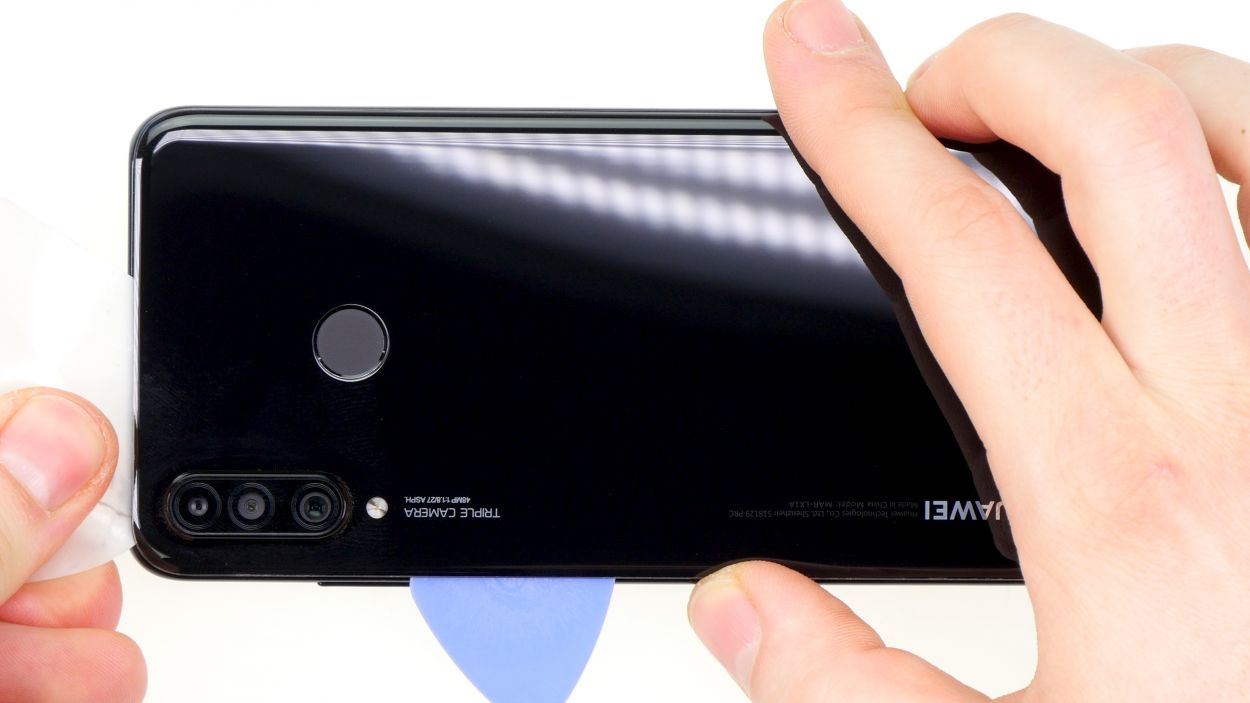
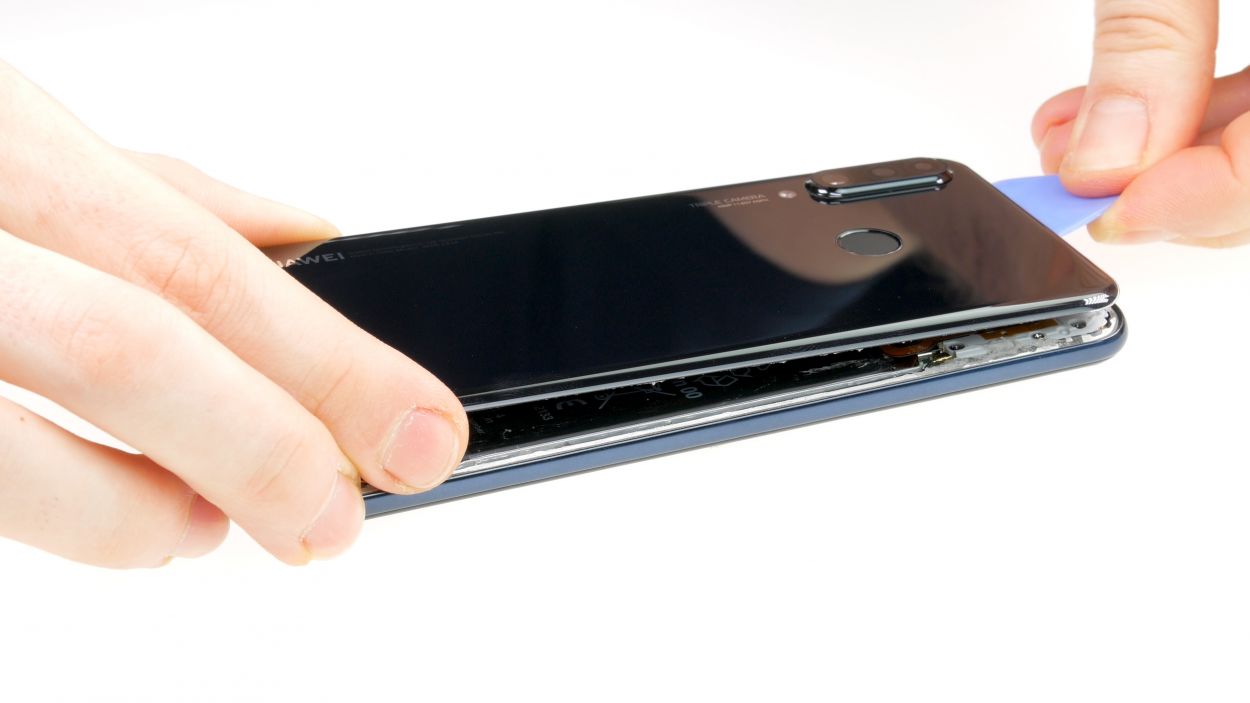
– Next, grab a suction cup and place it on the lower section of the back cover. Give it a gentle pull while sliding your opening tool into the gap you’ve created. You’ve got this!
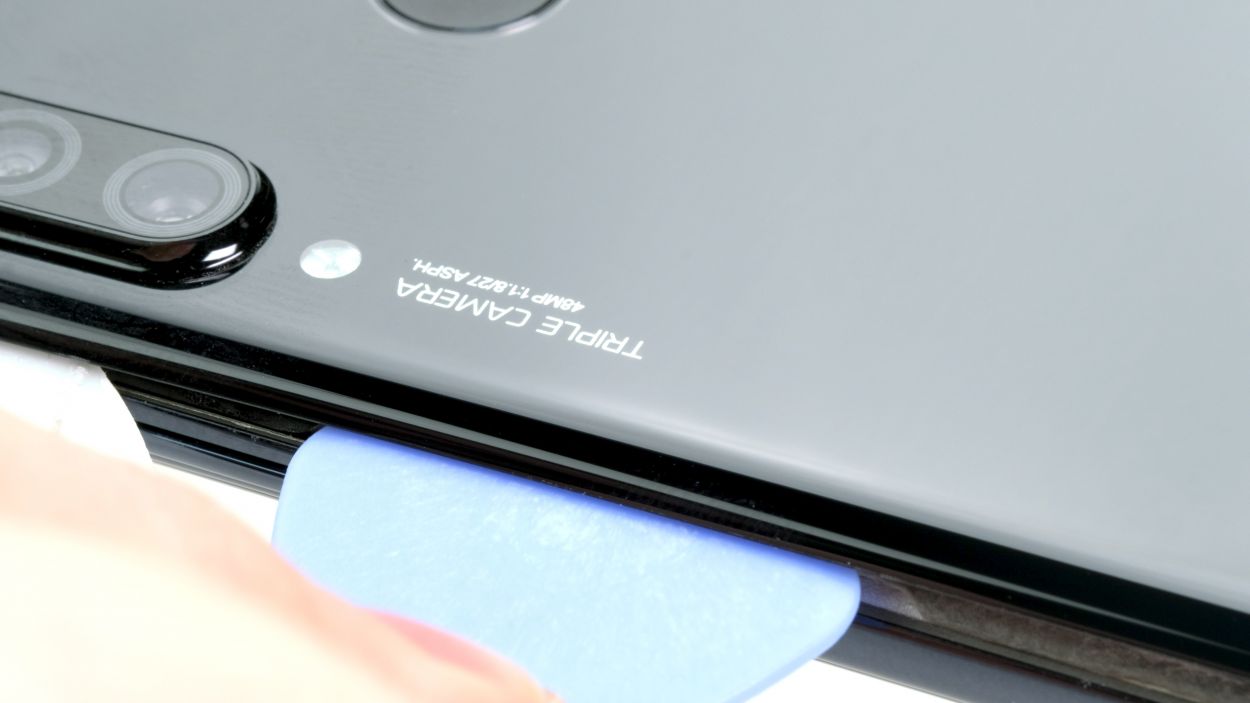
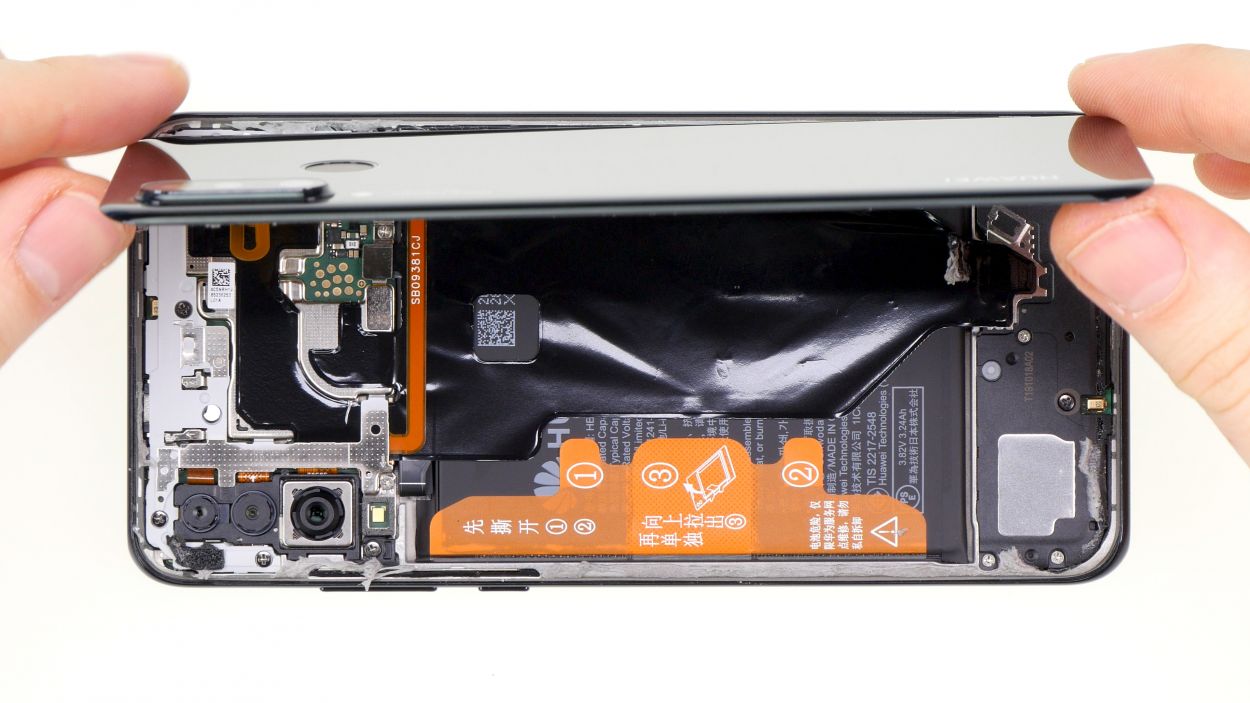
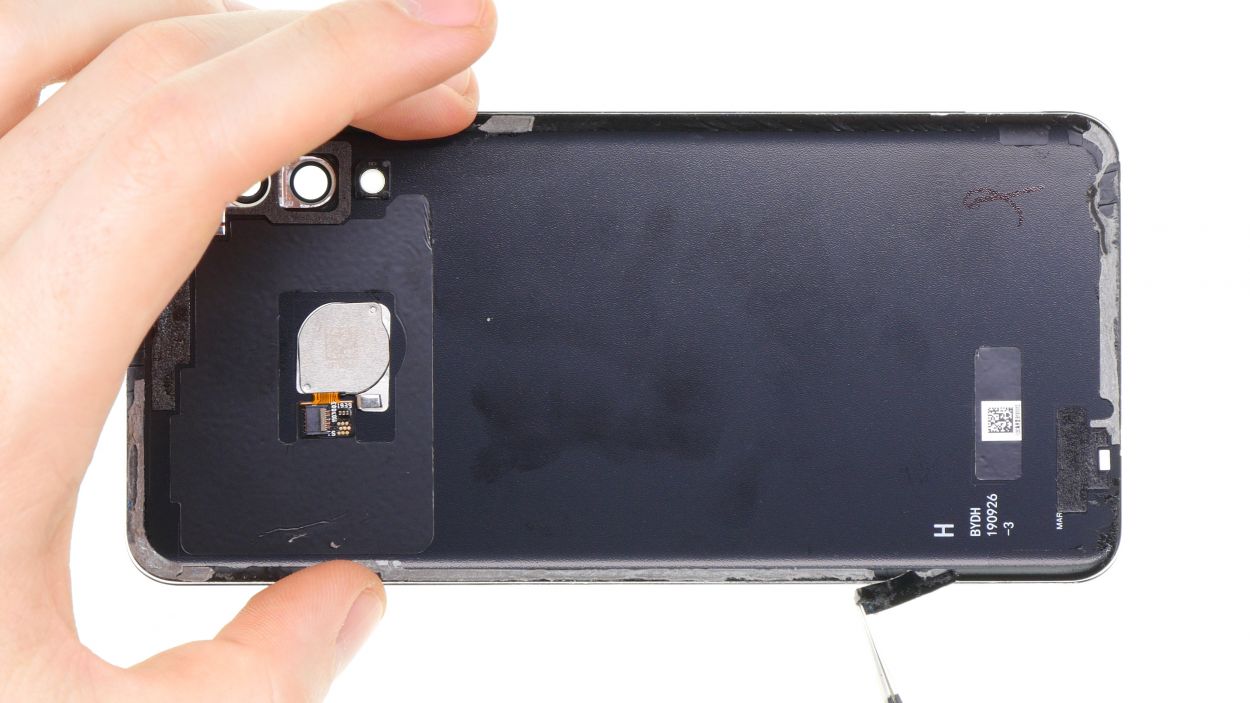
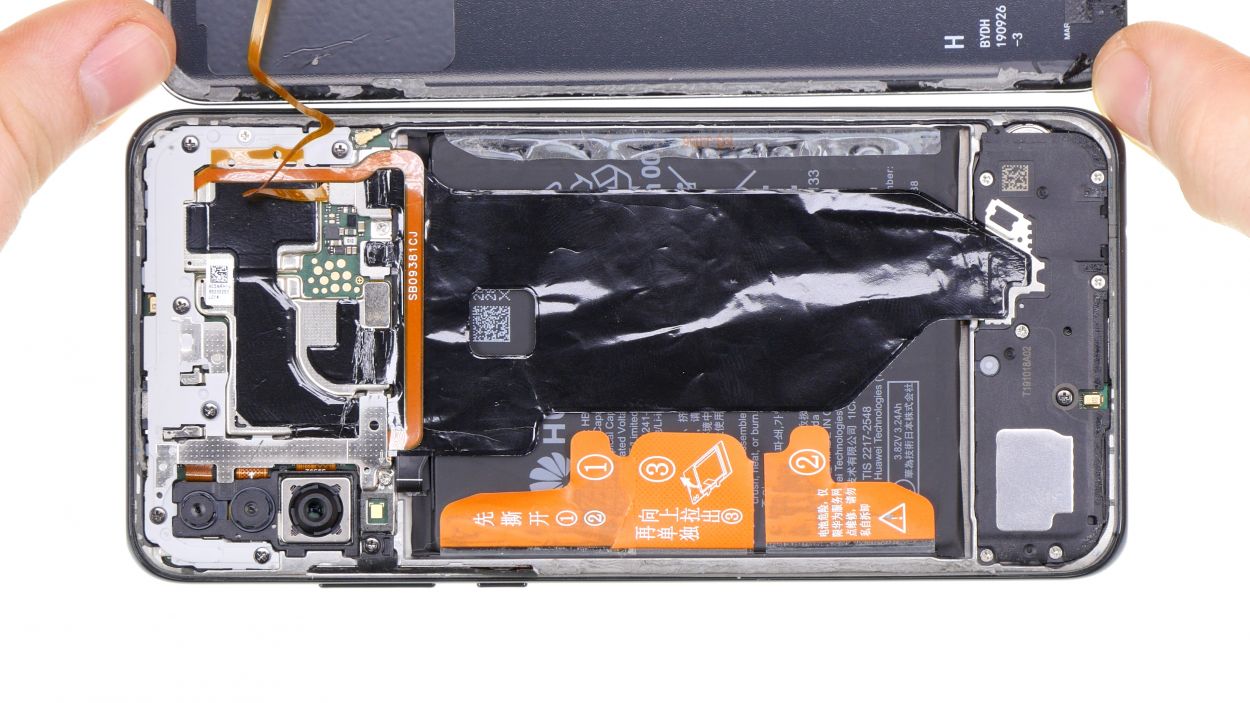
Take it easy when you’re working inside the device! Don’t go poking your tool in too deep. Remember, the cameras are hanging out on the left, while the fingerprint sensor’s flex cable is chilling on the right.
If you’re not feeling the suction cup vibe, no worries! Try using an iSlack instead. This nifty tool acts like pliers and has suction cups on both sides, making it a handy alternative.
Tools Used
- heat gun to heat parts that are glued on so they’re easier to remove.
In most cases, you can also use a hairdryer.” rel=”nofollow noopener”>Heat gun - Flat Picks
- screen and the frame. The practical iFlex is made of stainless steel and sits comfortably in the hand. This makes it the perfect assistant for every smartphone repair.” rel=”nofollow noopener”>iFlex Opening Tool
Step 3
2 × 2,7 mm Phillips
7 × 3,3 mm Phillips
We recommend using a magnetic mat so you can keep up with all the different screws you will be using.schedule a repair
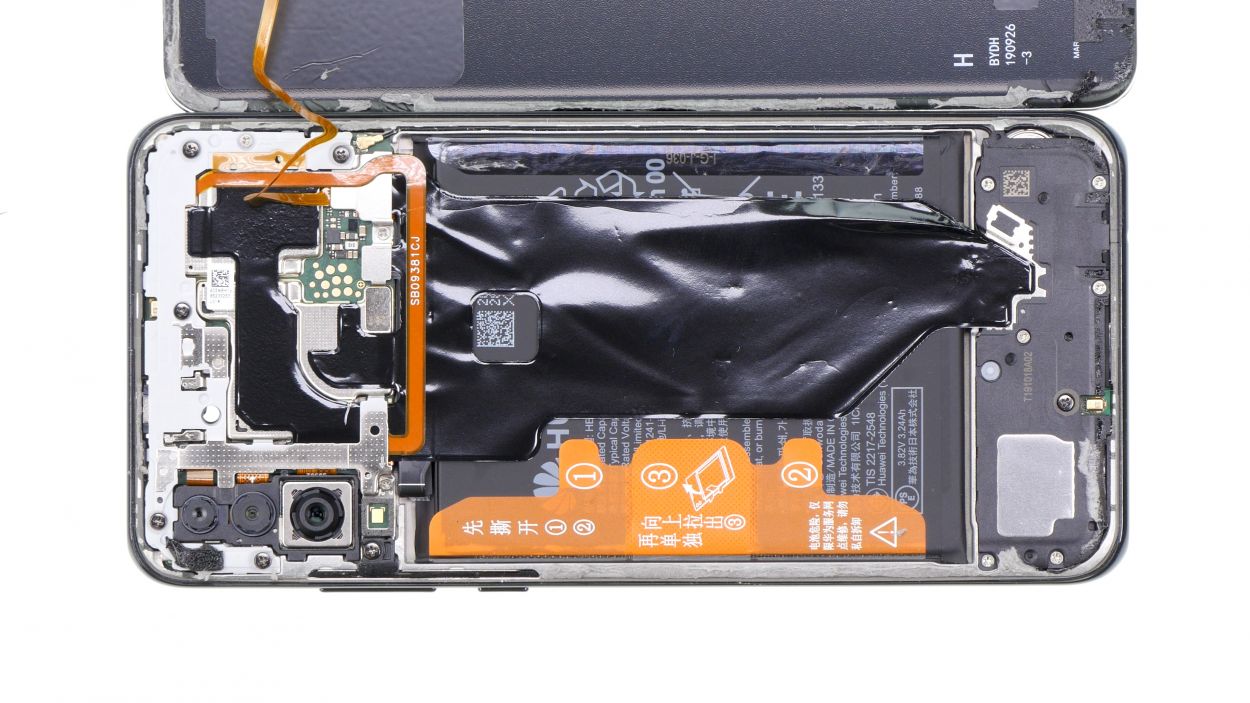
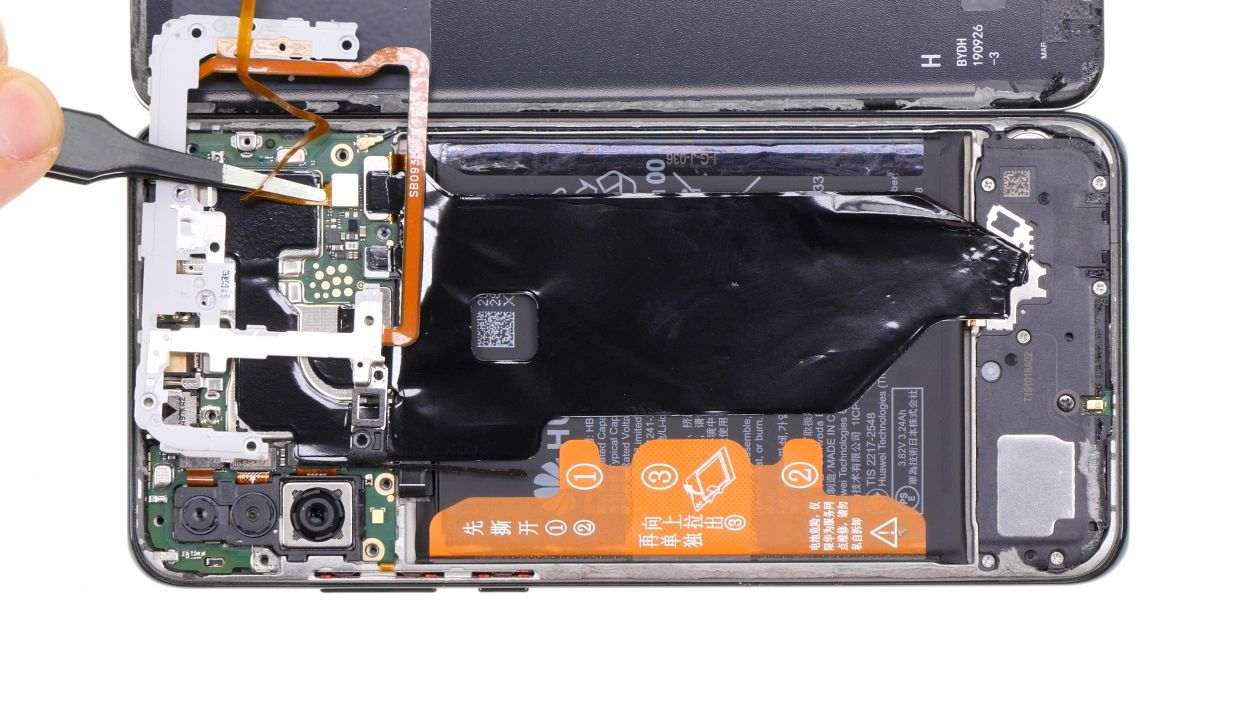
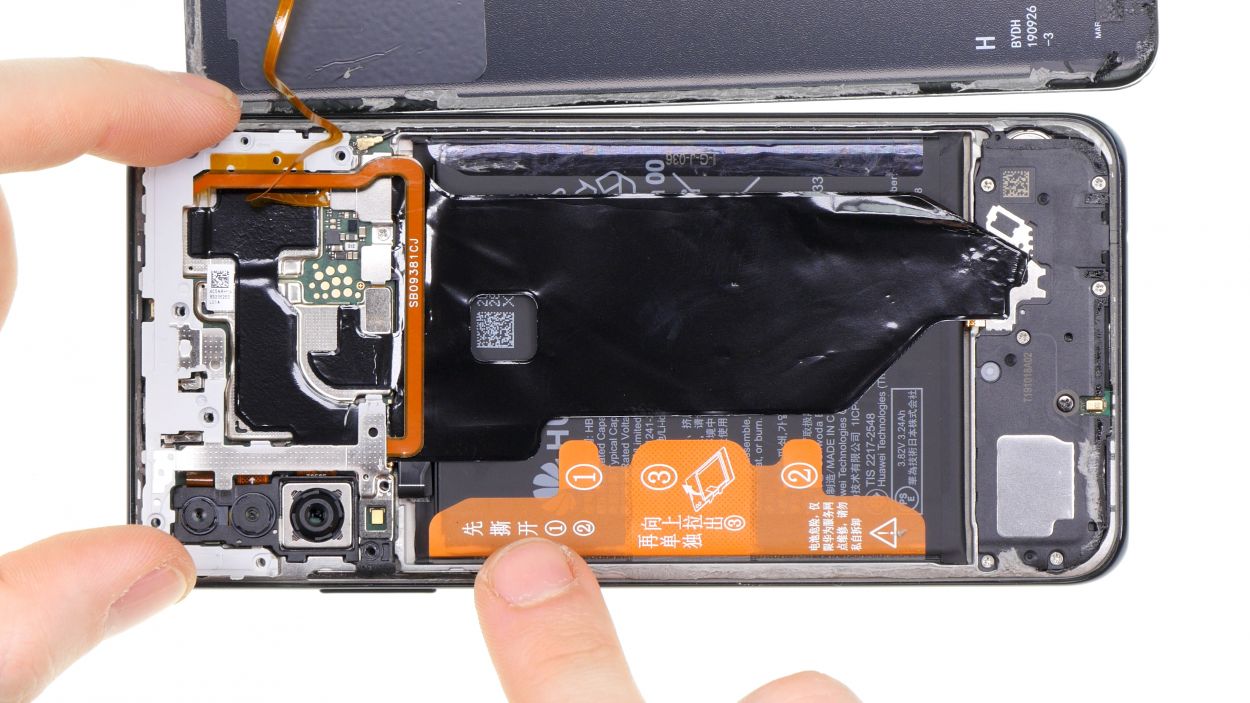
– First up, we’ve got the motherboard and its connectors all snug under a protective cover. Let’s get that cover off!
– Time to unscrew the screws holding that cover in place. Keep your eyes peeled for the different lengths! Remember, the black screws are just a tad longer than the silver ones, so don’t mix them up!
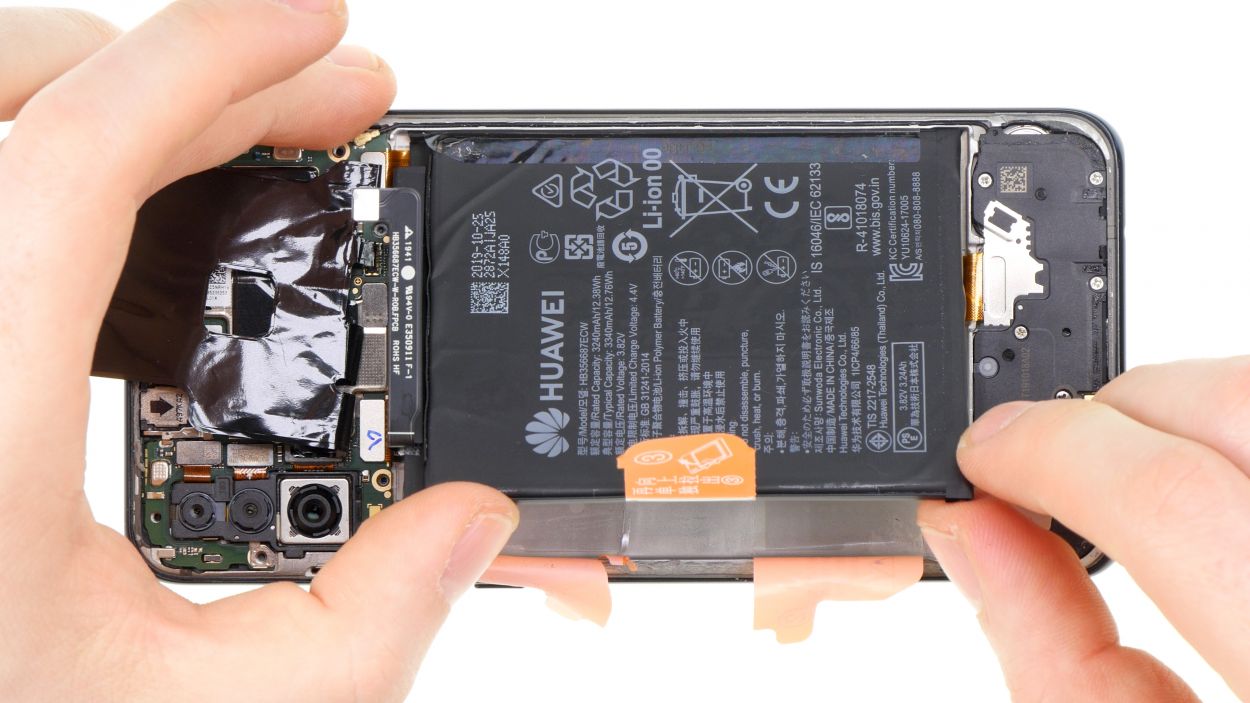
Step 4


1 × 2,7 mm Phillips
Battery Connector
First things first, let’s loosen that battery contact! It’s the best way to stop any sneaky current from flowing through your device. This little step helps keep those pesky short circuits at bay while you work your magic!
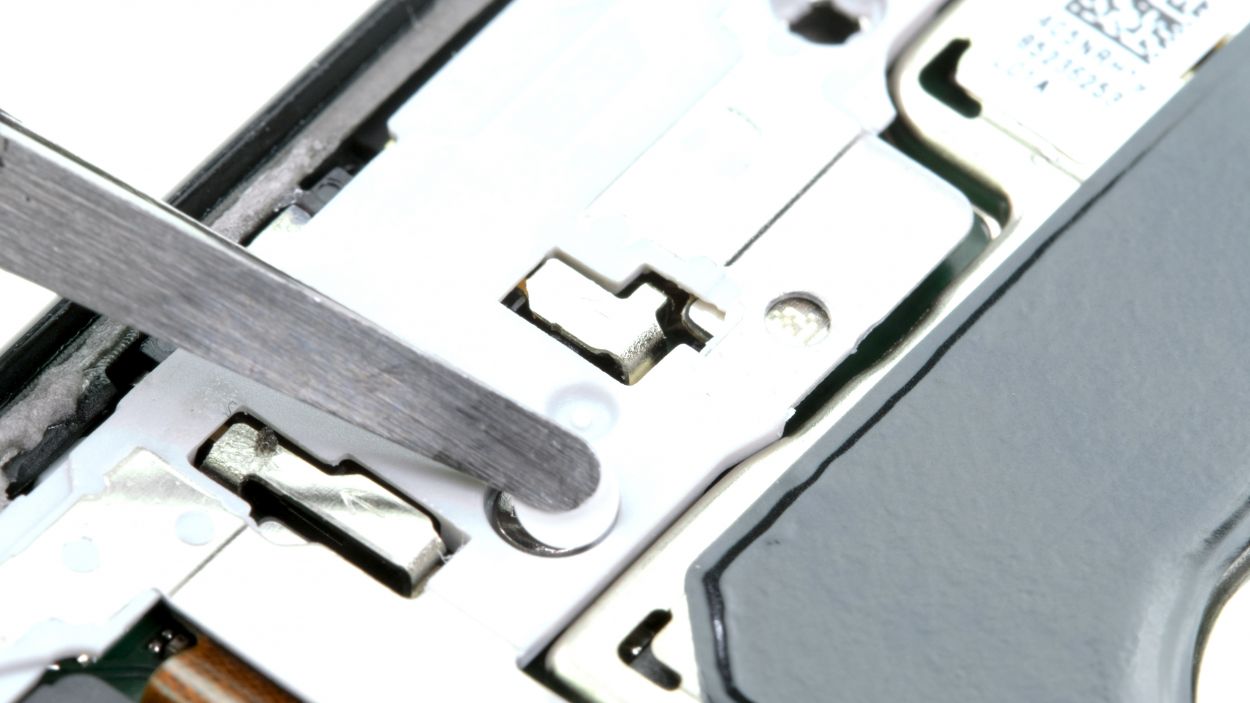
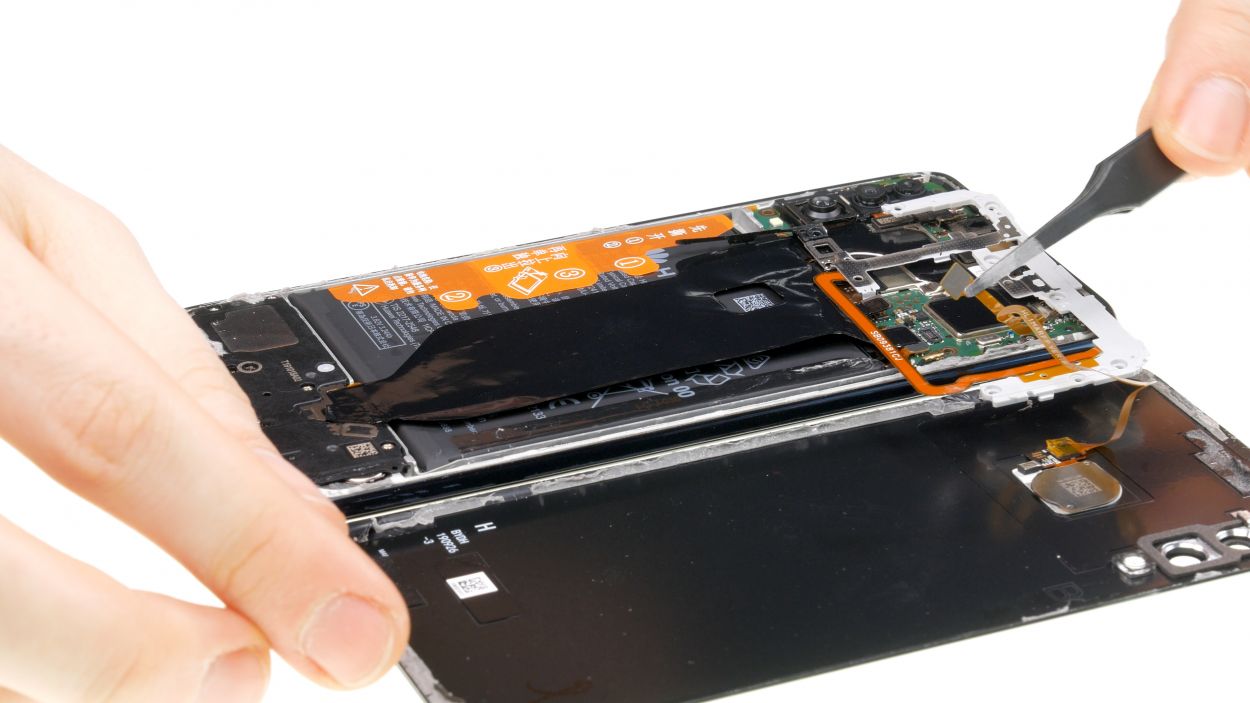
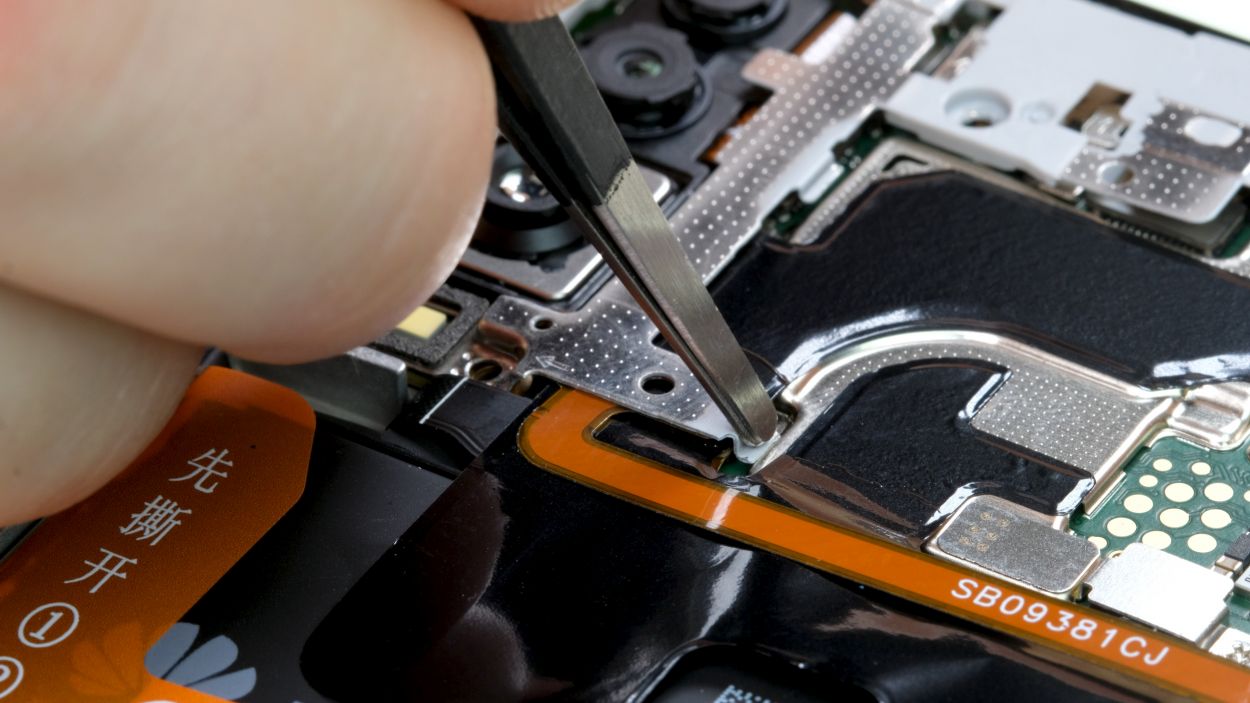
– Hey there! Just above the battery connector, there’s a little metal cover waiting to be removed.
– Unscrew it and gently lift that cover out of the device using some tweezers.
– Now you’re in the clear! The battery connector is all exposed and ready to be popped out with a trusty plastic spudger.
Tools Used
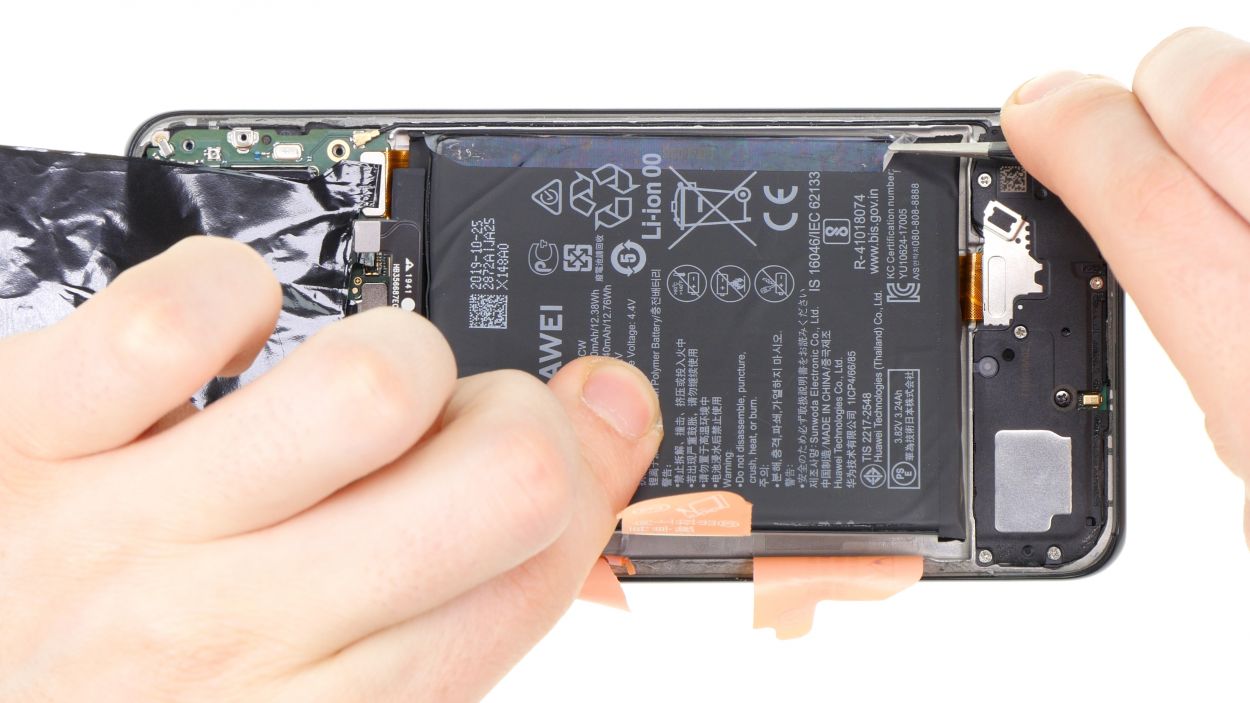
Step 5
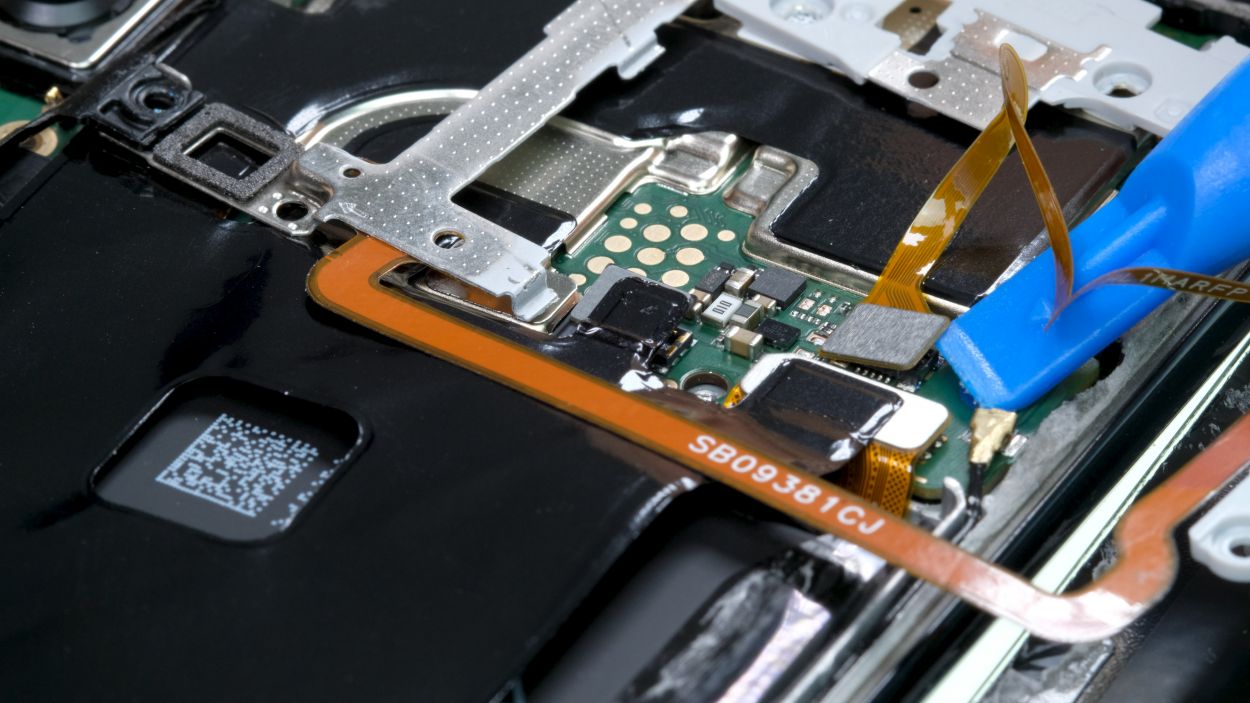
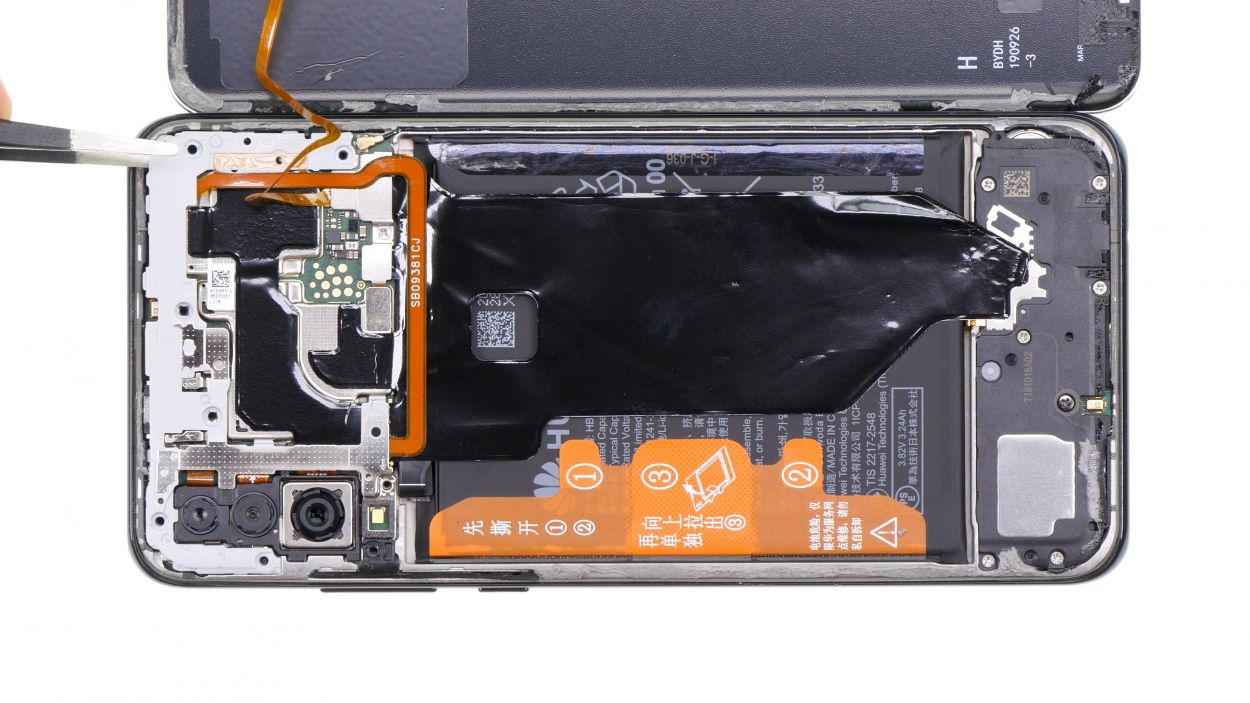
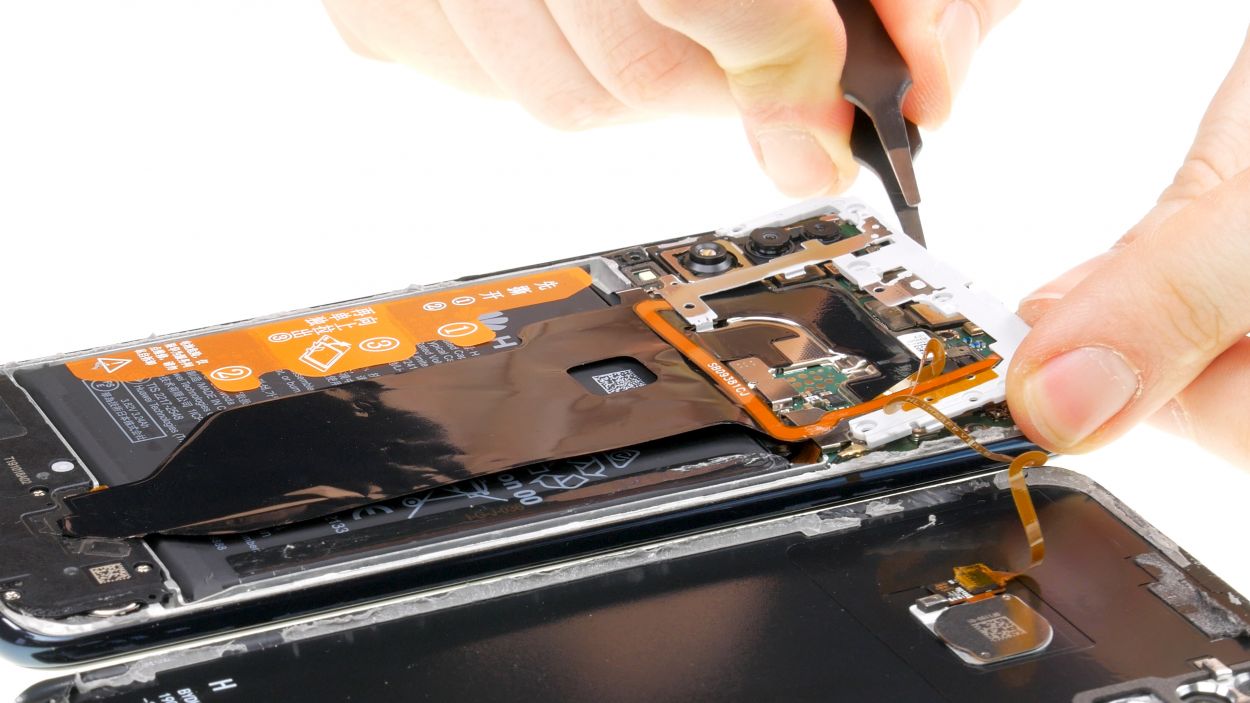
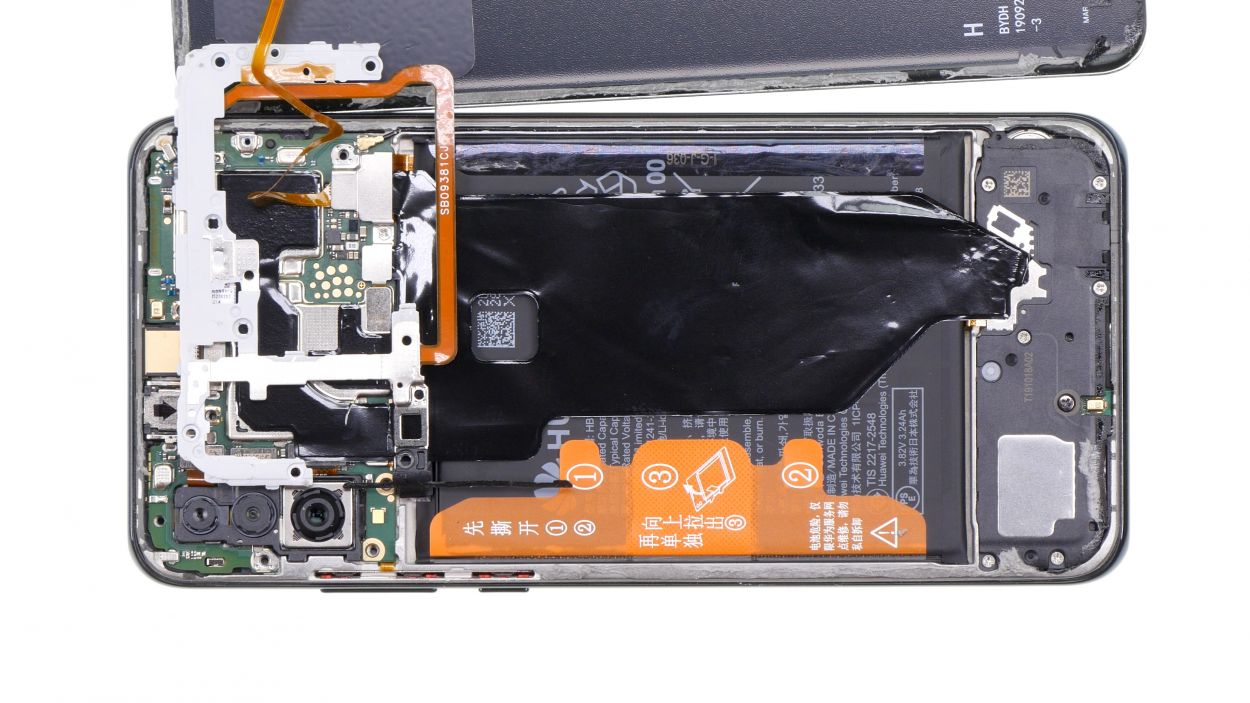
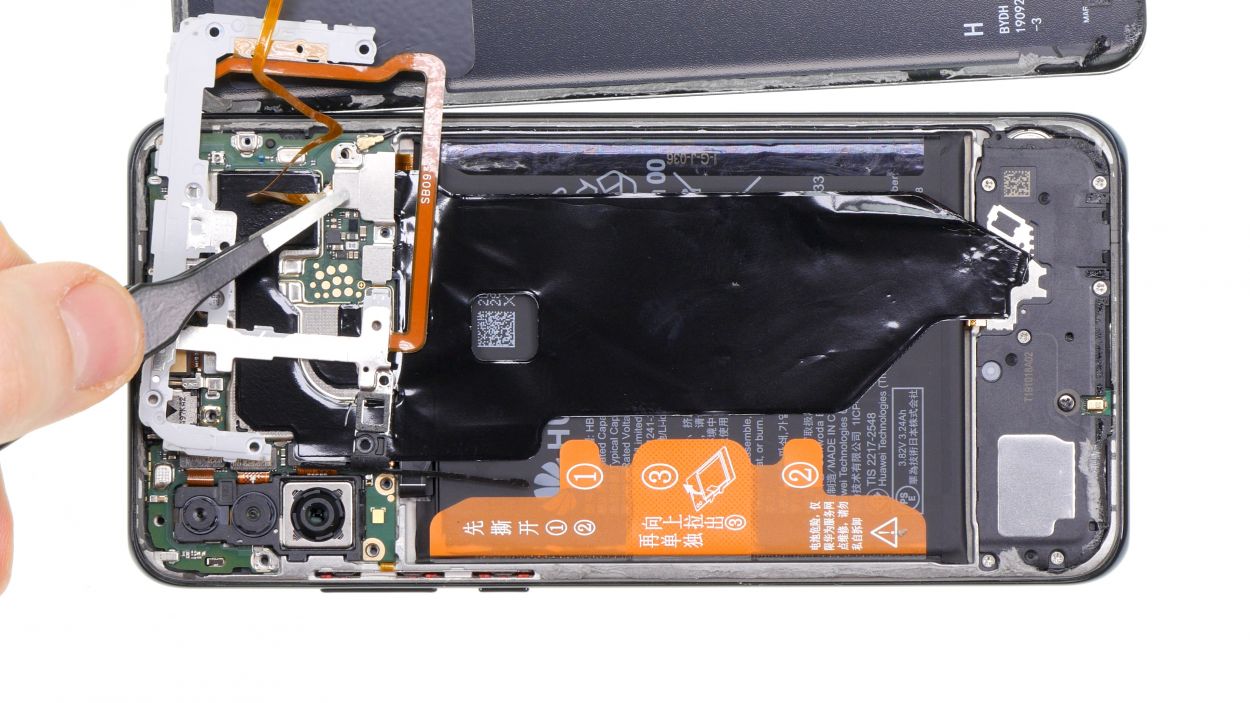
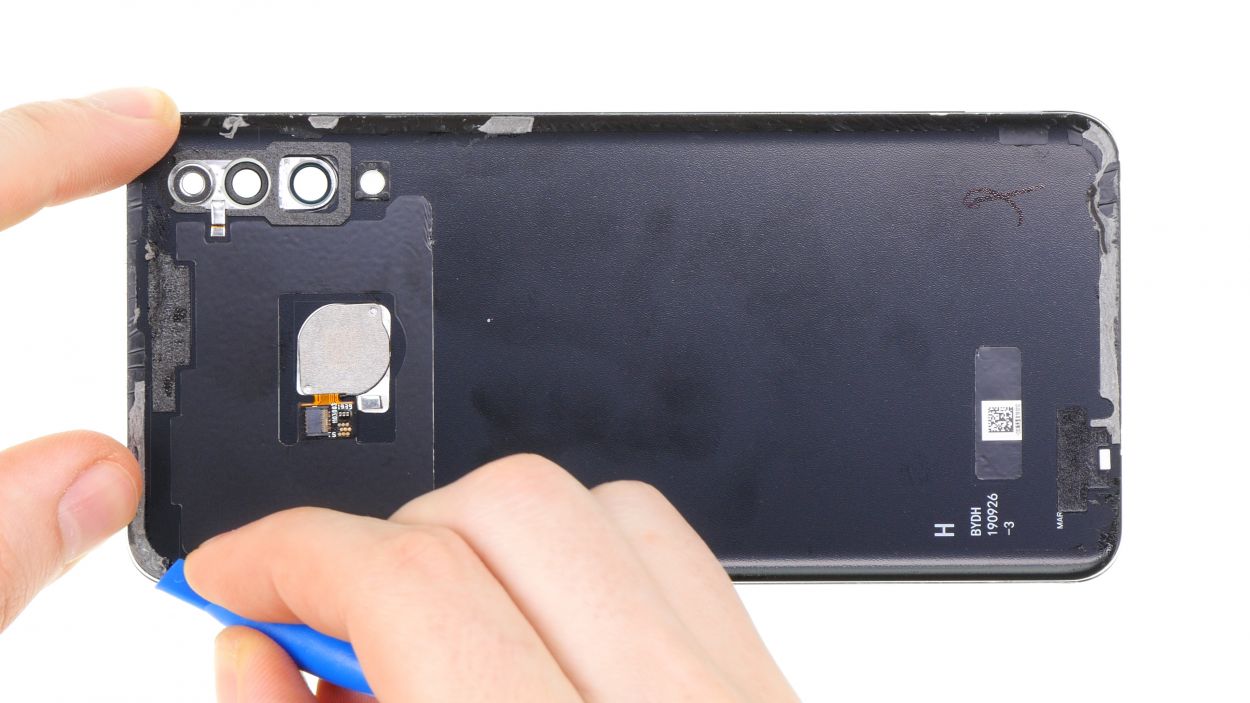
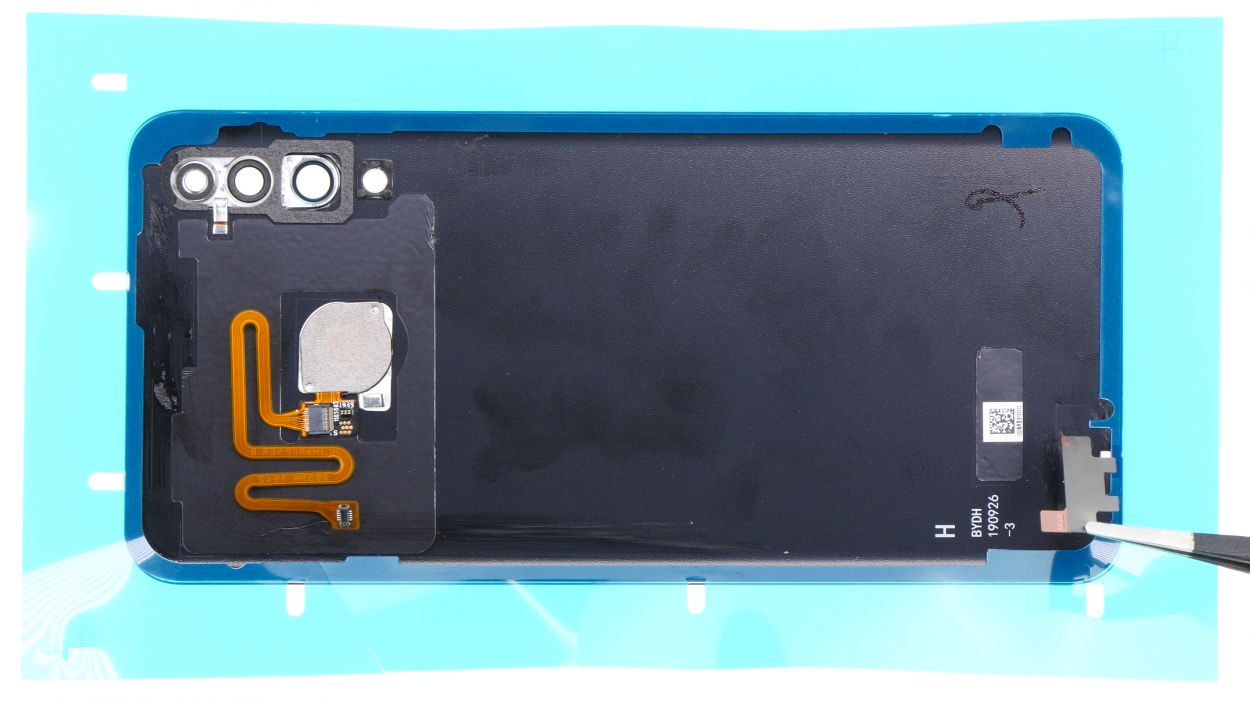
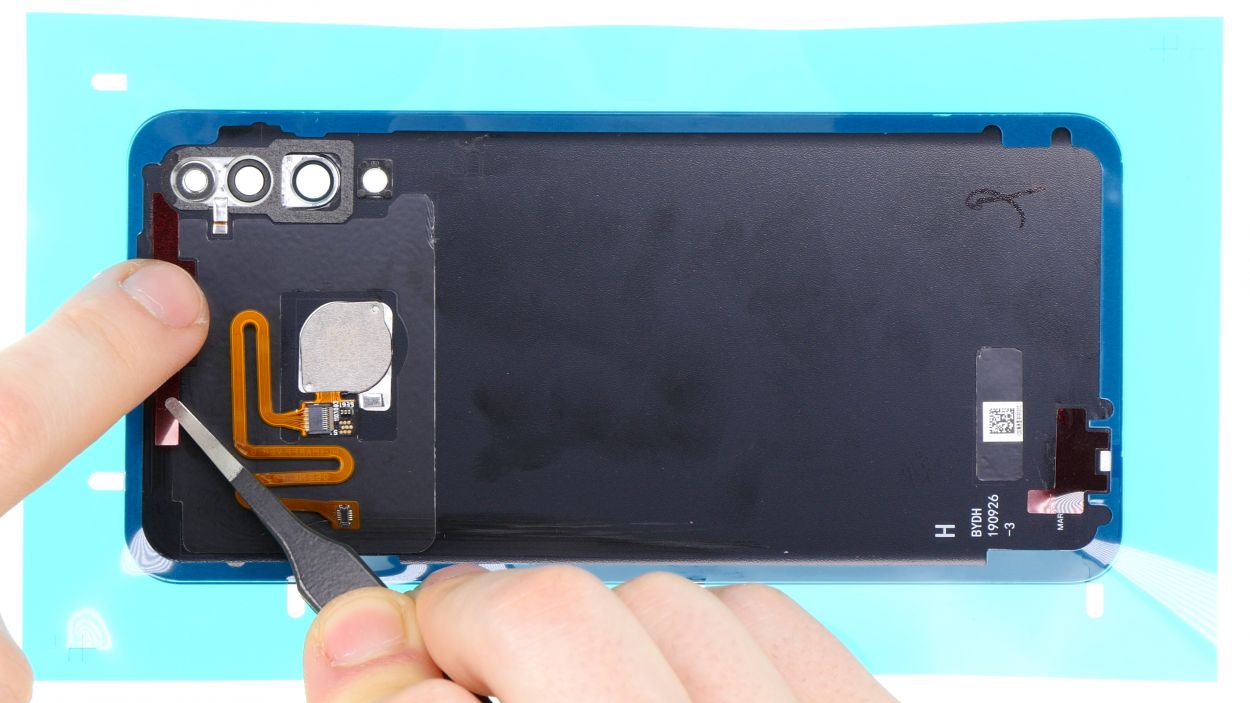
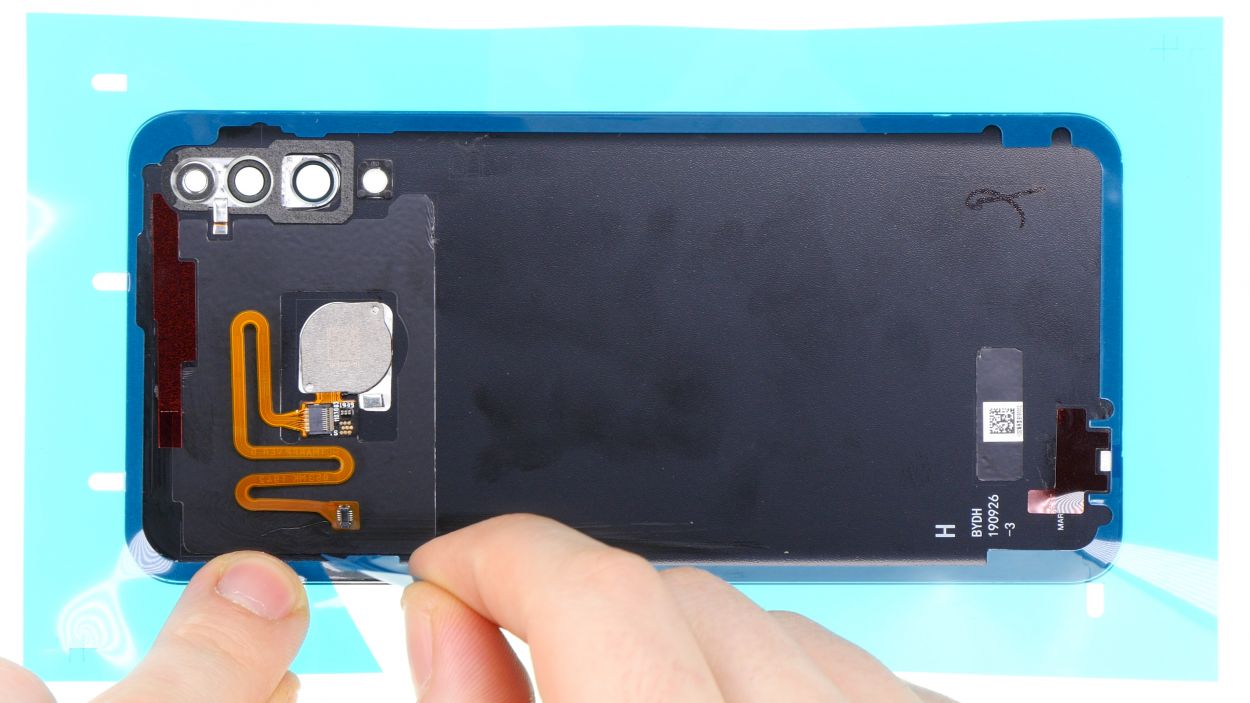
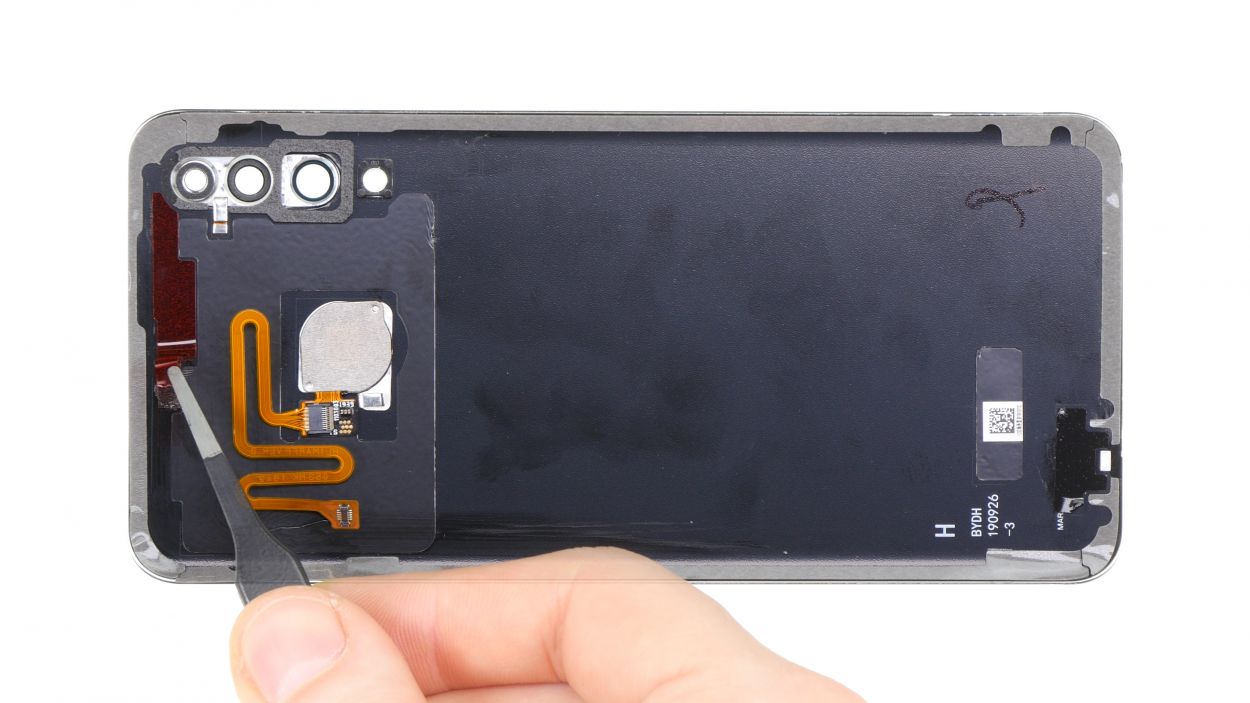
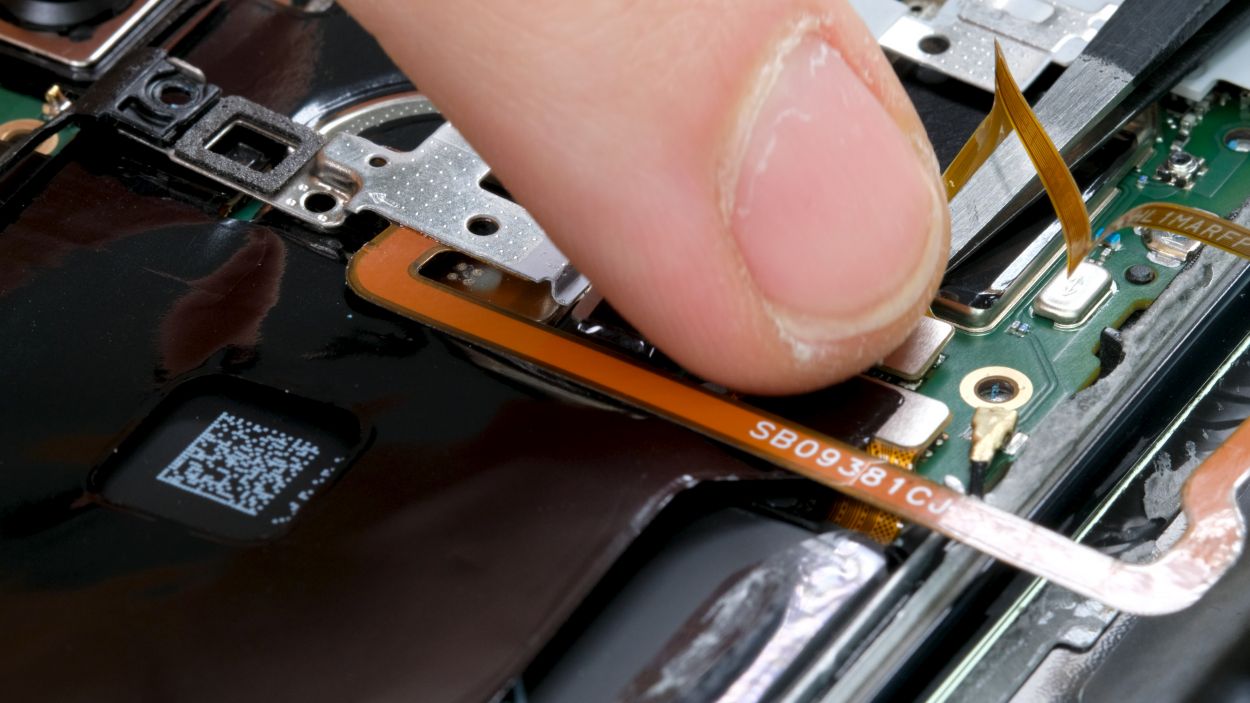
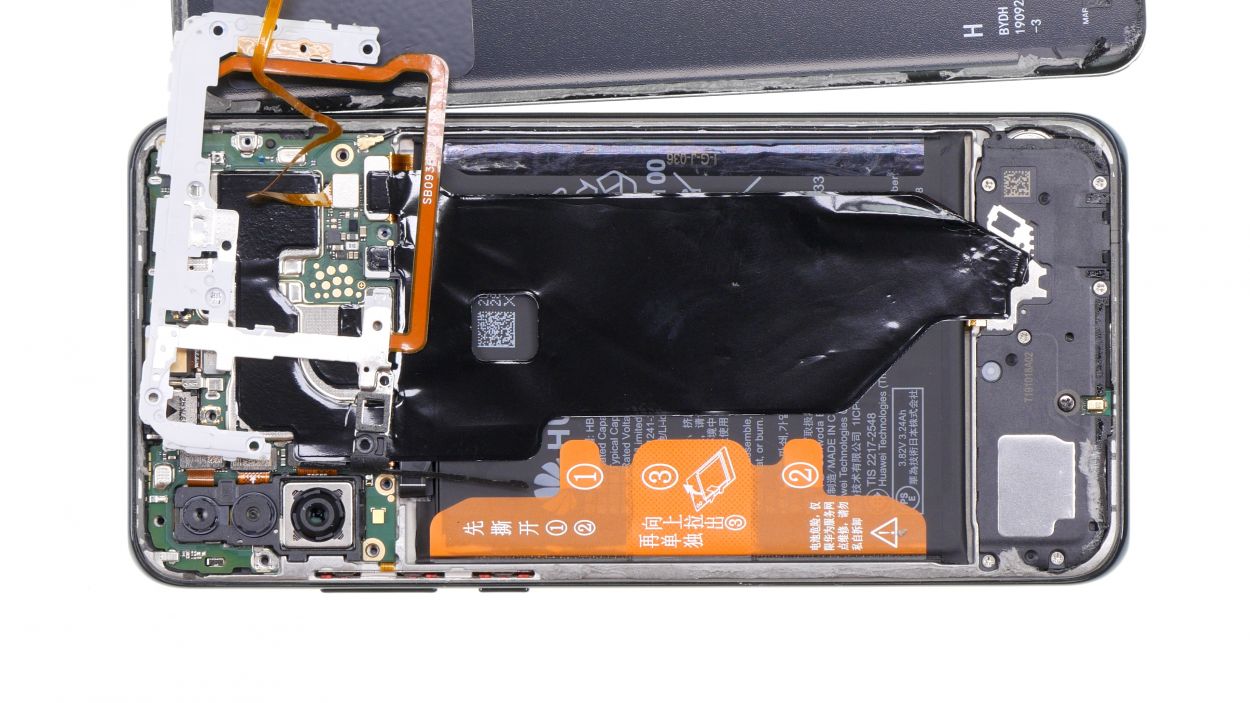
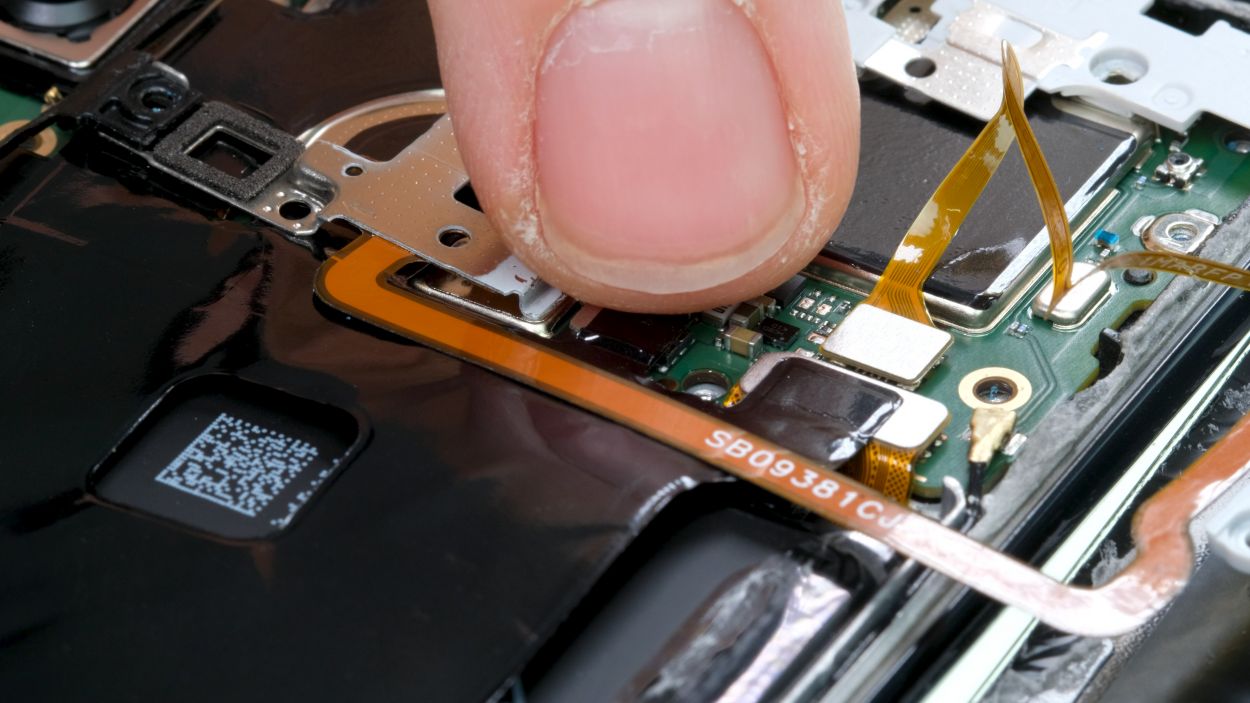
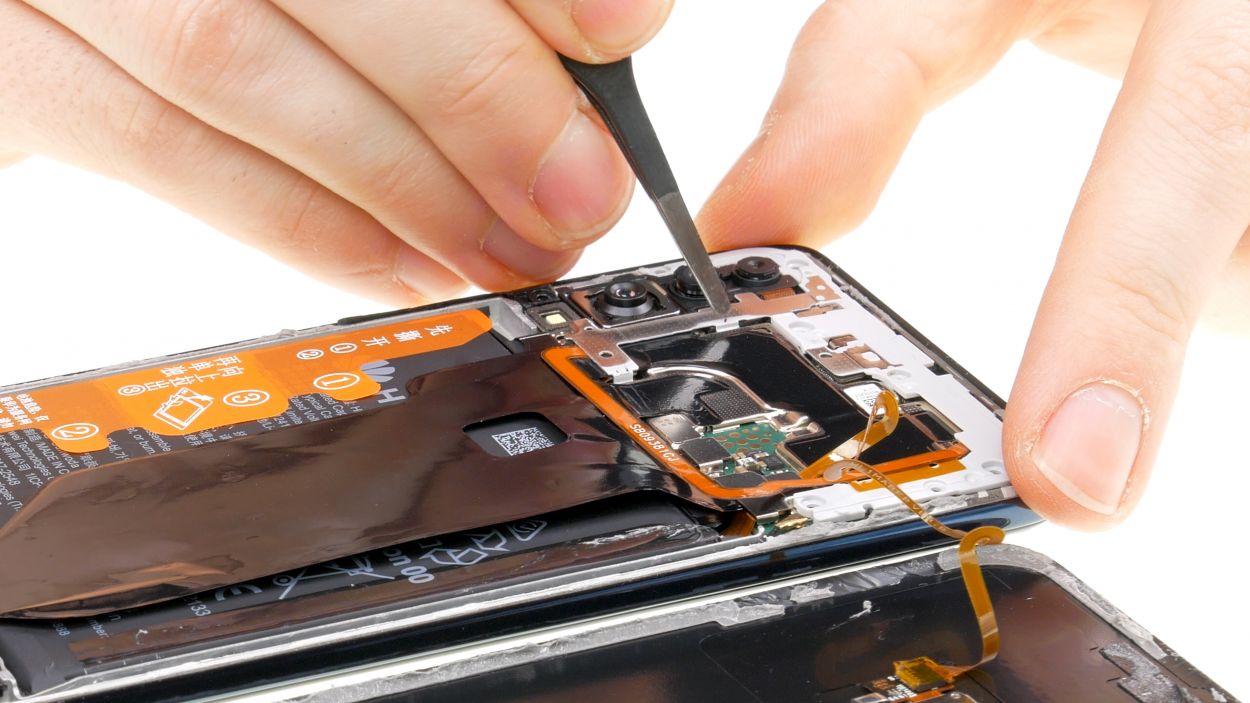
Fingerprint Connector
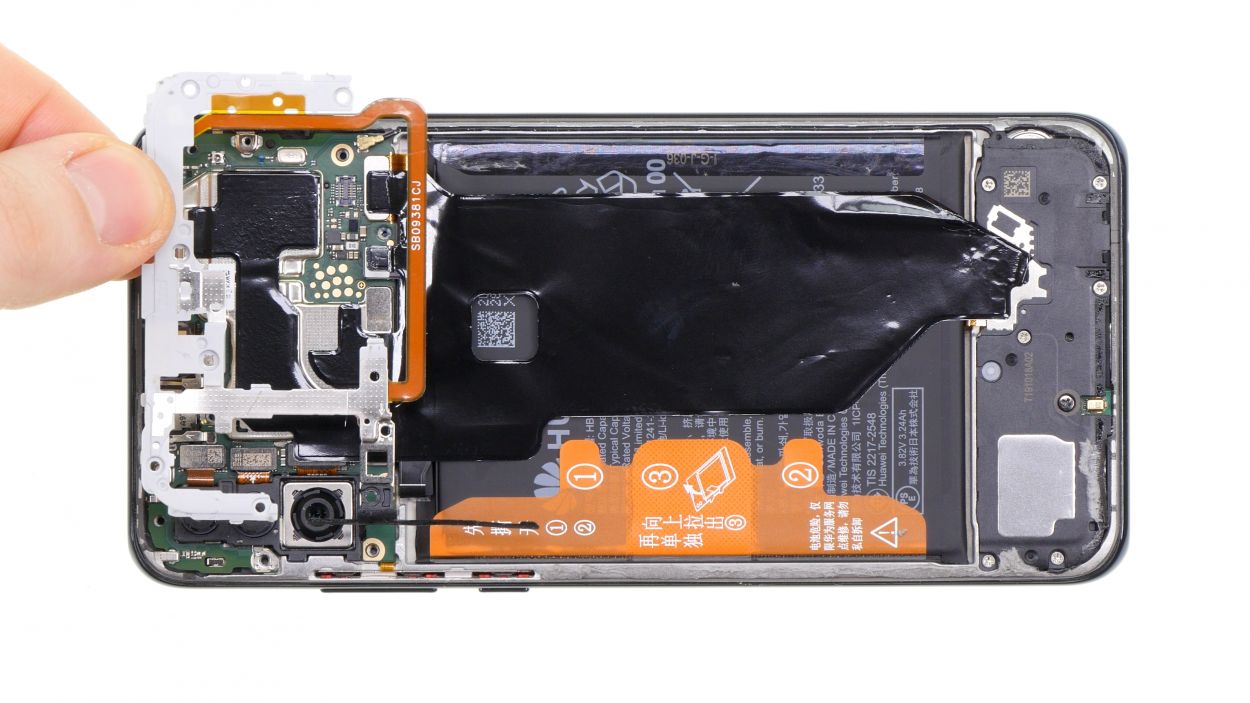
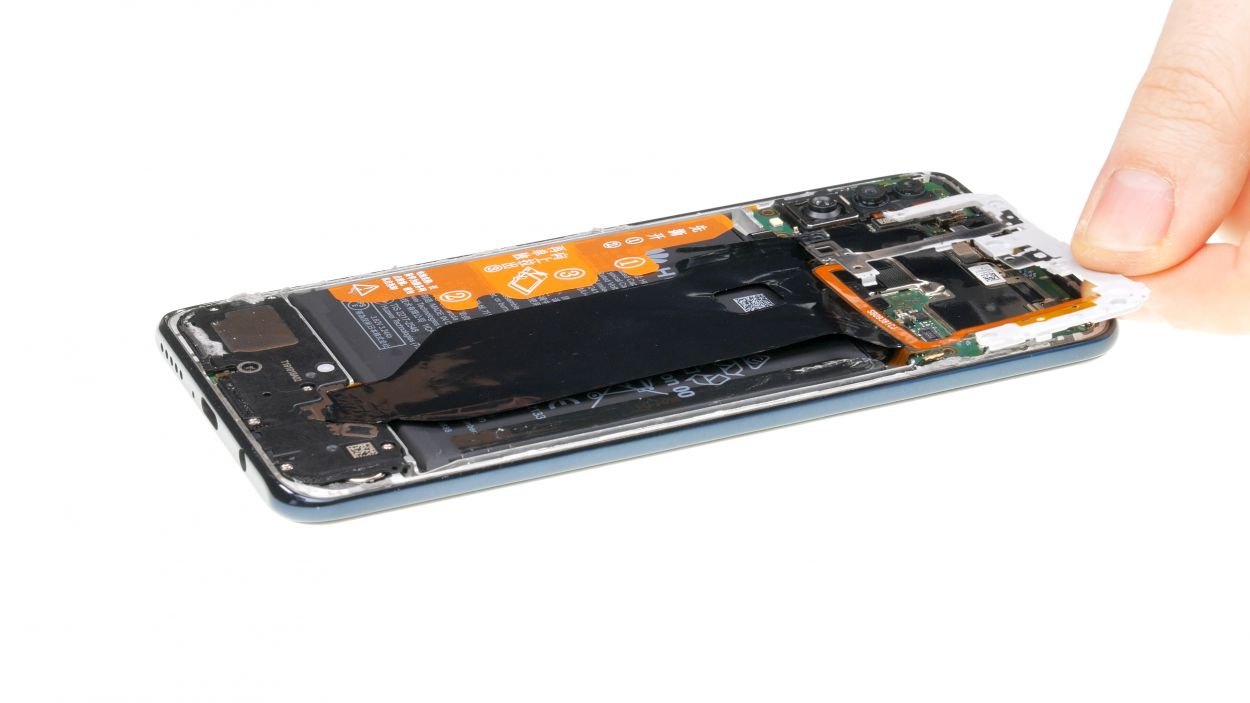
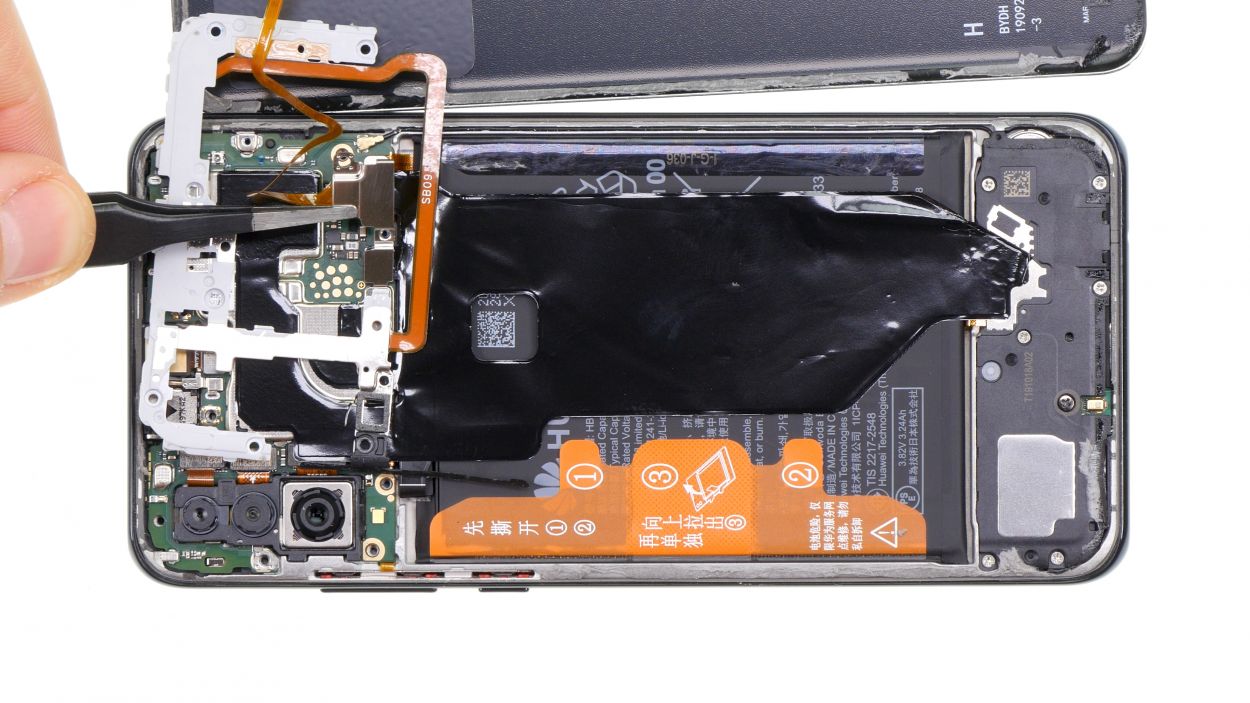
– Alright, let’s get that fingerprint sensor unplugged from the motherboard. It’s a simple task, just give it a gentle disconnect!
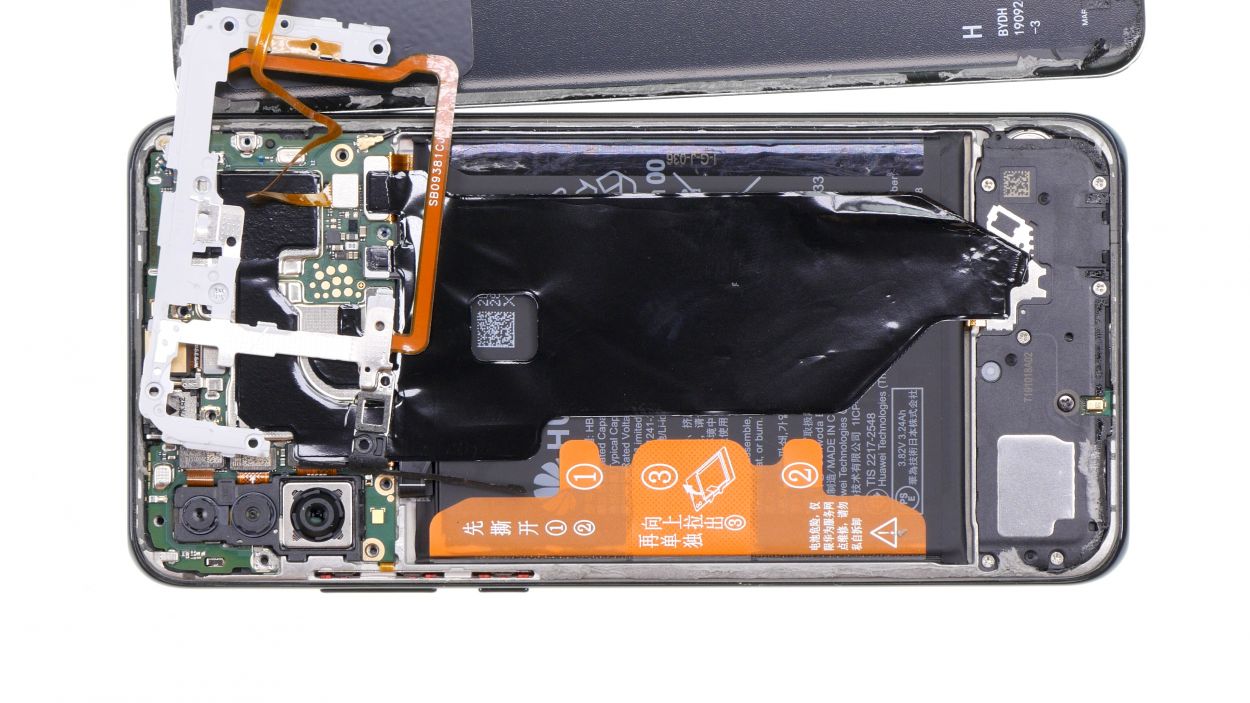
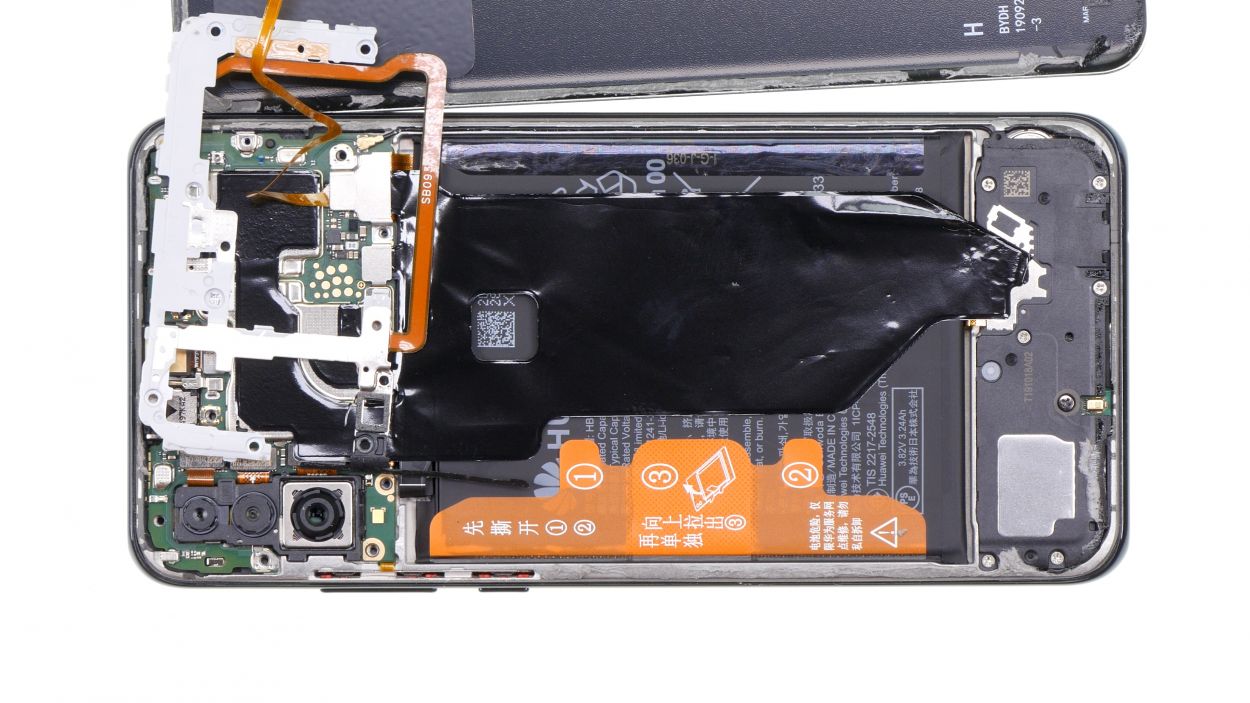
– Now that you’ve done that, feel free to set the back cover aside and take off the board cover from the device. You’re making great progress!
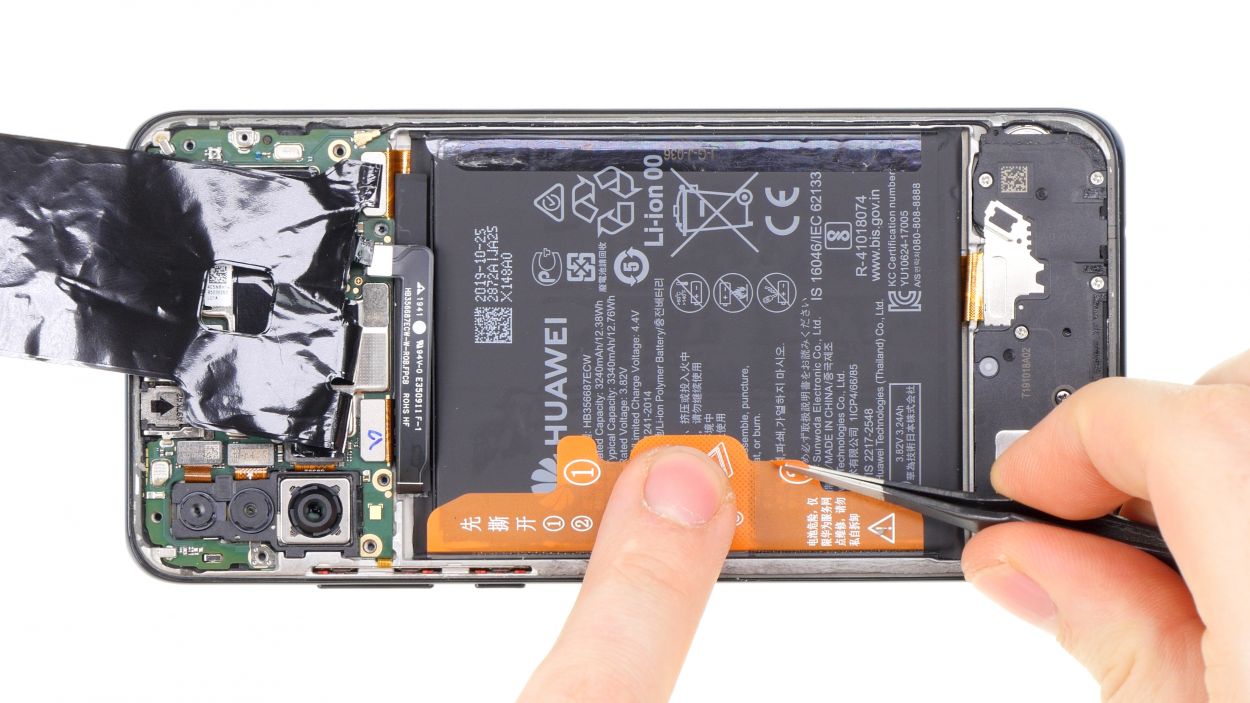
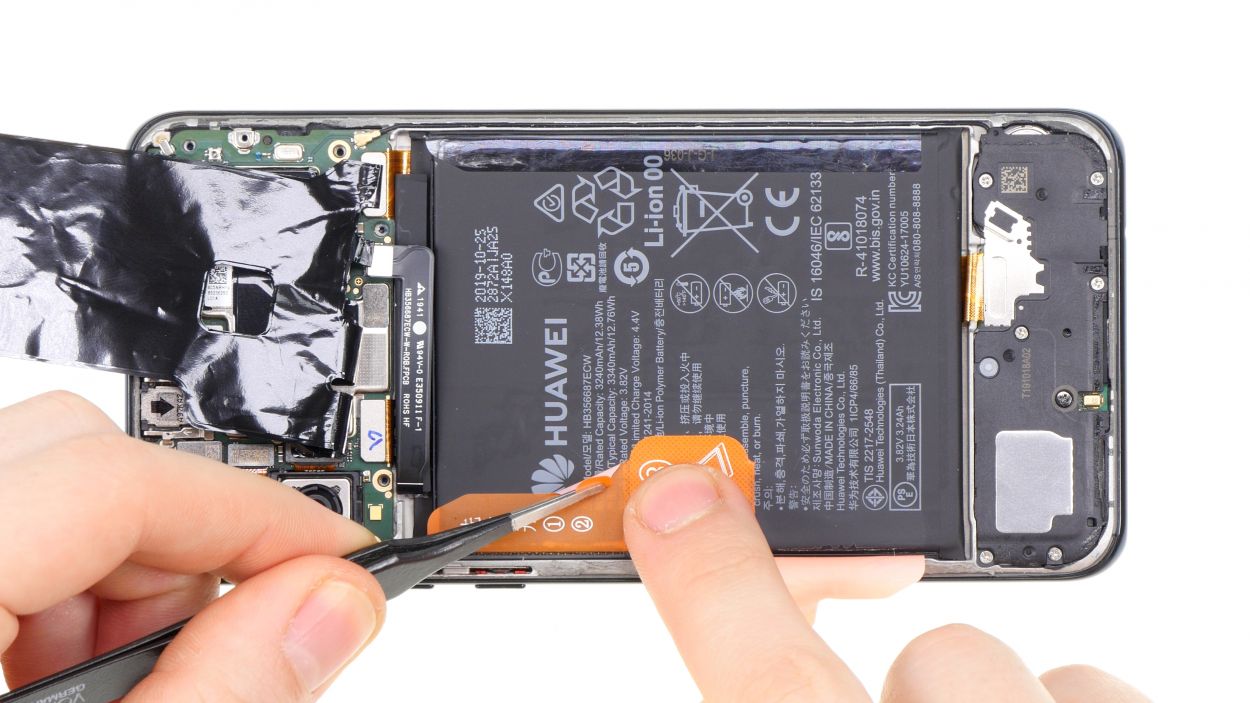
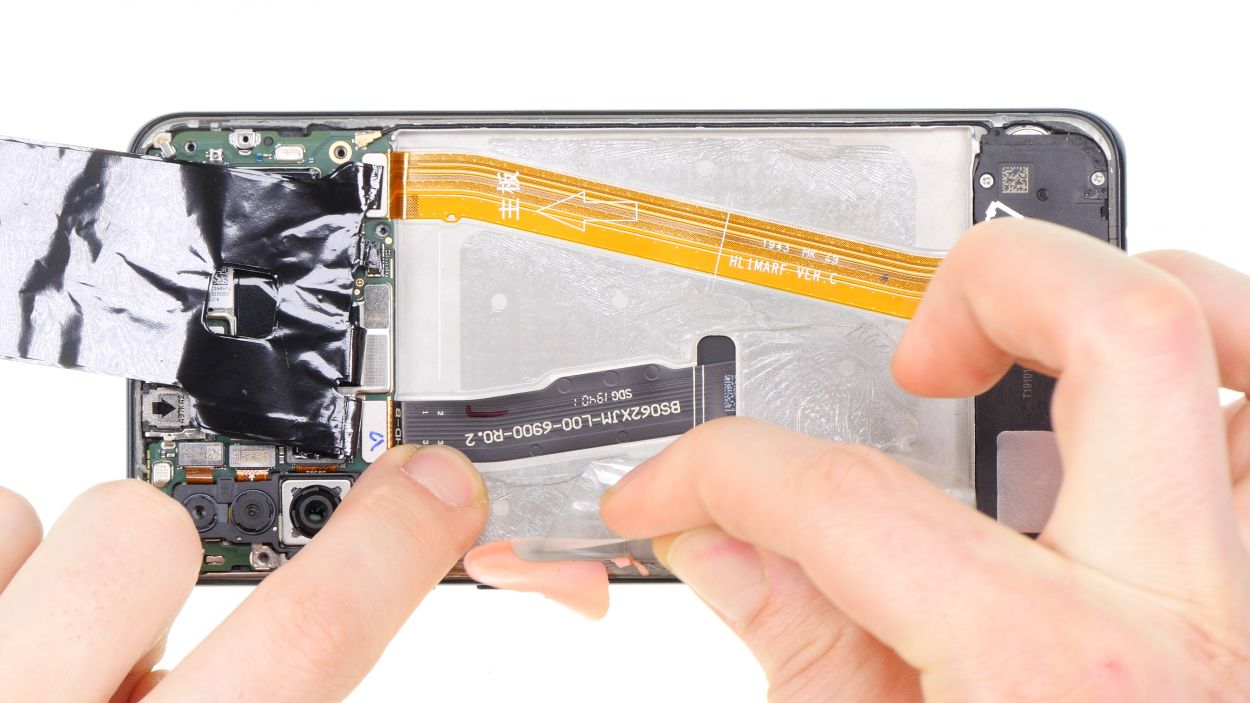
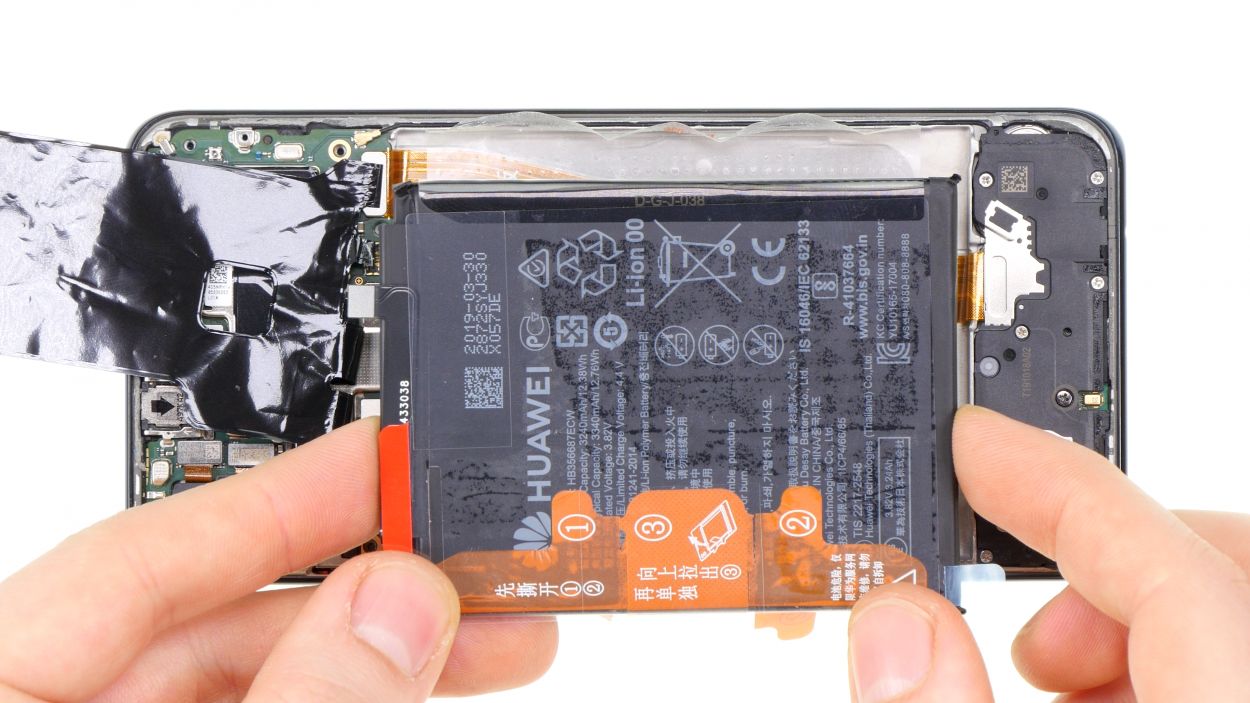
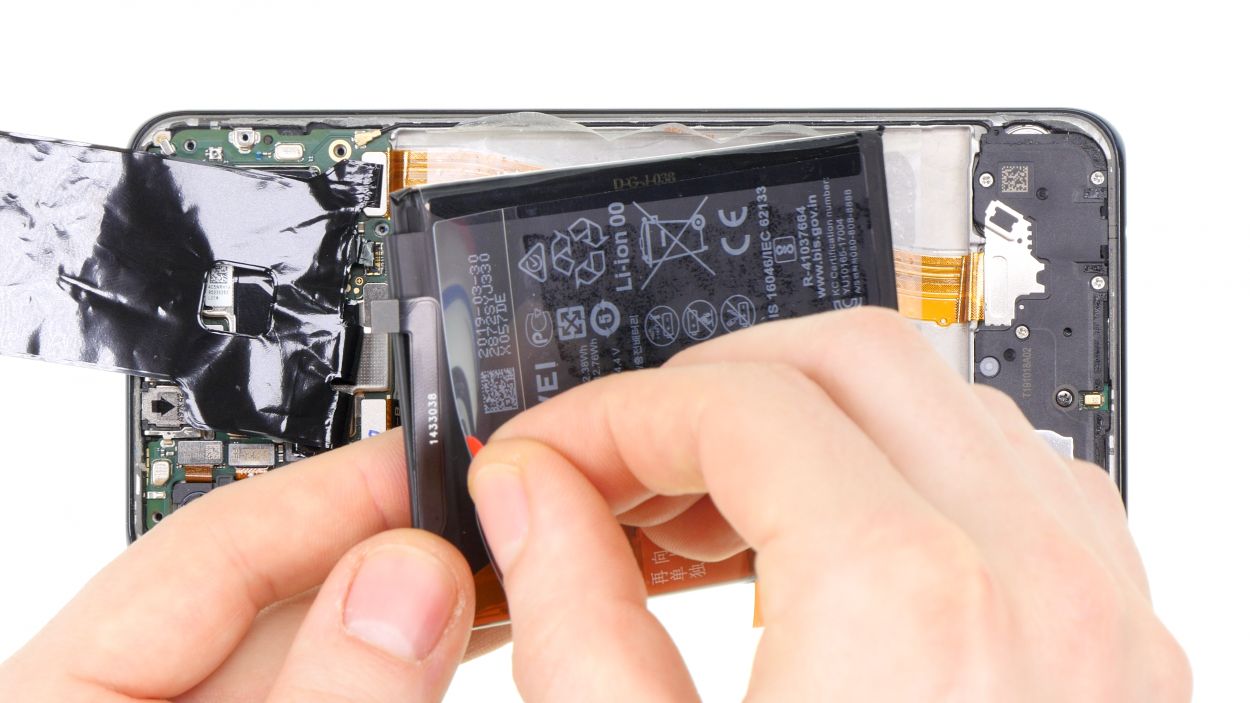
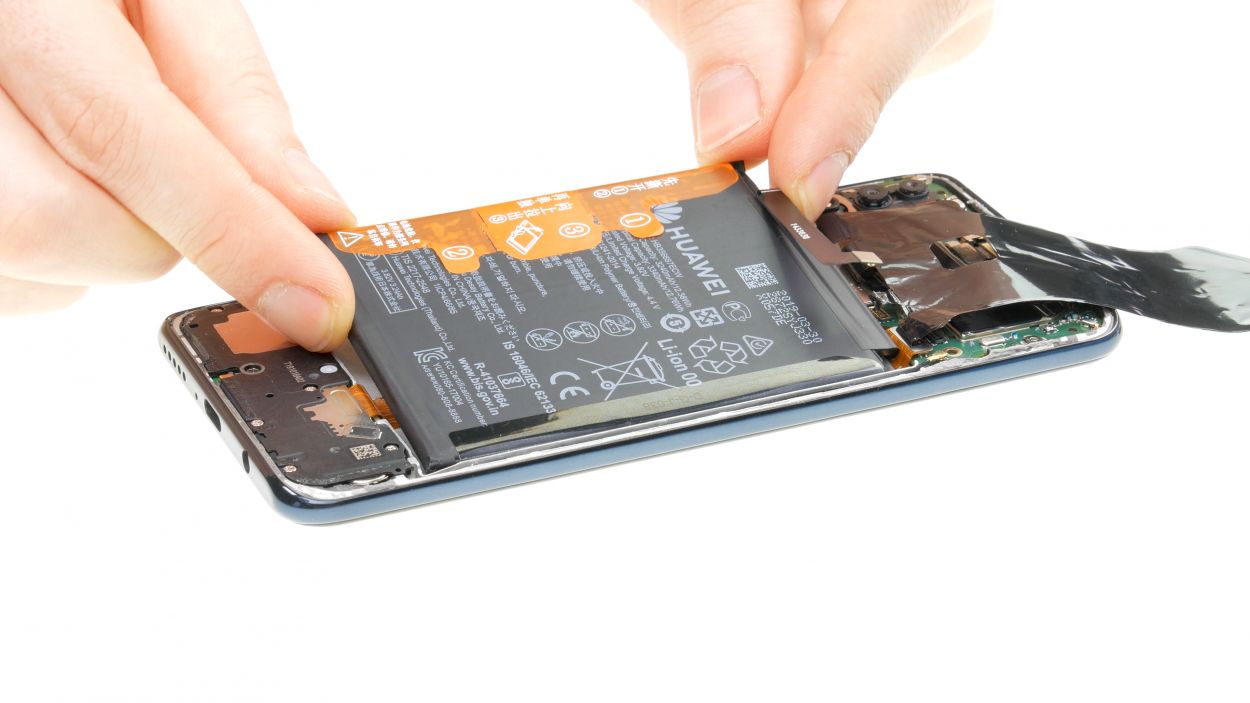
Step 6


Step 8

– Ready to stick that back cover on? You can either use the old glue or grab a fresh adhesive frame. Just a heads up, your device won’t be completely sealed off from liquids and dust during this process, so handle with care!
– First, take a peek at the old glue. If it’s looking a bit lumpy, give it a good straighten out.
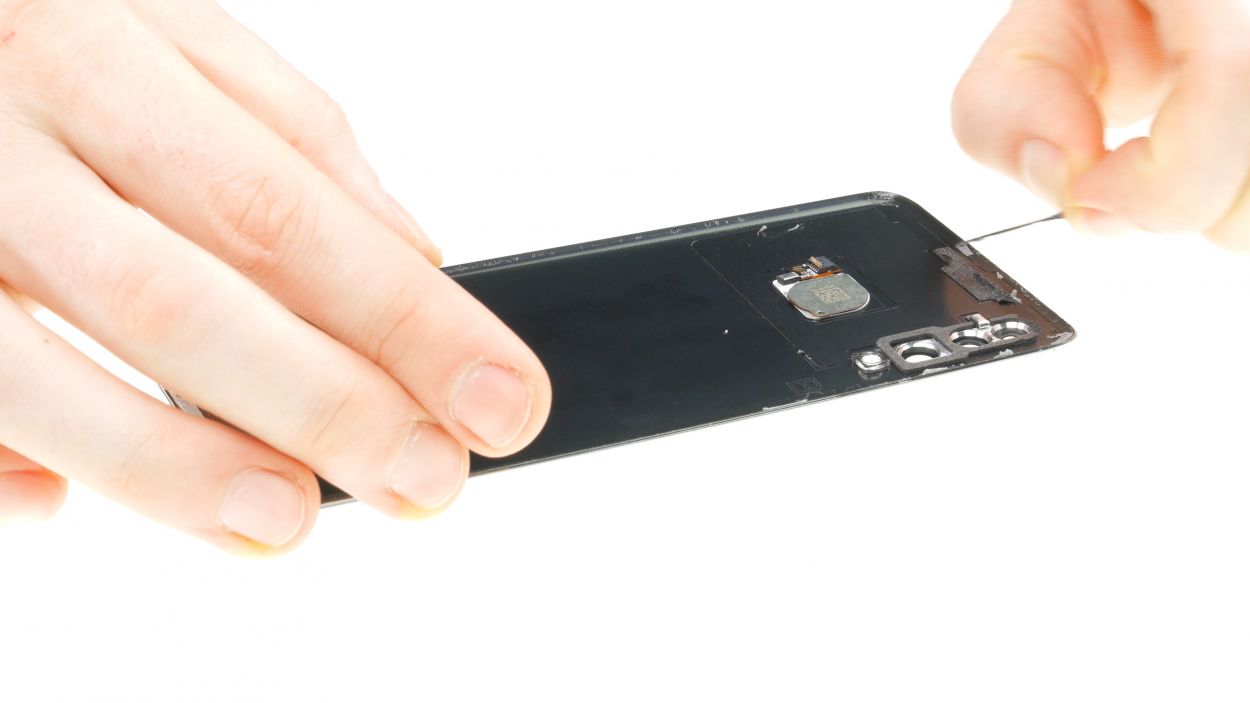
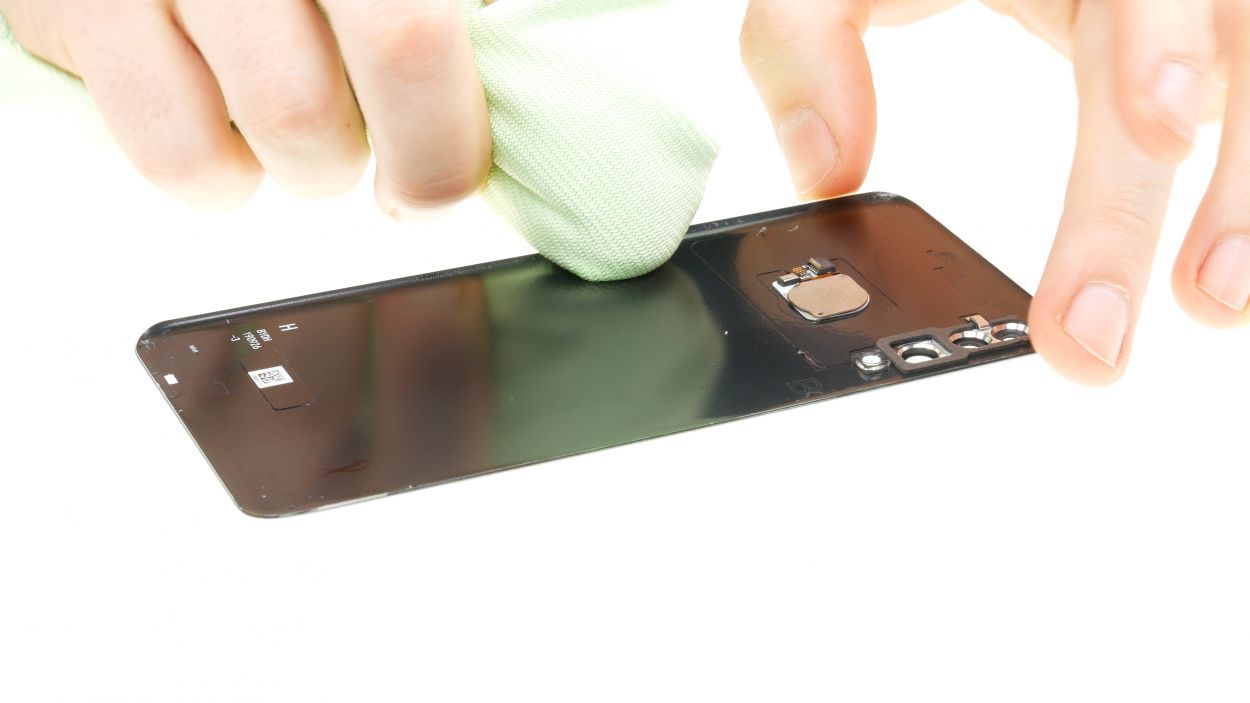
– Thinking of going with a new adhesive frame? Start by removing the old adhesive from both the back cover and the frame of your device.
– For the glue removal, tweezers are your best friend! Peel off the old stuff and use a plastic tool to scrape away any stubborn residue. A little rubbing alcohol on a lint-free cloth can work wonders too!
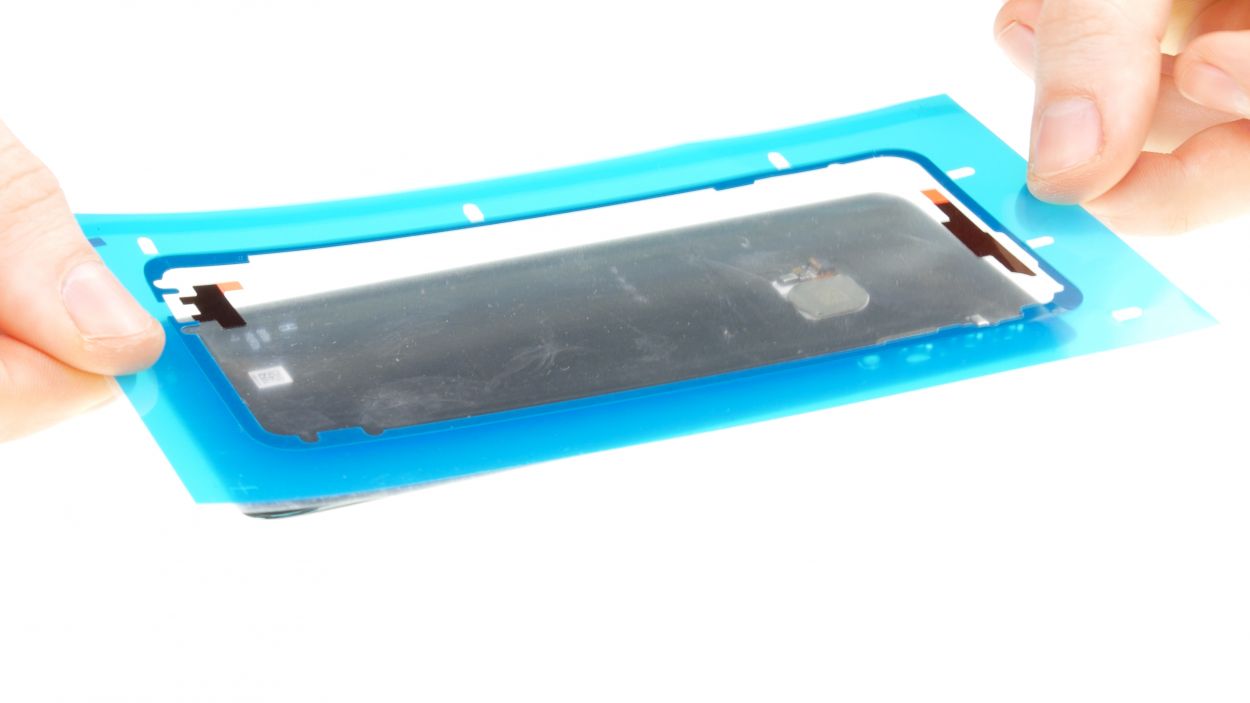
– Next up, check the glue position. Peel off the first protective film from your new adhesive frame and place it carefully on the back cover. Make sure it’s snug and doesn’t stick out anywhere.
– Don’t forget about the two smaller adhesive surfaces – they need to find their home on the back cover too.
– Give the adhesive a good press down to make sure it’s sticking.
– Finally, you can peel off the protective films covering the adhesive surfaces, and you’re all set!
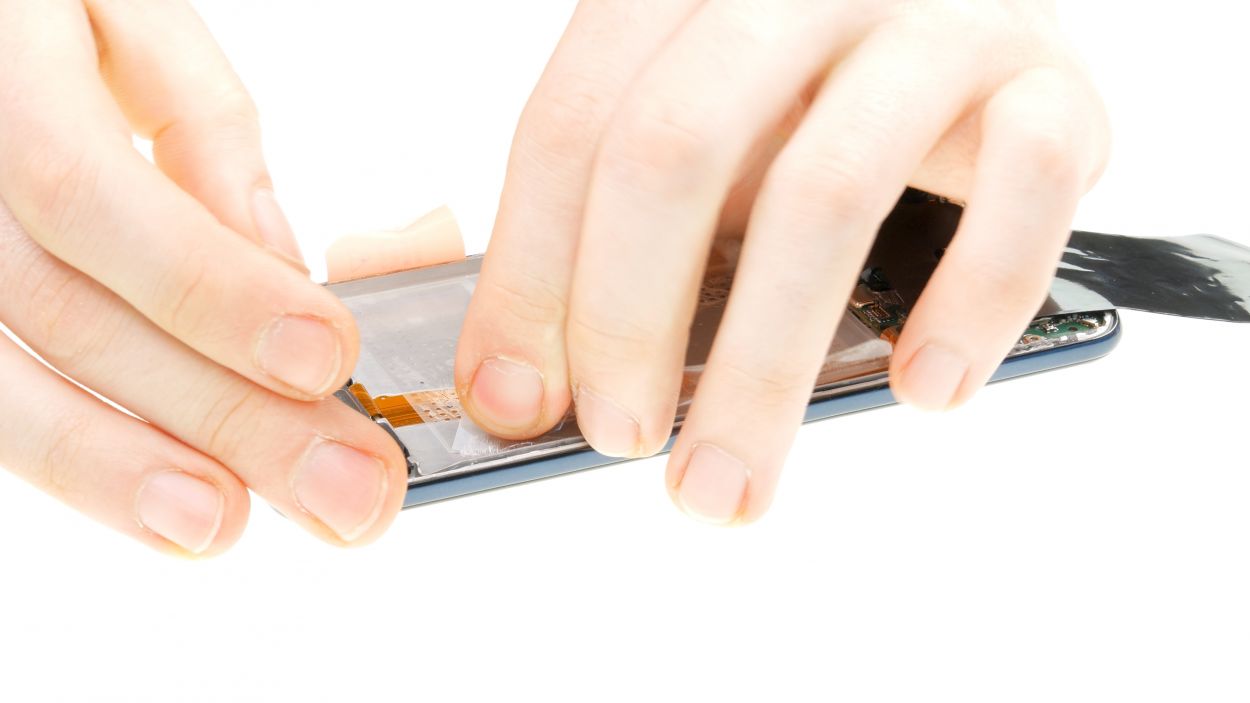
Step 9
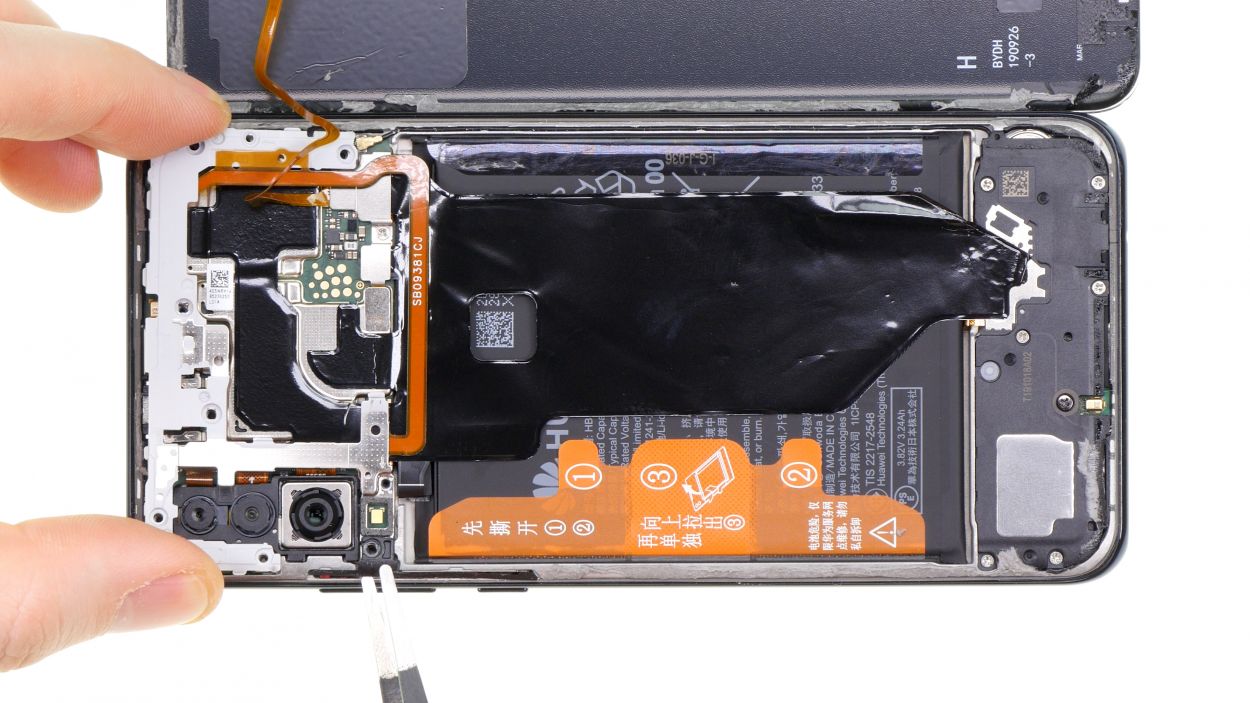
Fingerprint Connector
– First things first, let’s get that fingerprint sensor reconnected! Start by placing the plastic cover of the main board back into your device. It’s like tucking it in for a cozy nap.
– Next up, grab that back cover and set it down next to your device. Align the contact with the connector on the mainboard, making sure that flex cable is nice and straight – no twists allowed!
– Finally, go ahead and connect the contact. You’re almost there!
Step 10
Battery Connector
1 × 2,7 mm Phillips
– Alright, let’s get that battery contact snugly connected to the main board, shall we?
– Next up, it’s time to pop that metal cover back on the unit and secure it with the trusty Phillips screw. You’re doing great!
Step 11

2 × 2,7 mm Phillips
7 × 3,3 mm Phillips
– Alright, it’s time to pop that mainboard cover back on! Just give it a gentle push to secure it in place.
– Be sure to check that those metal tabs are happily snapping back into position.
– Now, grab those screws of varying lengths and fasten the cover snugly. You’re doing great!
Step 12

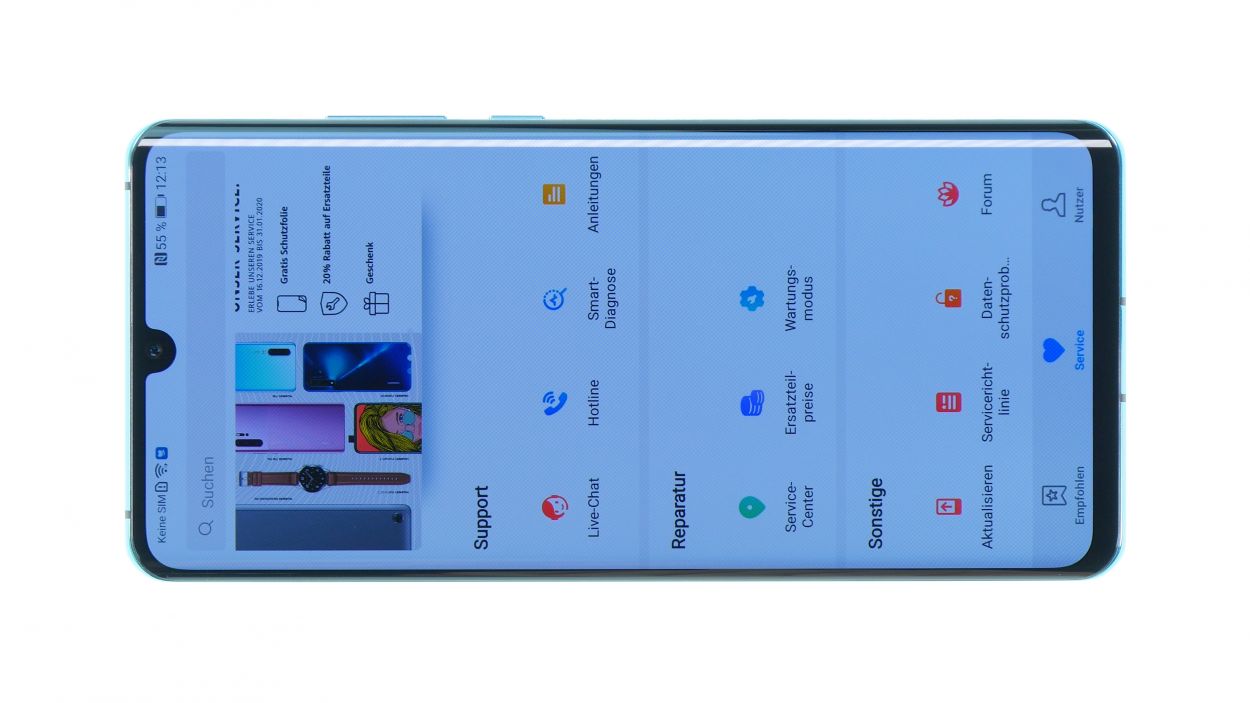
– Hold your horses before sealing up your device! It’s time for a little test drive.
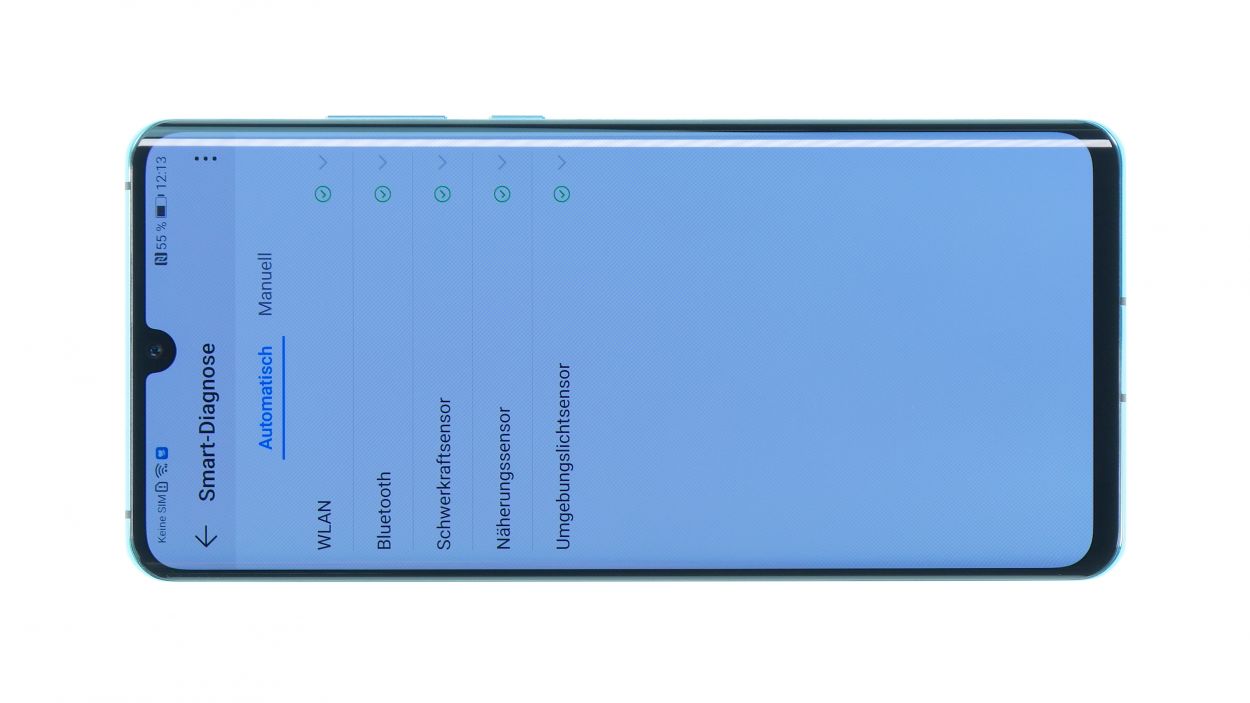
– Fire up your smartphone and launch the ‘HiCare’ app.
– Let the Smart Diagnostics work its magic. Some tests will run automatically, so sit back and relax.
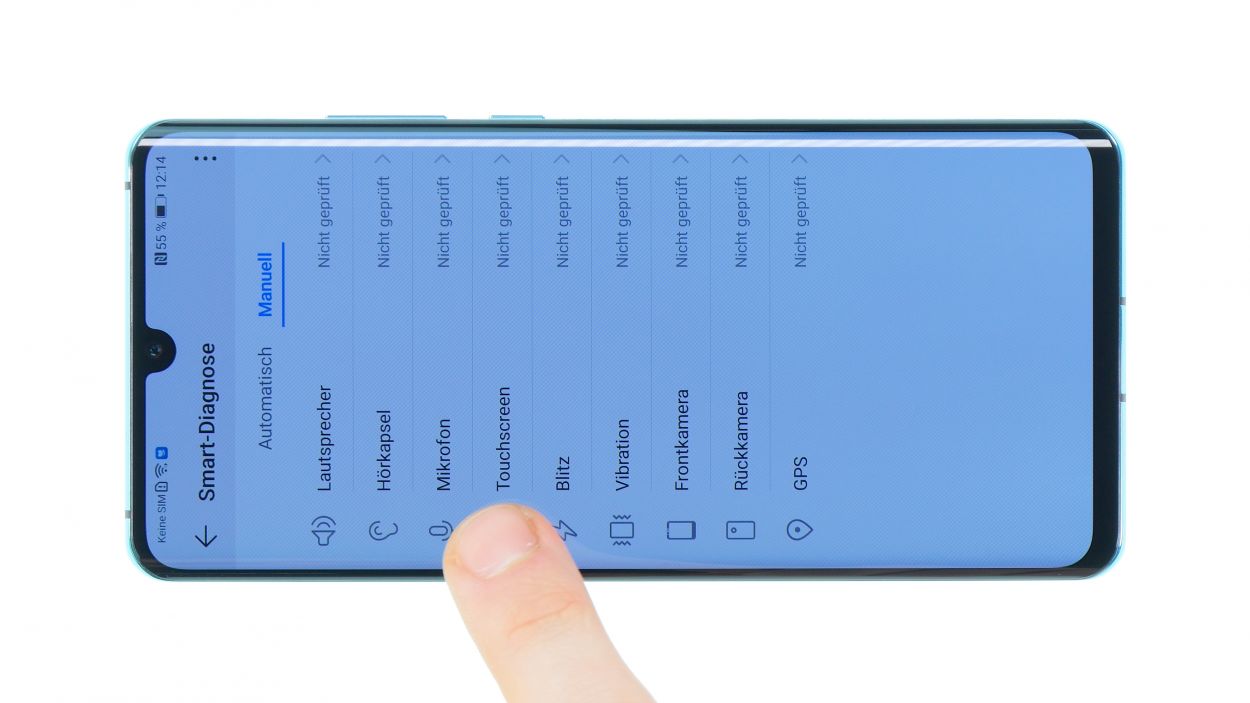
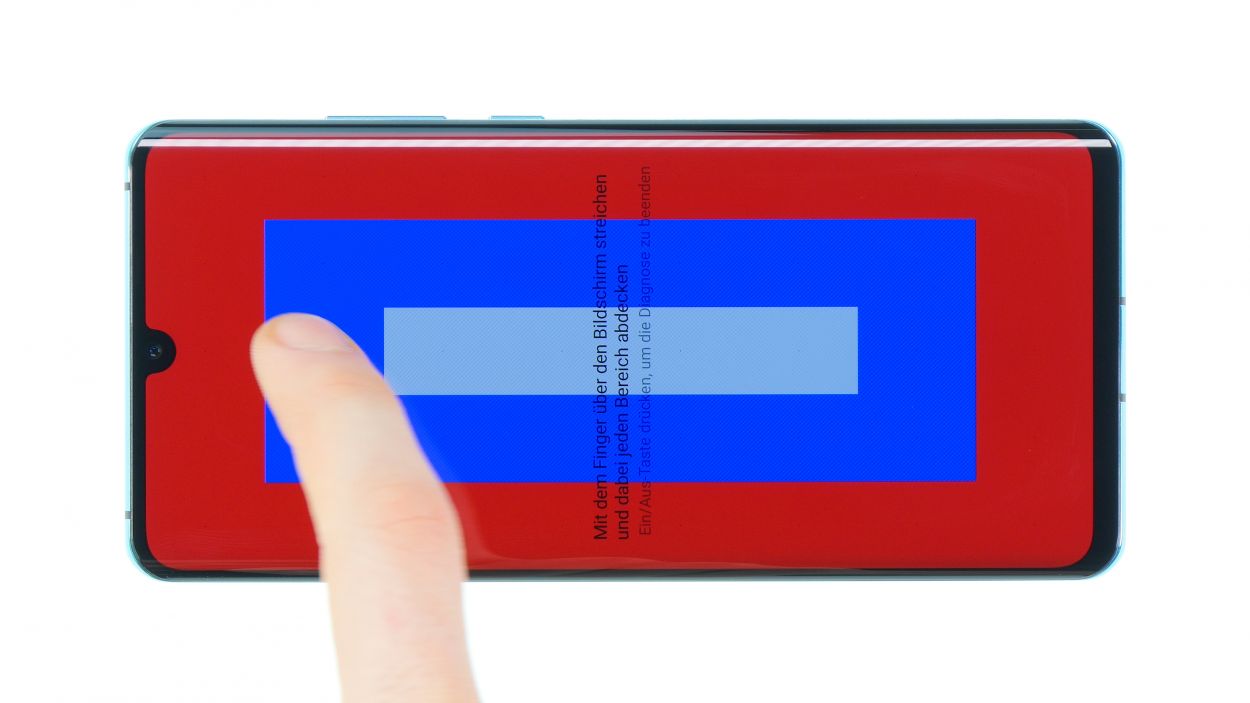
– Feeling adventurous? Head over to the ‘manual’ section to check out other functions on your own. Give the touch screen, microphone, speaker, and more a good test!
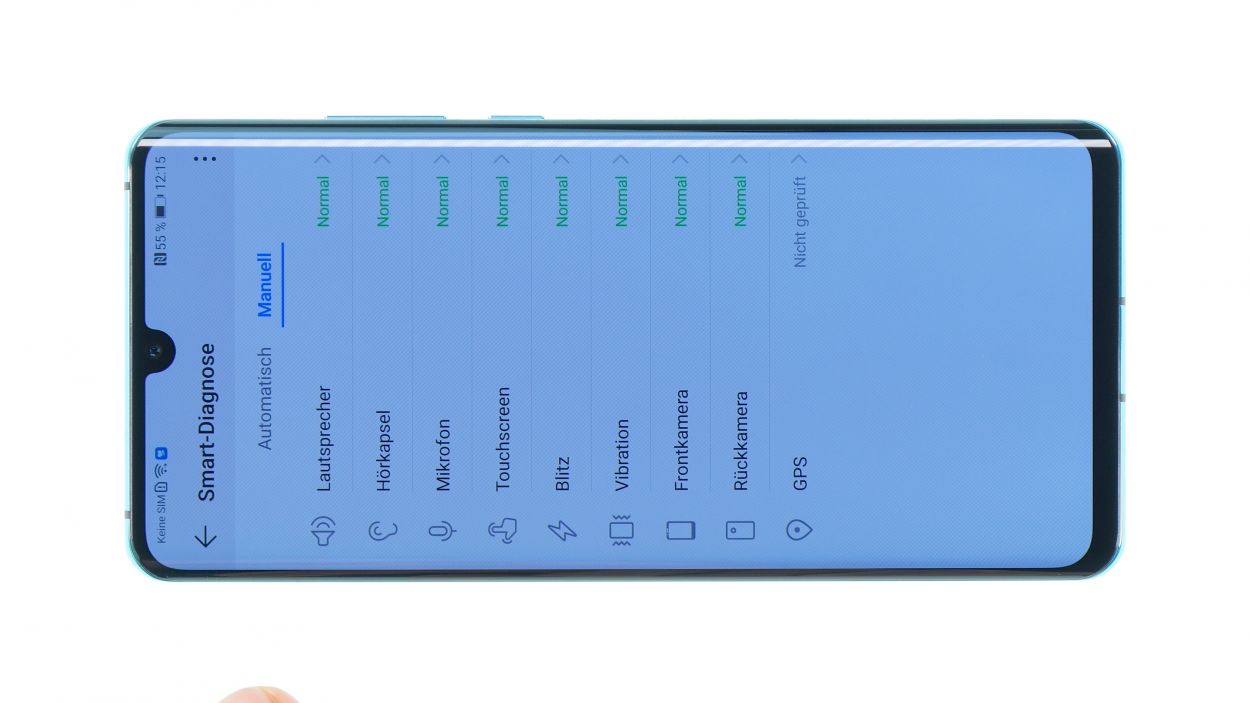
– If something’s acting a bit wonky, take a peek at the component in question. It might be damaged or just need a little reconnect.
– If everything checks out, you’re all set to close up your device and get back to business!
Step 13
– Now, let’s get that back cover snugly on your device. Just place it down and give it a gentle press!
– Next up, warm the edge of your device once more with some hot air. To help the glue do its thing, stack a few books on the back cover for some extra weight. It’s like giving your device a little hug!